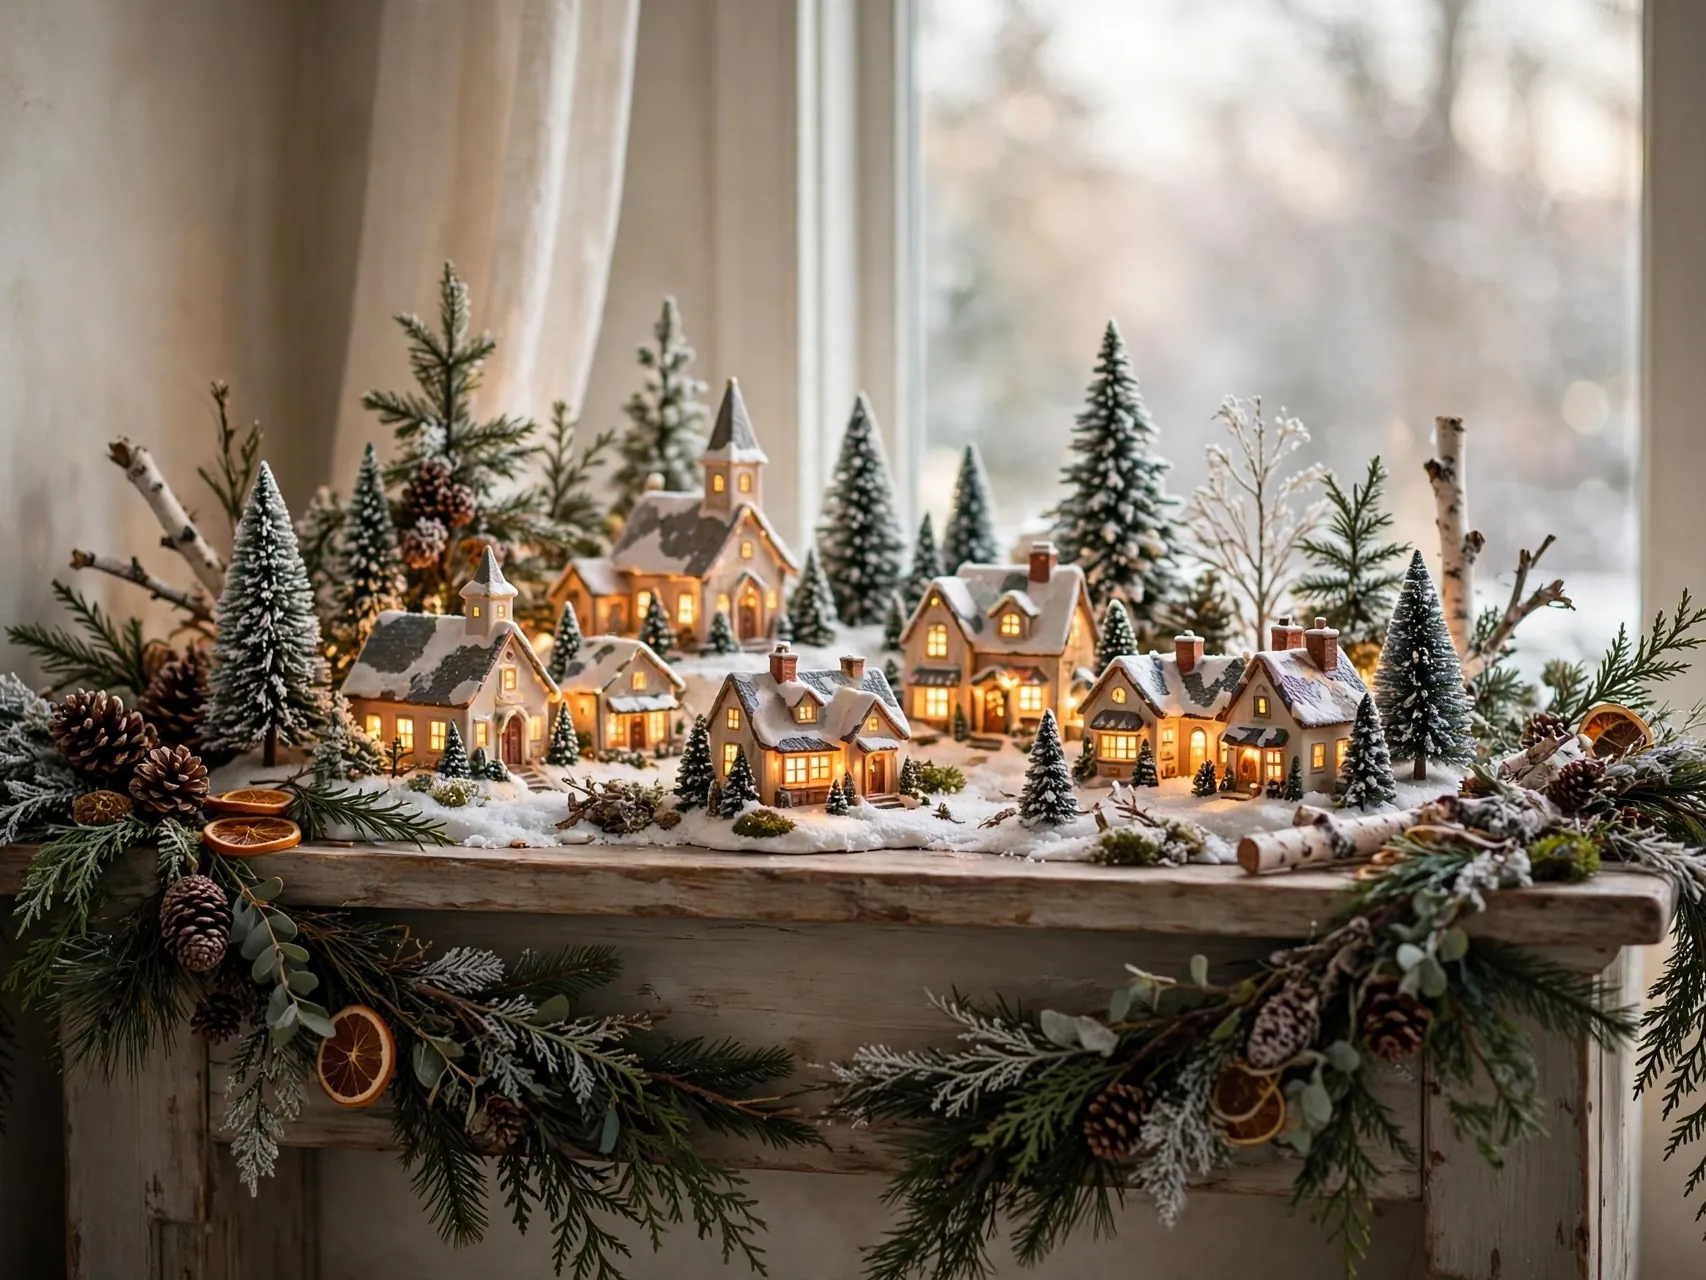
22 Christmas Village Display Ideas That Tell a Cozy Story
Introduction
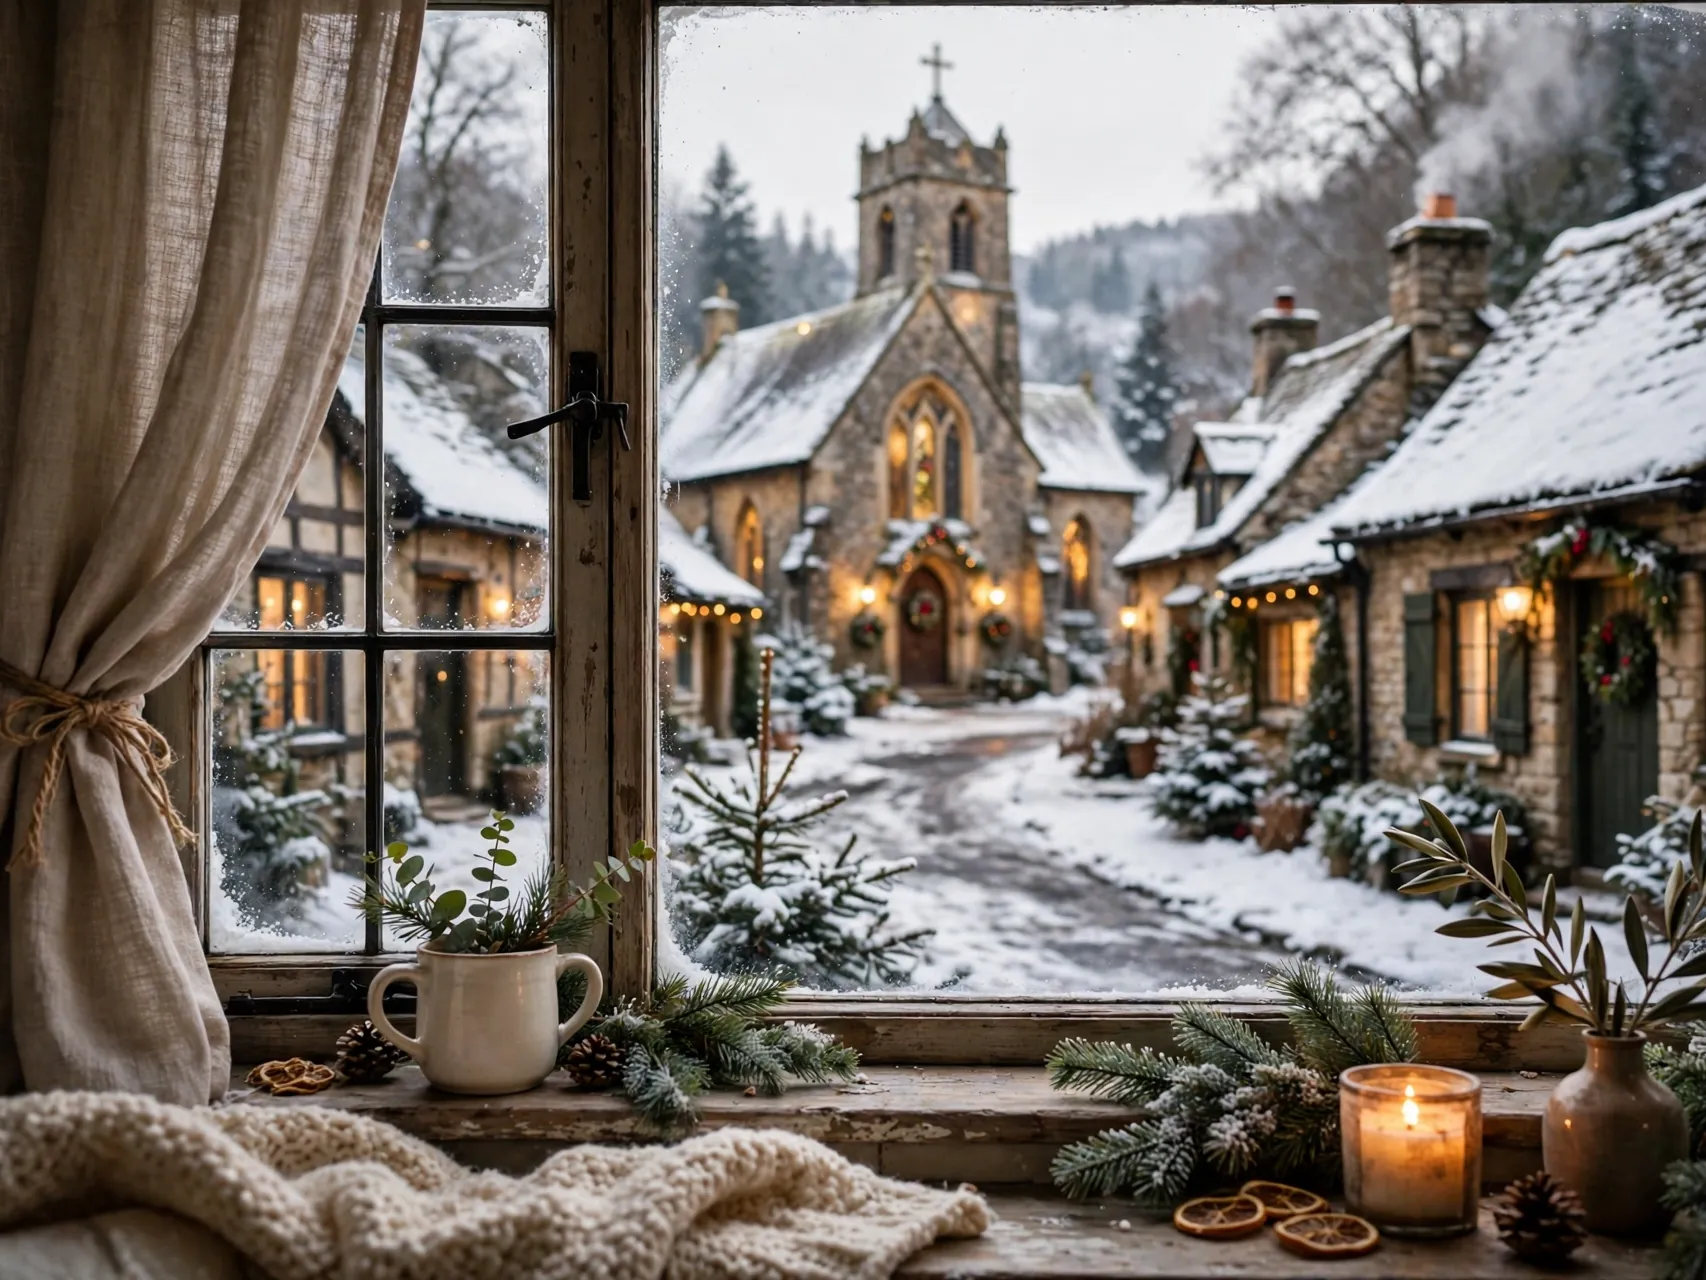
A village you love is never just a row of cute houses. The best christmas village display ideas give those houses a reason to be together: a main street with a story, neighbors on their way somewhere, and little pools of light that make you lean in closer.
Start by choosing one simple story before you unpack a single box. Maybe it is the night before Christmas on a snowy main street, or a quiet alpine town settling in for the evening. That one decision guides every christmas village setup idea that follows, from where the church sits to which figures earn a spot.
Plan the practical side early, too. Pick a stable surface out of main walkways, keep cords tidy and tucked away, use LED or battery lights where you can, and never overload an outlet. A display that is safe and steady is one the whole family can enjoy up close, all season long.
1. Give Your Village One Main Street Story

Every good christmas village display starts with a storyline. Decide what is happening in your town tonight: shoppers hurrying home, carolers gathering by the church, or skaters heading for the pond. Then arrange buildings so the story reads at a glance.
Put the tallest, most loved building at one end as the anchor, shops along the middle, and homes drifting toward the quieter edges. Tip: write your story in one sentence on a sticky note and keep it nearby while you arrange, so random pieces do not wander in and muddy the plot.
2. Build Hills With Hidden Risers and Platforms

Flat villages look like catalogs, while villages with levels look like places. Hide sturdy boxes, foam blocks, books or wooden crates under your snow blanket to create hills and terraces, then set houses at two or three different heights.
Check every platform for wobble before a house goes on it, and keep heavier buildings on the lowest, steadiest level. Tip: build the levels first and photograph them empty, because fixing a wobbly riser under a finished, lit village is nobody idea of holiday fun.
3. Lay a Snow Blanket Base With Soft Edges
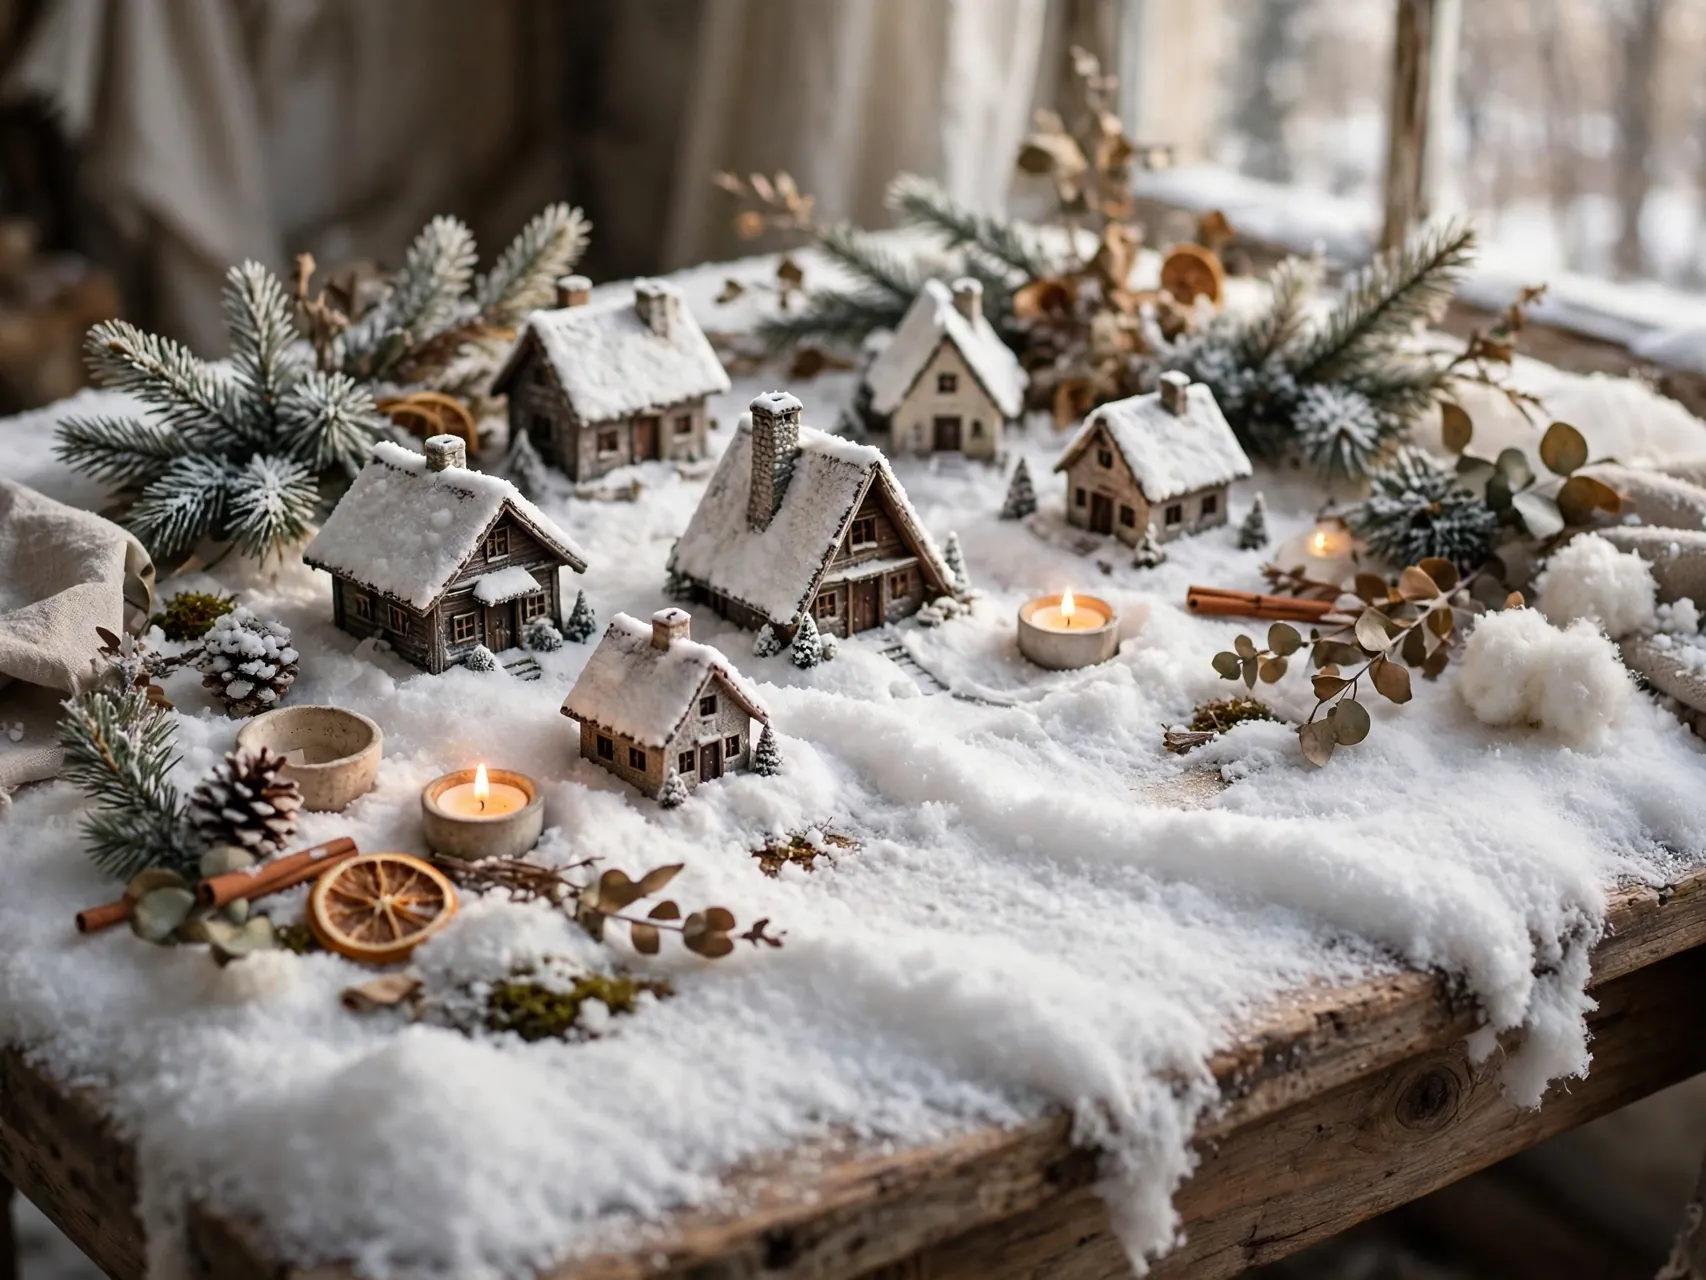
A snow blanket is the quiet foundation that makes everything else look intentional. Drape it over your risers so it falls in soft folds, then tuck and smooth it around each building base so houses look settled into drifts rather than parked on fabric.
Let a little extra pool at the front edge like a drift against a fence. Tip: keep the blanket clear of candle flames, heaters and hot bulbs, and choose LED lit buildings so the whole scene stays cool to the touch and safe near fabric.
4. Curve a Main Road Through the Middle
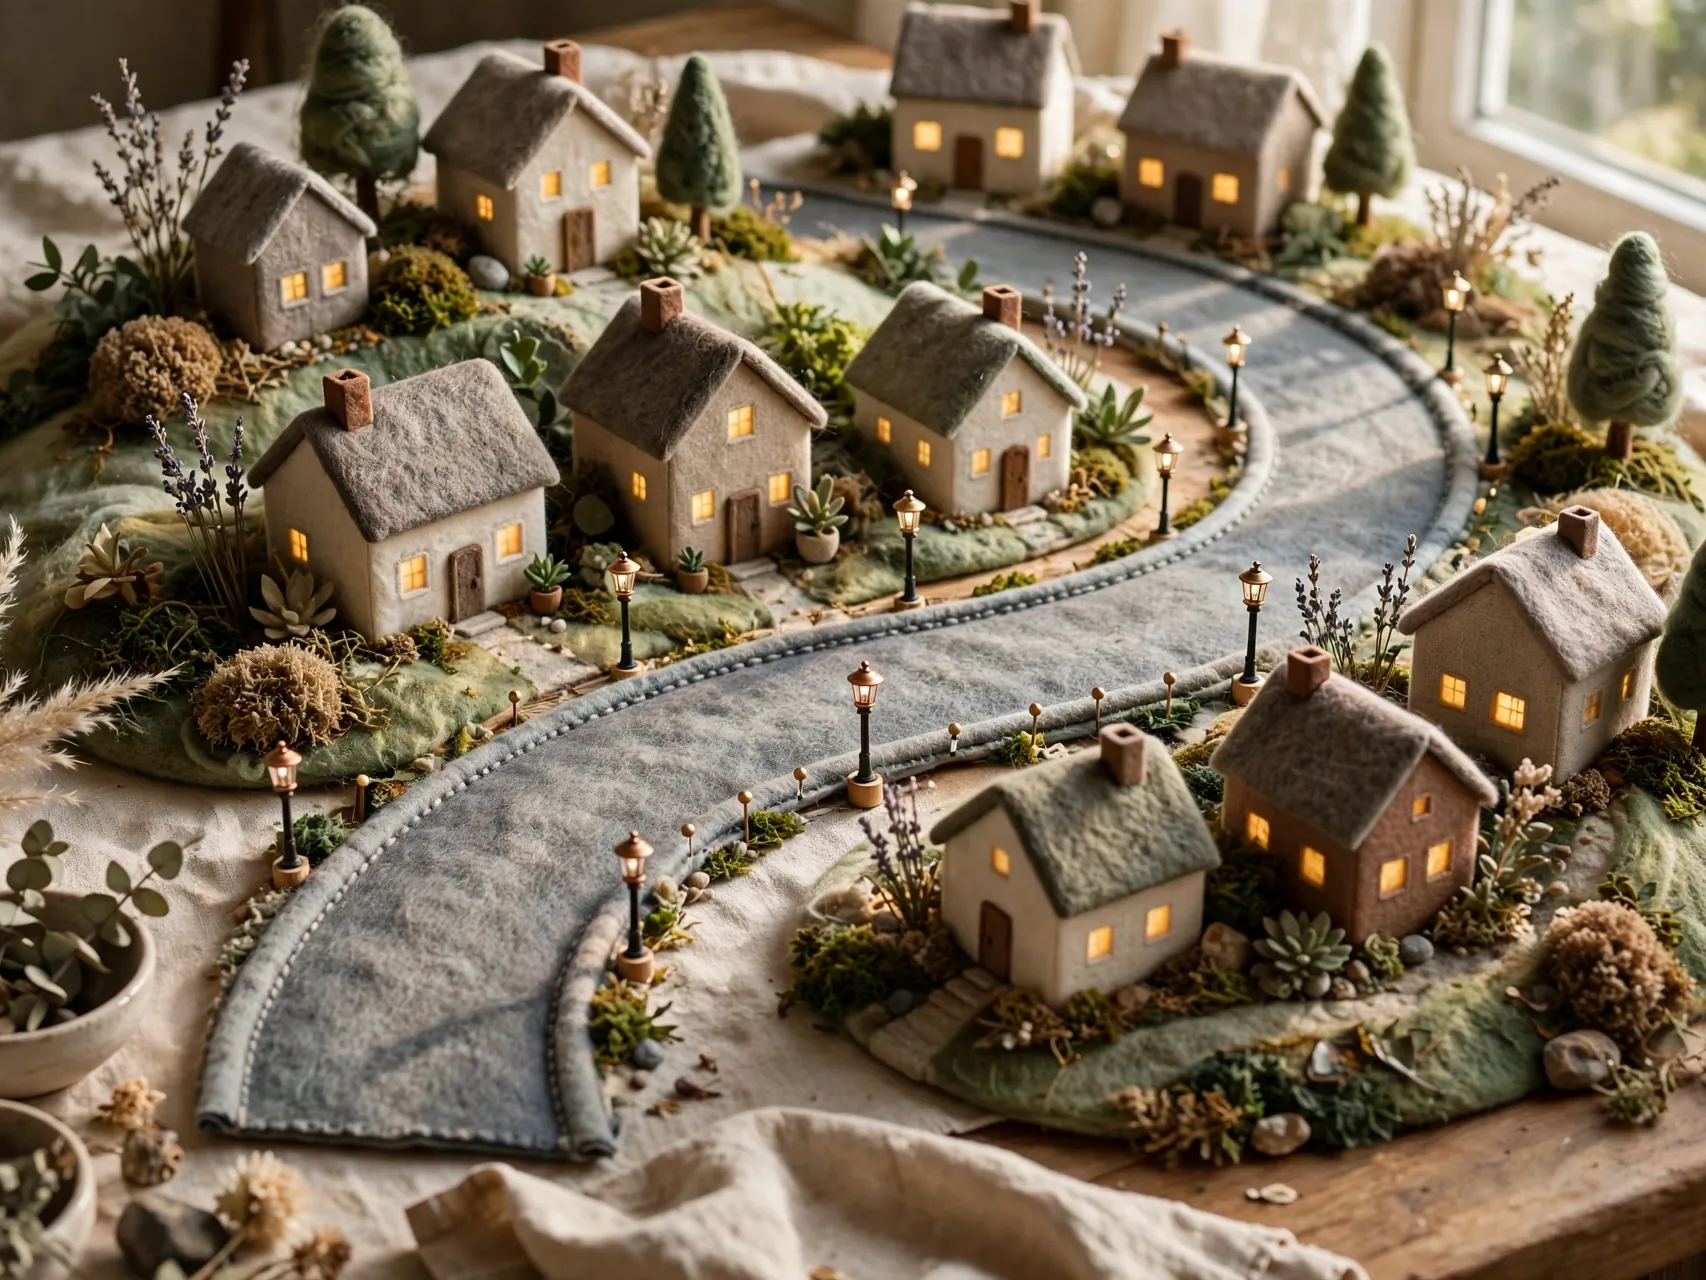
A curving road gives your town movement. Cut a gentle S curve from gray or charcoal felt, or use a purchased road mat, and let it wander past the shops instead of running in one straight, stiff line down the center.
Angle a few buildings slightly toward the road, the way real storefronts face the street. Tip: leave small gaps where side paths can branch off to the church or pond later, because those little detours are where the storytelling gets charming.
5. Add a Mirror Pond for Skaters
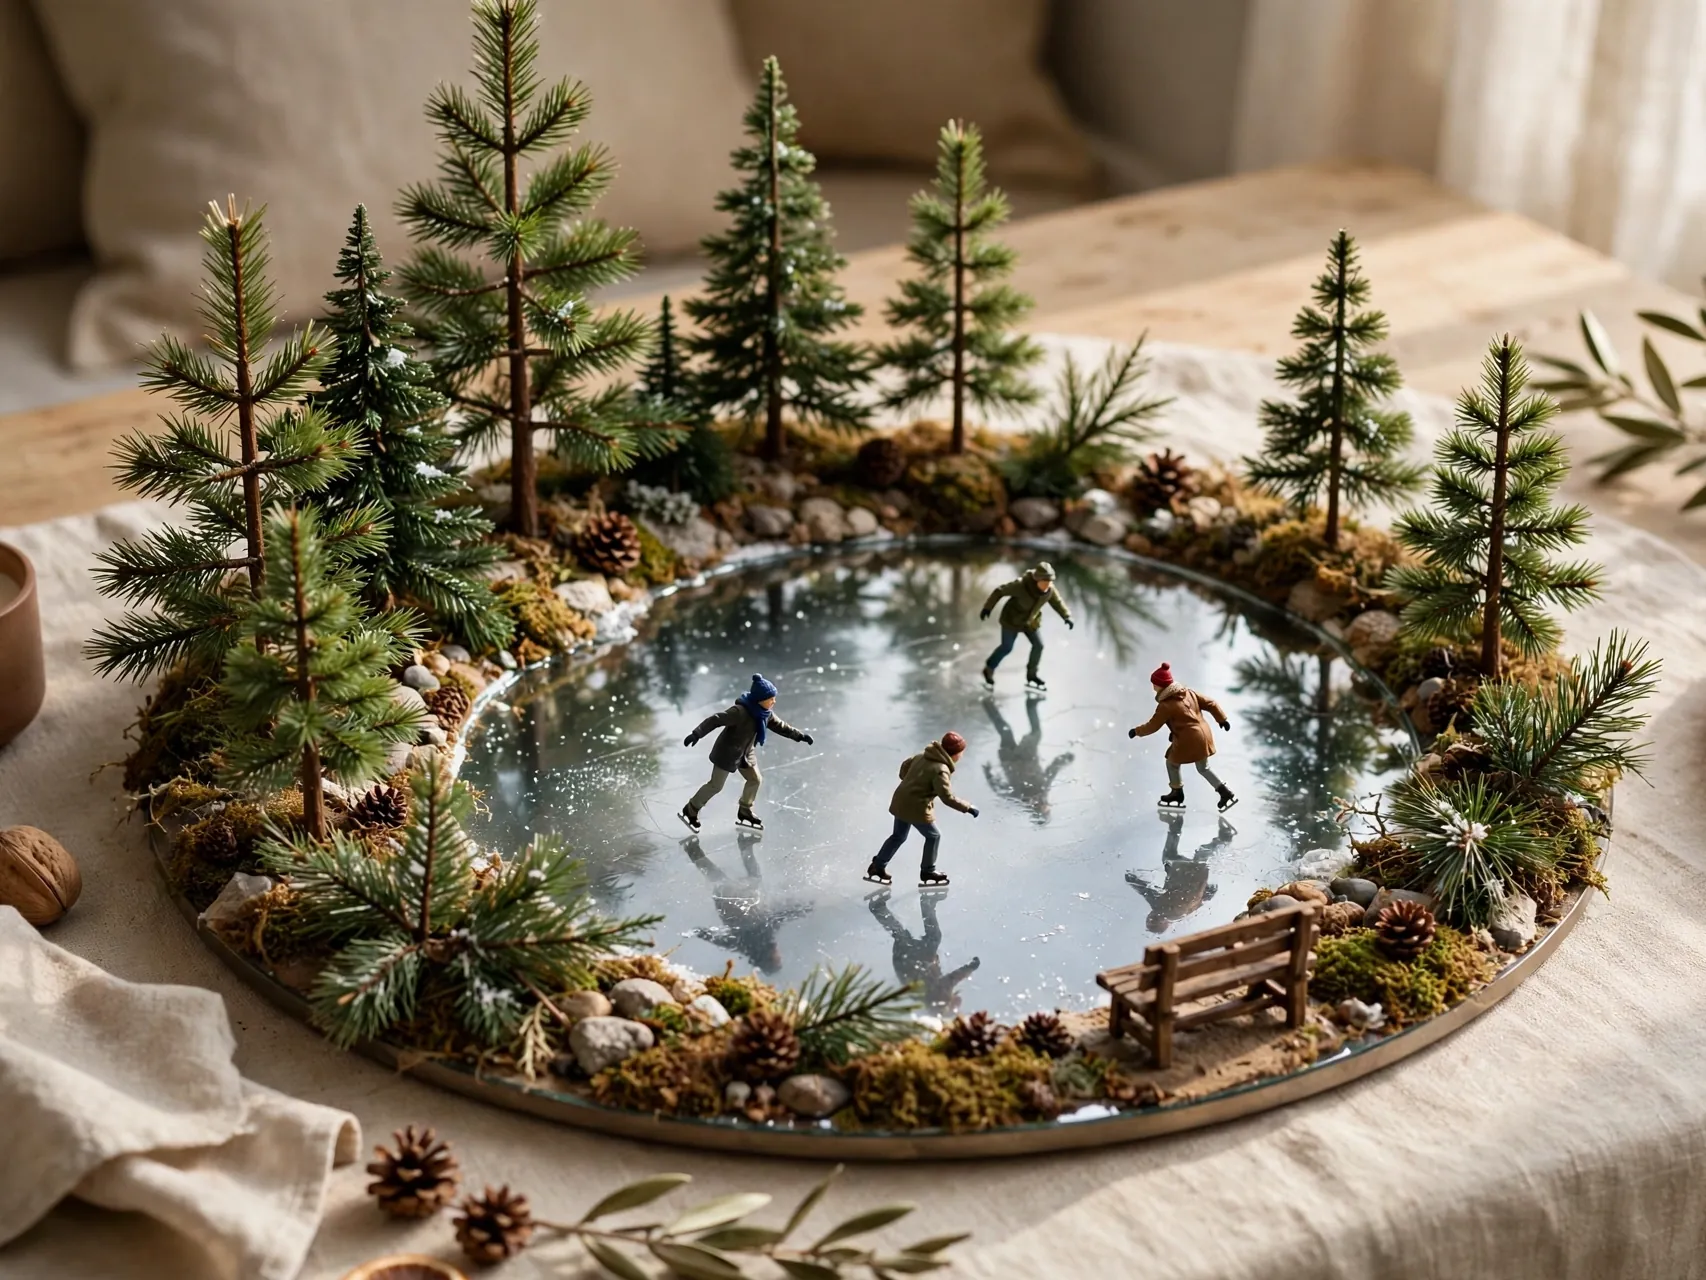
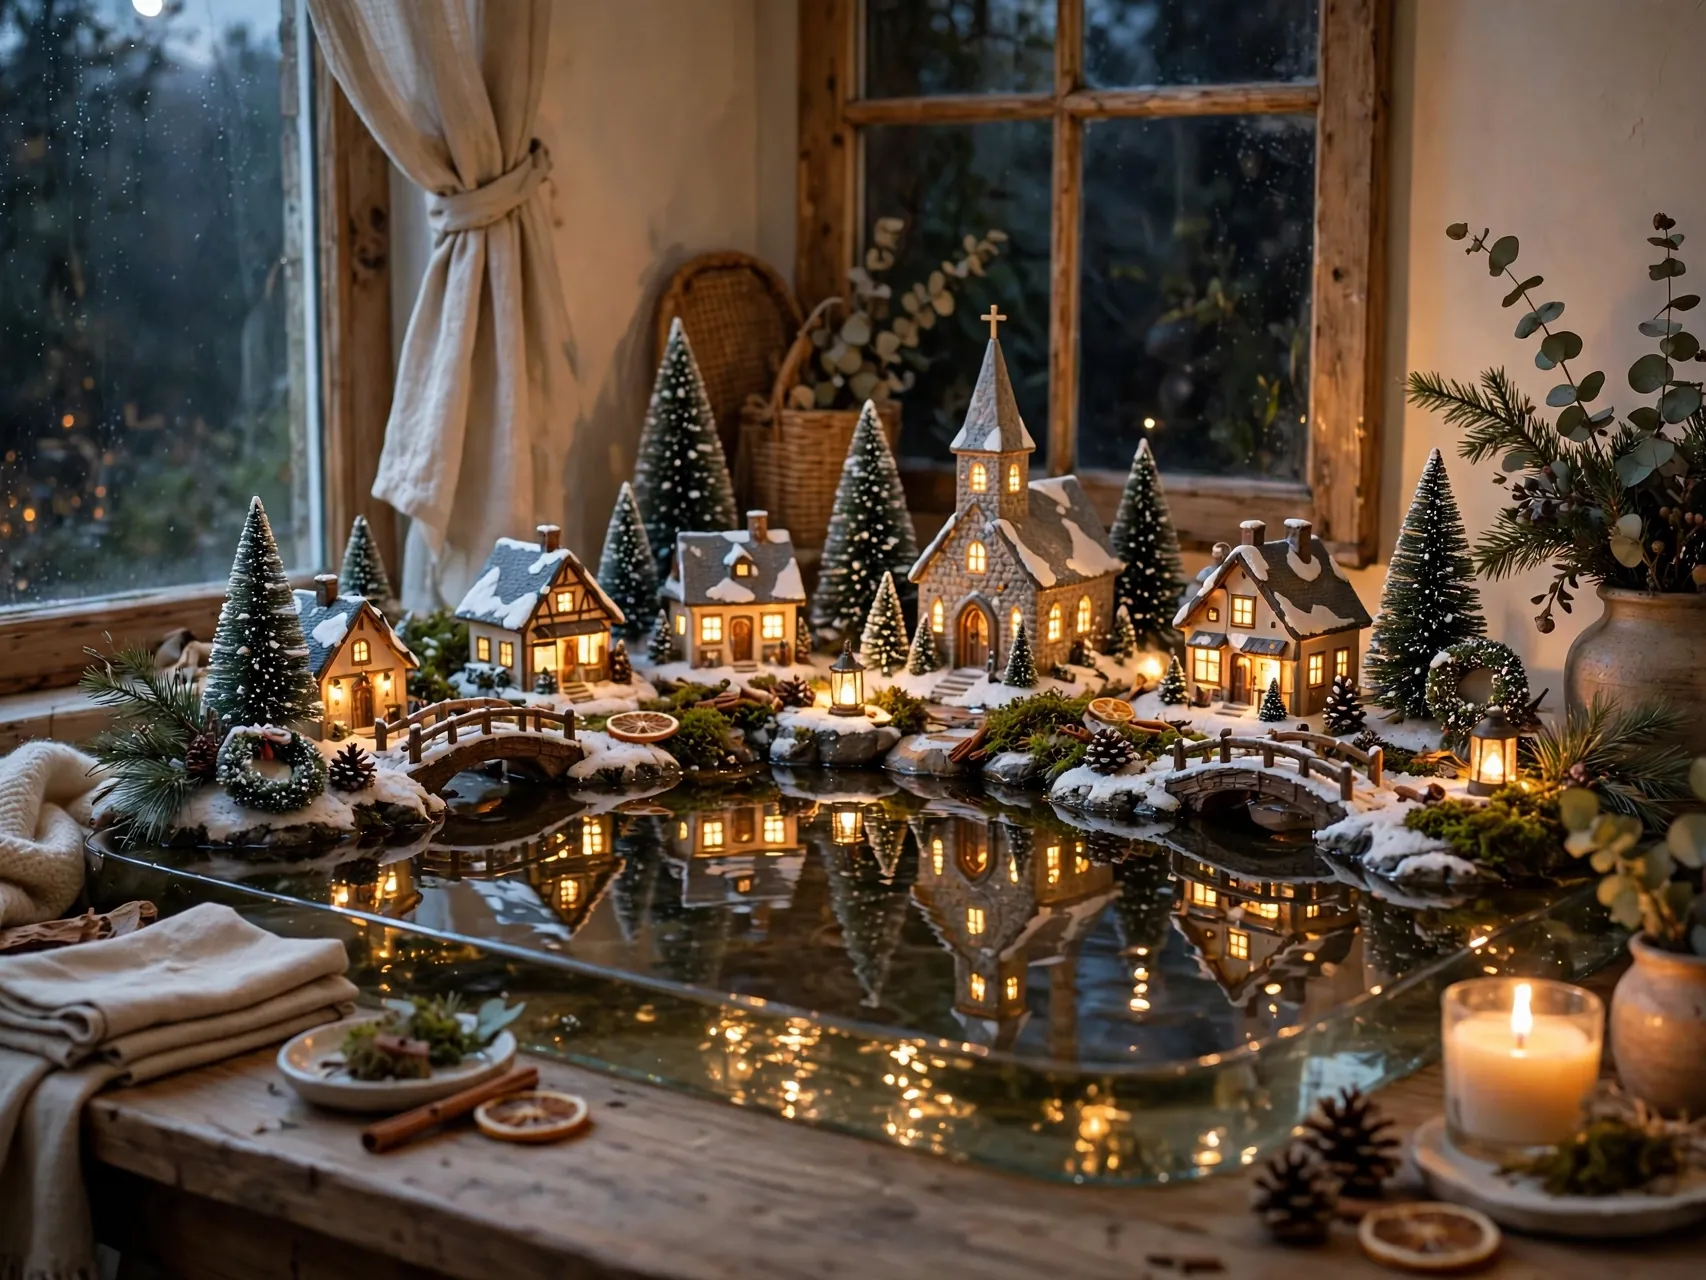
A small round or oval mirror becomes instant ice. Set it in a low spot in the snow, ring it with bottle brush trees and a bench or two, and place your skater figures in loose, natural pairs rather than a tidy line.
A lamppost beside the pond throws lovely reflections across the surface at night. Tip: keep the mirror slightly off center, tucked beside the main street, so it feels discovered on a walk through town instead of staged in the middle of everything.
6. Light Every Window Like Someone Is Home
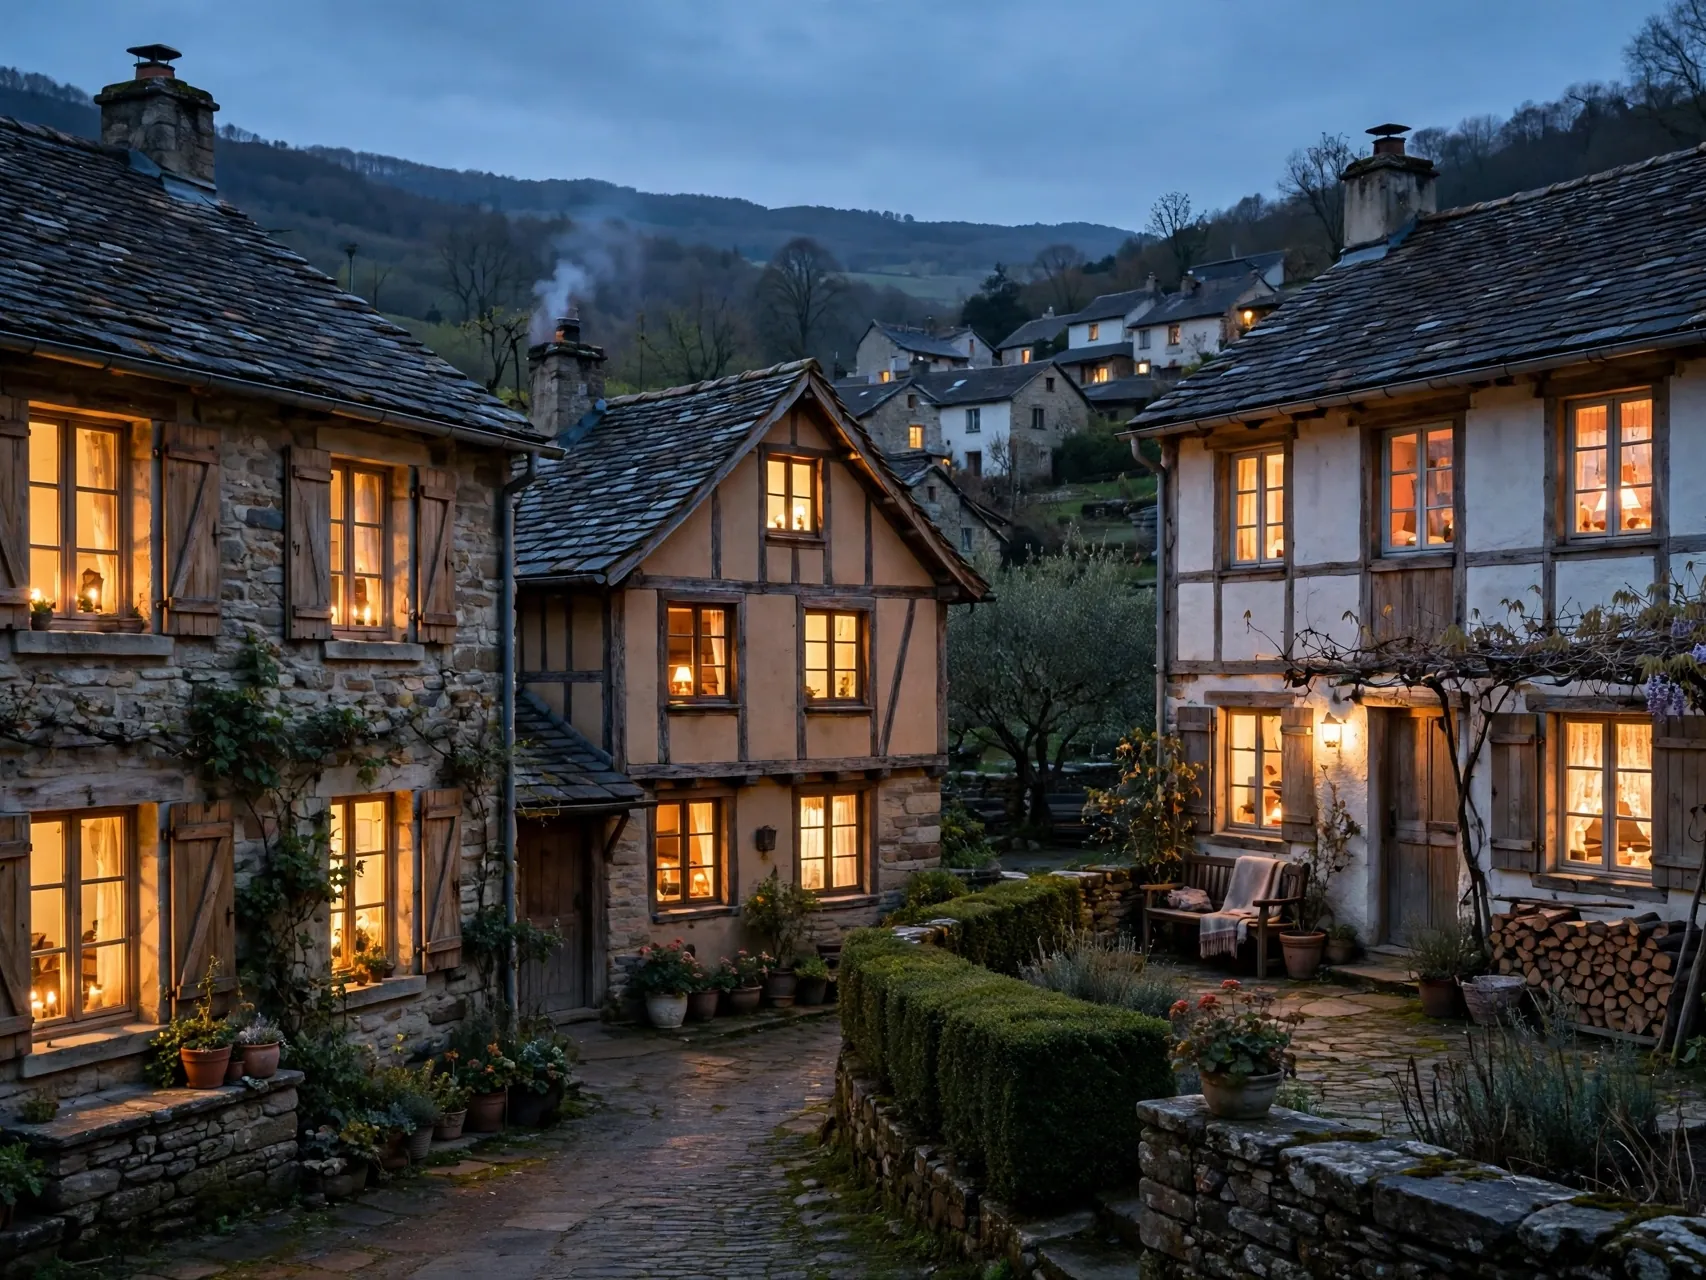
Warm light is the heartbeat of a christmas village display. Light most buildings, but leave one or two dark, because a real town always has a few homes already asleep. That small contrast makes the lit windows feel alive.
Choose LED or battery powered pieces where possible, group cords behind the risers, and plug into one accessible switch or timer so the town wakes up in one click. Tip: never overload an outlet to light every piece, and keep all cords taped or tucked out of walkways.
7. Tuck Bottle Brush Trees Into Every Gap
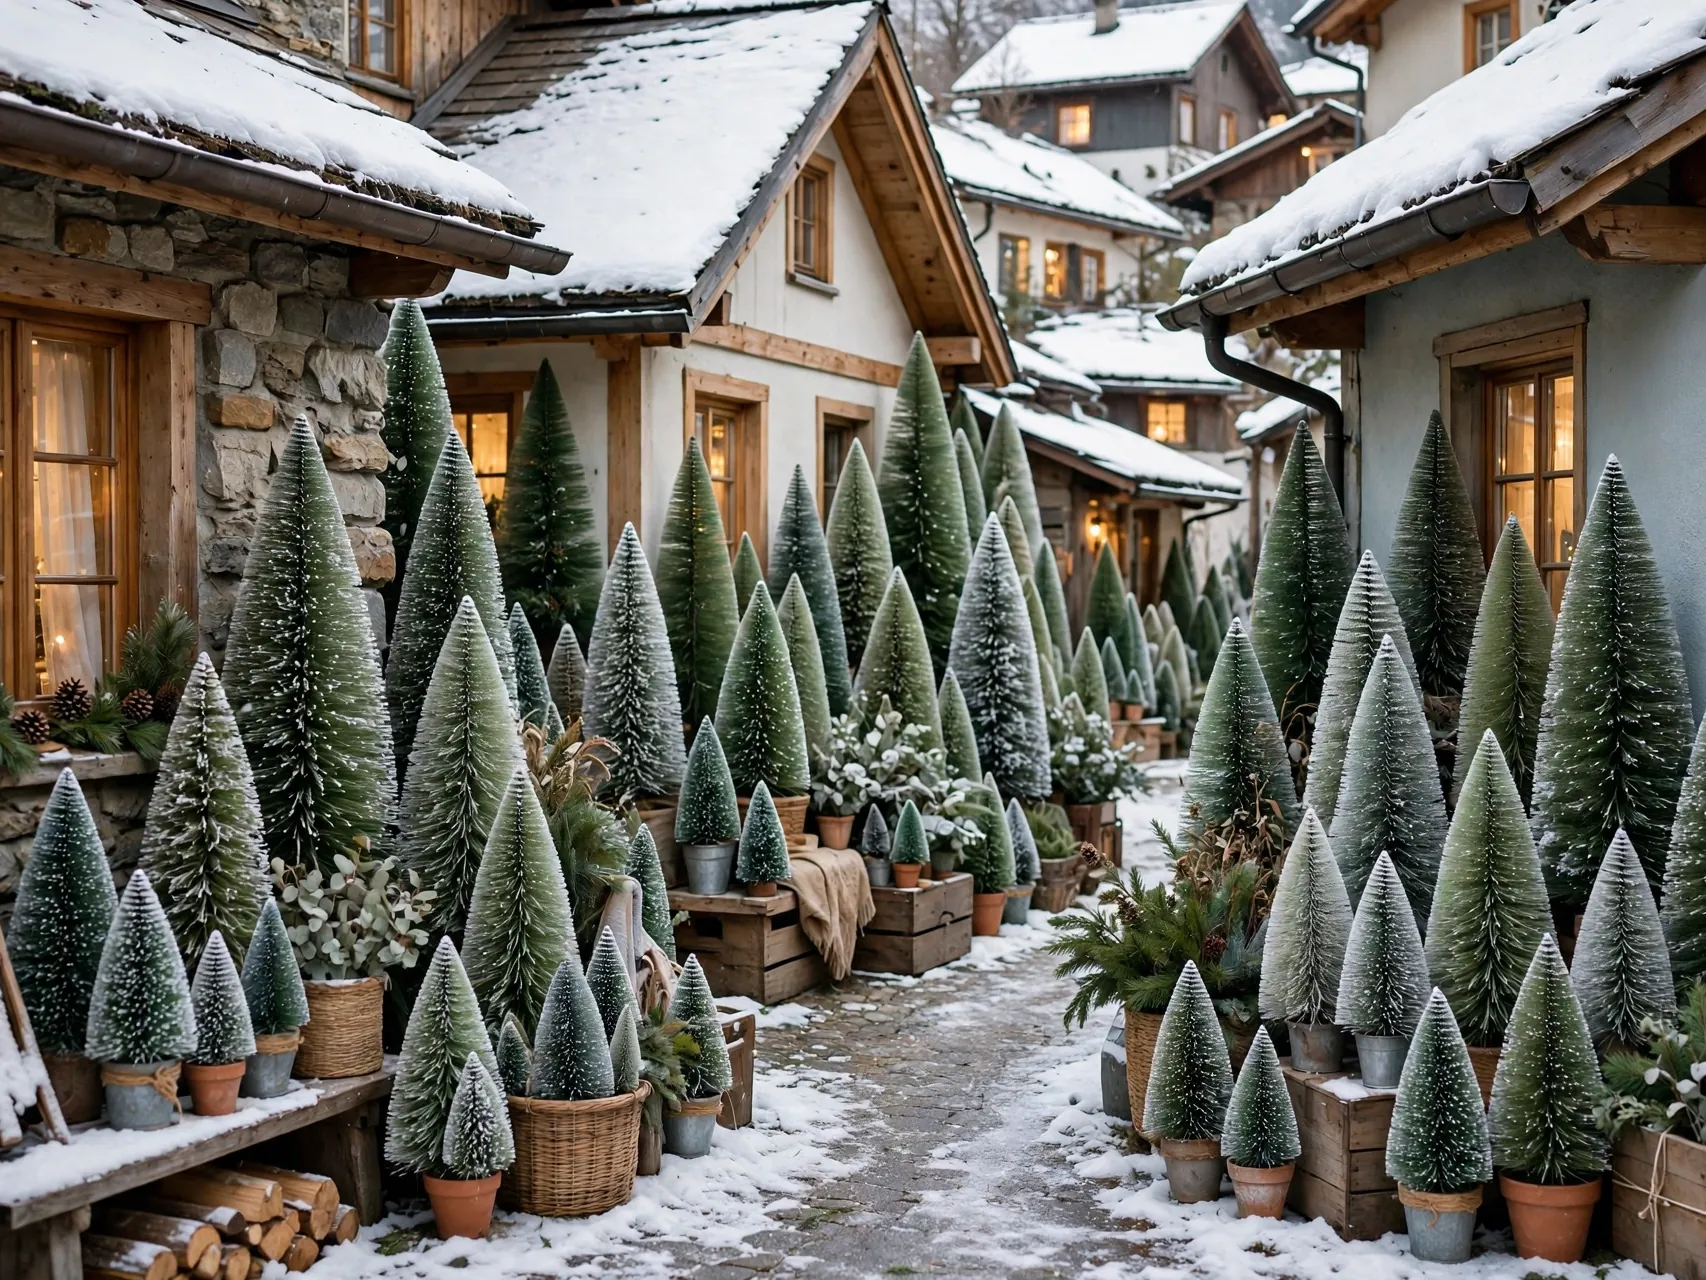
Trees are the punctuation of a village. Fill the awkward gaps between buildings with bottle brush trees in mixed heights, cluster them in odd numbers, and let a few stand alone where a yard or park corner needs softness.
Vary the greens slightly, snowy tips here, deep green there, so the planting looks grown rather than matched. Tip: trees also hide a multitude of sins, including cord exits, riser edges and that one building corner that never sits quite straight.
8. Stage a Church at the Quiet End of Town
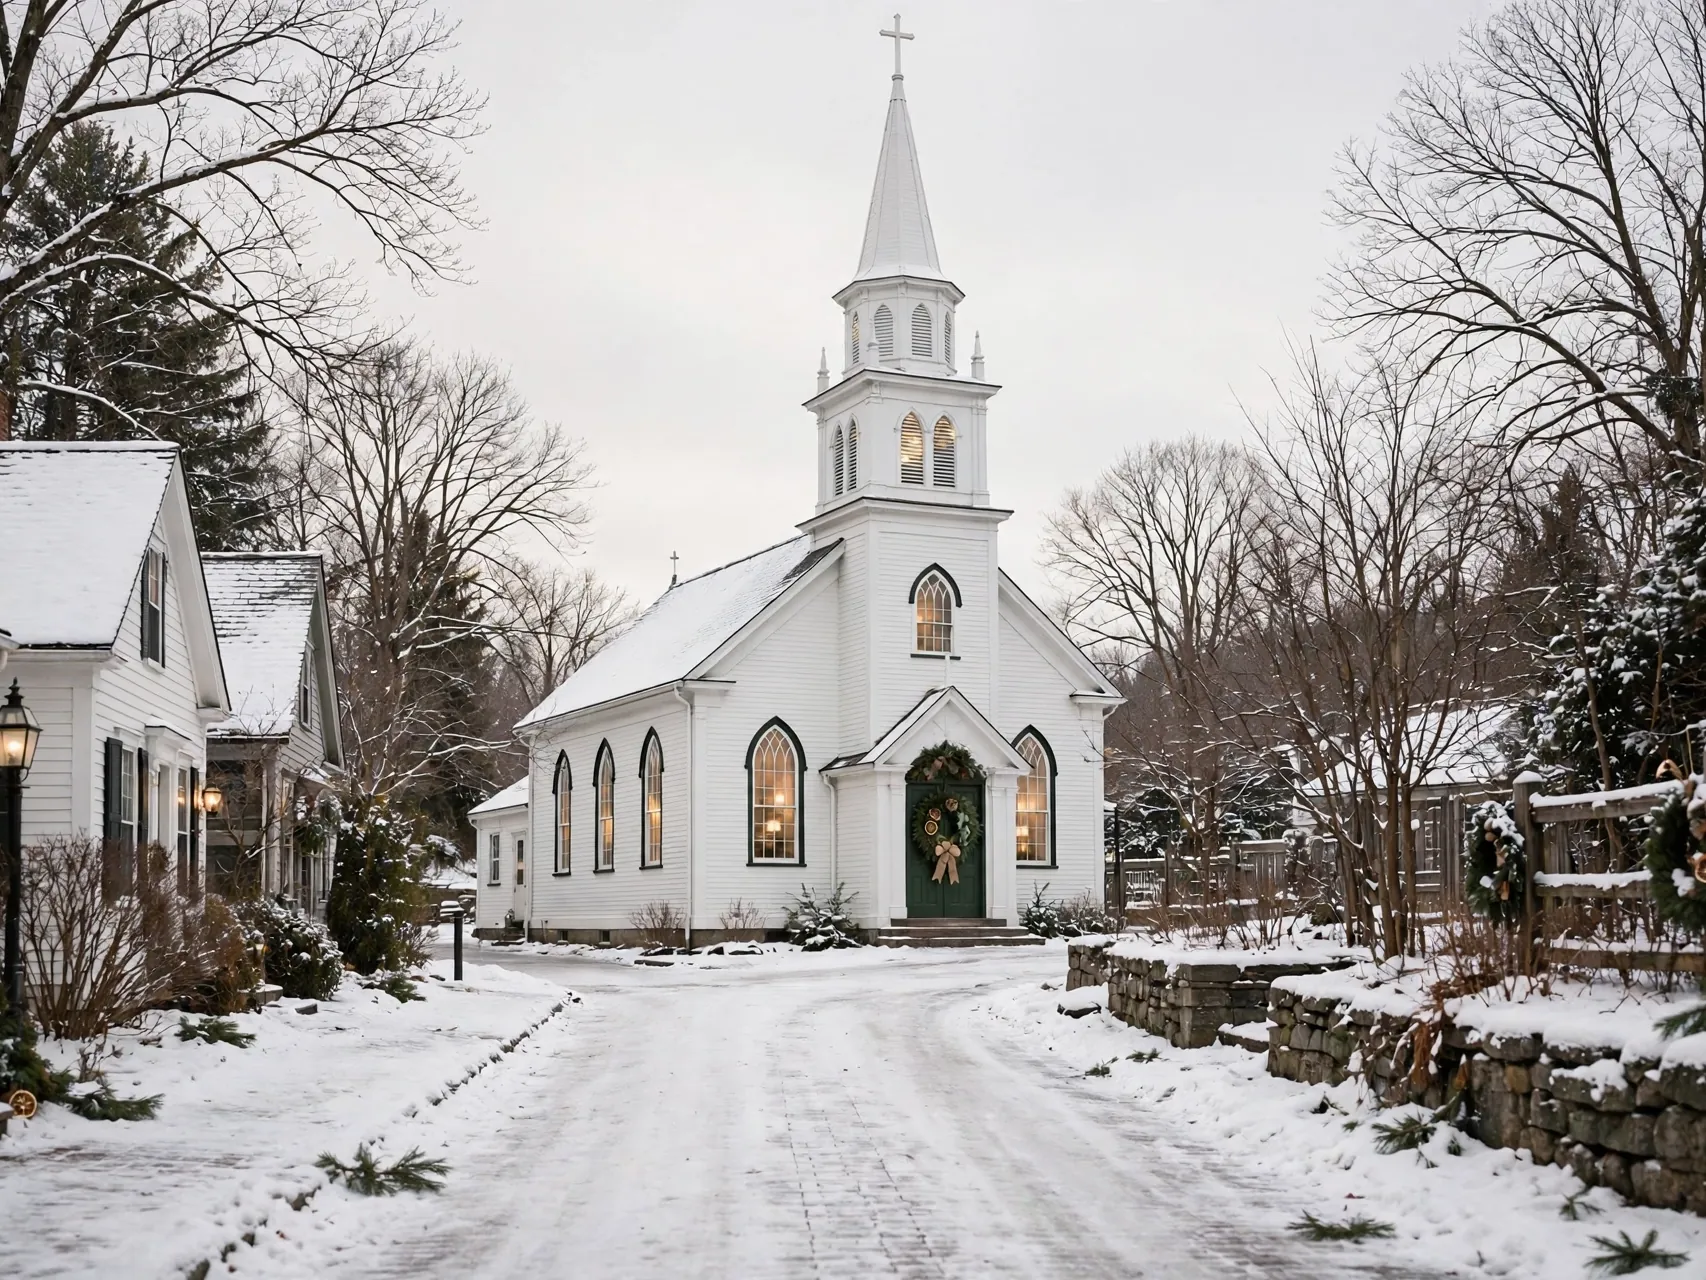
A church earns the place of honor in many villages. Give it the raised end of the street, a small fenced yard or a ring of trees, and a clear path from the road so caroler figures have somewhere to gather.
One soft light inside and a tiny wreath on the door is plenty of detail. Tip: raise the church just an inch or two above its neighbors on a hidden riser, and it will read as the heart of town without overpowering the shops.
9. Create a Town Square With a Big Tree
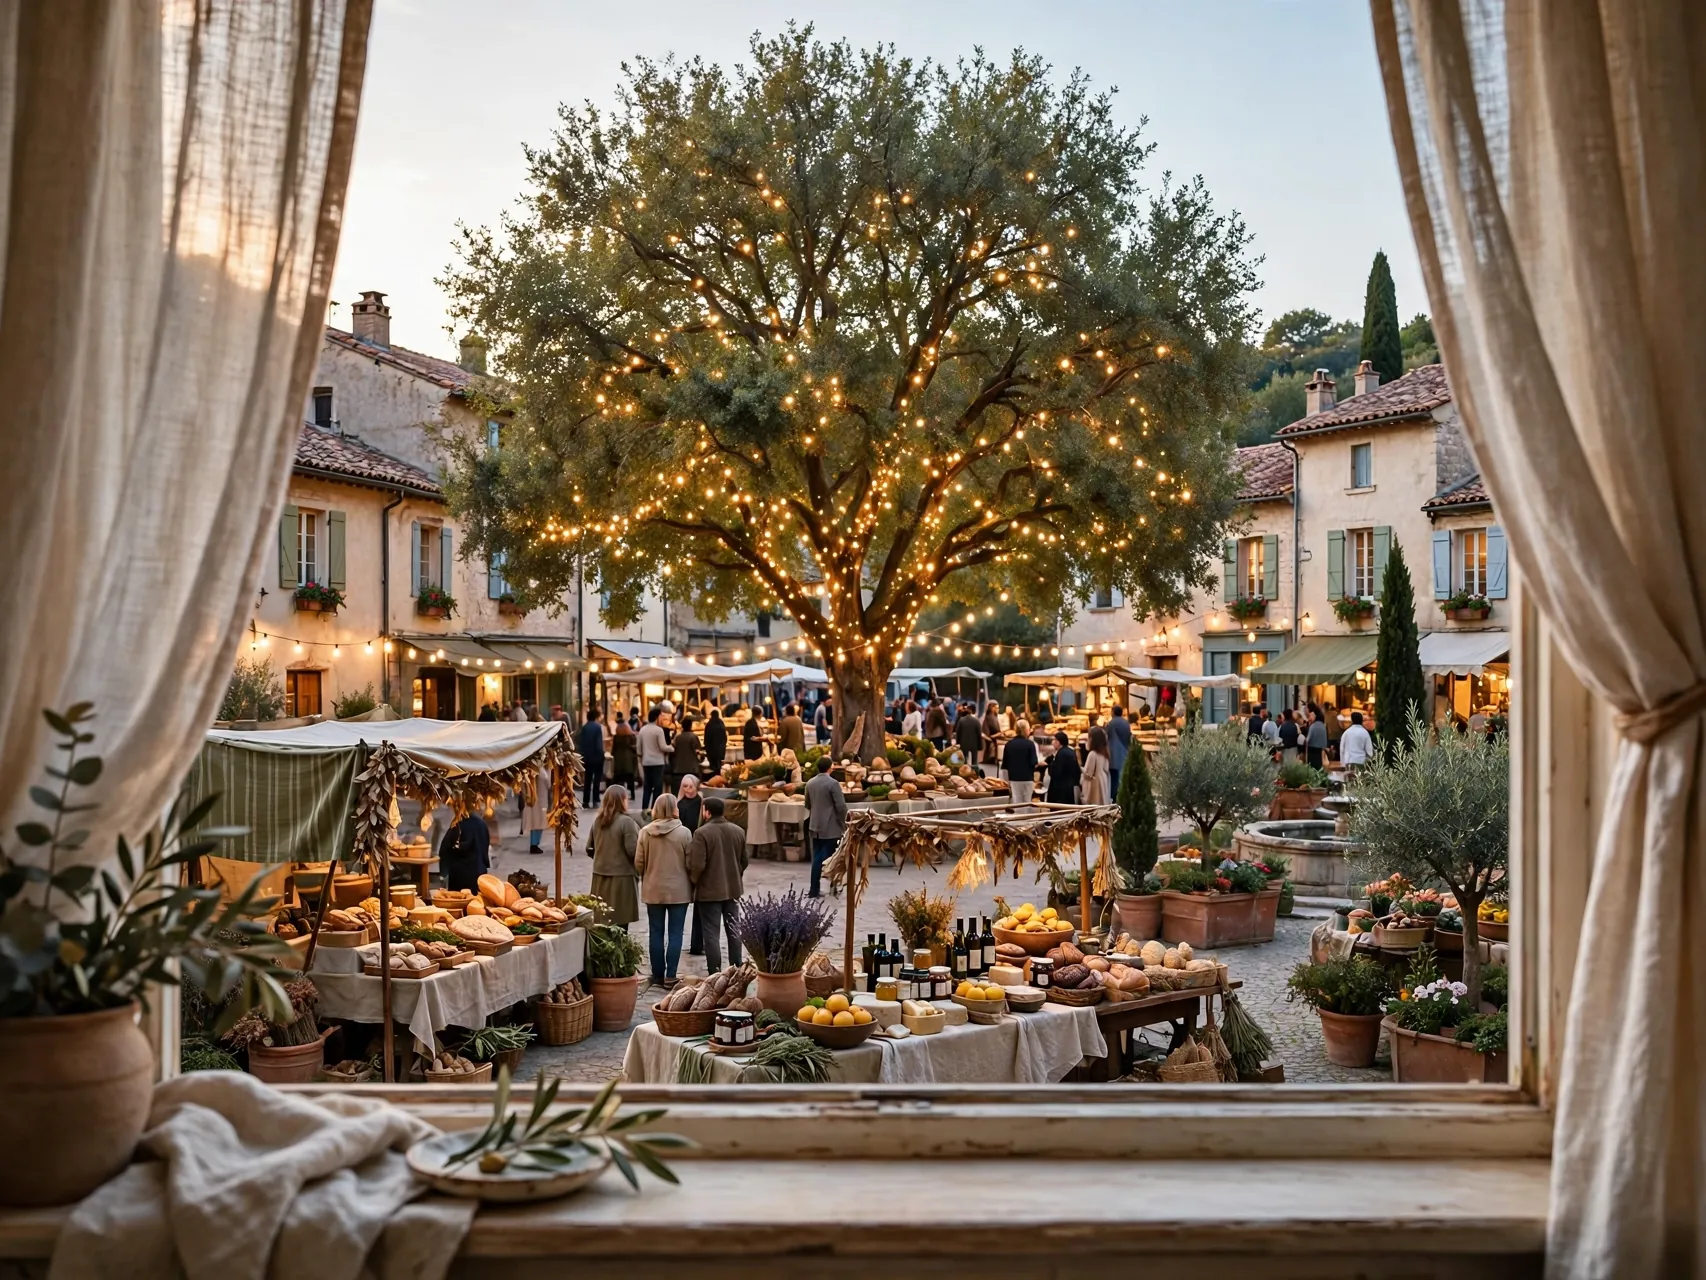
Where your road widens, build a town square. Anchor it with the tallest tree you own, add a gazebo, bandstand or market stalls if you have them, and gather figures in small conversational groups facing the tree.
Keep the square open in front so viewers can see in. Tip: this is the best spot for your most detailed accessories, like wreath sellers or a cocoa stand, because the square naturally draws every eye first.
10. Run a Train Loop Around the Outskirts

A slow train circling the village adds sound, motion and pure nostalgia. Lay the loop around the outskirts of town, passing behind hills and through one cluster of trees, so it appears and disappears like a real railway.
Place a tiny station where the track passes the main street, and test the full loop before the snow and figures go down. Tip: keep the track level and the cords clear of the wheels, and choose a speed that whispers rather than races.
11. Dress Shop Windows With Tiny Wreaths
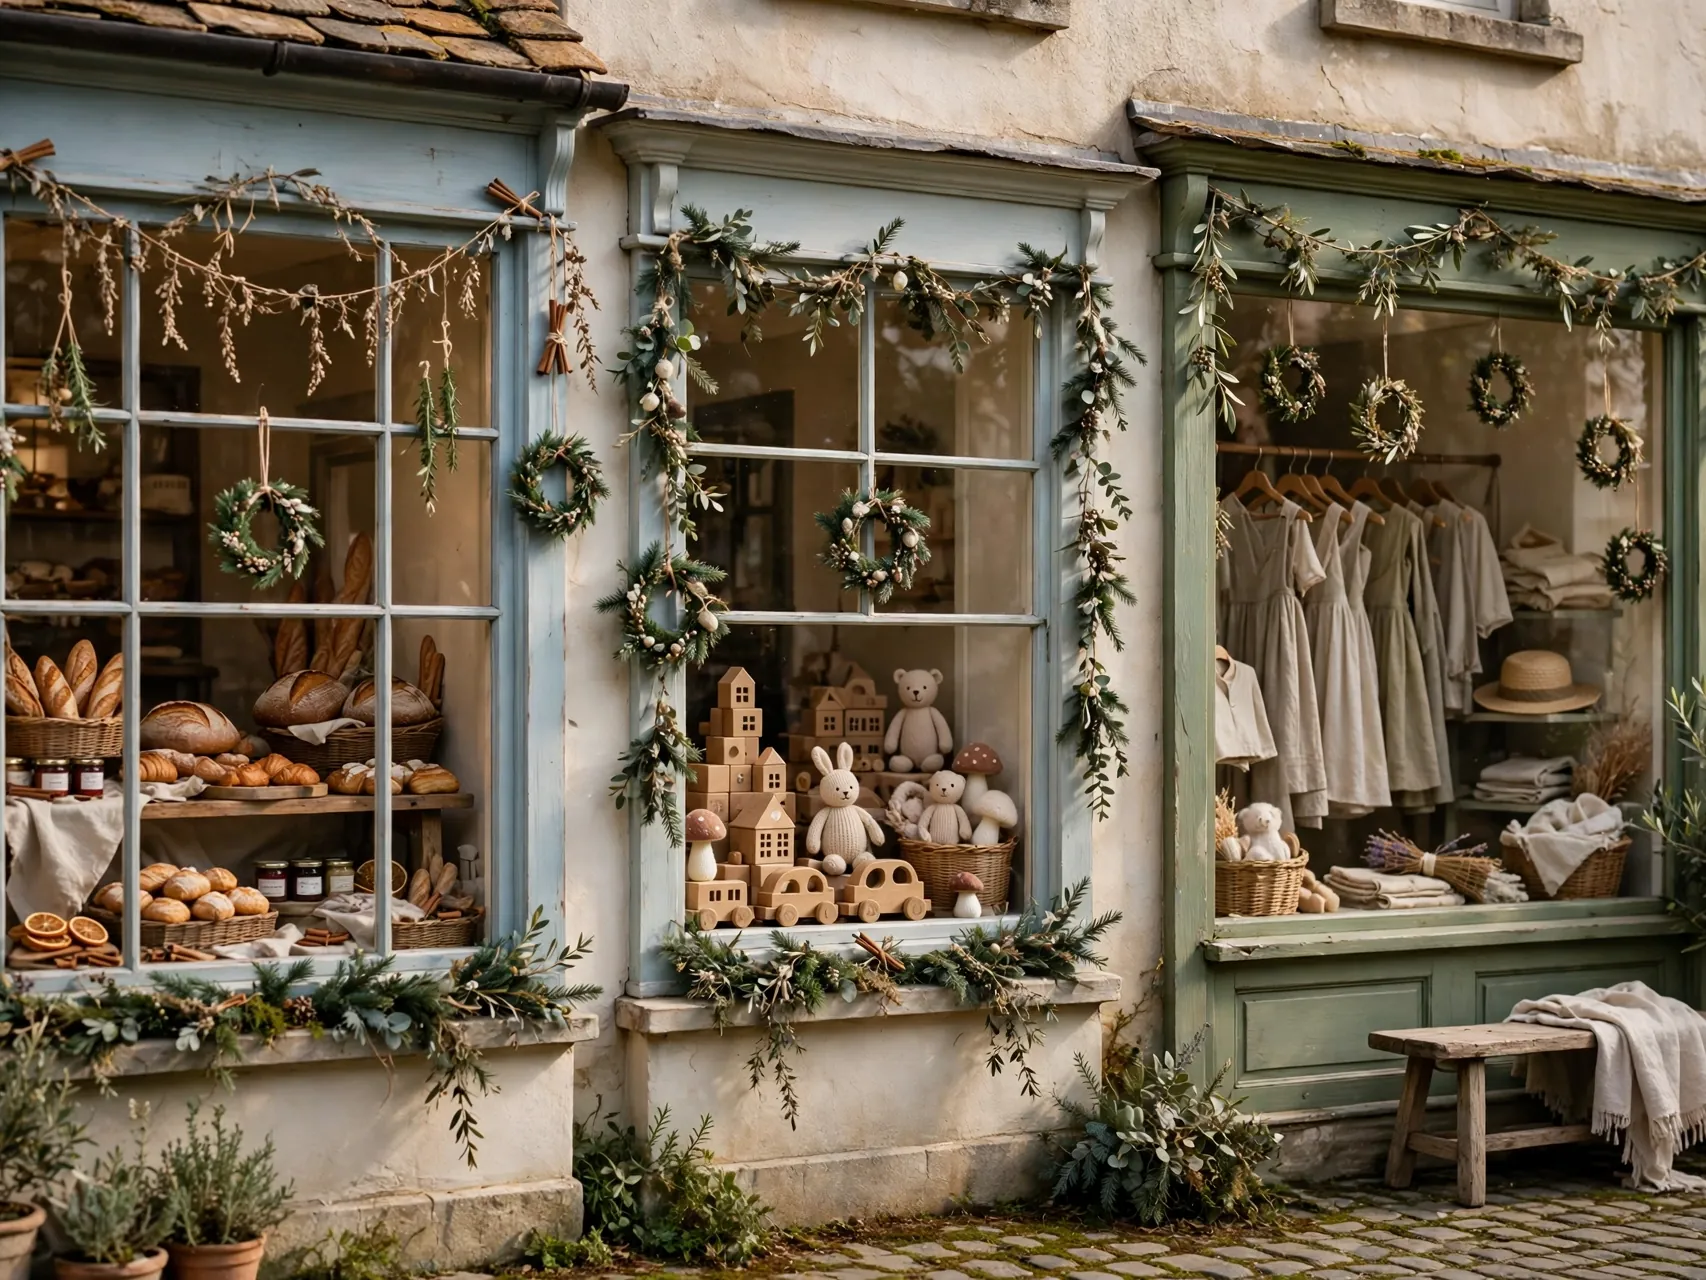
The shops carry the festive detail in a christmas village setup. Add miniature wreaths to doors, tiny garlands under rooflines, and small signs of trade outside: crates by the bakery, a sled by the toy shop, books stacked by the store.
Work on the shops at a table before placing them, since the pieces are small and fiddly. Tip: repeat just one accent color across all the shopfronts, and scattered buildings from different sets suddenly look like one coordinated town.
12. Build a Mantel Village in One Long Line

A mantel suits a village arranged like a street parade. Line buildings along the back edge, weave a plain garland and trees between them, and let one taller piece rise near the middle as the skyline peak.
Keep the front edge of the mantel completely clear so nothing can be knocked off, and secure lightweight pieces with a dot of museum putty if your household is lively. Tip: battery powered buildings shine here, because mantel outlets are rare and dangling cords spoil the whole picture.
13. Fill a Bookcase With Neighborhood Shelves

A bookcase gives you ready made neighborhoods, one per shelf. Style each shelf as its own little district: shops on one, homes on another, the church and trees on a third, with books turned spine in as quiet backdrops.
Small christmas village display ideas like this suit collectors short on table space. Tip: light each shelf with its own battery pieces or a short LED string, and keep cords inside the case where they stay invisible and safely out of the way.
14. Set a Tiny Village Under a Glass Cloche

One beloved house under a glass cloche becomes a snow globe moment on a side table or nightstand. Add a spoonful of fake snow, one small tree and a battery tea light, and the whole thing glows like a captured memory.
This is the sweetest starter village for small homes and dorm rooms. Tip: keep the cloche display up high if toddlers or curious pets visit often, since glass and small pieces are a poor mix at grabbing height.
15. Arrange the Village Under the Christmas Tree
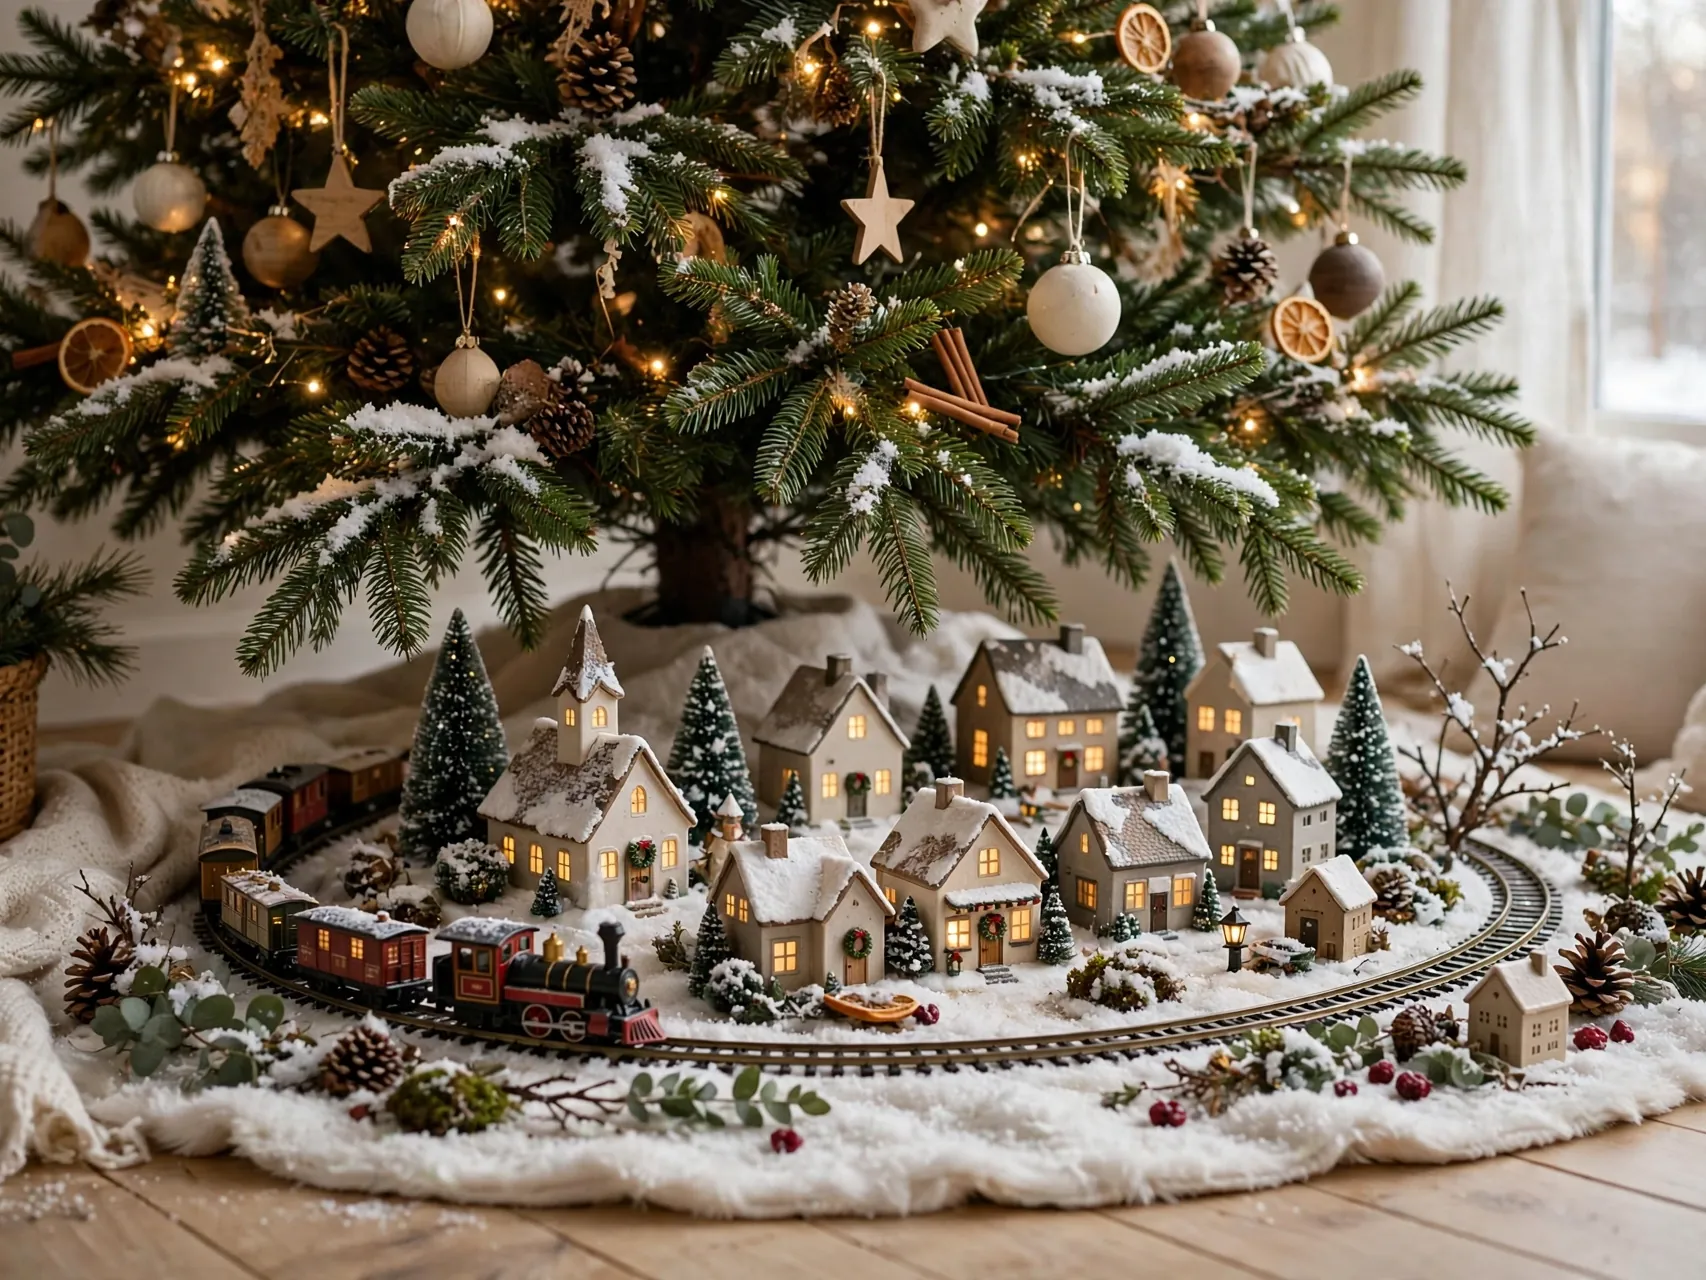
The classic under tree village still charms like nothing else. Lay a generous snow blanket or white tree skirt as your ground, build low hills at the back near the trunk, and keep the front streets low so gifts can slide in later.
Route cords behind the trunk and out of foot traffic, and lift pieces onto risers if pets treat the tree skirt as a napping spot. Tip: leave a clear gift lane in front, or your village main street will be demolished by the first present delivery.
16. Turn a Tiered Tray Into a Mini Village

A tiered tray on a kitchen counter holds a whole pocket sized village. Put the largest tiny house on the bottom tier, cottages and shops in the middle, and finish with the smallest pieces, trees and a star on top.
Battery tea lights tucked behind pieces give each level its own glow. Tip: this is one of the best small christmas village display ideas for apartments, because it delivers the full story in the footprint of a fruit bowl.
17. Add Paths, Fences and Tiny Lamp Posts
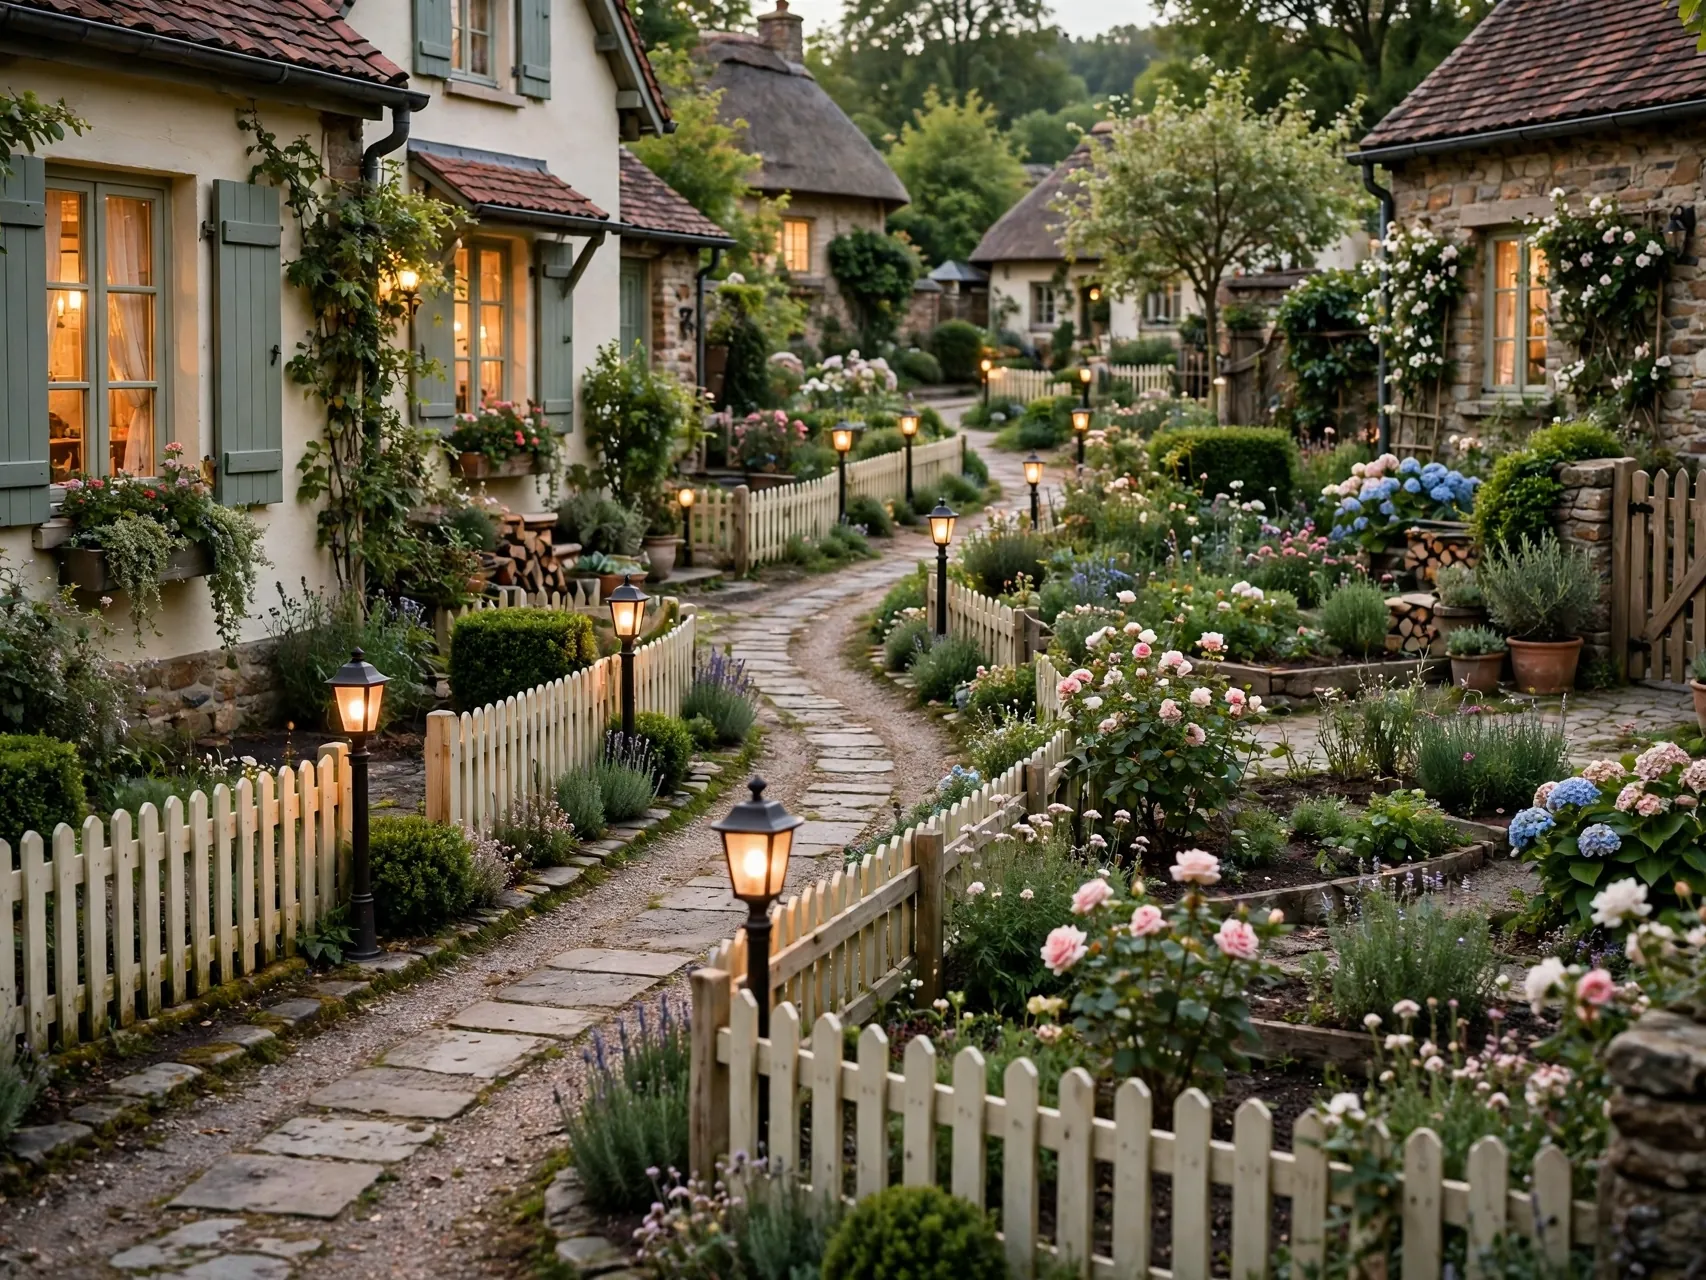
Details connect the scenes. Lay narrow felt or gravel look paths from the road to front doors, run short fence lengths along yards, and stand lamp posts where paths meet, just as a real town would light its corners.
Keep accessories in scale with your buildings, since one oversized fence can shrink a whole street. Tip: lamp posts do double duty at night, marking the route your eye should travel through the village story from square to church to pond.
18. Give Figures Jobs and Little Moments
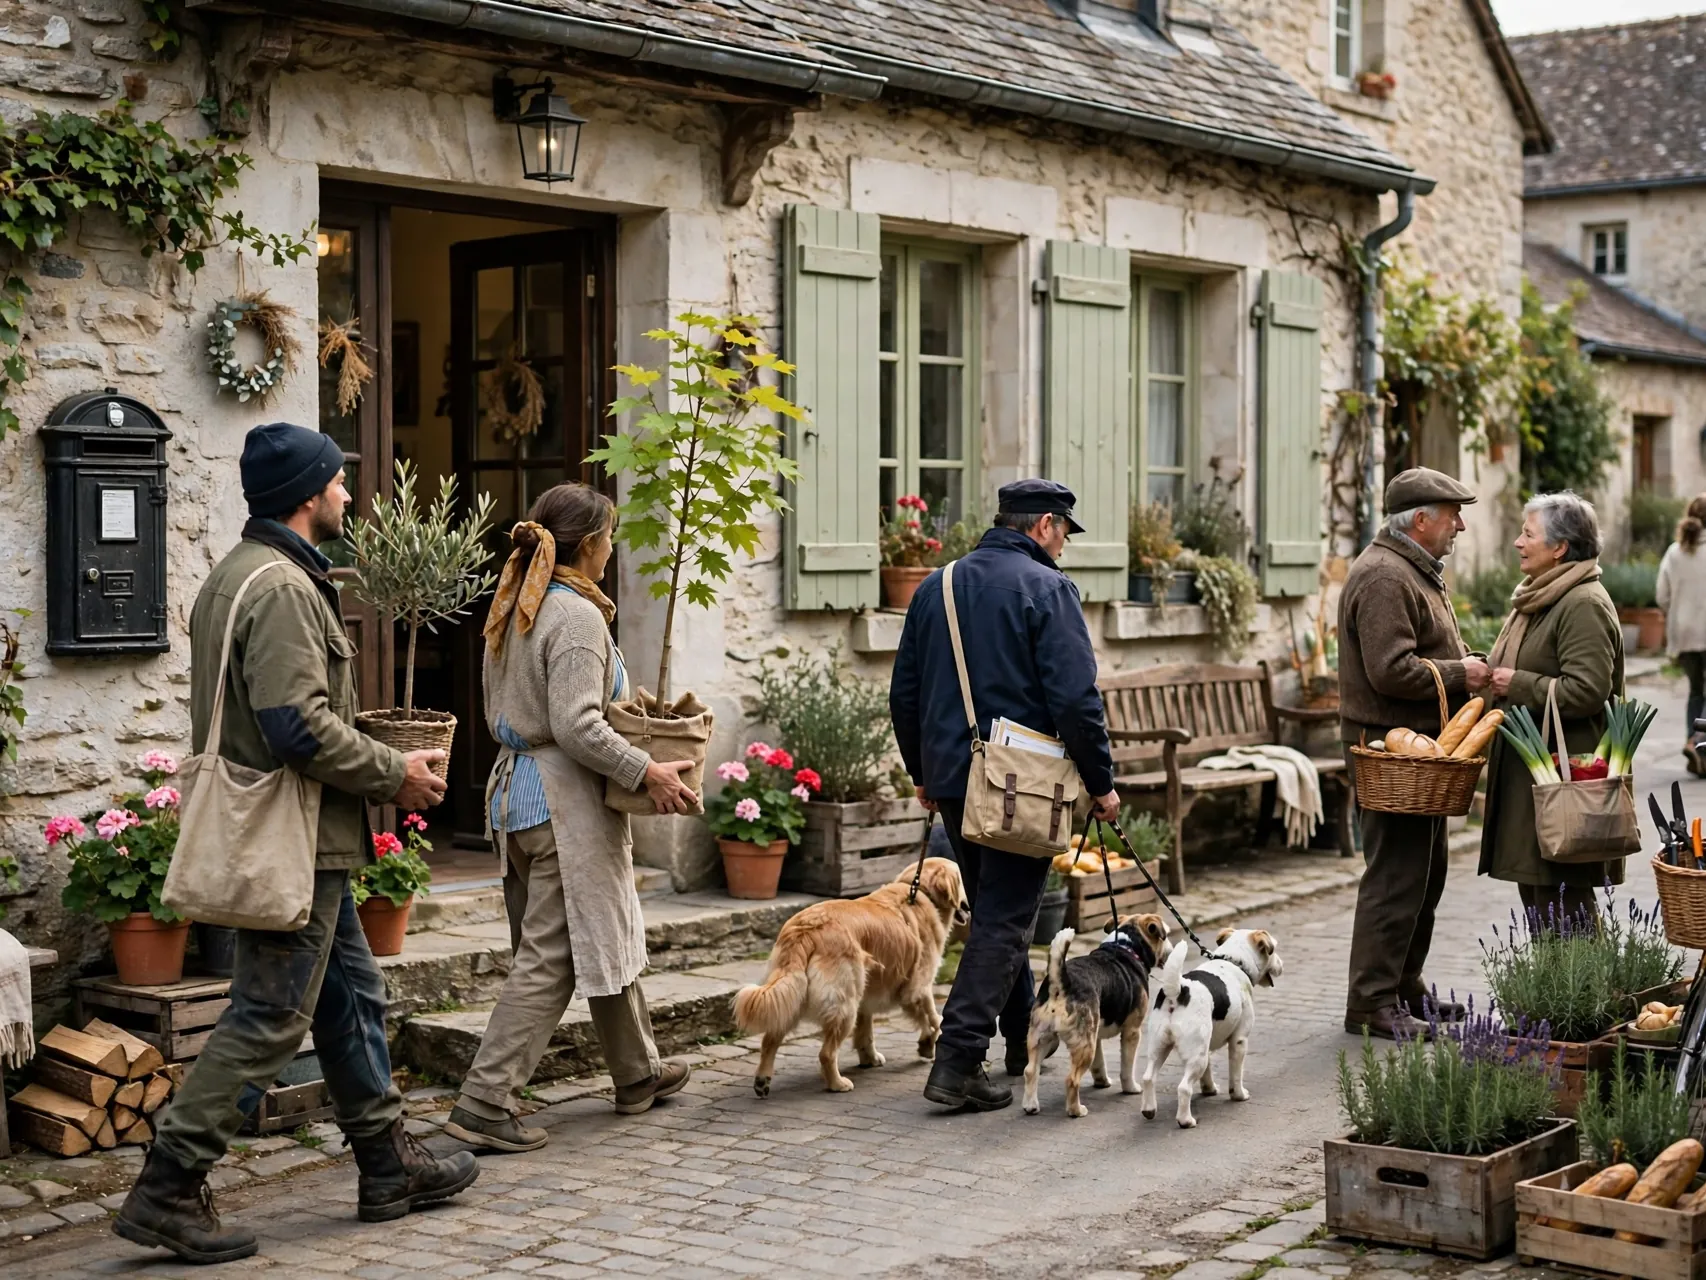
Figures turn scenery into a story. Give each one a small job or moment: carrying a tree home, posting a letter, walking a dog, choosing a wreath at the market stall. Groups of two or three, mid conversation, always read better than lone figures in rows.
Face figures toward their task, not toward the viewer. Tip: resist using every figure you own, because a town with breathing room looks lived in, while a crowd looks like storage.
19. Layer a Painted Backdrop Behind Tall Villages
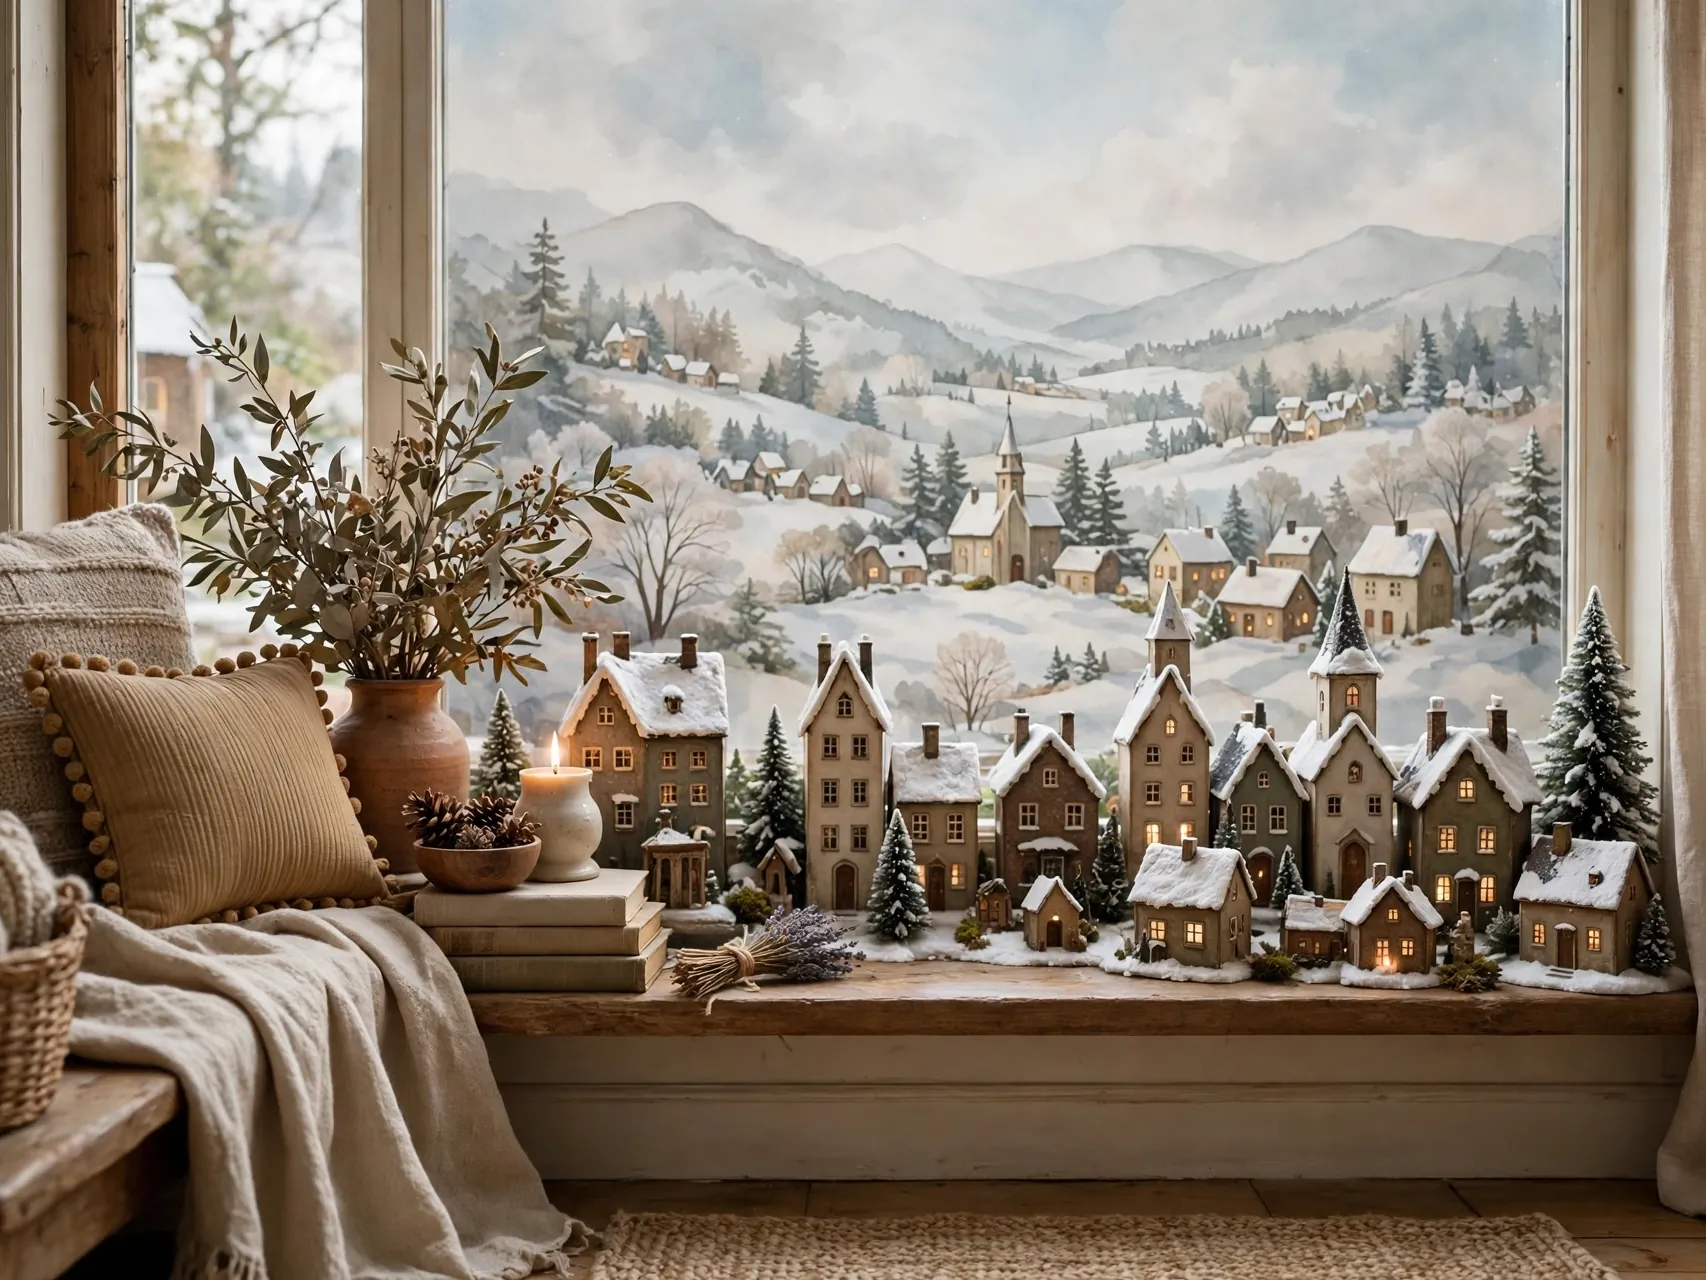
A simple backdrop doubles the depth of a deep display. Prop a canvas, a large framed winter print or even dark blue paper sprinkled with tiny white dots behind the back row, and your hills suddenly have a horizon and a night sky.
Keep the backdrop plain and matte so it never competes with the lit windows in front of it. Tip: a backdrop also politely hides the wall outlet and cord cluster that every real village has lurking behind its prettiest street.
20. Style a Vintage Village With Thrifted Pieces
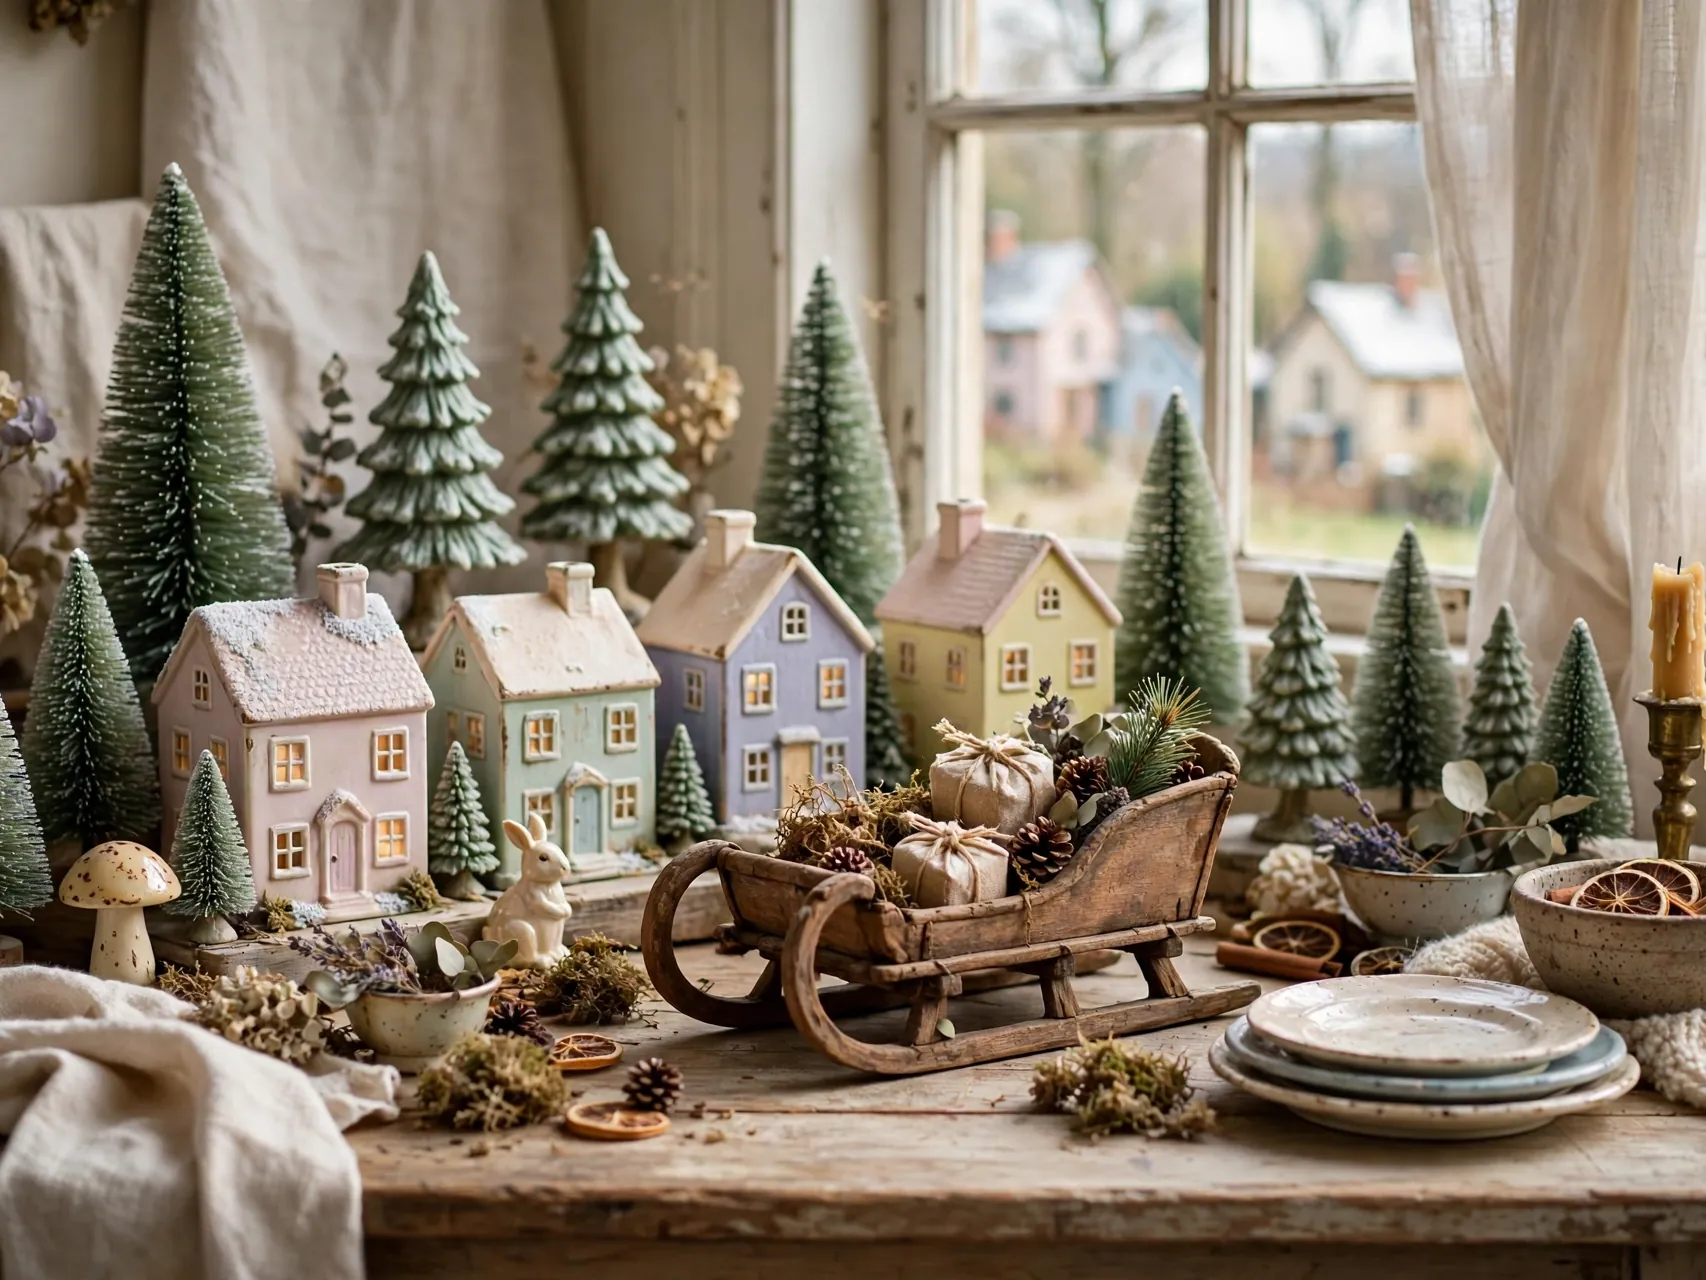
Mixed, thrifted and inherited pieces make the most personal villages of all. Lean into their differences with a unifying snow base, one repeated tree style and warm lighting throughout, and the mix reads as collected history instead of mismatch.
Group older ceramic trees and sleighs in one district as the old town quarter. Tip: check secondhand lit pieces carefully before use, replace damaged cords rather than trusting them, and favor LED replacements so vintage treasures stay cool and safe.
21. Build a North Pole Corner for the Grandkids

Every story needs a playful chapter. Dedicate one end of the display, or one whole shelf, to the North Pole: the workshop, cheerful elves, a reindeer barn and the brightest colors in your collection, slightly apart from the quiet town.
Younger visitors will find their favorite scene instantly, and your classic buildings keep their calm mood. Tip: place this corner at child eye level but on a stable surface out of reach of toddlers, so little fans can look closely without handling fragile pieces.
22. Finish With a Nightly Lighting Ritual
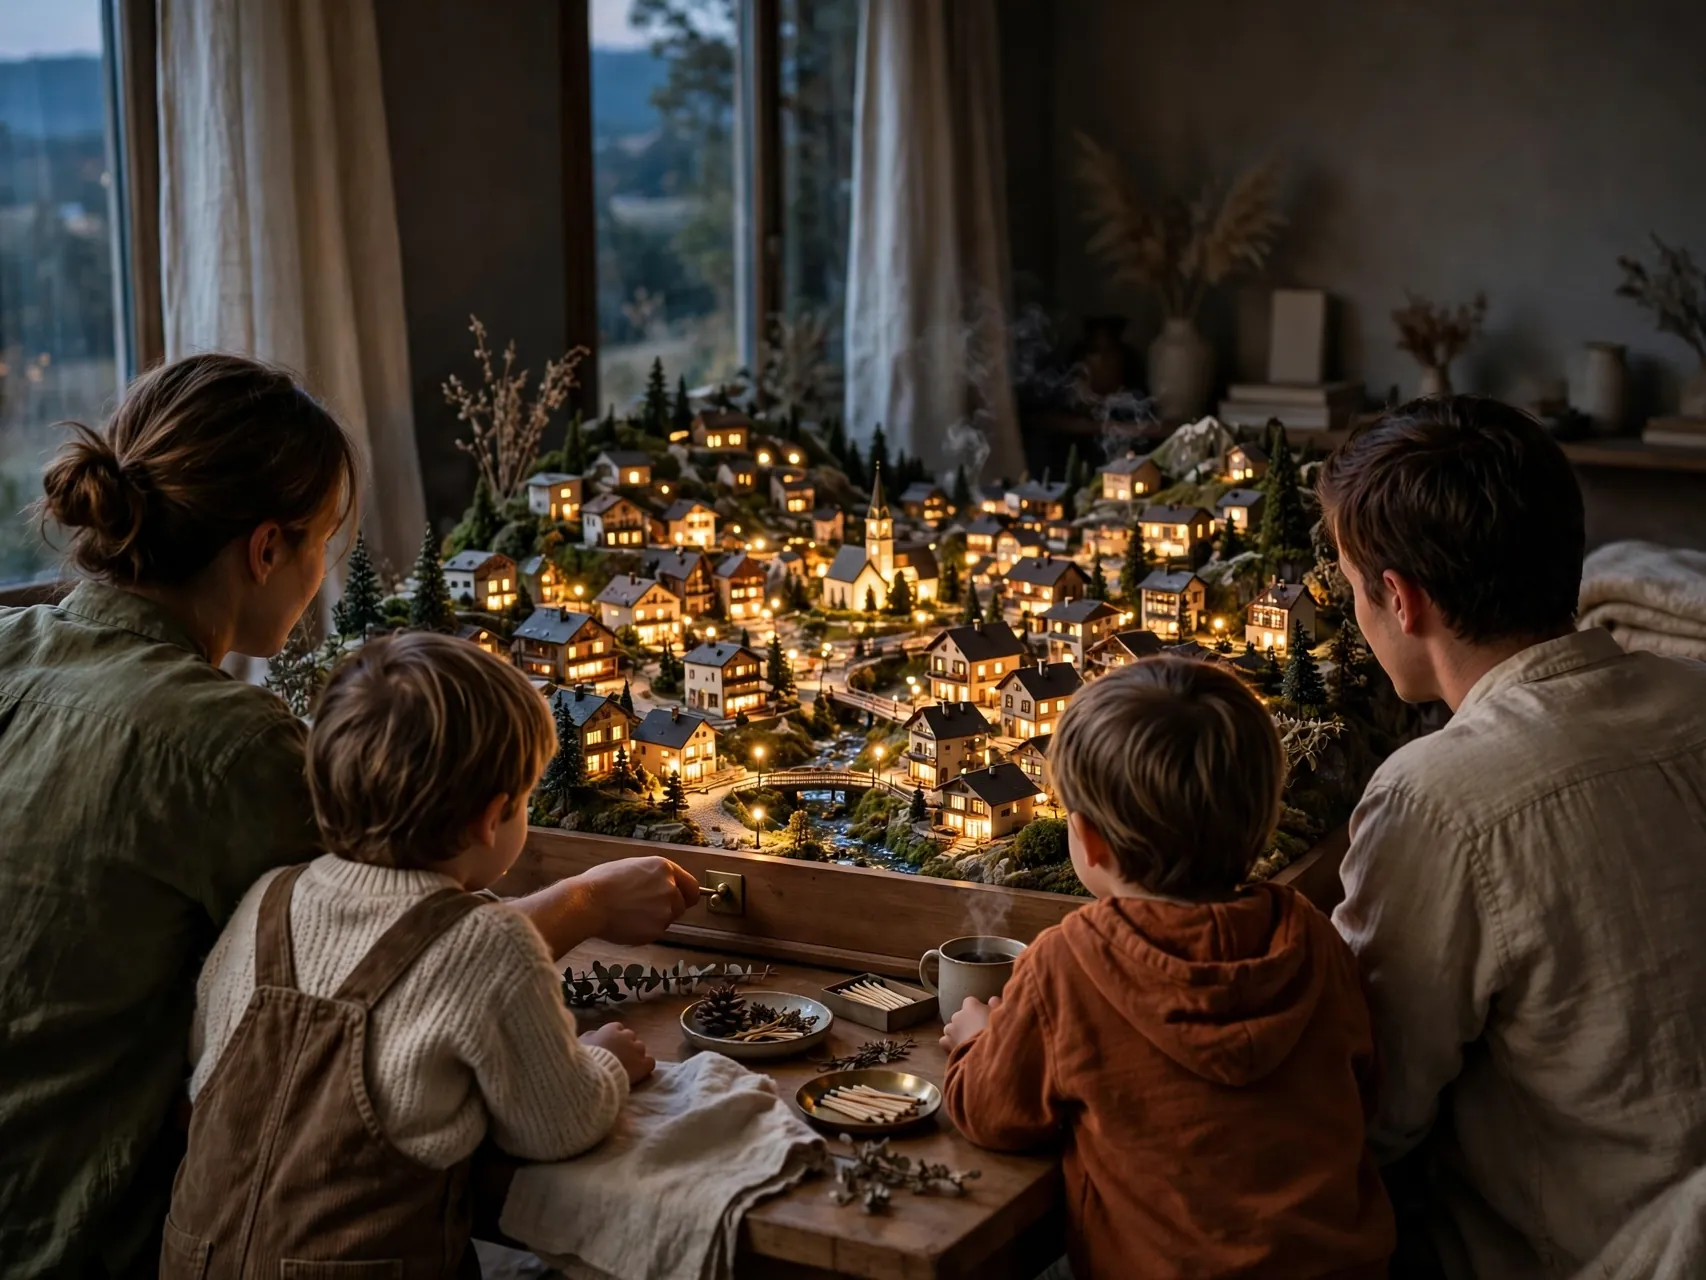
The last idea is a habit, not an object. Put the village on a timer or one easy switch, and make lighting it part of the evening, the moment the lamps go low and the town comes on with its windows, pond reflections and square tree.
Walk the display once a week, straightening figures, checking cords and replacing tired batteries, so it stays storybook tidy. Tip: photograph your finished village each year before packing away, because that photo is the fastest setup guide you will ever own.
FAQ
How do I display a christmas village in a small space?
Think vertical and tiny. Use one bookcase shelf, a tiered tray, a mantel line or a single cloche scene, and choose your five favorite buildings instead of twenty. Levels, battery lights and a simple snow base give a small christmas village display the same storybook feeling in a fraction of the footprint.
What should I put under my christmas village?
A snow blanket, white felt or a plain white cloth makes the best base, draped over hidden risers or platforms for hills. The base protects your furniture, hides cords and riser edges, and makes every building look settled into the scene. Keep fabric away from heat sources and use LED or battery lights above it.
How do I hide the cords in a village display?
Plan wiring before scenery. Run cords behind risers and buildings, gather them along the back edge, and cover runs with the snow blanket, trees or fences. Keep cords tidy and out of walkways, never overload an outlet, and use battery pieces in spots far from power so no long cord has to cross the scene.
Where is the safest place to set up a village with kids and pets?
Choose a stable surface out of main traffic, ideally raised and out of reach of toddlers and pets, like a secured bookcase, a high sideboard or a glass front cabinet. Secure light pieces so they cannot topple, keep small figures away from little hands, and route every cord where it cannot be pulled or chewed.
How many buildings do I need to start a christmas village?
Three to five buildings is a perfect start: one anchor like a church or town hall, two shops and a home or two, plus trees, figures and light. A small, well told story always looks better than a large, crowded one, and you can add one meaningful piece each year.
Key Takeaways

- Story first: One clear storyline, a main street, a square and a quiet church end, turns scattered houses into a town worth leaning into.
- Levels make the magic: Hidden risers, platforms and a draped snow base give flat collections hills, depth and a real sense of place.
- Light it warm and safe: Use LED and battery pieces where you can, keep cords tidy and out of walkways, and never overload an outlet.
- Details do the storytelling: Paths, lamp posts, tiny wreaths and figures with jobs connect every scene into one cozy plot.
- Small spaces count: A tray, shelf, mantel or cloche holds a complete village story in the footprint of everyday furniture.
- Keep it steady: Stable surfaces, secured pieces and displays out of reach of toddlers and pets keep the magic safe all season.
Built the little town your street of houses has been waiting to become? Save this guide to Pinterest and pin the idea you will try first.