22 Fridge Organization Ideas for a Clean and Healthy Start
Introduction
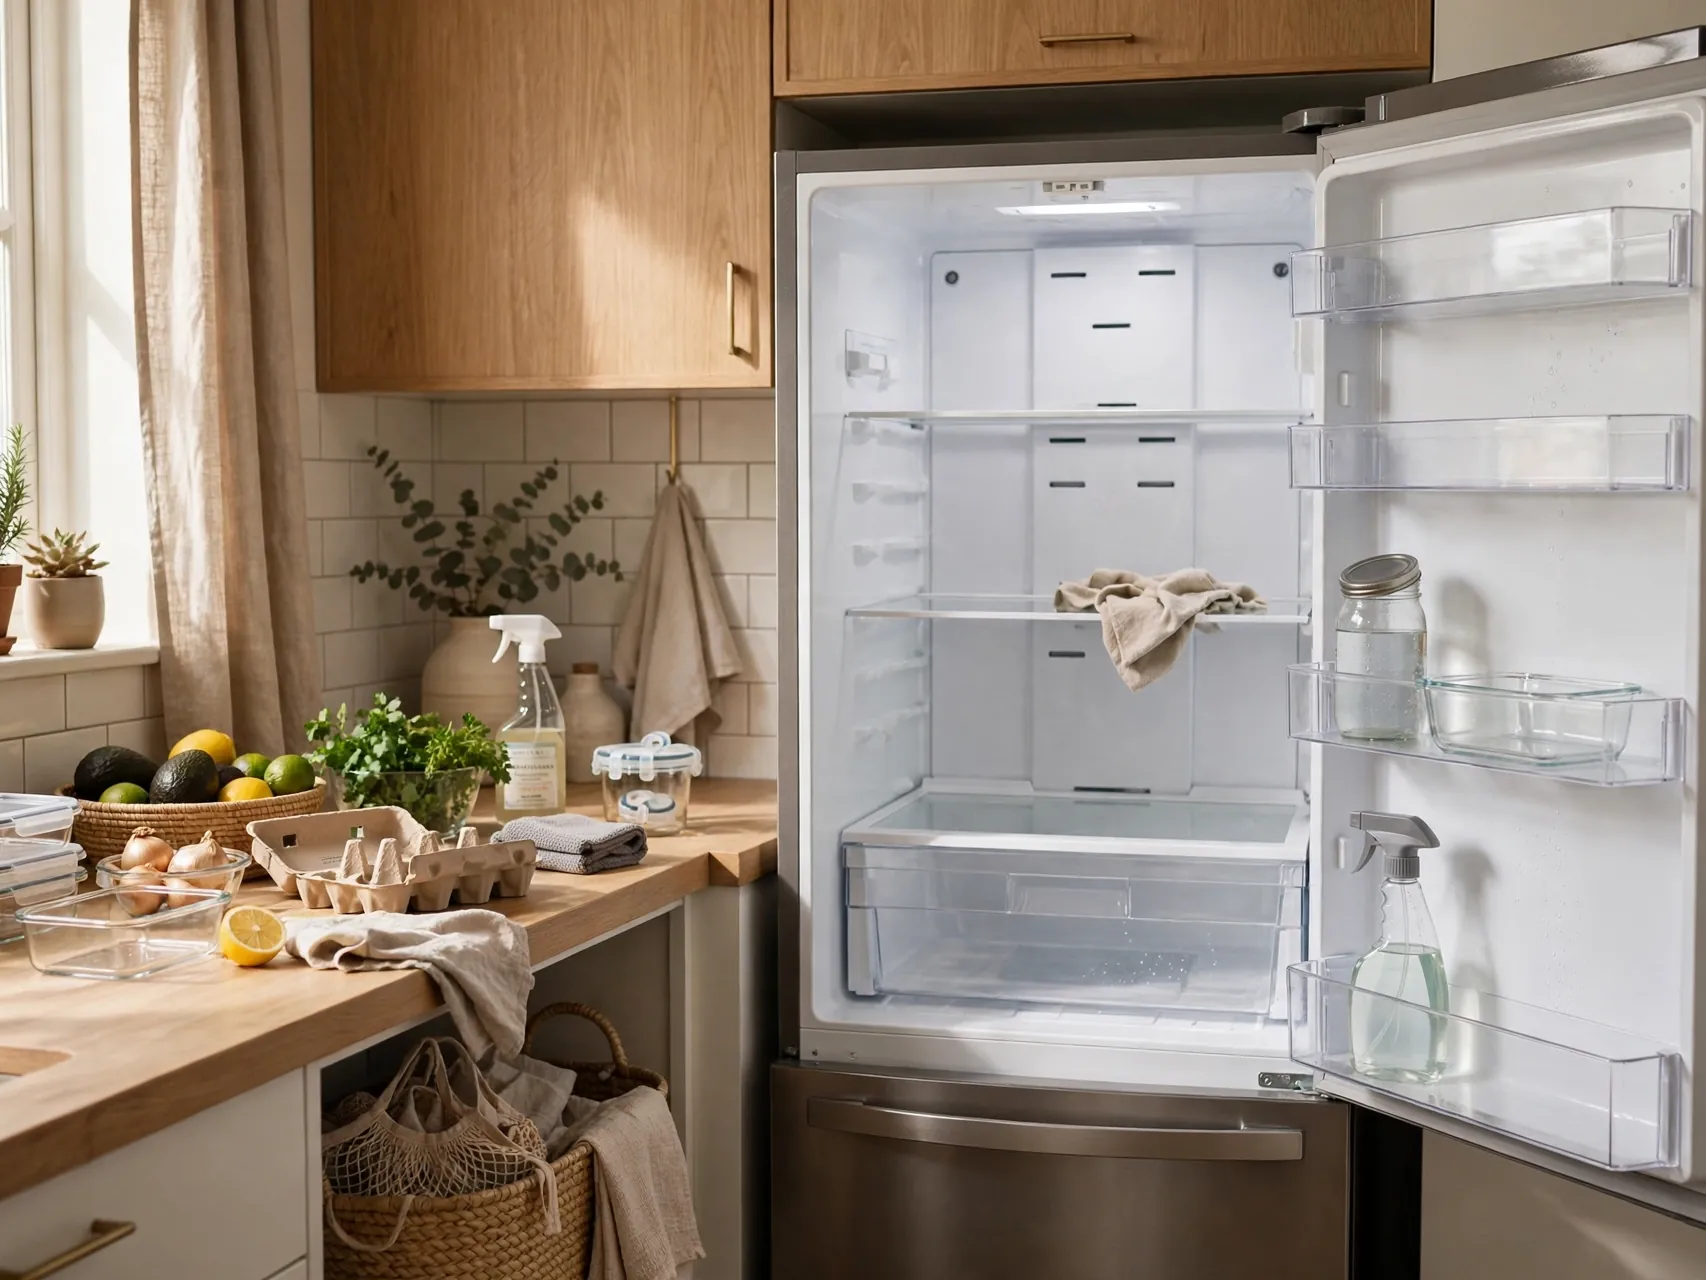
After the holidays, most fridges hold a mystery container, three open jars of the same sauce, and good intentions buried behind all of it. These fridge organization ideas give you a clean, healthy January reset that is built on food safety first and pretty bins second, so food stays fresh, visible, and actually gets eaten.
The system is simple: clean out, check the temperature, assign each shelf a zone by how cold it runs and how the food will be used, then keep older food at the front where it cannot be forgotten. Clear containers and honest labels do the rest.
Two rules from USDA and FoodSafety.gov guidance run through every idea below. Keep the fridge at 40 degrees F or below, and use most cooked leftovers within 3 to 4 days. Organization that ignores those two rules is just tidy risk, so we will build them into the layout itself.
1. Empty Everything, Clean, and Start From Zero
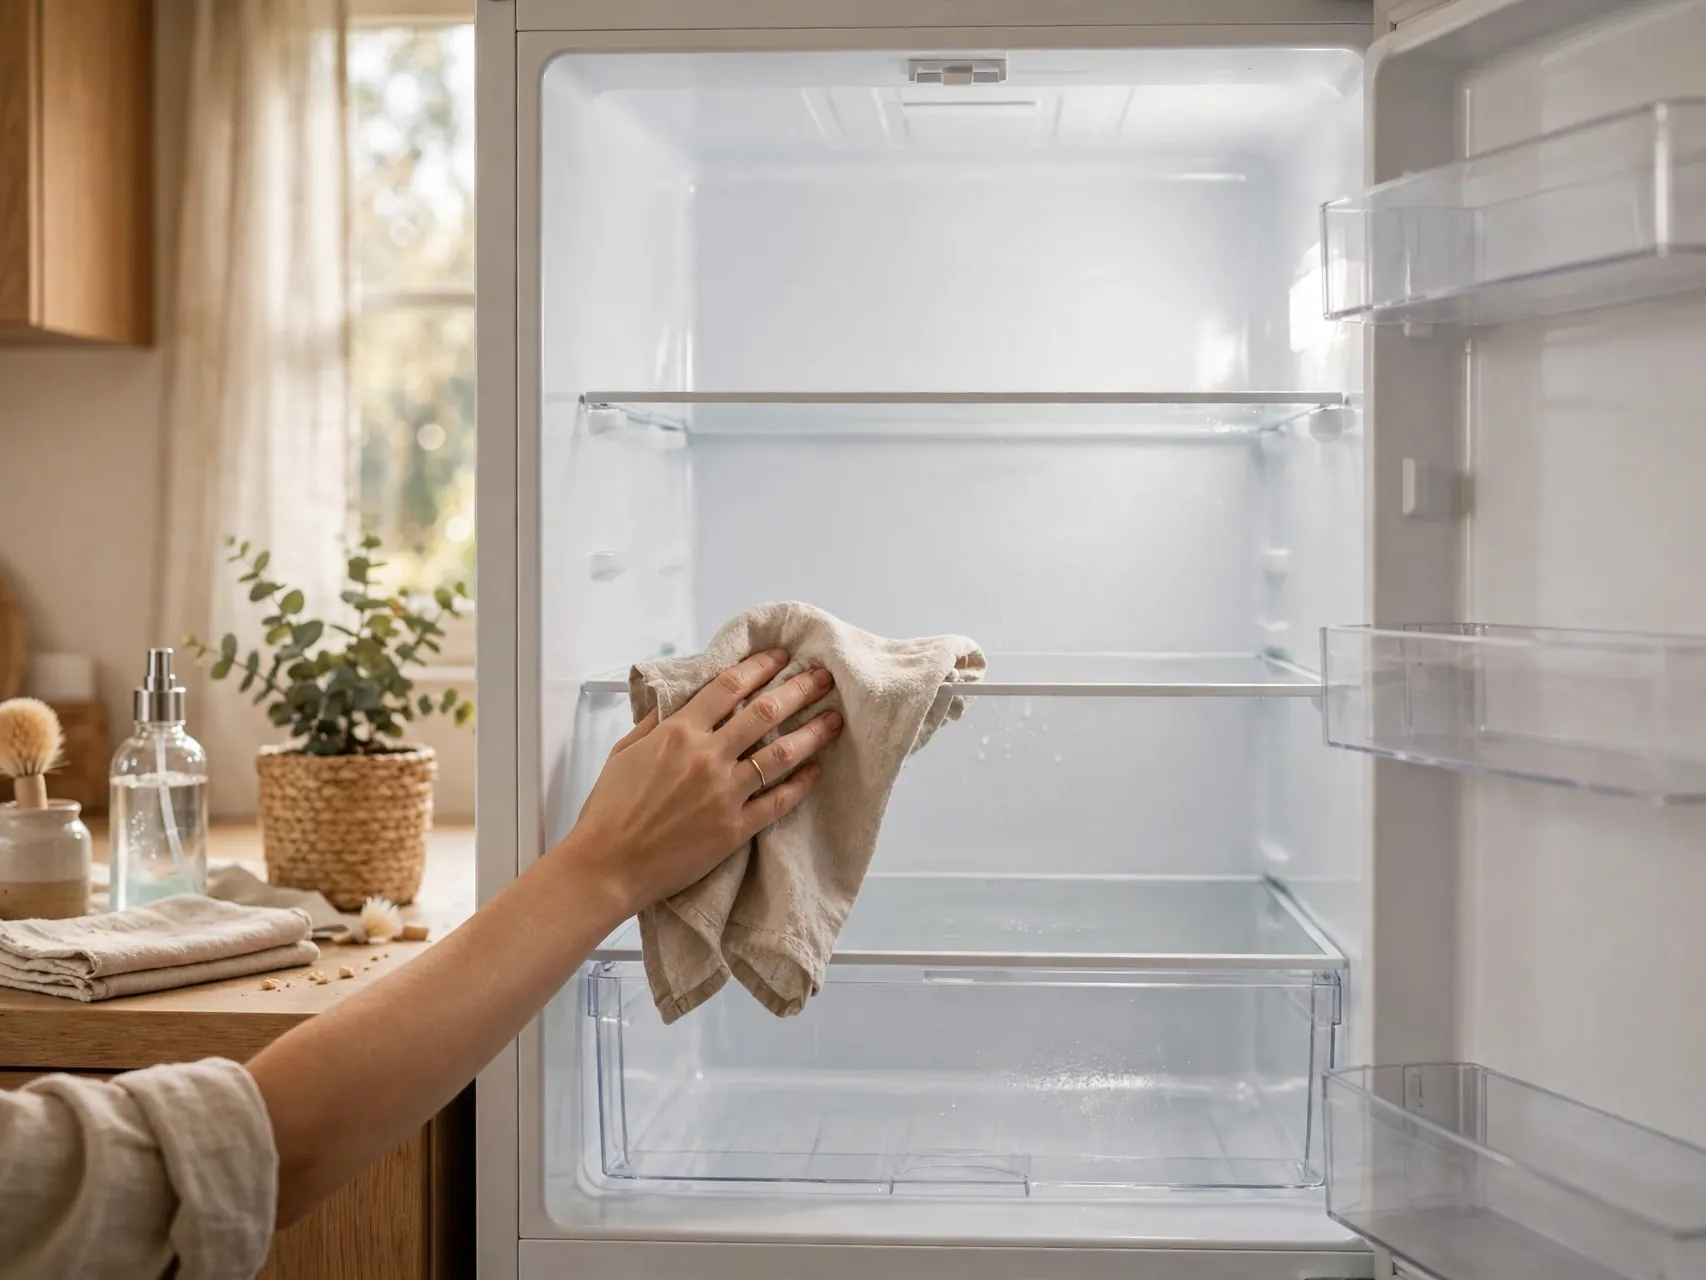
Take everything out, shelf by shelf, and sort it on the counter into keep, toss, and use soon piles. Check dates and condition honestly, and discard anything expired, slimy, moldy, or unidentifiable. When in doubt, throw it out is the long standing food safety rule, and January is the easiest time to follow it.
Wash shelves, drawers, and door bins with warm soapy water, rinse, and dry them fully before they go back. Work reasonably quickly so perishable food is not sitting out for long, and get everything back into the cold within 2 hours.
2. Check the Temperature and Keep It at 40 Degrees F or Below
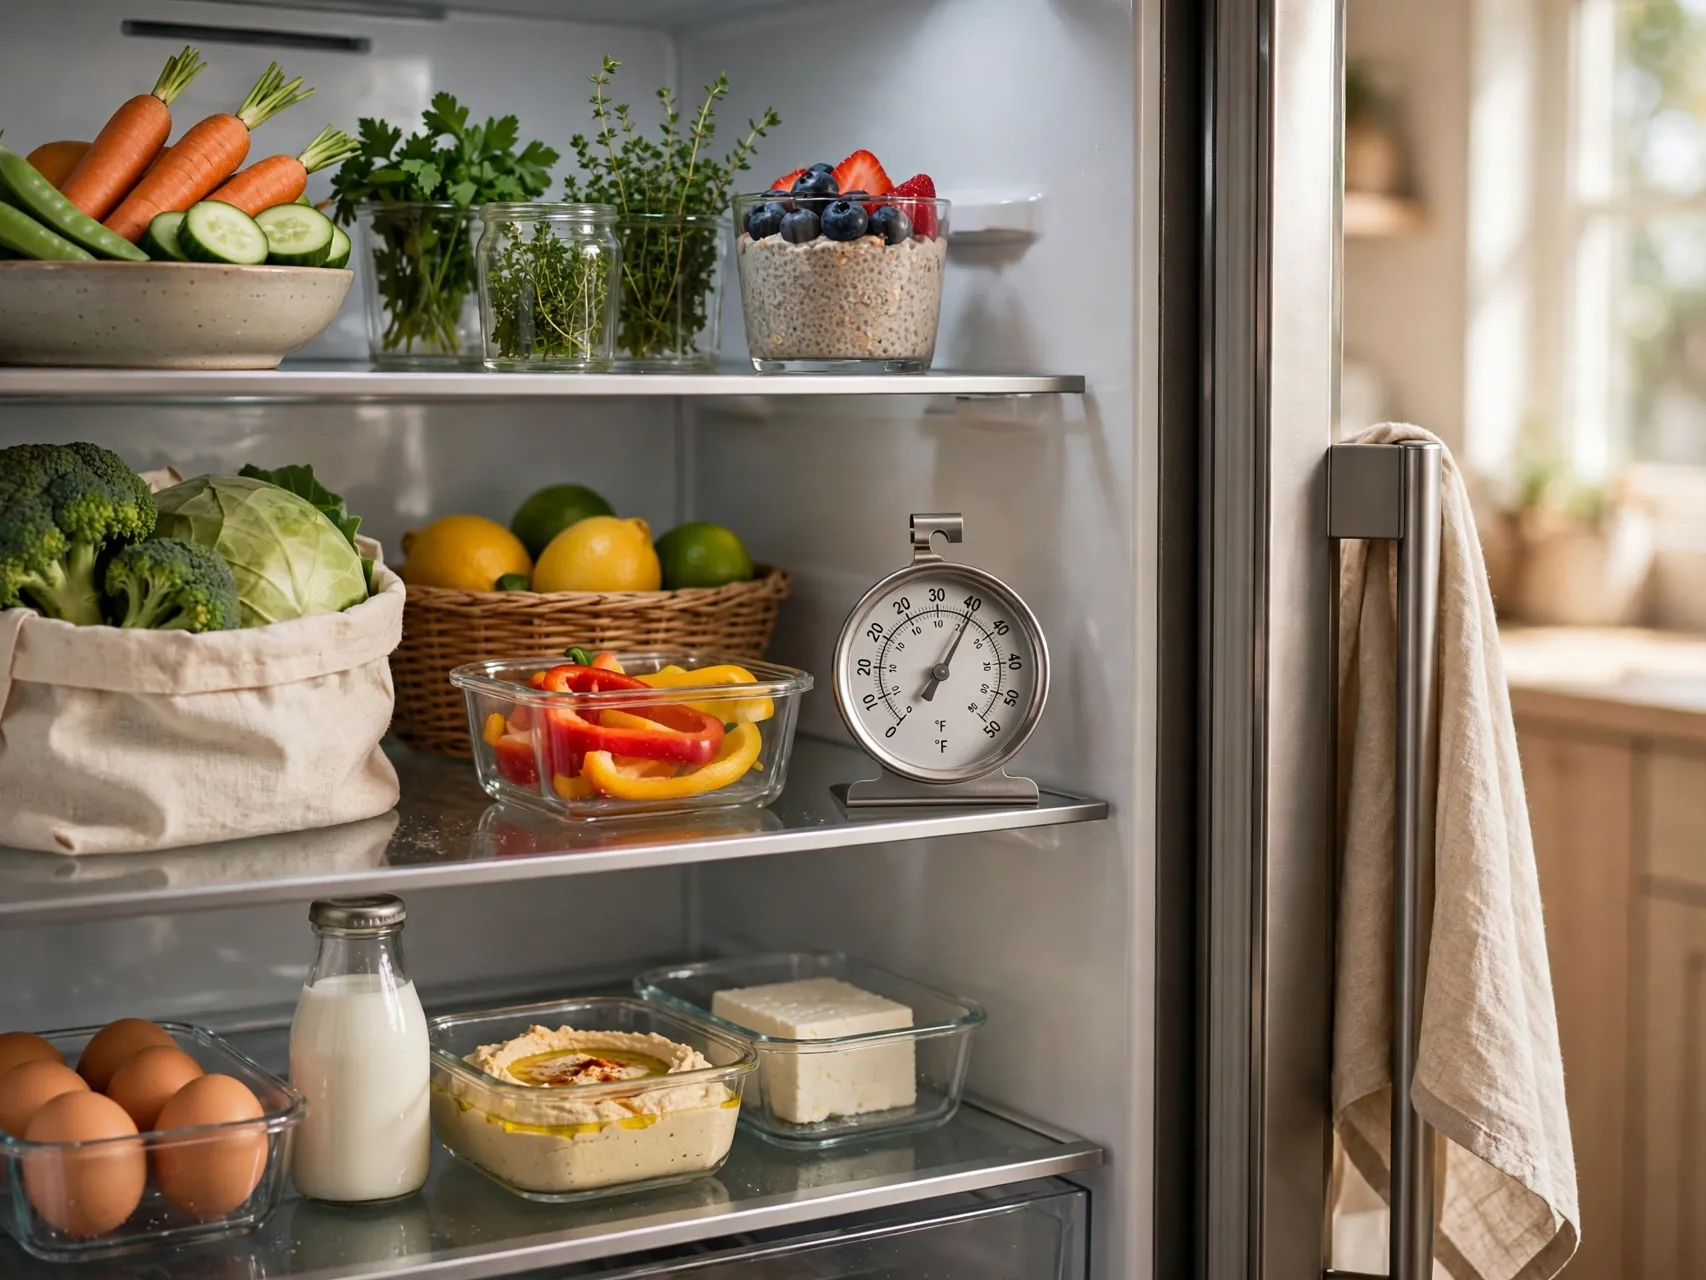
Before food goes back, check the temperature with an appliance thermometer rather than trusting the dial alone. FoodSafety.gov and USDA guidance is clear: the refrigerator should be at 40 degrees F or below, and the freezer at 0 degrees F or below, because cold slows the growth of bacteria that cause illness.
Place the thermometer in the middle of the fridge, check it again after the food is back and the door has been closed for a while, and adjust the setting if needed. Recheck after big grocery loads and in hot weather, when fridges work harder.
3. Plan Your Zones Before You Put Anything Back

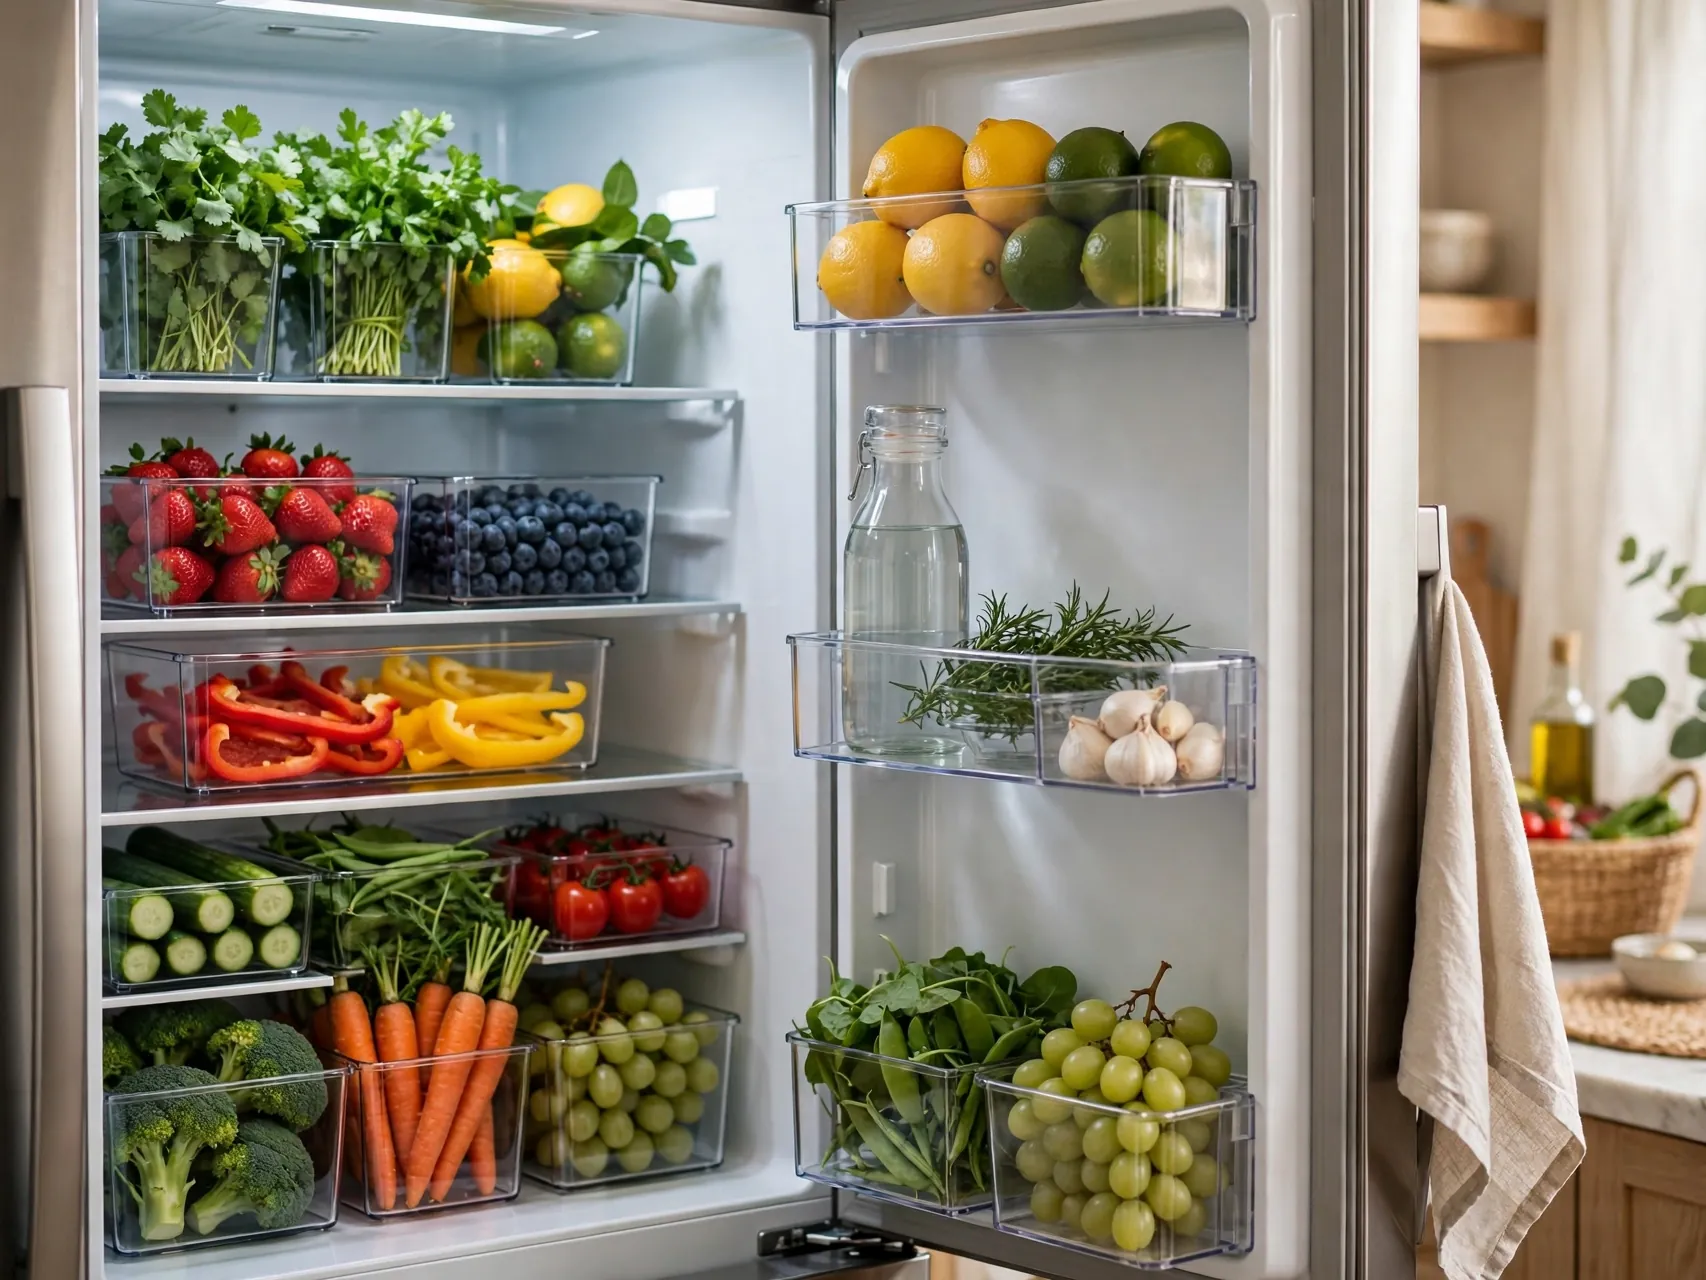
A fridge stays organized when every category has an assigned home. Sketch a simple zone plan first: leftovers and ready to eat foods up top, dairy and eggs where the temperature is steadiest, raw meat lowest, produce in the crisper drawers, and condiments in the door.
Zones work because they match how a fridge actually runs. The door is the warmest spot, lower and back areas run colder, and ready to eat food should always sit above raw food. Once zones are set, putting groceries away becomes automatic for everyone in the house, not just the person who organized it.
4. Put Leftovers and Ready to Eat Foods on the Top Shelf
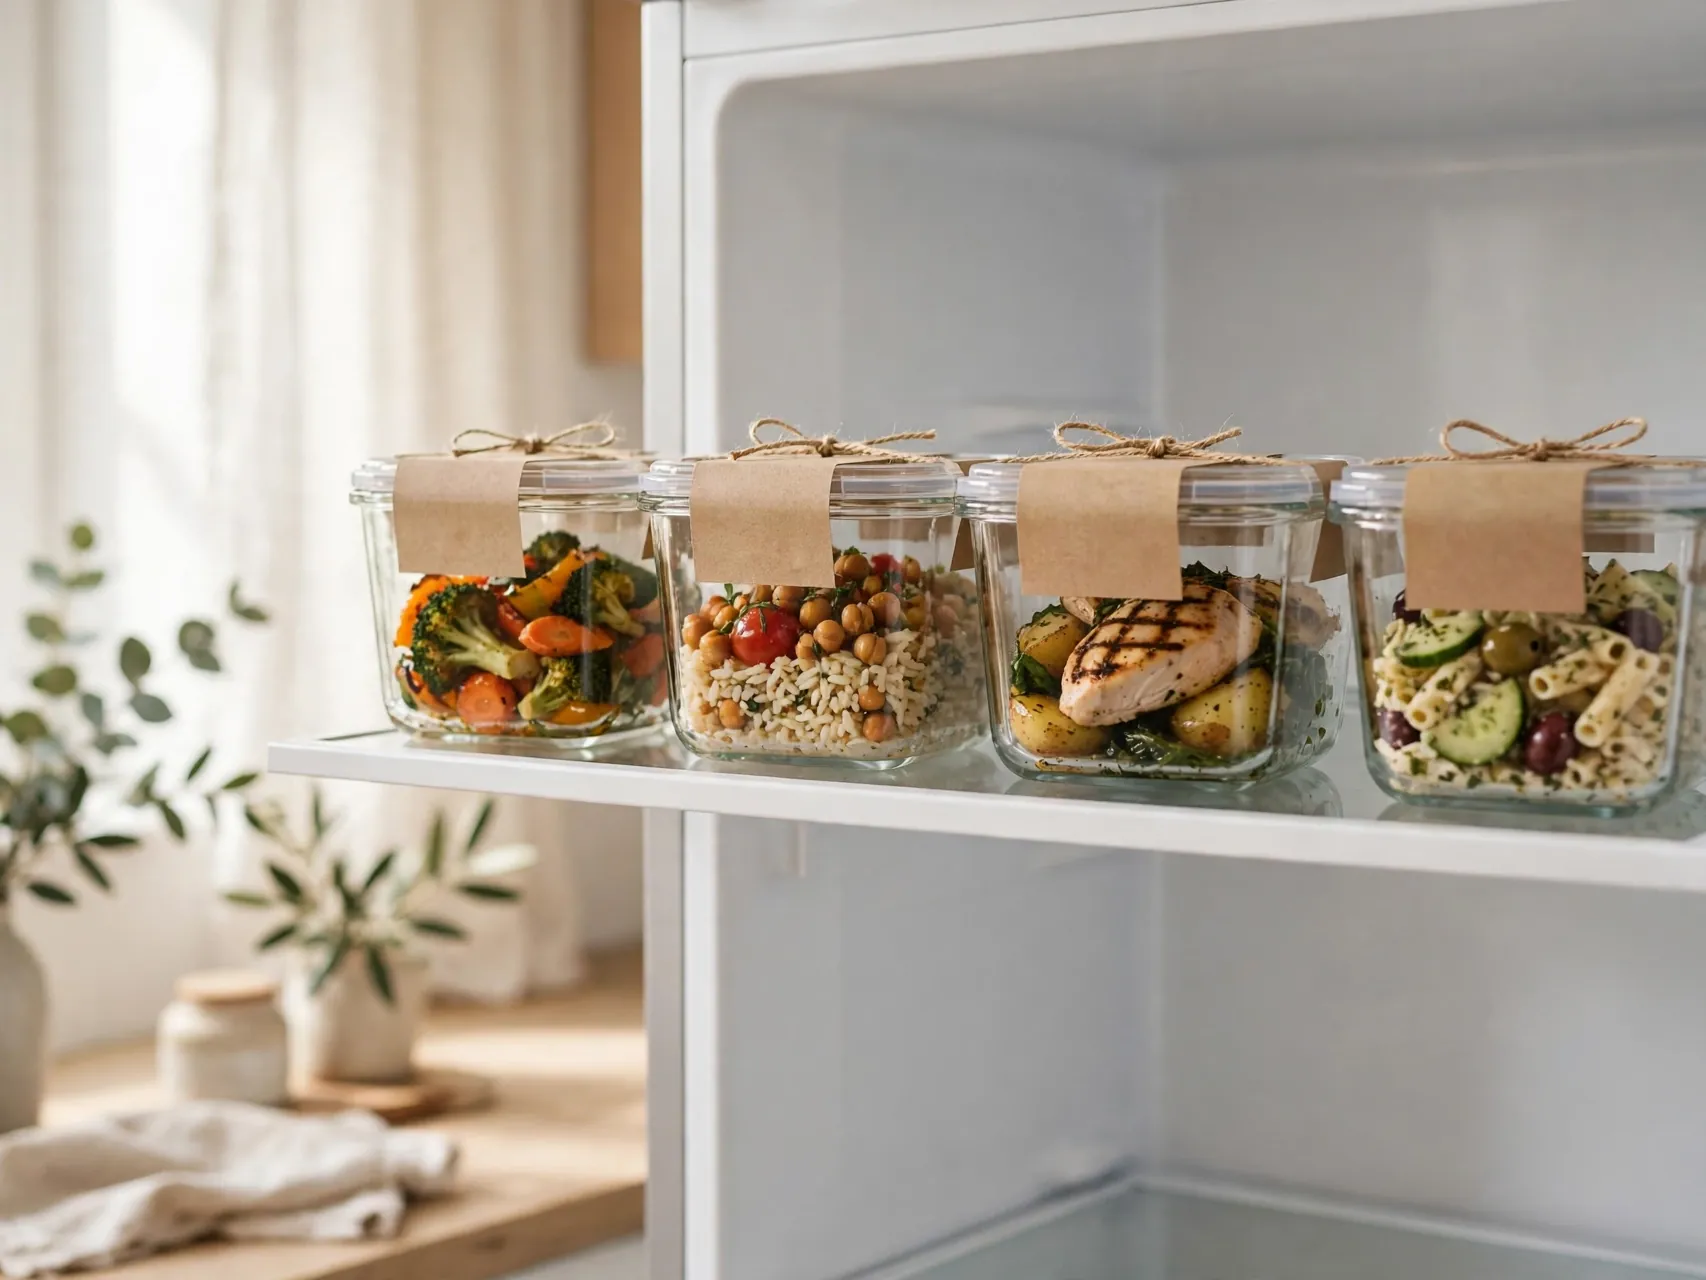
Give the top shelf to food that is ready to eat: leftovers, washed fruit, yogurt, deli items, and drinks you grab often. These foods need no cooking, so they must sit safely above anything raw, where no juices can ever drip onto them.
Use shallow, clear, sealed containers for leftovers so they cool quickly and you can see the contents at a glance. Keep this shelf uncluttered and front facing, because food you can see is food you will eat, and leftovers have the shortest clock in the whole fridge.
5. Keep Raw Meat on the Lowest Shelf, in a Tray

Raw meat, poultry, and seafood belong on the lowest shelf, sealed in a container or set on a rimmed tray or plate that catches any drips. This placement is a food safety rule, not a style choice: if a package leaks, nothing below it can be contaminated, because nothing is below it.
Keep raw items away from ready to eat foods at all times, and wash your hands after handling them. Use raw meat promptly or freeze it, and wipe the tray and shelf as soon as the package is used, not at the next big clean out.
6. Store Dairy and Eggs Where the Temperature Stays Steady

Milk, eggs, and other dairy keep best where the temperature is most consistent, which is the middle or back of the fridge, not the door. The door swings through warm kitchen air every time it opens, and that fluctuation shortens the life of exactly the foods most households waste.
Keep eggs in their original carton, which protects them and keeps the date visible, and store milk toward the back of a middle shelf. Cheese does well in a designated drawer or bin in the same steady zone, grouped so small pieces do not get lost behind larger items.
7. Use the Door Only for Condiments and Sturdy Items

The door is the warmest part of the fridge, so fill it with the foods that tolerate that best: condiments, pickles, jams, sauces, and other sturdy, high acid or high sugar items. This is how to organize a fridge so the door works for you instead of quietly spoiling your milk and eggs.
Group door items by use, dressings together, hot sauces together, spreads together, so you can see duplicates before you buy a third bottle. Wipe sticky bottle bases and door shelves during your weekly pass, because the door is where drips live.
8. Separate Fruits and Vegetables in the Crisper Drawers

Use the two crisper drawers as separate homes, one mainly for vegetables and one mainly for fruit. Many fruits give off a gas as they ripen that can make nearby vegetables spoil faster, so keeping the two groups apart genuinely extends the life of both.
If your drawers have humidity controls, leafy greens generally do better with higher humidity and fruits with lower, but the bigger win is simple separation and visibility. Line drawers or use a clean, dry cloth or liner at the base, and remove anything spoiling promptly so it does not affect its neighbors.
9. Use Clear Bins to Group Like With Like

Clear bins turn loose items into pull out categories: one for cheese, one for meal prep ingredients, one for breakfast basics, one for sandwich supplies. When a category lives in a bin, you lift out the whole group, find what you need, and slide it back without rearranging the shelf.
Choose bins that fit your shelf depth with a little room to spare, and keep one category per bin so the system stays obvious. Clear sides matter more than matching colors, because seeing contents at a glance is what stops food being bought twice and forgotten once.
10. Add an Eat First Bin and Practice First In, First Out
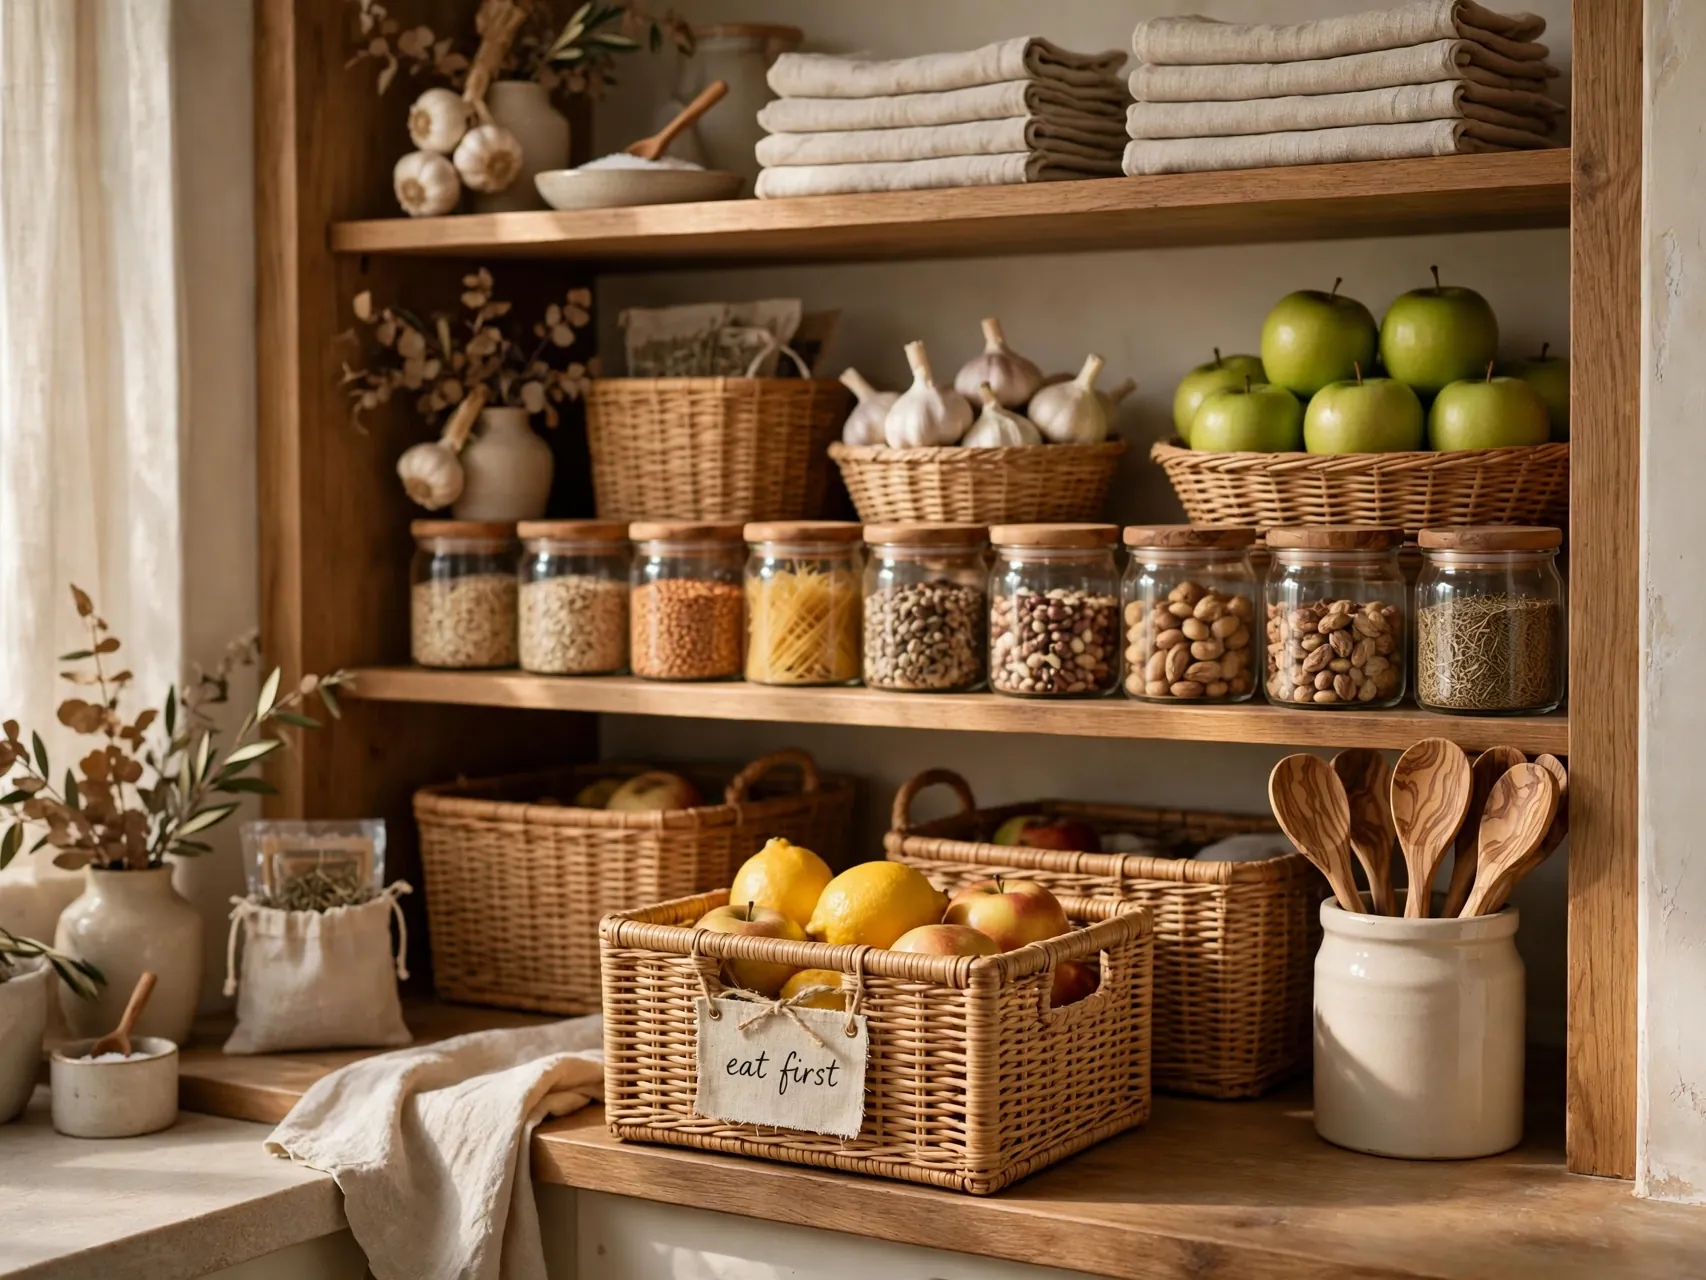
Designate one small, clearly visible bin or front of shelf spot as the eat first zone. Anything nearing its date, opened recently, or leftover from earlier in the week moves here, and meal planning starts from this bin before anywhere else.
This is first in, first out in everyday form: older food goes to the front and gets used first, newer food goes behind it. Rotate stock every time you add groceries, not just on clean out day. The eat first bin is the single best of these fridge storage ideas for cutting waste, because it turns good intentions into a daily glance.
11. Label and Date Every Leftover Container
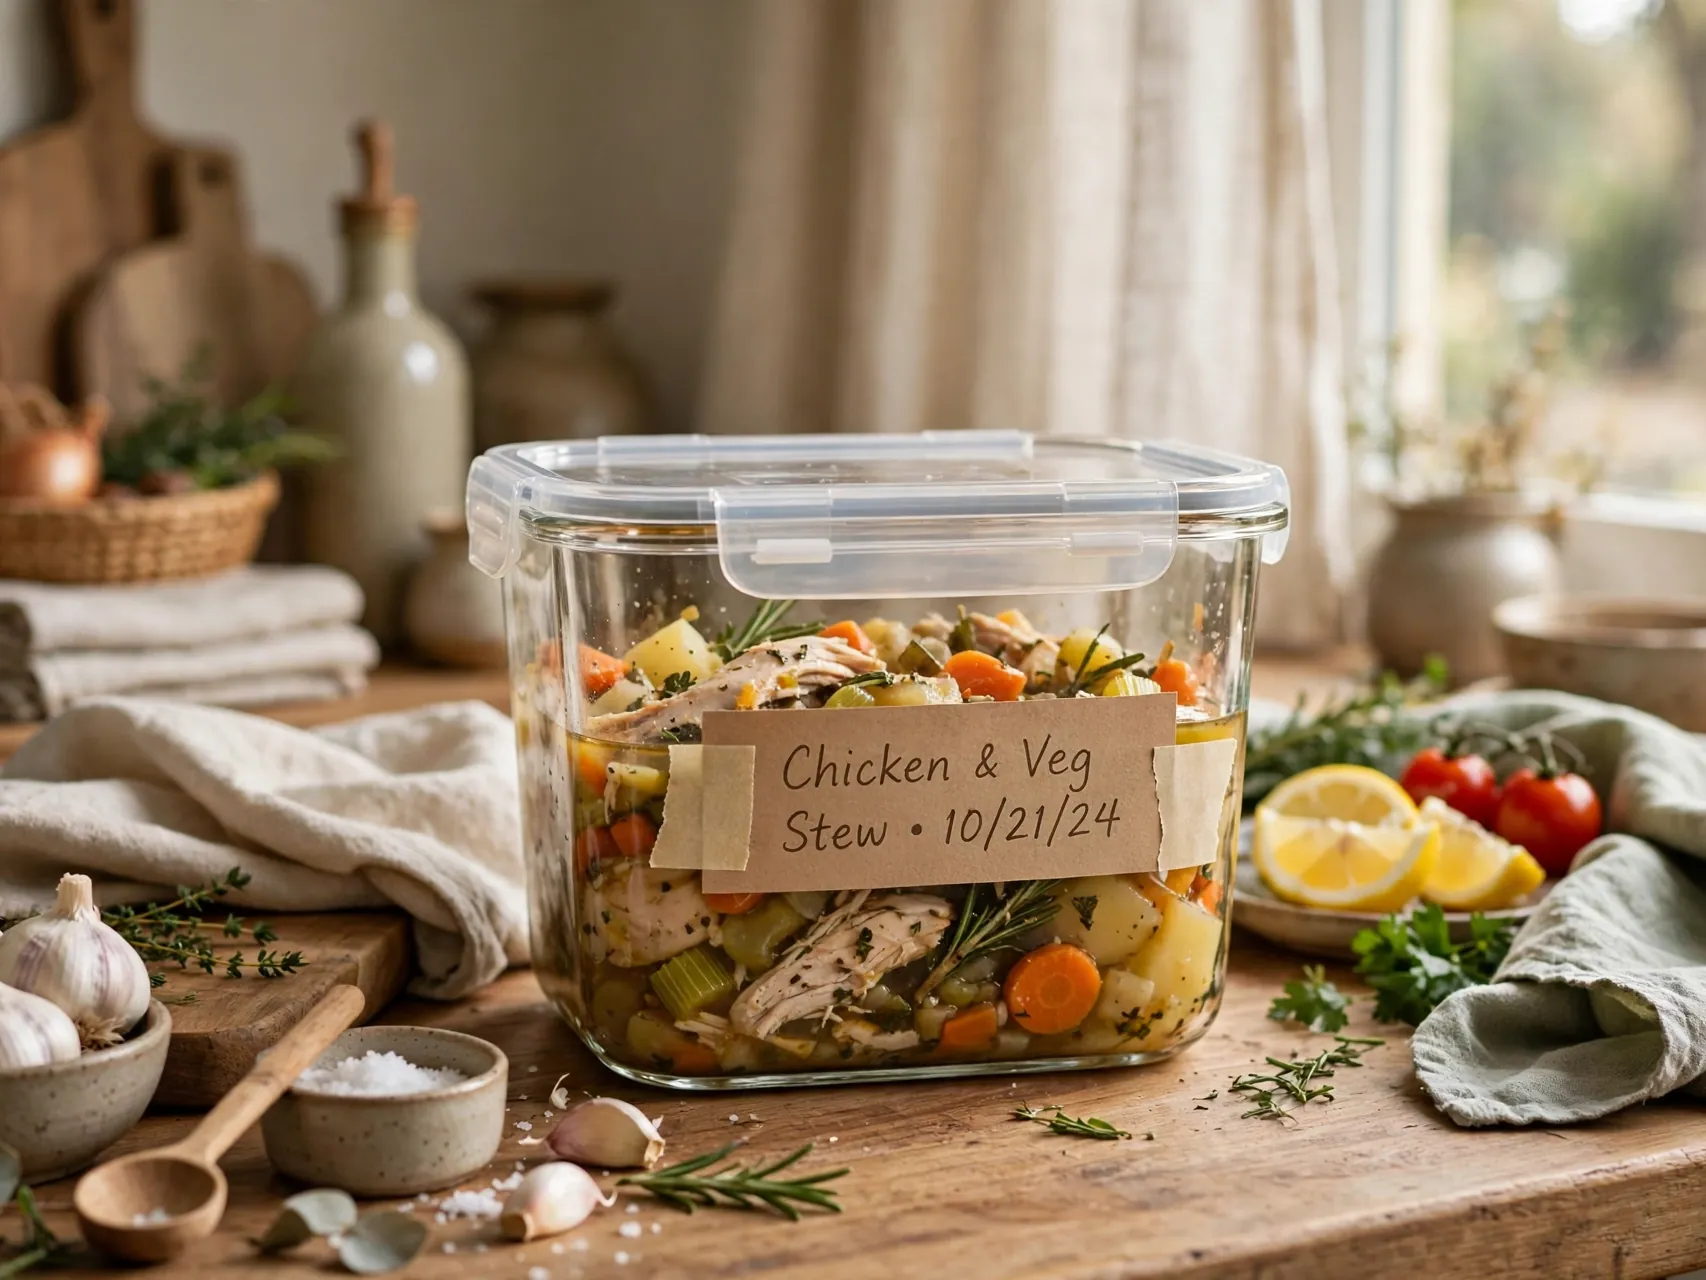
Label each leftover container with what it is and the date it was cooked or stored, using tape and a marker or erasable labels. USDA guidance gives most cooked leftovers 3 to 4 days in a fridge at 40 degrees F or below, and a date on the lid is the only reliable way to honor that window.
Freeze leftovers you know you will not eat in time, ideally on the day they are made or the day after. Never rely on smell alone to judge safety, and discard leftovers past the window even if they look fine.
12. Add a Lazy Susan for Jars and Bottles

A small turntable solves the back row problem on a deep shelf or in a corner, where jars hide until they expire. Load a lazy susan with sauces, jars, and small bottles, and one spin shows you everything you own.
Keep the turntable to one layer and avoid overloading it, so items do not topple when it turns. It works especially well for the condiments that overflow the door and for the collection of mustards and dressings every household somehow owns. Wipe it during your weekly clean out, since jar bases collect drips.
13. Line Shelves and Drawers for Fast Cleanup

Washable shelf liners catch the drips, crumbs, and produce moisture that make fridges feel grimy, and they lift out for a quick wash in the sink. Line the busiest shelves and the crisper drawers, and cleanup changes from a scrubbing project to a two minute rinse.
Choose smooth, food safe liners that sit flat and do not block air vents or bunch under containers. Replace or wash them whenever they look tired. A lined fridge also protects glass shelves from chipped edges when heavy jars and bottles slide around.
14. Create a Snack Zone Everyone Can Reach

Give snacks one defined bin or drawer section, portioned and ready to grab: cheese sticks, washed fruit, cut vegetables, small yogurts, and similar family staples. A snack zone stops the full fridge excavation that leaves doors open, food shoved aside, and cold air pouring out.
Place the zone where the people using it can reach safely, keeping it well away from the raw meat shelf. Refill it from the backstock during your weekly shop, and let the size of the bin set the limit, so snack buying stays honest and visible.
15. Store Herbs and Leafy Greens So They Stay Crisp

Greens wilt when they sit wet or get crushed under heavy items, so give them their own drawer space or a clear container on a middle shelf. Store leafy greens dry, loosely packed, with a clean dry cloth or paper towel in the container to absorb excess moisture, and replace the cloth when it feels damp.
Treat soft herbs gently in a container, and keep everything away from the coldest back wall spots where delicate leaves can freeze. Use greens early in the week where you can, since they are at their best soonest, and move aging greens into soups, eggs, or smoothies before they turn.
16. Switch to Stackable, Square Containers

Round bowls and bulky original packaging waste the corners of every shelf. Matching, stackable square or rectangular containers with clear lids use the full footprint, stack safely, and make leftovers and meal prep look calm instead of chaotic.
Decant dry fridge items and prepared foods where it helps visibility, and keep one consistent container family so lids always match. Label anything you decant with the contents and date, especially foods moved out of packaging that carried the use by date. Retired takeout tubs with missing lids are the first thing to recycle in this reset.
17. Adjust Shelf Heights to Fit What You Actually Buy
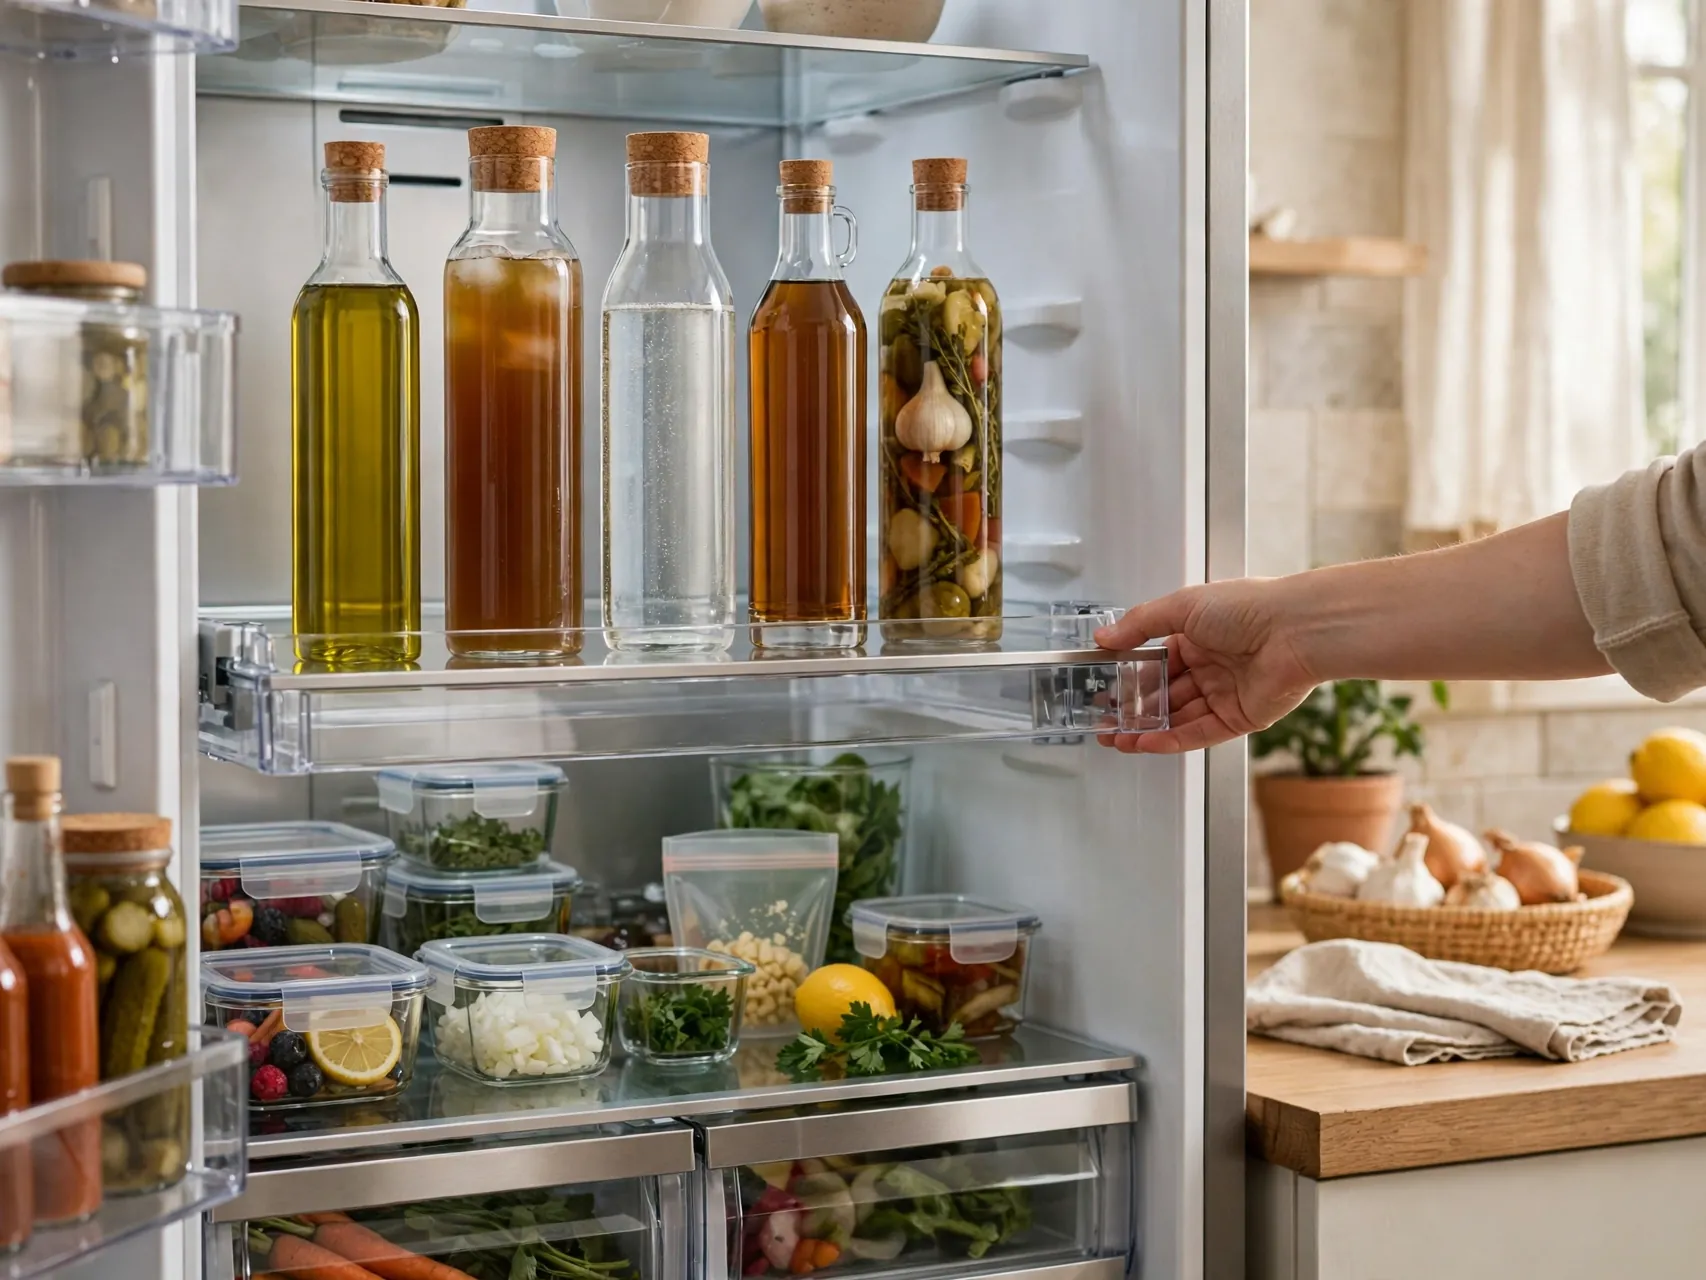
Shelves are adjustable for a reason, yet most stay where the factory left them. Set one tall zone for milk, pitchers, and bottles, a medium zone for containers and bins, and a low zone for flat items like trays and deli packs. Measure your tallest regular items and build the layout around them.
Revisit heights when your habits change, such as batch cooking season or a new water jug. A layout fitted to real food removes the sideways bottle and the container balanced on top of three others, which is where spills and forgotten food begin.
18. Freeze in Portions What You Will Not Eat in Time

When leftovers or fresh ingredients will not be eaten within their fridge window, freeze them in single meal portions in labeled, dated containers or bags. Freezing is the pause button that saves both money and food, and portion sizes mean you thaw only what tonight needs.
Cool food promptly, divide large batches into shallow containers so they chill quickly, and refrigerate or freeze within 2 hours of cooking as USDA guidance directs. Keep a simple list of freezer contents on the door, cross items off as you use them, and plan one freezer meal a week.
19. Keep a Simple Fridge Inventory on the Door
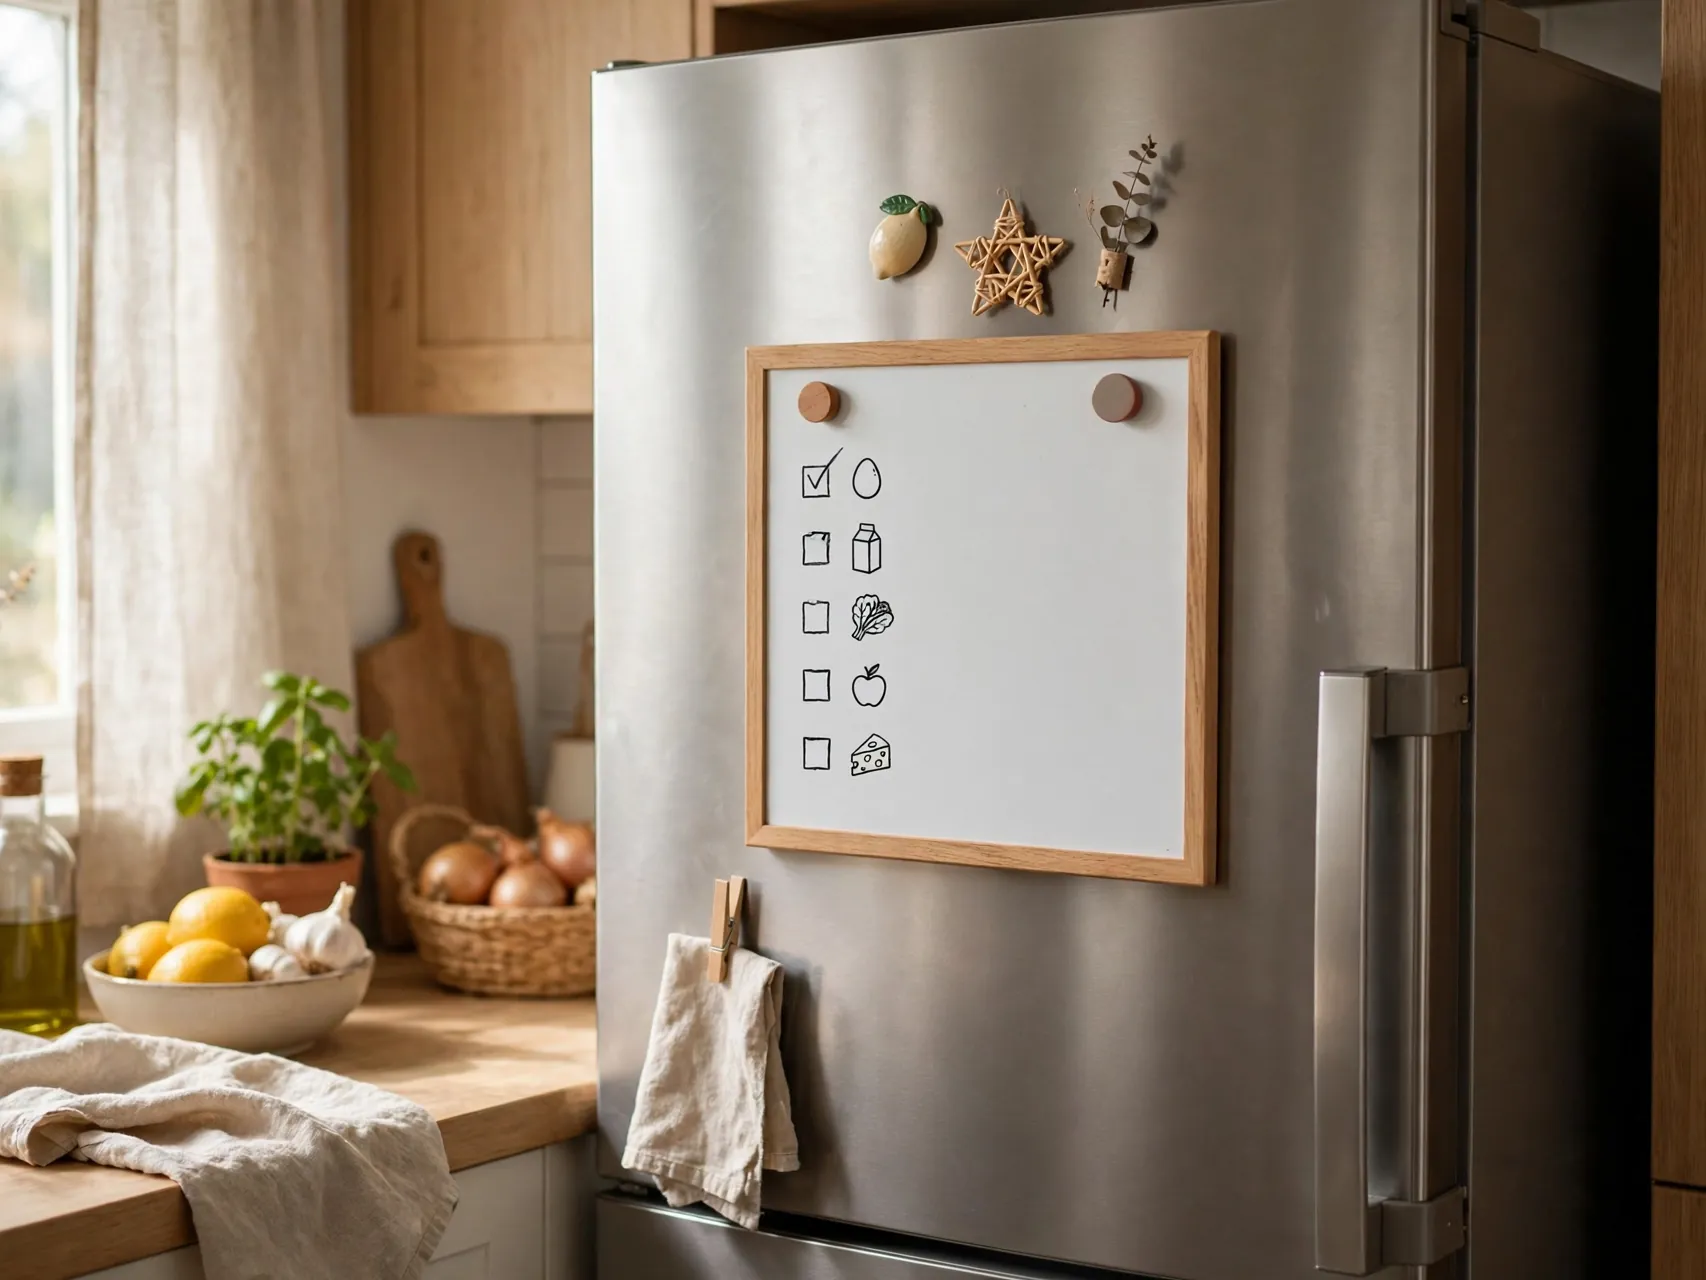
A tiny whiteboard or note on the fridge door listing leftovers, their dates, and items to use soon keeps the whole system honest. It takes seconds to update when you put food away, and it answers the what is for dinner question without opening the door at all.
Include a running shopping note beside it, so replacements are added when the last one is opened, not remembered at the store. This low tech habit supports every zone and bin in this guide, and it is one of the refrigerator organization ideas families keep longest because it saves money visibly.
20. Leave Room for Cold Air to Circulate
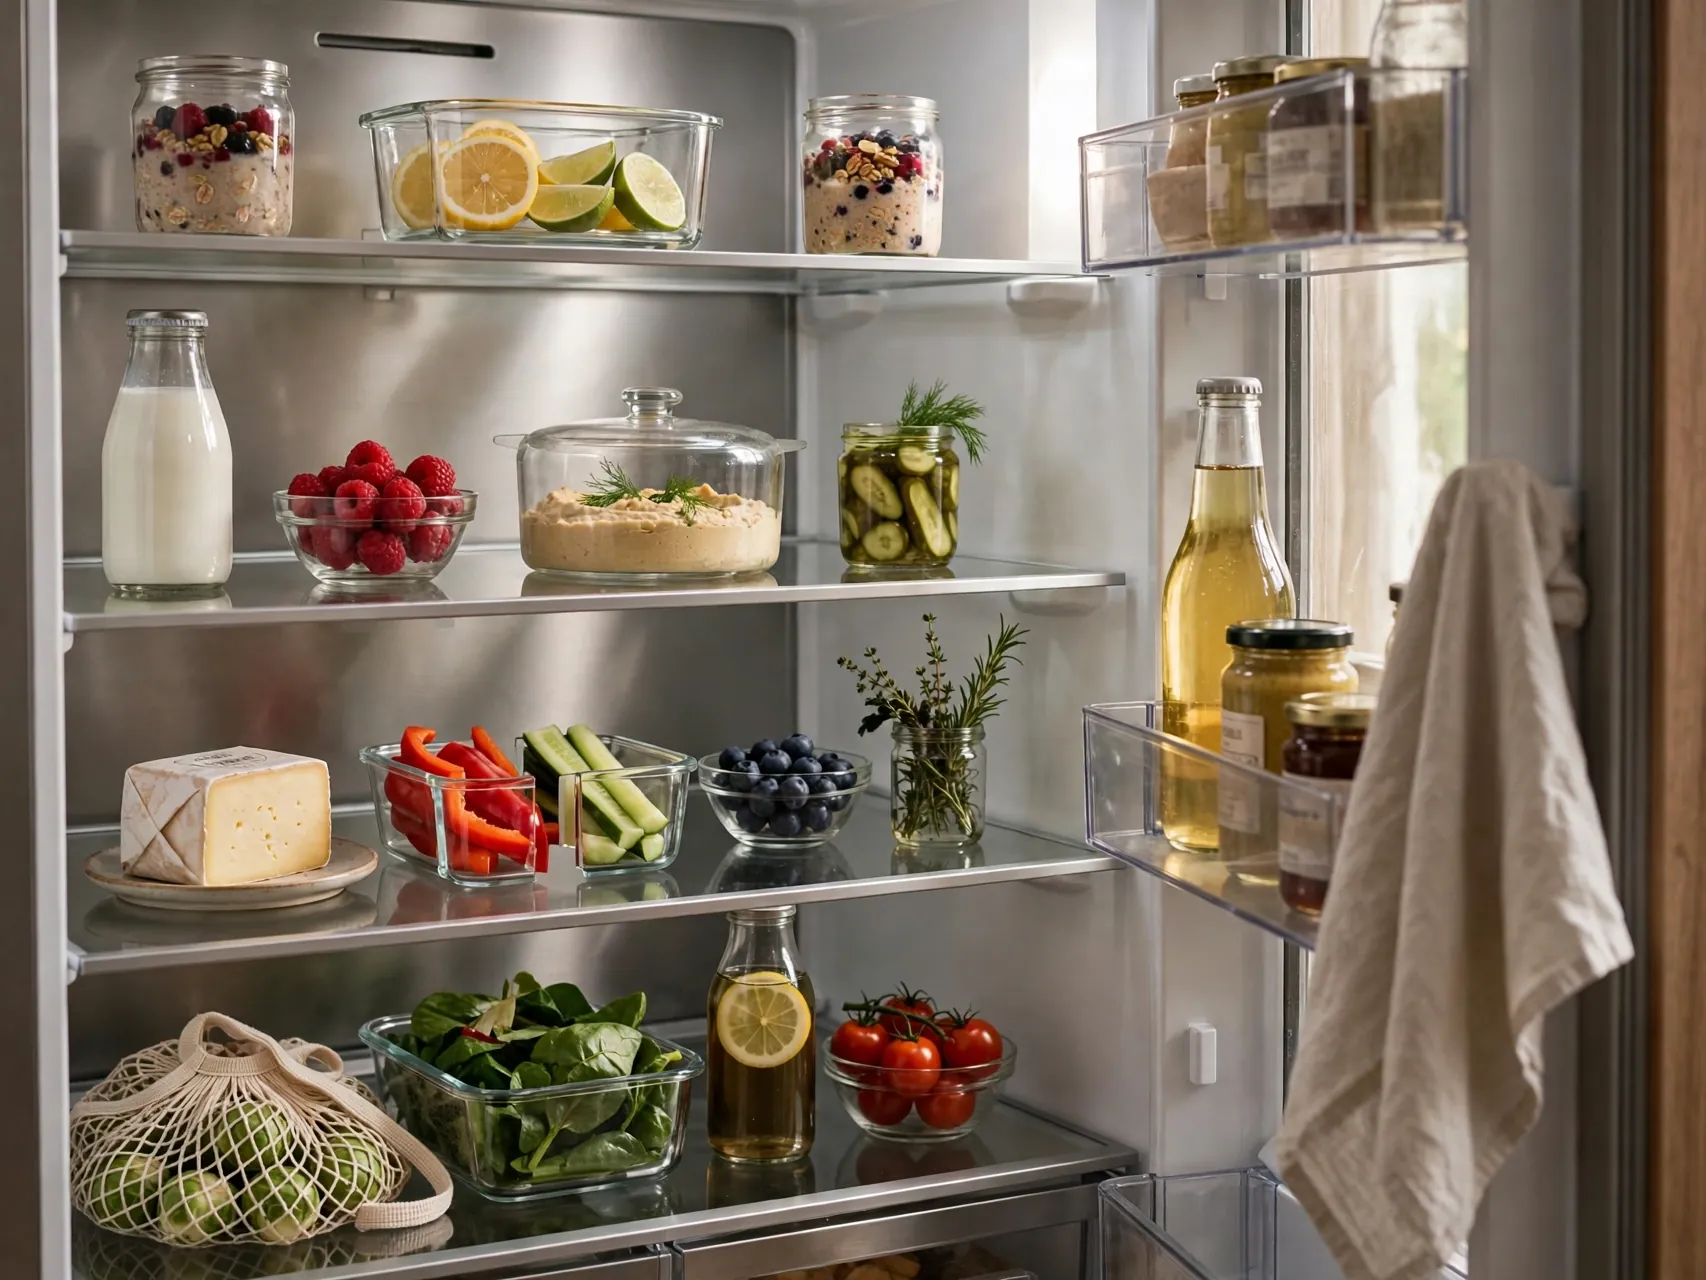
A fridge cools by moving cold air around the food, so a packed solid fridge actually keeps food less evenly cold. Leave small gaps between bins and containers, avoid blocking the air vents, whose location your manual shows, and resist using every spare inch after a big shop.
As a guide, a comfortably full fridge with visible space around items holds temperature better than one crammed door to back. If groceries regularly overflow, that is a cue to shop smaller and more often, or to use the freezer pause button from the idea above.
21. Wipe Spills, Handles, and Seals as They Happen

Sticky handles, crumbed seals, and one ignored drip are what make a fridge feel dirty between deep cleans. Wipe spills immediately with a clean cloth and warm soapy water, rinse, and dry, and give handles and door seals a quick weekly wipe, since hands touch them constantly.
Keep raw meat drips as a clean now, not later, job every single time. Wash your hands after handling raw items and after cleaning their shelf or tray. Small, immediate cleaning is also kinder to the food: a clean seal closes properly, which helps the fridge hold its 40 degrees F or below.
22. Do a Weekly Clean Out Before You Shop

Anchor the whole system to one weekly habit: a ten minute clean out right before you write the shopping list. Move older items into the eat first bin, discard anything past its window, wipe one shelf, and check the thermometer reading while you are there.
Shopping from what you actually have stops duplicate buying and makes space for the new groceries before they arrive. Pair the clean out with your inventory board update, and this organized fridge zones system will still be working in June, not just in the first proud week of January.
FAQ
What temperature should my fridge be set to?
Keep the refrigerator at 40 degrees F or below and the freezer at 0 degrees F or below, following FoodSafety.gov and USDA guidance. Use an appliance thermometer to check, because dial settings are not always accurate, and recheck after large grocery loads or in hot weather when the fridge works harder to stay cold.
Where should raw meat go in the fridge?
On the lowest shelf, sealed in a container or on a rimmed tray that catches drips, and always below ready to eat foods. That placement prevents juices from dripping onto other food. Use raw meat promptly or freeze it, wash your hands after handling it, and clean its tray and shelf as soon as it is used.
How long do leftovers last in the fridge?
USDA guidance gives most cooked leftovers 3 to 4 days in a refrigerator kept at 40 degrees F or below. Refrigerate leftovers within 2 hours of cooking, store them in shallow, sealed containers, and label them with the contents and date. Freeze anything you will not eat within the window, and discard leftovers past it even if they look and smell fine.
How can I stop food getting lost at the back of the fridge?
Use clear bins and containers so contents stay visible, keep shelves shallow in practice by pulling categories forward, add a lazy susan for jars, and run an eat first bin at the front. A weekly clean out before shopping and a simple door inventory of leftovers with dates will catch anything starting to hide.
What should not go in the fridge door?
Keep milk, eggs, raw meat, and leftovers out of the door, because it is the warmest part of the fridge and warms further every time the door opens. Reserve the door for condiments, pickles, jams, and sturdy sauces that tolerate temperature changes well, and store dairy and eggs in the steadier middle or back of the fridge instead.
Key Takeaways
- Safety sets the layout: Keep the fridge at 40 degrees F or below, checked with a thermometer, and build every zone around that rule.
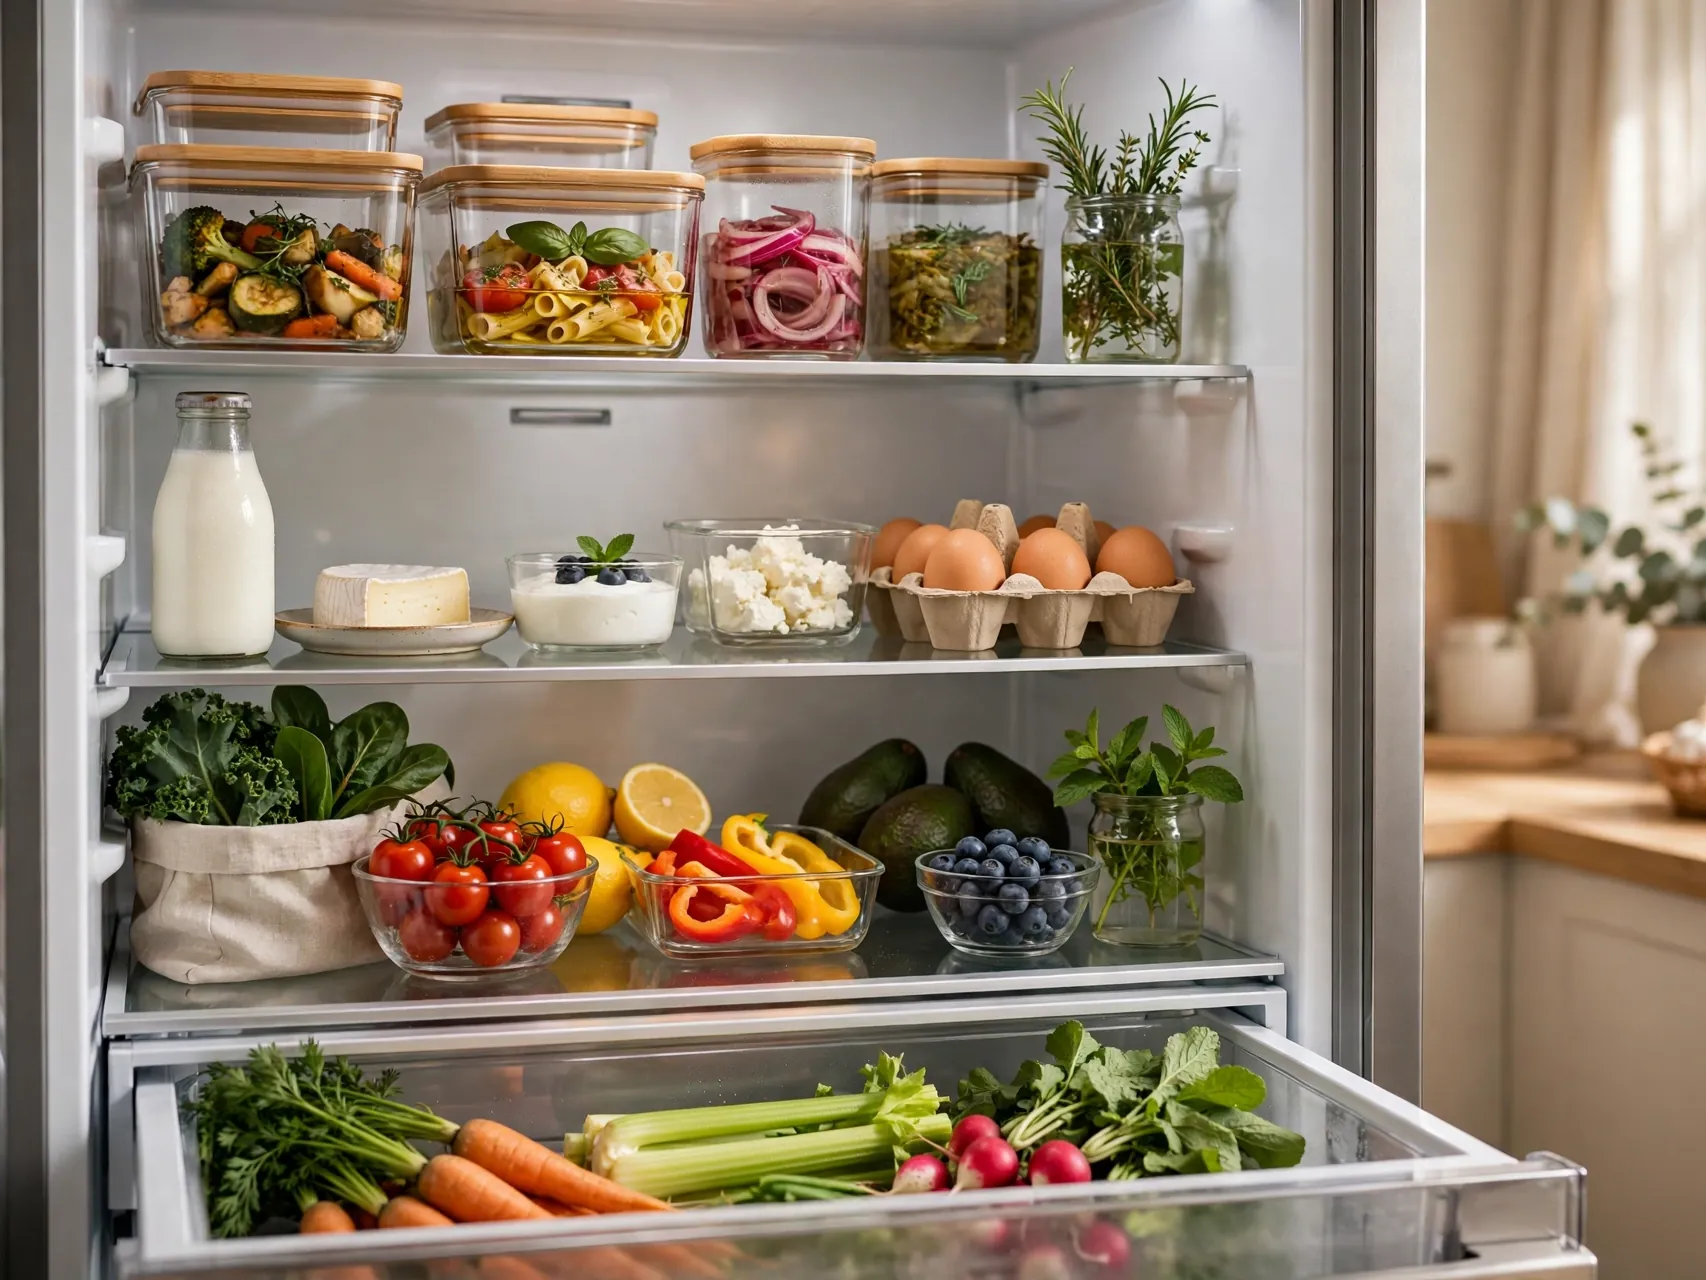
- Height is food safety: Ready to eat foods and leftovers up top, dairy and eggs in the steady middle, raw meat lowest in a tray.
- Leftovers run on a clock: Label and date containers, use most cooked leftovers within 3 to 4 days, and freeze the rest in portions.
- Visibility prevents waste: Clear bins, an eat first zone, and first in, first out rotation mean older food gets eaten, not discovered.
- The door is for condiments: The warmest spot holds sturdy sauces and pickles, never milk, eggs, or raw meat.
- Ten minutes weekly holds it all: A clean out before shopping keeps zones, labels, and temperatures honest all year.
Ready for a fridge that feels this good every week? Save these fridge organization ideas to Pinterest and pin the zone plan to follow on your next clean out.