25 Painting a Room for the First Time Mistakes to Avoid
Introduction
Painting looks easy on videos and humbling in real life. If you are painting a room for the first time, know that nearly every rough finish comes from the same handful of beginner painting mistakes, and every one of them has a simple fix you can use on day one.
This guide walks in working order: choosing paint, prepping, applying coats, and finishing cleanly, with ventilation, ladder care, and a serious lead paint caution for older homes. Read it all before you open a can.
1. Choosing a Color From the Tiny Chip Alone
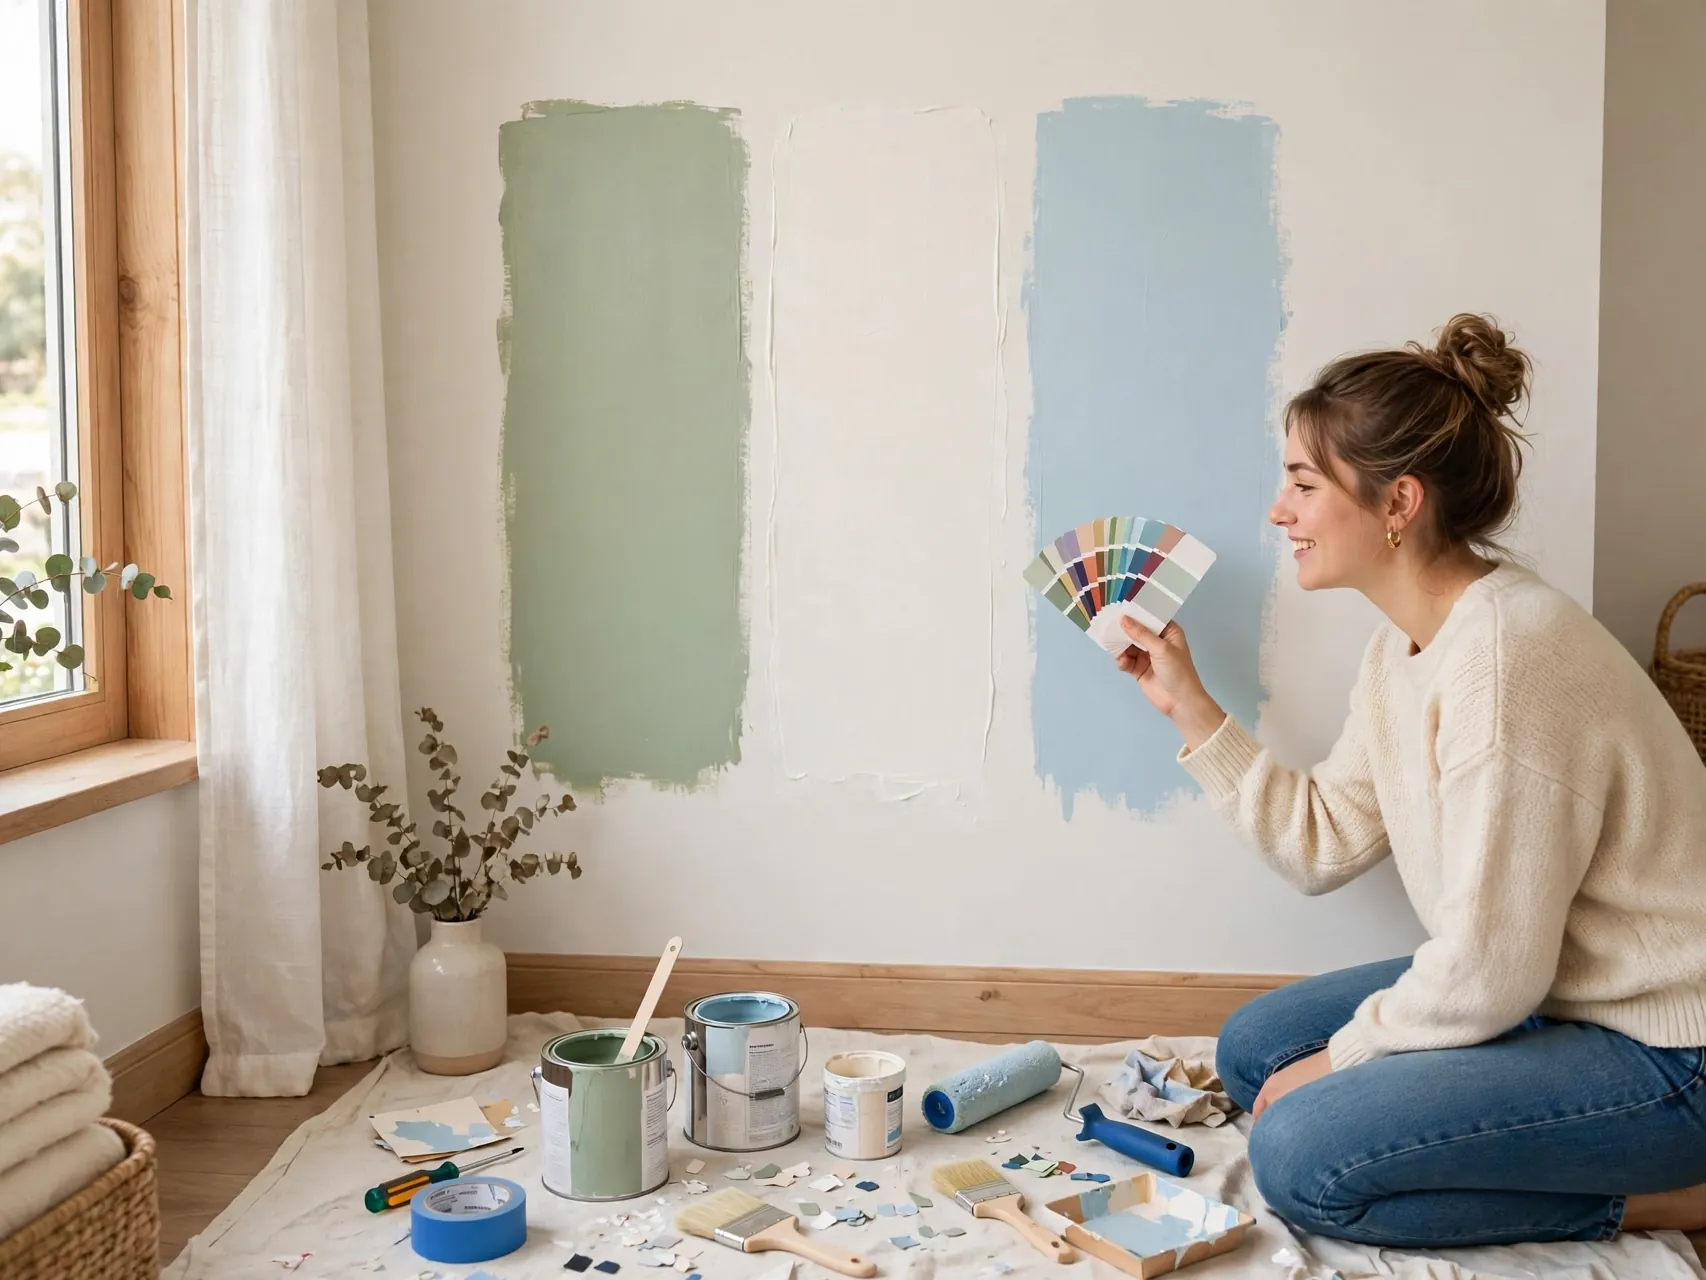
Paint chips lie by omission. A color that looks soft on a small square can turn intense across four walls, and store lighting flatters shades your room light will not. Beginners pick from the chip, paint the room, and live with regret.
Fix: buy sample pots, paint large patches on two walls, and live with them for a day. Check morning and evening light beside your furniture. The right color survives every hour, not just the store.
2. Skipping the Test for Lead Paint in Older Homes

In homes built before 1978, old paint may contain lead, and disturbing it carelessly is a real health hazard, especially for children and pregnant people. Sanding or scraping without checking can spread lead dust through the whole house.
Fix: do not dry-sand or dry-scrape paint you suspect may contain lead. Follow EPA lead-safe guidance, use a lead test kit or hire a certified professional, and let trained pros handle removal or repair of lead paint.
3. Painting Without Ventilation
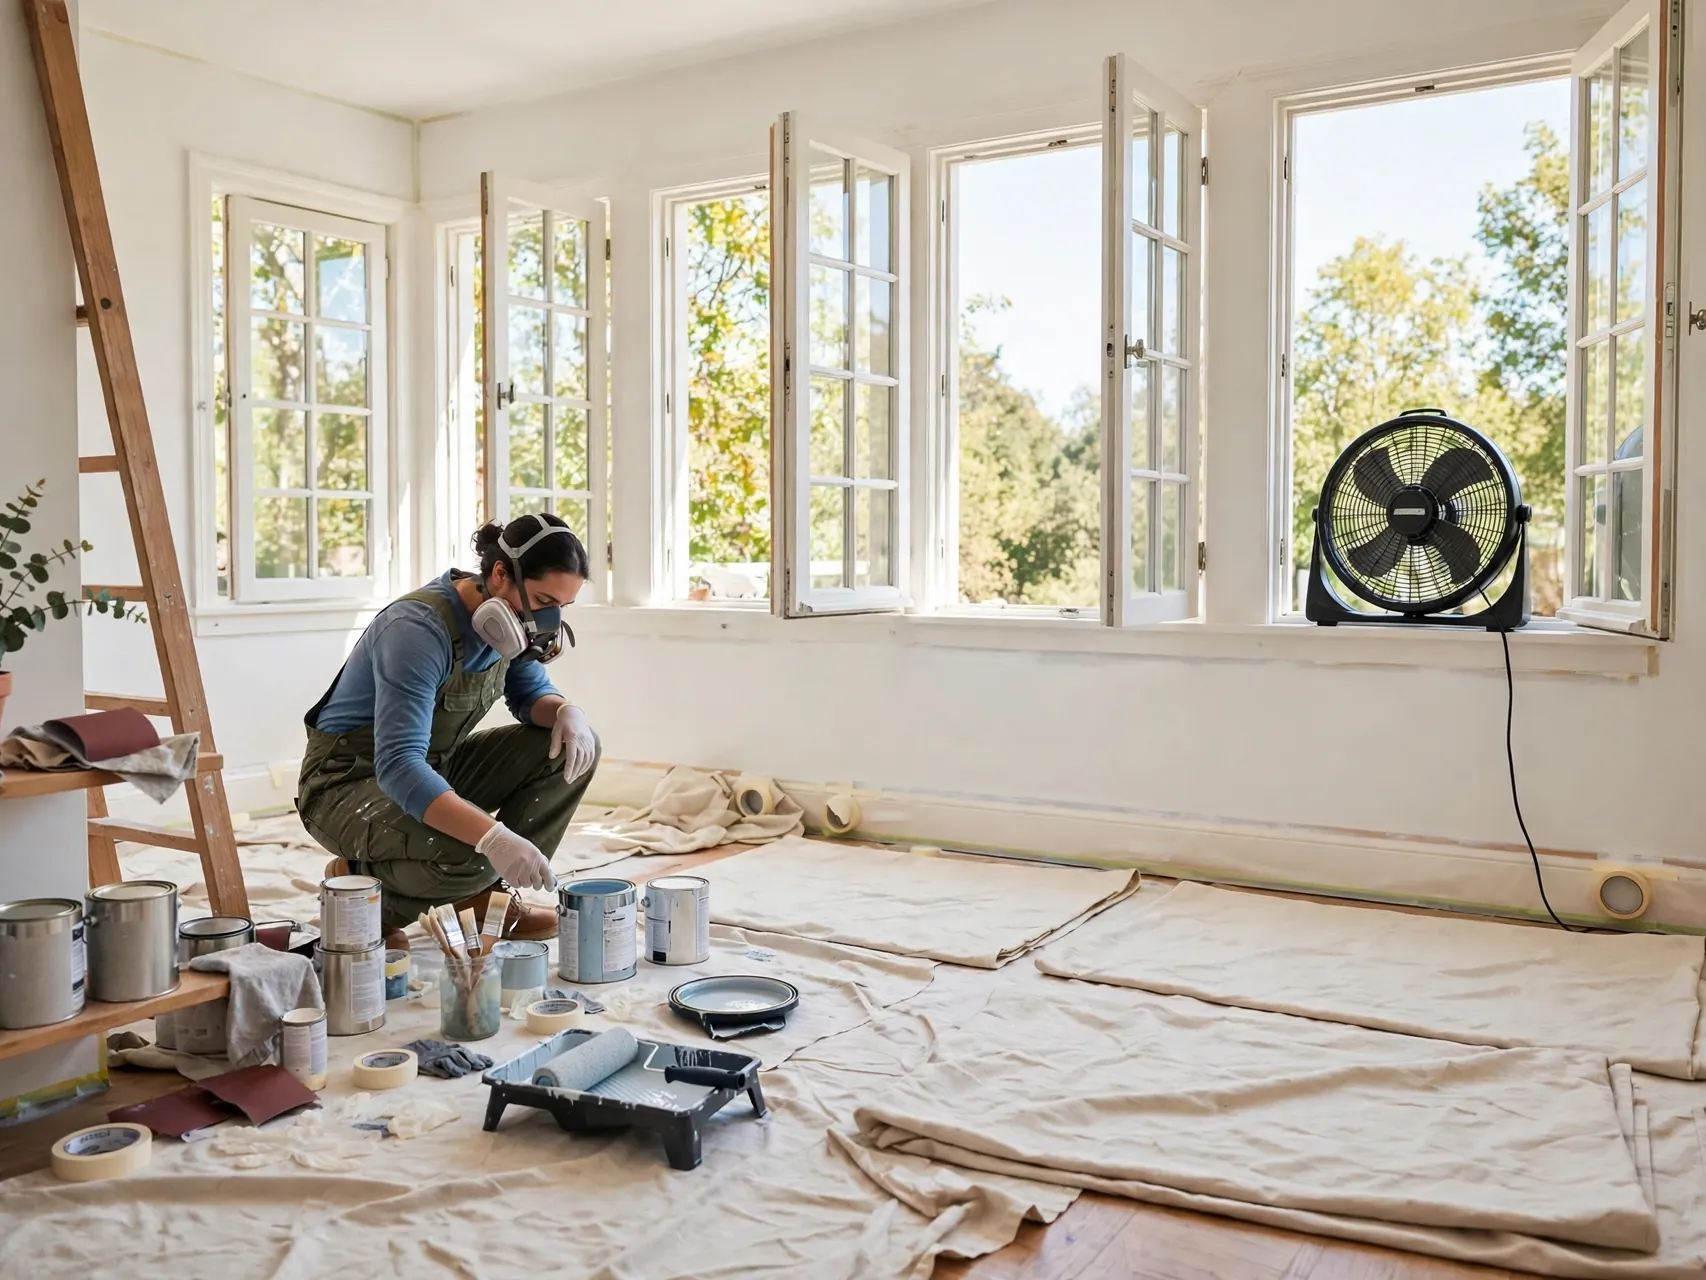
Paint fumes build up fast in a closed room, leaving you with headaches, nausea, and a slow drying finish. Beginners often shut windows to keep dust out and breathe the worst air of the whole project without realizing it.
Fix: open windows and doors, run a fan blowing air out, and take fresh air breaks. Choose low or zero VOC paint where you can. If you feel dizzy, leave and get air immediately.
4. Using a Ladder Carelessly to Reach High Walls
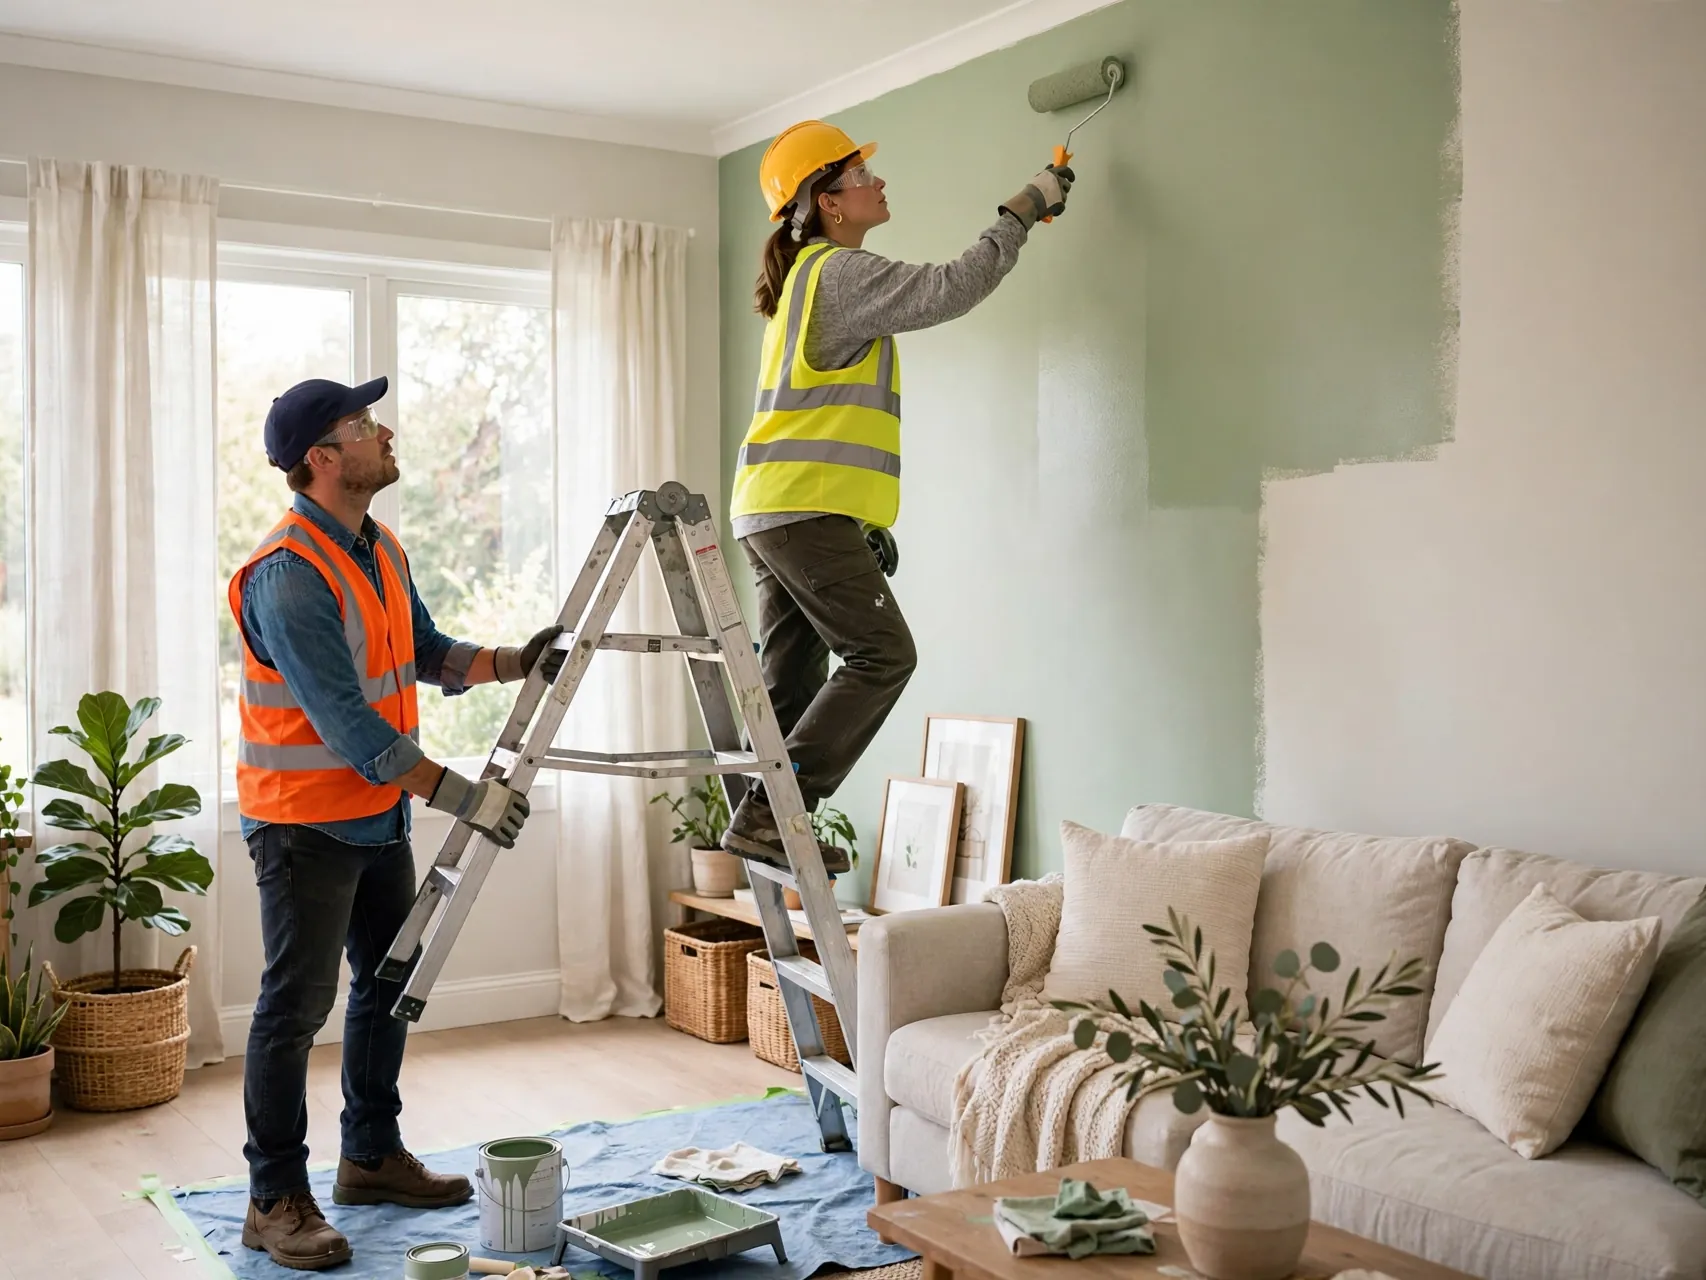
Falls cause more painting injuries than every other mistake combined. Wobbly chairs, stretched reaches, and ladders on uneven floors turn a simple ceiling edge into an emergency room visit for first time painters every single year.
Fix: use a proper step ladder on level, firm ground, fully opened and locked. Never stand on the top steps, and climb down and move the ladder instead of leaning or stretching.
5. Not Washing and Prepping the Walls

Paint does not hide dirt, grease, or dust, it seals them in and then peels early to prove it. Kitchen grease, bathroom moisture residue, and hallway handprints all sabotage adhesion, and the failure shows within months as flaking and uneven sheen.
Fix: wash walls with a mild cleaning solution, rinse, and let them dry fully. Fill holes and cracks, sand filler smooth once dry, and wipe dust away. Clean, dry, and sound is the surface paint wants.
6. Skipping Primer Where It Actually Matters
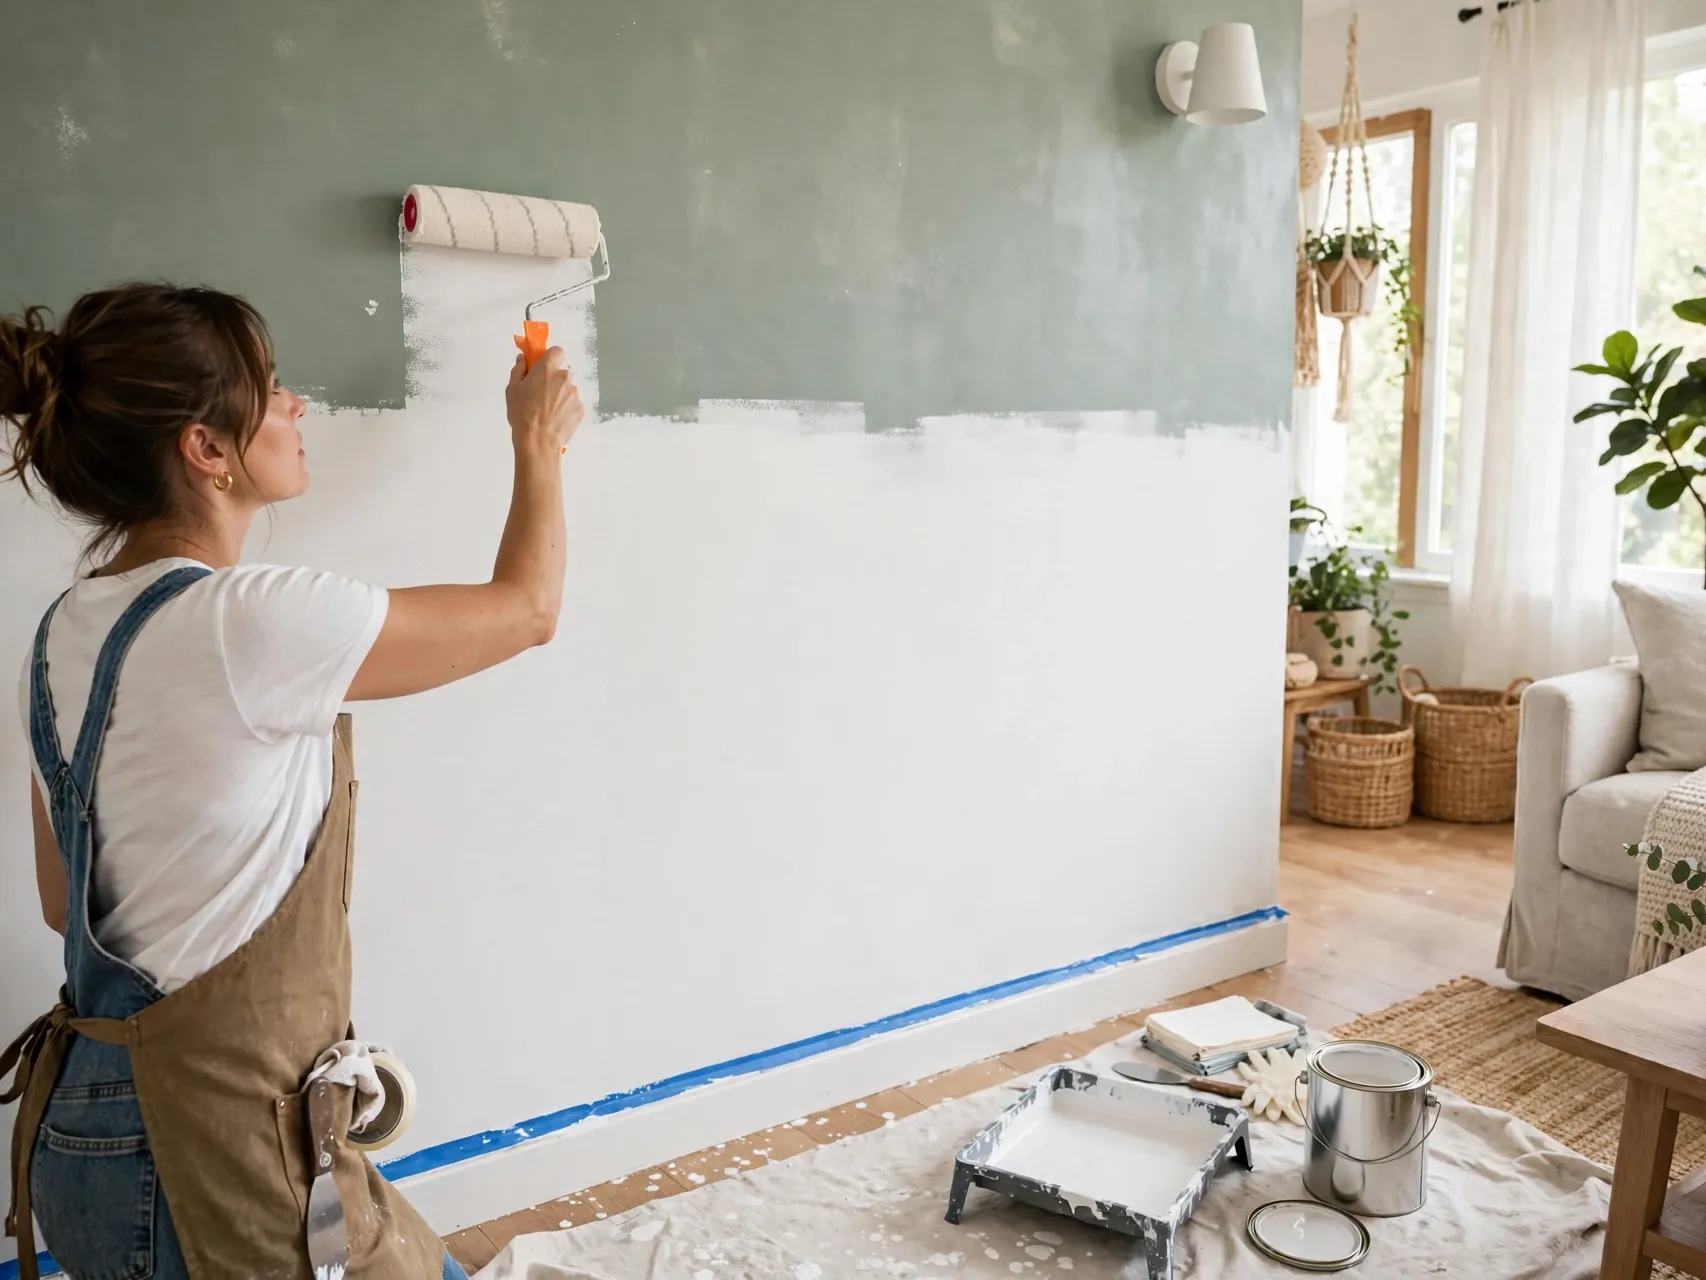
Primer is not an upsell. Bare drywall, patched areas, stains, glossy old paint, and bold color changes all drink topcoat unevenly or bleed through, leaving patchy walls that extra coats never quite fix for beginners.
Fix: prime new drywall and repairs, use stain blocking primer over water marks, and prime for strong color changes or over glossy finishes after prep. One primer coat usually saves two topcoats.
7. Buying the Cheapest Brushes and Rollers

Bargain brushes shed bristles into wet paint, cheap rollers drop lint and lay down thin, streaky coats. First timers then fight their tools for hours, blame their technique, and buy more paint to cover the poor coverage the tools caused.
Fix: buy one good angled brush for cutting in and quality roller covers matched to your wall texture. Short nap suits smooth walls, longer nap suits textured ones. This is the cheapest upgrade to a pro finish.
8. Picking the Wrong Sheen for the Room
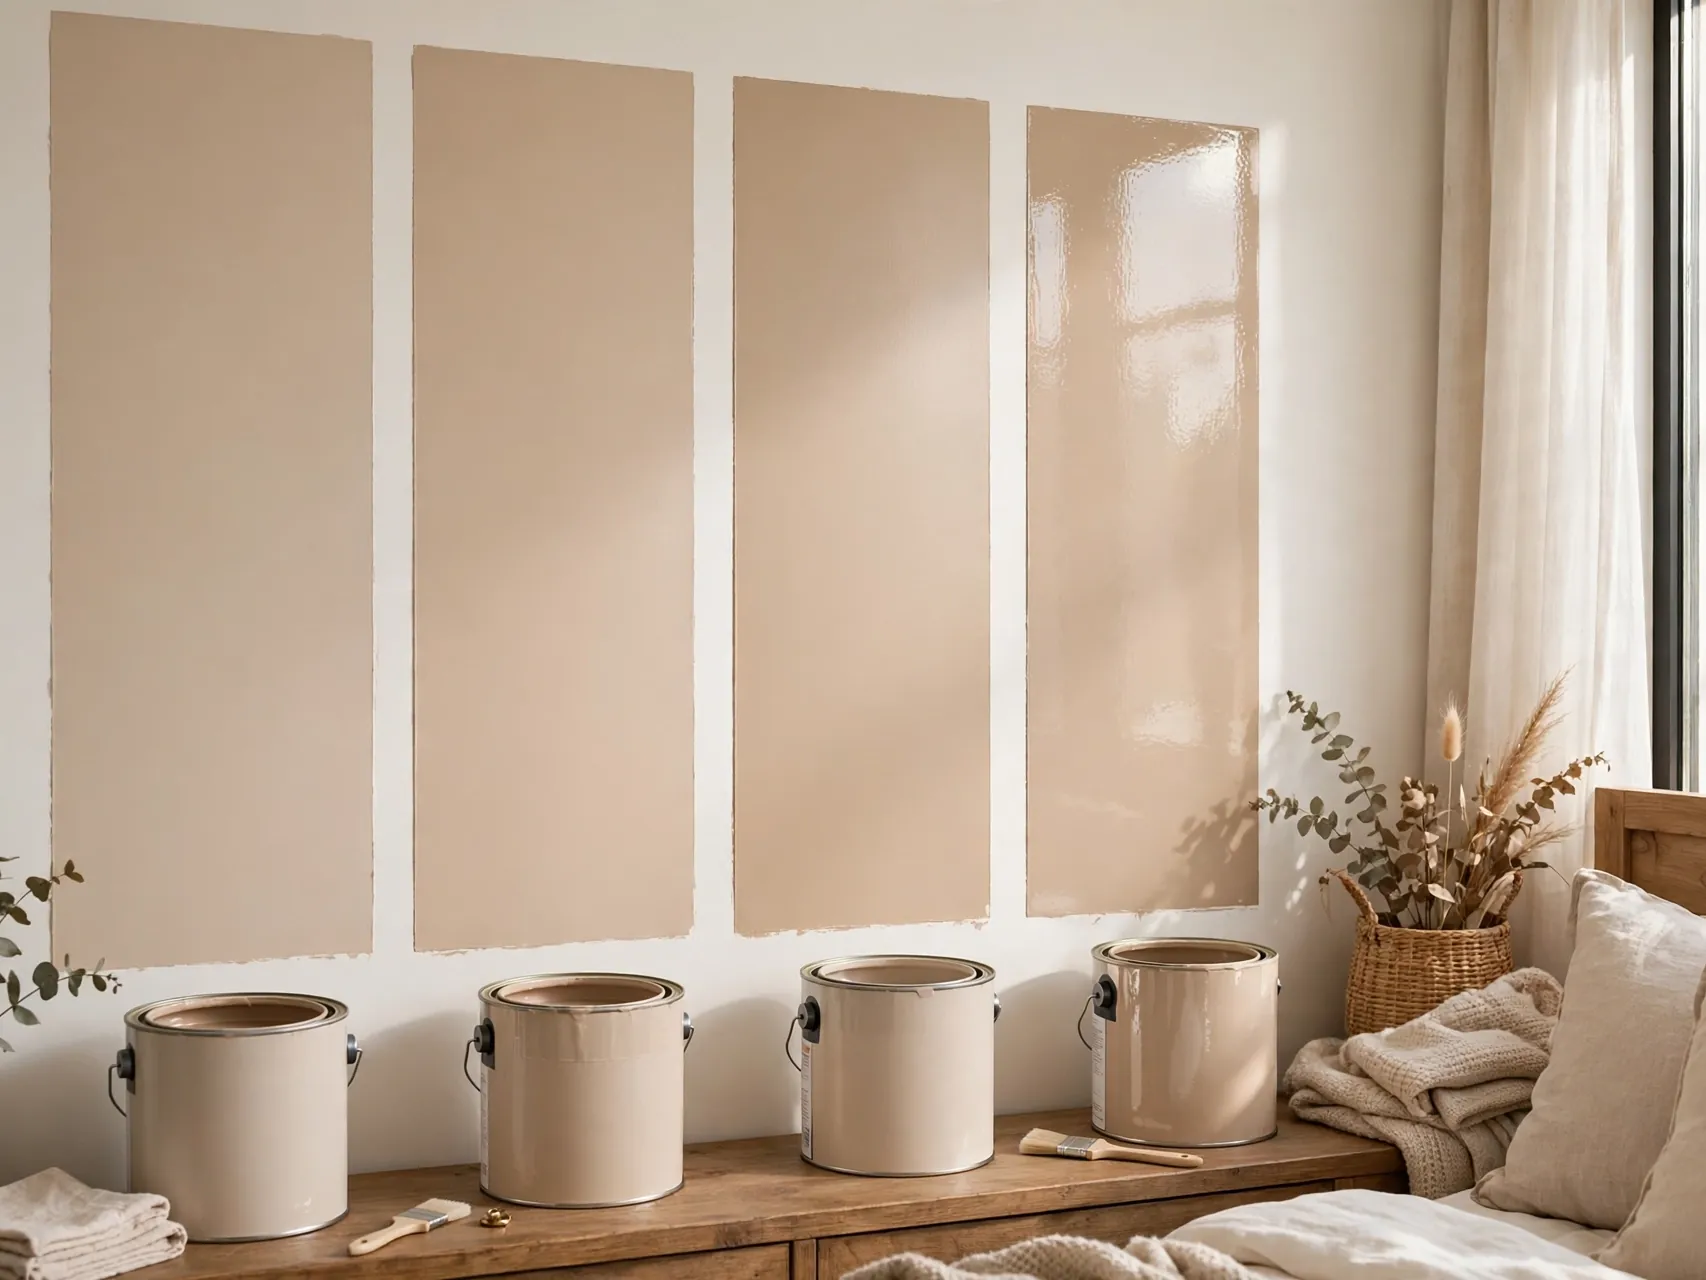
Flat paint on a hallway wall scuffs in a week, while glossy paint in a bedroom shows every wall flaw and feels harsh at night. Beginners often choose sheen by the name they like rather than the life the room lives.
Fix: use flat or matte on ceilings and low traffic walls, eggshell or satin in living areas, and satin or semi gloss where moisture and wiping happen, like kitchens, bathrooms, and trim.
9. Forgetting to Protect Floors, Furniture, and Fixtures

Paint finds every unprotected surface, and it finds them permanently. Drips on hardwood, specks on the sofa, and splatter on fixtures create hours of cleanup or lasting damage that completely overshadows the joy of the new wall color.
Fix: move what you can out, cover the rest, and use canvas drop cloths rather than slippery plastic where you walk. Remove switch plates and hardware instead of painting around them, and label everything for reassembly.
10. Rushing the Taping, or Trusting Tape Too Much

Sloppy tape lines bleed, while tape pressed carelessly and left for days can peel fresh paint off with it. Beginners also expect tape to do the cutting in for them, then discover wavy edges under the tape line.
Fix: apply tape to clean, dry trim and press edges firmly with a putty knife or card. Remove tape while the final coat is still slightly tacky, pulling slowly at an angle.
11. Not Stirring and Boxing the Paint
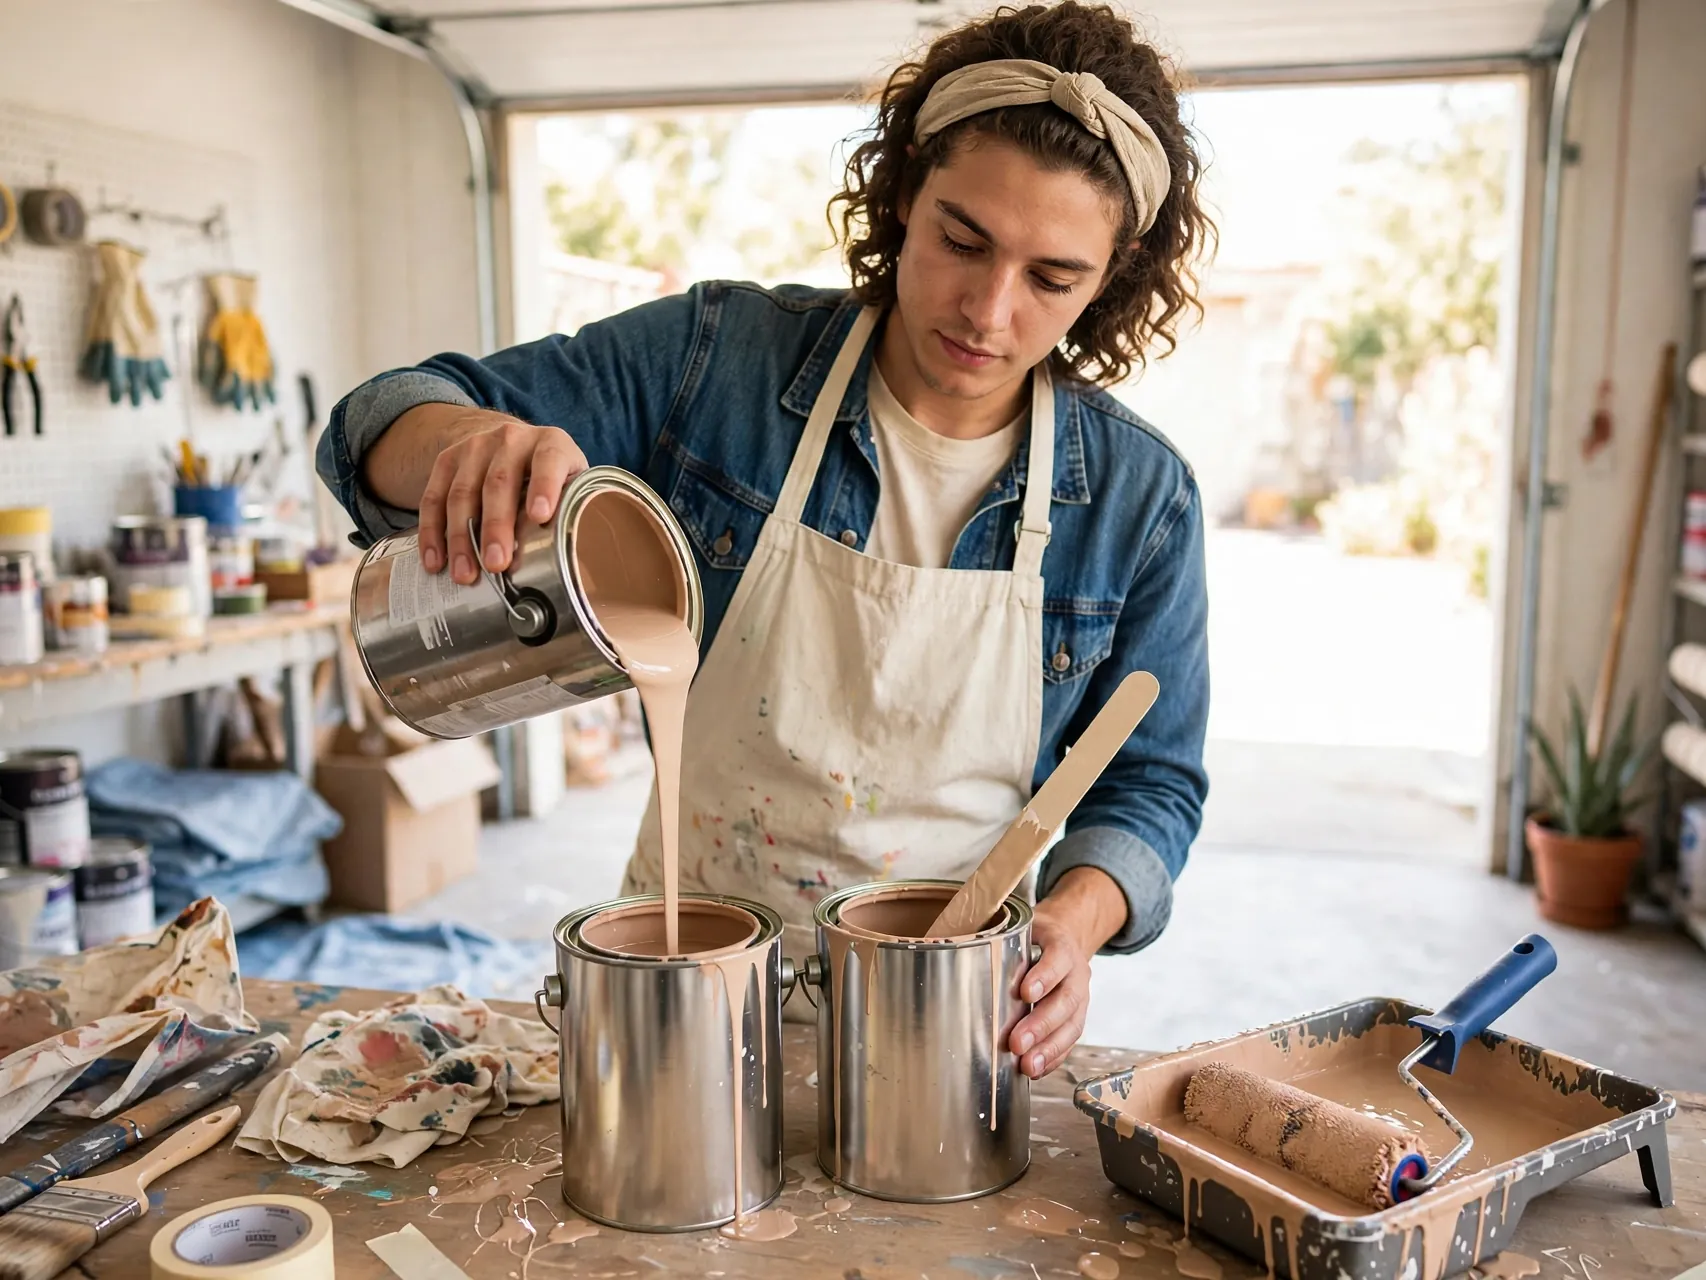
Pigment settles. Painting straight from an unstirred can gives color that shifts from wall to wall, and opening a second can mid room can reveal a slightly different batch tone exactly where the light hits hardest.
Fix: stir every can thoroughly, scraping the bottom. When a room needs more than one can, pour them into one bucket and mix together, a pro habit called boxing, for one consistent color.
12. Overloading the Roller and Causing Drips
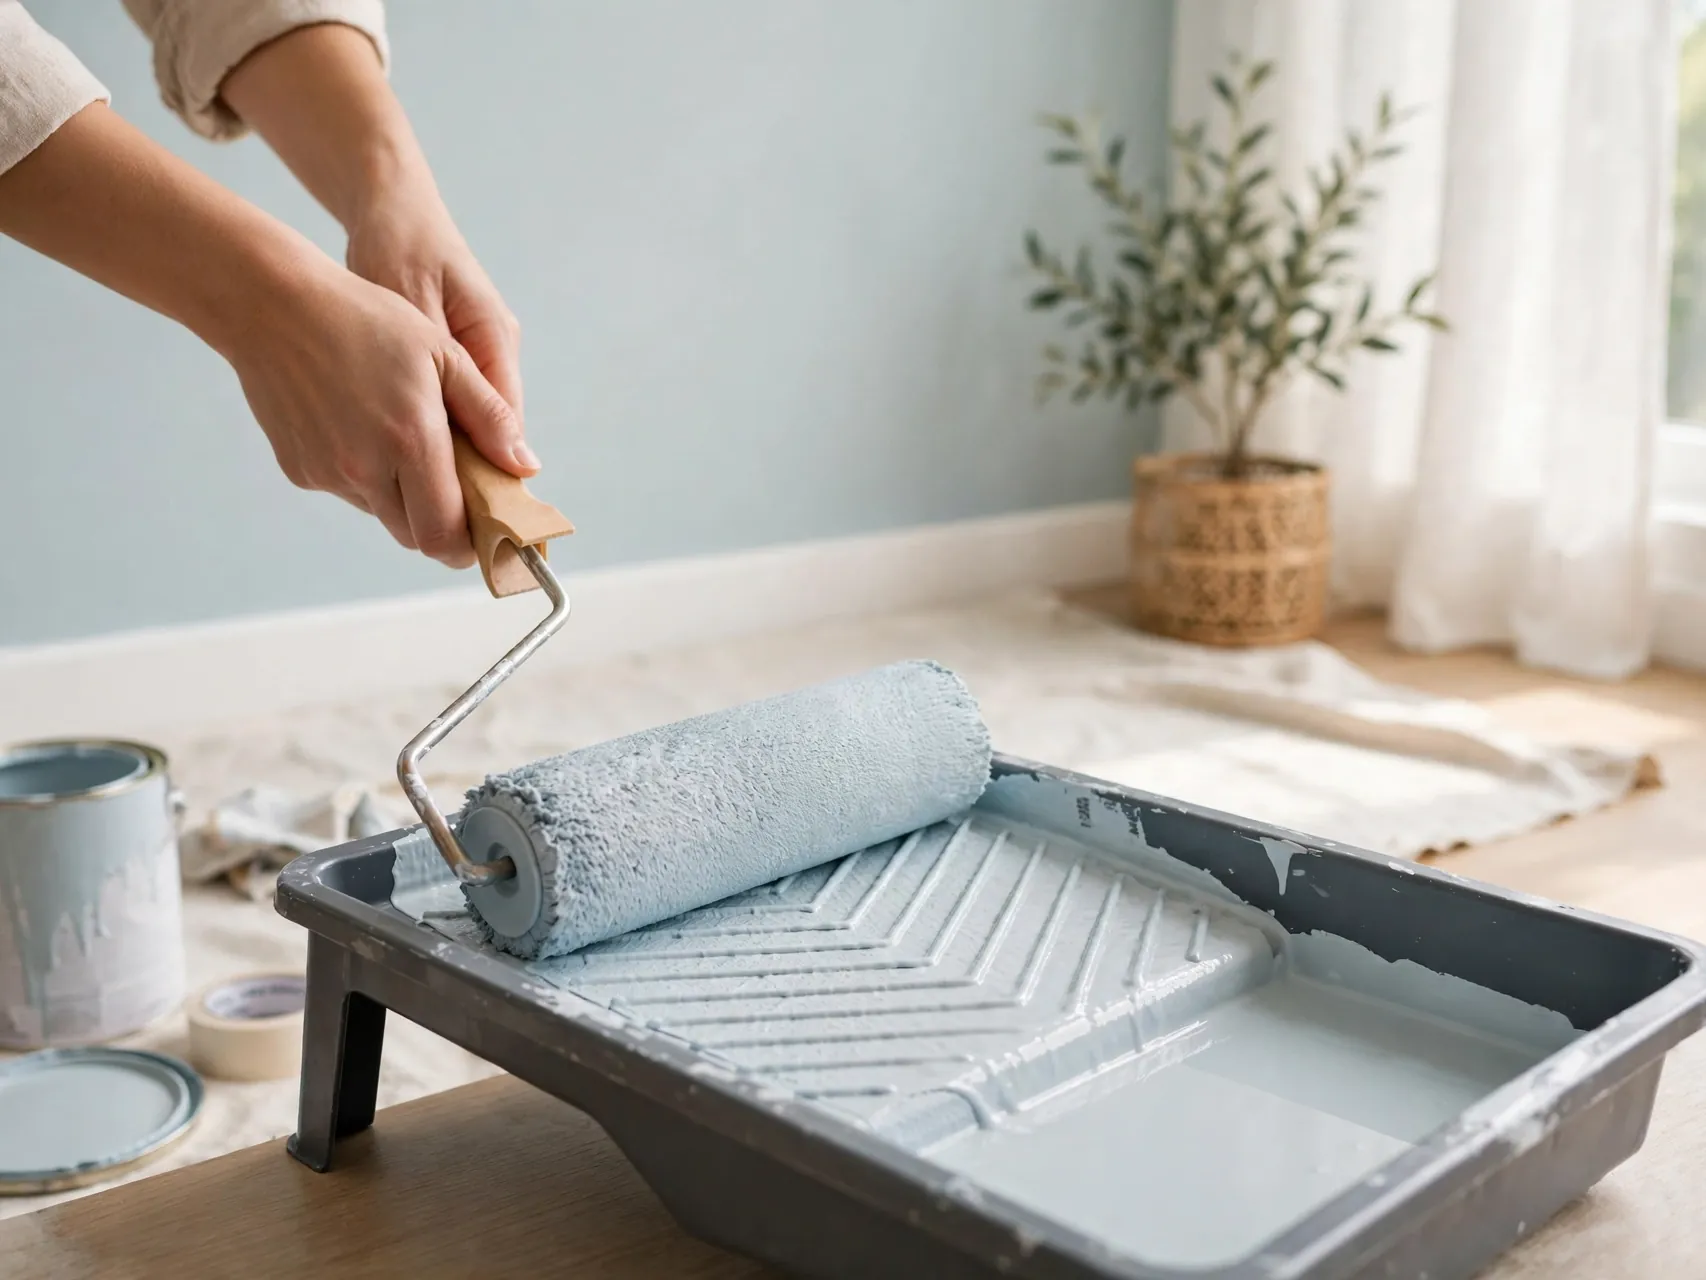
A dripping roller feels efficient and paints terribly. Excess paint runs down the wall, pools at edges, leaves thick ridges, and splatters the floor with every pass. Beginners then chase drips for an hour and rough up the finish fixing them.
Fix: load the roller evenly, roll off excess on the tray ramp until the cover is full but not dripping, and apply in steady passes. Two thin coats always beat one thick coat.
13. Rolling Without Cutting In First
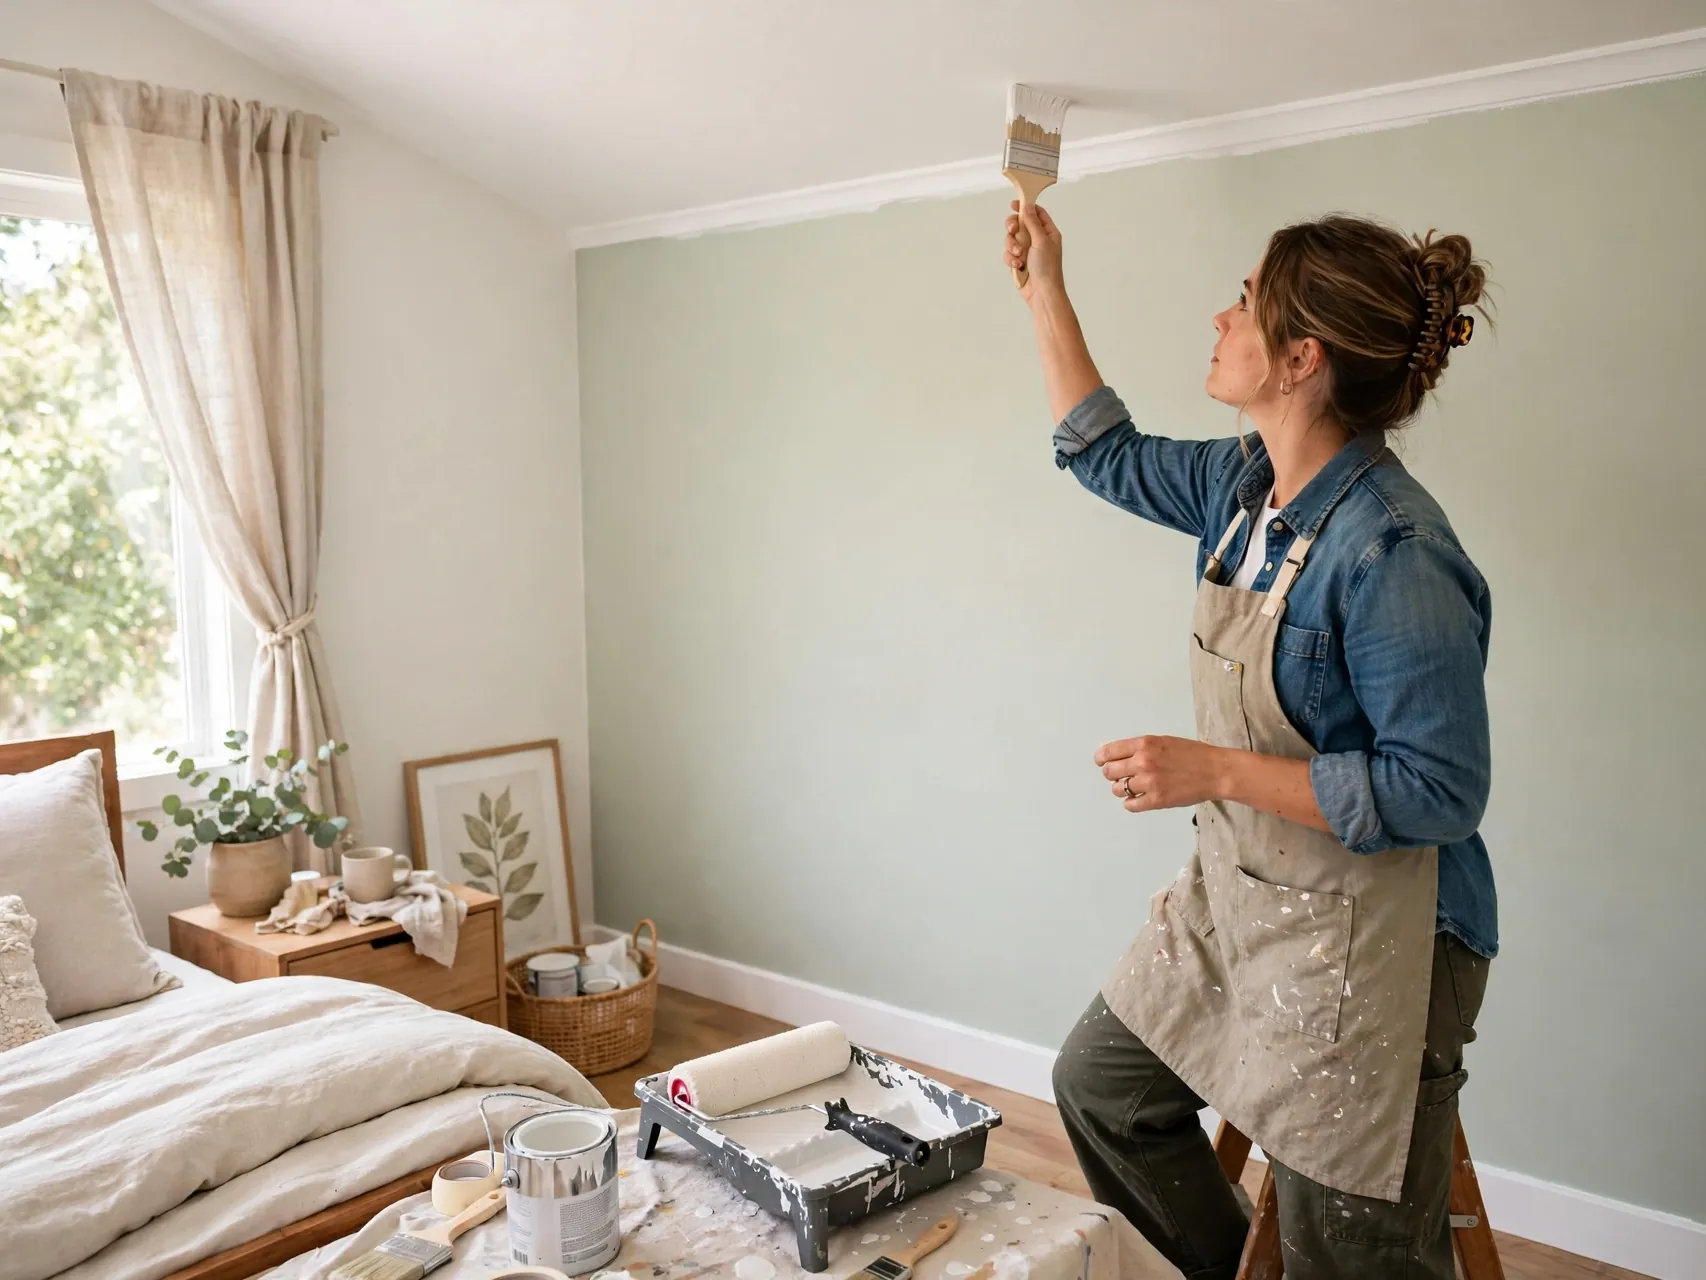
Rollers cannot reach edges cleanly. Beginners who roll first end up bumping ceilings, flooding corners, and painting trim by accident, then struggle to brush edges over half dry rolled paint, which shows as obvious texture differences called picture framing.
Fix: cut in first along ceilings, corners, and trim, painting a border a few inches wide. Then roll while that border is still wet, blending the textures. Work wall by wall so the wet edge never dries ahead of you.
14. Letting the Wet Edge Dry Between Sections
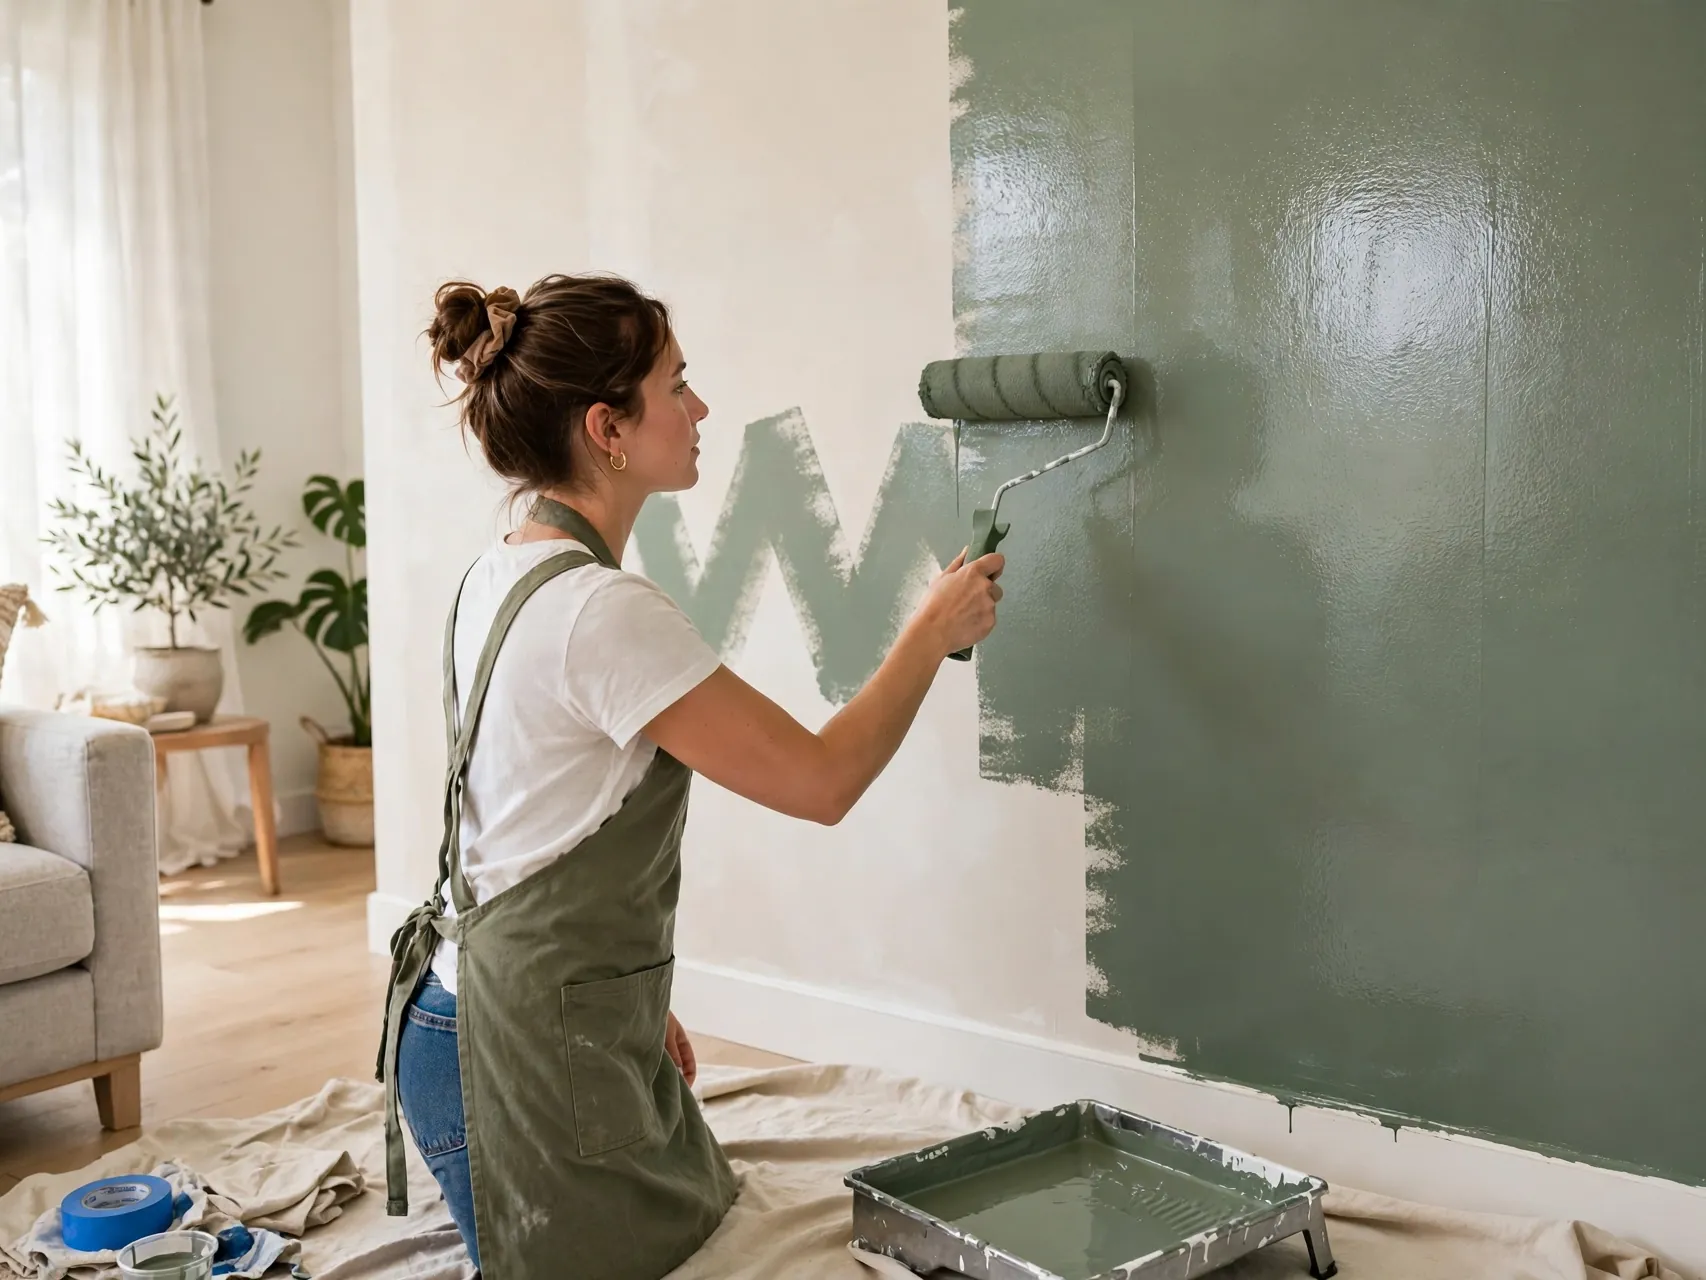
Paint that dries mid wall leaves a visible lap line where the next section overlaps, a stripe no lighting forgives. Slow working, hot rooms, and stopping for long breaks between sections are the usual causes for first time painters.
Fix: keep a wet edge by working in manageable sections and rolling back into the still wet paint beside you. Paint one full wall without stopping, and if you must pause, stop at a corner.
15. Painting in Bad Light and Missing Spots

Dim rooms flatter bad painting. Thin patches, drips, and missed strips hide in shadow all afternoon, then announce themselves the first sunny morning after the furniture is back, when fixing them feels ten times harder.
Fix: paint in strong light, ideally daylight, and add lamps aimed along the walls to reveal texture and misses. Check each wall from a low angle before it dries.
16. Applying the Second Coat Too Soon

Impatient recoat timing ruins more first paint jobs than any color choice. Paint rolled over a coat that has not dried as directed can drag, wrinkle, peel in sheets, and take the first coat with it, doubling your work instantly.
Fix: follow the recoat time printed on your can, not a guess, and remember cool or humid rooms need longer. Use the wait well: wash brushes, tape the next wall, eat lunch.
17. Skipping the Second Coat Entirely

One coat often looks fine while wet and disappointing by morning: thin over patches, uneven over color changes, and dull where the old shade grins through. Beginners skip the second coat to save an hour and notice the patchiness for years.
Fix: plan two coats from the start. The second coat goes faster, deepens the color, evens the sheen, and adds durability. Judge the first coat only as a base, never the result.
18. Overworking Paint That Has Started to Dry

Brushing back over drying paint drags it into ridges and streaks, and re rolling tacky sections tears the surface into a rough orange peel texture. Every beginner does it, because the urge to fix a small flaw immediately is strong.
Fix: once a section is laid on and leveled, leave it alone. Note flaws and fix them after the coat dries. Paint levels itself as it dries far better than anxious tools will.
19. Painting Over Wallpaper or Problem Surfaces Blindly

Paint over loose wallpaper bubbles, glossy surfaces without prep, or damp damaged drywall fails fast and takes the blame with it. The paint is rarely the problem. The surface underneath was never made sound, clean, and ready to hold a coating.
Fix: remove loose wallpaper and paste residue, degloss shiny surfaces as directed, repair water damage at its source first, and prime problem areas. Test one small doubtful area and let it dry before committing.
20. Ignoring Humidity, Heat, and Cold

Paint is chemistry with feelings about weather. Very humid days slow drying and invite sagging coats, hot dry air skins paint before you can blend it, and cold rooms keep coats tacky and weak long after they look done.
Fix: paint in mild conditions when you can, keep the room ventilated at a steady temperature, and extend drying times when humidity is high. Read the can for its temperature range.
21. Leaving the Lid Off and Letting Pets and Kids Wander In
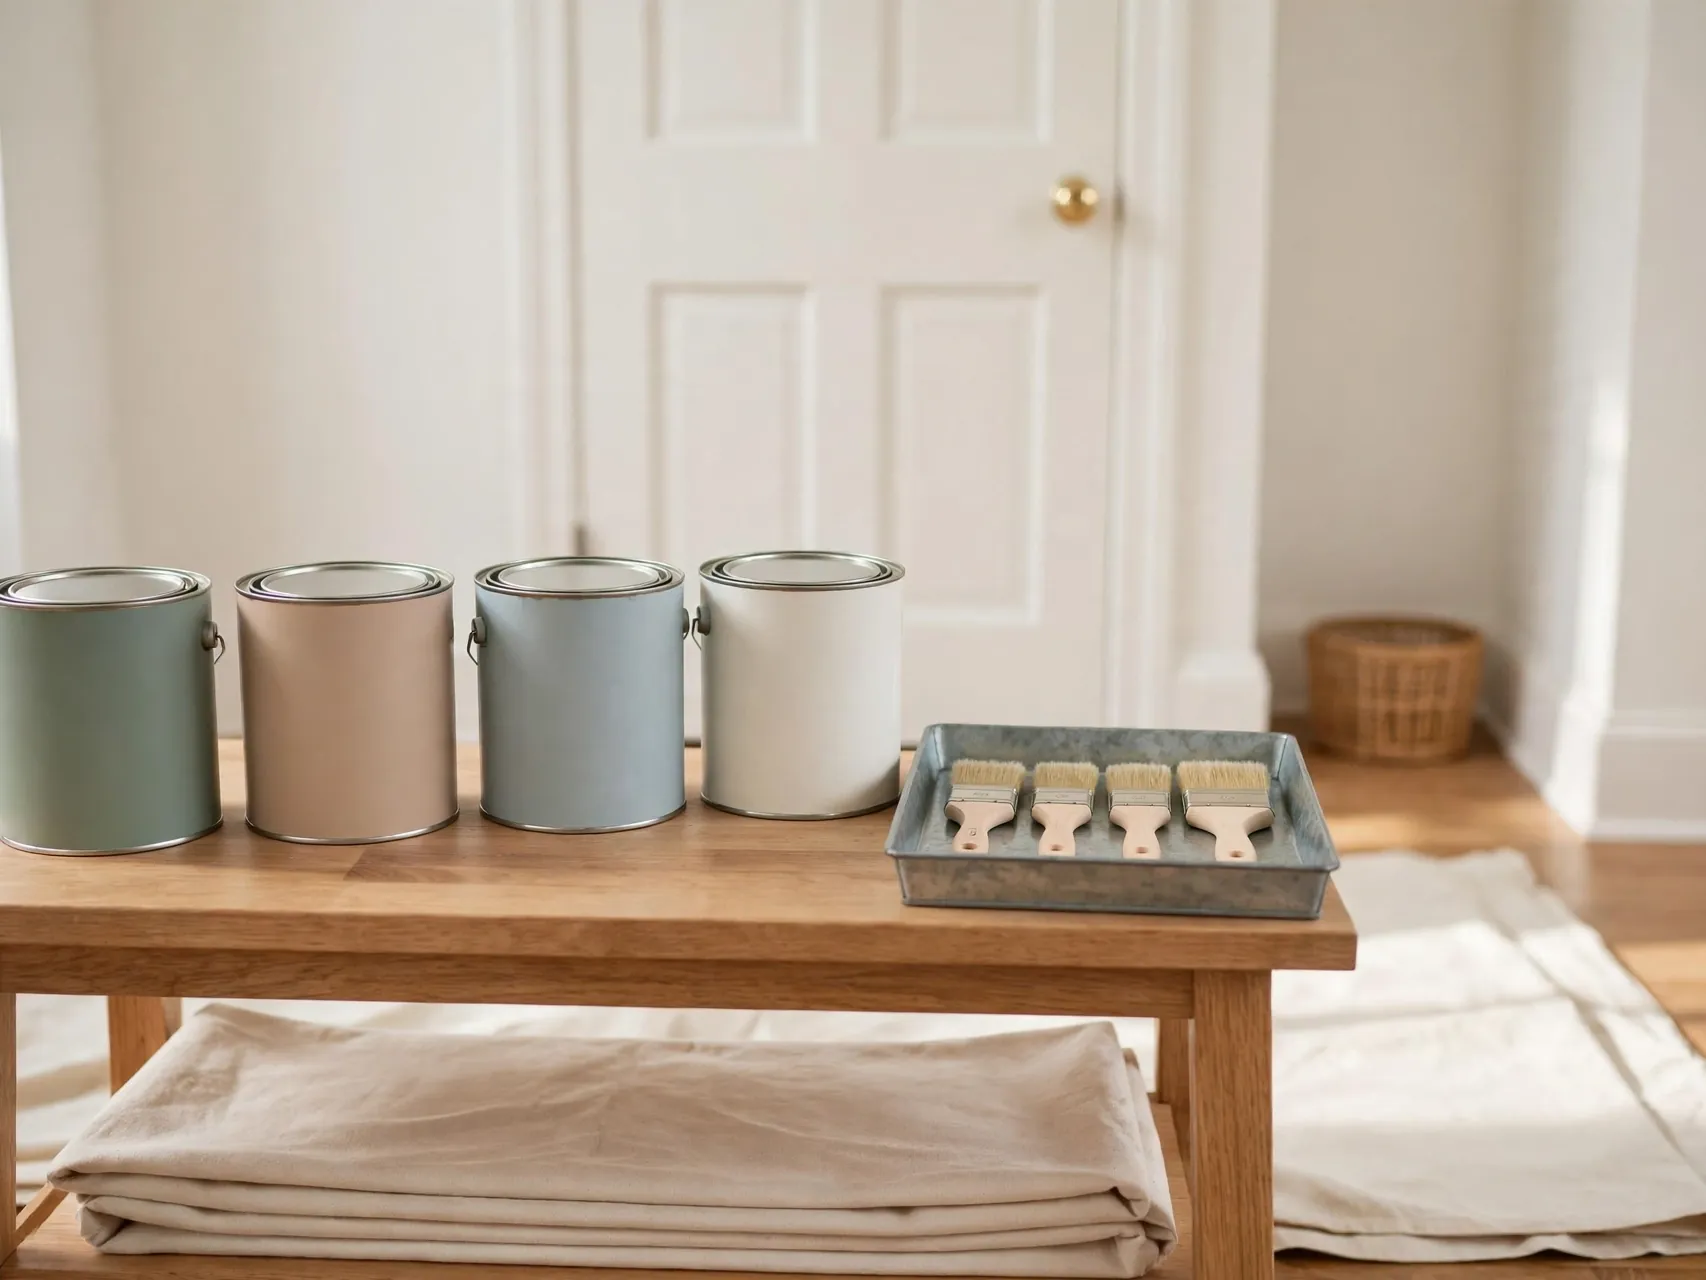
An open can grows a skin, collects dust and debris, and waits for one clumsy moment to become a floor disaster. Meanwhile a curious child or pet can brush a wet wall, walk through a tray, and redecorate the whole house in paw prints.
Fix: pour what you need into a smaller container and reseal the can firmly right away. Close the painting room door and settle kids and pets elsewhere. Calm rooms paint better.
22. Forgetting the Ceiling and Trim Order

Painting walls first, then splattering them while rolling the ceiling, is the classic first timer sequence error. Trim painted last gets wall paint on it, walls painted last get trim paint on them, and everyone ends the day doing touch ups in circles.
Fix: paint in the pro order: ceiling first, then trim and doors, then walls last. Gravity and splatter then work in your favor. It is one of the simplest how to paint a room like a pro habits there is.
23. Pulling Tape Too Late or Yanking It Off

Tape left until paint fully hardens can bond to the coat and tear jagged chunks away as it lifts, undoing your careful edges in seconds. Yanking tape fast at the wrong angle causes the same damage even at the right time.
Fix: remove tape while the last coat is still slightly tacky, or score the paint line gently with a utility knife first if it dried. Pull slowly, low, and back on itself.
24. Not Cleaning and Storing Tools Properly

Good brushes die in one night left unwashed, turning stiff, splayed, and useless, while paint left in trays and rollers skins over and seeds the next job with lumps. Beginners lose more money to ruined tools than to any other single mistake here.
Fix: clean brushes and rollers promptly, reshape bristles, and let tools dry flat. Seal leftover paint tightly, label the can with color and room, and store it away from freezing.
25. Skipping the Final Walk Through and Touch Ups
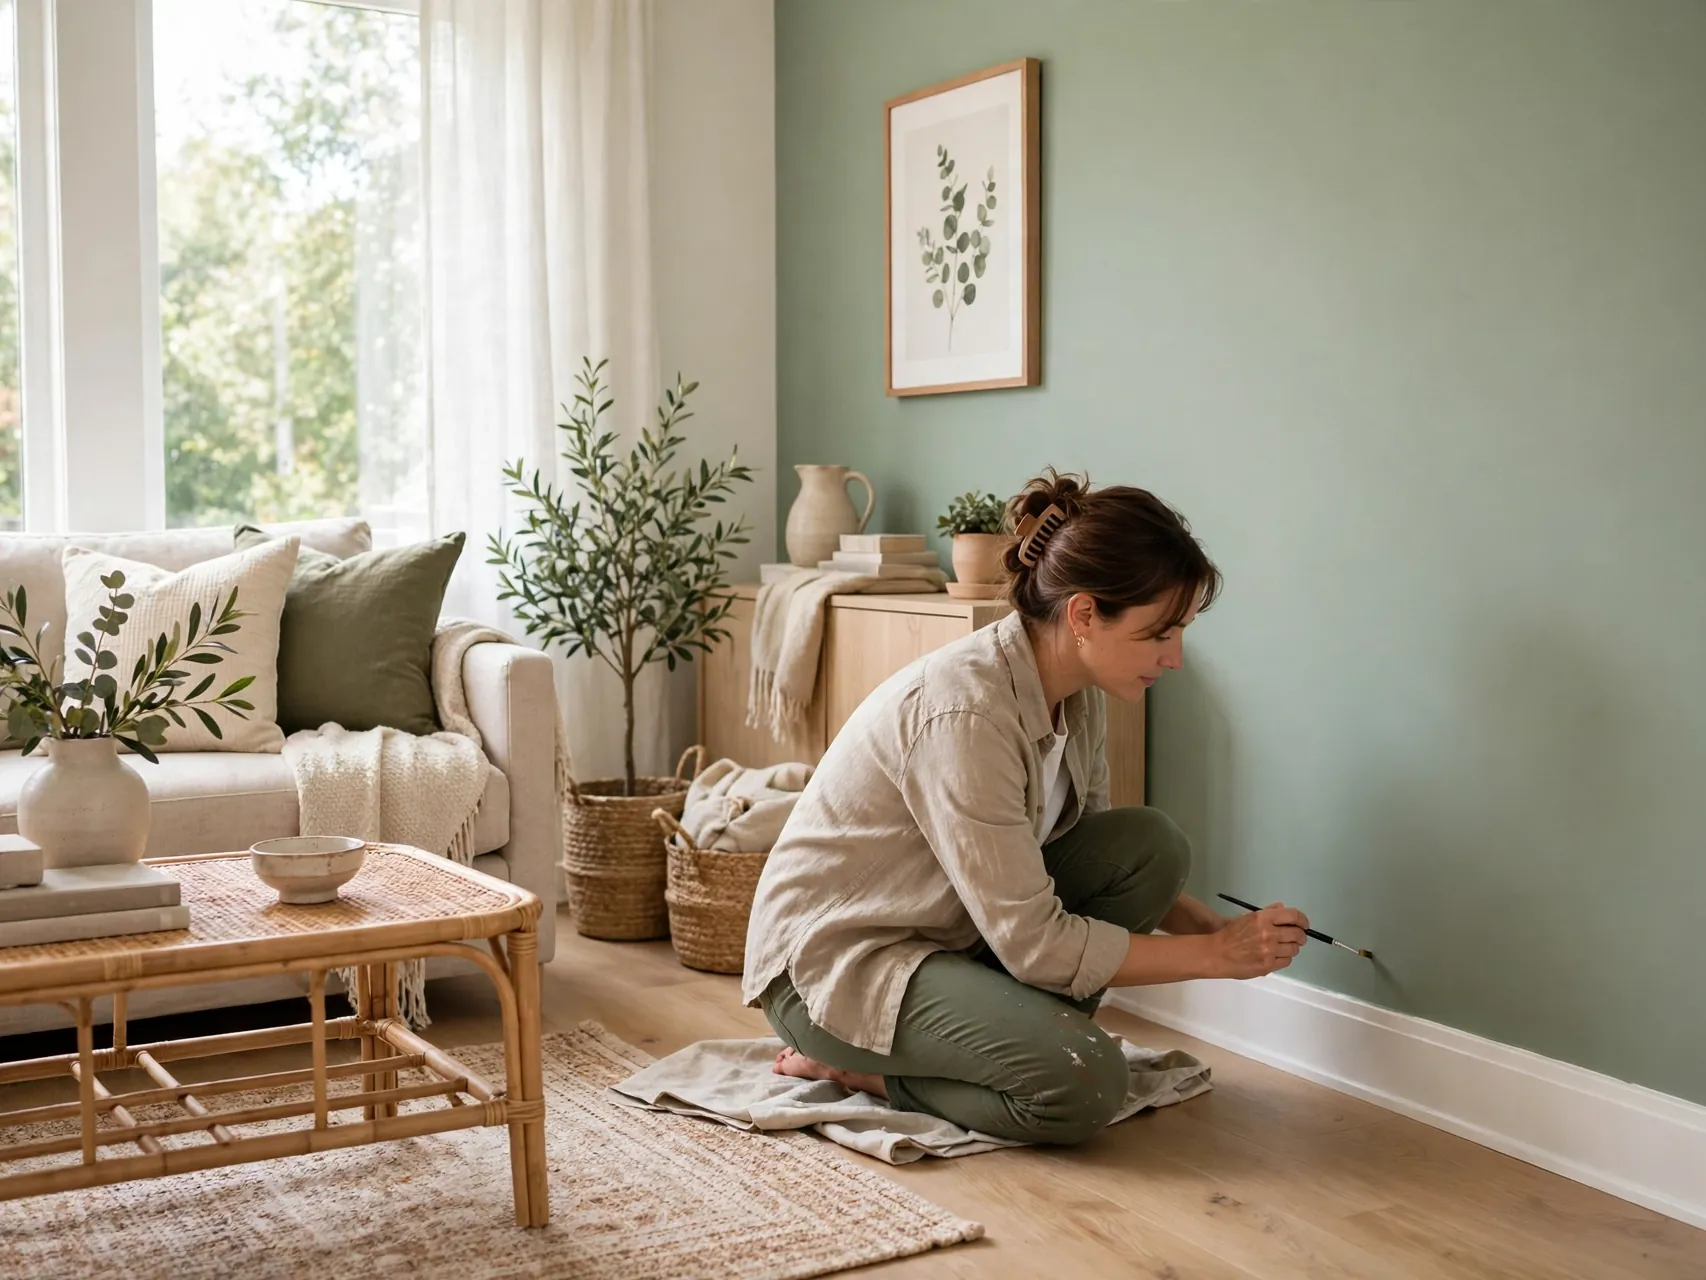
The job is not done when the last wall is rolled. Under honest light the next day, every room shows small misses: a thin patch by the outlet, a drip under the window, a tape line needing one brush width of care.
Fix: walk the room slowly in daylight with a touch up brush, checking edges, corners, and fixtures. Fill, sand, and spot prime late repairs before touching them with color.
FAQ
How long does it take to paint a room for the first time?
For a typical bedroom, allow a full day: several hours of prep, cutting in, and rolling across two coats with proper drying time between them, plus cleanup. Beginners should add a second half day buffer rather than rushing, because prep and drying cannot be hurried without showing in the finish. Small rooms with simple walls go faster, while rooms needing repairs, primer, or bold color changes deserve the whole weekend.
What supplies do I need before I start painting?
Gather paint and primer, a quality angled brush, roller frame with covers matched to your wall texture, a tray with liners, painter tape, canvas drop cloths, a stir stick, a step ladder, filler and a putty knife, sandpaper, and cleaning supplies. Add a fan for ventilation and choose low or zero VOC paint when you can. Having everything in the room before the first can opens prevents the mid coat hardware store run that dries your wet edge.
Can I paint over the existing paint without primer?
Often yes, when the existing paint is sound, clean, matte or lightly sanded, and a similar color. Primer becomes important over bare drywall and patches, stains, glossy finishes, damp problem areas, and strong color changes. When in doubt, prime the repaired or questionable areas at least. Wash the walls either way, because adhesion fails over grease and dust long before it fails over an unprimed but clean, sound surface.
What should I do if my home was built before 1978?
Assume old paint may contain lead until you know otherwise. Do not dry-sand or dry-scrape suspect paint, avoid creating dust, and follow EPA lead-safe guidance for any work that disturbs painted surfaces. Use a lead test kit or, better, hire a certified lead professional to assess and handle repairs or removal. Keep children and pregnant people away from work areas. This caution costs little and protects a great deal.
How do I fix drips and mistakes after the paint dries?
Let the paint cure fully, then sand drips and ridges gently smooth, wipe away dust, spot prime bare or repaired spots, and touch up with the same paint using a small brush or roller to match texture. Feather the edges of the touch up so it blends. For wet drips, smooth them immediately with a nearly dry brush. Most beginner mistakes are fixable with patience, sandpaper, and one careful extra pass.
Key Takeaways
- Prep decides the finish: Clean, repaired, primed where needed, and properly protected rooms are most of how pros get smooth walls.
- Safety first, always: Ventilate well, choose low or zero VOC paint, use ladders carefully, and respect the EPA lead paint caution in pre-1978 homes.
- Thin coats and wet edges: Cut in first, load the roller evenly, keep a wet edge, and let each coat dry as the can directs.
- Good tools pay for themselves: One quality brush and proper roller covers beat cheap sets in coverage, comfort, and final texture.
- Finish like a pro: Remove tape at the right moment, clean tools the same day, and do a daylight walk through for touch ups.
- Painting your first room this weekend? Save this guide to Pinterest and pin it before you open the first can.