23 Tips on How to Clean RV Black Tank the Right Way
Introduction
Learning how to clean RV black tank the right way is less about scrubbing and more about water, timing, and a few firm habits. The black tank holds toilet waste, and it stays trouble-free when solids stay submerged, the tank is dumped with a strong surge of water, and the walls get a real rinse on a regular rhythm.
Most black tank problems, odors, clogs, false sensor readings, and the dreaded solid buildup under the toilet, come from the same three mistakes: too little water, dumping too early, and leaving the valve open at a full hookup site. Fix those habits and the deep cleaning in this list becomes occasional maintenance instead of emergency repair.
Work through these tips in order the first time: daily habits first, then the dump routine, then deep cleaning and sensor care. Keep gloves on, keep your fresh water gear far away from your sewer gear, and follow the label on any RV holding tank treatment you use.
1. Use Plenty of Water With Every Single Flush

Water is the main cleaning tool in a black tank. Fill the bowl partway before use and flush with a generous pour, not a quick tap of the pedal. Enough water keeps solids submerged and moving, softens paper, and stops waste from drying onto the tank floor directly under the toilet.
Short, dry flushes are how buildup starts. If you are conserving fresh water while boondocking, still protect the black tank: add a bowl of water from the sink for solid flushes rather than letting waste drop in nearly dry.
2. Keep the Black Valve Closed Until You Dump

Never leave the black valve open at a full hookup site. With the valve open, liquid drains away all day while solids stay behind and dry into a hard mound that later dumps cannot move. The tank is a holding tank, not a sewer line, and it needs to fill to work.
Keep the valve closed, let the tank fill, and dump in one strong release. Your gray valve can be managed differently on long stays, but the black valve rule has no exceptions if you want a clean tank.
3. Wait Until the Tank Is About Two-Thirds Full to Dump
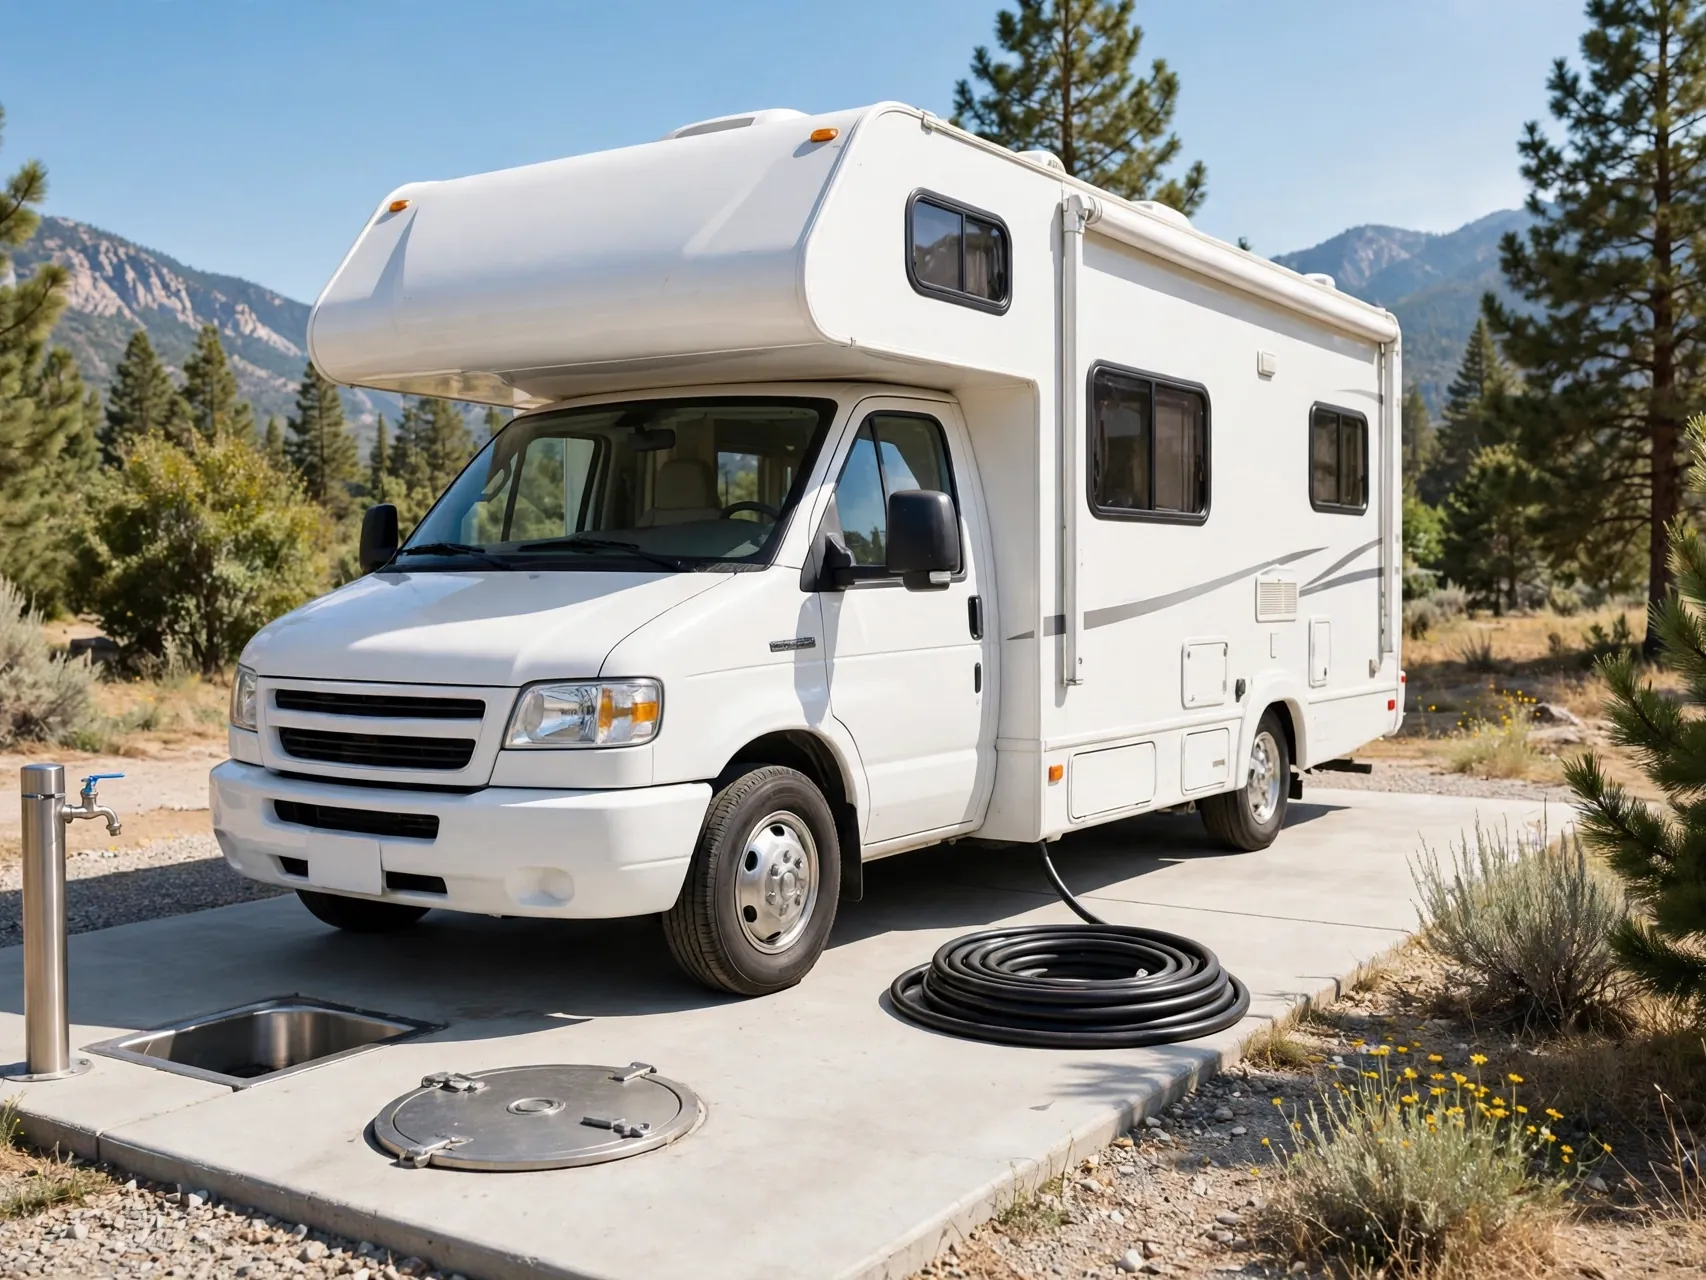
Dumping a nearly empty tank is almost as harmful as leaving the valve open. A tank that is about two-thirds full or more releases with enough volume and weight to carry solids out in the surge. A quarter-full tank trickles, and trickles leave things behind.
If you must leave a site before the tank fills, add fresh water through the toilet until it reaches a good level, then dump. That extra water costs a few minutes and saves you a deep cleaning later in the season.
4. Always Dump Black First, Then Gray

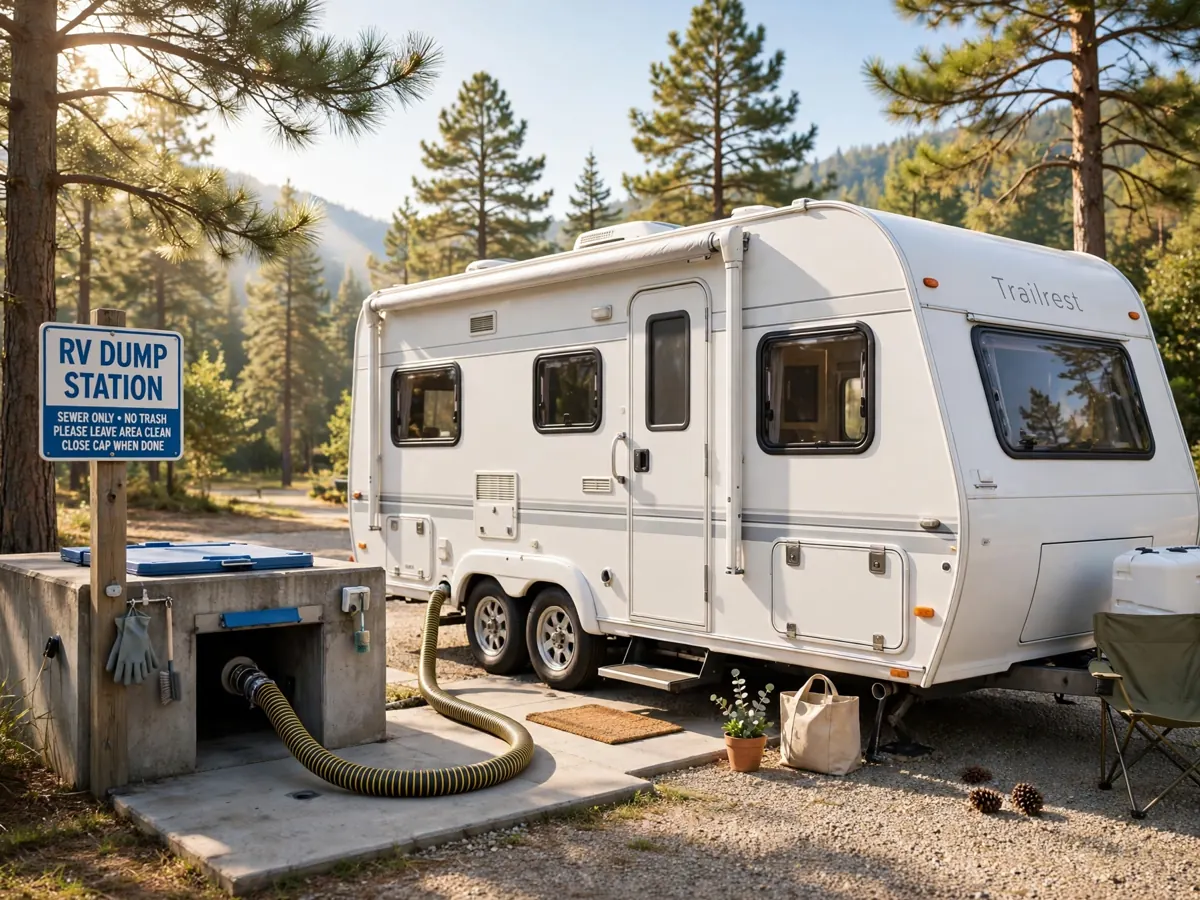
Order matters at the dump station. Open the black valve first and let the tank drain fully, then close it, then open the gray valve. The gray water, which is soapy sink and shower water, flushes the sewer hose after the black water has passed through it.
Close the gray valve when it finishes, disconnect in order, and rinse your gear with the station's non-potable rinse hose only. This black-then-gray habit is the simplest part of good RV holding tank maintenance.
5. Wear Gloves and Keep a Dedicated Dump Kit Together
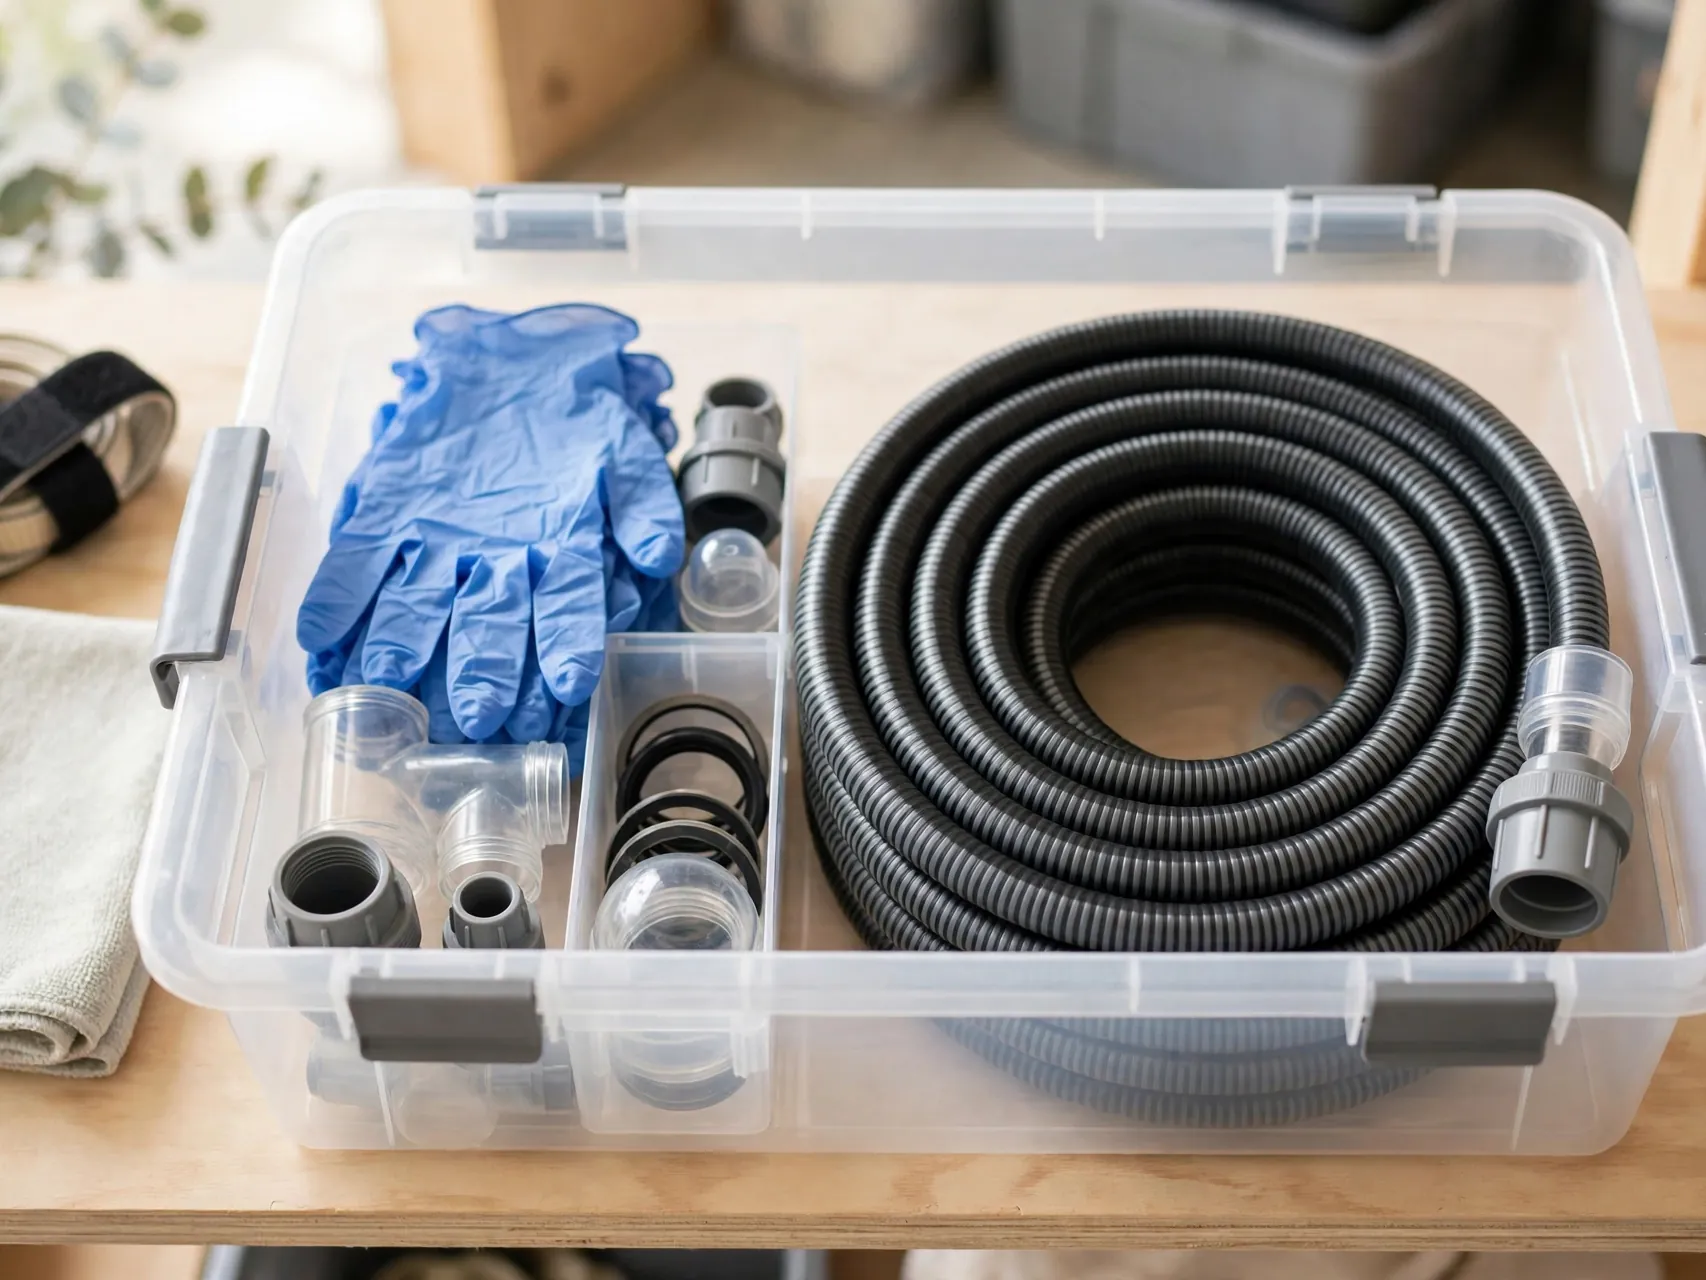
Keep everything for dumping in one sealed bin in an outside compartment: disposable gloves, the sewer hose and fittings, a clear elbow, hand sanitizer, paper towels, and a small trash bag. When the kit is always together, you never touch sewer gear with bare hands or hunt for parts at the station.
Put gloves on before you touch any fitting and take them off last, after the hose is rinsed and stored. Wash hands with soap and water as soon as you are done, even if the gloves stayed intact.
6. Use a Clear Elbow So You Can See When It Runs Clean

A clear elbow or clear section at the RV outlet turns guesswork into information. You can watch the flow change as the tank empties, see whether a rinse is actually bringing out more solids, and know the tank is clean when the water runs mostly clear.
Without a window into the hose, most people rinse too little and stop too early. The clear fitting is a small, inexpensive piece of gear, and experienced campers treat it as essential rather than optional.
7. Rinse With the Built-In Flush or a Tank Wand After Dumping

After the main dump, rinse the tank while you are still connected. If your RV has a built-in black tank flush, connect a separate non-potable hose to it and run it for several minutes with the black valve open, following your RV manual. If not, a rinse wand down through the toilet sprays the tank walls directly.
Never leave a built-in flush running with the valve closed and walk away: the tank can overfill quickly. Stay at the station, watch the clear elbow, and stop when the outflow runs clear.
8. Fill and Dump Again When the Water Still Looks Dirty
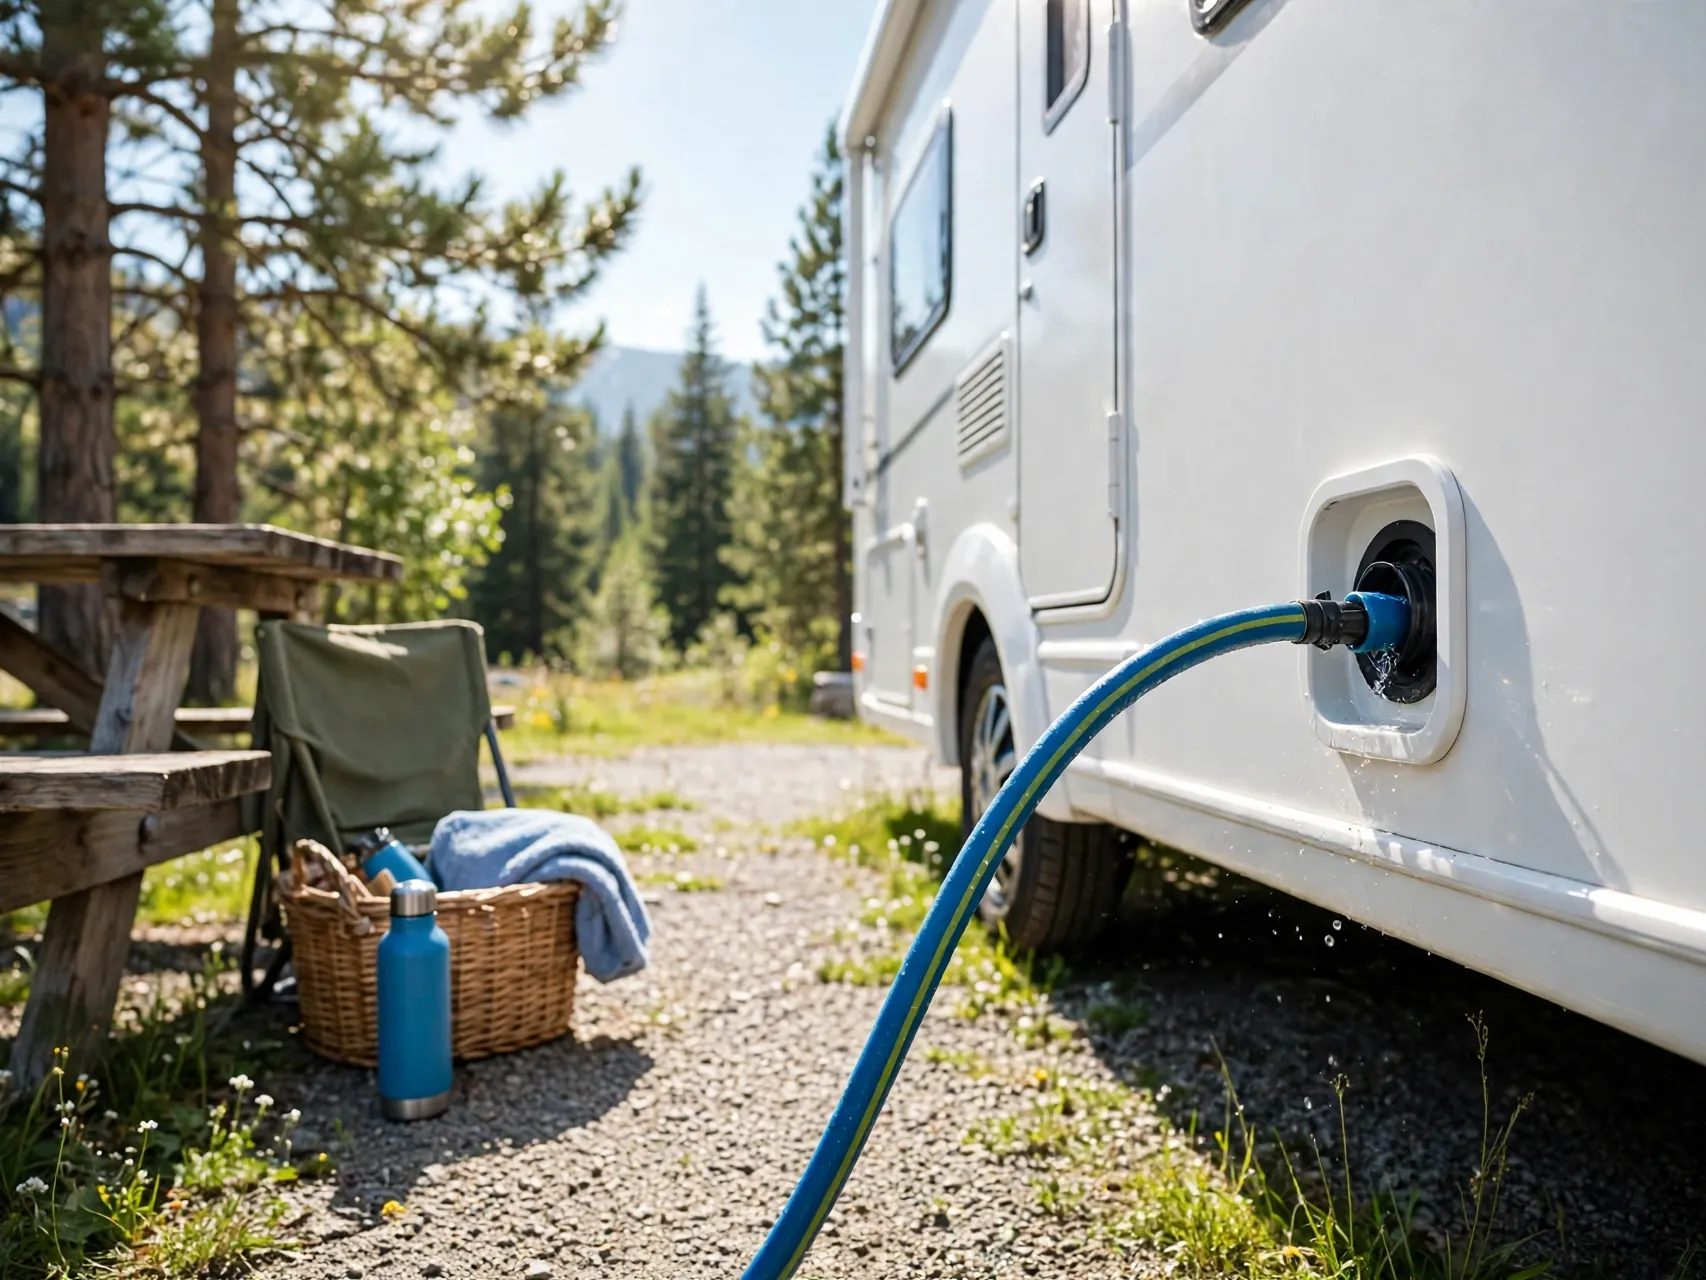
One dump rarely gets a neglected tank clean. If the rinse water still carries color and solids, close the valve, refill the tank partway or fully with clean water through the flush or the toilet, let it sit a few minutes, and dump again. Repeat until the water runs clear.
This fill-and-dump cycle is the core of real RV black tank cleaning. It uses water and patience instead of harsh chemicals, and it reaches the tank floor and walls in a way a quick hose spray cannot.
9. Add an RV-Specific Enzyme or Chemical Treatment After Dumping
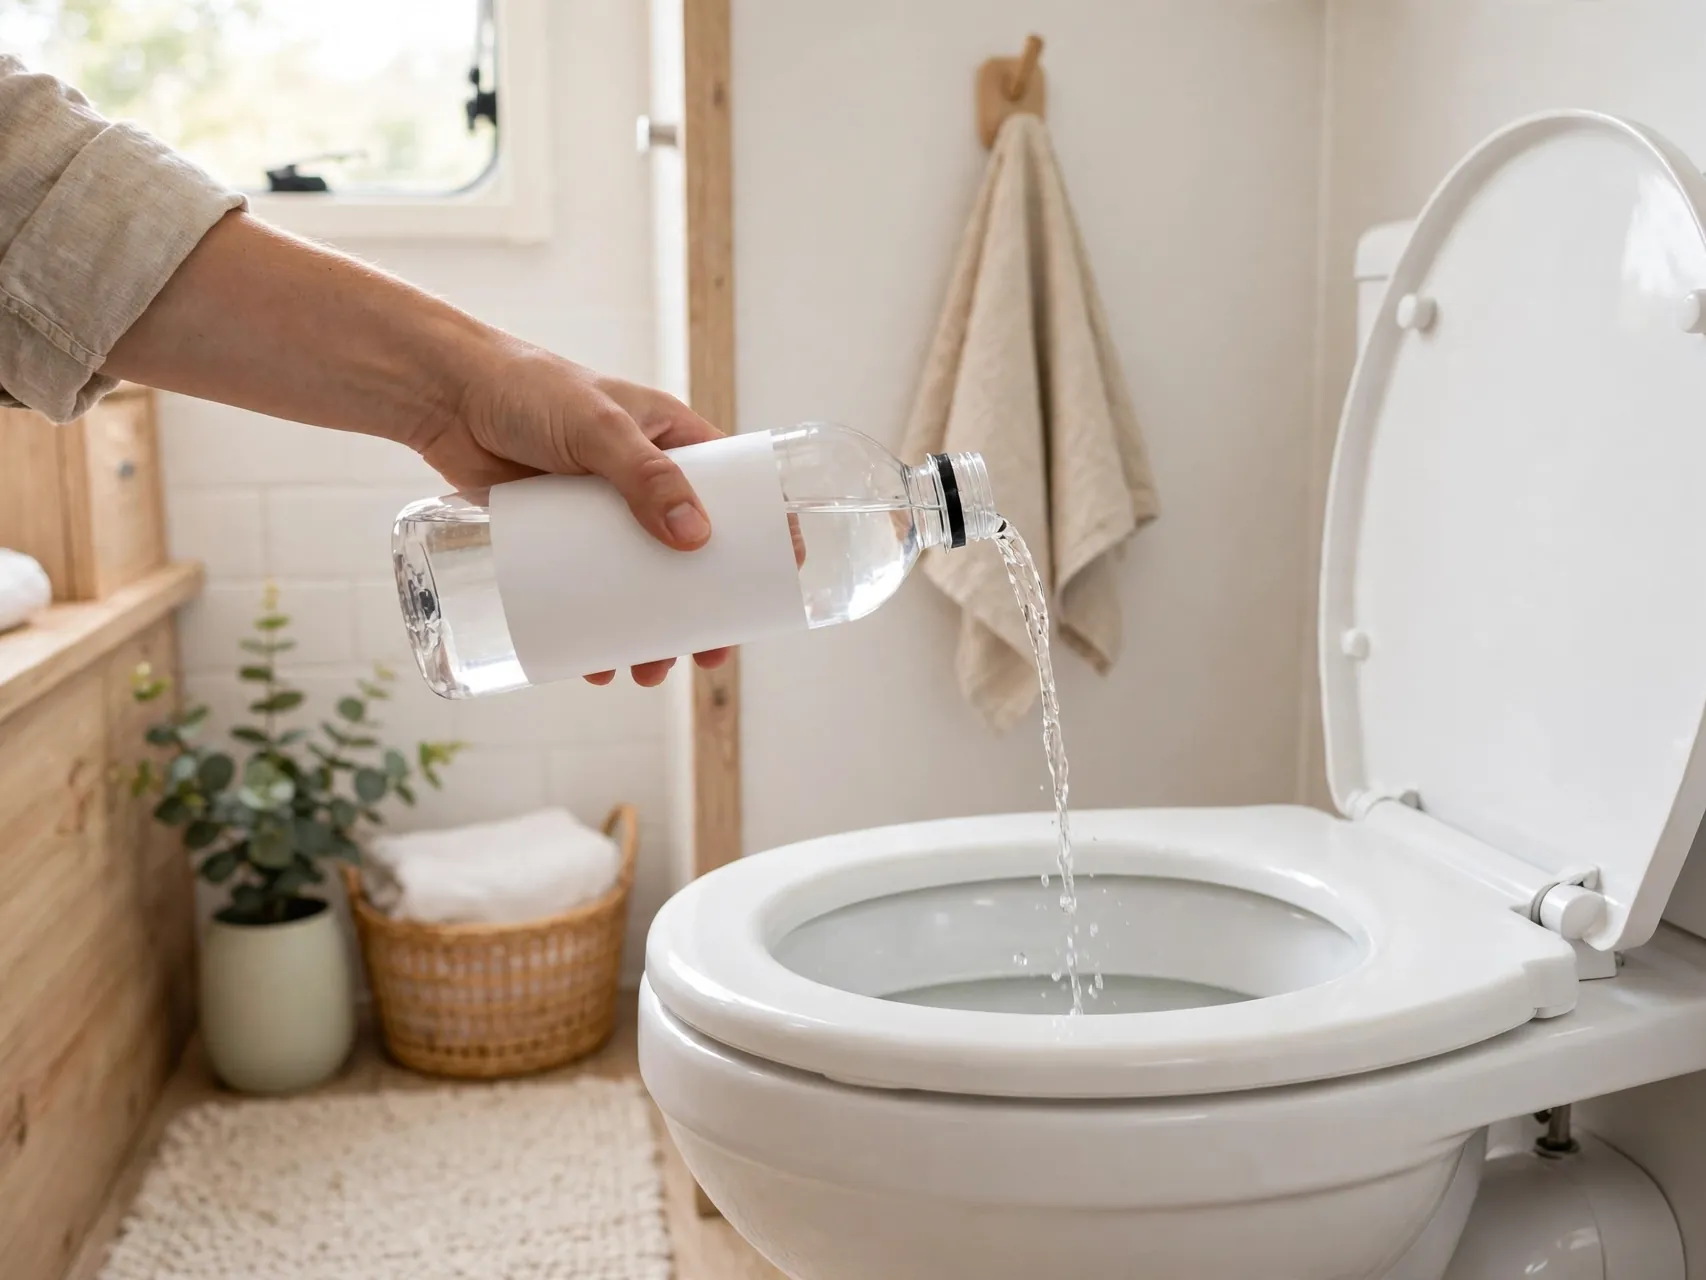
After dumping and rinsing, close the valve and recharge the tank: add a few gallons of fresh water through the toilet, then add an RV-specific holding tank treatment at the dose on its label. Products from makers like Thetford and Camco use enzymes or chemicals to break down waste and paper and control odor between dumps.
Use only products made for RV holding tanks, and follow the label for your tank size. The starting water matters as much as the treatment, because waste that lands in water starts breaking down right away instead of drying on the floor.
10. Choose Toilet Paper That Breaks Down Quickly
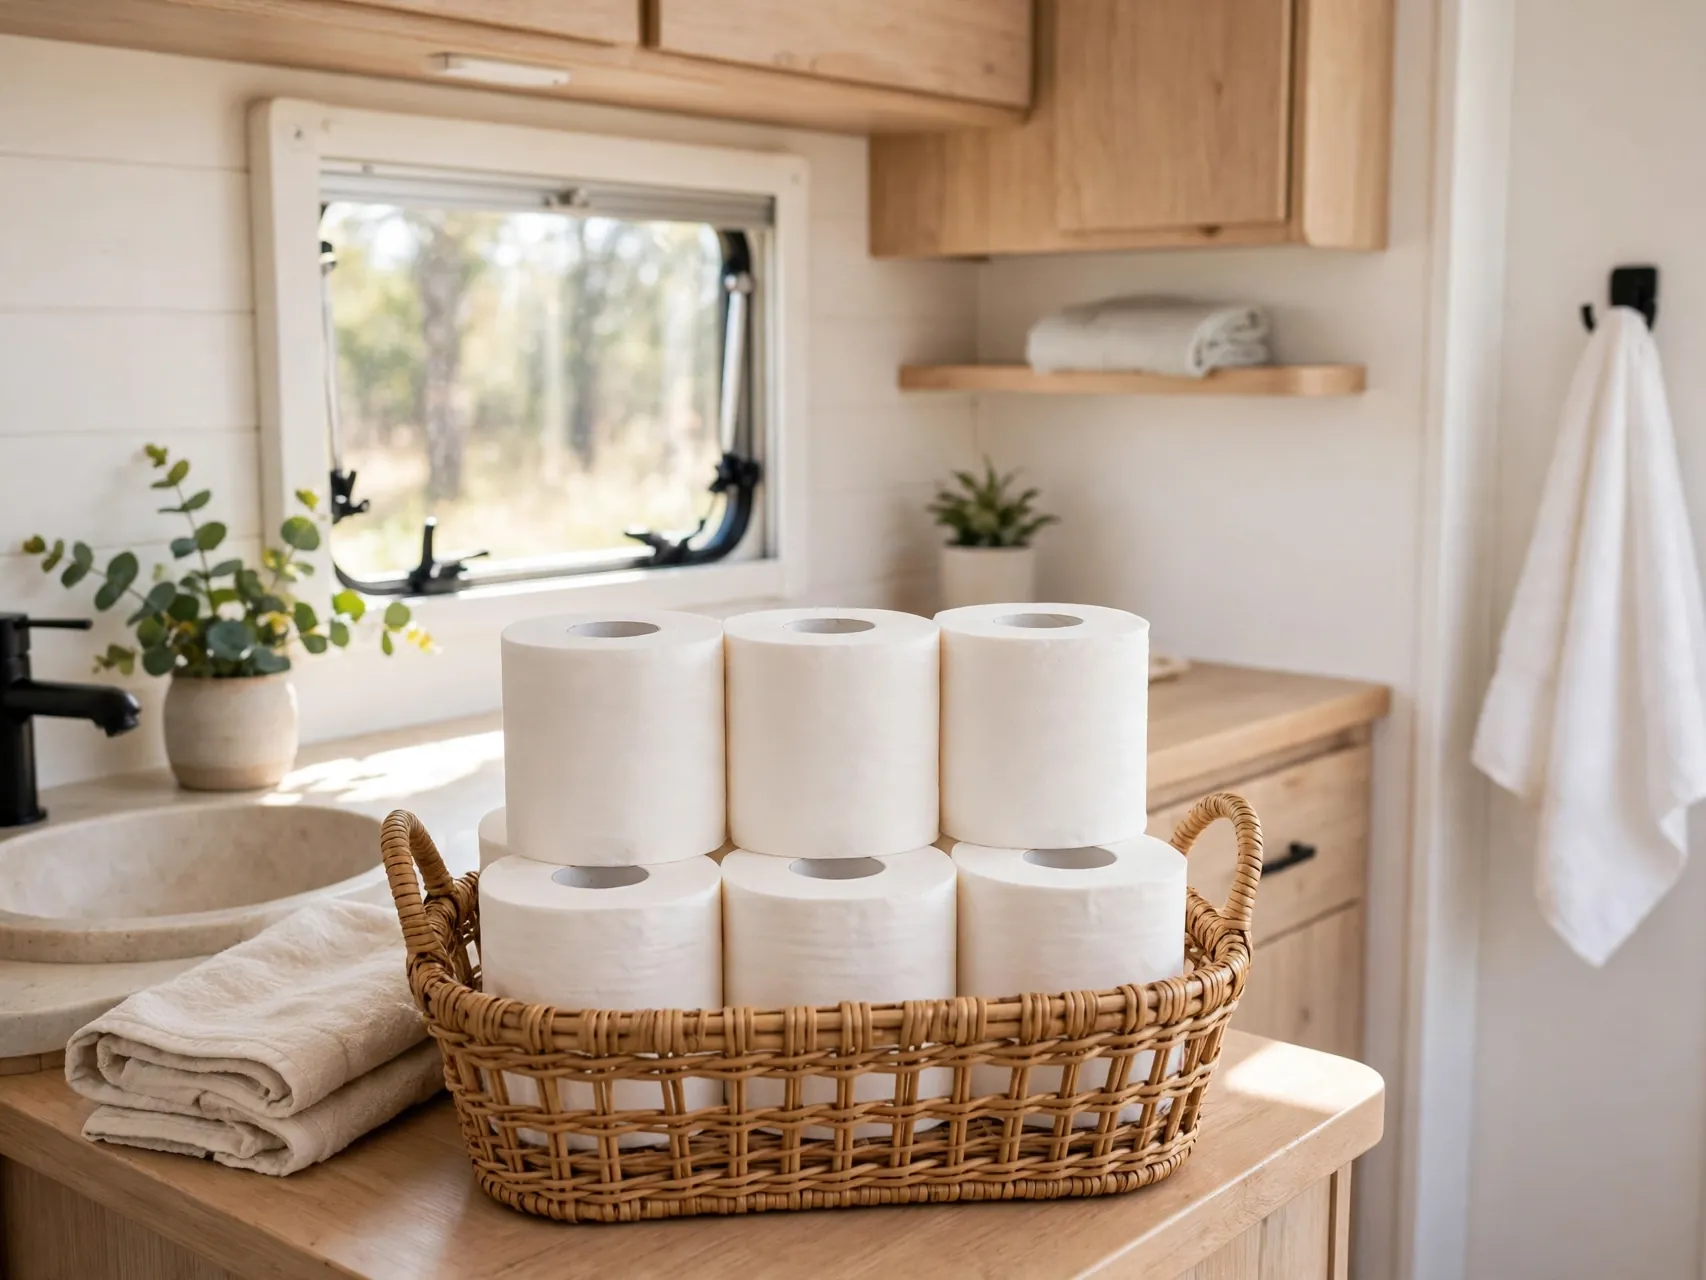
Thick, plush home toilet paper can clump, cling to sensors, and resist breaking down in a holding tank. Use RV-specific, septic-safe, or quick-dissolving paper instead. A simple home check helps: put a few sheets in a jar of water, shake it, and see whether the paper falls apart.
Paper choice will not save a dry tank, but in a well-watered tank the right paper dissolves instead of draping itself over sensor probes and outlet pipes. When guests join you, a friendly note about the paper prevents accidental problems.
11. Never Put Wipes, Feminine Products, or Trash in the Toilet

Only waste and toilet paper belong in an RV toilet. So-called flushable wipes do not break down like paper in a holding tank, and feminine products, paper towels, tissues, and food scraps can mat together, block the outlet, and wrap around sensor probes.
Keep a small lined trash can with a lid beside the toilet for everything else, and empty it often. One sentence to guests at the start of a trip prevents the most common and most unpleasant tank clog there is.
12. Deep Clean With a Long Soak a Few Times a Season
Routine dumping keeps a tank working, but a deep clean keeps it truly clean. Dump and rinse first, then fill the tank with water, add a strong RV tank cleaner at its label dose, and let it soak for many hours or several days if the maker allows, ideally while the RV sits unused or on a drive where the water can slosh.
Drain, rinse until clear, and repeat the soak if the outflow still looks dirty. Stationary campers need this more often, since their tanks never get the cleaning help of road movement.
13. Break Up a Stubborn Buildup With Water, Time, and Motion

If waste has dried into a mound under the toilet, start gentle: add several gallons of warm, not boiling, water and an enzyme treatment, close the valve, and let it soak overnight or longer. Then dump and rinse with a wand aimed at the buildup through the toilet.
A short drive with water and treatment in the tank helps loosen stubborn material as it sloshes. Repeat the soak-and-dump cycle rather than escalating to harsh tools. If a true clog will not clear, a professional tank cleaning service is safer than forcing anything through the toilet.
14. Clean False-Reading Sensors With Soaking, Not Scraping

Tank sensors are small probes through the tank wall, and a film of paper and waste across them reads as a full tank forever. This is a cleaning problem, not an electrical one. A long enzyme soak, followed by fill-and-dump rinsing, is the standard fix and the heart of RV tank sensor cleaning.
Keep sensors working by preventing the film in the first place: plenty of flush water, quick-dissolving paper, and a rinse after dumping. If readings stay wrong after two deep soaks, have a technician check the probes and wiring.
15. Rinse the Sewer Hose and Store It Separately From Fresh Gear

After the gray water has flushed the hose, rinse the outside and inside of the sewer hose with the dump station's non-potable hose, let it drain, cap the ends, and store it in its own sealed bin or compartment. Sewer gear and fresh water gear should never share a bin.
Never use your drinking water hose to rinse sewer equipment, and never use the station's rinse hose to fill your fresh tank. That separation is a health rule, not a preference, and it protects everyone who drinks from your system.
16. Be Quick and Courteous at Busy Dump Stations

Dump station etiquette is simple: be ready, be fast, and be clean. Stage gloves, hose, and elbow before you pull in, do a normal dump and one rinse if there is a line, and save the long deep clean for a full hookup site or home. Rinse the pad, close the inlet lid, and take your trash with you.
Parks and the National Park Service ask campers to leave stations clean for the next user and to keep non-potable and potable water uses separate. A tidy five-minute stop keeps the line moving and the station pleasant.
17. Dump Gray Tanks With the Same Care

Gray water smells worse than most people expect, thanks to food grease and soap scum. Scrape plates into the trash before washing, use a sink strainer, and avoid pouring cooking grease into the sink. Grease coats gray tank walls and sensors just as it does at home.
Your gray tank also benefits from an occasional fill-and-dump rinse and a holding tank treatment approved for gray use. Clean gray habits make the black-then-gray dump order work better, because the gray water leaves the hose fresher.
18. Lubricate Valves and Seals as Part of Cleaning
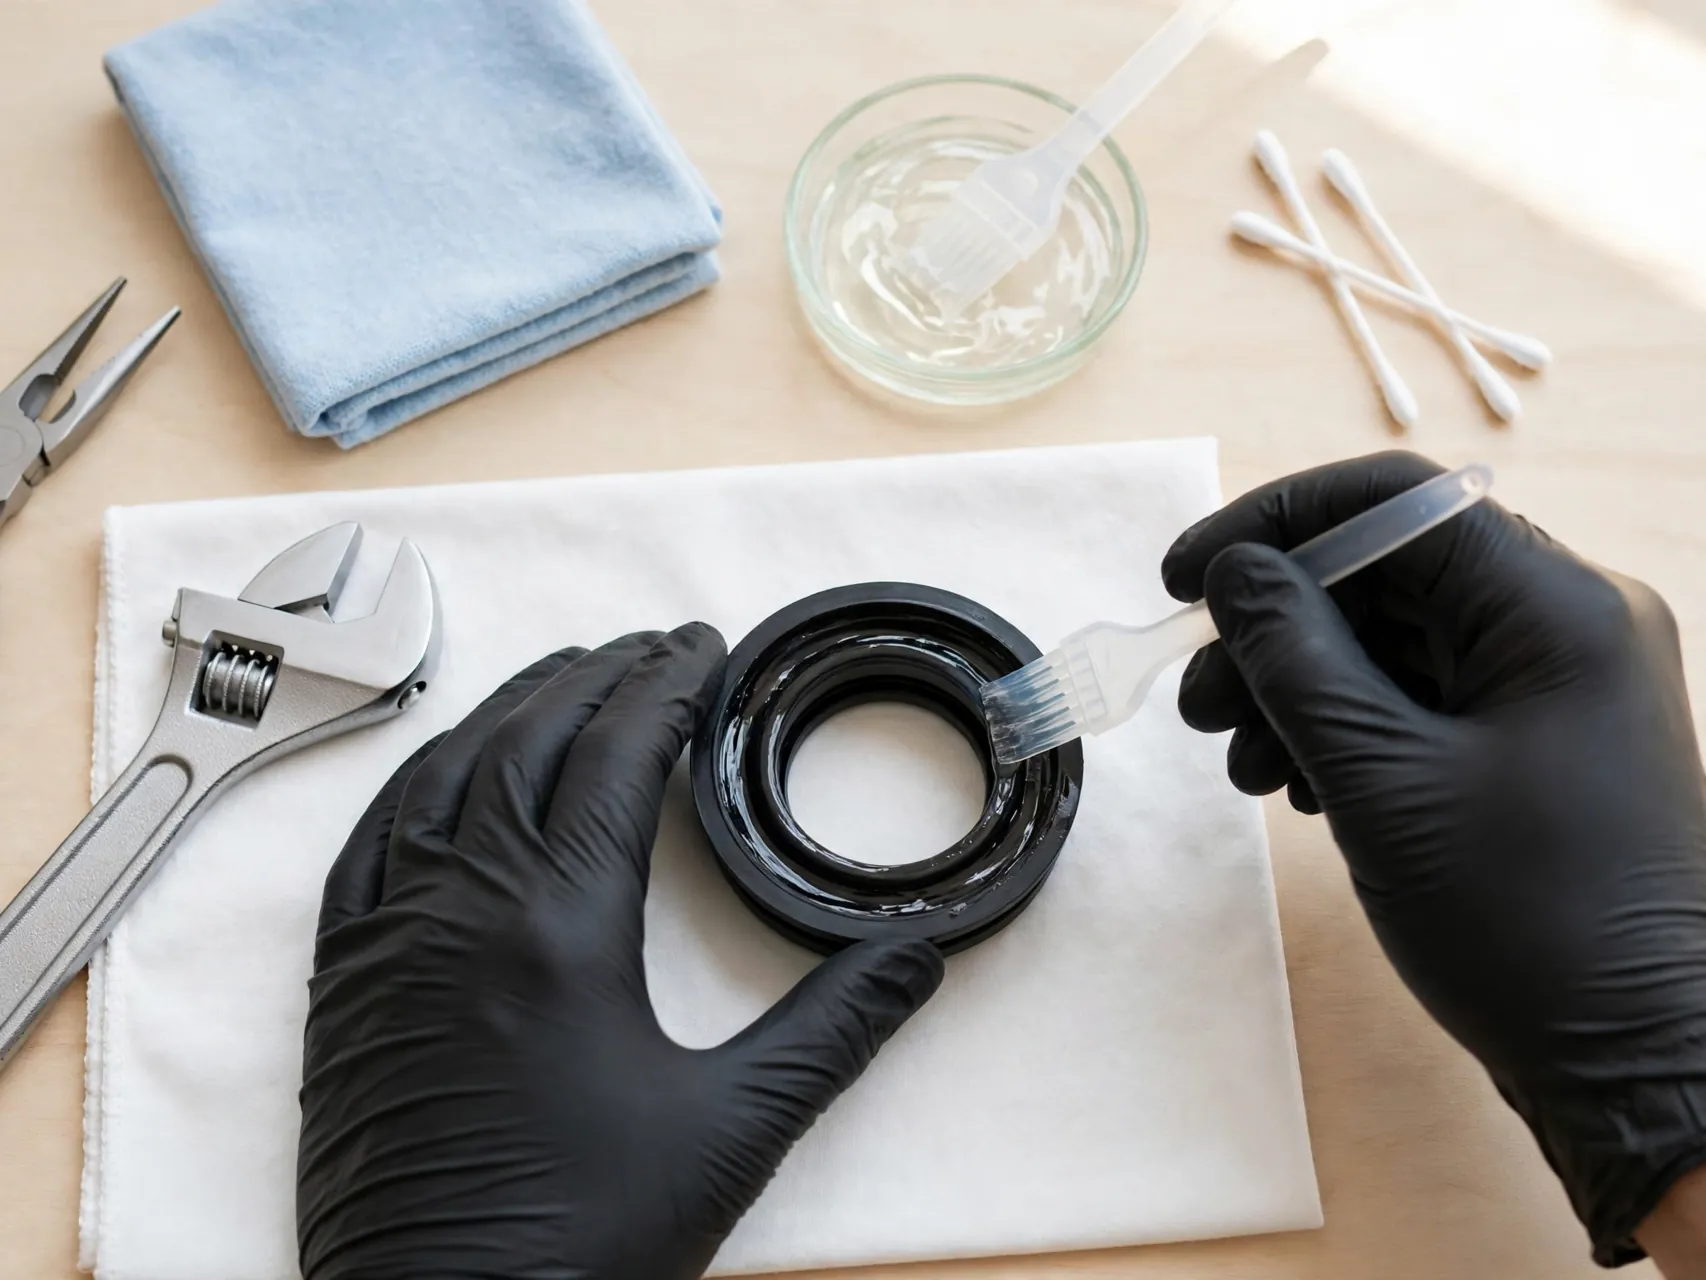
A tank that is clean but has dry, sticky valves will still ruin a trip. Keep dump valve seals and the toilet bowl seal in good shape with the lubricants and conditioners made for them, at the intervals your RV and toilet manuals suggest. A toilet seal that holds water in the bowl also holds odors down in the tank.
If a valve handle becomes hard to pull or a valve drips when closed, deal with it promptly. Small leaks at fittings only get worse on the road, and they are far easier to fix at home than at a campground.
19. Clean the Tank Before Storage, Never Store It Dirty
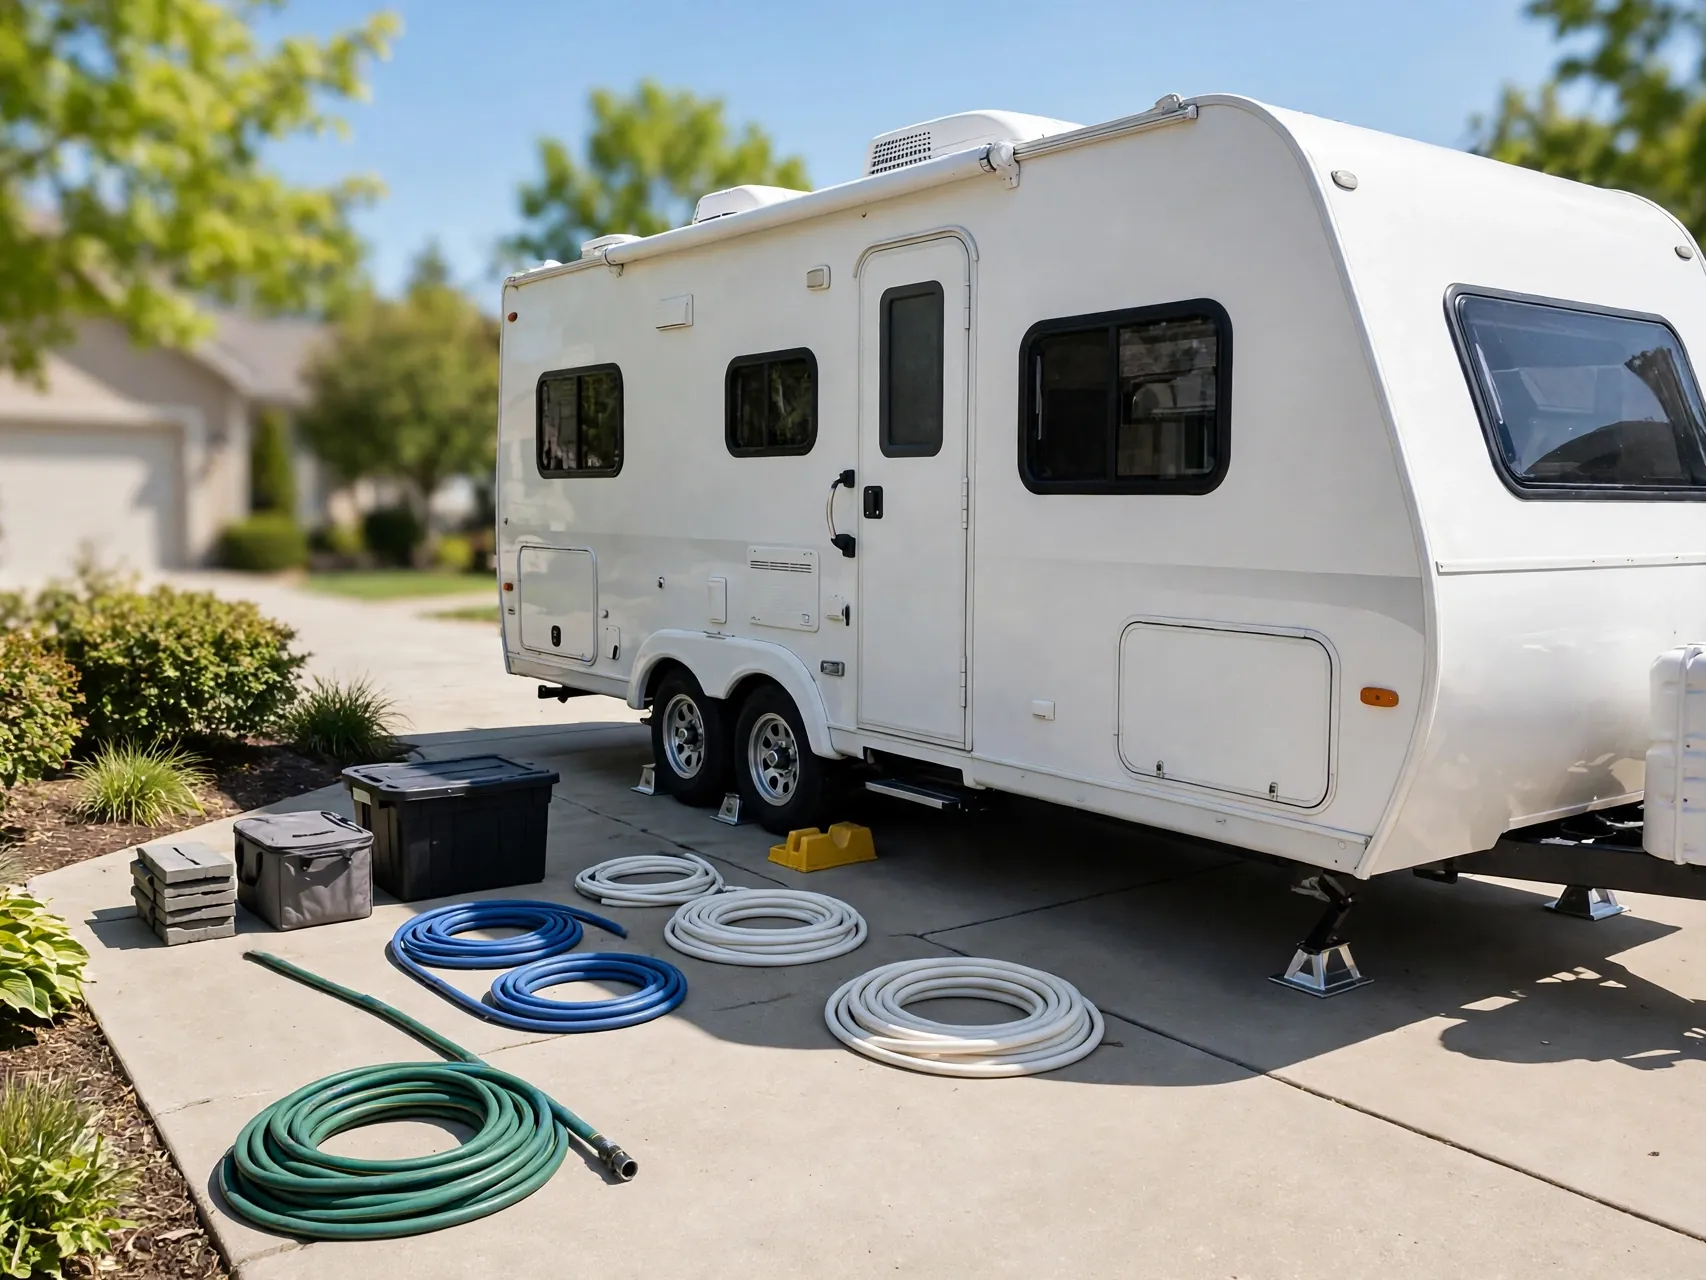
Never park the RV for the season with waste in the black tank. Do a full dump, rinse, and deep soak at the end of your last trip, then leave a few gallons of fresh water and treatment in the clean tank so seals stay moist and residue cannot dry onto the walls.
A tank stored dirty bakes its contents onto every surface for months, and the spring cleanup is far worse than the fall one. Add this to your winterizing checklist, right beside draining the fresh system and protecting the plumbing per your manual.
20. Keep a Simple Dump Log So Cleaning Stays on Schedule

A small notebook or phone note with dump dates, rinse notes, and treatment used removes all the guesswork. You will know at a glance whether sensors started misreading after a rushed trip, and whether it is time for the seasonal deep soak.
Log anything unusual too: slow draining, odor after dumping, or a valve that felt stiff. Patterns in the log point straight at the cause, usually too little water or too long between rinses, while the fix is still easy.
21. Control Odor by Fixing Causes, Not Covering Smells

Persistent odor after dumping is information. Common causes are a dry or damaged toilet bowl seal, waste built up under the toilet, a blocked roof vent, or a tank that is not getting enough water. Scented treatments can help day to day, but they cannot fix a dry seal or a buildup.
Work through the causes in order: confirm the bowl holds water, deep soak and rinse the tank, and check that the roof vent is clear. A clean, well-watered tank with a sound seal should not smell inside the RV.
22. Know What Never Goes in the Black Tank

Keep harsh home chemicals out of the holding tank unless an RV product label says otherwise. Strong bleach cleaners, drain openers, and antibacterial products can damage seals and kill the helpful breakdown action of enzyme treatments, and mixing cleaning products can create dangerous fumes.
One clear exception belongs to a different system: dilute household bleach is the standard sanitizer for the fresh water tank, at about 1/4 cup per 15 gallons, flushed out afterward. That job is for the fresh side only, never a shortcut for the black tank.
23. Finish Every Dump With the Recharge Step
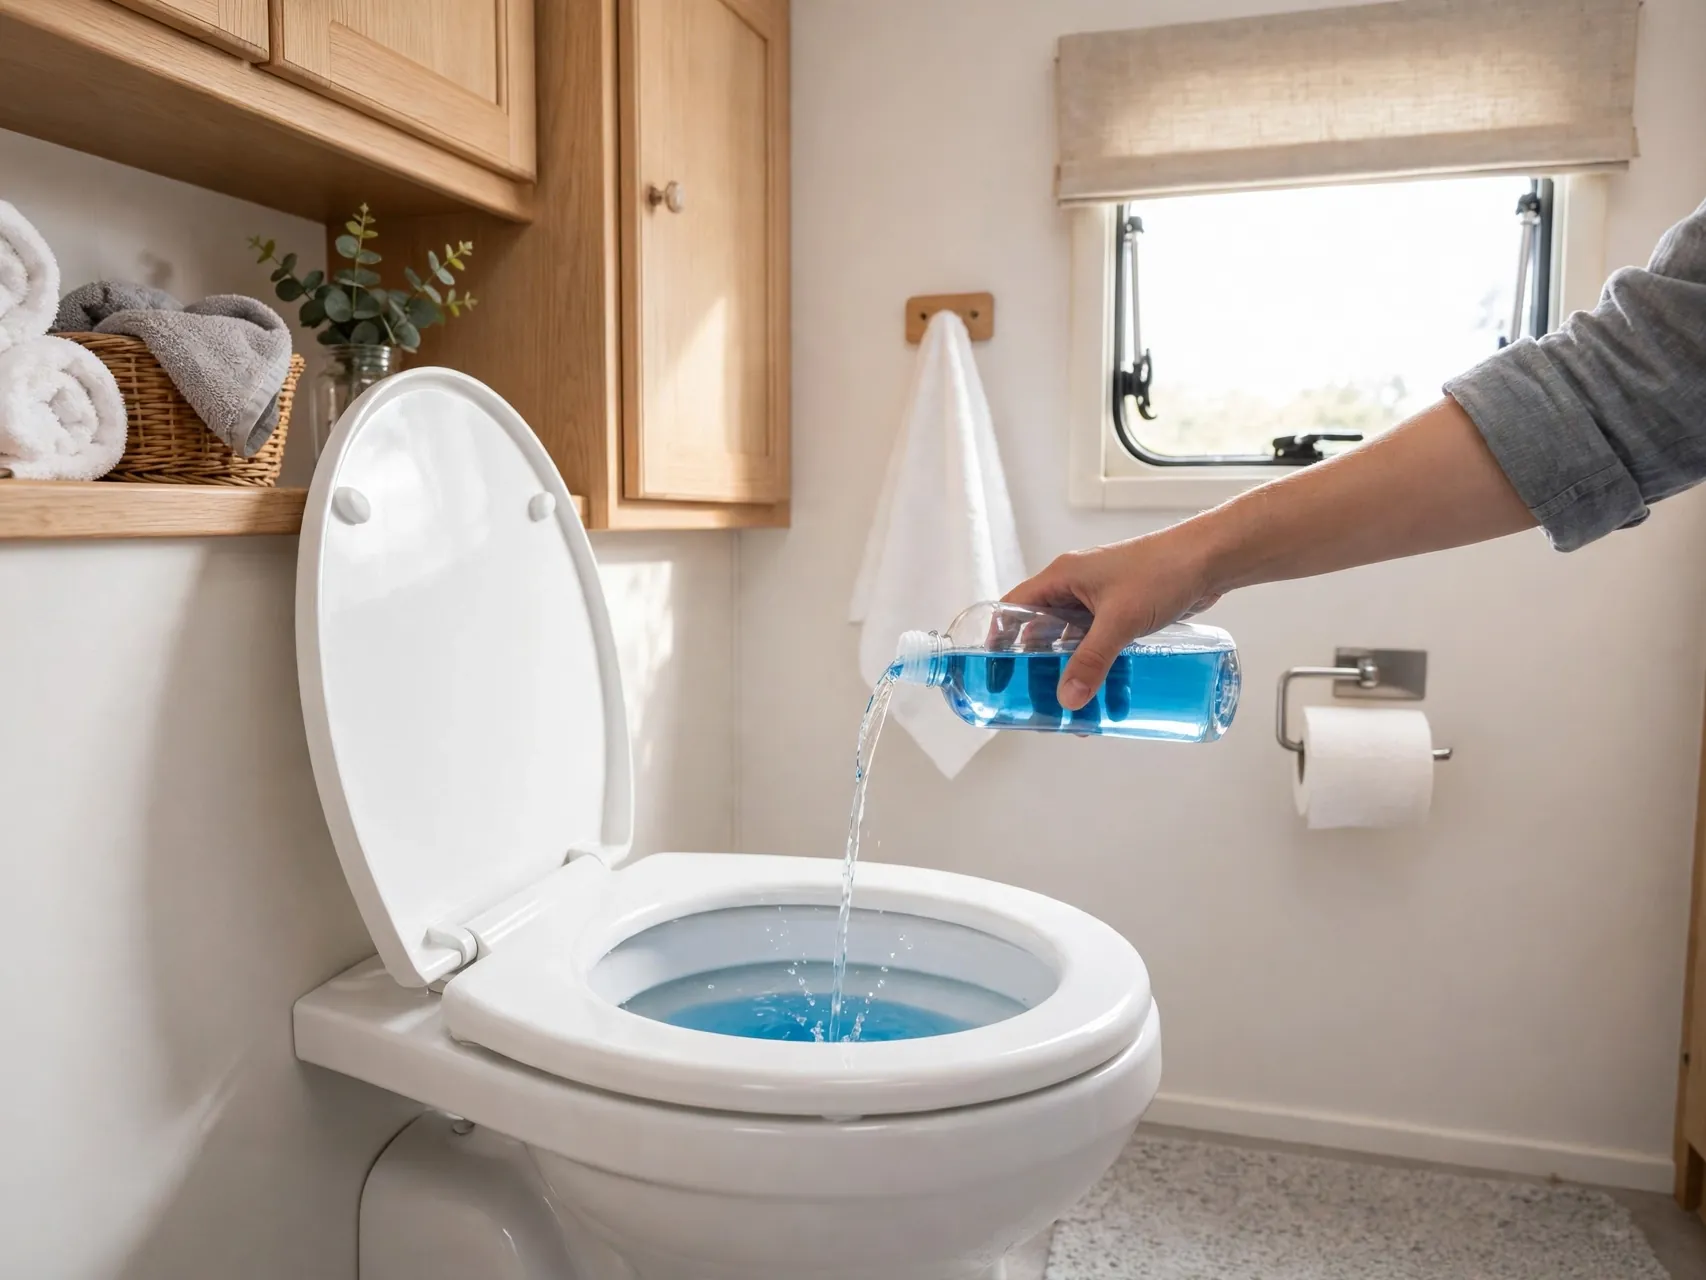
End the routine the way clean tanks begin: valve closed, a few gallons of fresh water added through the toilet, and treatment dosed per its label. This two-minute recharge means the next use lands in water, paper starts dissolving at once, and odors never get a dry surface to grow on.
Make the recharge as automatic as closing the valve itself. Campers who never skip it are the ones who rarely need emergency cleaning, and their answer to how to clean RV black tank is simply that they keep it clean all season.
FAQ
How often should I clean my RV black tank?
Dump whenever the tank is about two-thirds full or at the end of a trip, rinse after dumping when time allows, and do a long-soak deep clean a few times a season. Thetford suggests emptying a waste holding tank every 3 to 5 days during use, depending on the additive you use. Full-time and stationary campers need deep cleans more often.
Can I leave the black tank valve open at a full hookup site?
No. With the valve open, liquids drain away and solids stay behind, dry out, and form a hard mound that normal dumping cannot remove. Keep the black valve closed until you are ready to dump, then release the full tank at once for a strong, cleaning surge.
Why do my tank sensors always read full?
Usually because a film of paper, waste, and mineral scale coats the sensor probes and tricks them into reading full. A long soak with an RV enzyme cleaner, followed by fill-and-dump rinsing, clears most false readings. Plenty of flush water and quick-dissolving paper prevent the film from coming back quickly.
What is the correct order for dumping RV tanks?
Connect securely, open the black valve first and let it drain completely, close it, rinse the black tank if you have time, then open the gray valve so the soapy gray water flushes the sewer hose. Close the gray valve, rinse your gear with the non-potable hose, and store sewer gear separately.
Is it safe to use bleach in my black tank?
Regular bleach use is not recommended for the black tank: it can harm seals and stops enzyme treatments from working, and cleaning products should never be mixed. Dilute bleach sanitizing belongs to the fresh water system. For the black tank, use water, rinsing, and an RV-specific treatment at the dose on its label.
Key Takeaways
- Water does the cleaning: Plenty of water with every flush is the single habit behind every clean RV black water tank.
- Closed valve, full dump: Keep the black valve closed, dump at about two-thirds full, and always dump black first, then gray.
- Rinse and recharge: Rinse until the clear elbow runs clear, then add a few gallons of water plus an RV treatment at the label dose.
- Paper and trash discipline: Quick-dissolving paper only, and nothing else goes in the toilet except waste. Wipes and trash go in the bin.
- Deep clean on schedule: A long enzyme soak a few times a season, and always before storage, keeps sensors honest and odors away.
- New to RV life and want a calmer dump day? Save this guide to Pinterest and pin it before your next trip.