24 Tips to Remove Peel and Stick Wallpaper Without Damage
Introduction
Peel and stick wallpaper is a renter favorite because it promises a big change with a clean exit. That clean exit is real for many walls, but it depends on how you remove it. A fast rip on a tired paint finish can lift paint, tear the paper facing on drywall, and turn a fun project into a repair job.
Learning how to remove peel and stick wallpaper slowly, with low heat and a low peel angle, protects both the wall and your deposit. Most successful removals look a little boring. One panel at a time, one small warm section at a time, with frequent checks of the paint underneath.
This guide gives you 24 practical tips in the order you will actually use them, from the hidden test corner to residue cleaning and final photos. Keep your lease in mind for touch ups, because what you may repair yourself varies by lease and by state.
Set aside more time than you think you need, especially for a full wall that has been up for a long time or sits in sun or steam. Patience is the main tool here. Everything else is support.
1. Start in a Hidden Corner and Test First
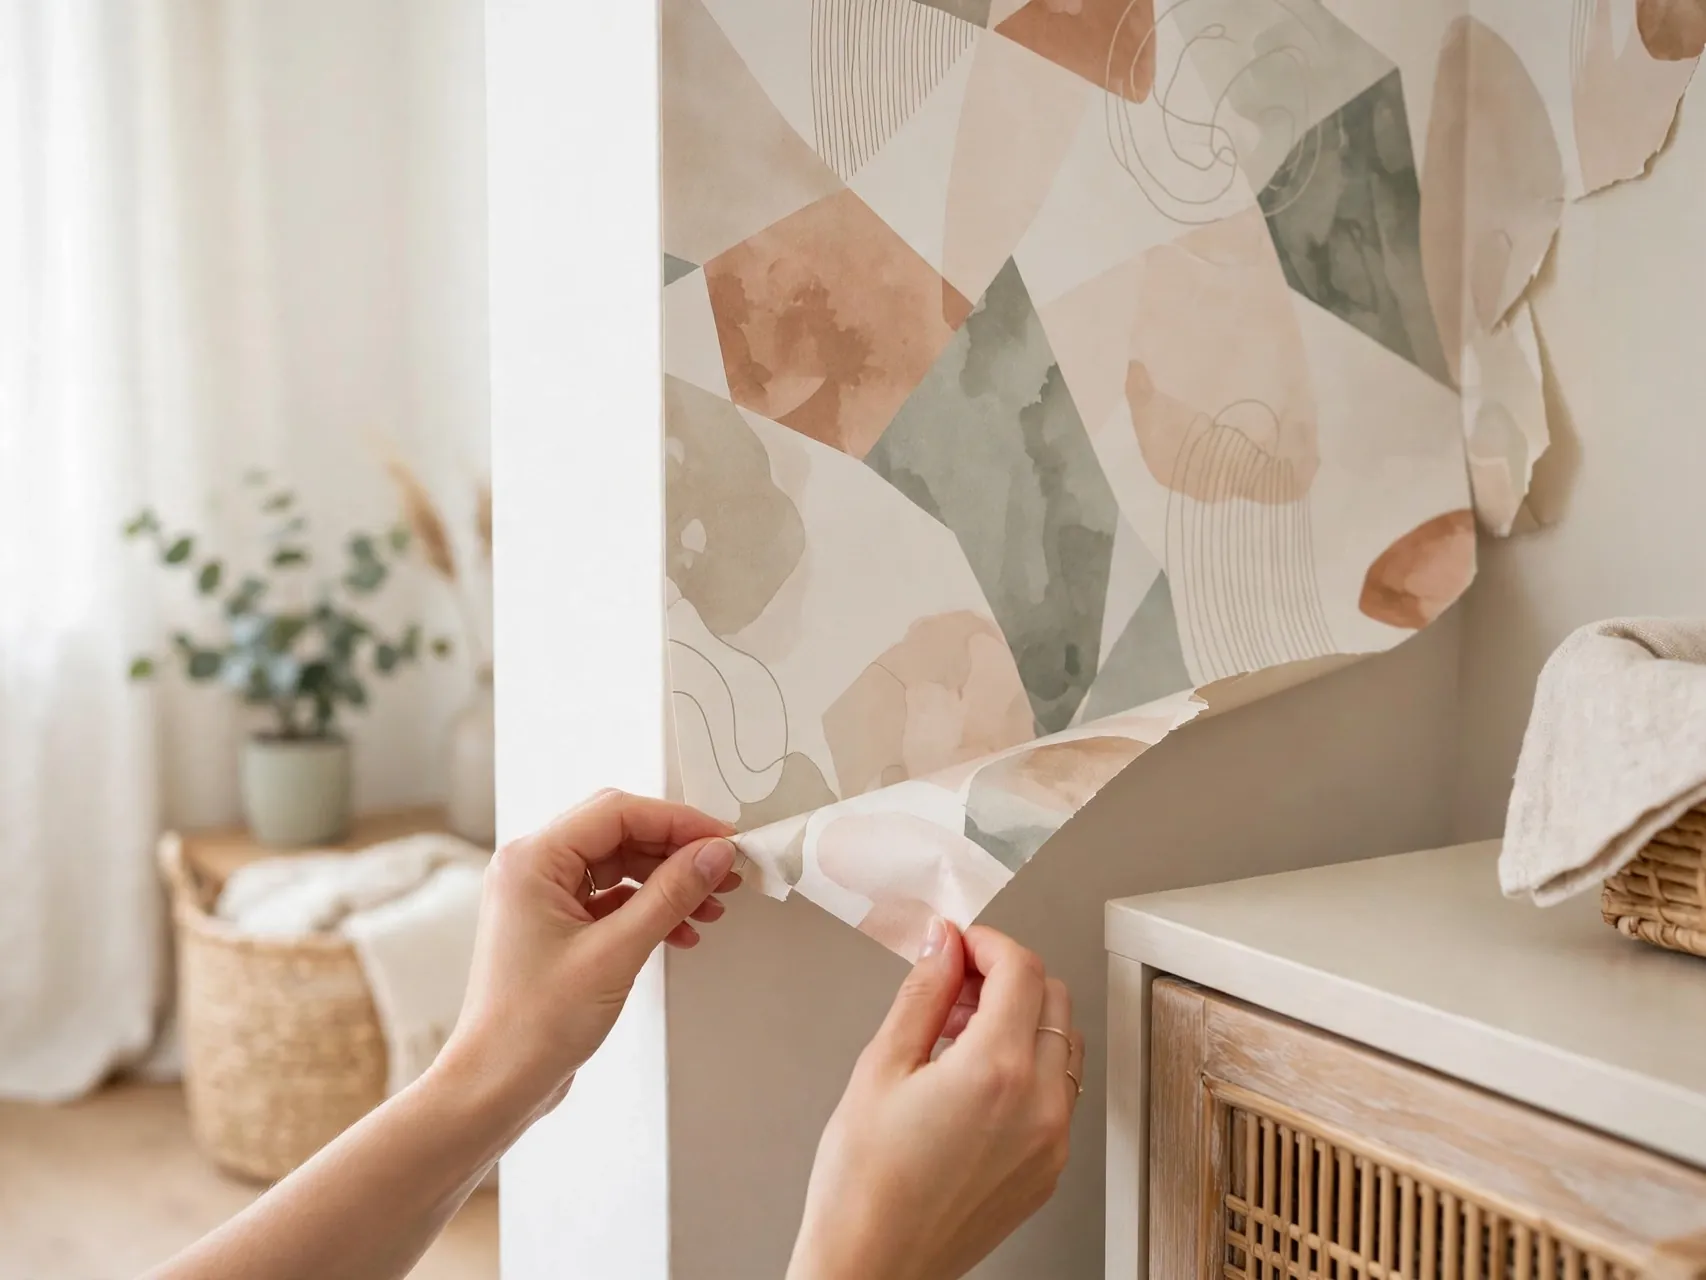
Begin behind a door, inside a closet edge or behind furniture, not in the center of the wall. Lift a small corner and peel a few inches to learn how this paper, this adhesive and this paint behave together in your room.
If the test lifts paint or tears, you will be glad you learned it in a hidden spot. Adjust with more warmth and a slower peel before you move to open wall. Every wall is a little different, even inside one small apartment.
2. Gather Plastic Tools Before You Begin

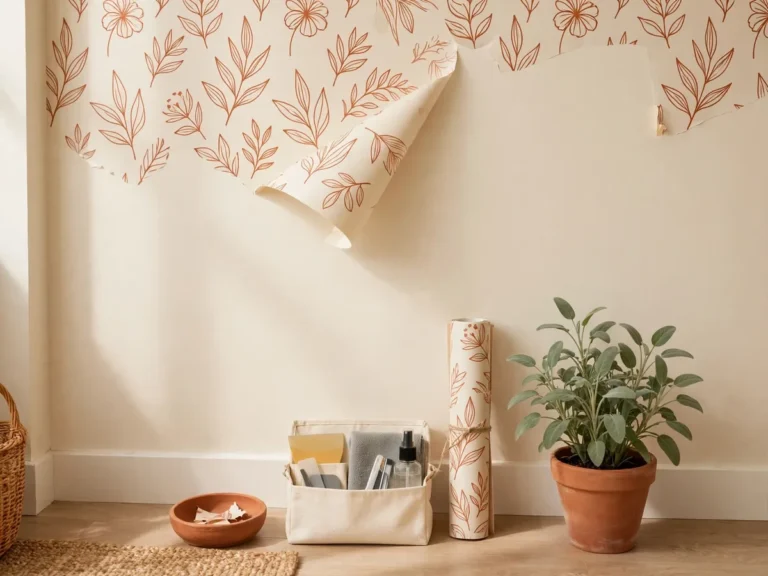
Set out a plastic scraper or old gift card, a hair dryer, microfiber cloths, a spray bottle, mild dish soap, trash bags and a step stool if you need one. Having everything within reach keeps you from rushing a peel to go find a tool.
Choose plastic over metal at every step. Plastic lifts edges and smooths residue with far less risk of gouging paint or drywall. Keep a spare scraper handy, because a nicked edge can scratch, and a fresh flat edge works better on stubborn corners.
3. Clear the Room and Protect the Floor

Move furniture away from the wall and take down art, shelves and outlet covers you will work around. Removed paper collects dust and adhesive bits, and a clear floor keeps sticky scraps from being walked through the rest of the home.
Lay an old sheet or drop cloth along the baseboard. Bag each panel as it comes down instead of piling it on the floor, where the adhesive side can stick to flooring or to itself and make cleanup slower and messier than it needs to be.
4. Start at the Top Corner of Each Panel
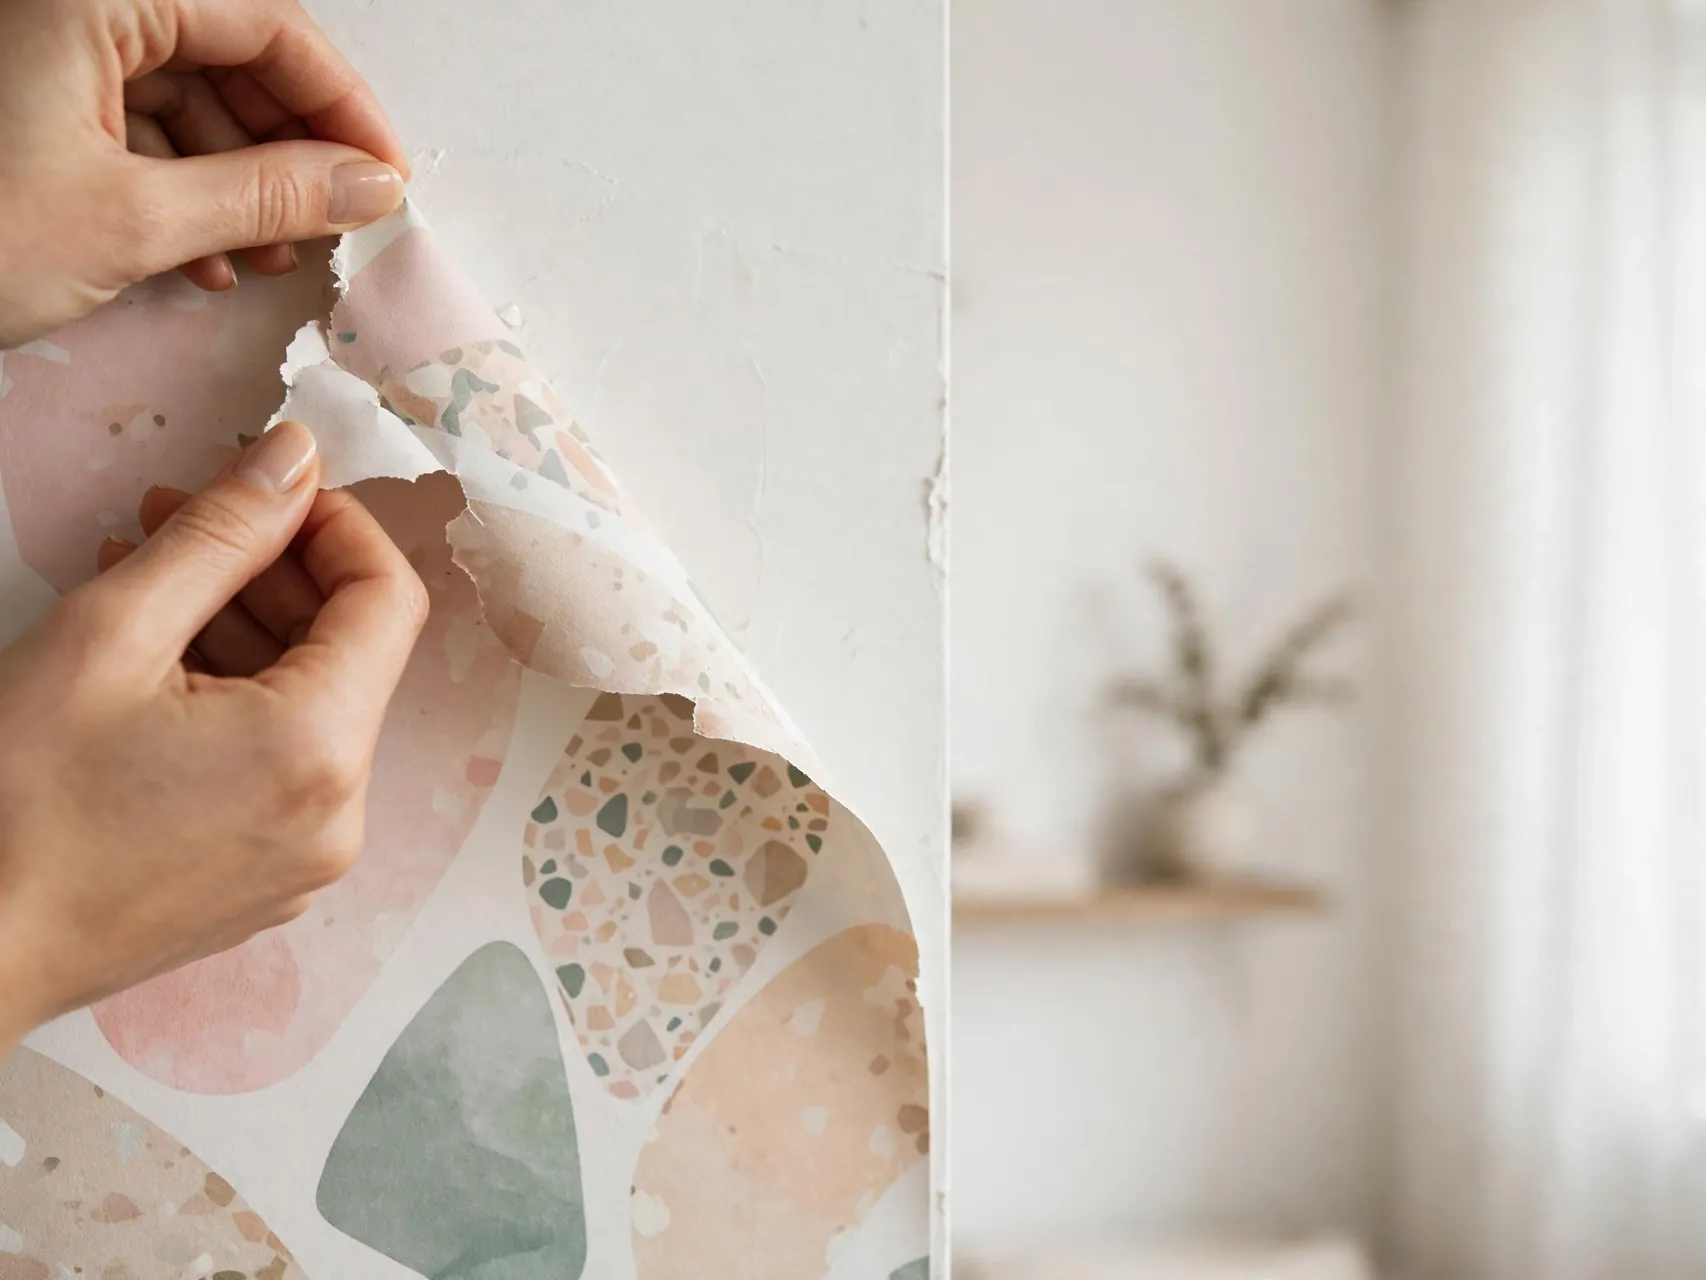
Work panel by panel, starting at a top corner. Gravity helps you here. As the panel releases, its own gentle weight supports a slow downward peel, and you can see the fresh wall appearing section by section without climbing up and down.
Find the panel seams first so you do not try to peel two overlapped panels as one thick sheet. If panels were overlapped at installation, lifting the top layer in the right order prevents tearing and reduces the force you need at each seam.
5. Lift the Edge With a Plastic Scraper

Slide a plastic scraper or your fingernail under the corner at a shallow angle and lift just enough to grip. Work the edge up slowly across a short width so the peel starts evenly instead of from one stressed point.
If the corner will not lift, warm it first rather than digging harder. Digging is how small gouges happen. Once you have a grip of an inch or two, put the scraper down and let your hands do the slow work from there.
6. Peel Slowly at a Low Angle

Angle matters as much as speed. Pull the panel down and close to the wall, at a low angle, instead of pulling straight out toward you. A low angle spreads the force along the surface and is kinder to paint and drywall paper.
Move at a pace where you can watch the release line. If you hear sharp ripping sounds or see the paper stretch and whiten, slow down further. Good peel and stick wallpaper removal tips all come back to this one habit: slow, low and steady.
7. Pull the Panel Back on Itself

As you gain length, fold the removed part back on itself so the adhesive side faces the panel, not the room. This keeps the sheet under control, stops it from sticking to baseboards or your sleeves, and helps you keep the peel angle low.
Support the fold with one hand while the other hand guides the release edge. On wide panels, work across the width in turns, a few inches on the left, then the middle, then the right, so one corner does not run ahead and tear.
8. Work in Small Sections, Not Whole Sheets

Think in hand sized sections. Warm, peel a short length, check the wall, then repeat. Small sections let you catch a problem while it is still a quarter sized paint lift instead of a full panel disaster.
This rhythm feels slow for the first panel and faster after that, because your hands learn the wall. Kitchens and entryways often need smaller sections than bedrooms, since cooking moisture and temperature swings can make adhesive hold unevenly across one wall.
9. Warm Stubborn Areas With a Hair Dryer
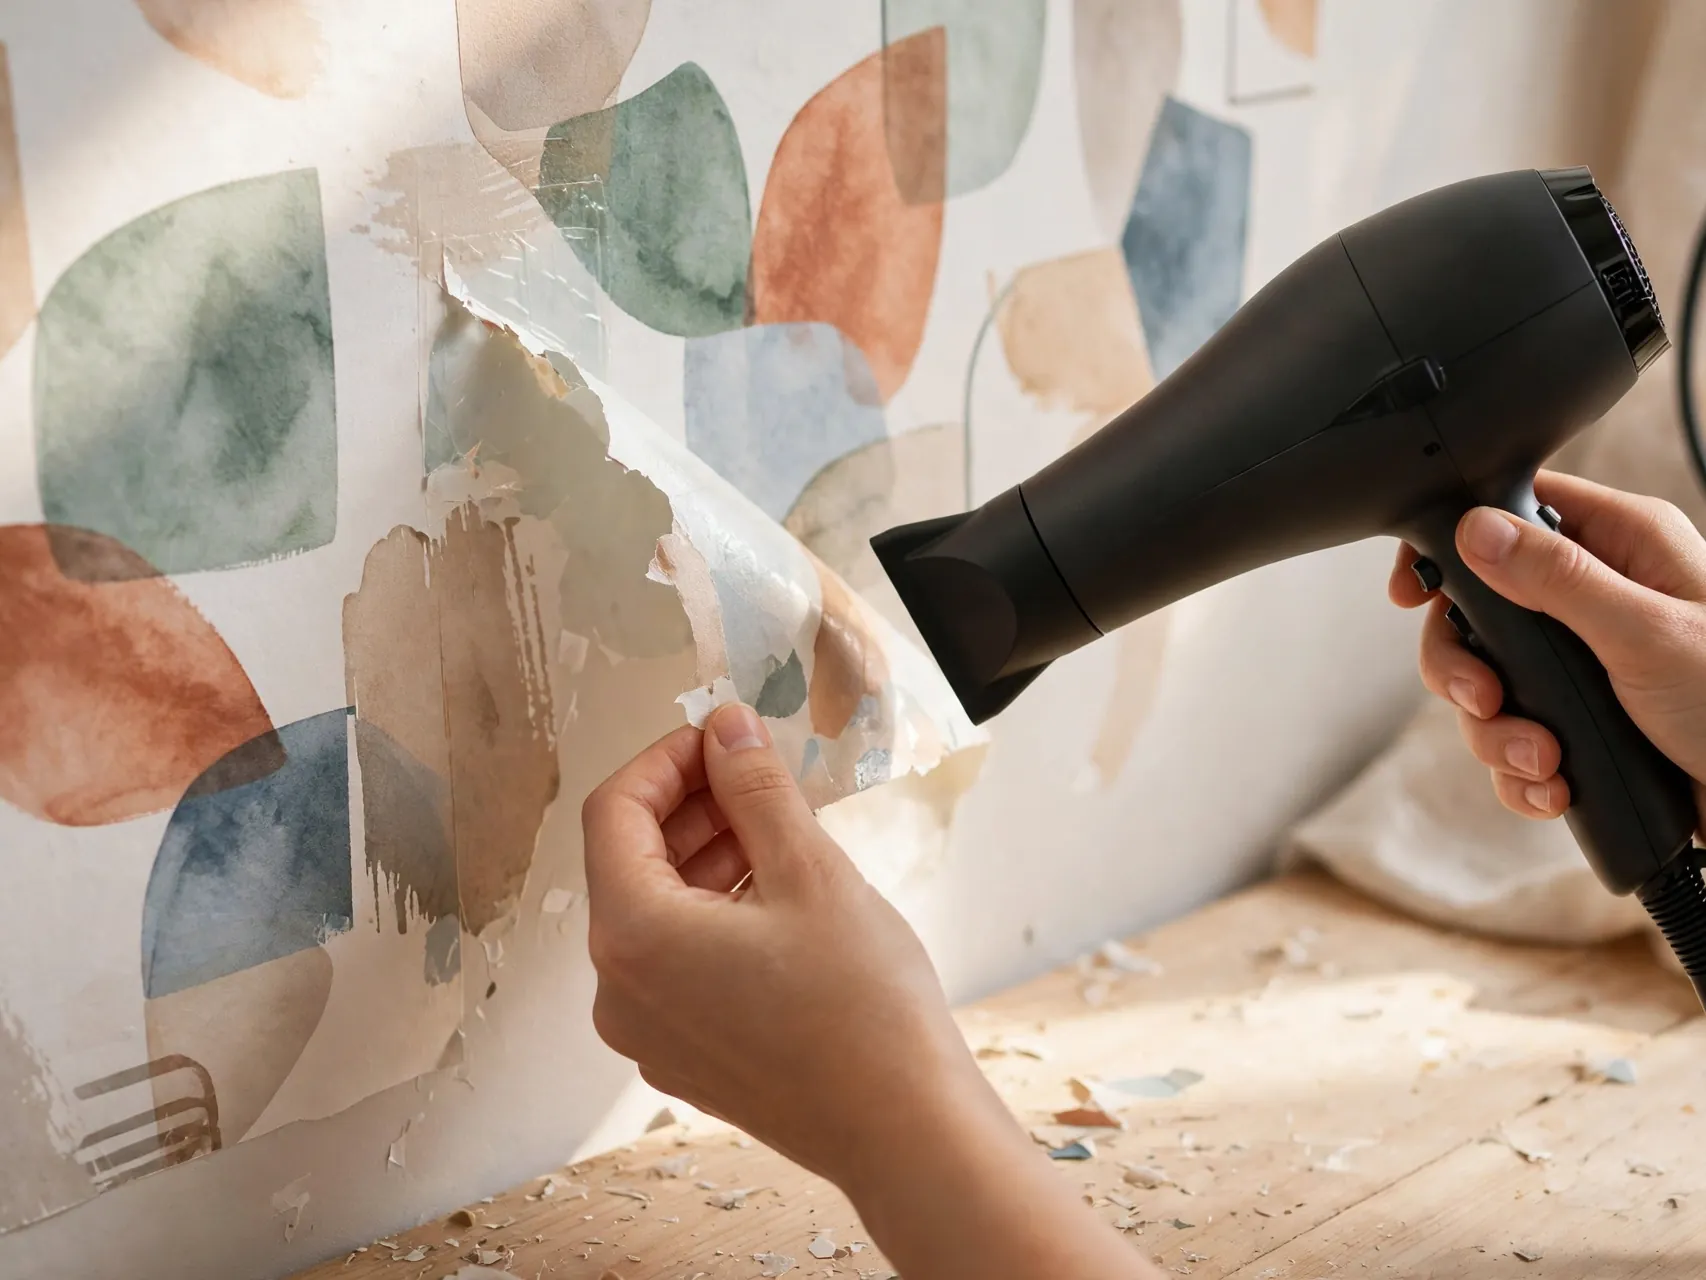
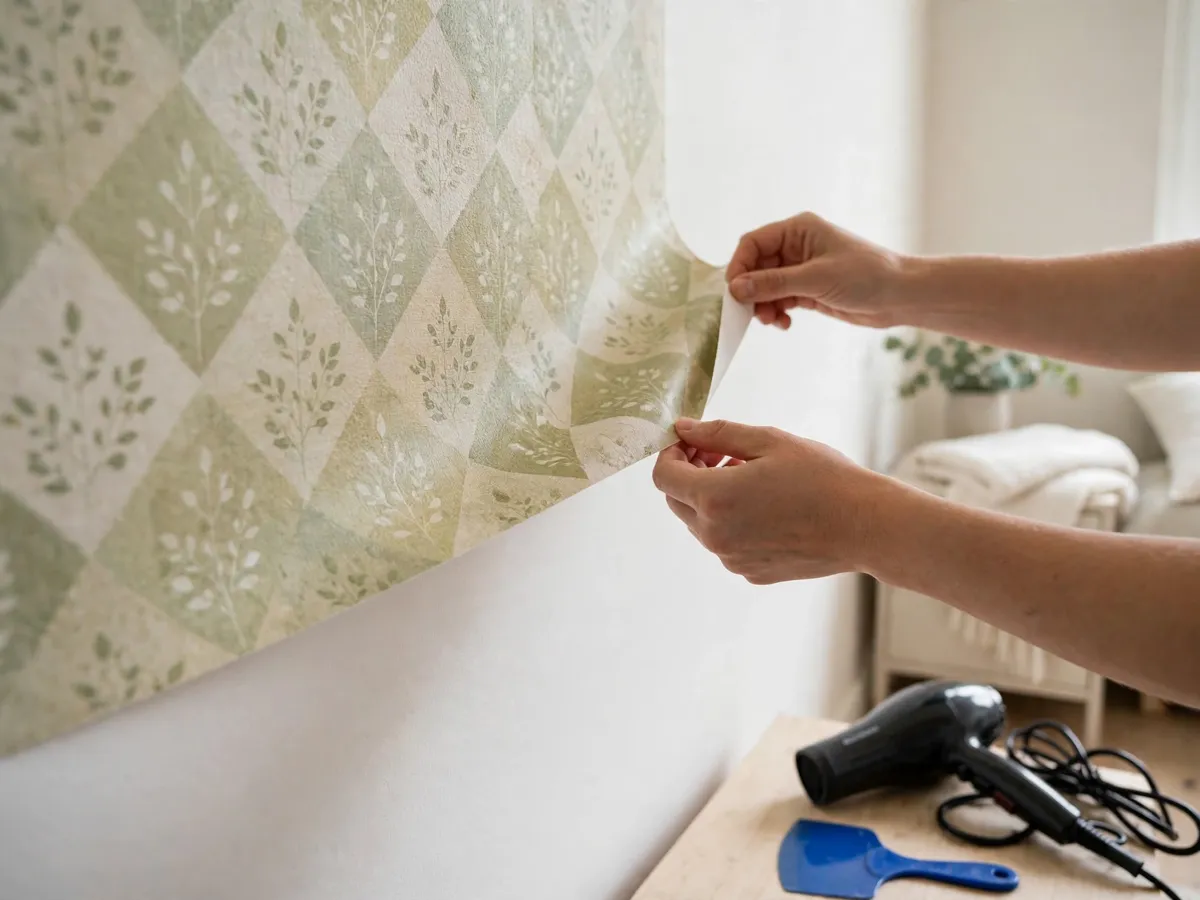
Low heat softens pressure sensitive adhesive and is the standard helper for stubborn sections. Hold a hair dryer on low or medium a few inches from the surface, warm the area just ahead of your peel edge for twenty to thirty seconds, then peel while it is warm.
Work heat and peel together in a steady pattern. Warm, peel a little, warm the next bit. If a section needs heat again and again, that is fine. Repeated gentle warmth is safer than one long blast or one hard pull.
10. Keep Heat Moving and a Few Inches Away
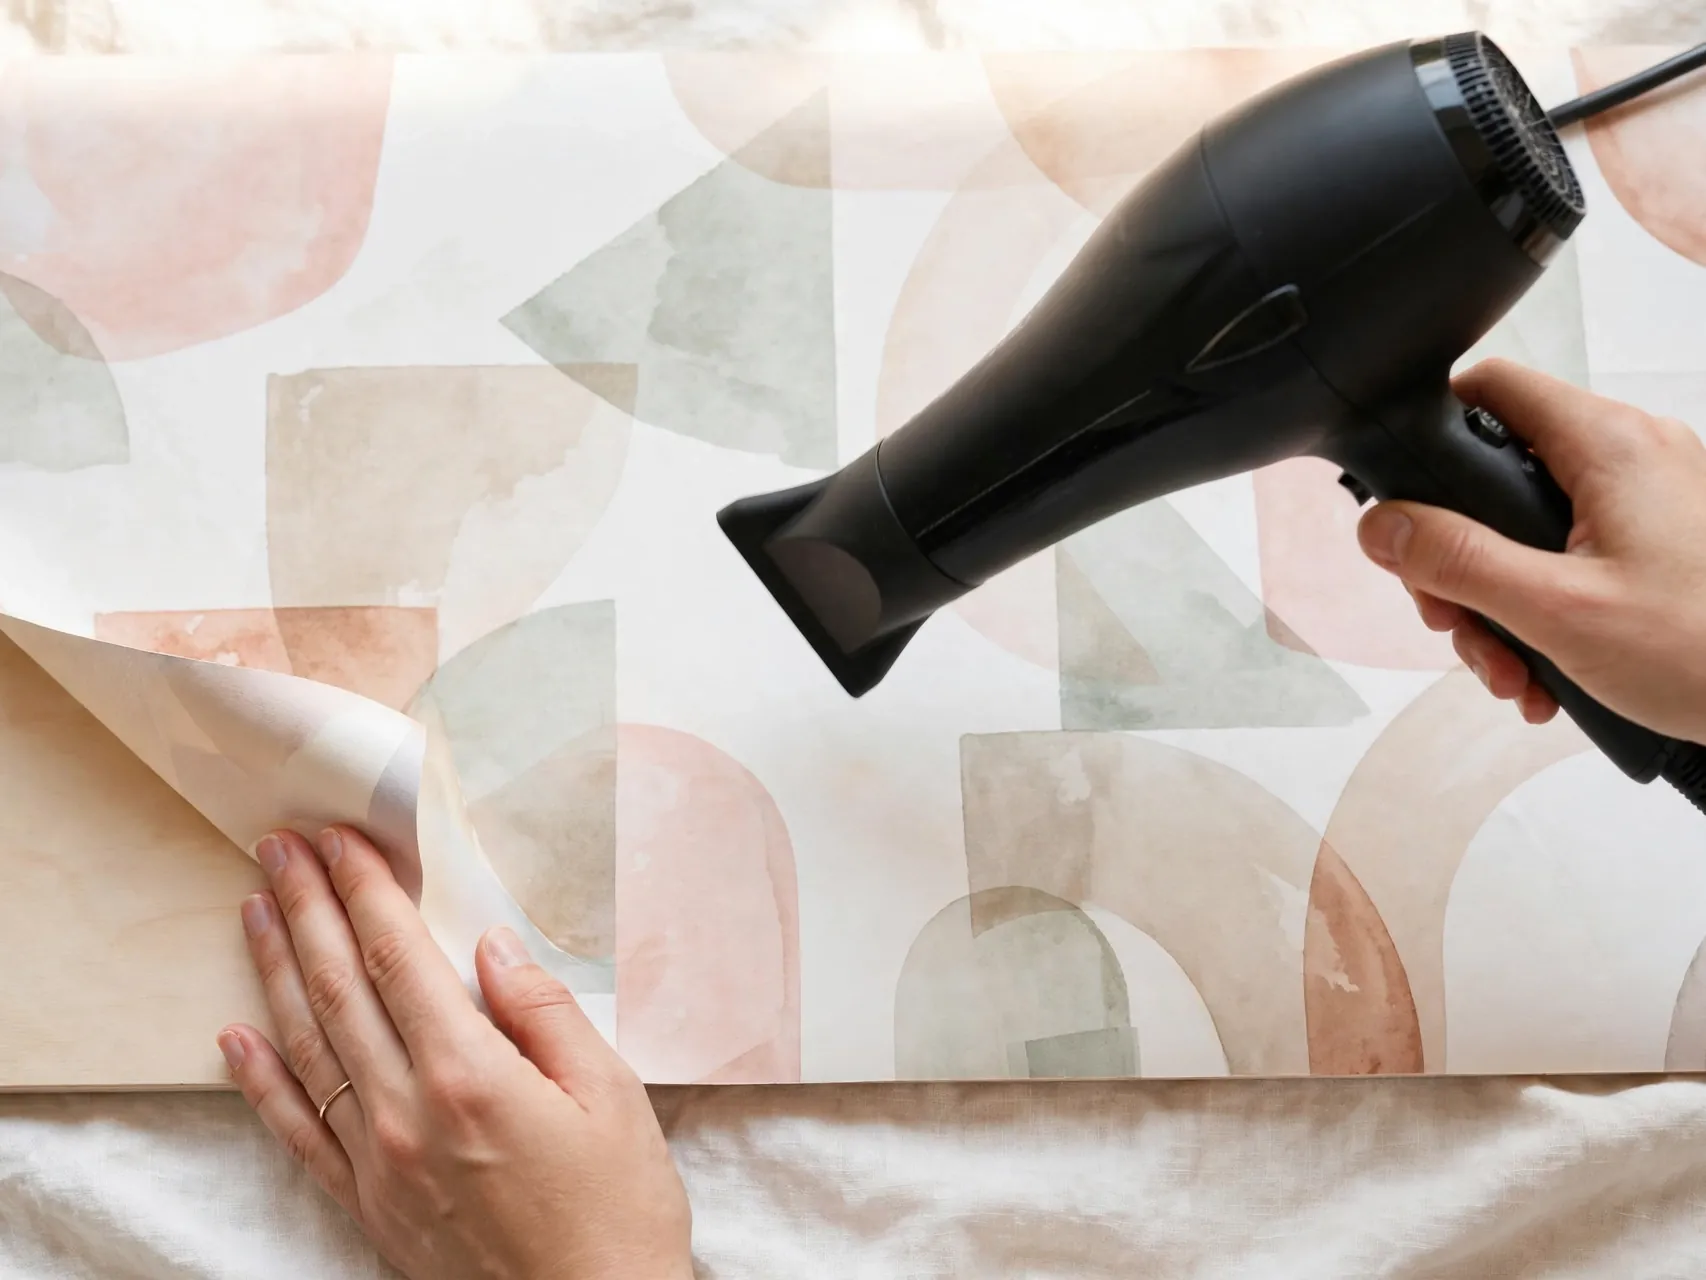
Never park a hot dryer in one spot. Keep it moving in small circles or slow passes, a few inches from the wall, so you soften adhesive without overheating paint, vinyl or the wallboard behind them.
Be extra careful with a heat gun if you use one at all. Many renters do better with a hair dryer, which is gentler and easier to control. Test heat on your hidden corner first, and stop if the paper bubbles, smells sharp or changes color.
11. Rewarm Instead of Pulling Harder

Resistance is information. It usually means the adhesive is cool, the angle is too steep or the section is too big. The fix is almost never more force. Stop, rewarm the spot, lower your angle and take a smaller section.
Force tears paper into confetti, lifts paint in sheets and can pull the facing off drywall. Those repairs cost far more time than rewarming ever will. Make rewarming your automatic response and the whole wall becomes calmer to remove.
12. Support the Panel So It Does Not Tear

A long freed panel is heavier than it looks, and its weight can yank the next section off too fast. Keep one hand supporting the removed length, or roll it loosely as you go, so the peel stays at the speed you choose.
If the paper does tear, do not chase the tear across the wall. Finish the piece in hand, bag it, then restart the remaining piece from its nearest corner with warmth. Small restarts are normal, especially on older paper that has become brittle in sunlight.
13. Pause and Check the Paint as You Go

Every few inches, pause and look at the wall you just uncovered. Run your hand lightly over it. You are checking for lifted paint edges, sticky patches, damp spots and any place where the surface feels soft or bubbled.
Catching a weak patch early lets you change tactics for that area, with more heat, a lower angle and smaller bites. Side light helps here. Stand to the side with a lamp or daylight from a window and marks you missed straight on will show up clearly.
14. Stop if Paint Starts to Lift
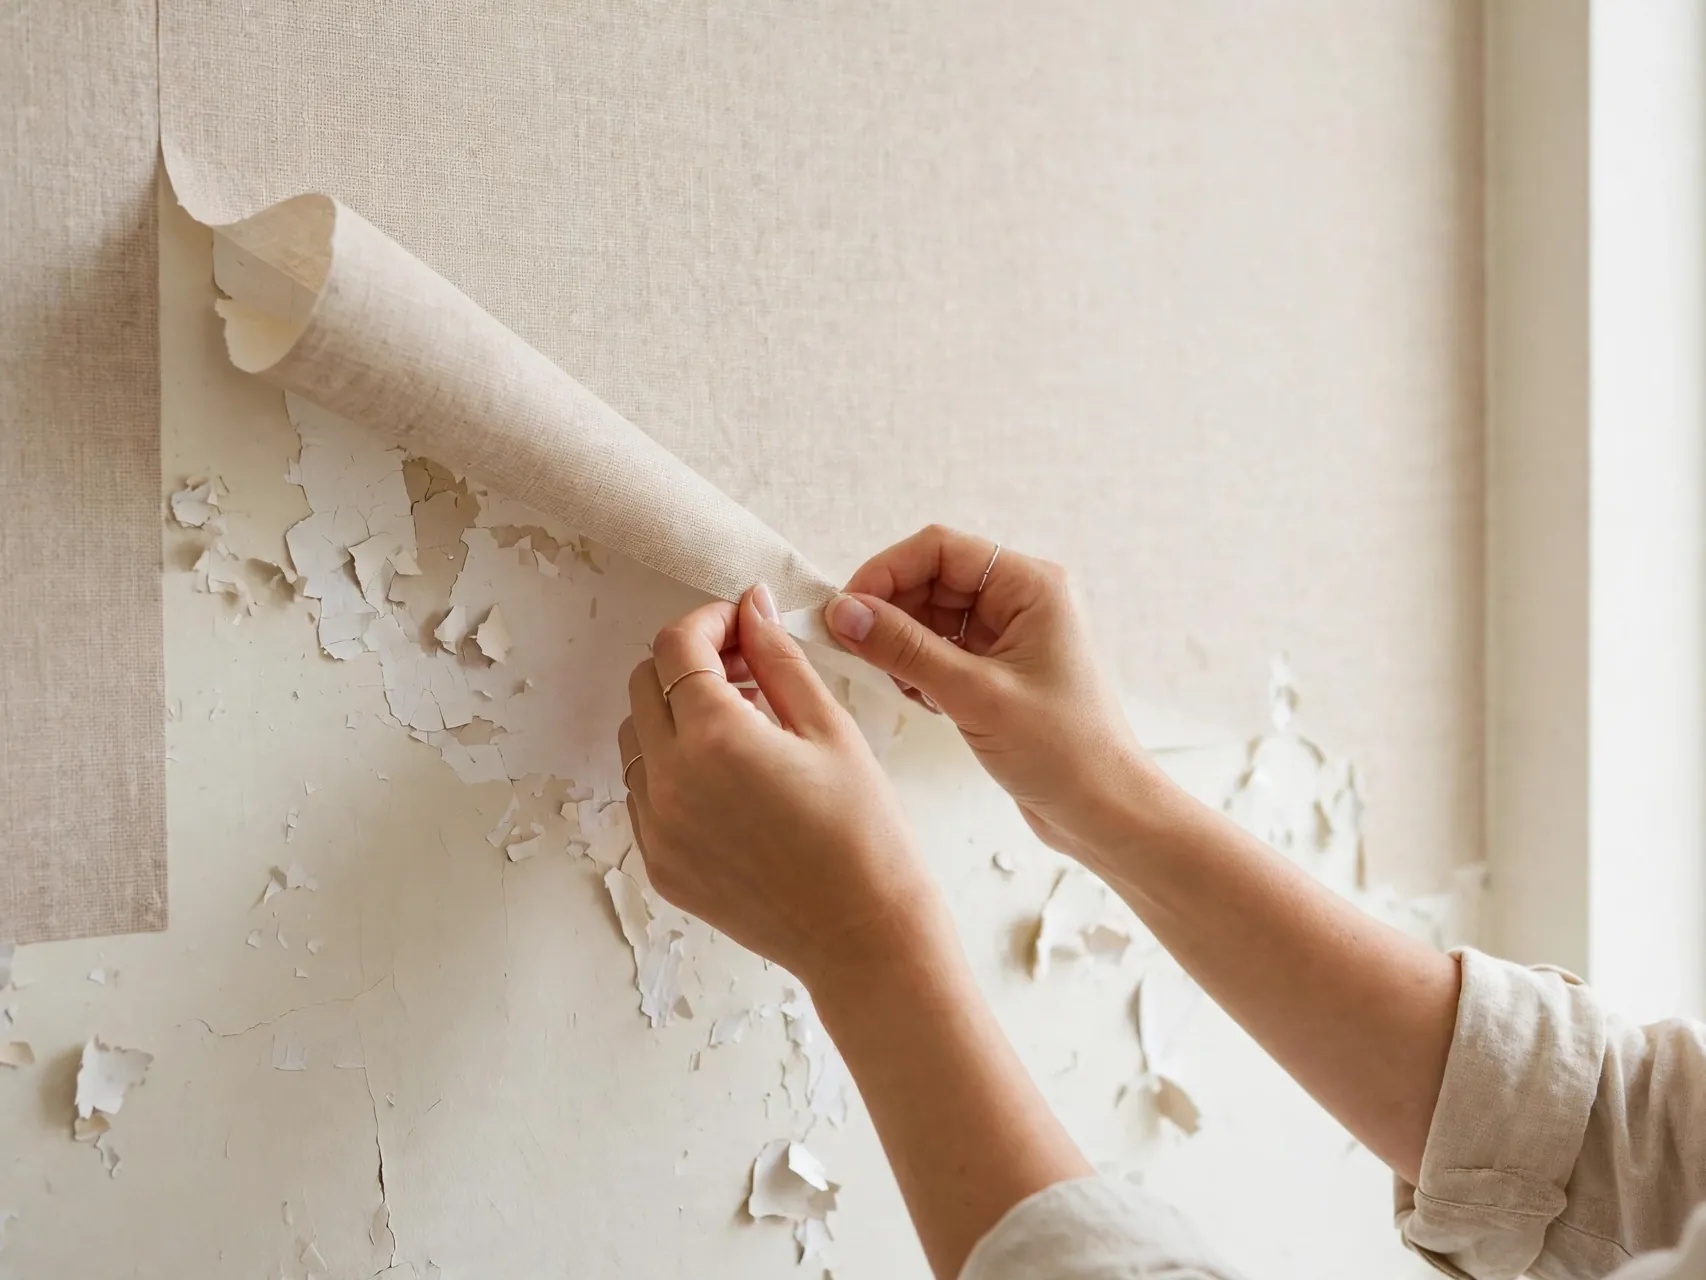
If paint begins to come with the paper, stop peeling that section. Hold the lifted paint gently back toward the wall, warm the area well, and try an even slower release from a different direction, such as diagonally from the other corner.
Some weak paint will lift no matter how careful you are, especially if the wall was painted over dust or old damage before you moved in. Photograph what you find, keep removed pieces, and note the spot. Your move in photos may show the paint was already failing there.
15. Handle Corners, Outlets and Trim With Care

Corners, trim and outlets slow the peel down, and that is a good thing. Work up to an edge, trim your section smaller, and peel around obstacles instead of pulling a wide sheet past them and tearing at the tight point.
Keep paper away from outlet openings and never let a damp cleaning cloth drip into an outlet. If paper wraps onto trim or a painted door frame, warm and peel that part separately, because trim paint and wall paint often have different finishes and strength.
16. Remove Switch Plates Before You Peel Nearby
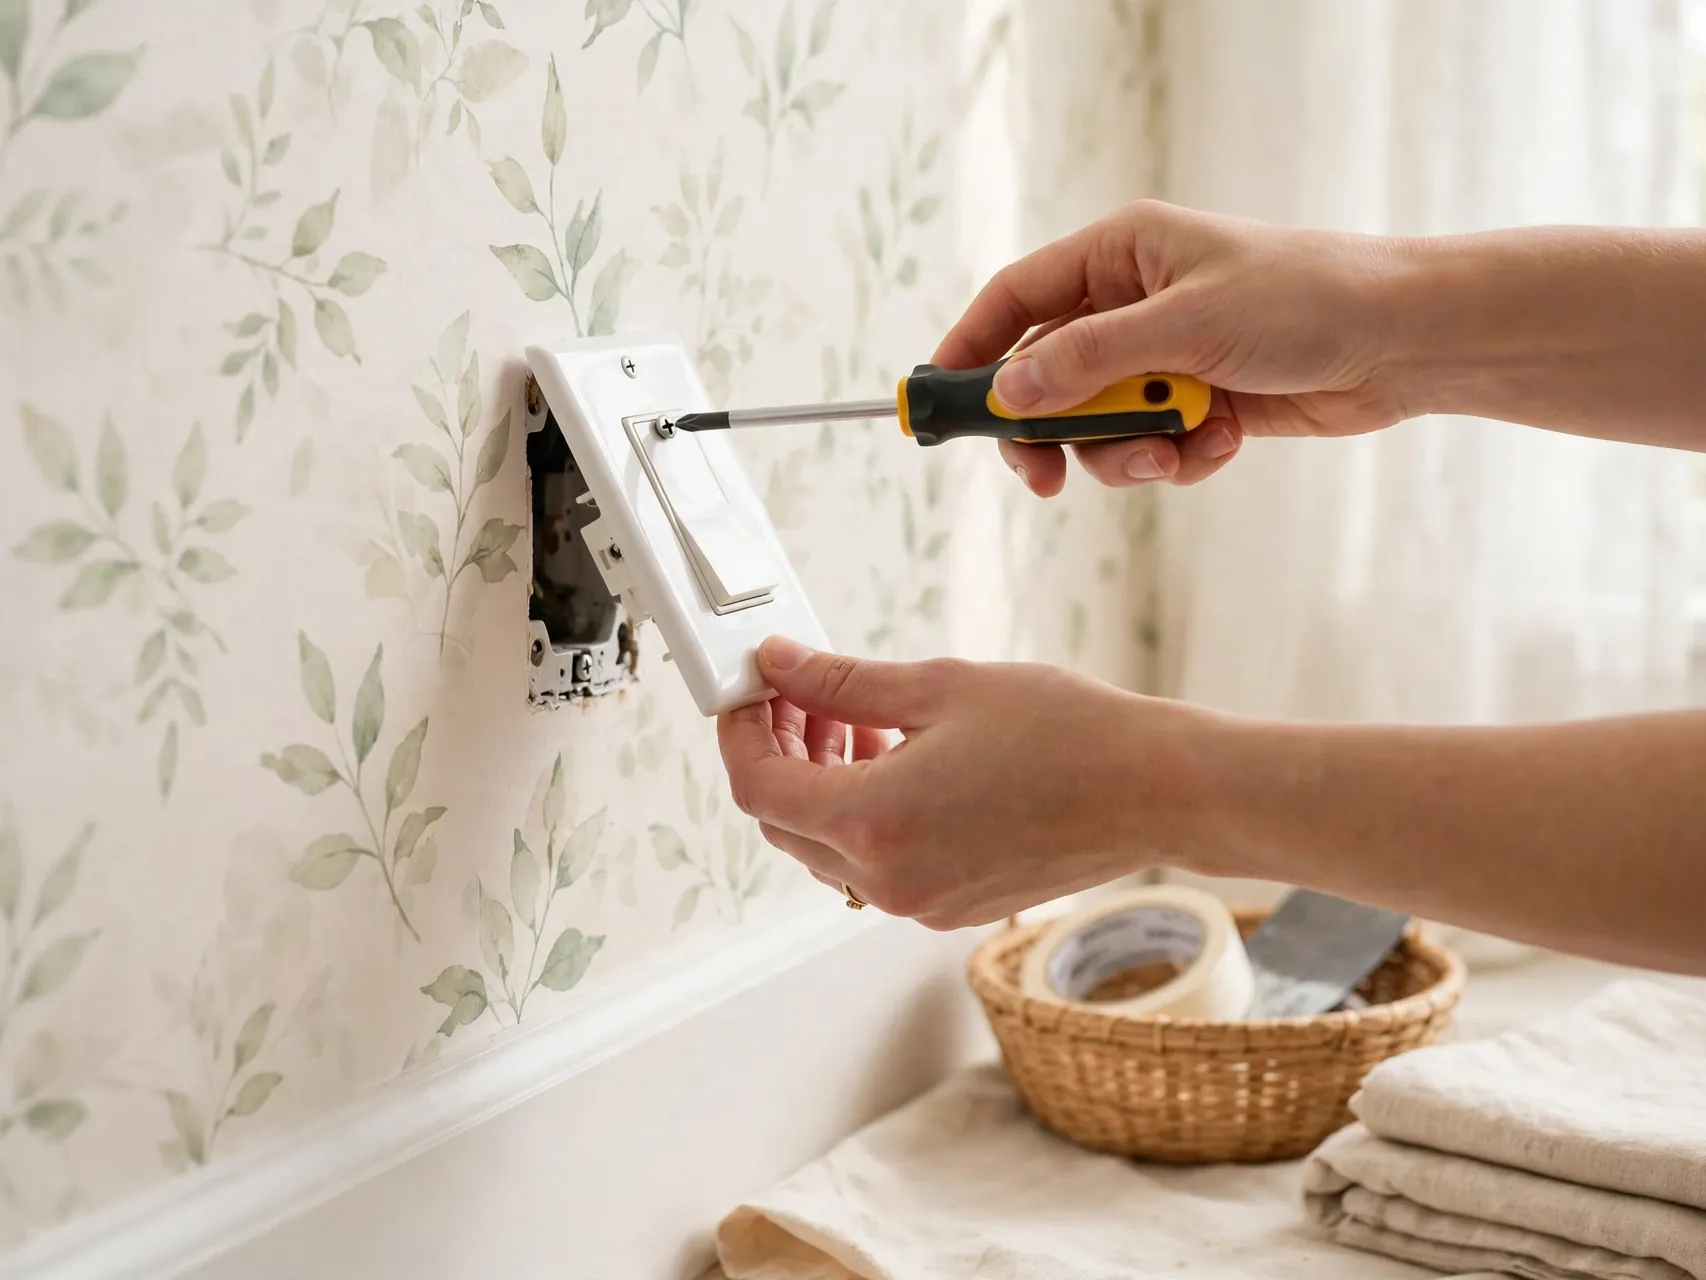
Take off switch and outlet plates before you remove paper around them, using a hand screwdriver. Store plates and screws together in a labeled bag so refitting them later takes minutes, not a search through moving boxes.
Work safely. Keep tools and liquids away from open outlets, never spray cleaner near them, and do not peel paper that has been tucked behind a plate by pulling hard. Lift the freed edge gently with your plastic scraper once the plate is off.
17. Deal With Torn Pieces One Small Piece at a Time
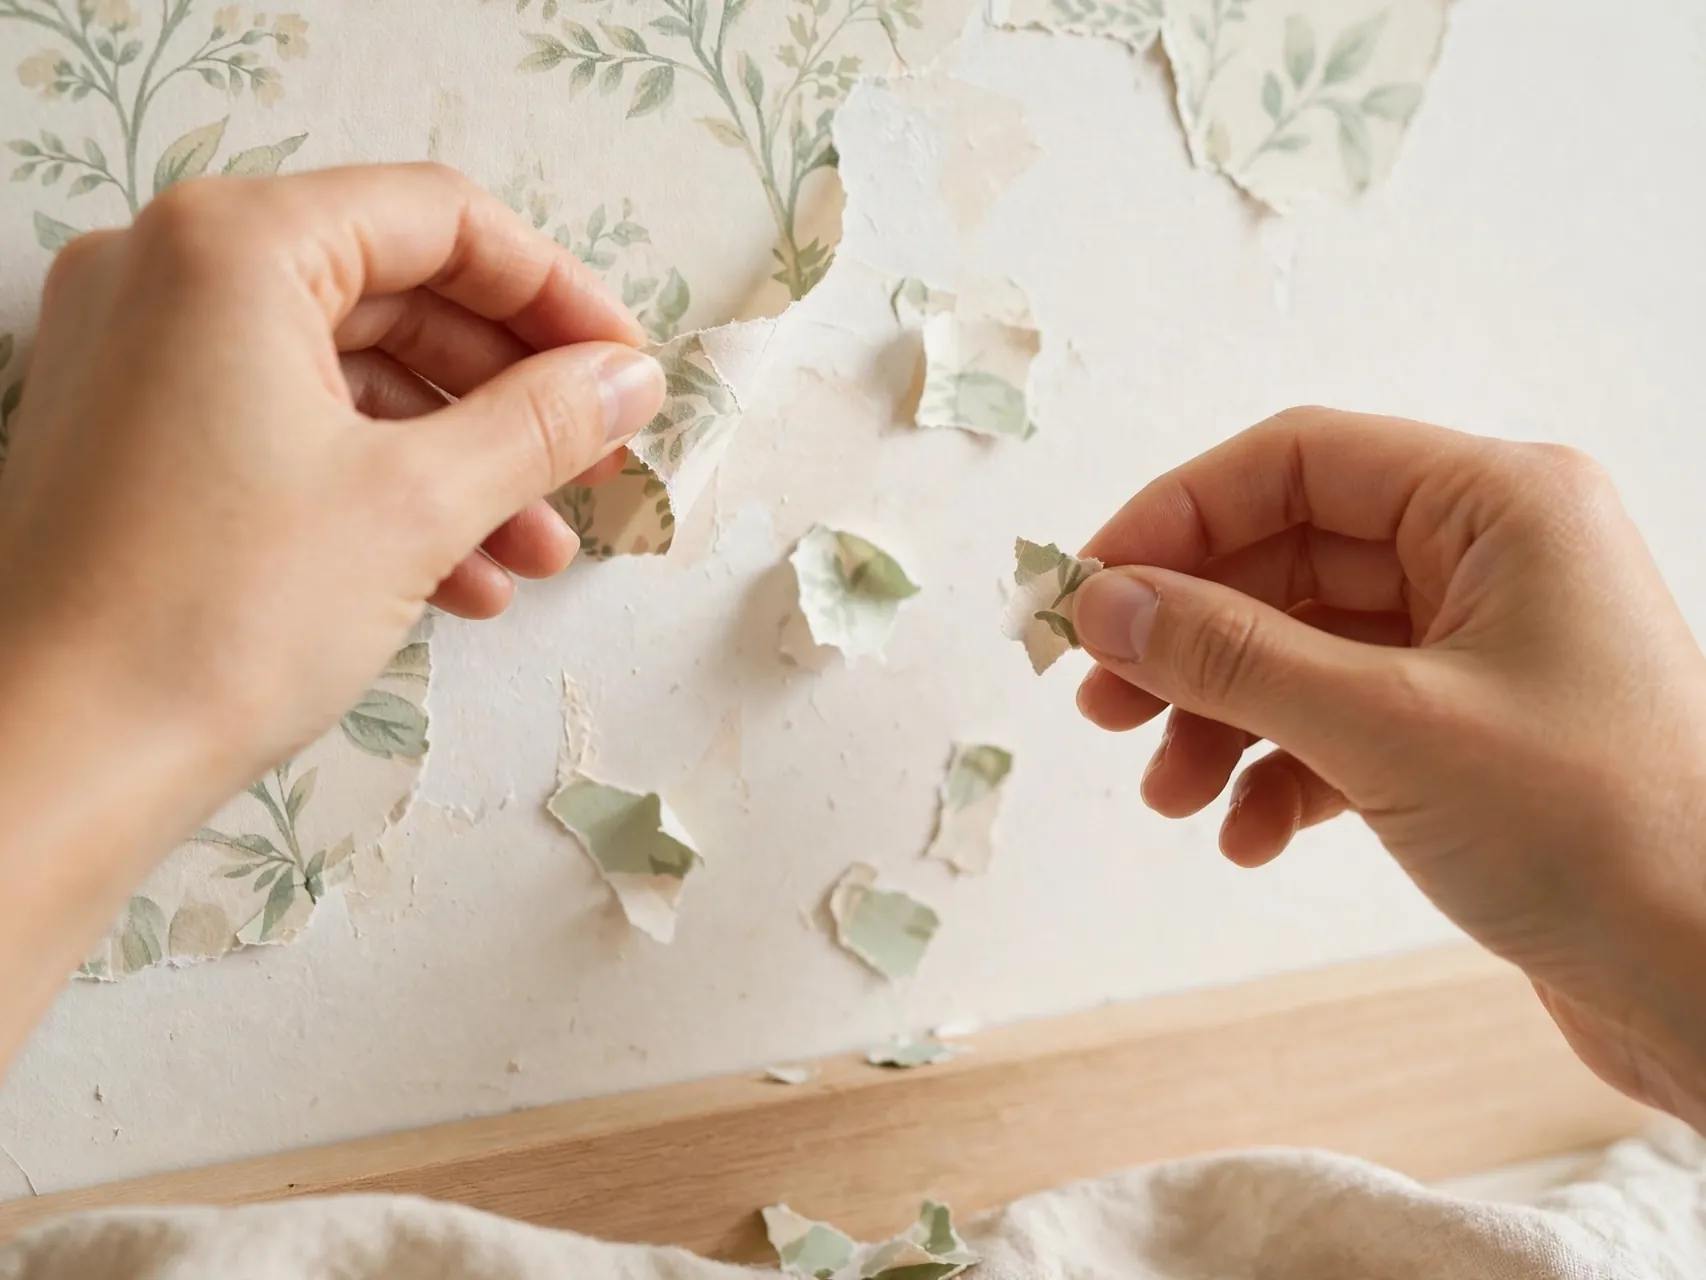
Small leftover pieces and torn strips are normal. Treat each one like a mini panel. Warm it, lift one corner with the scraper, and peel it low and slow, even if the piece is only a few inches long.
Resist the urge to scratch at scraps with a fingernail or blade. That quick scratching is what leaves the fine marks that show after cleaning. A warm, patient lift leaves a smoother wall and gives residue less texture to cling to in the next step.
18. Roll Off Warm Residue With Your Thumb

After a panel comes down, some adhesive may stay as a thin sticky film or small dots. While the wall is still slightly warm, roll the residue with your thumb or a clean fingertip, moving in one direction so it balls up and lifts.
This fingertip method handles more residue than most people expect, with no cleaner at all. Shake or wipe the rolled bits into your trash bag as you go. If your skin gets sore on a large wall, switch to a soft cloth and soapy water for a while.
19. Clean Light Residue With Warm Soapy Water

For the film that remains, start with the gentlest cleaner: warm water with a small amount of mild dish soap on a microfiber cloth. Wipe in small circles, rinse the cloth often, and give the soap a moment to soften the spot before you wipe again.
Wring the cloth well. A dripping cloth can mark paint and run dirty water onto baseboards. Work top to bottom, then rinse with a second cloth dampened with plain water. Let the wall dry fully before you decide whether any residue is really left.
20. Try Rubbing Alcohol Only on a Test Spot
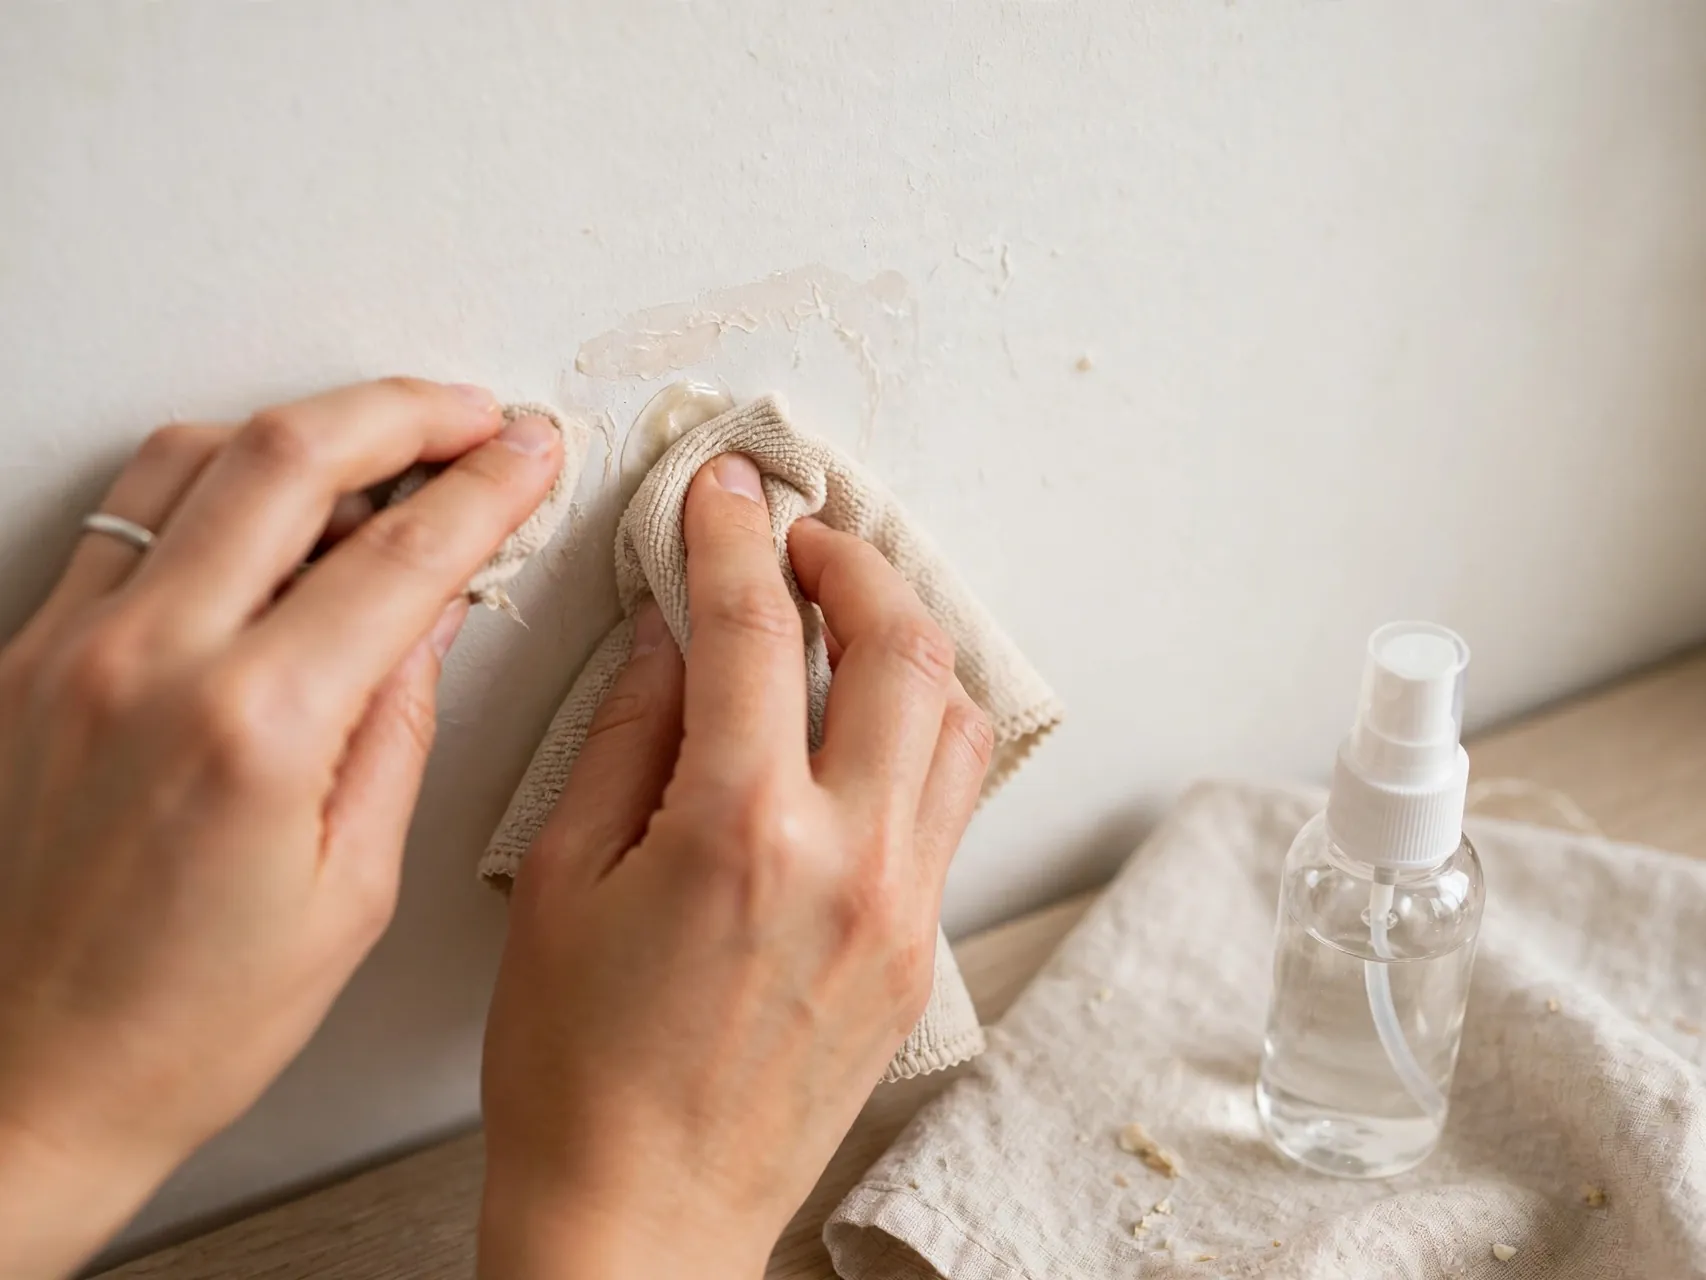
For stubborn sticky spots, a small amount of rubbing alcohol on a cloth can help, and some makers suggest vinegar and water solutions for residue as well. Whichever you try, test it first in a hidden area and wait for it to dry.
Cleaners can dull flat paint, change sheen or soften weak finishes. Use the smallest amount that works, press rather than scrub, and rinse afterward. If a test spot looks different from the rest of the wall once dry, stay with soapy water for that room.
21. Avoid Metal Scrapers and Harsh Solvents

Metal blades, hard scrapers and strong solvents promise speed and often deliver scratches, gouges and dulled paint instead. They are a poor trade on a rental wall you need to hand back, and they rarely save time once repair work is counted.
Plastic tools, warm water and patience remove most peel and stick paper because the product was designed to release. If a wall truly will not release after careful heat and testing, photograph it and ask your landlord how they want it handled before you escalate.
22. Wipe and Dry the Wall After Cleaning

Finish each wall with a full wipe down using a clean, lightly damp cloth, then let it air dry completely. Cleaning water can leave faint streaks that look like residue while wet and disappear once dry, so do not judge the wall too early.
Once dry, check again in daylight and from the side. Look for shiny patches where adhesive or cleaner changed the sheen, and give those spots one more gentle rinse. A clean, dry, even wall is your real finish line, not just an empty one.
23. Touch Up Tiny Marks Only if Your Lease Allows
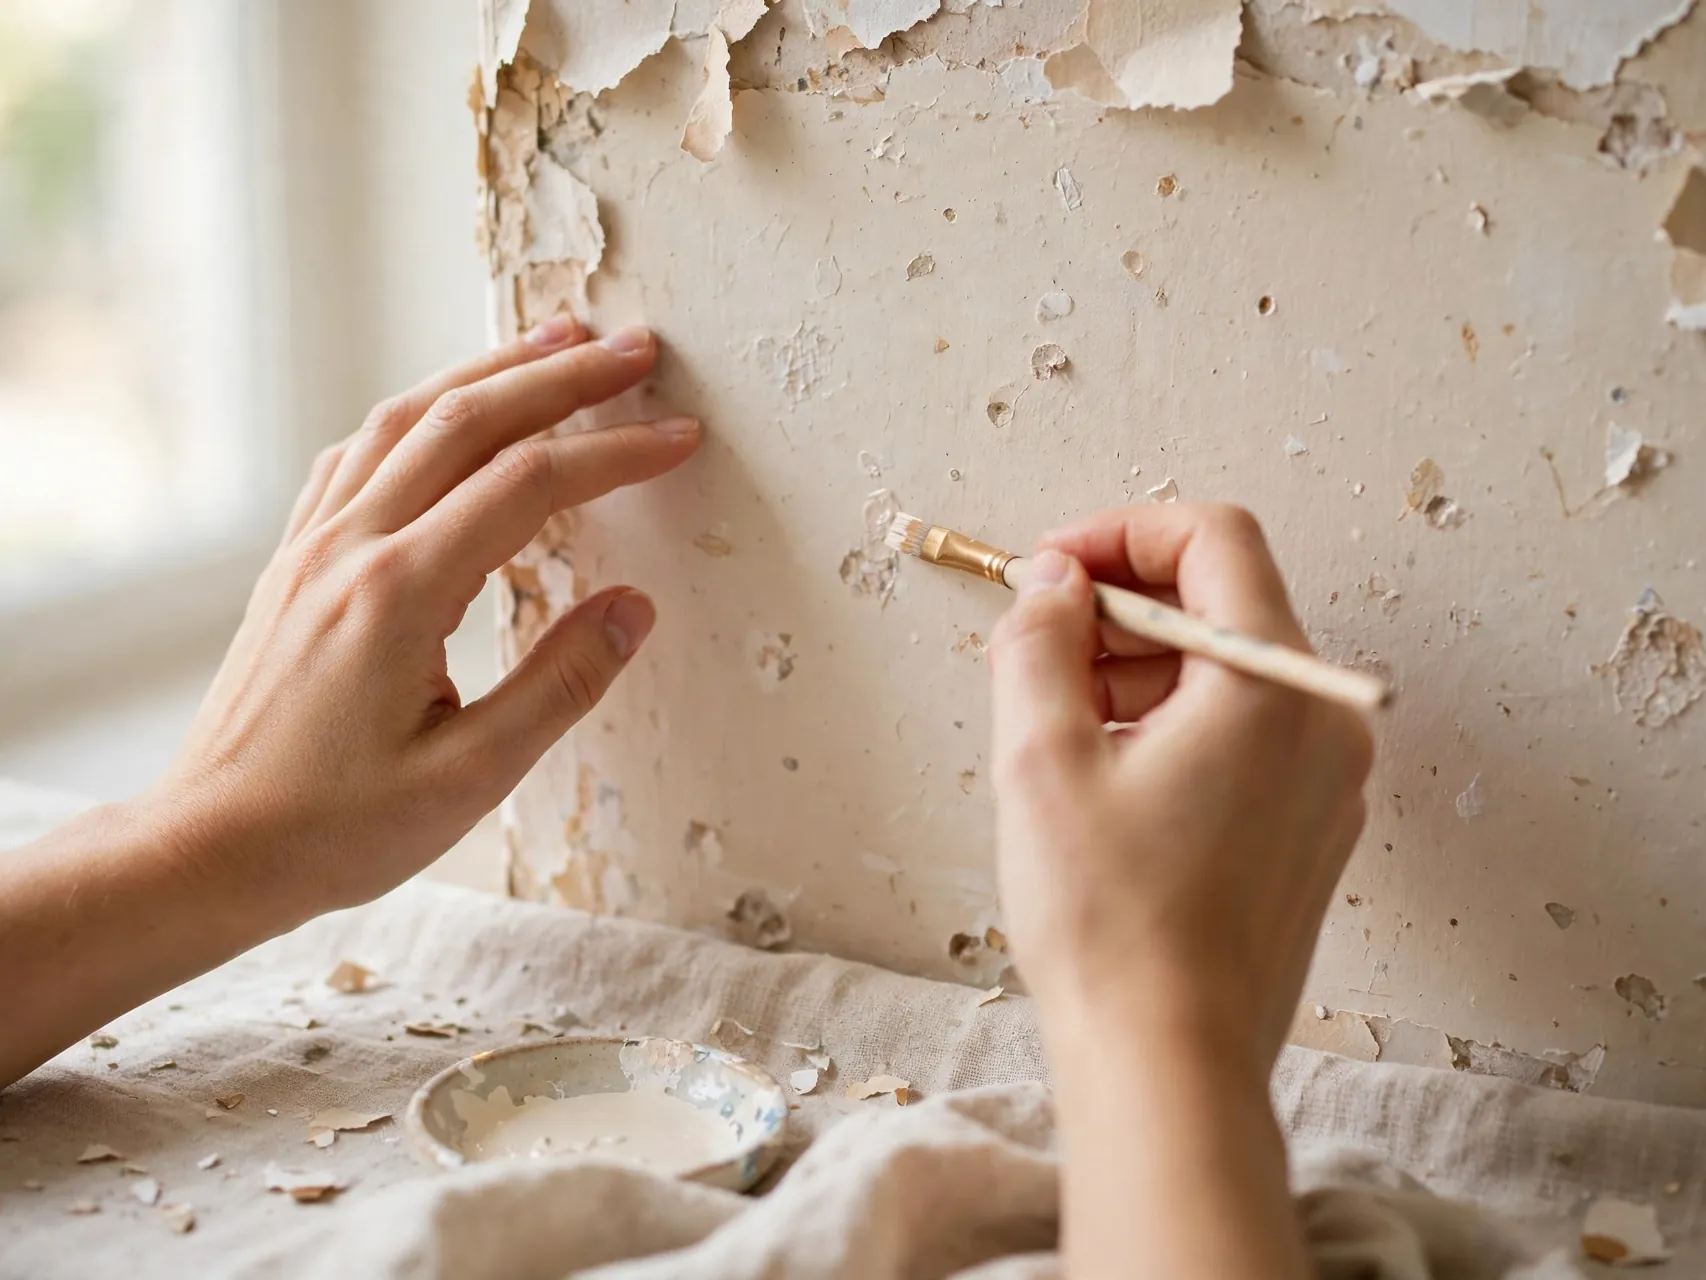
Small scuffs or a tiny paint lift may need a touch up, but rules differ. Some leases allow tenants to make neat small repairs, while others want the landlord to handle all paint work. Check yours before you open filler or paint.
If touch ups are allowed, keep them tiny. Use a small amount, feather the edges, and use the correct color and sheen if you know it. A large mismatched patch draws more attention than a small clean mark, so less is almost always better here.
24. Photograph the Finished Wall and Keep Notes
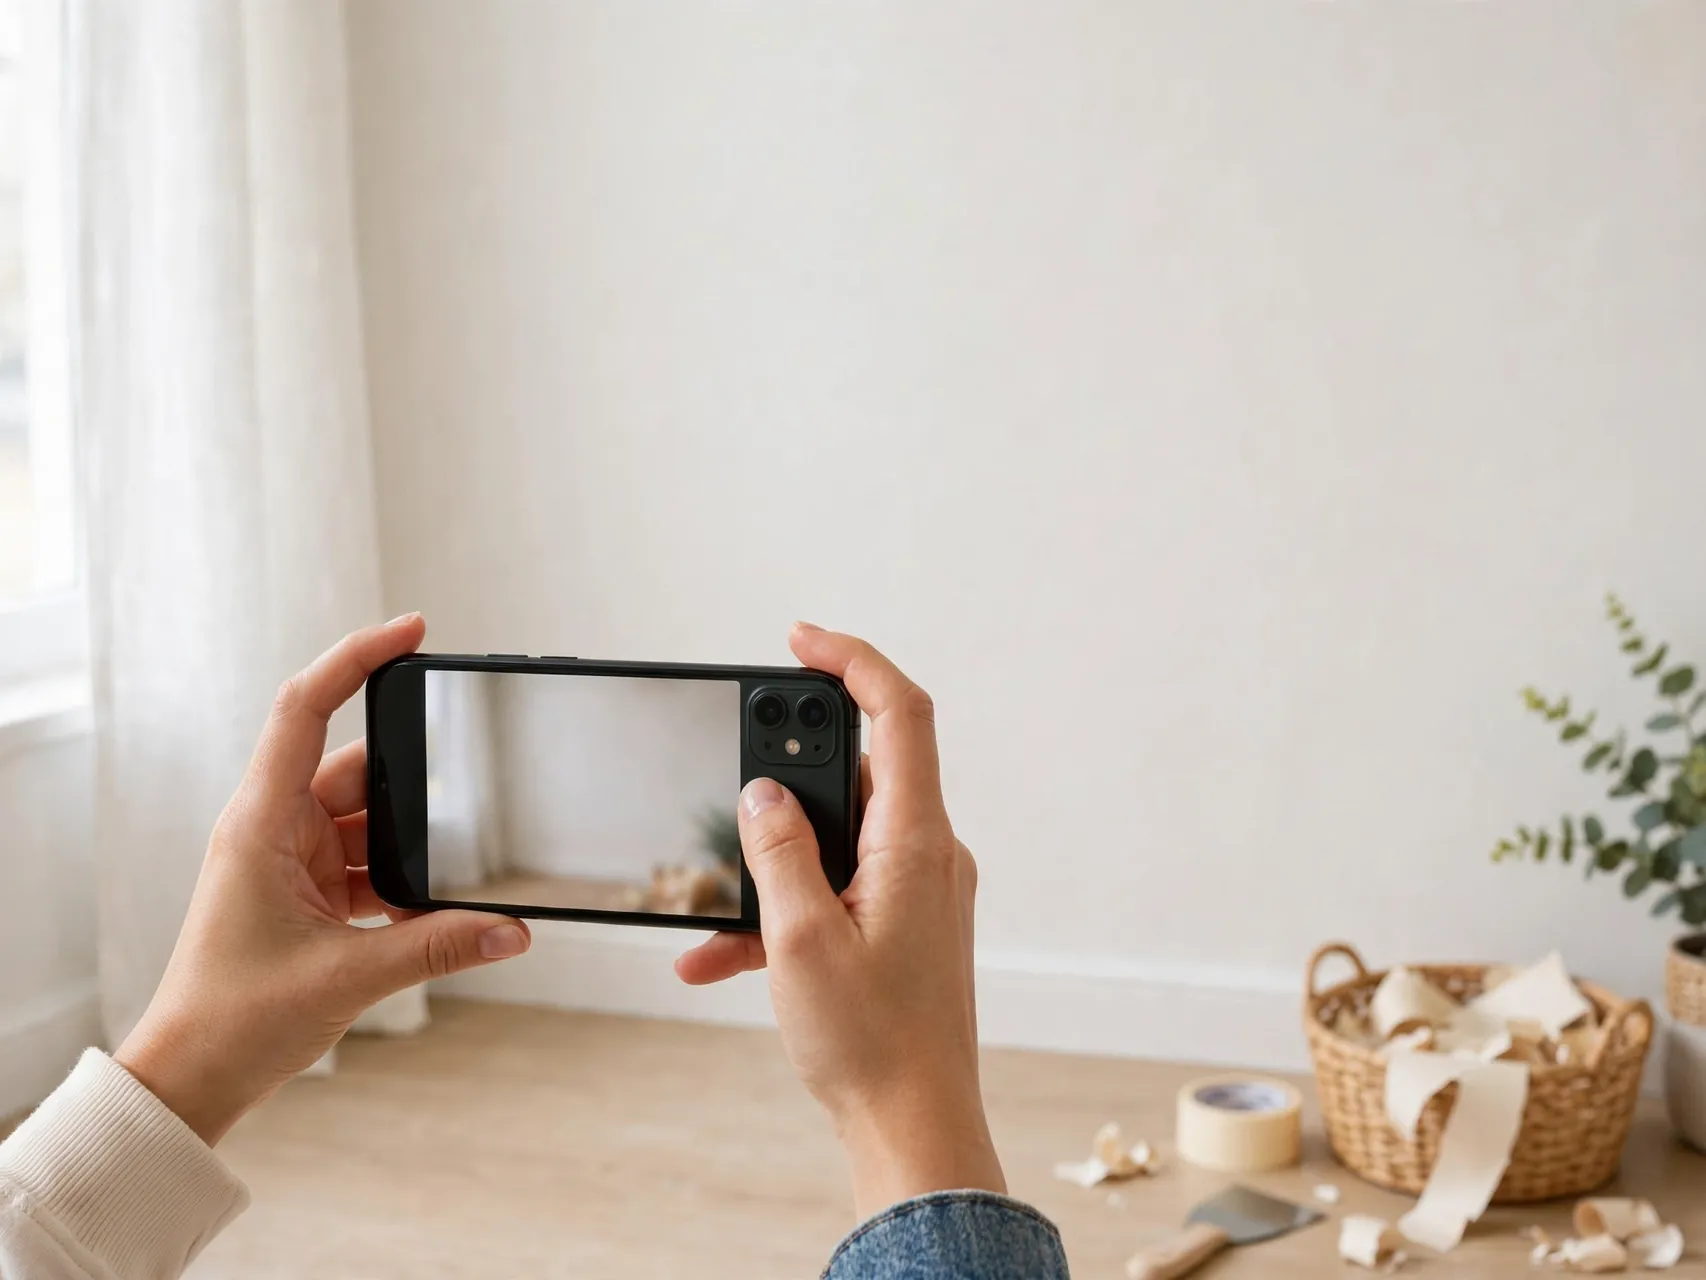
Retake wide and close up photos of each finished wall from angles similar to your move in photos. Good light matters. Daylight shows true color and sheen, and side angles reveal residue shadows that straight views can hide.
Save the photos with your lease, your paper brand notes if you kept them, and any messages with your landlord about the removal. Keep the set until your deposit is settled. If temporary wallpaper removal ever becomes a question, your calm photo record answers it best.
FAQ
How long does it take to remove peel and stick wallpaper?
It depends on the room size, how long the paper was up and how the paint behaves. A single small accent wall may take under an hour of slow work, while a full room can take several sessions. Plan extra time and work panel by panel rather than rushing.
Will peel and stick wallpaper always damage paint?
No. On smooth, sound, well cured paint, careful removal often leaves the wall clean. Risk rises on flat, old, peeling or uncured paint, textured walls and humid rooms. A hidden test piece, low heat and a slow low angle peel give you the best chance of a clean result.
Can I use a steamer instead of a hair dryer?
A handheld steamer can soften some adhesives, but it also adds moisture that can affect paint and wallboard. Many renters find a hair dryer on low or medium easier to control. Whichever heat you use, keep it moving, test it first and stop if the surface looks or smells overheated.
How do I get sticky residue off after the paper is down?
Start by rolling warm residue off with your thumb. Next try warm water with mild dish soap on a microfiber cloth. For stubborn spots, test a small amount of rubbing alcohol on a hidden area first, use it sparingly, rinse and let the wall dry before judging the result.
What if the wallpaper was already on the wall when I moved in?
Photograph it, check your move in checklist and ask your landlord in writing before you remove it. It may be an approved feature they want kept, or an old install with weak paint beneath. Do not assume removal is expected just because the paper is a temporary type.
Key Takeaways
- Test in a hidden corner first: Learn how your paint and adhesive behave before you touch open wall.
- Low angle, slow speed: Pull panels down close to the wall and back on themselves to protect paint.
- Heat beats force: Warm stubborn sections with a moving hair dryer and rewarm instead of pulling harder.
- Plastic tools only: Scrapers, cloths and patience remove paper without the gouges metal tools leave.
- Clean gently, then dry: Start with warm soapy water, test stronger options, and judge the wall only when dry.
- Document the finish: Photograph clean walls and keep notes with your lease until your deposit is settled.
Save this guide to Pinterest before removal day so your slow and steady plan is ready when you start peeling.