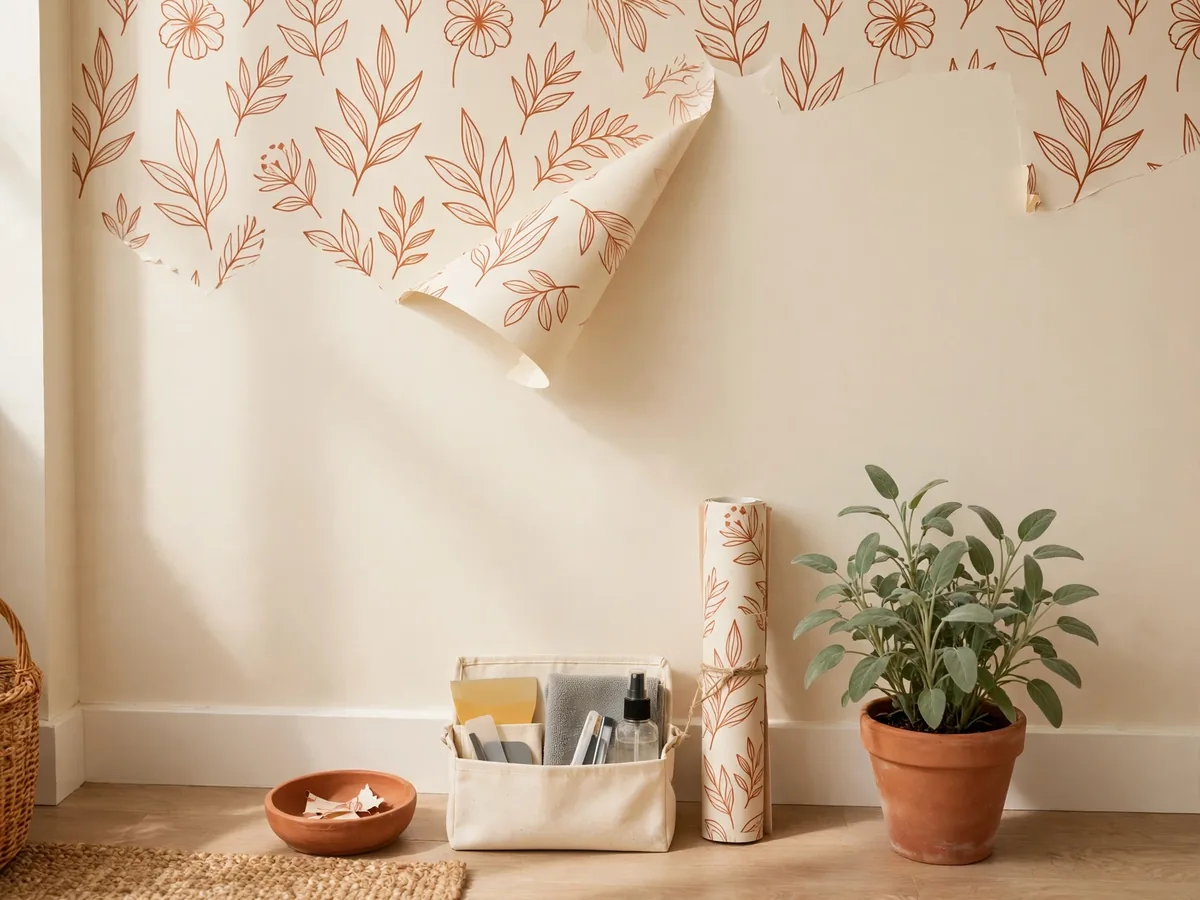
24 Ways to Remove Rental Decor Without Damage or Stress
Introduction
Moving out is stressful enough without worrying that a favorite gallery wall or peel and stick backsplash will cost you part of your deposit. The good news is that most temporary decor really can come down cleanly. The secret is rarely a special product. It is timing, warmth, patience and a plan that starts before you pull anything off the wall.
You will have the easiest time if you learn how to remove rental decor without damage room by room, instead of rushing through the whole apartment on the final weekend. Give yourself a few short sessions, keep your move in photos close by, and treat every adhesive like it needs a slow release rather than a quick tug.
This guide walks through the exact order that works for many renters, from photographing and checking your lease to warming strips, lifting film, cleaning residue and doing a final daylight check. Keep legal points general and check your own lease and local rules, because deposit timelines and repair duties vary by state and city.
Pick one room, set out your toolkit, and work through the steps below in order. By the end, your walls should look close to move in day, your original hardware should be back in place, and you should have clear photos that show the care you took.
1. Photograph Everything Before You Start
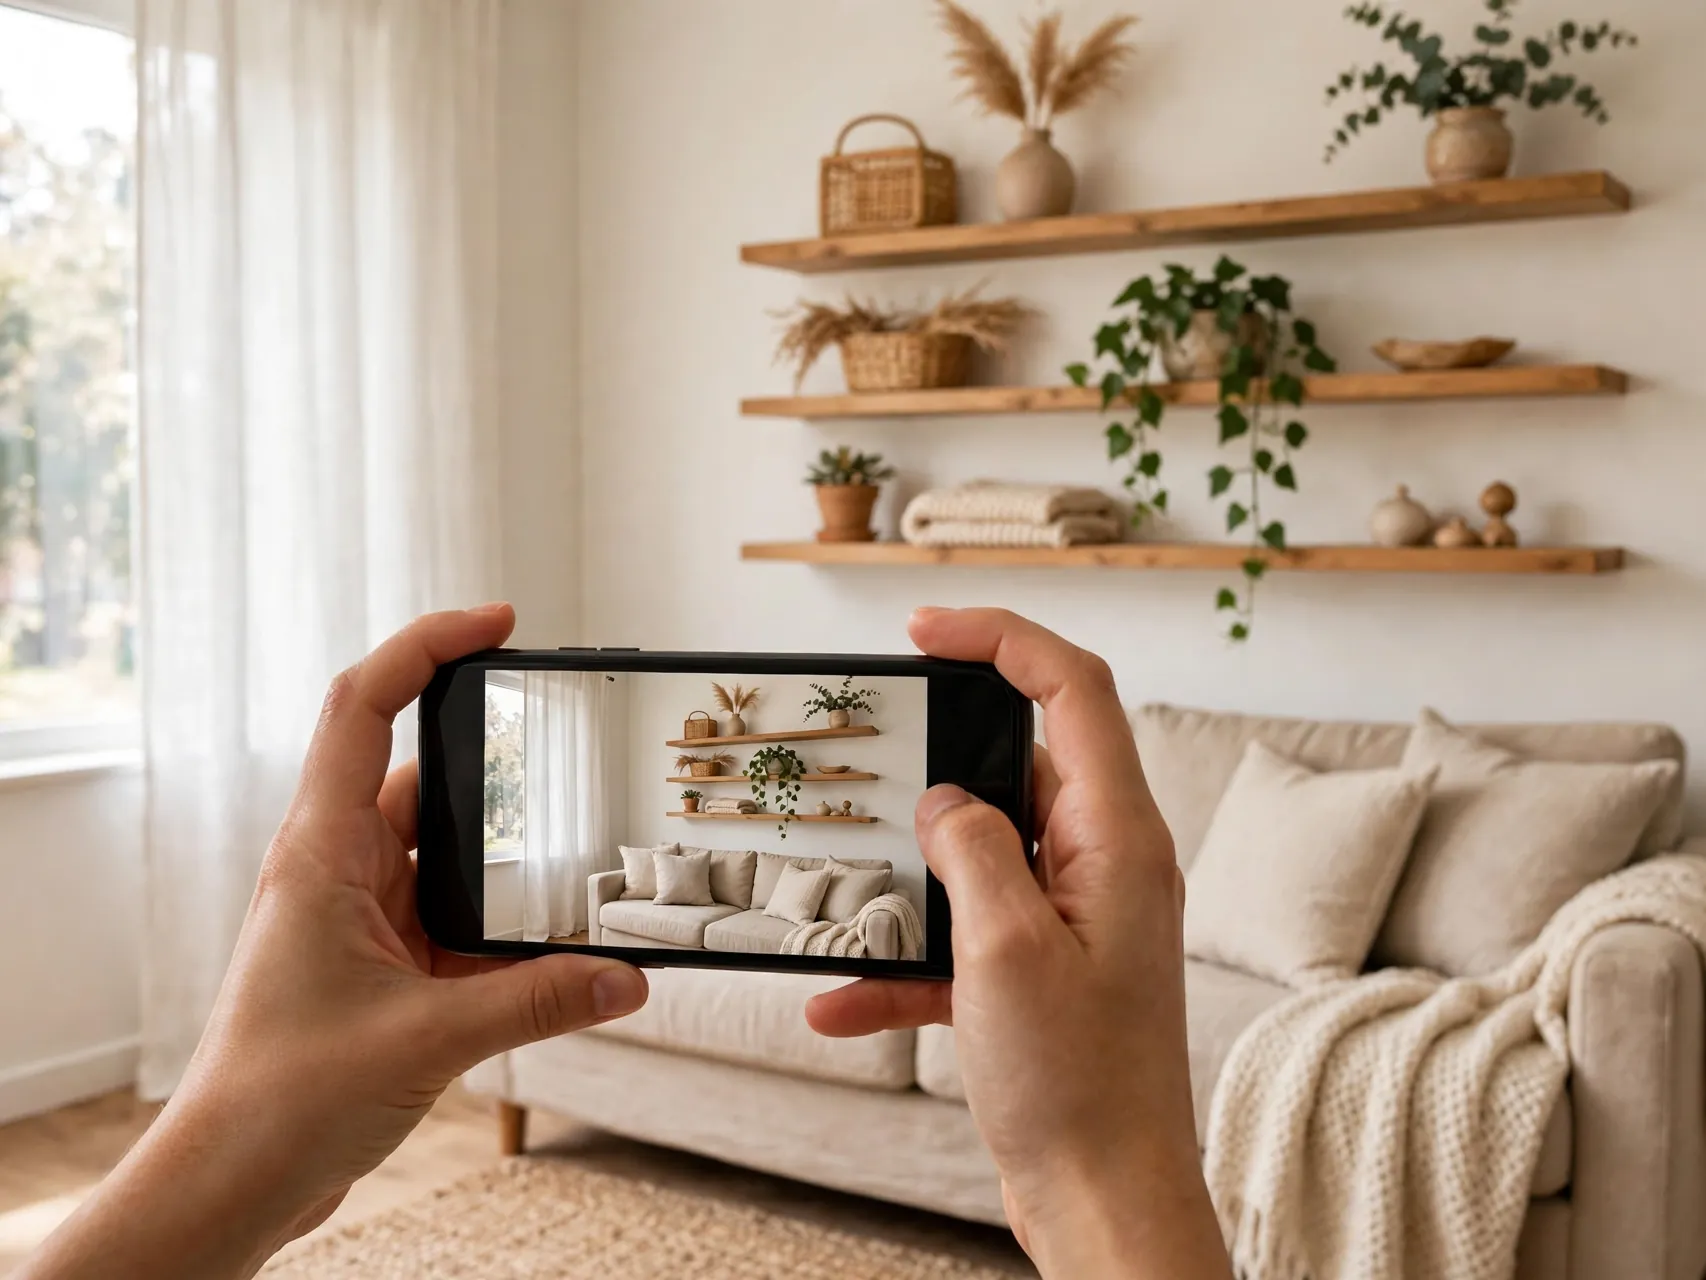
Before you peel a single corner, walk through each room with your phone and take wide shots plus close ups of every wall, floor and fixture you decorated. These photos become your comparison set later, and they also remind you exactly where each item was placed.
Work in daylight when you can, because shadows hide small marks. Save the images in a dated folder and keep your move in photos beside them. That simple pairing makes conversations calm and factual if a question comes up after you hand back the keys.
2. Read Your Lease One More Time

Your lease and move in checklist usually say what counts as normal wear and what needs repair. Read those pages again before you start, especially any notes about holes, paint touch ups, cleaning standards and the final walkthrough process.
Rules vary by state and by building, so treat the lease as your main guide and check local tenant guidance if anything feels unclear. If a clause is vague, ask your landlord in writing how they would like a specific mark handled rather than guessing.
3. Gather a Simple Removal Toolkit

Set out a hair dryer, plastic scraper or old gift card, dental floss, microfiber cloths, a spray bottle with warm soapy water, rubbing alcohol, a small tub of lightweight filler if your lease allows it, and trash bags. Having everything in one caddy saves repeated trips.
Skip metal blades and harsh solvents at first. Most damage free decor removal succeeds with heat, patience and plastic tools. Stronger products can lift paint or dull finishes, so they should only be a last resort on a hidden test spot.
4. Warm Adhesive Before You Pull

Warmth softens most removable adhesives and makes them release more cleanly. Hold a hair dryer on low or medium a few inches from the edge for twenty to thirty seconds, then test a corner with your fingernail or plastic scraper.
Move slowly and re warm as you go. If an item resists, stop and add more heat instead of pulling harder. Force is what tears paint and paper facing, while steady warmth does most of the work for you.
5. Remove Command Strips the Slow Way

For picture strips and hooks, remove the frame or hook first so you can see the tab. Hold the item lightly against the wall, grip the tab, and pull it straight down along the wall, keeping your hand close to the surface, exactly as the maker directs.
Pull slowly until the strip stretches and releases. Never pull outward toward you, because that peeling angle is what lifts paint. If you have many strips, work one wall at a time and collect the used strips so none get stepped on.
6. Rescue a Broken Pull Tab With Floss

Tabs sometimes snap, especially on older strips. Do not pry the base off with a knife. Instead, warm the strip, then slide a length of dental floss or fishing line behind it and use a gentle side to side sawing motion to work through the foam.
Once the base comes away, roll any leftover adhesive off with your thumb or warm it again and lift it with a plastic scraper. This slow fix takes a minute longer but protects the paint far better than scraping.
7. Peel Removable Wallpaper From the Top Corner
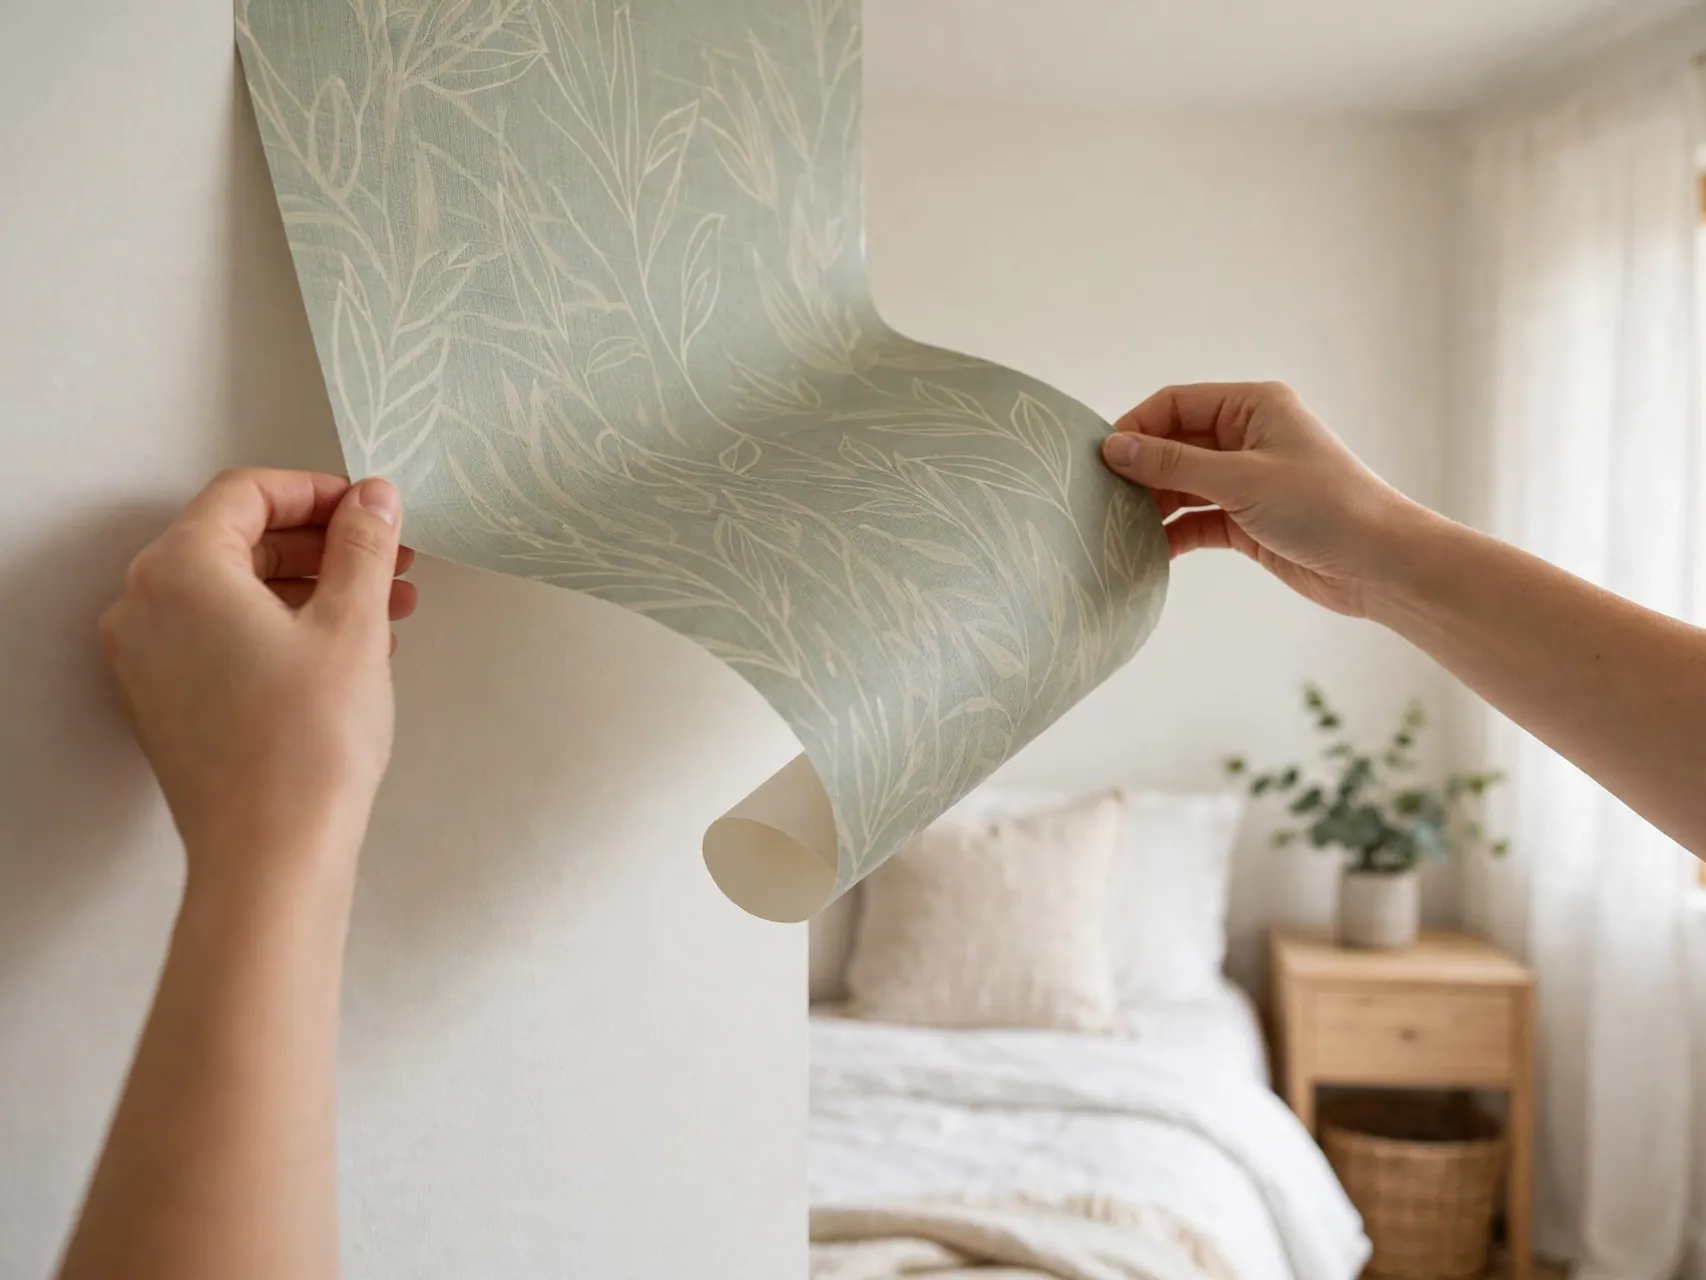
Start at a top corner and loosen the edge with a plastic scraper. Pull the sheet down on itself at a low angle, slowly and evenly, supporting the paper with your other hand so it does not tear into small pieces.
If a section sticks, warm it lightly or follow the product directions for that paper type. Some papers are water activated and release differently, so check the maker notes if you kept them. Bag pieces as you go to keep paste and dust off the floor.
8. Soften Peel and Stick Tiles With Heat
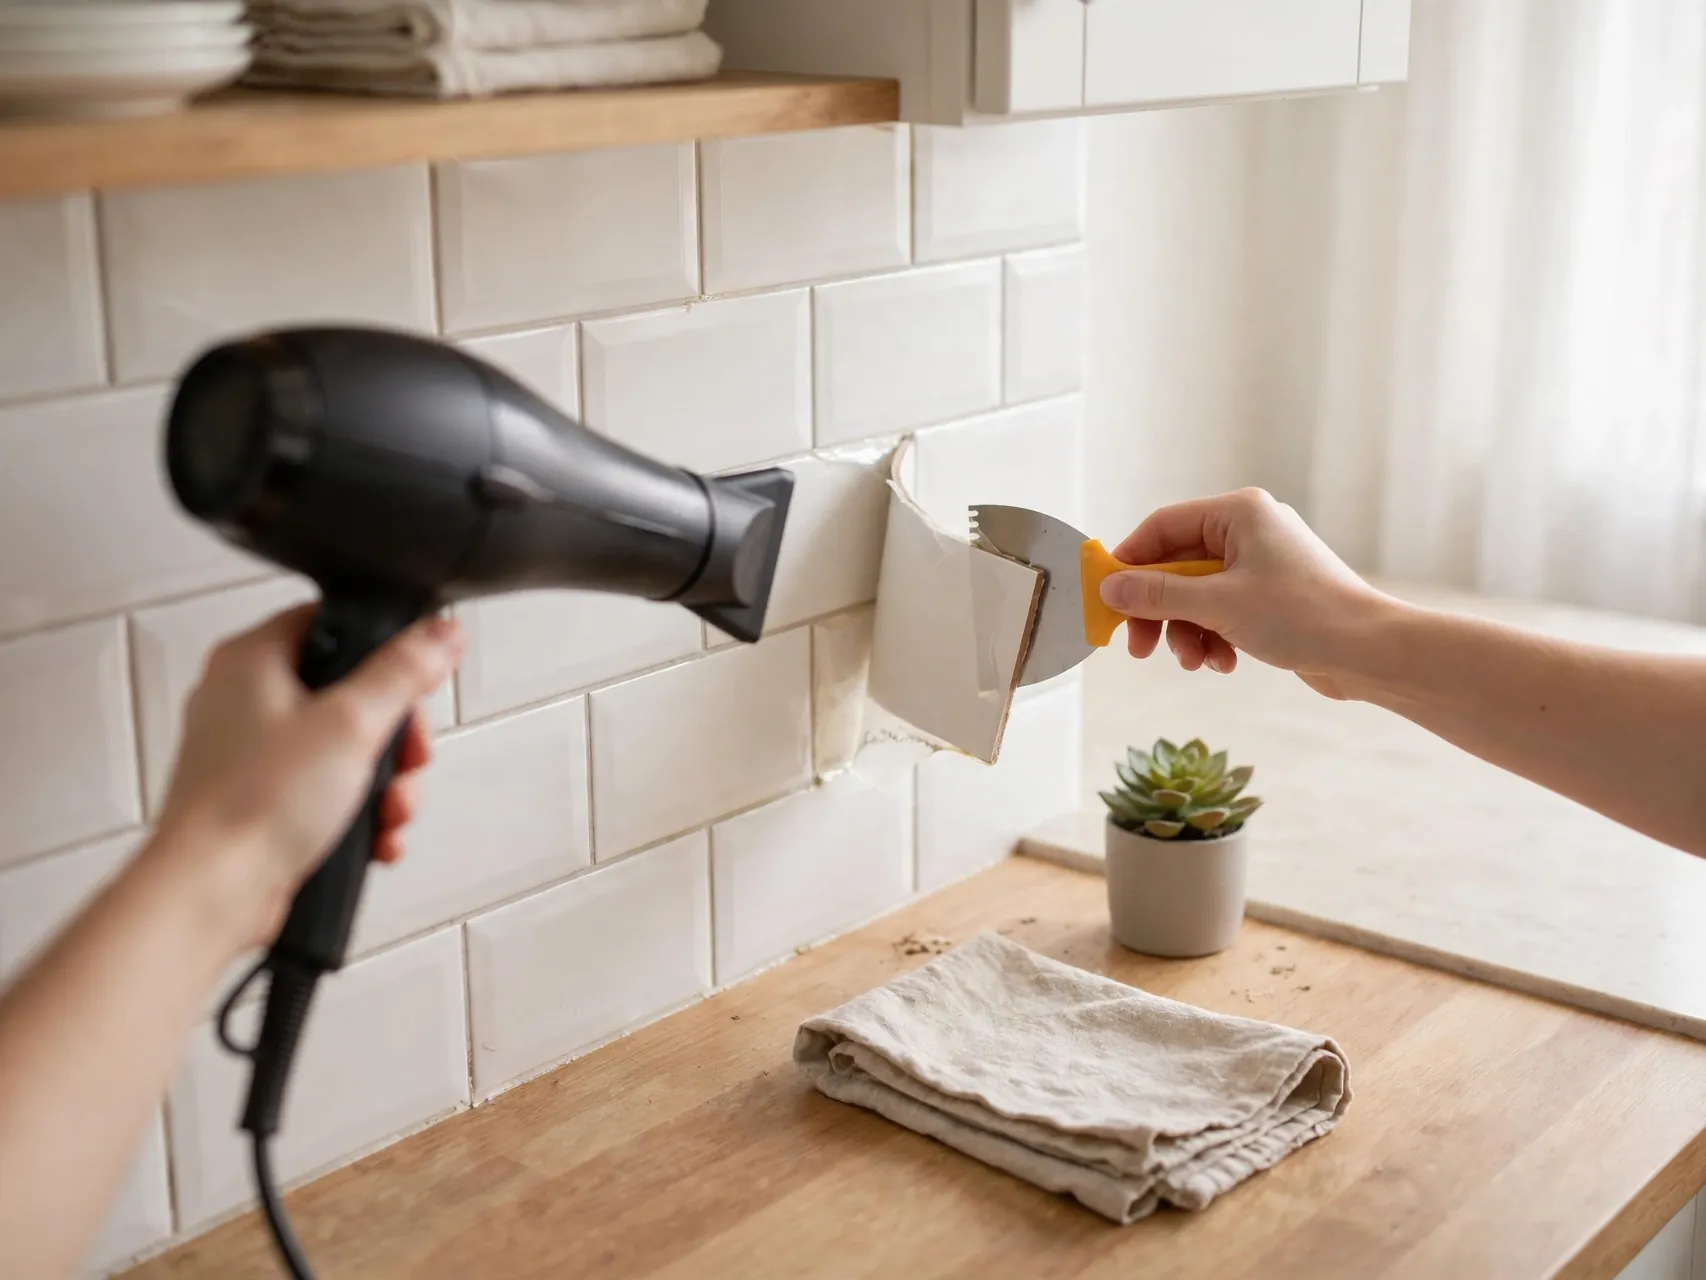
Peel and stick backsplash and floor tiles come up best when warm. Heat one tile at a time, lift a corner with a plastic scraper, and peel it back slowly while keeping the heat just ahead of the edge you are lifting.
Work in small sections and wipe the surface as tiles come off, because leftover adhesive collects dust quickly. On floors, check underneath each few tiles so you can spot residue early and clean it before you walk across it.
9. Lift Contact Paper From Counters and Shelves

Contact paper on shelves, drawers and counters releases more cleanly when warmed. Lift a corner, pull back slowly at a low angle, and keep the hair dryer moving just in front of the fold so the adhesive stays soft.
After removal, wash the surface with warm soapy water and dry it fully. If a sticky film remains, dab a little rubbing alcohol on a cloth and test it on a hidden edge first, especially on wood or painted finishes.
10. Roll Off Window Film Without Scraping Glass

Static cling film usually lifts from a corner and peels away in one sheet. For adhesive film, warm the pane, lift a corner with your fingernail, and peel slowly. Spraying warm soapy water along the edge can help on some products.
Avoid metal scrapers on glass, because they can scratch and can damage window coatings. A plastic scraper and patience handle most residue. Finish by cleaning the glass with your usual glass cleaner so no outline of the film remains.
11. Take Down Curtains and Tension Rods Carefully

Remove curtains from the rod first and fold them, so fabric weight does not pull the rod sideways. For tension rods, twist to shorten them slowly and keep a hand on each end, because a spring rod can jump when tension releases.
Wipe the window frame and wall where the rod ends pressed, since dust lines often show there. If you used adhesive rod holders, warm them and remove them using the strip method rather than twisting them off.
12. Remove Over Door Hooks and Organizers

Empty every pocket and hook before you lift an over door organizer off, because stored items shift weight and can swing the metal hooks into the door. Lift it straight up and away, then check both sides of the door for rub marks.
Clean light scuffs with a damp microfiber cloth first. Felt pads often leave a faint outline that washes off easily. Note any chip that was already there and match it against your move in photos before you try a repair.
13. Detach LED Strip Lights Without Peeling Paint

LED strips are tempting to rip down in one pull, and that is exactly how paint comes with them. Instead, warm a short section, peel it back on itself at a low angle, and move slowly, keeping one hand close behind the peel point.
Unplug the strip first and remove any clips or channels as you go. If adhesive foam stays behind, roll it off with your thumb while it is warm. Save working strips, remotes and power supplies together if you plan to reuse them.
14. Unscrew Swapped Hardware and Refit the Originals

If you swapped cabinet knobs, drawer pulls or switch plates, put the originals back well before moving day. Work with a hand screwdriver, support the door with your other hand, and avoid over tightening, which can crack older wood or finishes.
This is where labeled bags pay off. Fit each original piece in its room, check that screws match, and take a quick photo when a set is finished. Missing landlord hardware is an easy deduction to avoid with ten minutes of care.
15. Roll Up Removable Flooring and Rugs
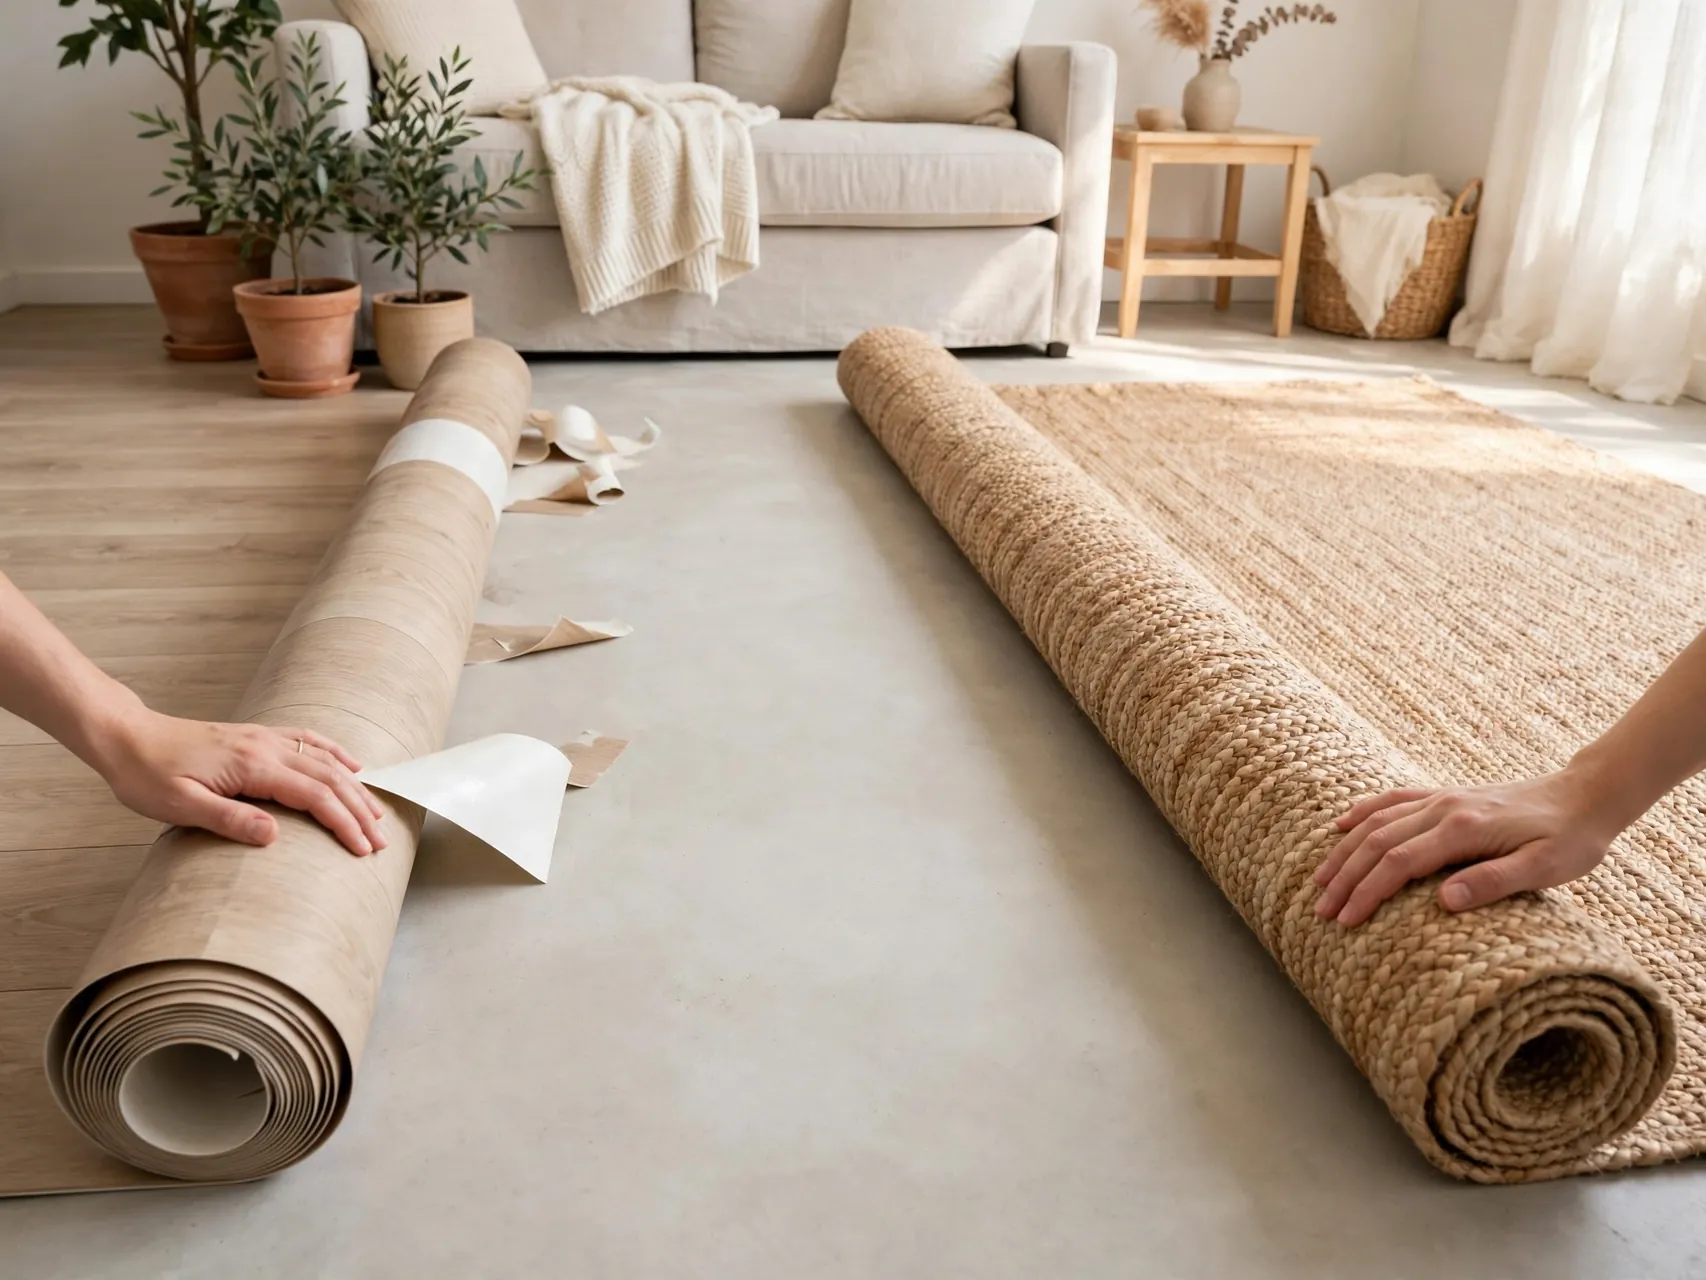
Lift interlocking deck or foam tiles one piece at a time, separate them, and stack them flat so edges do not curl. Peel and stick floor tiles need the same warm and slow approach as wall tiles, plus a residue check underneath.
Shake rugs outside if your building allows it, vacuum both sides, and let everything dry fully before packing. Damp flooring materials packed in boxes can smell musty within days, and grit left under tiles can scratch the original floor when you step on it.
16. Clean Adhesive Residue With the Gentlest Option First

Start with the mildest cleaner that could work: warm soapy water on a microfiber cloth. If residue remains, try rolling it off with your fingers, then a small amount of rubbing alcohol on a cloth, testing any new product in a hidden spot first.
Give the cleaner a minute to soften the spot instead of scrubbing hard. Hard scrubbing dulls paint and can leave a shiny patch that shows in photos. Rinse with a clean damp cloth and let the wall dry before you judge the result.
17. Fill Only the Tiny Holes Your Lease Allows
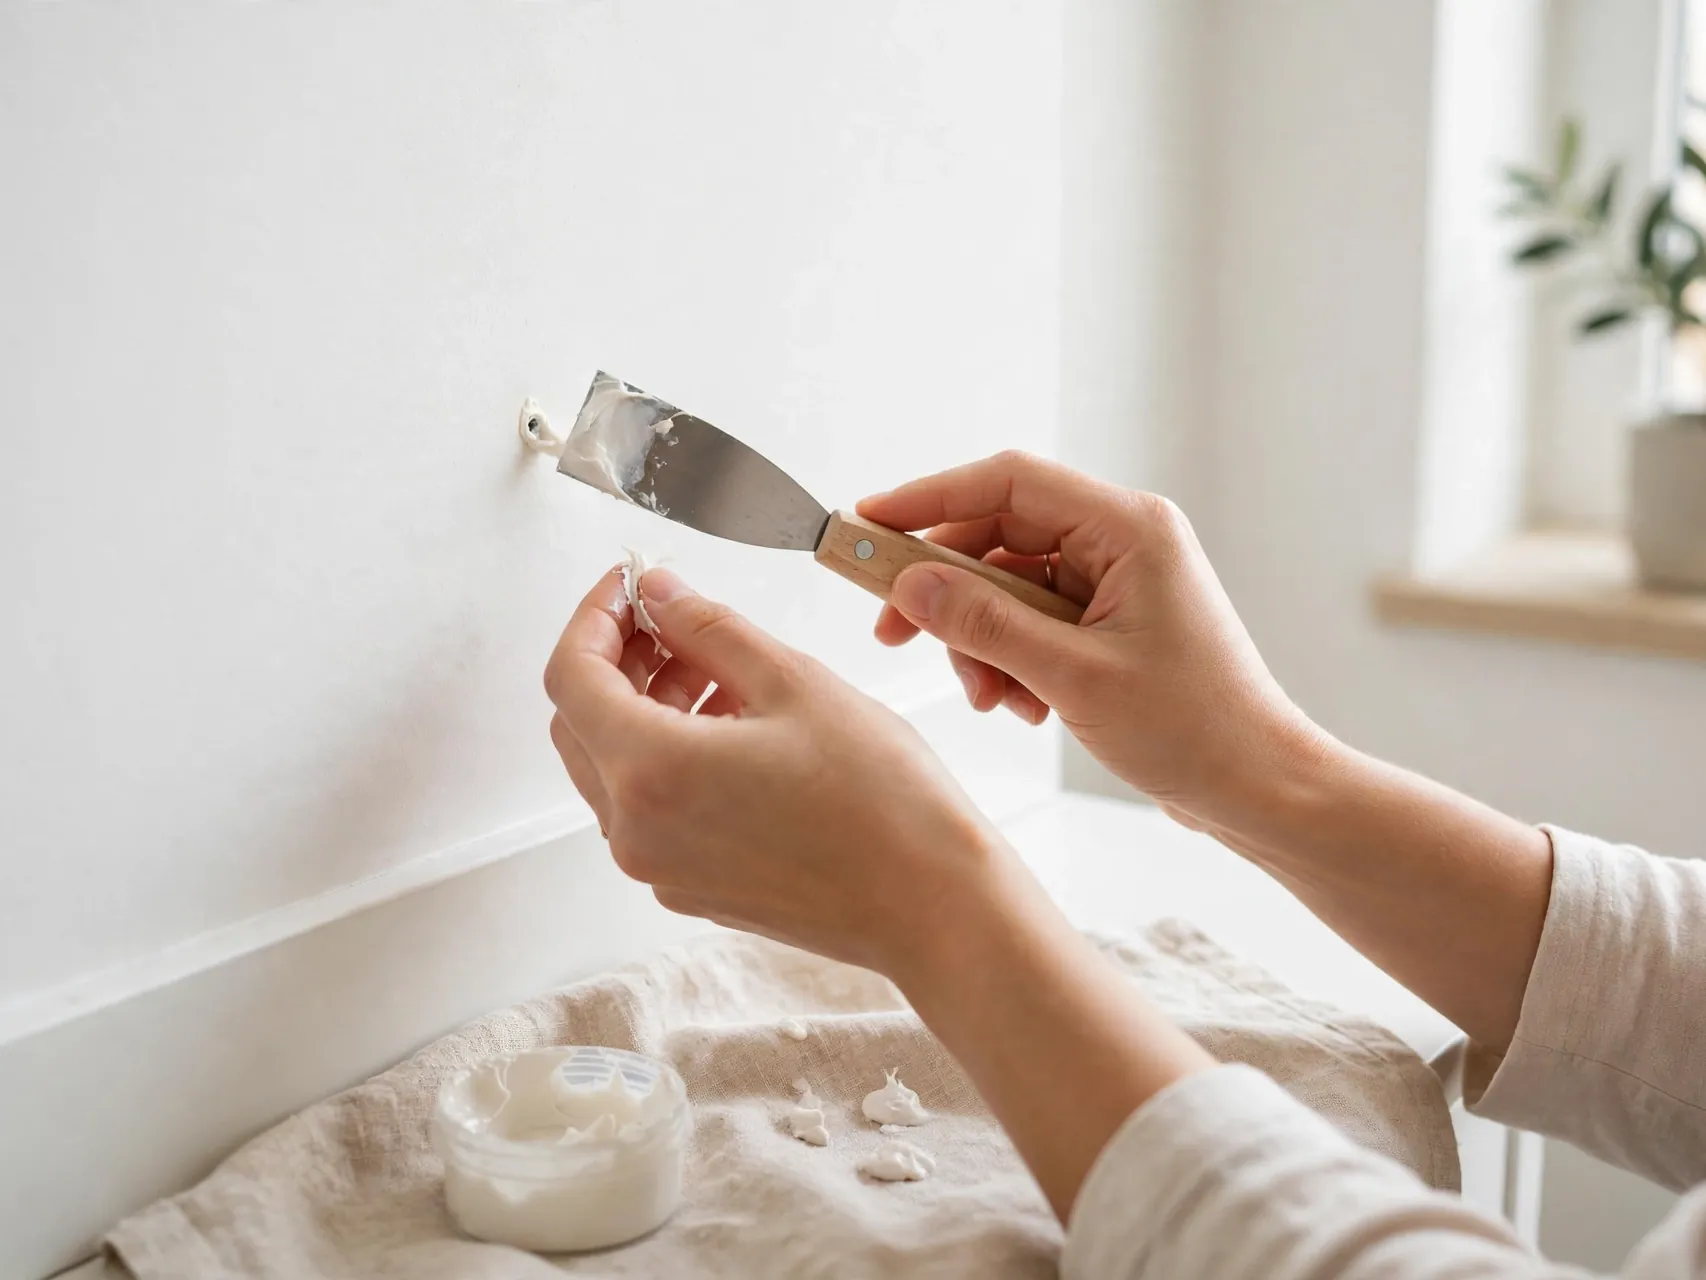
Some leases allow tenants to fill small nail holes, while others prefer the landlord to handle all repairs. Follow yours. If filling is allowed, use a tiny amount of lightweight filler on a putty knife, press it in, and scrape it level so almost nothing sits on the surface.
Let it dry fully, then smooth it very lightly only if needed. Big sanding patches and thick filler stand out more than the hole did. When in doubt, photograph the spot, ask in writing, and keep the reply with your records.
18. Touch Up Scuffs Without Repainting the Room

Many scuffs are surface dirt, not missing paint. Try a damp microfiber cloth, then a gentle cleaning sponge used very lightly on a hidden test area first, because some sponges can dull flat paint or change its sheen.
Only use touch up paint if you have the correct color and permission to use it. Dab the smallest area possible and feather the edges. A mismatched patch across a whole wall usually looks worse than a small, clean mark.
19. Remove Bathroom Decals and Mirror Clips

Bathroom humidity can make decals and adhesive hooks hold tighter. Warm each piece, peel slowly, and clean the tile or painted surface right away, since soap film can hide residue until it dries and turns white.
For mirrors held by clips, support the mirror with one hand or ask a helper while you loosen clips. Never let a mirror hang from adhesive alone while you work. Dry the wall and glass fully so water spots do not look like damage later.
20. Take Apart Freestanding Shelves and Dividers
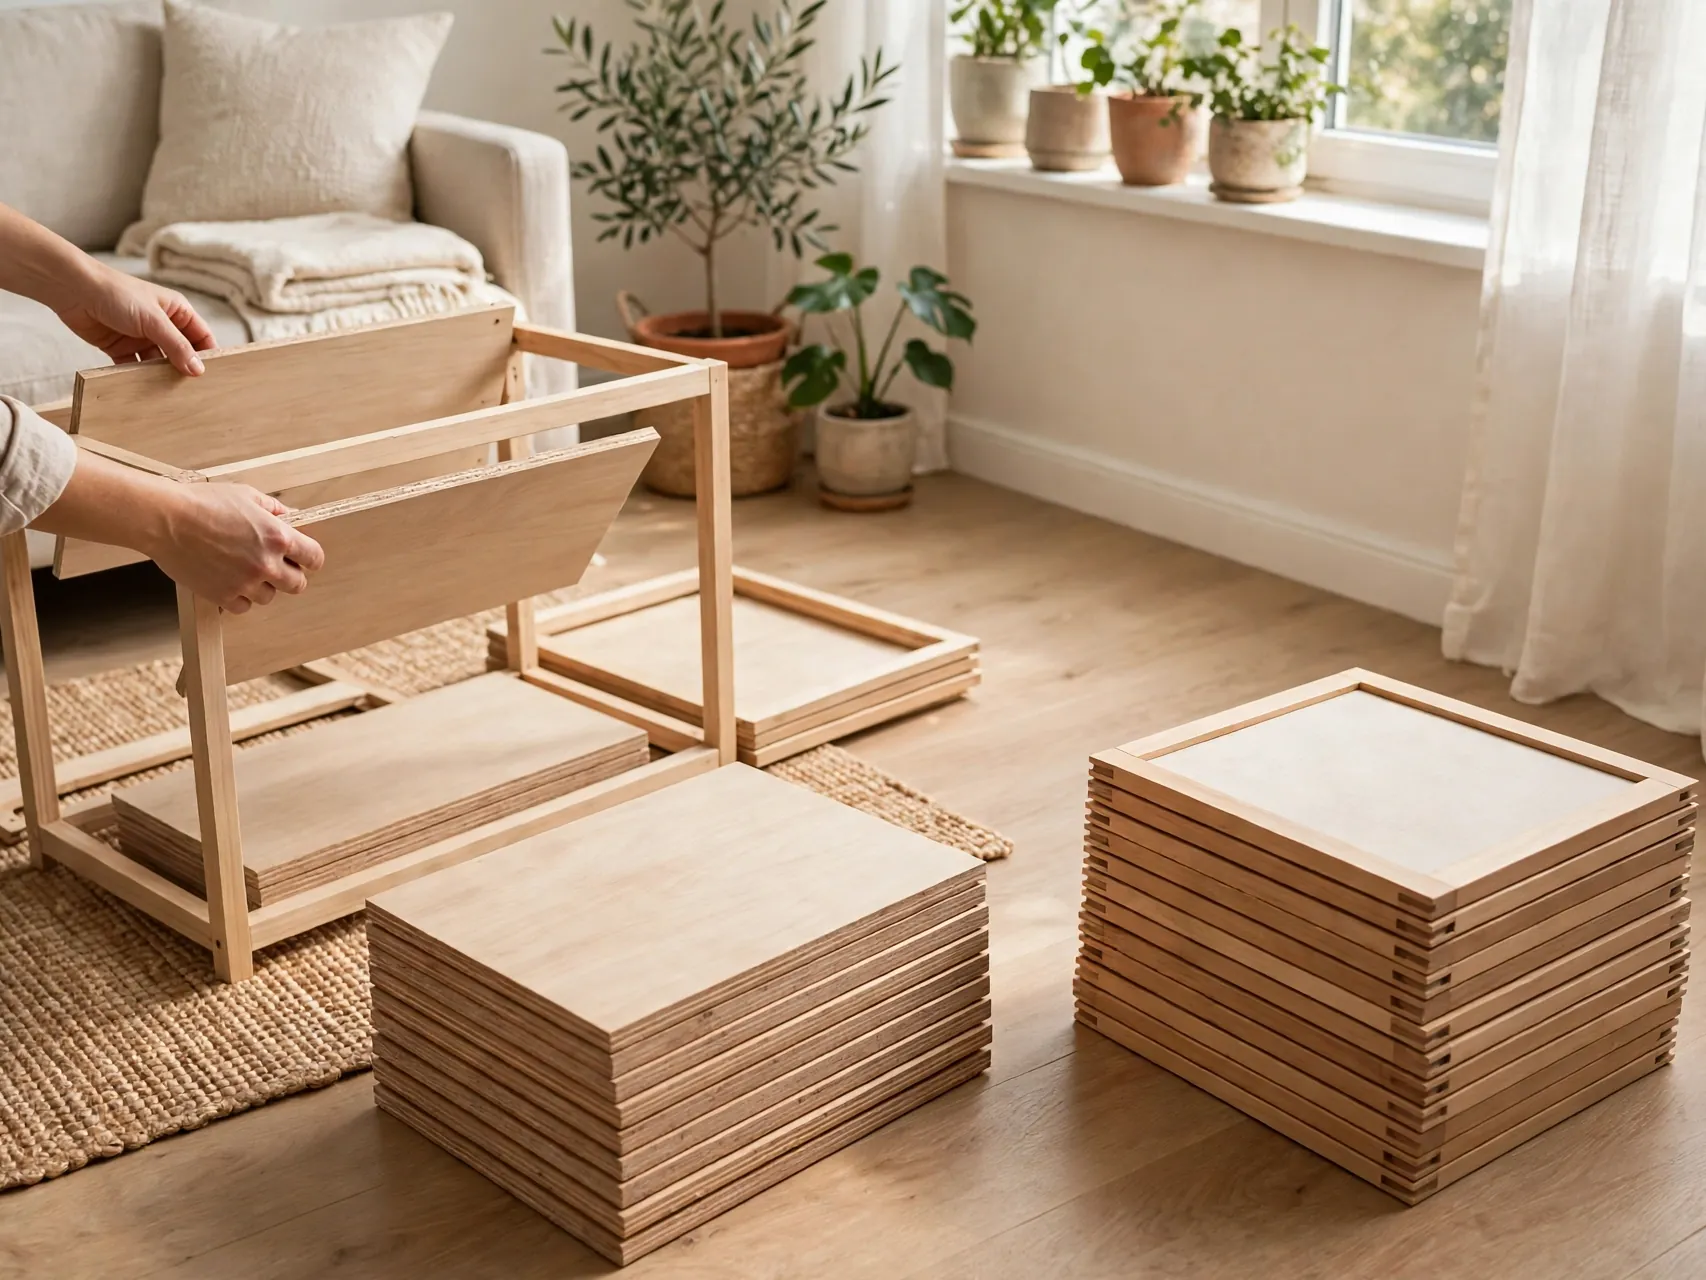
Freestanding bookcases, cube units and folding screens need no wall repair, but they often leave dust outlines and small floor dents from weight. Empty them fully, take them apart from the top down, and keep screws and pins in a labeled bag taped to one panel.
Move units away from the wall before cleaning, so you can wash the baseboards and check for hidden marks. Lift rather than drag furniture, or use sliders, because dragging is a common cause of last minute floor scratches.
21. Wash Walls Where Decor Used to Hang
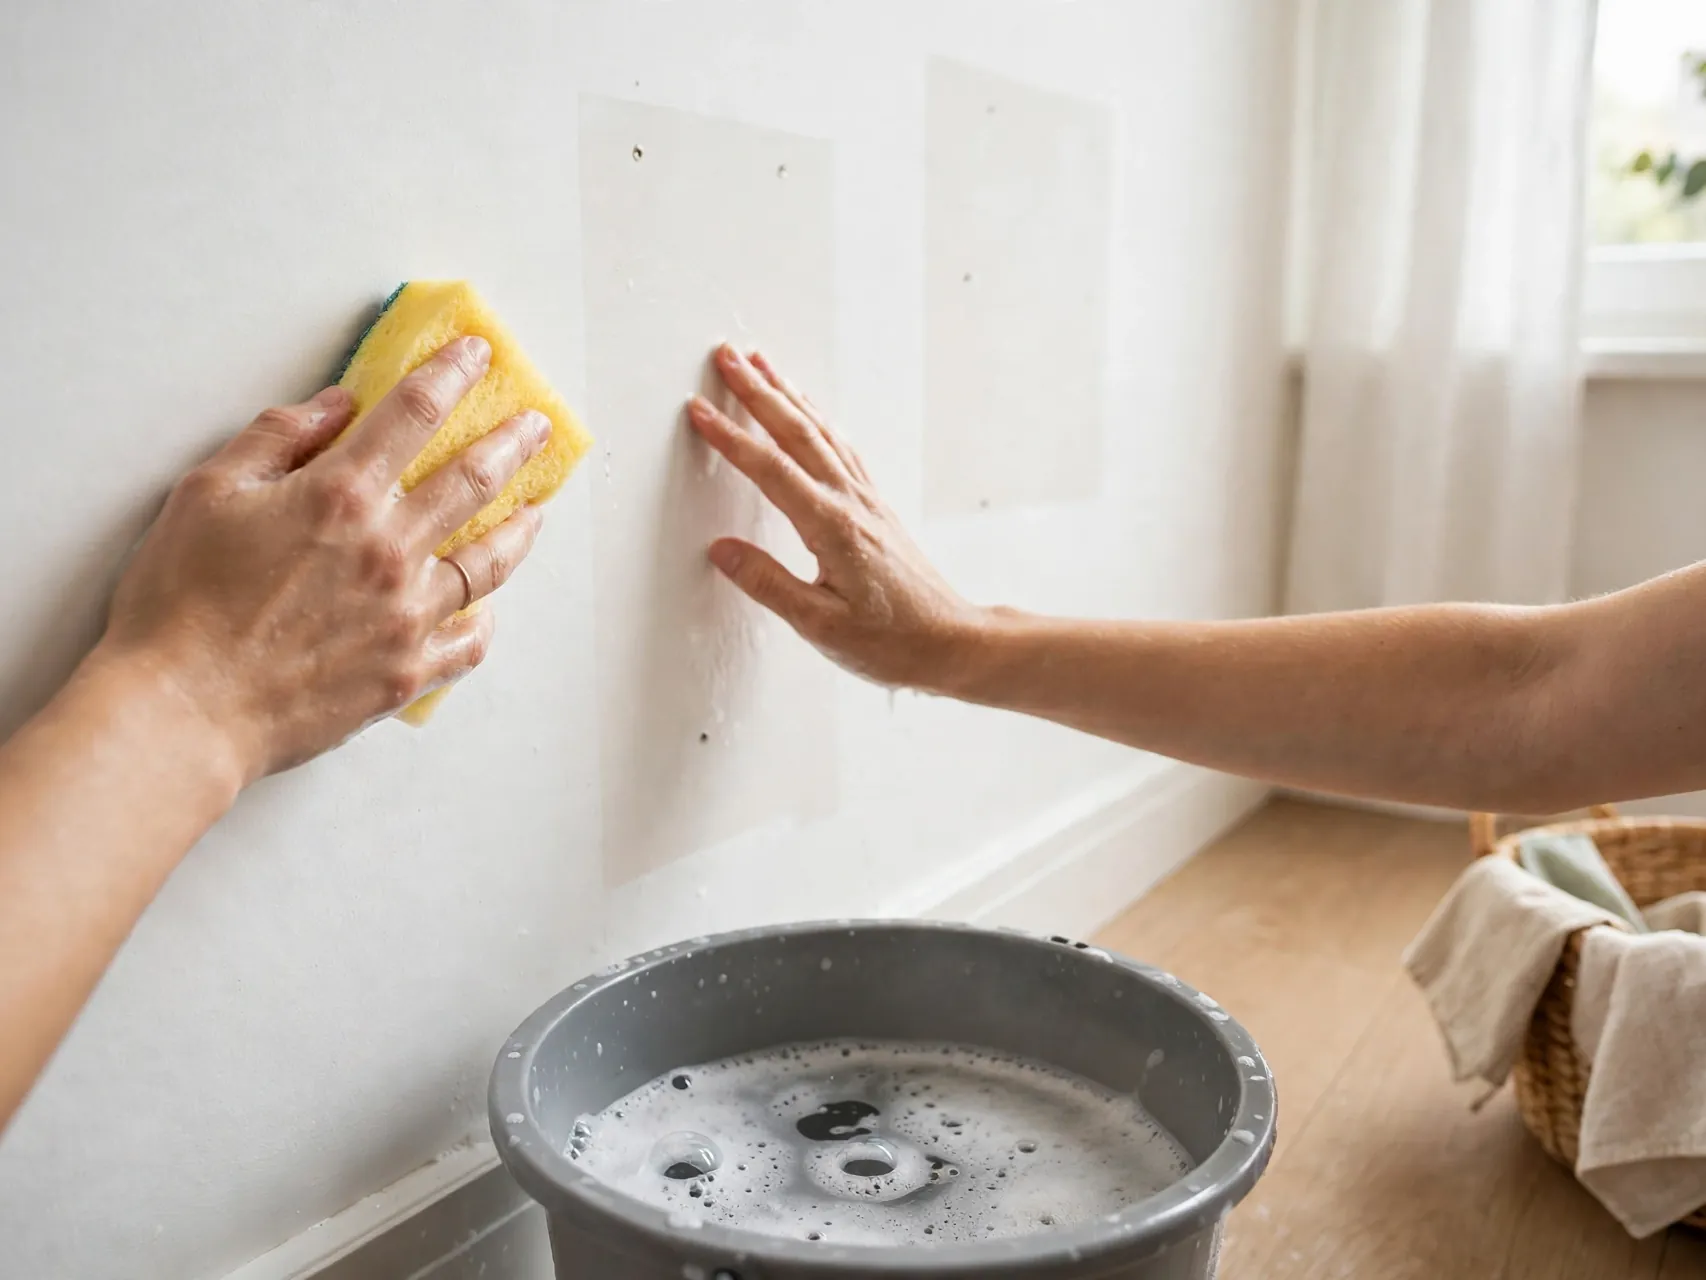
Once decor is down, wash those wall areas with a lightly damp microfiber cloth and a small amount of mild soap if needed. Gallery walls and shelves collect a clean rectangle of paint surrounded by everyday dust, and that contrast can look like a stain in inspection light.
Rinse with a second cloth dampened with plain water and let the wall dry. Check the area from the doorway and from the side, because side light reveals streaks and adhesive shadows that straight on viewing can miss.
22. Restore Closets, Cabinets and Drawers

Remove shelf liners, extra hooks and dividers you added, then wipe every shelf and drawer. Liners often peel up easily when warm, but check corners where tape or adhesive dots were used to hold them in place.
Put closet rods, shelf pins and cabinet hardware back in their original positions if you moved them. Leave doors and drawers able to open and close smoothly. A quick photo inside each cabinet creates a helpful record that they were left empty and clean.
23. Do a Daylight Walkthrough With Fresh Eyes

When removal is finished, walk through in daylight and again in the evening under normal lights. Look at each wall from an angle, crouch to check floors where rugs and tiles sat, and open and close doors that carried hooks or organizers.
Make one short fix list from what you find, rather than repairing on the spot in a rush. Most renters who succeed at this are not using special products. They are simply checking slowly and fixing small things while there is still time.
24. Photograph the Finished Rooms and Keep Your Records
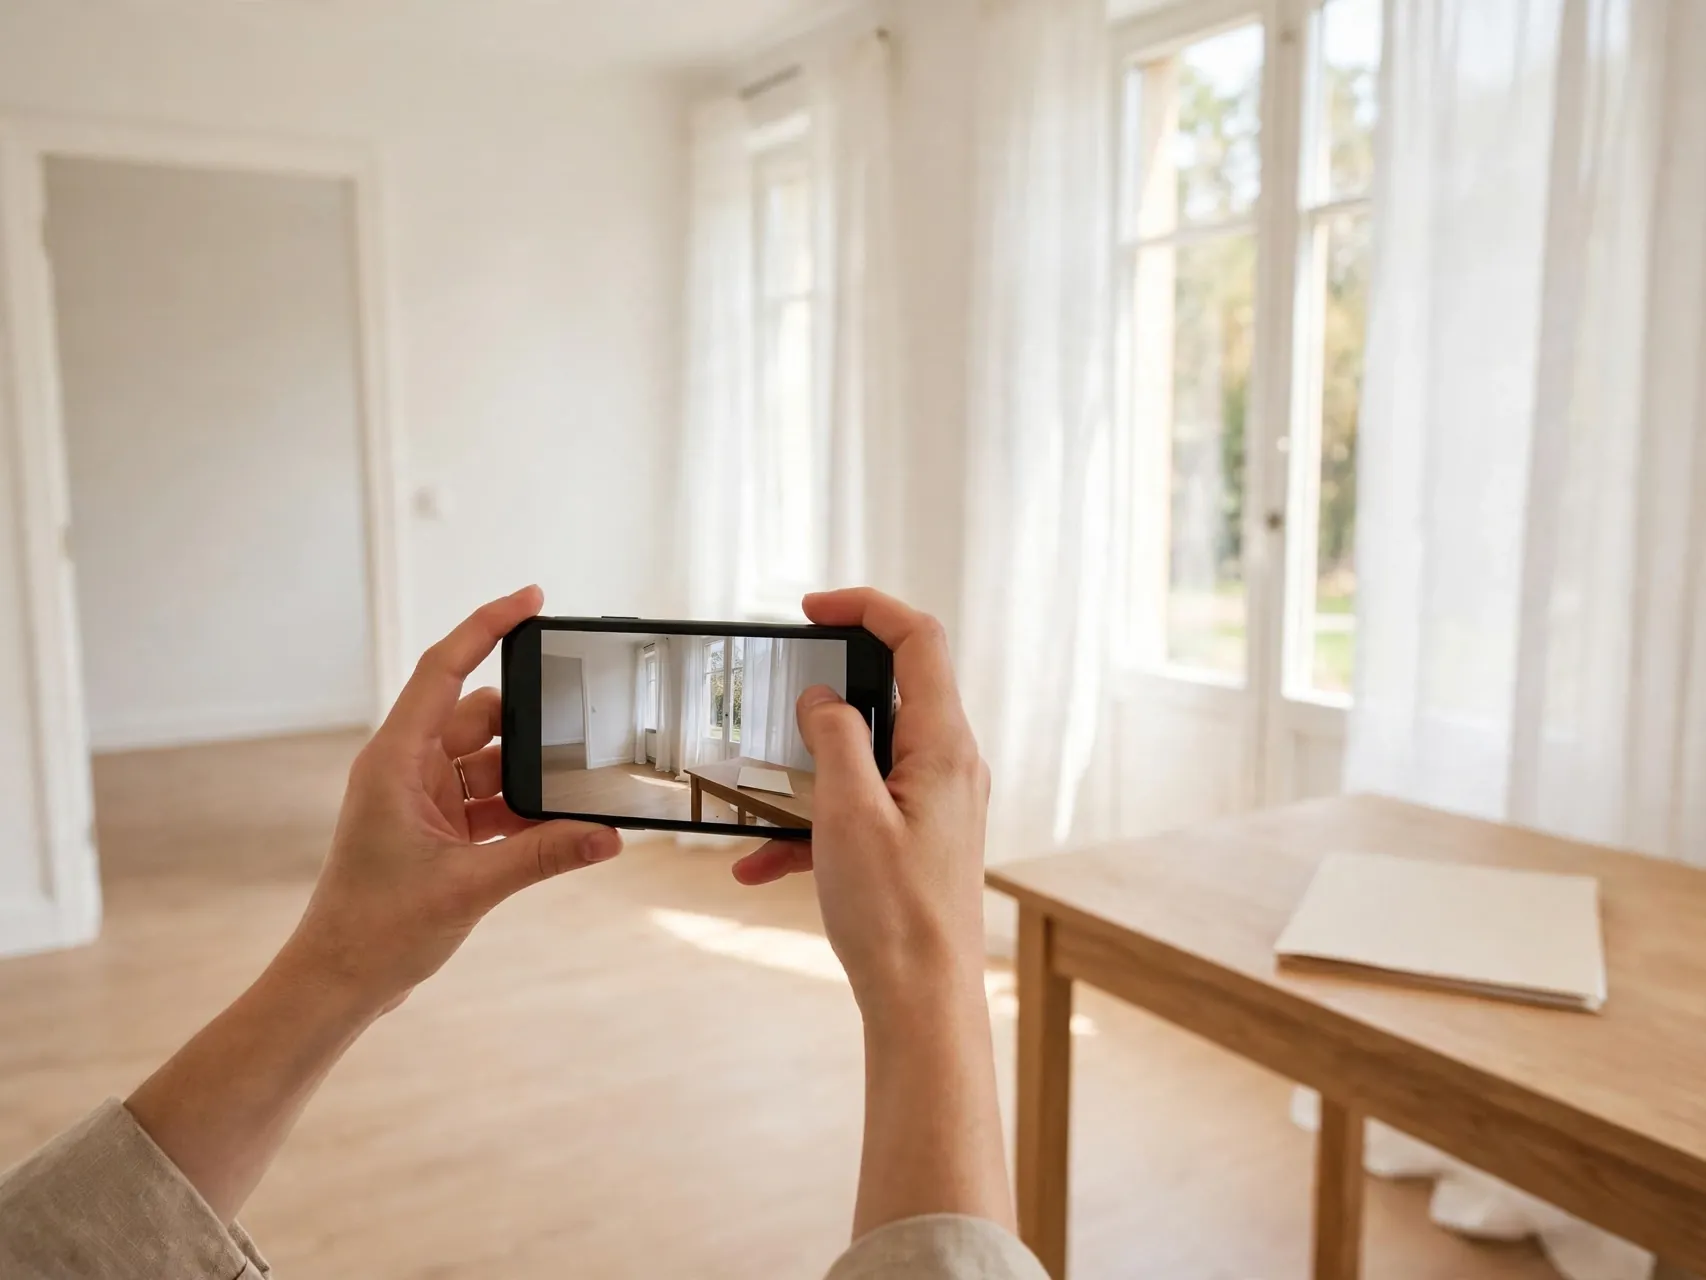
Finish by retaking the same wide and close up photos from step one, from similar angles. Empty, clean rooms photographed in good light are your clearest record of how you left the home, alongside your lease, receipts and any written landlord replies.
Keep the folder until your deposit is settled and any follow up is closed. If your landlord offers a joint final walkthrough, take it, note the comments together, and stay friendly and factual. A calm, documented handoff protects both sides.
FAQ
What should I remove first when I leave a rental?
Start with wall items that use adhesive, such as strips, hooks, wallpaper and LED lights, while you still have time to fix a small mark. Then remove curtains, hardware swaps, liners and freestanding pieces. Doing adhesive work first gives filler or touch ups time to dry before your final clean.
Will a hair dryer damage paint when removing decor?
Used on low or medium, held a few inches away and kept moving, a hair dryer is a common gentle way to soften adhesive. Avoid holding high heat in one spot for a long time, and test on a hidden area if your paint is old, flat or already peeling.
What if a Command strip tab breaks off?
Warm the strip, then slide dental floss or fishing line behind it and saw gently side to side to cut through the foam. Roll off leftover adhesive with your thumb while it is warm. Avoid prying with a metal knife, which can gouge paint and drywall.
Should I fill nail holes before moving out?
It depends on your lease. Some landlords allow small filler repairs, while others prefer to handle holes themselves. Read the lease, and if it is unclear, ask in writing and keep the reply. A neat, level fill helps only when it is permitted and matches well.
How do I prove I left the walls in good condition?
Take dated wide and close up photos at move in and again after removal and cleaning, from similar angles. Keep them with your lease, move in checklist and any written messages about repairs. A joint final walkthrough, when offered, adds another shared record.
Key Takeaways
- Start with photos and your lease: Your move in pictures and lease terms tell you what to fix and what counts as normal wear.
- Heat beats force: Warm adhesive with a hair dryer and peel slowly at a low angle to protect paint and drywall.
- Pull strips down, not out: Stretch release tabs straight down along the wall, and use floss if a tab breaks.
- Use the gentlest cleaner first: Begin with warm soapy water, test stronger options in a hidden spot, and rinse well.
- Restore the originals: Refit landlord hardware, rods and shelf parts, and keep labeled bags until the job is done.
- Finish with a daylight check: Photograph the empty rooms from your original angles and keep records until your deposit is settled.
Save this guide to Pinterest for your next move out week so the removal steps are ready when you need them.