20 Renter Friendly Bathroom Upgrades That Look Brand New
Introduction
Rental bathrooms are often small, dated, and hard to change, with plain mirrors, tired floors, and lighting that flatters no one. Renter friendly bathroom upgrades work around those limits by swapping what sits on top, hangs up, or plugs in, rather than replumbing or retiling anything. Small changes add up quickly in a compact room.
Start by checking your lease for rules on fixtures, adhesives, and paint, and keep every original item you remove, labeled and stored safely. Showerheads and hardware can often be swapped and refitted later, but keep the landlord's pieces in perfect condition so move out is a simple reverse job.
Clean first, then work through light, mirror, textiles, floor, and storage. That order gives the biggest visual return for the least risk. Every idea below is chosen to look like a renovation while staying removable, moisture aware, and kind to your deposit.
1. Swap In a Better Showerhead

A handheld, rainfall style, or filtered showerhead you install by hand can transform a daily shower in minutes. Keep the original showerhead in a labeled bag and use thread tape as the new product directs for a good seal.
Check for leaks after fitting and keep water pressure sensible. Because you will refit the original at move out, store any washers or parts together so nothing goes missing.
Quick check before you buy: measure the space, note any lease limits, and take a phone photo to compare colors and sizes in the store. That small pause prevents most returns and keeps the project on budget.
2. Hang a Longer Shower Curtain Higher
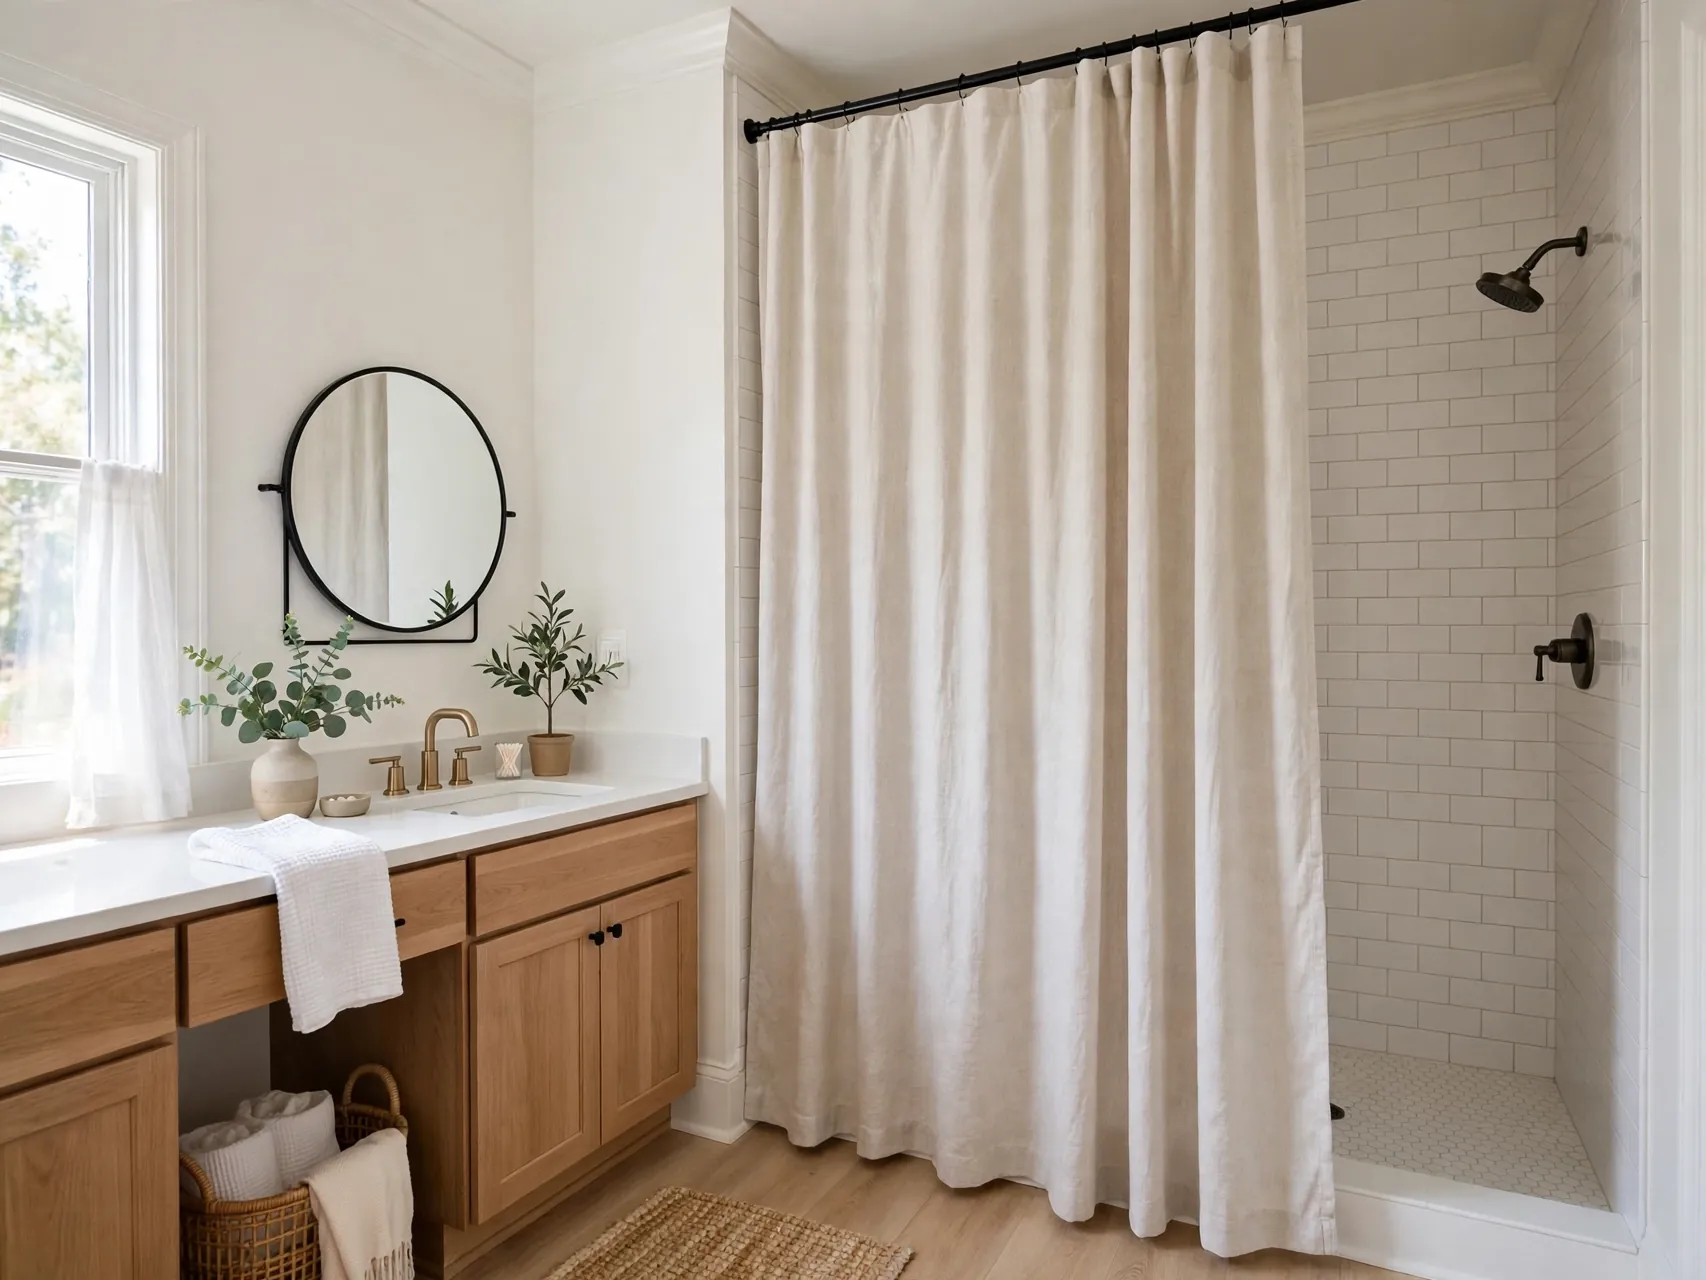
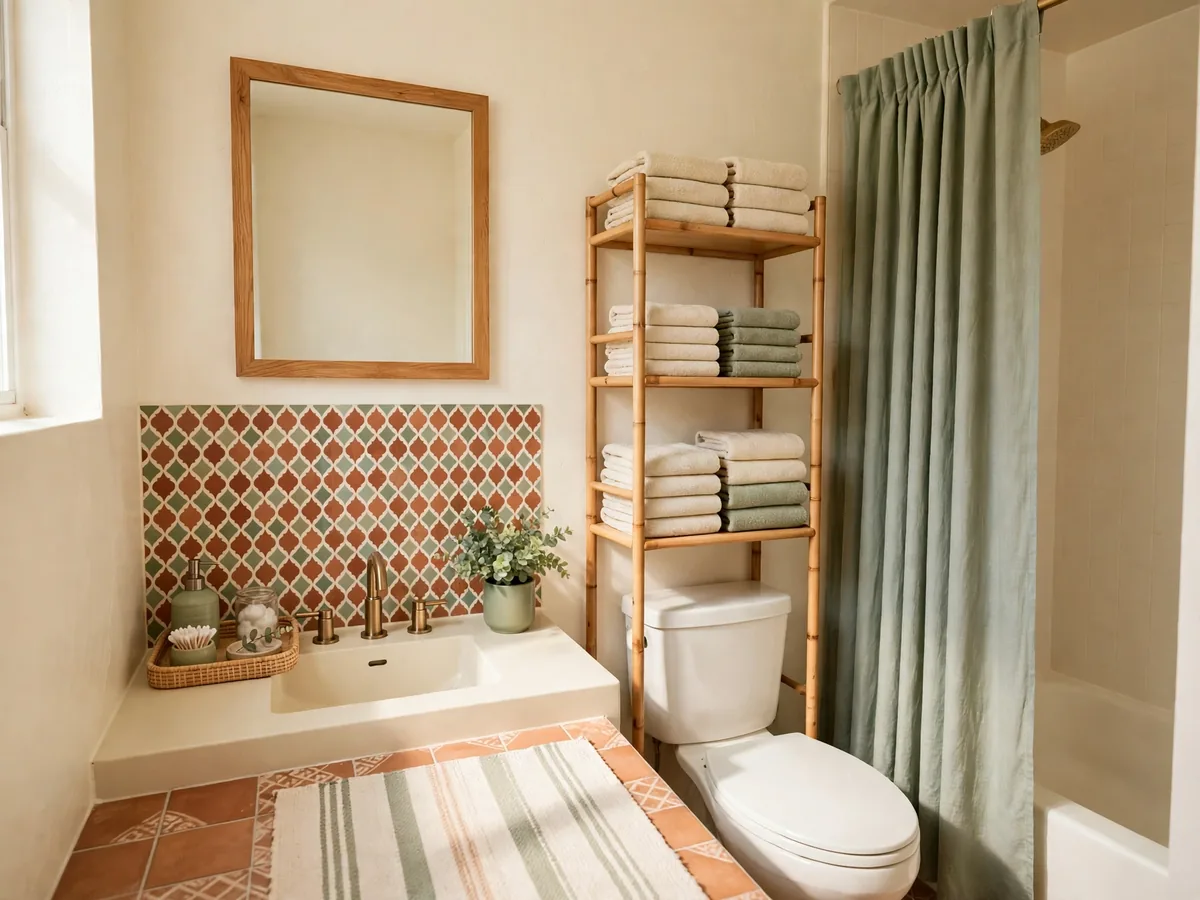
A fabric look shower curtain hung as high as your existing setup allows, and long enough to skim the floor, makes a small bathroom feel taller and more finished. Choose a clean solid or subtle texture over a busy print.
If you change a rod, prefer tension options that need no drilling. Wash the curtain regularly in this damp room and keep the original curtain, if there was one, stored clean.
For a Pinterest worthy finish, repeat the same material or color at least twice in the zone. Repetition makes a temporary setup look planned, and it helps separate zones feel connected rather than random.
3. Frame or Replace the Builder Mirror

A plain frameless mirror makes many rentals feel unfinished. Add a lightweight frame kit designed for mirrors if allowed, or hang a framed mirror on suitable hooks, keeping the original mirror safely in place or stored with permission.
Use moisture tolerant materials near the sink. A framed mirror is often the single change that makes a rental bathroom makeover look intentional rather than temporary.
Keep the removal plan in mind from the start. Save packaging, label small parts, and store anything you took off in one clear box so reversing the change later takes minutes, not a whole afternoon.
4. Add Peel and Stick Backsplash With Caution
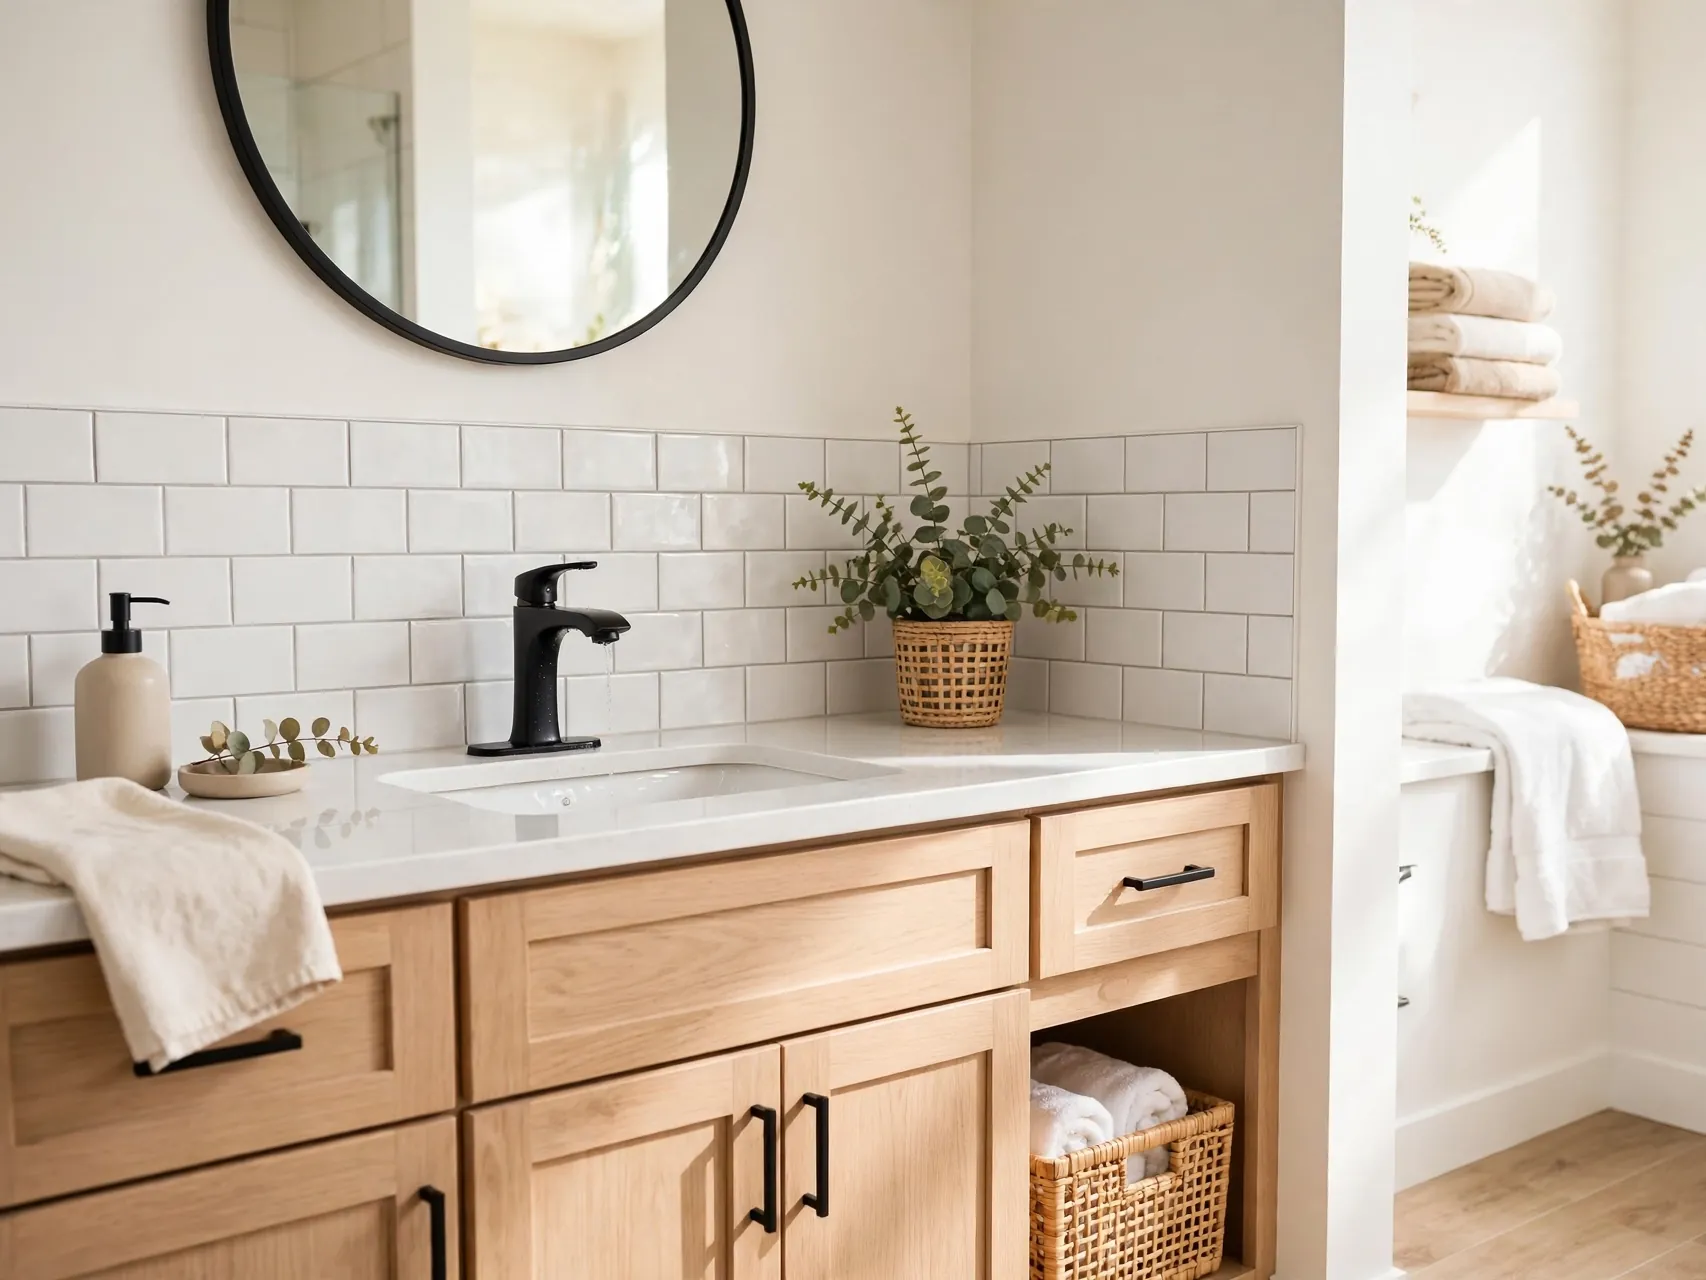
Removable tile style panels behind a sink can add pattern and protect walls from splashes, but adhesive and moisture together need care. Test a small piece first, check your lease, and choose products made for bathroom use.
Avoid covering damaged or damp walls. Keep removal instructions and expect to clean the wall gently at move out, since steam can change how adhesives behave over time.
If you share the space, agree the layout and budget before ordering. A quick shared photo list keeps everyone aligned and stops duplicate purchases that waste money and clutter a small area unnecessarily.
5. Lay Removable Floor Tiles or a Vinyl Cloth
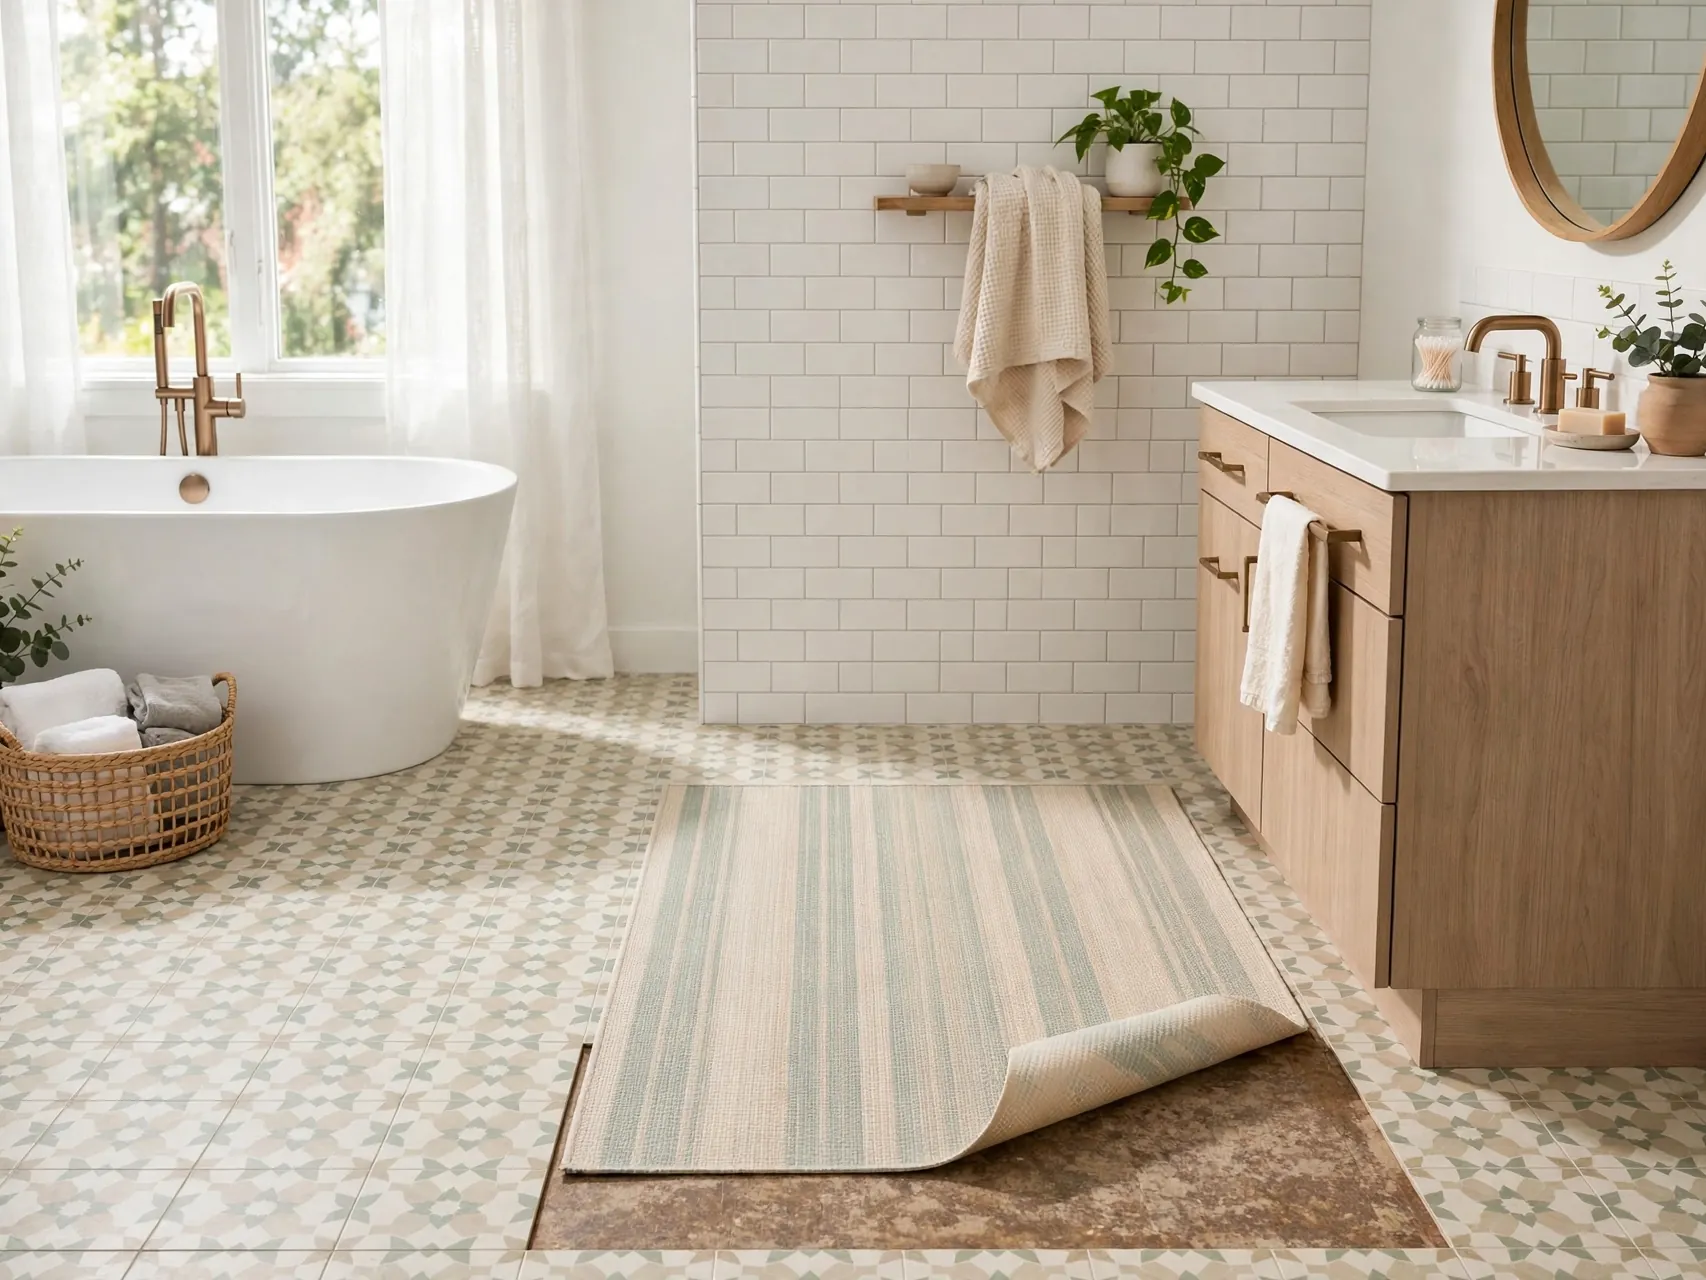
Cover dated lino or tile with loose lay removable tiles made for rentals, or a vinyl floor cloth that sits like a mat. Both hide wear, add pattern, and lift away without grout or glue when fitted as loose products.
Lift edges periodically to check for trapped moisture underneath, especially around the bath and toilet. In wet rooms, keeping the floor below dry matters more than the pattern you choose.
Start with the version you already own or can borrow. Testing the layout for a week shows what you actually use daily, so your final purchase solves a real problem instead of adding more stuff.
6. Add an Over Toilet Storage Unit
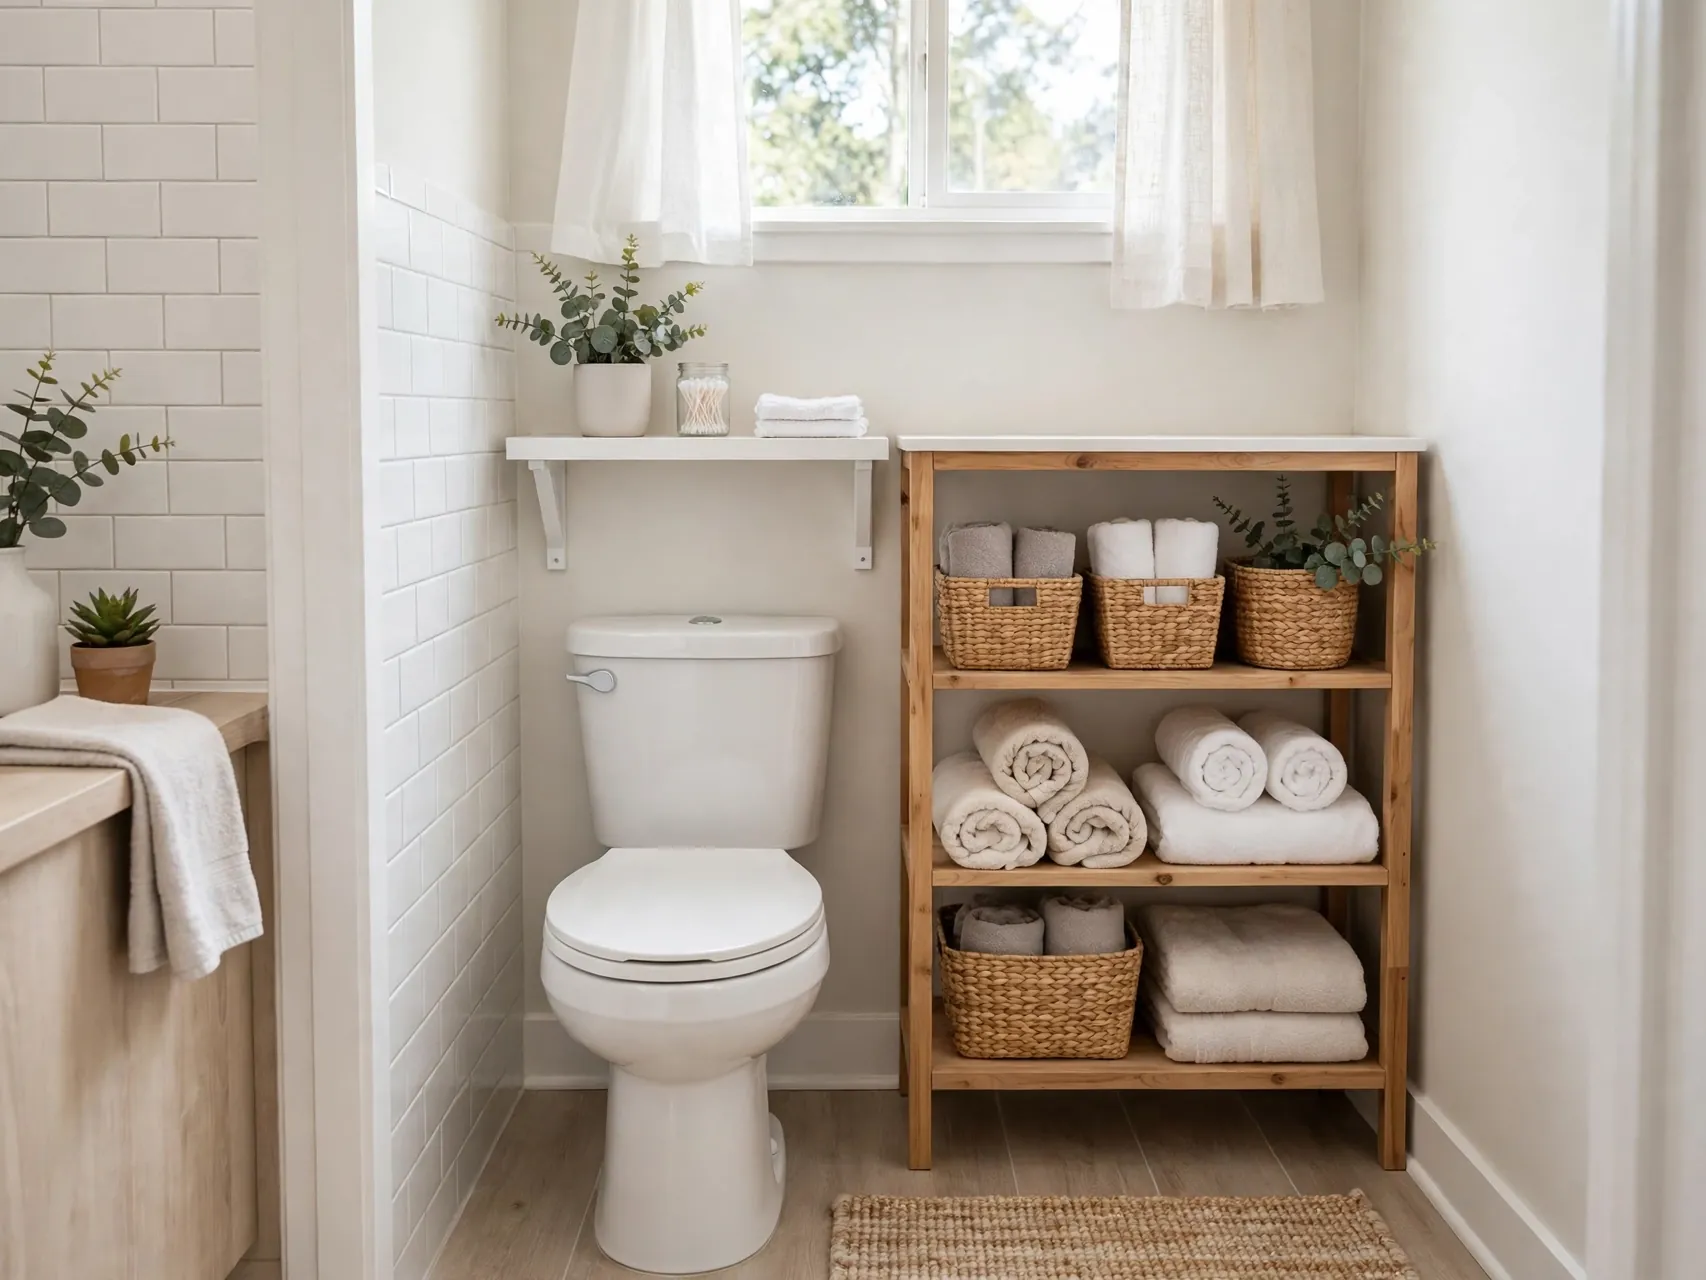
A freestanding over toilet shelf uses vertical space that most small bathrooms waste. Use it for folded towels, baskets, and a small plant, keeping daily items off the limited counter.
Choose a stable unit that fits around your plumbing and does not need wall fixing, or use only fixings your lease allows. Do not overload top shelves with heavy items.
Photograph the finished corner in daylight and at night. Photos reveal clutter, cord tangles, or color clashes you stop noticing in person, and they double as your record for move out day comparison.
7. Upgrade Towel Storage With Freestanding Pieces
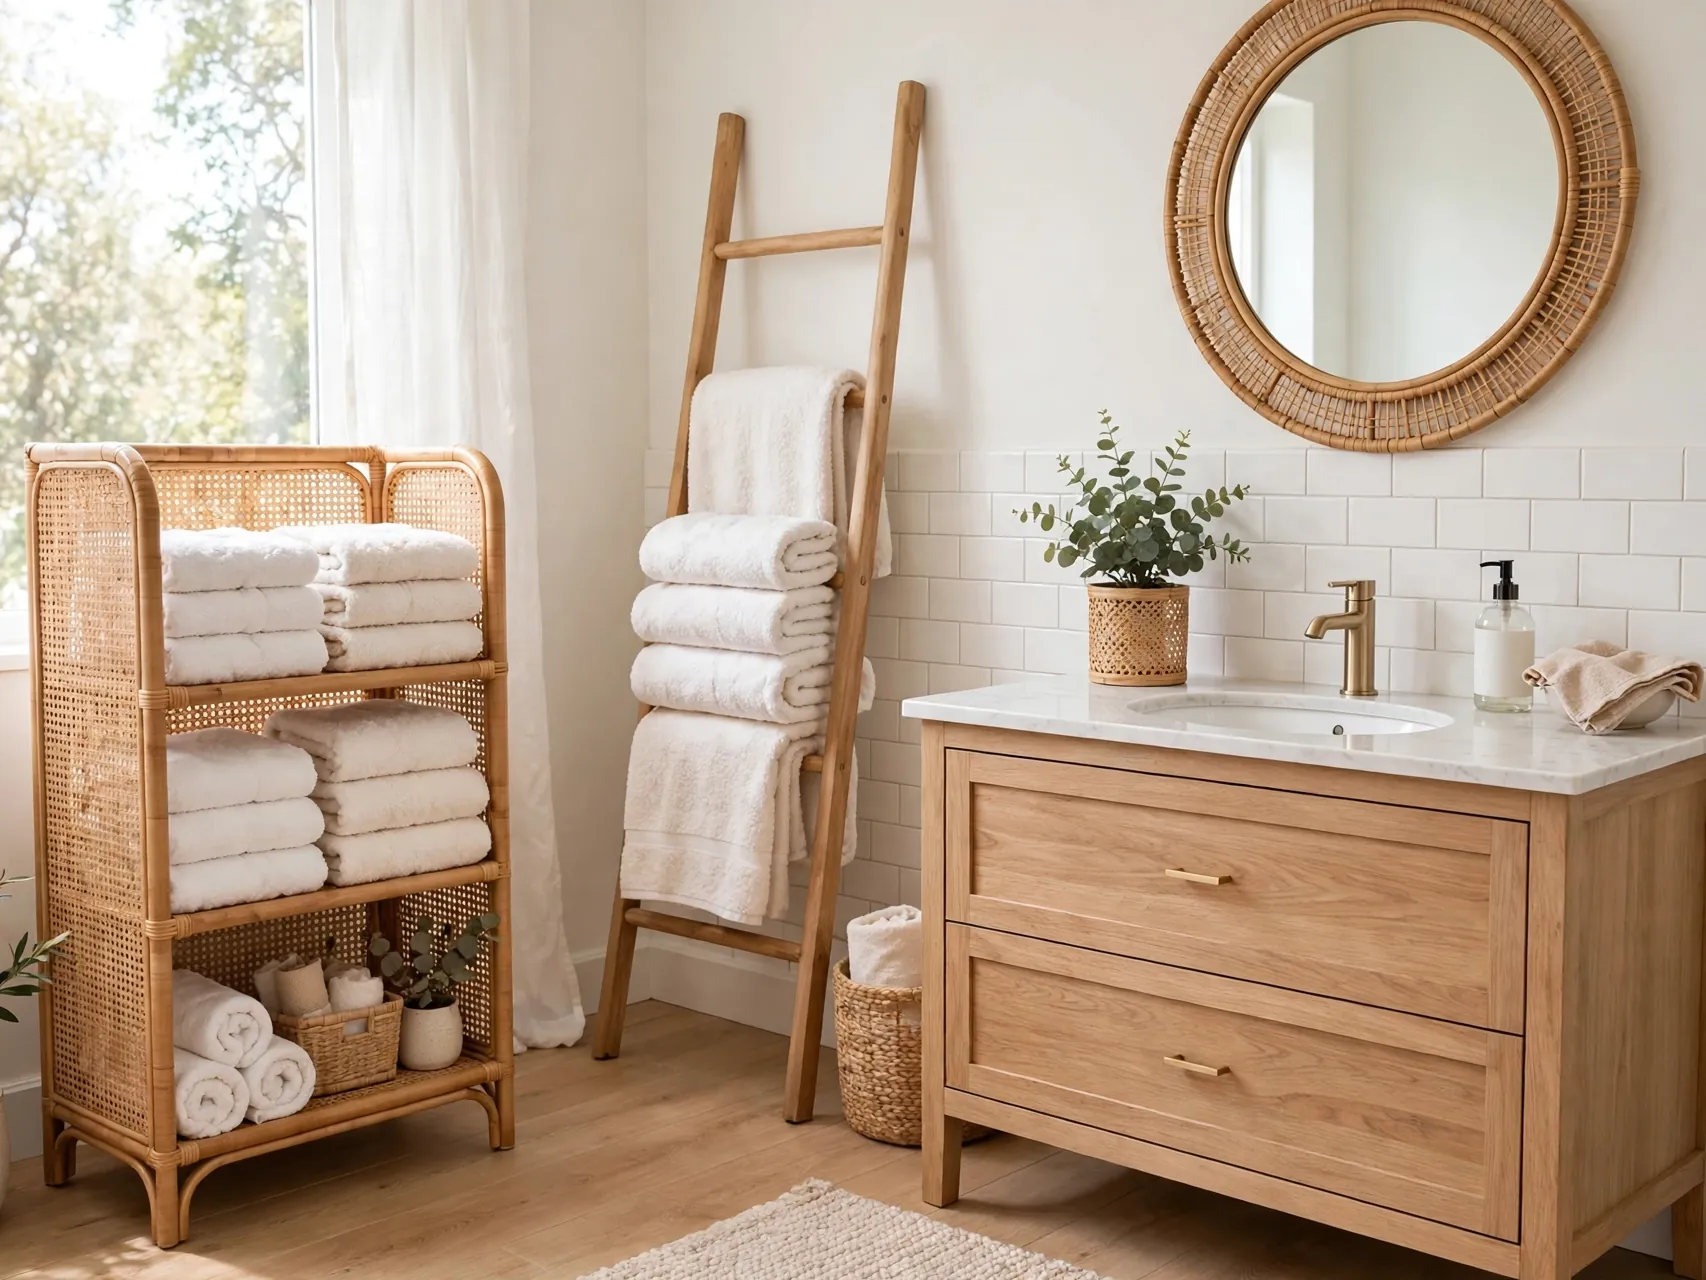
A small ladder shelf, a freestanding towel stand, or an over door rack you are allowed to use adds storage without drilling into tile. Rolled towels in one color also double as decor in a plain room.
Keep towels fully dry between uses to avoid musty smells in a small space. Rotate and wash towels often, and let the stand air out when you deep clean.
Quick check before you buy: measure the space, note any lease limits, and take a phone photo to compare colors and sizes in the store. That small pause prevents most returns and keeps the project on budget.
8. Change Cabinet Hardware and Keep the Originals
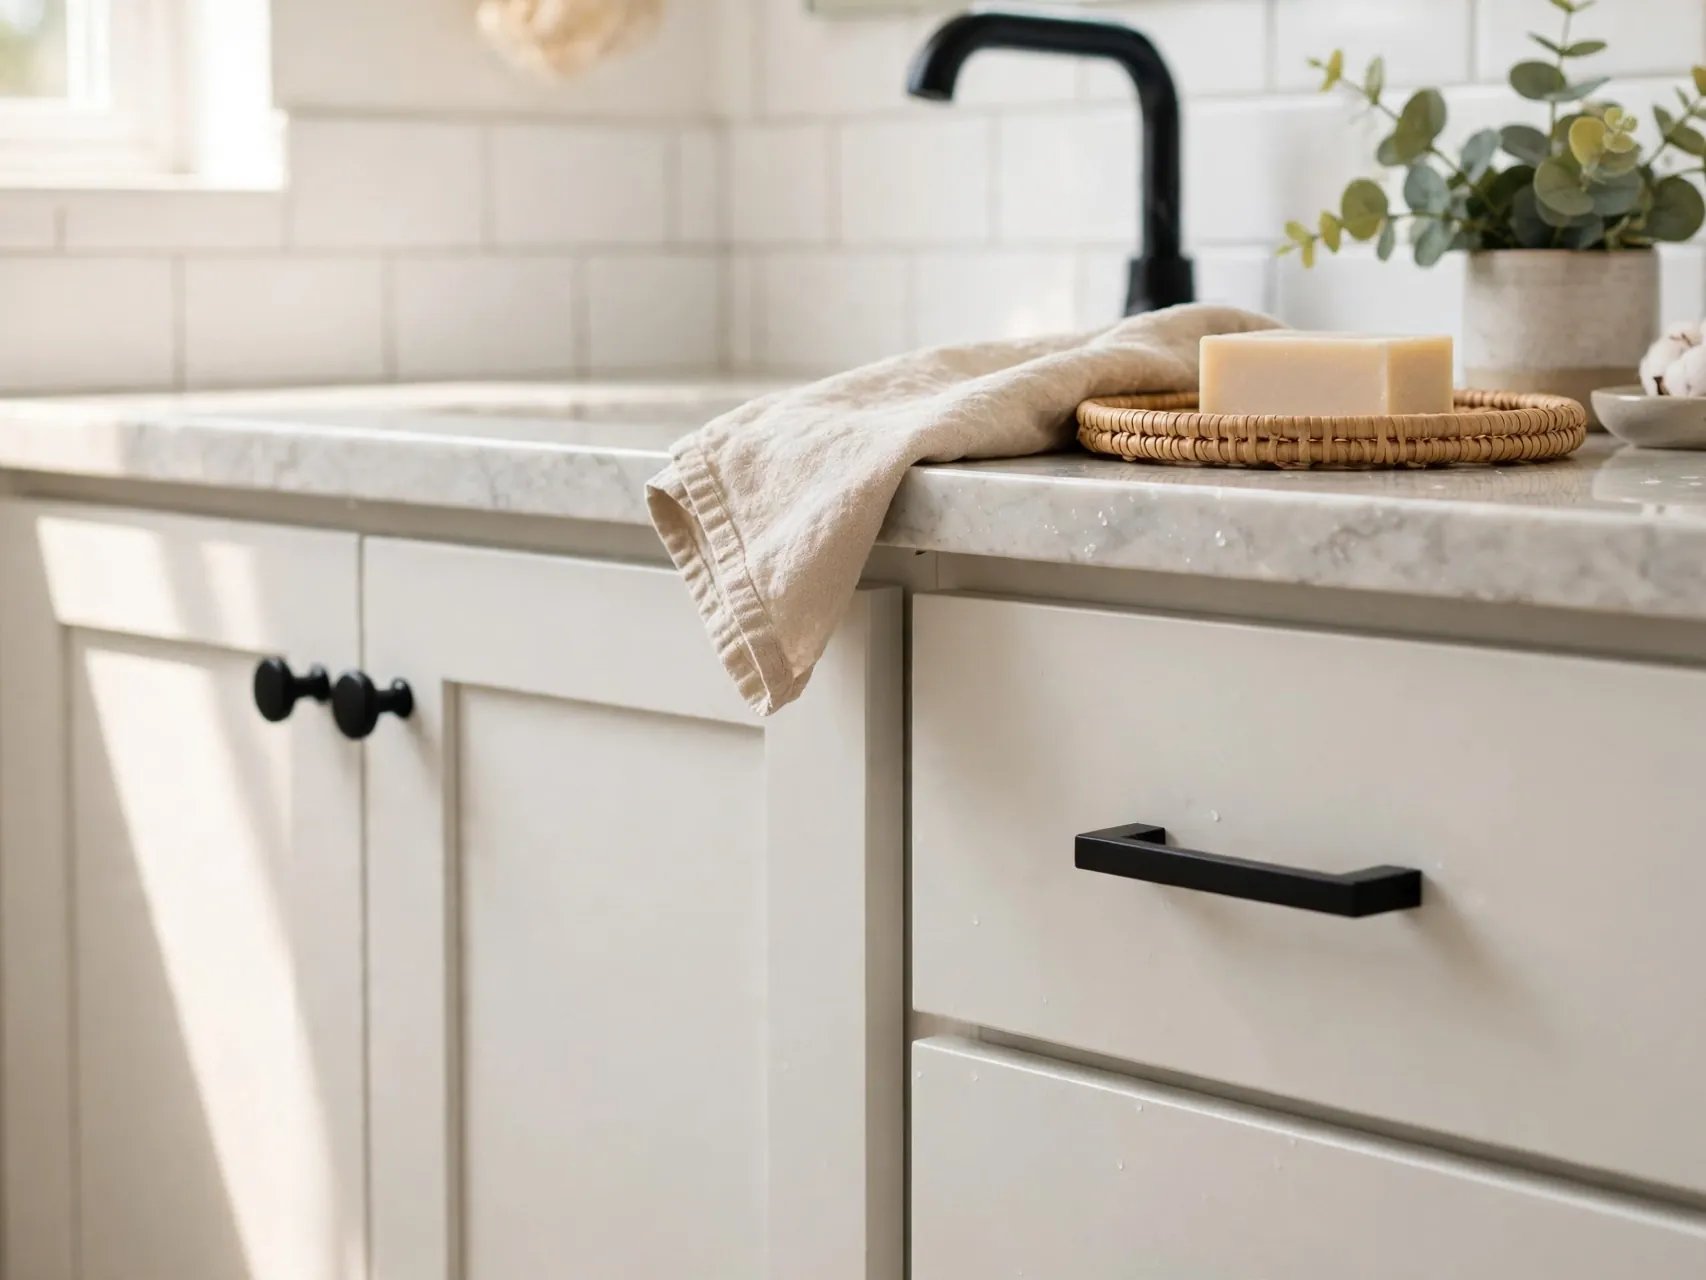
Swapping vanity pulls and knobs for a single modern finish, matte black, brushed brass, or chrome to match your other accents, makes a dated vanity look custom. It takes a screwdriver and a few minutes.
Store every original screw and handle in a labeled bag taped inside the cabinet. Coordinated hardware across the room is a quiet detail that makes temporary bathroom upgrades look cohesive.
For a Pinterest worthy finish, repeat the same material or color at least twice in the zone. Repetition makes a temporary setup look planned, and it helps separate zones feel connected rather than random.
9. Add Warm Plug In or Battery Lighting

Harsh overhead light is a common rental bathroom problem. Battery sconces, plug in lights where an outlet allows, or warmer bulbs in existing fixtures can soften the room and make the mirror more useful.
Use only products suited to bathroom moisture zones and follow electrical safety guidance. Keep original bulbs labeled so you can refit them, and never alter hardwired fixtures without qualified help and permission.
Keep the removal plan in mind from the start. Save packaging, label small parts, and store anything you took off in one clear box so reversing the change later takes minutes, not a whole afternoon.
10. Use a Washable Runner Instead of a Small Bath Mat

A long washable runner in front of the vanity or bath covers more dated flooring, adds color, and feels better than a tiny mat that always looks lost. Choose a low profile option that dries quickly.
Wash it frequently and dry the floor underneath. In a small bathroom a runner also guides the color palette, so match it to your towels and curtain for a pulled together look.
If you share the space, agree the layout and budget before ordering. A quick shared photo list keeps everyone aligned and stops duplicate purchases that waste money and clutter a small area unnecessarily.
11. Add a Teak Style Bath Mat

A wooden slatted mat outside the shower or bath adds a spa feel, covers a worn floor patch, and lets water drain through instead of soaking a fabric mat. It lifts out in seconds for cleaning.
Let it dry fully between uses and clean it as the maker advises to prevent buildup. This small natural texture pairs well with plants and woven baskets.
Start with the version you already own or can borrow. Testing the layout for a week shows what you actually use daily, so your final purchase solves a real problem instead of adding more stuff.
12. Organize the Counter With Trays and Jars
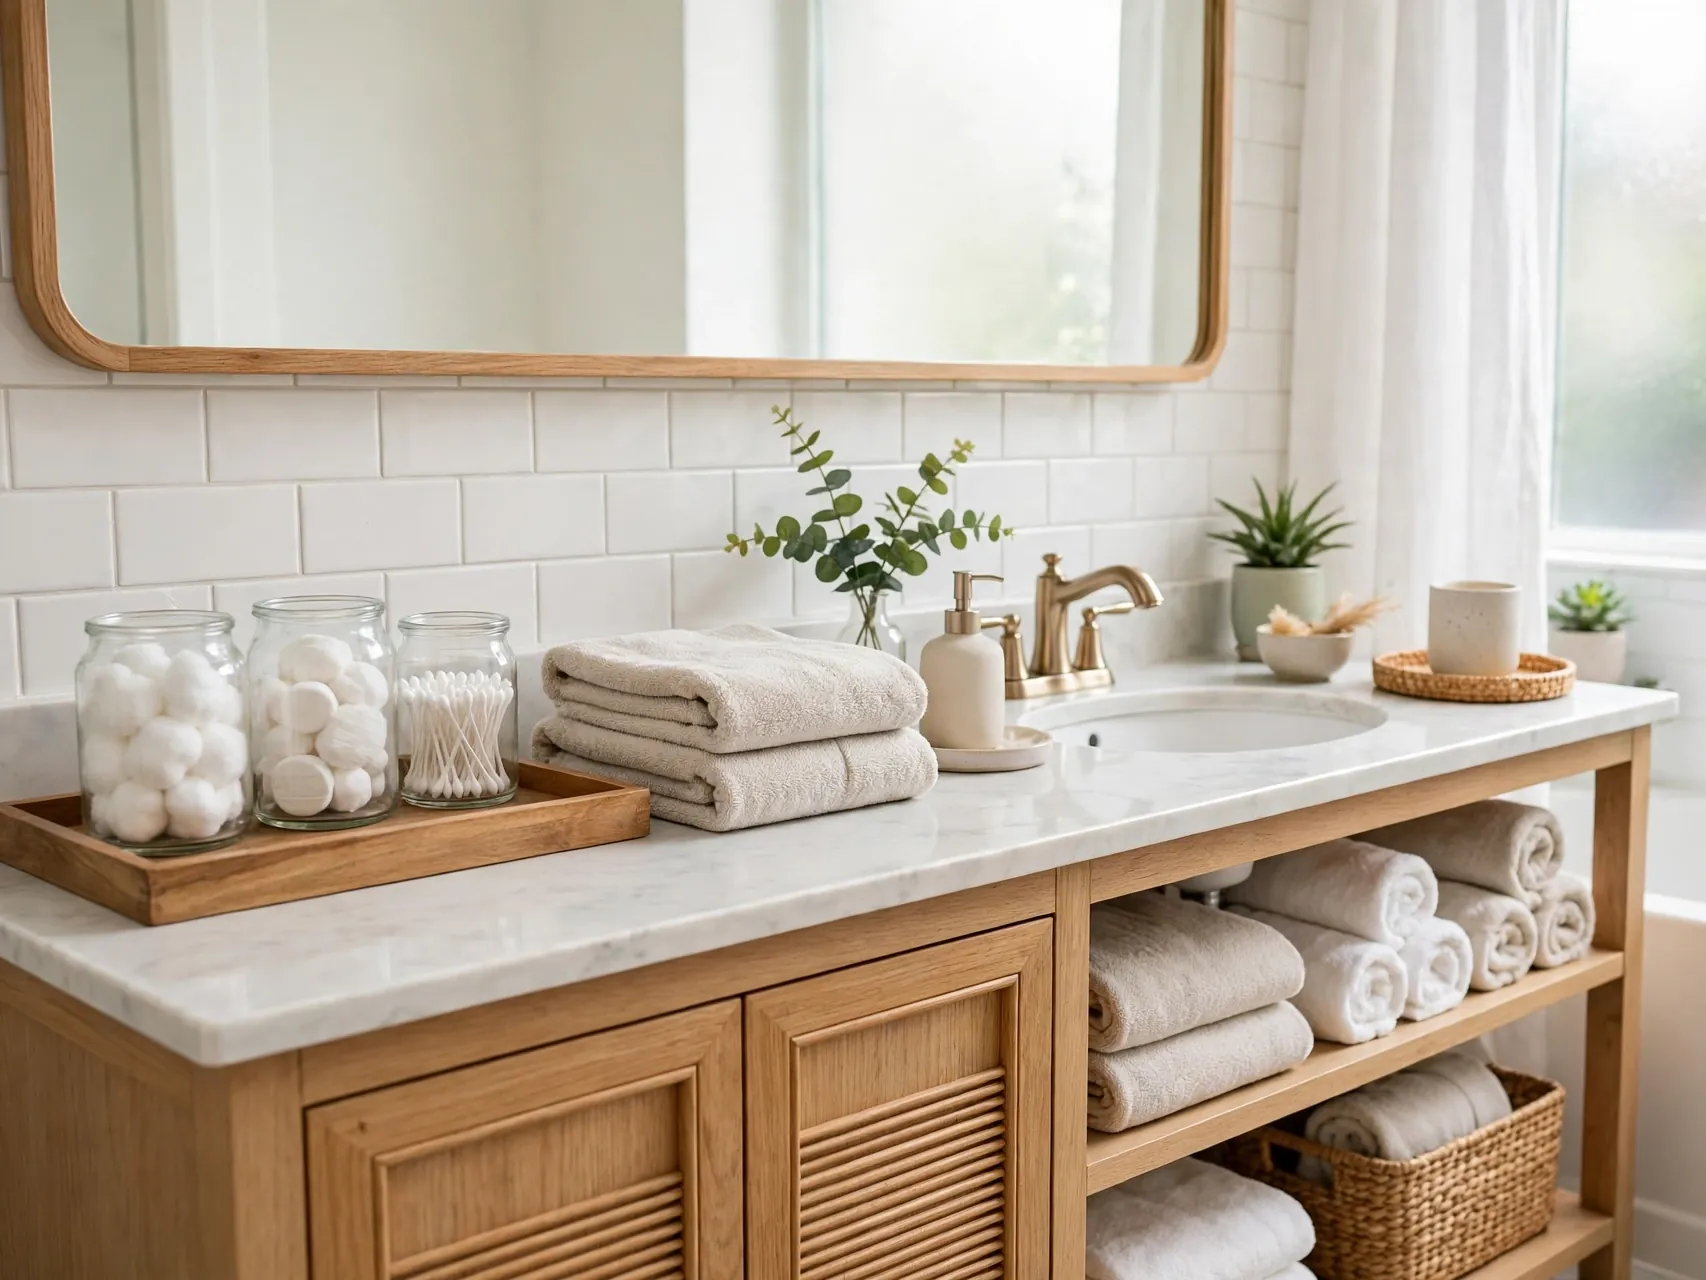
A single tray for daily items, glass or ceramic jars for cotton supplies, and a soap dish in a matching finish turn counter clutter into a styled station. Less visual mess makes even a dated counter look better.
Keep only daily essentials on display and store the rest in baskets or a cart. Wipe the tray weekly, since toothpaste and water spots quickly undo the effect.
Photograph the finished corner in daylight and at night. Photos reveal clutter, cord tangles, or color clashes you stop noticing in person, and they double as your record for move out day comparison.
13. Add Removable Shelves With Adhesive Anchors
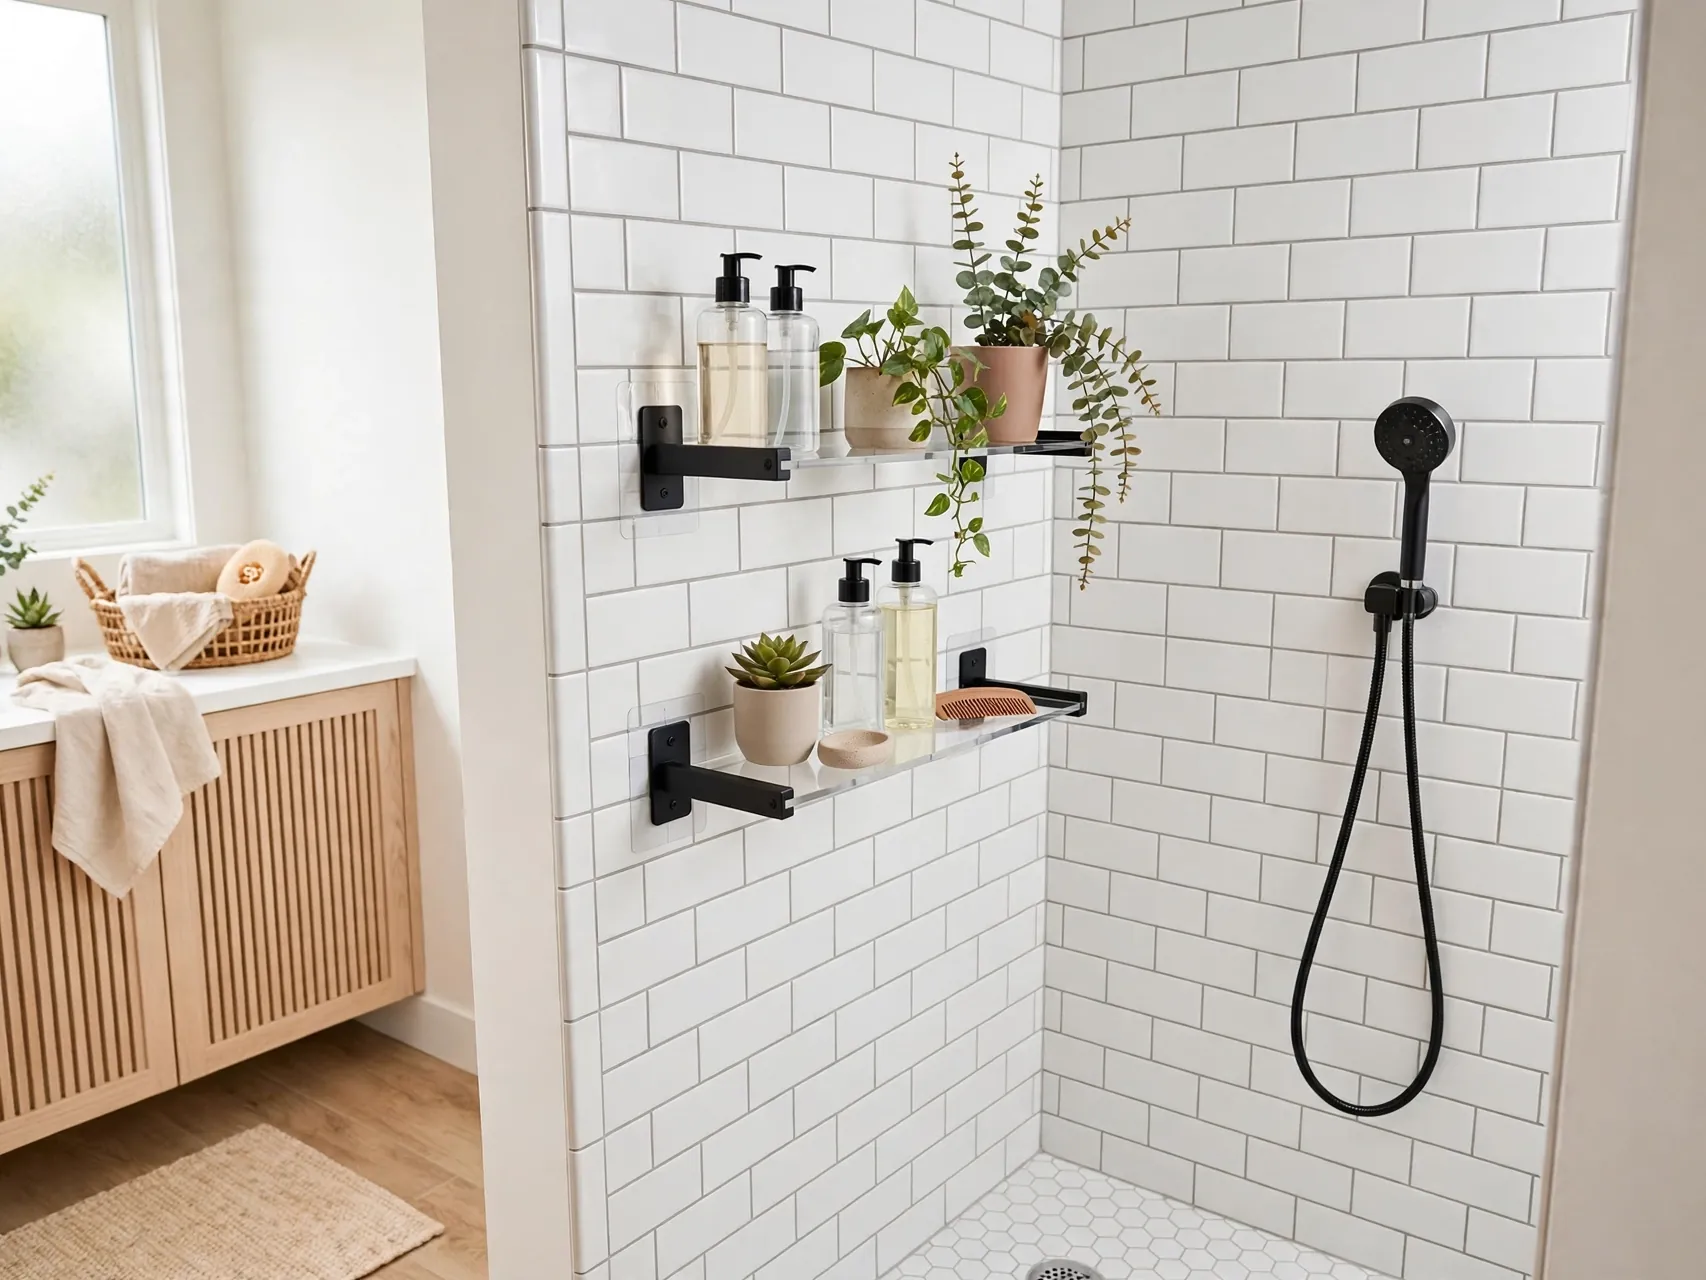
A small shelf above the toilet or beside the mirror, fitted with adhesive anchors rated for the weight and surface, holds a plant, spare towels, or pretty bottles. Test adhesion and follow curing times carefully.
Never overload adhesive shelves, and avoid fixing to loose or damaged tile. If adhesion is uncertain in your steamy bathroom, choose a freestanding unit instead.
Quick check before you buy: measure the space, note any lease limits, and take a phone photo to compare colors and sizes in the store. That small pause prevents most returns and keeps the project on budget.
14. Bring In a Rolling Cart for Extra Storage

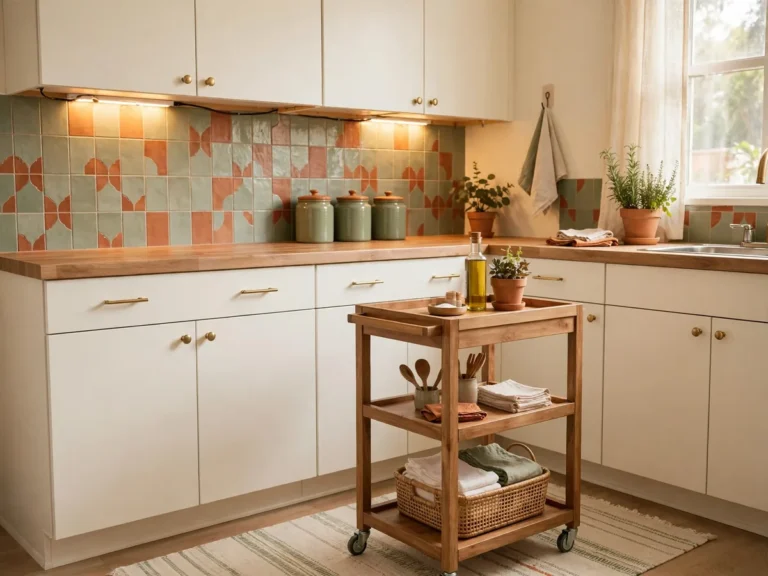
A slim rolling cart fits beside a vanity or toilet in many small bathrooms and holds hair tools, cleaning supplies, and spare rolls in tidy tiers. It rolls out for cleaning and rolls away with you at move out.
Choose a cart with a finish that tolerates humidity. This is one of the most useful no drill bathroom ideas for rentals with no medicine cabinet or linen closet.
For a Pinterest worthy finish, repeat the same material or color at least twice in the zone. Repetition makes a temporary setup look planned, and it helps separate zones feel connected rather than random.
15. Cover a Dated Vanity With Removable Film
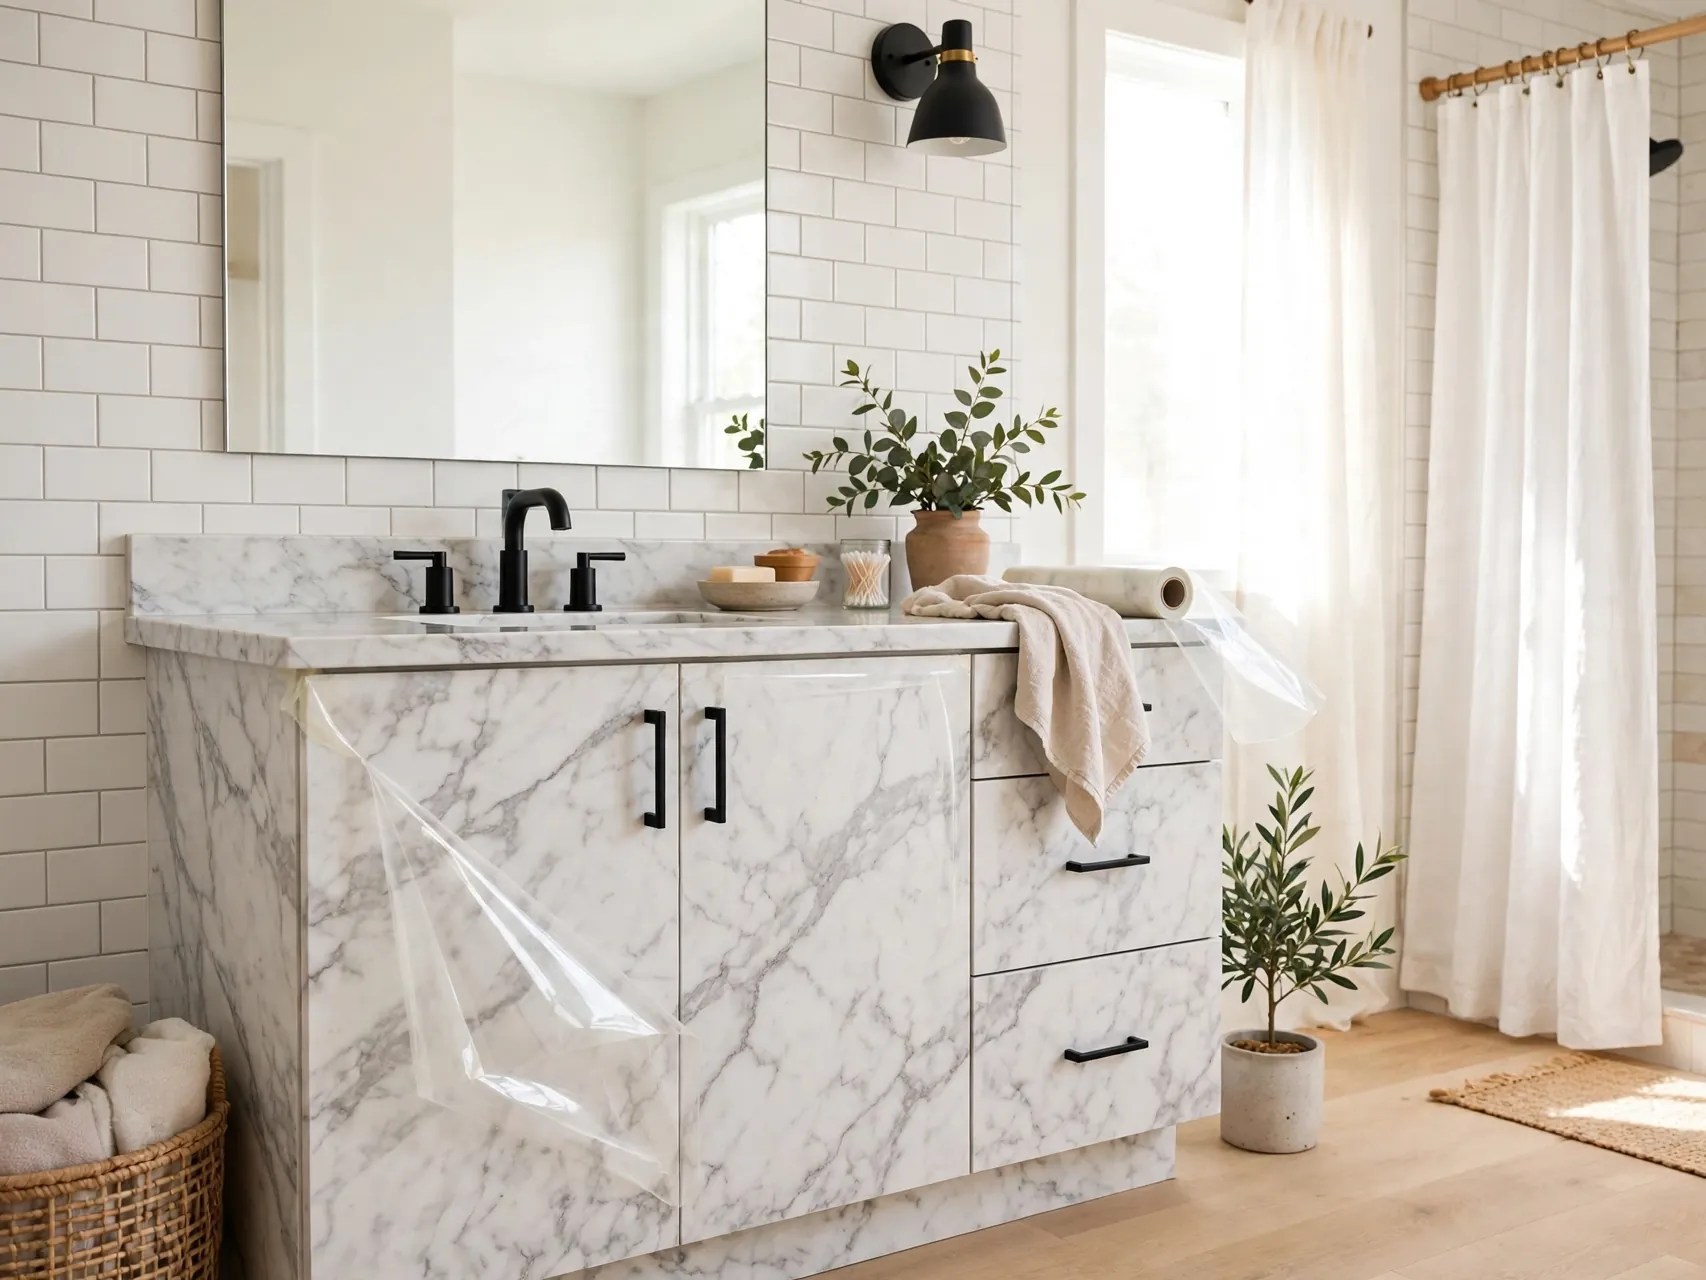
Removable contact style film on flat vanity doors or sides can change a tired wood tone to a clean solid color. Apply only to smooth surfaces you can test first, and keep edges neat around handles.
Test removal on a hidden inside edge before covering the front. Heat and moisture vary by bathroom, so check the film monthly for lifting corners and smooth them early.
Keep the removal plan in mind from the start. Save packaging, label small parts, and store anything you took off in one clear box so reversing the change later takes minutes, not a whole afternoon.
16. Add Art and a Small Plant Above the Toilet
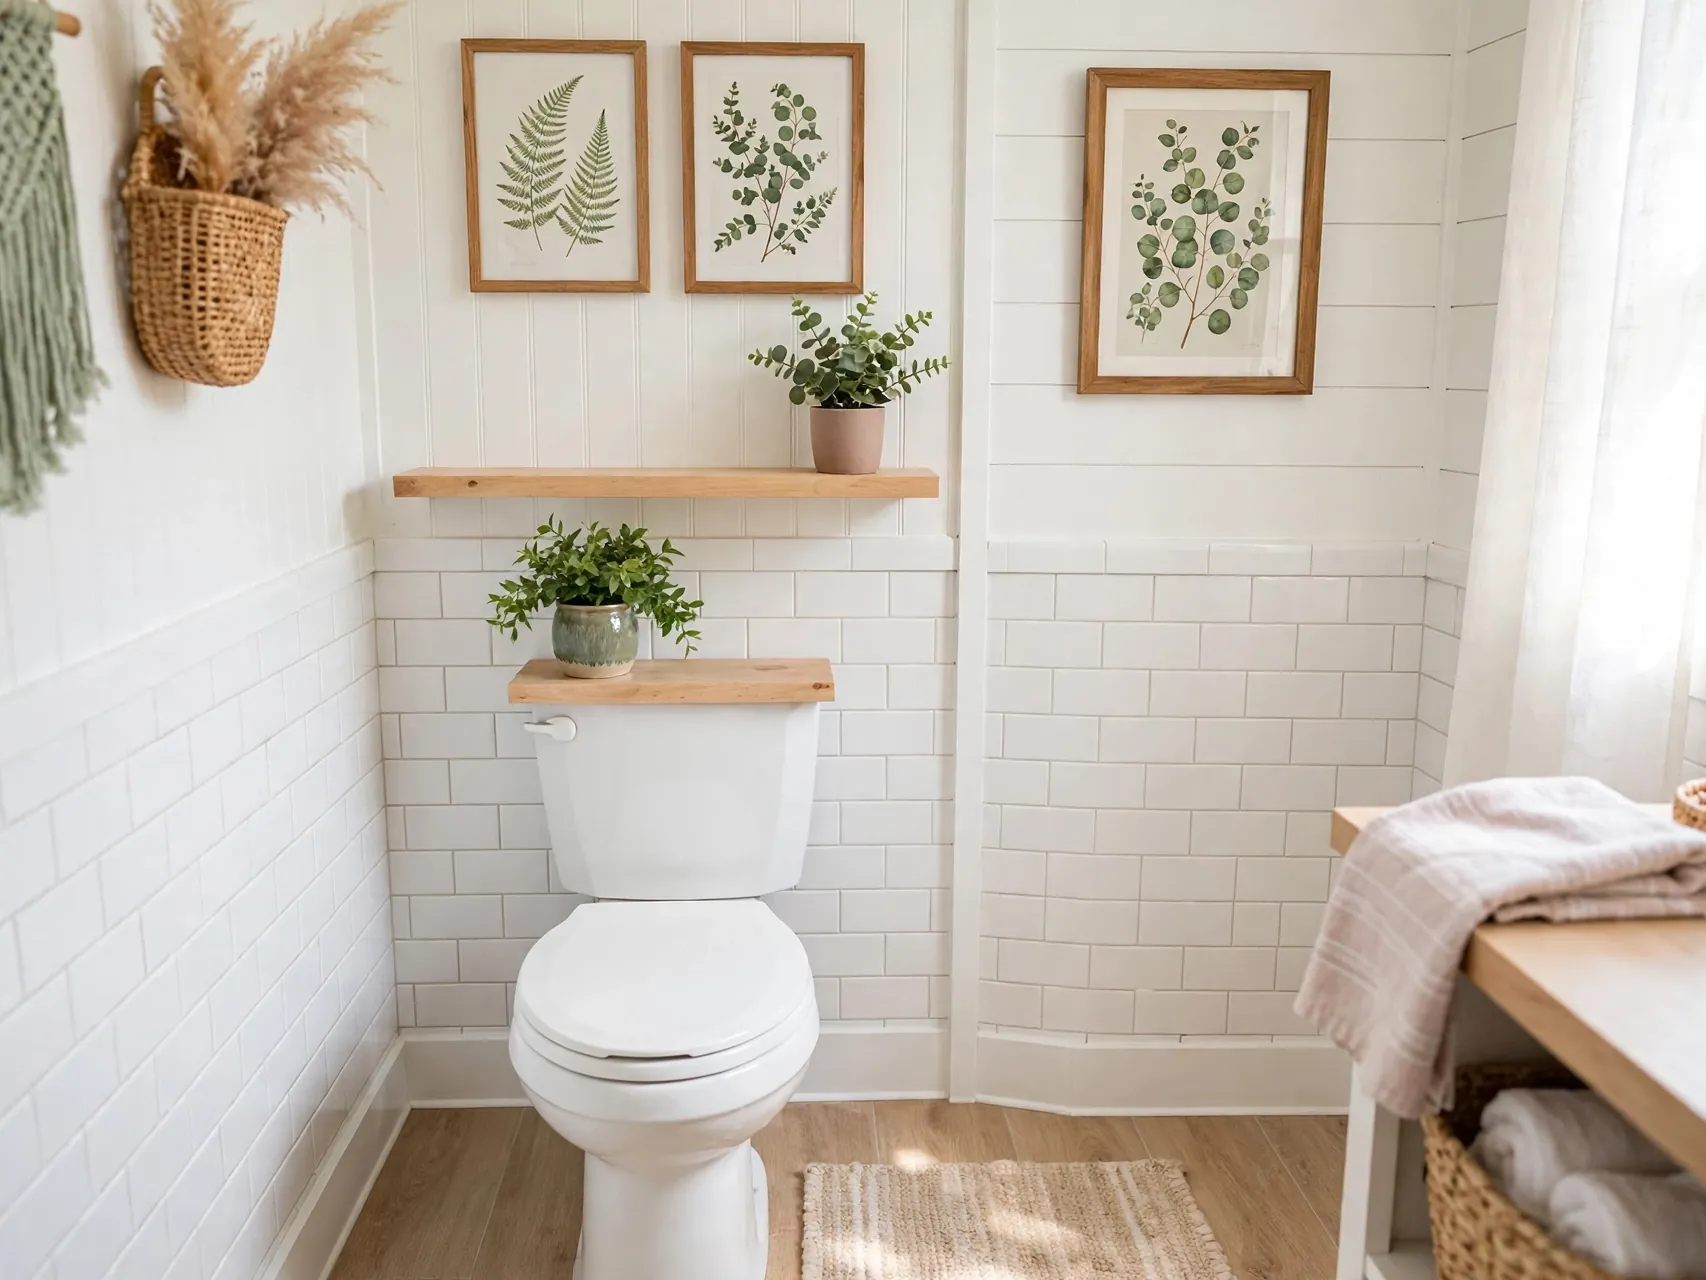
A framed print that tolerates humidity, hung with an approved method or leaned on a shelf, plus a small trailing plant, fills the blank wall most rental bathrooms have above the toilet. It adds personality with zero renovation.
Choose wipeable frames in splash zones and plants that suit low light and humidity, or use a good faux option. Keep art light in weight for safer hanging.
If you share the space, agree the layout and budget before ordering. A quick shared photo list keeps everyone aligned and stops duplicate purchases that waste money and clutter a small area unnecessarily.
17. Use Matching Textiles for a Cohesive Look

Towels, curtain, runner, and a hand towel in one color family make a dated suite of fixtures look deliberate. White towels with one accent color is a classic, hotel like choice that is easy to maintain.
Buy towels that wash well together and keep a spare set for guests. Cohesive textiles are the cheapest way to make a rental bathroom feel newly finished.
Start with the version you already own or can borrow. Testing the layout for a week shows what you actually use daily, so your final purchase solves a real problem instead of adding more stuff.
18. Add a Tension Rod for Extra Hanging Space
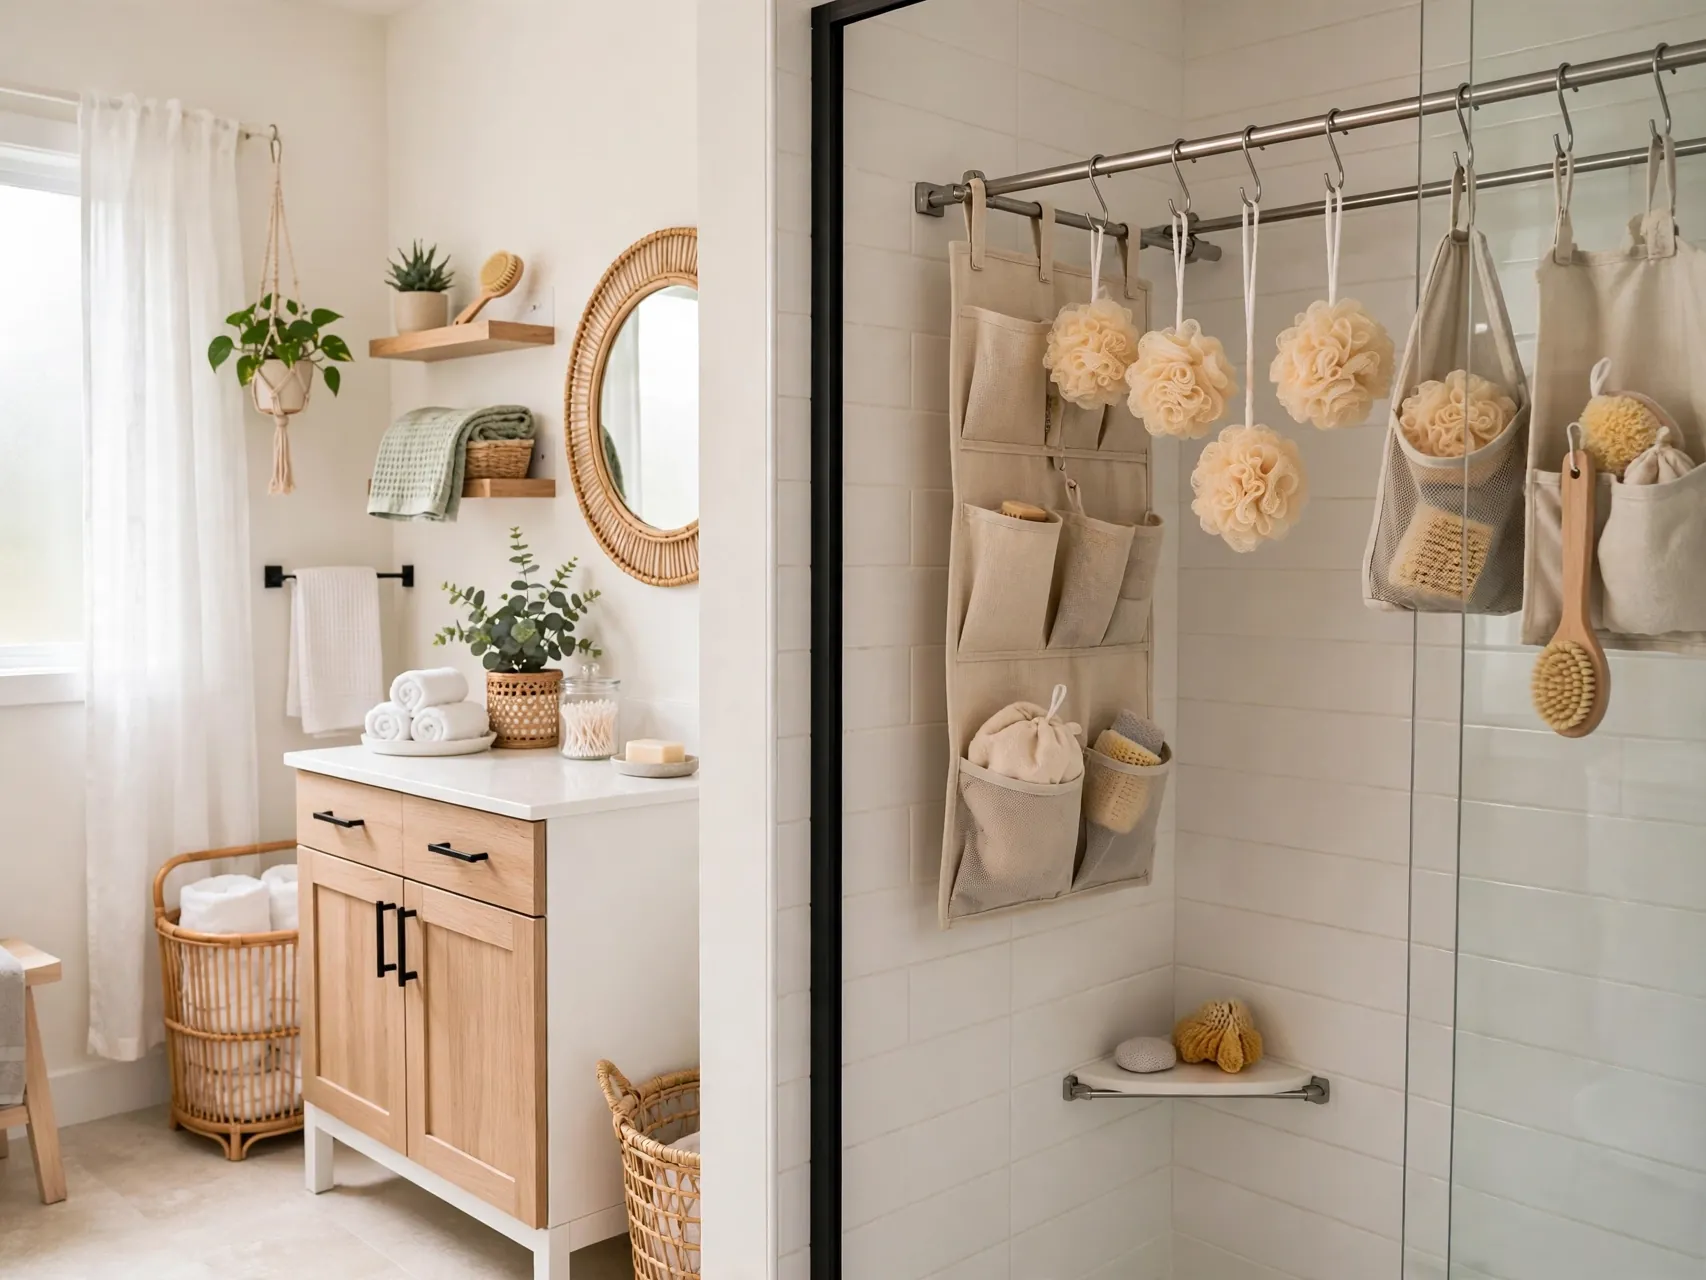
A tension rod inside the shower for dripping swimwear, or across a small alcove for extra towels, adds function with no fixings. Stainless or coated rods handle bathroom moisture better than plain steel.
Position rods so they do not interfere with doors or shower use. Tension fittings can mark paint if over tightened, so fit them as directed and check the ends periodically.
Photograph the finished corner in daylight and at night. Photos reveal clutter, cord tangles, or color clashes you stop noticing in person, and they double as your record for move out day comparison.
19. Hide Clutter Behind a Fabric Panel
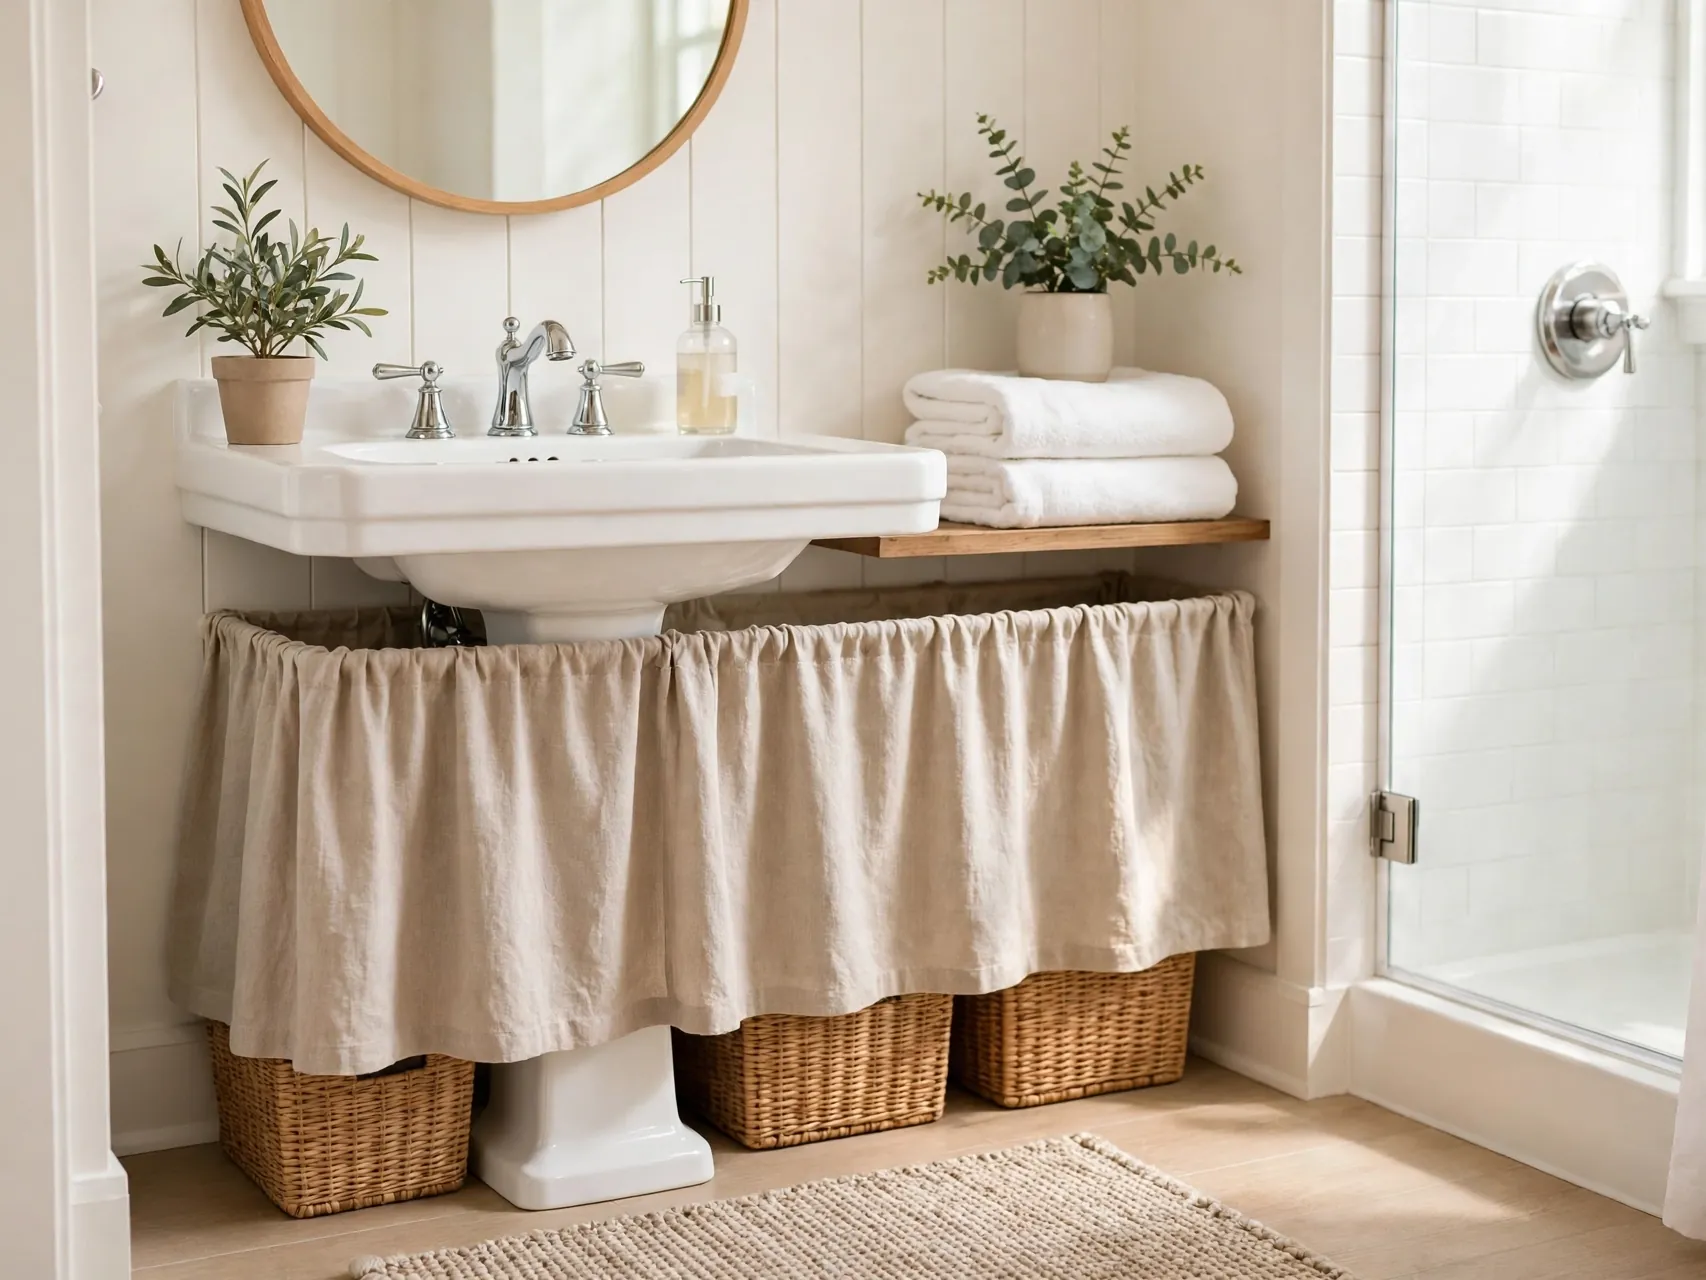
An open vanity or shelving unit looks calmer with a simple fabric panel hung from a small tension rod. It hides cleaning bottles and spare supplies while keeping them easy to reach.
Use a washable fabric in your textile color family. This trick is especially helpful in bathrooms where storage is visible from the door and there is no cabinet to close.
Quick check before you buy: measure the space, note any lease limits, and take a phone photo to compare colors and sizes in the store. That small pause prevents most returns and keeps the project on budget.
20. Finish With Scent and Soft Light You Can Take With You
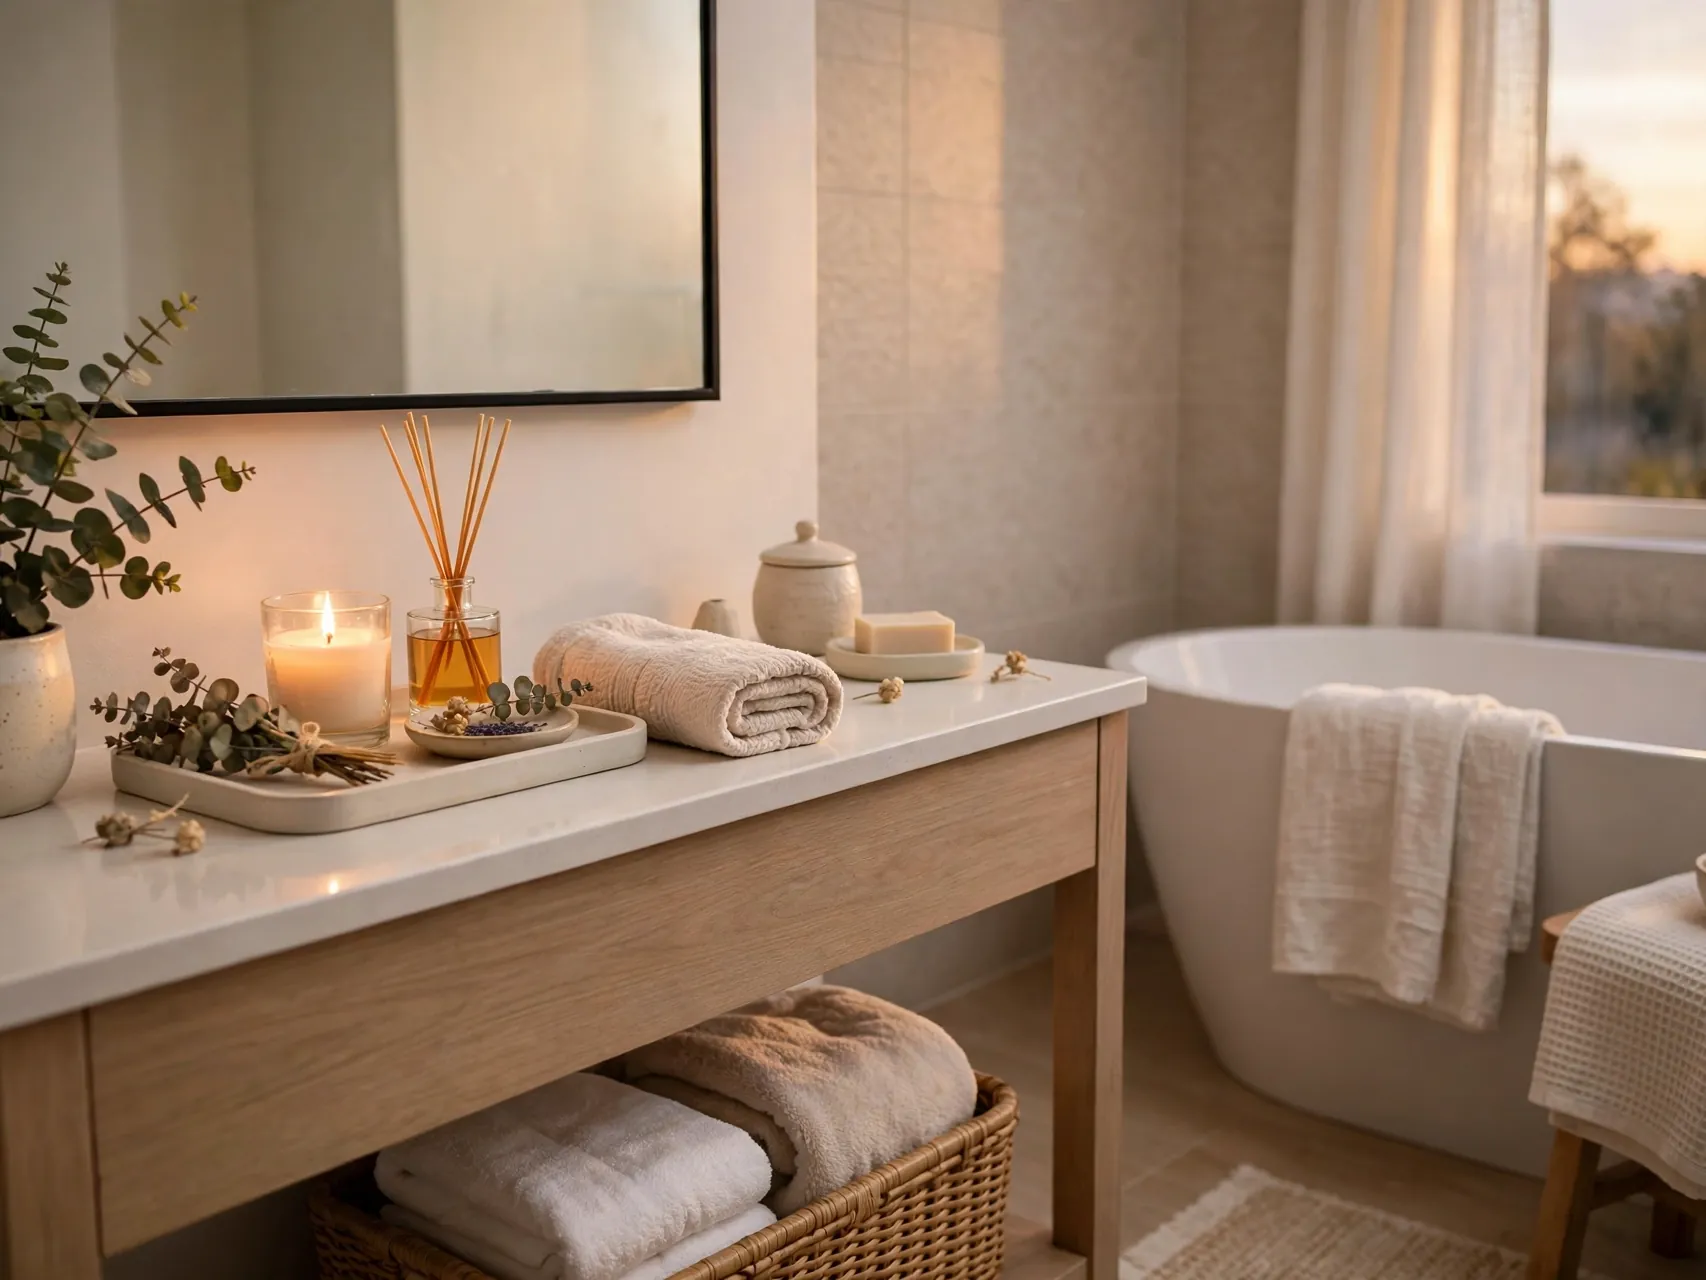
A reed diffuser kept away from flames and children, a small battery candle for evening baths, and neatly folded towels give the room a finished, cared for feel. These final touches cost little and move with you completely.
Avoid open flames if your lease or building restricts them, and keep scent light in a small space. A clean, softly lit bathroom will feel brand new even if the suite itself is unchanged.
FAQ
What bathroom upgrades are safest for renters?
Freestanding and swap based changes are safest: showerheads you refit later, framed mirrors, textiles, rolling carts, over toilet units, and loose floor cloths. Keep every original part labeled, test any adhesive first, and check your lease before changing fixtures.
Can I change a rental bathroom faucet or showerhead?
Many renters swap a showerhead by hand and refit the original at move out, but faucet changes can involve plumbing and permission. Check your lease, keep originals safely, watch for leaks, and get help or landlord approval for anything beyond a simple hand fitted swap.
How do I cover an ugly bathroom floor without damage?
Use a vinyl floor cloth, a large washable runner, a wooden bath mat, or loose lay products made to sit without adhesive. Lift them regularly to dry and inspect the floor below, since trapped moisture is the main risk in bathrooms.
Will peel and stick products damage bathroom walls?
They can, especially with steam and heat over time. Test a small area, use only bathroom suitable products, follow removal guidance, and get permission where your lease requires it. If a wall or tile is already damaged, choose a no adhesive option instead.
How can I add bathroom storage without drilling?
Use over toilet freestanding units, rolling carts, over door racks allowed by your lease, trays, baskets, and tension rods. Vertical and movable storage adds capacity without tile drilling, and every piece can leave with you when you move.
Key Takeaways
- Swap and store originals: Showerheads, hardware, and bulbs can upgrade daily life if you keep landlord pieces labeled and safe.
- Frame the mirror, fix the light: Those two changes make a renter friendly bathroom look renovated fastest.
- Cover floors loosely: Vinyl cloths and runners hide dated floors while letting you check for moisture below.
- Add freestanding storage: Carts, over toilet units, and trays remove clutter without a single drill hole.
- Match your textiles: One color family across towels, curtain, and runner pulls the whole room together.
- Stay moisture aware: Dry, clean, and inspect under every removable layer to protect both the room and your deposit.
Love these ideas? Save this pin to your Small Spaces board on Pinterest so you can find them again when you are ready to start your own makeover.
For a Pinterest worthy finish, repeat the same material or color at least twice in the zone. Repetition makes a temporary setup look planned, and it helps separate zones feel connected rather than random.