25 Color Drenching Rental Ideas That Keep Your Deposit
Introduction
Color drenching means wrapping a room in one color family, walls, textiles, furniture, and accents, so the space feels immersive and cohesive. Done with paint it is dramatic, but a color drenching rental version uses removable layers instead. Wallpaper you can peel, fabric, rugs, bedding, and painted furniture can create the same envelope effect without risking your deposit.
The key question is what your lease allows. Some landlords permit paint with a repaint to original clause, many do not. Get any paint plan in writing, including ceiling and trim, and price the repaint before you start. If paint is off limits, you still have plenty of reversible ways to drench a room.
Work in one color family and repeat it at every level, floor, walls, furniture, and small accents. That repetition, not paint alone, is what makes drenching work. The ideas below start with no paint methods and move to permission based paint options, safest first.
1. Pick One Color Family and Commit

Choose one hue and build everything from its tints and shades. Drenching fails when five unrelated colors compete. A single family, repeated with small tonal steps, creates the calm, wrapped feeling the trend is known for.
Make a simple palette card with your main color, one lighter tone, and one deeper tone. Carry it when you shop so new pieces either match the family or stay out of the room.
Measure first, save packaging, and keep the removal notes. A quick daylight photo helps you judge the color before you commit further.
2. Drench With Removable Wallpaper
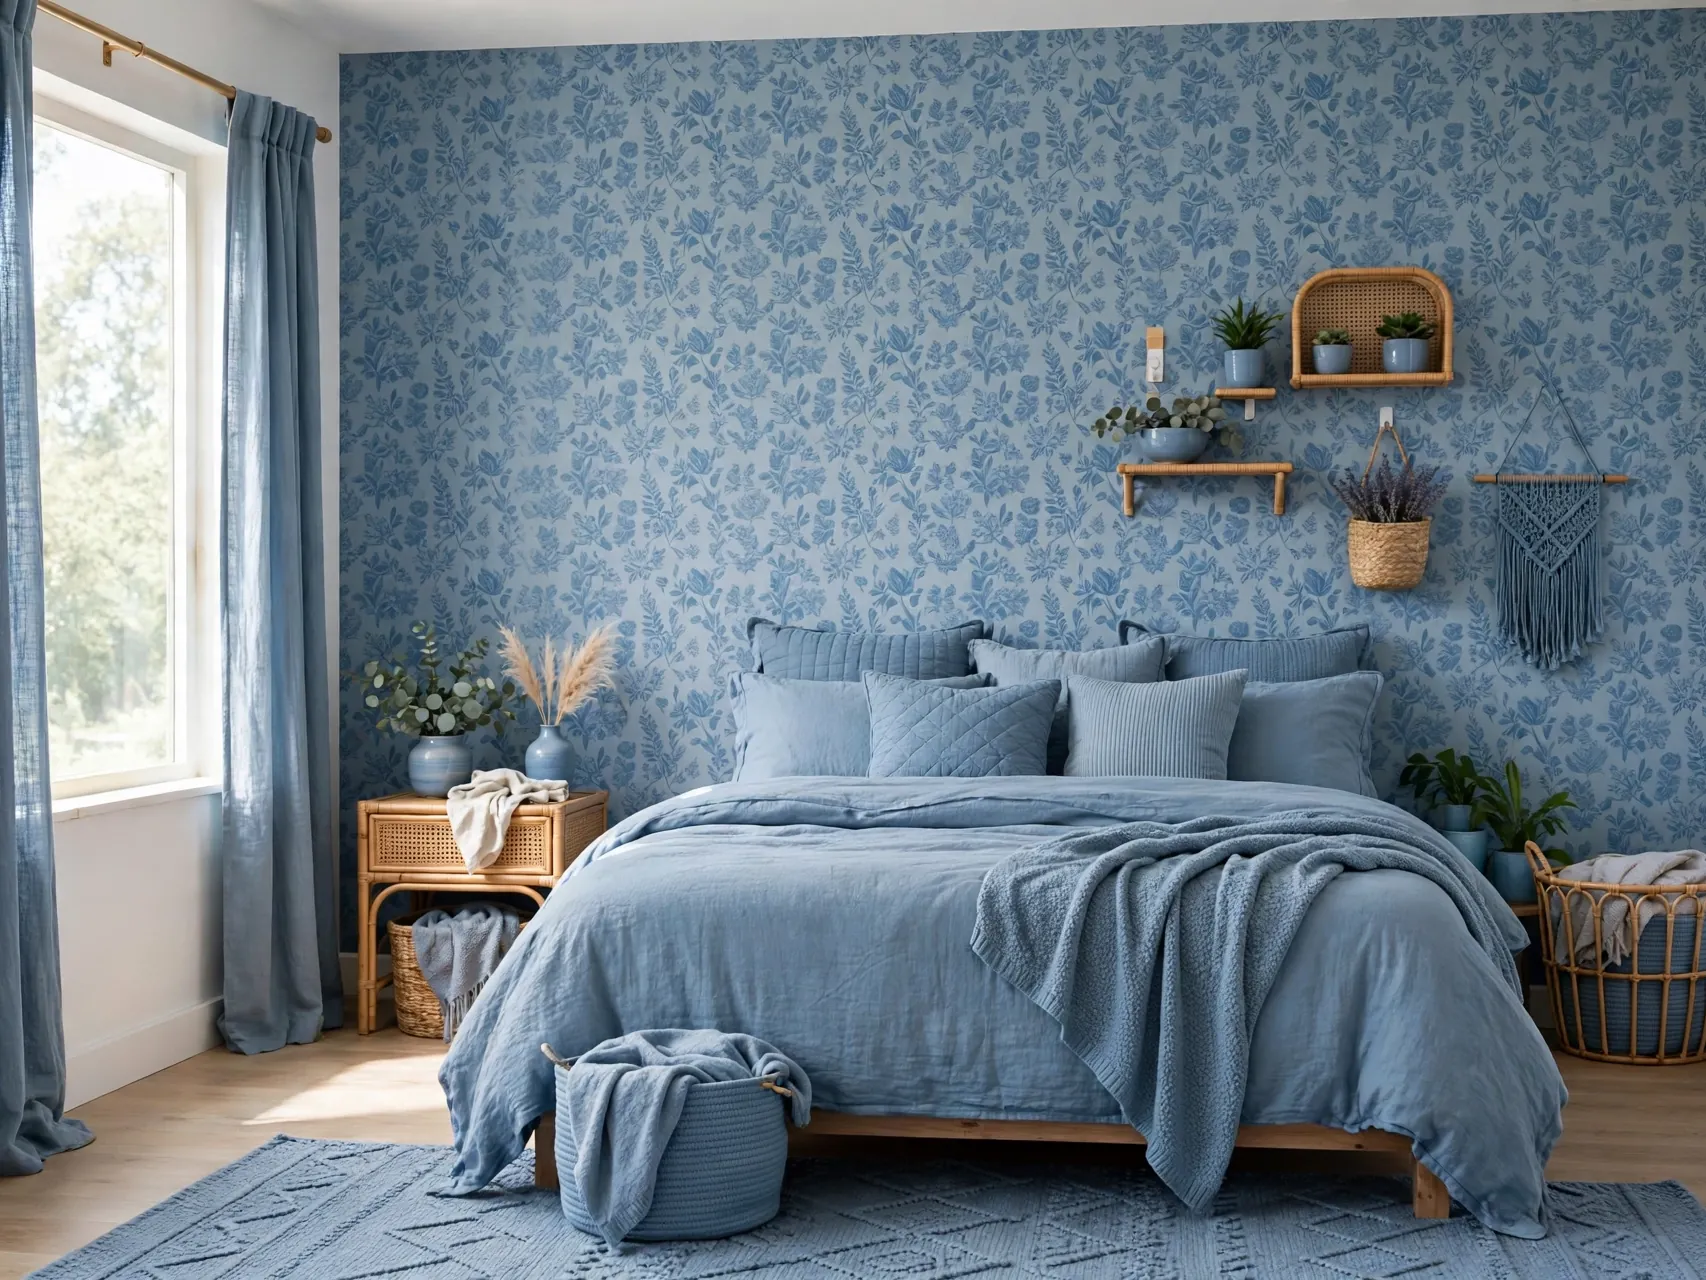
Solid color removable wallpaper on all walls, or on the main walls in a small room, is the closest no paint match to true drenching. Pick a saturated but livable tone and a quality product with clear removal guidance.
Test one panel in a hidden area and keep the backing and instructions. Check your lease first, since some leases restrict wallpaper of any kind, even removable types.
Repeat the tone once more in a small accent nearby. That echo makes the change look intentional and ties the zone together.
3. Use Large Fabric Panels as Color Walls
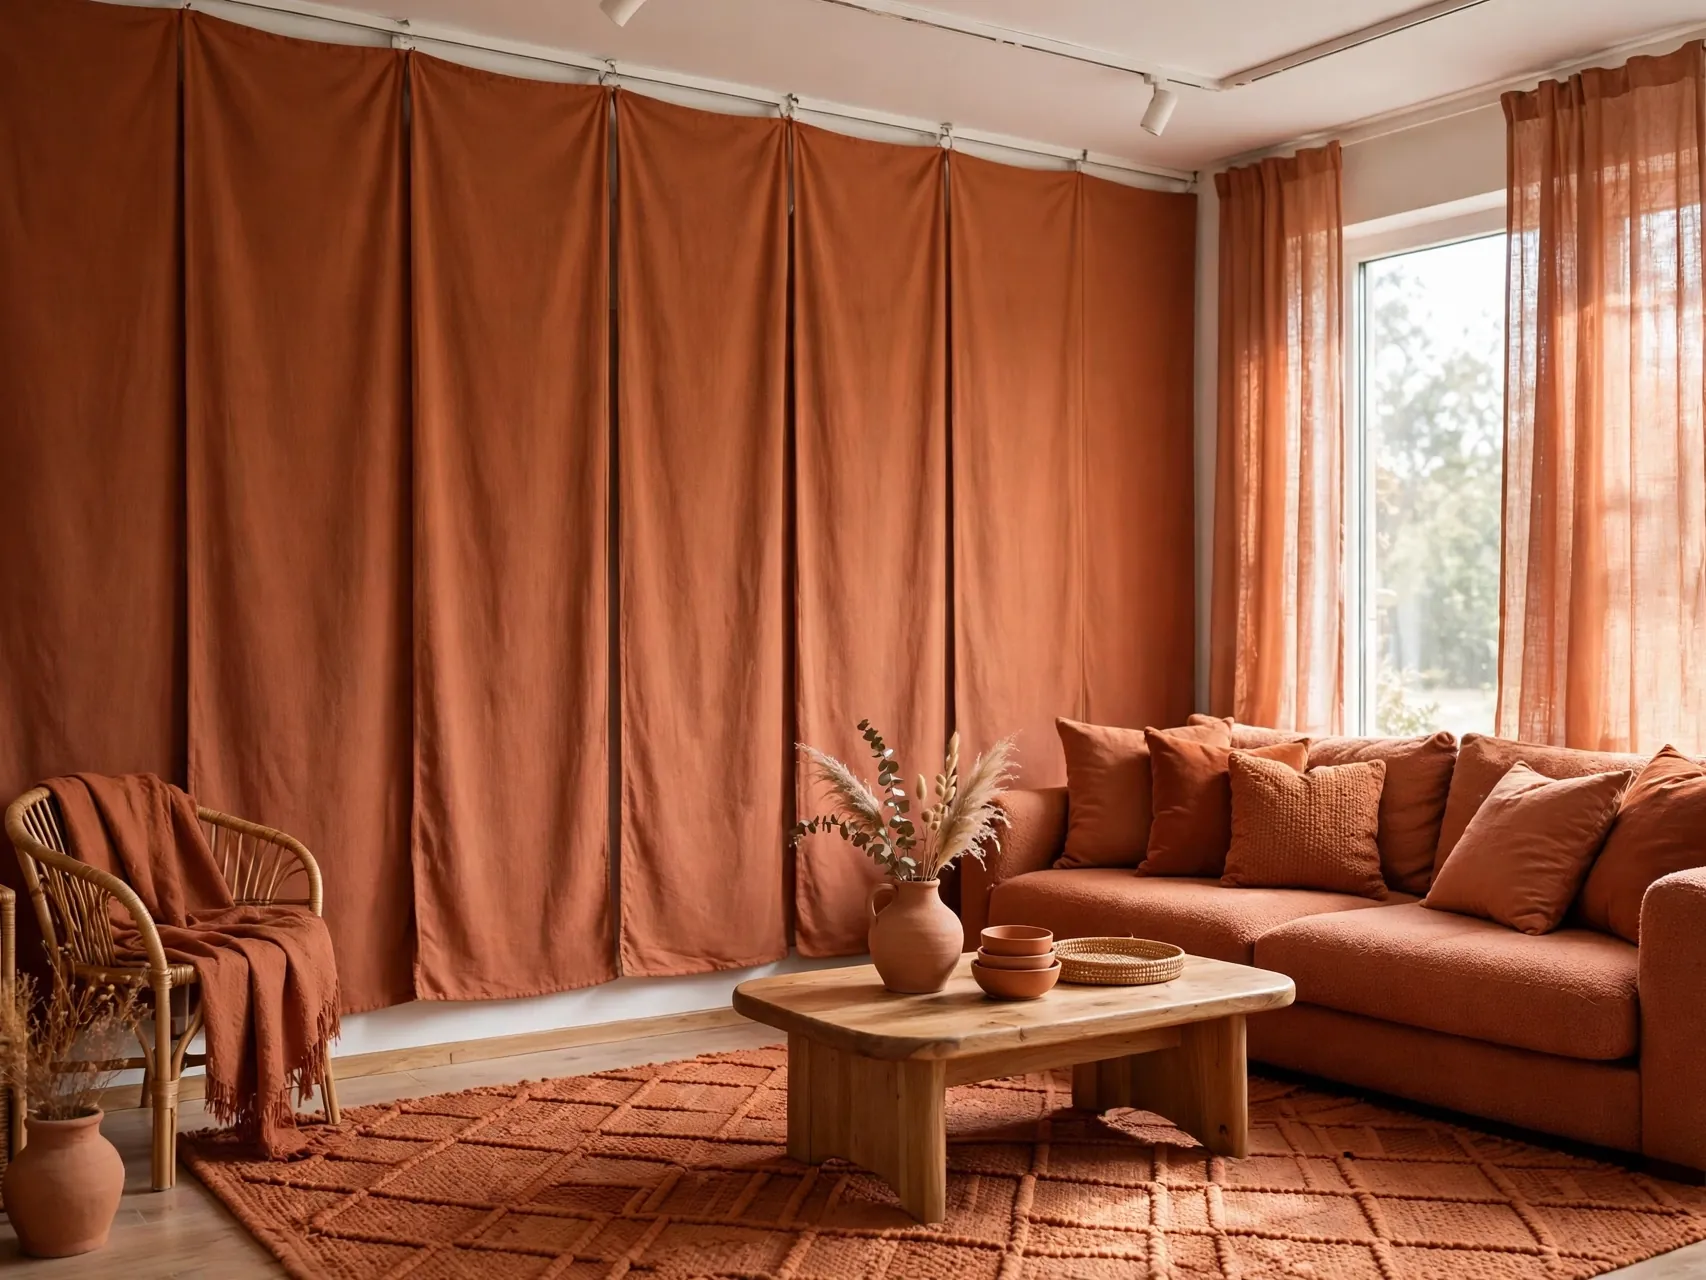
Hang large fabric panels in your chosen color from a tension rod, a freestanding frame, or hooks you are allowed to use. Panels soften a room, add insulation feel, and cover plain rental walls without paint or paper.
Use fabric wide enough to avoid many seams and keep it away from heat sources. At move out the panels fold away and the wall is exactly as you found it.
Test the layout for a week before buying extras. Living with it shows what works and what you can happily skip.
4. Match Curtains to Your Wall Color

Floor length curtains in the same family as your walls blur the boundary between wall and window, a classic drenching trick. Even with white rental walls, curtains in your drench color start the envelope effect.
Hang curtains high and wide if your fixings allow it, using existing rods or tension options where possible. Keep the fabric tone close to your rug and bedding for a connected look.
Measure first, save packaging, and keep the removal notes. A quick daylight photo helps you judge the color before you commit further.
5. Add a Rug in the Same Color Family
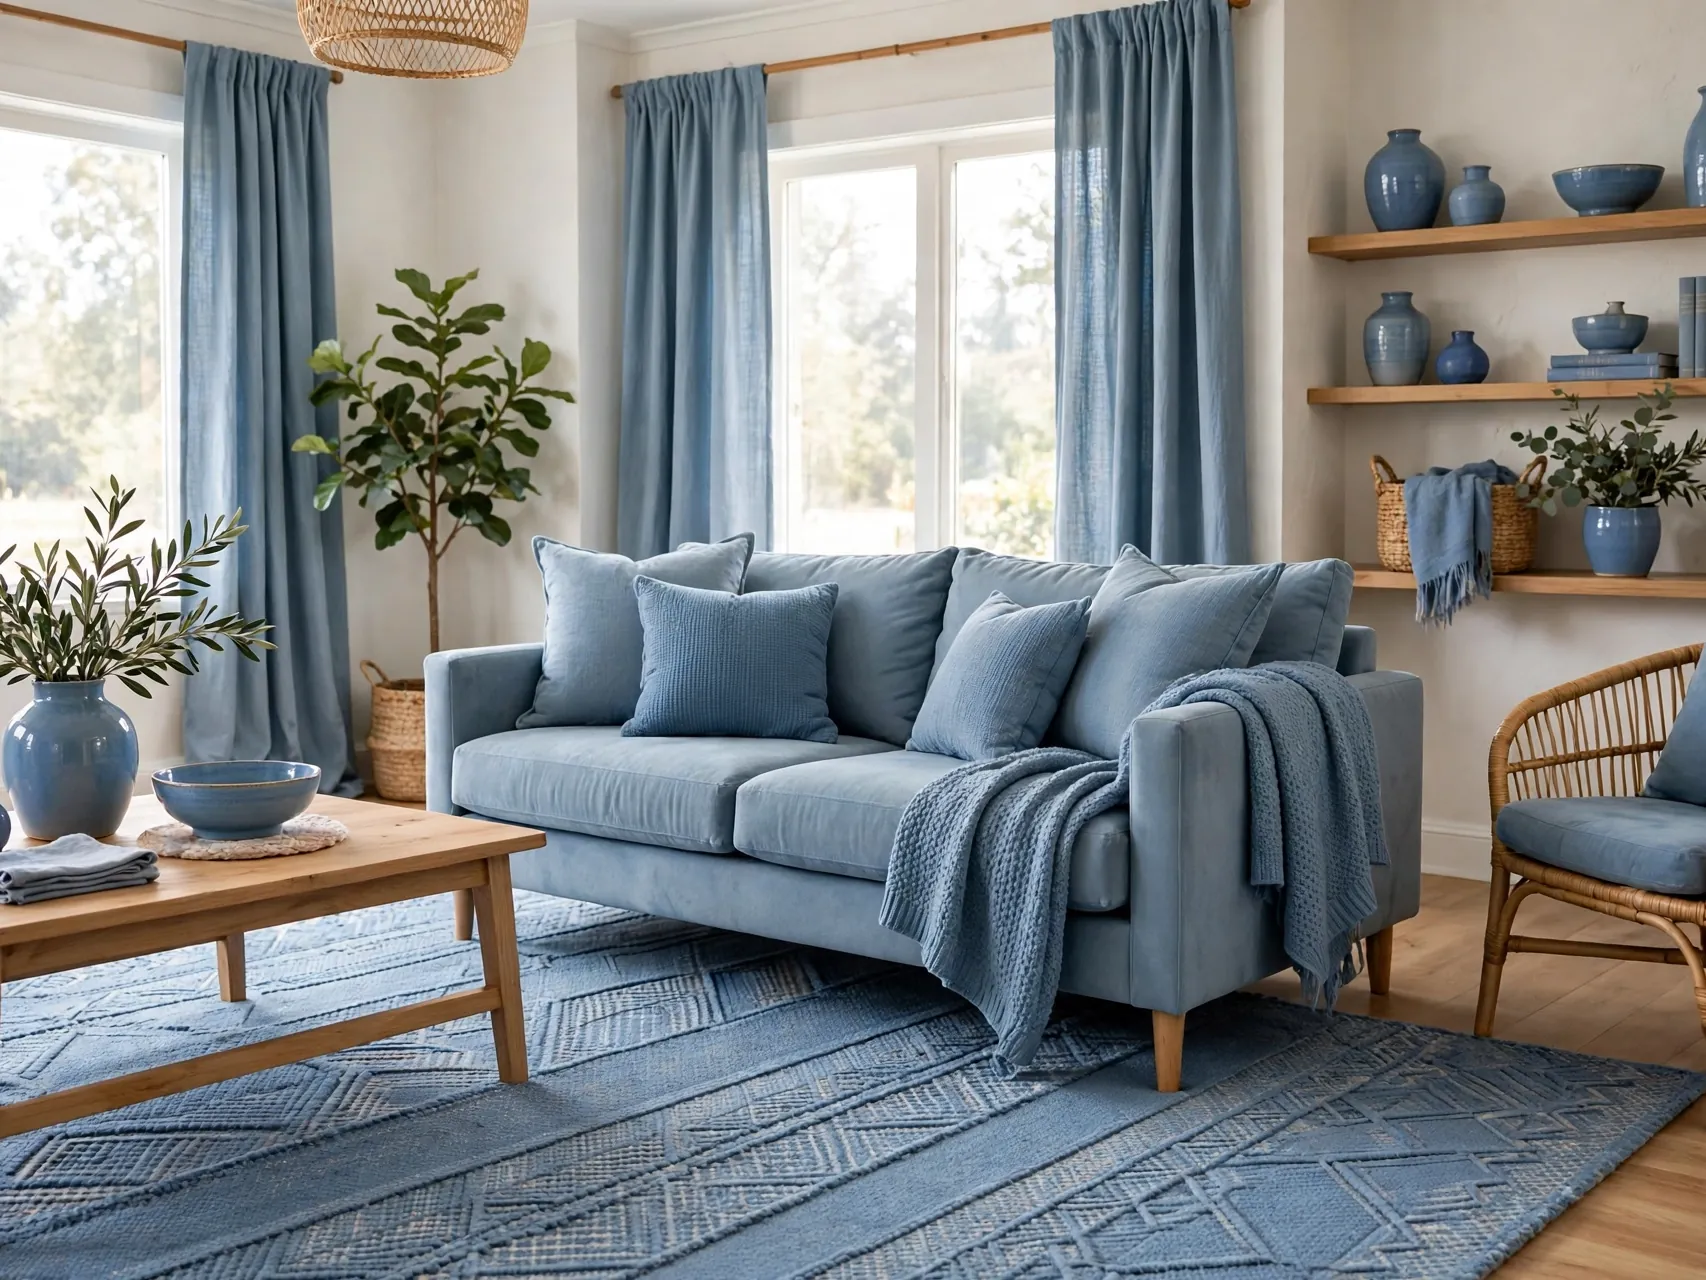
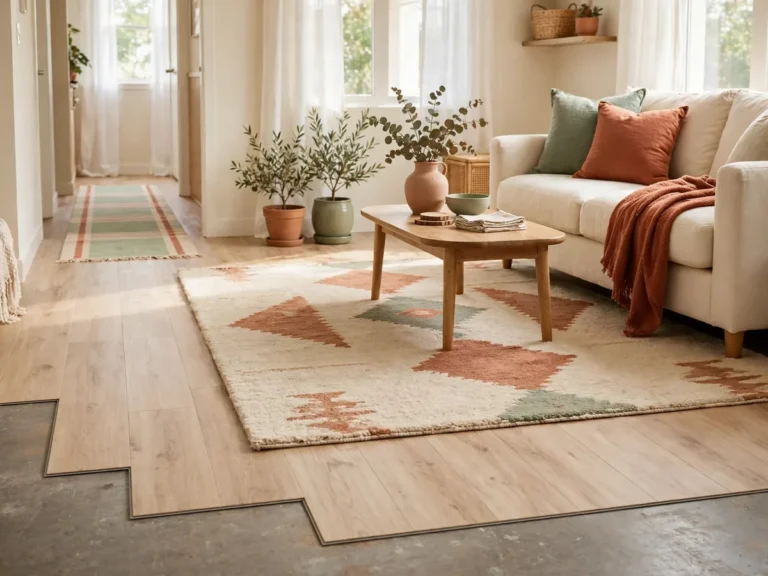
A large rug in your main hue or one step lighter grounds the drench at floor level. Without a tonal floor layer, the effect stops at the walls and the room feels half finished.
Use a rug pad to protect the floor below. In a color drenched room, the rug is not an accent, it is part of the envelope, so size and tone matter.
Repeat the tone once more in a small accent nearby. That echo makes the change look intentional and ties the zone together.
6. Paint Furniture Instead of Walls
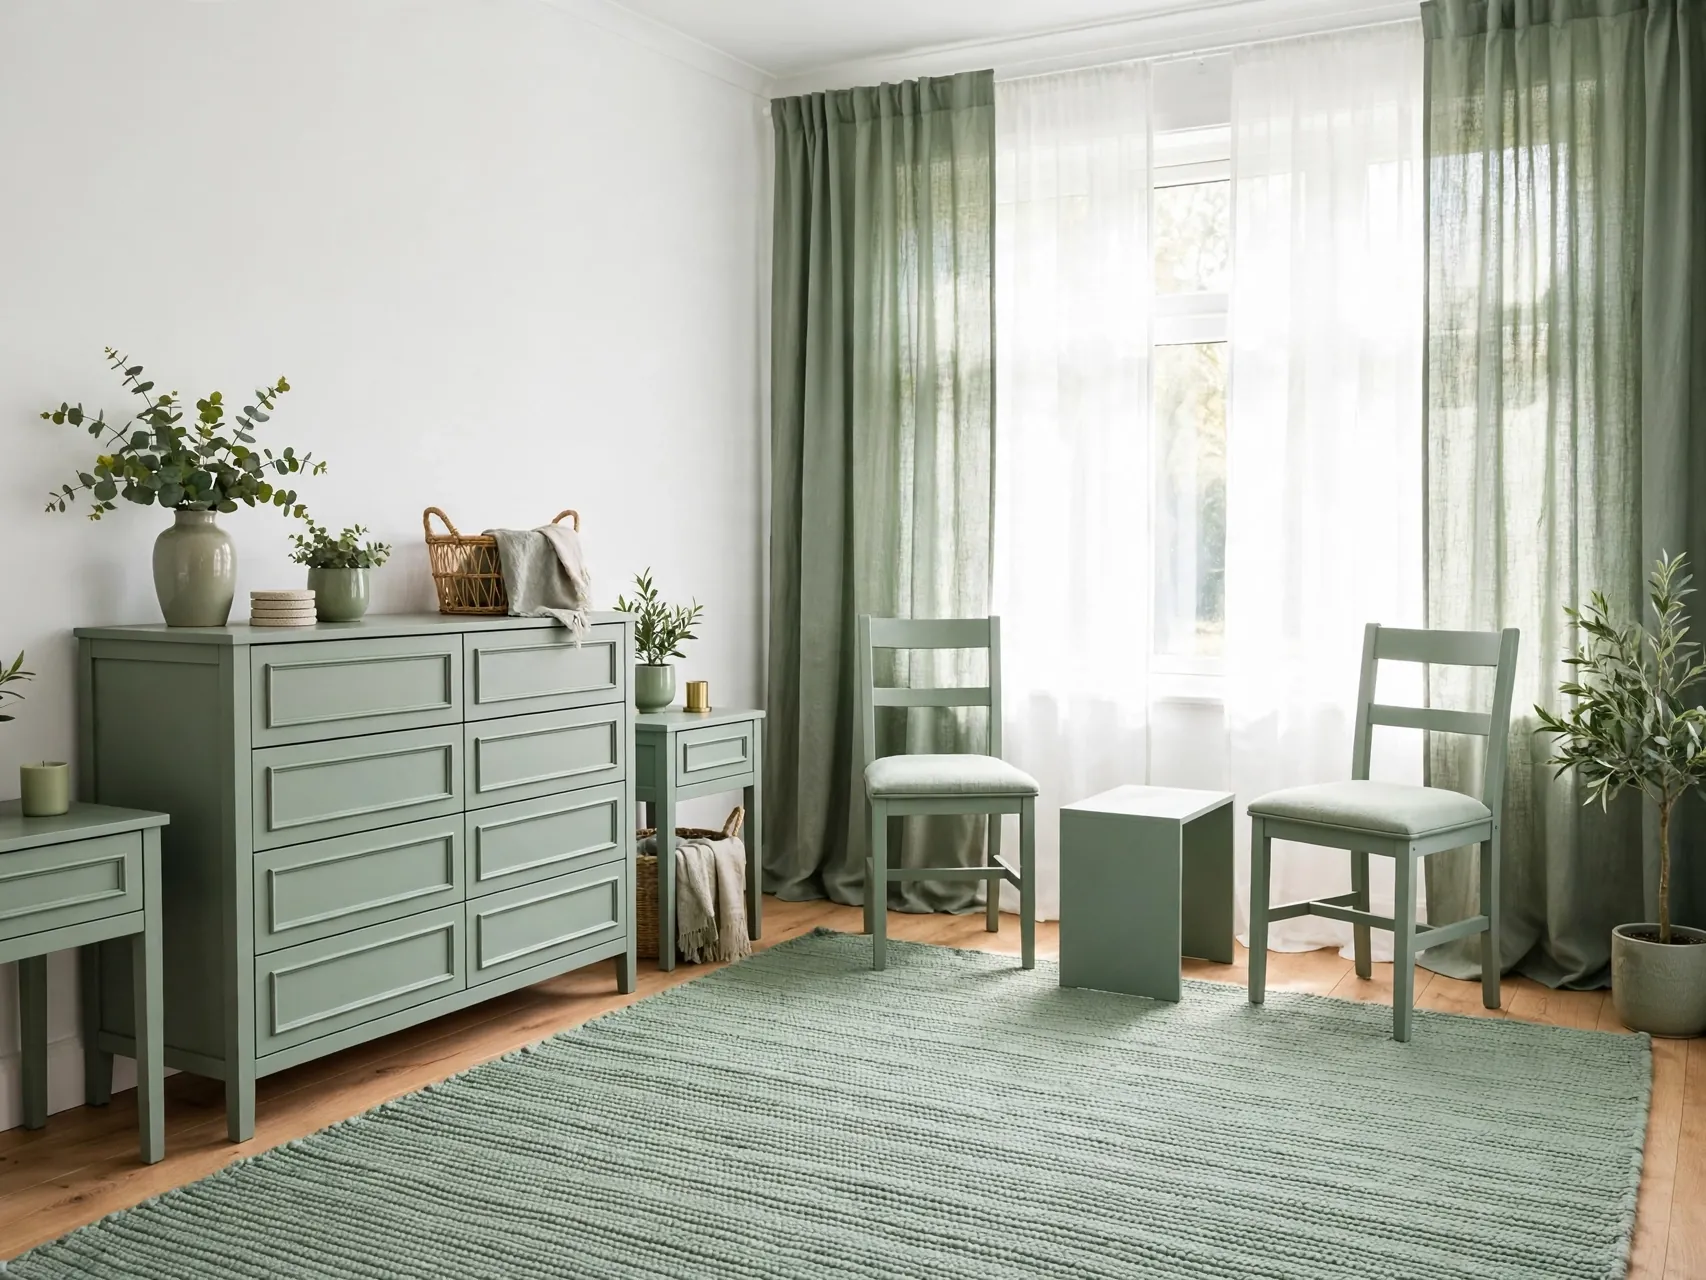
Paint a bookshelf, dresser, side tables, or a headboard in your drench color while walls stay neutral. Furniture you own can be painted freely in most rentals, and a few large pieces carry the color strongly.
Use furniture paint suited to the surface and let it cure fully before use. Photograph pieces before painting only if you plan to sell them later, the rental itself is unaffected.
Test the layout for a week before buying extras. Living with it shows what works and what you can happily skip.
7. Use Peel and Stick Film on Doors
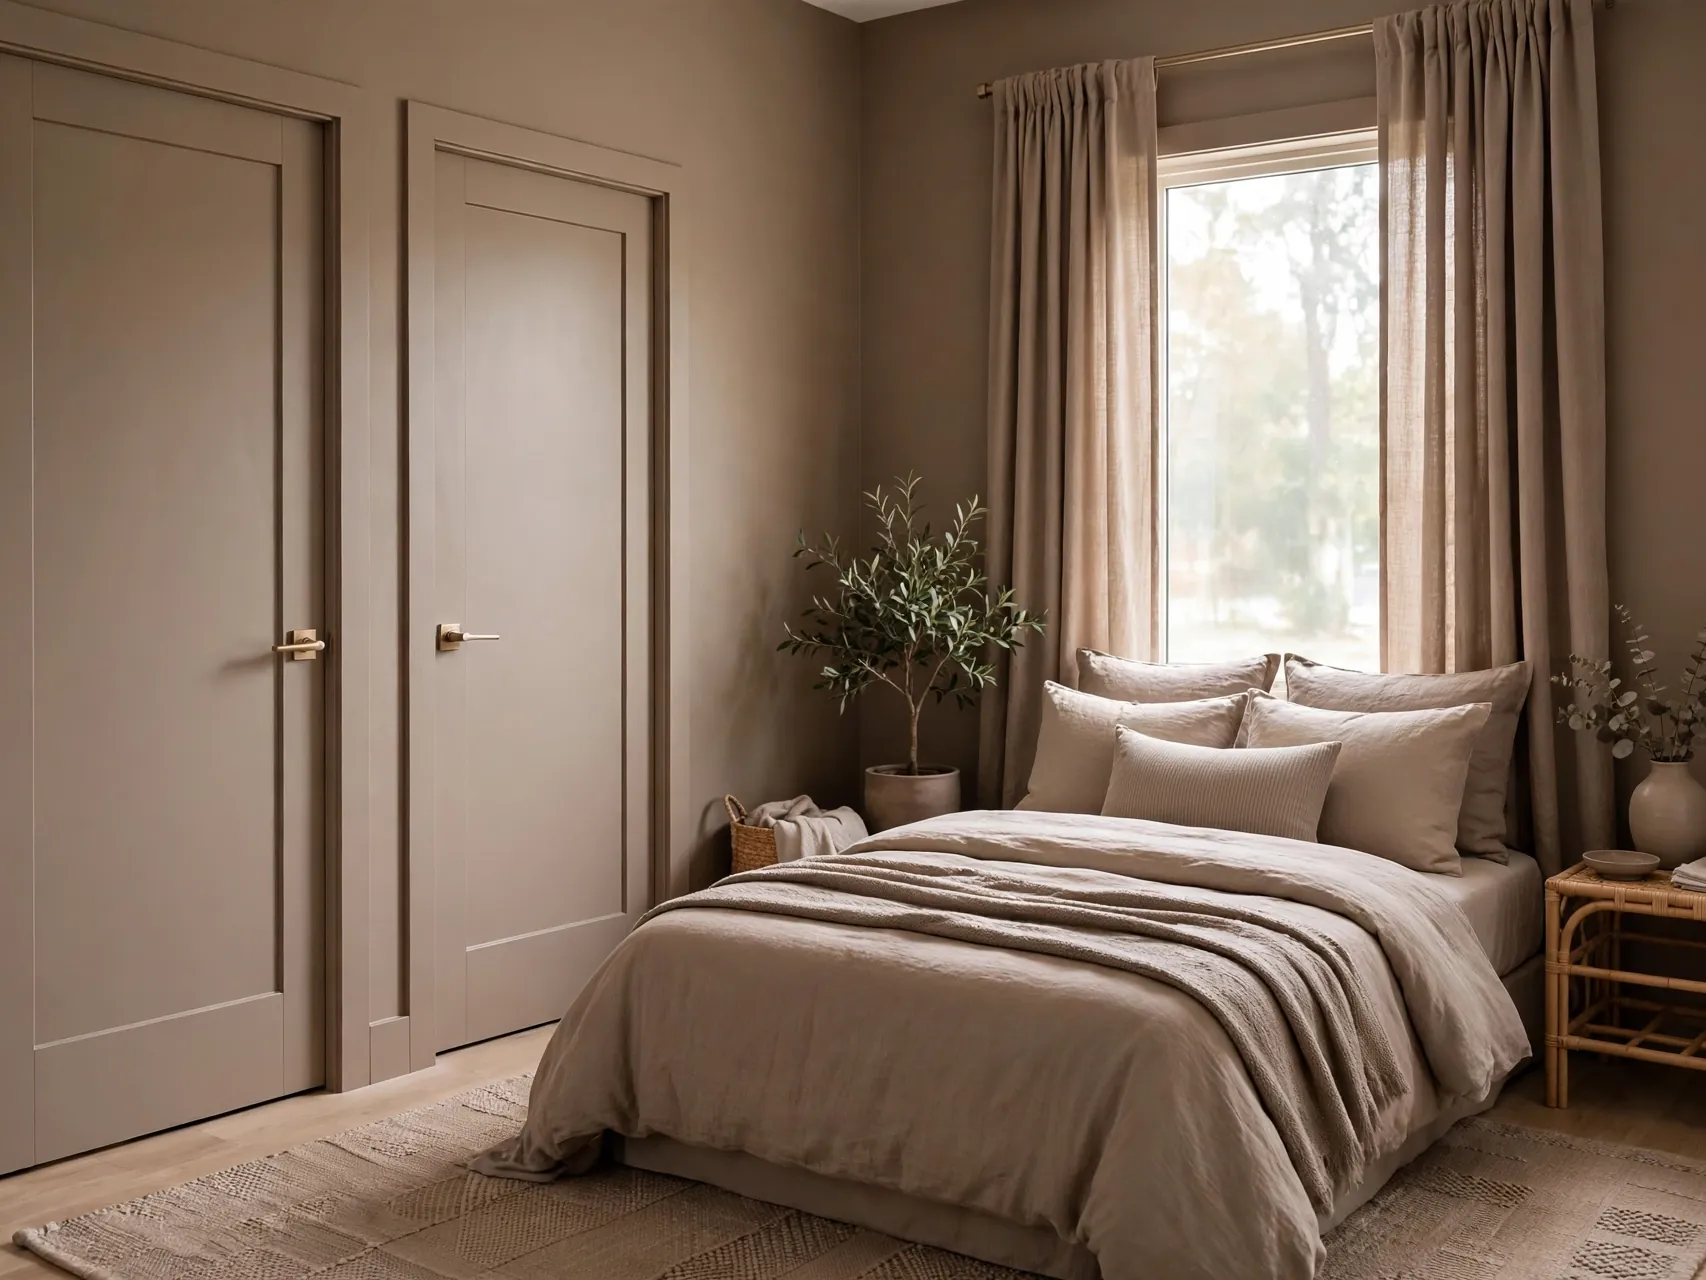
Removable film in a matching tone on closet doors or a flat interior door you have permission to cover extends the color across surfaces renters usually ignore. Doors are a large part of what you see in a small room.
Test film on a small hidden edge first and keep removal notes. Avoid covering fire doors or any door your lease or building rules say must stay unchanged.
Measure first, save packaging, and keep the removal notes. A quick daylight photo helps you judge the color before you commit further.
8. Layer Bedding in Tonal Shades
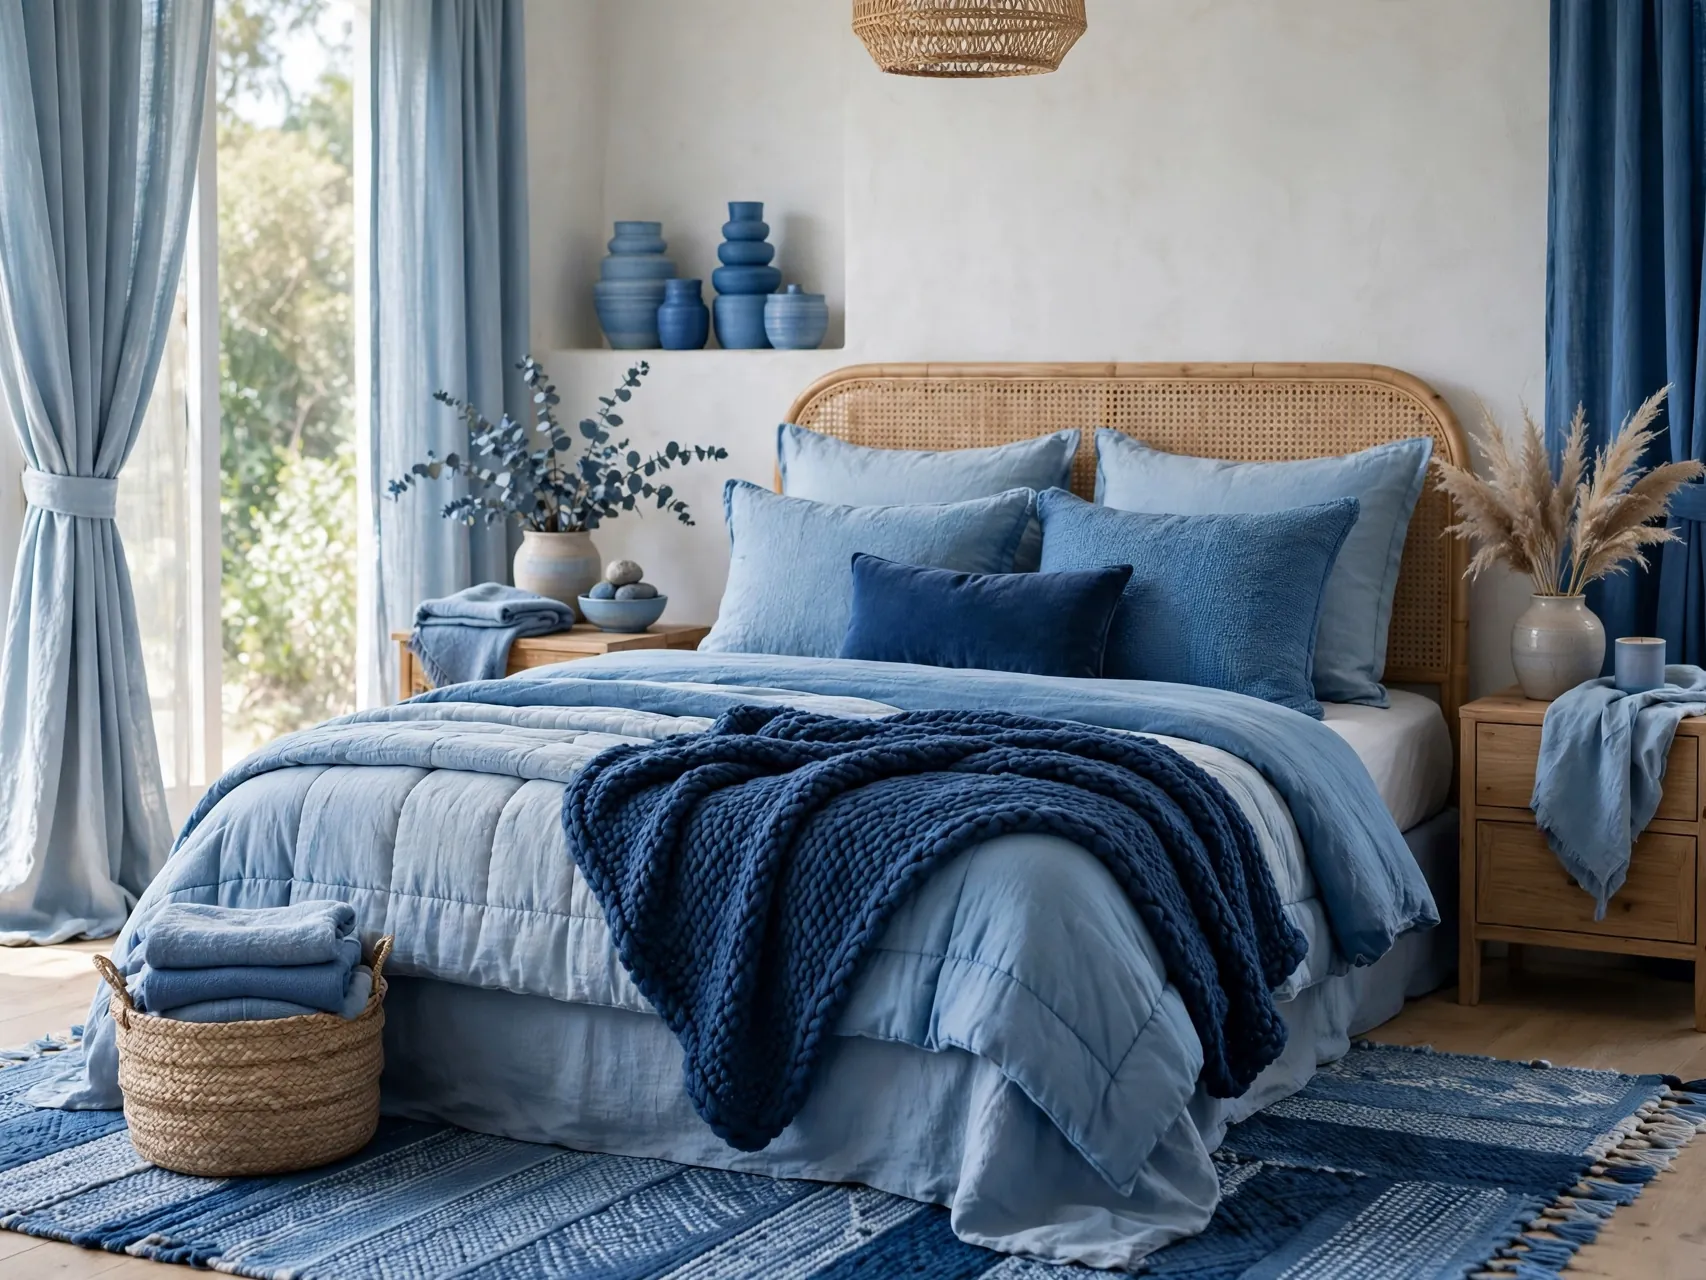
In a bedroom, bedding is your biggest color surface. Layer sheets, duvet, throw, and cushions in tints and shades of one hue for an instant drench that washes and packs away easily.
Mix textures, linen, cotton, knit, to stop a single color feeling flat. This is the fastest removable color drenching win because you can change it in one laundry cycle.
Repeat the tone once more in a small accent nearby. That echo makes the change look intentional and ties the zone together.
9. Add Slipcovers in Your Drench Color
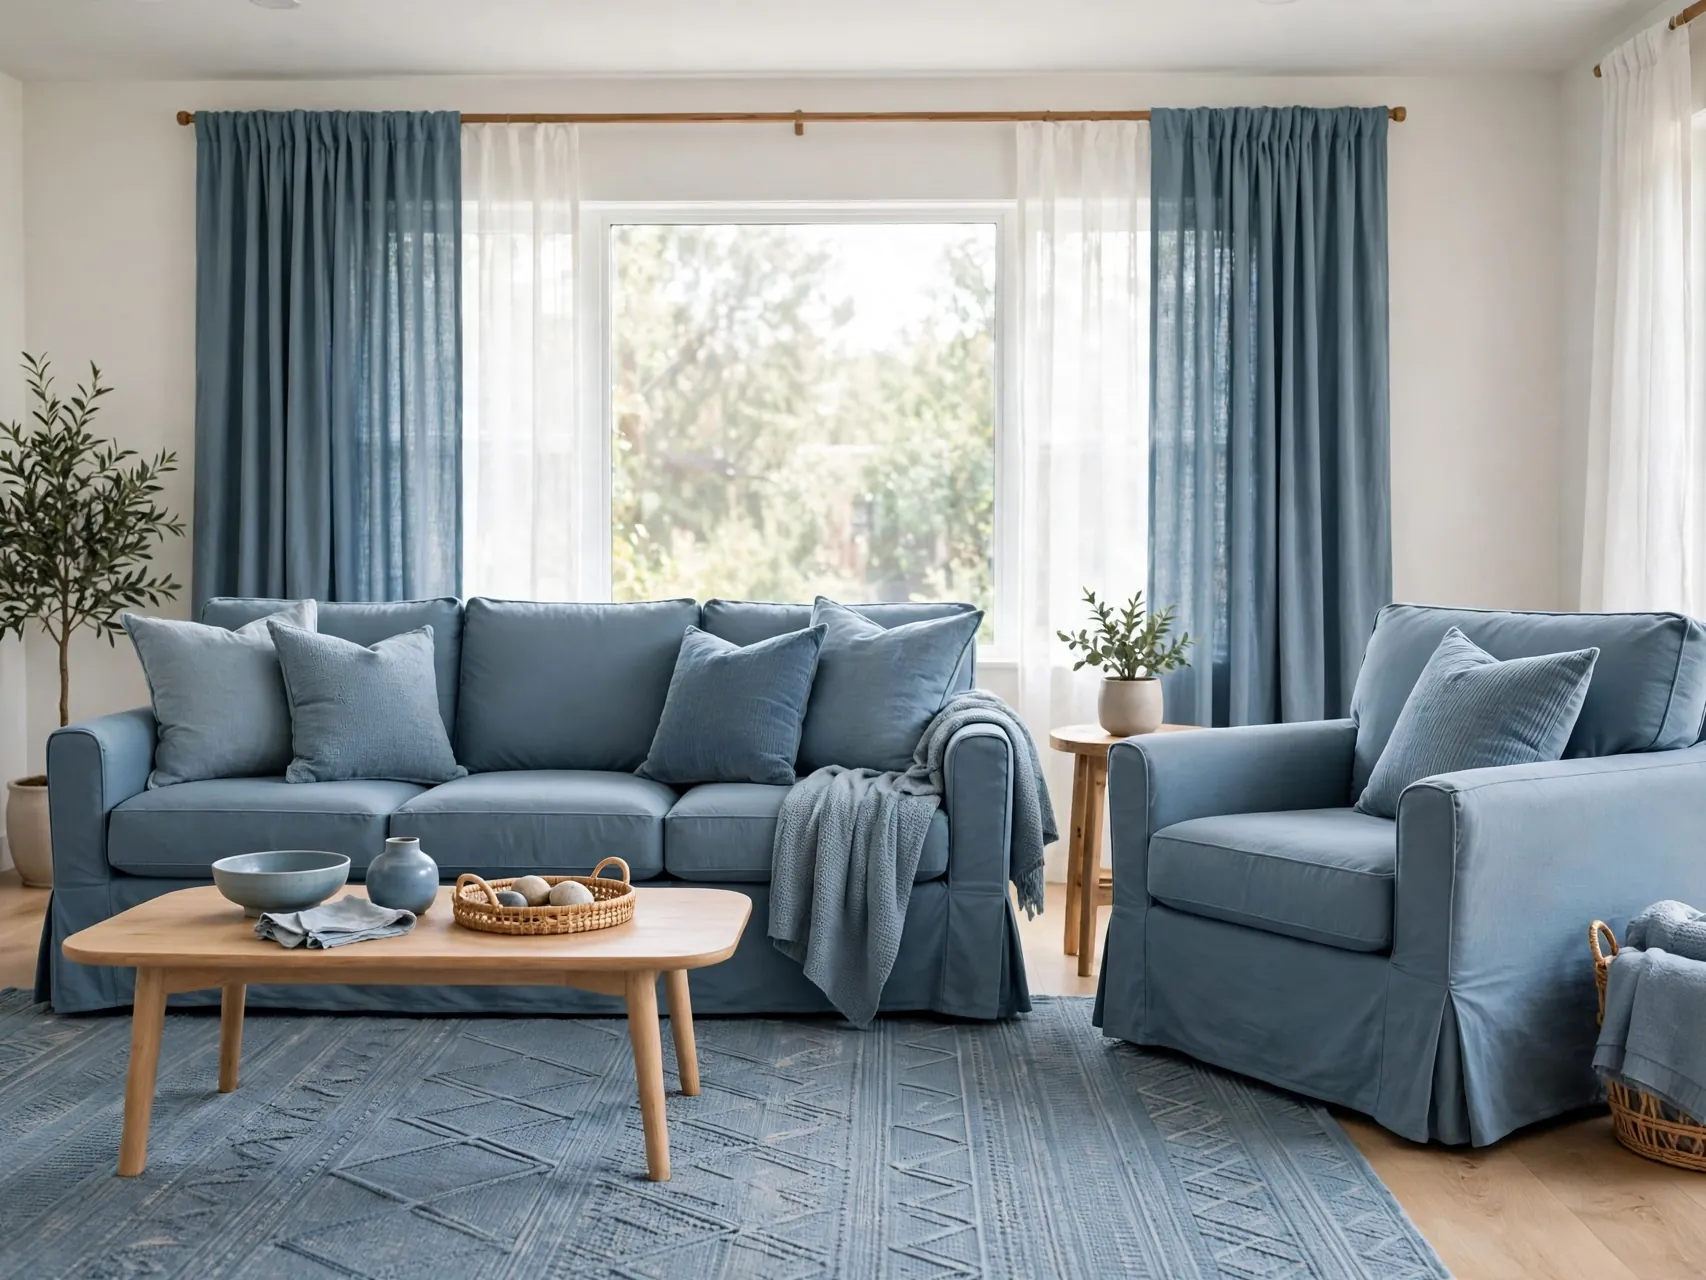
A slipcover turns a sofa or chair you cannot replace into a core part of the palette. Choose a washable cover in your main tone and pair it with tonal cushions rather than contrast patterns.
Measure carefully for a tidy fit and keep the original upholstery clean underneath. Slipcovers also protect furniture in a busy rental, which is a practical bonus.
Test the layout for a week before buying extras. Living with it shows what works and what you can happily skip.
10. Use Removable Trim Covers

If painting trim is not allowed, removable covers and films in a matching tone can reduce the stark white break between wall and floor. The effect is subtle but it softens the hard edges that stop a drench feeling complete.
Only use products that remove cleanly and test first. If nothing tests well, accept the trim as it is and strengthen the drench through textiles instead.
Measure first, save packaging, and keep the removal notes. A quick daylight photo helps you judge the color before you commit further.
11. Drench a Small Room First
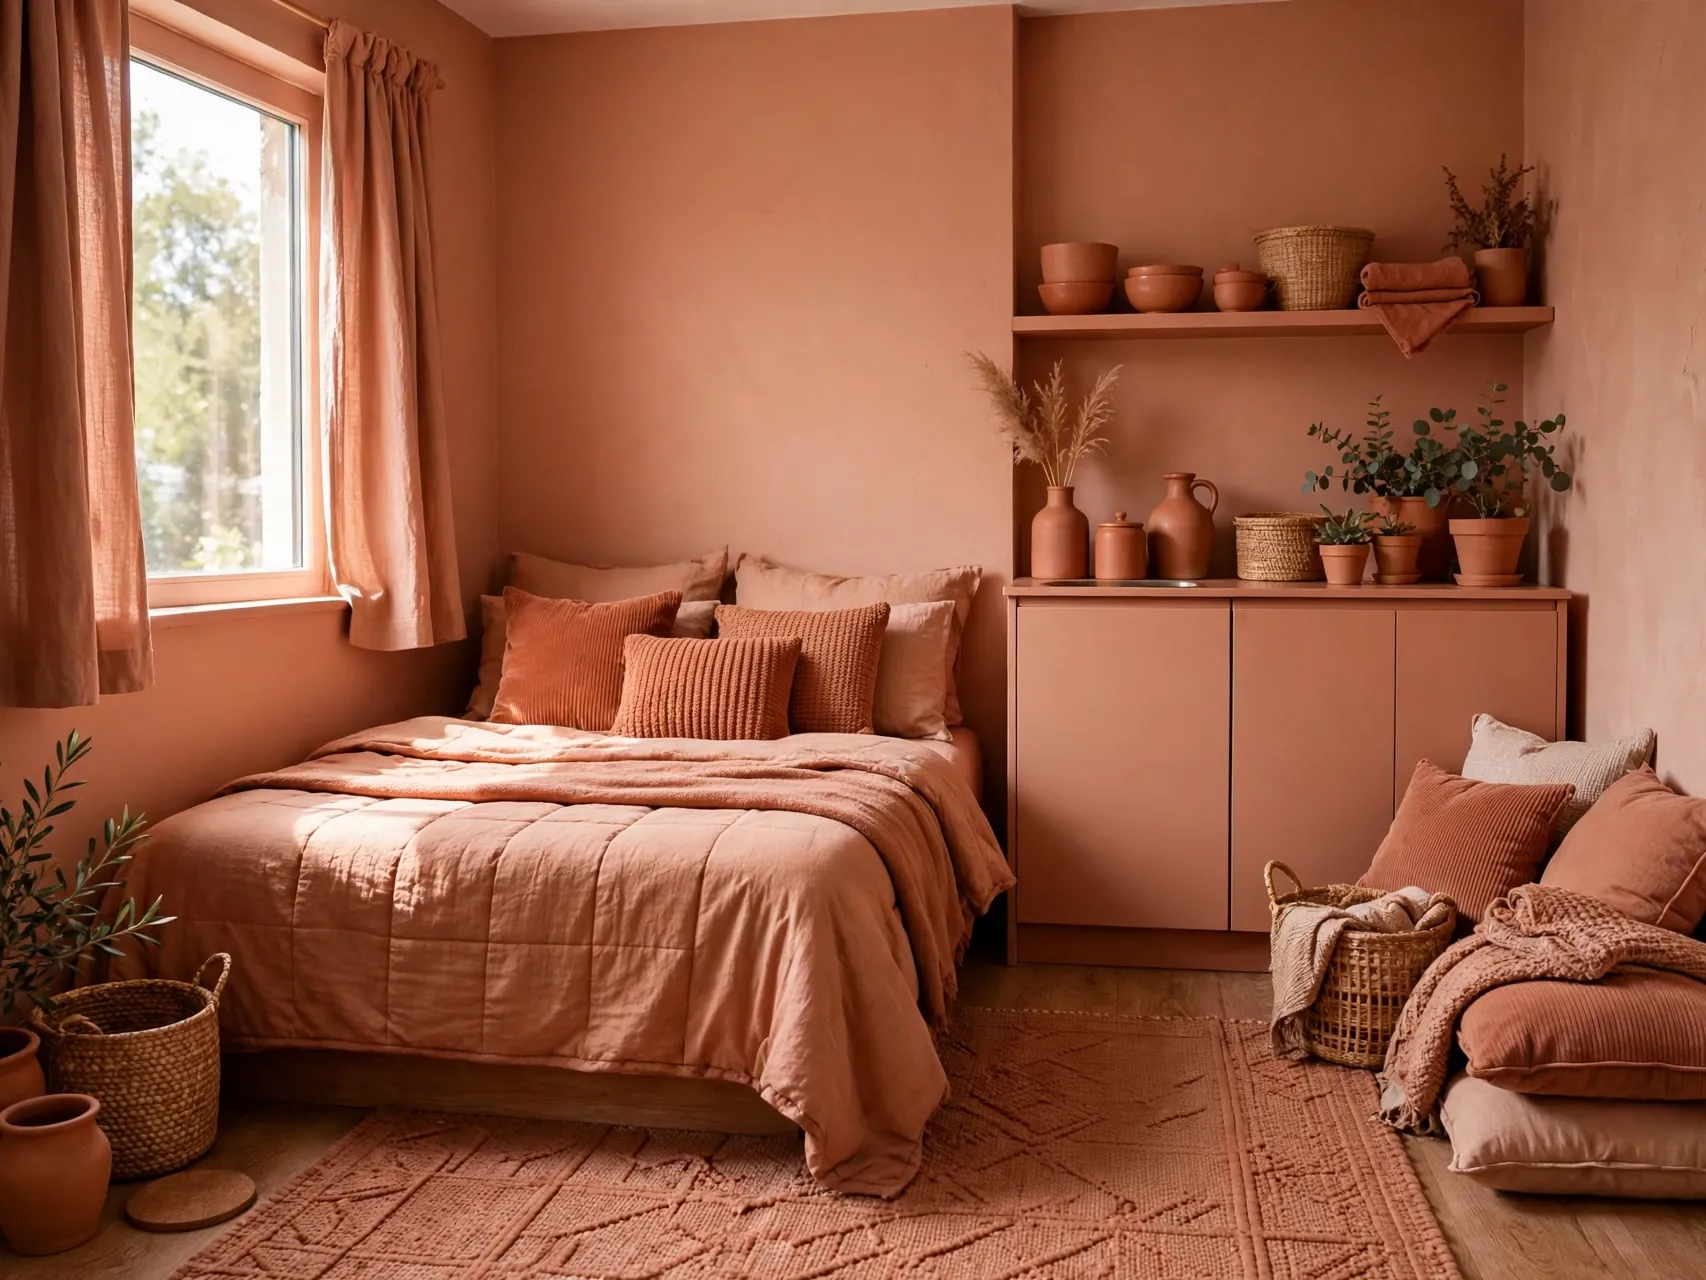
A small bedroom, office, or reading nook is the best place to learn drenching. The color impact is high, the product cost is lower, and if you dislike the result, reversing one small room is quick.
Small rooms often benefit most because tonal wrapping blurs corners and can make the space feel intentional rather than cramped. Take before photos to compare the change clearly.
Repeat the tone once more in a small accent nearby. That echo makes the change look intentional and ties the zone together.
12. Try a Sage Green Drench for Calm
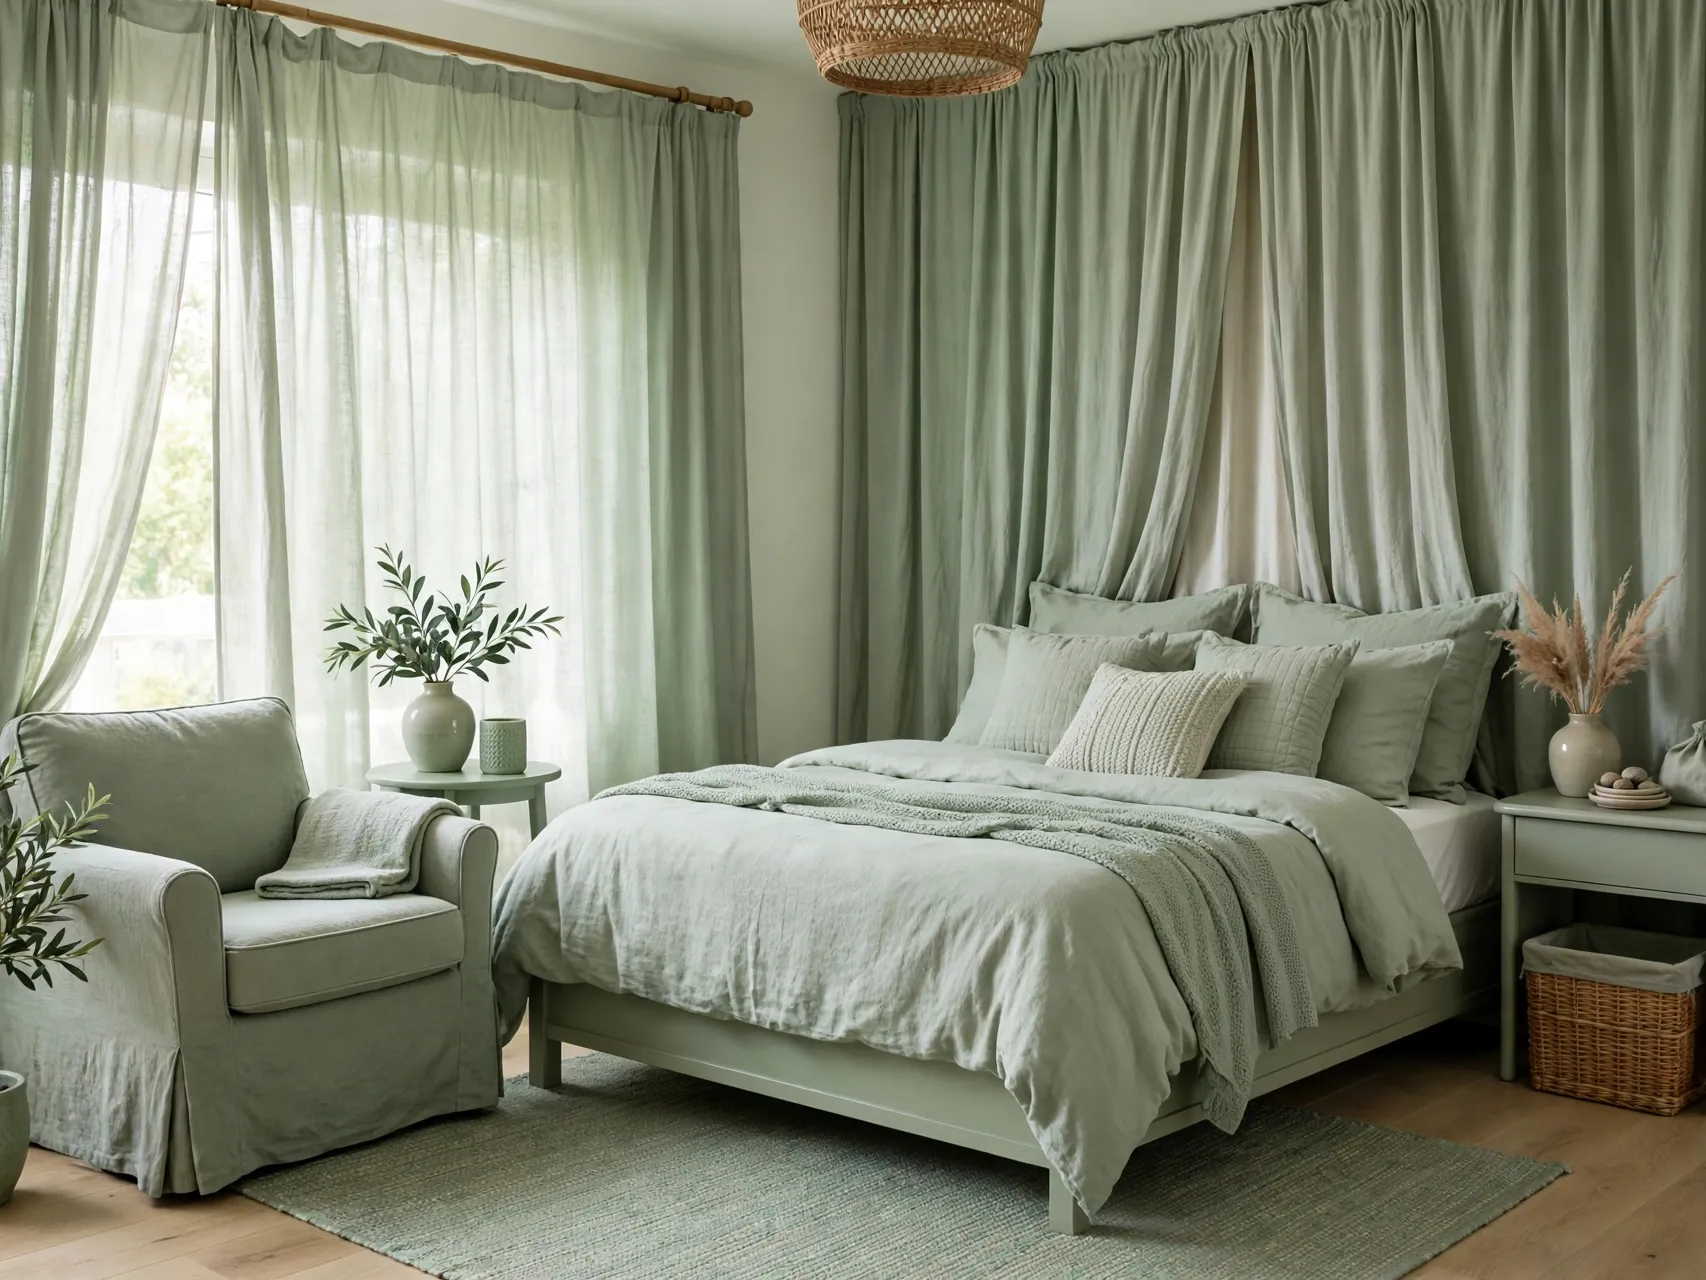
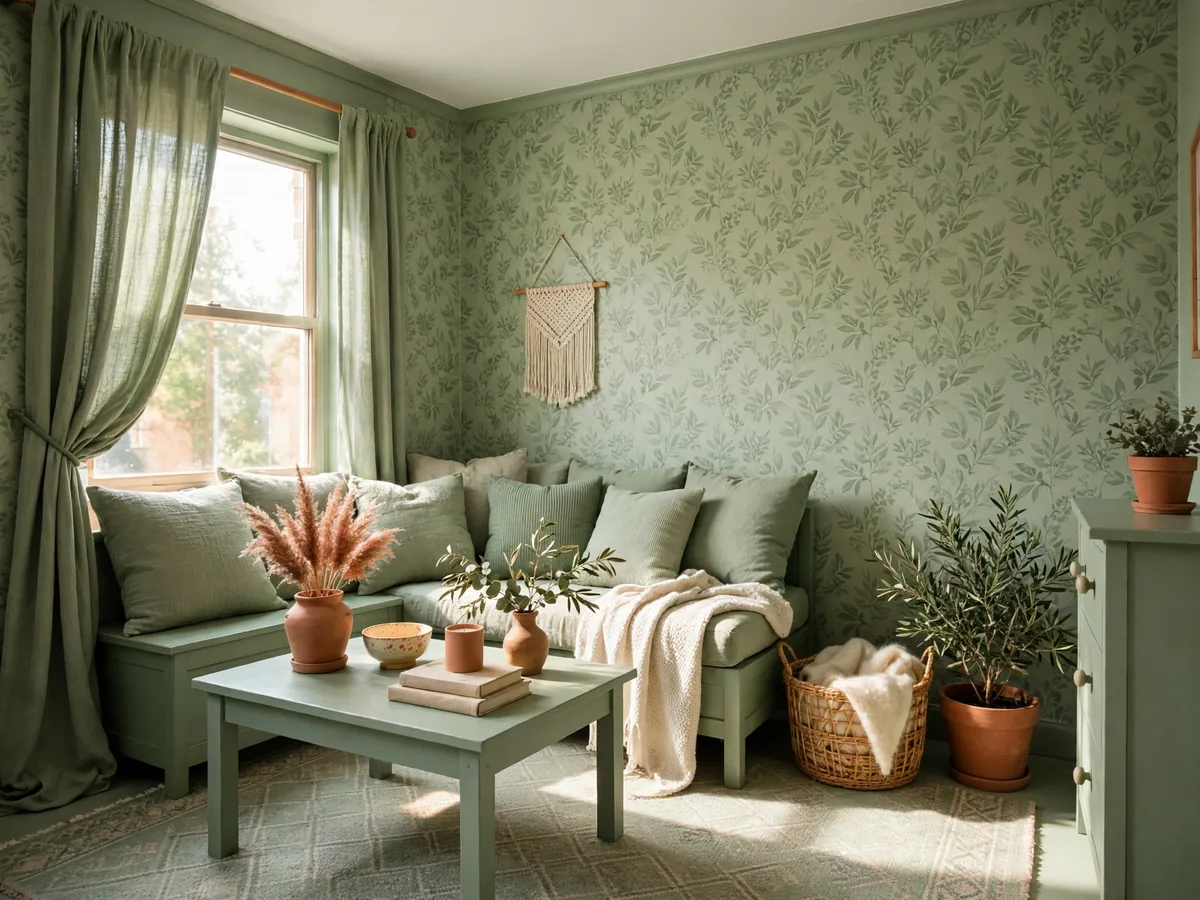
Sage and soft greens are forgiving in many light conditions and pair naturally with wood and linen. Use sage in textiles, wallpaper, and painted furniture for a calm bedroom or living room envelope.
Balance green with warm neutrals so the room does not feel cold. Test your exact shade in the room, since greens shift noticeably between daylight and evening light.
Test the layout for a week before buying extras. Living with it shows what works and what you can happily skip.
13. Try a Warm Taupe Drench for a Neutral Look
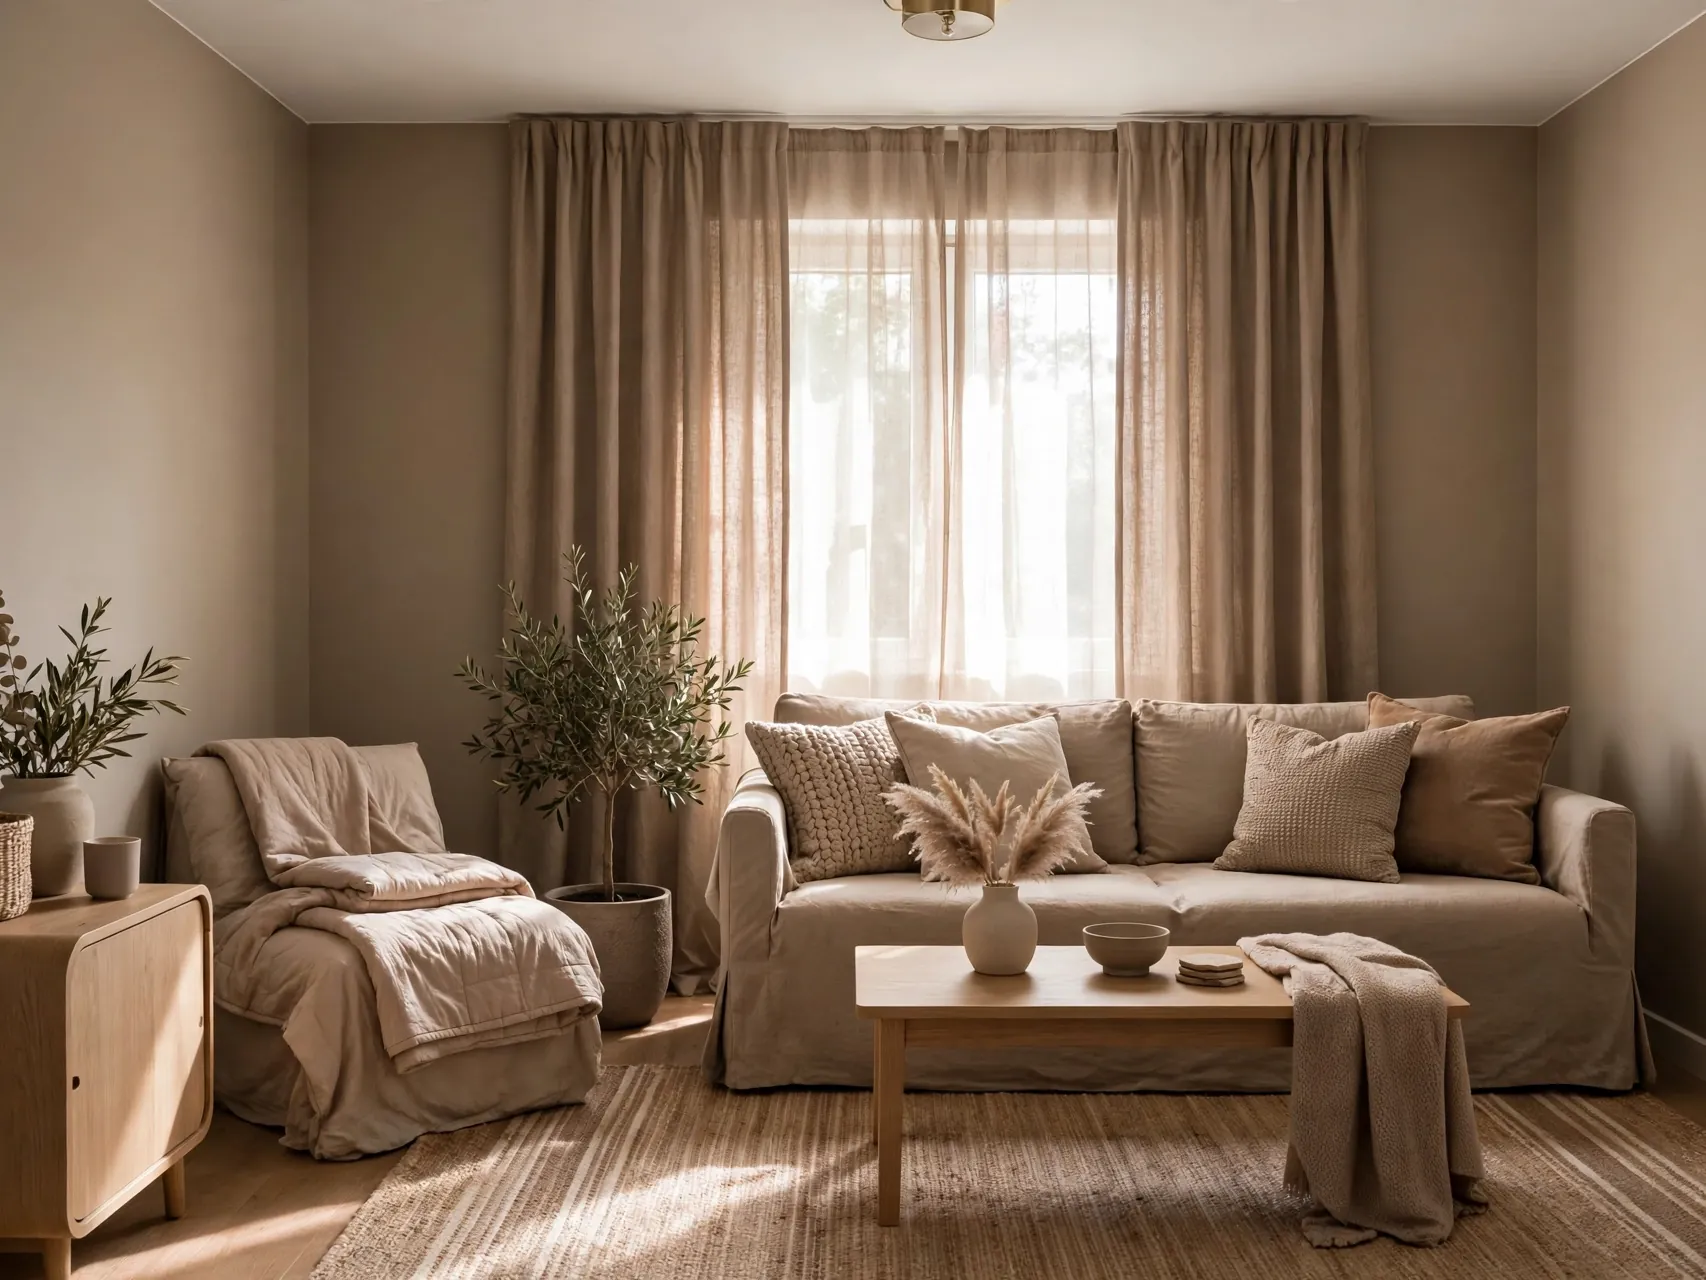
Warm taupe and greige tones drench a room without strong color, ideal if you love the cohesive effect but want a quiet result. Layer taupe walls or panels with oatmeal textiles and deeper brown accents.
Vary texture widely in a neutral drench, nubby throws, smooth ceramics, woven rugs, or the room can feel flat. A little black or dark wood adds needed definition.
Measure first, save packaging, and keep the removal notes. A quick daylight photo helps you judge the color before you commit further.
14. Try a Dusty Blue Drench for Depth

Dusty blue gives depth while staying softer than navy, and it works well in bedrooms and offices where calm focus matters. Repeat the blue in curtains, bedding, rug, and storage for the full effect.
Check the blue in your actual light before committing to large pieces. North facing rooms can make blue feel cooler, so warmer textiles help balance it.
Repeat the tone once more in a small accent nearby. That echo makes the change look intentional and ties the zone together.
15. Try a Soft Terracotta Drench for Warmth
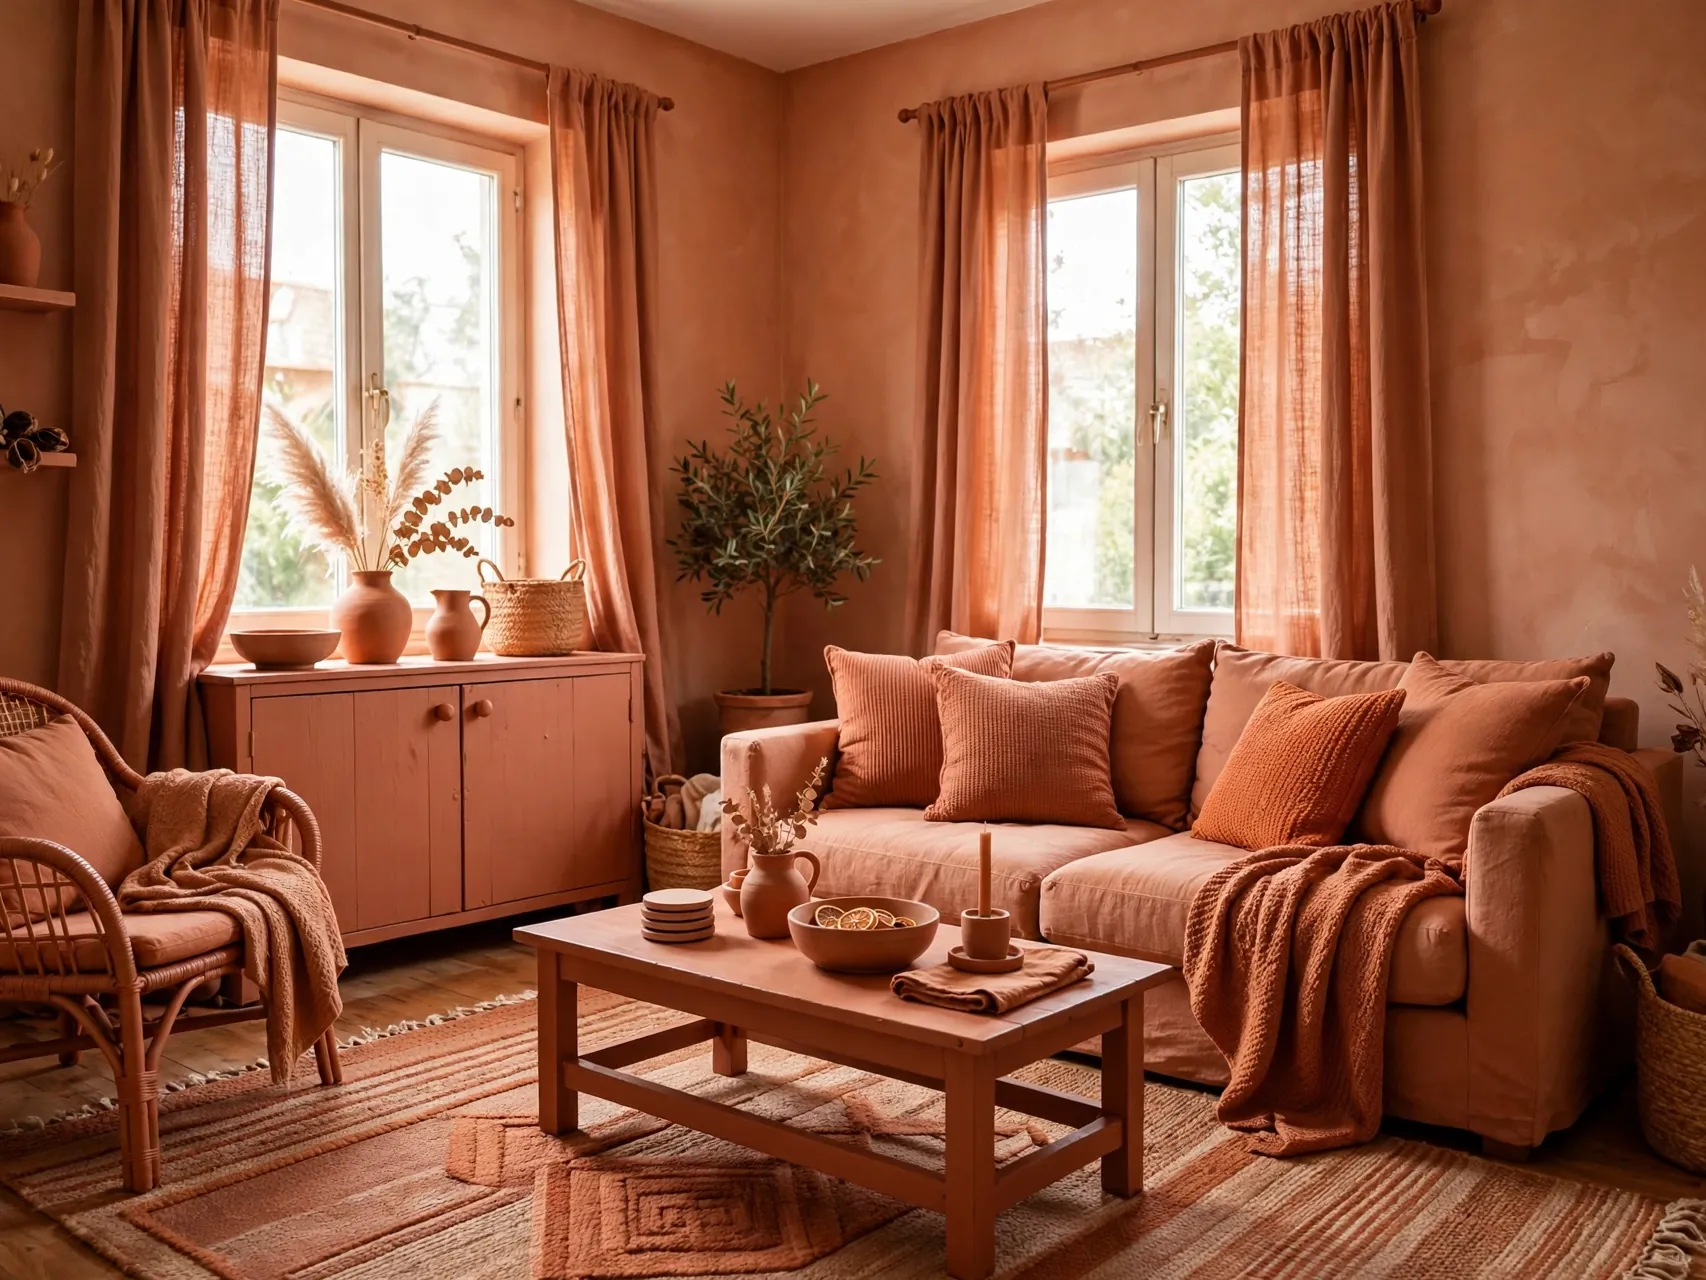
Soft terracotta and clay tones add warmth that suits living rooms and dining areas, especially those with limited natural light. Pair with cream, natural wood, and woven fibers to keep the warmth grounded.
Use the deepest terracotta sparingly on one or two pieces, with lighter clay tones doing most of the work. Too much saturated orange red can overwhelm a small rental quickly.
Test the layout for a week before buying extras. Living with it shows what works and what you can happily skip.
16. Try a Deep Tone in a Bedroom With Permission
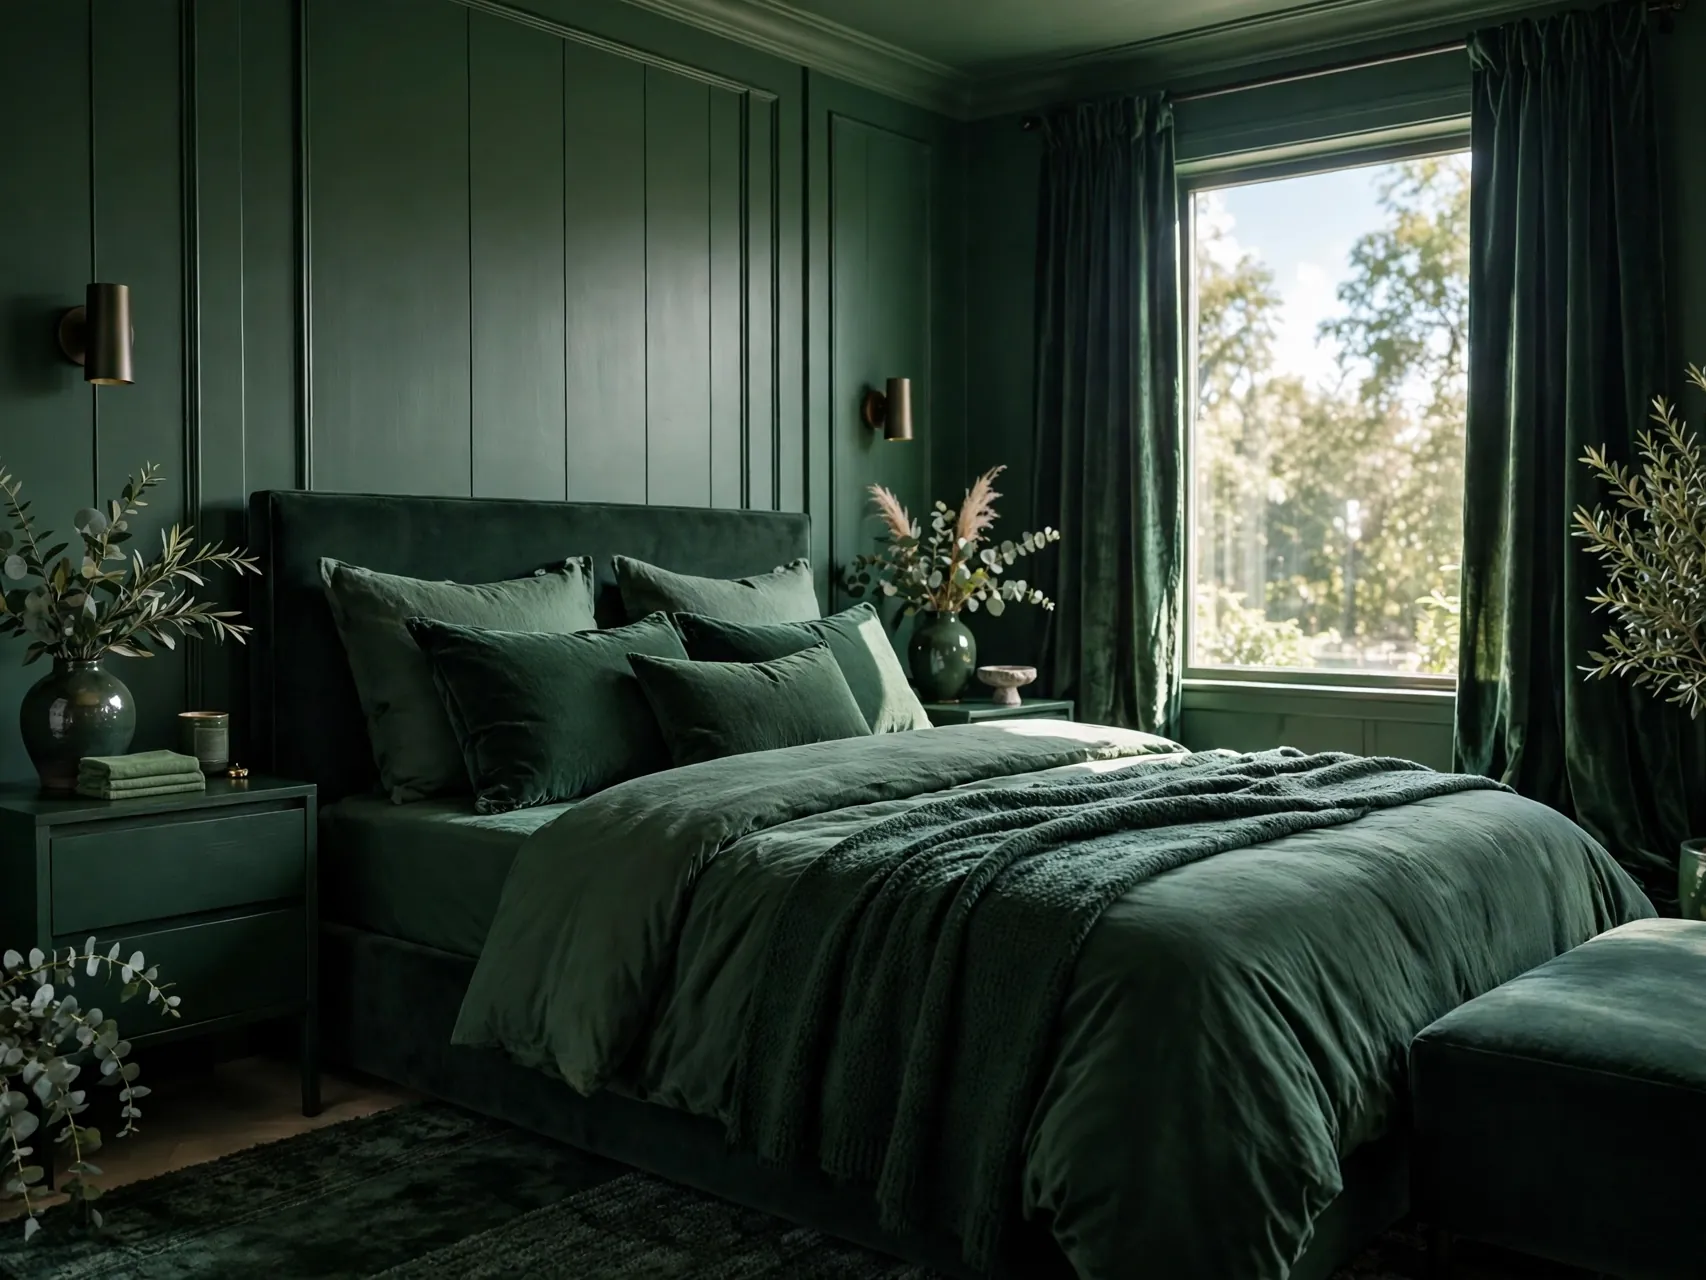
If your landlord allows paint in writing, a deep forest, navy, or charcoal drench in a bedroom can feel restful and dramatic. True drenching includes ceiling and trim, so confirm those are included in your permission.
Budget for the repaint to the original color and keep that paint information safe. Sample generously first, because deep tones look very different at night under warm bulbs.
Measure first, save packaging, and keep the removal notes. A quick daylight photo helps you judge the color before you commit further.
17. Match Bookshelf Backing With Removable Paper
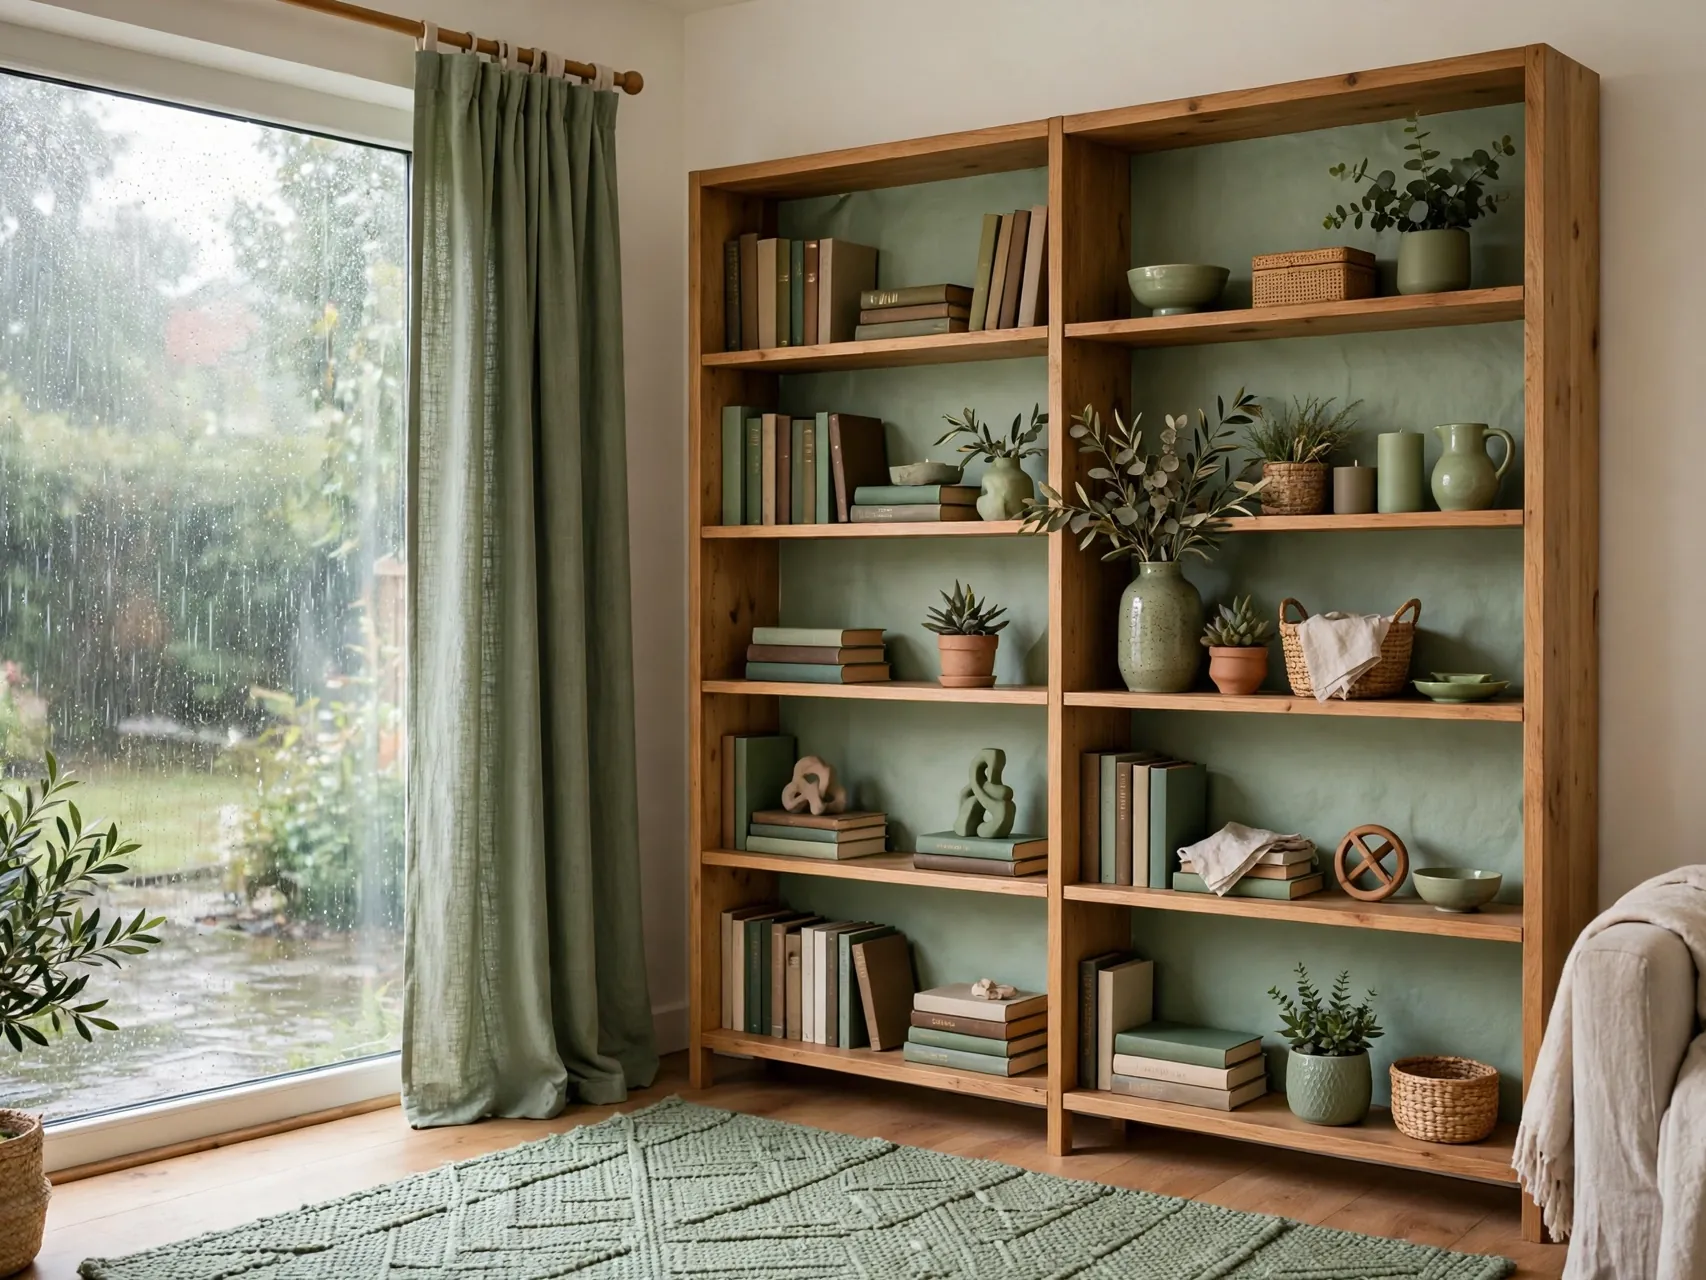
Line the back of a freestanding bookshelf with removable paper or fabric in your drench color. The shelf becomes part of the envelope and styled objects stand out against a tonal background.
Because the shelf is your furniture, this change is fully yours to keep or reverse. Leave shelf space partly empty so the color reads as design, not storage clutter.
Repeat the tone once more in a small accent nearby. That echo makes the change look intentional and ties the zone together.
18. Use Matching Storage Boxes and Baskets

Swap mixed storage for boxes and baskets in one color family. In an open plan rental, unified storage is a quiet but powerful part of drenching, since storage is visible in every zone.
Choose lidded options for a cleaner look. This tonal decorating trick costs little and makes even a white walled rental feel coordinated.
Test the layout for a week before buying extras. Living with it shows what works and what you can happily skip.
19. Add Color Matched Lamp Shades
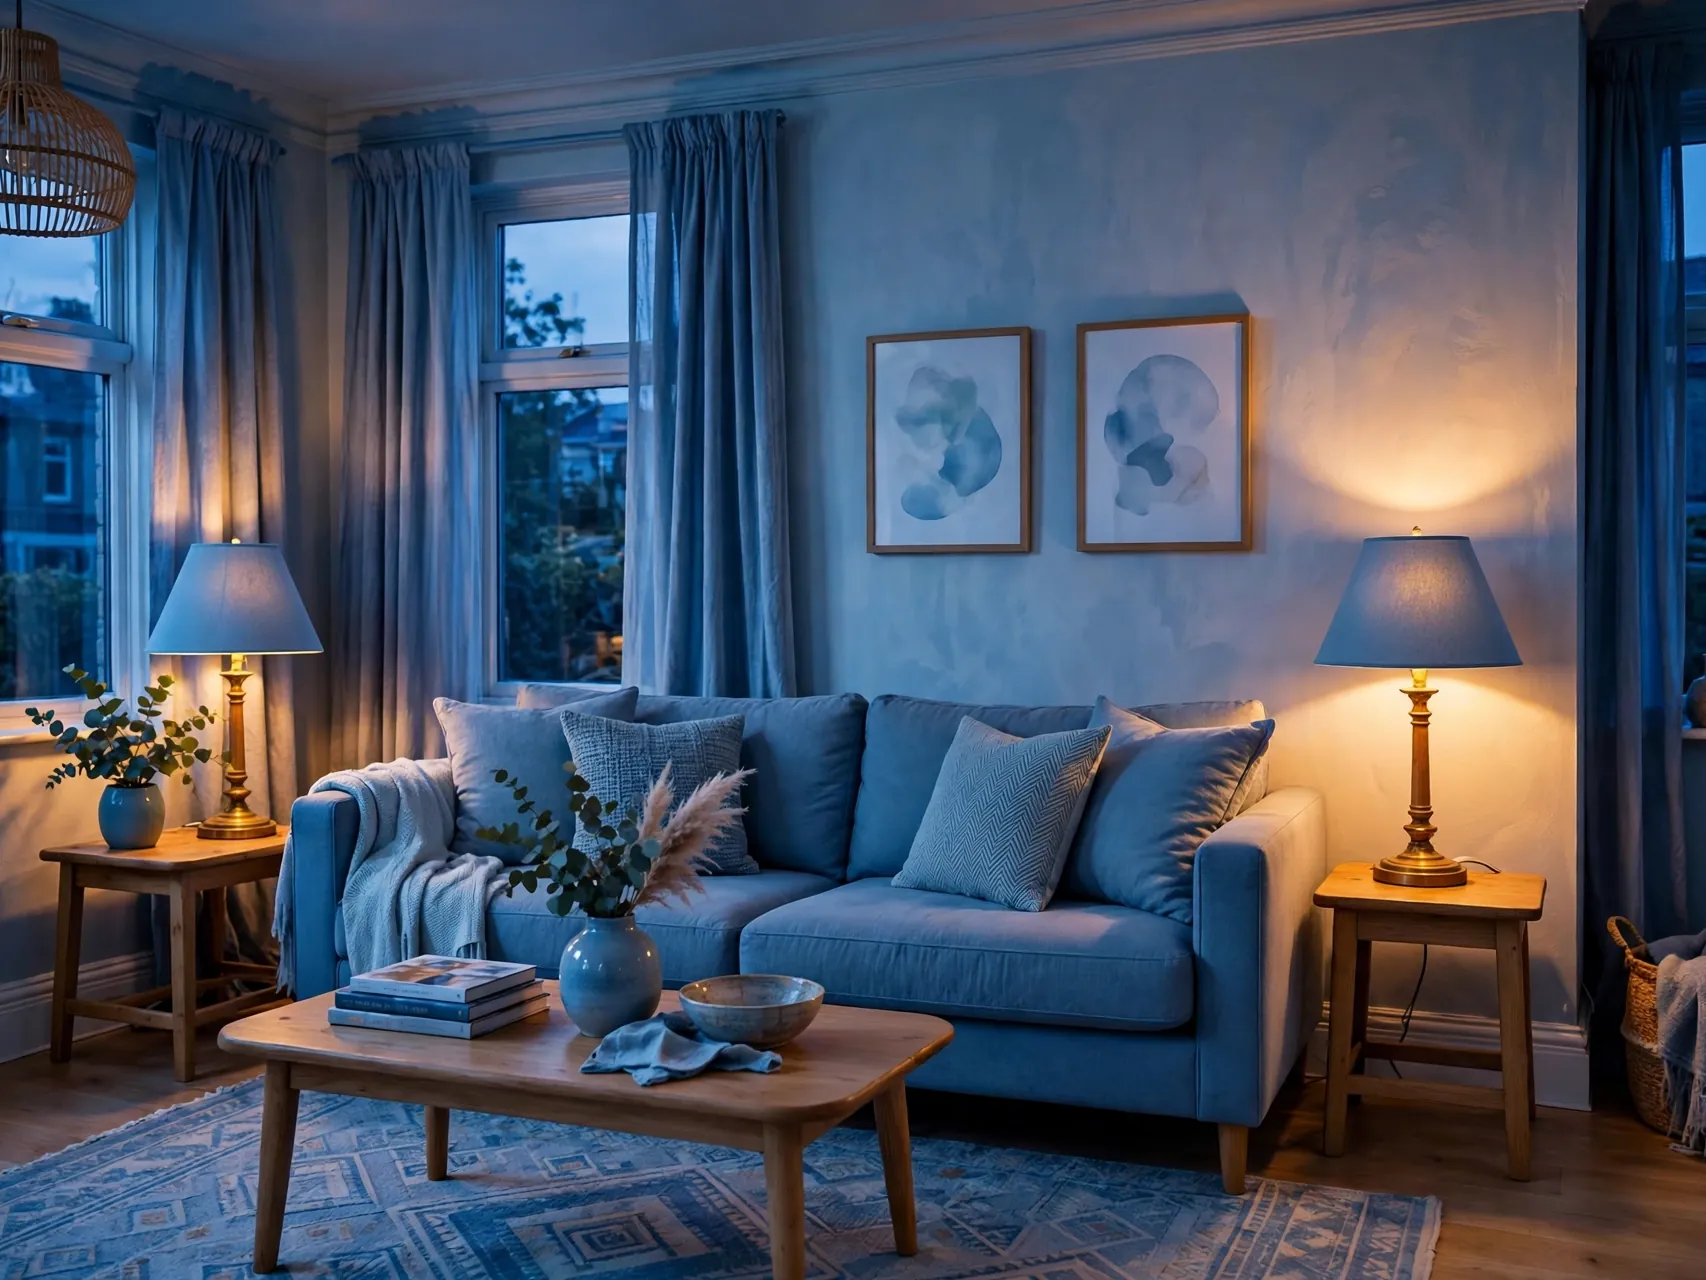
Lamp shades in your hue, or warm shades that sit inside the family, extend the drench into your lighting layer. Light filtered through a tonal shade also casts a softer, more cohesive glow in the evening.
Keep bulbs warm and check shade material safety guidance for heat. Plug in lamps are ideal for renters because they need no wiring changes.
Measure first, save packaging, and keep the removal notes. A quick daylight photo helps you judge the color before you commit further.
20. Cover a Ceiling With Removable Panels Only If Allowed

Ceilings complete a true drench, but rental options are limited and often not allowed. Lightweight removable panels or fabric should only be considered with explicit permission and a safe, approved fixing method.
For most renters, skip the ceiling and strengthen walls, floor, and furniture instead. A strong four sided drench still feels immersive without the riskiest step.
Repeat the tone once more in a small accent nearby. That echo makes the change look intentional and ties the zone together.
21. Use Tonal Artwork Instead of Contrast Art

Choose art that sits inside your color family, soft landscapes, abstracts, or prints in tints of your main hue. High contrast art breaks the envelope, while tonal art deepens it.
Use removable hanging methods tested for weight, or lean large frames on furniture. One tonal piece at a larger scale usually drenches better than several small contrast pieces.
Test the layout for a week before buying extras. Living with it shows what works and what you can happily skip.
22. Drench an Entry With Hooks and a Bench in One Hue

Paint your own bench, choose a tonal runner, and use matching baskets and hooks you are allowed to install for a drenched entry moment. Small zones are perfect for bolder color because the commitment is contained.
Keep daily clutter inside the matching storage or the effect disappears. An entry drench is a strong first impression that needs no paint on rental walls.
Measure first, save packaging, and keep the removal notes. A quick daylight photo helps you judge the color before you commit further.
23. Layer Bathroom Textiles in One Color

Towels, a shower curtain, a bath mat, and storage jars in one family can drench a small rental bathroom without touching tile or paint. Bathrooms are small, so textile color carries a long way.
Pick quick dry towels and a washable mat, since bathrooms stay damp. This is a low cost test of a color before you use it in a larger room.
Repeat the tone once more in a small accent nearby. That echo makes the change look intentional and ties the zone together.
24. Keep One Paint Plan Documented for Move Out
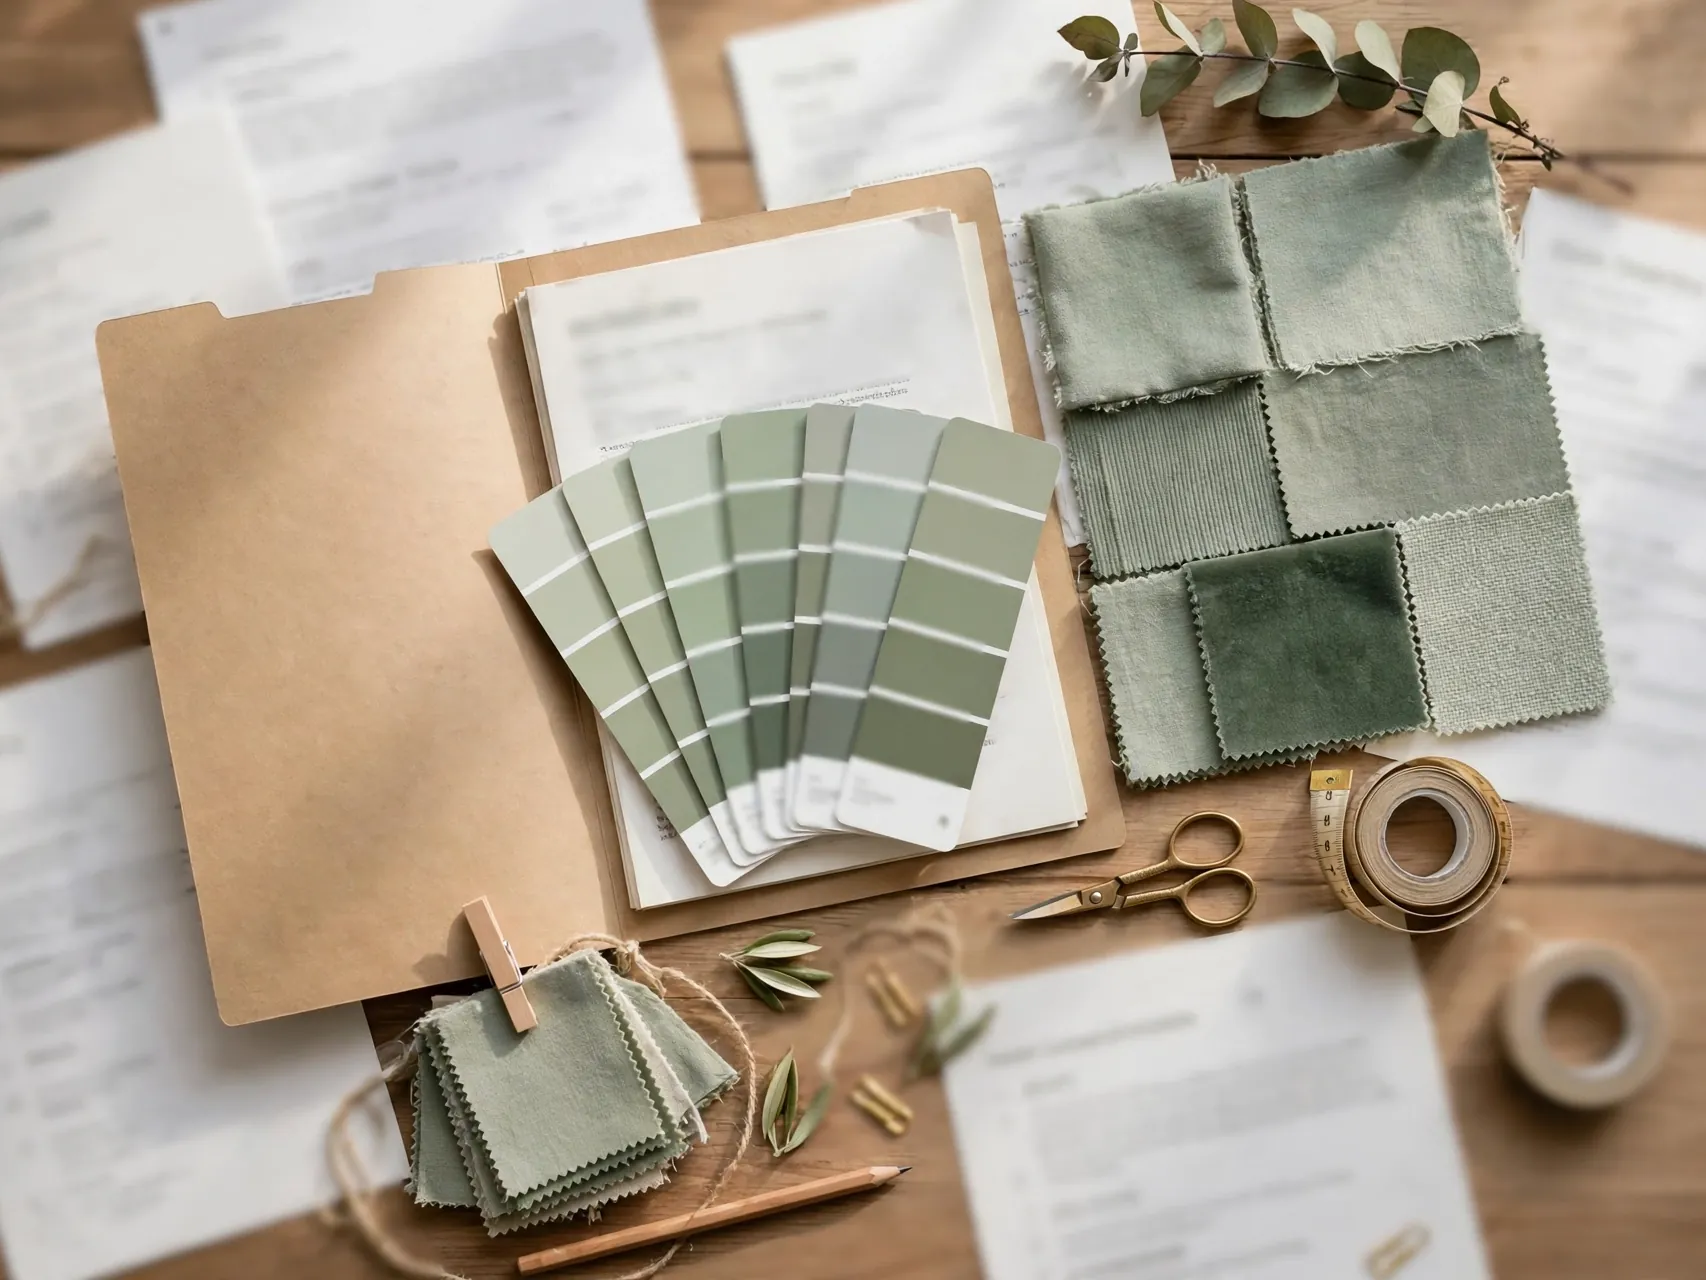
If any paint is involved, document the original color, the new color, the permission, and the repaint agreement in one folder with photos. Clear records prevent disputes and help you plan the repaint budget and timing.
Take dated photos of every wall before painting. General lease rules vary by state and building, so rely on your own lease and written landlord messages, not general advice.
Test the layout for a week before buying extras. Living with it shows what works and what you can happily skip.
25. Test Color in Morning and Evening Light
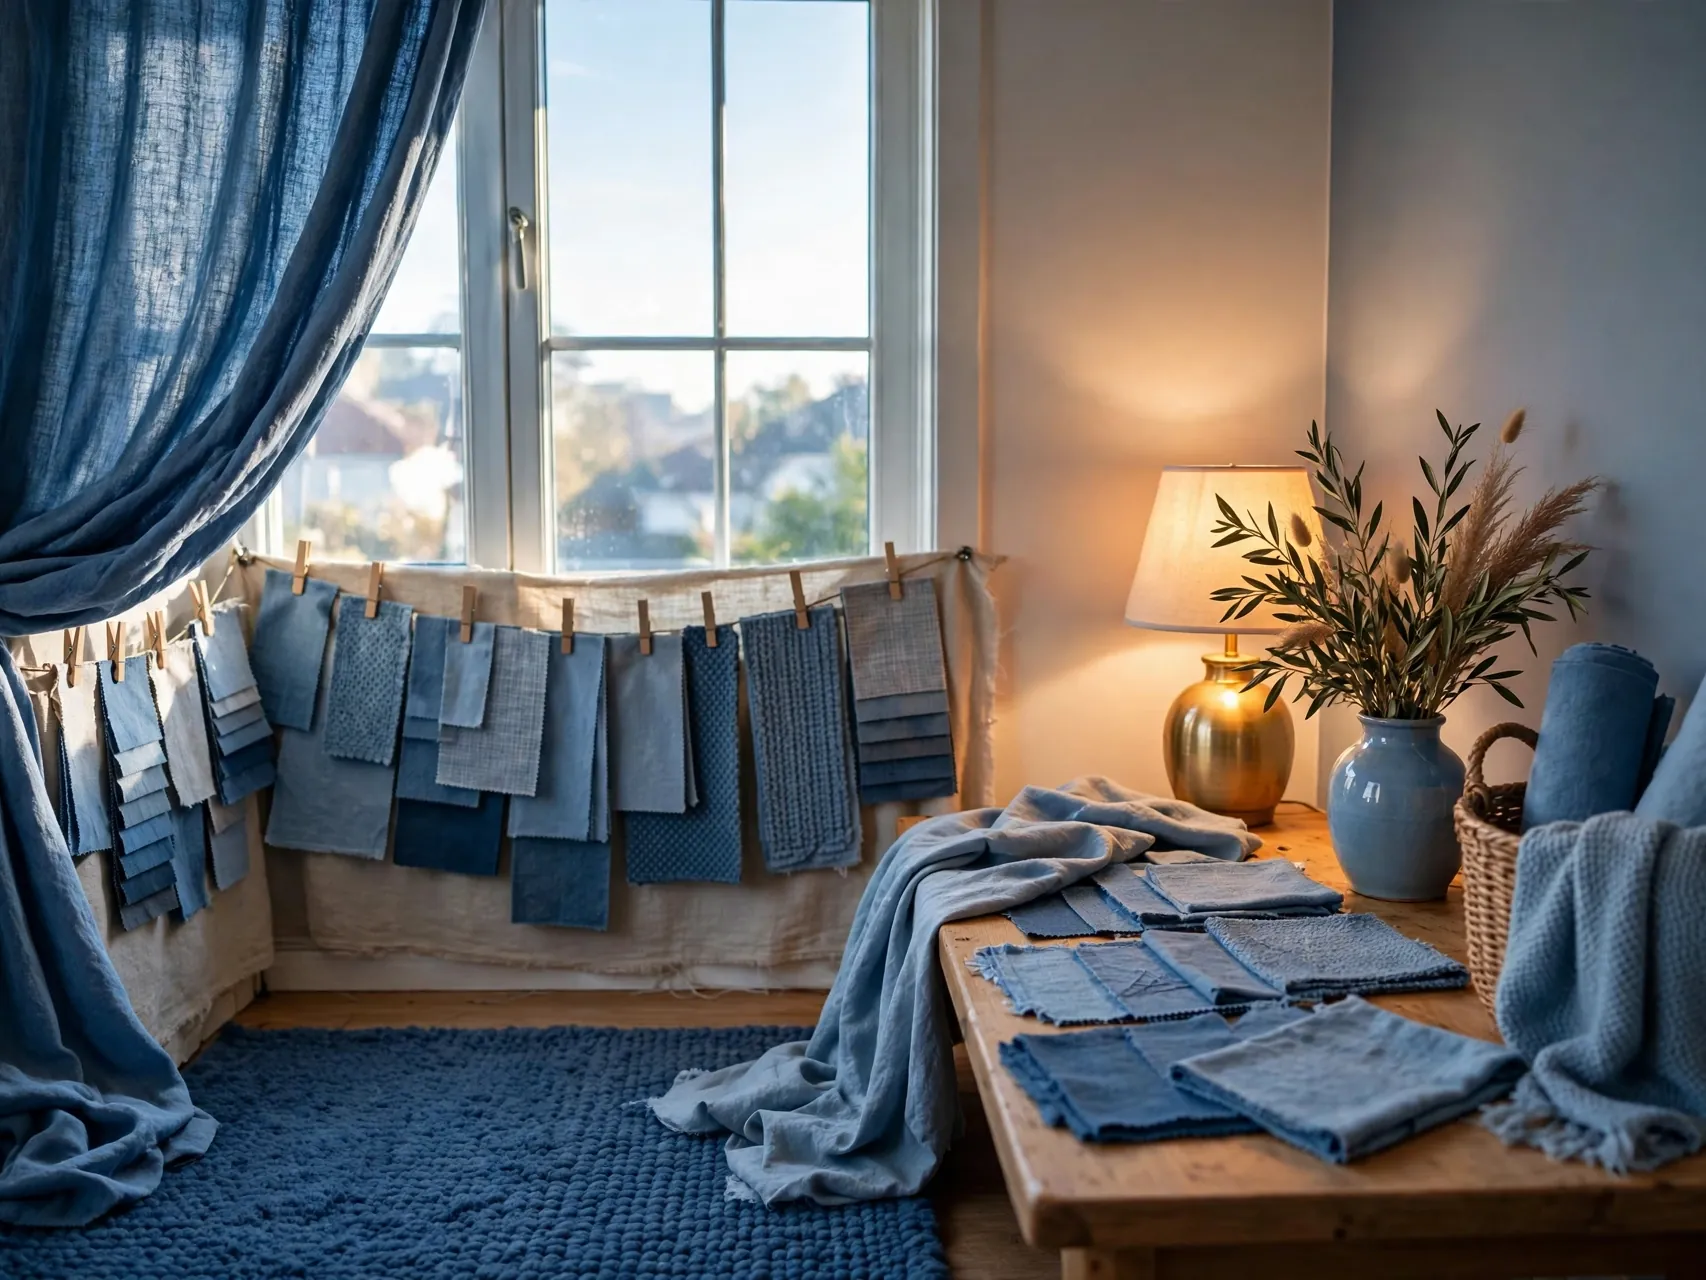
Color that looks perfect at noon can feel flat or harsh at night. Test wallpaper samples, fabric swatches, and paint cards on the wall and review them in morning, afternoon, and lamplight before buying large pieces.
Live with samples for at least a full day if you can. This step prevents the most common drenching mistake, which is committing to a tone that only works in store lighting.
FAQ
Can renters color drench without painting?
Yes. Removable wallpaper, large fabric panels, tonal rugs, curtains, bedding, slipcovers, and painted furniture you own can build the same one color envelope. The effect comes from repetition across surfaces, not from paint alone, so reversible layers work well.
Do I need written permission to paint a rental one color?
If you plan to paint, get permission in writing that covers walls, and ceiling and trim if you want a true drench. Ask whether you must repaint to the original color at move out and budget for that work before you start.
What is the best color for a first drenching attempt?
Forgiving mid tones like sage green, warm taupe, dusty blue, and soft terracotta are popular starting points because they layer easily with wood and linen. Test your shade in the room in different light, since every rental faces a different direction.
Will color drenching make a small room feel smaller?
A tonal envelope can blur corners and make a small room feel calmer and more intentional, especially when textiles and furniture match. Very deep tones need good light testing, because they can feel heavy in a dark room if the palette has no lighter steps.
How do I reverse a rental drench at move out?
Remove wallpaper and film slowly as the product directs, wash and pack textiles, and repaint only what your written agreement requires. Your before photos and product notes will guide the process and support your deposit claim if questions arise.
Key Takeaways
- Repeat one family everywhere: Floor, walls, furniture, and textiles in tonal steps create the color drenching rental effect.
- Use removable layers first: Wallpaper, fabric panels, rugs, and bedding drench a room with no paint risk.
- Get paint in writing: Permission should cover ceiling and trim and state the repaint terms clearly.
- Test in real light: Morning and evening checks stop costly color mistakes in any room.
- Start small: A bedroom, entry, or bathroom lets you learn the look with a contained budget.
- Document the original: Photos and landlord messages protect your deposit from day one.
Love these ideas? Save this pin to your Small Spaces board on Pinterest so you can find them again when you are ready to start your own makeover.
Measure first, save packaging, and keep the removal notes. A quick daylight photo helps you judge the color before you commit further.