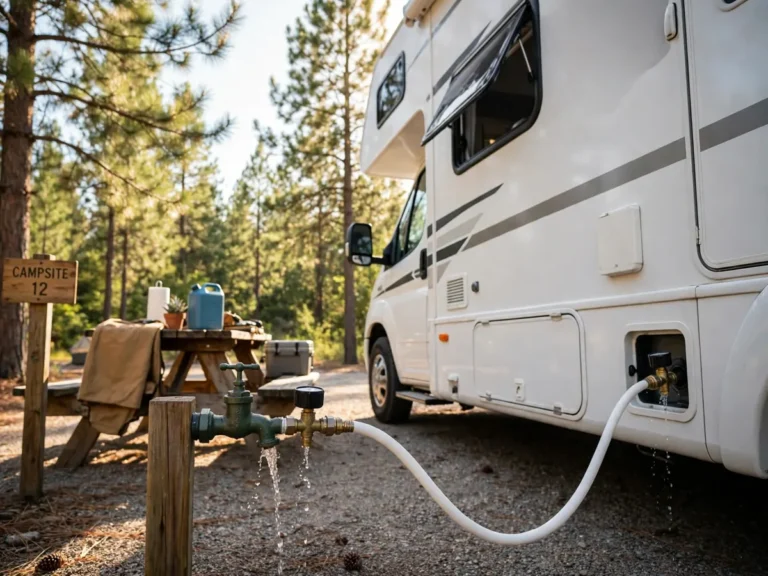
20 Ways to Remove Musty Smell From Camper for Good
Introduction
Open a camper after a few closed up weeks and the smell hits first: stale, earthy and a little sour. Learning how to remove musty smell from camper interiors starts with one honest fact. That smell almost always means moisture has been living somewhere it should not, in fabric, in a wall, under a mattress or around a slow leak.
The US Environmental Protection Agency puts the order of work clearly: control moisture first. If you clean up mold but do not fix the water problem, the problem will most likely come back. So this guide moves in EPA order, find and fix the source, dry everything, clean properly, absorb what lingers, then prevent the return.
A quick safety frame before you start. For a small moldy area, under about 10 square feet, the EPA says most people can handle cleanup themselves with an N-95 respirator, long gloves and goggles without vent holes. Larger growth, extensive water damage, hidden mold inside walls, or anyone with mold sensitivity or breathing symptoms should call a professional and, for health concerns, a medical professional.
1. Find and Fix the Moisture Source First
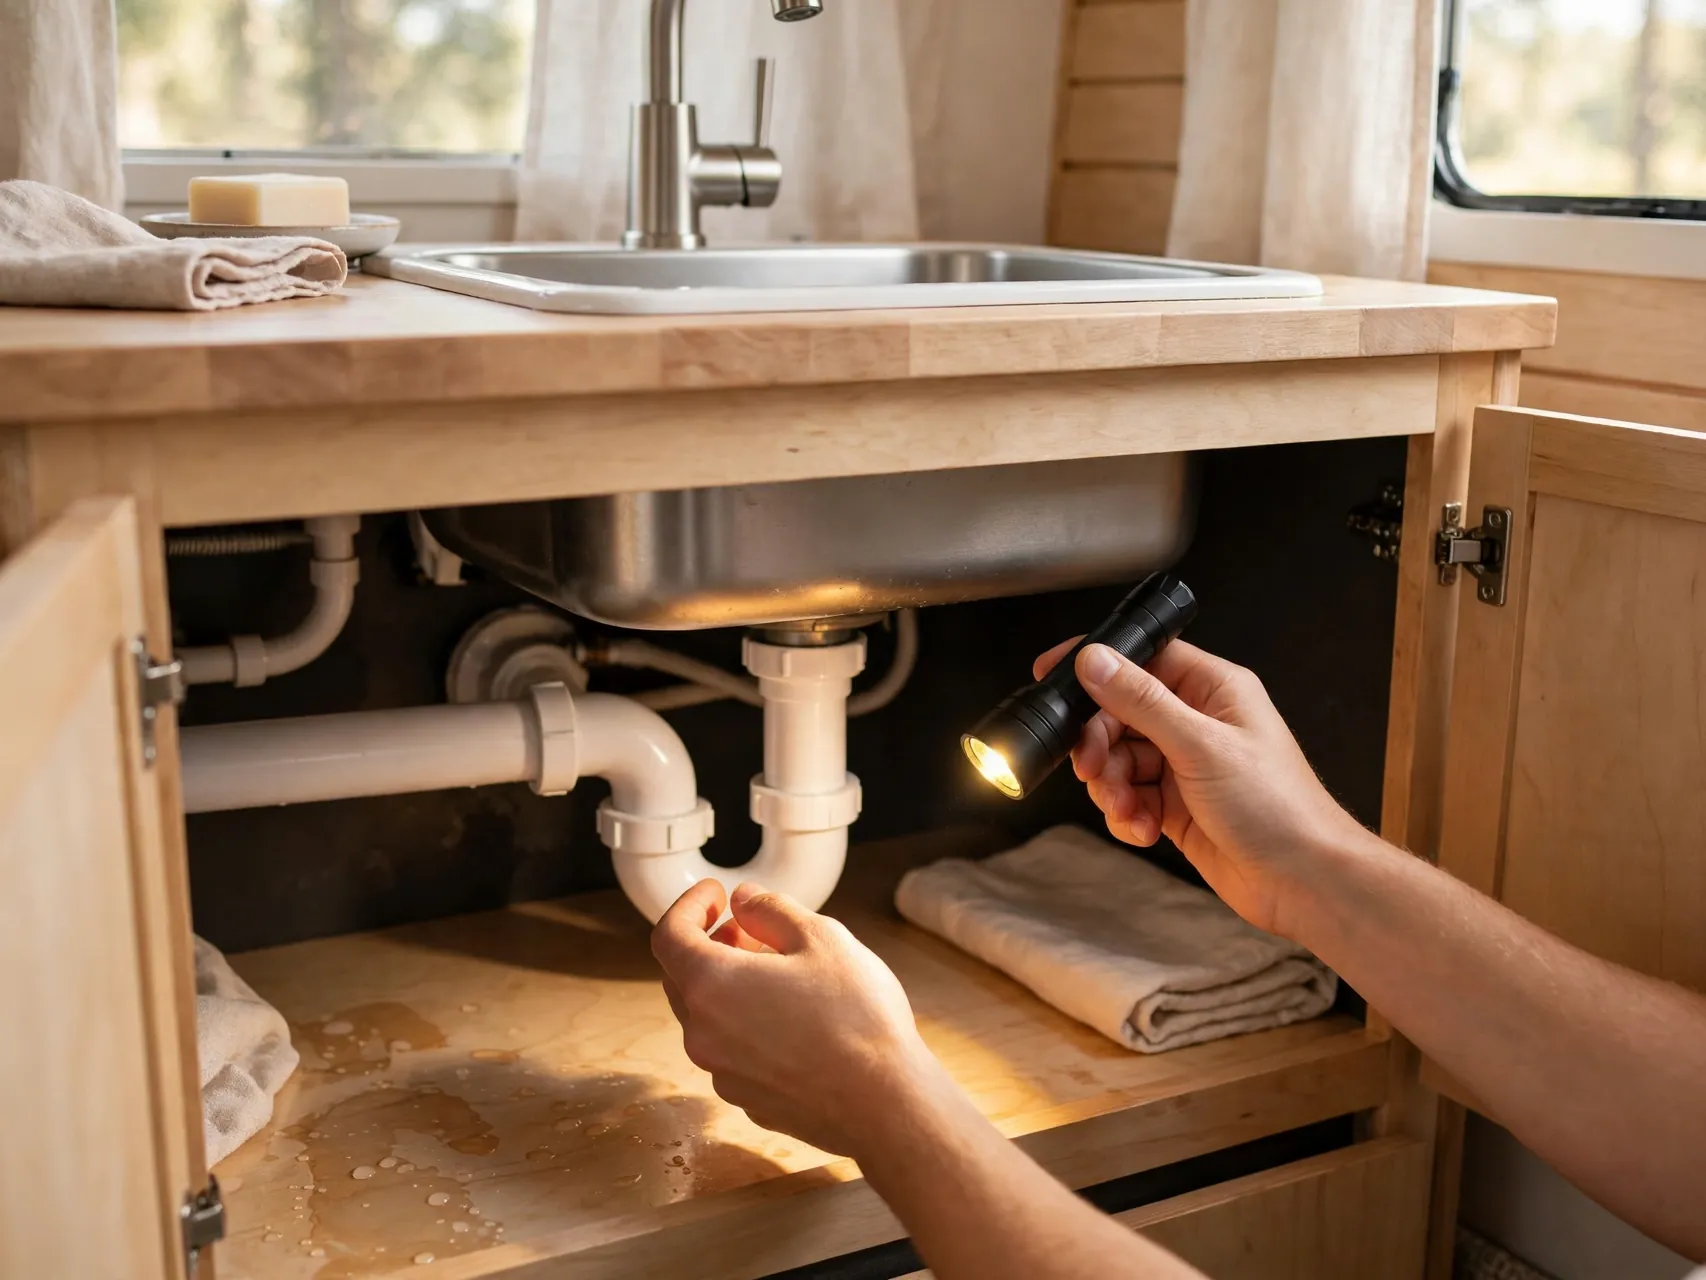
Walk the camper slowly with a flashlight, checking roof seams, window frames, plumbing under sinks, the water heater area, slide seals and the floor corners for stains, soft spots or active drips. Sniff close to walls and inside cabinets, the strongest smell usually sits nearest the source.
Fix any leak, failed seal or plumbing drip before deep cleaning. The EPA is direct on this point: cleaning without fixing the water problem means mold and musty odor will most likely return. Mark suspect spots with tape so you can recheck them after the next rain.
2. Air Out the Whole Camper for a Full Day

Open every door, window, roof vent and cabinet, turn on vent fans, and let fresh air move through for as many hours as weather allows. Stagnant, sealed air is why stored campers smell stale even without visible mold, and a thorough airing often cuts the smell noticeably on day one.
Remove cushions, open the fridge door if the camper will stay open and supervised, and let air reach under bed platforms and inside storage bays. Repeat the air out after cleaning, because moving air is also how cleaned surfaces finish drying completely.
3. Dry Everything Within 24 to 48 Hours of Finding Dampness

The EPA advises cleaning and drying damp or wet building materials and furnishings within 24 to 48 hours to prevent mold growth. Use fans aimed at damp corners, run the air conditioner or a small dehumidifier, and lift cushions and mattresses so air reaches their undersides.
Do not close the camper back up while anything still feels cool or damp to the touch. A surface that looks dry can hold moisture underneath, especially foam cushions and carpet padding, so give thick materials extra time and airflow.
4. Bring Indoor Humidity Down to the EPA Range
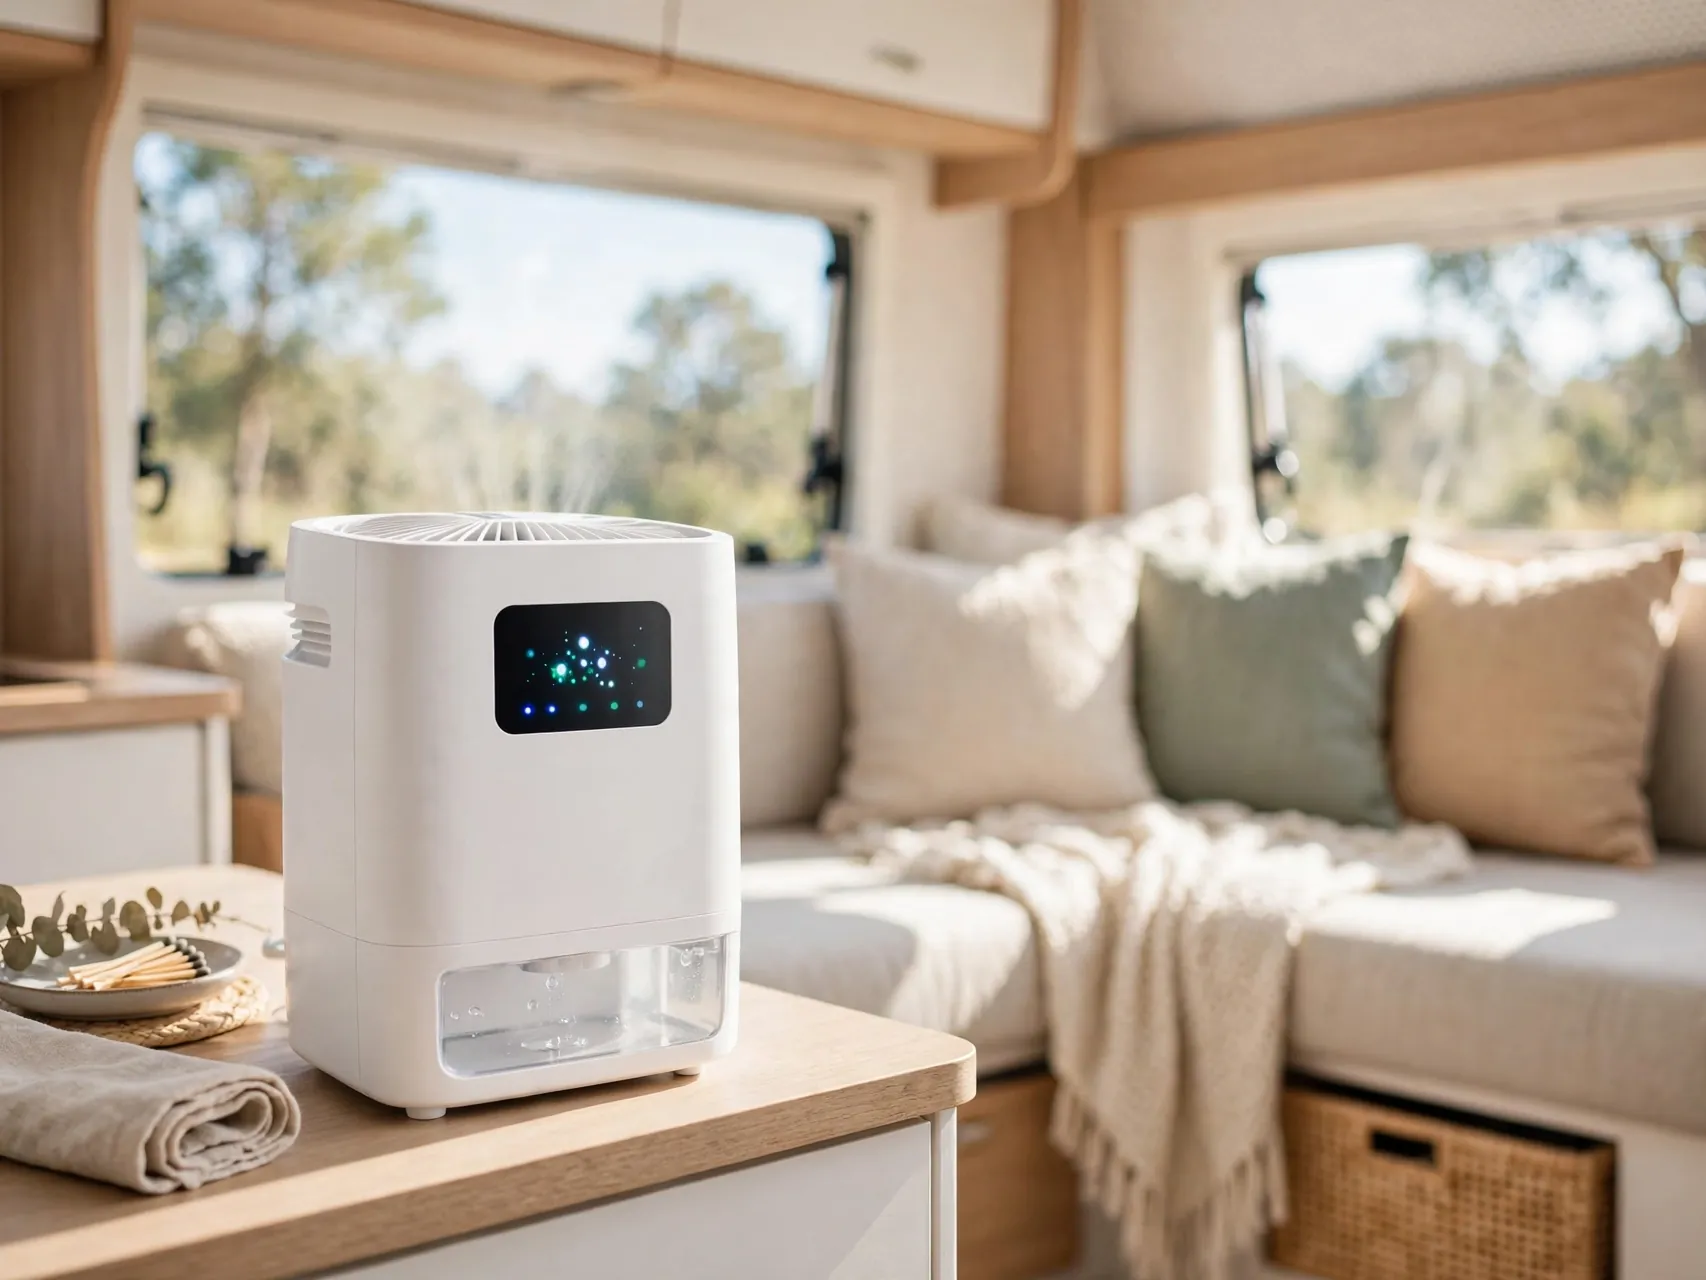
The EPA recommends reducing indoor humidity to 30 to 60 percent to decrease mold growth, using ventilation, air conditioners and dehumidifiers, and exhaust fans while cooking and cleaning. A small hygrometer in the camper tells you whether your efforts are actually working.
In storage, that means a properly sized dehumidifier where power is available, or moisture absorber products checked and replaced as directed where it is not. If humidity stays high with no obvious source, look again for a hidden leak or venting problem.
5. Strip and Wash All Removable Fabrics
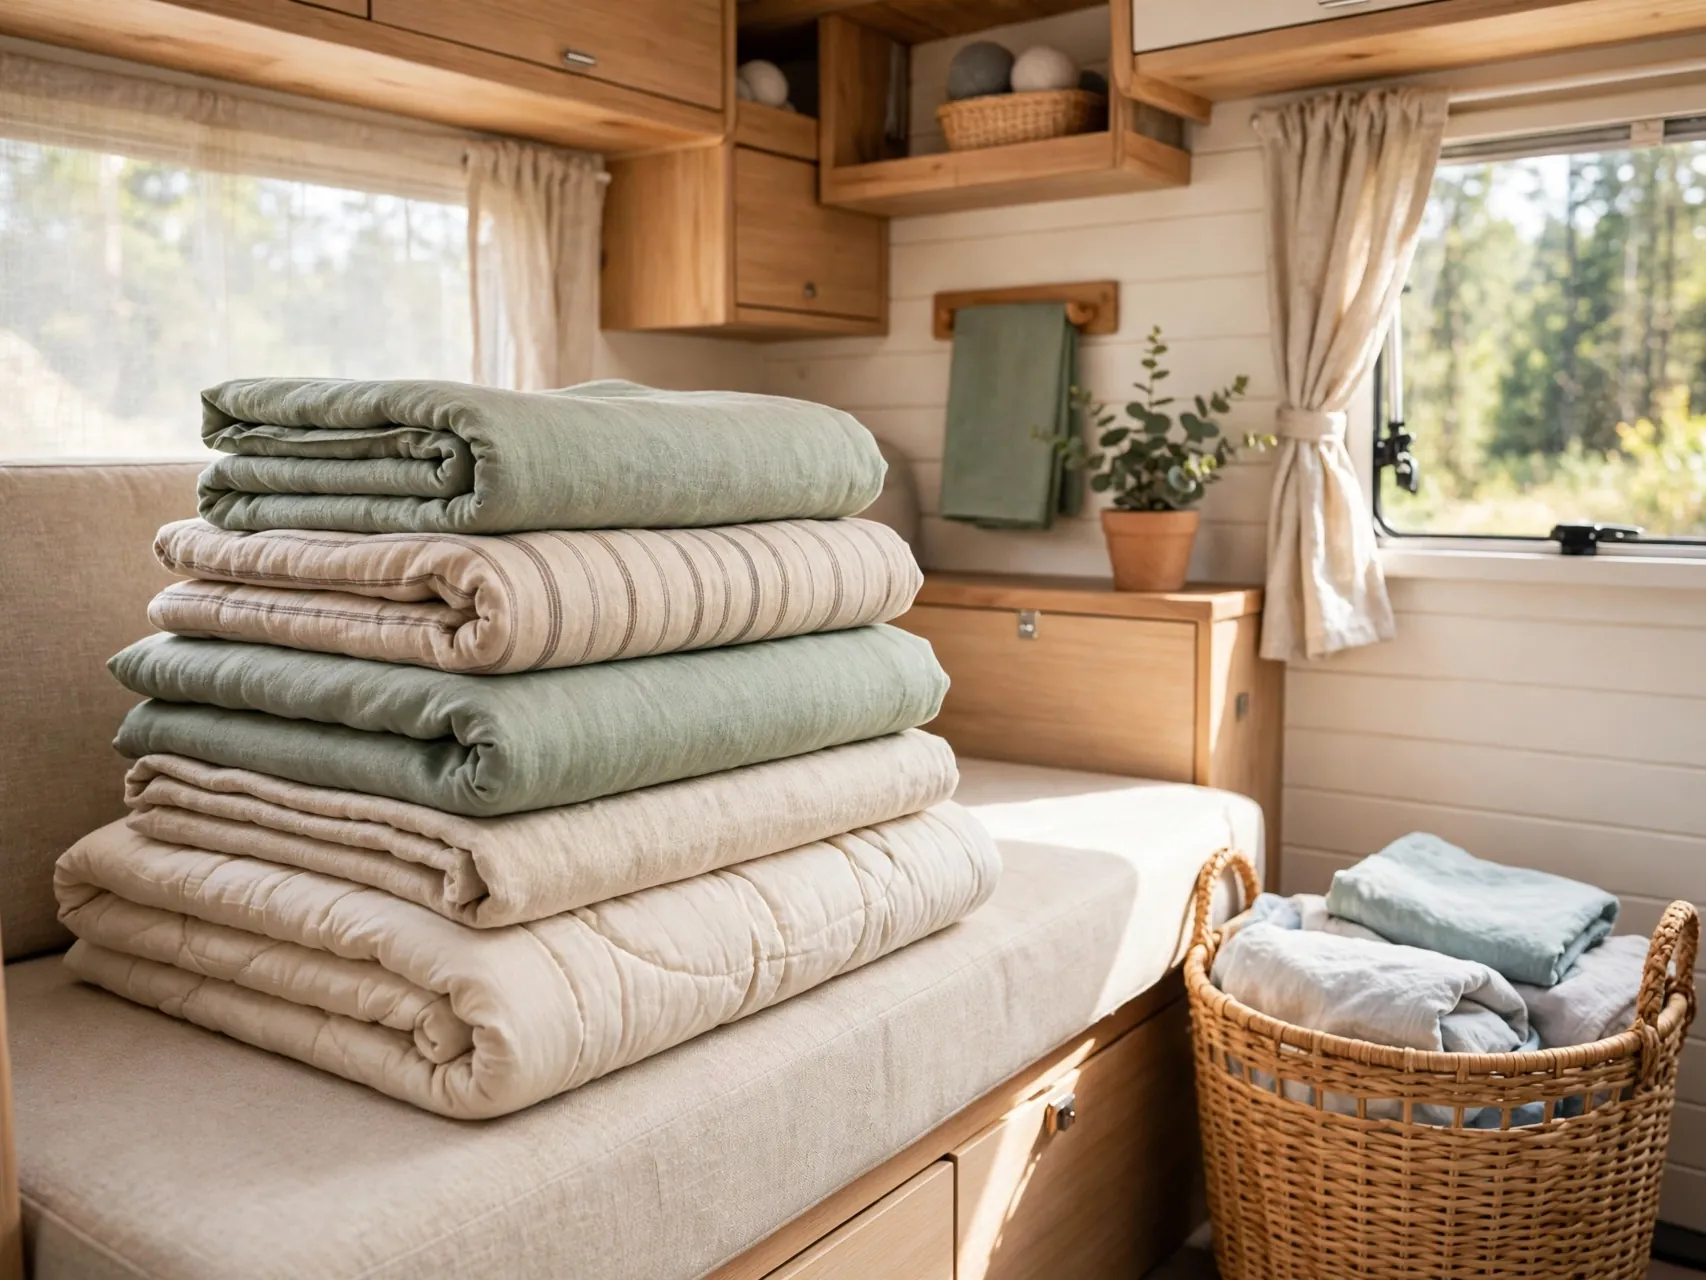
Curtains, bedding, cushion covers, throws, towels and fabric bins absorb musty odor deeply. Remove everything that can be removed, wash it as the care labels allow, and dry it completely, ideally with sun and fresh air, before it goes back inside.
Add nothing back into a still musty camper, or clean fabric will pick the smell up again. While fabrics are out, the empty camper is also far easier to clean and inspect, so treat laundry day as step one of the deep clean, not an afterthought.
6. Clean Cushions and Mattresses and Dry Them Fully
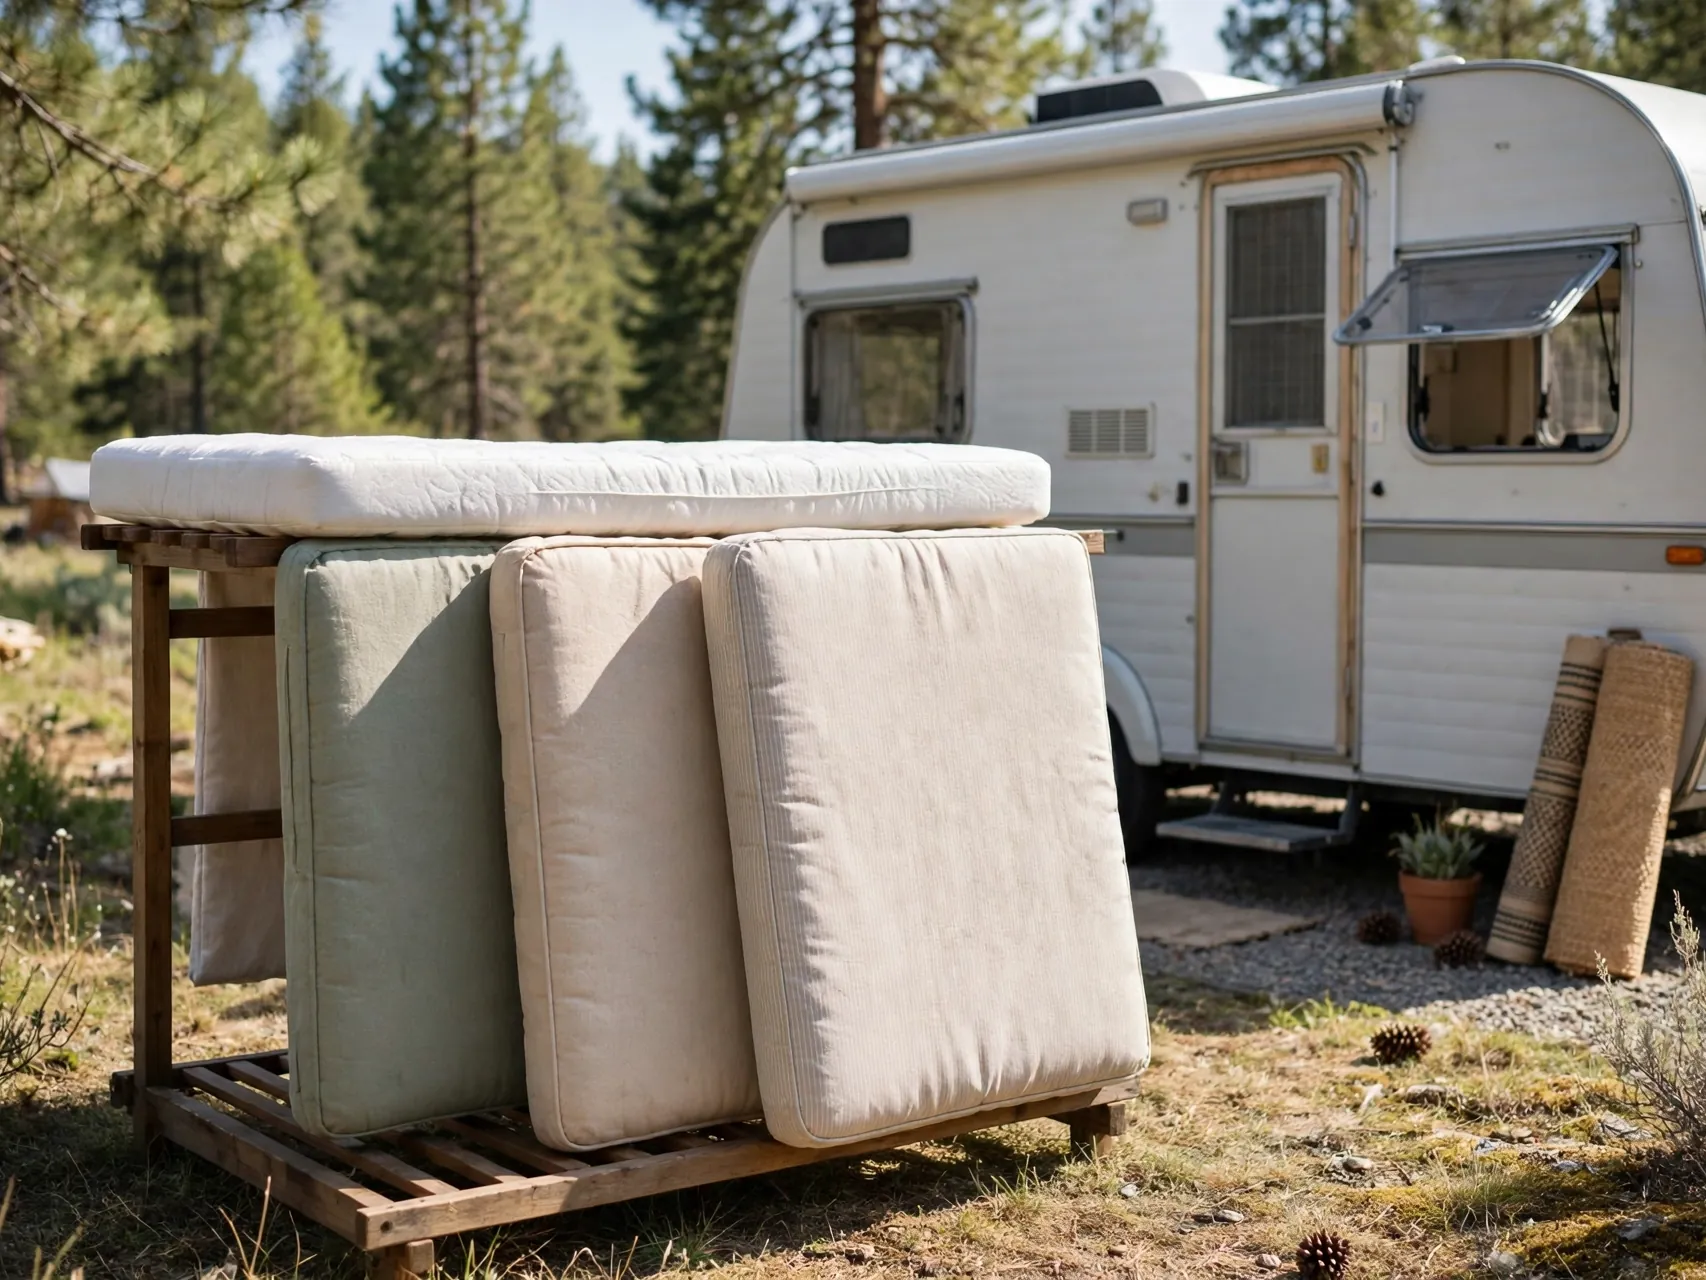
Vacuum cushions and mattresses slowly, then clean them with a fabric appropriate cleaner, avoiding soaking the foam. Sponge, rinse with a lightly damp cloth, and dry with fans and open air until no cool dampness remains when you press deep into the cushion.
Stand cushions on edge and flip mattresses if your layout allows, because the underside against a solid platform is a classic trapped moisture spot. If a cushion or mattress stays musty after full cleaning and drying, replacement may be the only real fix.
7. Scrub Mold Off Hard Surfaces With Detergent and Water

For visible mold on hard, non porous surfaces, the EPA method is simple: scrub with detergent and water, then dry completely. Work in a ventilated camper, wear an N-95 respirator, long gloves and goggles without vent holes for areas within the small cleanup range.
The EPA does not recommend bleach or other biocides as a routine part of mold cleanup, and dead mold can still cause allergic reactions, so removal, not just killing, is the goal. Never mix bleach with ammonia based cleaners, and never paint or caulk over mold.
8. Replace Absorbent Materials That Stay Moldy
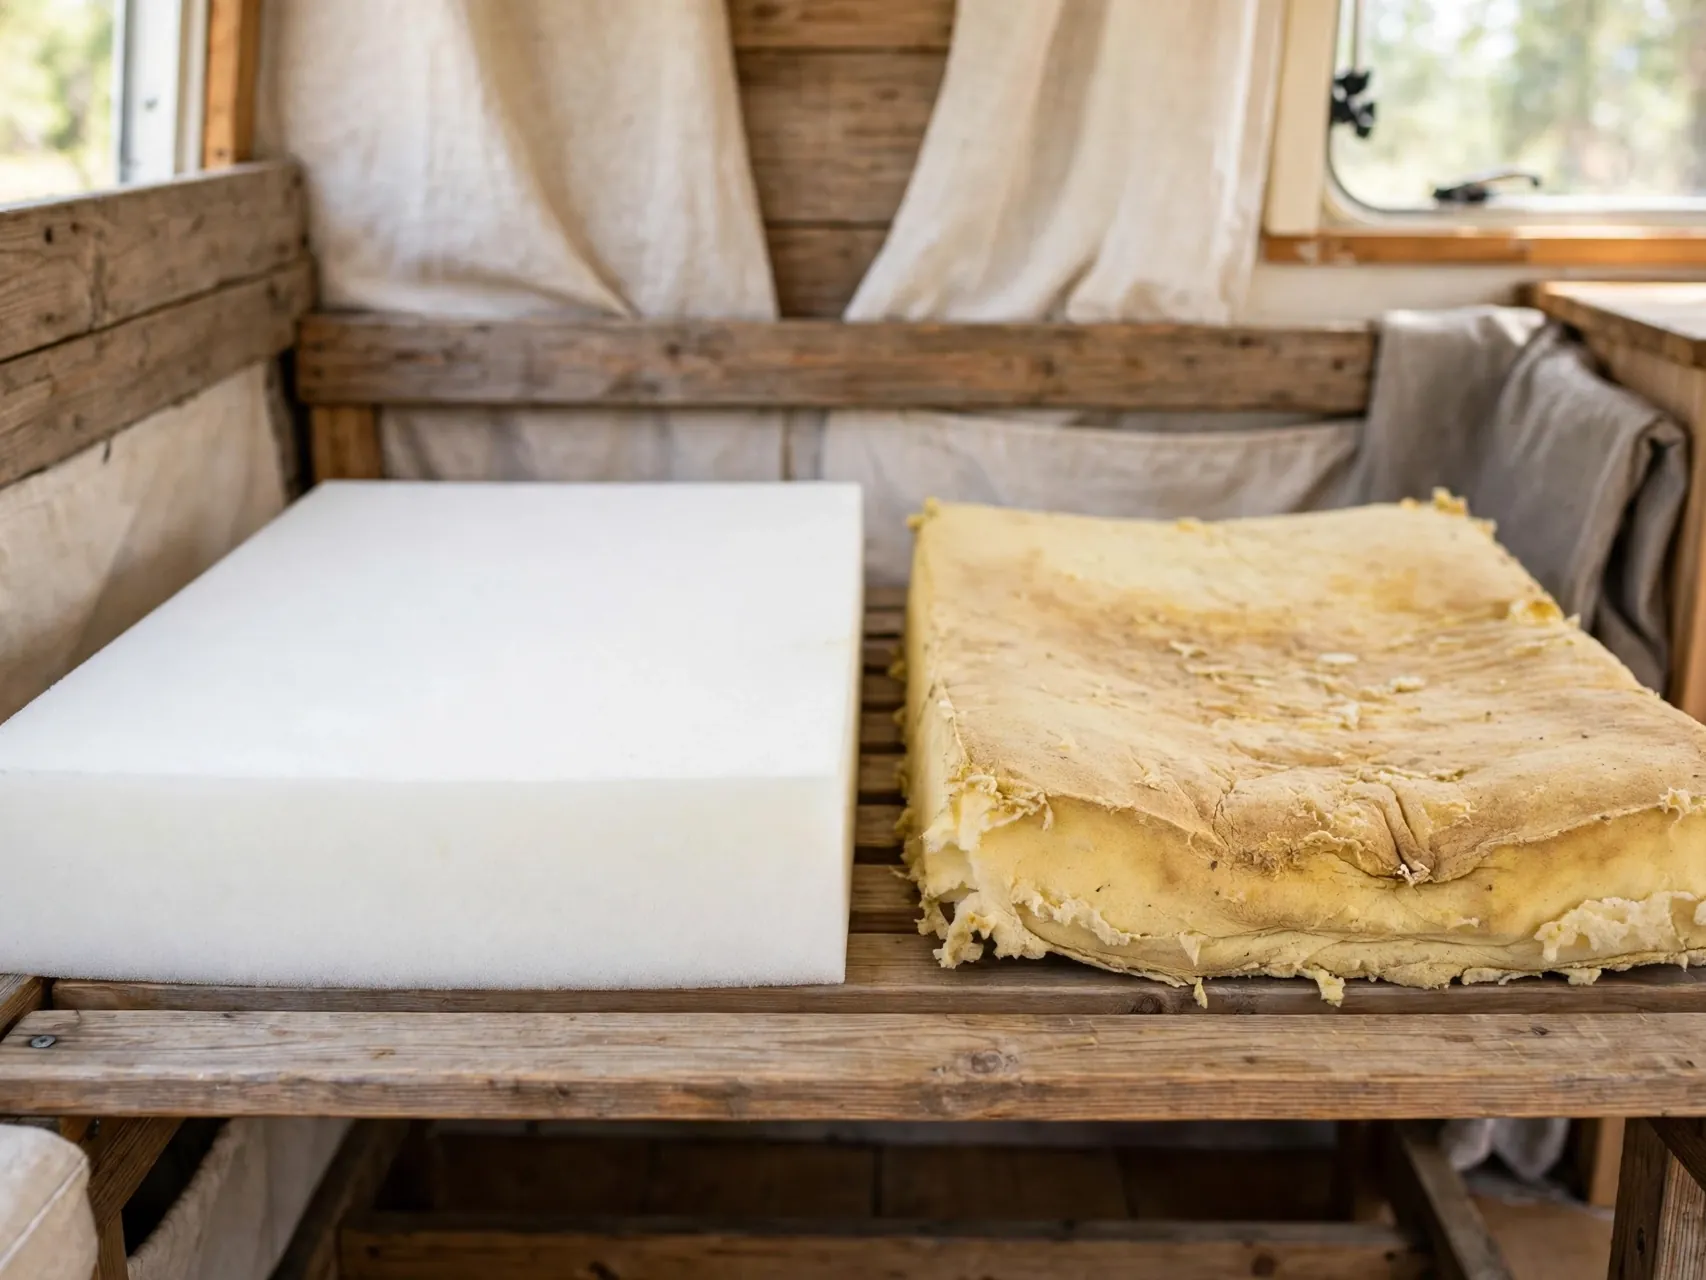
Porous and absorbent materials hold mold deep inside where scrubbing cannot reach. The EPA notes that absorbent materials with mold growth, such as ceiling tiles and carpet, may need to be replaced, and the same logic applies to camper carpet padding, soft wall panels and soaked insulation.
Bag removed material carefully, clean the area underneath, and let it dry fully before new material goes in. If growth is widespread inside a wall or floor, stop and call a professional, that is beyond a surface cleanup job.
9. Know When to Call a Professional Instead

The EPA guidance used by professionals and health departments puts the do it yourself line at a moldy area of less than about 10 square feet, roughly a 3 foot by 3 foot patch, when there has not been extensive water damage. Bigger areas need a trained remediation or RV professional.
Call sooner if you suspect mold inside walls or ductwork, if the water was contaminated, if anyone in the family has asthma or mold allergies, or if the smell returns quickly after a thorough clean. Getting the source fixed properly costs less than repeating failed cleanups.
10. Deep Clean the Fridge and Leave It Open in Storage
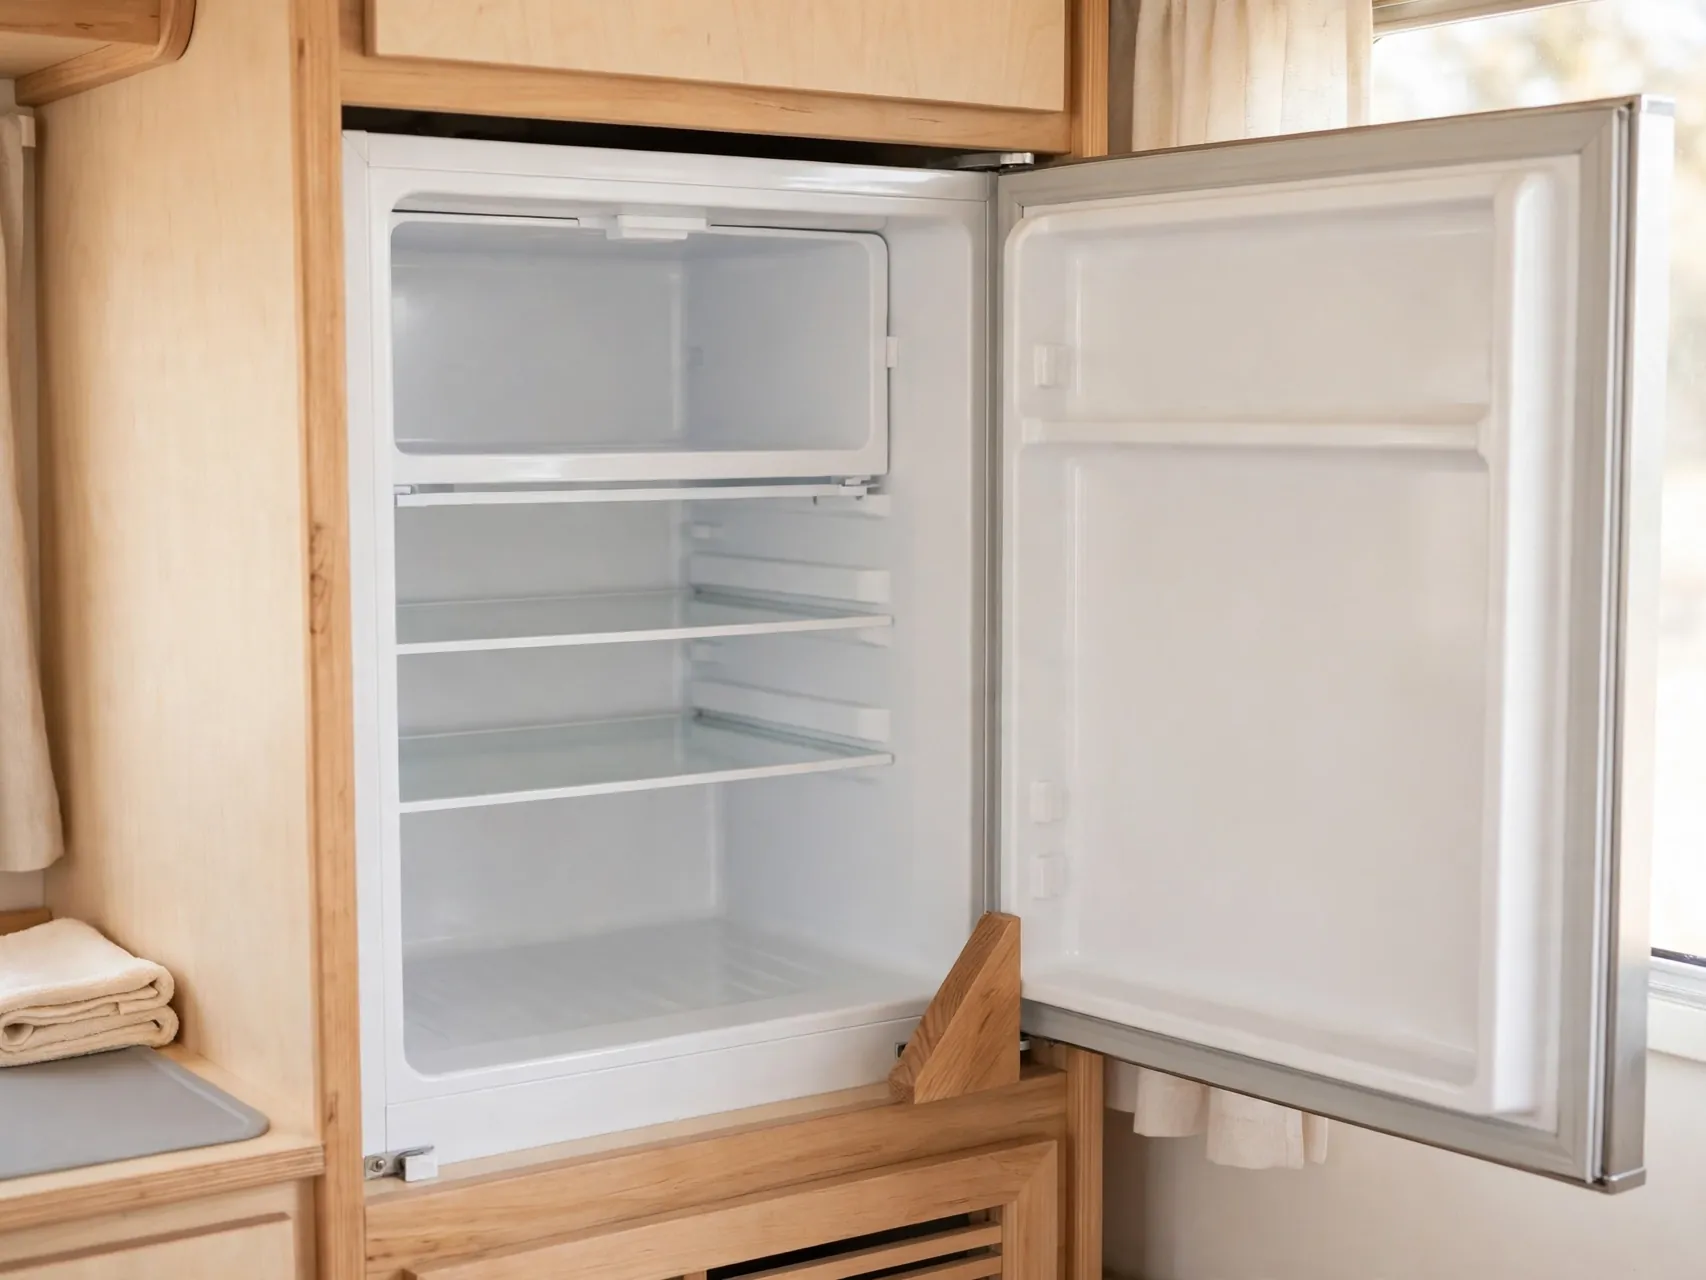
RV fridges trap odors in a small sealed box. Empty it, wash shelves and walls with a baking soda and water solution, dry fully, and check the door seal for mold in its folds, a very common hidden source.
Between trips, leave the fridge door propped open as the maker allows so air circulates, and keep an open box of baking soda inside during use. A closed, damp fridge can re musty an otherwise clean camper in a few weeks of storage.
11. Clean the Air Conditioner Filter and Vents
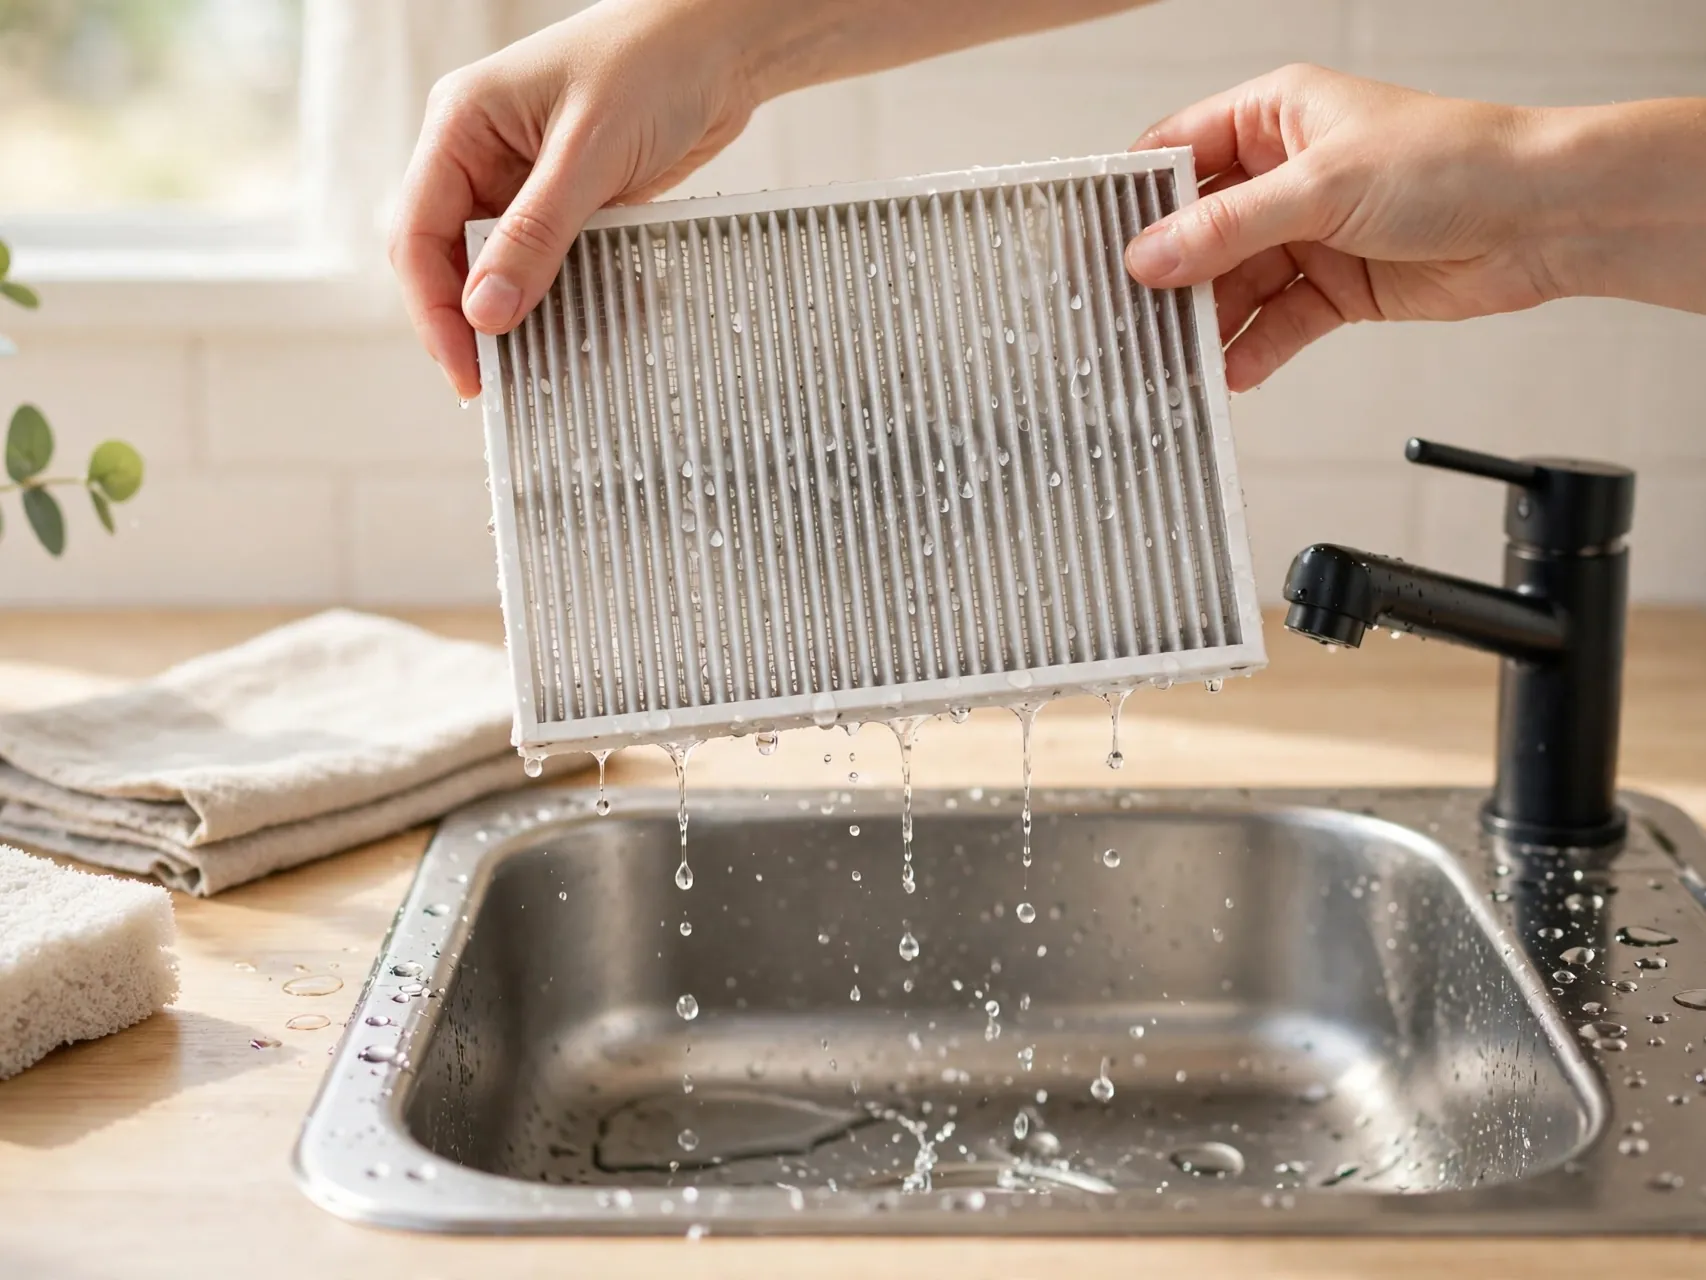
A musty blast when the AC starts usually means the filter, coil area or nearby ducting is dirty or damp. Remove and wash or replace the filter as the maker directs, vacuum vents, and wipe accessible surfaces, letting everything dry before reassembly.
If the smell from the unit is strong, or you are not comfortable opening the unit, have an RV technician clean it properly. Run the fan on dry days after trips to help the system dry out instead of sitting damp and closed.
12. Set Out Baking Soda in the Worst Smelling Spots

Once surfaces are clean and dry, baking soda helps absorb lingering odor. Place open bowls or boxes under the bed, inside cabinets, in the bathroom and near the spot that smelled worst, and leave them for days, not hours.
Replace baking soda every few weeks while the smell fades. Sprinkling it on washable soft surfaces, leaving it to sit, then vacuuming thoroughly can help too. Baking soda absorbs odor, it does not fix moisture, so it belongs after the source repair, never instead of it.
13. Use Activated Charcoal Bags in Cabinets and Closets

Activated charcoal bags absorb odor and some moisture in enclosed spaces, which makes them a good fit for wardrobes, cabinets, under bed storage and the bathroom. Place them where air is stillest and the smell lingers longest.
Follow the maker directions for refreshing the bags, many are set in sunlight periodically to recharge. Like baking soda, charcoal is a finishing step for leftover smell in a clean, dry camper, not a treatment for active mold or a leak.
14. Try a Vinegar Bowl Treatment Overnight

Plain white vinegar in small open bowls, set around a closed camper overnight, can help neutralize stale air odors. Remove the bowls and air the camper out afterward, the vinegar scent fades as it dries and takes some mustiness with it.
Use vinegar bowls on air and washable surfaces only, and keep vinegar away from stone look counters and delicate finishes unless the maker says it is safe. For hard surface cleaning in this guide, detergent and water remains the EPA backed method.
15. Sun and Air Cushions, Rugs and Gear Outside

On a dry, breezy day, carry cushions, rugs, curtains and stored gear outside for several hours of sun and moving air. Fresh air and sunlight help dry materials fully and fade stale smells from items that cannot be machine washed.
Bring everything back in only when it is completely dry, and check the weather first, a surprise shower resets the whole job. This is also a good moment to inspect cushion bottoms and rug backing for mold spots you cannot see indoors.
16. Clean Sinks, Shower and Tank Areas as Separate Sources
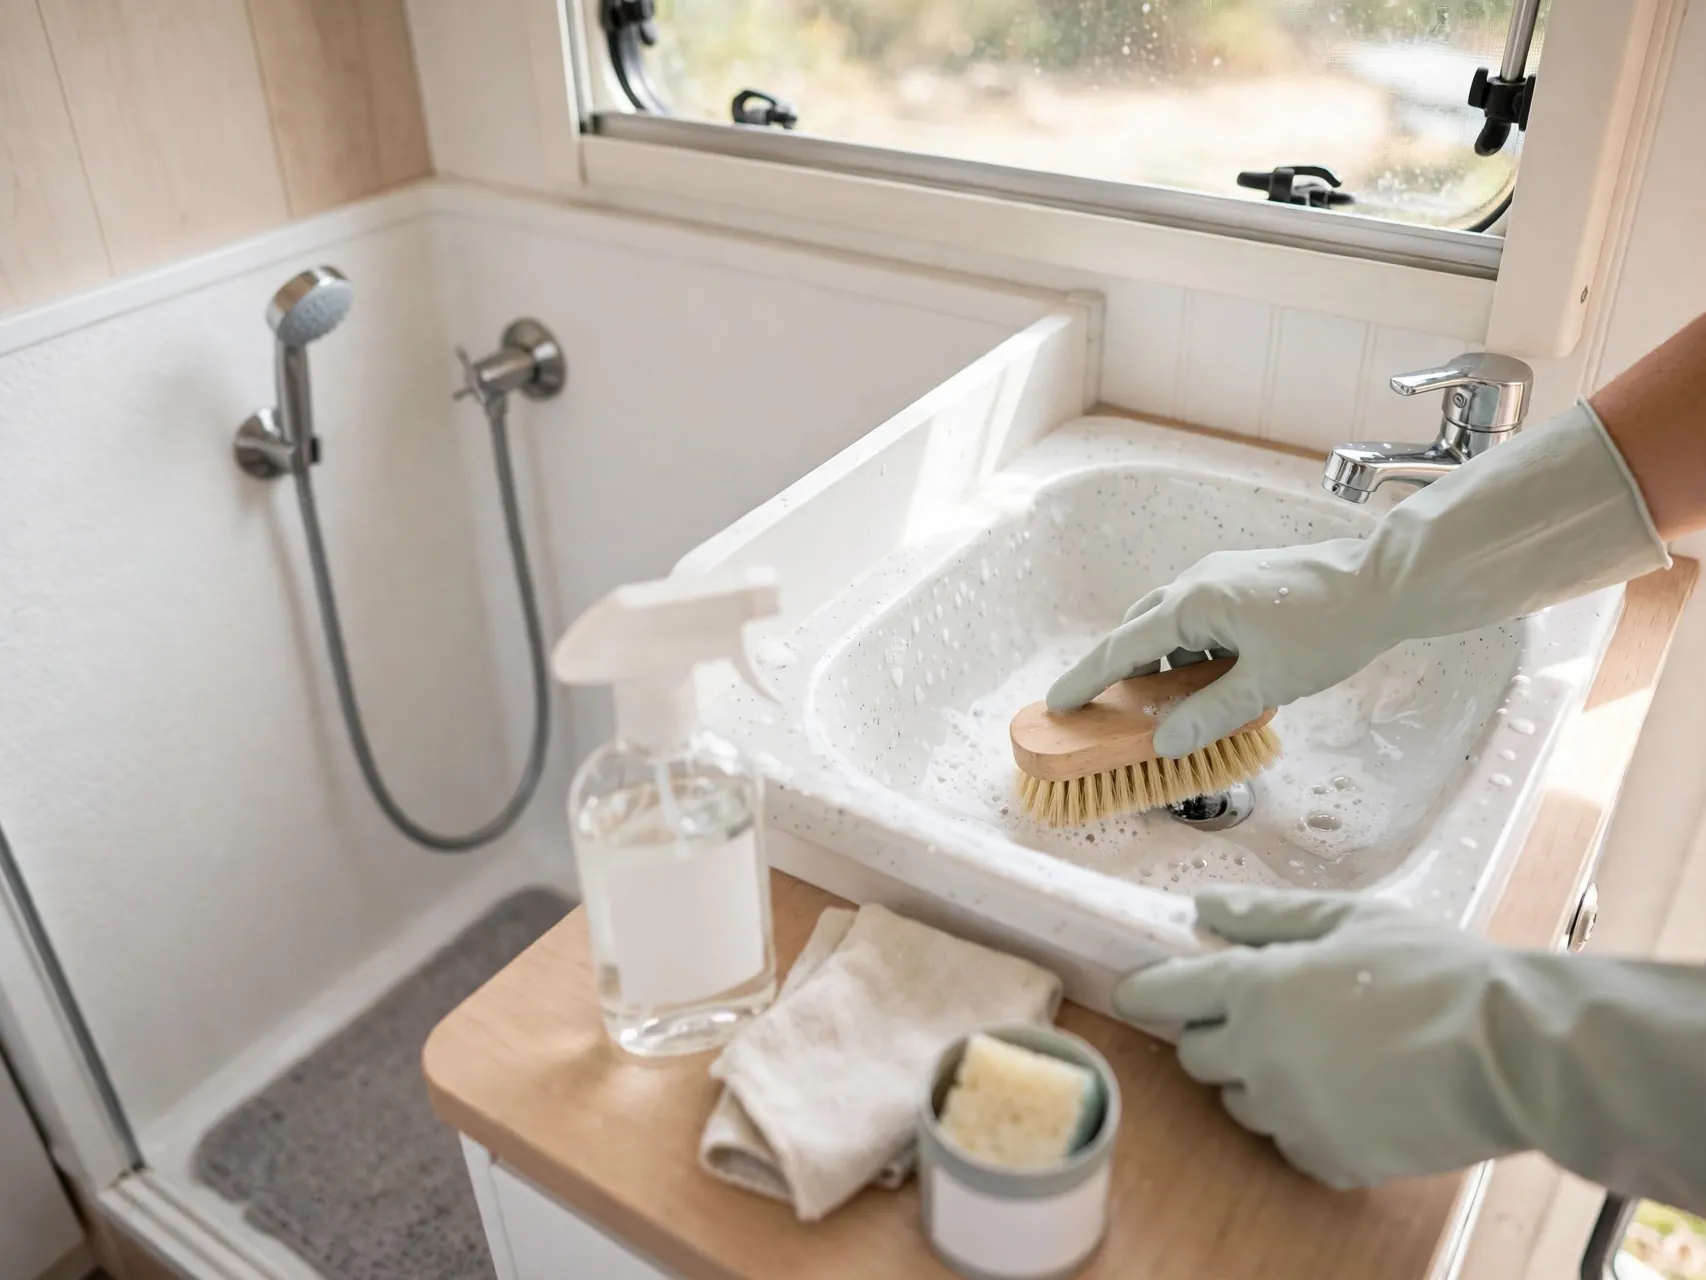
Not every camper smell is mold. Gray tank residue, a dry sink trap, shower drain buildup and bathroom seals can all add sour notes that mix with mustiness. Clean drains, run water through traps, and maintain tanks with your usual RV safe routine.
Keeping sources separate in your mind speeds diagnosis: if the smell is strongest at a drain or when water runs, treat that system. If it is strongest in a closet or wall corner after rain, go back to moisture and leak checks first.
17. Ventilate While Cooking, Showering and Cleaning

Daily moisture habits decide whether the smell returns. The EPA recommends using exhaust fans whenever cooking, dishwashing and cleaning, venting moisture generating sources outside, and increasing ventilation to keep humidity down.
In camper terms: run the range and bathroom fans, crack a vent during showers, wipe shower walls down, and avoid drying wet towels and swim gear inside a closed rig. Ten minutes of fan habit per day does more than any scented product.
18. Store the Camper Dry, Covered and Checked
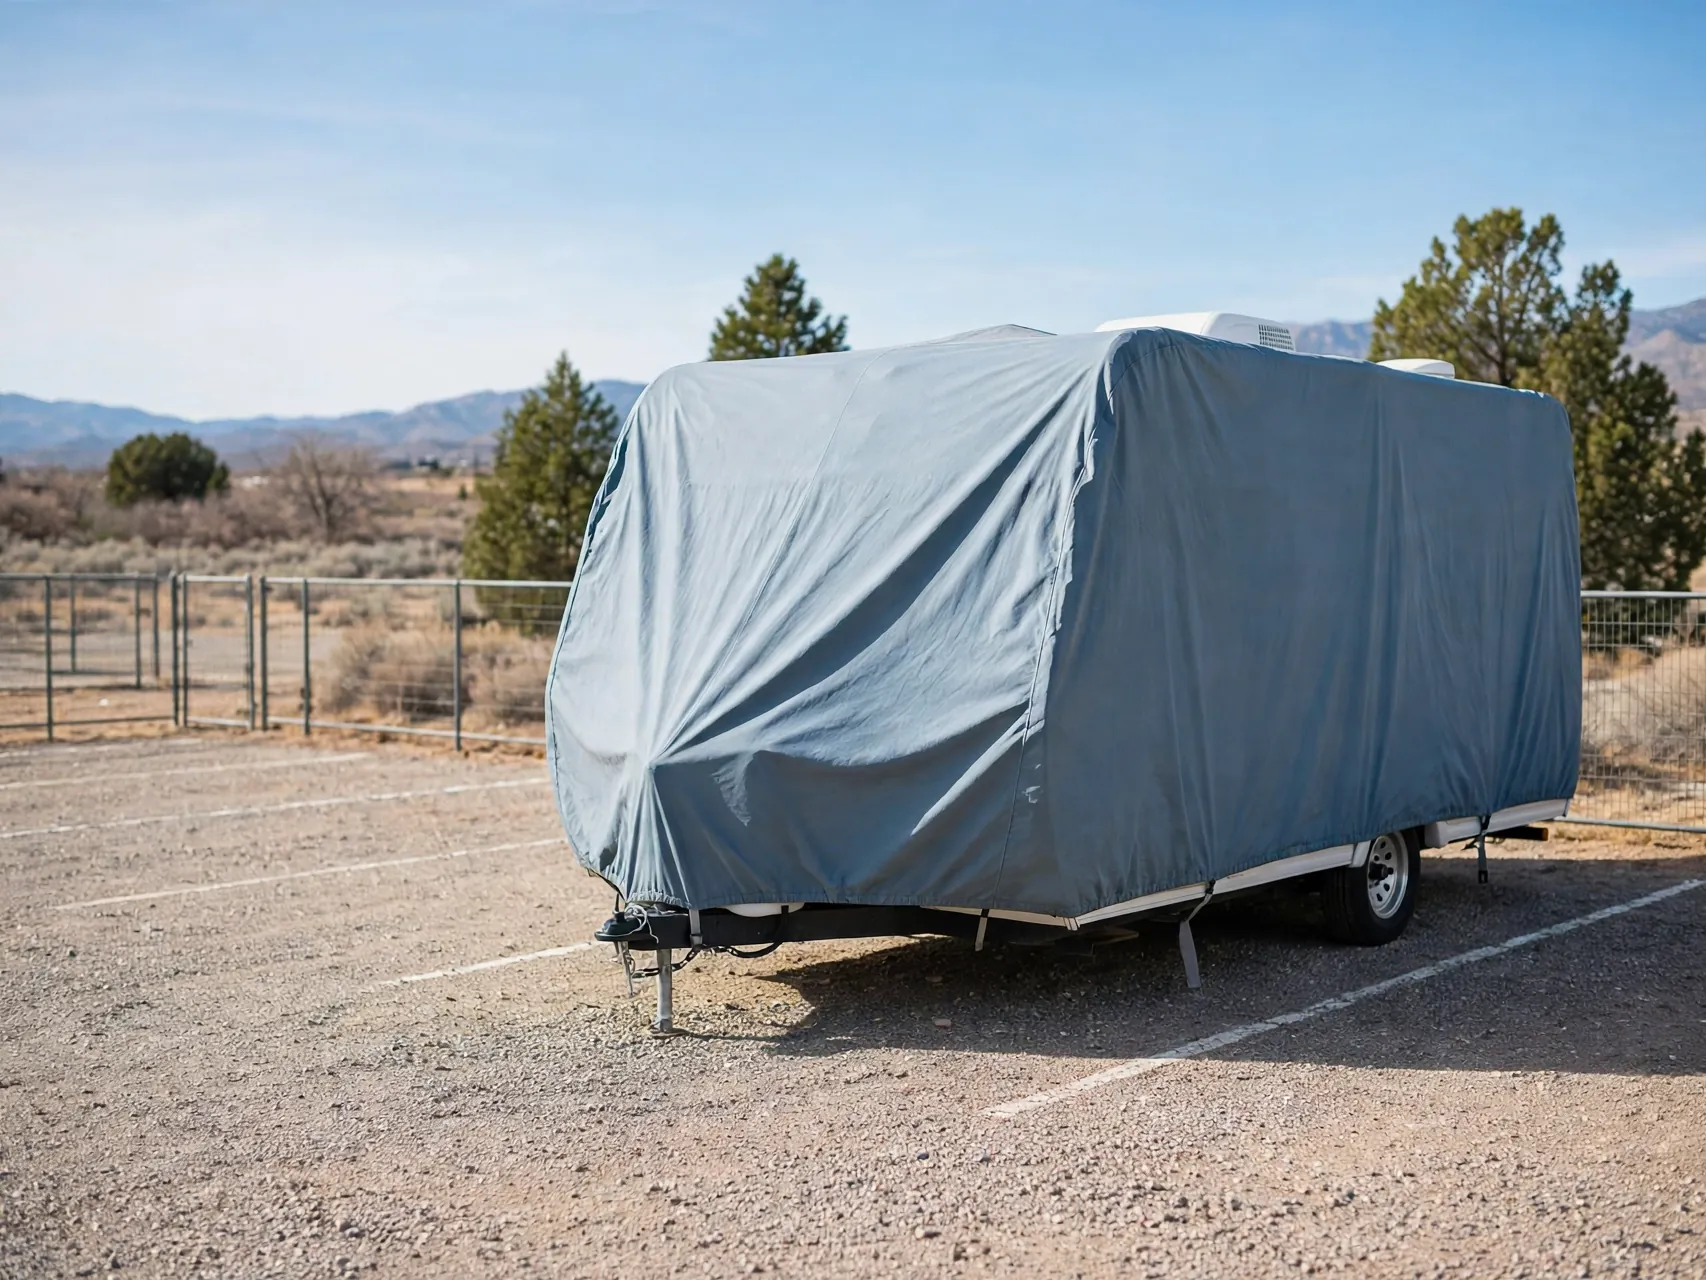
Before storage, clean and dry the interior fully, empty the fridge and prop it open, place moisture absorbers in cabinets, and leave cabinet doors ajar for airflow where practical. Store under cover where possible, protecting roof seams from standing water and sun damage.
Check the camper every few weeks in storage if you can, sniffing for new mustiness and looking for leaks after storms. A small problem caught in storage week two is a cleaning job, caught in month three it can become a remediation job.
19. Skip Heavy Fragrance Cover Ups as a Fix
Plug in fresheners, strong sprays and scented candles mask musty smell without removing its cause, and in a small sealed camper the mix of perfume and mildew is often worse than the original odor. Worse, a masked smell can hide a growing leak for months.
A light, clean scent after the camper is truly clean and dry is fine. But if you need fragrance to tolerate the interior, treat that as a signal to recheck for moisture, not as a finished solution, and go back to the source steps in this guide.
20. Do a Seasonal Smell Check and Moisture Routine

Twice a year, run the full routine: reseal checks on roof and windows, AC filter clean, cabinet and under bed inspection, fabric wash, humidity check and absorber replacement. Seasonal attention keeps small moisture problems from becoming the smell that greets you next spring.
Keep notes on where smells or stains appeared, because repeat spots point to repeat leaks. A camper that stays dry, ventilated and checked on schedule can go years without a musty season, which is the real meaning of removing the smell for good.
FAQ
What causes a musty smell in a camper?
Moisture is the root cause in most cases: leaks, condensation, wet fabrics stored closed, or a damp fridge or AC system allow mold and mildew to grow and stale air to build. The EPA states that controlling moisture is the way to control indoor mold growth, so finding the water source is always step one.
Can I clean camper mold myself or do I need a professional?
The EPA says a moldy area of less than about 10 square feet can usually be handled by the occupant, with an N-95 respirator, long gloves and goggles without vent holes, as long as damage is not extensive. Larger areas, hidden mold in walls, contaminated water or health symptoms call for a professional.
Does bleach remove musty smell and mold in an RV?
The EPA does not recommend bleach or other biocides as a routine part of mold cleanup. Scrubbing hard surfaces with detergent and water and drying them completely is the EPA method, because mold must be removed, not just killed. Never mix bleach with ammonia cleaners, which can produce toxic fumes.
How long does it take to get the musty smell out of a camper?
Airing, cleaning and drying usually takes a full weekend of active work, plus several days of baking soda or charcoal absorbing leftover odor in a dry camper. If the smell returns within weeks, a moisture source was likely missed, and leak checks should be repeated before cleaning again.
How do I prevent musty smell while my camper is in storage?
Store it clean and completely dry, prop the fridge open, use moisture absorbers in closed cabinets, leave airflow where practical, and keep indoor humidity in the EPA range of 30 to 60 percent where you can measure it. Check after storms for leaks, and air the camper out on dry days when you visit.
Key Takeaways
- Moisture first, always: Following EPA guidance, fix the leak or water source before cleaning, or the smell will return, that is the core of how to remove musty smell from camper interiors for good.
- Dry fast and fully: Clean and dry damp materials within 24 to 48 hours, and keep humidity at 30 to 60 percent.
- Detergent, water, complete drying: Scrub mold off hard surfaces the EPA way, and replace absorbent materials that stay moldy.
- Know the limit: Under about 10 square feet is a home job with proper protective gear, larger or hidden growth needs a professional.
- Absorbers finish, they do not fix: Baking soda and charcoal handle leftover odor only after the camper is clean and dry.
- Pin the routine: Storing your camper soon? Pin this guide to your camper board on Pinterest so the prevention checklist is ready.