22 Ways to Hang Pictures Without Nails or Wall Damage
Introduction
You do not need a hammer to live with art you love. Renters, dorm residents and anyone with delicate walls can build a full, personal display with strips, hooks, ledges and leaning pieces, as long as each method is matched to the weight in your hands.
The core skill behind learning to hang pictures without nails is simple. Weigh first, clean the wall, follow the product steps, and never ask adhesive to hold more than its package promises. Heavy and valuable pieces get a different plan, usually a safe lean on sturdy furniture.
This guide walks through 22 methods, from the most common strips to rails, easels and stands you may not have considered. Mix two or three methods in one room and you will get a layered look that feels designed, not like a compromise.
Check your lease before you start, because some buildings limit even removable products on certain walls. When the lease is quiet and your test spot comes off cleanly, pick your first frame and work through the ideas below.
1. Weigh Your Frame Before You Choose a Method
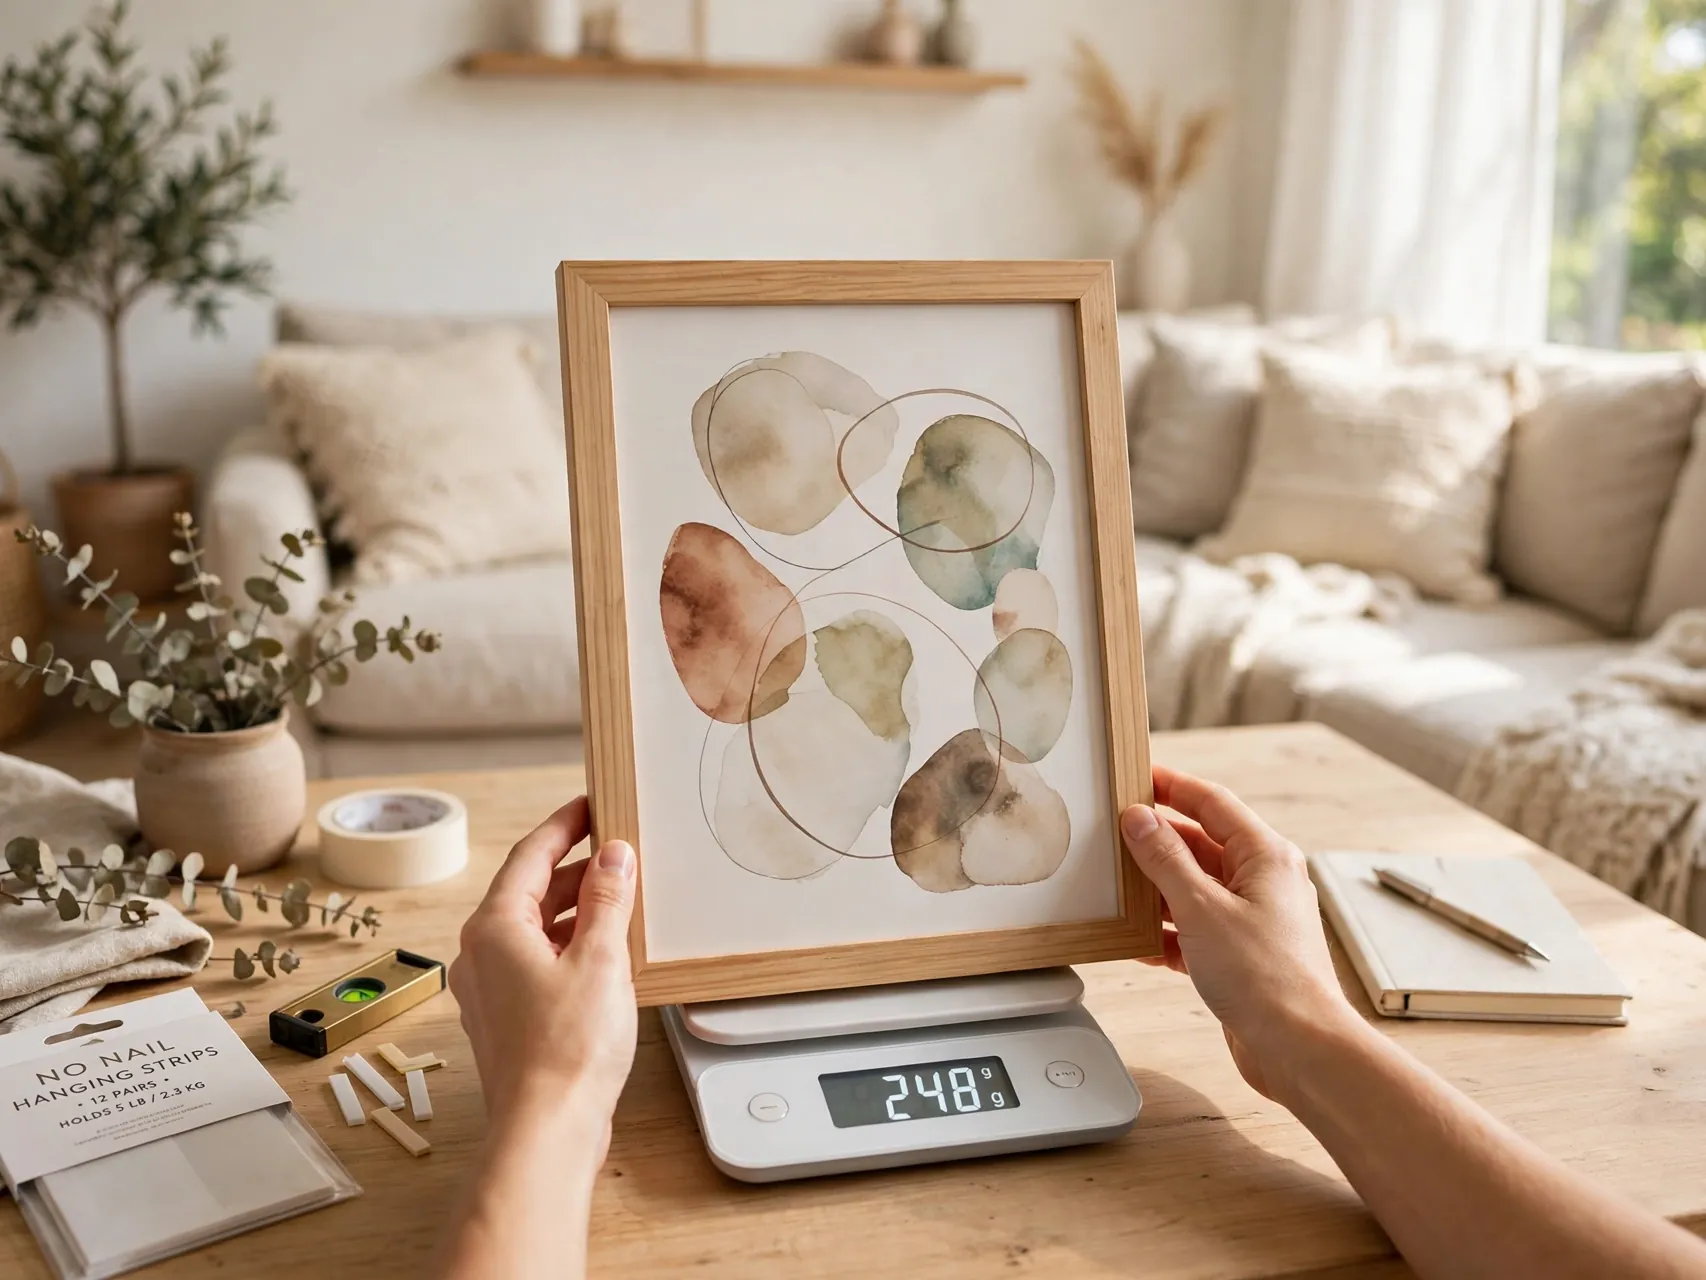
Put your frame, glass and all, on a kitchen or bathroom scale before you shop for hangers. Guessing is how frames fall. A small looking frame with real glass and a solid wood border can weigh far more than a larger canvas.
Write the weight on a sticky note on the back of the frame. That one note makes every later choice faster, from how many strip pairs you need to whether the piece should lean instead. If you have no scale, compare honestly and stay well under any limit.
2. Use Picture Hanging Strips in Matched Pairs

Picture hanging strips are the most popular tool for damage free picture hanging because the pairs click together and hold the frame flat. One side bonds to the frame, the other to the wall, and the click lets you lift the frame off for cleaning or leveling.
Use the number of pairs the package directs for your weight and frame size, placed near the top corners and lower sides as shown. Strips work best on smooth painted walls, finished wood, tile, glass and similar smooth surfaces, not on wallpaper or rough texture.
3. Clean the Wall With Rubbing Alcohol First

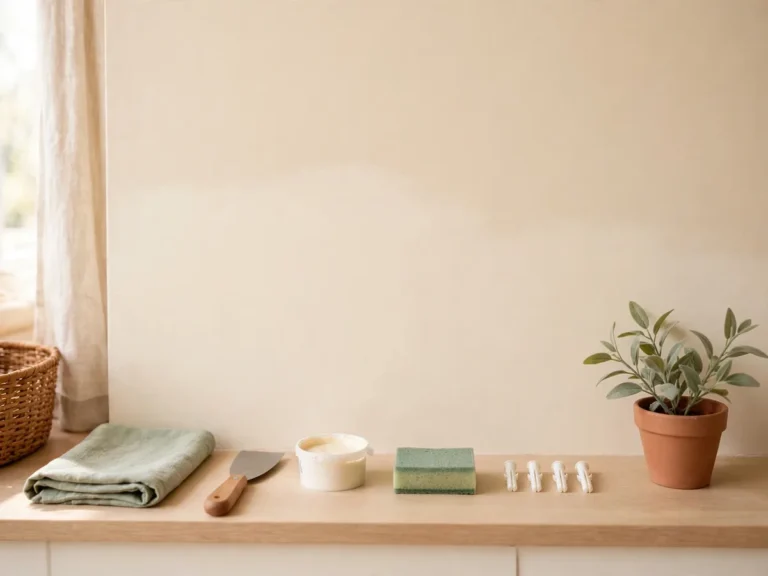
Adhesive fails most often on dust, cooking film or cleaner residue. Wipe the hanging spot with rubbing alcohol on a clean cloth, as the strip maker directs, and let it dry fully before you apply anything. Skip household sprays and water for this step.
Also clean the back of the frame where strips will sit and remove wire, sawtooth hangers or bumpers that stop the frame from sitting flat. A flat, clean bond on both sides is what gives a strip its real holding power over months, not just days.
4. Press Strips Firmly and Wait Before Hanging

Press each strip firmly for the full time on the package, often thirty seconds, then press the frame to the wall just as firmly. Many makers then ask you to lift the frame off, press the wall strips again, and wait a full hour before rehanging.
That waiting hour is not a suggestion to skip. It lets the adhesive build strength before it carries weight. Also wait seven days after painting before using strips, because fresh paint needs to cure or the strip may pull it off at removal.
5. Use Adhesive Hooks for Wire and Sawtooth Hangers
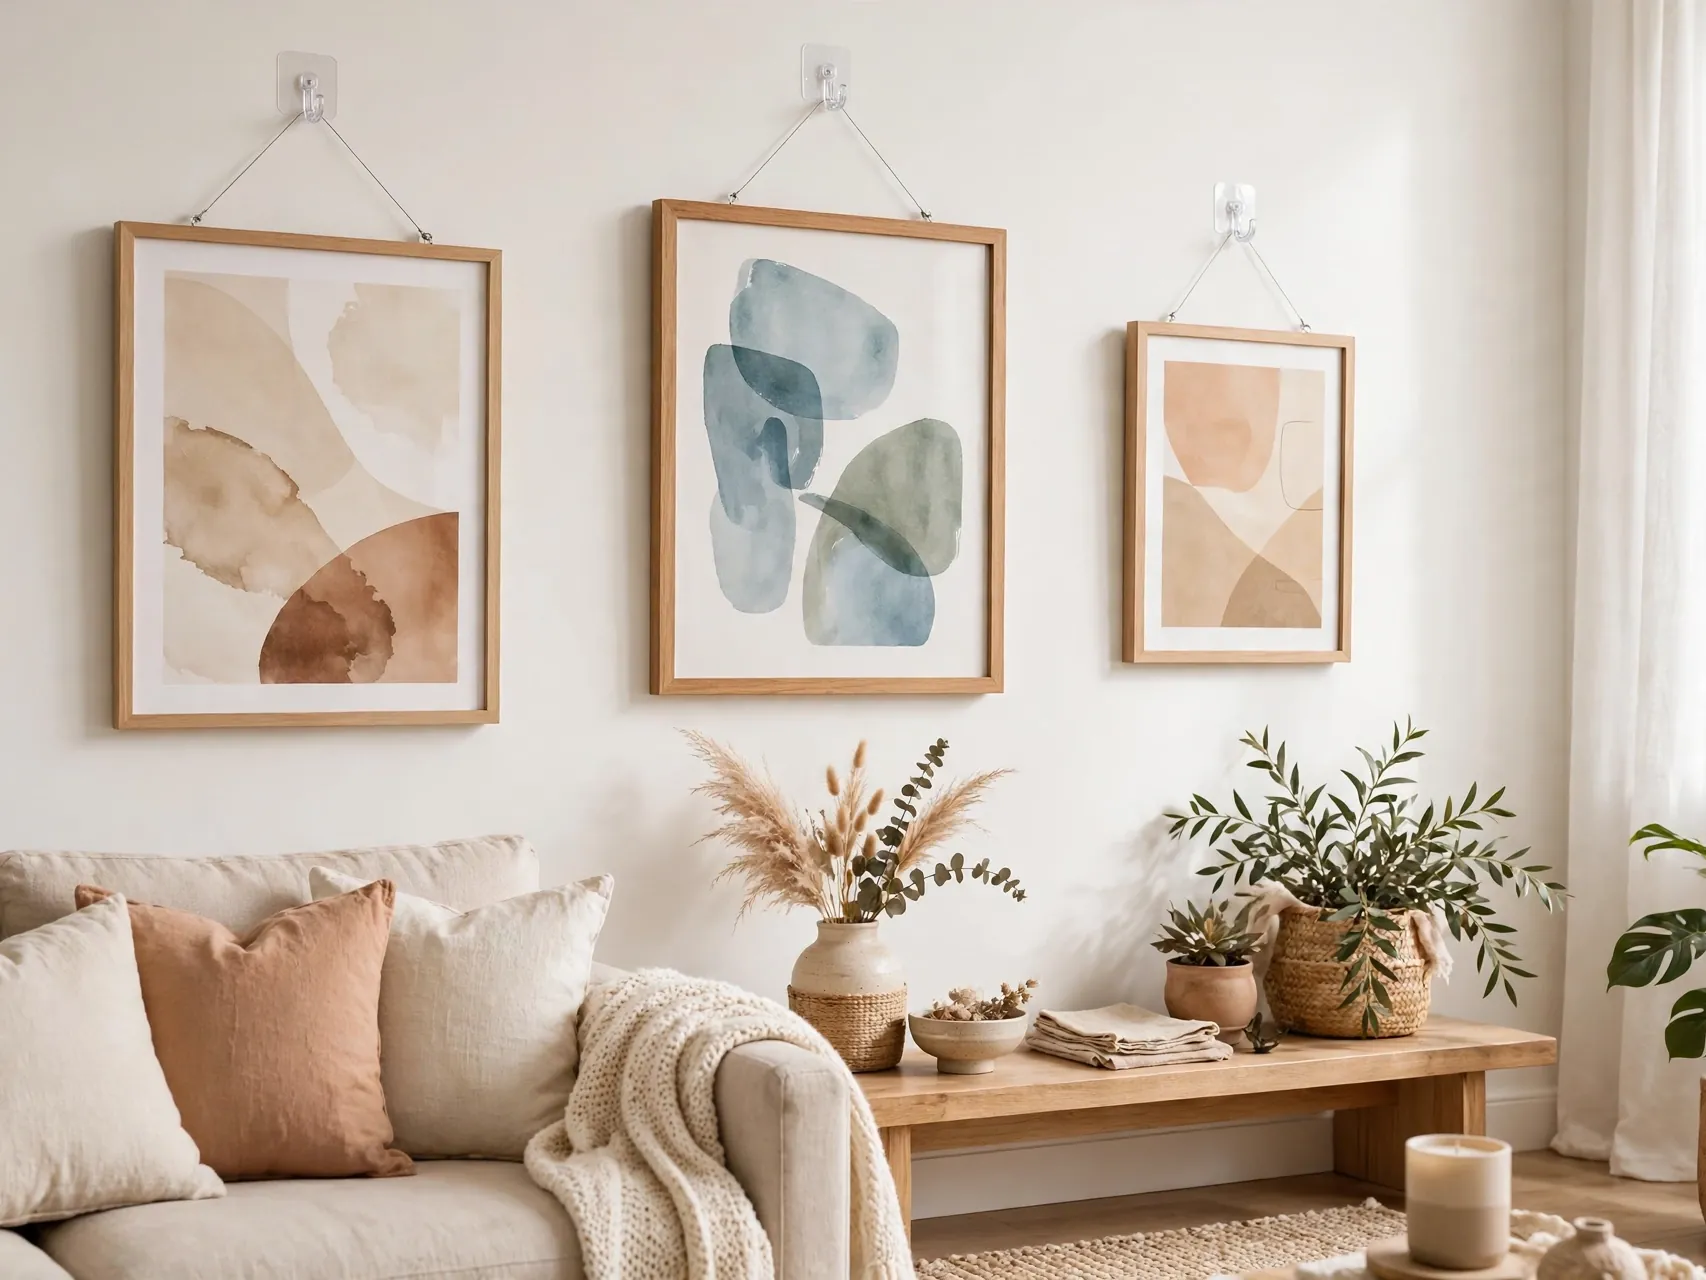
Some frames hang best from a single point. An adhesive hook suits frames with a wire, D rings or a sawtooth hanger, plus lightweight mirrors, wreaths and signs. Choose a hook rated above your piece and center it carefully, since a hook gives you less leveling room than strips.
Press the hook base as directed and wait before hanging. Check hooks in steamy or hot rooms more often, because heat and humidity can weaken adhesive over time. For a straight hang, adjust the wire length rather than moving the hook again and again.
6. Try Mounting Putty for Light Prints
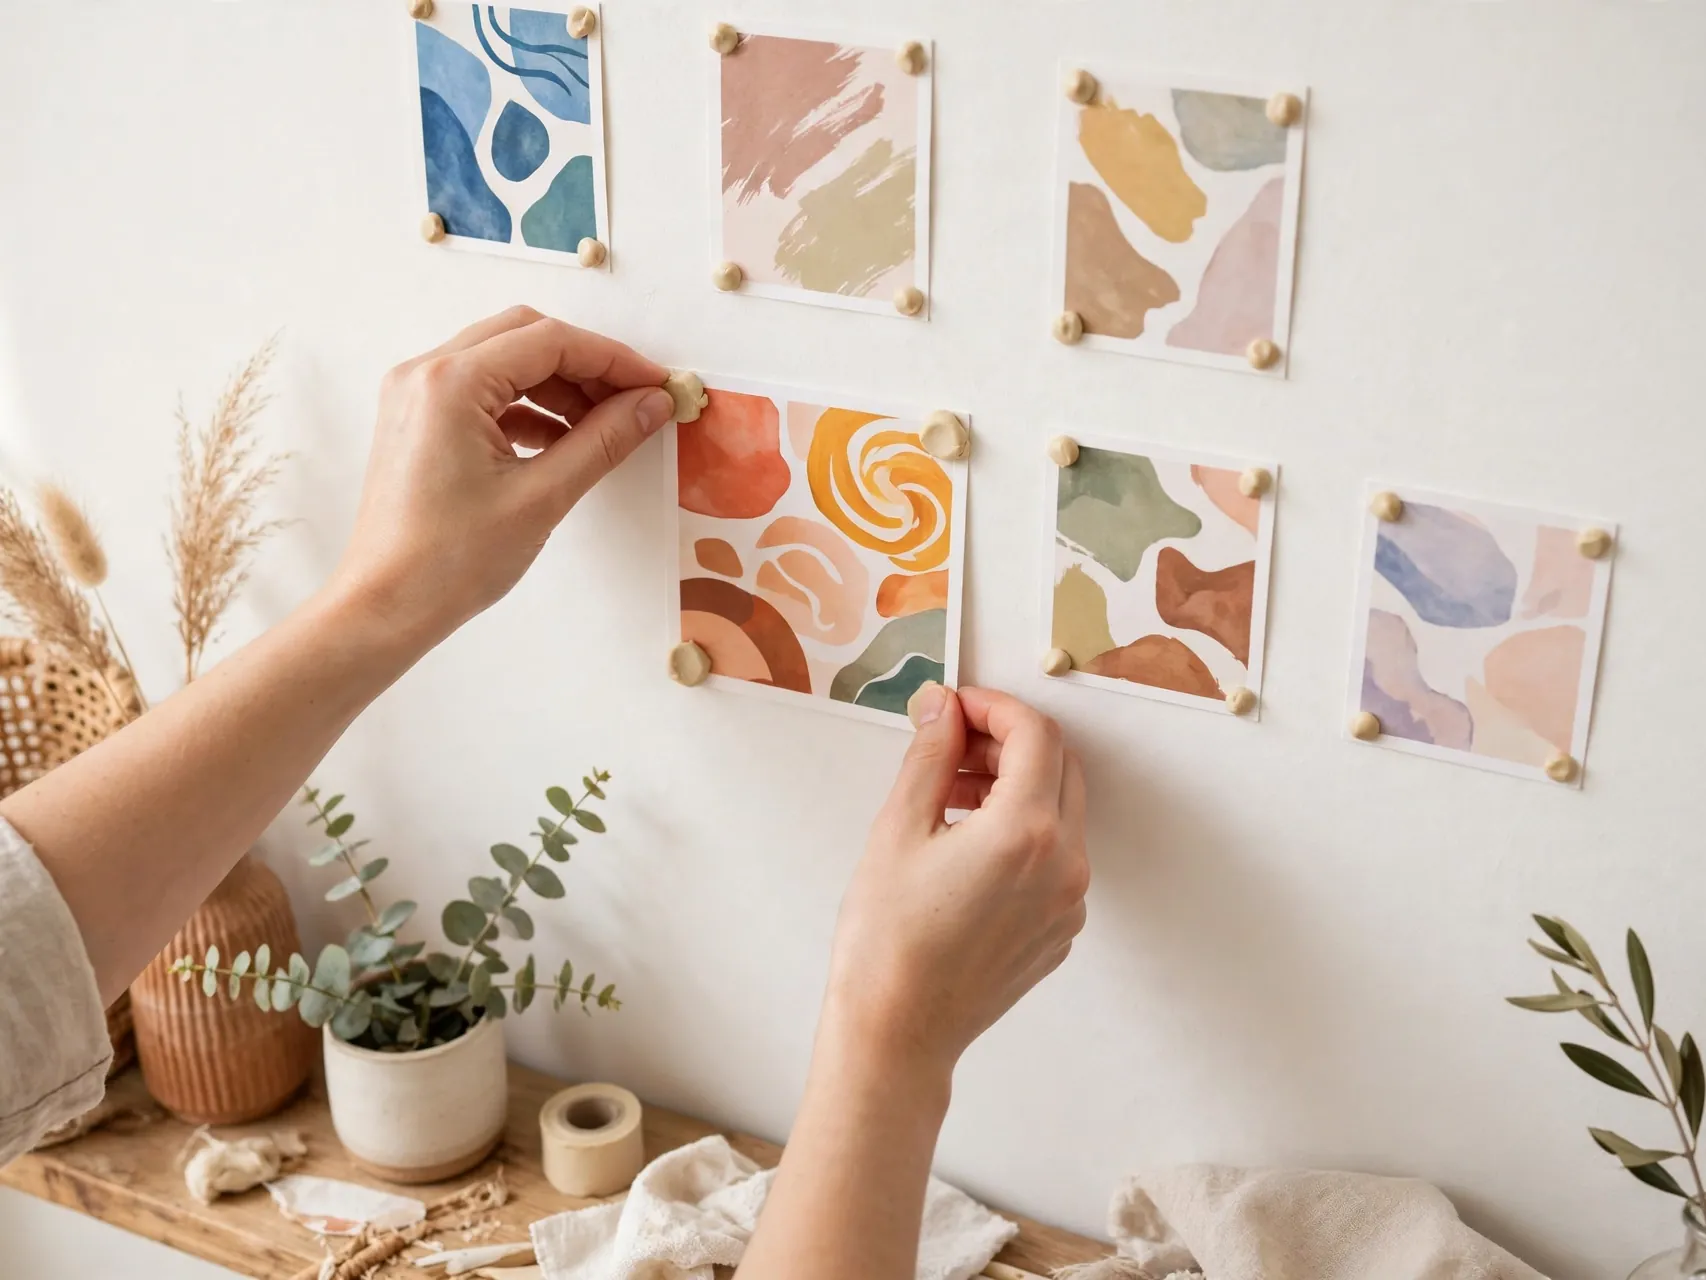
Mounting putty is ideal for unframed prints, postcards, kids art and lightweight photos. Roll small pieces into smooth balls, place them at the corners and edges, and press the print evenly to the wall so the weight is shared.
Keep putty for truly light paper items. It is not a frame hanger. Test it first on flat paint, because putty can leave a faint oily mark on some finishes, and remove it by rolling slowly rather than scraping. Warm, hardened putty softens with gentle hand warmth as you roll.
7. Frame Prints With Washi Tape
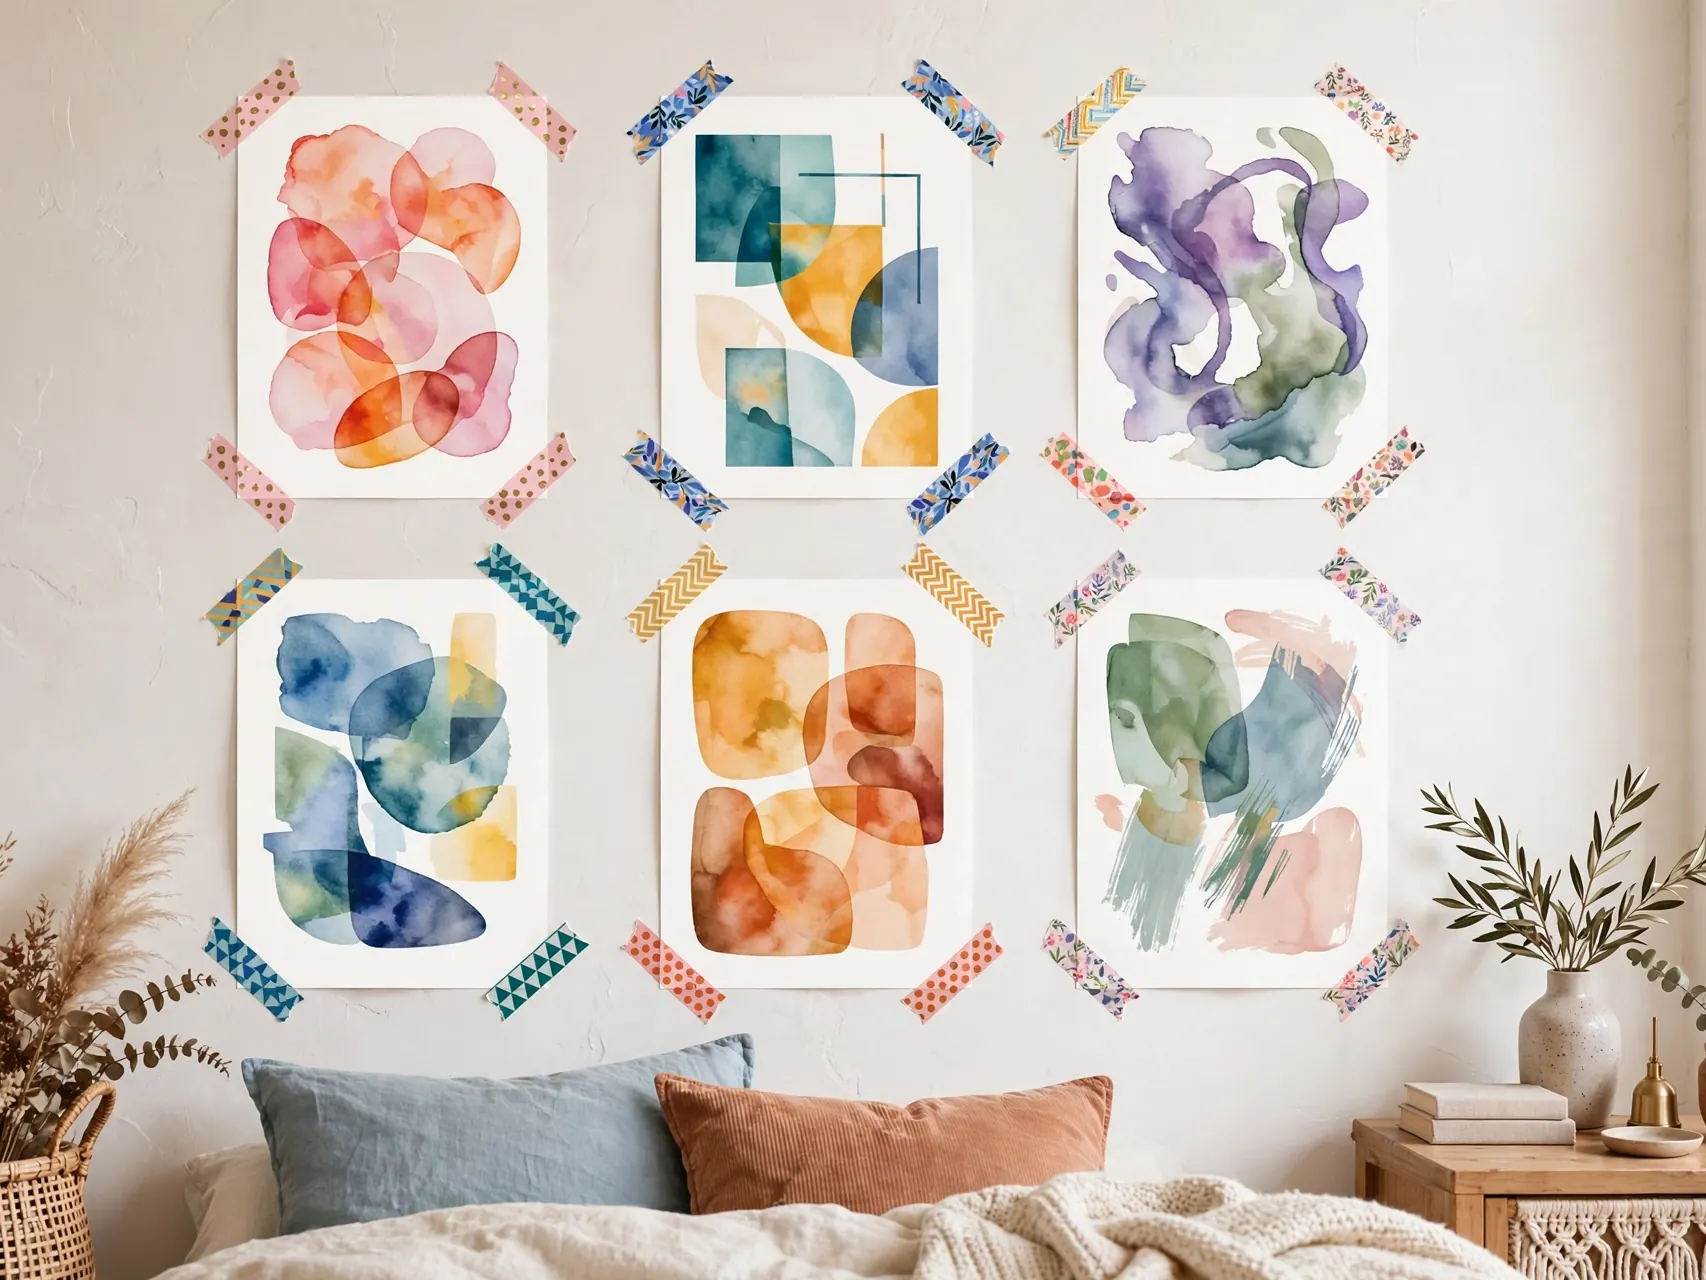
Washi tape creates a colorful border that acts like a frame for posters and prints. Run tape along all four edges or just across the top corners in a style you like, pressing it smooth so no air bubbles lift the corners later.
This is the easiest method to change, which makes it perfect for seasonal prints, study spaces and kids rooms. It holds paper only, never glass frames. On weak or peeling paint, even low tack tape can lift a flake, so test one print overnight before you tape a whole wall.
8. Lean Large Art on a Console or Mantel
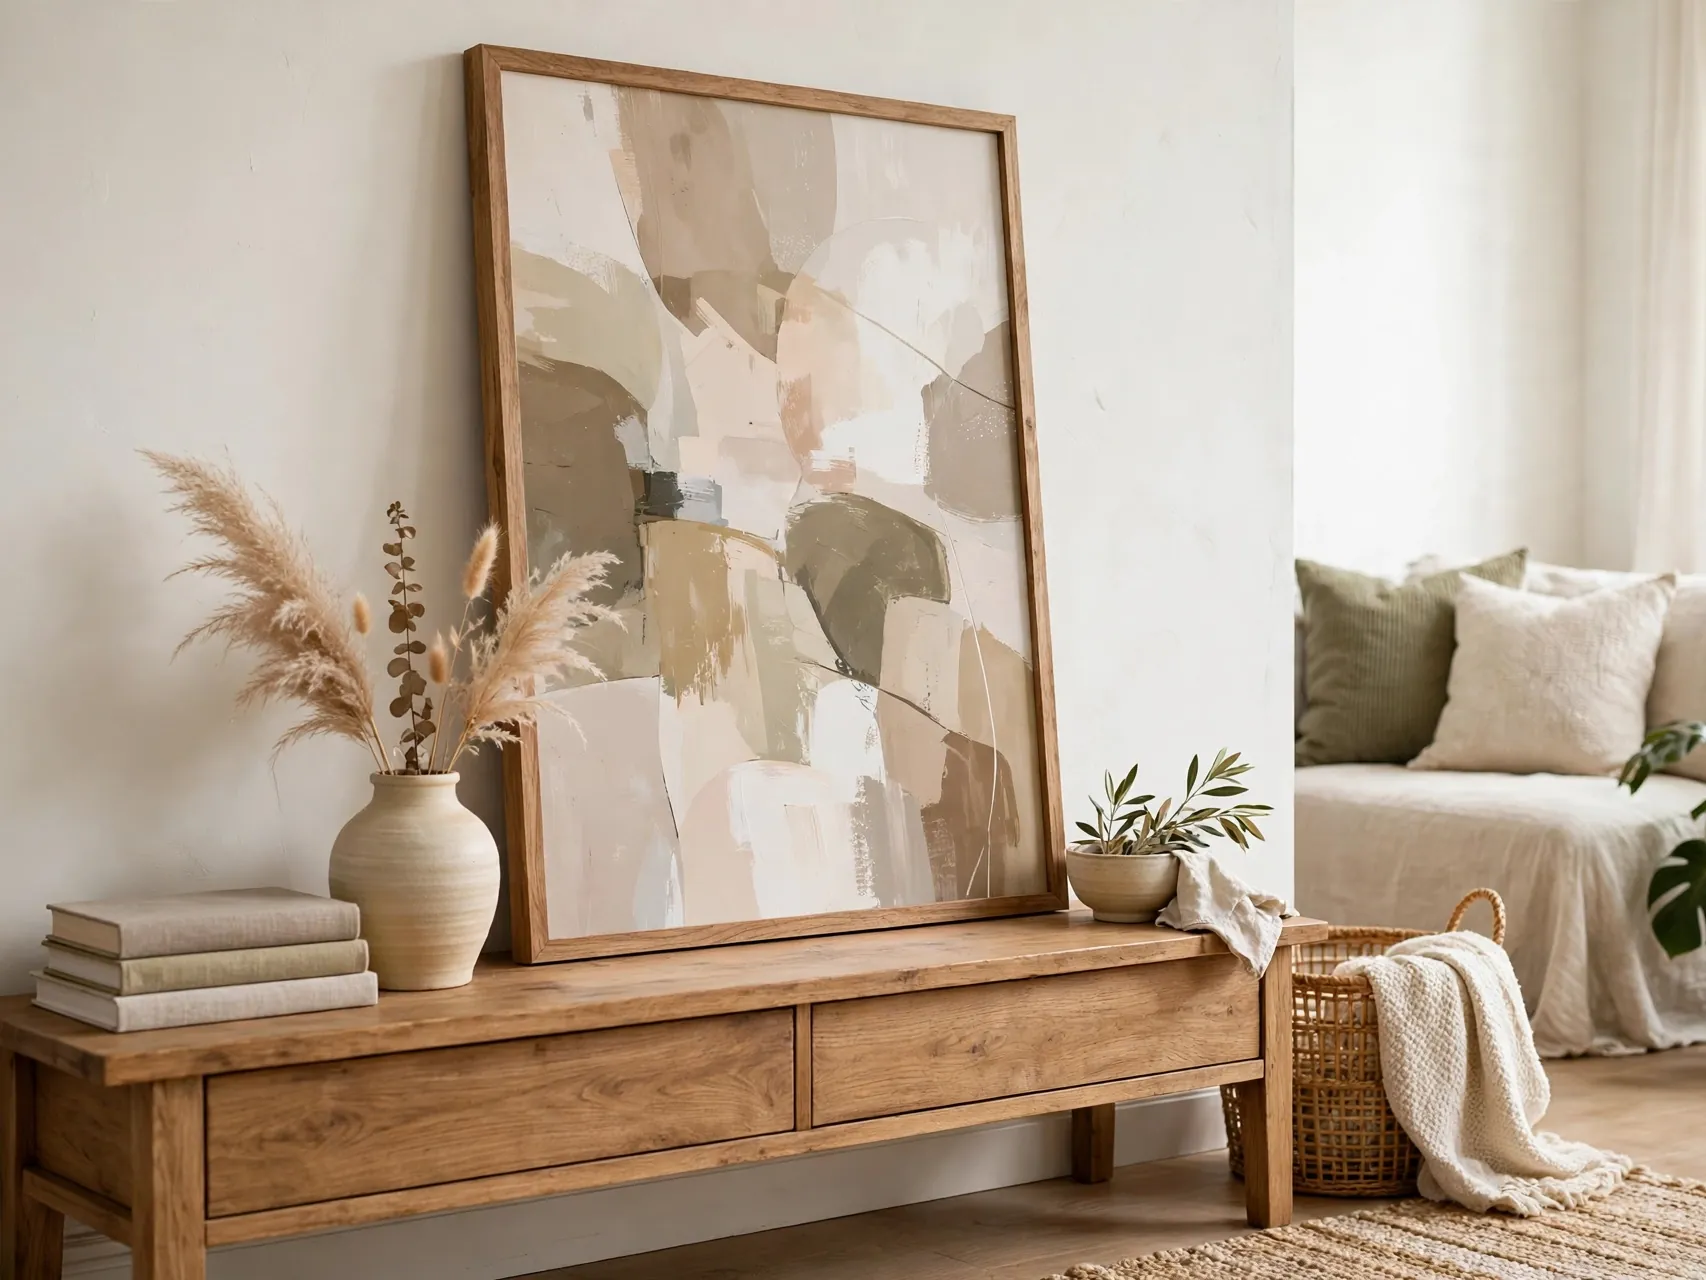
Leaning is the safest answer for large, heavy or valuable art. Rest the piece on a console table, mantel, dresser or low bookcase and let it lean at a slight angle. The look is relaxed and gallery like, with no wall contact beyond a gentle touch.
Add felt pads where the frame meets the furniture and wall to prevent scuffs, and keep the base far enough from the edge that it cannot slide. In busy homes, place leaning art where it will not be bumped, and never lean a heavy piece where a child could pull it down.
9. Layer Small Frames on Bookshelves

Bookshelves, cabinets and the top of a low dresser can hold a whole collection of small frames. Layer them in front of books, overlap edges slightly, and mix in a plant or small object so the shelf feels styled rather than crowded.
This method suits renters perfectly because rearranging takes minutes and nothing touches the wall. Use odd numbers in each group, vary heights, and leave some shelf space empty. Photograph an arrangement you love so you can rebuild it after cleaning or a move.
10. Use a Picture Ledge for a Changeable Display

A picture ledge holds a row of frames you can slide, swap and layer without new hangers for each change. Renters can use a ledge that sits on furniture, a freestanding shelf unit, or a wall ledge only where the lease clearly allows its fixings.
Keep heavier frames toward the back of the ledge and smaller ones in front. A ledge works beautifully over a sofa or desk in a small living room, because one surface carries many pieces and the wall above stays clean and calm.
11. Display Art on an Easel
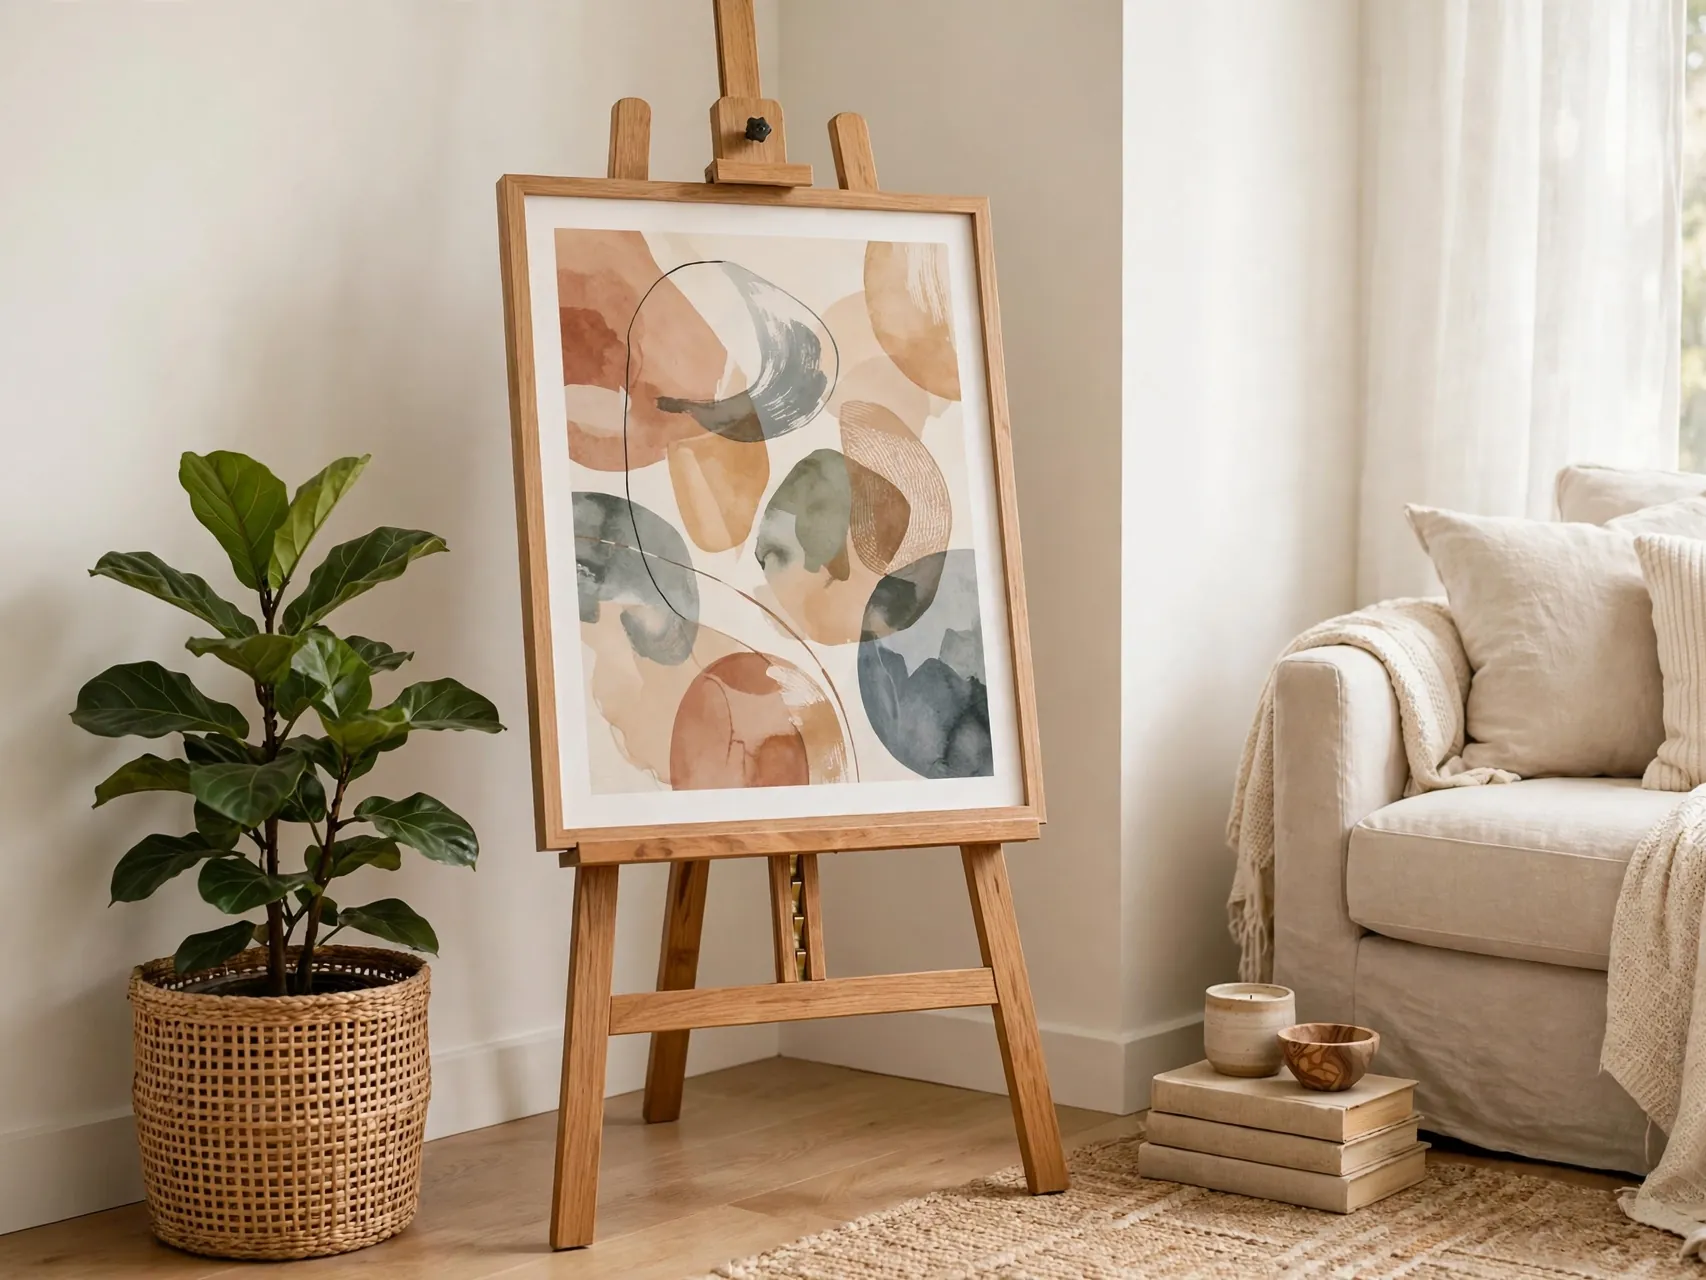
A tabletop or floor easel turns one favorite piece into a feature. Set it on a side table in a reading corner, on a desk, or in an empty corner where a tall easel adds height that small rooms often lack.
Easels suit canvas art, framed prints and even a small chalkboard or calendar. Choose an easel that fits the size and weight of your piece and stands steady on your floor type. This is also a kind way to display a fragile or antique frame that should not carry adhesive.
12. Clip Photos to a String Line

A string or thin cord strung between two adhesive hooks, with small clips along it, creates a light and friendly photo display. It works well over a desk, along a hallway or above a bed where frames would feel too heavy and formal.
Keep the total load small and spread clips evenly so no single section sags. Wooden mini clothespins and metal clips both work. Updating the line for new photos, cards or seasonal art takes minutes, which is why this method stays popular in rentals and dorms year after year.
13. Hang From a Tension Rod in a Nook

In a recessed nook, between close walls or inside a wide window frame, a tension rod can carry light art hung from ribbons, clips or hooks along its length. The rod holds by pressure, so there are no holes and no adhesive on the wall at all.
Measure carefully and choose a rod rated for the span so it stays firm. Keep pieces light and balanced, and check the rod ends from time to time. This is a clever fix for awkward small spaces that have no good flat wall for a normal gallery.
14. Use a Freestanding Grid Panel

A metal grid panel, folding screen or leaning display board gives you dozens of hanging points without touching the wall. Clip prints to the grid, hang small frames from hooks, and add a basket or two for cards and notes.
Place the panel over a desk, beside an entryway bench or as a soft divider in a studio apartment. Because the panel carries the weight, you can change the display weekly if you like. Keep the base stable and the load balanced so the panel never tips.
15. Use Over Door Hooks for Light Pieces

Over door hooks and organizers can carry a light wreath, a small framed print in a soft hanger, or seasonal decor on the inside of a closet, bedroom or bathroom door. The hooks slide over the door top and lift off with no trace at move out.
Pad the hook where it meets the door if the finish is delicate, and check that the door still closes fully. Keep this method for light items only, and avoid hanging glass frames on a door that swings often, where movement and bumps are a daily risk.
16. Use Magnetic Boards for Rotating Prints

A magnetic board on a desk, easel or shelf lets you pin prints, photos and notes with magnets instead of tape or pins in the wall. It is perfect for a study corner, kitchen command spot or kids art rotation that changes every week.
For a larger display, lean a big board on a low shelf and let it rest against the wall with felt pads at the contact points. Magnets keep every change instant and clean. Choose strong, smooth magnets that will not scratch delicate prints, or slip prints into clear sleeves first.
17. Rest Art on Plate and Book Stands

Plate stands, book stands and small display holders are made to hold a piece upright on a surface. They suit small canvas prints, framed photos, decorative plates and art books opened to a favorite page on a shelf or side table.
This is the lowest commitment method in this whole guide. Pick the piece up and the display is gone. Group two or three stands at different heights for a collected look, and keep stands steady on flat surfaces away from the edge where a sleeve or pet could knock them.
18. Use Existing Picture Rail Molding

Older homes sometimes have a picture rail, a thin molding strip near the ceiling made for hanging art from hooks and cords. If your rental has one, use it. Hooks clip over the rail and cords hang down to your frames, with no new holes in the wall below.
Rail hanging lets you move pieces sideways in minutes and suits tall rooms beautifully. Use cord and hooks rated for your frame weight, and adjust the two sides evenly so the frame hangs level. Ask your landlord if you are unsure whether a molding strip is a true picture rail.
19. Choose Lightweight Canvas and Acrylic Frames

Sometimes the best hanging trick is choosing lighter art in the first place. Canvas prints, foam board prints and acrylic frames weigh far less than glass and solid wood at the same size, which opens up every adhesive method in this guide.
Light pieces need fewer strips, hold more safely and come down with less risk. For a big statement in a small rental, one large lightweight canvas often works better than a heavy framed print of the same size. Save heavy glass framing for pieces you plan to lean.
20. Build a Gallery Wall With a Paper Template
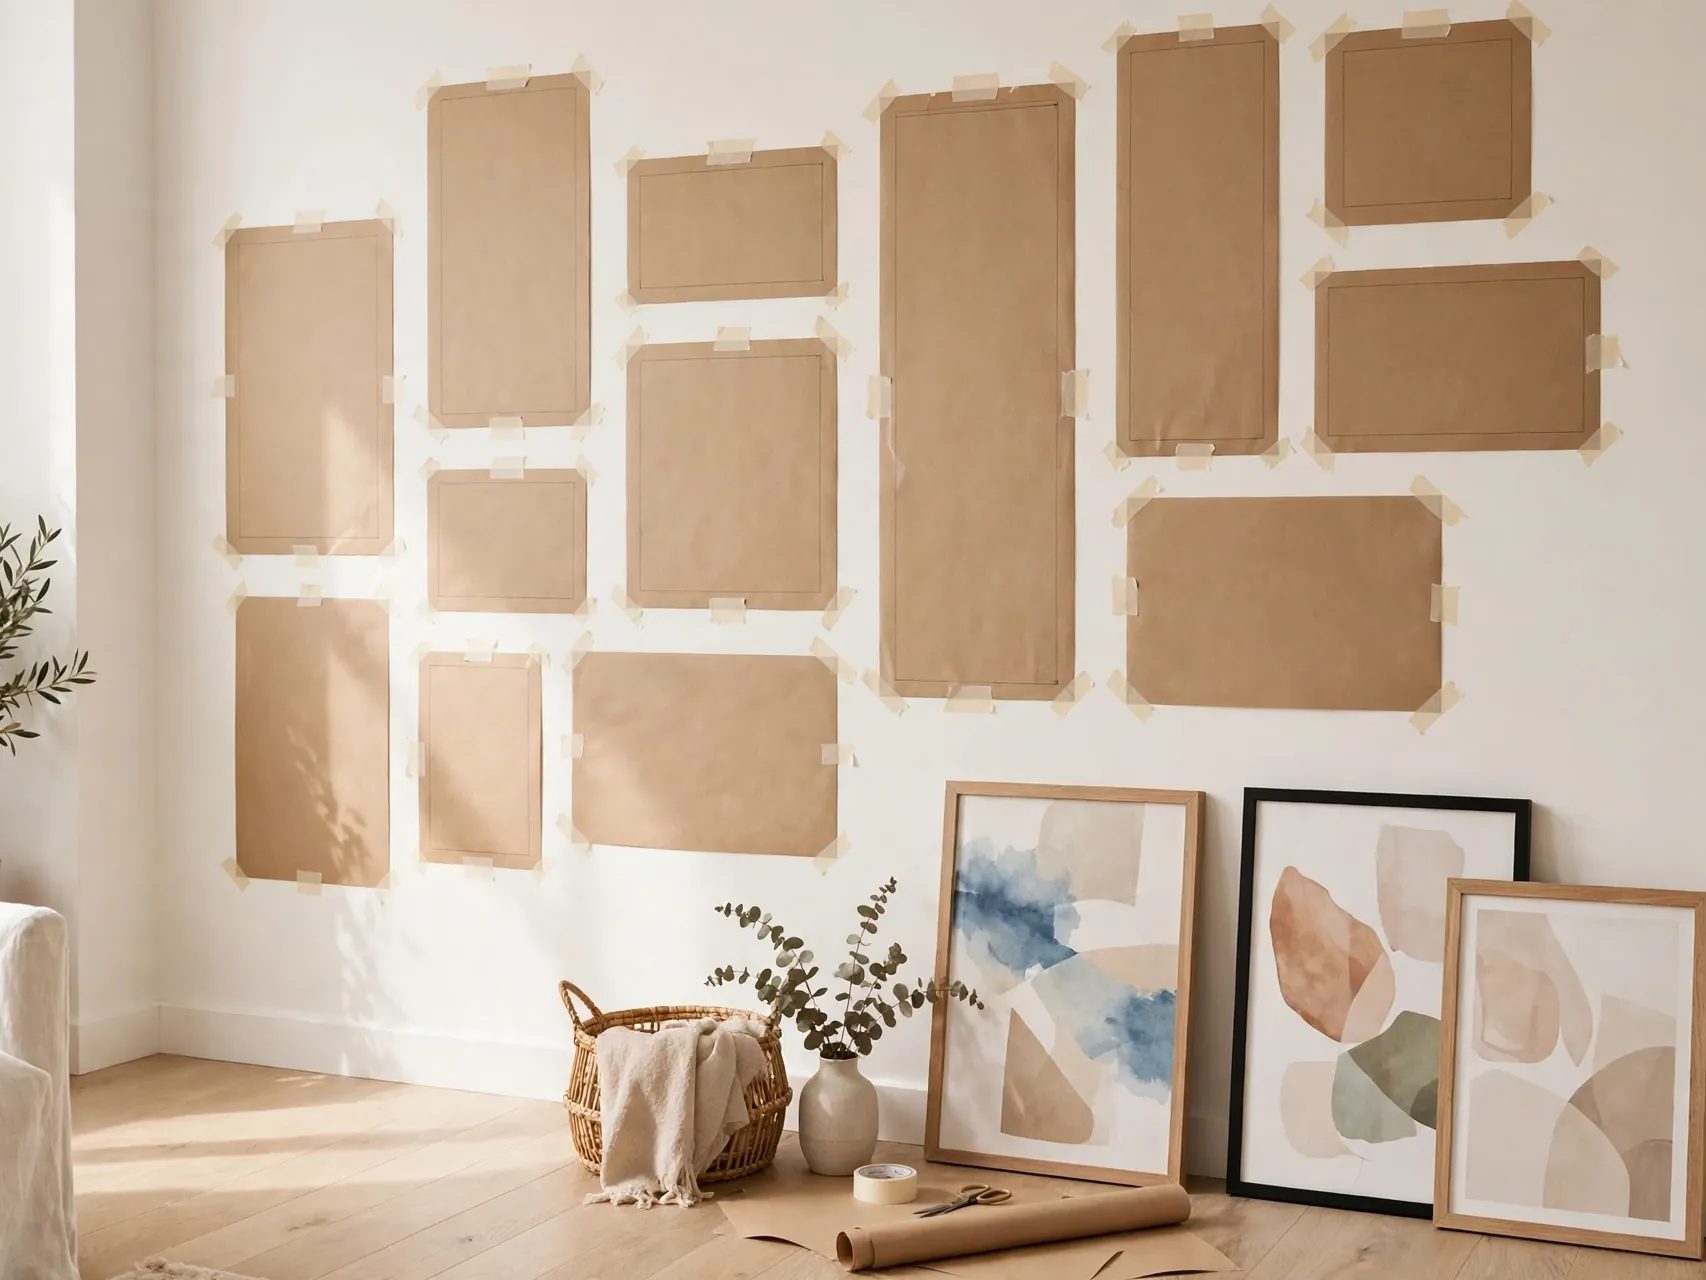
Before any strip touches paint, plan the whole no nail gallery wall on paper. Trace each frame on kraft paper or newspaper, cut the shapes out, and tape the templates to the wall with gentle painter tape. Live with the plan for a day if you can.
Adjust spacing until the group feels balanced, mark the template corners lightly, then hang frame by frame from the center outward. Templates prevent the classic renter problem of a crooked first frame followed by five moved strips and a wall of wasted adhesive and marks.
21. Remove Strips by Stretching Straight Down

Removal is part of hanging, and strips only stay damage free when removed correctly. Lift the frame off as the maker directs, hold the strip top lightly, and stretch the tab slowly straight down along the wall until it releases, often twelve inches or more.
Never pull a strip outward toward you. That angle is what peels paint. If a tab breaks, warm the base and work dental floss behind it with a gentle sawing motion to cut through the foam, then roll off the residue. Slow removal keeps your deposit and your wall finish intact.
22. Keep Heavy or Valuable Pieces Off Adhesive Alone

The final way is a rule that protects all the others. Do not trust adhesive alone for heavy frames, large mirrors or valuable and irreplaceable art, no matter how strong a package sounds. Above the rated range, adhesive is the wrong tool for the job.
Lean those pieces safely, place them on sturdy furniture, or ask your landlord about a proper anchor in one planned spot if the piece truly must hang. A calm conversation and one approved fixing will always beat a fallen frame, broken glass and a damaged wall at midnight.
FAQ
What is the strongest way to hang a picture without nails?
For light and medium frames, picture hanging strips used in the number of pairs the package directs are the strongest common option. For heavier pieces, a picture ledge, leaning display or a rail system carries weight more safely than adhesive. Always stay under the printed rating.
Can adhesive strips damage walls?
They can if used on wallpaper, rough texture, fresh or weak paint, or if pulled outward at removal. Use them on smooth, cured paint, wait seven days after painting, clean with rubbing alcohol first, and stretch the tab straight down slowly when you take the frame down.
How do I hang a gallery wall without making mistakes?
Make paper templates the exact size of each frame and tape them up first. Check spacing and height from across the room, adjust until the group looks balanced, then hang one frame at a time starting near the center. This planning step prevents most crooked and crowded results.
What can I use for a very light print or poster?
Mounting putty, washi tape and clips on a string line all suit unframed paper prints. Putty and tape touch the wall gently and suit smooth paint after a small test. String lines touch the wall only at two hooks and are easy to update often.
How high should I hang pictures?
A common guide is to place the center of a single piece or the center of a gallery group near eye level for a standing viewer, then adjust for furniture below it. Art over a sofa or console usually looks best with its bottom edge a hand span or so above the furniture back.
Key Takeaways
- Weigh first, hang second: A quick scale check tells you which methods are safe for each frame.
- Prep makes adhesive work: Rubbing alcohol cleaning, firm pressing and the full waiting hour create the real hold.
- Stay under the rating: Use the strip or hook count the package directs and keep heavy art off adhesive.
- Lean and layer heavy favorites: Consoles, shelves, ledges and easels display big pieces with no wall risk.
- Plan galleries on paper: Templates prevent crooked starts and wasted strips on rental walls.
- Remove by stretching down: Slow downward stretching, never an outward pull, keeps paint where it belongs.
Save this guide to Pinterest before your next gallery wall weekend so every no nail method is in one place.