23 Renter Friendly Kitchen Upgrades That Make a Big Impact
Introduction
Rental kitchens often share the same problems: plain cabinets, a blank backsplash, harsh lighting and counters that never feel like yours. A full renovation is off the table, but the room you cook in every day does not have to stay generic until you move.
The smartest renter friendly kitchen upgrades focus on surfaces and systems you can reverse. Peel and stick products change color and pattern, plug in lighting fixes dark work areas, and freestanding storage adds the counter and cabinet space the kitchen forgot to include.
Work in a sensible order. Start with clean, empty surfaces and photos of the original kitchen, add the big visual layers such as backsplash and counters, then improve light, storage and styling. Keep every original knob, fixture and instruction in a labeled place as you go.
Check your lease before anything adhesive, heavy or connected to plumbing or wiring. Many landlords allow reversible changes, while some require written approval for specific items. A quick question in writing is far cheaper than restoring a surface in a rush at move out.
1. Add a Peel and Stick Backsplash

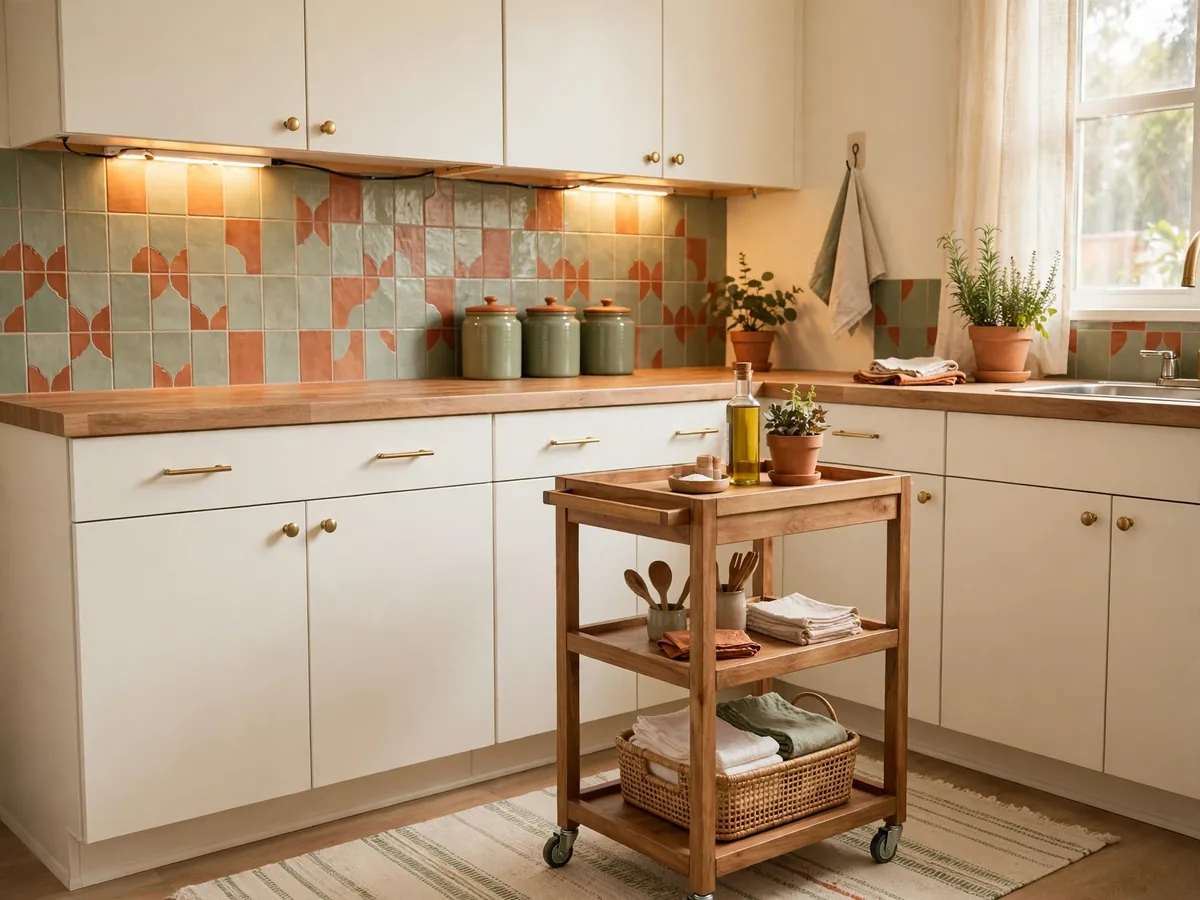
A removable backsplash is the highest impact change in most rental kitchens because it fills the wall area you see at eye level. Choose a simple tile look in a color that works with your existing counters, and buy a little extra for cuts and mistakes.
Clean and dry the wall first, follow the product instructions for your surface, and test one tile in a low corner if you are unsure. Keep tiles clear of direct heat sources as the maker directs, and save a photo of the original wall before you start.
2. Cover Counters With Removable Contact Paper
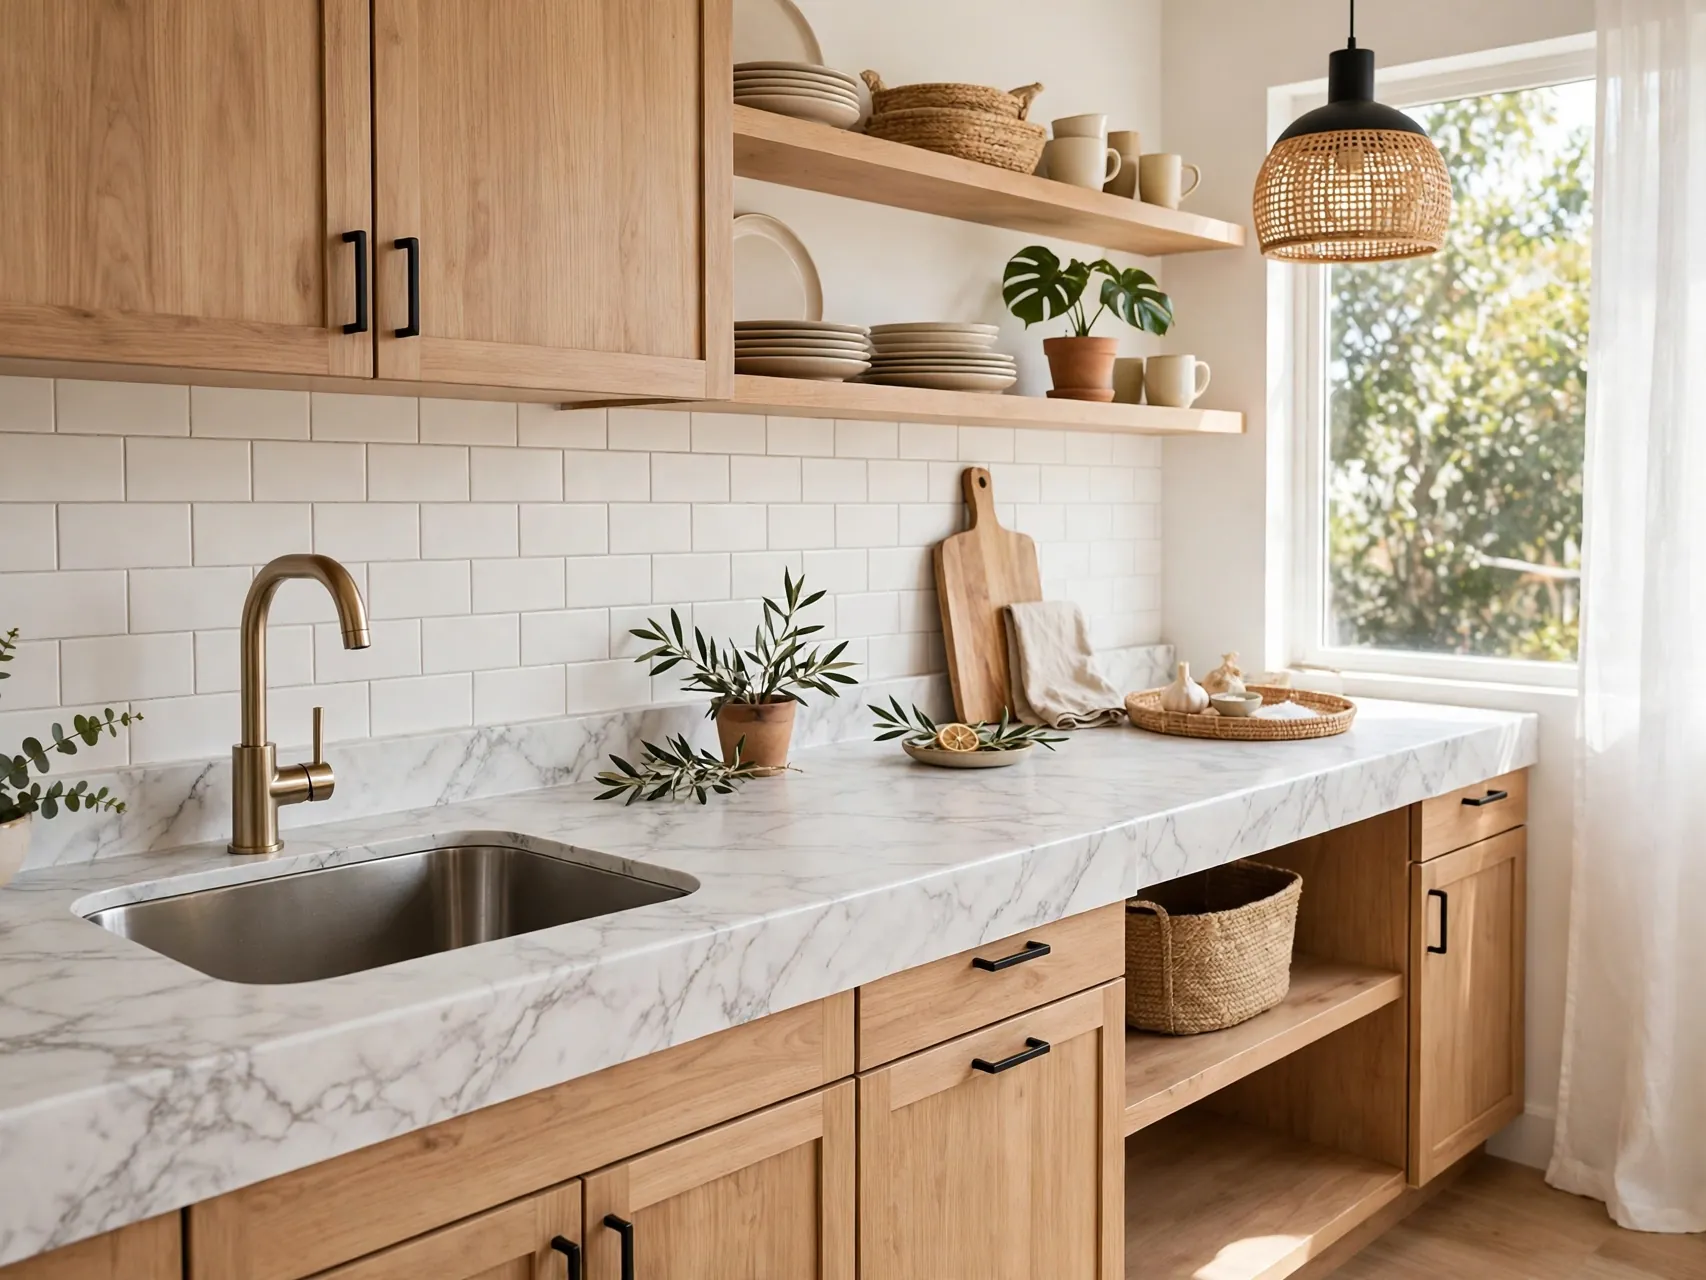
Contact paper in a stone, wood or matte solid look can cover a tired counter for a fraction of replacement cost. Work slowly with a smoothing tool, push air bubbles toward the edges, and use careful cuts around the sink and stove following product guidance.
Test a hidden area first and avoid covering surfaces that get very hot. At removal time, warm the paper and peel it slowly. Not every counter finish suits adhesive film, so if the surface is damaged, porous or valuable, skip this idea and use large boards and trays instead.
3. Swap Cabinet Knobs and Pulls
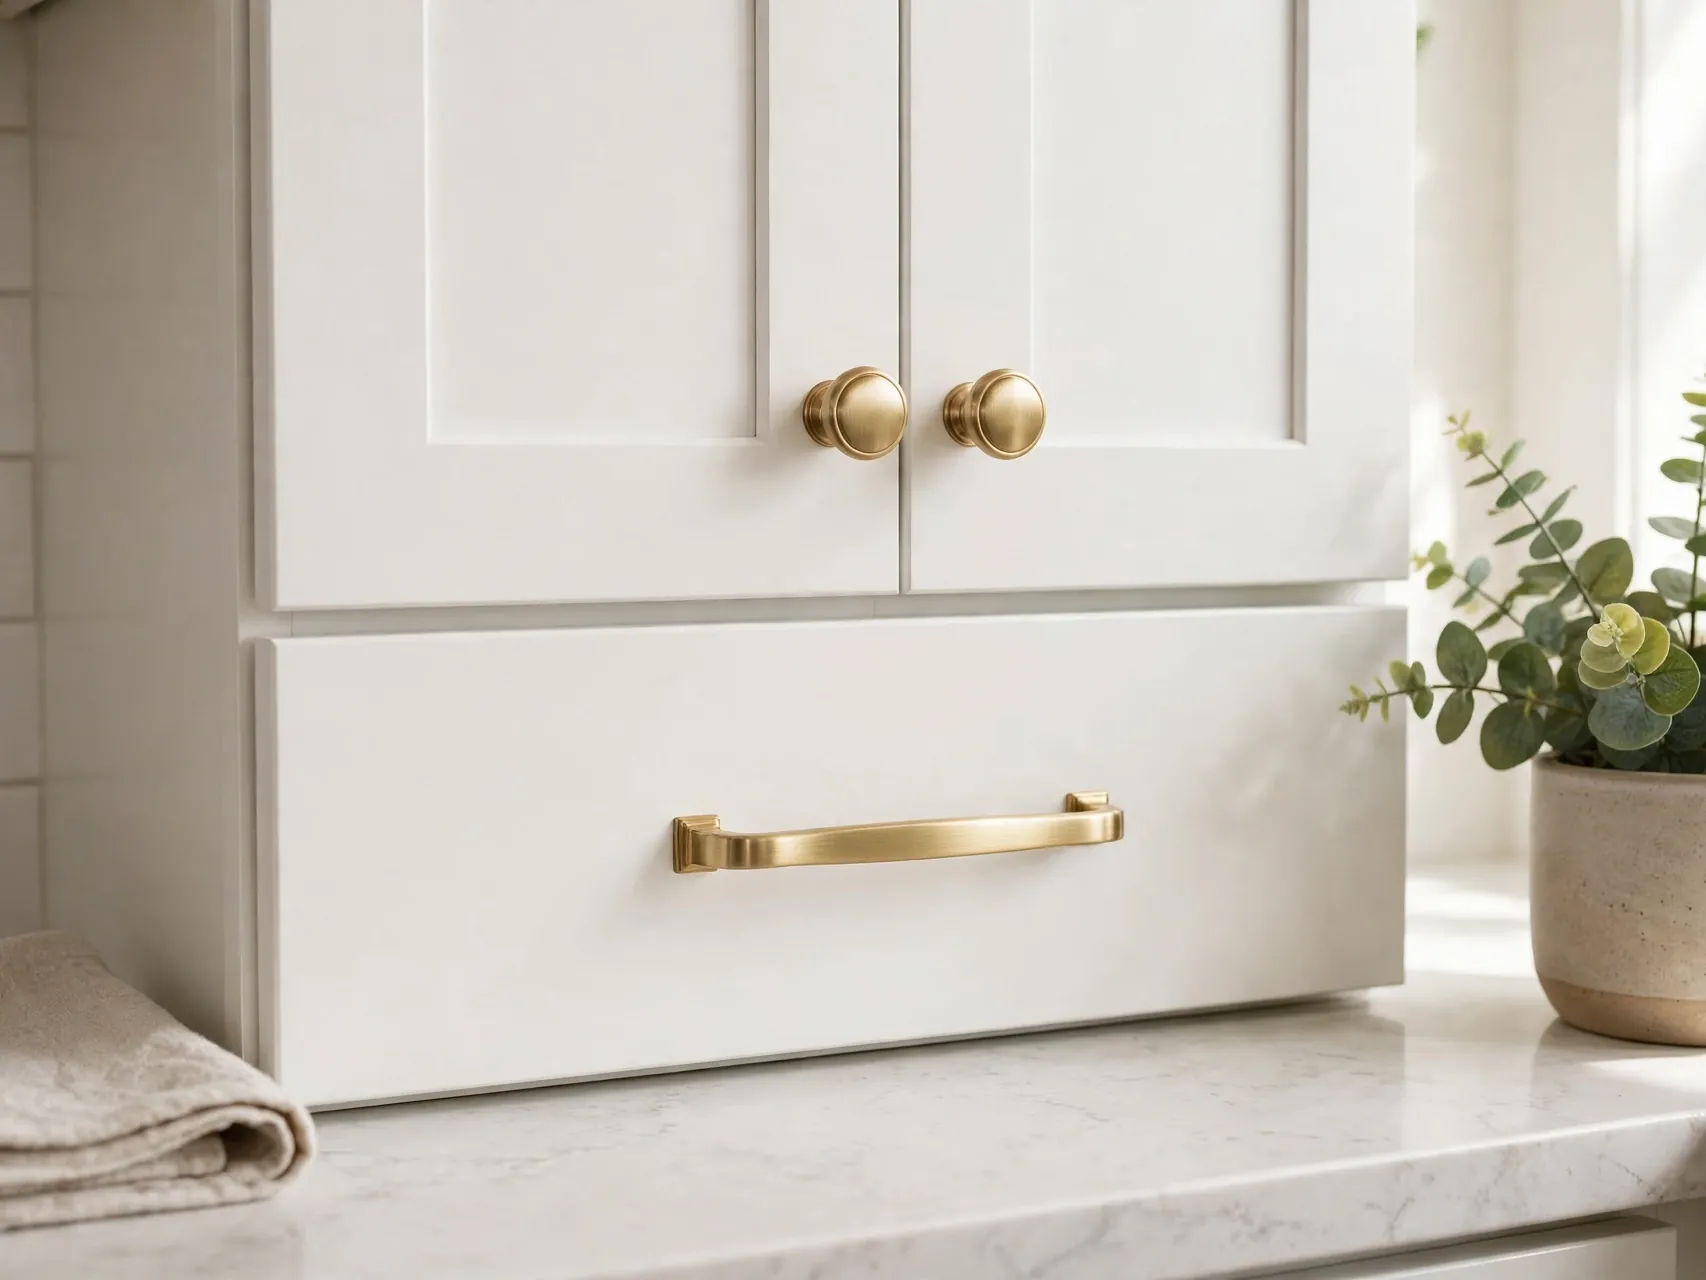
New knobs and pulls make plain cabinets look chosen rather than standard. Measure the screw spacing on pulls before you order, choose one finish for the whole kitchen, and fit the new set with a hand screwdriver to avoid over tightening.
This upgrade is only deposit safe if you keep every original piece. Put landlord knobs, pulls and screws in a labeled bag by room and store it with your lease papers. Refit the originals well before your final clean at move out.
4. Add Plug In Under Cabinet Lighting
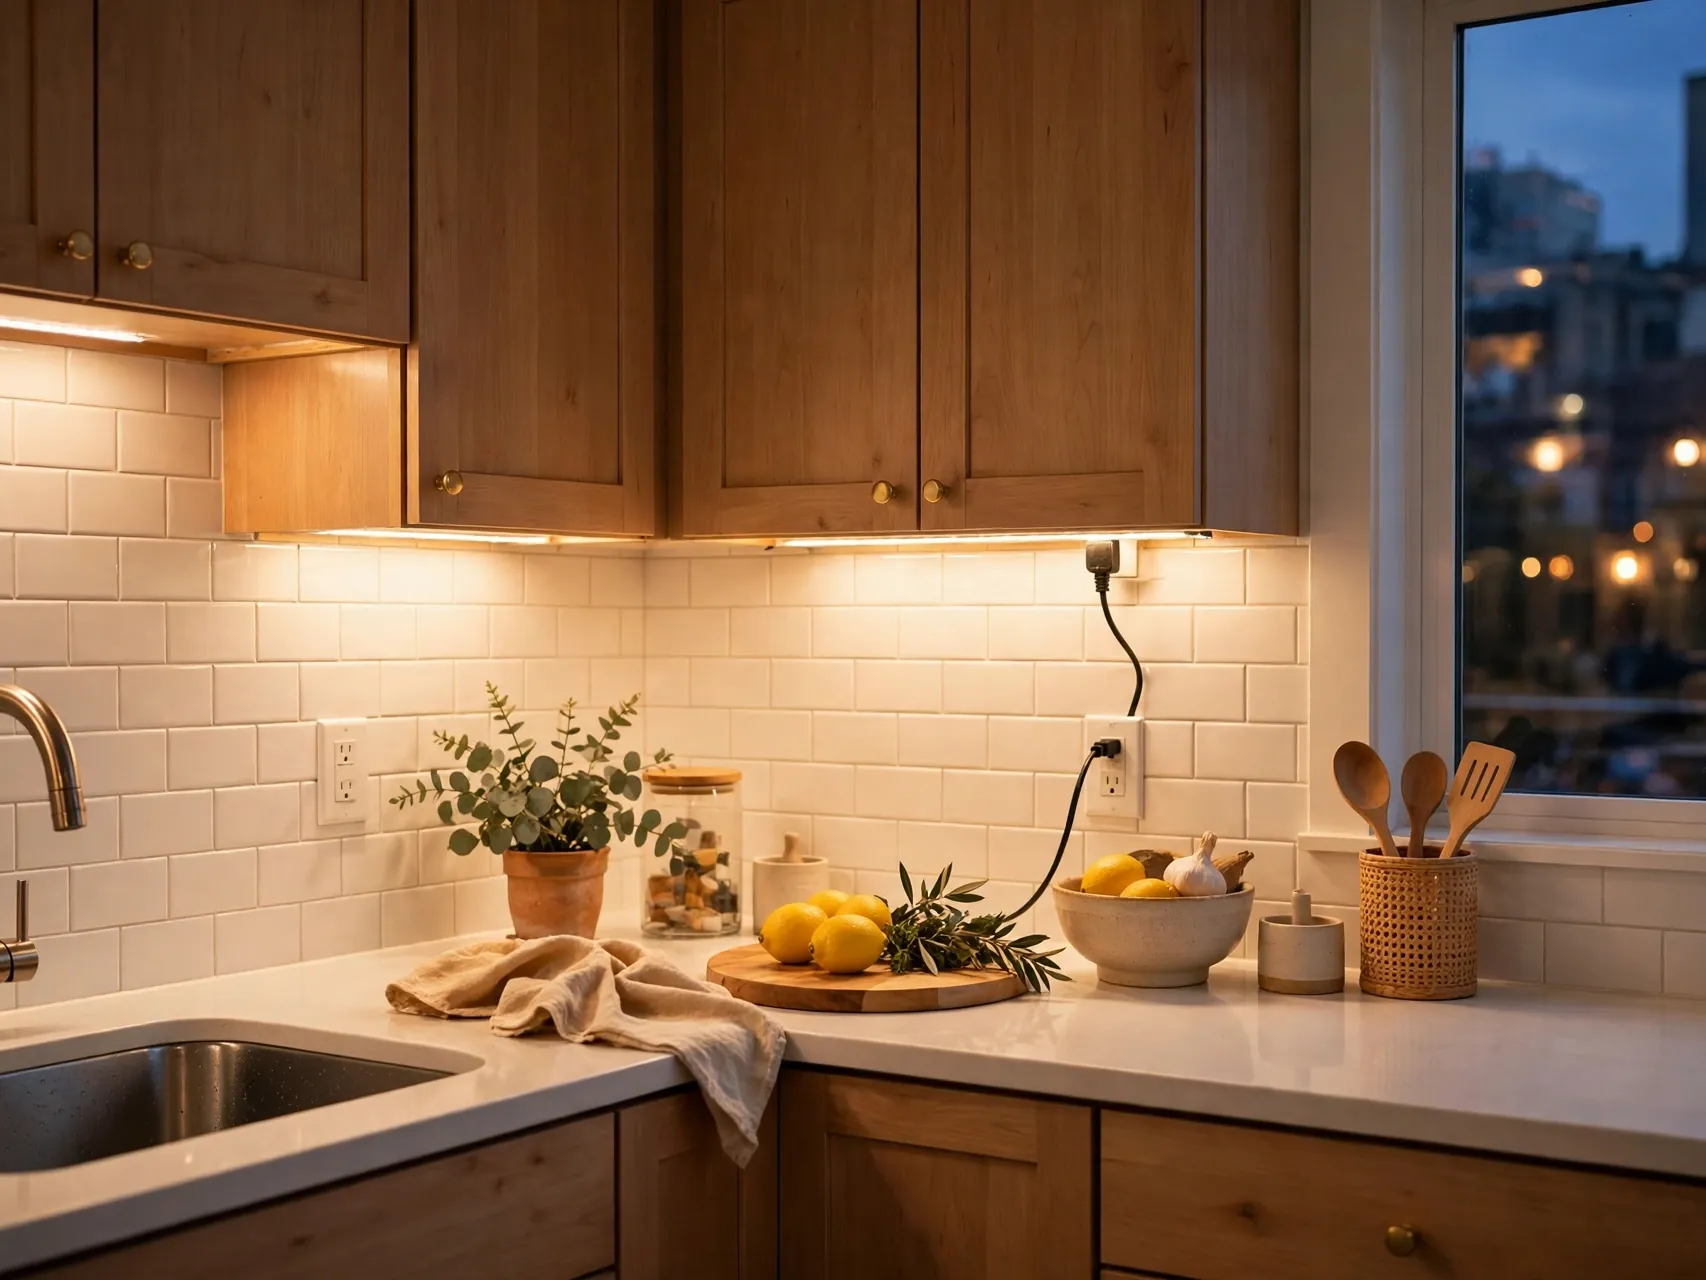
Dark counters make cooking harder and kitchens feel smaller. Plug in or rechargeable under cabinet lights add task light exactly where you chop and read recipes, with no wiring and no electrician. Choose a warm tone that matches your main kitchen light.
Use removable mounting methods rated for the light and surface, route cords neatly, and keep lights and cords clear of water and stove heat. Take the lights with you when you move, because good task lighting will improve your next kitchen too.
5. Roll In a Portable Island or Cart

A rolling island or sturdy kitchen cart adds counter space, a drawer or shelves, and a movable work zone in kitchens with too little prep room. Park it where it does not block the fridge, oven or dishwasher swing, and lock the wheels while you work.
Style the top as a real work surface, not storage for everything. Keep a board, knife block or breakfast tray there and use lower shelves for heavy pots or pantry baskets. Because it is freestanding, it leaves with you and can become a coffee station later.
6. Use a Freestanding Magnetic Knife Board
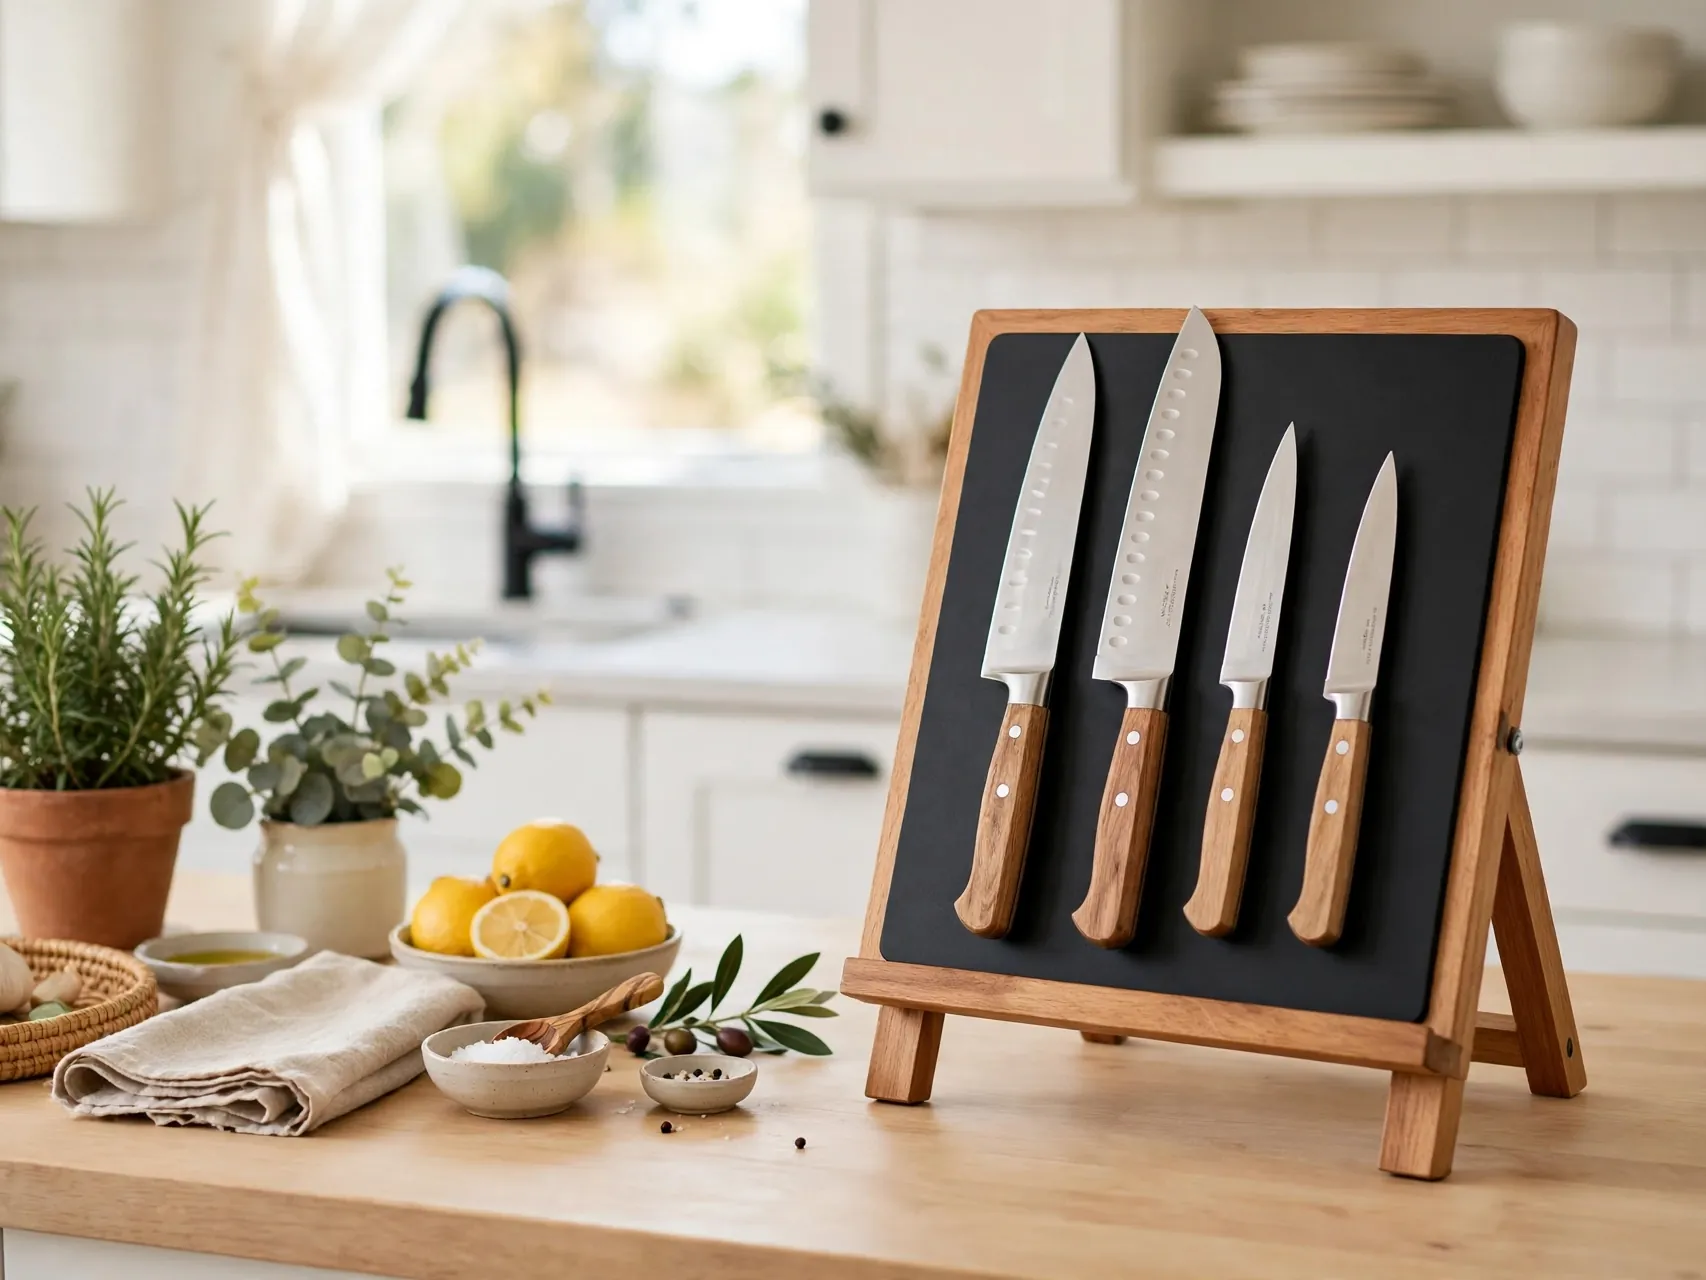
A freestanding magnetic knife board or a block that sits on the counter keeps knives visible, dry and off the counter pile without drilling a strip into the wall. Place it where children cannot reach it and where knives will not be knocked by opening doors.
Magnetic wall strips that use adhesive should only be used if the product is rated for that weight and your wall surface, because falling knives are a safety risk. When in doubt, the counter version gives the same tidy look with none of the fixing worries.
7. Add Over Sink Dish Rack Space

An over sink rack or a slim rack beside the faucet gives dishes a draining home and returns counter space in a small kitchen. Measure your sink width and faucet height first, and choose a rack that leaves the faucet easy to use and clean around.
This kind of temporary kitchen upgrade for renters works because it uses air space that is normally wasted. Keep heavy items low and balanced, dry the area under the rack during your weekly clean, and take the rack apart fully when you move.
8. Line Cabinets With Washable Shelf Liner

Shelf liner protects landlord shelves from spills and makes your cabinets feel clean and personal. Choose a washable, non adhesive or low tack liner where you can, cut it to size, and label the underside by cabinet if you plan to reuse it.
Adhesive liner needs the same caution as contact paper: test it, avoid delicate finishes, and remove it warm and slow. A liner that grips without glue is usually the better rental choice, because it lifts out for washing and leaves nothing behind.
9. Hang Utensils From Removable Hooks
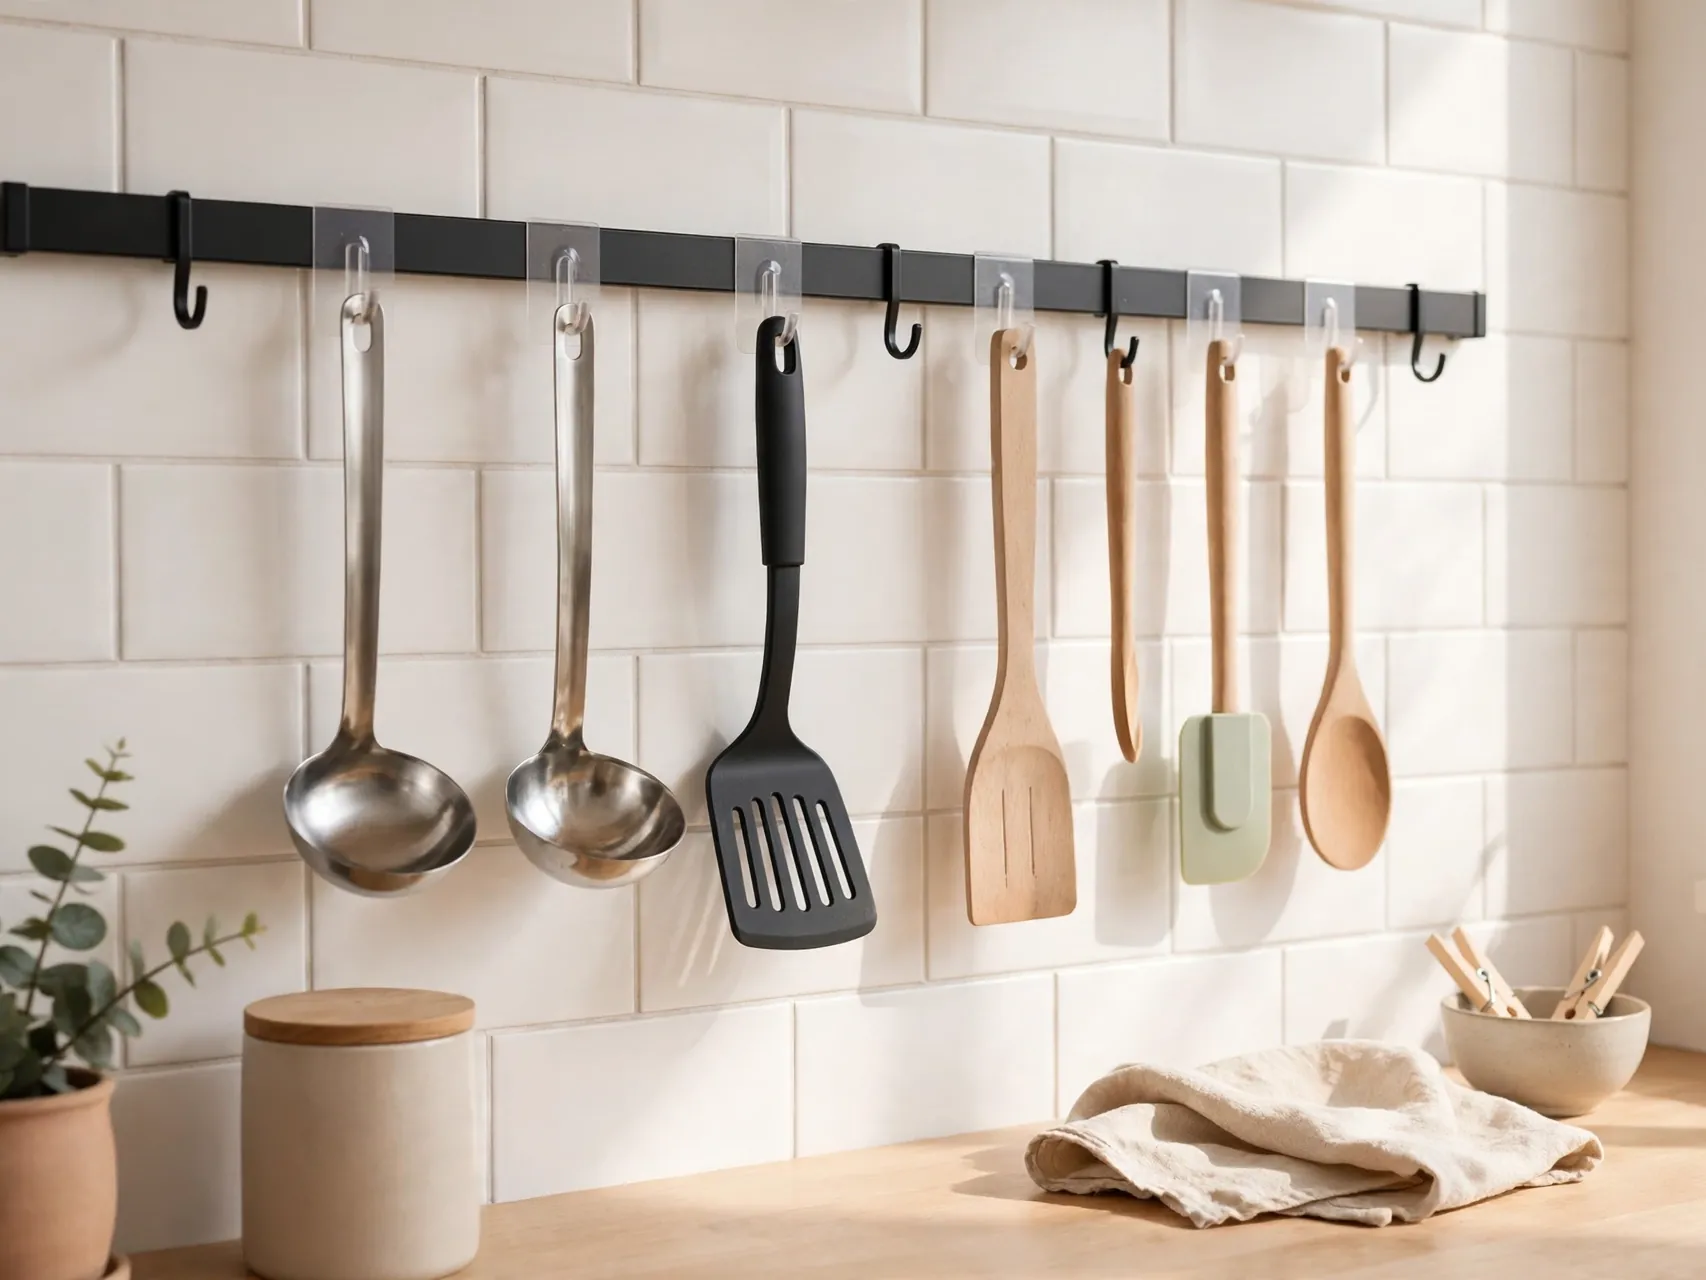
Removable hooks on a tile backsplash area, inside a cabinet door or on the side of a cabinet can hold measuring cups, oven mitts and light utensils where you reach for them. Use only hooks rated for the weight and surface, and follow the maker cleaning steps.
Keep hooks away from stove heat and steam where adhesive can fail, and never hang heavy pans from a hook that is not designed for that load. A small, well placed set looks tidy. A wall of overloaded hooks looks and feels risky.
10. Add a Tension Rod Under the Sink
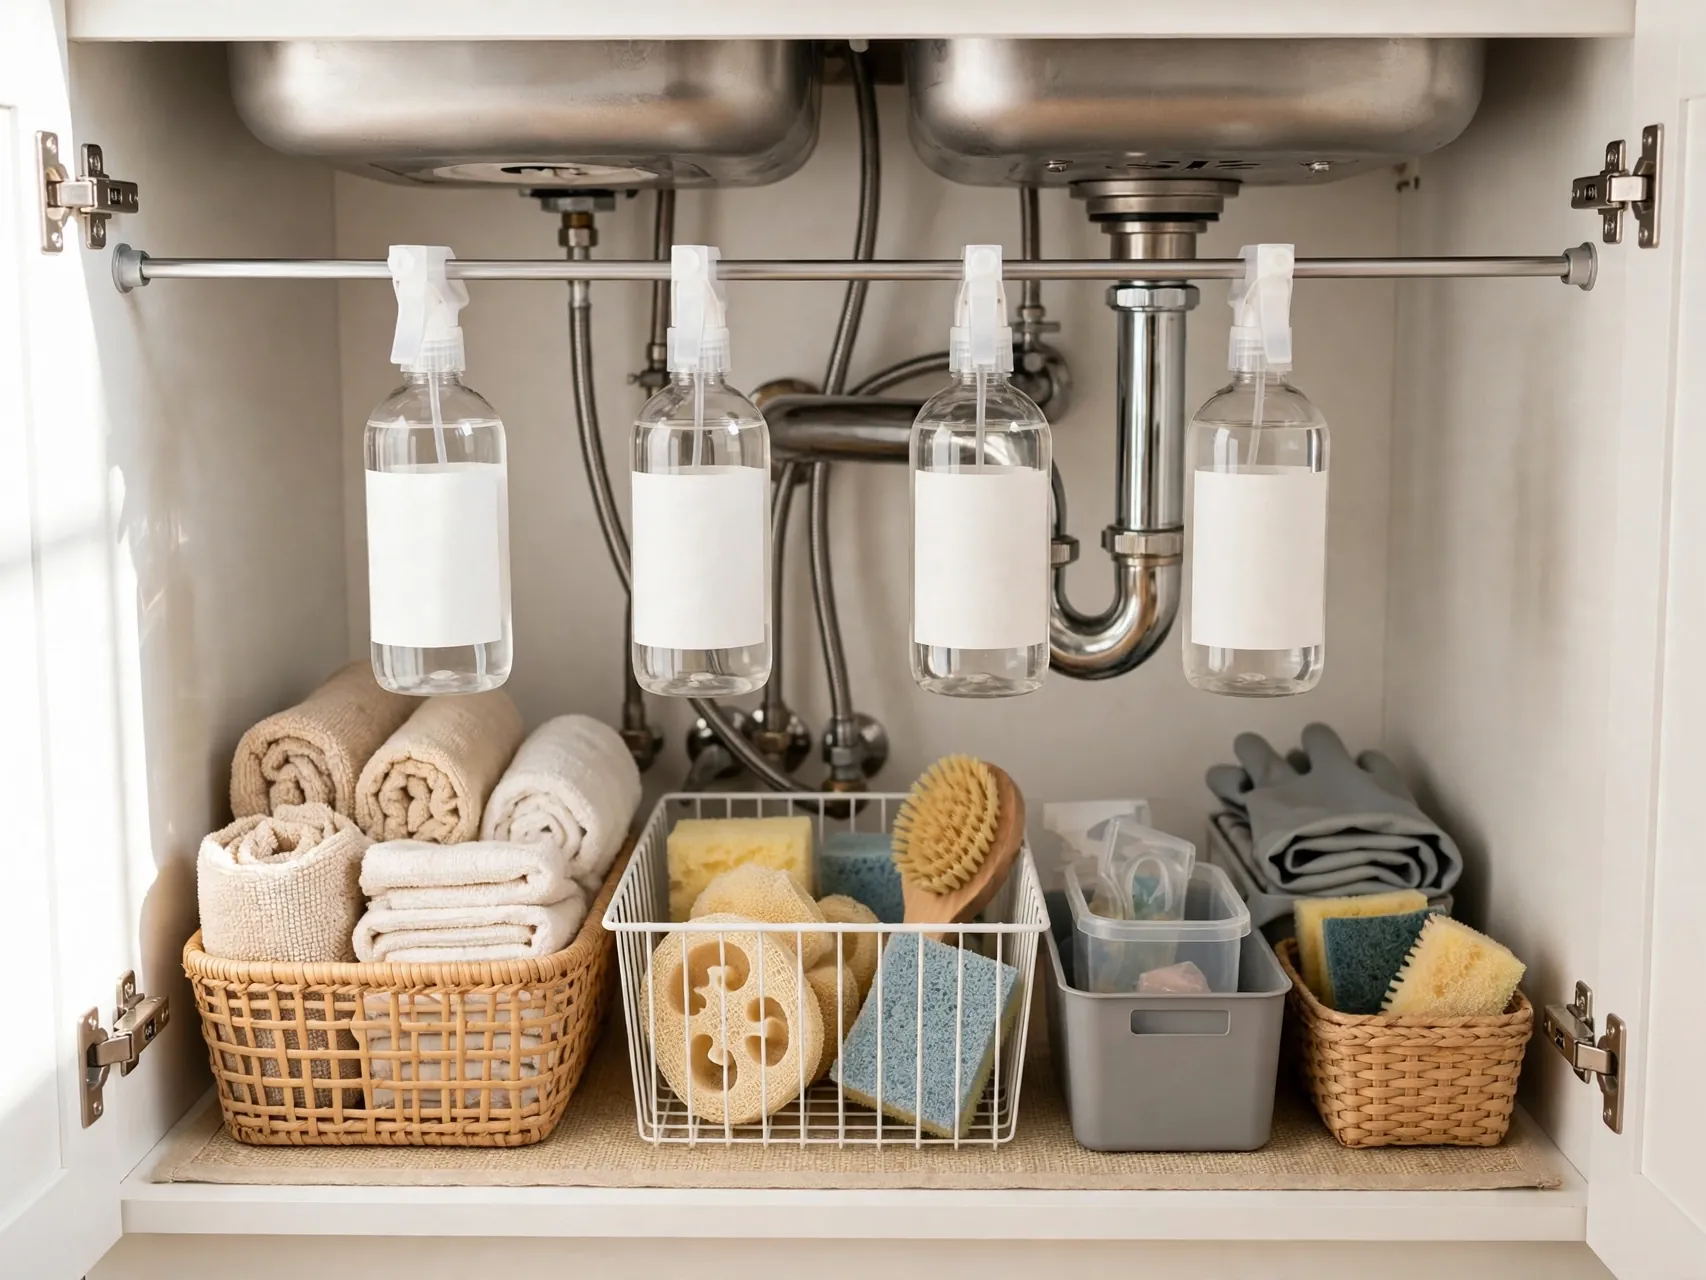
A small tension rod fitted across the under sink cabinet can hang spray bottles by their triggers, freeing the cabinet floor for a bin or basket. It uses pressure alone, needs no screws, and comes out in seconds at move out.
Check the rod fit and load before trusting it with full bottles, and keep cleaning products stored safely, especially in homes with children or pets. This simple change makes a cramped cabinet easier to use every single day, which is the point of a good upgrade.
11. Style Counters With Matching Canisters

Matching canisters for flour, sugar, coffee and tea turn open counter storage into a styled feature. Choose one material or color family, label the fronts if lids look alike, and group canisters on a tray so they move as one unit for cleaning.
Keep only daily items on the counter and store the rest in cabinets, because clear counter space is what makes a small kitchen feel large. Wipe canister bases weekly, since flour and coffee dust collect fast around a busy prep area.
12. Add a Small Herb Pot by the Window

One or two herb pots on the windowsill bring life and flavor to a rental kitchen without any fixing. Basil and parsley suit a sunny sill for many cooks, while a good faux herb can work in a dark kitchen where real plants struggle.
Use a saucer or tray under pots and water carefully so sills and paint stay dry. Water damage is a real rental concern, so check the sill after watering and move pots at once if you see moisture collecting or paint softening.
13. Cover the Floor With a Washable Runner
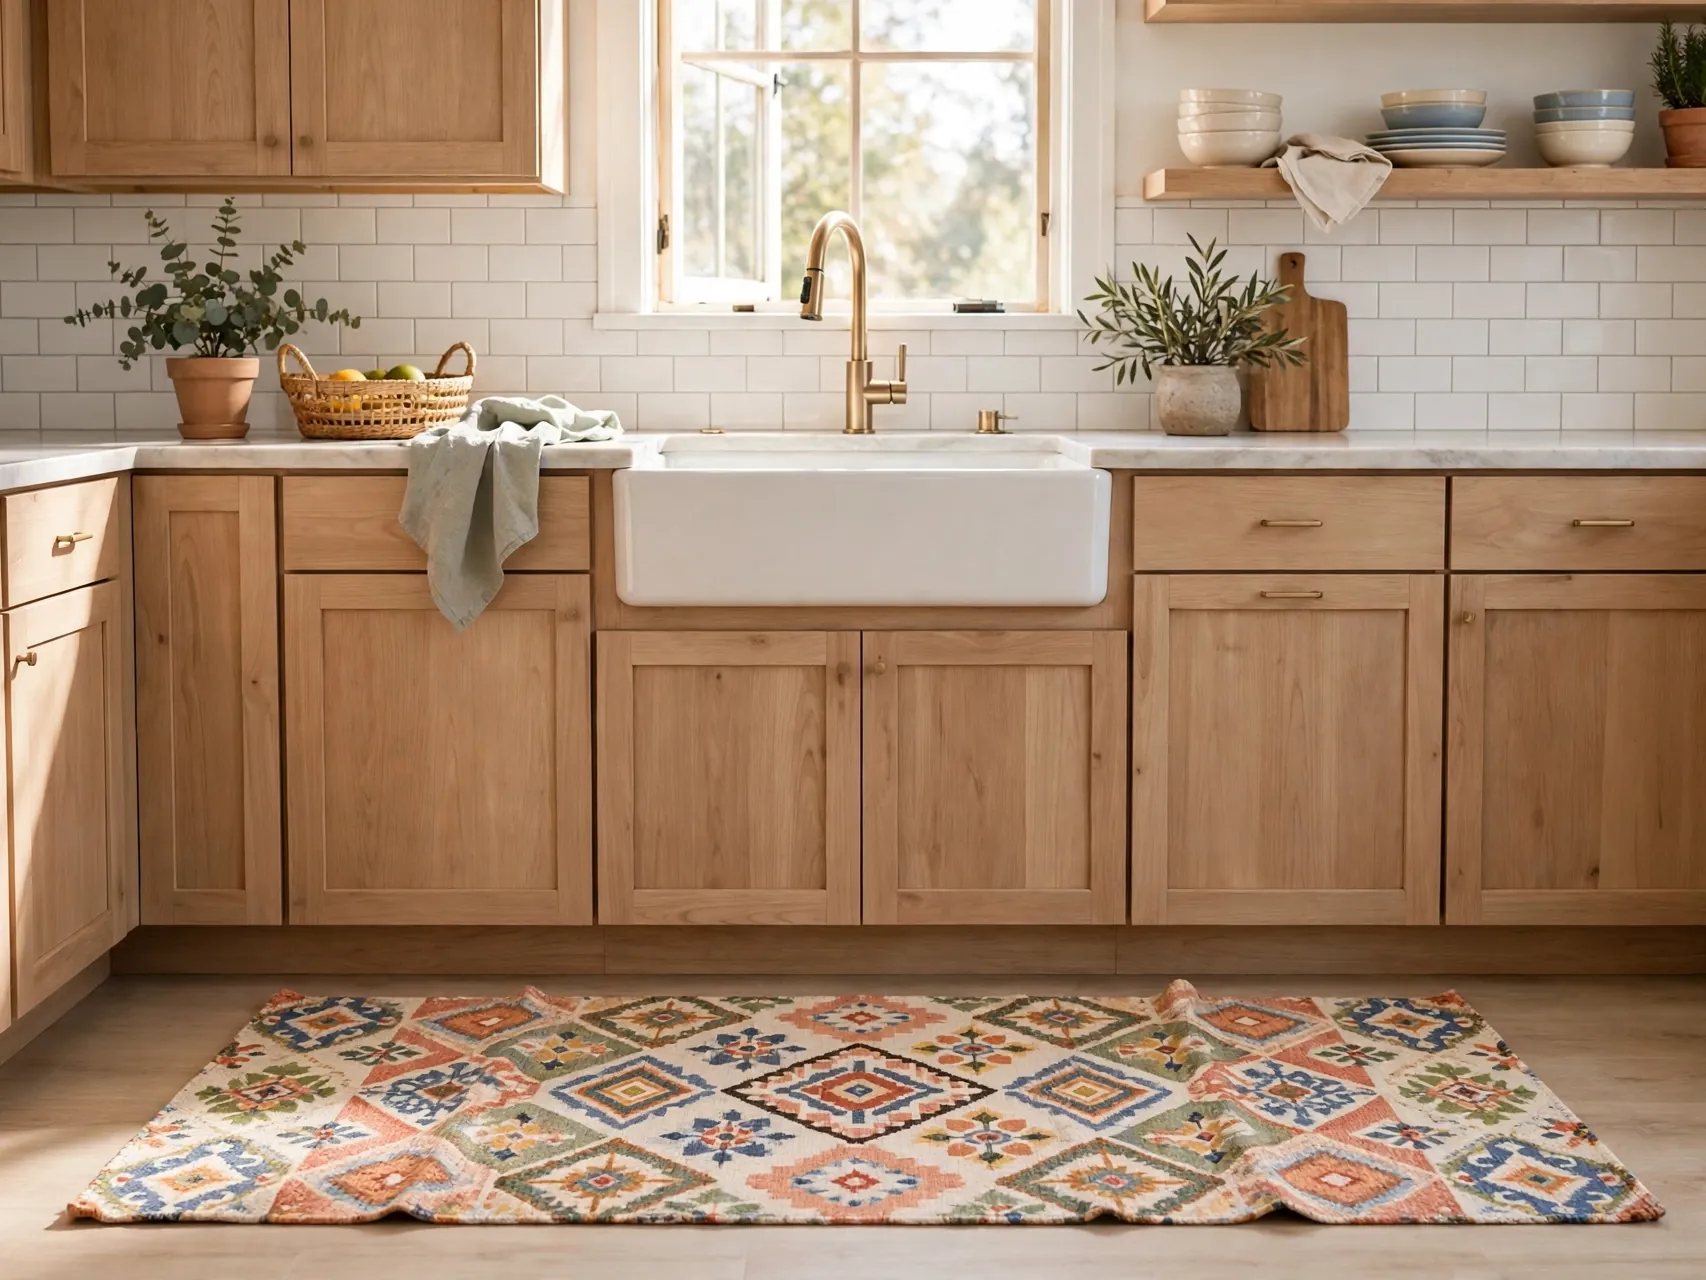
A washable runner in front of the sink or stove softens a hard rental floor, catches drips and adds pattern at ground level. Choose a low pile style that doors can clear, and use a suitable pad so it stays flat and does not become a trip risk.
Vacuum it often and wash it following the care label, because kitchen runners collect grease and crumbs faster than rugs in any other room. A clean runner in a warm color can make white cabinets and plain tiles feel intentional rather than bare.
14. Try Peel and Stick Floor Tiles Carefully
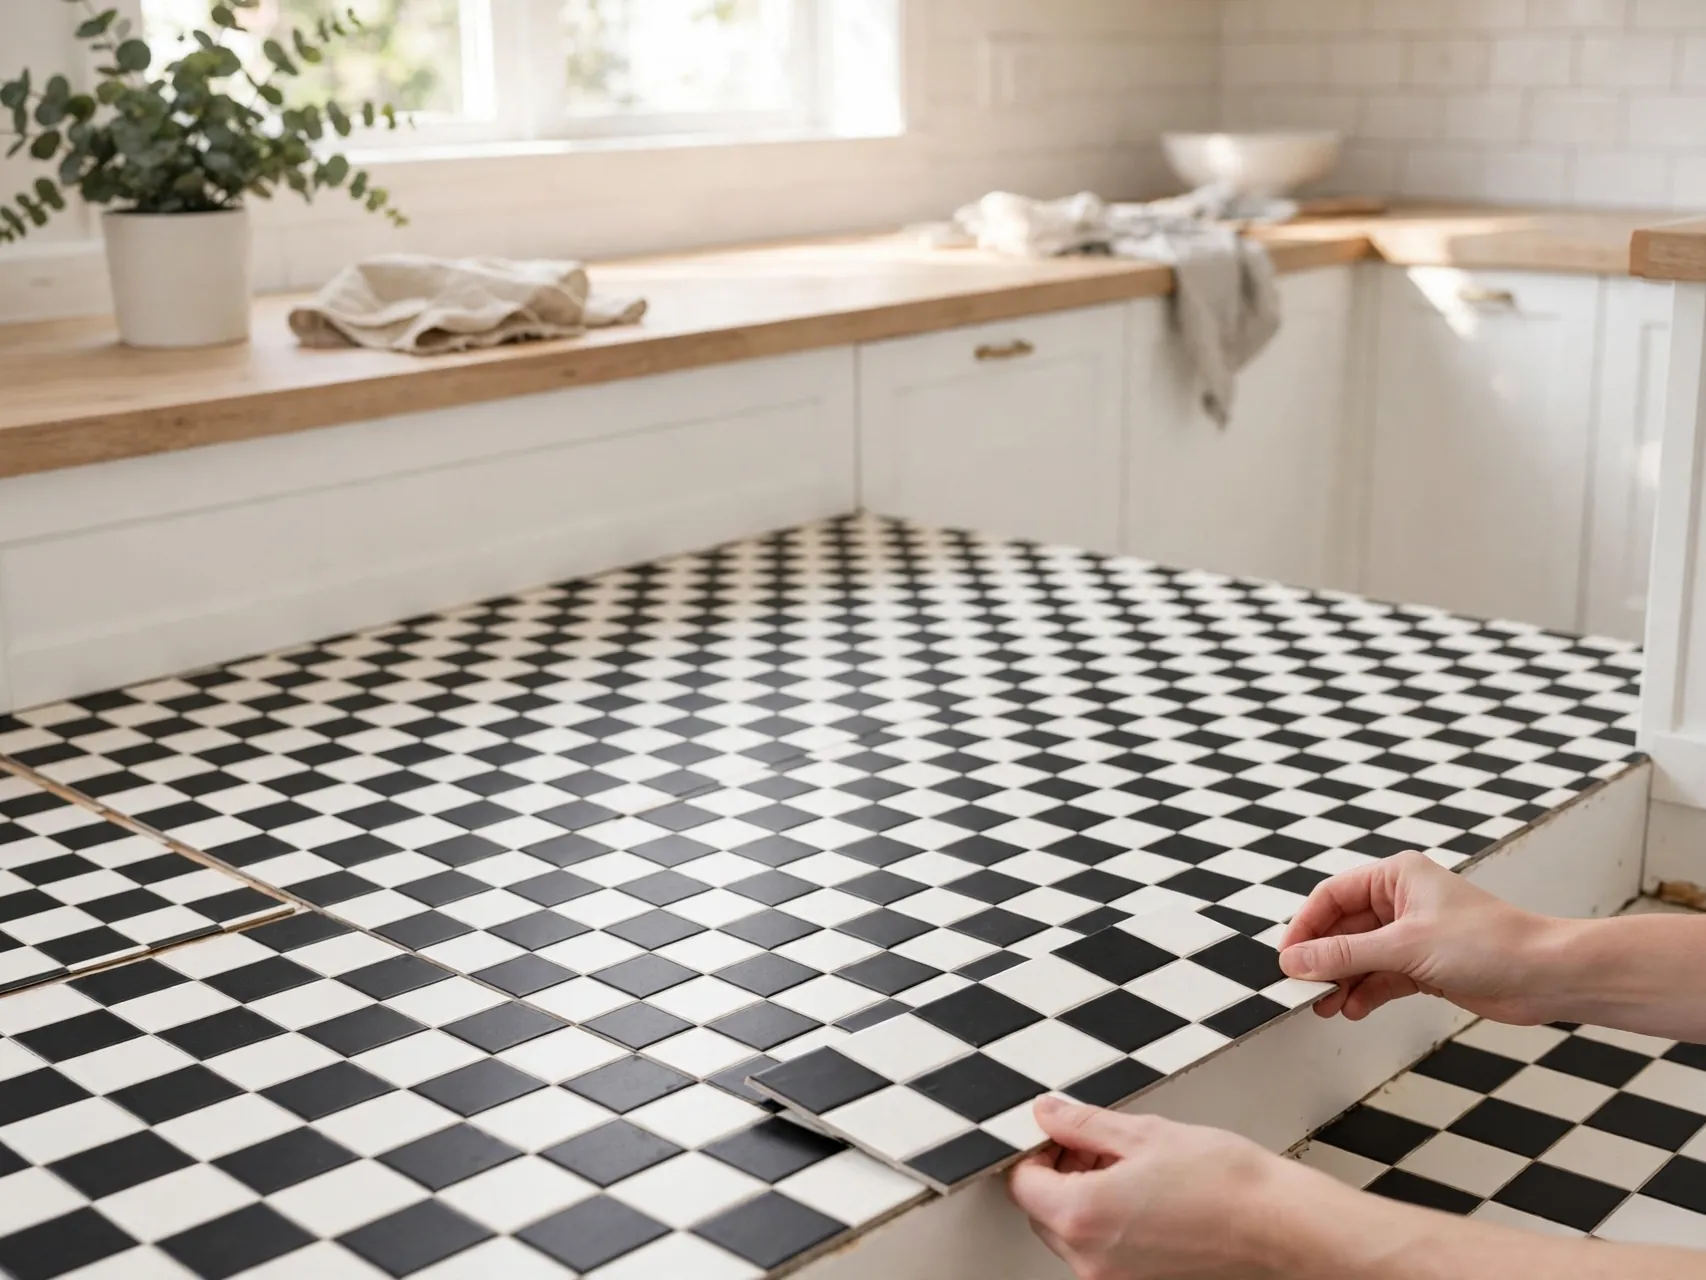
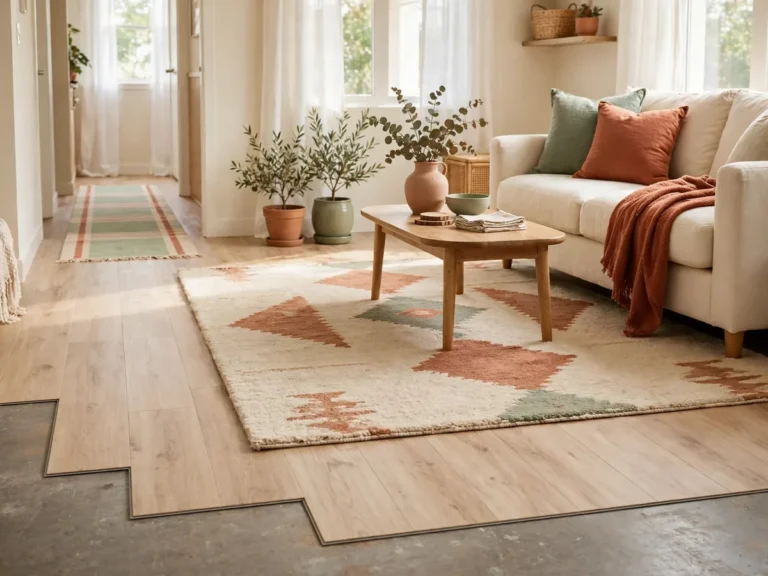
Peel and stick floor tiles can transform dated vinyl, but they need more caution than wall tiles. Confirm your lease allows them, test the product, and consider a removable under layer only if the tile maker guidance supports that method for your floor type.
Keep tiles out of areas that stay wet, clean the floor exactly as directed before fitting, and photograph the original floor first. If adhesion, moisture or floor value worries you at all, choose the runner route instead and spend the budget on lighting and storage.
15. Ask Before Swapping a Faucet or Shower Head

Some renters swap a faucet or handheld shower head and love the result, but plumbing changes are not automatically renter friendly. Get written permission first, keep every original part, and use a qualified person for any work beyond a simple, maker guided fitting.
Never hide a leak or force a fitting that does not match. Water damage spreads quietly and costs far more than any style gain. If permission is not clear, improve the sink area instead with a new dish brush set, soap tray and better lighting.
16. Add a Tiered Spice Rack or Drawer
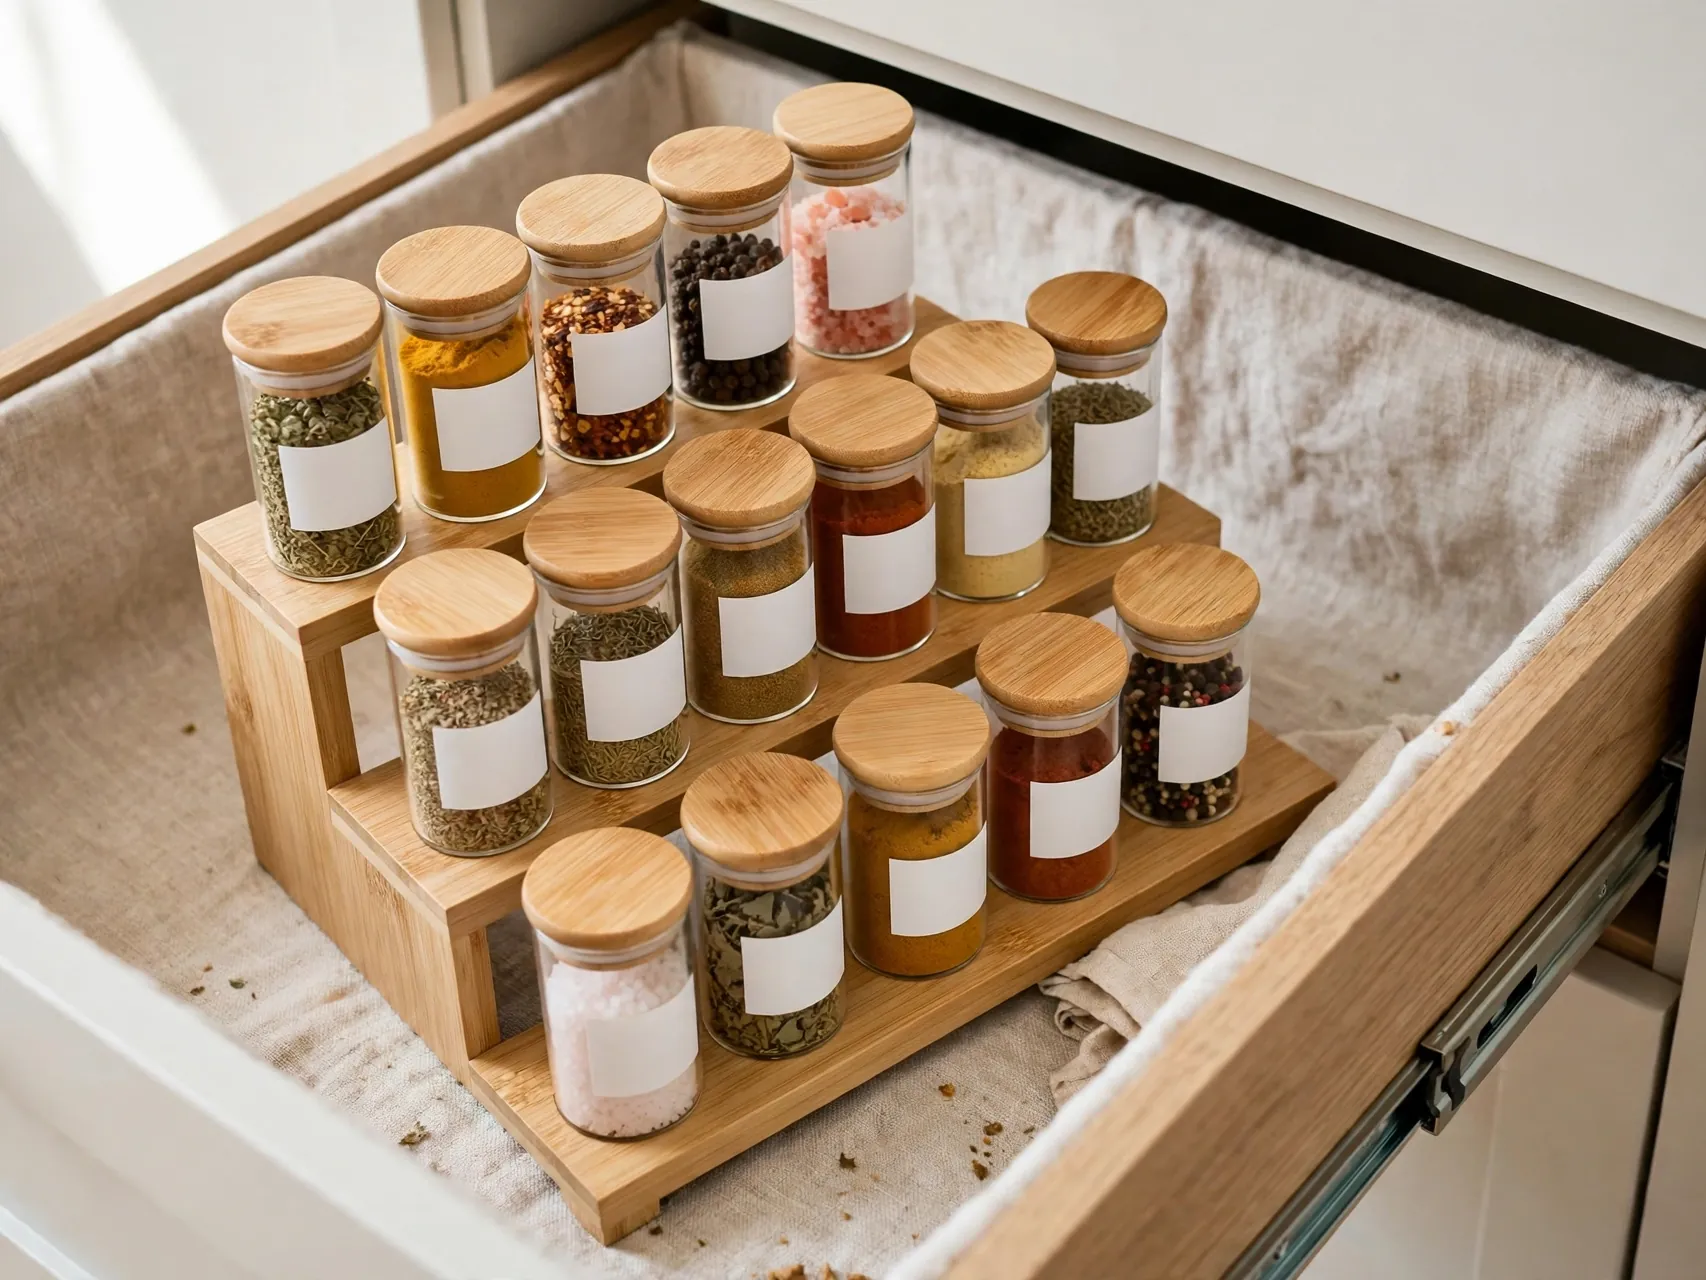
Spices disappear into deep cabinets and expire in the dark. A tiered rack inside a cabinet, a drawer insert or a small freestanding spice shelf puts every jar in view, so cooking is faster and you stop buying duplicates you already own.
Decant only if you will label clearly with the spice name and date. Keep spices away from stove heat and steam where flavor fades faster, and do a quick expiry edit each season. Freestanding racks move to your next kitchen with no trace left behind.
17. Use Stackable Fridge Organizers
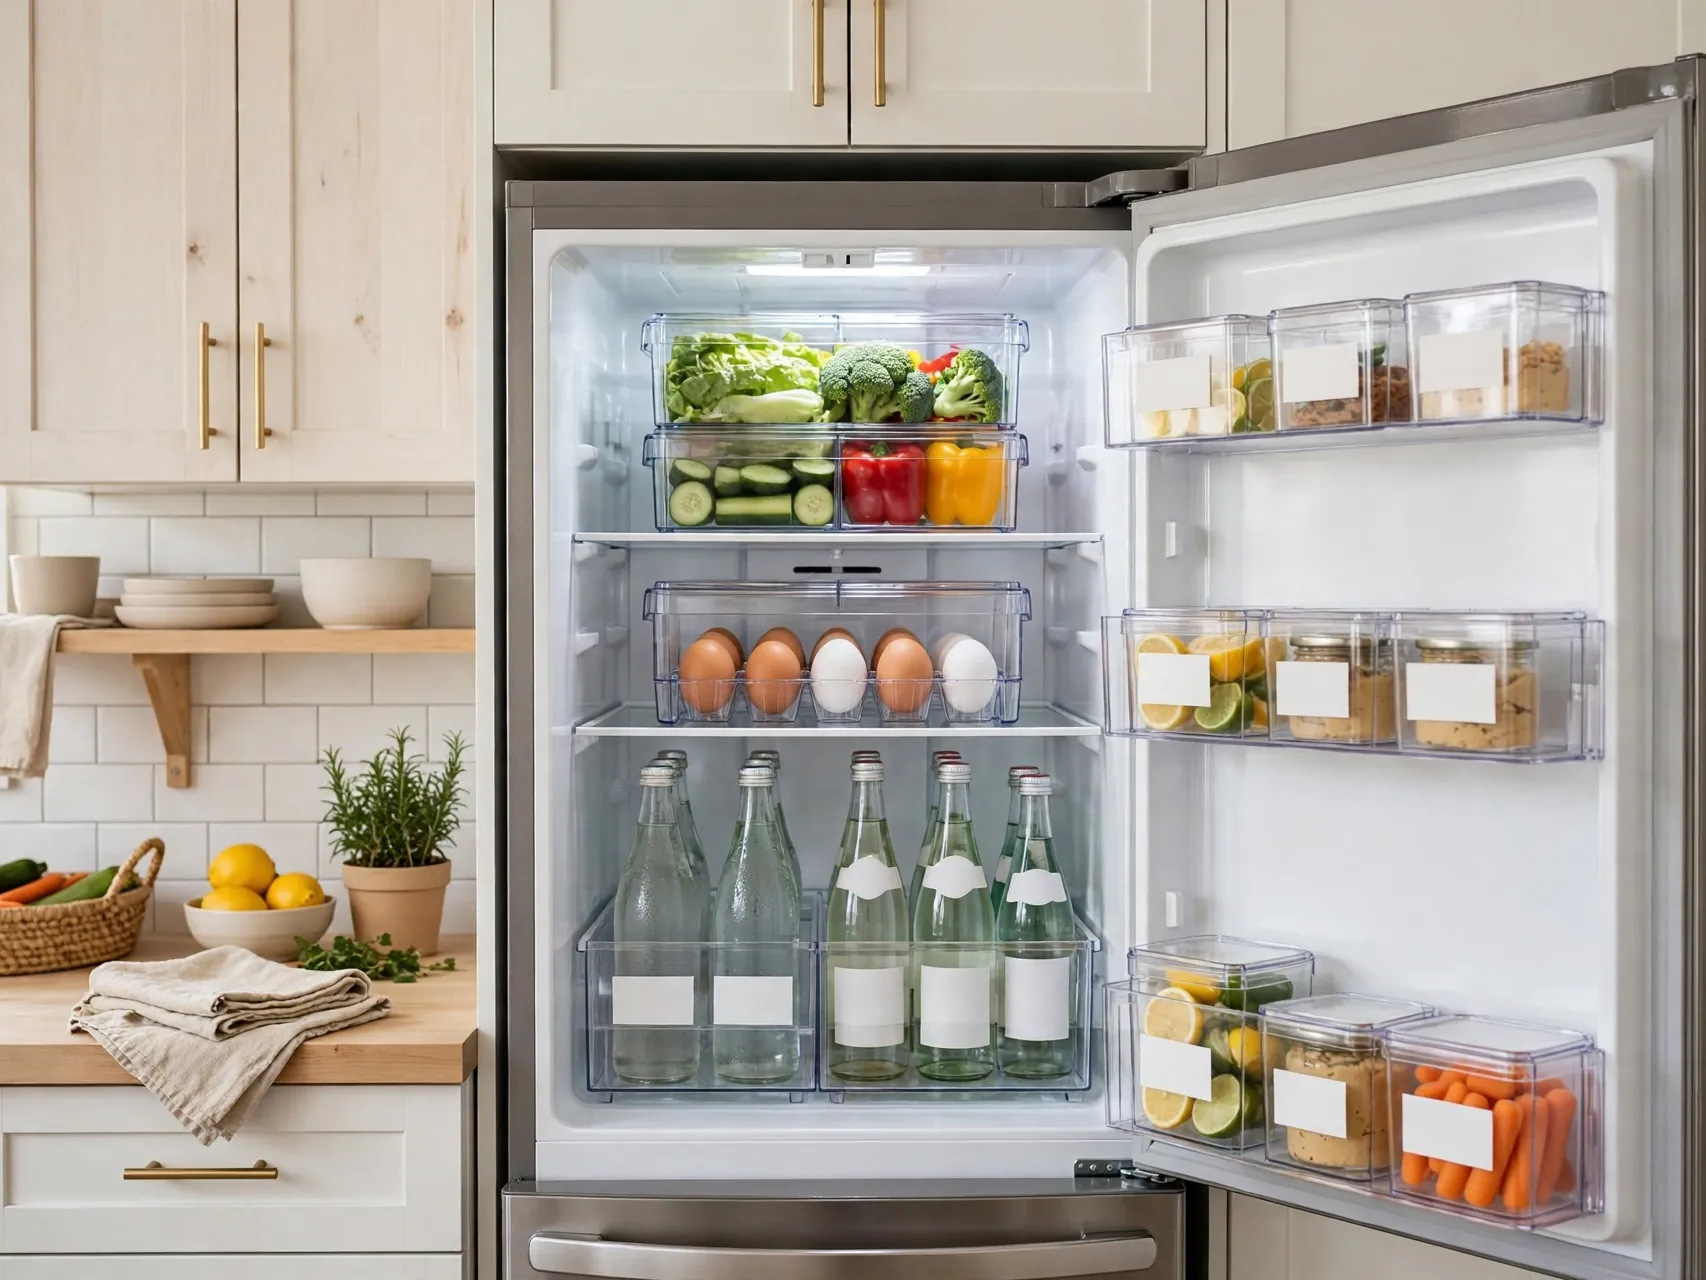
Clear, stackable bins and a simple egg or can organizer turn a chaotic fridge into zones you can see at a glance. Group sauces, snacks, produce and leftovers, and keep raw meat low and contained following food safety guidance for your fridge.
Measure shelf height before buying a set, because tall bins waste space in compact rental fridges. Wash bins weekly as you wipe shelves. Better fridge order saves money too, since food you can see is food you use before it spoils.
18. Set Up a Small Recycling and Compost Station
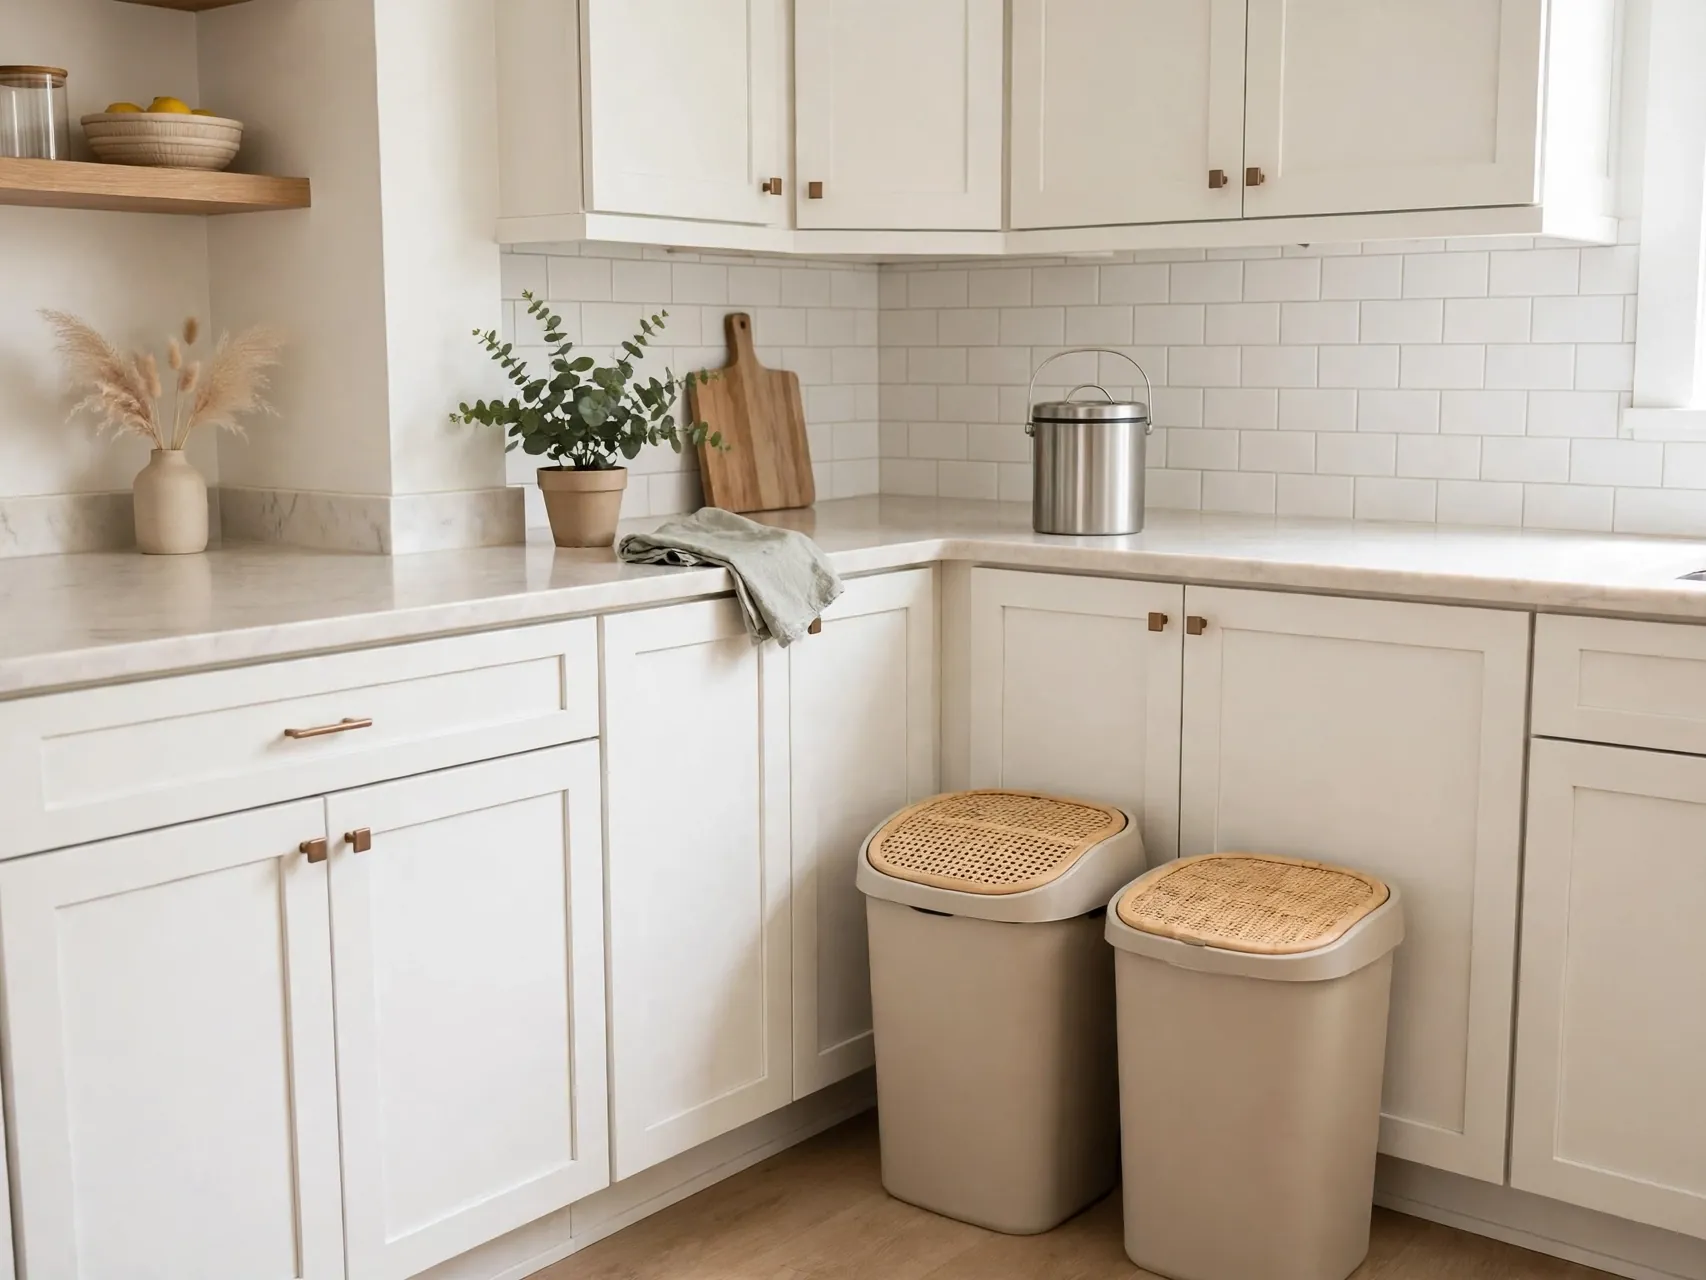
A slim dual bin, a small countertop compost caddy used as its maker directs, or a bag holder inside a cabinet door can keep recycling and food scraps out of your main workspace. Choose a system that fits your local collection rules and your actual habits.
Line bins, wash them often and take recycling out regularly so a small kitchen stays fresh. Because the station is freestanding or door mounted without screws, it adapts to your next home and helps this one feel organized rather than improvised.
19. Use Over Cabinet Door Racks
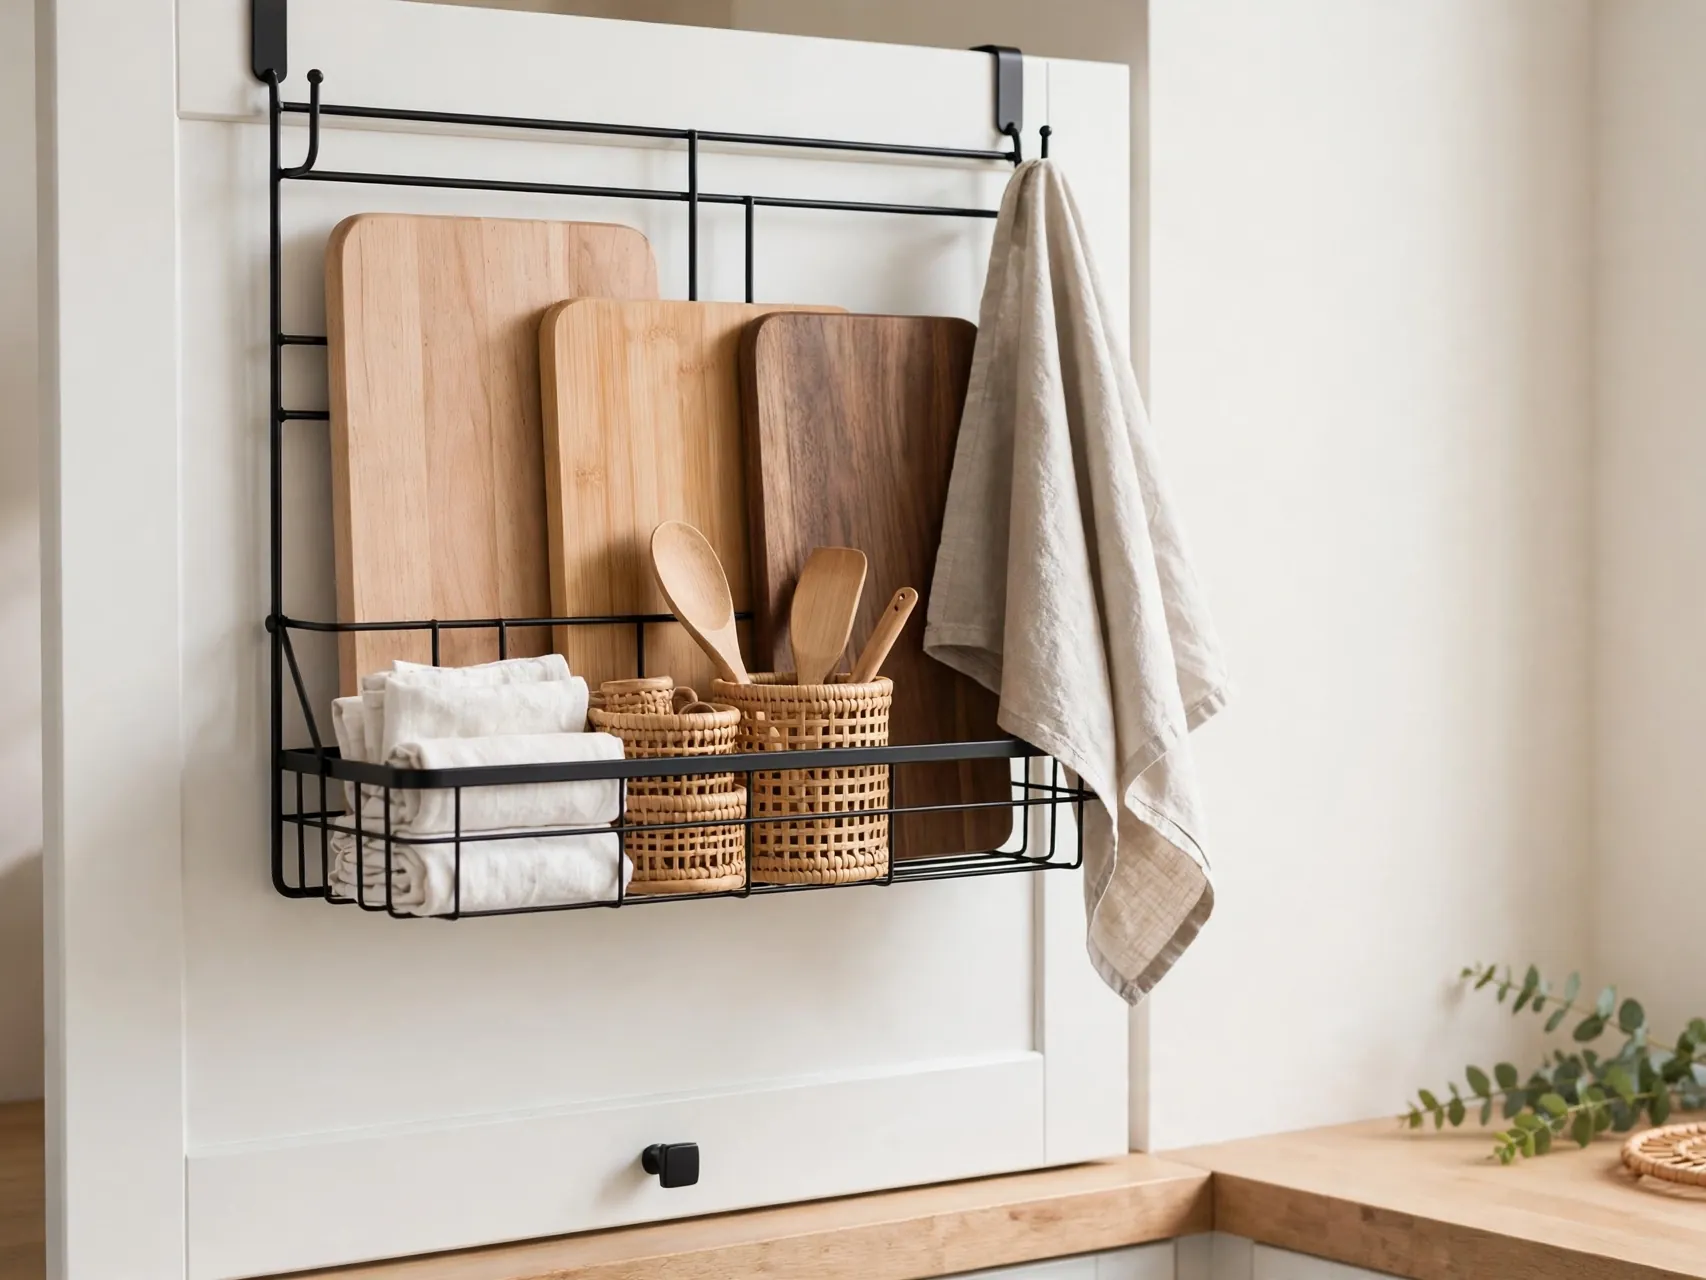
Over cabinet door racks and hooks add a towel bar, lid holder or cleaning supply caddy with no drilling. Fit them as directed, add felt pads where metal touches the door, and check that the door still closes fully without rubbing the frame.
Keep loads light and balanced, especially on upper doors. A rack that holds towels, wraps or pot lids well is a quiet win in a small rental kitchen, where every cabinet interior is already full and counter space is precious.
20. Refresh Appliances With Removable Skins
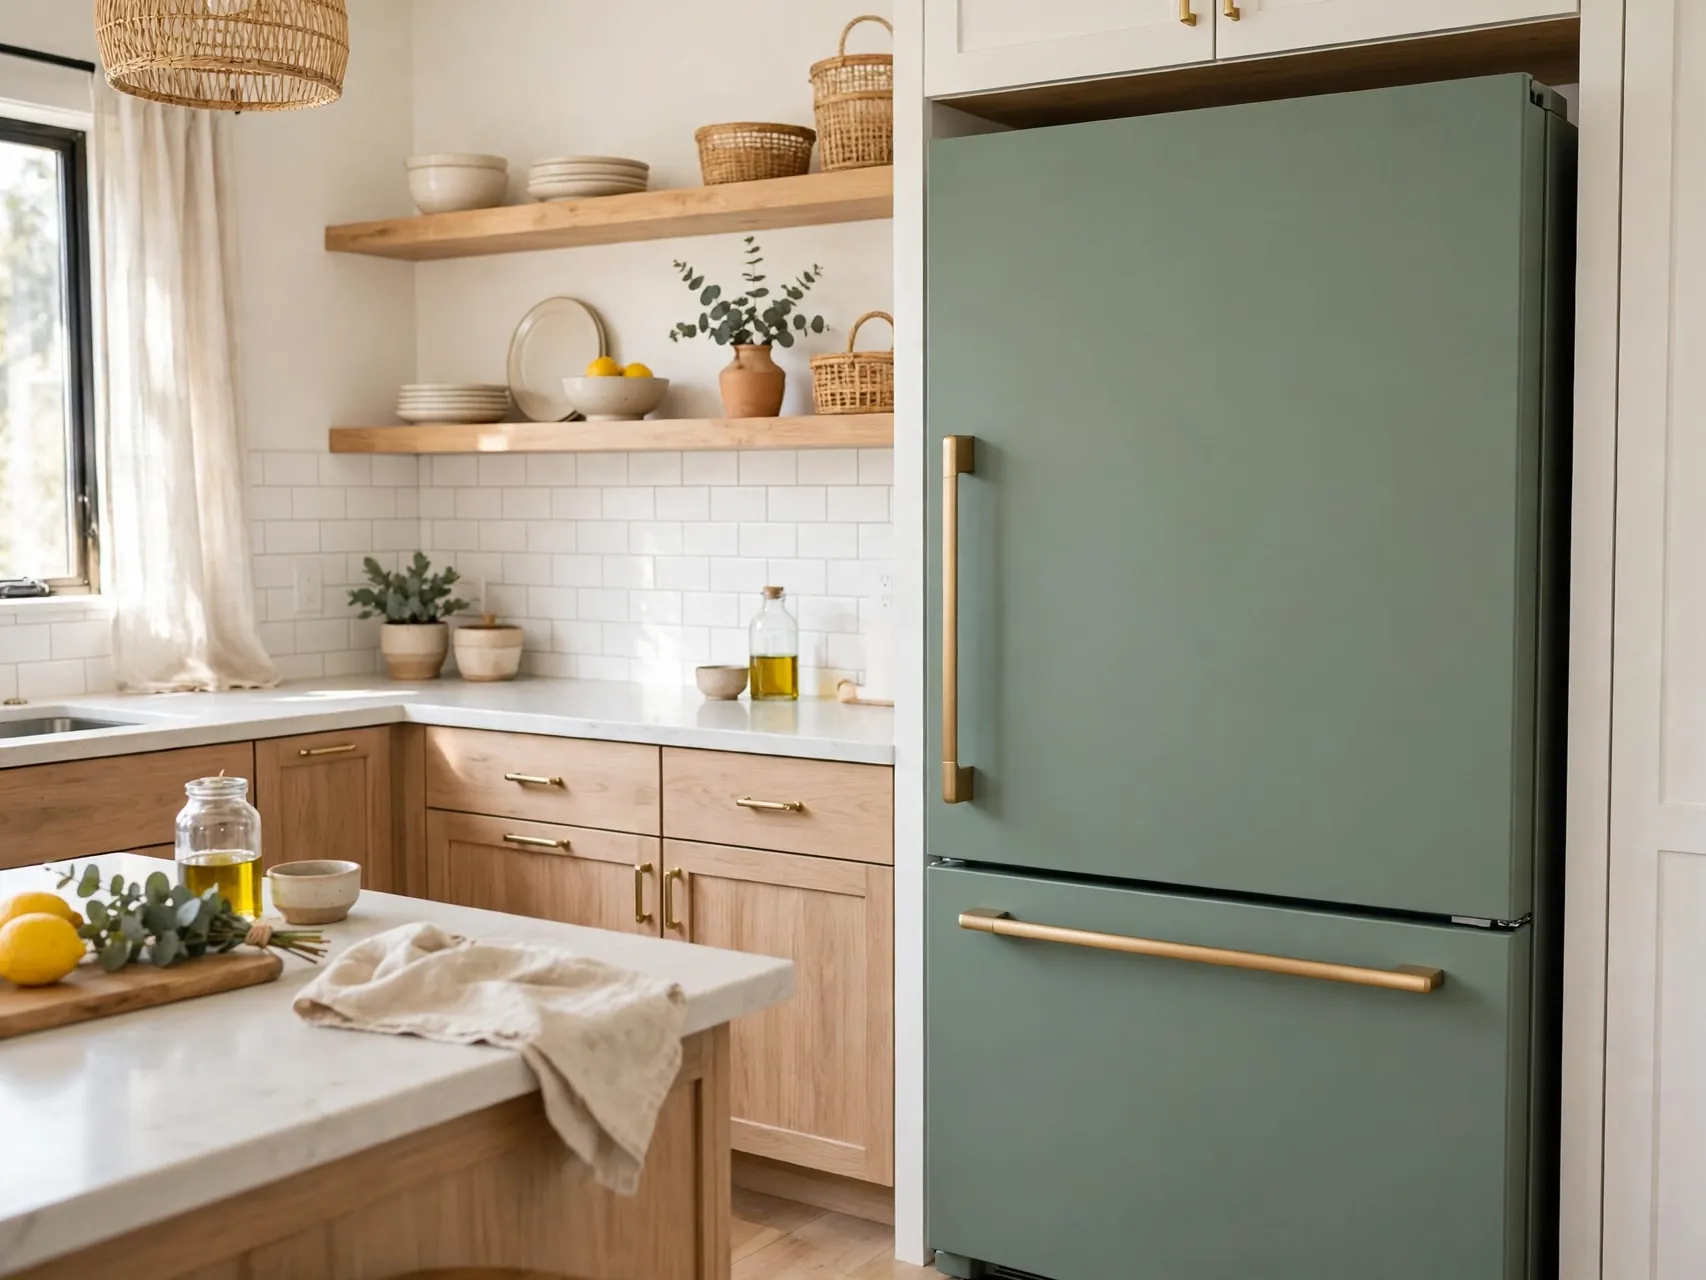
Removable appliance panels, magnetic covers and approved vinyl skins can tone down a mismatched fridge or dishwasher front and tie it to your cabinet colors. Choose products made for appliances, follow the maker guidance, and keep vents and handles fully clear.
Test a corner first and never cover controls, seals or warning labels. If a skin risks trapping moisture or tearing a finish on removal, skip it and use styling instead: a runner, canisters and a plant can distract from an appliance you dislike surprisingly well.
21. Create a Coffee Station on a Tray

Group your coffee maker or kettle, cups, filters and beans on one tray or small cart section to create a coffee station that feels like a cafe corner. Containing the daily routine stops it spreading across the whole counter during busy mornings.
Add a small hook or basket for filters, wipe the tray weekly and keep cords tidy and clear of water. A defined station is easy to pack when you move and easy to recreate on day one in your next kitchen, which renters appreciate most.
22. Add Removable Paper to Cabinet Backs

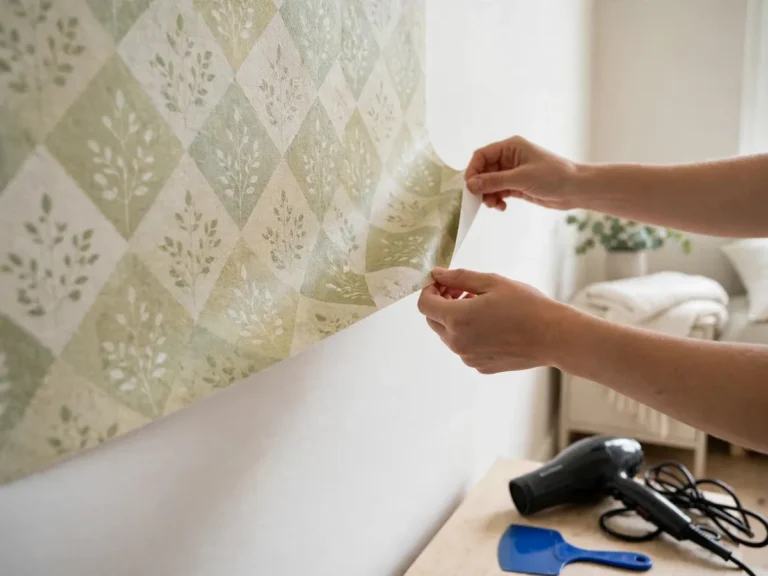
A strip of removable wallpaper or liner on the back wall inside glass front cabinets, an open shelf or a pantry section adds pattern where it peeks through dishes and jars. It is a small area, so it is affordable, quick and low risk to test.
Measure and cut carefully, smooth bubbles as you go, and keep paper clear of heat and heavy moisture. Because the area is enclosed and visible daily, choose a pattern you will enjoy seeing with your everyday dishes, not only on special occasions.
23. Finish With Labels and a Weekly Counter Edit

Labels on bins, canisters and fridge zones keep your new systems working after the makeover weekend ends. Use one label style for a calm look, and keep a small basket as a landing spot for items that do not yet have a home.
Once a week, clear the counters fully, wipe every surface, and put back only what earns its place. That ten minute edit is what keeps rental kitchen makeover ideas looking fresh for the whole lease, not just for the first photos after you finish.
FAQ
What is the best first renter friendly kitchen upgrade?
Start with a peel and stick backsplash if your lease and wall surface allow it, plus plug in under cabinet lighting. Together they change what you see and how well you can work, they need no wiring or grout, and both can be removed or taken with you later.
Will peel and stick products damage my rental kitchen?
Removable products are designed to come off cleanly, but results depend on the product, surface, heat, moisture and time in place. Test in a hidden area, follow the maker instructions exactly, avoid delicate or damaged finishes, and remove slowly with gentle heat if directed.
How do I upgrade a rental kitchen on a small budget?
Prioritize free and low cost wins first: declutter counters, add matching canisters and labels, fit a tension rod under the sink, and style a coffee tray. Then spend on lighting and one surface change, such as a backsplash, rather than many small decorative items.
Can I paint my rental kitchen cabinets?
Painting cabinets is a permanent change for most leases and should not be done without clear written permission, including the agreed color and what must be restored at move out. Removable paper, new knobs you swap back later and styling give a safer refresh without that risk.
How do I keep a small rental kitchen organized after the makeover?
Give every category a visible home with tiered racks, fridge bins and over door storage, then do a short weekly counter edit. Systems that are easy to reset, labeled clearly and sized to your cabinets will hold up far better than a one time deep tidy.
Key Takeaways
- Change surfaces the reversible way: Peel and stick backsplashes, careful contact paper and removable cabinet back paper add color without renovation.
- Fix light and storage next: Plug in under cabinet lights, rolling carts, tiered racks and fridge bins make daily cooking easier.
- Keep every original safe: Store landlord knobs, fixtures and parts in labeled bags and get written permission for plumbing changes.
- Use freestanding systems: Coffee trays, over door racks and portable islands add function and leave with you at move out.
- Test and photograph first: A hidden test patch and original condition photos protect delicate finishes and your deposit.
- Edit weekly to keep the impact: Clear counters, wipe surfaces and reset labels so the kitchen stays fresh for the whole lease.
Save this guide to Pinterest and pin the upgrade you will try first to plan a rental kitchen that finally feels like yours.