24 Tiny Home Storage Hacks That Maximize Every Inch
Introduction
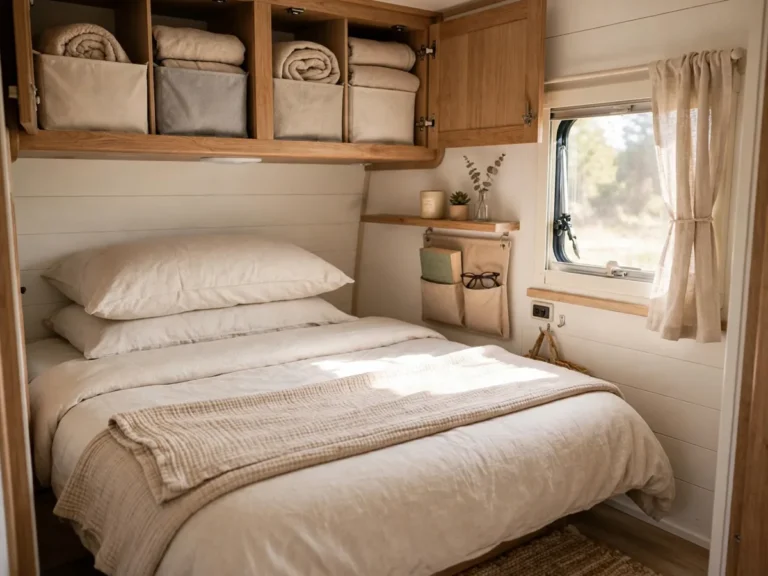
A tiny home does not need more storage furniture, it needs better use of the space it already has. The walls, stairs, doors, gaps, and hollow furniture you walk past every day can hold far more than the few closets most tiny homes offer.
Work in a simple order. Start low with under bed and under stair space, go vertical with shelves, pegboards, and door storage, then finish with the habits that stop clutter from returning. Each hack is renter aware where possible and uses light, standard organizers you can measure and test.
Measure first, always. Tiny homes punish guesses, a bin that almost fits becomes clutter itself. Keep a list of your key dimensions on your phone, buy one of any organizer to test, and only then buy the full set.
Finally, remember that storage is only half the job. A tiny home stays tidy when every item has a zone, containers set honest limits, and a small donation habit keeps the total volume in balance with the space you actually have.
1. Use Under Bed Drawers and Rolling Bins
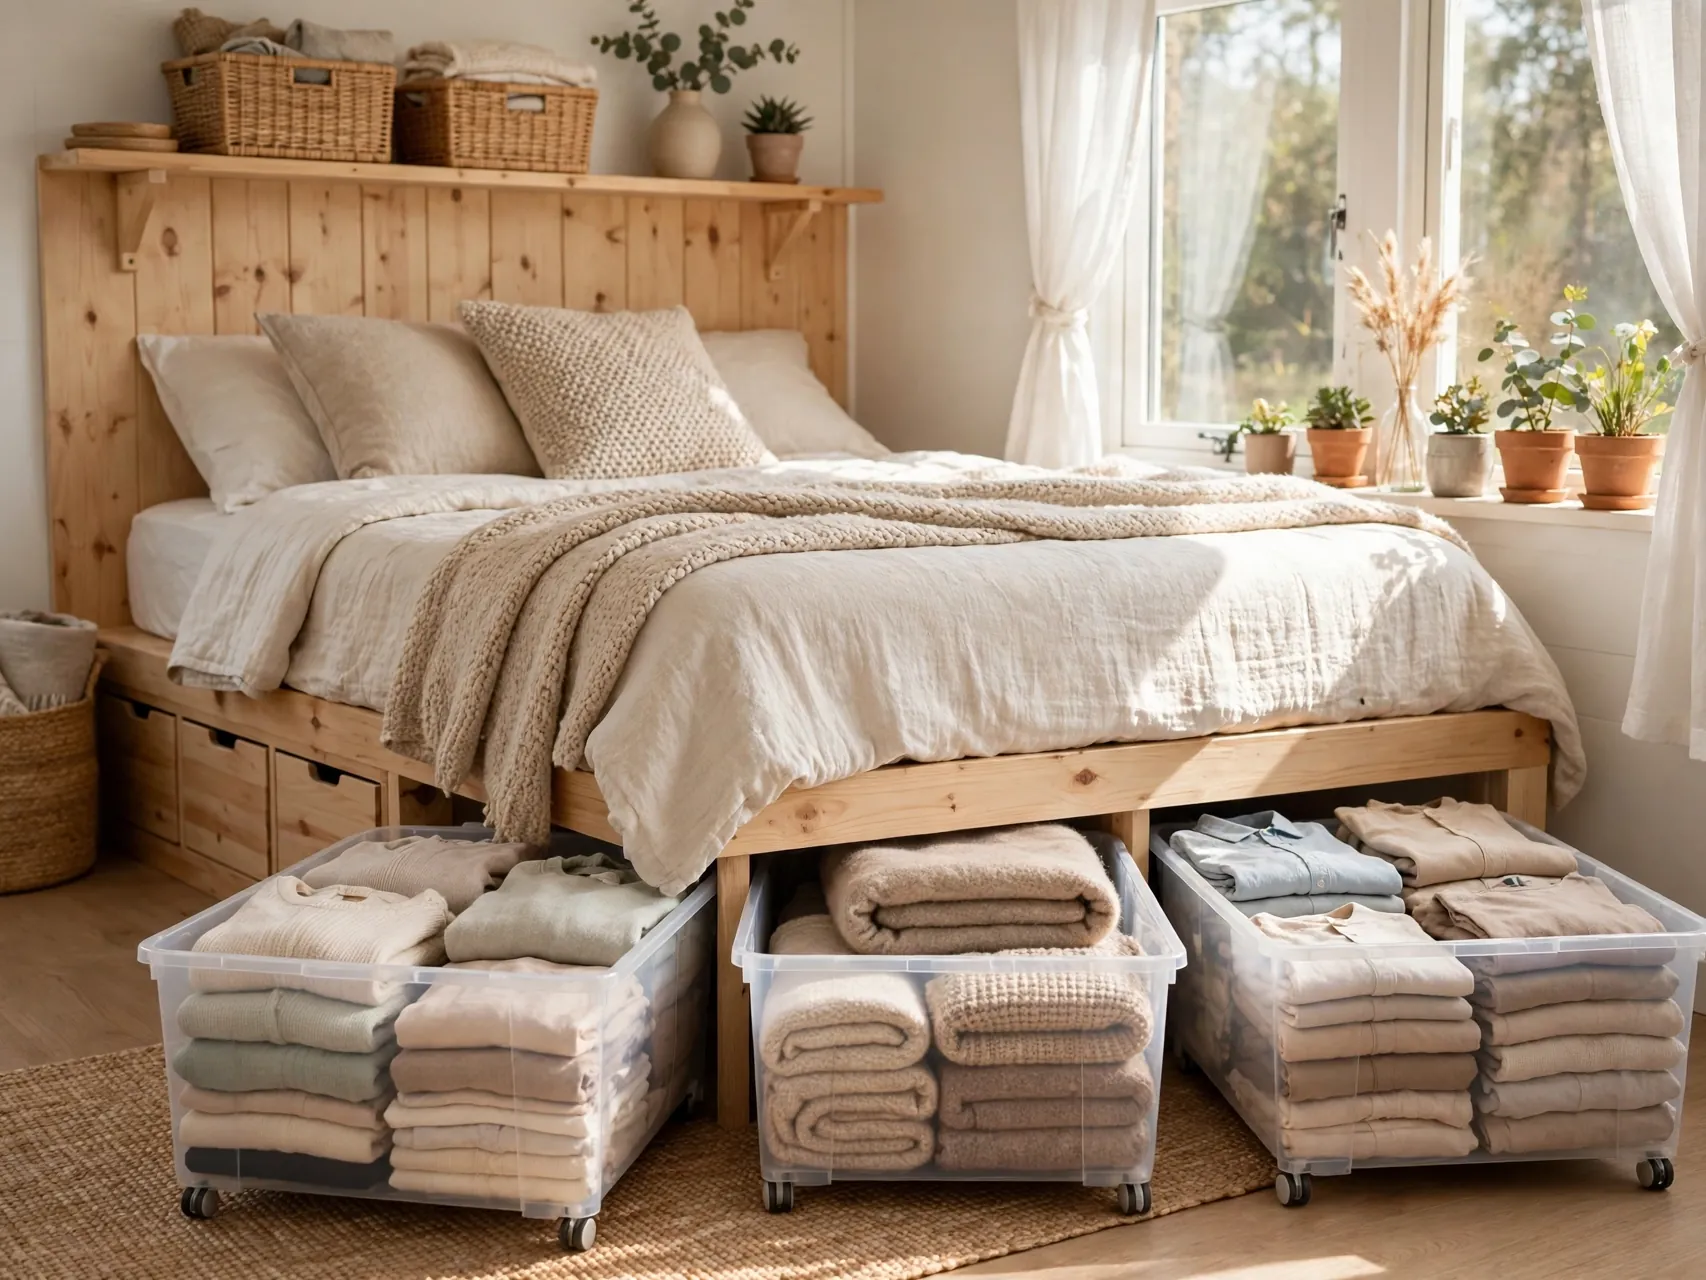
The space under a bed or loft platform is some of the largest storage in a tiny home. Low drawers, rolling bins, or zippered fabric boxes turn it into a dresser for clothing, shoes, and linens that stays hidden and dust free.
Choose bins with handles and smooth wheels or glides for your floor type, and label the end that faces out. Store daily items near the front edge and seasonal pieces deeper in.
2. Build Storage Into Stairs and Loft Steps
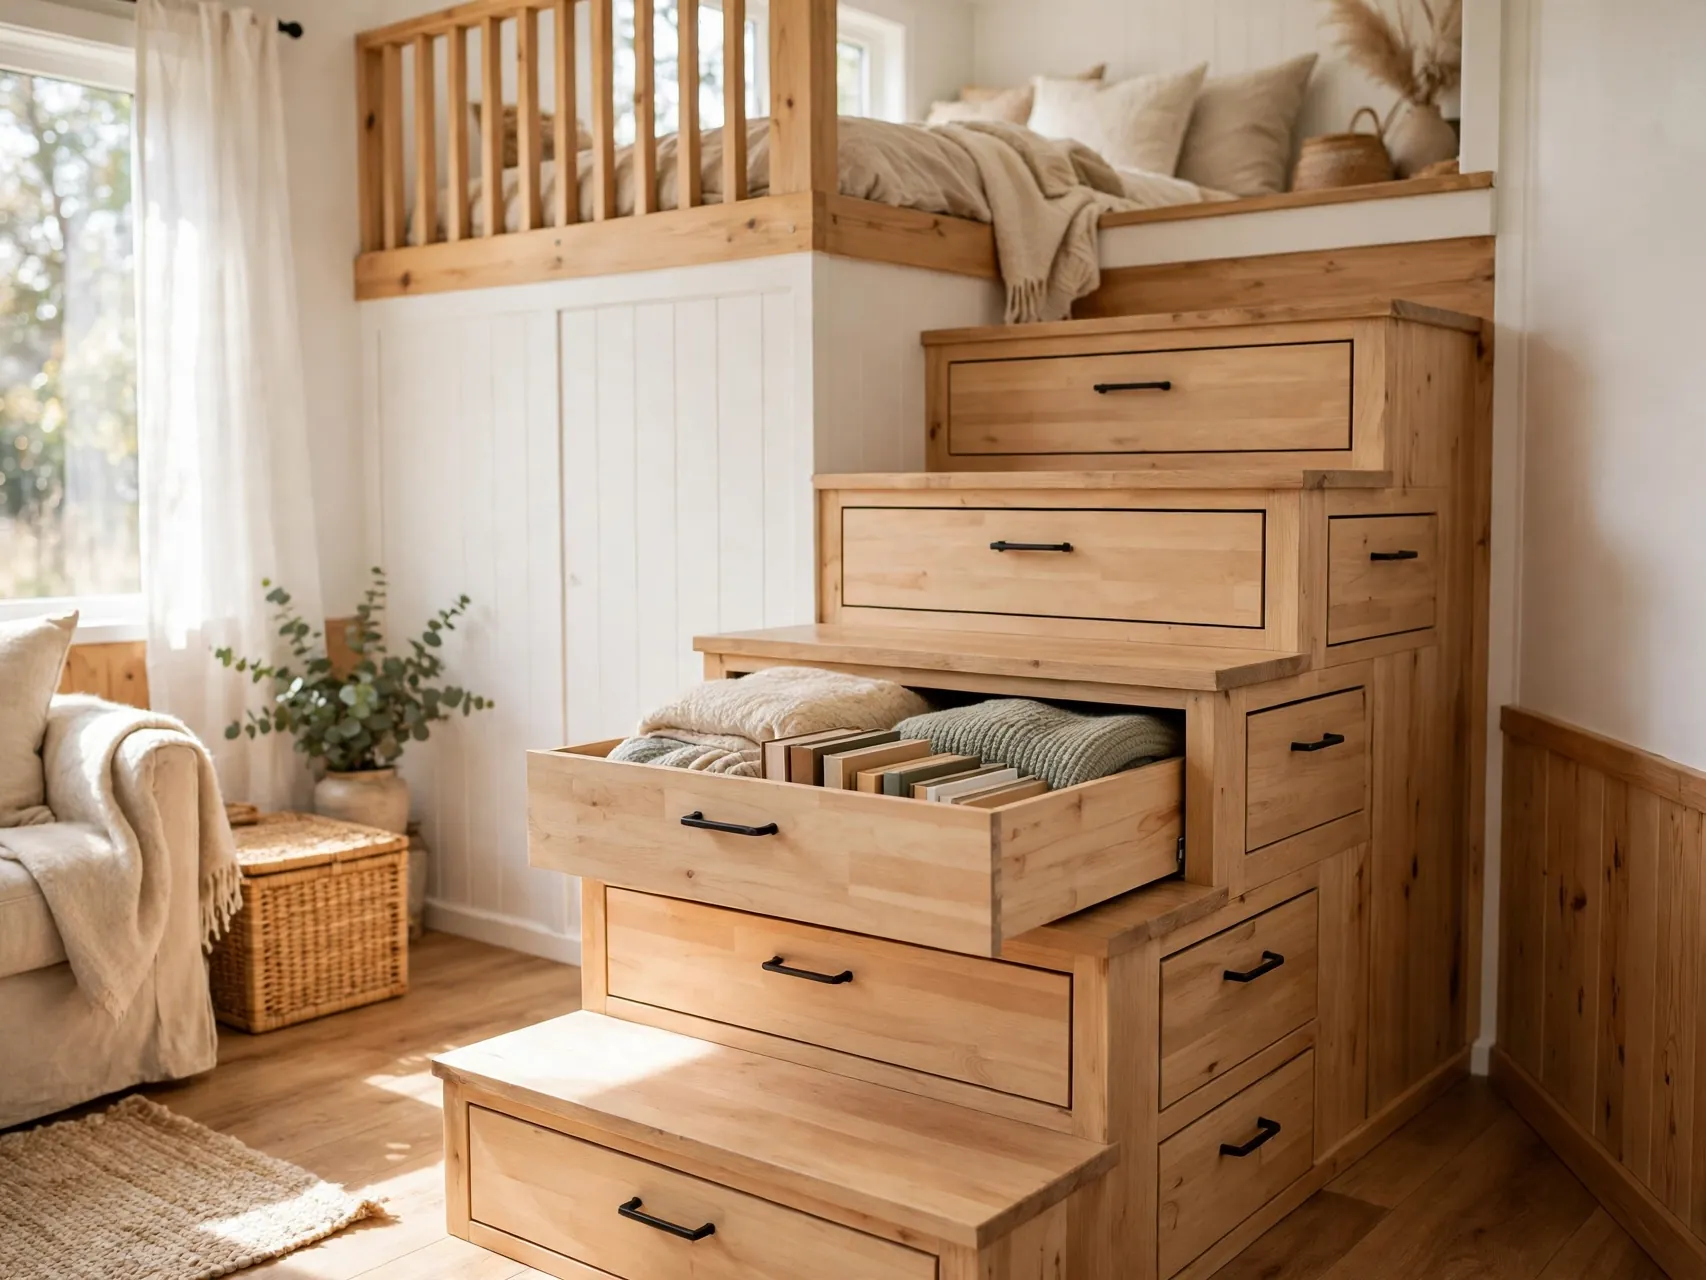
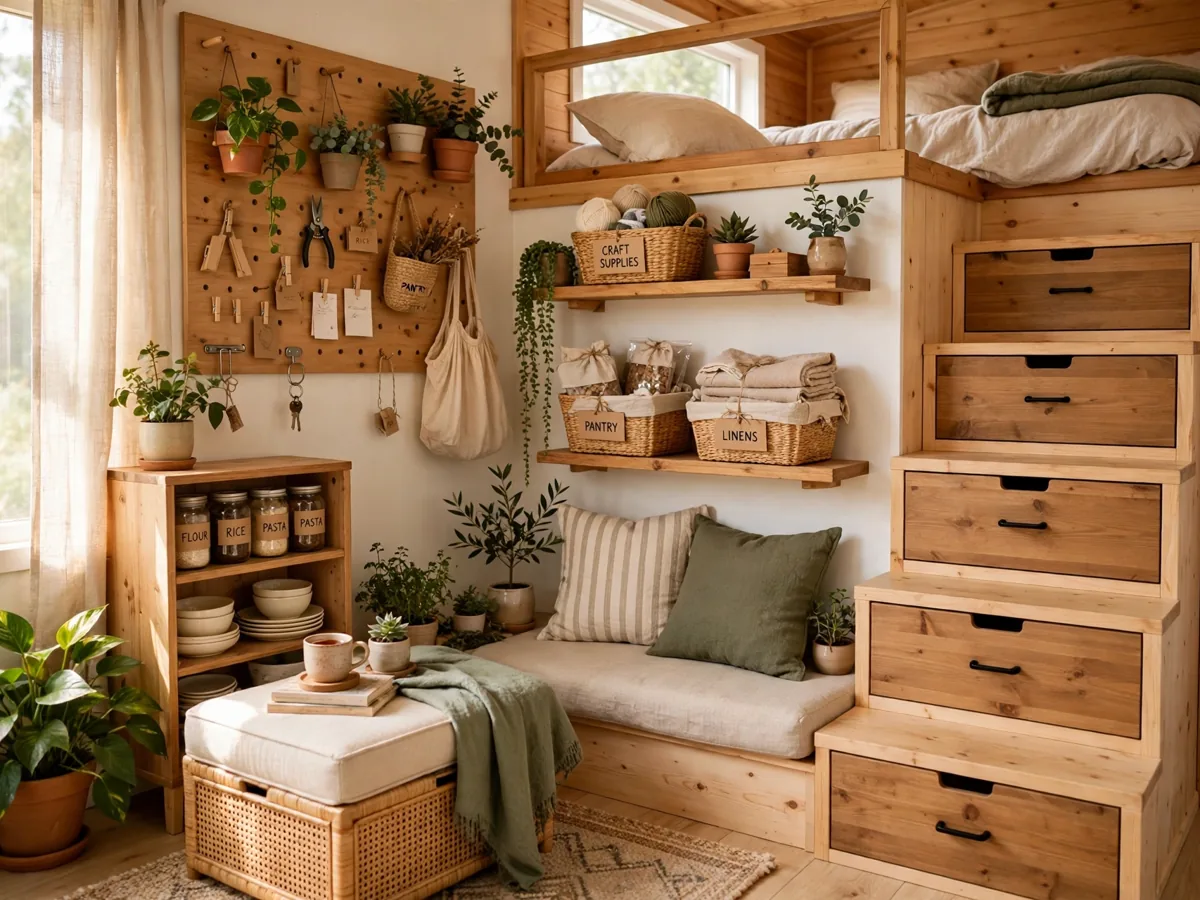
In a tiny home with a loft, the staircase is prime real estate. Drawers built into stair treads, a cabinet under the flight, or open cubbies along the side can hold shoes, tools, pantry extras, and cleaning supplies right where you pass them daily.
If a remodel is not possible, place matching baskets or bins on a wide step landing or under an open stair to get a similar effect. Keep treads themselves clear and safe, never store loose items where feet land. Any structural change should follow local building guidance and maker instructions.
3. Choose a Storage Ottoman That Works Three Ways
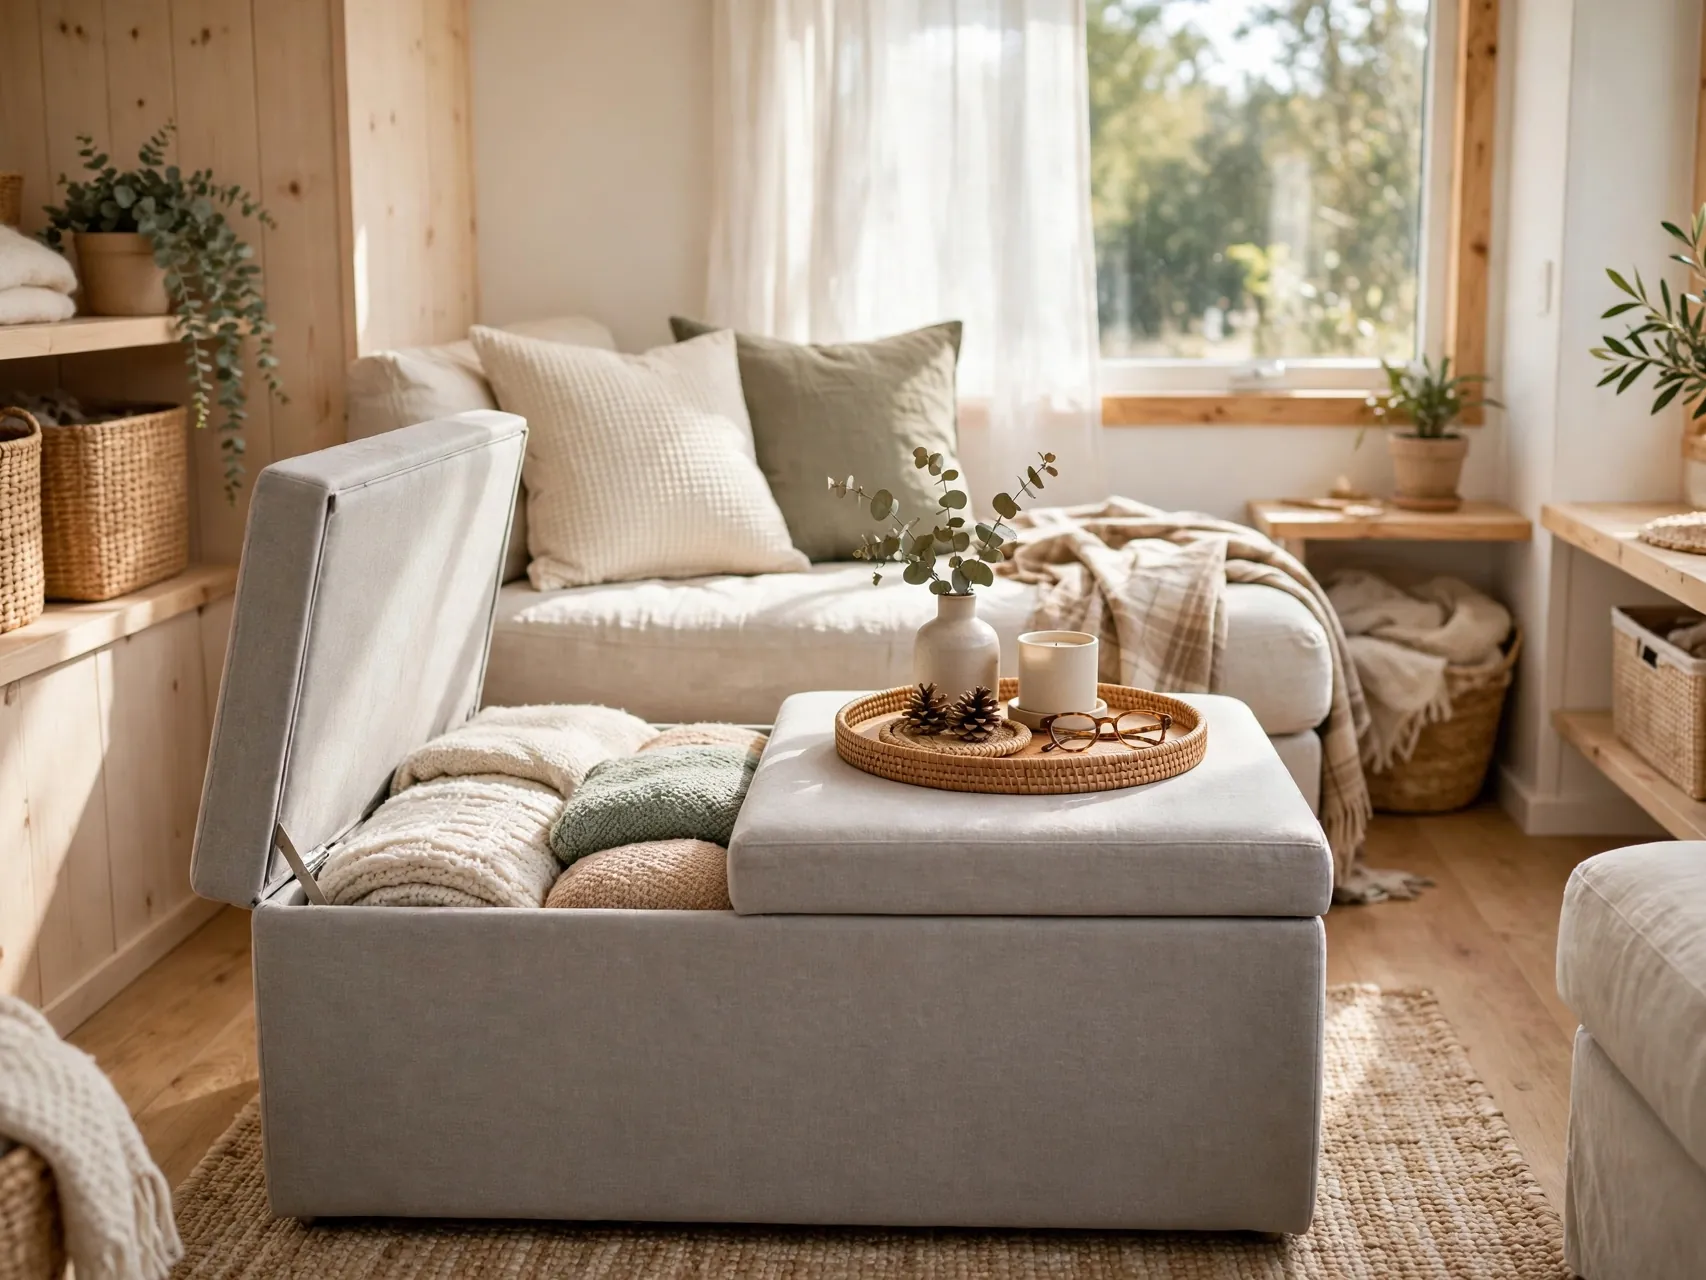
A storage ottoman is seating, a footrest, a side table with a tray on top, and a hidden bin for blankets, games, or chargers, all in one small footprint. In a tiny living area, one hard working piece like this replaces two or three single use items.
Pick a size that tucks under a table or window when not in use, and a fabric you can wipe clean. Keep the inside organized with one soft bin or divider so it does not become a junk box. An ottoman by the entry can also hold hats and bags.
4. Install Shelves Above Doors and Windows

The strip of wall above a door or window is almost always empty, and a shelf there holds books, baskets, plants, and rarely used items without touching floor or counter space. It is one of the easiest vertical wins in a tiny home.
Mount shelves securely into studs or with proper anchors for the load, and store light items up high. Use matching baskets so the shelf reads as decor rather than clutter. Keep one shelf for practical overflow, like extra pantry goods or guest towels, and label baskets so high storage stays findable.
5. Use Pegboards for Kitchens Desks and Entryways
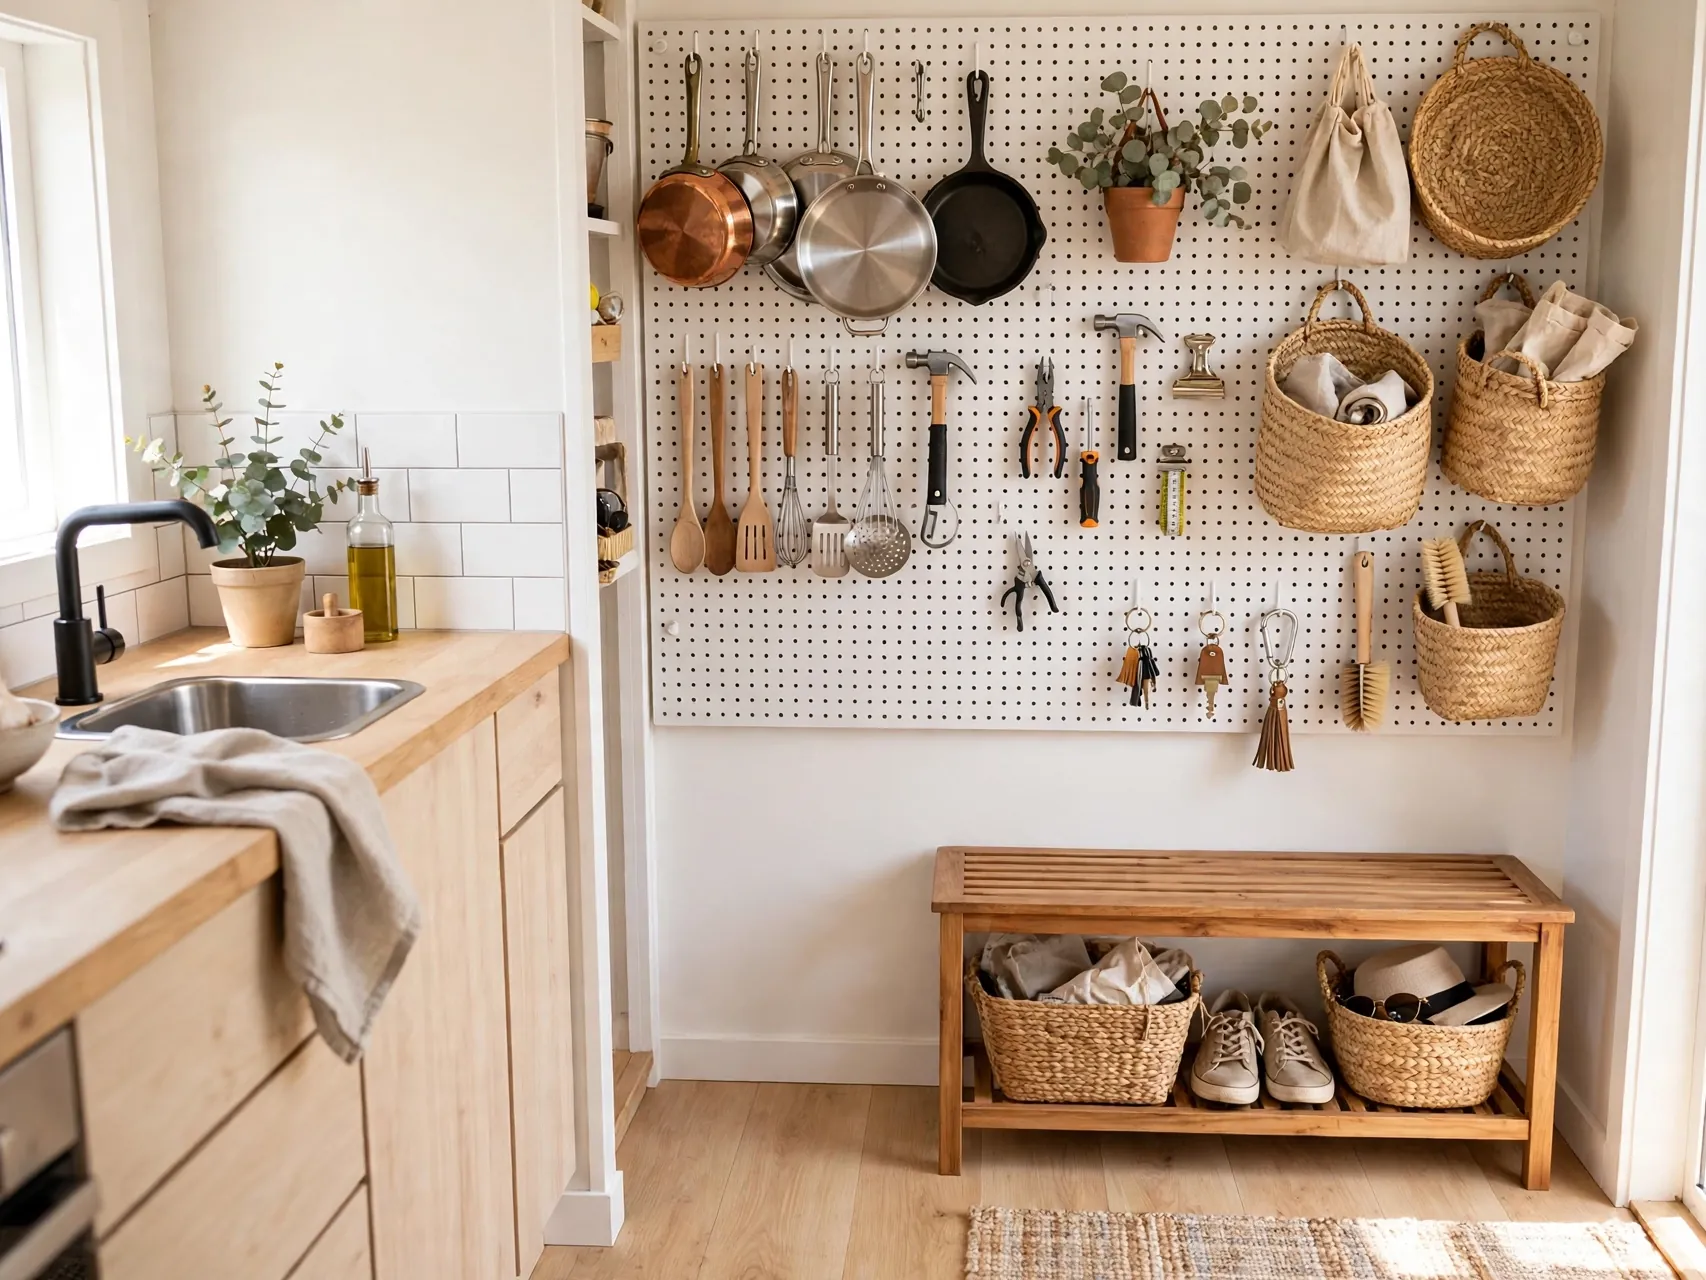
A pegboard turns a flat wall into flexible storage you can rearrange in minutes. In a kitchen it holds utensils, small pans, and spice baskets. At a desk it lifts supplies off the work surface. By the door it organizes keys, bags, and dog gear.
Start with one board sized to the wall you have, and add hooks, baskets, and small shelves as you learn what you reach for most. Paint the board to match the wall for a calm, built in look.
6. Hang Clear Over the Door Organizers
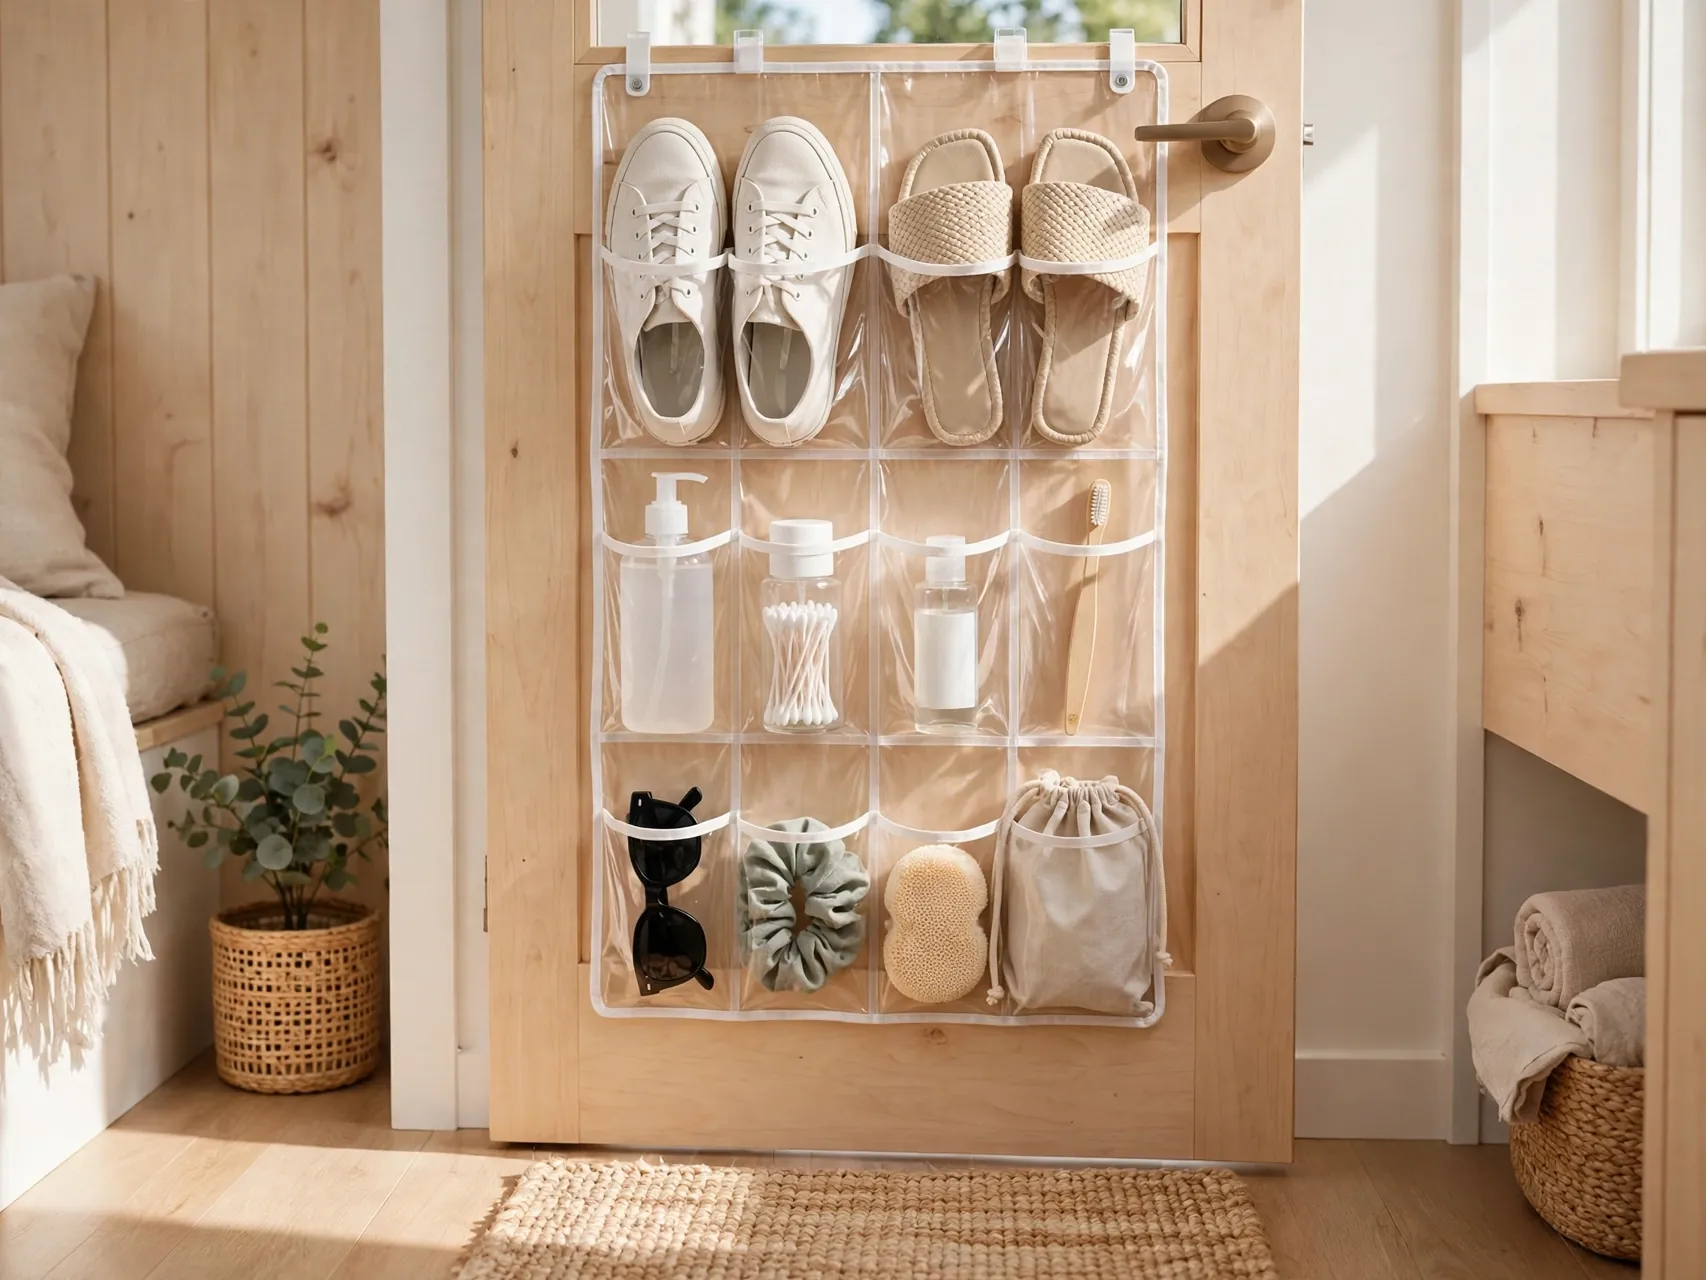
Doors are free vertical storage in every room. A clear over the door organizer holds shoes, toiletries, cleaning supplies, pantry packets, or craft items where you can see them at a glance, which stops duplicate buying and lost small items.
Choose sturdy hooks that fit your door thickness and pad them if they rattle. Put heavier items in the lowest pockets and light items at the top. Trim an organizer to fit a half door or cabinet if needed.
7. Add Pull Out Organizers Under Sinks
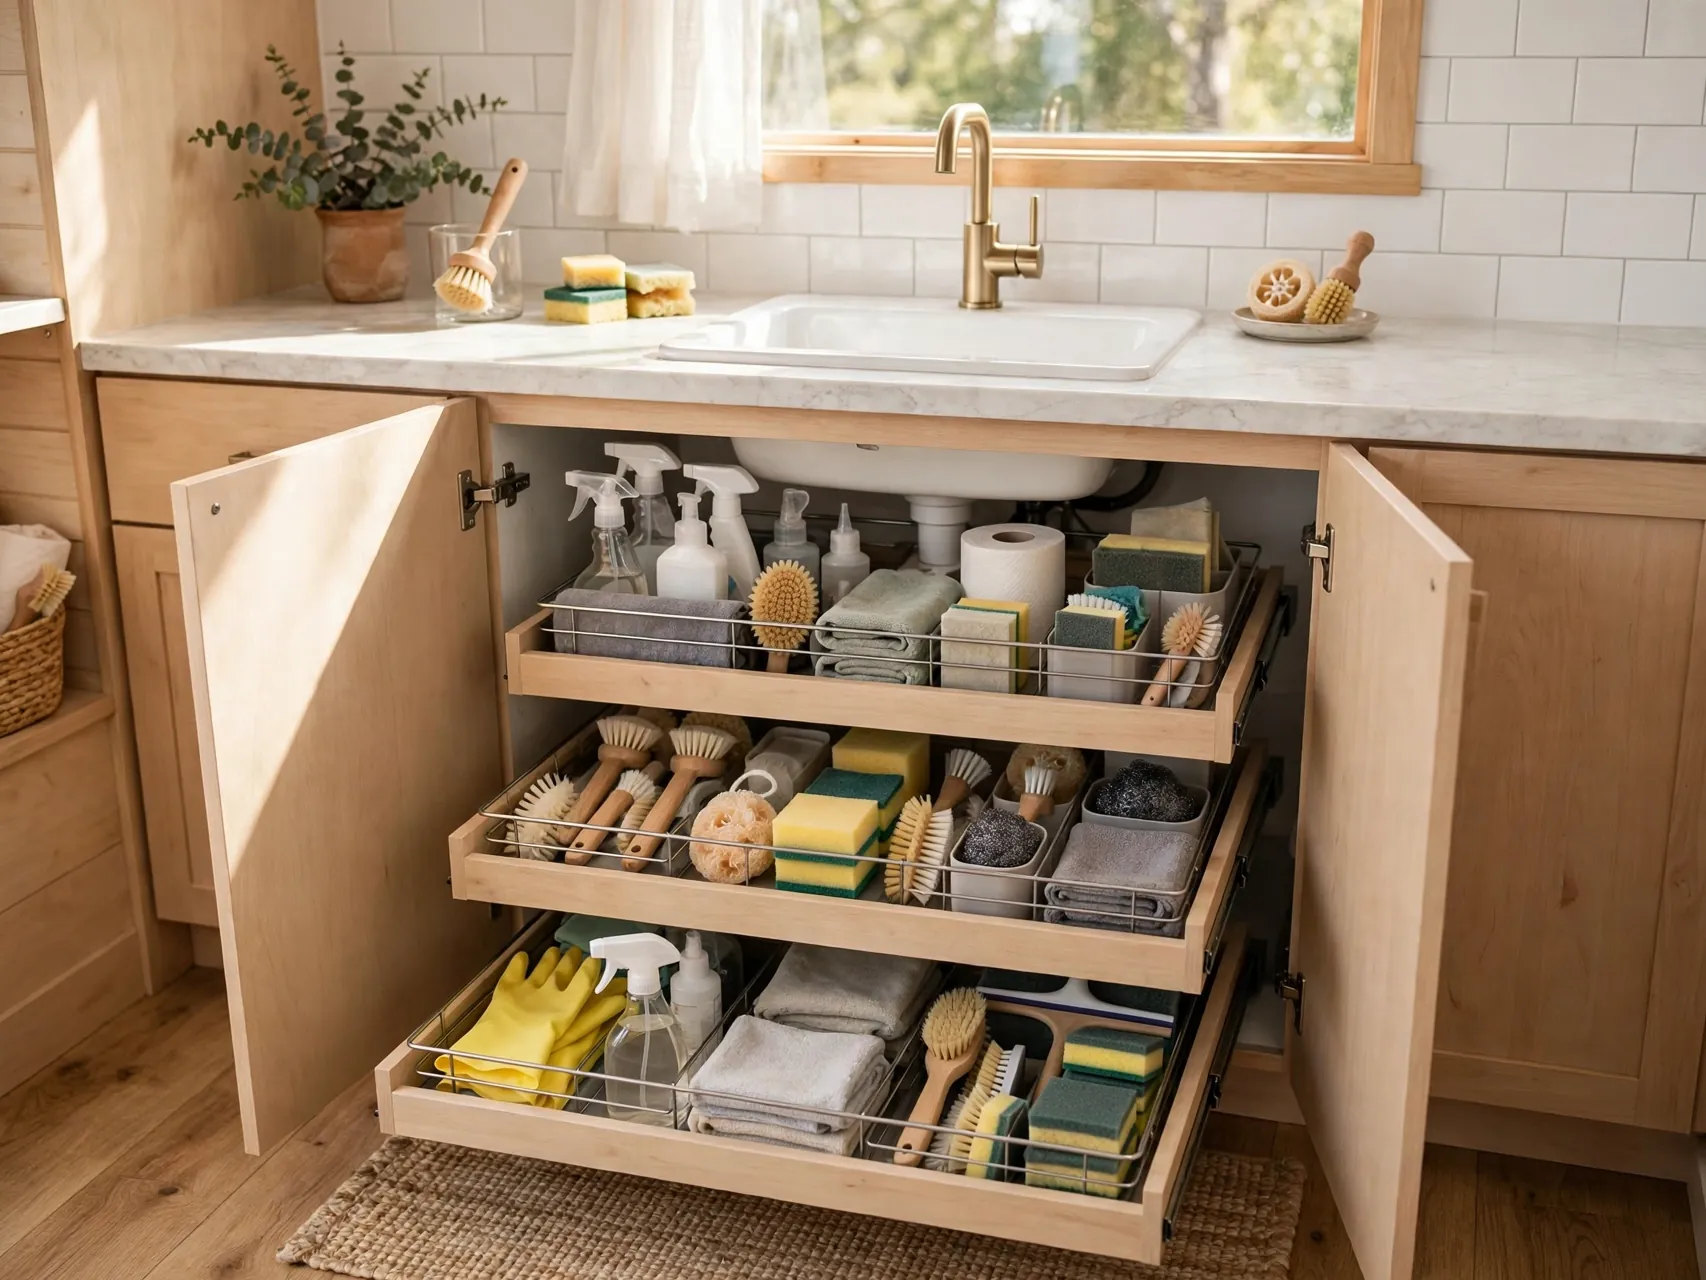
The cabinet under a sink is deep, dark, and interrupted by pipes, so things get lost there. A pull out organizer or stackable sliding basket works around the plumbing and brings cleaning supplies, trash bags, and extra toiletries into the light.
Measure around your pipes before buying, and choose a narrow two tier style made for under sink spaces. Keep chemicals in a contained bin, ideally with a latch if small children visit. A small battery light in the cabinet helps too.
8. Use Narrow Rolling Carts in Slim Gaps
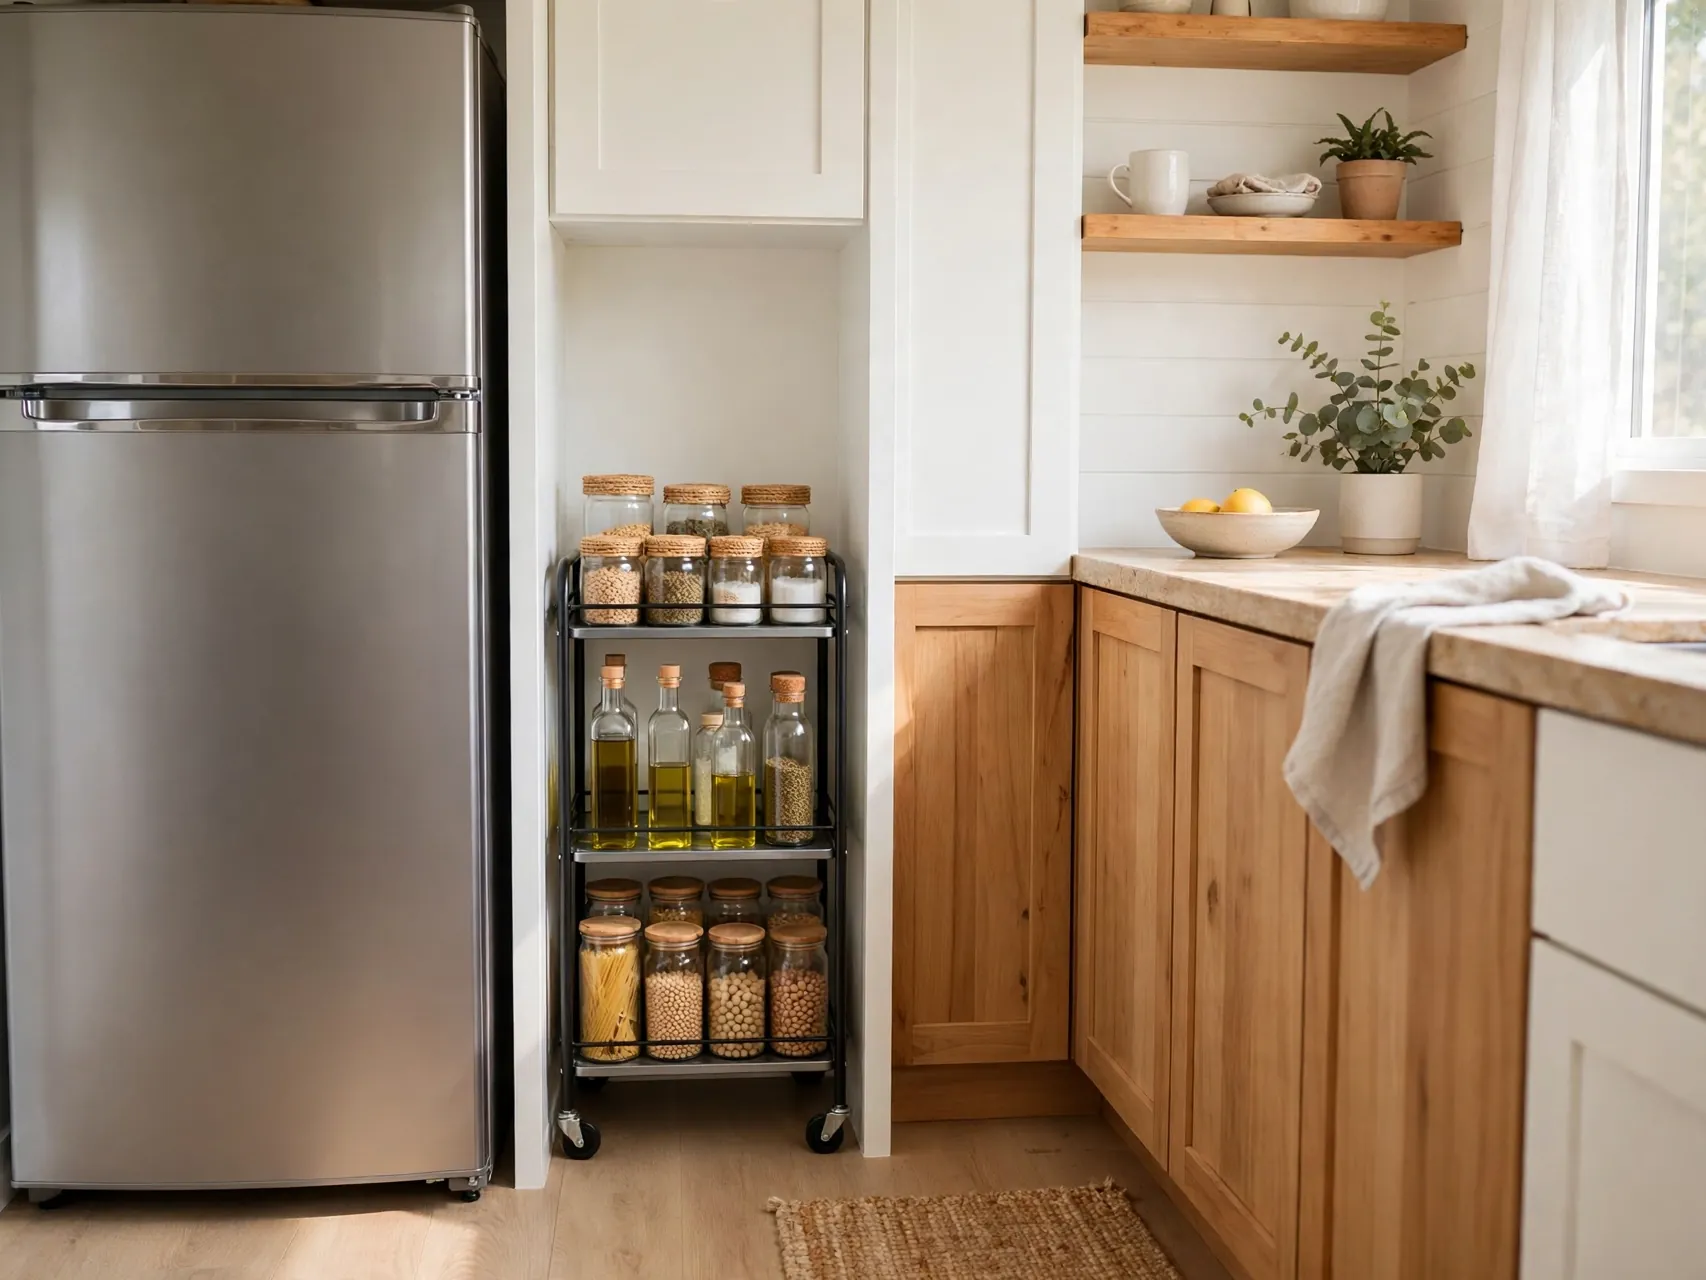
That slim gap beside the fridge, washer, or vanity can hold a narrow rolling cart with three or four shelves of pantry goods, toiletries, or cleaning tools. It uses space that fits nothing else and rolls out only when you need it.
Measure the gap at its narrowest point, including baseboards, before you shop. Load heavier items on the bottom shelf so the cart stays stable, and avoid overfilling the top. A cart also works as movable storage between kitchen and bath in a studio layout, one cart, two jobs, zero extra footprint.
9. Choose Fold Down and Wall Mounted Tables
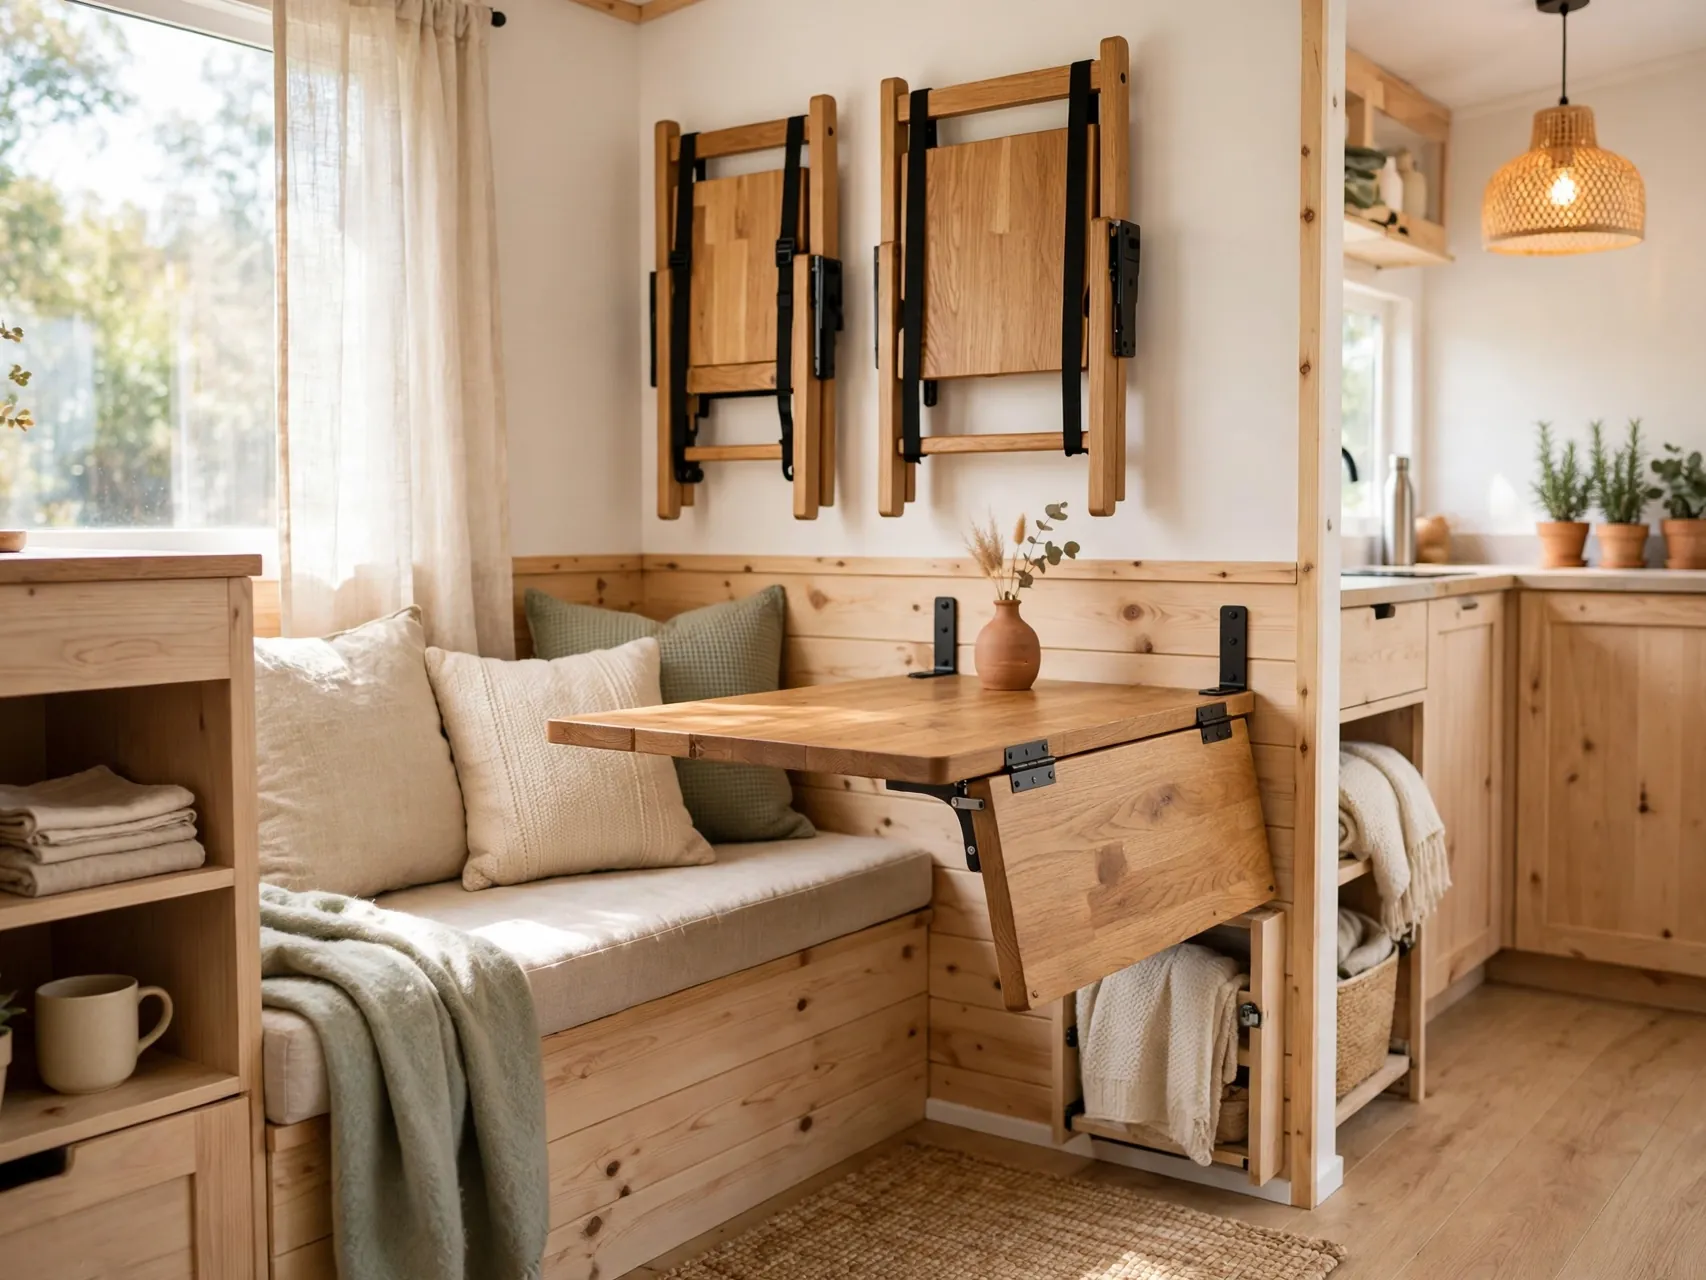
A wall mounted fold down table gives you a dining spot, desk, or prep surface that disappears when you need floor space. Paired with folding chairs that hang on hooks, it lets a tiny eating area serve work, meals, and projects in rotation.
Mount the table at a comfortable height and into solid structure following the maker guidance, since a loaded table puts real force on its brackets. Keep the surface clear in its folded state so the habit sticks.
10. Use Vacuum Bags for Seasonal Textiles
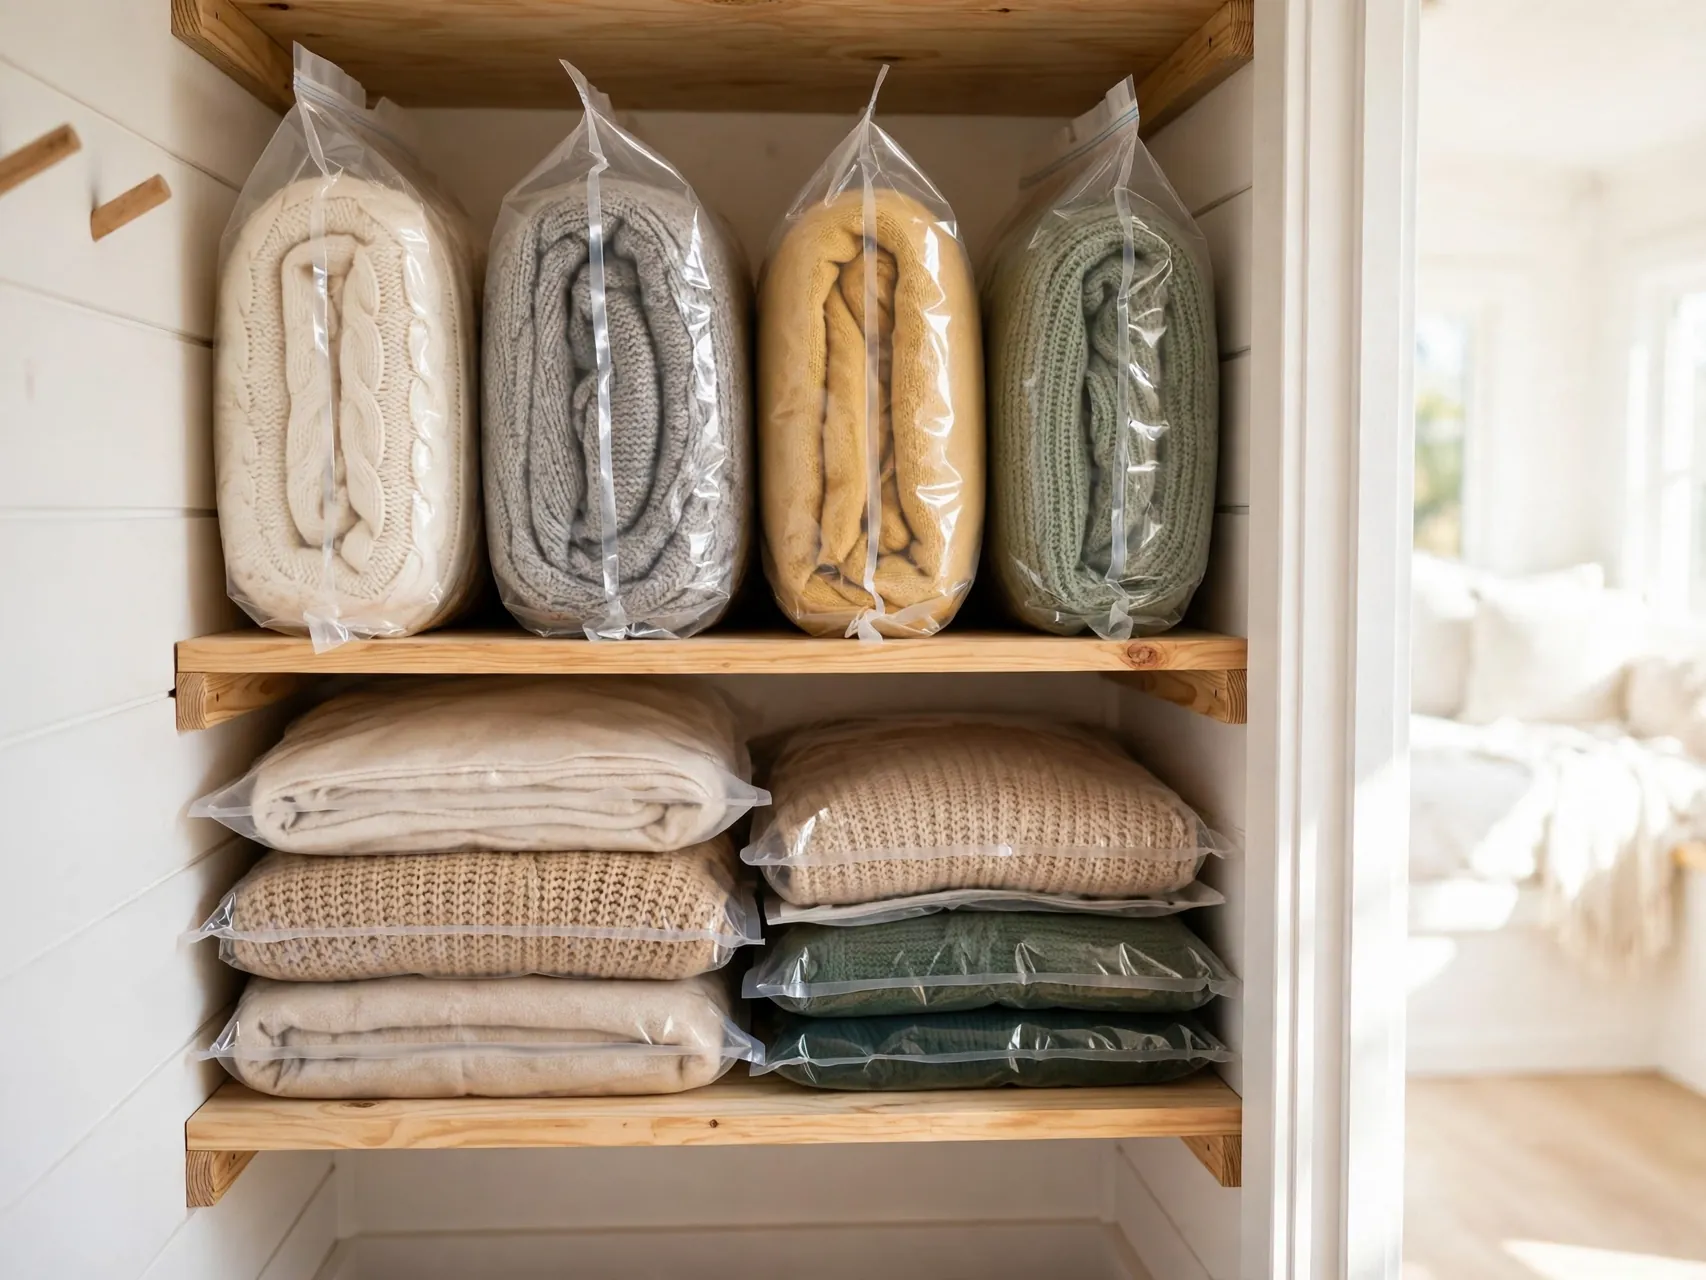
Bulky textiles are the easiest volume to shrink in a tiny home. Vacuum bags compress off season clothes, guest bedding, and extra throws to a fraction of their size, so they can slide under a bed, sofa, or loft platform.
Label each bag by room and contents, and store bags flat and stacked or upright like files in a bin. Follow the bag maker directions and avoid storing delicate or leather items compressed for long periods.
11. Add Hooks and Rails Instead of Bulky Cabinets
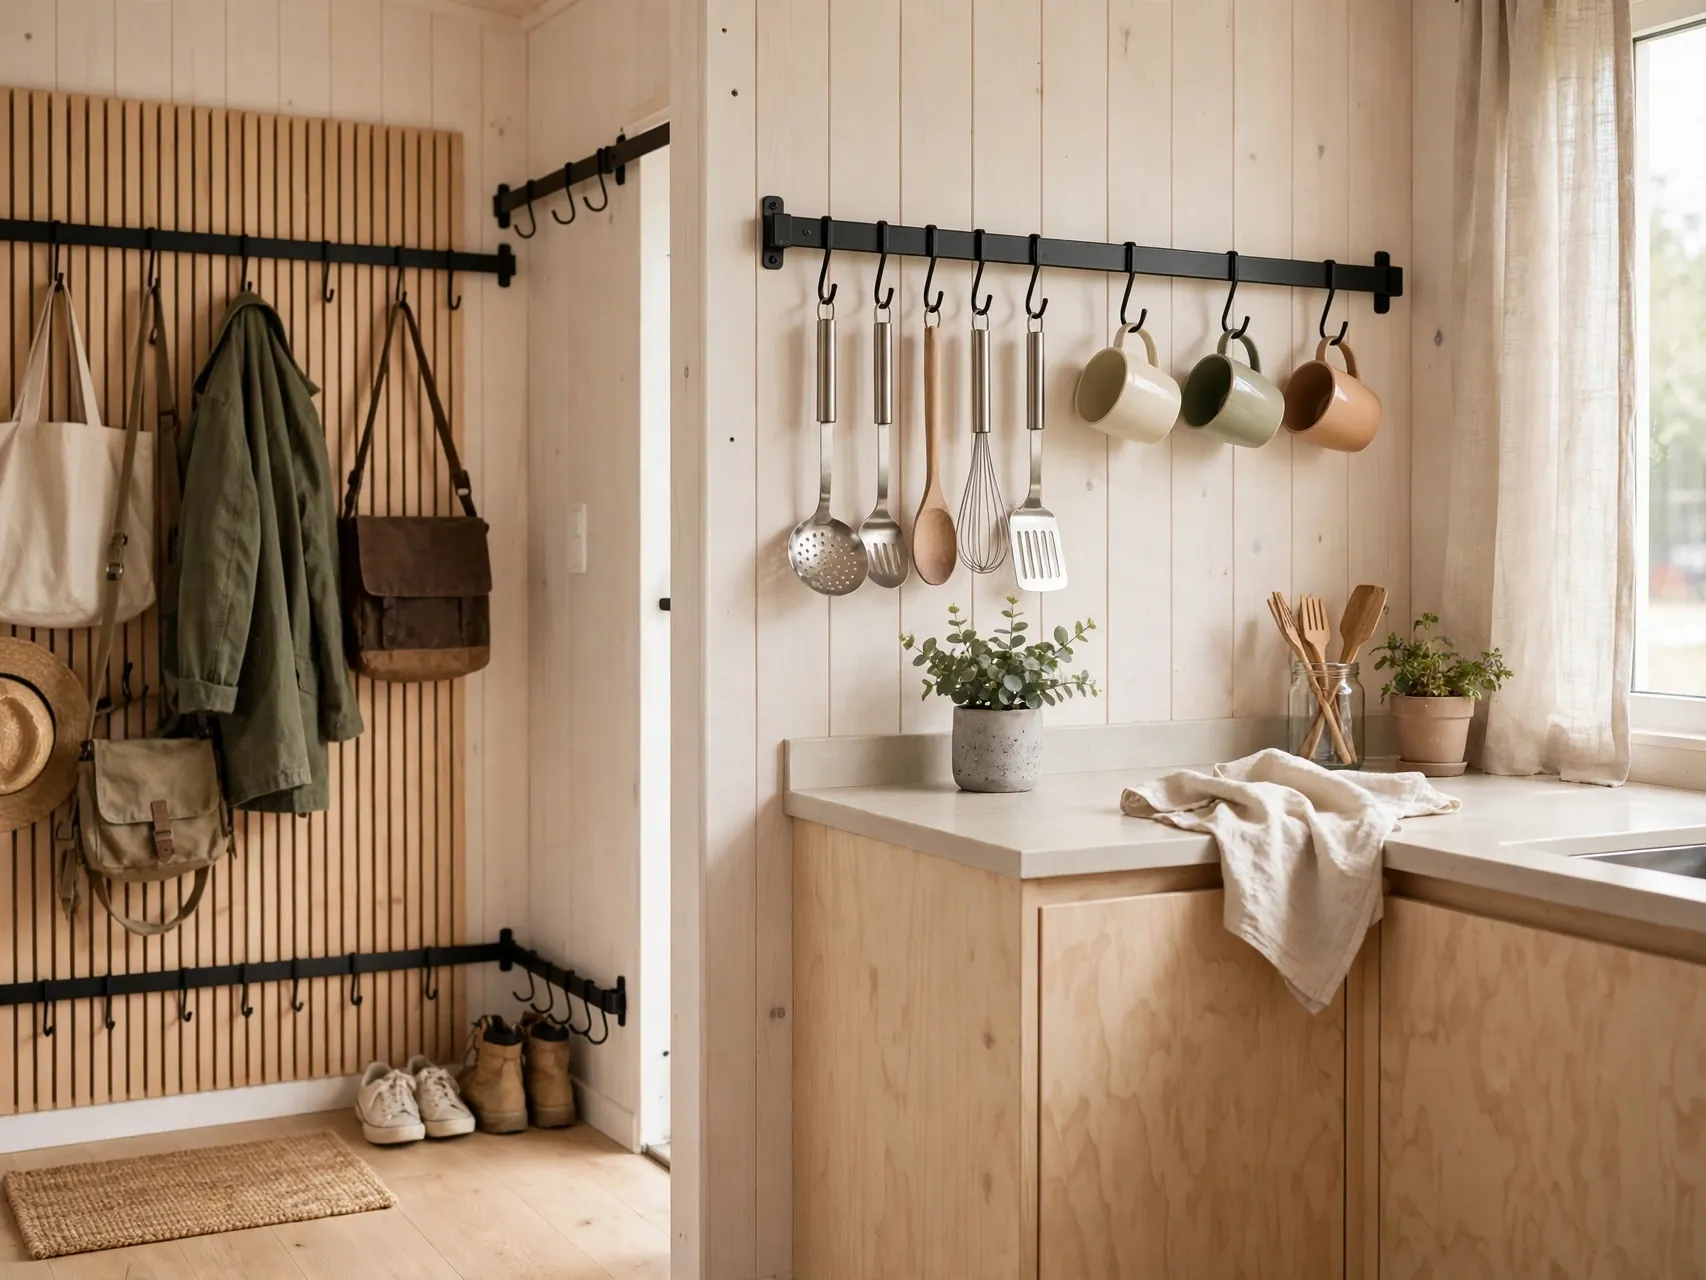
Hooks and rails store a lot on very little wall. A rail with S hooks in the kitchen holds mugs, utensils, and small pans. A row of hooks by the door or in the bath holds robes, towels, bags, and hats without a single bulky cabinet.
Group hooks in one planned line rather than scattering them, so the wall looks intentional. Use adhesive hooks for light items and rented walls, and screwed hooks where weight demands it, following product directions. Hooks also keep wet gear off furniture after rainy days, which protects a small home from damp clutter.
12. Store Inside Hollow Furniture and Benches

Benches, window seats, coffee tables, and even some sofa bases hide generous hollow storage. Use that space for the items that match the spot, dining linens in a bench by the table, blankets in a living room piece, board games in a coffee table drawer.
Add soft bins or dividers inside large hollow pieces so small items do not sink to the bottom. Keep a simple list taped inside the lid if a bench holds several categories. Furniture you already own may be your biggest untapped storage, check under cushions and inside bases before buying anything new.
13. Use Magnetic Strips for Knives Spices and Tools
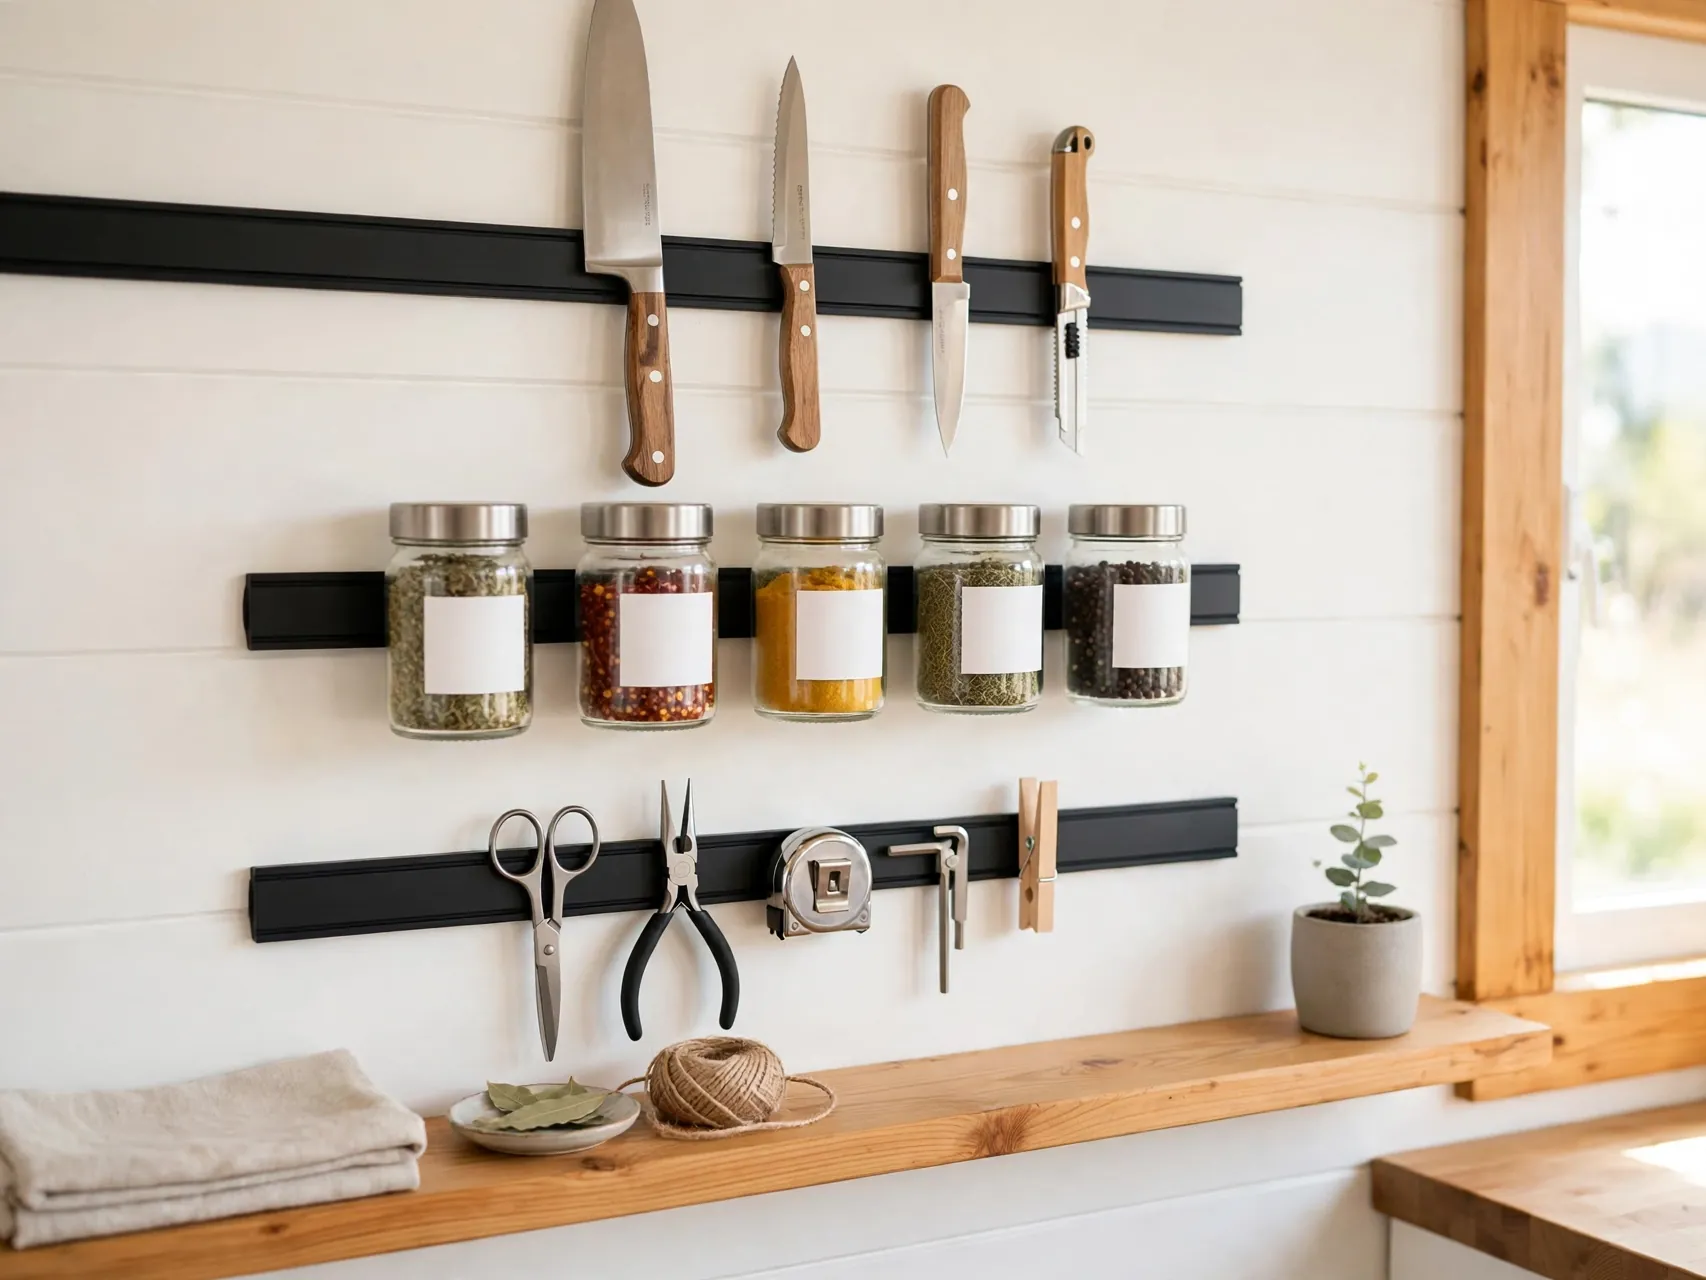
A magnetic strip lifts knives, spice tins, or small tools off counters and out of drawers, and puts them on the wall where you can see and grab them. In a tiny kitchen, freeing one drawer and a counter corner is a real gain.
Mount strips securely and keep knives out of reach of children, with blades stored safely per the strip maker guidance. Magnetic spice tins work on a fridge side or a mounted metal sheet inside a cabinet door.
14. Divide Drawers So Small Items Stop Wandering
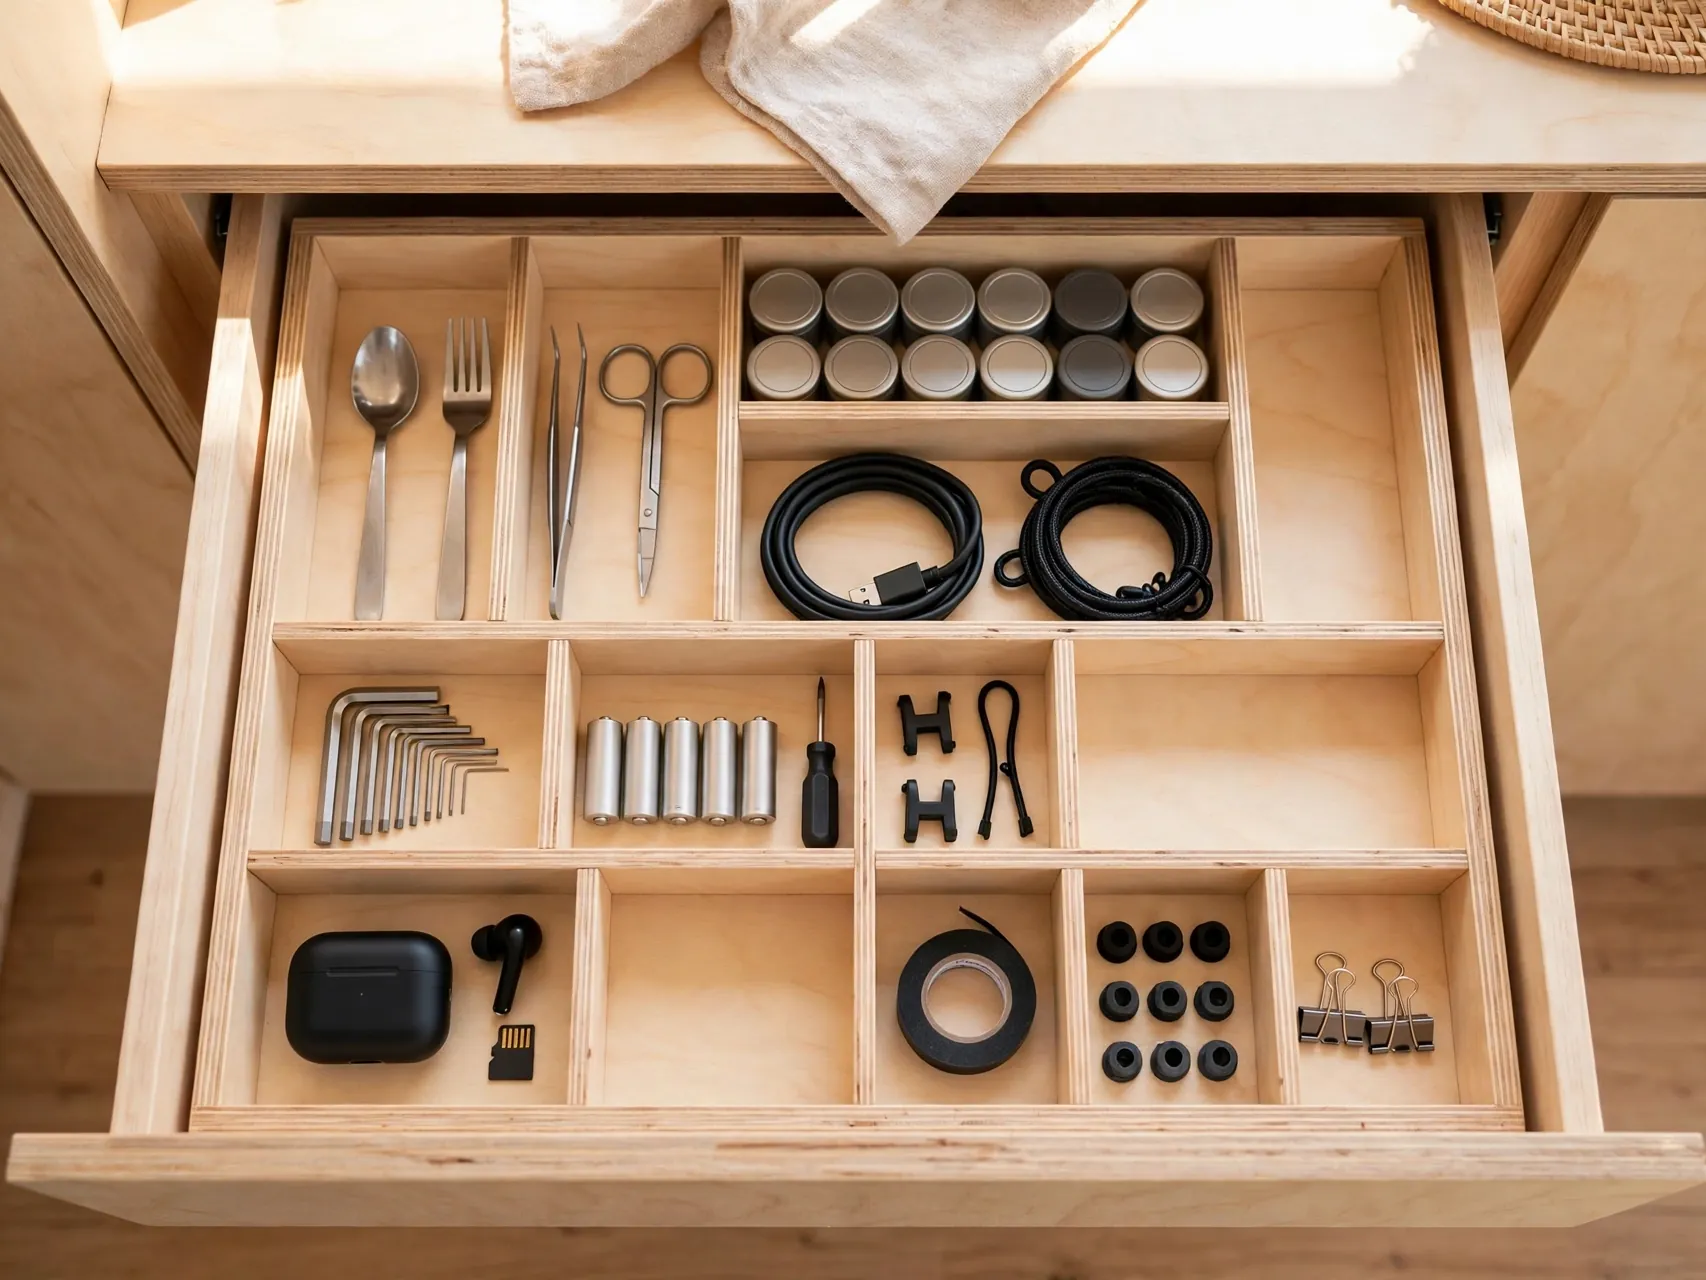
Undivided drawers in a tiny home become junk drawers by default. Simple dividers, small boxes, or cut to fit inserts give socks, utensils, batteries, chargers, and tools their own cells, so you can find things in seconds and put them back just as fast.
Start with the drawer you open most, usually kitchen or bedroom, and notice the difference for a week. Expand from there. When a cell is full, that category is full, which gives you a gentle, visible limit.
15. Use Stackable Clear Bins With Simple Labels
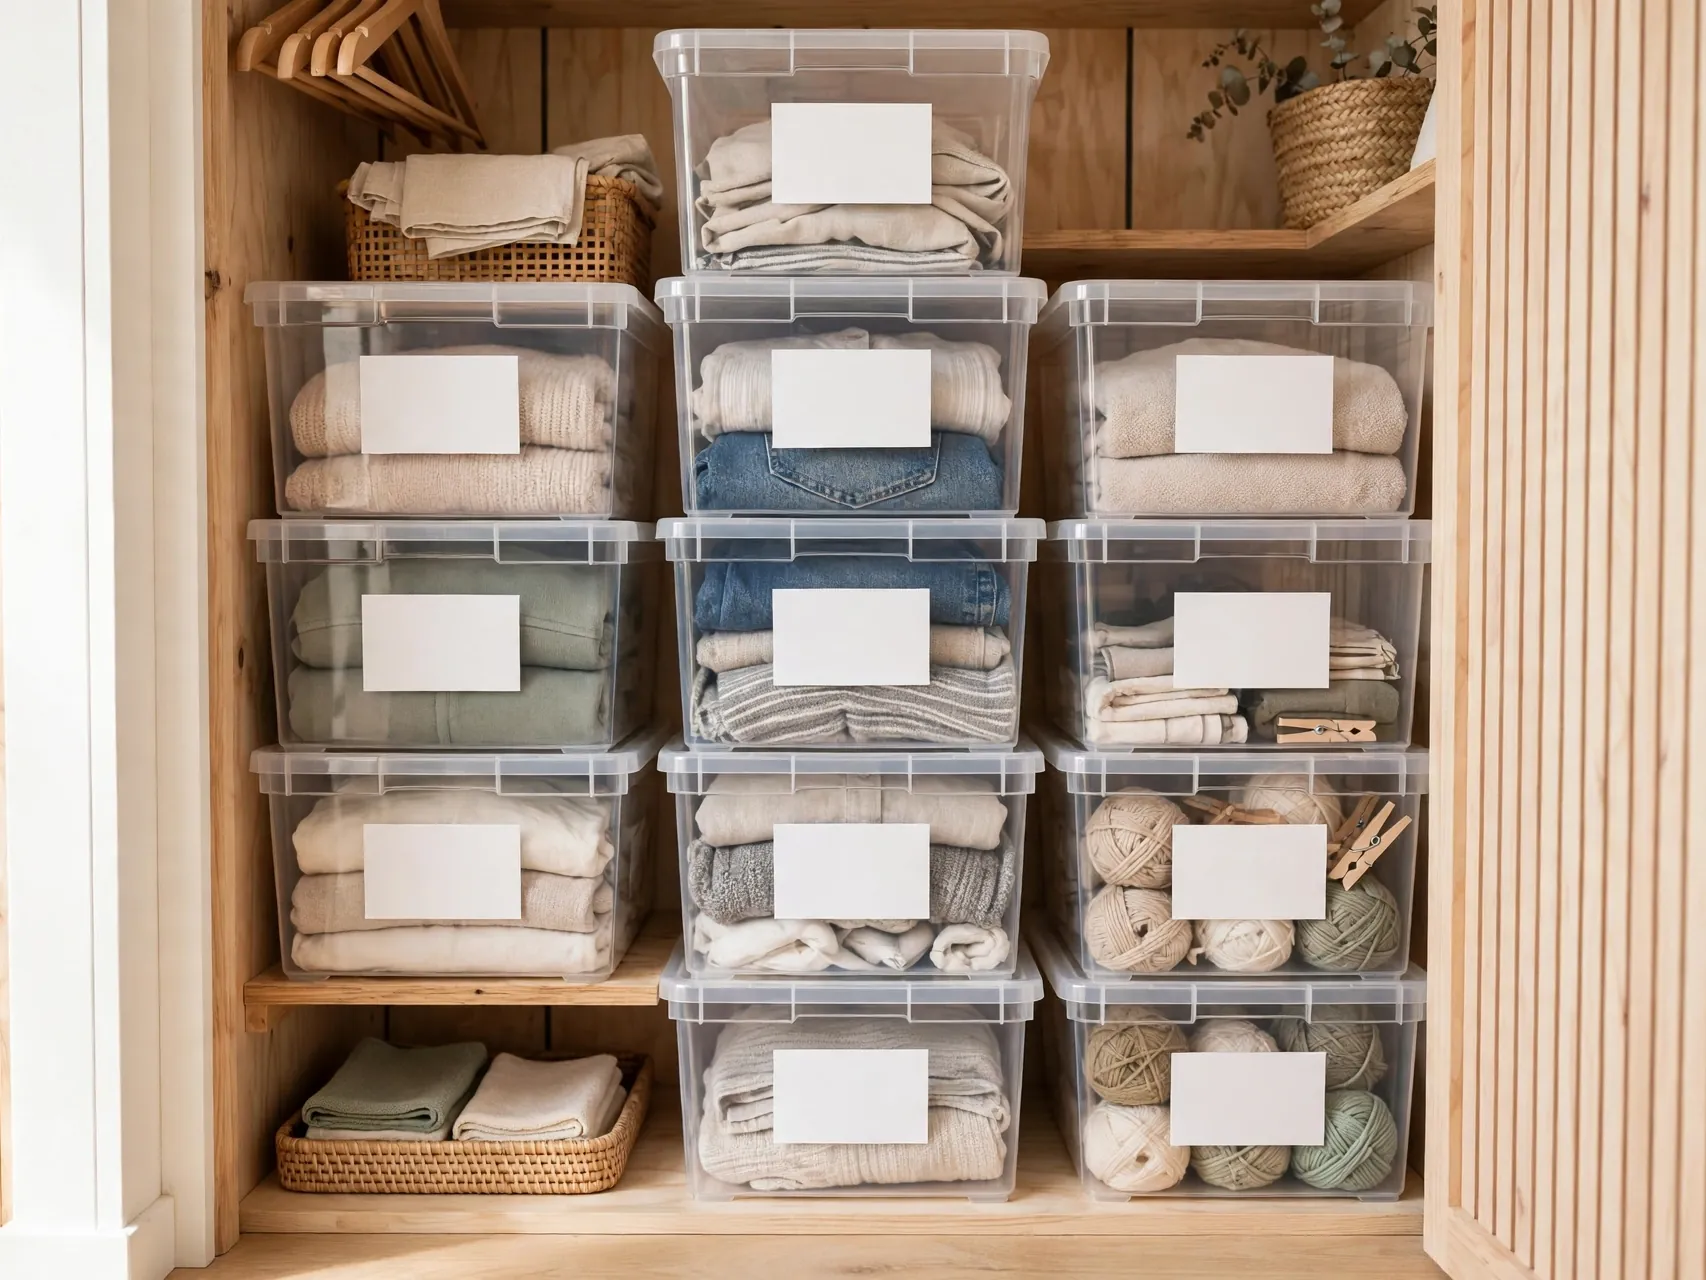
Clear, stackable bins let you use the full height of a closet, loft, or storage bay without creating an unstable pile of mixed boxes. Because you can see the contents, and a label names the category, you will not buy or keep duplicates.
Standardize on one or two bin sizes so stacks stay stable and lids are interchangeable. Label the side that faces out, not just the lid. Keep heavy bins at the bottom and light, seasonal bins on top.
16. Turn the Back of Cabinet Doors Into Storage

The inside of a cabinet door is flat, clean, and inches from the items it relates to. Slim racks, hooks, or clear pockets there can hold spice packets, wraps, measuring spoons, hair tools, or cleaning gloves without taking any shelf space.
Check clearance before mounting anything, open and close the door slowly to confirm items clear the shelves inside. Use adhesive or over door styles where drilling is not suitable.
17. Add Ceiling and High Shelf Storage for Rarely Used Items

Items you need a few times a year, holiday decor, seasonal gear, a spare fan, belong up high. A high shelf around a room, storage above a wardrobe, or a secure ceiling mounted rack in a utility area keeps them safe without crowding daily space.
Store high items in labeled, lidded bins light enough to lift down safely, and keep a sturdy step stool in a fixed home. Follow maker and structural guidance for any ceiling mounted system, and never store heavy items overhead. A seasonal swap day twice a year keeps high storage honest and uncluttered.
18. Use Corner Shelves and Lazy Susans

Corners are where tiny kitchens and baths lose items. A corner shelf lifts toiletries or plants into view, and a lazy Susan in a deep cabinet or fridge brings jars and bottles from the back to your hand with one spin.
Choose sizes that truly fit the corner, a turntable that is too large wastes more space than it saves. Group one category per turntable, spices, sauces, or bath products, so spinning stays useful.
19. Digitize Paper Photos and Documents

Paper quietly fills drawers, boxes, and shelves in a tiny home. Scanning important documents, photos, and manuals and storing them in organized digital folders, with a backup, can free an entire cabinet while keeping the information safer and searchable.
Keep originals only for documents that legally or personally require paper, and store those in one slim, labeled file box. Shred sensitive discards rather than tossing them whole.
20. Keep a Donation Box by the Door
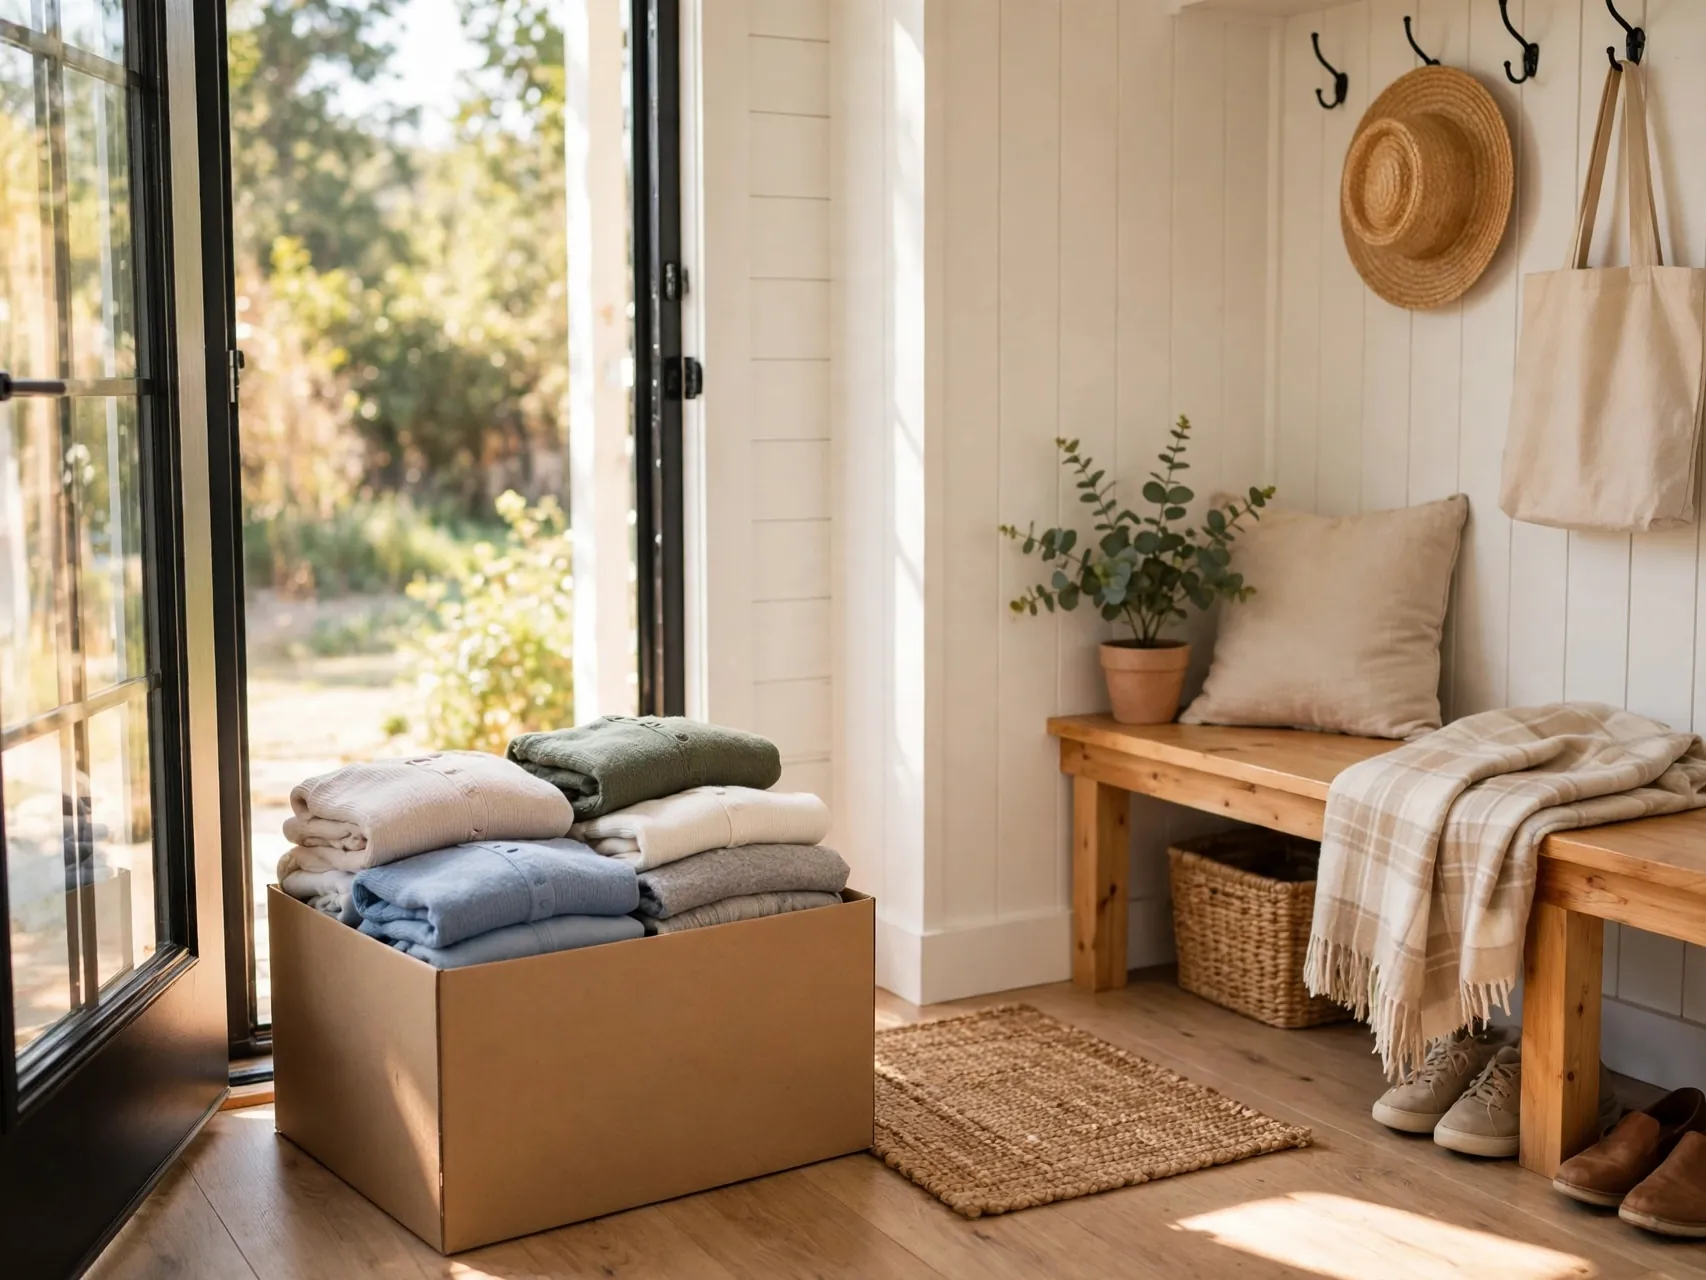
A tiny home stays in balance only if items leave as steadily as they arrive. A donation box or bag in a fixed spot by the door gives every family member a place to drop the shirt, gadget, or duplicate that no longer earns its space.
When the box is full, drop it off, do not sort it back into the house. Pair the habit with a one in, one out rule for clothes and kitchen gear.
21. Use Multi Purpose Furniture With Hidden Compartments
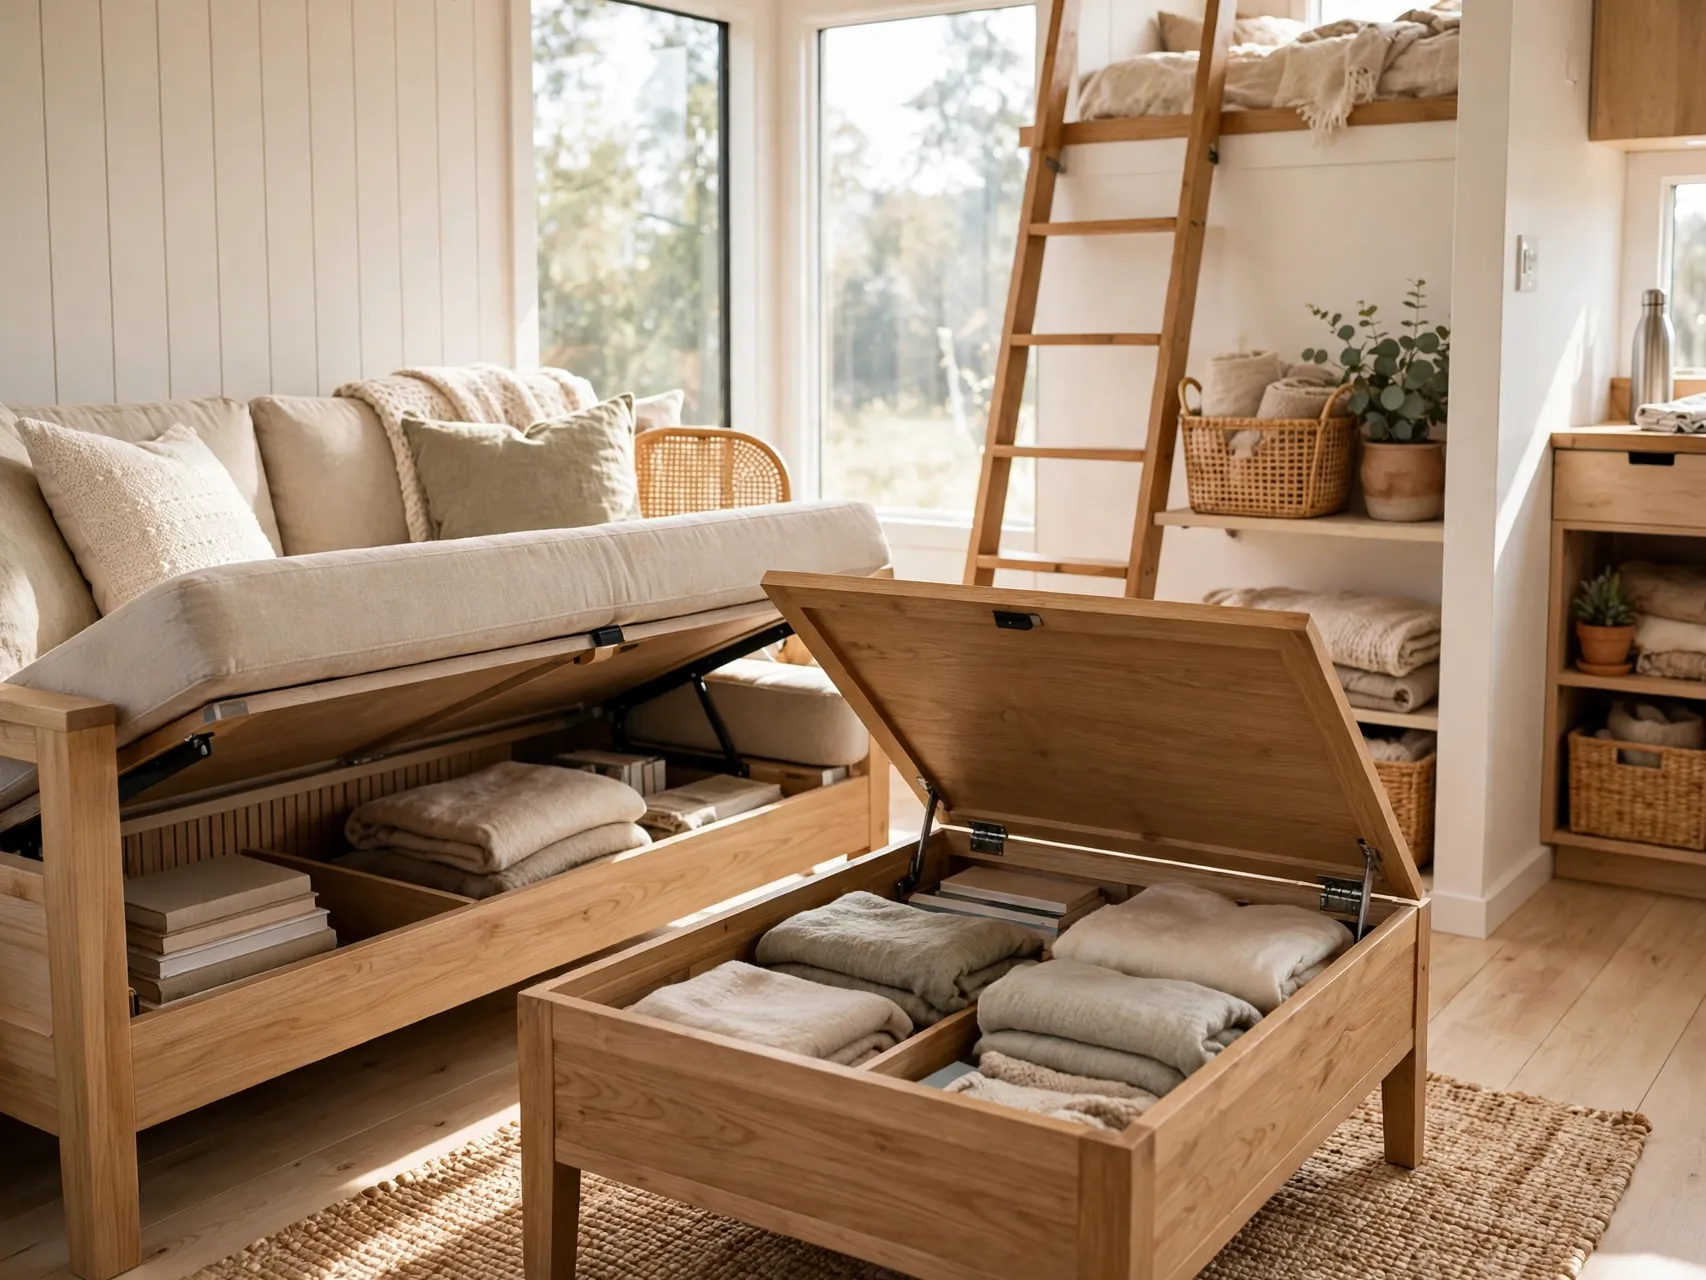
In a tiny home, single use furniture is a luxury. A sofa bed for guests, a coffee table that lifts to a desk, a bed base with drawers, or a dining bench with storage each combine two jobs in one footprint and hide everyday items out of sight.
When you replace any piece, shop for the version with storage or a second function first, and measure doors and turns before buying, since tiny layouts are unforgiving. Keep hidden compartments zoned by category, not used as overflow for everything, so the storage you gained stays usable and calm.
22. Store Luggage and Bags Inside Each Other
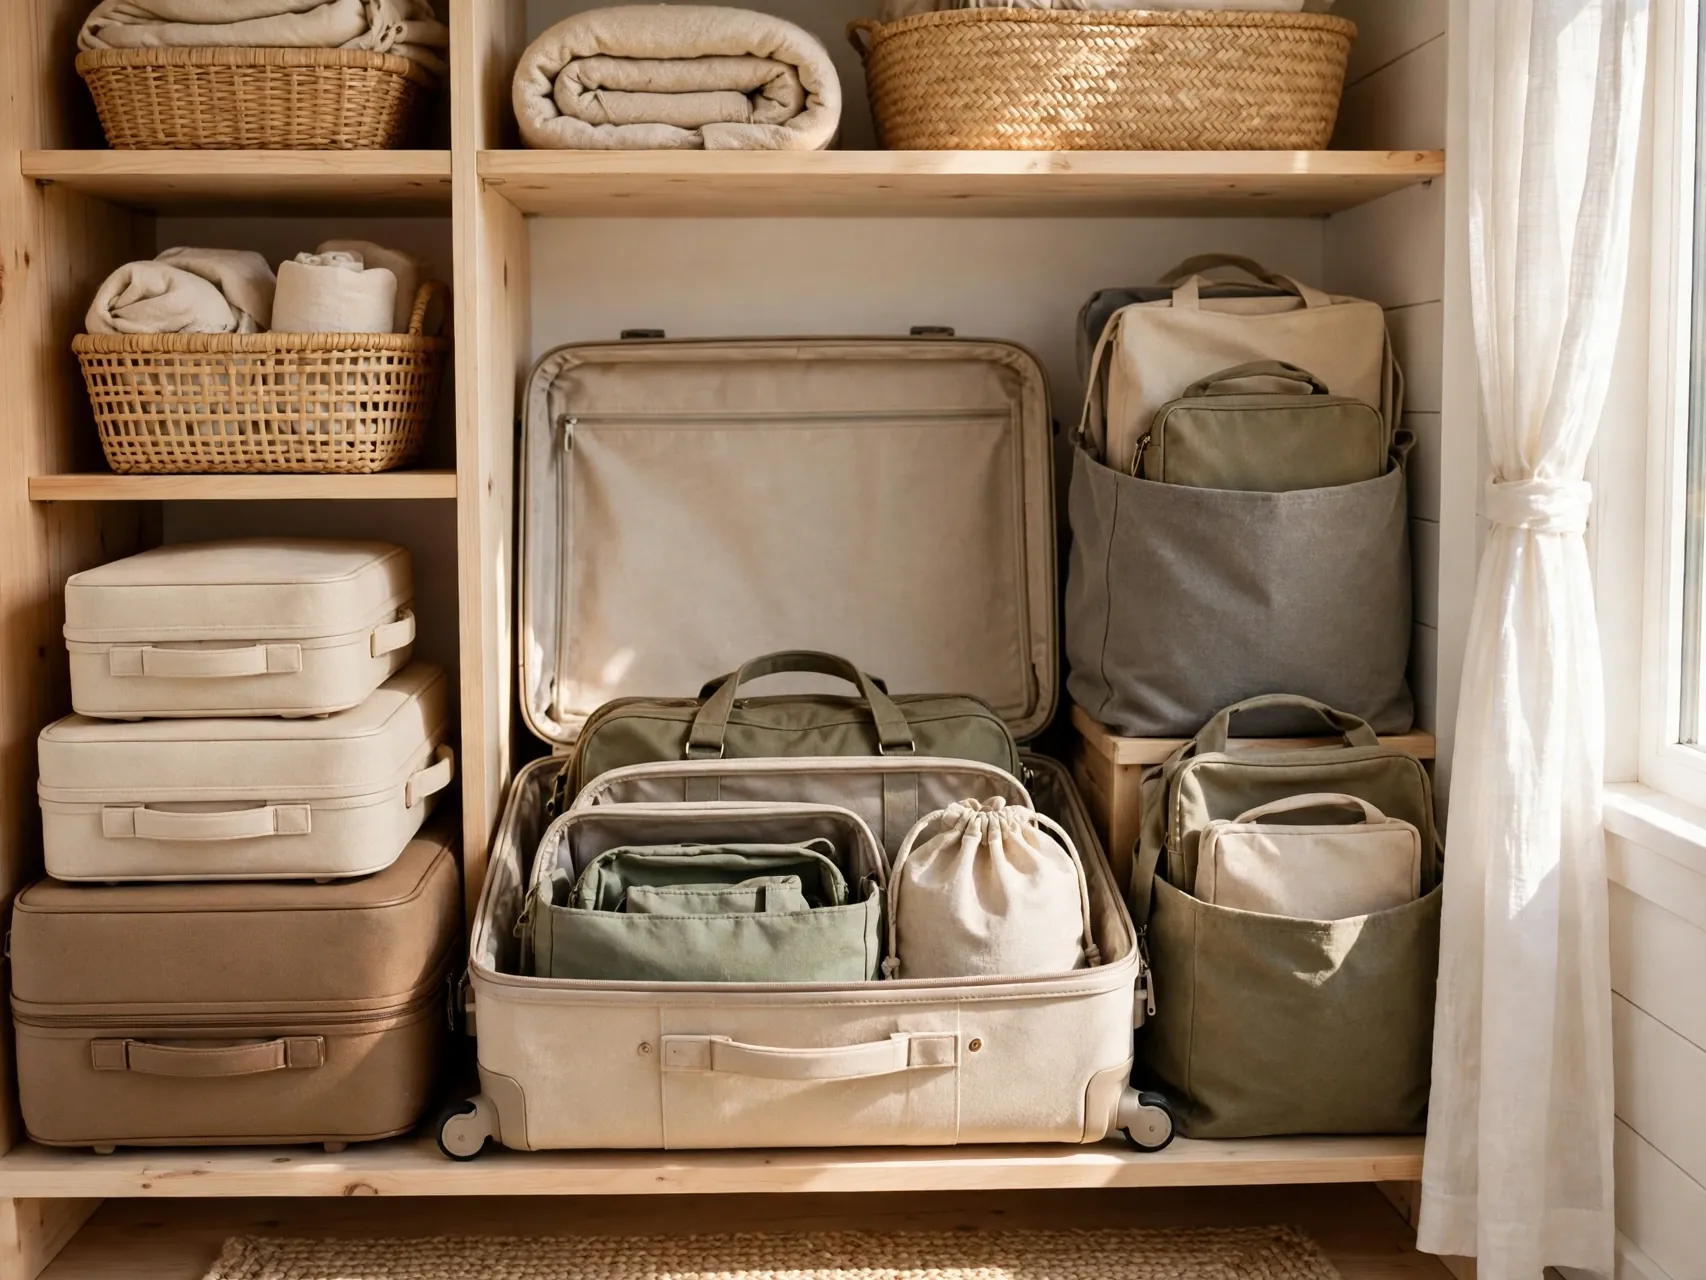
Empty luggage, totes, and backpacks take up surprising room. Nest smaller bags inside larger ones, fill suitcases with seasonal items or spare linens, and store the whole set in the least accessible spot, since you need it least often.
Keep one small everyday tote or backpack out of the nest for daily use. Add a label or list inside the largest case noting what is stored in it, so a suitcase of winter gear is not a mystery next season.
23. Use Under Sofa Trays for Remotes and Chargers

The shallow space under a sofa or low cabinet fits slim trays or boxes for remotes, chargers, coasters, and reading glasses. It keeps living room surfaces clear while keeping nightly items within arm reach of where you actually use them.
Choose trays low enough to slide freely without catching on the frame, and give each tray one category. A charging tray with short cables can end the nightly hunt for a cord. Vacuum under furniture before you start, and add felt glides if trays will slide on hard floors every day.
24. Measure First and Give Every Item a Home Zone
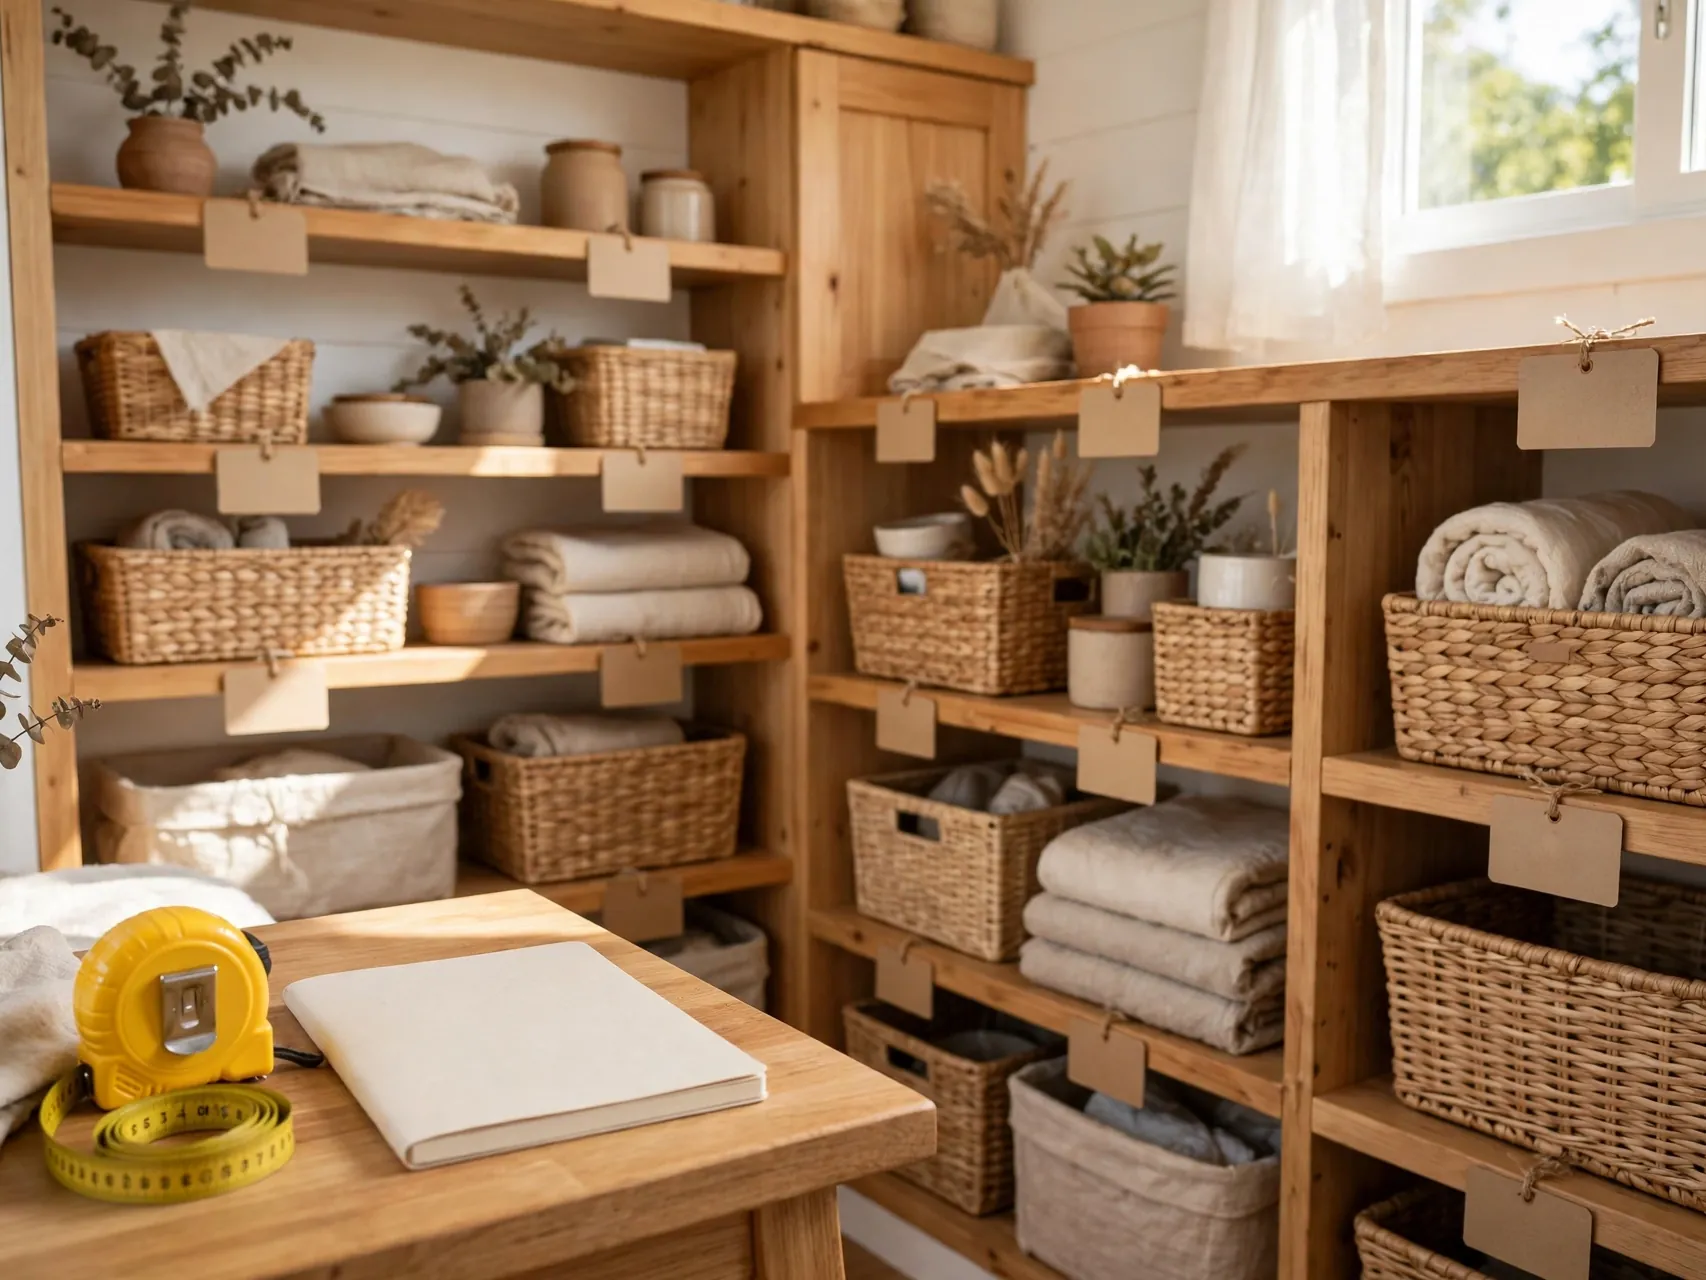
The hack that makes all the others work is zoning. Assign each area of your tiny home one job, entry gear by the door, pantry overflow in one bin, tools in one drawer, and write the zones down where everyone in the home can see them.
Measure every space before buying organizers, test one item before buying a set, and review zones each season. When an item has no zone, it becomes clutter no matter how clever your storage is.
FAQ
What is the best first storage hack for a tiny home?
Start under the bed and inside the stairs or loft steps. Those are usually the largest hidden spaces, and drawers or bins there can absorb the bulky items crowding your closets. Next, go vertical with one pegboard or door organizer. Early wins build momentum, and you will see quickly which categories still need a home before you spend on anything else.
How do I add storage without making a tiny home feel crowded?
Use hidden and vertical storage first, under furniture, inside hollow pieces, on door backs, and high on walls, so floor and eye level stay open. Choose clear or matching containers, keep surfaces mostly clear, and limit open shelves to a few tidy groups. Storage that matches your walls and repeats one or two container styles reads as calm, not cluttered.
What should I store up high or under furniture?
Store seasonal and rarely used items up high, holiday decor, off season gear, and spare linens in labeled, light bins. Use under furniture space for flat, occasional items, extra bedding, shoes, and trays for remotes and chargers. Keep daily items at waist to eye level where they are easy to reach, and never store heavy items overhead.
How do I keep a tiny home from filling up again?
Give every item a zone, let container size set your limit, and keep a donation box by the door for a steady one in, one out habit. A short seasonal review, clearing high storage, vacuum bags, and the donation box, resets the balance. Tiny homes stay tidy through small, regular edits, not occasional major purges.
Are these hacks renter friendly?
Many are. Over the door organizers, rolling carts, clear bins, vacuum bags, pegboards on removable mounts, and furniture with storage need no permanent changes. For shelves, rails, and fold down tables that need fixings, check your lease and use proper anchors or ask permission first. Keep the original hardware and note where everything was mounted if you need to restore a wall later.
Key Takeaways
- Start low, then go vertical: under bed drawers, stair storage, shelves above doors, and pegboards use space you already have.
- Let furniture work twice: storage ottomans, benches, and hollow pieces hide everyday items without adding footprint.
- Contain and label everything: clear stackable bins, drawer dividers, and door back storage stop small items from wandering.
- Shrink the bulky stuff: vacuum bags for seasonal textiles free whole shelves for daily living.
- Keep the balance: a donation box and one in, one out rule stop a tiny home from refilling after you organize it.
- Measure, zone, and share: write your zones down so everyone can follow them, and pin these tiny home storage hacks to your Pinterest small spaces board to rebuild the system room by room.