22 Renter Friendly Flooring Ideas That Hide Ugly Floors
Introduction
Scuffed vinyl, dated tile, and worn carpet can make a clean rental feel tired no matter how nice your furniture is. Renter friendly flooring is about covering, not replacing. The best options float, lie flat, or roll out on top of what is already there and lift away cleanly when you move.
The safest rule is simple. If it needs glue, nails, or grout, it needs written permission and a careful conversation about removal. Anything adhesive can leave residue or pull up the original finish, so test in a hidden spot, keep product details, and photograph the floor before you start.
This guide moves from the fastest fixes, like oversized rugs, to fuller coverage options like click lock planks and interlocking tiles. Pick based on the room, moisture, and how long you plan to stay, because a weekend rug fix and a whole room floating floor solve different problems.
1. Start With an Oversized Area Rug
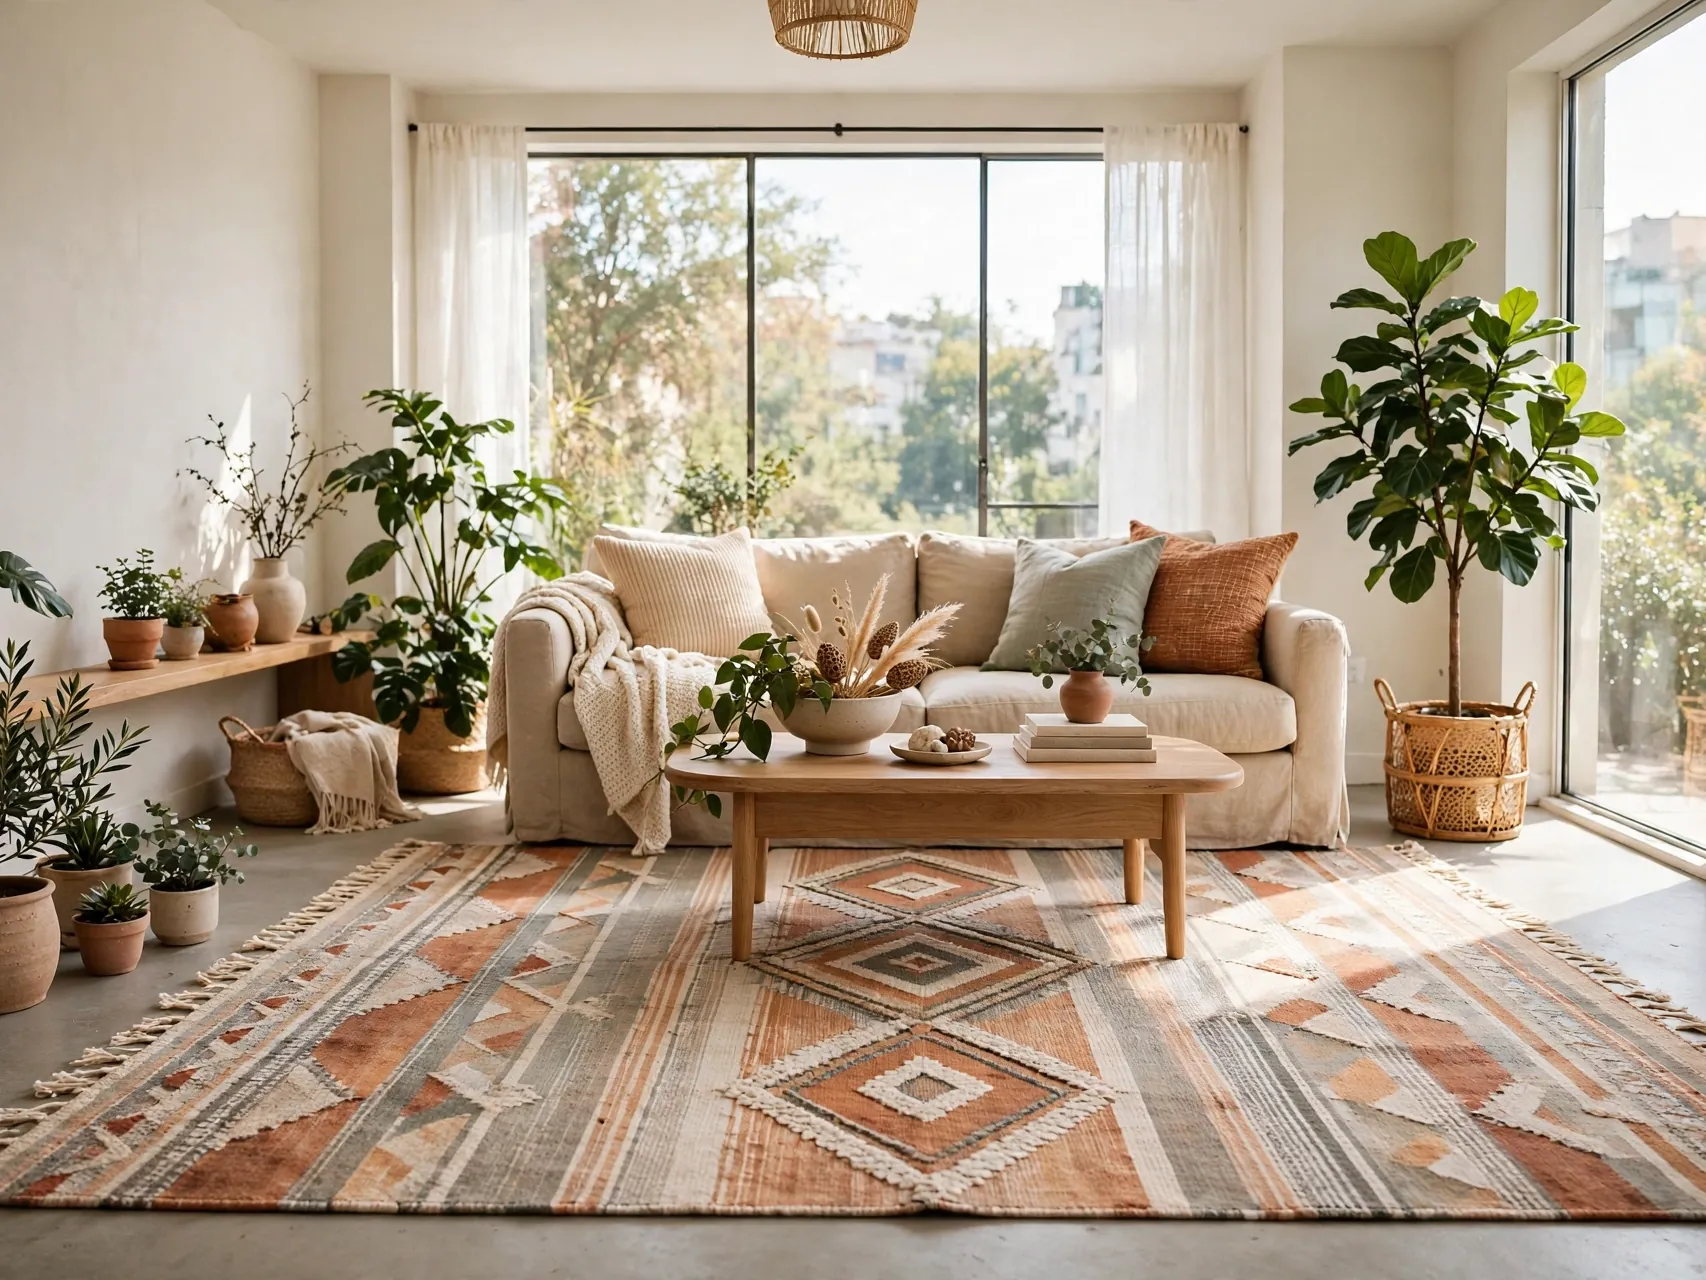
A large rug is the fastest floor fix there is. Choose the biggest size the room allows so it covers stains, dated patterns, and worn paths in one move, with furniture legs sitting on it to hold the layout together.
Add a rug pad underneath for cushion and grip. On hard floors a pad also protects the original surface from backing abrasion, which matters for your deposit.
Quick check before you buy: measure the space, note any lease limits, and take a phone photo to compare colors and sizes in the store. That small pause prevents most returns and keeps the project on budget.
2. Layer Rugs Over Worn Carpet

If you are stuck with tired wall to wall carpet, layer a low pile rug over the worst area and a smaller textured rug on top under a coffee table or bed. Layering distracts the eye and adds a designed feel.
Vacuum the base carpet well first and use furniture weight to reduce shifting. Avoid thick piles that make doors catch or create a tripping edge in walkways.
For a Pinterest worthy finish, repeat the same material or color at least twice in the zone. Repetition makes a temporary setup look planned, and it helps separate zones feel connected rather than random.
3. Try Click Lock Vinyl Planks That Float
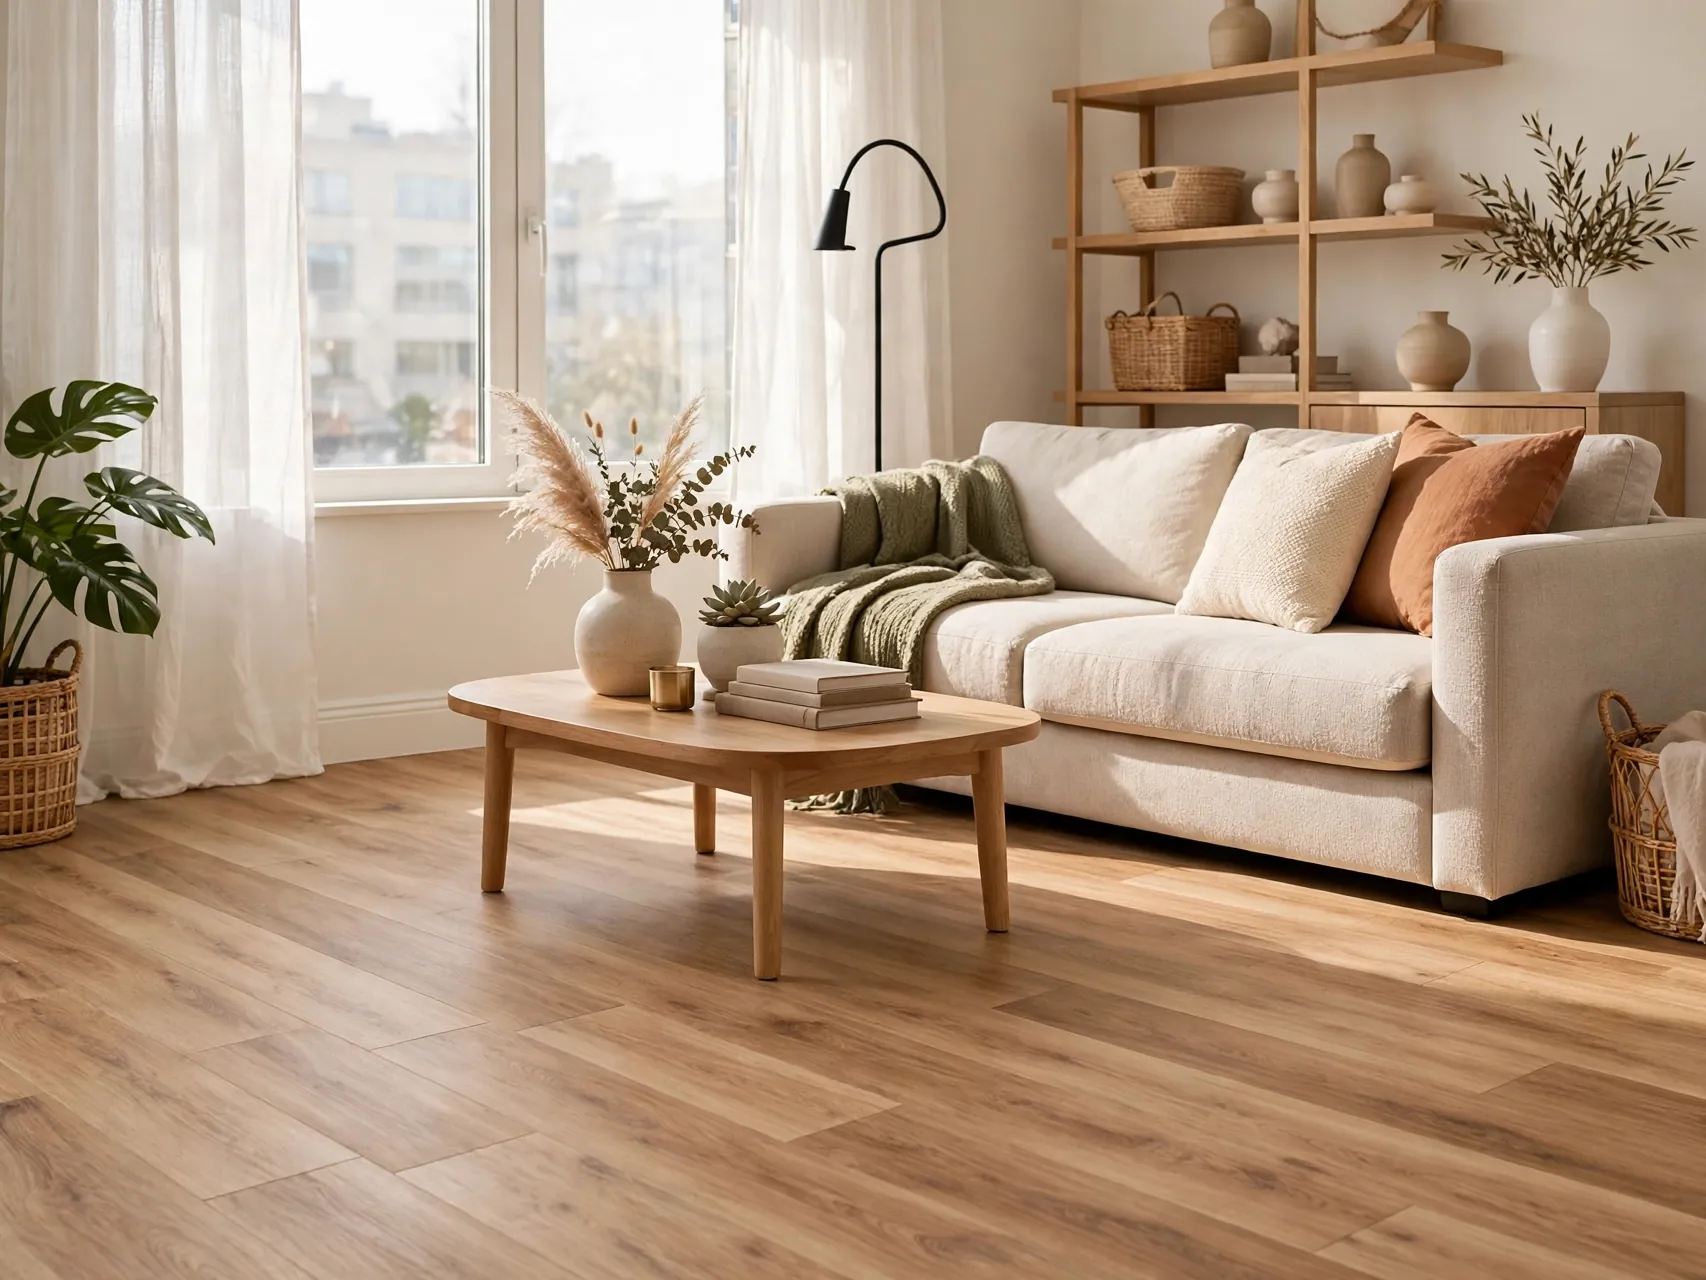
Click lock luxury vinyl planks join to each other, not to the floor, so the whole surface floats. They mimic wood convincingly, handle daily wear well, and can be unlocked and removed later.
Let planks acclimate in the room as the maker directs, and get landlord approval before a whole room install. Keep spare planks and your layout photos in case you need to lift a section.
Keep the removal plan in mind from the start. Save packaging, label small parts, and store anything you took off in one clear box so reversing the change later takes minutes, not a whole afternoon.
4. Use Loose Lay Vinyl Planks

Loose lay planks rely on weight and friction rather than clicks or glue, making them one of the simplest full coverage options for a small room like a kitchen or entry. They lay over a smooth existing floor.
The surface below needs to be clean and fairly flat or edges can lift. This is a strong temporary flooring choice because individual planks can be lifted for cleaning underneath.
If you share the space, agree the layout and budget before ordering. A quick shared photo list keeps everyone aligned and stops duplicate purchases that waste money and clutter a small area unnecessarily.
5. Add Interlocking Foam Mats With a Wood Look
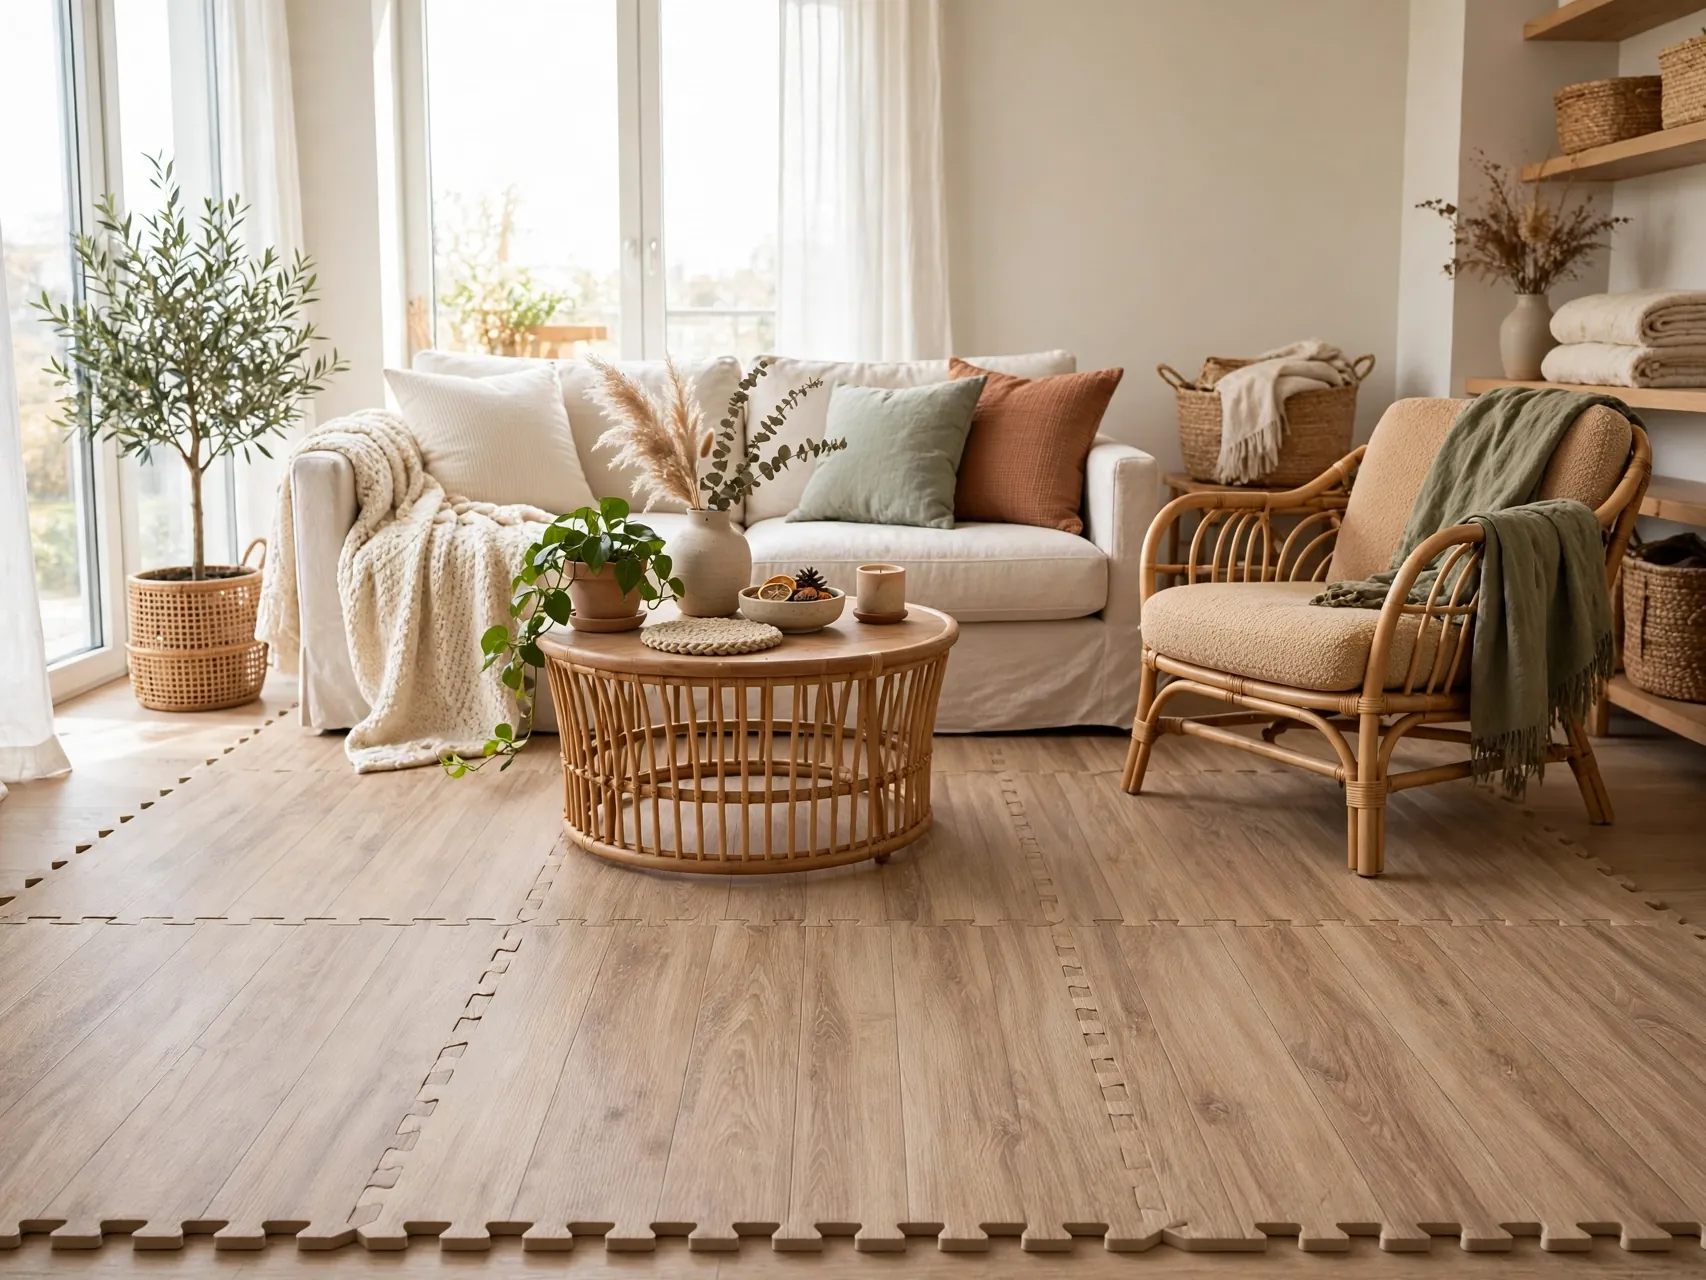
Foam mats with a printed wood finish are soft, light, and very budget friendly for play areas, home gyms, and basements. They interlock like puzzle pieces and need no tools beyond a utility knife for edges.
Check that heavy furniture does not dent them permanently in your setup, and watch for color transfer from rubber backings on pale floors. Test one mat in a hidden corner first.
Start with the version you already own or can borrow. Testing the layout for a week shows what you actually use daily, so your final purchase solves a real problem instead of adding more stuff.
6. Lay Carpet Tiles With Low Tack
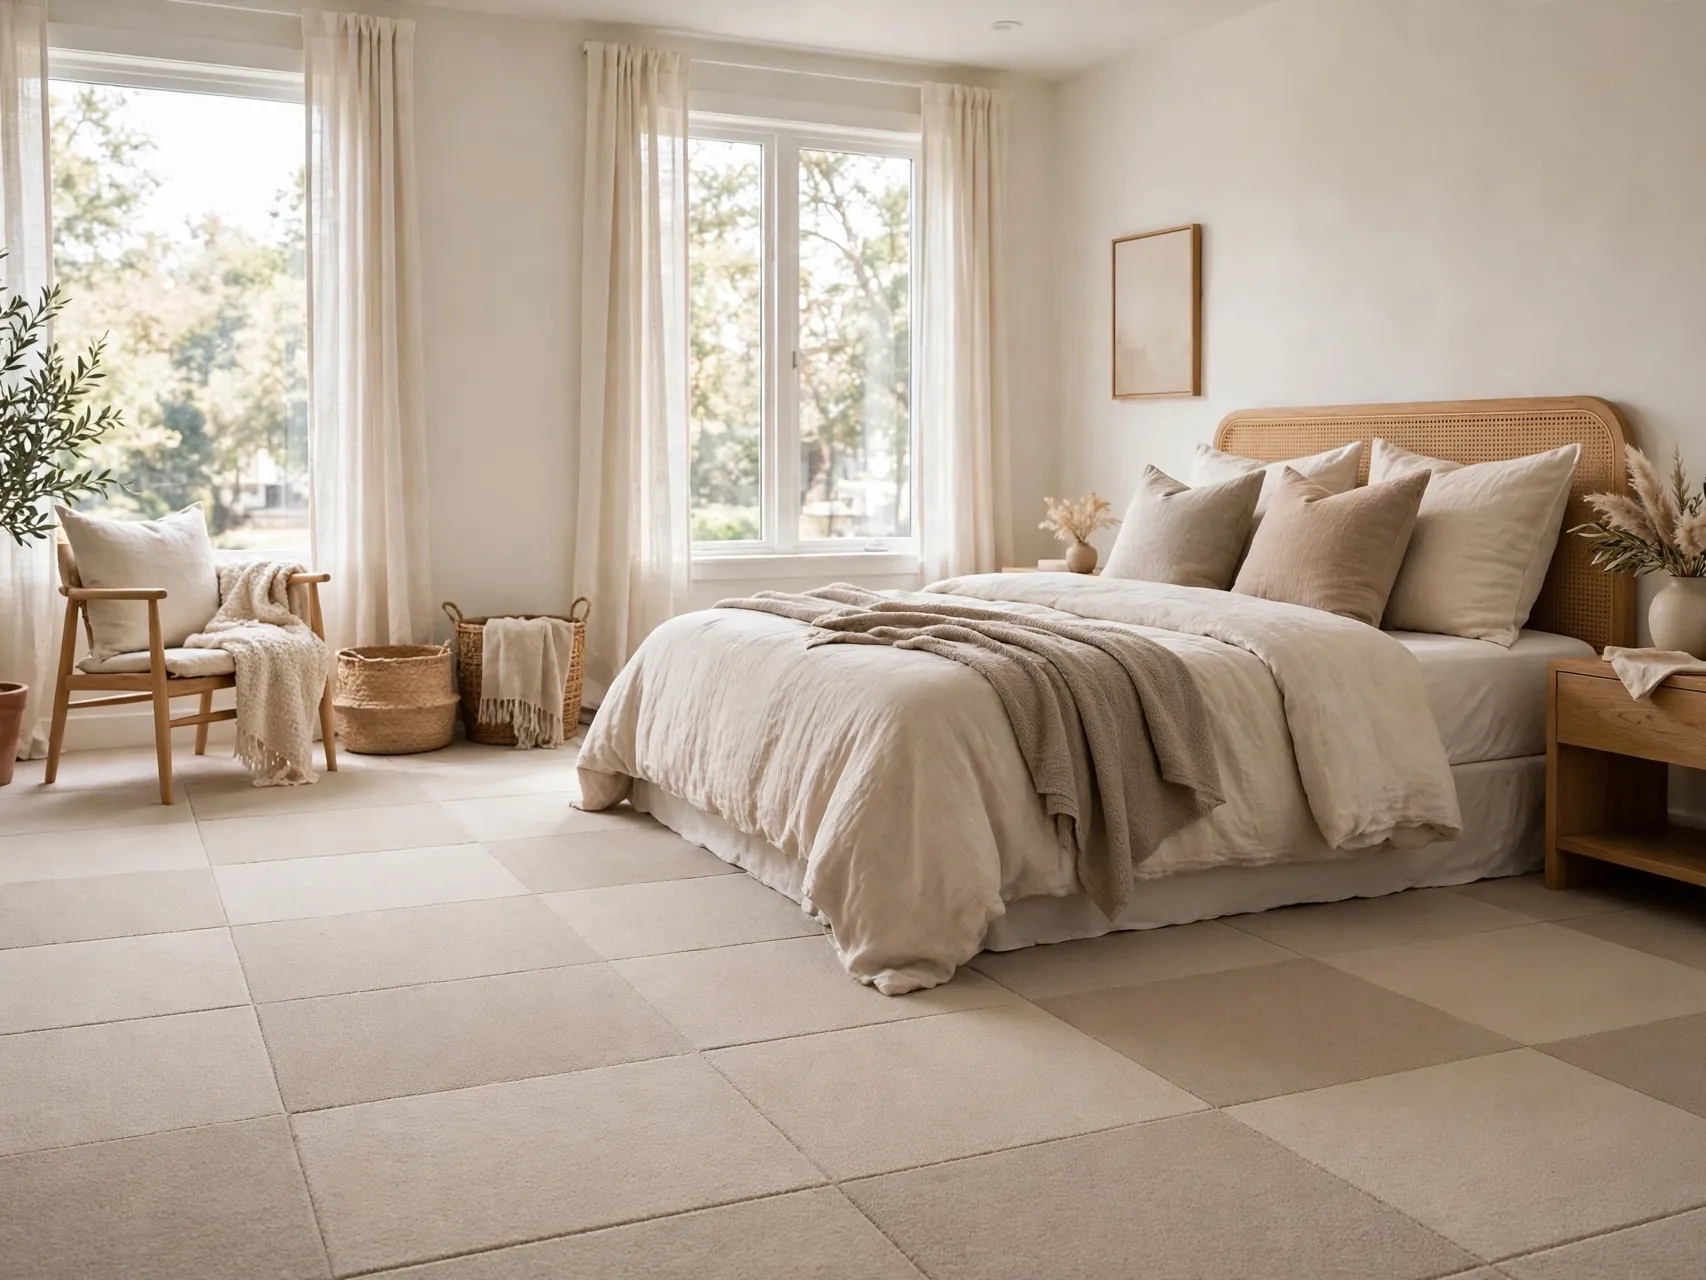
Carpet tiles cover dated hard floors or worn carpet zones and let you replace one stained tile instead of a whole rug. Choose tiles designed for loose lay or use only products your landlord approves.
Keep extra tiles from the same batch for swaps. At move out, lift tiles slowly and check for any residue, cleaning as the product instructions advise.
Photograph the finished corner in daylight and at night. Photos reveal clutter, cord tangles, or color clashes you stop noticing in person, and they double as your record for move out day comparison.
7. Use Peel and Stick Tiles Only With Permission
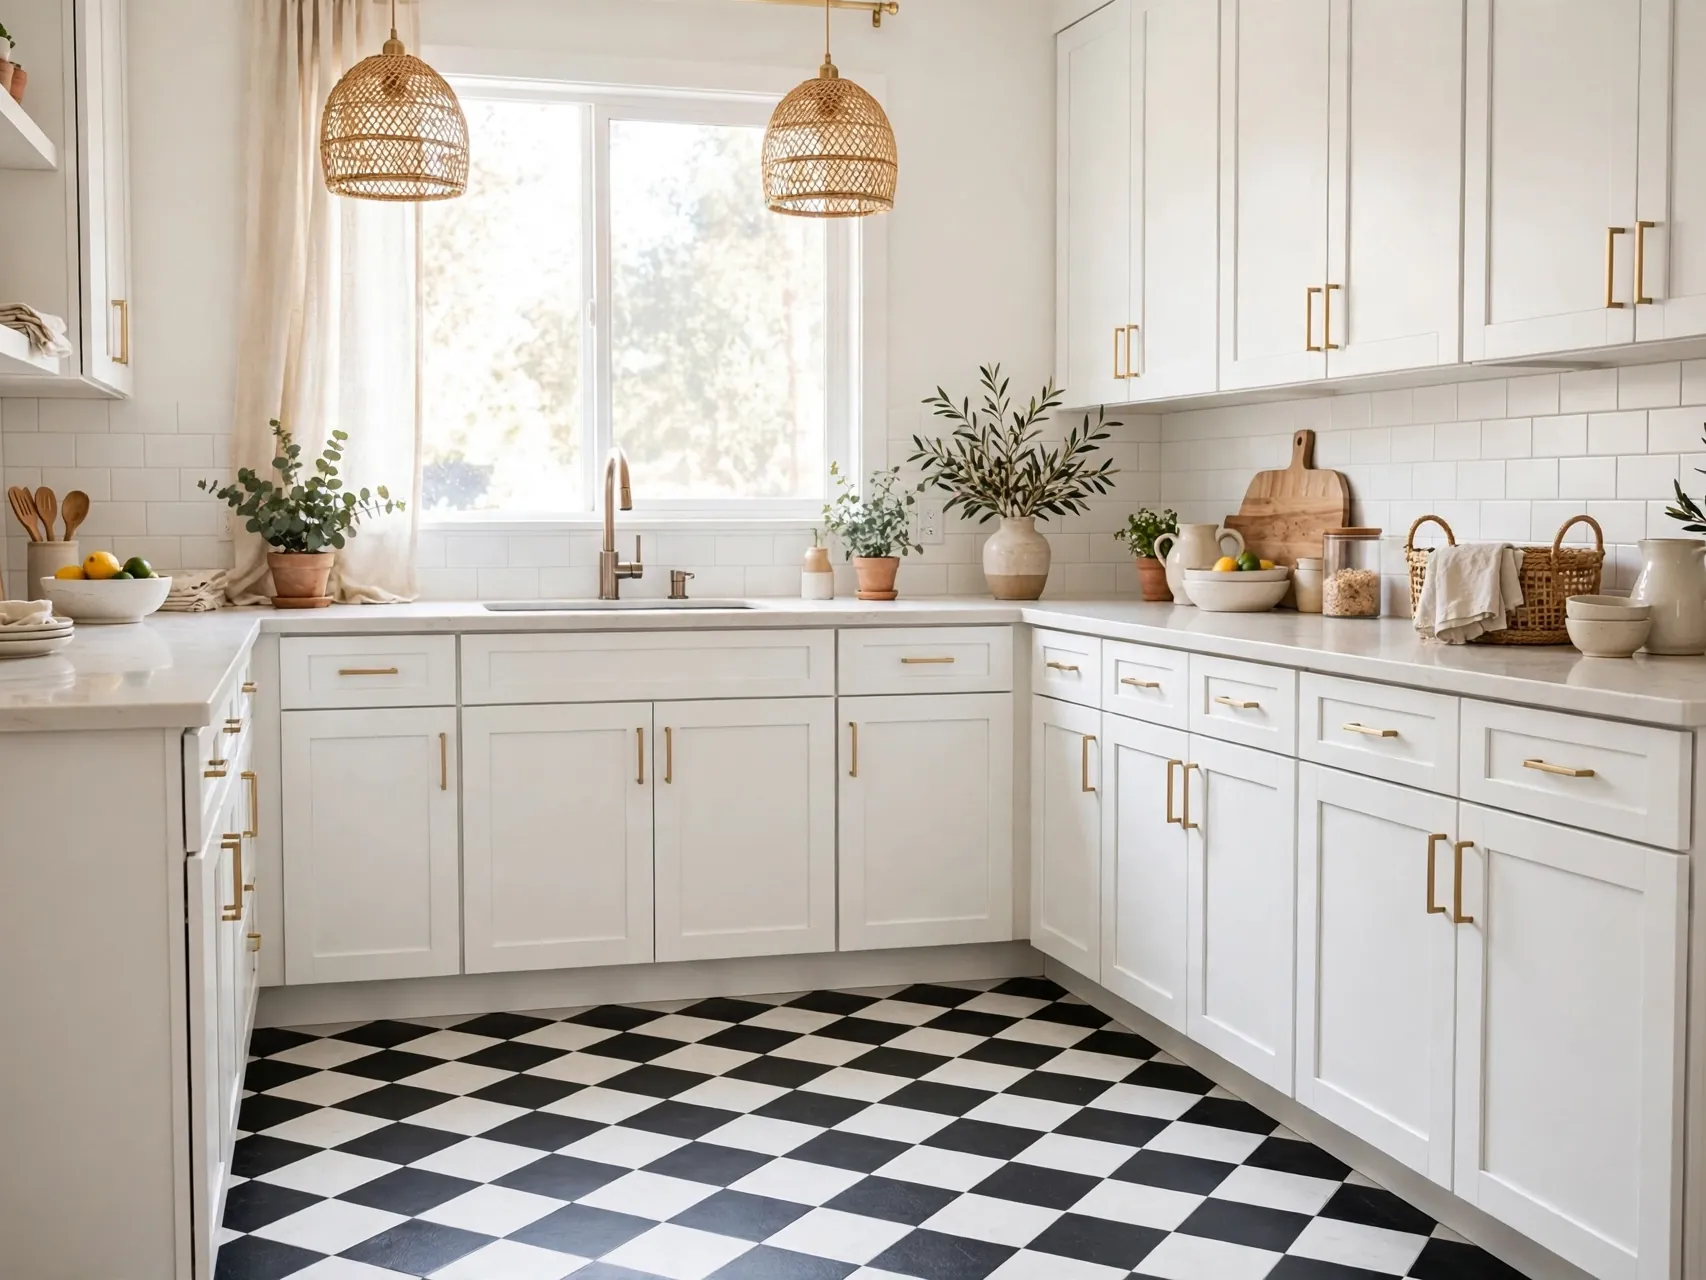
Peel and stick floor tiles can look great, but the adhesive is the risk. Some lift cleanly, others leave residue or damage, especially in heat or on older vinyl, so this option needs explicit permission and a test patch.
If you go ahead, test one tile in a closet for a few weeks first. Keep removal supplies in your budget and never assume a product marketed as removable will behave that way on every floor.
Quick check before you buy: measure the space, note any lease limits, and take a phone photo to compare colors and sizes in the store. That small pause prevents most returns and keeps the project on budget.
8. Try Removable Vinyl Sheet Flooring
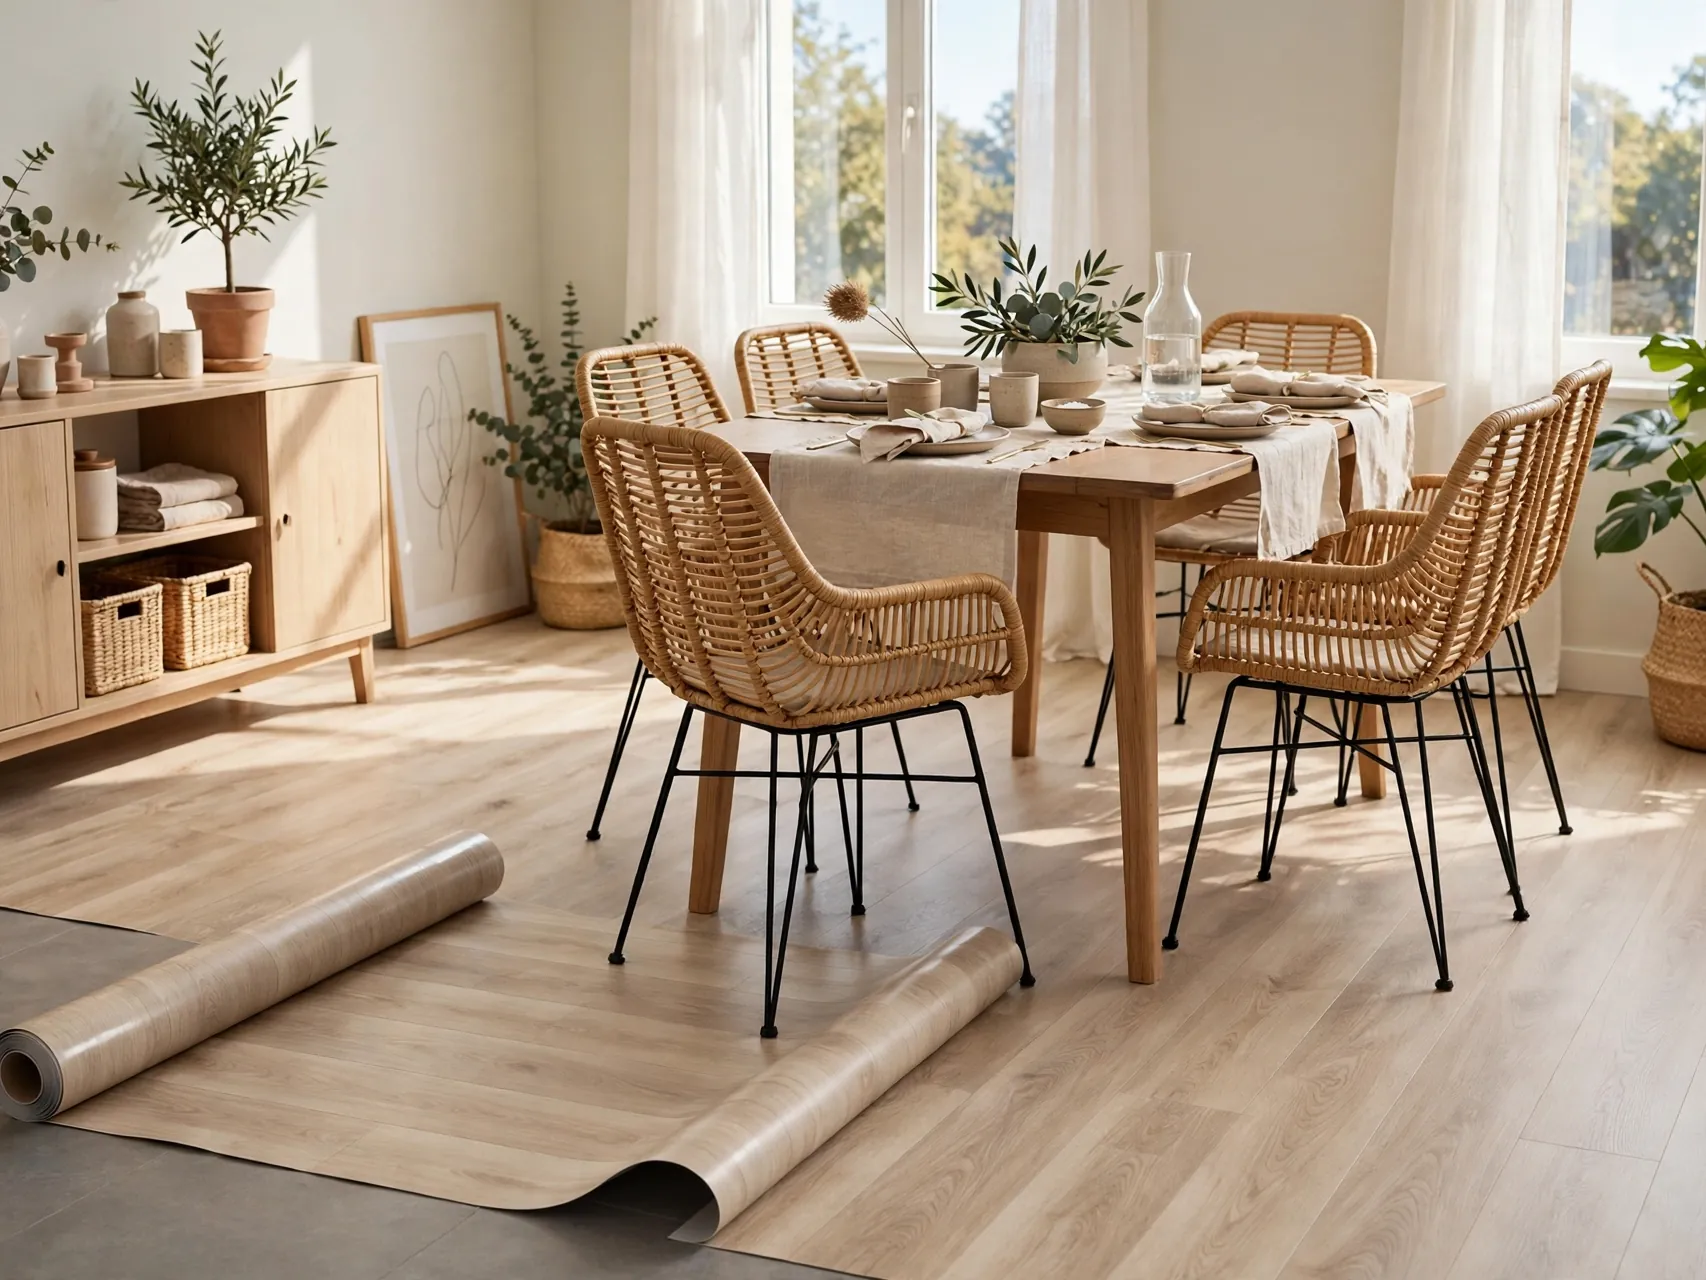
A single sheet of vinyl cut to fit can cover a small bathroom or kitchen floor with no seams. Loose laid and held by furniture or approved trim, it gives a clean, wipeable surface that hides dated tile completely.
Measure twice and use a paper template for corners and fixtures. Roll the sheet rather than folding it when you remove it, so it stays usable in your next home.
For a Pinterest worthy finish, repeat the same material or color at least twice in the zone. Repetition makes a temporary setup look planned, and it helps separate zones feel connected rather than random.
9. Add a Painted Canvas Floor Cloth

A canvas floor cloth sits like a rug but reads like flooring, and you can paint it in a checker, stripe, or simple pattern that suits your room. Sealed cloths wipe clean and work well under dining tables.
Buy ready made if you want the fastest route. Keep edges flat to avoid trips, and place a thin pad underneath on hard floors for grip and surface protection.
Keep the removal plan in mind from the start. Save packaging, label small parts, and store anything you took off in one clear box so reversing the change later takes minutes, not a whole afternoon.
10. Use Cork Tiles as a Warm Overlay
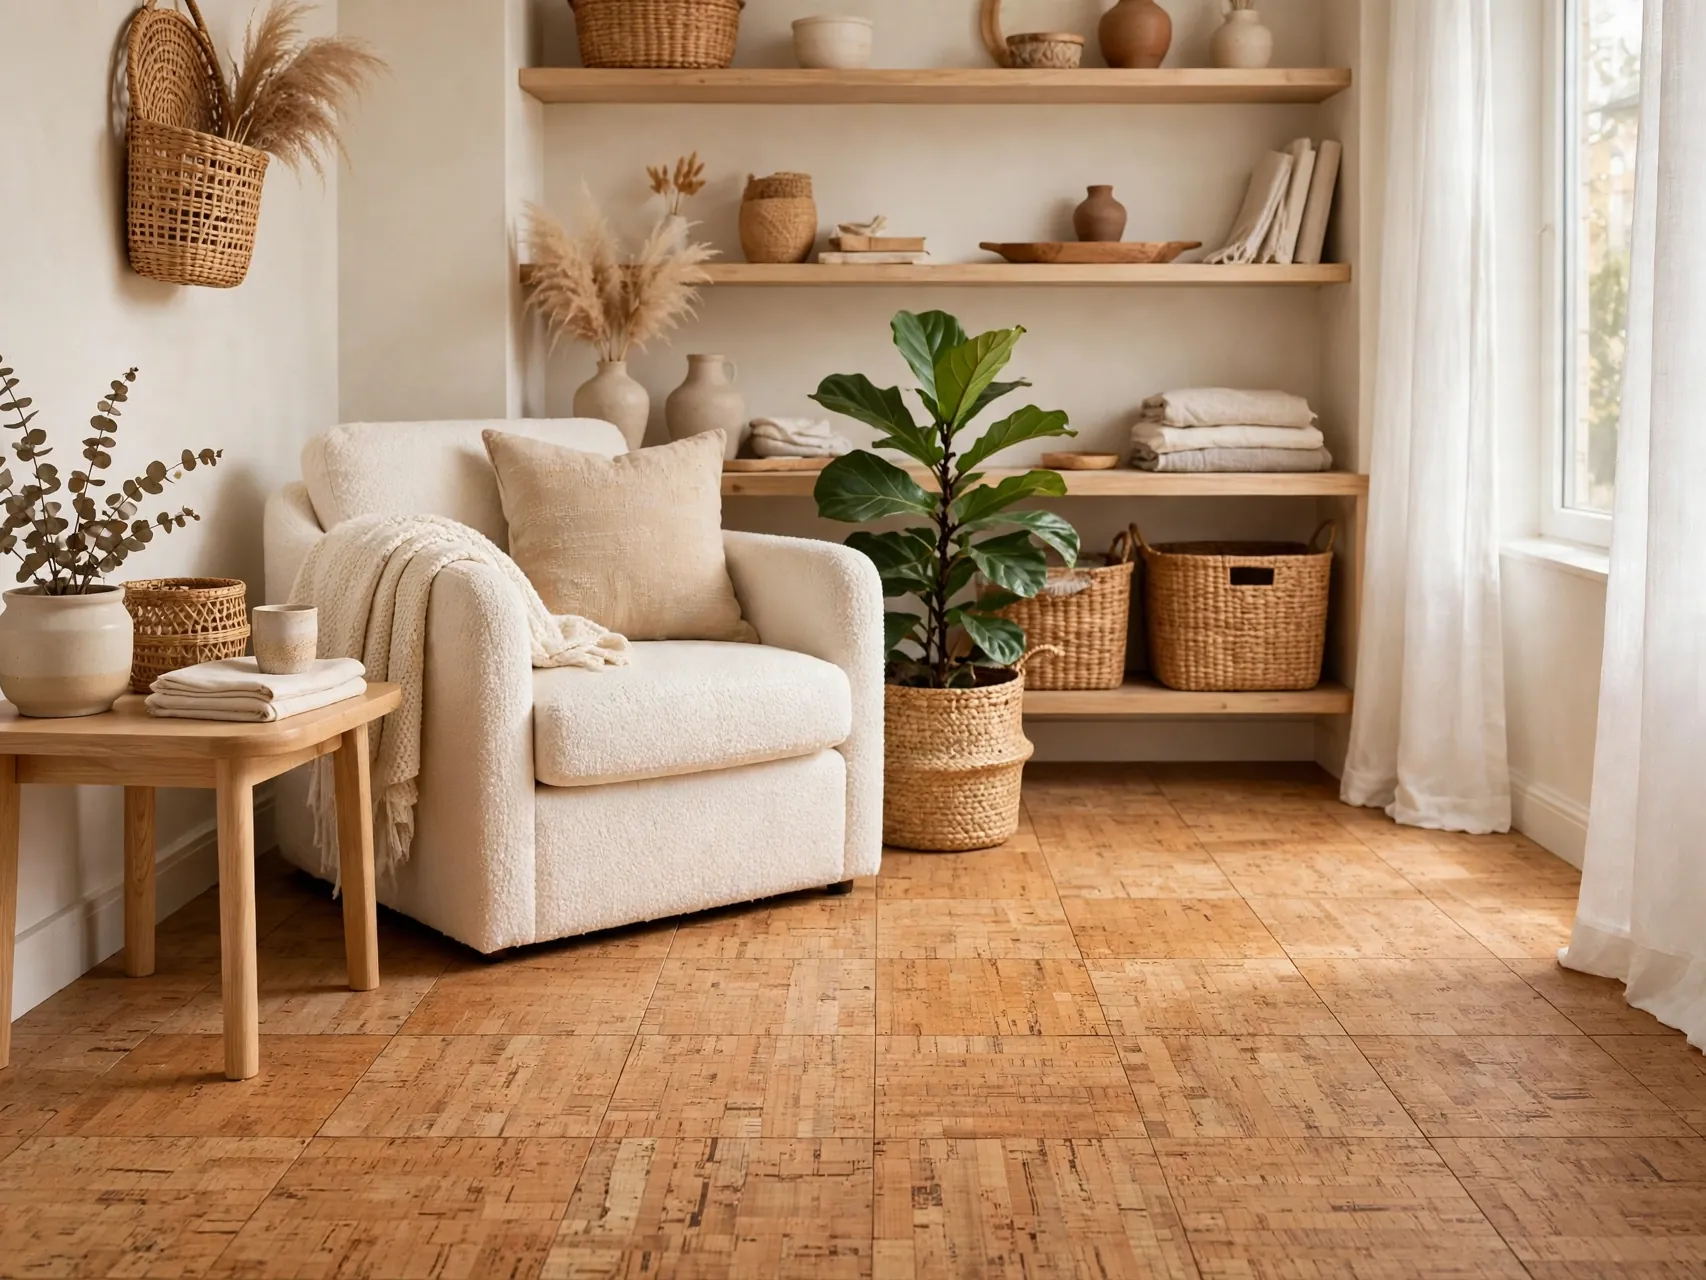
Loose cork squares or a cork rug style mat add warmth, softness, and sound softening over cold tile. The natural tone pairs well with many decor styles and feels good underfoot in bedrooms.
Cork can mark under heavy furniture, so use pads and lift pieces to check underneath in damp rooms. Follow the maker guidance on where cork is suitable.
If you share the space, agree the layout and budget before ordering. A quick shared photo list keeps everyone aligned and stops duplicate purchases that waste money and clutter a small area unnecessarily.
11. Cover Kitchen Floors With a Vinyl Floor Cloth
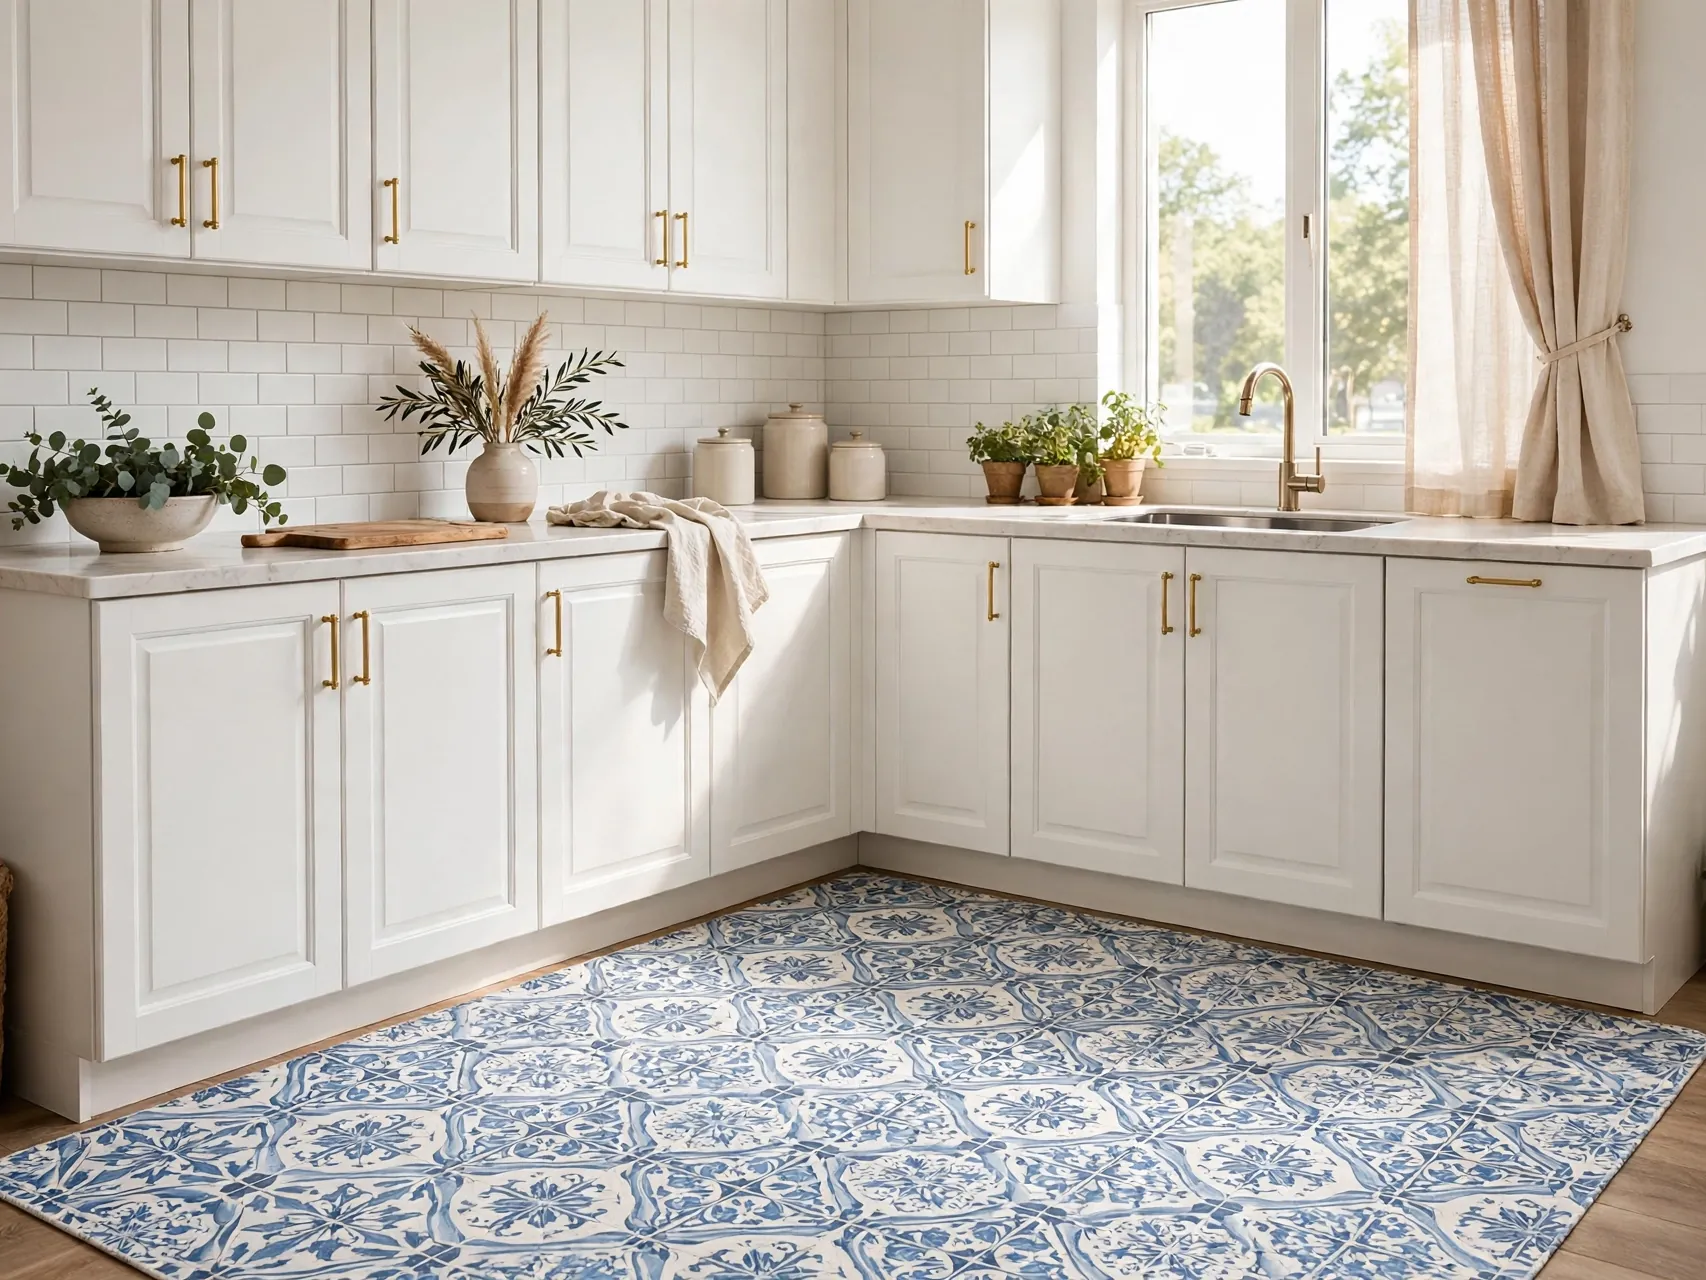
Kitchen rental floors often show the most wear. A vinyl floor cloth in a tile or stone look covers a large area, handles spills, and lies completely flat with no adhesive, making cleanup and removal easy.
Size it to sit under the main work zone in front of the sink and stove. Wipe spills promptly so moisture does not sit at the edges for long periods.
Start with the version you already own or can borrow. Testing the layout for a week shows what you actually use daily, so your final purchase solves a real problem instead of adding more stuff.
12. Add Washable Runners in High Traffic Zones

Long washable runners protect and disguise hallway, entry, and galley kitchen floors where wear is heaviest. A runner with a pattern hides marks between washes and adds color without covering the whole floor.
Use a non slip underlay cut to the same size. This is one of the most practical renter friendly flooring fixes for homes with kids or pets.
Photograph the finished corner in daylight and at night. Photos reveal clutter, cord tangles, or color clashes you stop noticing in person, and they double as your record for move out day comparison.
13. Use Deck Tiles Indoors for an Entry Zone

Interlocking deck style tiles can create a defined, hard wearing entry pad over ugly flooring near a door. They handle wet shoes better than a thin mat and click apart when you leave.
Make sure the tile height does not stop the door opening. Keep the zone small and contained, and lift tiles to clean underneath during wet seasons.
Quick check before you buy: measure the space, note any lease limits, and take a phone photo to compare colors and sizes in the store. That small pause prevents most returns and keeps the project on budget.
14. Try Tatami Style Mats for a Soft Surface
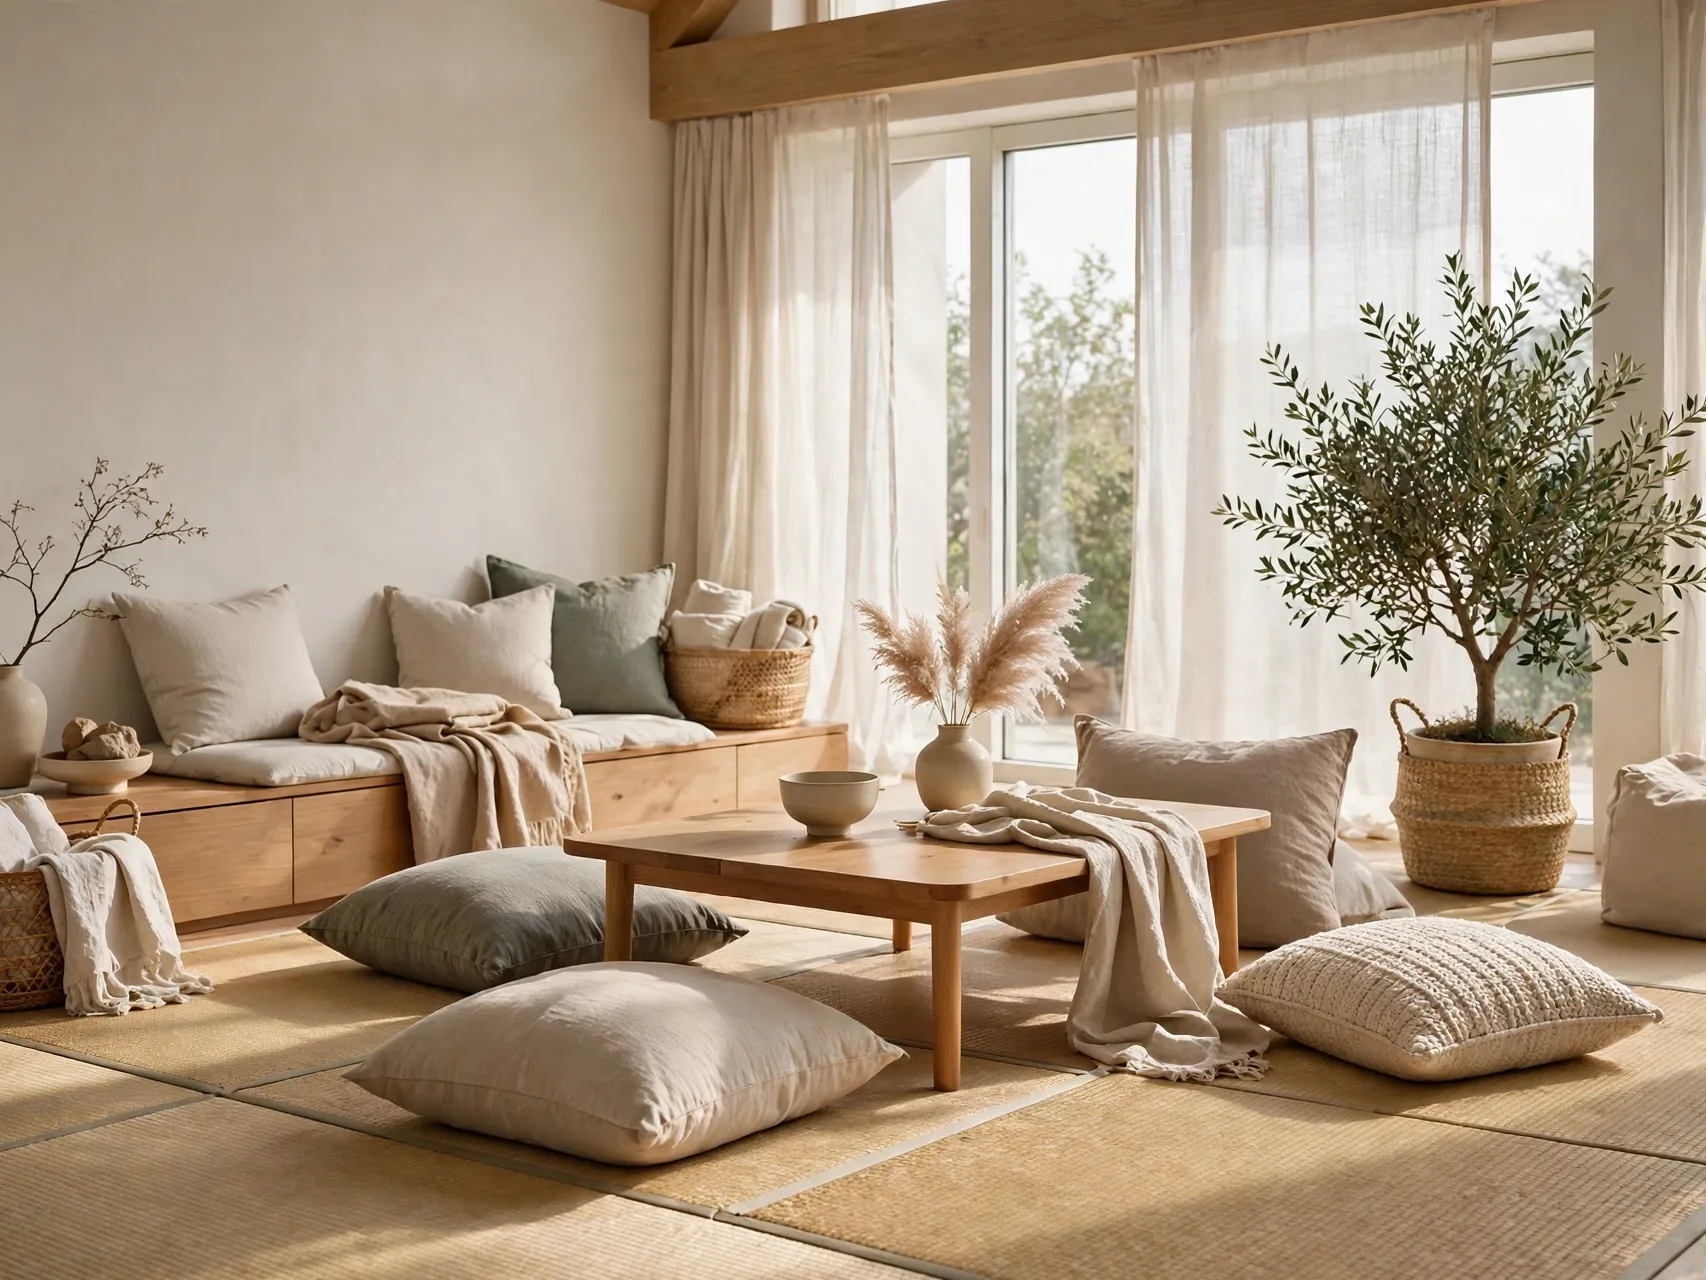
Tatami style mats create a calm, uniform surface in a bedroom or reading area and simply sit side by side on the existing floor. Their natural texture changes the feel of a room without any fixing.
Keep them dry and lift occasionally for airflow, especially over carpet. Measure your layout first, since standard mat sizes work best in simple rectangular arrangements.
For a Pinterest worthy finish, repeat the same material or color at least twice in the zone. Repetition makes a temporary setup look planned, and it helps separate zones feel connected rather than random.
15. Use Faux Wood Interlocking Tiles in a Play Area
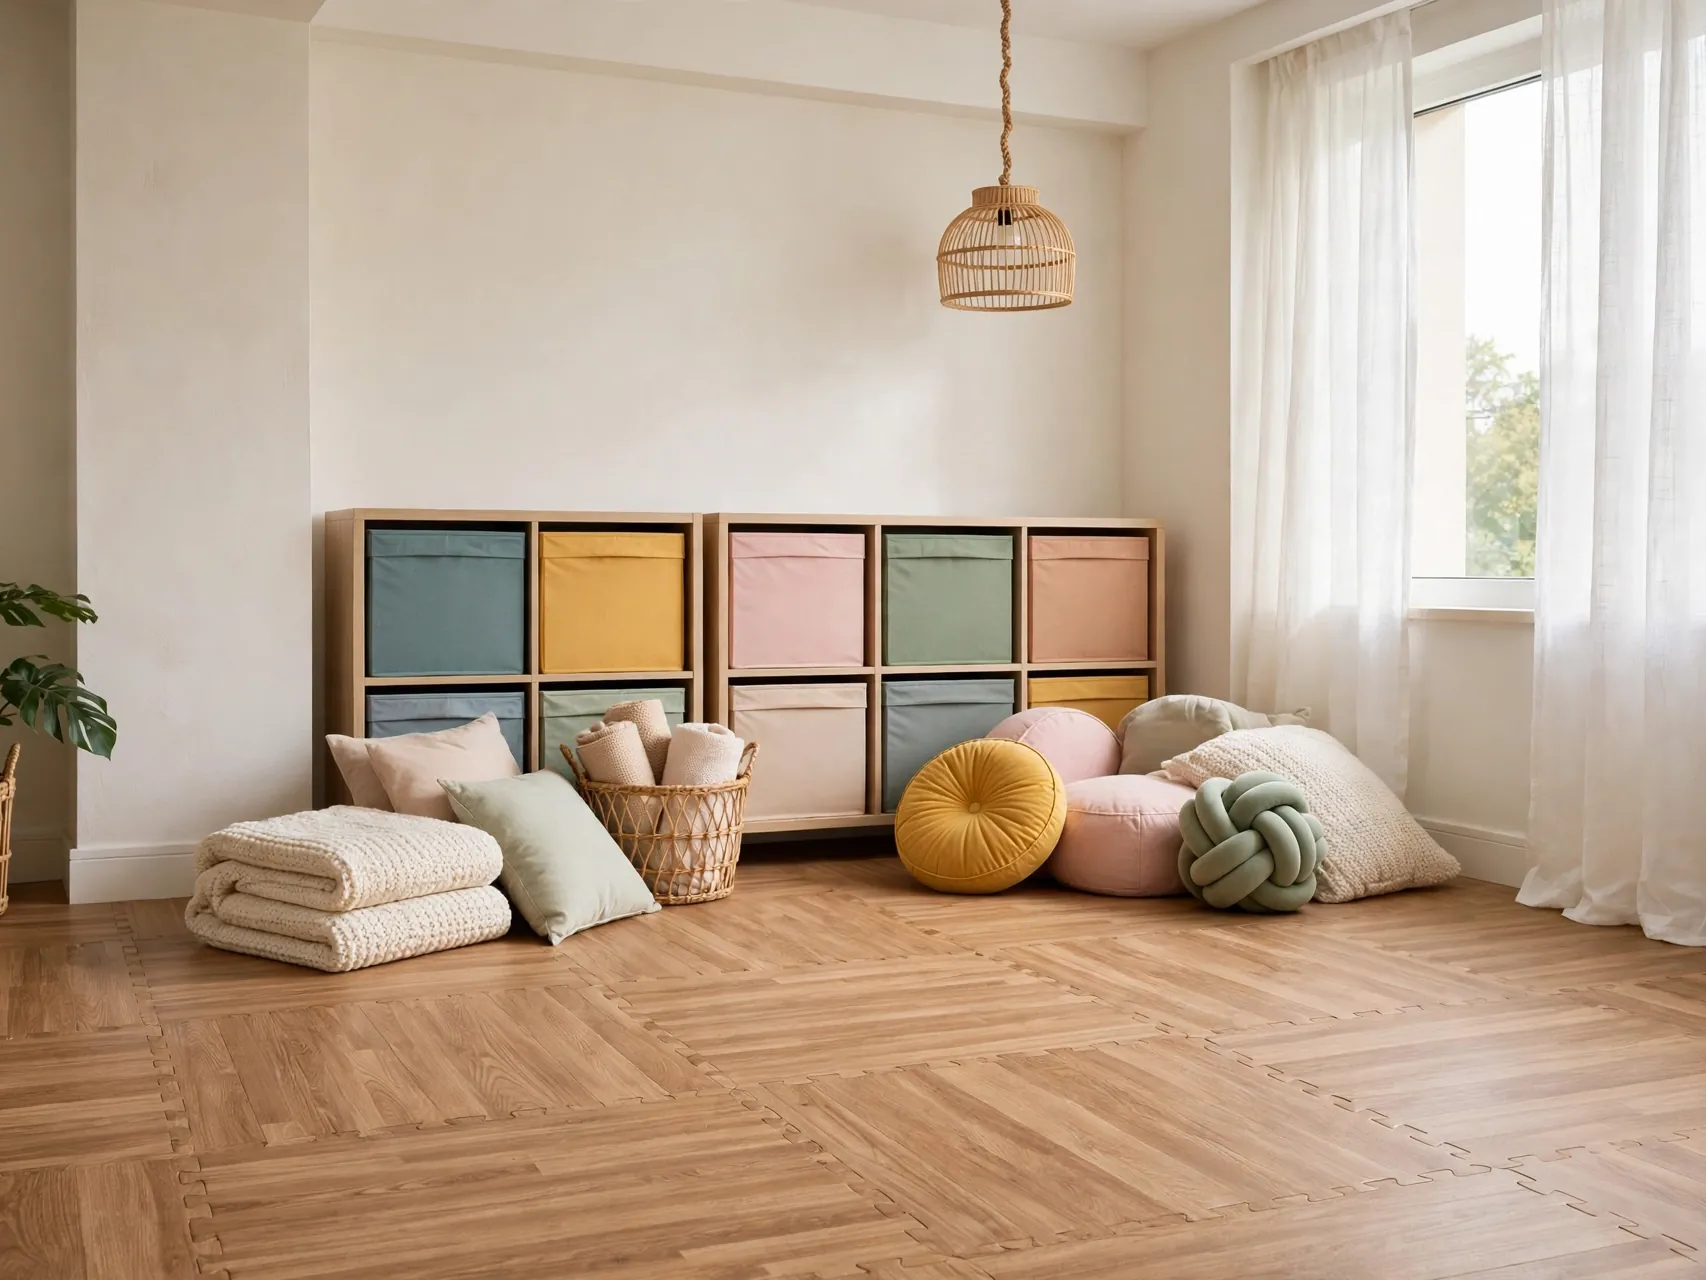
Beyond foam, there are firmer interlocking tiles with wood or stone finishes made for playrooms and utility spaces. They cover large, rough areas quickly and soften falls and noise.
Check thickness against door clearance and skirting. Keep spare tiles, because high play areas wear faster, and a quick tile swap keeps the surface looking new.
Keep the removal plan in mind from the start. Save packaging, label small parts, and store anything you took off in one clear box so reversing the change later takes minutes, not a whole afternoon.
16. Add a Large Low Pile Rug in the Bedroom
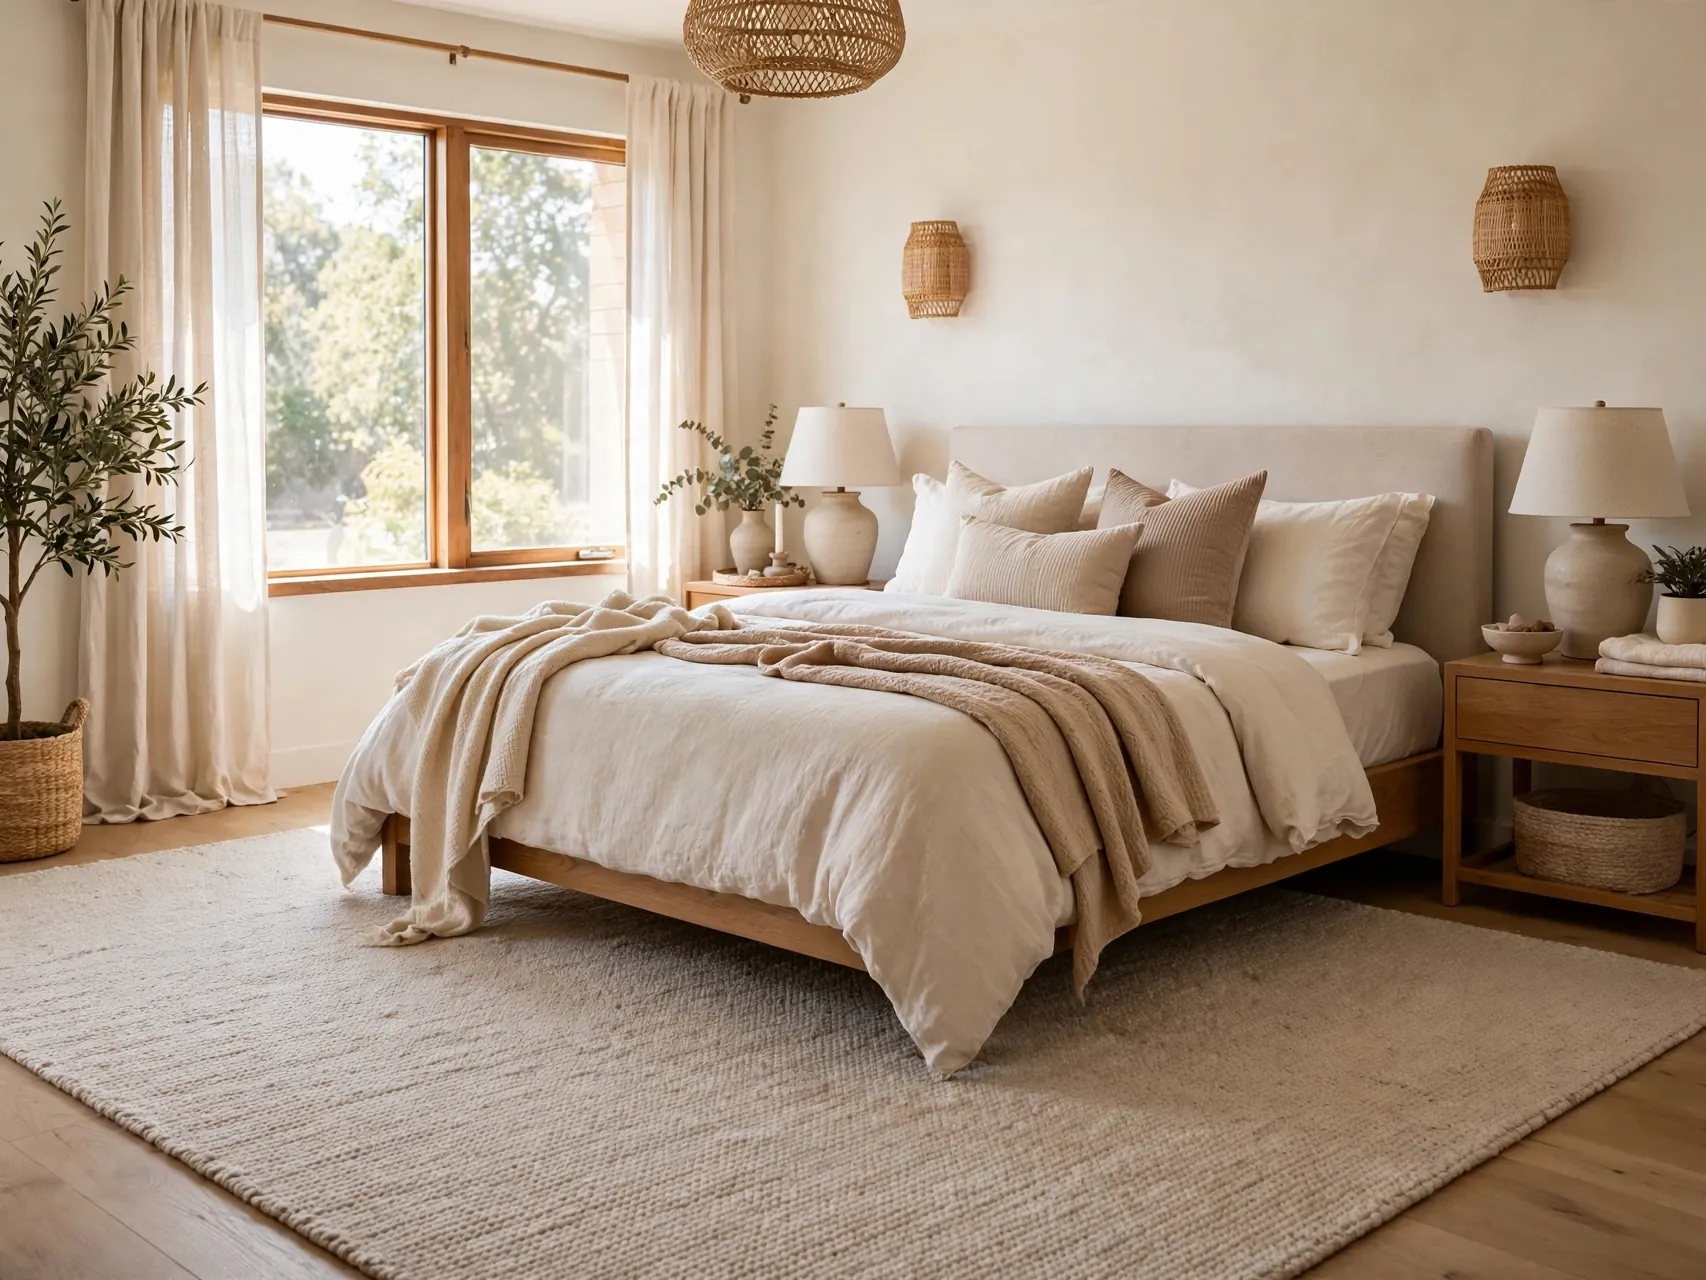
Bedrooms forgive a simpler fix. A large low pile rug under the bed, extending on both sides, covers most of the visible floor and gives you a soft landing in the morning.
Low pile is easier to vacuum and works better with doors and robot vacuums. Choose a washable or easy clean option if the bedroom doubles as a pet sleeping spot.
If you share the space, agree the layout and budget before ordering. A quick shared photo list keeps everyone aligned and stops duplicate purchases that waste money and clutter a small area unnecessarily.
17. Hide Stains With Strategic Furniture Placement
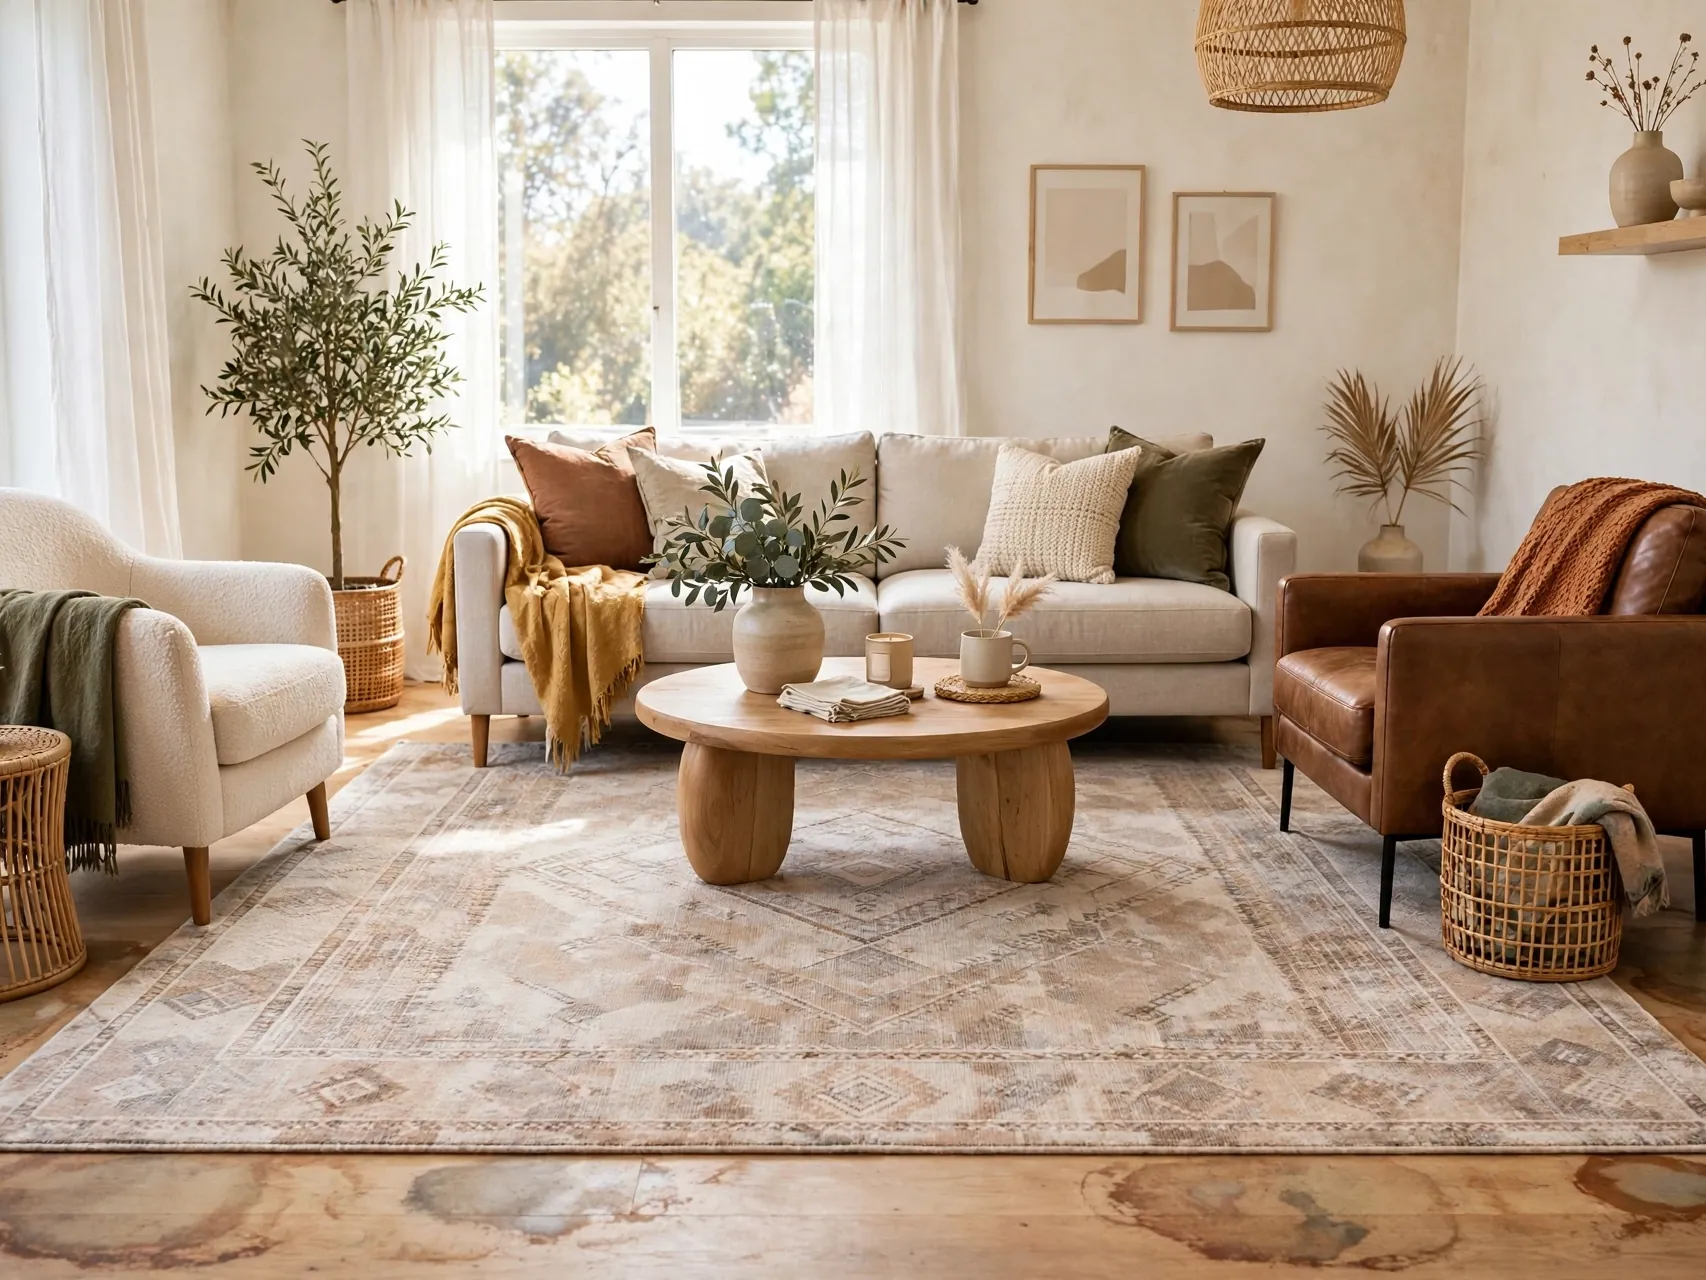
Sometimes the smartest fix costs nothing. A bookshelf, a bench, a plant stand, or a repositioned sofa can cover a single bad stain or damaged patch while you plan a larger cover for the rest of the room.
Take care not to block heat vents or make the layout feel forced. This trick works best combined with a rug, so the covered spot looks like part of a plan.
Start with the version you already own or can borrow. Testing the layout for a week shows what you actually use daily, so your final purchase solves a real problem instead of adding more stuff.
18. Use Rug Pads to Stop Shifting and Protect Floors

A good pad is not an extra, it is protection. It stops rugs creeping on hard floors and carpet, adds cushion, and creates a barrier between rug backing and the original floor finish.
Cut the pad slightly smaller than the rug so it stays hidden. Check underneath every few months and replace a pad that is crumbling or sticking to the floor.
Photograph the finished corner in daylight and at night. Photos reveal clutter, cord tangles, or color clashes you stop noticing in person, and they double as your record for move out day comparison.
19. Try Temporary Laminate That Clicks Together
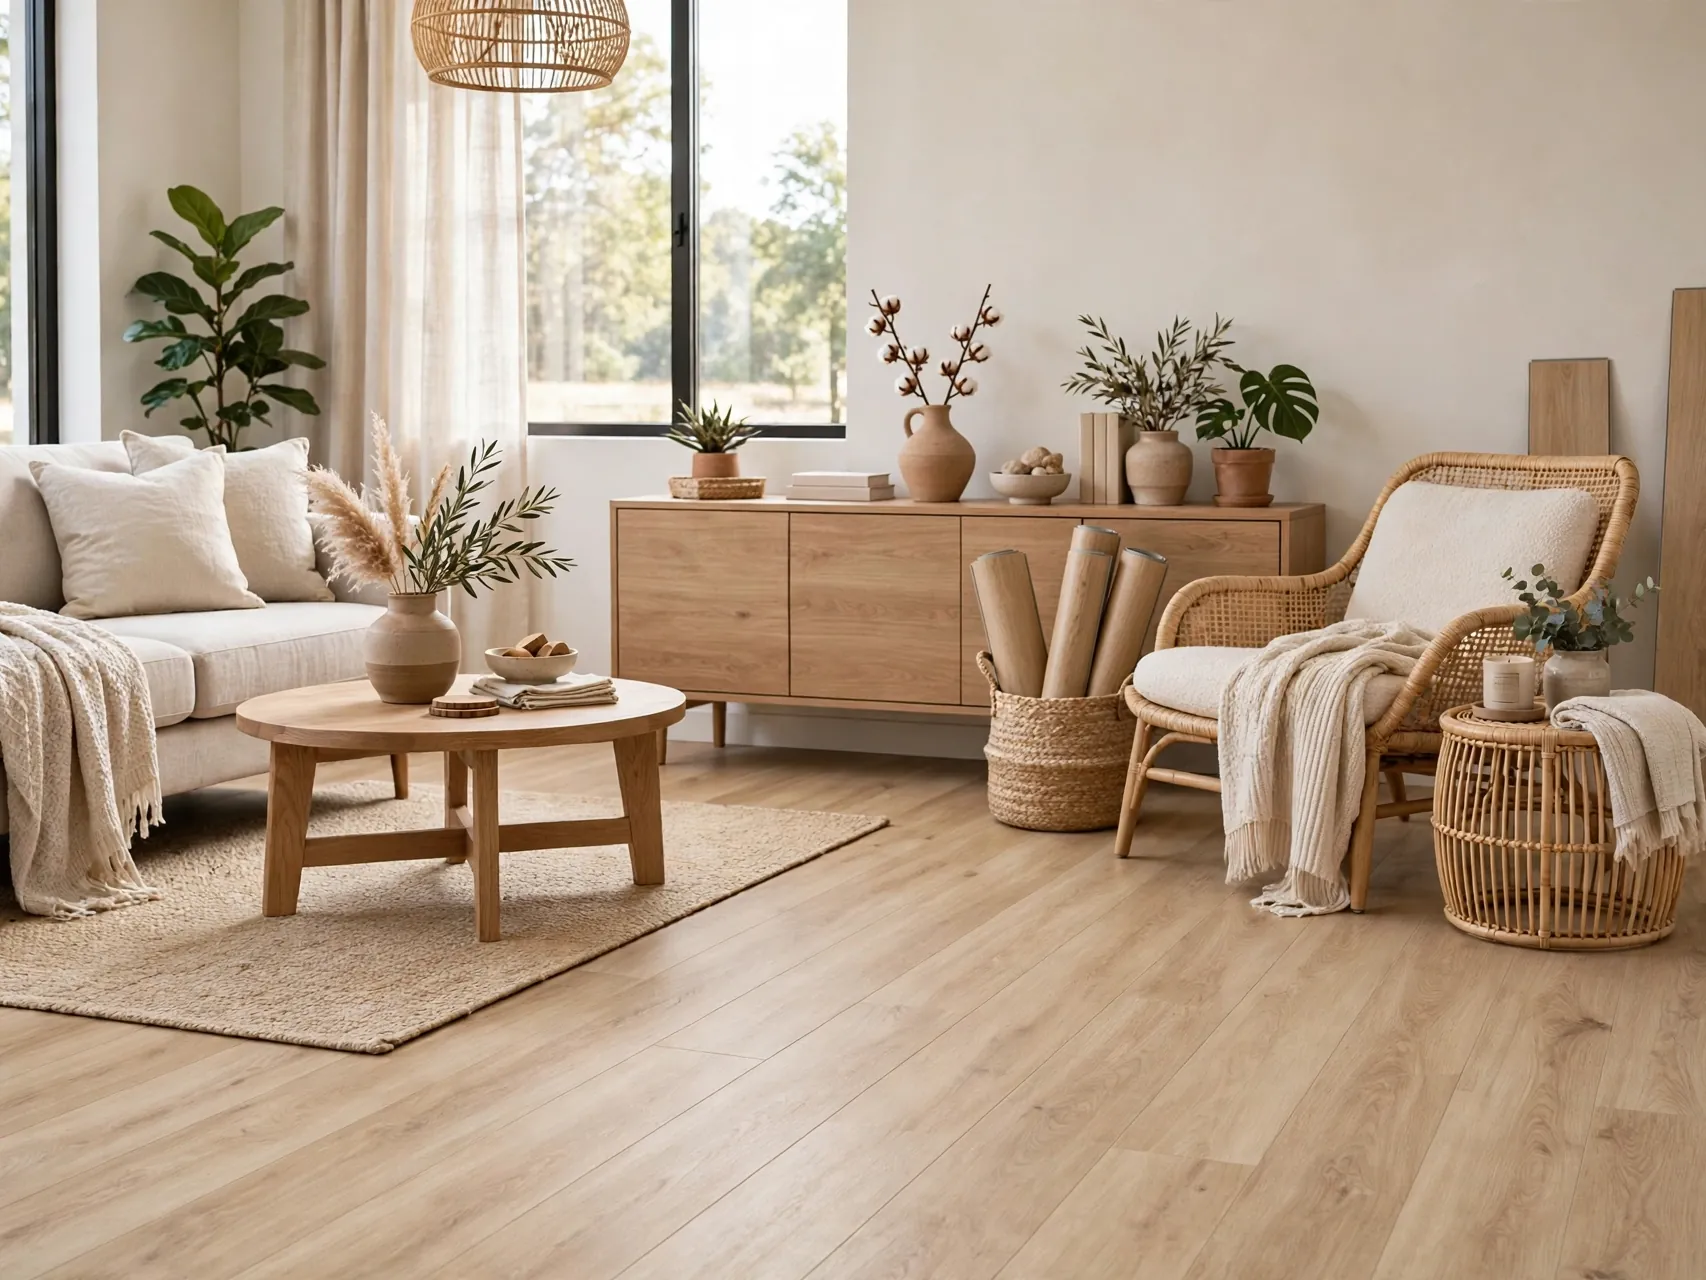
Click together laminate can float like vinyl plank and gives a crisp wood look for living rooms. It is firmer underfoot and can look very convincing when the color suits the room.
It is heavier and less water tolerant than vinyl, so keep it for dry rooms and get permission first. Store the original room photos and keep edges protected from moisture.
Quick check before you buy: measure the space, note any lease limits, and take a phone photo to compare colors and sizes in the store. That small pause prevents most returns and keeps the project on budget.
20. Add Bathroom Safe Vinyl Mats

In bathrooms, use vinyl mats and floor cloths made to handle splashes rather than fabric rugs that stay damp. A single large mat in a clean pattern can hide dated lino and make the room feel updated.
Lift and dry underneath regularly to prevent moisture buildup. Avoid adhesive products around fixtures unless you have permission, since bathrooms are where removal damage is most likely.
For a Pinterest worthy finish, repeat the same material or color at least twice in the zone. Repetition makes a temporary setup look planned, and it helps separate zones feel connected rather than random.
21. Use Outdoor Rugs Indoors for Durability
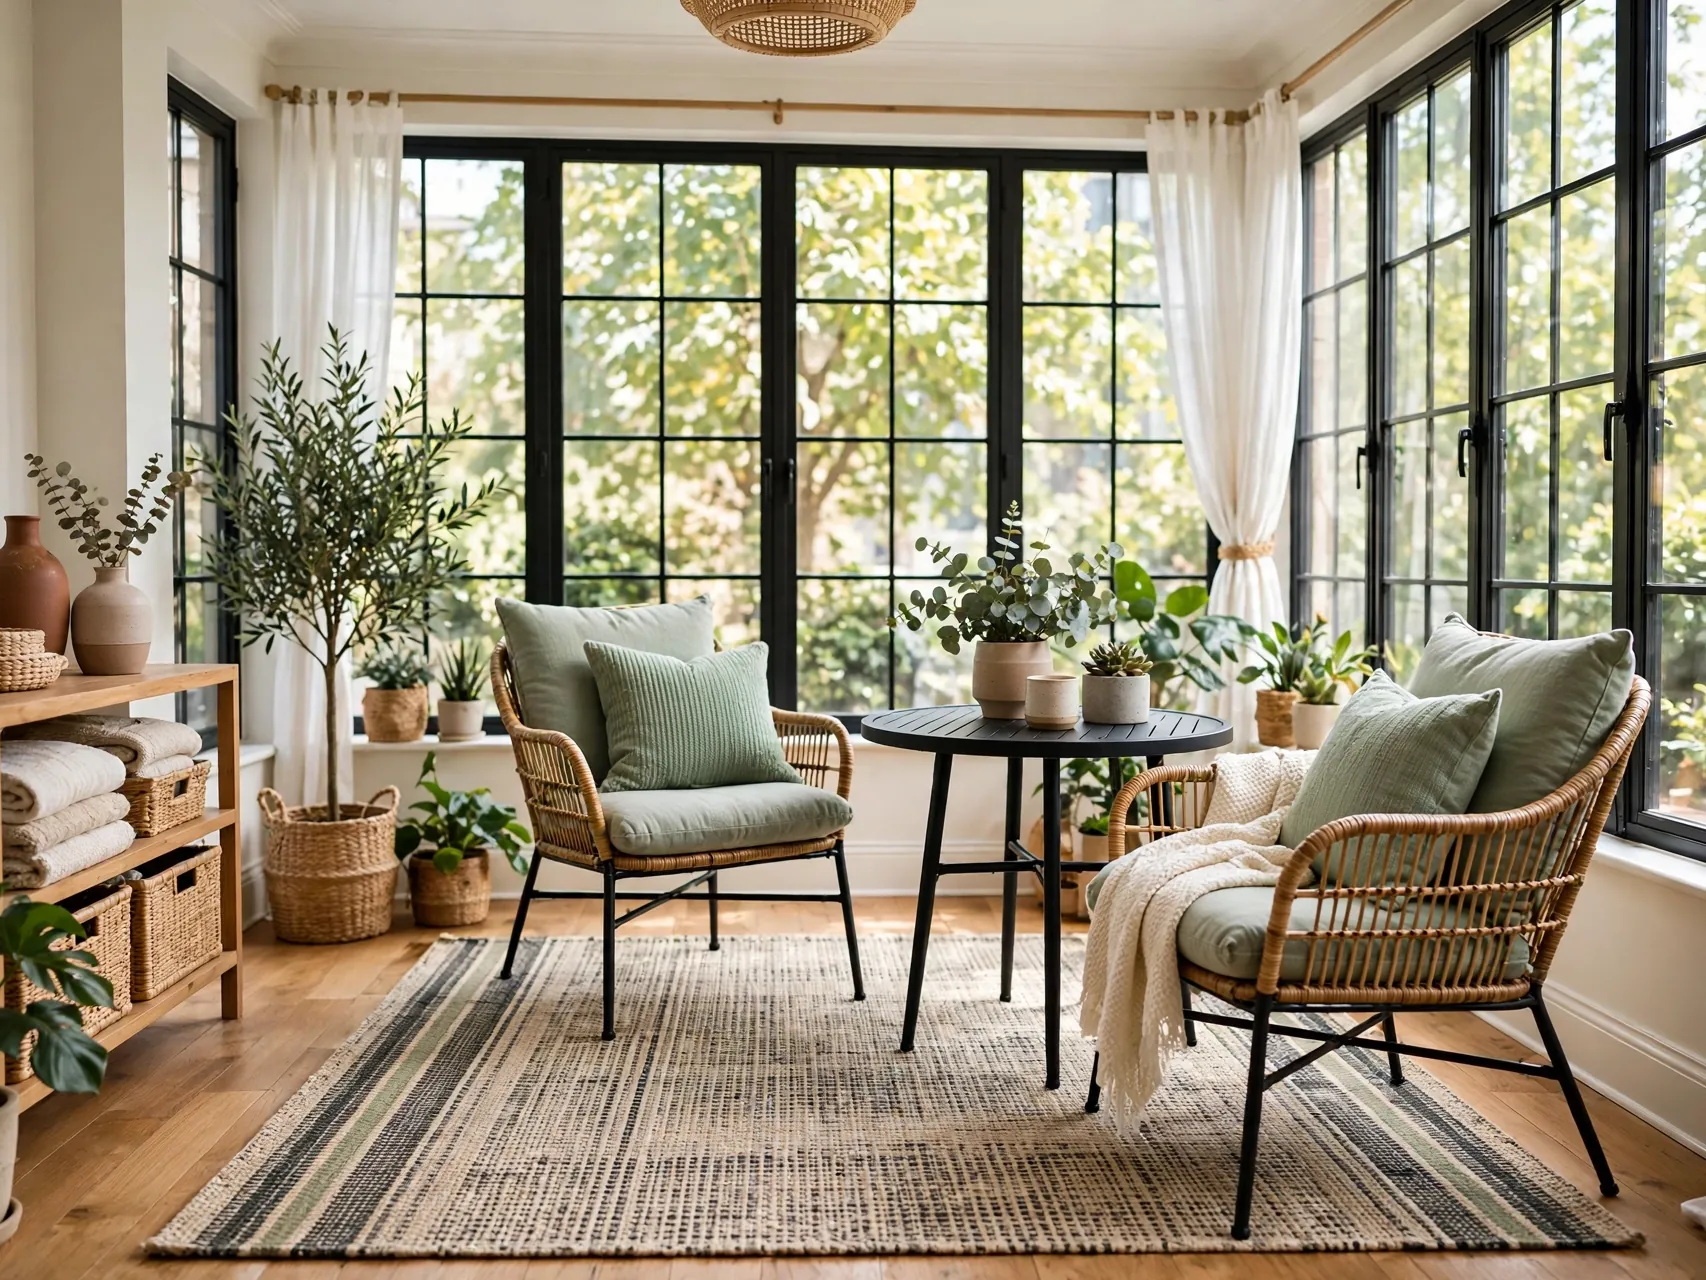
Outdoor rugs are made to handle sun, water, and heavy use, which makes them a smart indoor choice in entries, dining areas, and pet zones. Many now look like flatweave indoor rugs but hose clean in minutes.
Their flatter profile helps doors open freely. This is a durable way to cover ugly rental floors in the rooms that get dirty fastest.
Keep the removal plan in mind from the start. Save packaging, label small parts, and store anything you took off in one clear box so reversing the change later takes minutes, not a whole afternoon.
22. Protect the Original Floor Before You Start

Whatever you choose, start with a clean, dry floor, felt pads under furniture, and photos from every corner. Keep product names, landlord messages, and removal instructions in one folder from day one.
At move out, remove coverings slowly, clean the original floor as your lease requires, and photograph it again. That simple record is your best proof that your flooring left no trace.
FAQ
What is the safest flooring option for a rental deposit?
Loose options are safest: large rugs with pads, loose lay vinyl, and floating click lock floors that do not attach to the original surface. Anything with adhesive carries more removal risk, so it needs permission, a test patch, and a removal plan.
Do I need landlord permission to lay vinyl planks?
For a whole room floating floor, yes, ask in writing even though nothing is glued down. It changes the room significantly and affects door clearance and edges. A rug or runner usually needs no permission, but checking your lease is still wise.
Can I cover rental carpet without removing it?
Yes, with a large low pile rug layered on top, held by furniture weight and kept flat at edges. Vacuum the carpet first, avoid thick layers that block doors, and check that the combination does not create a trip hazard in walkways.
How do I stop temporary flooring from damaging the floor below?
Keep everything clean and dry underneath, use pads and barriers, and lift coverings periodically to inspect. Trapped moisture and grit cause most problems, not the covering itself. Photograph the floor before and after for your records.
Which rooms should I avoid for peel and stick tiles?
Bathrooms and kitchens are the riskiest because heat and moisture affect adhesive and removal. If you use peel and stick anywhere, test first, get permission, and budget time for residue removal. Loose vinyl or a floor cloth is usually safer in wet rooms.
Key Takeaways
- Cover, do not attach: Floating, loose lay, and rug based renter friendly flooring protects your deposit best.
- Test adhesives first: Peel and stick products vary widely, so a hidden test patch and permission are essential.
- Pads protect twice: Rug pads stop slipping and shield the original floor from wear and backing marks.
- Match the room: Vinyl and floor cloths suit wet zones, while planks and rugs work better in living areas.
- Document everything: Before photos, product notes, and landlord messages make move out simple and stress free.
- Start small if unsure: A rug and runner can transform a room while you decide on full coverage.
Love these ideas? Save this pin to your Small Spaces board on Pinterest so you can find them again when you are ready to start your own makeover.
If you share the space, agree the layout and budget before ordering. A quick shared photo list keeps everyone aligned and stops duplicate purchases that waste money and clutter a small area unnecessarily.