21 Renter Friendly Backyard Ideas That Are Easy to Undo
Introduction
A rental backyard often starts as a plain patch of concrete, tired grass, or bare fence line that does not feel like yours at all. The good news is that renter friendly backyard ideas focus on layers you add on top, not changes you make to the property itself. Everything in this guide sits, leans, rolls, or hangs without digging, drilling, or pouring anything permanent.
Before you buy anything, read your lease and take clear photos of the yard as you found it. Rules about fires, shade structures, and items attached to a fence vary a lot, and a quick message to your landlord about larger pieces can save stress later. Keep receipts and original photos together so move out day is simple.
Start with one zone, usually seating, and build outward with plants, light, and privacy. Small yards feel larger when each area has a clear job and the paths between them stay open. The ideas below move from ground cover and shade to planting, lighting, and finishing touches you can pack up in an afternoon.
1. Lay Down a Large Outdoor Rug

Choose a flatweave polypropylene rug that can handle rain and hosing off. Size it so the front legs of your chairs sit on it, which makes a small seating group feel anchored and intentional.
It lifts straight off the ground at move out and protects the surface underneath. Shake it out weekly and let it dry fully after heavy rain to avoid trapping moisture below.
Quick check before you buy: measure the space, note any lease limits, and take a phone photo to compare colors and sizes in the store. That small pause prevents most returns and keeps the project on budget.
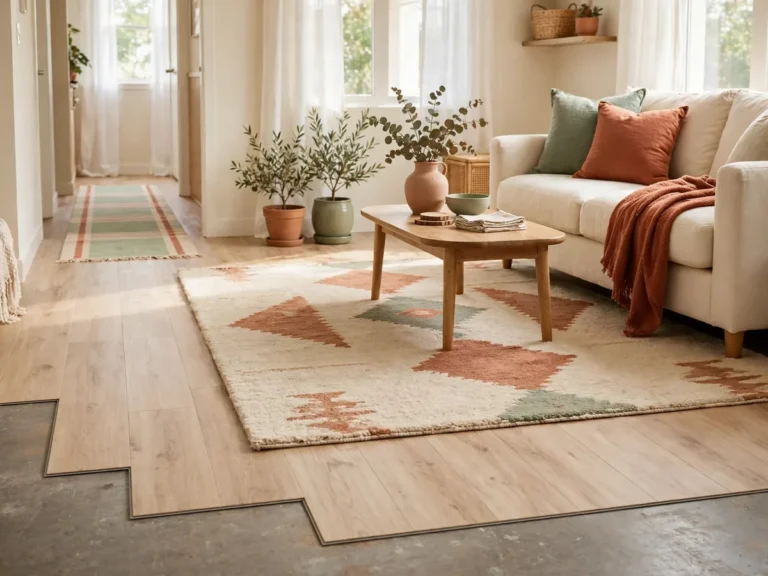
2. Add Interlocking Deck Tiles

Snap together wood look or composite tiles over a tired patio slab. They click into place with no adhesive and can cover stains or cracks that make a yard feel neglected.
Measure first and leave a small gap at edges for drainage. At the end of your lease you can unsnap the tiles, stack them flat, and take them to your next home.
For a Pinterest worthy finish, repeat the same material or color at least twice in the zone. Repetition makes a temporary setup look planned, and it helps separate zones feel connected rather than random.
3. Set Up Potted Plant Clusters
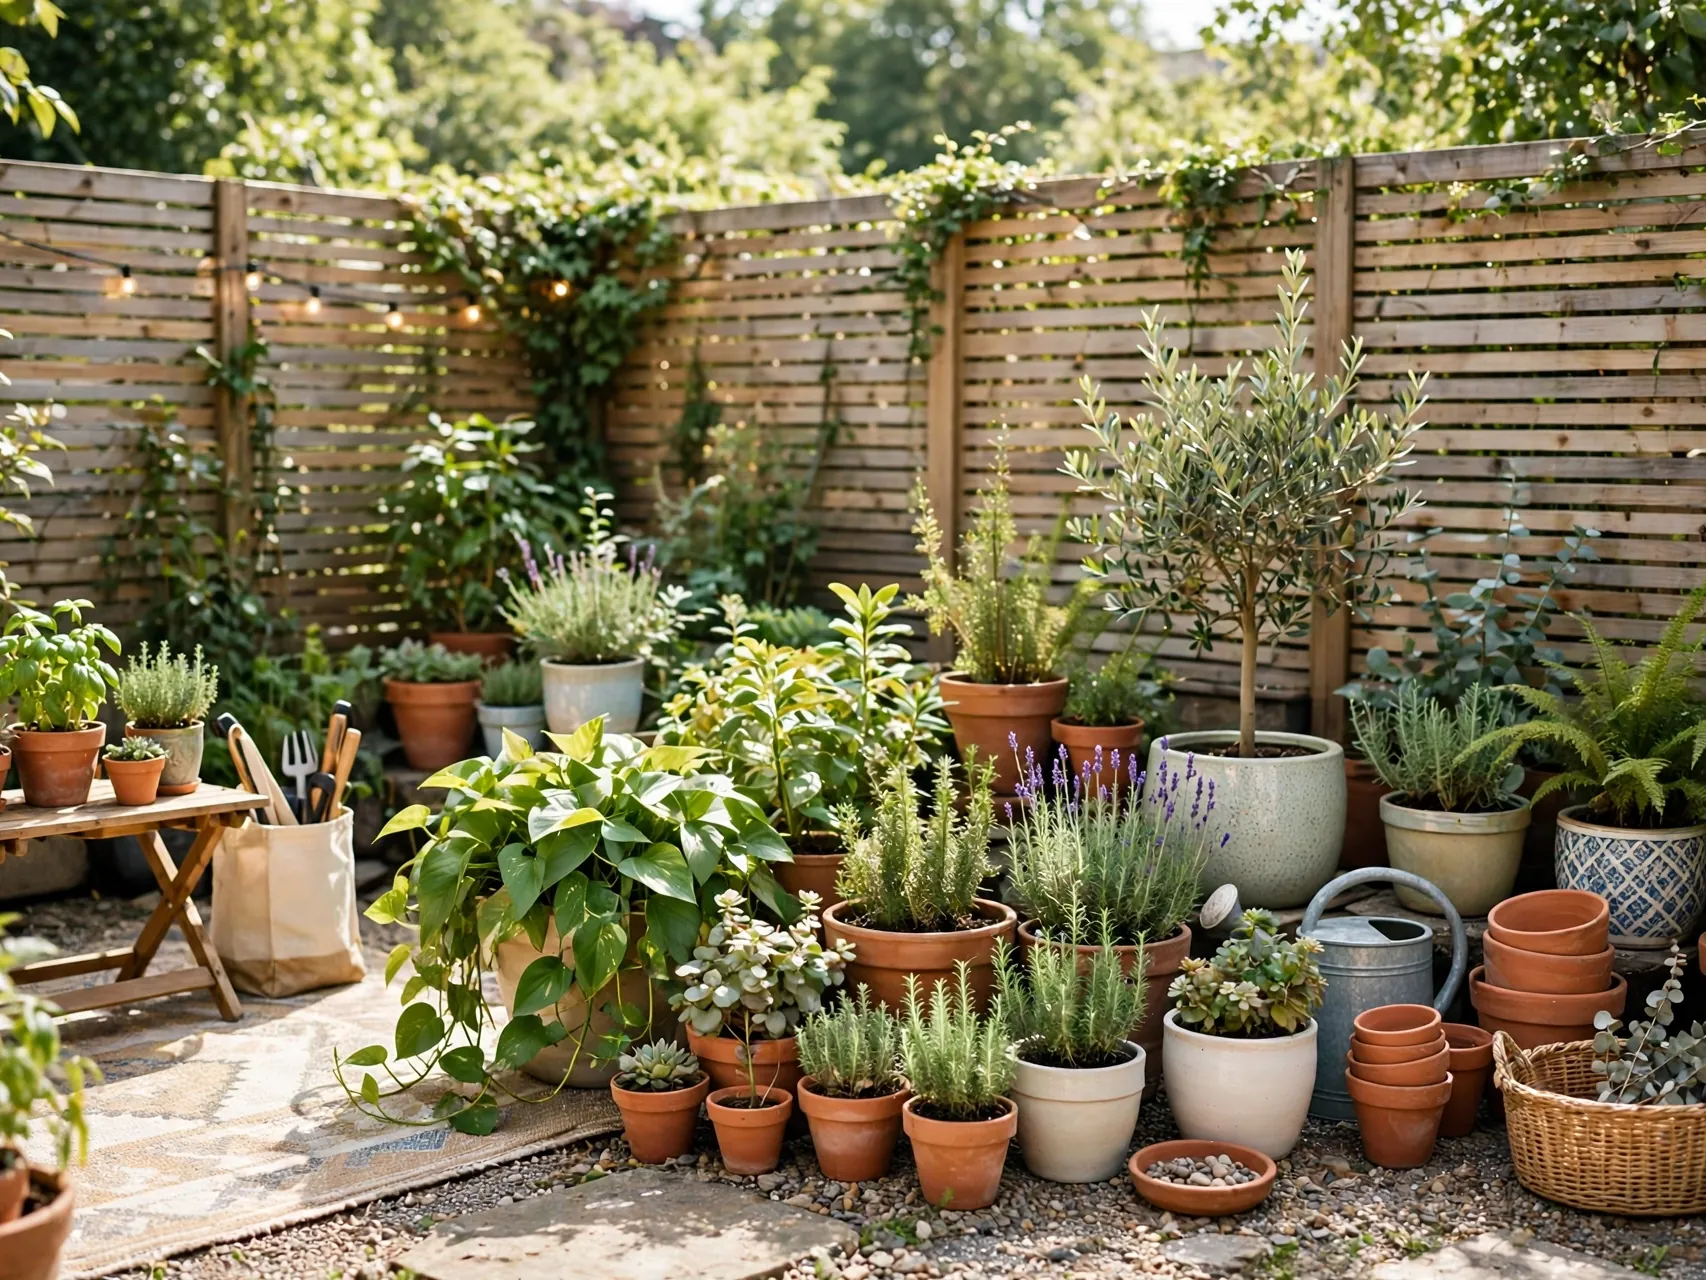
Group three pots of different heights in each corner instead of planting in the ground. Use one taller plant, one leafy filler, and one trailing plant for a layered look that photographs well.
Containers keep roots out of the landlord's beds and let you rearrange as the sun changes. Use pot feet or saucers on decking to avoid marks, and water based on soil moisture, not a fixed schedule.
Keep the removal plan in mind from the start. Save packaging, label small parts, and store anything you took off in one clear box so reversing the change later takes minutes, not a whole afternoon.
4. Hang Solar String Lights Without Drilling
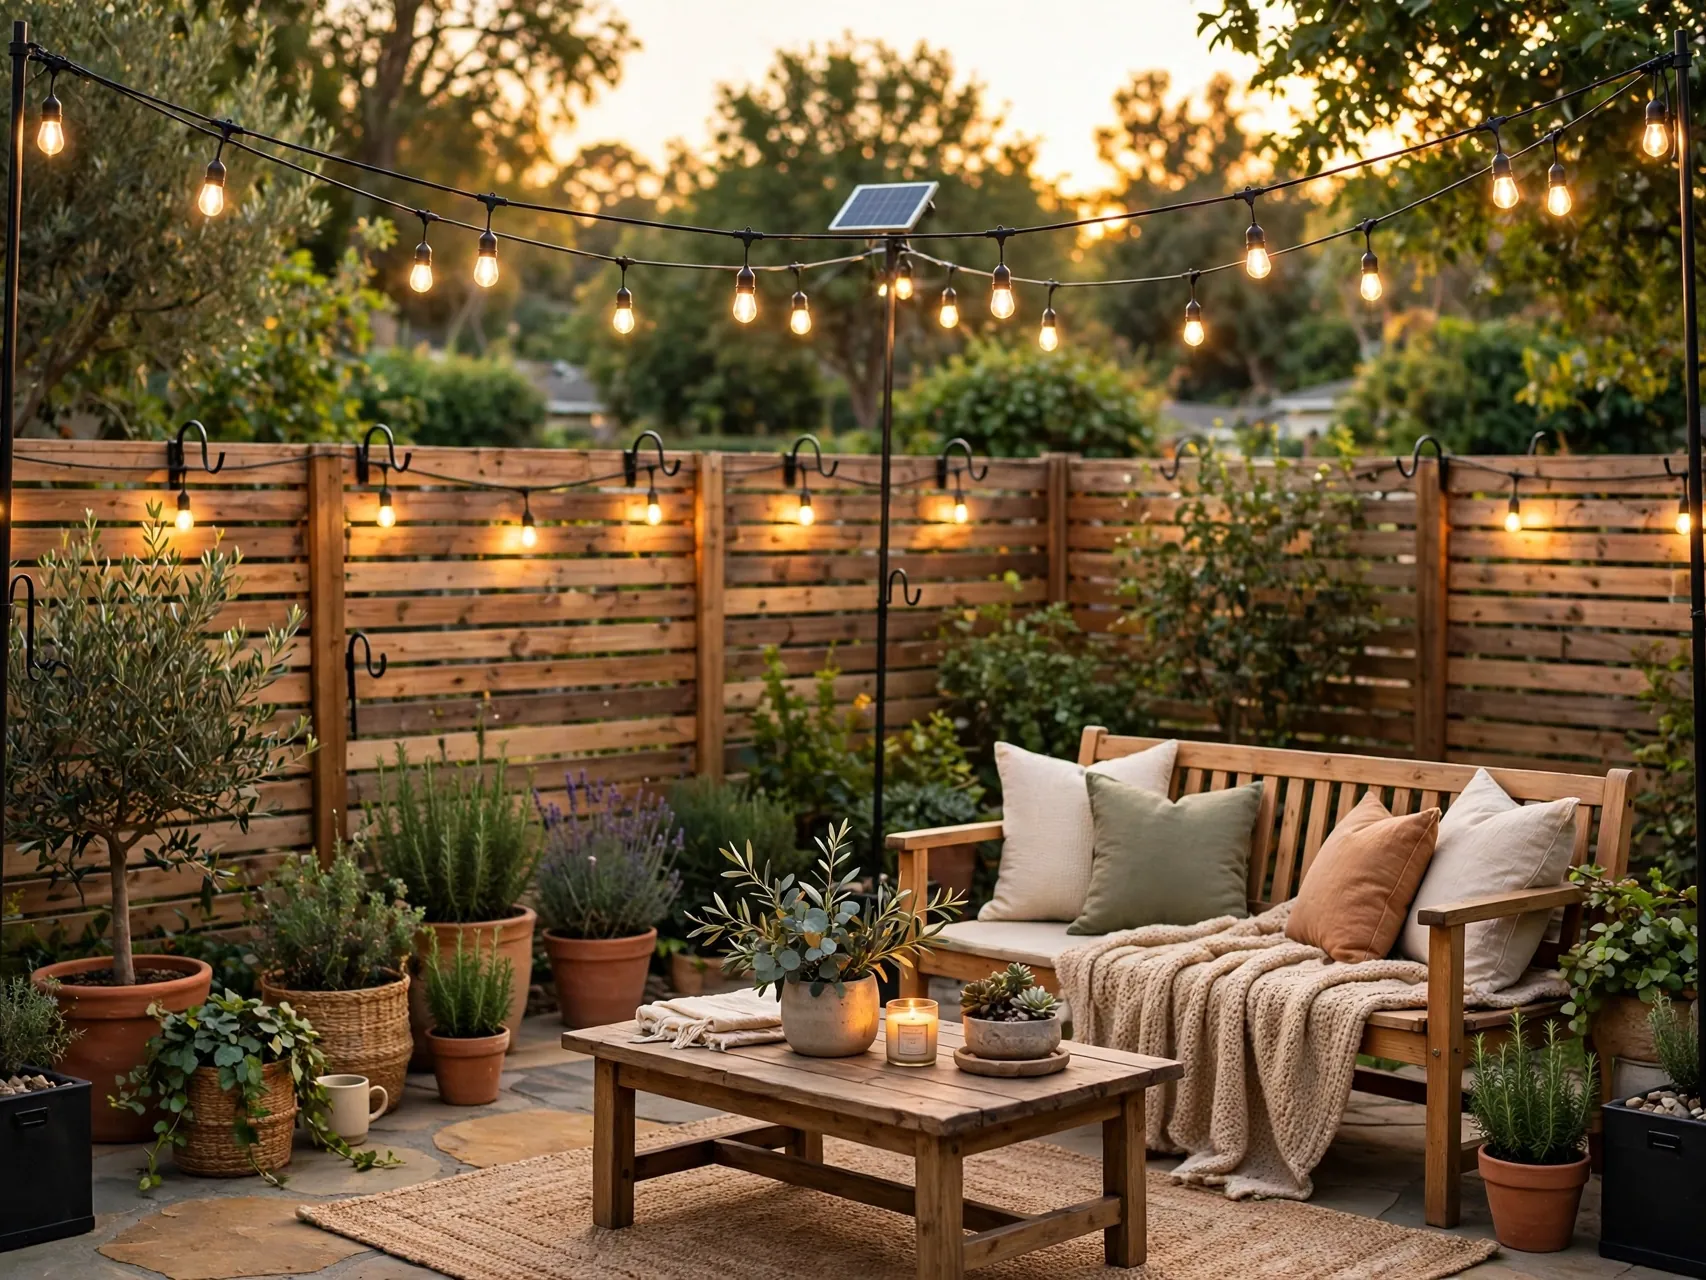
String warm white outdoor rated lights between freestanding poles set in heavy planters, a fence you are allowed to use with removable hooks, or a sturdy umbrella pole. Keep connections off the ground and use a GFCI outlet if you plug anything in.
Solar versions remove the cord issue entirely. Check that any hooks are rated for outdoor use and remove them slowly at move out so paint and wood stay intact.
If you share the space, agree the layout and budget before ordering. A quick shared photo list keeps everyone aligned and stops duplicate purchases that waste money and clutter a small area unnecessarily.
5. Use a Freestanding Shade Sail or Umbrella
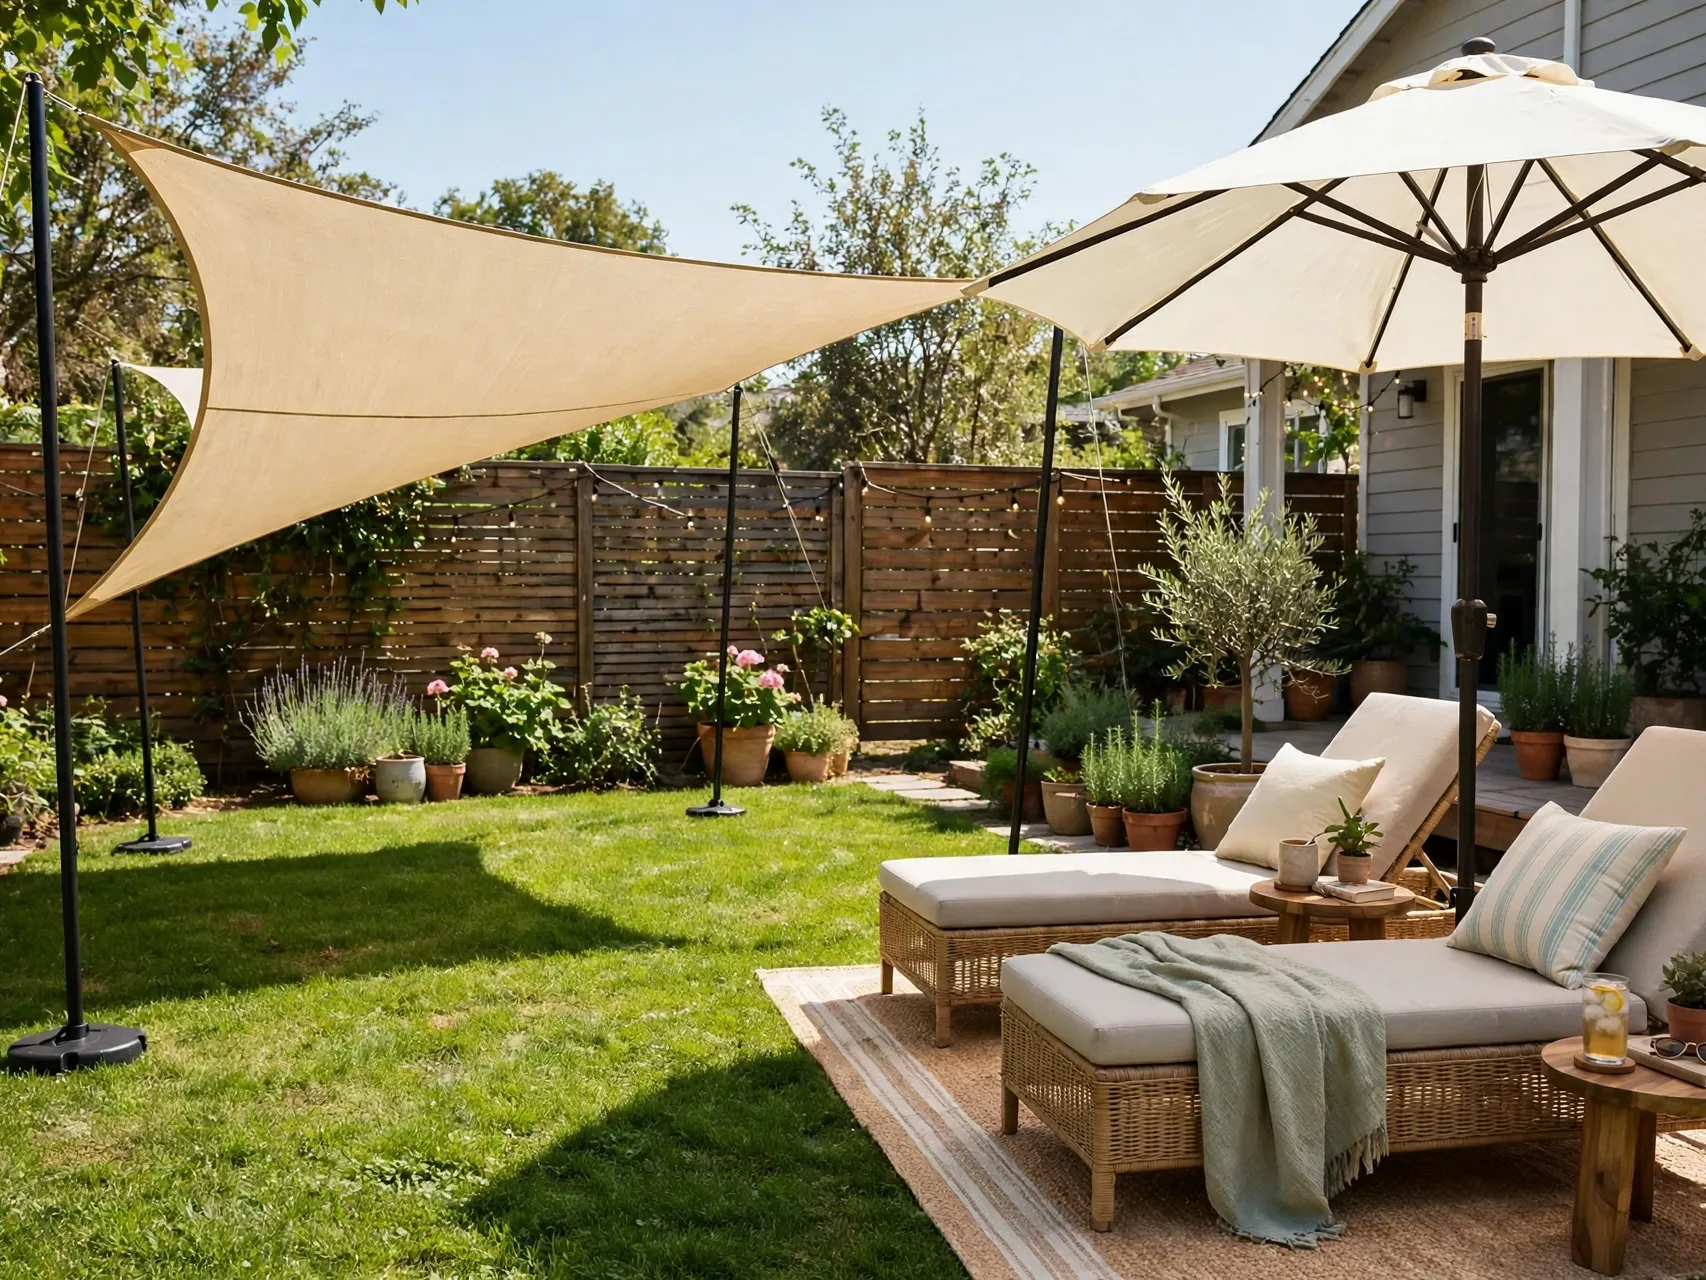
A cantilever umbrella is the simplest shade fix because it needs no fixings at all. If you want a sail, use poles weighted in planters rather than attaching it to the house unless you have written permission.
Shade makes a hot yard usable for hours longer each day. Take fabric down in high wind and store it dry, both to protect the fabric and to stay within any lease rules on temporary structures.
Start with the version you already own or can borrow. Testing the layout for a week shows what you actually use daily, so your final purchase solves a real problem instead of adding more stuff.
6. Create a Stepping Stone Path

Set large flat pavers or stone look stepping stones directly on grass or gravel to mark a path to the gate or seating area. Leave grass or gravel visible between them for a relaxed look.
Because nothing is dug in or mortared, you can lift each stone when you leave. Press them down firmly so they do not rock, and check local rules if your yard is shared.
Photograph the finished corner in daylight and at night. Photos reveal clutter, cord tangles, or color clashes you stop noticing in person, and they double as your record for move out day comparison.
7. Bring In Folding Lounge Furniture
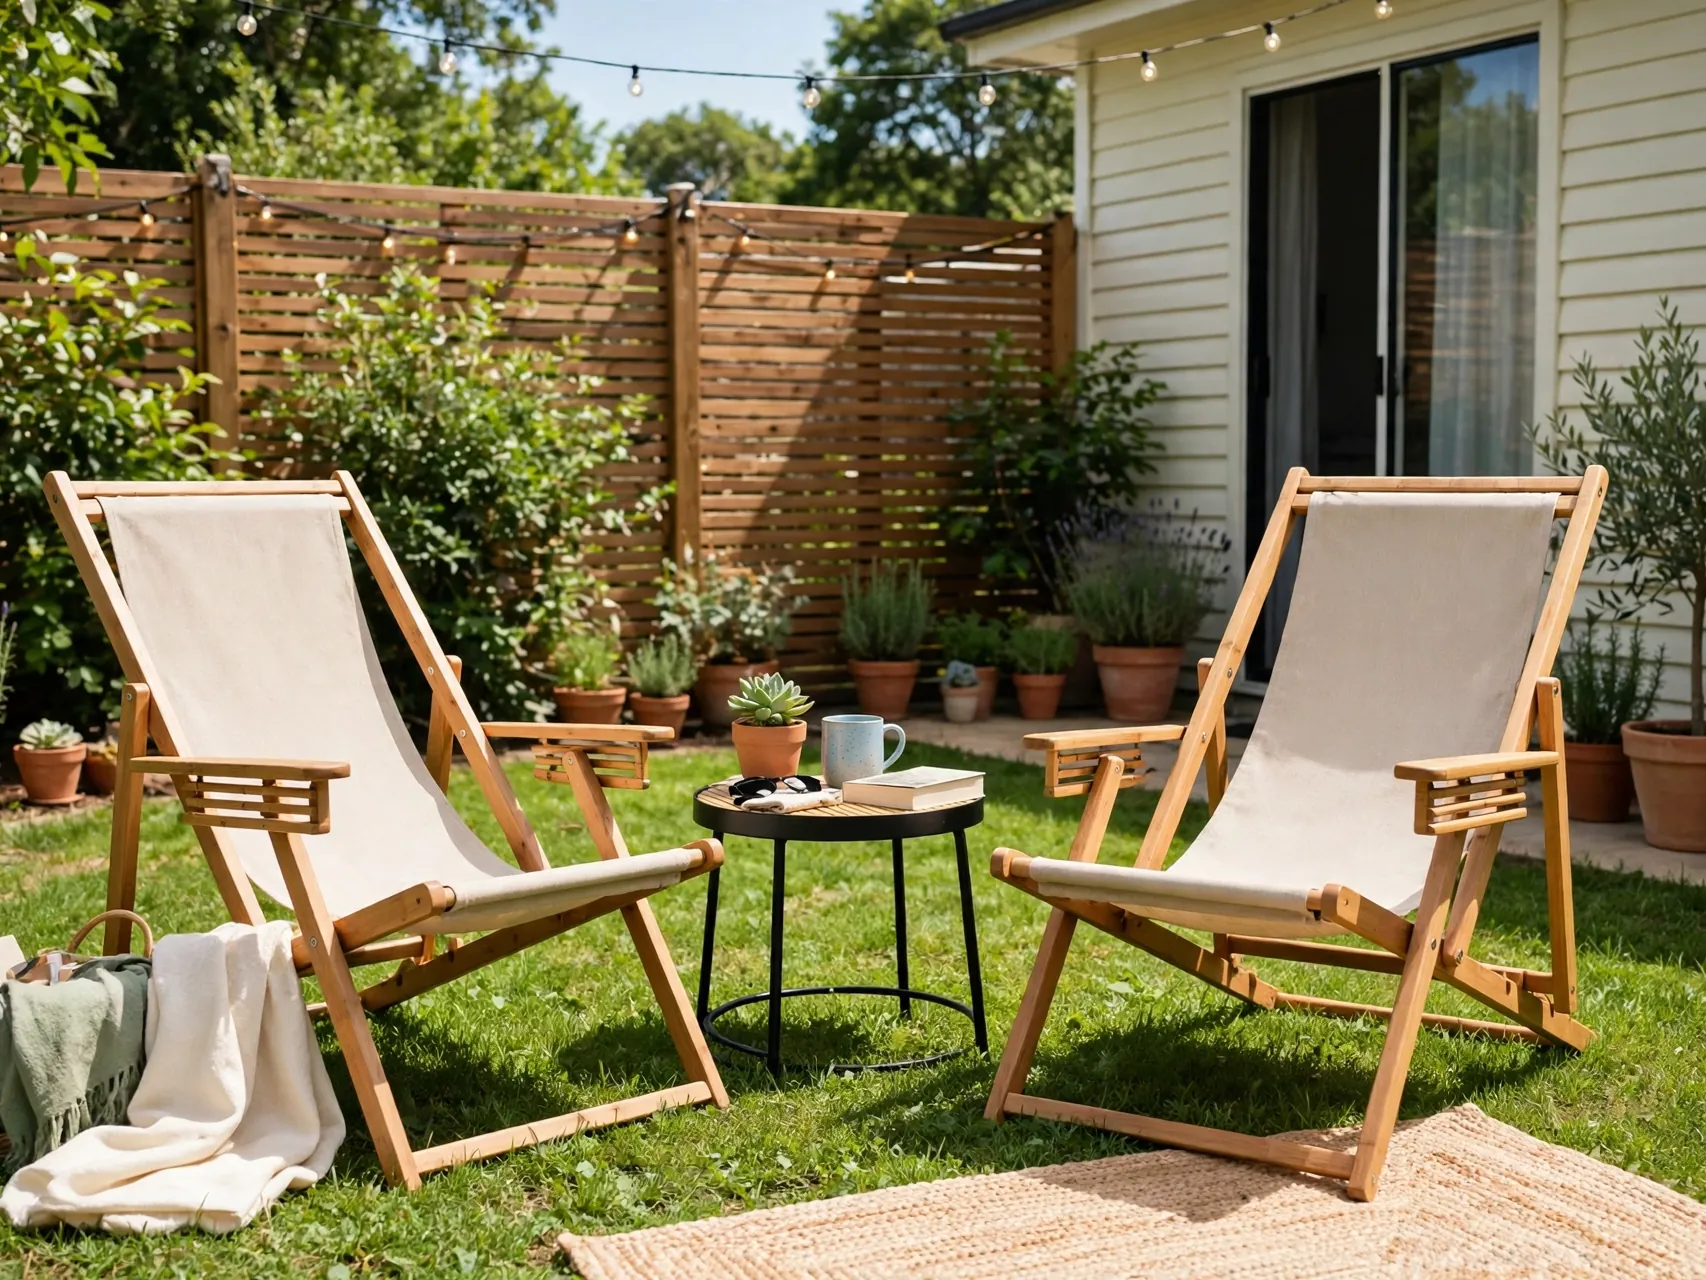
Folding or stacking chairs, a small bistro set, and a lounger that folds flat give you flexibility in a tight yard. Lightweight pieces are easier to move when you mow or host extra guests.
Choose weather resistant frames and store cushions in a deck box when not in use. Furniture that folds also makes move out far easier, since it fits in a car or a small van load.
Quick check before you buy: measure the space, note any lease limits, and take a phone photo to compare colors and sizes in the store. That small pause prevents most returns and keeps the project on budget.
8. Build a No Dig Container Herb Garden

Grow herbs and salad leaves in grow bags, troughs, and wide pots near the door you use most. Herbs you harvest often do best close to the kitchen, where you will actually water and pick them.
Raise bags slightly on bricks or a pallet you are allowed to use, so they drain well. This portable garden moves with you and leaves the soil and beds exactly as you found them.
For a Pinterest worthy finish, repeat the same material or color at least twice in the zone. Repetition makes a temporary setup look planned, and it helps separate zones feel connected rather than random.
9. Add a Portable Fire Pit

A small portable fire pit or tabletop heater can extend evenings, but only if your lease and local rules allow open flames. Many rentals and some cities restrict them, so check both before you buy.
Keep any fire feature well away from fences, overhangs, and furniture, and never leave it unattended. If fire is not allowed, a cluster of battery candles gives a similar glow with no risk.
Keep the removal plan in mind from the start. Save packaging, label small parts, and store anything you took off in one clear box so reversing the change later takes minutes, not a whole afternoon.
10. Use Bamboo Reed Screening on a Fence
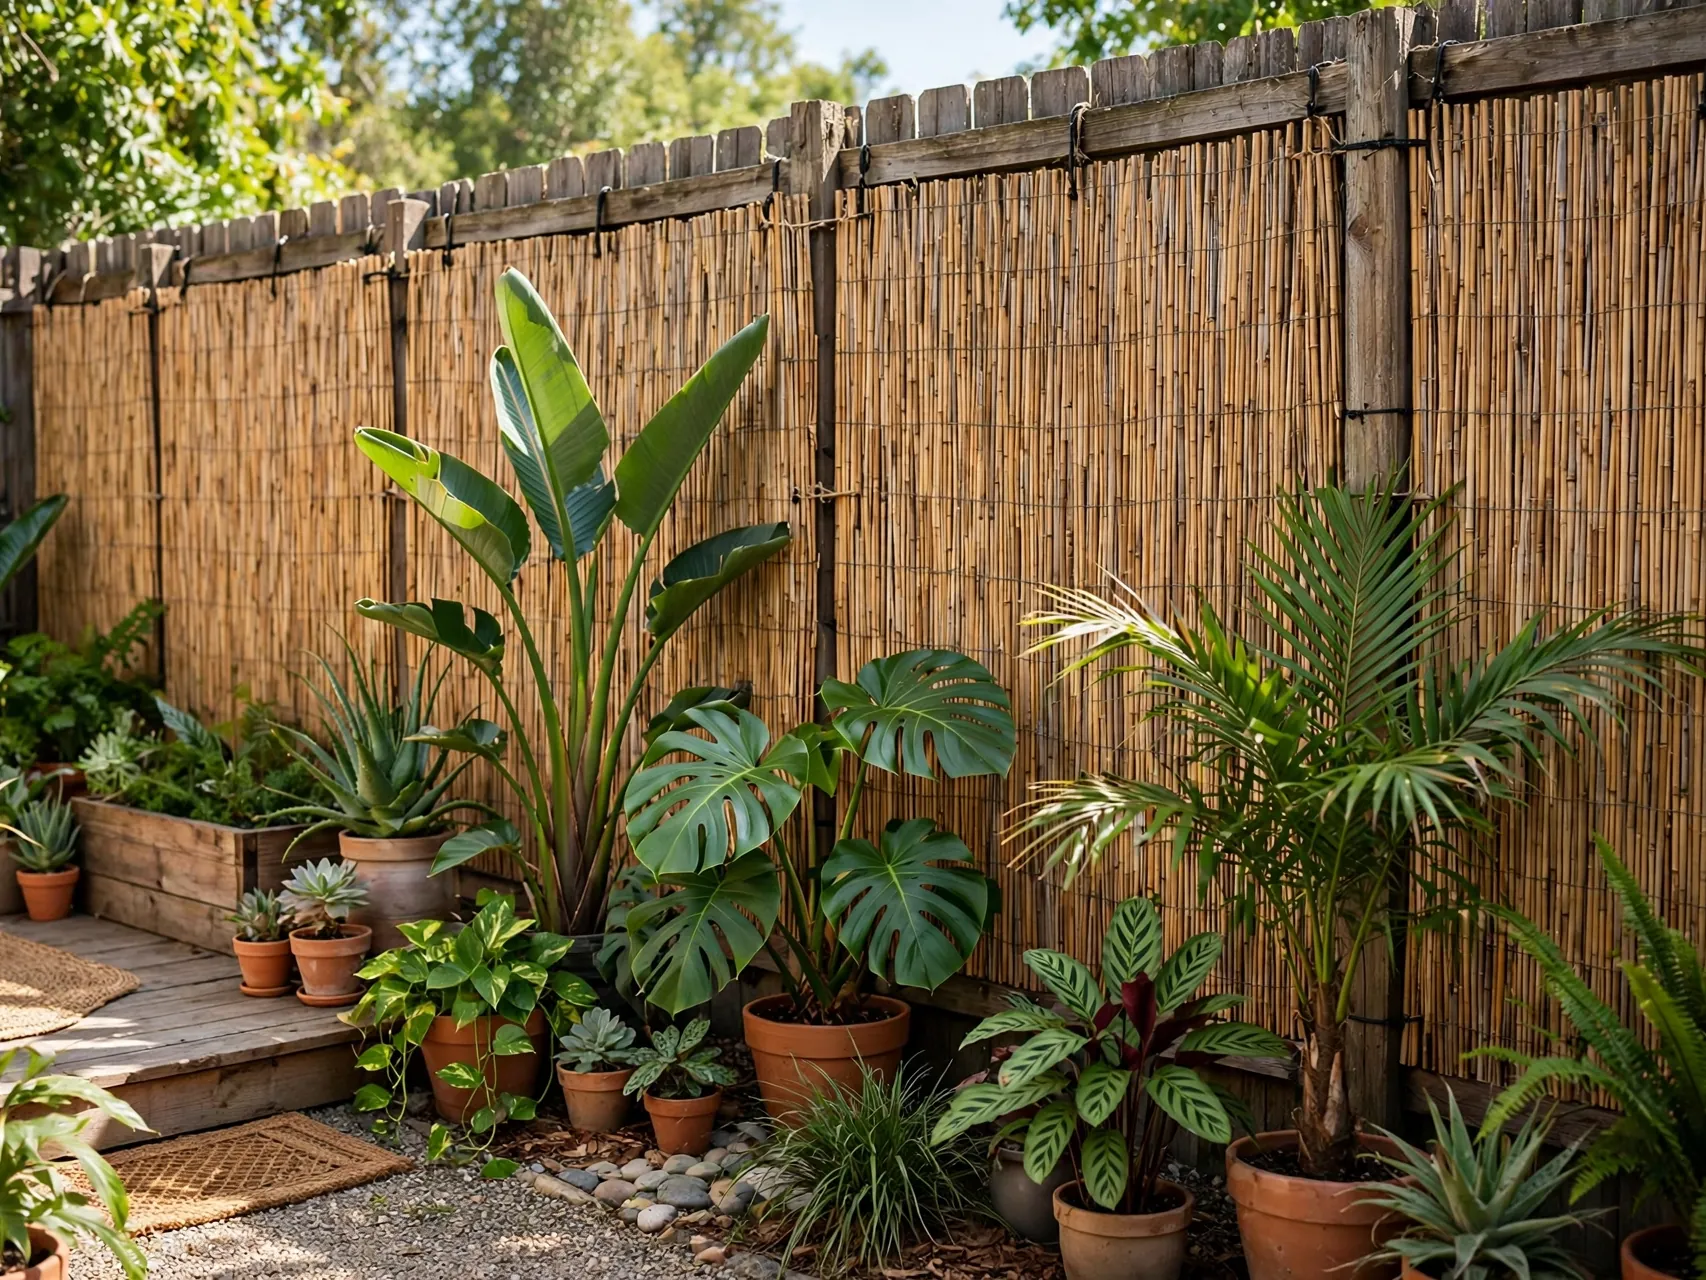
Roll bamboo or reed screening along an existing chain link or plain fence and secure it with zip ties you can cut later. It softens a hard boundary and adds privacy without building anything.
Trim the roll to height with sturdy scissors and tie it at regular intervals so wind does not pull it loose. Take photos before you start to show the fence was not changed underneath.
If you share the space, agree the layout and budget before ordering. A quick shared photo list keeps everyone aligned and stops duplicate purchases that waste money and clutter a small area unnecessarily.
11. Set Up a Stock Tank Planter

A galvanized stock tank makes a deep, tidy planter for flowers or vegetables and looks intentional even in a plain yard. Drill drainage only in the tank itself, never in the property, and set it on bricks for airflow.
Tanks are heavy when filled, so position yours before adding soil. At move out you can empty, rinse, and reuse it, and the ground below usually needs only a rake to look normal again.
Start with the version you already own or can borrow. Testing the layout for a week shows what you actually use daily, so your final purchase solves a real problem instead of adding more stuff.
12. Add Outdoor Curtains on Tension Rods

If you have a covered patio or pergola you are allowed to use, hang outdoor curtains from a tension rod or a freestanding frame. The fabric adds privacy and softens hard lines without screws.
Pick fabric made for outdoor use so it resists fading and mildew. Tie curtains back on windy days and wash them before storing, so they stay fresh for your next place.
Photograph the finished corner in daylight and at night. Photos reveal clutter, cord tangles, or color clashes you stop noticing in person, and they double as your record for move out day comparison.
13. Create Zones With Planters on Casters
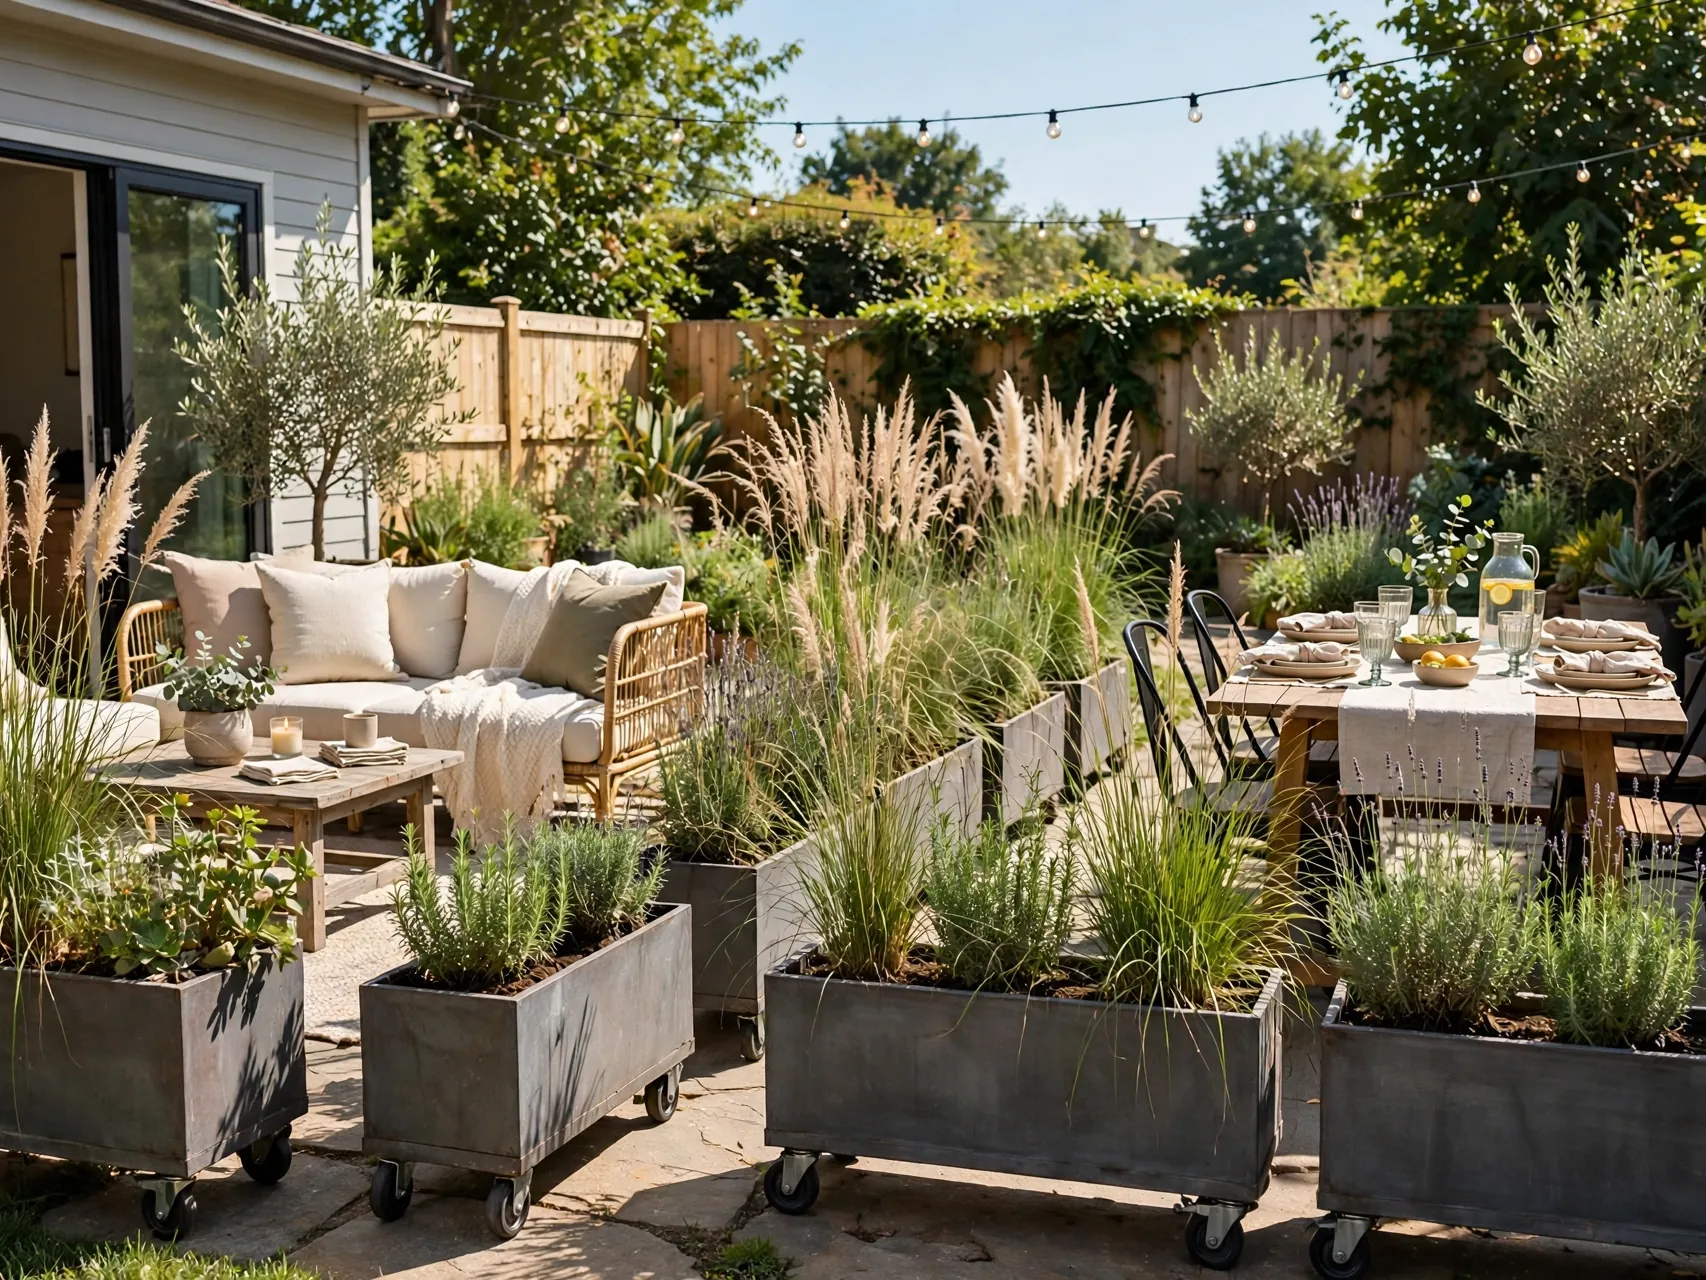
Large planters on lockable casters work as movable green walls. Roll them to screen a neighbor's view, shade a seat, or open up the yard when you need more space for a gathering.
Use lightweight soil mix and pots with drainage so they are not too heavy to move. This is one of the most flexible rental backyard tricks because the layout can change in minutes.
Quick check before you buy: measure the space, note any lease limits, and take a phone photo to compare colors and sizes in the store. That small pause prevents most returns and keeps the project on budget.
14. Use a Storage Bench That Moves With You

A weatherproof storage bench gives you seating and a place to hide cushions, games, and watering gear. A tidy yard always looks larger, and hidden storage helps you keep it that way.
Place the bench on a rug or tiles rather than bare soil to keep the base dry. Because it is freestanding furniture, there is nothing to repair when you take it with you.
For a Pinterest worthy finish, repeat the same material or color at least twice in the zone. Repetition makes a temporary setup look planned, and it helps separate zones feel connected rather than random.
15. Lay a Weatherproof Floor Cloth
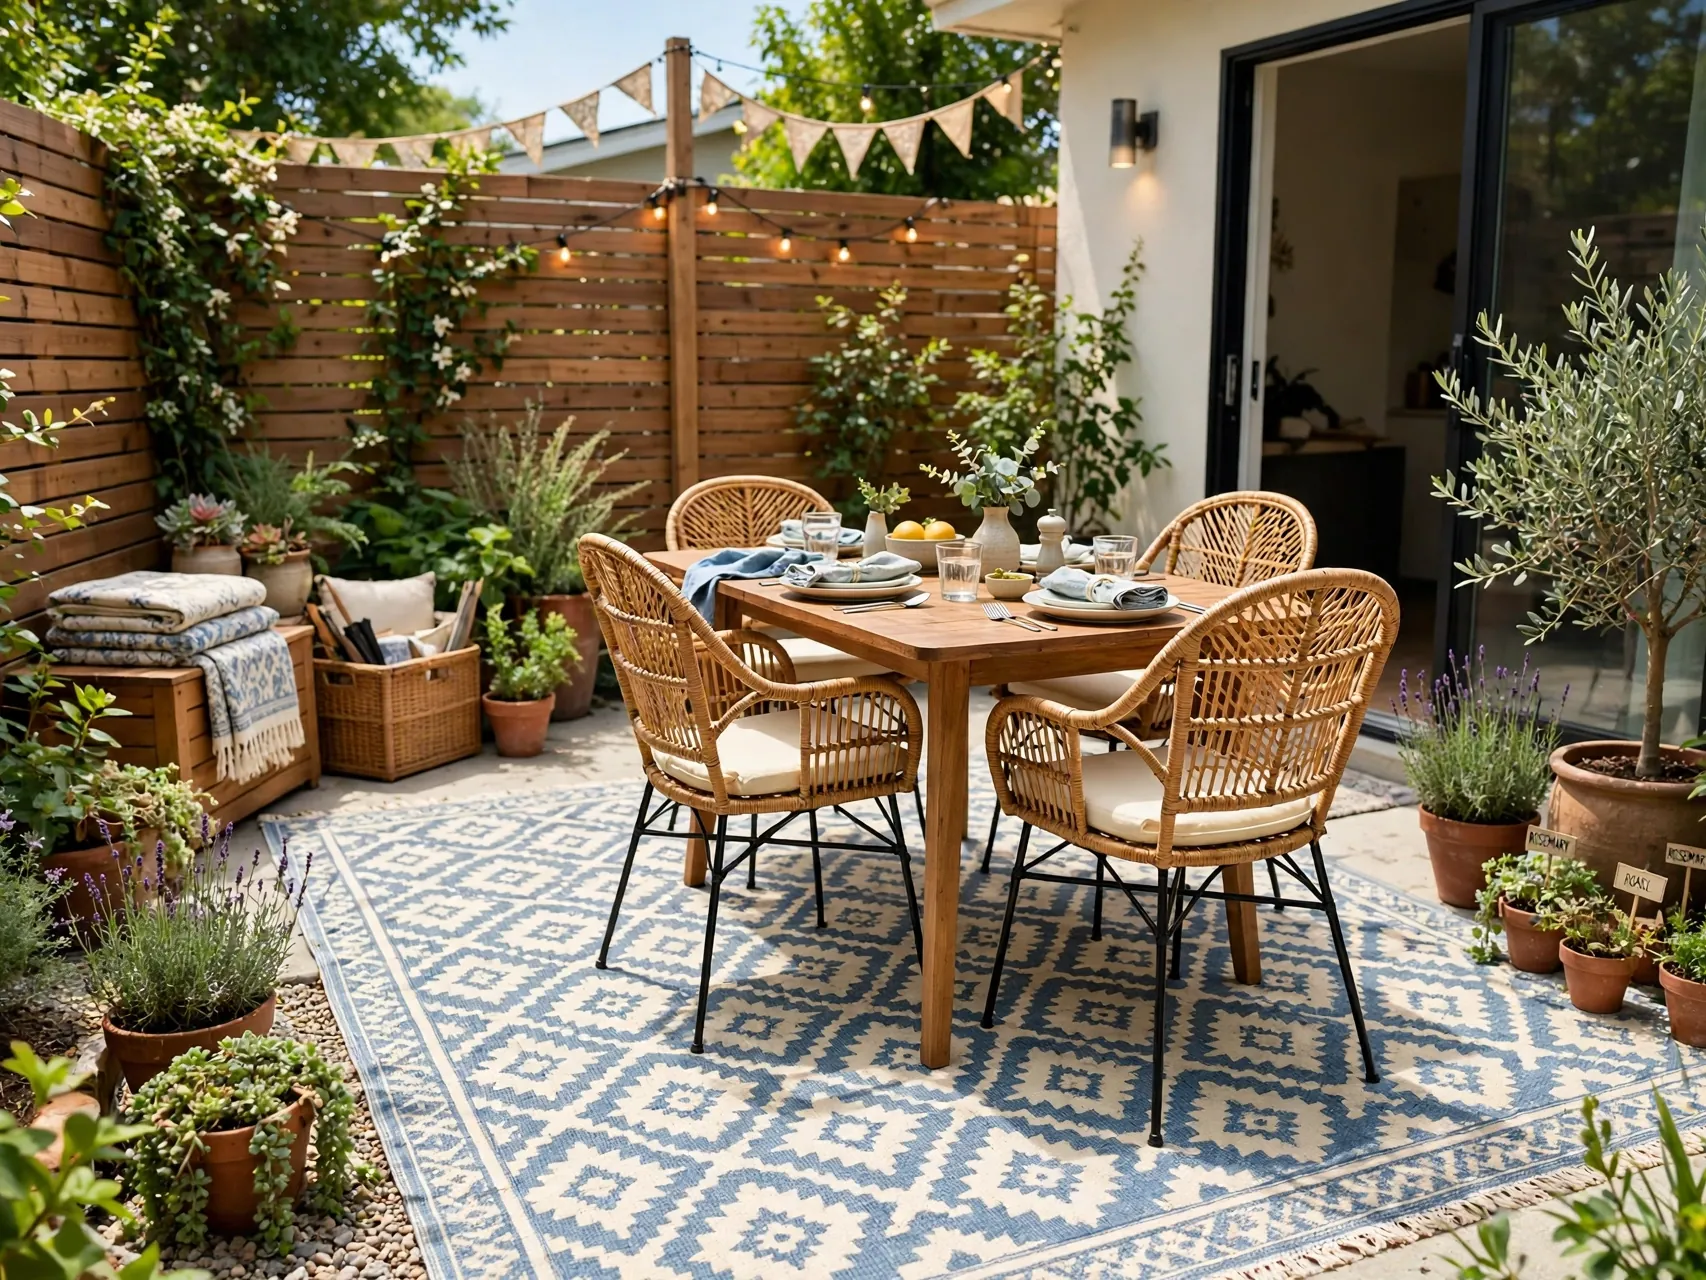
A vinyl floor cloth designed for outdoor use can cover a stained patio section and define a dining spot. It lies flat like a rug but wipes clean after meals and muddy paws.
Roll it rather than folding it for storage to avoid creases. Lift it occasionally to let the surface below dry, especially in shaded yards that stay damp.
Keep the removal plan in mind from the start. Save packaging, label small parts, and store anything you took off in one clear box so reversing the change later takes minutes, not a whole afternoon.
16. Add a Freestanding Trellis With Climbers in Pots
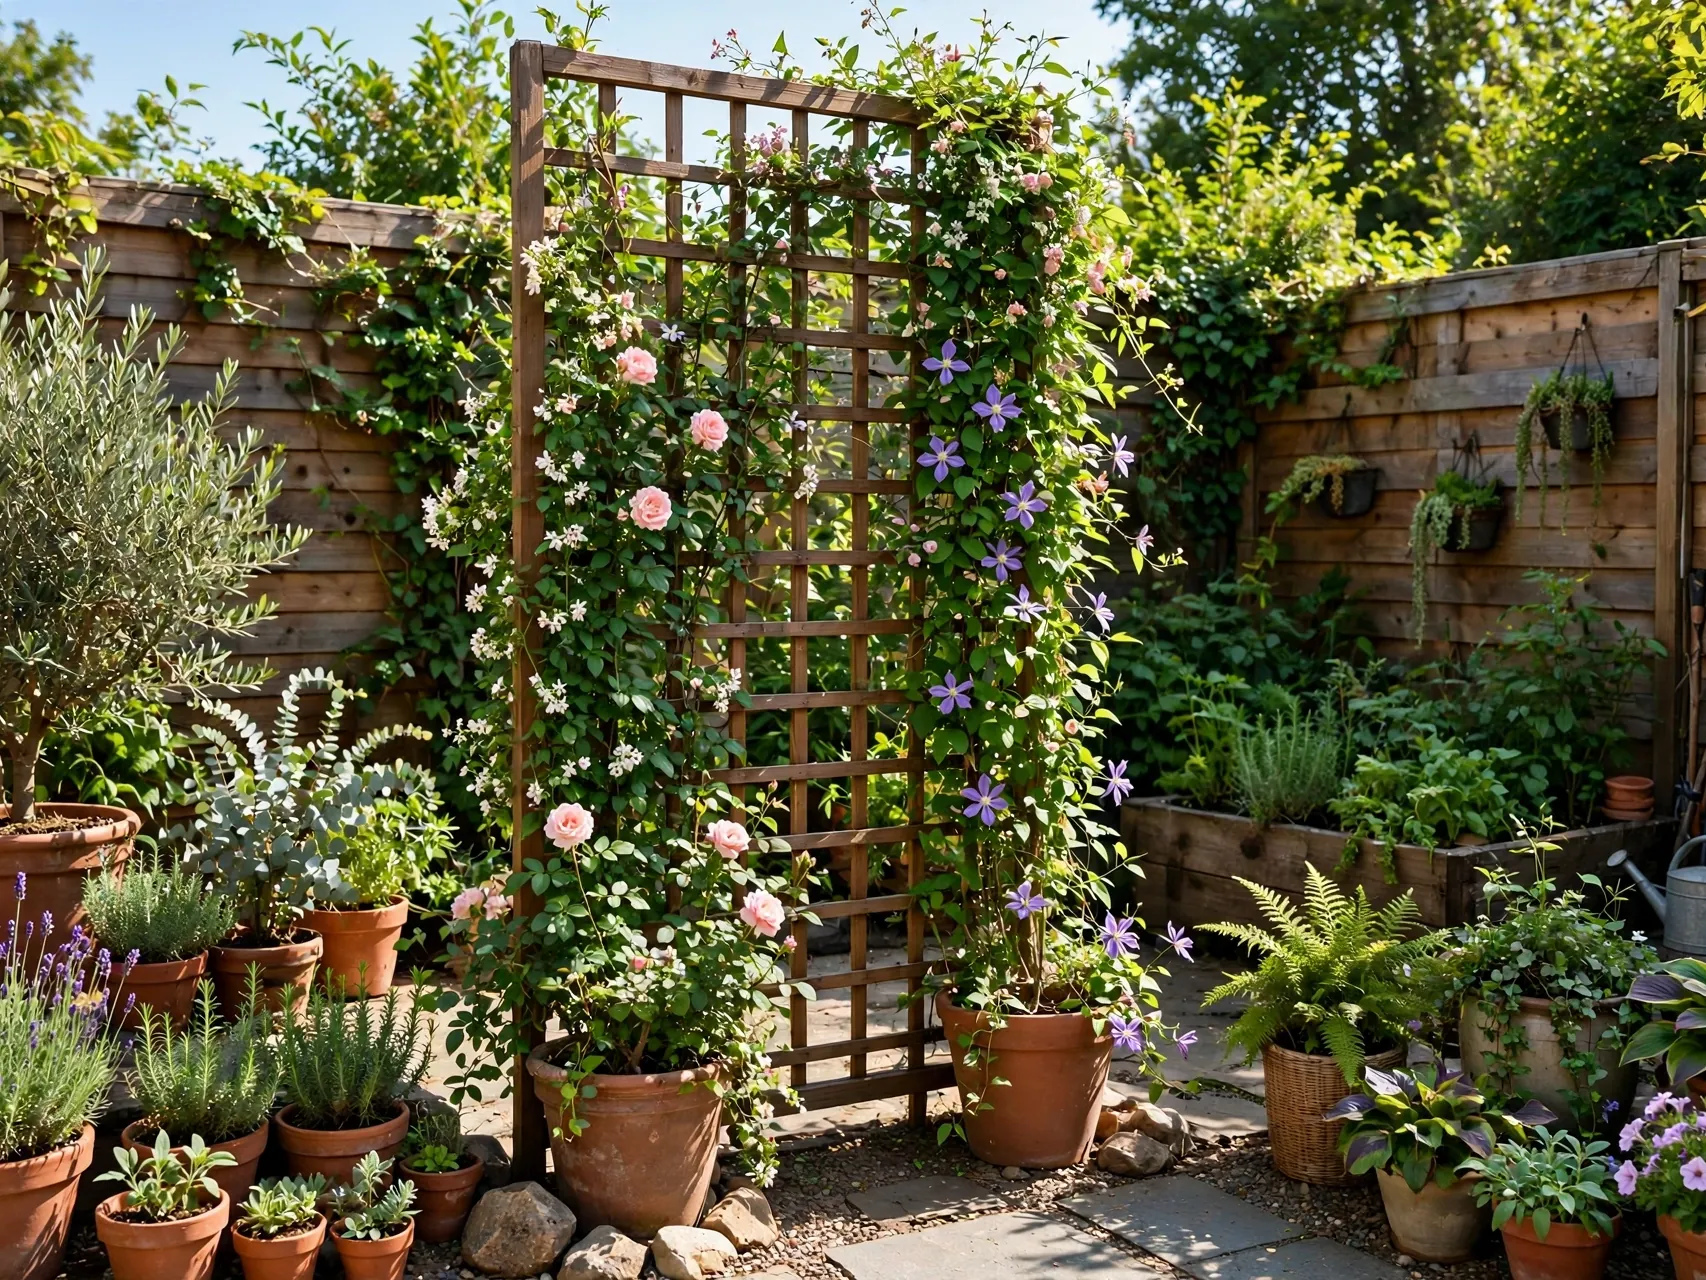
Set a freestanding trellis in or behind a large pot and train a climber grown in that container. You get height and greenery without planting in the ground or fixing anything to a wall.
Choose a trellis with a stable base so wind does not tip it. Tie stems loosely as they grow and prune lightly to keep the plant within the pot zone.
If you share the space, agree the layout and budget before ordering. A quick shared photo list keeps everyone aligned and stops duplicate purchases that waste money and clutter a small area unnecessarily.
17. Set Up a Movie Night With a Portable Screen
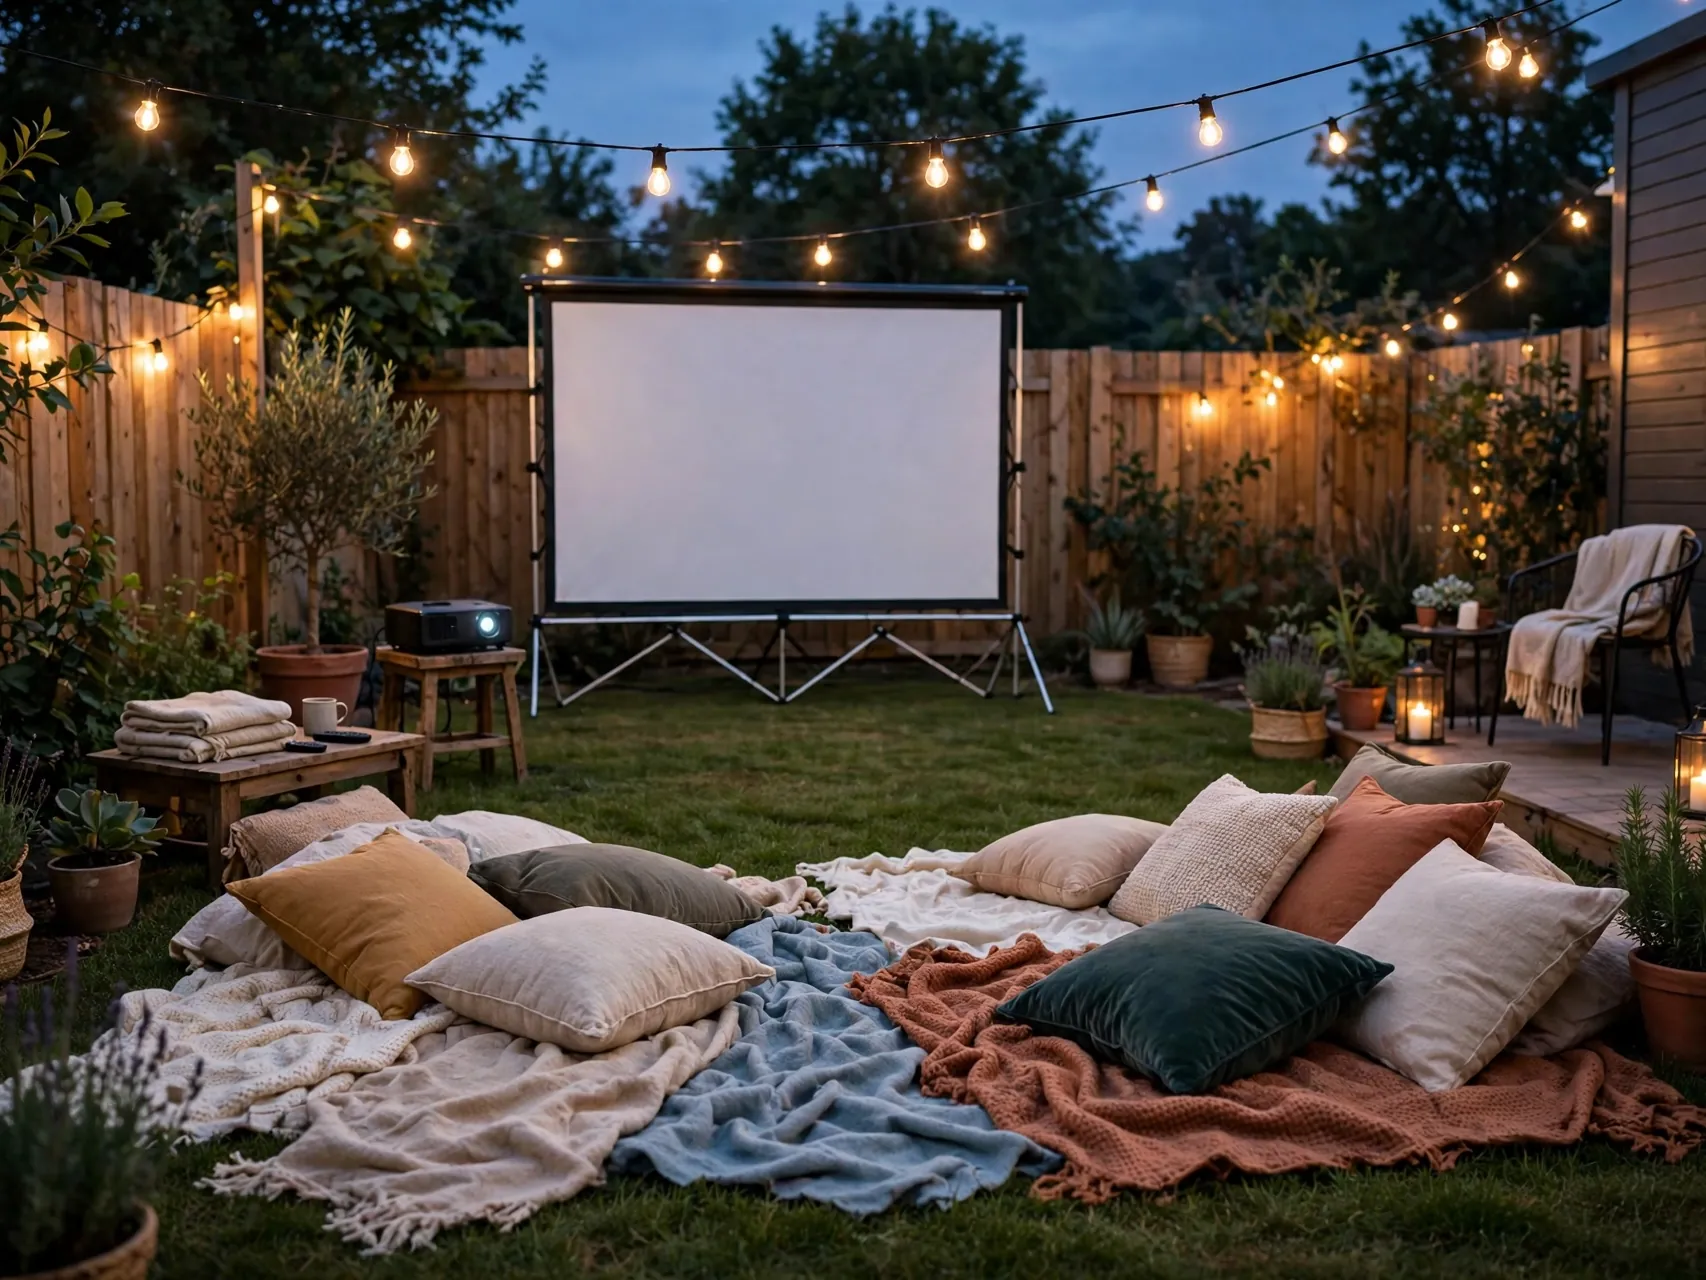
A tripod or inflatable screen, a small projector, and a blanket on your rug turn a plain yard into a weekend event. Keep volume considerate and check any shared yard rules about noise after dark.
Everything packs into a closet when the night ends. Use battery lights for paths so guests are not tripping over cords in the dark.
Start with the version you already own or can borrow. Testing the layout for a week shows what you actually use daily, so your final purchase solves a real problem instead of adding more stuff.
18. Use Solar Path Lights Along Walkways

Push solar stakes along a path or seating edge to guide the eye and make the yard safer at night. Warm white light usually looks calmer and more flattering than bright cool white.
Place lights where they get sun during the day or they will not charge well. Pull them up, wipe them clean, and box them at move out with no holes to fill beyond small soil marks.
Photograph the finished corner in daylight and at night. Photos reveal clutter, cord tangles, or color clashes you stop noticing in person, and they double as your record for move out day comparison.
19. Add a Small Water Feature in a Container

A self contained fountain in a large pot or a small recirculating bowl adds sound that masks street noise. Keep the pump cord tidy and use an outdoor rated outlet with proper protection.
Top up water regularly in hot weather and clean the pump as the maker directs. Because the feature sits inside its container, there is no plumbing and nothing to undo.
Quick check before you buy: measure the space, note any lease limits, and take a phone photo to compare colors and sizes in the store. That small pause prevents most returns and keeps the project on budget.
20. Create a Kids Play Corner With Foam Mats

Interlocking foam mats, a small pop up shade, and a storage bin of outdoor toys create a defined play zone that does not take over the whole yard. Bright mats also cover rough ground.
Pick mats made for outdoor use and lift them to dry underneath after rain. When playtime ends, toys go back in the bin and the corner can become extra seating for adults.
For a Pinterest worthy finish, repeat the same material or color at least twice in the zone. Repetition makes a temporary setup look planned, and it helps separate zones feel connected rather than random.
21. Finish With Cushions and Throws You Can Store

Outdoor cushions, a washable throw, and a tray for drinks make basic furniture feel finished. Stick to two or three colors repeated across pots, textiles, and lights for a pulled together look.
Store textiles when rain is forecast to keep them looking new. This final layer is pure decor, so it is the easiest part to pack and the fastest way to make a new rental yard feel like home.
FAQ
Do I need permission for renter friendly backyard changes?
For purely freestanding items like rugs, pots, and folding furniture, many leases do not require permission, but you should still check your lease. Anything attached to a fence or building, any fire feature, and larger shade structures are worth a quick written okay from your landlord.
How can I add privacy without building a fence?
Use layered, movable options. Bamboo screening tied to an existing fence, planters on casters, a freestanding trellis with a potted climber, and outdoor curtains on a tension setup all block views without construction. Combining two layers usually works better than one tall barrier.
What is the cheapest way to make a rental yard feel better fast?
Start with cleaning, a large outdoor rug, solar string lights, and one cluster of pots. Those four items define a seating zone, add evening light, and bring in life for far less than new furniture. Add shade next if the yard gets strong sun.
Will deck tiles or rugs damage the surface underneath?
They should not if the surface below is kept dry and clean. Lift rugs and check under tiles occasionally, especially after long wet periods, and let everything dry. Use pot feet and saucers to avoid rings on decking or stone.
How do I make sure I get my deposit back after a backyard makeover?
Keep before photos, avoid digging, gluing, and drilling, and store anything you remove in its original condition. At move out, remove every item you added, rake or sweep the area, and take after photos in the same spots to show the yard is back to how you found it.
Key Takeaways
- Start with zones: Define seating first with a rug and furniture, then add plants, shade, and light around it.
- Keep everything movable: Pots, tiles, screens, and furniture that sit on the ground are the safest renter friendly backyard ideas.
- Layer privacy gently: Combine screening, tall plants, and curtains instead of building one permanent barrier.
- Check the rules early: Lease terms and local rules decide what is allowed for fire, shade, and fence attachments.
- Photograph everything: Before and after photos protect your deposit and make move out day much calmer.
- Store textiles well: Dry cushions and fabrics before storing so your setup lasts beyond one rental.
Love these ideas? Save this pin to your Small Spaces board on Pinterest so you can find them again when you are ready to start your own makeover.
Keep the removal plan in mind from the start. Save packaging, label small parts, and store anything you took off in one clear box so reversing the change later takes minutes, not a whole afternoon.