21 RV Water System Tips Every New Camper Should Know
Introduction
Every RV has three water stories running at once: fresh water coming in, gray water from sinks and the shower, and black water from the toilet. Understanding your RV water system as those three simple loops is the moment the pumps, tanks, valves, and hoses stop feeling mysterious and start feeling manageable.
The fresh side does two jobs. At a campground, a hose connects you to city water and pressure feeds your faucets directly. Away from hookups, your fresh tank and a 12-volt pump do the same job from stored water. Nearly every beginner problem, bad taste, low pressure, leaks, strange smells, comes back to a handful of habits on this fresh side.
This guide walks the whole system in plain order: the hoses and regulators that protect it, the tank and pump that run it, the sanitizing routine that keeps it safe, and the checks that catch small leaks before they become wet floors and big repairs.
1. Learn the Three Tanks Before Your First Trip
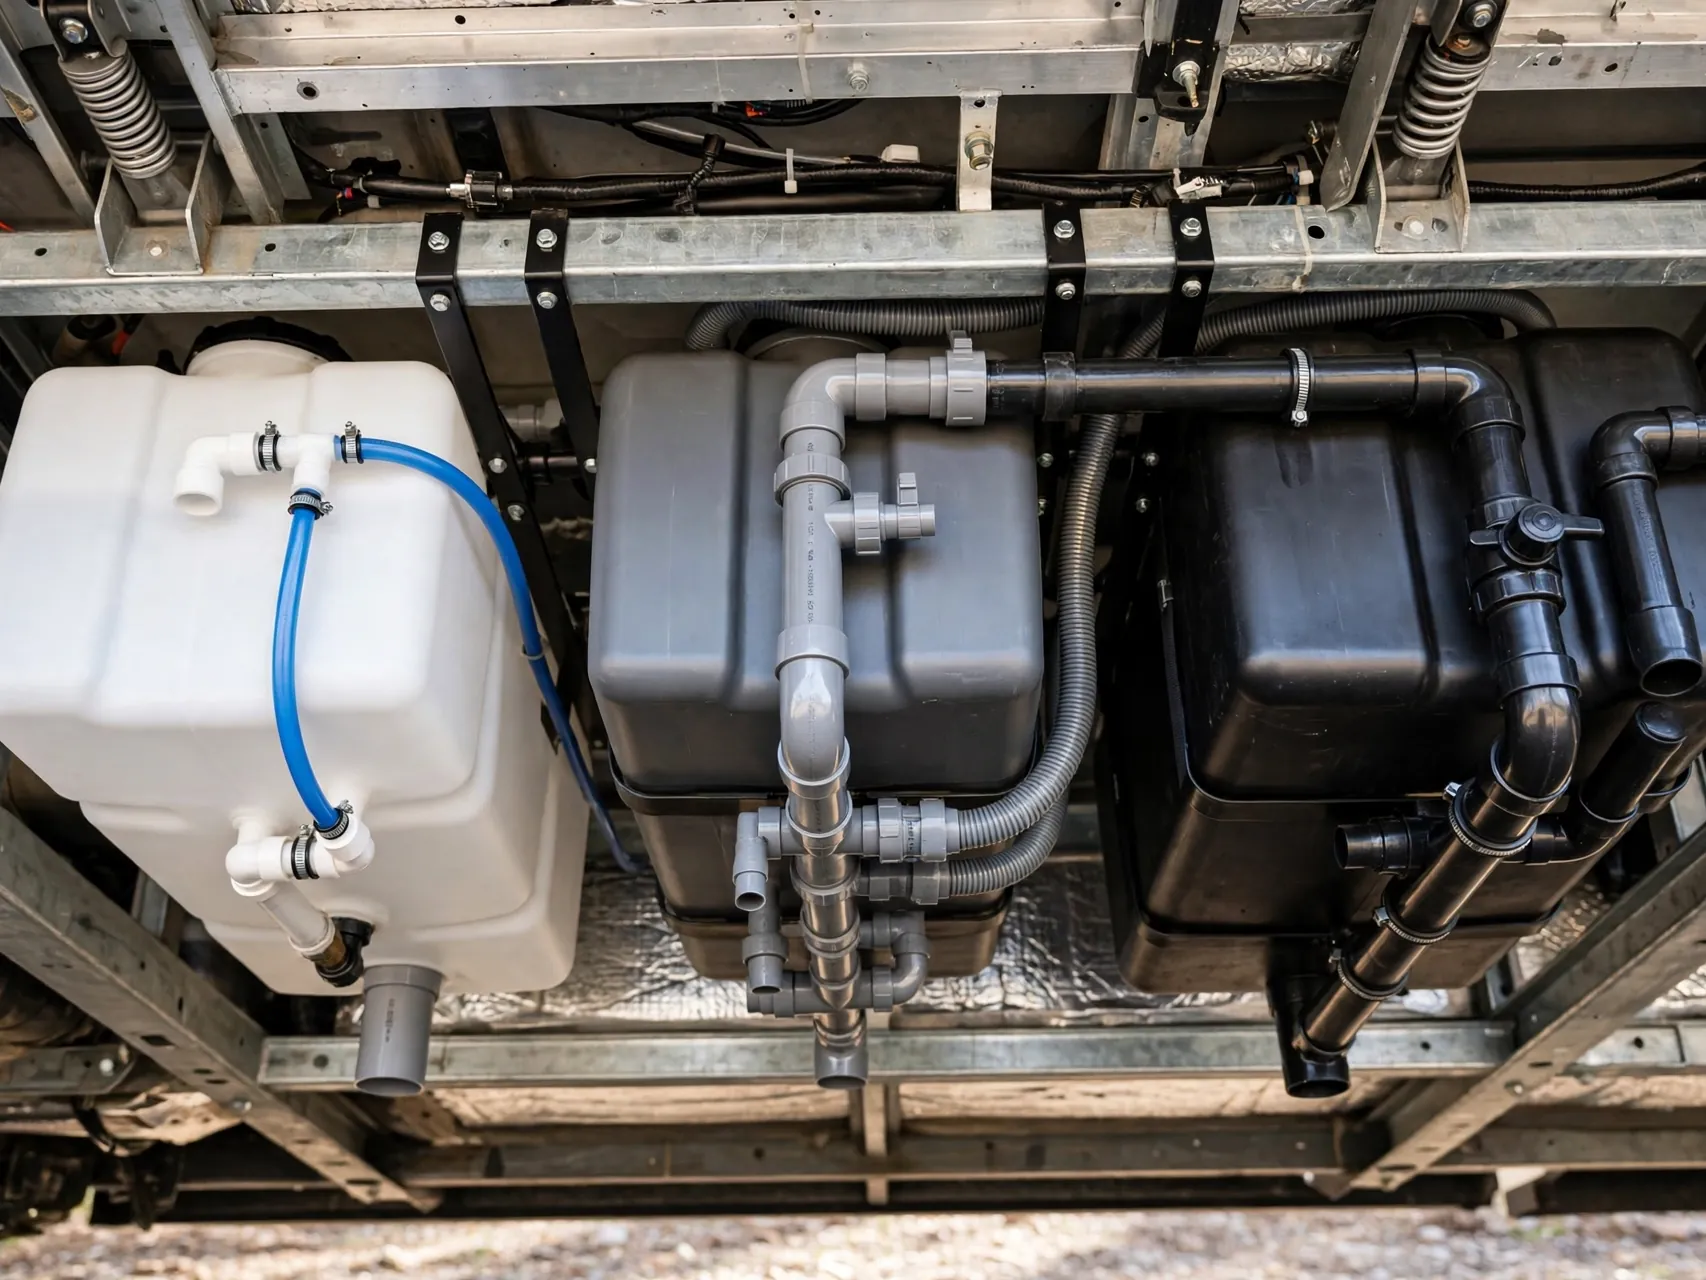
Find your three tanks on paper and in person before you travel. The fresh tank holds clean water. The gray tank holds sink and shower drainage. The black tank holds toilet waste. Your monitor panel estimates all three levels, and your manual lists each tank's capacity in gallons.
Knowing capacities shapes every plan: how long you can shower, when to dump, and how much bleach a sanitizing job needs. Walk around the RV and find the fresh fill, the city inlet, the tank drains, and the dump outlet so nothing is a surprise later.
2. Use a Dedicated Potable Water Hose, and Only That Hose

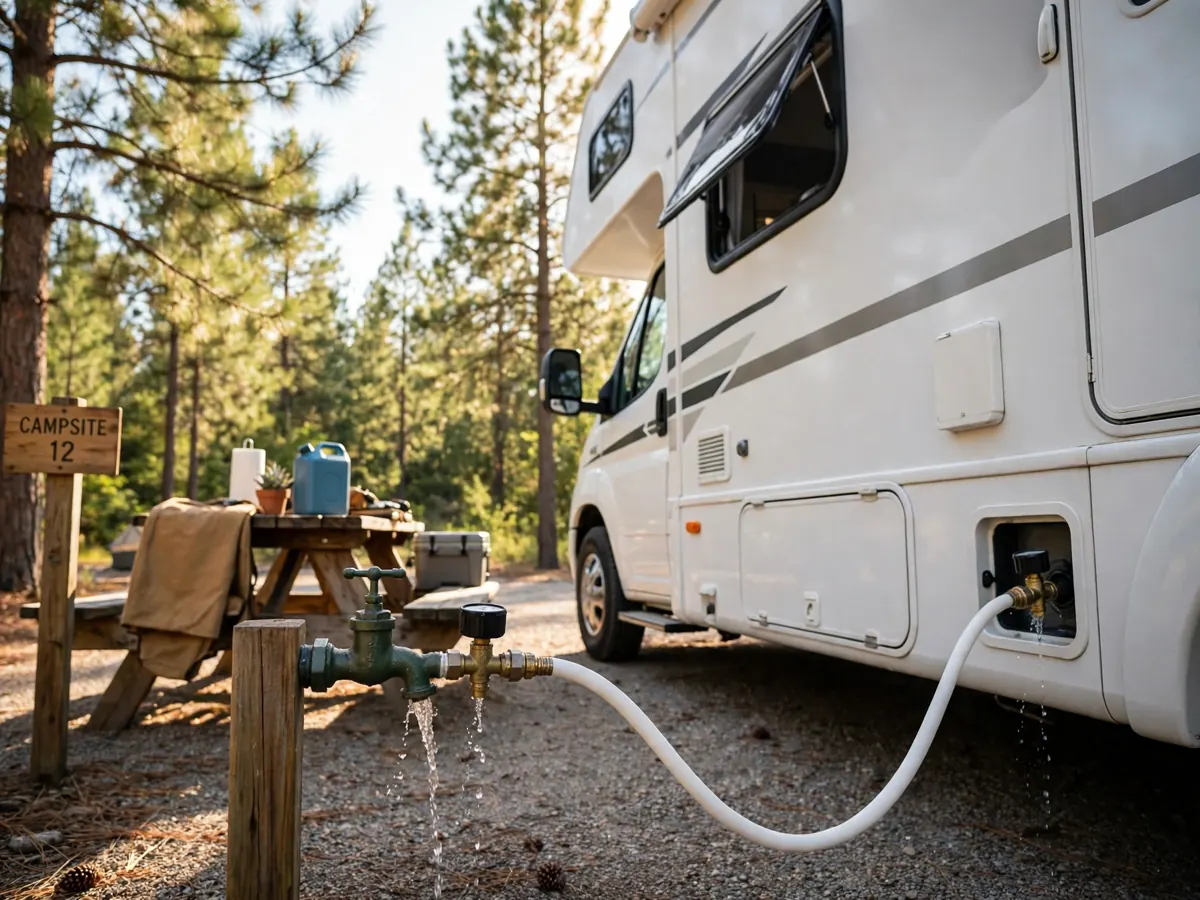
Your drinking water should only ever travel through a hose made and labeled for potable water, usually white or blue. Keep that hose coiled in a clean bin, caps on or ends connected together, and store it far away from every piece of sewer gear, every time, without exception.
Never use this hose to rinse a sewer hose or a dump station pad, and never borrow the station's rinse hose for filling. Cross-contamination takes one careless minute. A dedicated hose, handled the same way on every trip, is basic RV plumbing system tips hygiene.
3. Always Connect a Pressure Regulator at the Spigot
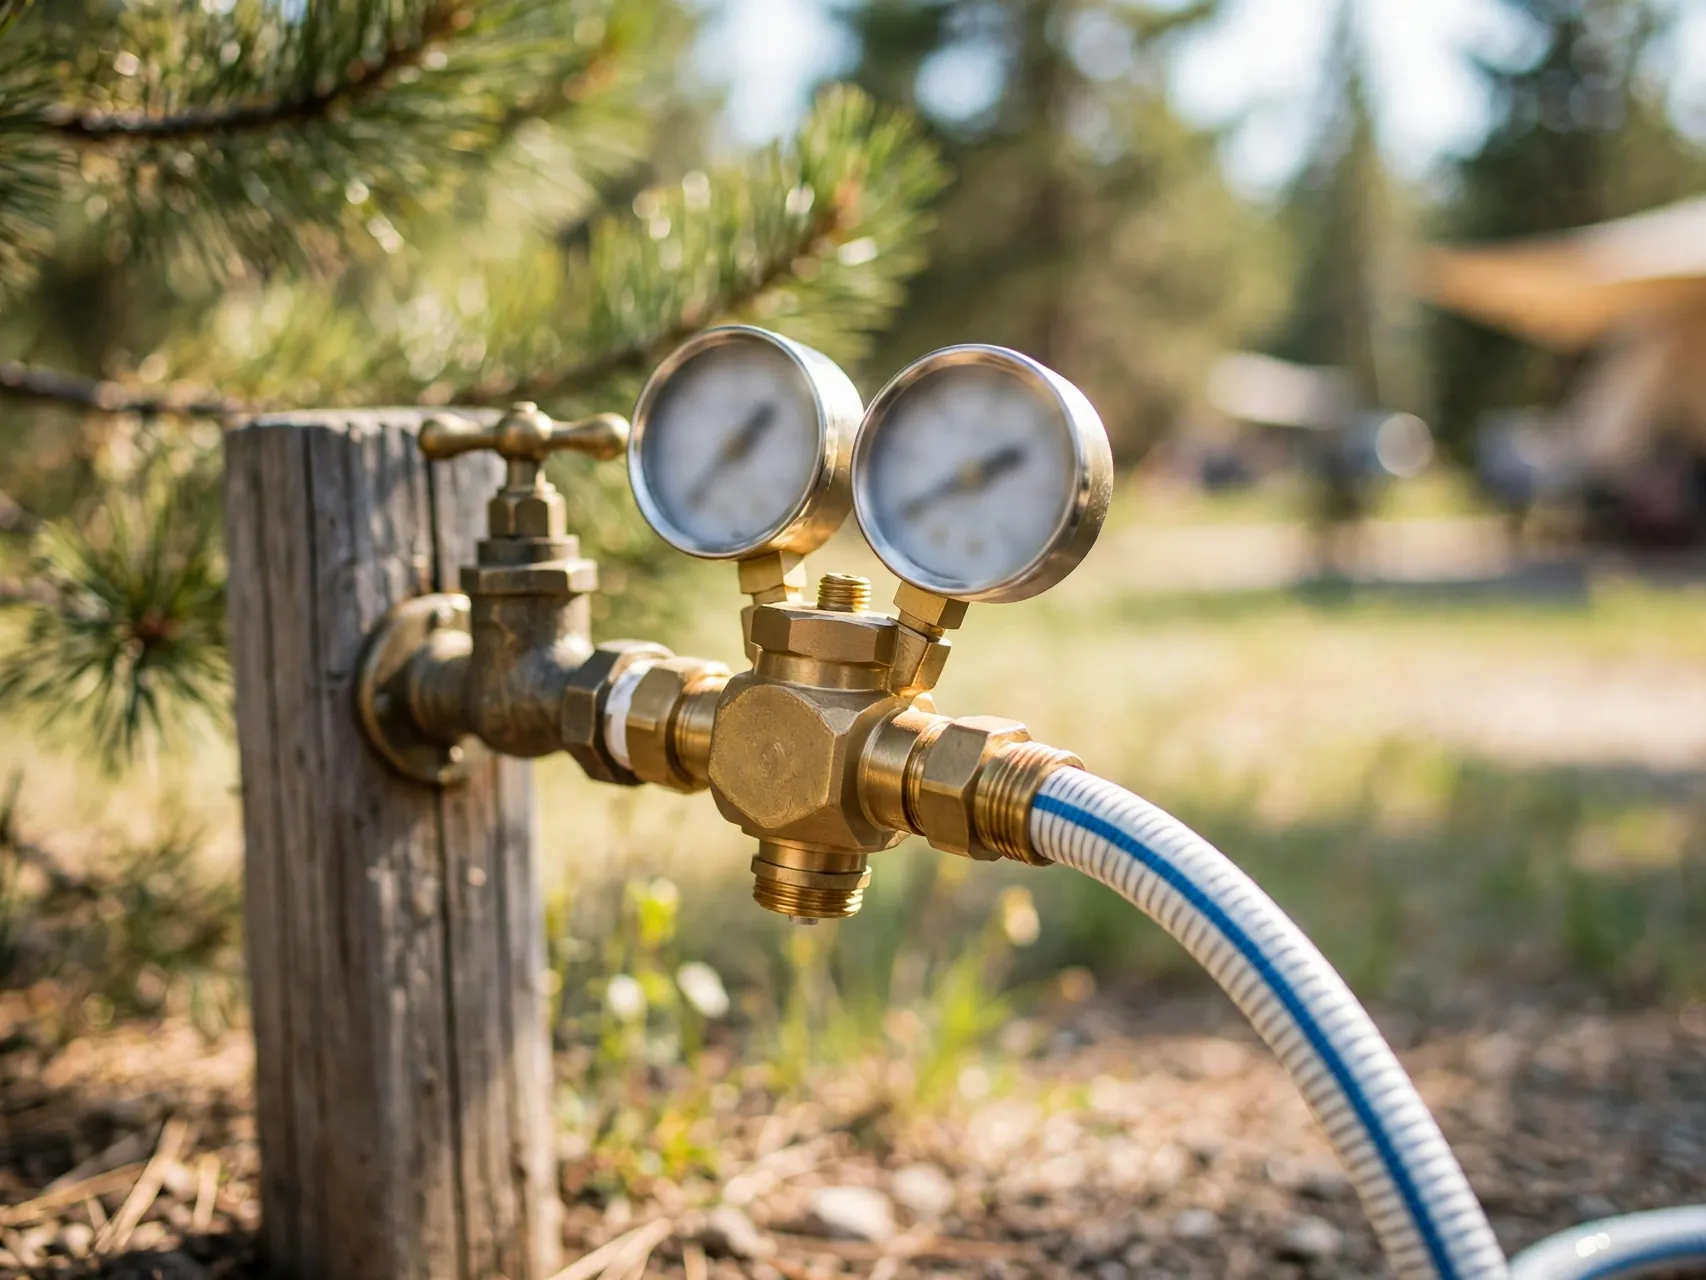
Campground water pressure varies wildly, and some parks run high enough to stress RV plumbing, fittings, and seals. An RV water filter and regulator setup starts with the regulator: attach it at the spigot, before your hose, so the whole line, hose included, is protected from pressure spikes.
Regulators are inexpensive insurance against a burst line inside a wall. Add it to your hookup routine in the same order every time: regulator on the spigot, filter next if you use one, then your potable hose to the RV inlet.
4. Filter Water as You Fill for Better Taste

An inline filter on the hose, or a canister filter at the spigot, reduces sediment, chlorine taste, and odor from unfamiliar campground water. It will not make unsafe water safe, so only fill from sources marked potable, but it makes good water taste noticeably better in coffee and cooking.
Replace filter cartridges on the maker's schedule, since an old cartridge can grow its own off flavors. Many campers filter both ways water enters: at the city inlet while hooked up, and at the fill when adding water to the fresh tank.
5. Sanitize the Fresh System at Least Once or Twice a Year
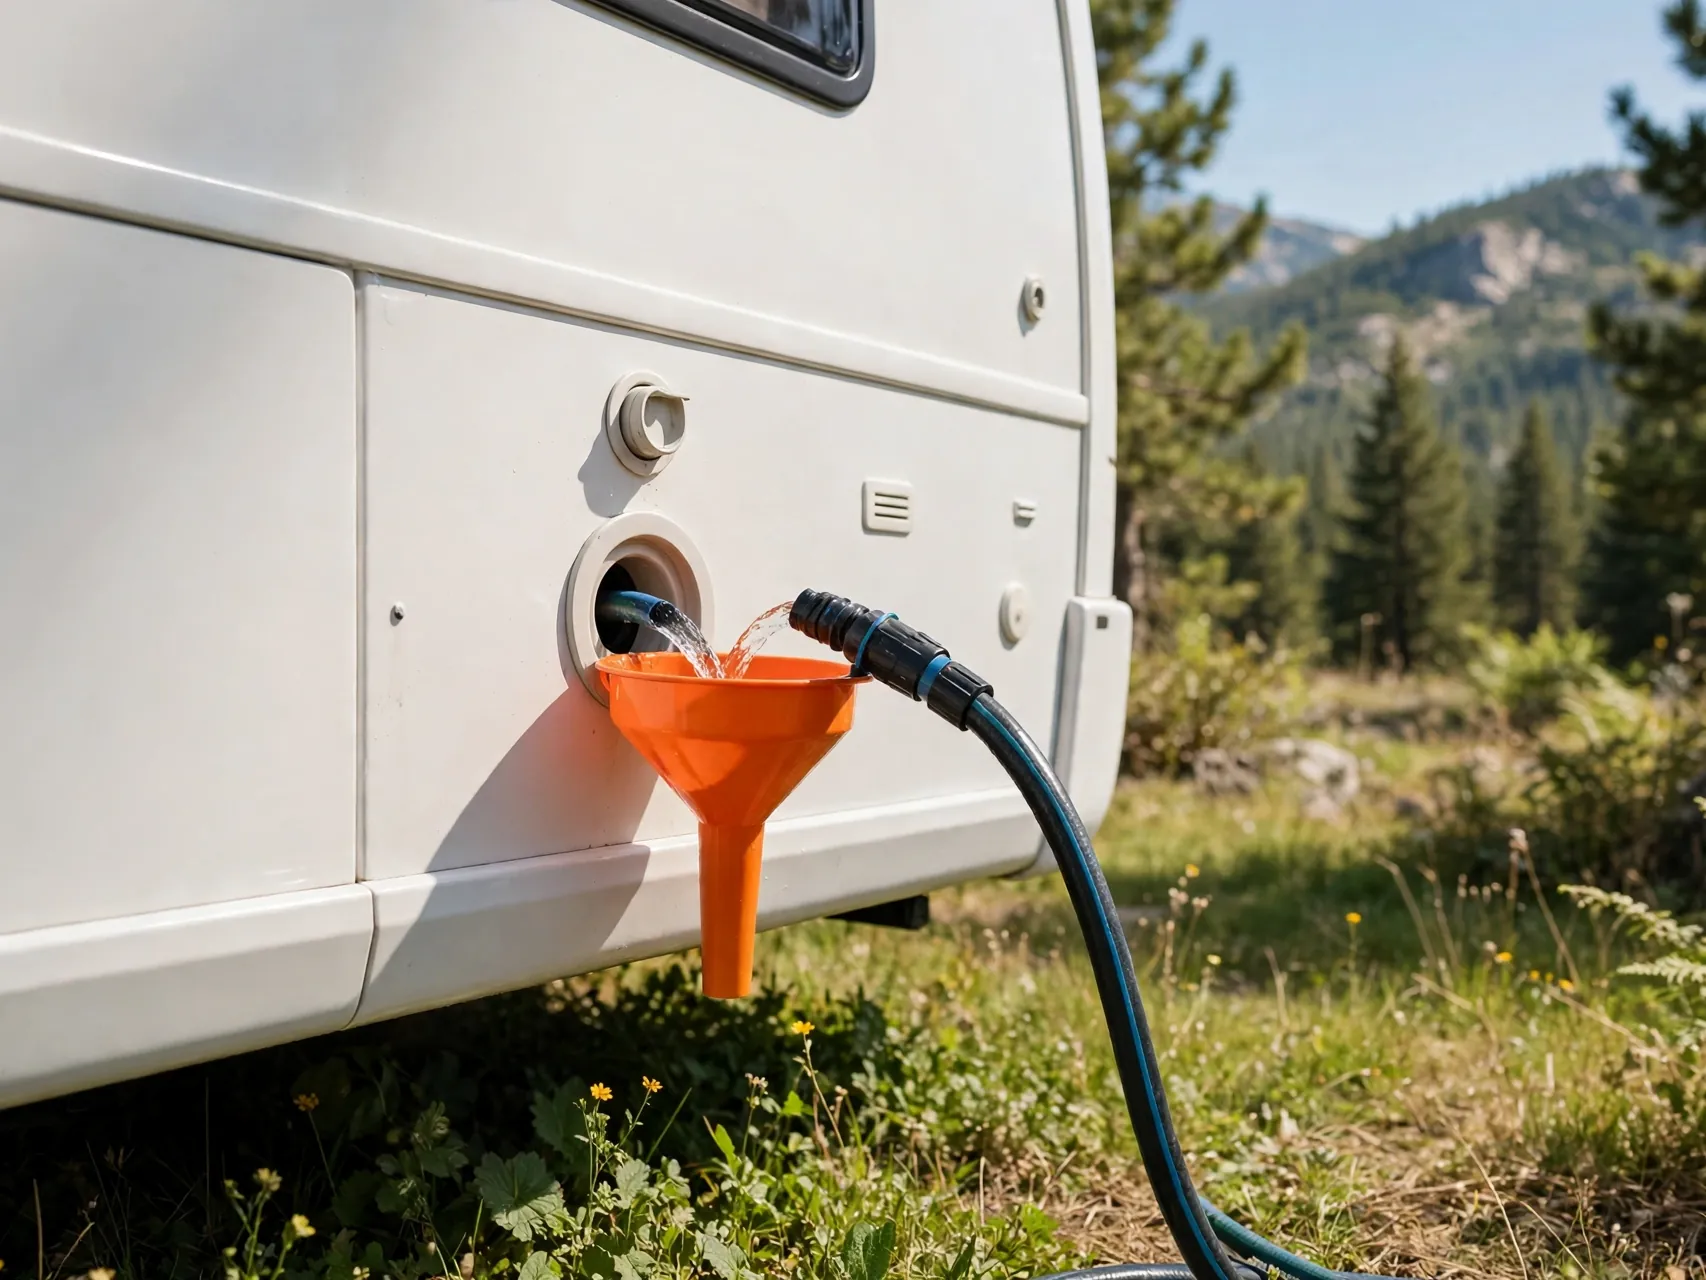
Sanitizing is the core routine of the RV fresh water system. Do it at least once or twice a year, after any long storage, with a new-to-you RV, and whenever water tastes or smells off. The standard method uses plain, unscented household bleach, measured carefully, circulated through every line, left to sit, then flushed away.
The full steps are in the next five tips. Set aside most of a day, work at home or at a site with water and a place to drain, and replace or remove filters first if your filter maker advises it, since bleach and filters do not mix well.
6. Measure Bleach at 1/4 Cup per 15 Gallons of Tank Capacity

The manufacturer-standard dilution for RV water tank sanitize work is about 1/4 cup of regular unscented household bleach for every 15 gallons of fresh tank capacity. A 30-gallon tank takes about 1/2 cup, a 45-gallon tank about 3/4 cup, and a 60-gallon tank about 1 cup. Check your manual for your tank size.
More bleach is not better: too much is hard to rinse out and can be rough on seals. Measure with a real measuring cup, use fresh bleach, and never mix bleach with ammonia, vinegar, or leftover winterizing fluid. Drain the old water out first.
7. Dilute the Bleach in Water Before It Goes in the Tank

Pour each measured dose of bleach into a clean one-gallon container of water first, then pour that diluted mix into the fresh tank through the gravity fill. Diluting protects tank surfaces and fittings from a concentrated splash sitting in one spot, and it mixes more evenly as you fill.
If your RV fills only through a pressurized inlet, follow your manual's method for adding the solution, often by pouring it into the hose before connecting. Then top the tank full with potable water so the solution reaches the right strength throughout.
8. Run Every Faucet Until You Smell Chlorine

With the tank full of sanitizing solution, turn on the water pump and open each faucet one at a time, hot and cold, until you smell chlorine at that outlet. Work through the kitchen, bathroom sink, shower, toilet flush, and any outdoor shower or sprayer. Each line must carry the solution, not just the tank.
Handle the water heater exactly as your manual directs: many owners bypass it for sanitizing or include it deliberately, and the manual is the authority for your model. Close each faucet once chlorine arrives, then top up the tank if the level dropped.
9. Let the Solution Sit at Least Four Hours, Then Drain
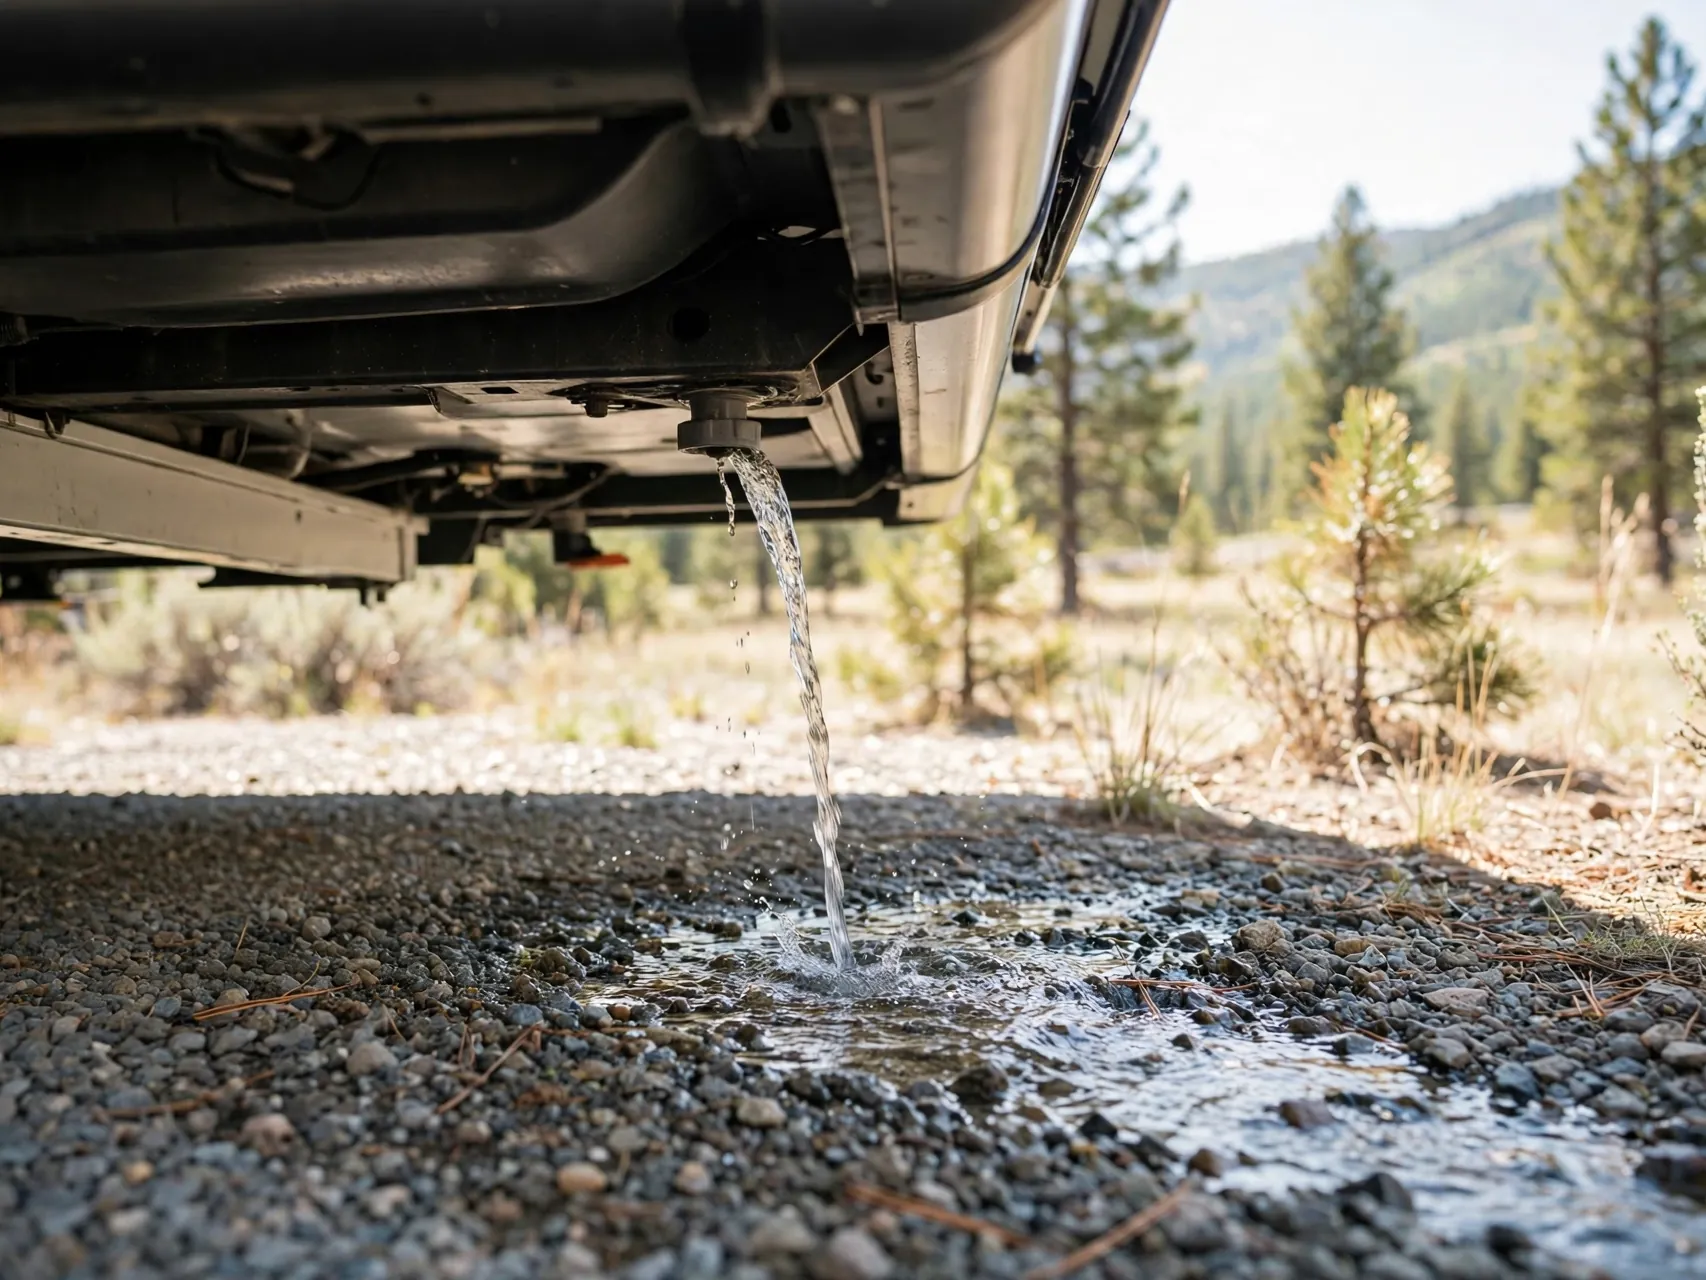
Contact time does the disinfecting. Let the bleach solution sit in the tank and lines for at least 4 hours, and overnight is a common, easy choice for a thorough job. A short, gentle drive can help the solution coat the whole tank, if you can do it safely and legally.
After the wait, drain the tank fully through the fresh tank drain, open the low point drains as your manual directs, and let the solution go to an appropriate drain or dump point. Do not leave strong solution sitting for days: longer is not cleaner, and it is harder on the system.
10. Flush With Fresh Water Until No Chlorine Smell Remains

Refill the tank with clean potable water, run every faucet again, and drain. Repeat the fill-and-flush cycle until the water at every outlet runs clear with no chlorine smell or taste left. Two or three full flushes is typical, and the shower and outdoor sprayer are the outlets people most often forget.
Only when the smell is gone is the system ready to use. Reinstall or replace your water filter, refill with fresh water, and enjoy the clean, neutral taste that tells you the job was done properly.
11. Know When to Use the Pump and When to Use City Water
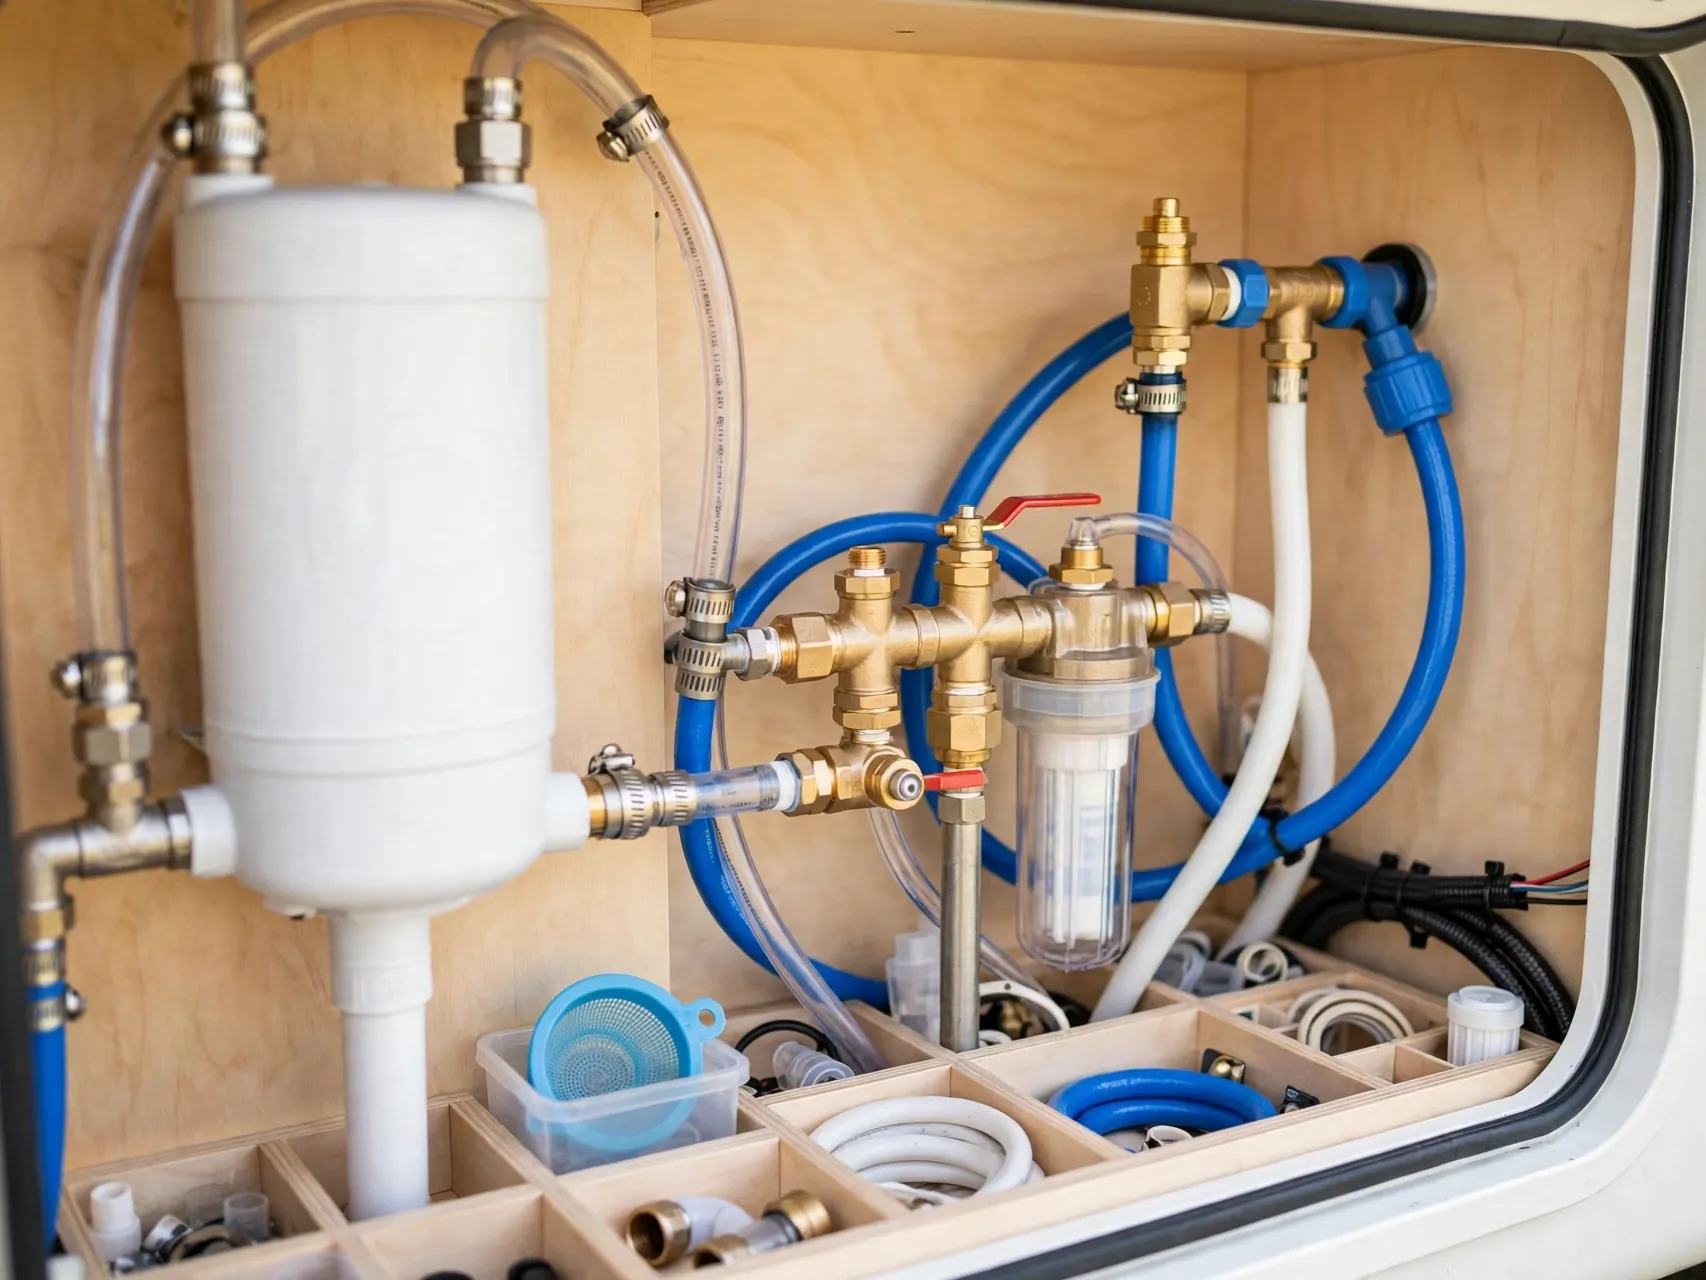
At a full hookup site, the city inlet feeds your plumbing directly and the pump stays off. Away from hookups, the pump draws from the fresh tank and must be switched on for faucets to flow. Running both at once is a common beginner mix-up that can cause odd pressure and backflow issues.
Turn the pump off when you leave the RV, when you travel, and when you are hooked to city water. A pump left on can empty your tank through a small leak you would otherwise have noticed, flooding quietly while you are out exploring.
12. Fill the Fresh Tank Slowly and Watch It

Fill through the gravity fill or the fill setting with your potable hose, at a moderate flow, and stay with it. Fresh tanks vent as they fill, and a hose pushed in tight at full campground pressure can overfill, spill, or stress fittings. Use a simple fill gauge or shutoff if your setup offers one.
Stop when the monitor panel reads full or water reaches the fill neck, then cap the fill promptly to keep insects and dirt out. A calm, watched fill prevents the classic campsite fountain and the soaked storage bay that follows it.
13. Check for Leaks Every Trip With a Dry-Hand Walkthrough
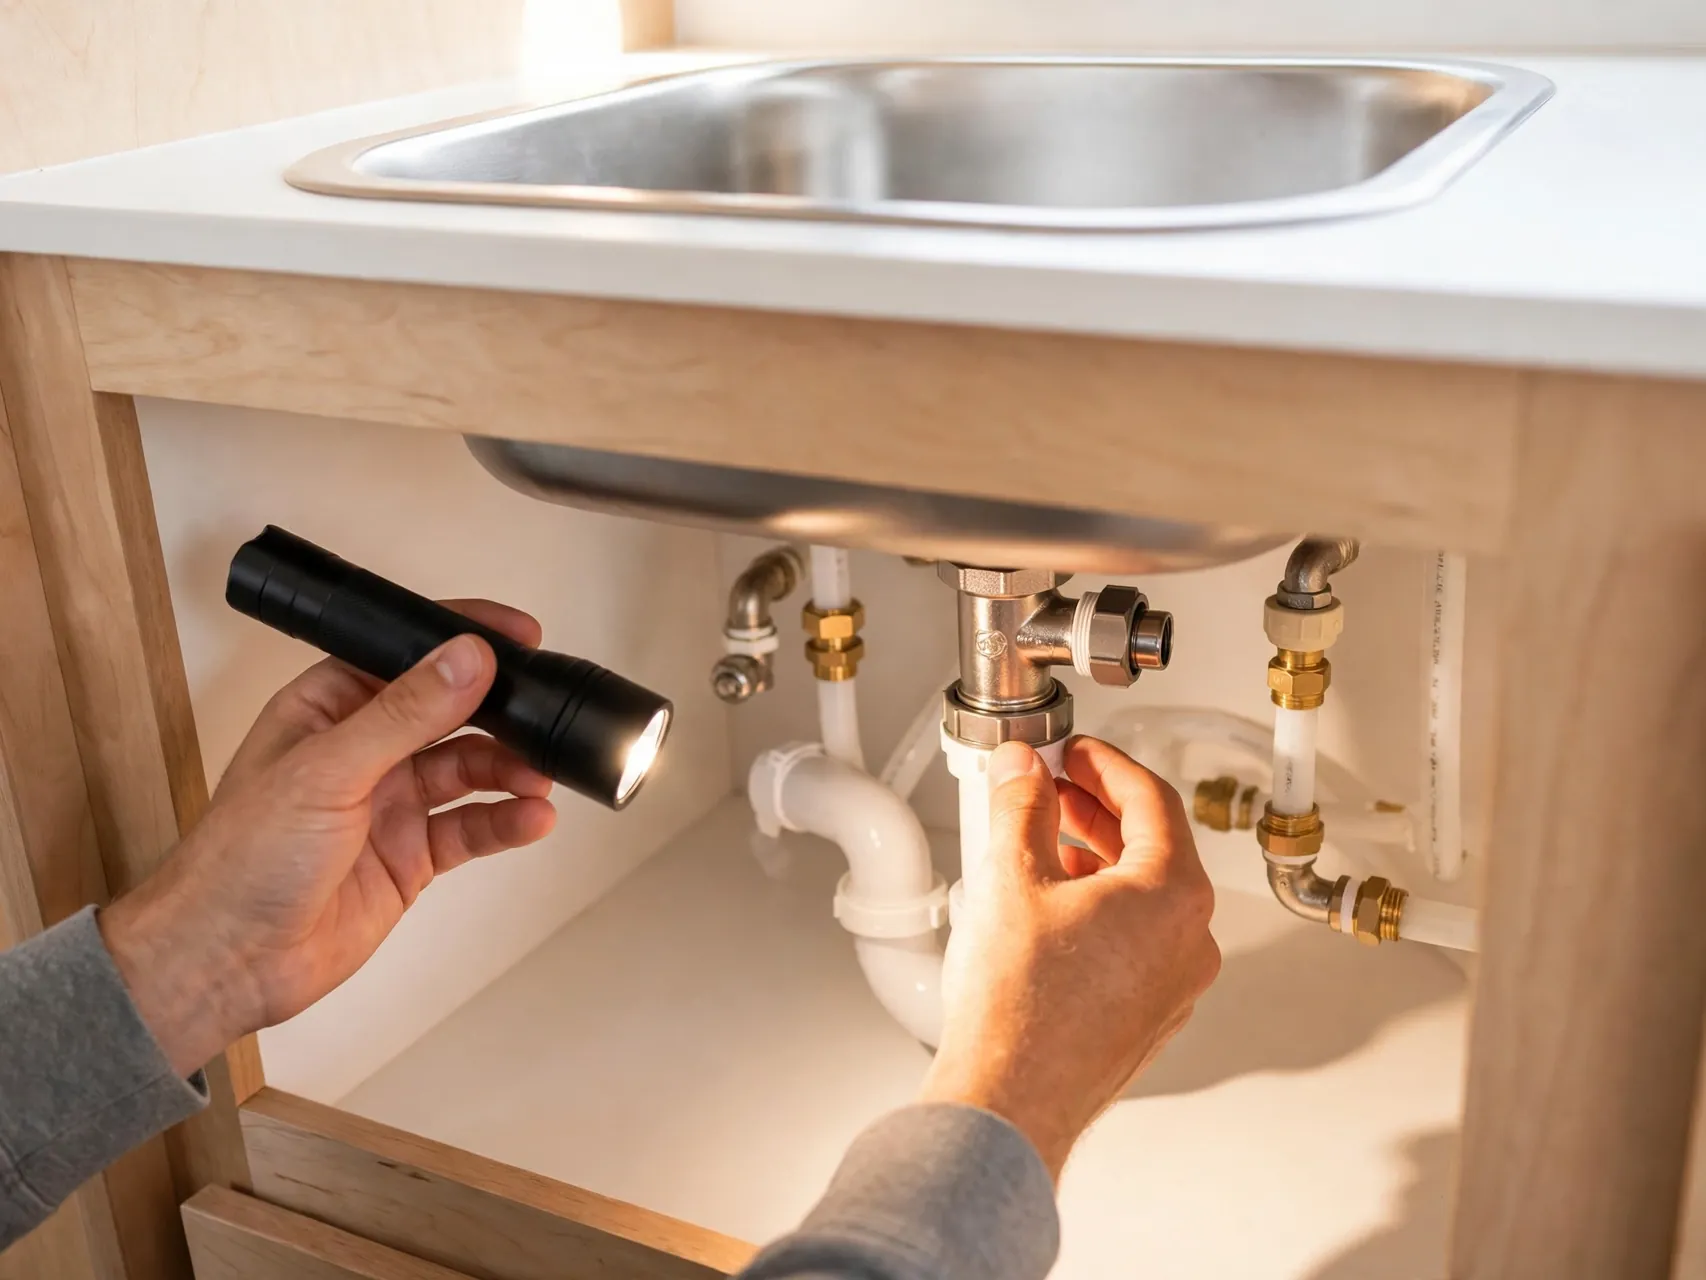
Once per trip, with the system pressurized, run a dry hand around every fitting you can reach: under both sinks, behind the toilet, at the water heater, at the pump, and around the city inlet. Dry means fine. Damp means tighten gently, dry it off, and check again after an hour of use.
Look at floors and storage bay ceilings too, since water travels before it drips. Catching a slow fitting leak at home costs a rag and five minutes. Catching it after a season costs flooring. This walkthrough is the highest-value habit in this whole list.
14. Protect the Pump: Keep the Strainer Clean and Never Run It Dry

Most RV water pumps have a small strainer bowl beside them that catches tank debris before it reaches the pump. Check and rinse it at the start of each season and whenever pressure drops or the pump sounds strained. A clogged strainer mimics a dying pump surprisingly well.
Never run the pump dry longer than the maker allows: if the tank is empty and the pump keeps running, switch it off. A pump that pulses on and off with all faucets closed is telling you there is a leak or air in the lines, so investigate rather than ignoring the sound.
15. Drain the System for Storage With Low Point Drains

For storage, drain the fresh tank, open the low point drains, and open faucets so the lines empty by gravity, following your manual's layout for your model. Drain the water heater too, with the power and gas off and the water cooled first, and relieve pressure before removing any drain plug.
Draining prevents stale water, slime, and freeze damage between trips. If you winterize with RV antifreeze, use only non-toxic RV antifreeze made for potable plumbing, never automotive antifreeze, and sanitize the system in spring before drinking from it again.
16. Keep Gray and Black Habits Separate From Fresh Habits

Everything you learned about the fresh side depends on one boundary: fresh gear never touches waste gear. Sewer hoses live in their own bin, gloves used for dumping stay in the dump kit, and the potable hose is never borrowed for rinsing anything at a dump station.
When you dump, go black first, then gray, and rinse with the station's non-potable hose only. Then wash your hands before you handle the fresh hose or fill the tank. Campers who guard this boundary rarely have water safety worries.
17. Watch Your Water Use With Showers and a Simple Routine

Away from hookups, your fresh tank is your budget. Short navy-style showers, wet down, water off while you soap, rinse fast, save surprising amounts of water, as do a dish tub in the sink and a cup for brushing teeth instead of a running tap.
Track the monitor panel each morning so a low tank never surprises you at dinner time. Knowing your household's real daily use, learned over two or three trips, makes planning water, and planning dumps, calm instead of guesswork.
18. Carry a Small Water Repair Kit

A modest kit handles most fresh-side surprises: spare hose washers, a few hose clamps, thread tape for threaded fittings, a spare pressure regulator, a short section of spare line with push-fit fittings if your system uses them, and a towel dedicated to plumbing checks.
Add the manual pages or photos of your pump and water heater model numbers to your phone. When something fails at a rural campground, having the part number and the right washer turns a ruined weekend into a thirty-minute fix.
19. Taste and Smell Are Your Early Warning System

Plastic, sulfur, or swampy notes in the water usually mean the system needs sanitizing, a filter change, or a different water source, in that order. Do not cover taste problems with drink mixes and hope: sanitize the system, replace the filter, and refill from a clean potable source.
If only the hot water smells, the water heater is the likely address, and your manual's heater maintenance, including anode rod checks on models that have one, is the place to look. Fresh-side smells are almost always maintenance reminders, not mysteries.
20. Fill Only From Sources Marked Potable

At campgrounds and dump stations, water spigots are labeled for a reason. Fill your tank and connect your city line only at spigots marked potable or drinking water. The hose beside a dump station inlet is non-potable rinse water for cleaning equipment and the pad, and it must never fill your tank.
When a spigot has no label, ask the camp host rather than guessing. National and state parks mark their potable fills clearly, and hosts would rather answer a quick question than have a camper get sick from the wrong tap.
21. Make One Seasonal Checklist and Reuse It Every Year

Write your system routine down once: sanitize and flush, clean the pump strainer, replace the filter, check every fitting for leaks, test the pump, inspect hoses and washers, drain and store gear dry. Run the list each spring, and a short version before long trips, and your RV water system will simply work.
Keep the checklist with your dump log so dates and notes stay together. Systems rarely fail all at once: they drift, one tired washer and one skipped sanitizing at a time, and a checklist is what catches the drift while it is still cheap.
FAQ
How does an RV water system work in simple terms?
Clean water enters two ways: through a hose into the city inlet at hookup sites, or into the fresh tank for travel without hookups, where a 12-volt pump pushes it to the faucets. Used water drains to the gray tank from sinks and shower, and to the black tank from the toilet, and both waste tanks are emptied at a dump station.
How do I sanitize my RV fresh water tank?
Drain the old water, add unscented household bleach at about 1/4 cup per 15 gallons of tank capacity, diluted in a gallon of water first, and fill the tank. Run every faucet until you smell chlorine, let it sit at least 4 hours or overnight, drain fully, then refill and flush until no chlorine smell remains.
Do I really need a pressure regulator for my RV?
Yes. Campground pressure varies and can spike high enough to damage RV fittings, lines, and seals. A regulator at the spigot protects the whole system, hose included, for very little cost. It is one of the simplest and most recommended protections for new campers.
Why does my RV water taste like plastic or smell bad?
The usual causes are a system that needs sanitizing, an overdue filter, or water that sat in the tank or hose in warm weather. Sanitize the fresh system, replace the filter, drain stale water, and refill from a potable source. If only the hot water smells, check the water heater maintenance in your manual.
Can I drink water from my RV fresh tank?
Yes, when the system is maintained: fill only from potable sources with your dedicated drinking water hose, sanitize once or twice a year and after storage, and keep filters current. If the RV is new to you or the history is unknown, sanitize before your first drink and consider a final taste and smell check at every faucet.
Key Takeaways
- Three loops, one map: Fresh in, gray and black out. Knowing your RV water system layout and tank sizes makes every other task simple.
- Protect the inlet: Potable hose only, a pressure regulator at every spigot, and a filter for taste. Fill only from sources marked potable.
- Sanitize on schedule: About 1/4 cup of unscented bleach per 15 gallons, circulated to every faucet, at least 4 hours of contact, then flush until no chlorine smell remains.
- Guard the boundary: Fresh gear and sewer gear never mix, hands get washed between dumping and filling, and the station rinse hose never fills a tank.
- Check, drain, record: A dry-hand leak check each trip, full draining for storage, and a reused seasonal checklist keep small issues small.
- Just bought your first RV? Save this guide to Pinterest and pin it for setup day at your first campground.