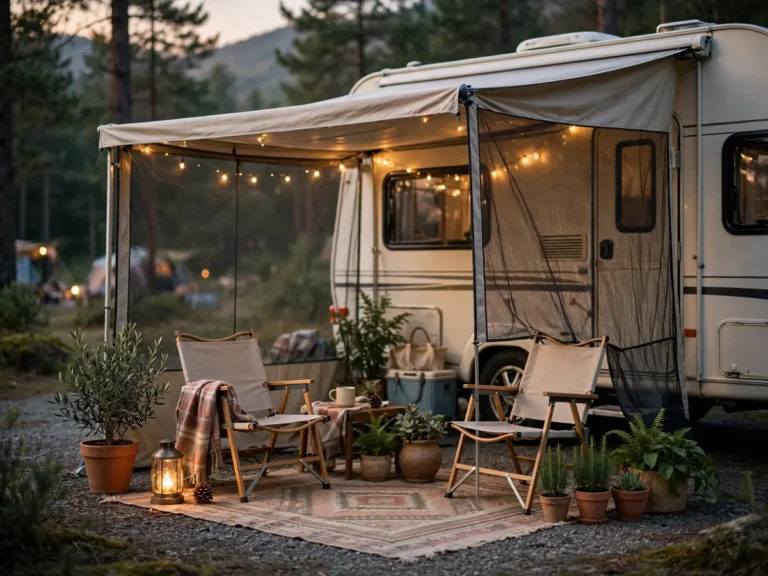
22 RV Remodel Ideas That Make a Small Space Feel Bigger
Introduction
Small RVs rarely need more square feet. They need lighter color, better light, fewer visual breaks and furniture that works harder. The best RV remodel ideas for space all follow those four rules, and most of them are weekend projects rather than full gut renovations.
Work in a smart order: declutter first, then paint, then surfaces like flooring and backsplash, then lighting and furniture. Test every paint and adhesive on a small hidden area first, because RV wallboard, cabinets and trim react differently than house materials, and ventilate well while products cure in the small space.
Keep weight in mind with every material choice. Peel and stick, vinyl and light wood looks give the visual payoff of heavier tile and plank without loading the rig. Choose one project at a time, live with it for a trip, and let real use tell you what to remodel next.
1. Paint Walls a Bright, Soft White
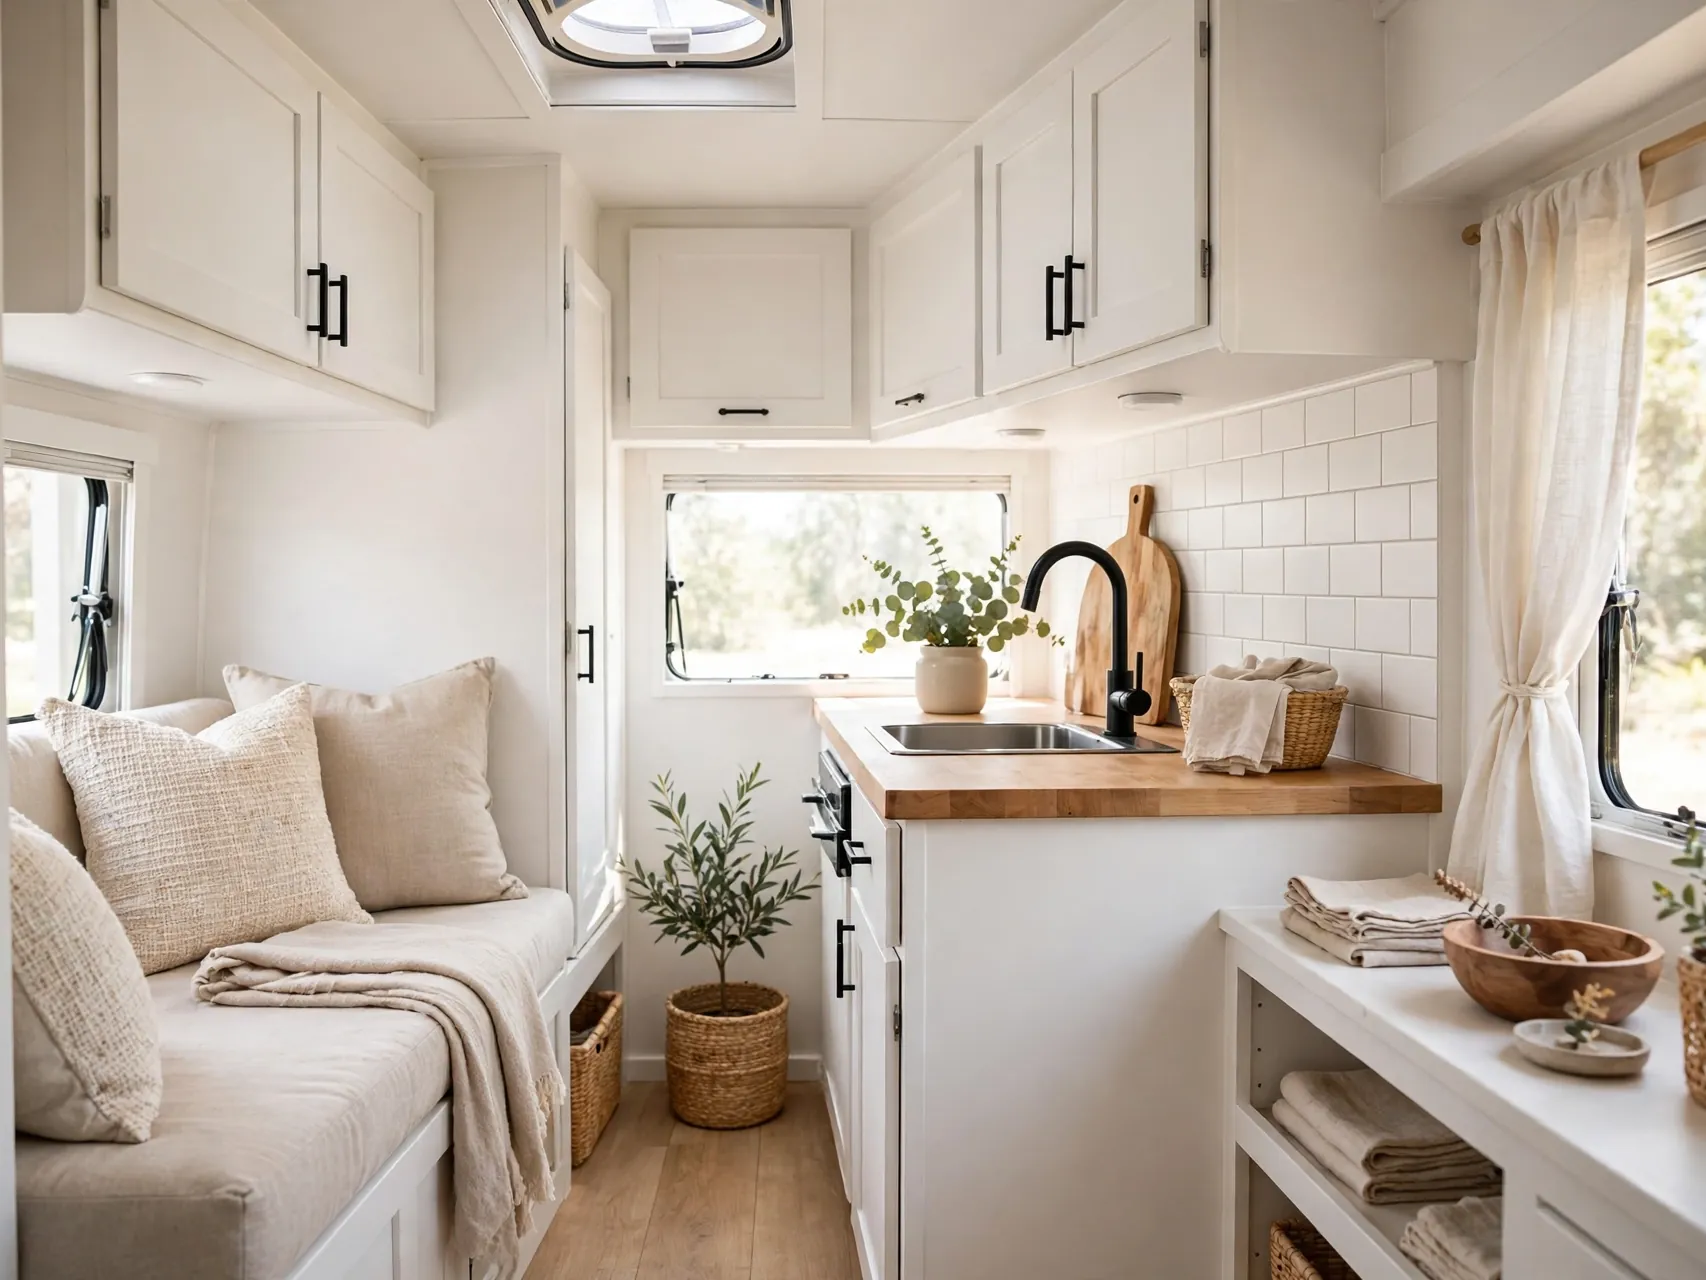
Light wall paint is the foundation of almost every spacious feeling RV remodel. Soft white or very pale gray walls reflect daylight from small windows across the room, erase dated patterns and make ceilings feel higher.
Cover or remove decor, clean walls, tape carefully and use thin coats so texture does not build up. Work with windows and vents open for airflow. One consistent wall color through living, kitchen and hall areas removes visual stops that chop a small floor plan into bits.
2. Paint Cabinets in a Two Tone Scheme

White upper cabinets keep the eye level zone bright and open, while a soft color on the lowers, sage, pale blue or warm gray, grounds the kitchen without darkening the room. Two tone cabinets look custom and residential in photos.
Remove doors and hardware, label every piece, and paint doors flat outdoors or in a ventilated space. Light uppers matter most for the bigger feeling, because dark boxes at eye level are what make RV kitchens feel like caves.
Number each door and its cabinet opening with painter tape on the inside edge, so refitting is fast and doors hang in their original alignment. Let doors cure flat for at least a day before reinstalling them, because handling them too soon leaves fingerprints and soft edges that chip more easily later.
3. Add Peel and Stick Backsplash That Mimics Tile

A light peel and stick backsplash in white subway, pale stone or soft zellige style brightens the kitchen work zone and wipes clean like tile. It also covers the plain wallboard strip that dates many campers.
Measure and dry fit each sheet, keep seams tight, and follow maker guidance around heat. Keep product clear of direct stove flame and high heat areas as directed. The reflective, grout lined look reads as real tile at a fraction of the weight.
4. Install Light Vinyl Plank Flooring Over Old Floors

Continuous light flooring is a quiet giant in small space remodels. Luxury vinyl plank in a pale oak or ash tone, run lengthwise, stretches the room visually, hides dirt and handles water and temperature swings well when installed per maker guidance.
Run the same floor through kitchen, hall and living areas with no thresholds breaking it up. Floating click styles suit many campers. Leave the expansion gaps the maker specifies, because RV interiors see wider temperature changes than houses.
5. Replace Heavy Window Treatments With Slim Shades and Sheers
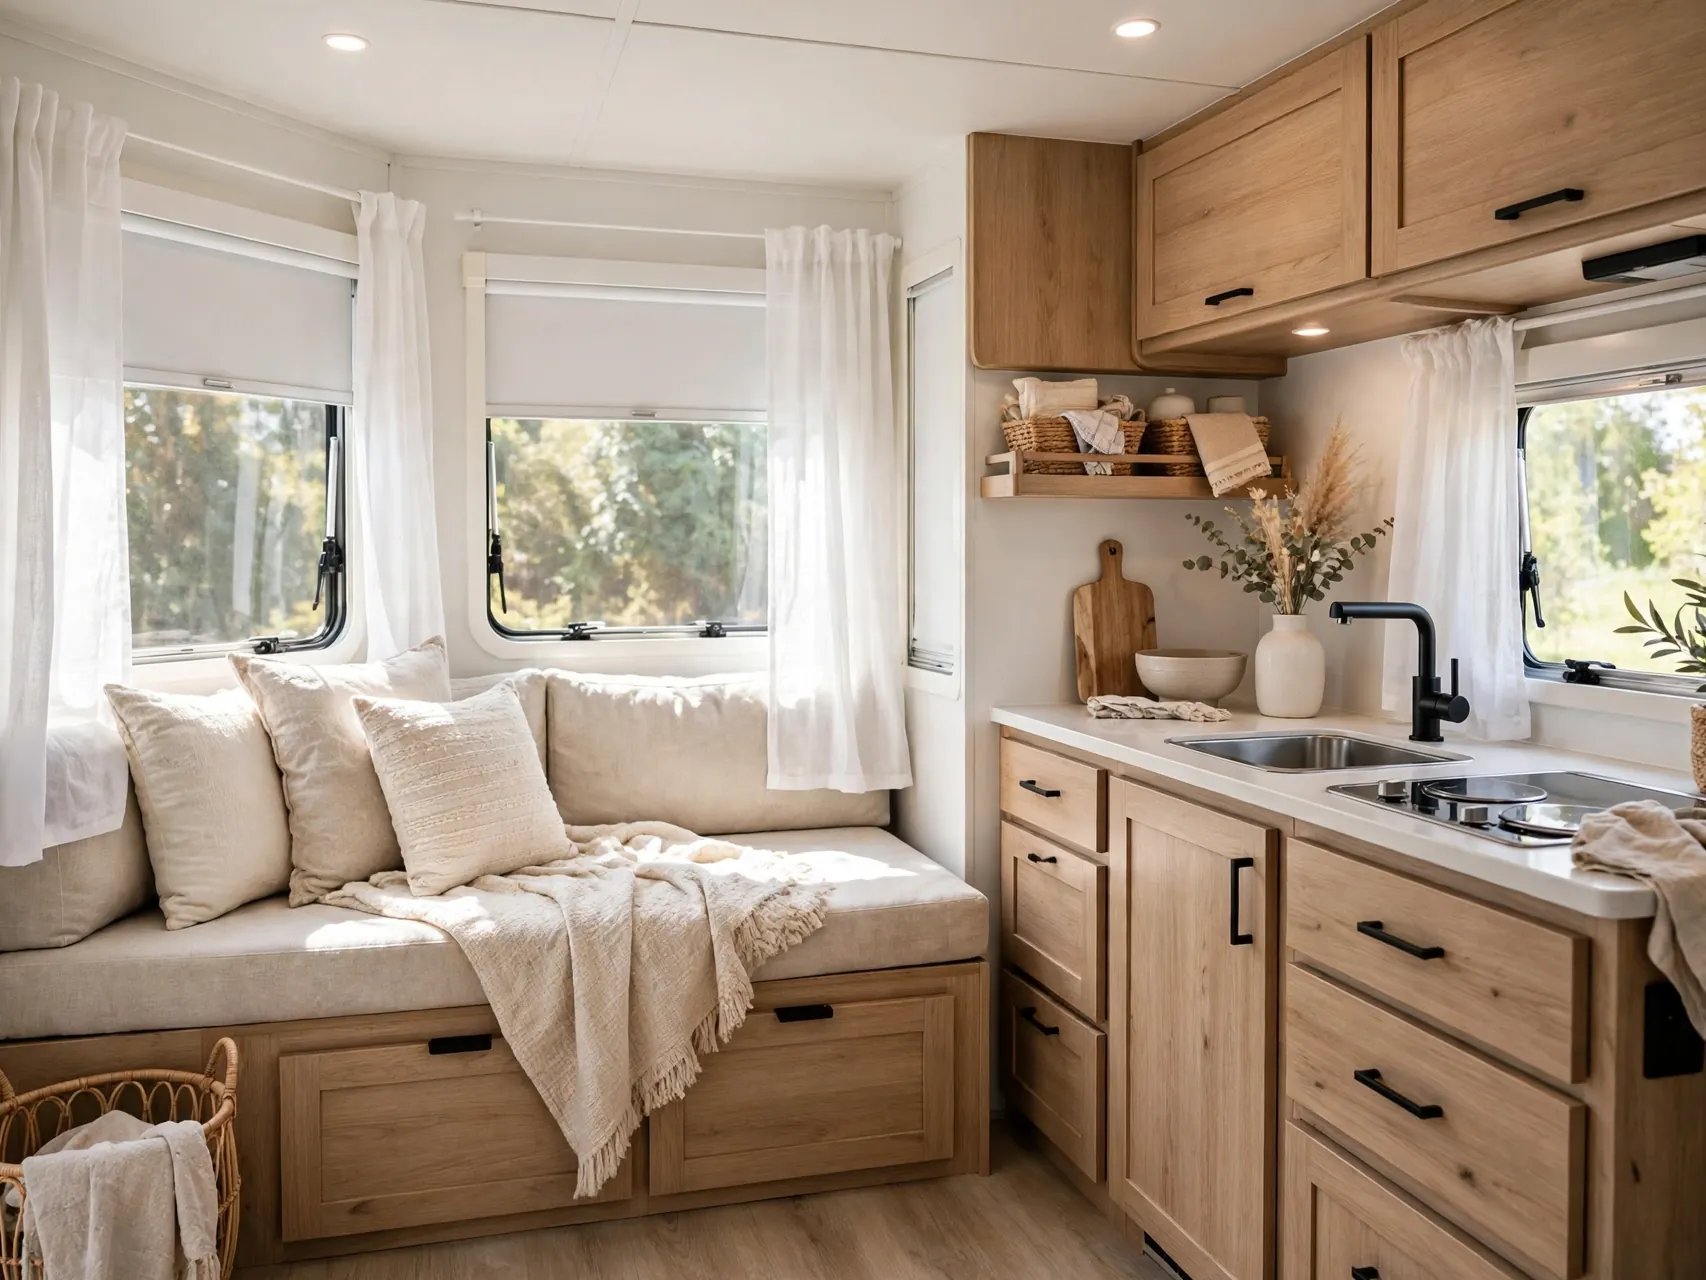
Bulky valances and dark blinds shrink windows and block precious light. Slim roller or Roman shades plus a sheer panel keep privacy while opening the full glass, which makes walls feel wider and rooms feel calmer.
Mount shades high so the stack sits above the glass when open. Choose cordless styles where possible for a cleaner look and fewer tangles, and secure bottom rails so nothing swings or rattles on travel days.
6. Use Mirrors and Glossy Surfaces to Double Light

A mirror opposite or beside a window bounces daylight deep into the room and adds a sense of depth no paint can match. Even a mirrored cabinet door or a glossy backsplash panel helps in the darkest corner.
Keep mirrors lightweight and securely mounted for travel. Place one where it reflects a tidy, bright view, a window, a pale wall, the kitchen, rather than a cluttered bunk, or it will double the clutter feeling instead of the space.
7. Swap the Dinette for a Slim Table and Chairs

A fixed dinette is bulky, and its benches block floor and light. Replacing it with a slim drop leaf or wall mounted table plus two light chairs opens the floor, adds seating flexibility and modernizes the whole living area.
Check that any new setup still converts for guests if you need the bed, and secure chairs for travel. If you keep the dinette, light slipcovers and a smaller, lighter table top can win back much of the same airy feeling.
8. Choose Multi Functional Furniture That Stores Things

In a remodel, every new piece should do two jobs. Storage ottomans, a bench with a lift up seat, nesting tables and a sofa with room for bins underneath replace single use furniture and free cabinets for daily gear.
Measure door widths and slide clearances before buying anything. Keep heavy storage low, and leave walking paths truly clear, because a room that only looks bigger but still trips you has missed the point of the project.
9. Build Drawers Into the Dead Space Under the Bed

The platform under most RV beds hides a large, awkward void. Adding front facing drawers or rolling bins turns it into real storage for clothes and bedding, which empties closets and surfaces elsewhere in the camper.
Use lightweight drawer boxes and smooth runners rated for the load, and keep access to any water pump, heater or wiring panels the maker placed under the bed. Label drawers by person or category so the system sticks.
10. Add Floating Shelves and Use Vertical Space

Walls above the dinette, beside the bed and over the door are storage real estate that most factory campers waste. Light floating shelves and slim ledges hold books, baskets and decor up high, freeing counters and tables below.
Mount into solid backing where possible and keep shelf loads light and low profile. A rail or lip keeps items in place, and travel day checks become quick when shelves hold only sturdy, corralled pieces.
Leave a little empty space on each shelf instead of filling it end to end, because breathing room is what makes the storage look calm. Group items in threes by height, tallest at the back, and repeat one color from your bedding or cushions so shelves tie into the room instead of floating apart.
11. Upgrade to Layered LED Lighting

One harsh ceiling light flattens a room and leaves corners dark and small feeling. Layer light instead: ceiling lights for general use, under cabinet strips for counters, and a warm lamp or sconce for evenings.
LED strips under upper cabinets are a favorite remodel upgrade because counters glow, cooking gets easier and the kitchen looks twice as finished. Use warm white consistently, and add dimmers where your system allows for real evening coziness.
12. Create One Light Accent Wall With Shiplap Look Panels

Thin shiplap look panels or peel and stick planks on one wall, usually behind the bed or dinette, add texture and horizontal lines that visually widen a narrow room. Painted bright white, the wall feels coastal and clean, not heavy.
Choose products made or marketed for RV use where possible, keep total added weight low, and use adhesive plus minimal fasteners as the maker directs. One wall is enough, wrapping a tiny room in planks can close it in.
13. Remove Upper Cabinets Where They Crowd the Room

In some layouts, removing one or two upper cabinets over a dinette or sofa opens the wall dramatically. Replaced with a light shelf, the zone breathes, heads stop ducking and daylight travels further.
Only remove cabinets you can truly spare, and patch and finish the wall behind them properly. Check for wiring inside before removal. Many owners test the idea first by emptying a cabinet and living with the doors open for a trip.
14. Refresh the Ceiling With Bright Paint and Slim Trim
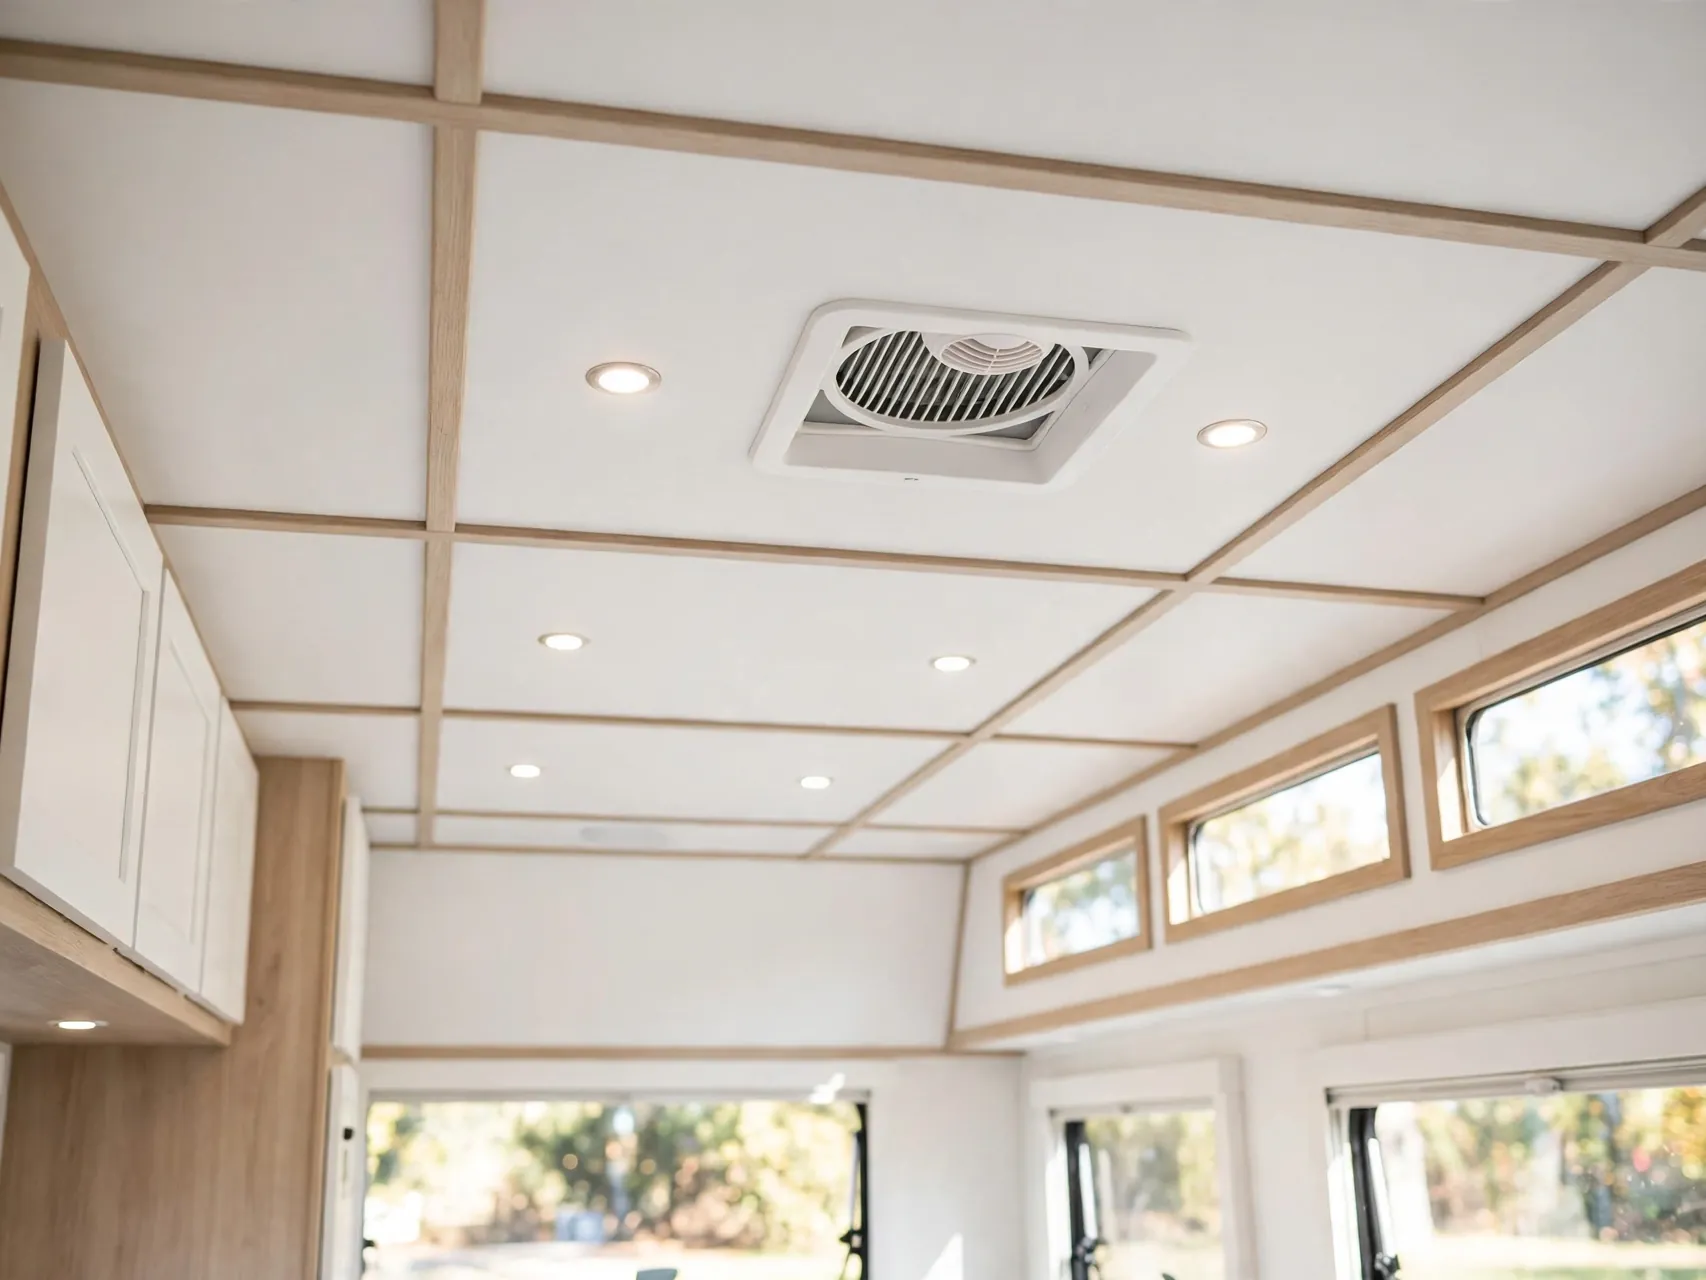
Stained or yellowed ceilings lower the visual height of an RV. Bright white ceiling paint, cleaned vent covers and slim, light trim where walls meet ceiling lift the whole box and make wall paint look cleaner too.
Work overhead in small sections with good ventilation and eye protection. If ceiling material is fabric or vinyl, use only products the maker or a test patch shows are suitable, and keep paint off lights, fans and detector units.
15. Update the Bathroom With Light, Reflective Pieces

A larger light framed mirror, a pale shower curtain, white towels and a peel and stick accent behind the sink make a tiny RV bathroom feel like a real room instead of a closet. Light colors matter most where there is often no window.
Choose moisture friendly materials and keep ventilation fan habits strong after showers. Replace a dark medicine cabinet door front with a mirrored one if structure allows, and let the mirror do double duty for grooming and light bouncing.
16. Open the Entry With a Light Door Area and Hooks

The entry is your first impression of space. Painting the inside of the door area light, adding a slim hook rail and a low profile mat removes the dark, cluttered tunnel feeling many campers have at the steps.
Keep hooks and storage clear of the door swing and any slide. A small mirror or light art panel by the door adds depth, and a strict shoes and coats rule for this zone keeps the opening feeling wide.
17. Replace Bulky Sofa With a Lighter, Leggy Piece

Factory jackknife sofas are wide, dark and heavy looking. A slimmer sofa or futon style piece raised on visible legs shows floor underneath, which is a classic trick for making any small room read larger.
Confirm the piece fits through the door, covers any wheel well or slide mechanism safely, and can be secured for travel as your layout requires. Light upholstery in a washable fabric keeps the airy look working hard.
18. Declutter Counters With Wall and Door Storage
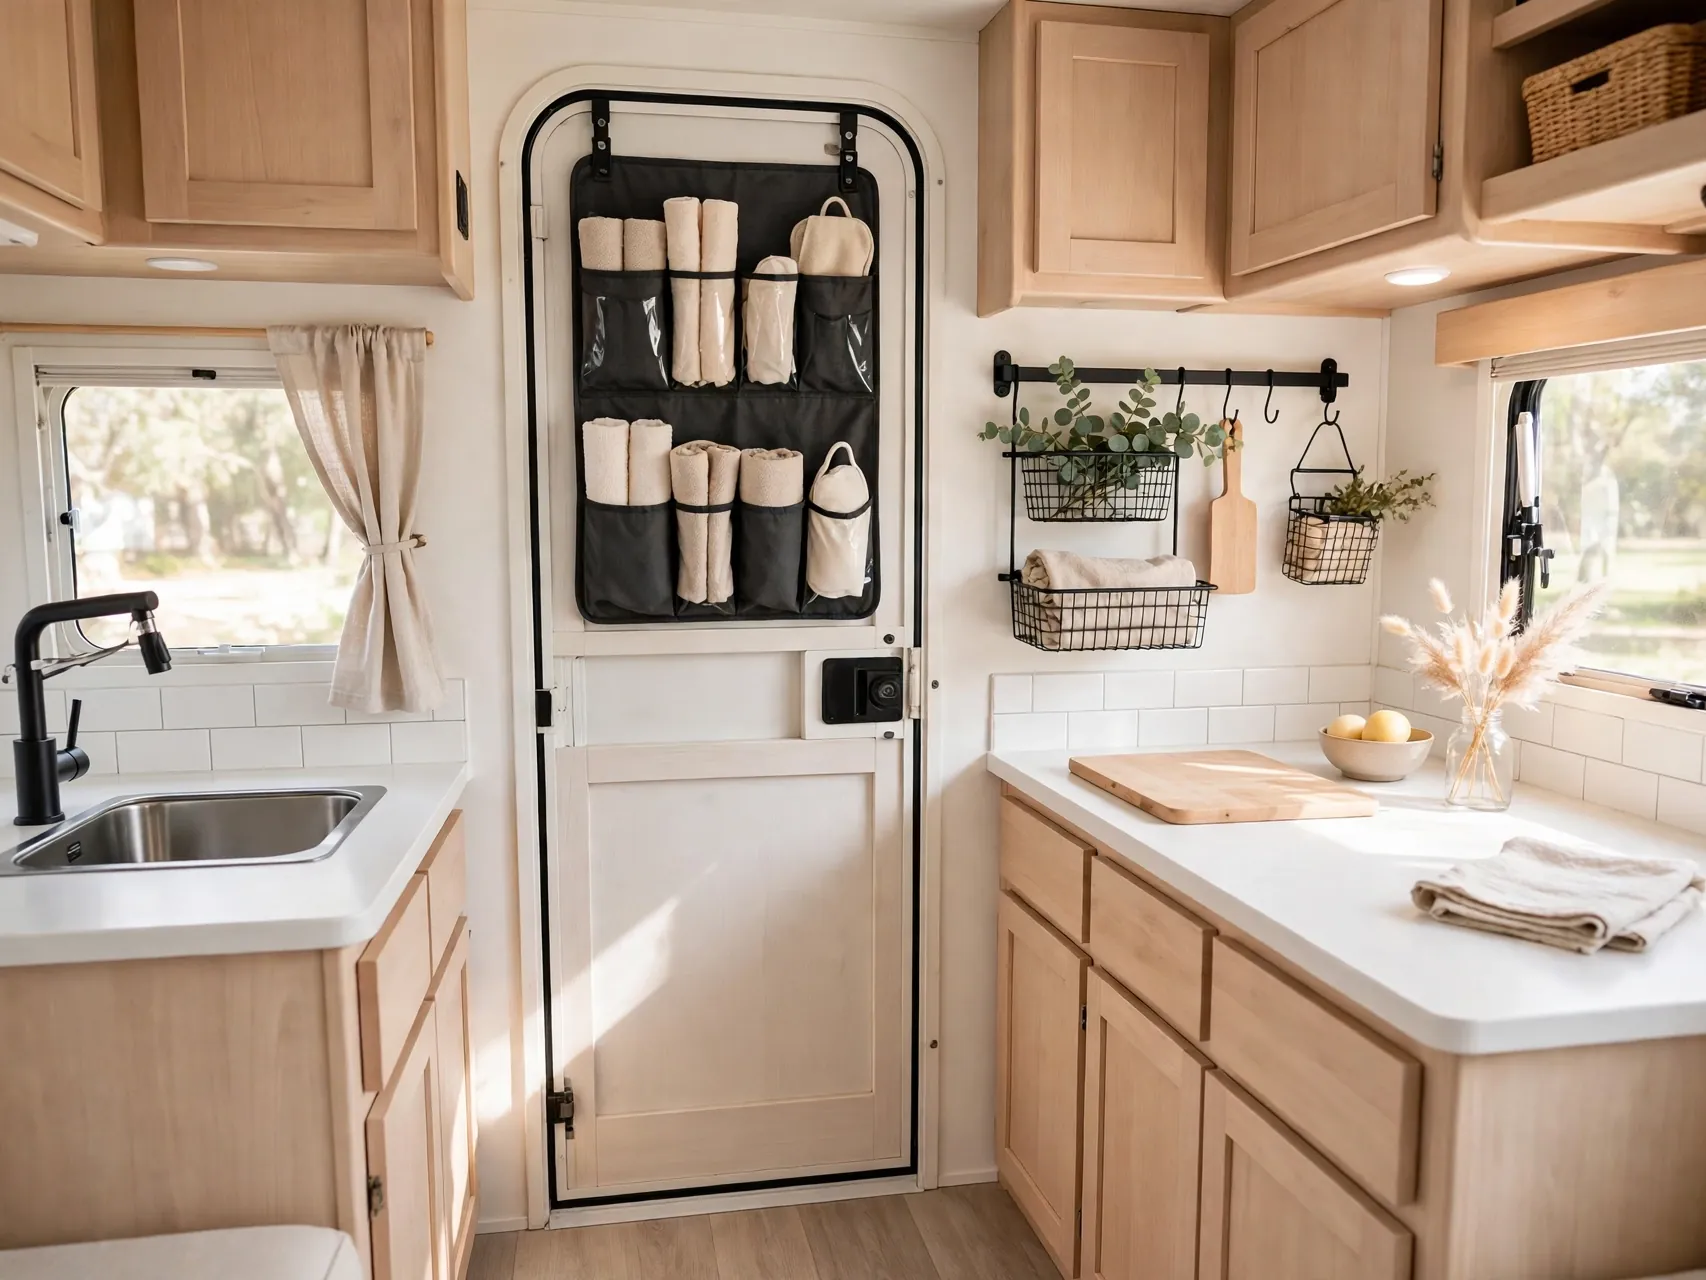
Clear counters are non negotiable in a small kitchen. Magnetic strips for knives, rails with hooks for utensils, inside door racks and a wall mounted paper towel holder move daily tools off the work surface for good.
Keep heat and knife safety in mind, mount strips away from little hands, and secure door racks so they do not rattle. When counters stay clear, the kitchen photographs bigger and cooks bigger, which is the real goal.
Group tools by task instead of by type, with cooking utensils near the stove area and prep tools near the sink, so you reach less and clutter returns less often. Review the rail every few trips and remove anything you have not used, because wall storage fills up just as quickly as a drawer if you never edit it.
19. Use Consistent, Light Textiles Throughout
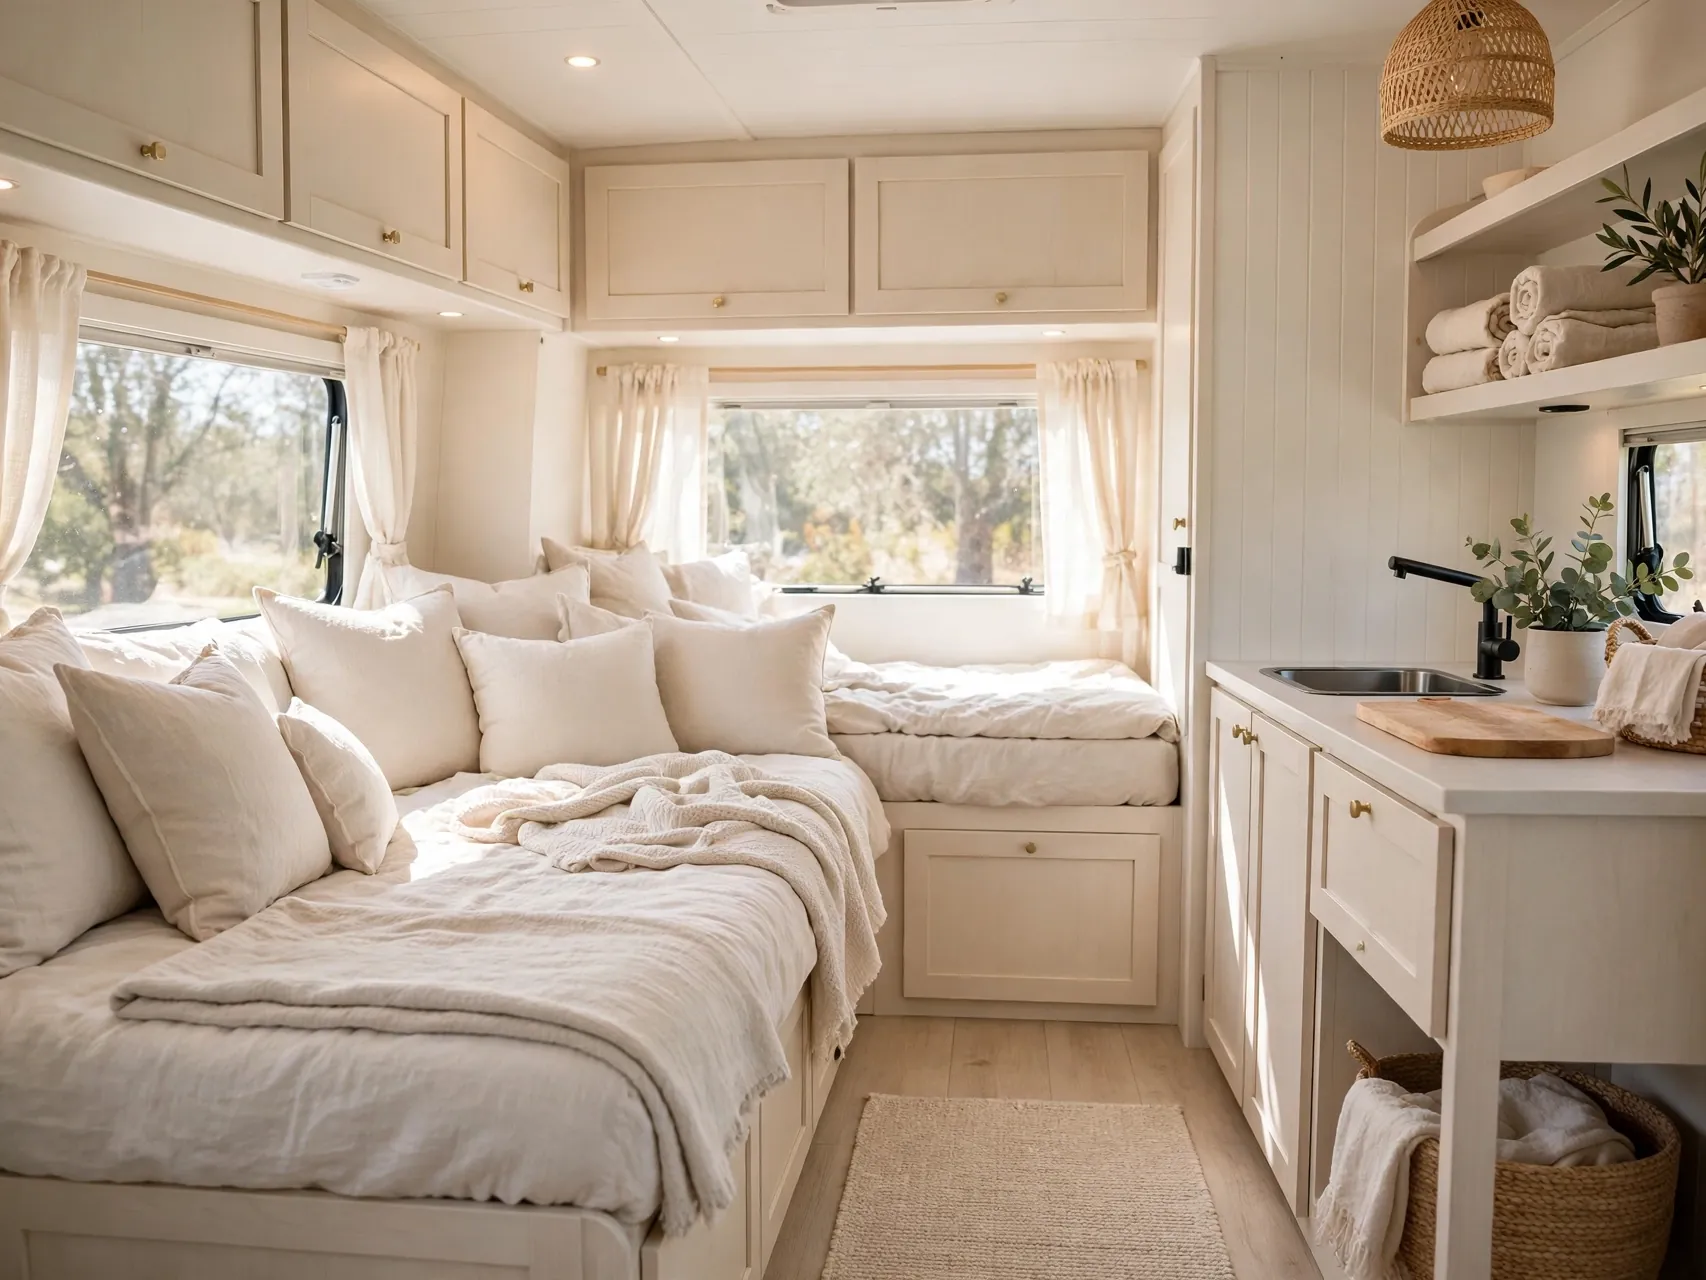
One light textile story, bedding, curtains, dinette cushions and throws in the same soft palette, removes the patchwork look that shrinks factory interiors. Matching tones let the eye travel without stopping at every seat.
Recover dinette cushions in a pale, durable fabric or use fitted slipcovers for a reversible change. Keep patterns small scale and few, a stripe here, a subtle check there, so texture adds interest without visual noise.
Wash slipcovers in pairs so the dinette always matches, and keep one spare throw in the same palette for cool evenings. If you mix fabrics, repeat each one at least twice in the room, once near the bed and once near the seating, so the pairing looks intentional from the doorway.
20. Raise Visual Height With Long Lines

Long vertical elements draw the eye up and make ceilings feel taller: curtains hung high, a tall narrow bookcase style shelf, vertical stripe wallpaper on one wall, or cabinet doors repainted with vertical pulls.
Use the trick sparingly and consistently. High curtains plus one tall storage piece per room is enough. Avoid chopping walls with chair rails, contrasting bands or shelves at many heights, which all lower the perceived ceiling.
21. Lighten the Bedroom With a Pale Headboard Wall

The bed wall is the biggest single surface in many campers. Pale paint, light peel and stick planks or a fabric covered foam headboard panel there brightens the room you wake up in and photographs beautifully.
Keep bedding light with one accent color, and add small wall mounted reading lights to free the tiny night surfaces. If the bedroom has a dark wardrobe front, paint or cover it to match the pale scheme.
If you use a fabric headboard panel, choose a removable cover you can wash, because the bed wall collects dust faster than any other surface in a small bedroom. Keep pillow shams in the same pale tone as the wall for a calm, hotel like line, then let one folded throw carry the accent color.
22. Finish With a Ruthless Declutter and Storage Audit

No remodel outruns clutter. End the project by auditing every cabinet: remove duplicates, broken gear and just in case items, assign each remaining thing a home, and add clear bins or labels where systems keep slipping.
Weigh the rig if you have added materials and furniture, following maker and scale guidance, so the bigger feeling does not come with an overloaded camper. A lighter, emptier RV tows better and lives bigger every single day.
FAQ
What is the easiest RV remodel to make a space feel bigger?
Paint. Light walls and cabinets, done with good prep and ventilation, change light, mood and perceived size more than any other single project. Follow with new flooring or window treatments when budget allows. Test products on a small hidden area first, because RV surfaces vary.
How much weight do remodel materials add to an RV?
It depends on the products, which is why lightweight options matter: peel and stick instead of tile, vinyl plank instead of wood, and thin panels instead of thick shiplap. Keep a list of what you add and remove, and check your rig rating and a scale if you make many changes.
Can I remodel an RV myself with no experience?
Most cosmetic projects in this list suit beginners: paint, peel and stick surfaces, hardware, lighting strips and shelving. Start small, work room by room and follow product labels. Leave structural, electrical, gas and slide work to qualified professionals for safety and warranty reasons.
Should I remove cabinets to make my RV feel bigger?
Only if you have storage to spare and the cabinet truly crowds the room, such as over a dinette. Test the loss first by emptying it for a full trip. Check for wiring or components inside before removal, and finish the exposed wall neatly for a planned look.
What flooring is best for a small RV remodel?
Light luxury vinyl plank is a popular choice because it is water resistant, durable, relatively light and can run continuously through living and kitchen zones. Follow the maker instructions for acclimation, gaps and temperature range, because RV interiors heat and cool more than houses.
Key Takeaways
- Light is space: Pale walls, cabinets and flooring are the backbone of RV remodel ideas that truly feel bigger.
- One floor, one palette: Continuous flooring and a consistent light color story remove the breaks that shrink a floor plan.
- Furniture must multitask: Storage benches, slim tables and under bed drawers free the surfaces that make rooms feel open.
- Layer the lighting: Under cabinet strips and warm lamps replace the single harsh ceiling light that flattens small rooms.
- Respect weight and prep: Test products first, ventilate well and choose light materials made to move with the rig.
- Pin your plan: Planning a remodel weekend? Pin this guide to your camper board on Pinterest so your project order stays handy.