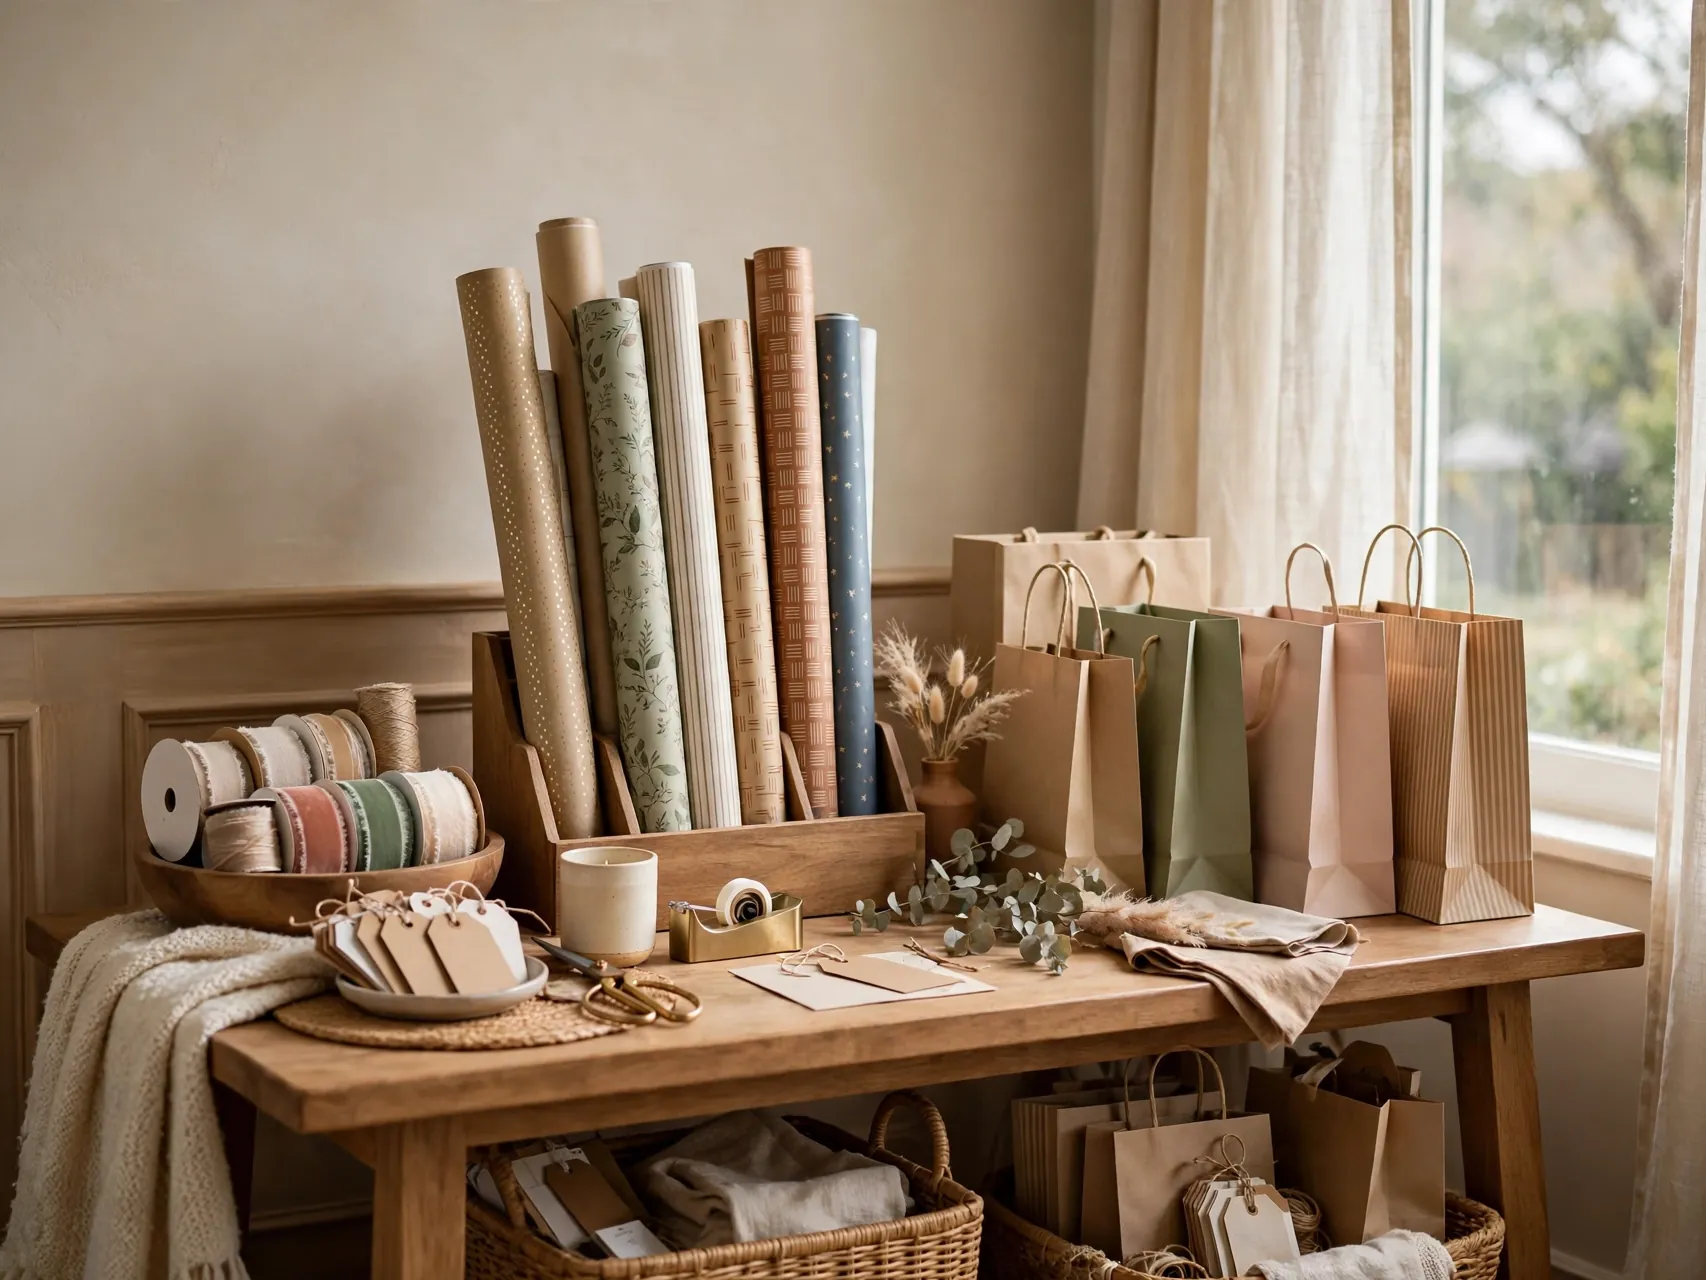
20 Gift Wrap Storage Ideas That End the Tangled Ribbon Mess
Introduction

Every home has that corner: rolls leaning and unrolling, ribbon escaping its spools, and gift bags folded into a hopeful, crumpled pile. These gift wrap storage ideas end that mess with one simple principle, give every supply a visible home that fits how you actually wrap.
You do not need a craft room or a pricey organizer. A tall bin, a door, a drawer, and a few small containers can hold a whole wrapping system. Sort by occasion, keep tools together, and store paper where it stays smooth, dry, and easy to see.
Start with the pile you already own, keep only paper and bags you would happily give, and build the smallest system that holds it all. Wrapping a birthday gift at 9 pm should feel easy, not like a treasure hunt.
1. Gather Everything Into One Honest Pile First

Before buying any storage, collect every roll, bag, spool, tag, and bow from every closet and drawer into one pile. You cannot organize what you cannot see, and most stashes hold cheerful duplicates and a few rolls that are down to one gift worth of paper.
Sort into everyday, birthday, Christmas, and baby or wedding groups. Let go of crushed bags, faded paper, and ribbon lengths too short to tie. What remains is your real collection, and now you know exactly how much storage it honestly needs.
2. Stand Rolls Upright in a Tall Bin or Basket

The classic wrapping paper storage idea still wins: stand rolls upright in a tall, sturdy bin, basket, or clean umbrella stand. Upright rolls stay visible, do not crush each other, and lift out one at a time without an avalanche.
Choose a container tall enough to support most of the roll, and keep it in a closet corner or beside a desk. Group rolls by occasion from front to back, favorites at the front. If rolls lean, add a smaller box inside to keep them snug and straight.
3. Slide Rolls Into a Long Under Bed Box
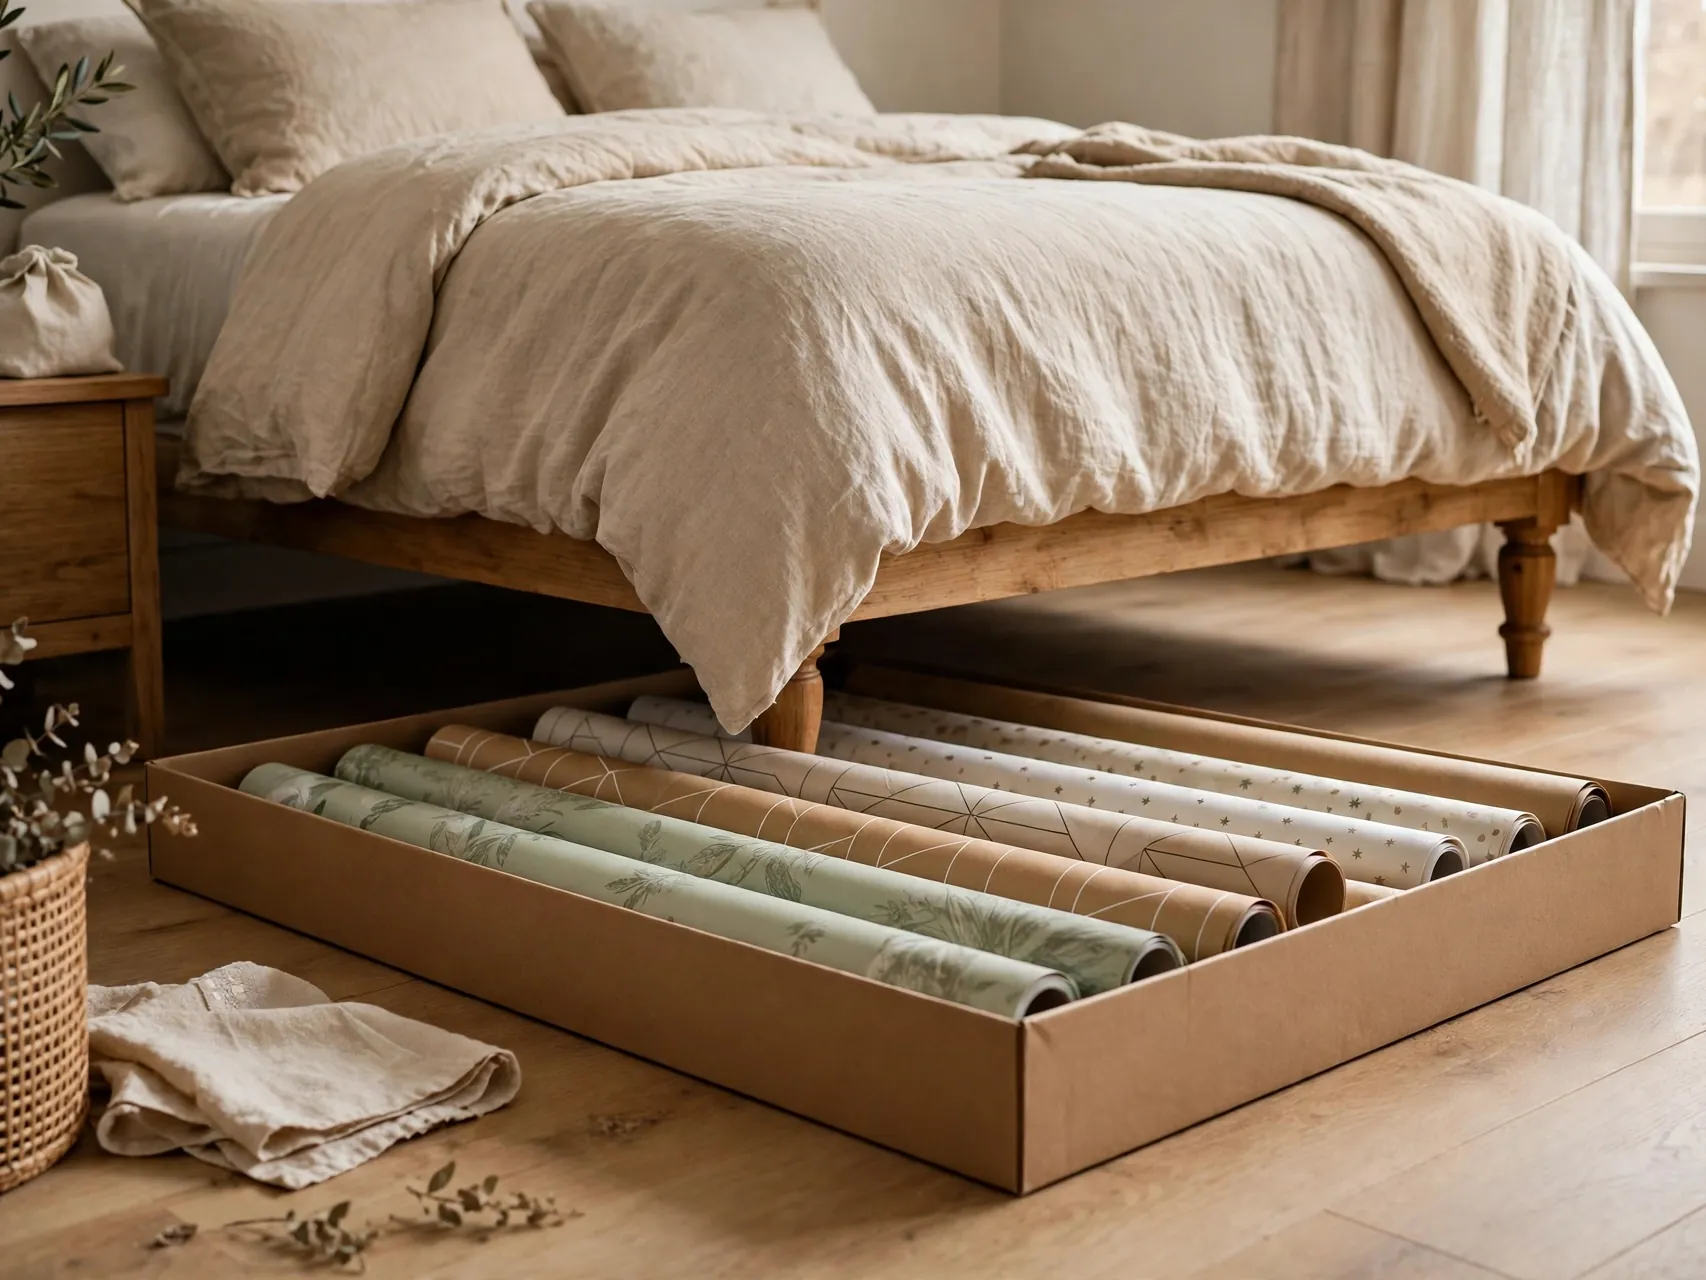
A long, low, lidded box under a bed or guest bed is perfect flat storage. Rolls lie side by side without bending, the lid keeps dust off, and the whole stash disappears until wrapping day. Measure your longest roll before you shop for the box.
Add a smaller container inside for tape, tags, and ribbon so the box works as a complete kit. Label the short end that faces out. This is a favorite gift wrap organizer idea for small homes, because the storage footprint is literally zero floor space.
4. Hang Rolls in a Clear Garment Bag
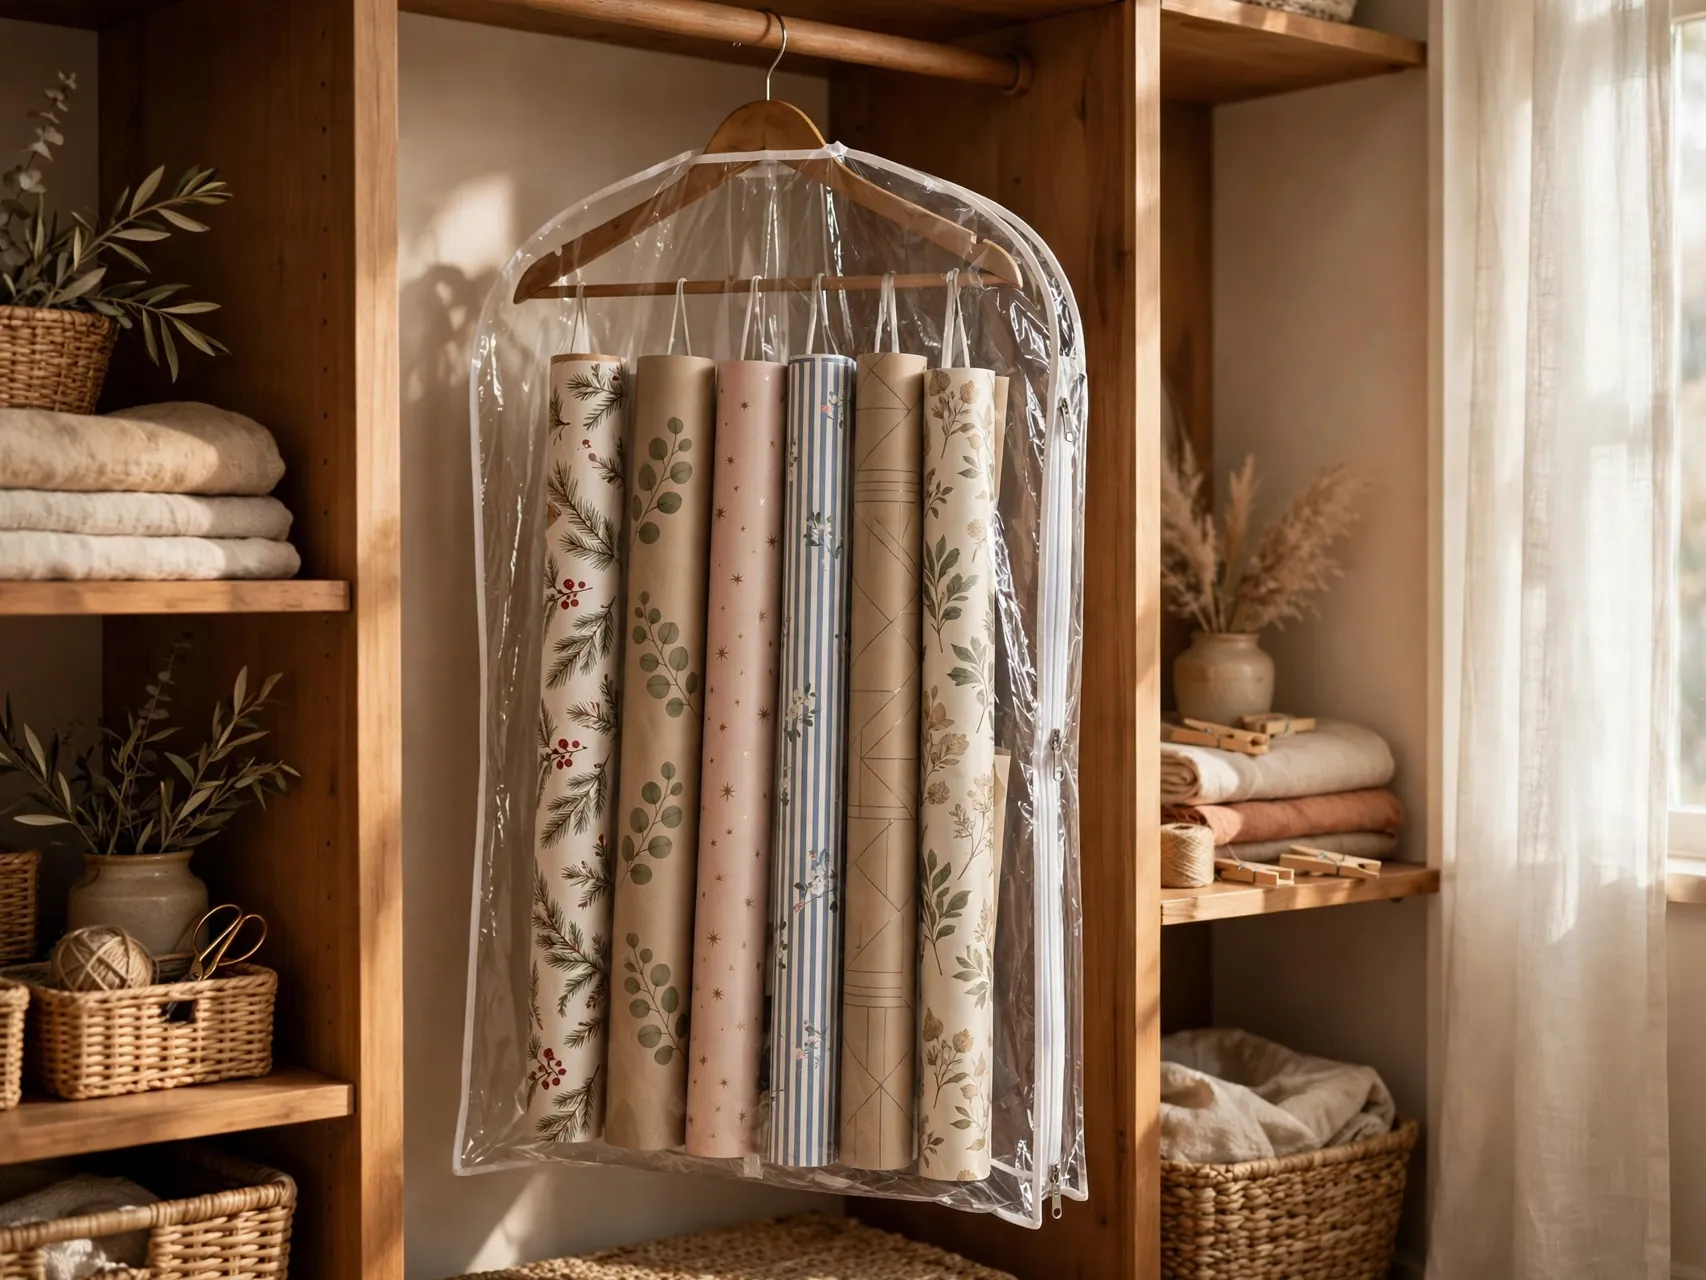
A clear zippered garment bag turns closet rod space into a wrapping paper organizer. Slip rolls inside, zip up, and hang. The clear front keeps every pattern visible, the bag keeps edges clean, and the rolls use vertical air instead of precious shelf room.
Hang the bag in a guest or coat closet where it will not be jostled daily. Put the tallest rolls in first and shorter rolls beside them, and keep a small pouch of tags clipped to the hanger. It is simple, cheap, and surprisingly tidy.
5. Use the Back of a Door for a Full Station
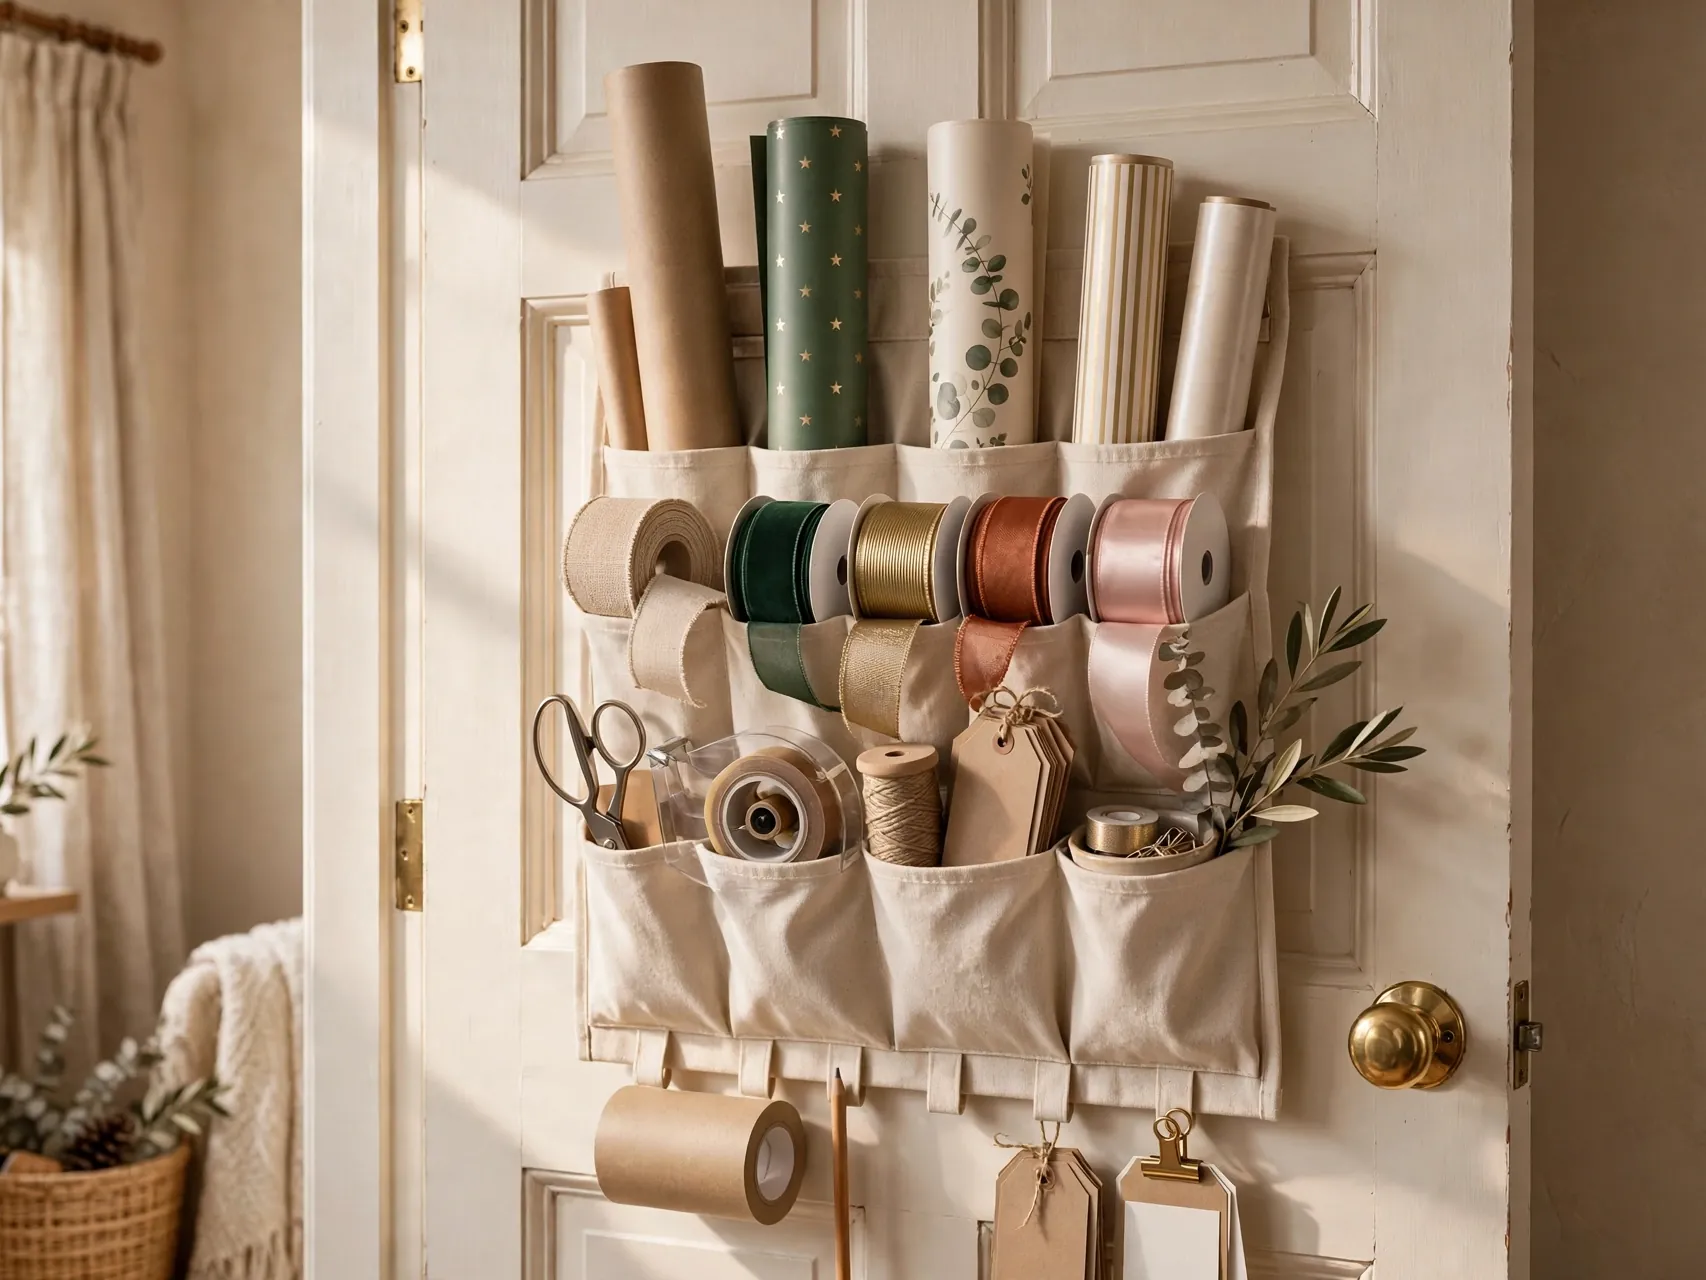
The back of a closet, office, or spare room door is a full wrapping station waiting to happen. A hanging organizer with long pockets holds rolls below and ribbon, scissors, tape, and tags in smaller pockets above, all visible at a glance.
Check that the door still closes easily and that hooks sit flat. Keep heavier rolls low and light supplies high. Renters love this option because it needs no screws, and everyone loves that wrapping supplies stop migrating around the house one drawer at a time.
6. Mount Dowels or Tension Rods Inside a Closet

Inside a closet or craft nook, two or three horizontal dowels or tension rods create store style storage. Slide rolls behind or over the rods to keep them upright and separated, or thread ribbon spools directly onto a lower rod where they can spin and unwind neatly.
This ribbon storage idea keeps colors visible and tails from wandering. Leave a little space between spools so you can pull one without disturbing the rest. Add a small shelf or hook nearby for scissors and tape, and the closet corner becomes a calm mini station.
7. Cuff Every Roll So It Stays Closed
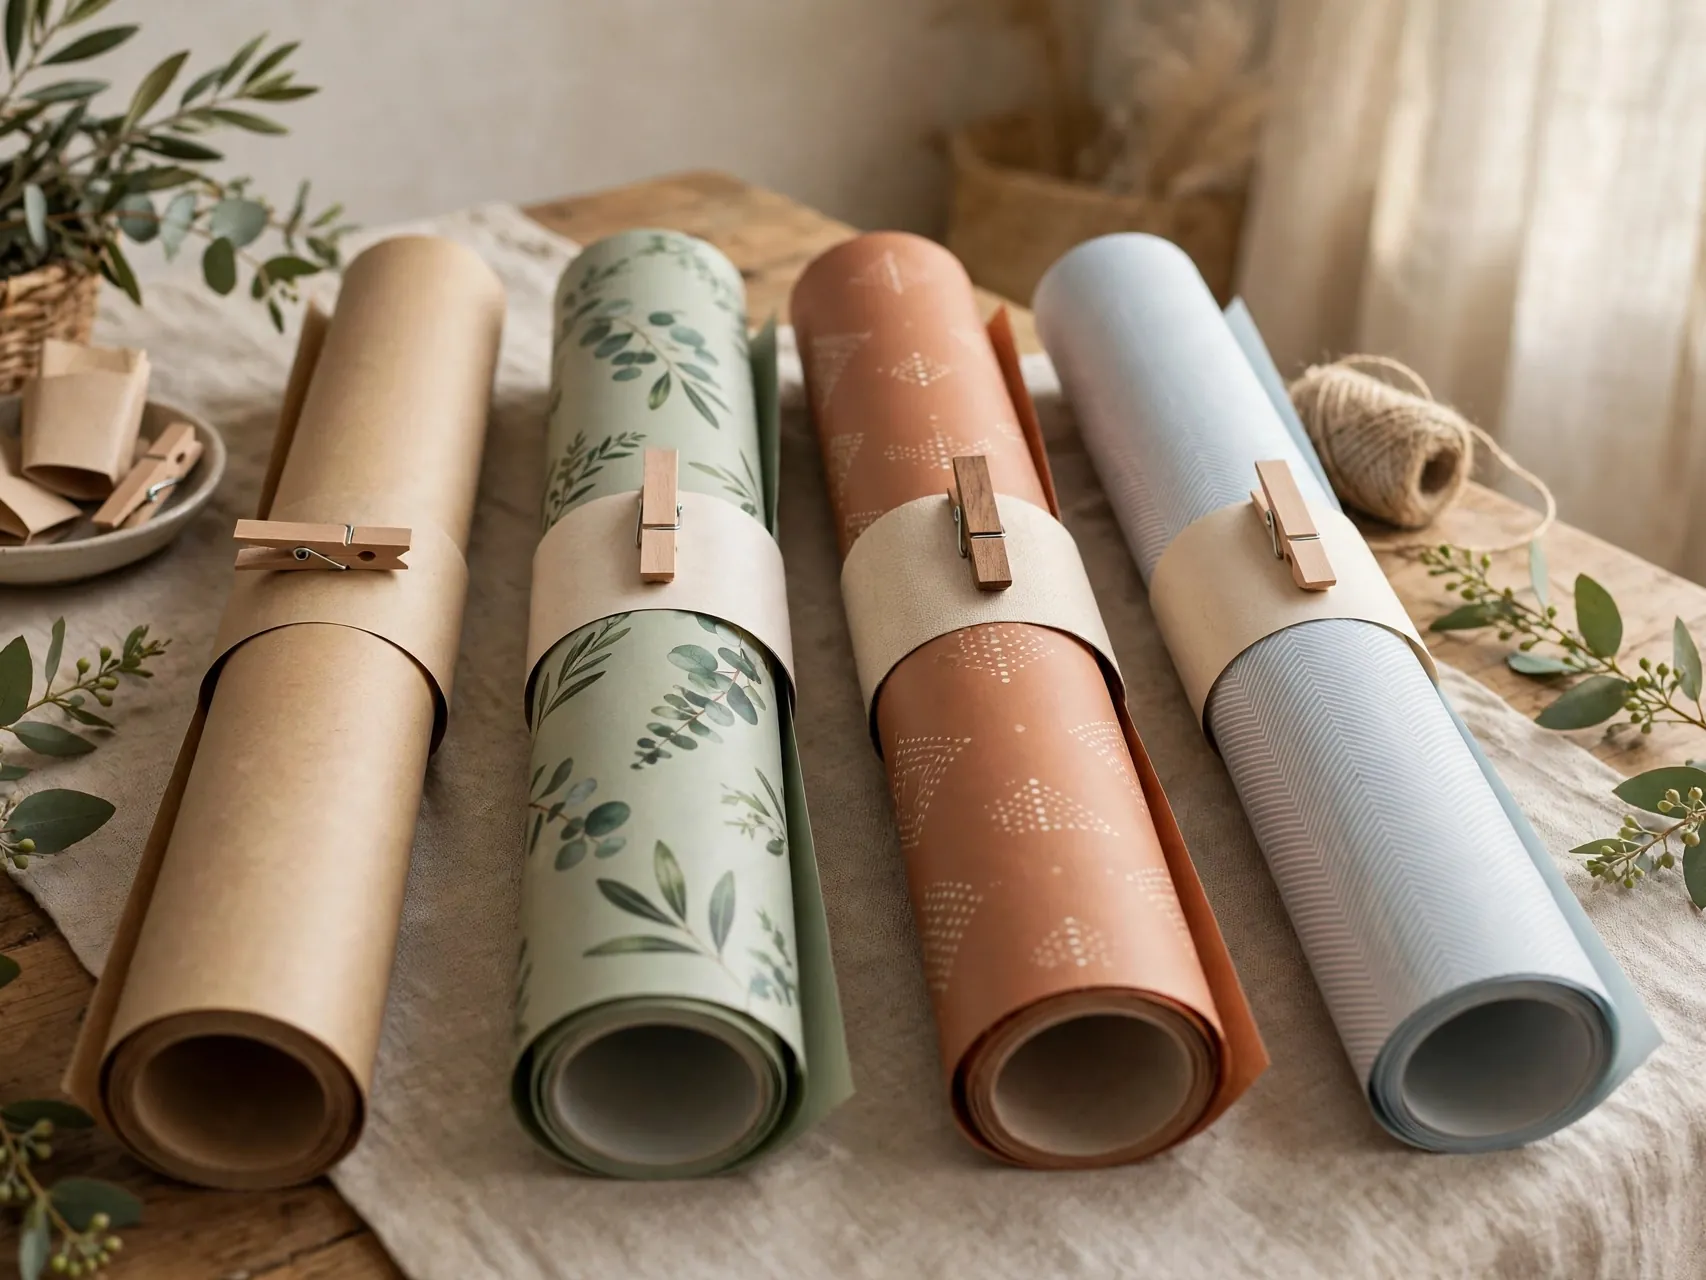
Half the mess is rolls unrolling themselves. Fix it with a cuff on every opened roll: a slit cardboard tube, a wide paper cuff, a soft hair tie, or a clip at each end. The cuff holds the roll closed without tearing the paper when you remove it.
Avoid tight rubber bands left on for months, since they can crease and mark paper. Make cuffs a habit the moment a roll is opened, and store a few spare cuffs in your tools kit. Smooth, closed rolls stack, stand, and slide out neatly every time.
8. Thread Ribbon Spools Onto a Dowel or Holder
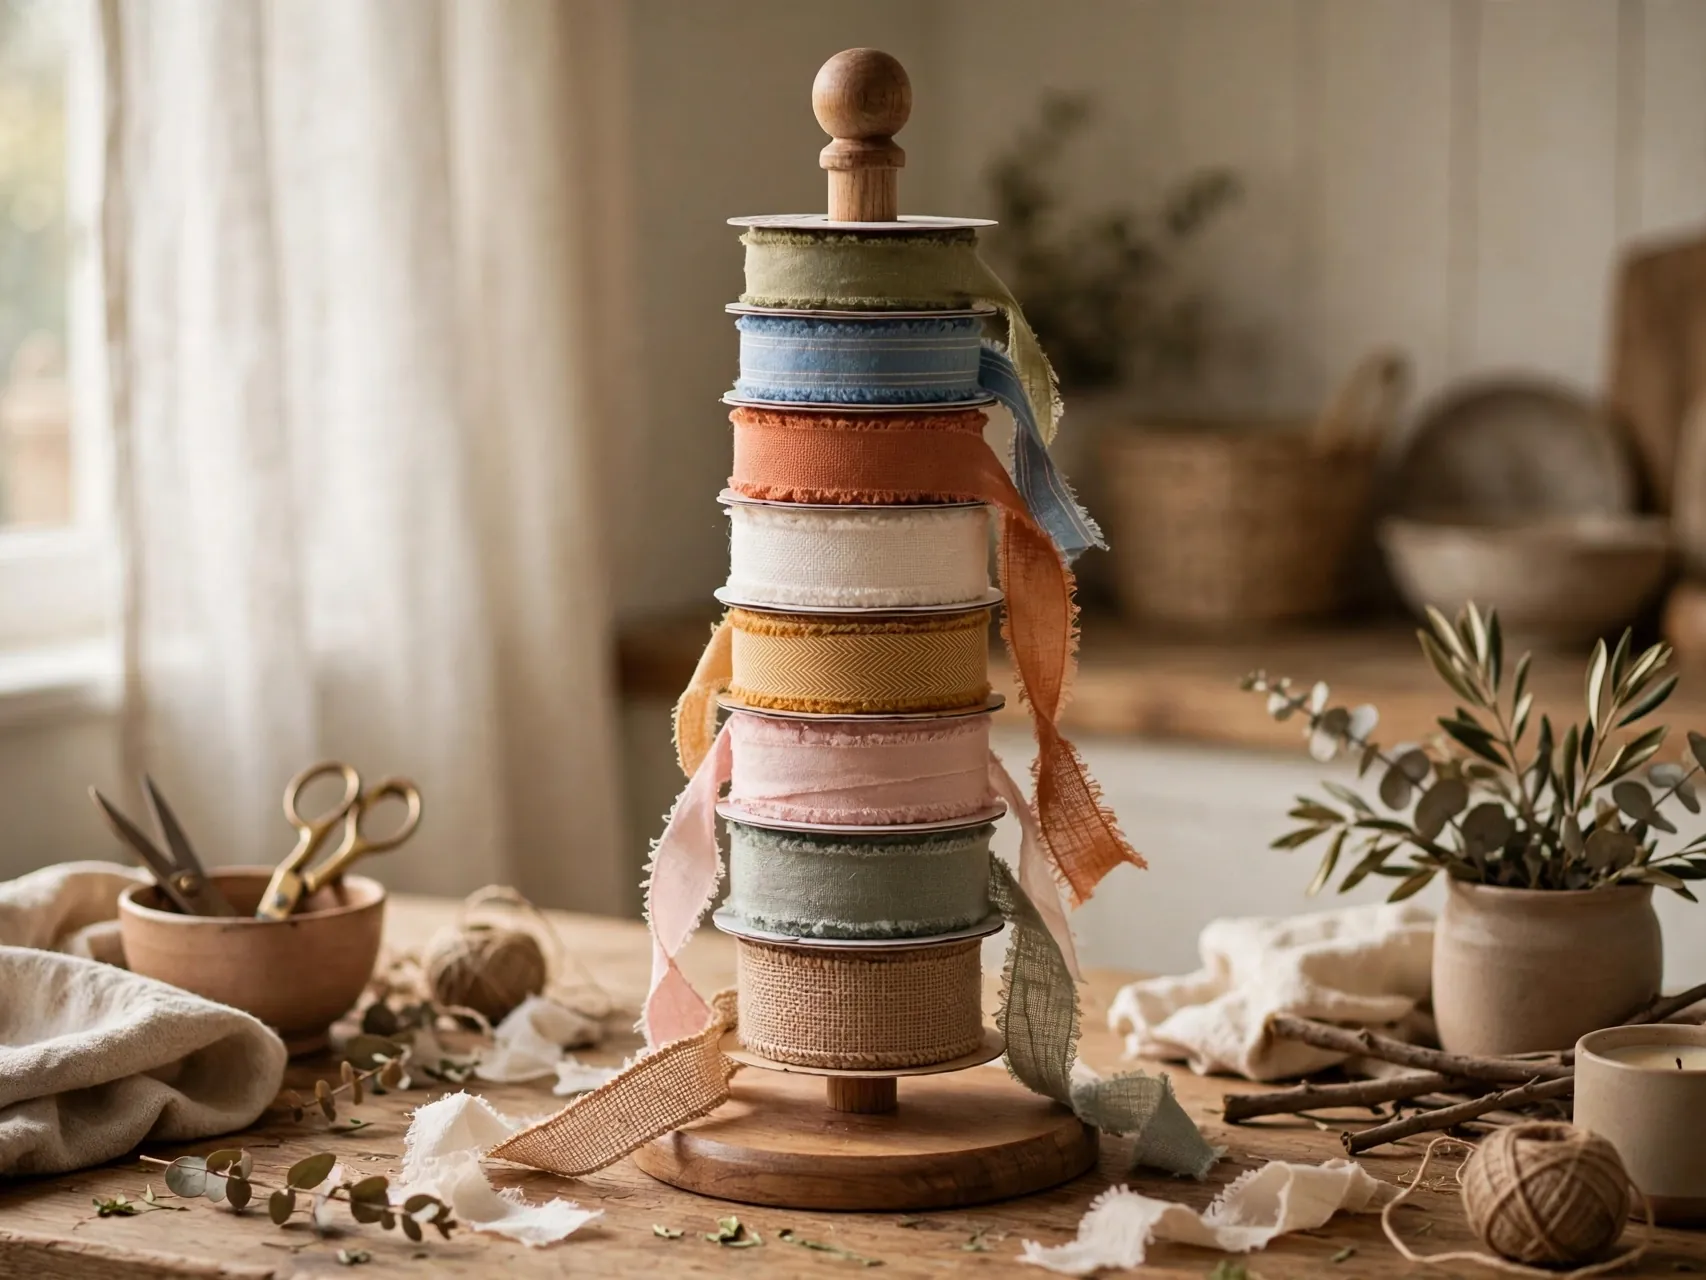
Ribbon behaves when it lives on a spindle. Thread spools onto a dowel in a box, a wall rod, or even a sturdy standing paper towel holder on your wrapping surface. Spools stay in order, you can see every color, and you pull and cut one clean length at a time.
Pin or tape each ribbon tail to its own spool so ends do not unravel between uses. Group spools by color family or occasion, metallics together, everyday solids together. This one small habit is the heart of tidy ribbon storage ideas that actually last.
9. Store Loose Ribbon in a Clear Box With Slots

For ribbon that has lost its spool, or the tangle of saved lengths in a drawer, use a clear box with holes or slots in the lid or side. Coil each length inside, thread the tail out through a slot, and pull what you need without opening the box or knotting the rest.
Label the box if you keep several, curling ribbon in one, fabric ribbon in another. Keep the box where you wrap, not in deep storage. Seeing tidy tails lined up in a row makes even leftover ribbon feel like a shop display.
10. File Gift Bags Flat by Occasion

Gift bags store best flat, filed like folders rather than stuffed into one giant bag. Stand flattened bags upright in a magazine holder, a shallow bin, or one large sturdy bag, sorted by occasion and then by size, biggest at the back.
Remove old tags and tissue before filing, and keep only bags in giftable condition, no torn corners or bent folds. A quick file check before birthdays and holidays shows you what you own, so you stop buying bags you already have in triplicate at home.
11. Use a Binder for Bags, Cards and Tissue
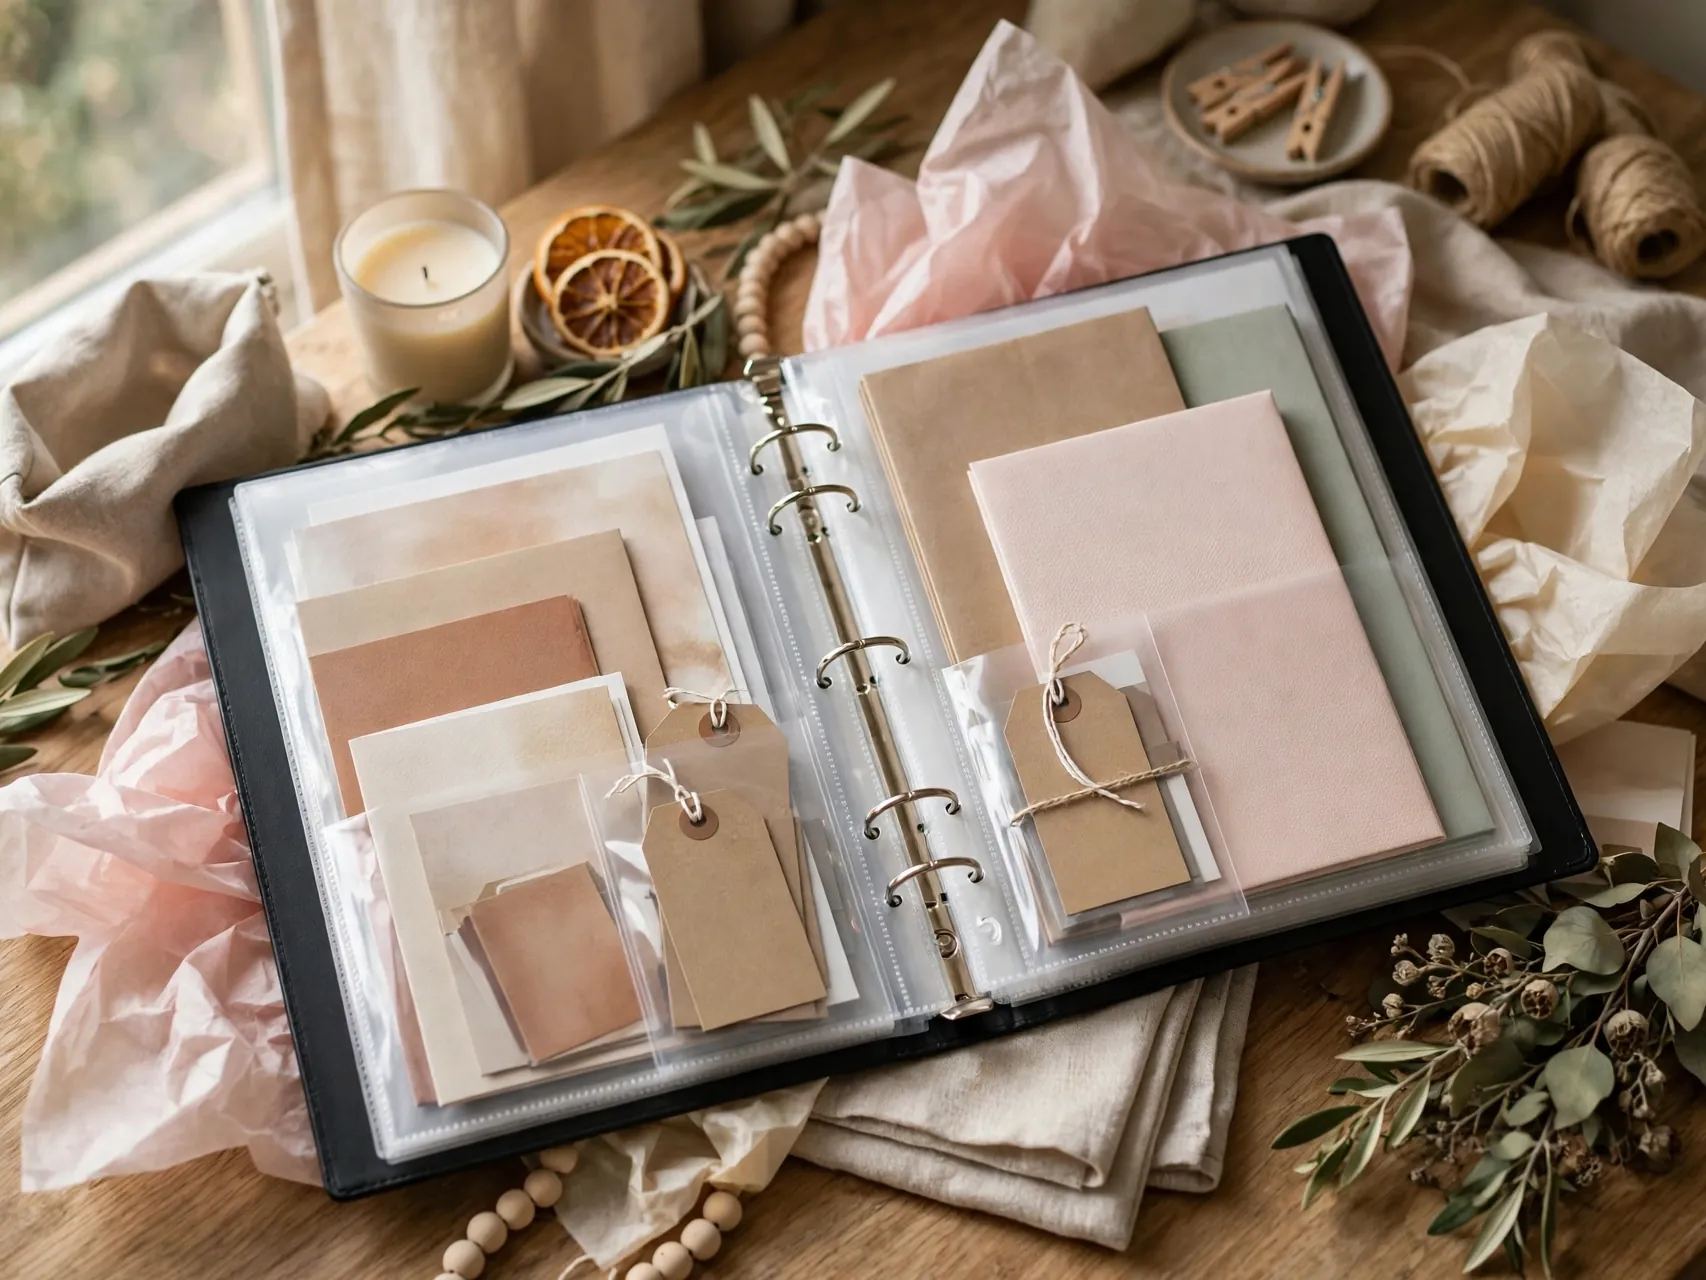
A three ring binder with clear sheet protectors is a quiet genius for flat supplies. Slip small gift bags, greeting cards, tag sheets, and folded tissue into separate sleeves, add dividers by occasion, and shelve the binder with your wrap or in a desk drawer.
The binder protects flat paper from bending and keeps tiny items from vanishing into big bins. It also travels well to the table on wrapping night. For many homes, this becomes the most reached for part of the whole gift wrap storage ideas system.
12. Keep Tissue and Flat Sheets in a Portfolio or Drawer
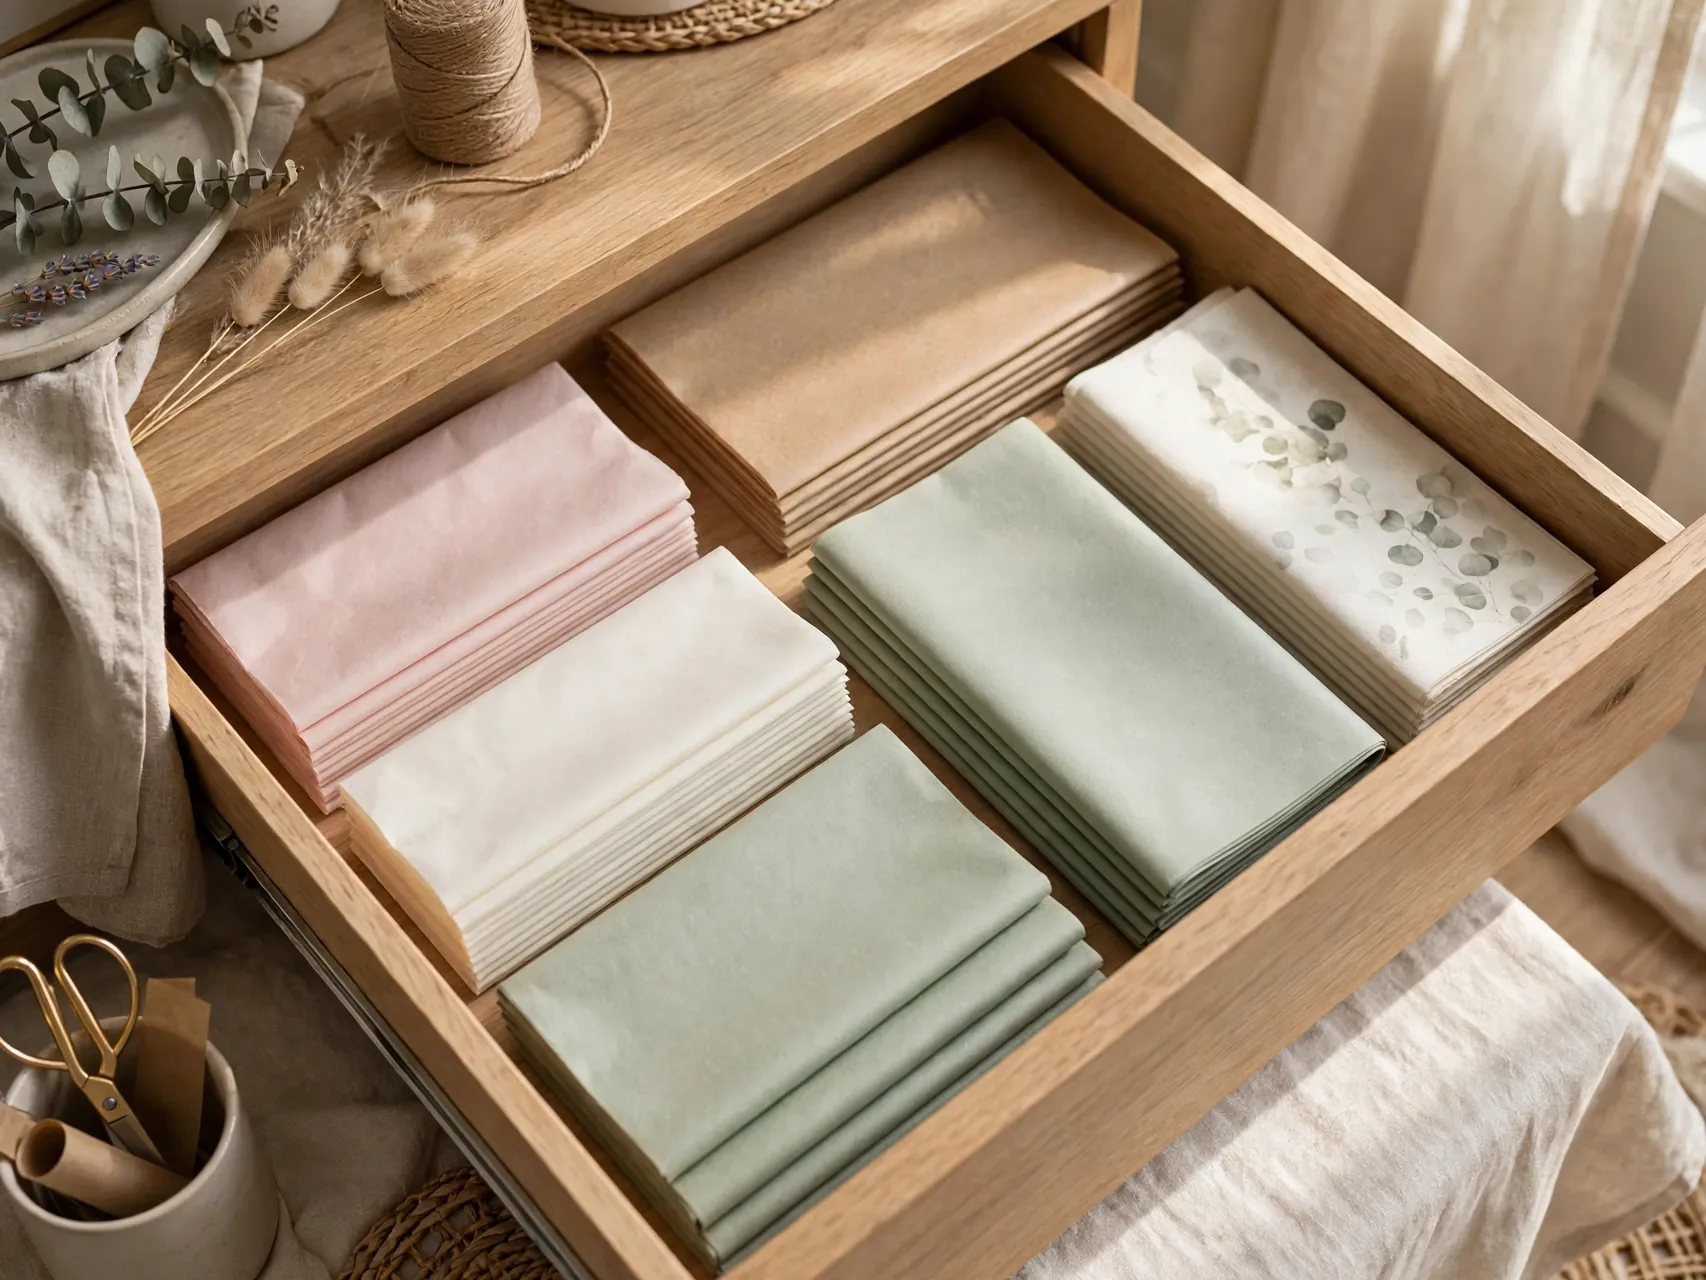
Tissue paper and flat wrap sheets wrinkle when they are rolled, stuffed, or sat on. Keep them flat in a shallow drawer, an art portfolio, or a lidded box, layered by color with a sheet of plain paper between bright colors if you worry about transfer.
Smooth each sheet as you put it away and store good leftover tissue once, neatly folded. Flat storage keeps tissue ready to fluff into a gift bag in seconds, and your wrapped boxes will look crisper because the paper underneath them is crisp too.
13. Build a Small Tools Kit That Never Wanders

Scissors, tape, a pen, a ruler, tags, and a few spare cuffs belong together in one small box, pouch, or caddy that always returns to the same place. Most wrapping frustration is not paper at all, it is hunting for the tape while holding a box closed with one elbow.
Keep scissors in the kit with blades closed and pointed down or in a simple case, especially in homes with small children. Restock tags and tape when you notice them running low, and note it on your shopping list right away.
14. Turn a Rolling Cart Into a Wrapping Station

A slim rolling cart makes a movable wrapping station for homes without a spare surface. Stand short rolls or cut paper on one tier, ribbon and tools on another, and bags and tissue folded below. Roll it to the table to wrap, then park it in a closet or corner.
Choose a cart narrow enough for your closet door and sturdy enough not to tip when rolls lean. This is one of the most flexible gift wrap organizer ideas for renters and small spaces, because the station exists only when and where you need it.
15. Repurpose a Dresser Drawer as Wrap Central
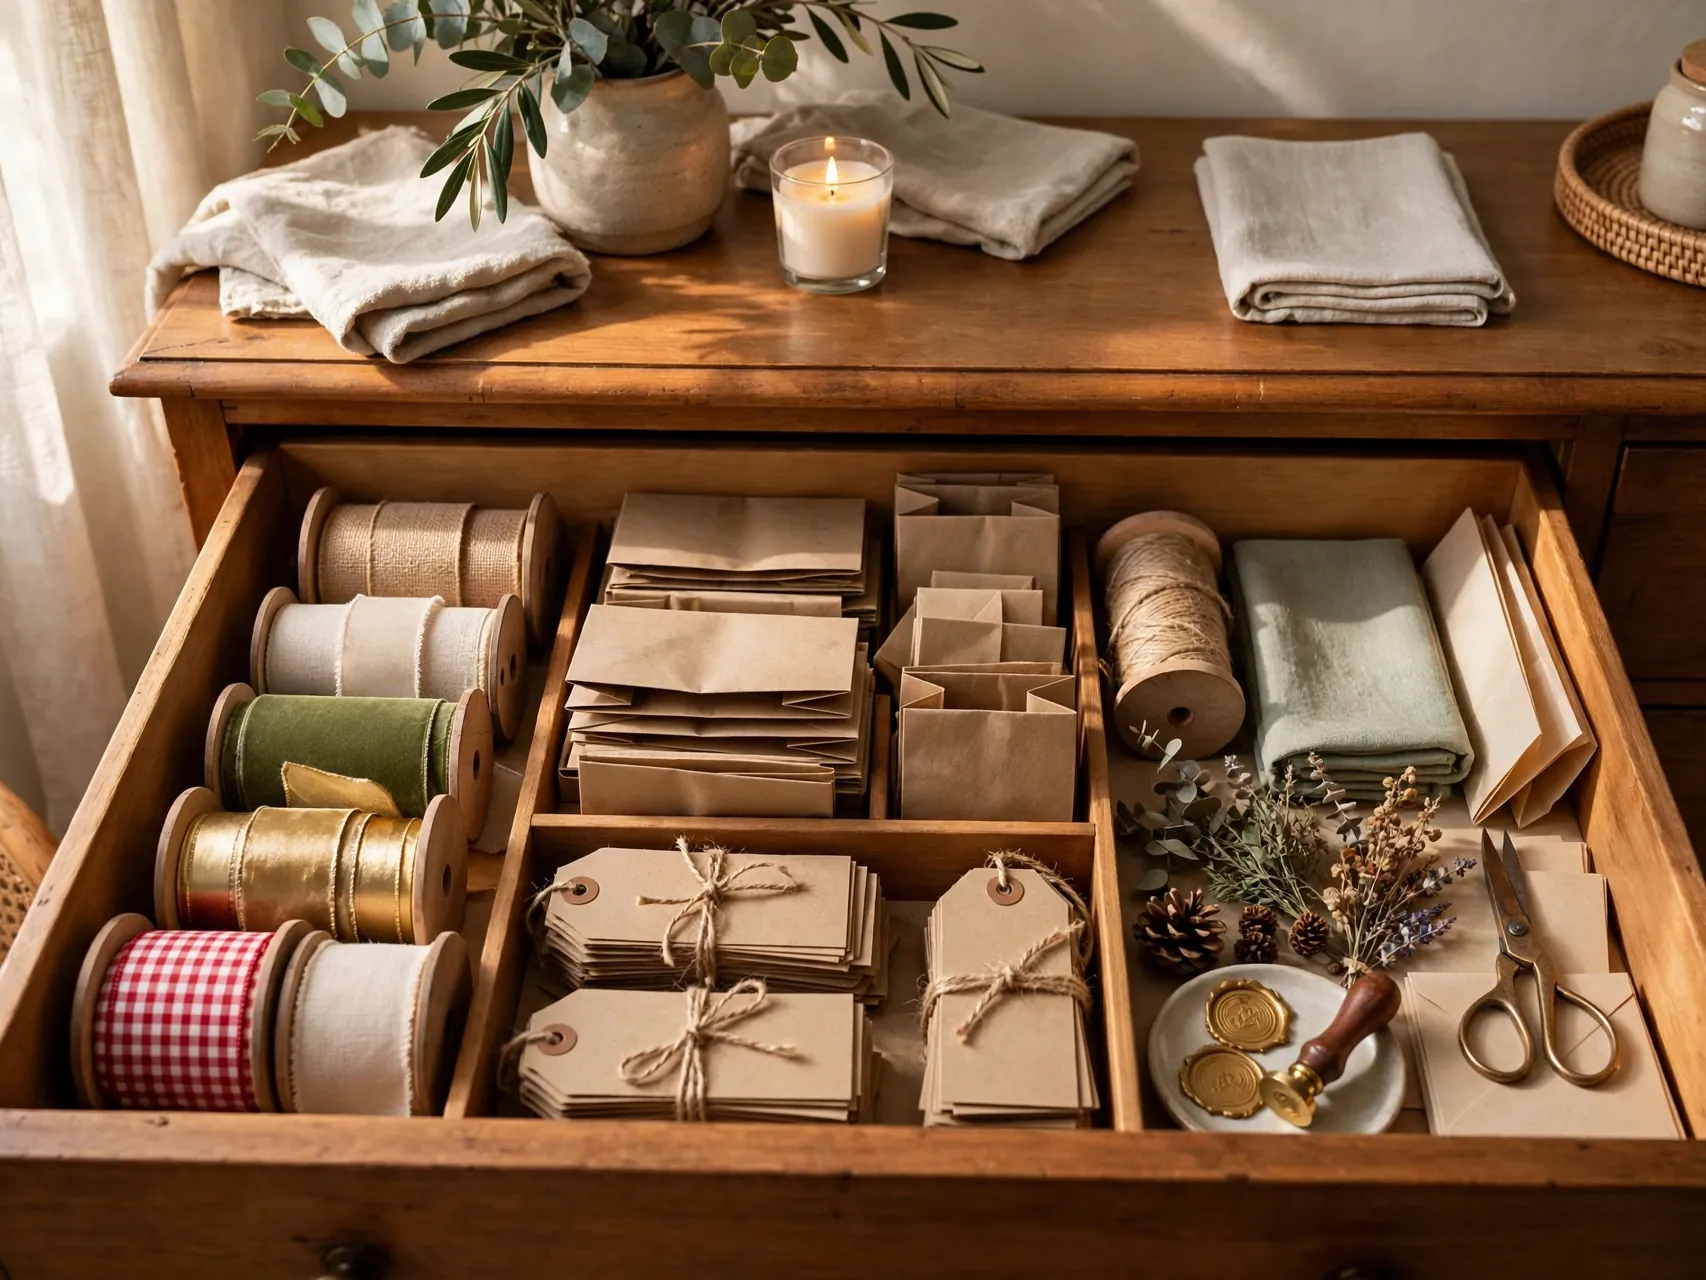
A spare dresser or desk drawer can hold a complete everyday wrapping kit. Lay short rolls or cut sheets flat, add small boxes or dividers for ribbon, bows, and tags, and keep tools in one corner tray so they do not scratch paper.
Drawers suit everyday wrap especially well, birthday and thank you gifts wrapped all year, while bulky Christmas supplies live in the closet or under bed box. One drawer, opened in the room where you wrap, beats a perfect system stored far away downstairs.
16. Use Magazine Holders and Baskets on a Shelf

On an open shelf in an office or craft corner, magazine holders corral gift bags and flat paper, while small baskets hold ribbon, bows, and tags. Everything is visible, labeled, and pretty enough to leave out, which means it actually stays organized.
Keep the shelf system small and edited. If a holder overflows, that category needs a quick sort, not a bigger holder. Labeled baskets also let family members put things back correctly, which is the secret test every storage system either passes or fails.
17. Keep a Tiny Everyday Kit Separate From Holiday Bulk

Christmas wrap is bulky and seasonal, while birthdays happen all year. Keep a tiny everyday kit, two or three neutral rolls, solid ribbon, plain bags, tags, and tools, in an easy spot, and store the big holiday collection separately in its closet, door, or under bed home.
The split stops you digging past Santa paper in July and stops holiday paper being used up on random Tuesdays. Restock the everyday kit from the main stash when it runs low. Two small systems are calmer than one giant mixed one.
18. Store Paper in a Cool, Dry, Dark Spot
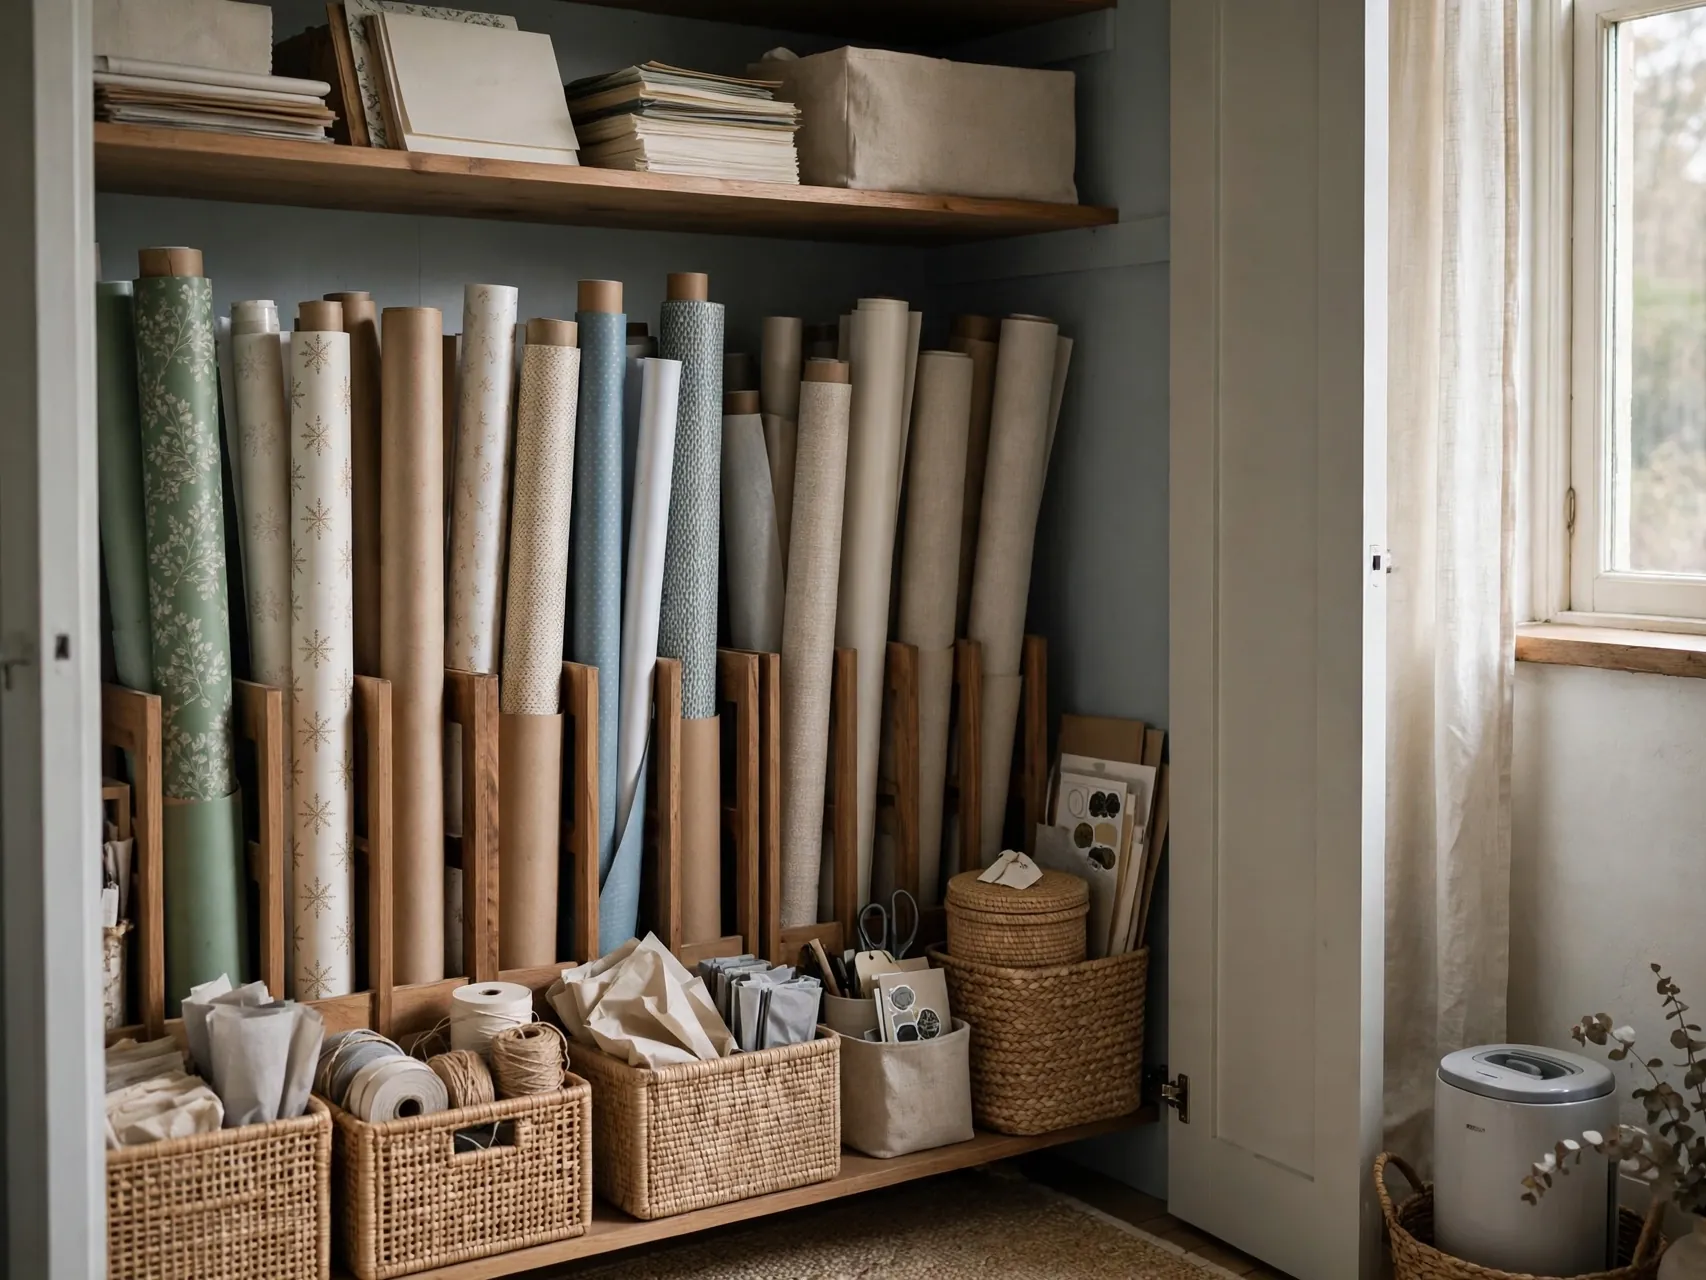
Paper fades in sun, softens in damp, and turns brittle in heat. Library of Congress preservation guidance for paper is to choose a cool, relatively dry, clean and stable place, keep light exposure minimal, and avoid attics, basements, and spots near radiators, vents, or leak risks.
An indoor closet, drawer, or under bed box in a lived in room fits that guidance well for everyday gift wrap. Keep rolls in a closed bag or lidded box for dust, and your favorite patterns will still look fresh and bright seasons later.
19. Keep a Scrap Envelope and a Reuse Bag
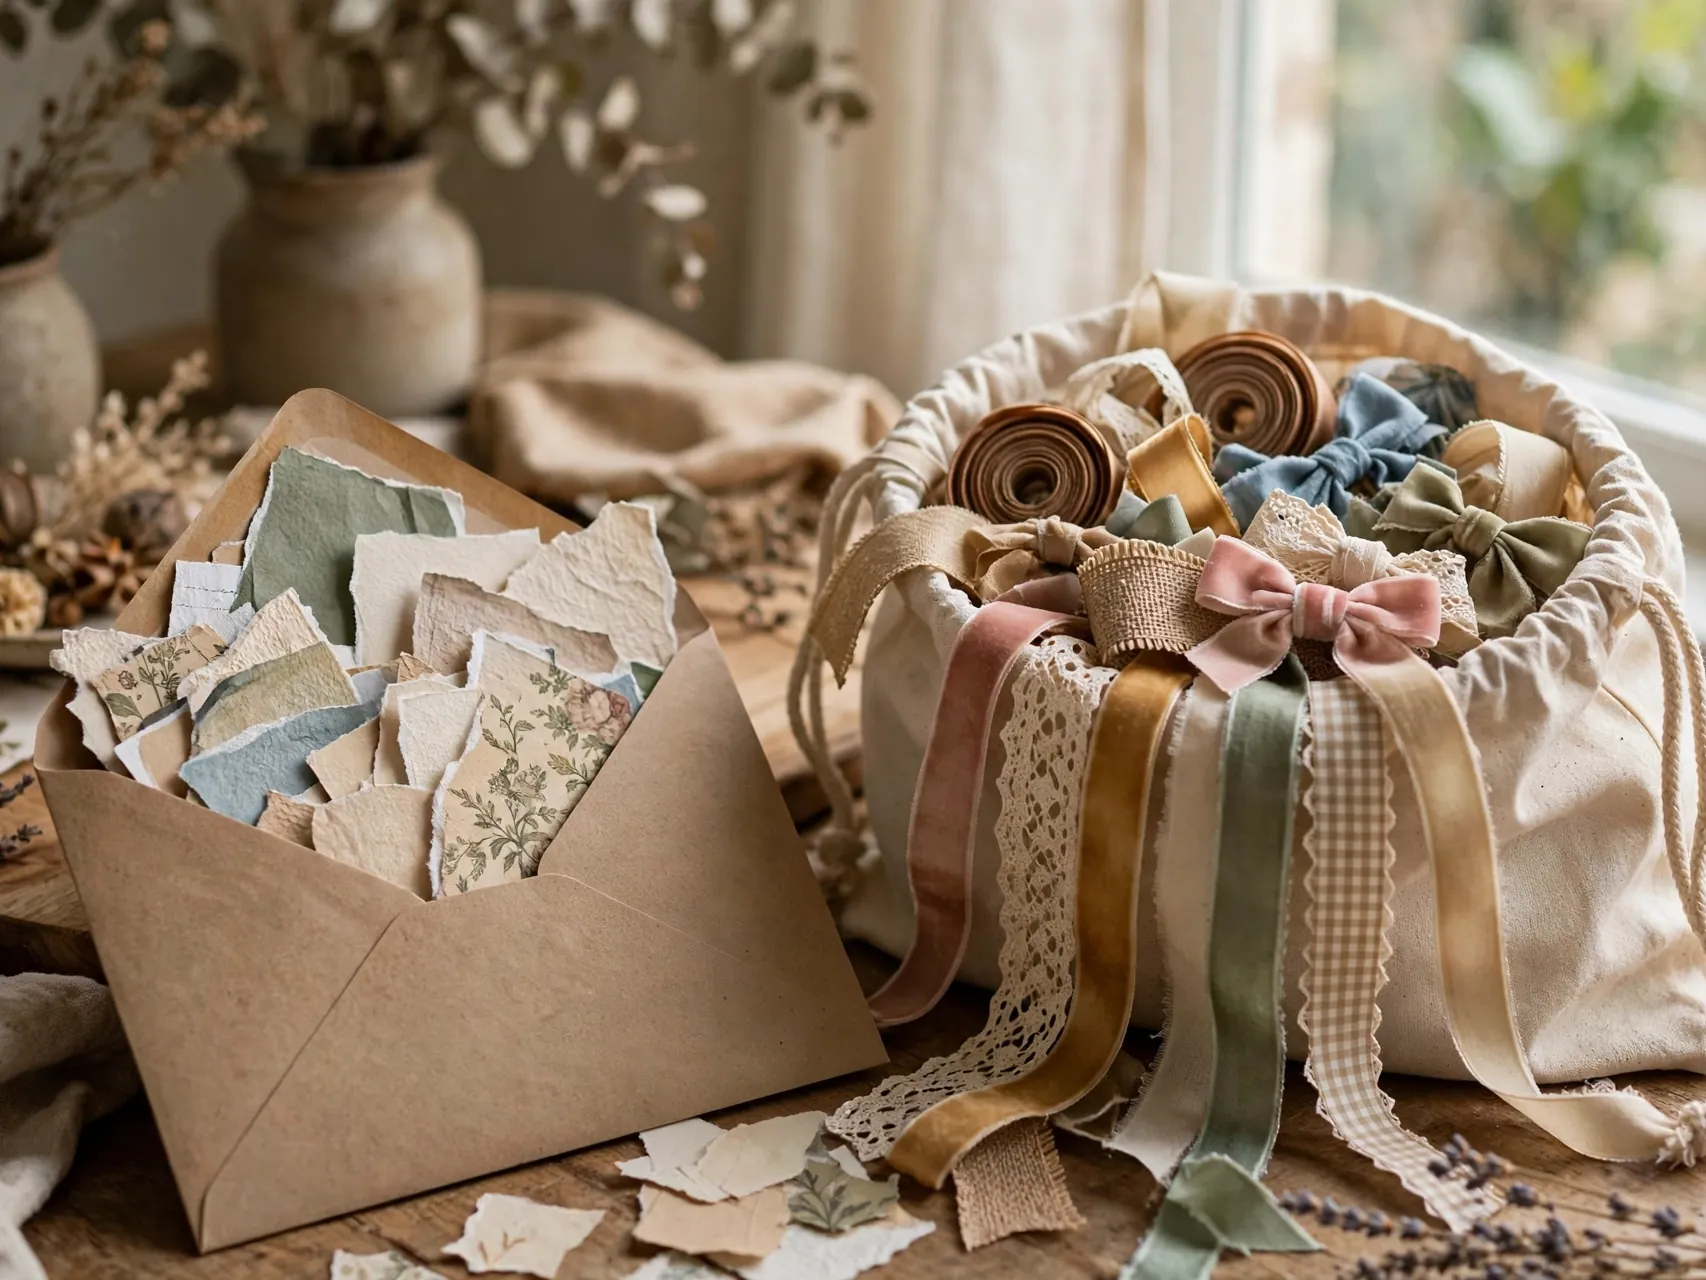
Good scraps wrap small gifts, line boxes, and become tags and toppers. Keep one large envelope or folder for usable offcuts, sorted loosely by color, and one bag for saved bows and ribbon lengths in good condition from gifts you receive.
Set a size limit, when the envelope is full, use scraps first or recycle the smallest pieces. Reuse stays joyful when it is curated. A tidy scrap system saves money quietly all year and keeps tiny treasures out of the main rolls and ribbon drawers.
20. Label, Inventory and Edit Once a Year

Systems drift without one small reset. Once a year, ideally in January after the holidays, label anything unlabeled, count rolls and bags, toss the tired pieces, and write a short inventory on paper or in your phone notes with what to buy and what you own plenty of.
Photograph your stored wrap if it lives in several spots. The yearly edit takes twenty minutes and prevents the classic duplicate buying that refills the mess. Next wrapping season then starts with a system you trust, not a pile you dread.
FAQ

What is the best way to store wrapping paper rolls?
Stand rolls upright in a tall bin or basket, hang them in a clear garment bag, or lay them flat in a long lidded under bed box. Cuff each opened roll so it stays closed, group rolls by occasion, and keep them in a cool, dry indoor spot away from direct light and heat.
How do I stop ribbon from tangling?
Keep spools threaded on a dowel, rod, or standing holder with each tail pinned or taped to its own spool. Store loose lengths coiled in a clear box with the tails threaded through slots. Group ribbon by color or occasion, and return every length to its place right after wrapping.
Where should I store gift wrap in a small home?
Use vertical and hidden space: the back of a door, a garment bag on a closet rod, a slim under bed box, one dresser drawer, or a rolling cart that parks in a corner. Keep a tiny everyday kit close to where you wrap and store bulky holiday wrap separately.
How should I store gift bags and tissue paper?
File gift bags flat and upright by occasion and size in a magazine holder, shallow bin, or binder sleeves for small bags. Keep tissue and flat sheets smooth and flat in a shallow drawer, portfolio, or lidded box. Remove old tags before filing, and keep only bags in clean, giftable condition.
How do I keep wrapping paper from fading or getting damp?
Store paper in a cool, relatively dry, clean and stable place with minimal light, following Library of Congress paper care guidance. Avoid attics, damp basements, and spots near radiators or vents. A lidded box or closed bag in an indoor closet protects paper from dust, light, and everyday humidity.
Key Takeaways
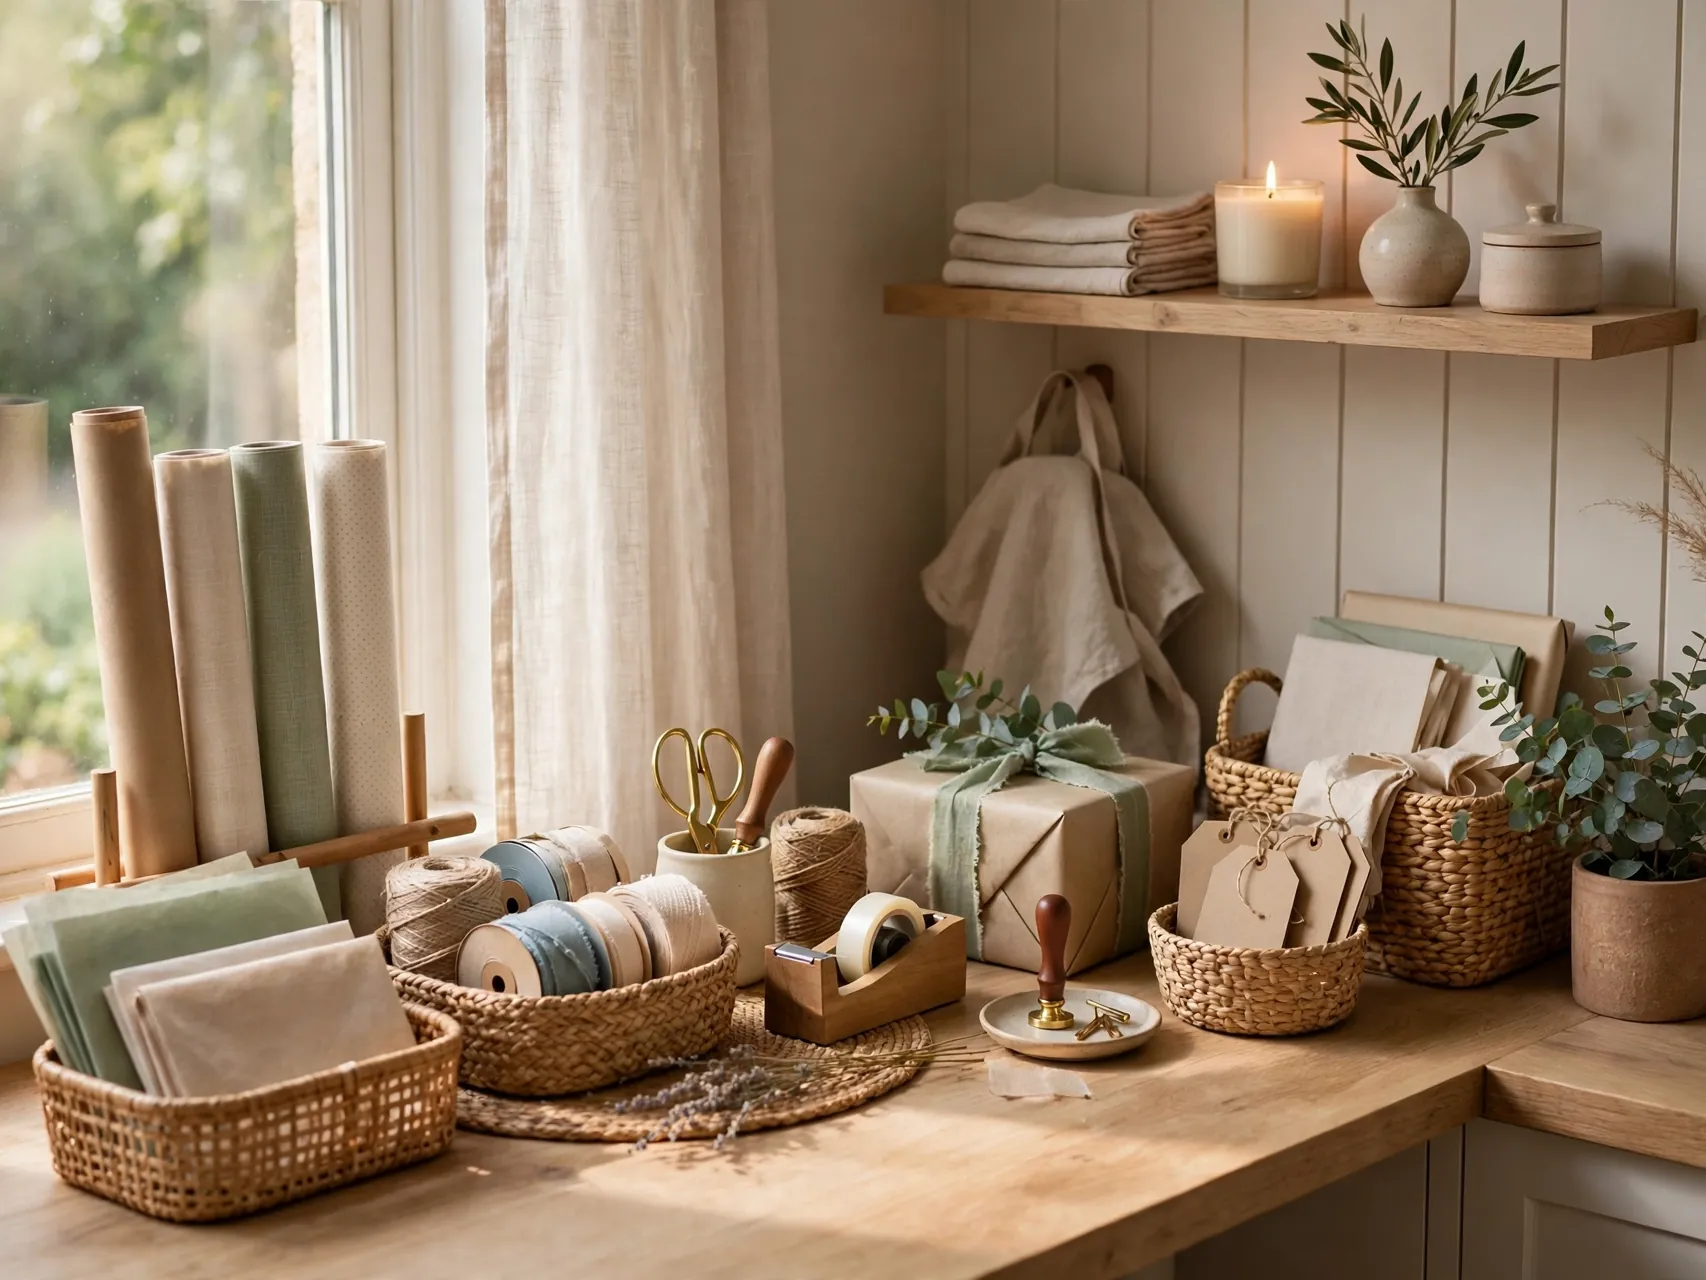
- One pile, honest edit: Gather everything first and keep only paper, bags, and ribbon you would happily give.
- Rolls need a real home: Tall bins, garment bags, under bed boxes, and door organizers all beat the leaning closet corner.
- Ribbon lives on a spindle: Dowels and holders with tails secured end the tangled ribbon mess for good.
- Tools stay together: One small kit for scissors, tape, pens, and tags removes most wrapping frustration.
- Cool, dry, and labeled: Paper lasts longest in a stable indoor spot, and a yearly edit keeps the system working.
Love a calmer wrapping routine? Save this guide to Pinterest and pin the storage idea you will set up before the next birthday arrives.