24 DIY Painted Flower Pots Ideas to Brighten Every Corner
Introduction
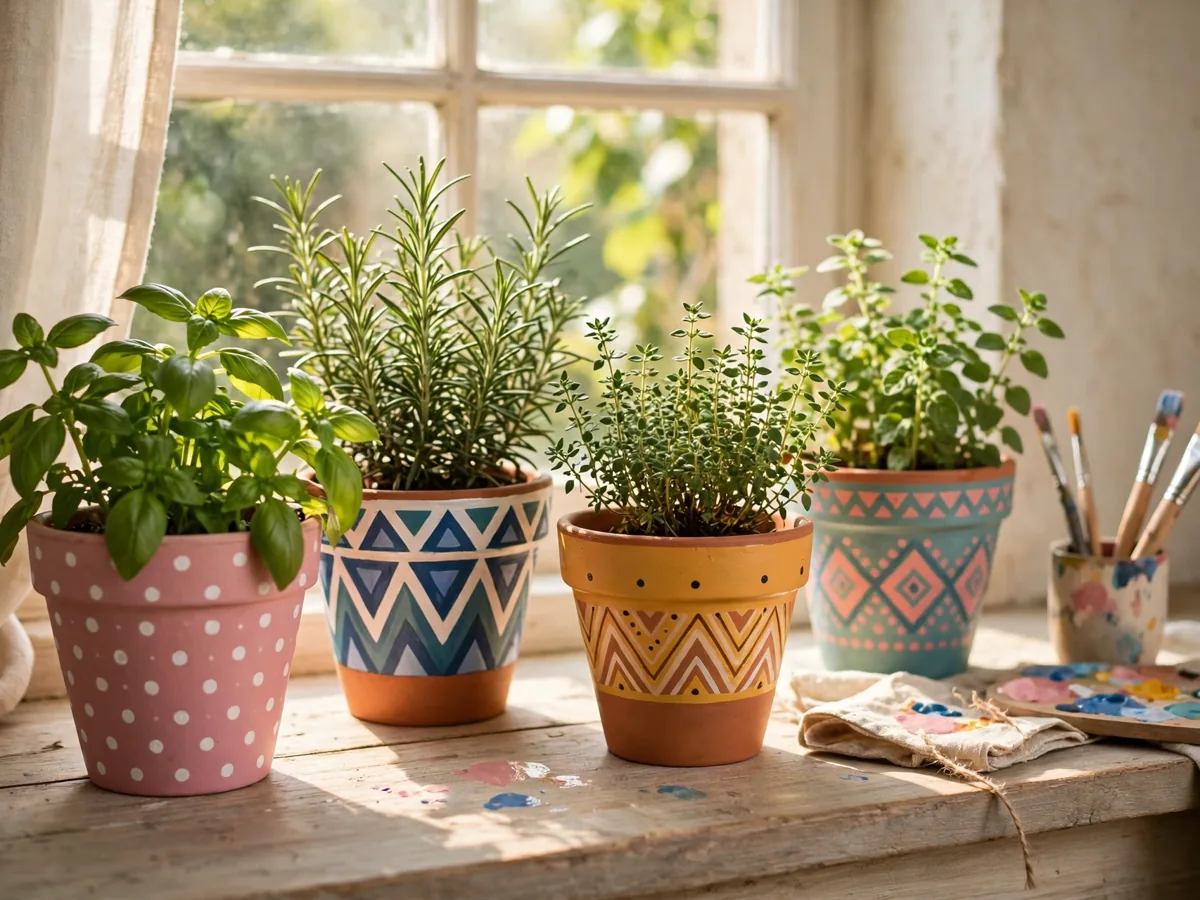
A plain terra cotta pot is sturdy, affordable, and quietly boring. One coat of color changes all of that in an afternoon. These diy painted flower pots ideas turn basic clay, ceramic, and plastic planters into the brightest spots on a porch, windowsill, or desk.
Good results start before the paint opens. Scrub the pot, let terra cotta dry completely, and keep the drainage hole clear. Paint the outside in thin coats, seal it for water resistance, and remember that standard craft sealers are not food safe, so keep painted surfaces away from edible plant soil or use a liner.
Work through the ideas below in any order. Each one uses simple tools, most take under an hour of painting time, and all of them forgive a wobbly line.
1. Prep Pots Properly Before Any Paint Touches Them
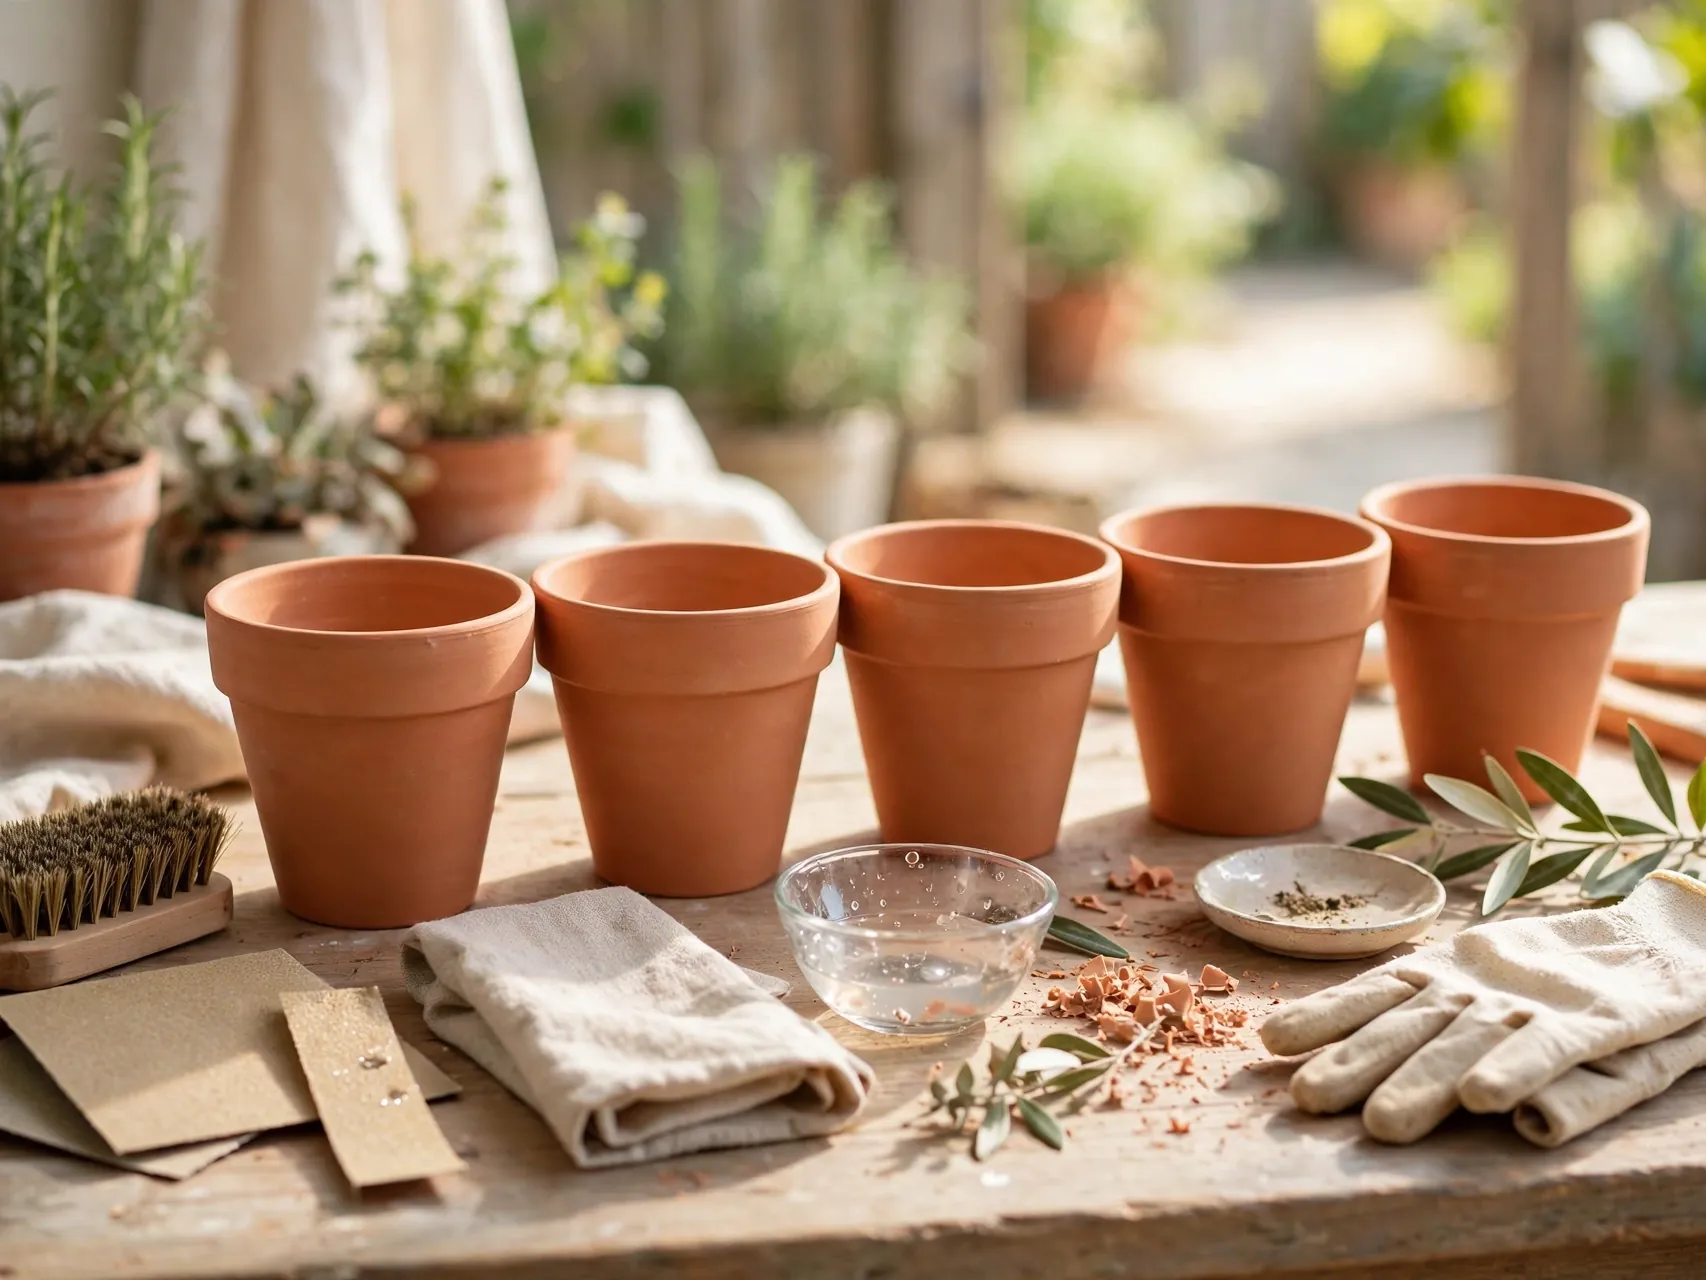
Wash new and used pots with warm water and a stiff brush to remove dust, salts, and loose clay. White crusty patches on old terra cotta scrub off with water and patience. Rinse well and let the pot dry fully, a full day for thick clay, because paint over damp terra cotta bubbles and peels as moisture escapes.
Check that the drainage hole is open, sand any rough chips smooth, and wipe away dust before painting. This quiet prep step is the real secret behind how to paint clay pots so the finish lasts beyond one season.
2. Go Classic With a Two Tone Rim and Body

Paint the rim one color and the body another for the fastest tidy upgrade in this list. White rim with sage body, black rim with cream body, or terracotta rim left bare against a painted body all read clean and intentional.
Use painter tape along the rim edge for a crisp line, or paint freehand for a softer handmade feel. This design suits every plant and every room, and it is the perfect first project if you have never painted a pot before today.
3. Add Cheerful Polka Dots With a Sponge or Eraser

Dip a round sponge brush, a pencil eraser, or a cotton swab in paint and stamp dots over a dry base coat. Even spacing looks modern, while mixed sizes scattered freely look playful and garden fresh.
White dots on a bright base is the classic combo, but metallic gold dots on deep green or navy feel surprisingly elegant. Let each color dry before adding the next layer of dots so the circles stay clean instead of smudging into ovals.
4. Create Crisp Geometric Shapes With Painter Tape

Tape off triangles, stripes, chevrons, or a simple color blocked band, paint inside the lines, and peel the tape while the paint is almost dry for the sharpest edge. Press tape edges down firmly first, because terra cotta texture loves to let paint creep underneath.
Start with one bold shape per pot. A single large triangle or a dipped bottom third looks designed, not busy. This is one of the most shared painted terracotta pot ideas because the result looks store bought with almost no drawing skill.
5. Blend a Soft Ombre Fade From Dark to Light
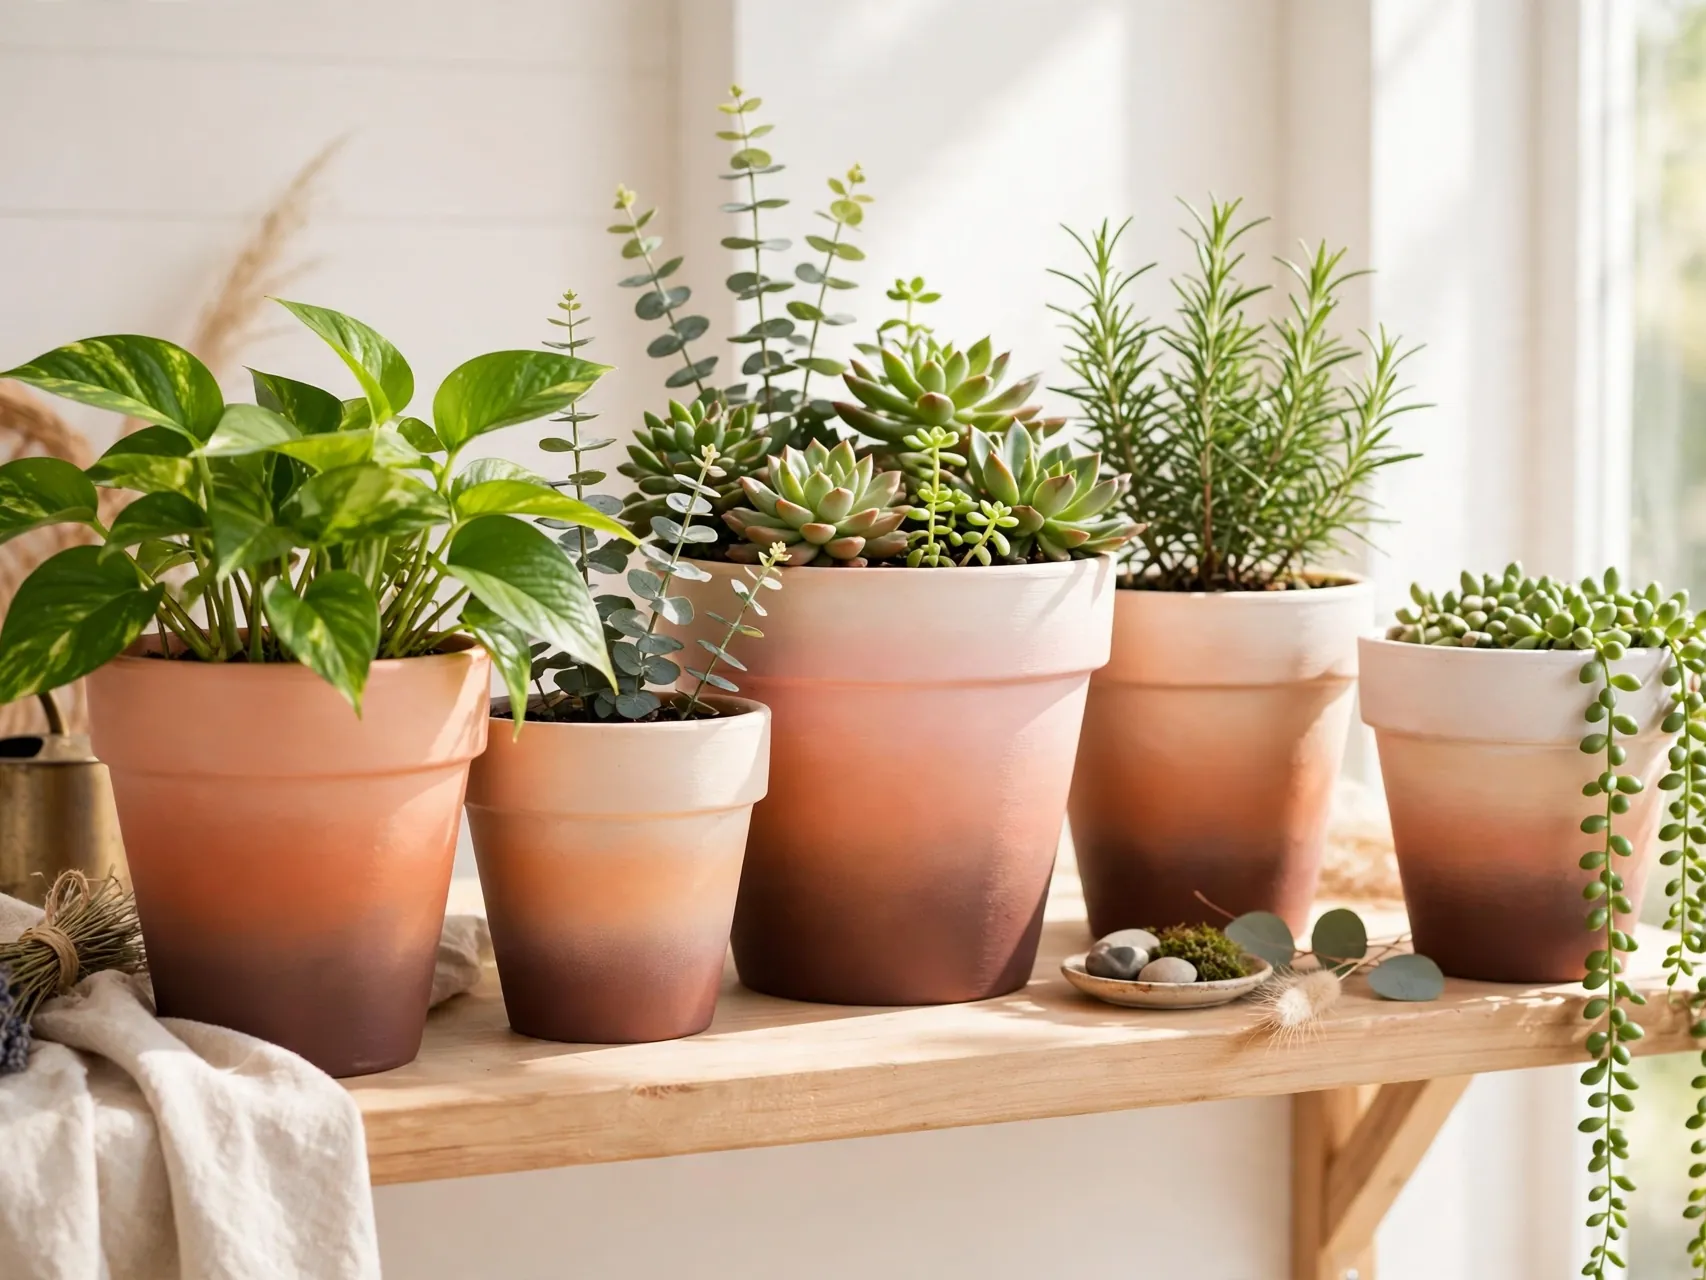
Paint horizontal bands from your darkest shade at the base to the lightest at the rim, then blend the meeting lines with a dry sponge while the paint is still wet. Blues fading to white feel coastal, while pinks fading to cream feel soft and romantic.
Work in small sections so the paint stays blendable. Keep a cup of water nearby to rinse the sponge between colors. Ombre pots look especially pretty in a row of three, each one fading through the same color family.
6. Label Herbs on Chalkboard Paint Pots
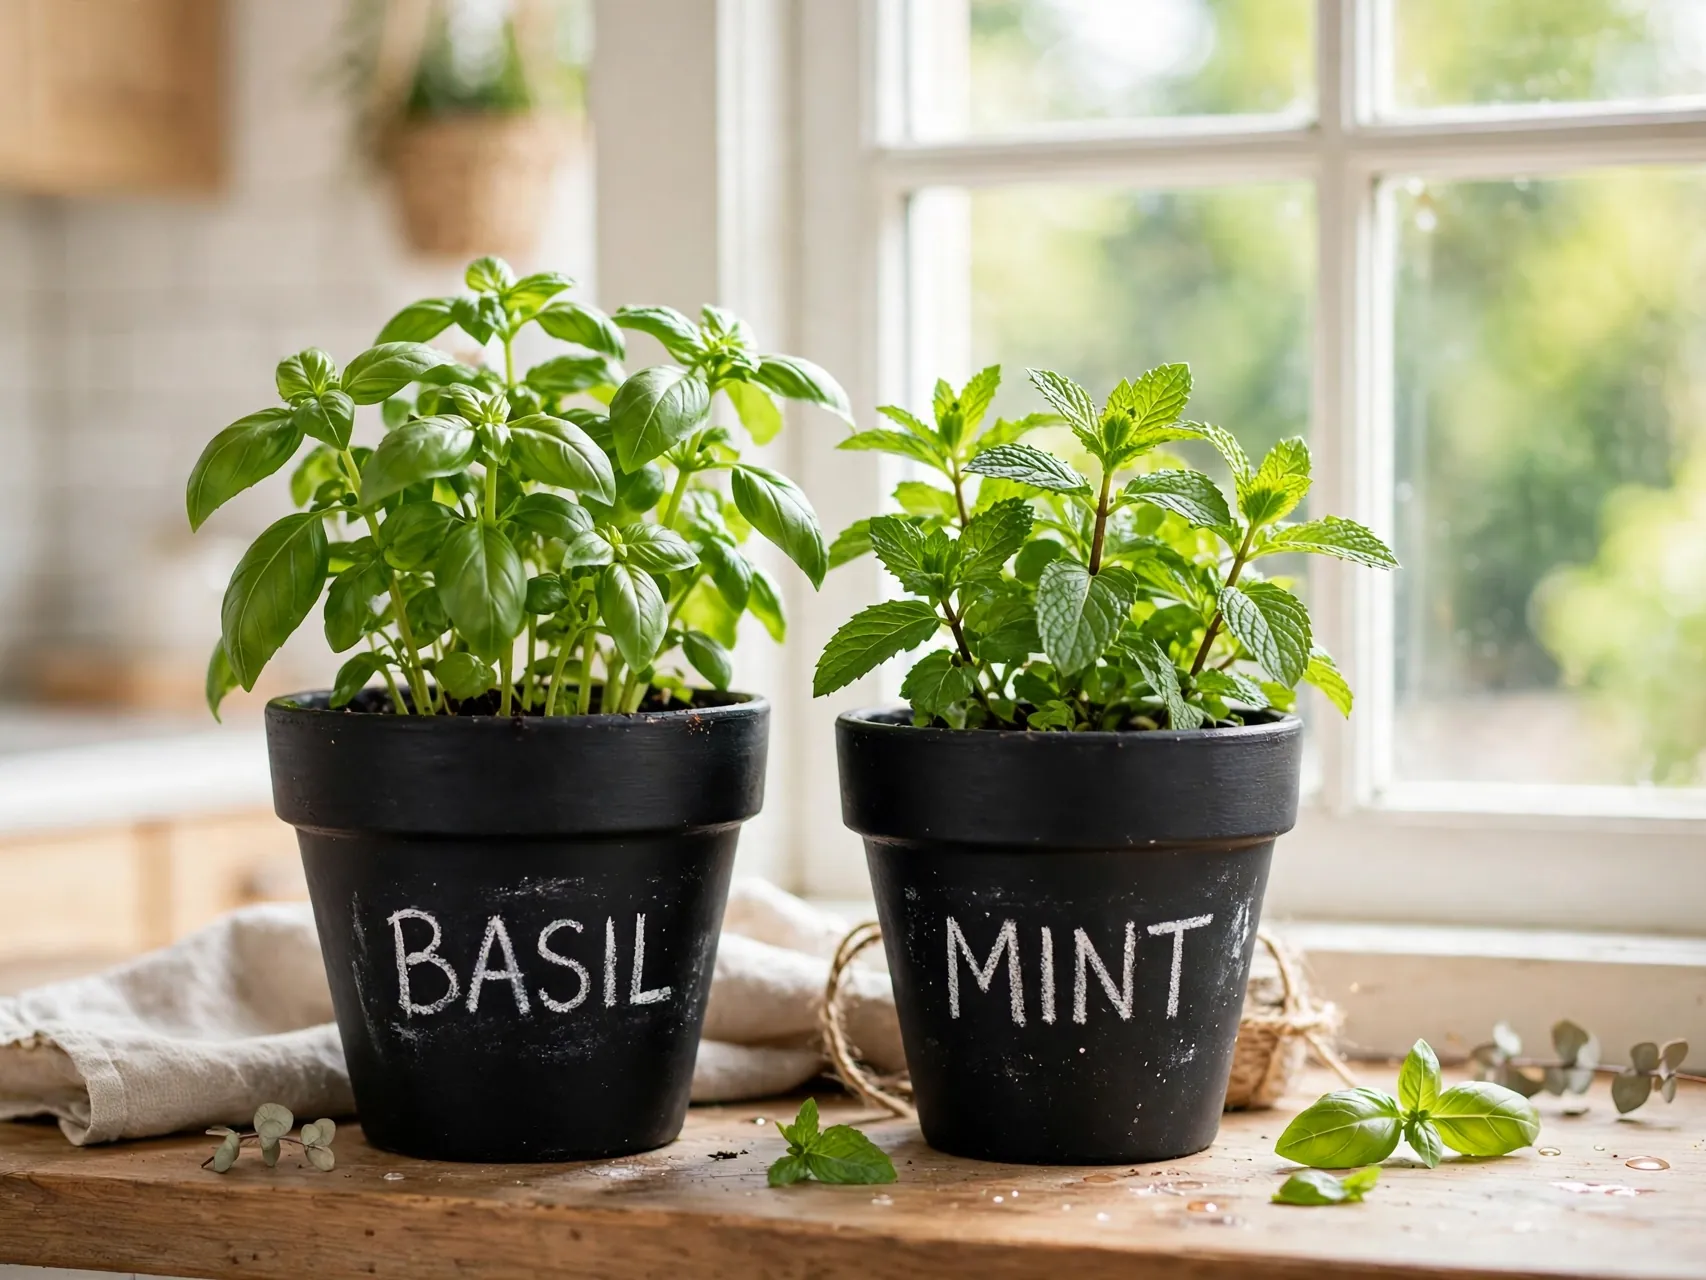
Coat the body or just a front panel of the pot with chalkboard paint, let it cure as the label directs, then write the herb name in chalk or a chalk marker. When the plant changes, wipe and relabel. No more mystery seedlings on the kitchen sill.
Season new chalkboard paint by rubbing the side of a chalk stick over it and wiping it off, which helps later writing erase cleanly. Keep chalkboard pots mostly indoors, since repeated rain dulls the finish faster than other paints.
7. Paint Simple Daisies and Wildflowers

You do not need art training for cheerful flowers. A daisy is five white petal strokes around a yellow dot, and a wildflower is a few colored dots on thin green stems. Paint a loose ring of them around the pot and the whole planter feels like spring.
Use the handle end of a brush dipped in paint to stamp perfect petal dots. Slightly uneven flowers look more natural than perfect ones, so relax and repeat the motif until the pot feels balanced from every side.
8. Try a Cozy Buffalo Plaid for Farmhouse Corners

Start with a white or cream base, paint wide vertical stripes in a mid tone gray or red, then add horizontal stripes over them. Where the stripes overlap, the color deepens, and the classic plaid appears almost by magic.
A ruler and light pencil lines keep the pattern even on a curved surface. Plaid pots suit porch steps, entry benches, and fall displays, and they pair beautifully with mums, pumpkins, and galvanized metal accents nearby.
9. Stencil a Repeated Motif for a Boutique Look

A flexible stencil that bends around the curve of the pot makes leaves, stars, hearts, or tiny houses repeat with satisfying precision. Secure it with a little tape, load a stencil brush with very little paint, and pounce upward so paint does not bleed under the edges.
Less paint on the brush is the whole trick. Work one motif, lift, move, and repeat. Stenciled pots make wonderful matched sets for windowsills, where the repeating pattern reads like a designed collection rather than random singles.
10. Dip Paint the Bottom Half for Modern Color Blocking

Tape a straight line around the pot about a third or halfway up, paint below it in a bold color, and leave the top in natural clay or a clean white. The result is modern, graphic, and very forgiving, because the tape line does the precision work.
Metallic copper or gold on the lower half adds a warm glow that suits succulents and trailing plants. Let the painted section dry completely before removing tape, then touch up any wobble with a fine brush and a steady hand.
11. Paint Friendly Faces for Playful Shelf Pots
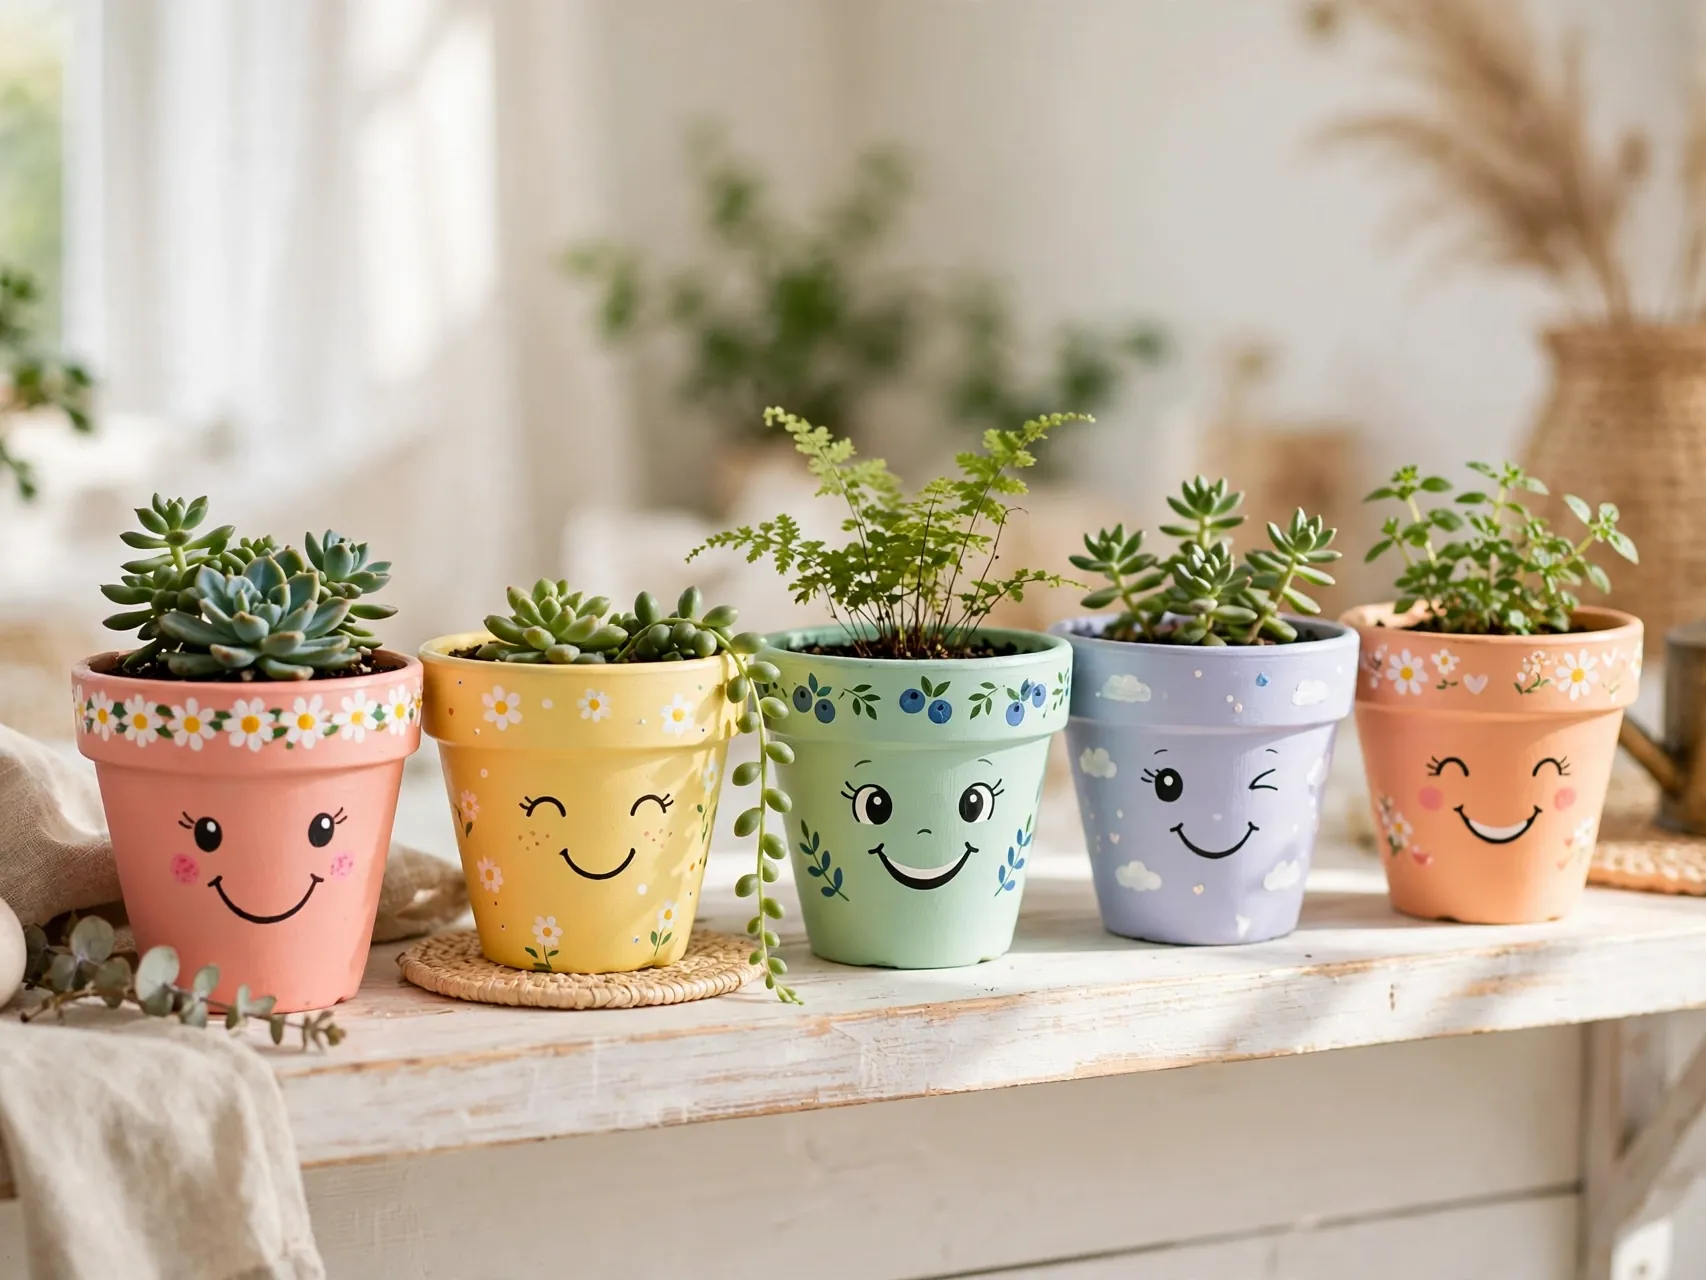
Two dot eyes, a small smile, and pink cheeks turn a small pot into a character, especially when a spiky succulent becomes its hair. Keep the face low on the pot so the plant completes the joke.
Use a fine brush or paint pens for control, and practice the face on paper first. These pots are favorites for desks, kids rooms, and gifts, and they are some of the most photographed hand painted planter ideas because the personality shows even in a tiny photo.
12. Splatter Paint for an Artsy Studio Finish

Over a solid base coat, flick a loaded brush or an old toothbrush to scatter fine speckles in one or two contrasting colors. Black and white splatter on a color base looks modern, while gold splatter on white looks festive.
Do this one outdoors or inside a big cardboard box, because splatter travels further than you expect. Protect the inside of the pot and the rim if you want clean edges, and let the pot dry flat so speckles do not slide.
13. Age Pots With a Whitewashed Limewash Effect

Thin white acrylic paint with a little water, brush it loosely over the terra cotta, then wipe parts back with a damp cloth while wet. The clay color glows through in patches, giving that soft, aged Mediterranean look in minutes.
Leave more white in the crevices and less on the raised areas for natural shading. Whitewashed pots flatter olive plants, lavender, and herbs, and they calm down a mismatched pot collection into one quiet, cohesive group.
14. Add Gold Leaf Accents for a Touch of Glam

Brush adhesive size in a band, a rim stripe, or a loose abstract shape, let it turn tacky as the product directs, then press on gold leaf sheets and brush away the excess. Seal gently, because leaf is delicate and a heavy hand dulls it.
A little gold goes a long way. One band on a white or deep green pot reads luxurious without tipping into gaudy. Keep leaf pots indoors or on covered porches so weather does not wear the finish quickly.
15. Paint Rainbows and Arches for a Happy Nursery Corner

Concentric arch rainbows in muted clay, blush, mustard, and sage tones are a nursery and playroom favorite. Draw the largest arch first with a light pencil, then nest smaller arches inside it, painting from the outside in.
Muted tones keep the rainbow calm and modern, while bright primary versions feel bold and cheerful. Paint pens help keep the arch edges tidy on small pots. Pair with a soft trailing plant so the rainbow stays the star.
16. Wrap a Design Around the Rim Only
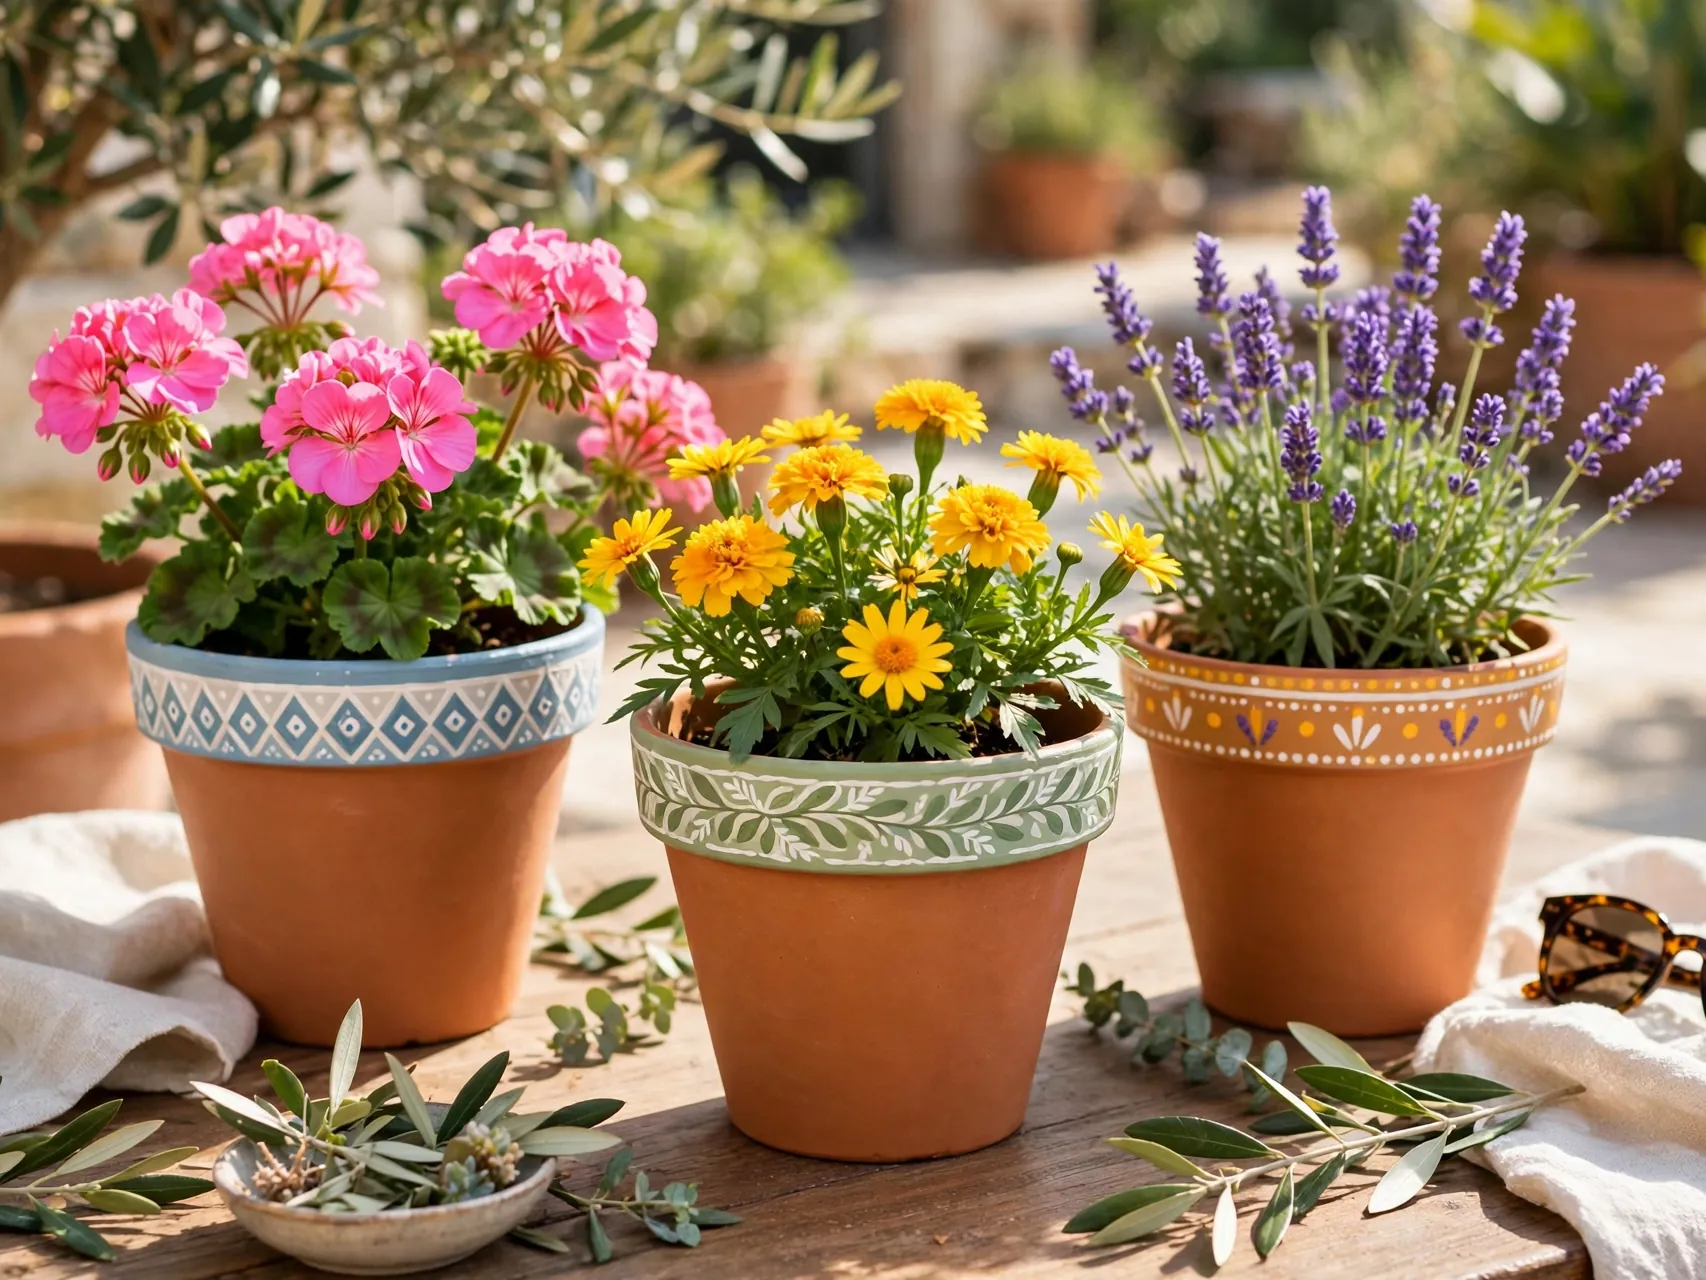
If a fully painted pot feels like too much, decorate only the rim. Tiny dots, scallops, stripes, or a row of mini hearts around the rim adds charm while the natural clay body keeps its classic warmth.
This is also the fastest refresh for pots already planted, because you can paint the rim without unpotting the plant. Just slip paper between rim and soil to catch drips, work slowly, and let the rim dry before watering again.
17. Use Paint Pens for Fine Details and Lettering

Paint pens give you marker control with paint coverage, which makes lettering, outlines, and tiny details far easier than with a brush. Write a plant name, a short word like grow or bloom, or outline painted shapes to make them pop.
Shake and test the pen on paper first to avoid a first blob on the pot. Keep a damp cotton swab nearby for instant corrections while the paint is wet. Seal lettered pots with a clear coat brushed gently so the writing does not drag.
18. Create a Marbled Swirl With Water and Paint
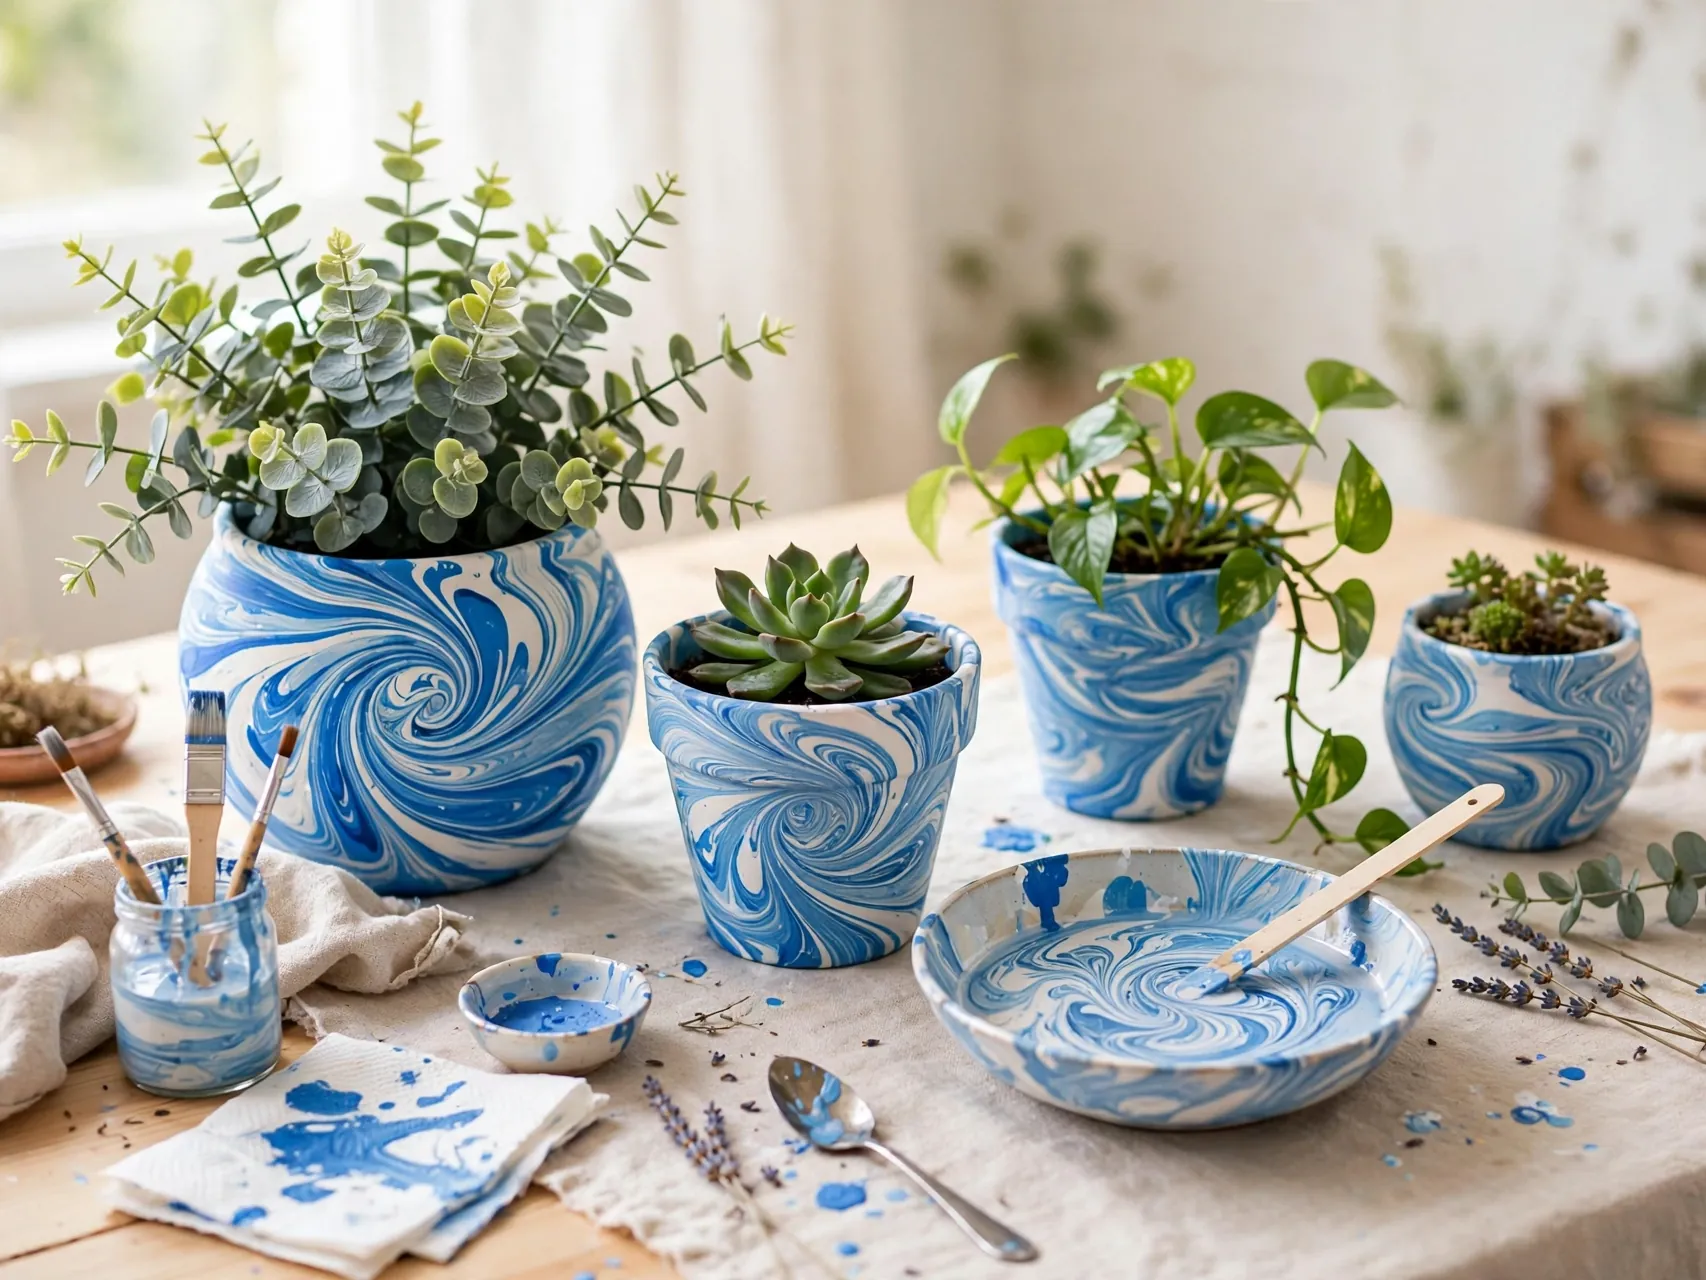
Fill a disposable container with water, drizzle in a few drops of compatible paint or use a marbling medium as directed, swirl once with a stick, and dip the pot slowly through the film. Lift, let the water run off, and dry completely before sealing.
Every marble is different, which is the charm. White with gray and one accent color looks like real stone. Practice the dip speed on a cheap plastic pot first, and work outdoors since this technique is delightfully messy.
19. Paint Seasonal Designs You Can Rotate All Year

Keep a small set of pots painted for each season: pumpkins and leaves for fall, snowflakes for winter, eggs or bunnies for spring, and lemons or flags for summer. Swapping pots keeps displays fresh without buying new decor.
Paint seasonal designs on inexpensive pots and store them stacked with tissue between them. Because acrylic paint on flower pots holds well when sealed, a seasonal set can return for several years with only small touch ups.
20. Give Plastic Pots a Stone or Cement Makeover

Cheap plastic pots turn believable with texture. Lightly sand the surface so paint grips, apply a base coat, then stipple on layers of gray, white, and a hint of brown with a sponge until the plastic shine disappears under a stony matte finish.
Keep paint out of the drainage holes and the inner soil line. A convincing stone pot costs a fraction of real stone, weighs almost nothing, and can move around the garden without a two person lift.
21. Paint a Matching Set for a Cohesive Windowsill
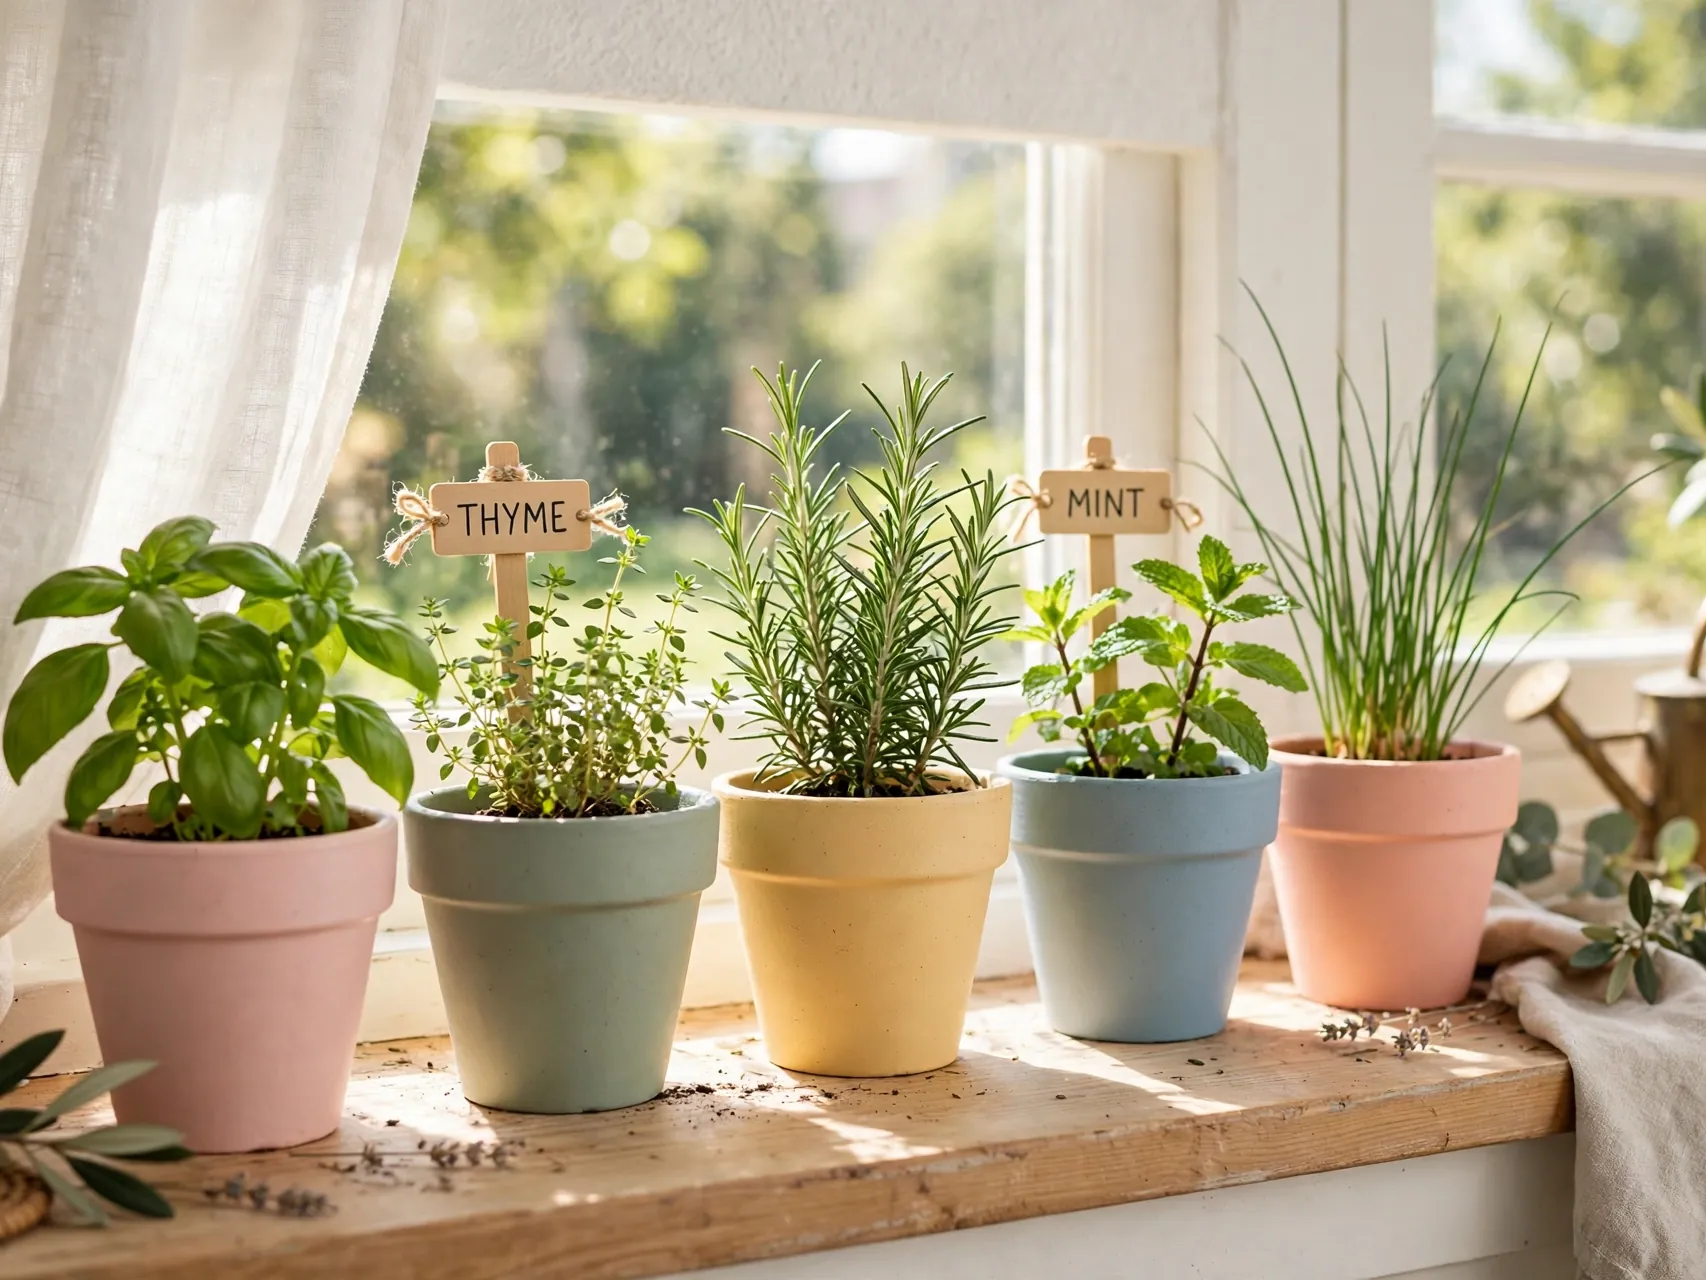
Three to five pots in one color family, with one repeated detail like a white rim or a dot band, instantly make a windowsill look styled. Matching does not mean identical. Vary the pattern slightly within the same palette for a collected but coordinated feel.
Herb gardens love this treatment, because the set reads as one display instead of a row of mismatched containers. Paint the set in one session, assembly line style, so colors stay perfectly consistent across every pot.
22. Add Texture With Sponge Stippling and Dry Brushing

Dab paint on with a torn sponge for a soft, mottled texture, or drag a nearly dry brush over a base coat so only the raised clay texture catches color. Both techniques hide brush strokes and make simple solid colors look rich.
Dry brushing in white or metallic over a dark base is especially pretty on ornate pots with raised patterns. Build texture in light layers, stepping back often, because it is easy to add more and hard to take it away.
23. Seal Every Pot So the Art Survives Watering
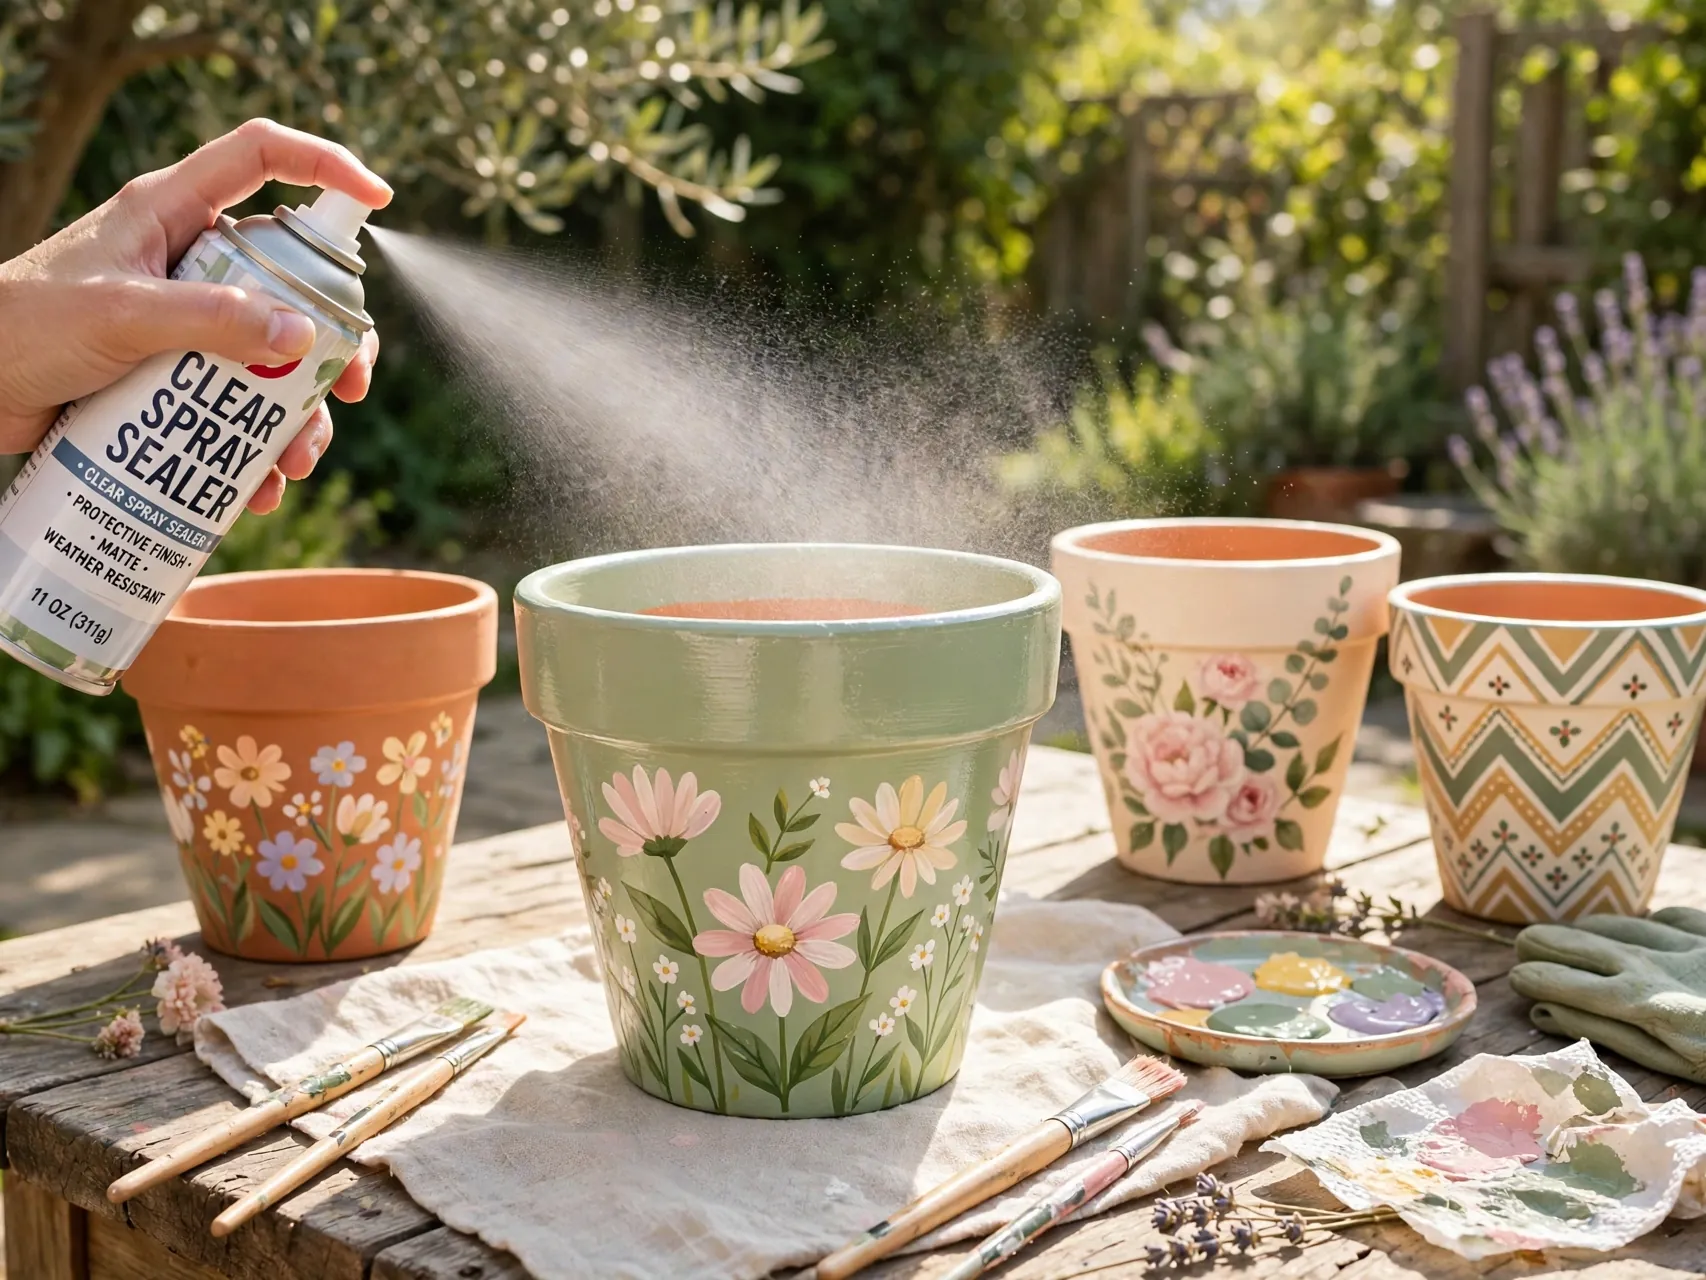
Once paint is fully dry, add a clear water based sealer over the outside, following the label for coats and drying time. Seal the inside top edge too, where watering splashes most. Sealing slows moisture from pushing through the clay and lifting your paint.
Say it plainly in your craft notes: most craft sealers are not food safe. For herbs and vegetables, paint the outside only, keep sealer off the inner soil surface, or slip in a plain liner pot. When in doubt, save painted pots for flowers and ornamentals.
24. Style Painted Pots in Groups for Maximum Impact

One painted pot is cute. A group of three at different heights is a display. Set pots on stacked books, a small stool, or a tray, mix one patterned pot with two solid companions, and add a trailing plant to soften the edges.
Repeat one color from the pots in a nearby cushion, candle, or throw so the corner feels planned. Photograph your grouping in daylight before you call it done, because the camera quickly shows which pot needs one more plant or a little more space.
FAQ
What kind of paint works best on terra cotta pots?
Water based acrylic craft paint is the standard choice. It sticks well to clean, dry clay, dries fast, and cleans up with water. Apply two thin coats rather than one thick coat, then finish with a clear water based sealer. Spray paint also works for smooth base coats, used outdoors with the label safety guidance followed.
Do I need to seal a painted flower pot?
Yes, if the pot will hold a real plant and get watered. Terra cotta is porous, so moisture moves through the clay and can bubble unsealed paint from behind. A clear sealer on the outside, and attention to the inner rim, greatly extends the life of the design. Decorative pots holding faux plants can skip sealing.
Are painted pots safe for herbs and vegetables?
Paint and seal the outside only, and be cautious. Most craft acrylics and sealers are not labeled food safe, so they should not coat the inner surface that touches soil for edible plants. A plain plastic liner pot set inside the painted pot is a simple workaround. Always follow the specific product label for food contact guidance.
How do I stop paint from peeling off my pots?
Peeling usually traces back to prep. The pot was damp, dusty, or sealed after painting but not dry enough between coats. Scrub, dry the clay completely, paint thin coats with drying time between them, and seal at the end. Keep the drainage hole open so water never sits trapped in the base.
Can I paint a pot that already has a plant in it?
You can paint the rim and upper outside carefully, protecting the soil and foliage with paper or a bag. For a full design, it is far easier to paint an empty pot, let paint and sealer cure fully, then plant. Fresh sealer and a growing plant do not mix well, so give the finish its full drying time.
Key Takeaways
- Prep decides durability: Scrubbed, fully dry terra cotta with a clear drainage hole holds paint far longer than a rushed pot.
- Acrylic plus sealer is the core combo: Thin coats of acrylic, finished with a clear water based sealer, survive regular watering.
- Simple tools, big designs: Tape, sponges, erasers, stencils, and paint pens create nearly every look in this list.
- Food safety stays honest: Craft sealers are not food safe, so paint outsides only or use liners for edible plants.
- Groups beat singles: Matching sets and styled trios make painted pots read as decor, not just containers.
- Love a pot you painted? Save this guide to Pinterest and pin your favorite design for your next plant day.