21 Snowflake Crafts for Kids That Are Easy and Magical
Introduction
Snowflakes are the perfect winter craft subject. Every real flake has six sides, no two look alike, and a child version can be cut, glued, painted, stamped, or built from almost anything already in your craft drawer. These snowflake crafts for kids turn one gray afternoon into a window full of winter.
Start with the low prep projects at the top of the list for preschoolers, then move toward cutting, folding, and science projects for older kids. Every craft below names its main skill, so you can match the project to the child instead of discovering midway that tiny hands cannot manage tiny folds.
Set up safely once and reuse the system all winter. Choose non-toxic glue and paint, give young children blunt tipped safety scissors, pre-cut pieces for children who are not ready to cut, and keep beads, sequins, and other small parts away from children under 3. Adults handle hot glue, craft knives, and any boiling water.
1. Fold and Cut Classic Paper Snowflakes
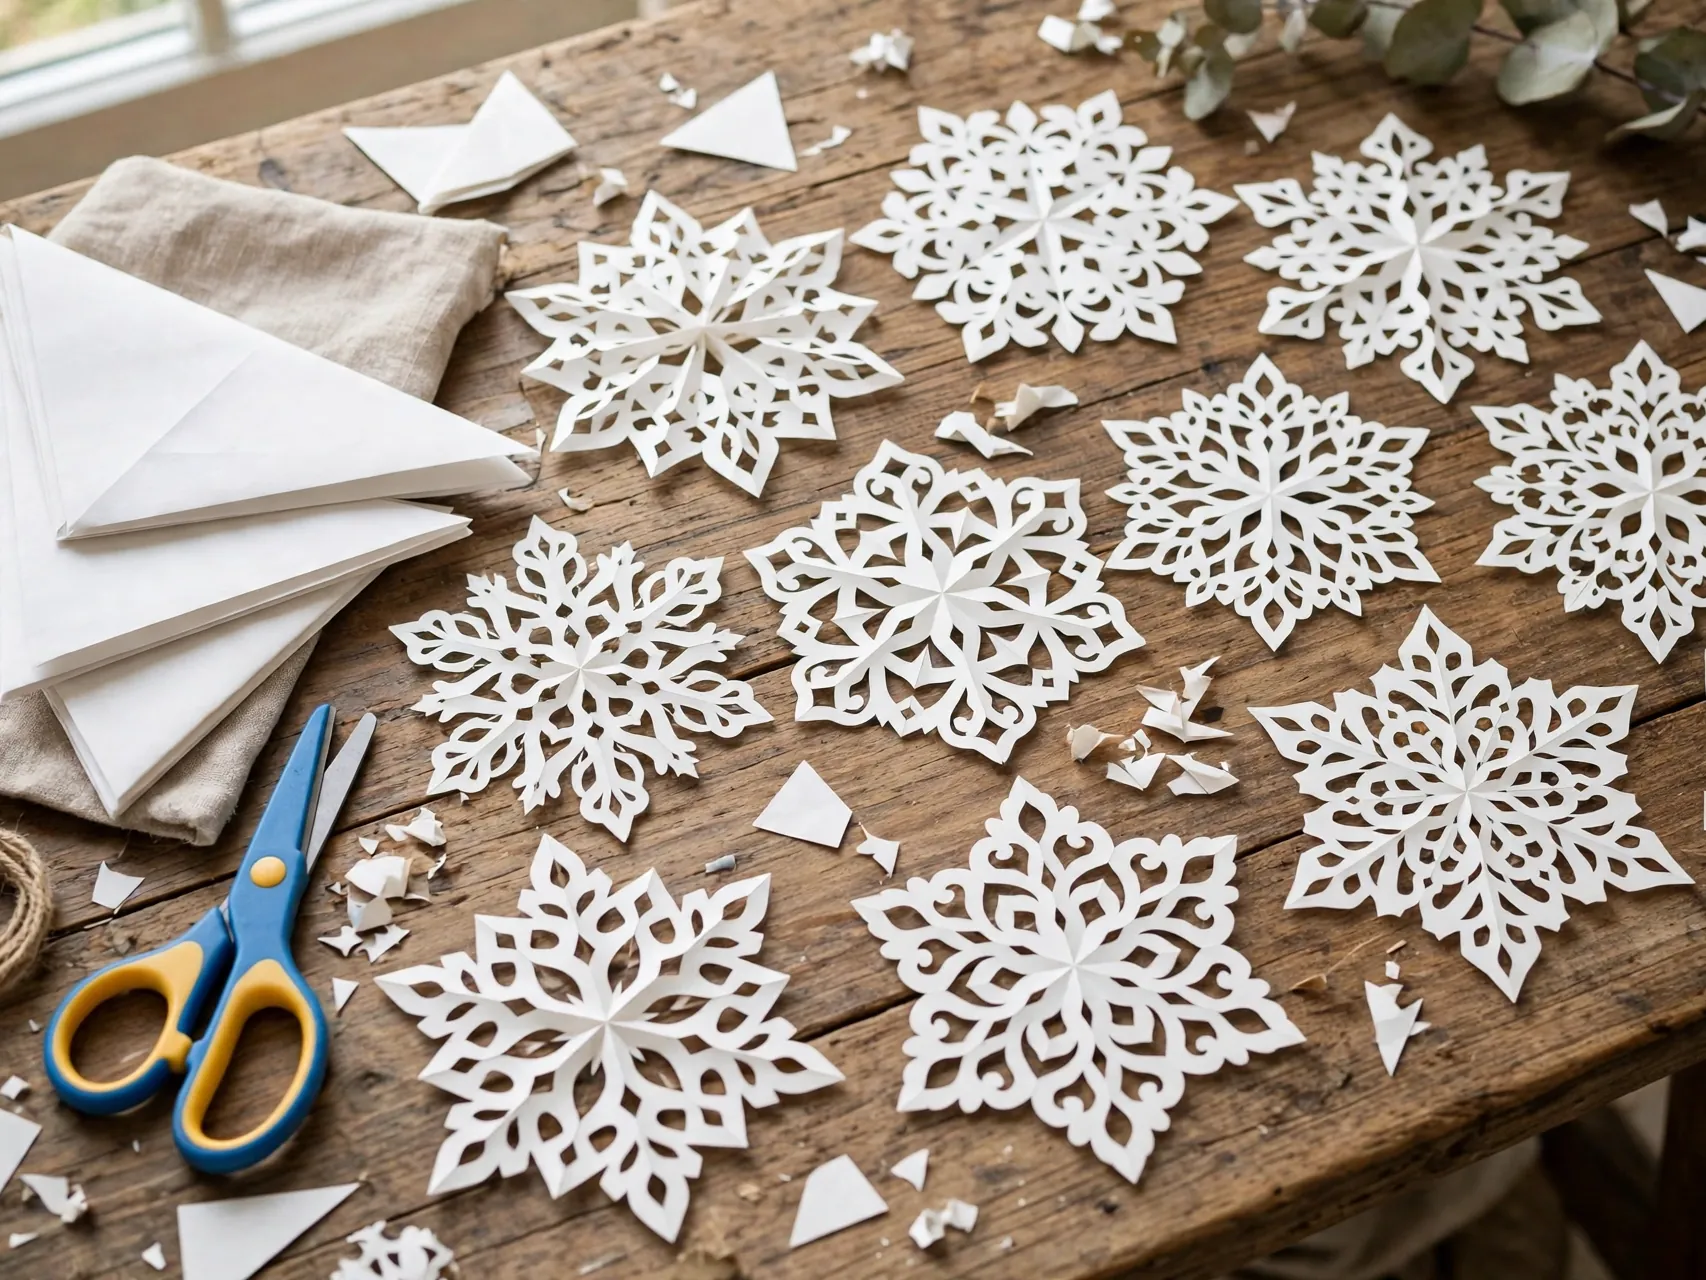
Start with a square of white paper, fold it into a triangle, fold again, and snip small triangles and curves along the edges. Unfold slowly and the pattern appears like a reveal trick that never gets old, even for adults at the table.
Young children do best with fewer folds and bigger snips, while older kids can fold a third time for lacy detail. Use safety scissors and let an adult do the first demonstration cut. Press finished flakes flat under a book overnight, then hang them with thread in windows where light shows every cut.
2. Color Coffee Filter Snowflakes That Glow

Flatten a coffee filter, color it with washable markers, then mist it lightly with water so the colors bleed into soft watercolor blends. Let it dry fully, fold it, and cut a snowflake pattern, or cut first and color after for crisper edges.
Coffee filters are thin, so even new cutters can manage them, and the finished flakes look like stained glass in a sunny window. Keep the water spray in adult or older kid hands to avoid soggy paper. This is one of the prettiest paper snowflake crafts for kids for classroom windows and kitchen doors.
3. Build Craft Stick Snowflakes With Glue and Paint
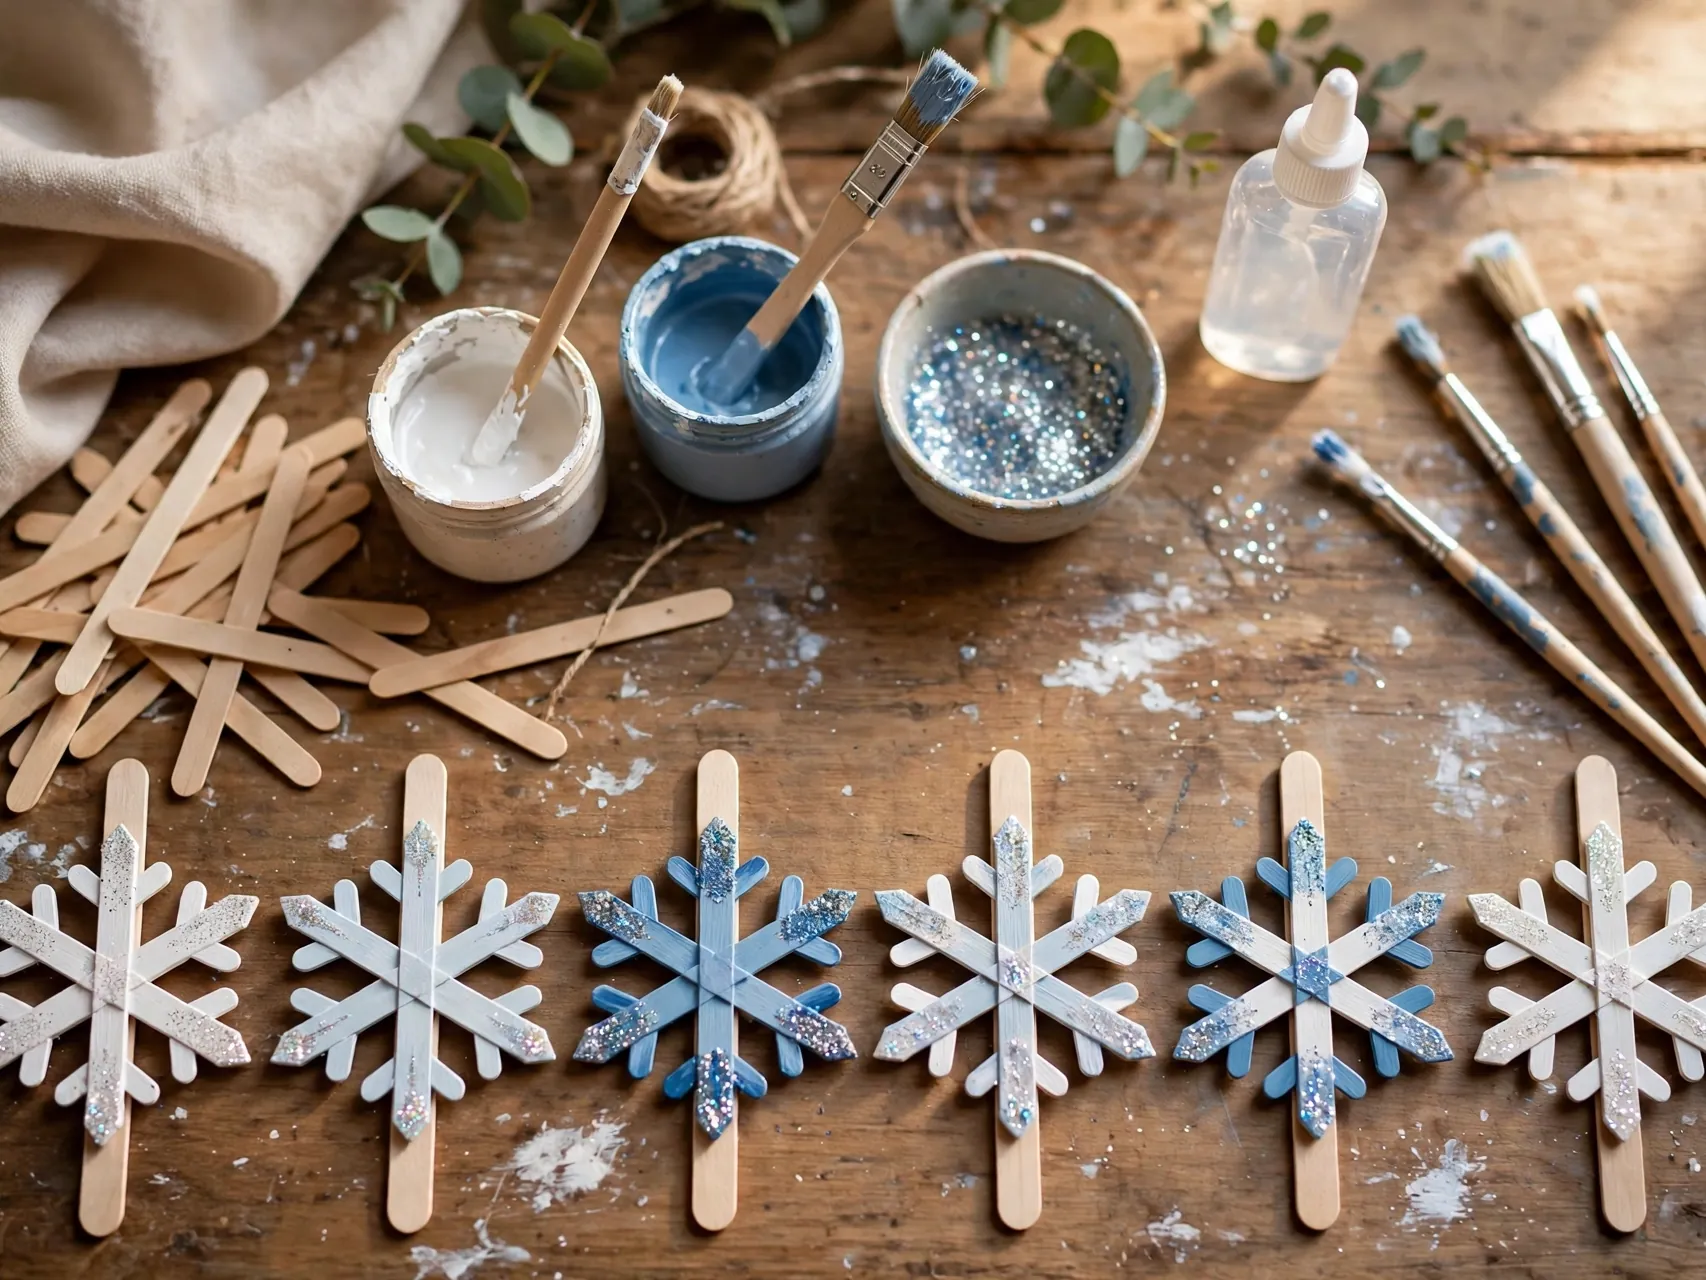
Cross three craft sticks at the center like an asterisk, glue them where they meet, and let the base dry. Paint the snowflake white, pale blue, or silver, then decorate with glued on sequins, pompoms, or painted dots once the base color is dry.
Tacky glue works well and gives kids time to adjust sticks, while hot glue is faster but belongs to adults only. Keep sequins and tiny pompoms away from children under 3, and use painted decoration instead for toddlers. Add a ribbon loop to the back and these sturdy flakes can hang on the tree.
4. Arrange Q-Tip Snowflakes on Dark Paper
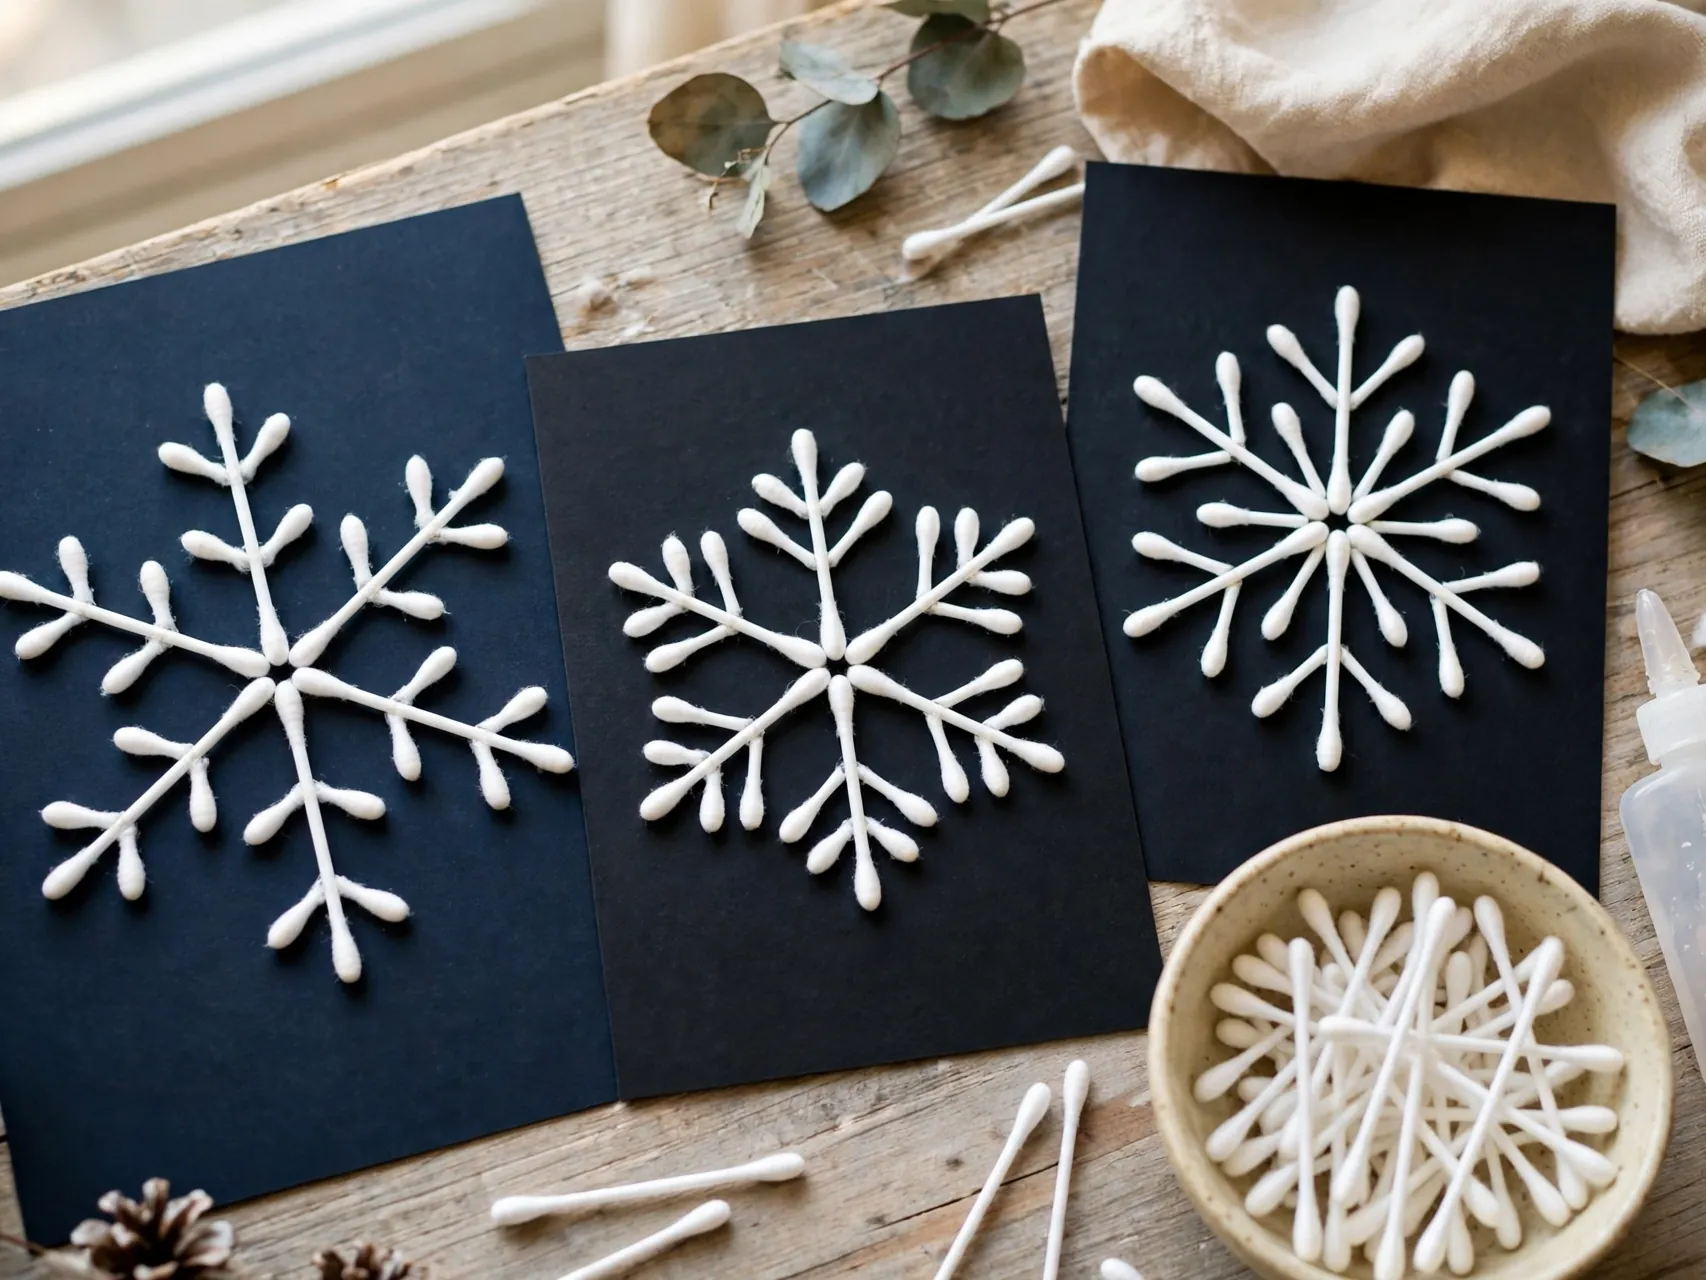
On dark blue or black paper, arrange cotton swabs in a six pointed star pattern, some whole and some cut in half by an adult, and glue each piece in place. The white swabs on dark paper look like a snowflake photographed at night.
This craft builds pattern and symmetry skills without any cutting for the child, which makes it ideal for preschoolers. Show them how to copy one arm of the design all the way around. Use school glue, let it dry flat, and display the finished pages as a set, because a whole wall of night snowflakes looks magical.
5. Stamp Fork Painted Snowflakes
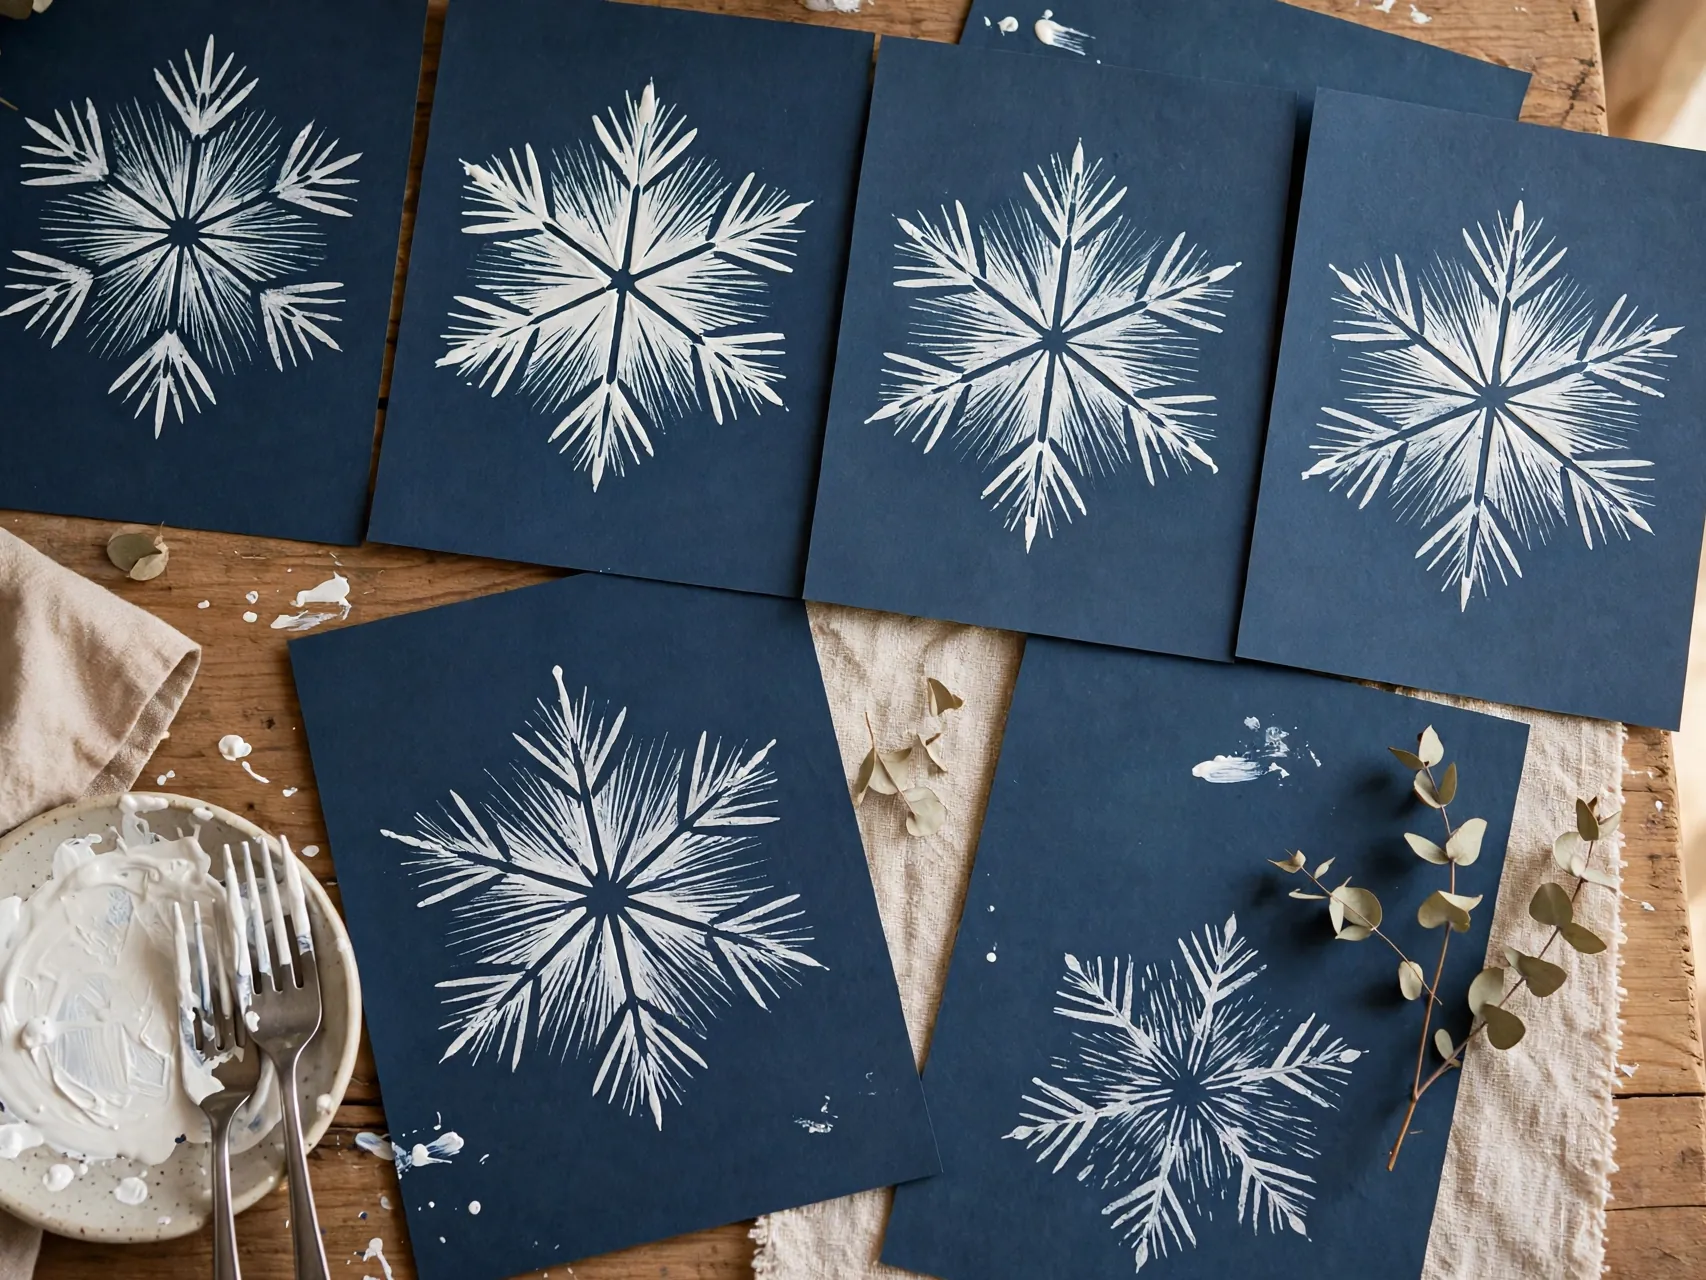
Dip the back of a plastic fork in white or pale blue paint and stamp lines radiating from a center point to build a spiky snowflake. Rotate the paper as you work so the arms spread evenly, and overlap a second smaller layer for depth.
Fork stamping suits toddlers and preschoolers because the grip is easy and every print looks intentional. Use washable, non-toxic paint and a paper plate palette, and keep a damp cloth nearby for hands. These bold, simple flakes make cheerful placemats and gift wrap when stamped on brown paper.
6. Stick Dot Sticker Snowflakes Without the Mess
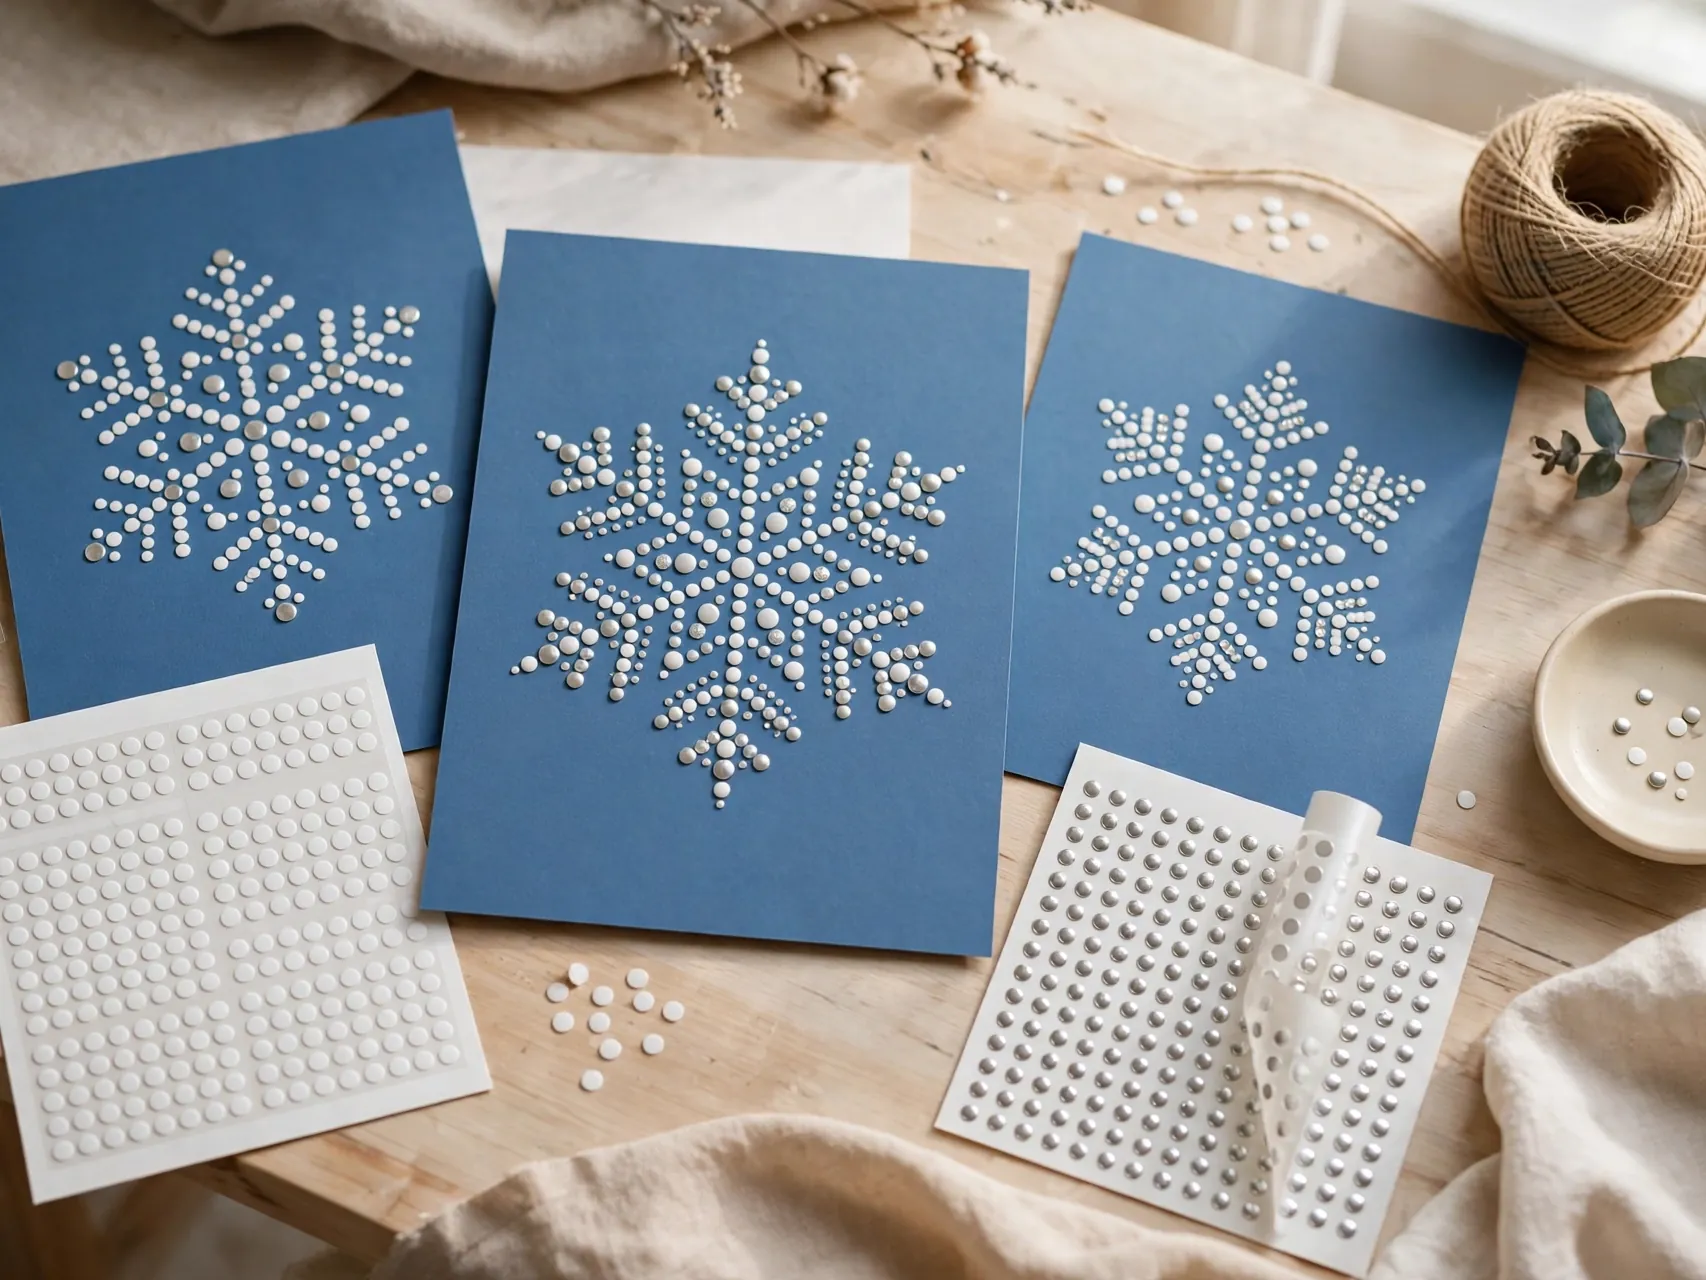
Draw or print a simple six arm snowflake outline and let children fill the lines with dot stickers. Peeling and placing stickers builds fine motor control, and there is no glue, paint, or drying time to manage on a busy day.
For the youngest crafters, an adult can peel stickers and hand them over ready to place. Choose larger dots for small hands and save tiny stickers for older kids. Finished sticker flakes look surprisingly polished on cards and lunchbox notes, and the whole project packs away in two minutes flat.
7. Cut Paper Plate Snowflakes With Lacy Centers
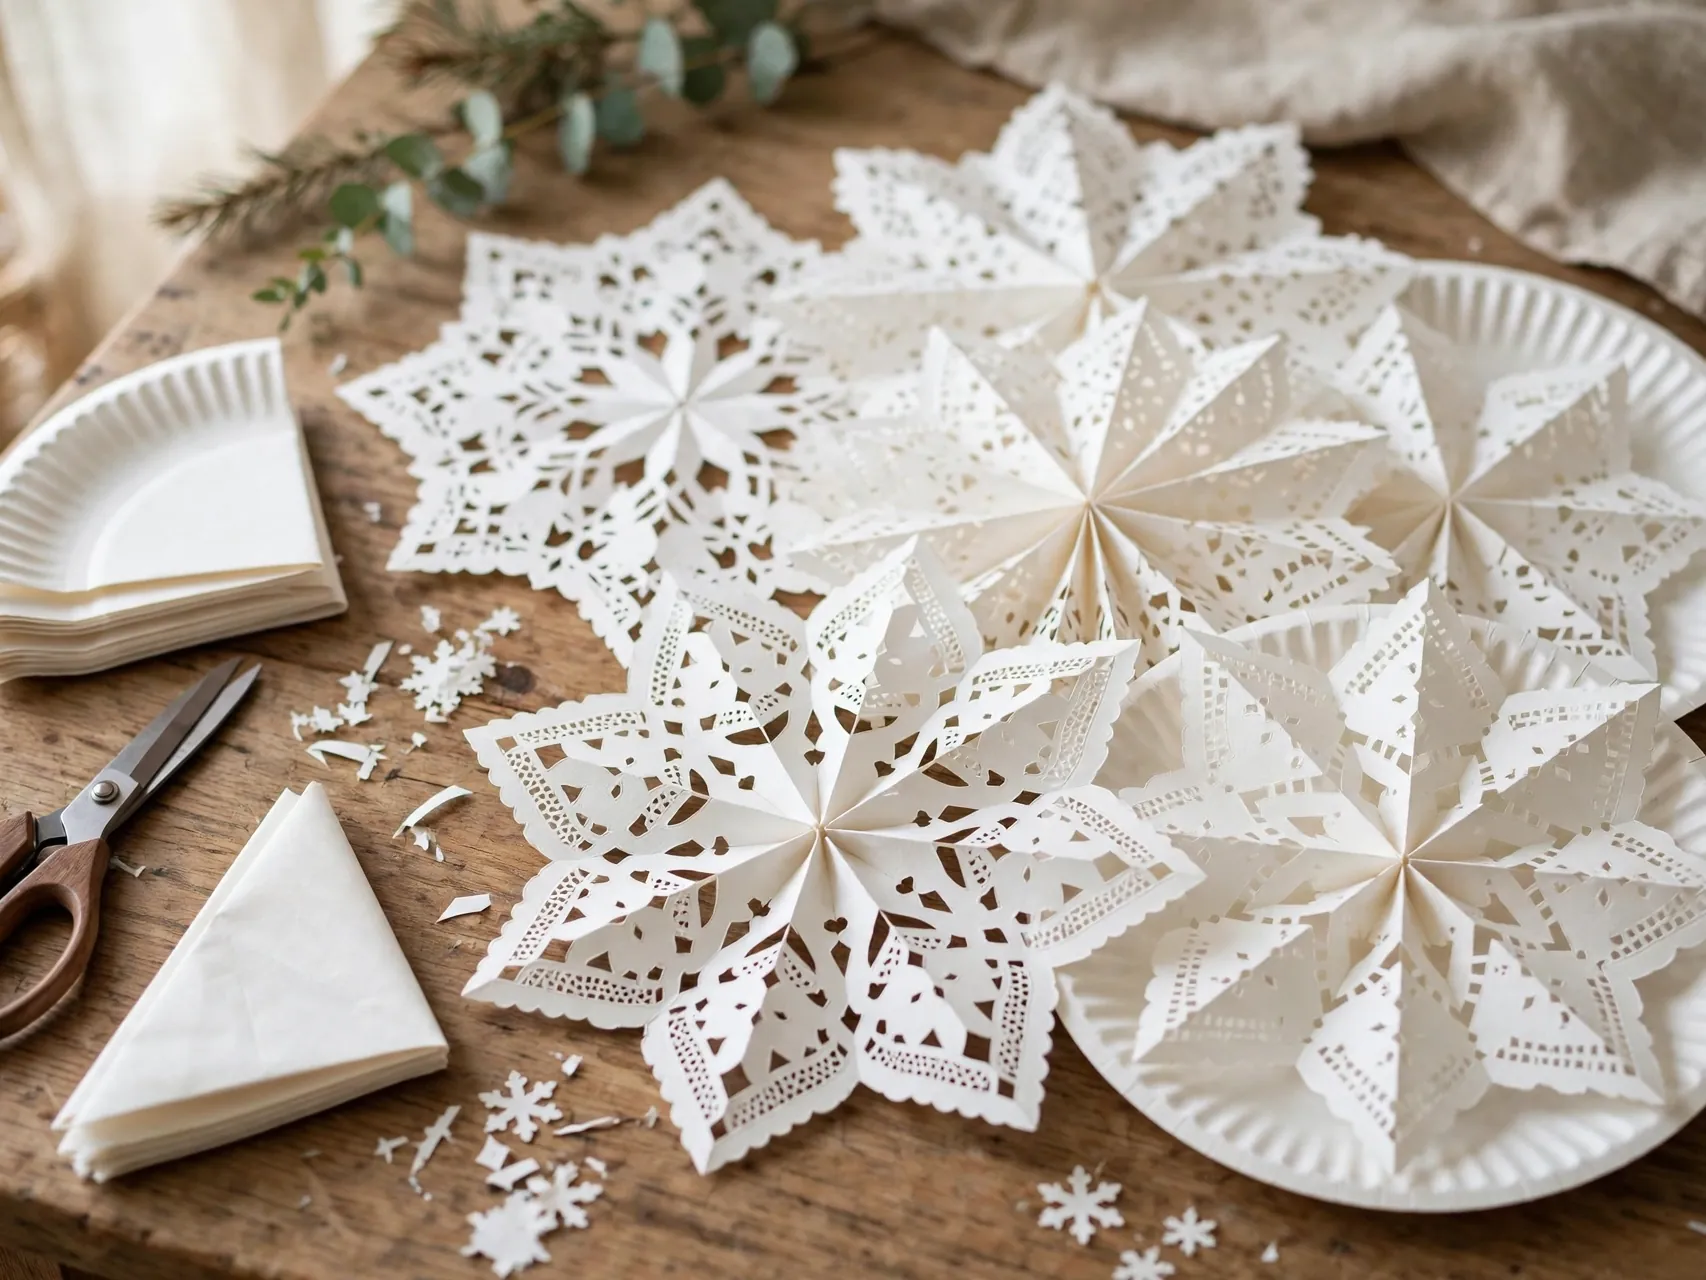
Fold a white paper plate in half and then in thirds, cut notches and shapes along the folds and edge, and unfold to reveal a round, lacy snowflake with a built in rim. The plate stiffness helps new cutters, because the paper does not flop while they work.
Decorate with a light touch of glitter glue or leave plates plain for a clean, sculptural look on a wall. Adults should do any craft knife work, though safety scissors handle most plate cuts for school age kids. Hang plates at different heights in a hallway for a falling snow effect.
8. Make Snowflake Suncatchers With Tissue Paper

Cut a snowflake frame from dark construction paper, an adult job for detailed shapes, lay it on clear contact paper, and let children fill the openings with small squares of colored tissue paper. Seal with a second sheet of contact paper, trim the edge, and hang it in a window.
Suncatchers glow when the sun comes through, which makes them the happiest craft on this list for short winter days. Pre-cut tissue squares for younger kids so they can focus on color choices. Use blues, purples, and white for an icy look, or let a child choose rainbow colors for a joyful twist.
9. Grow Borax Crystal Snowflakes as a Science Craft
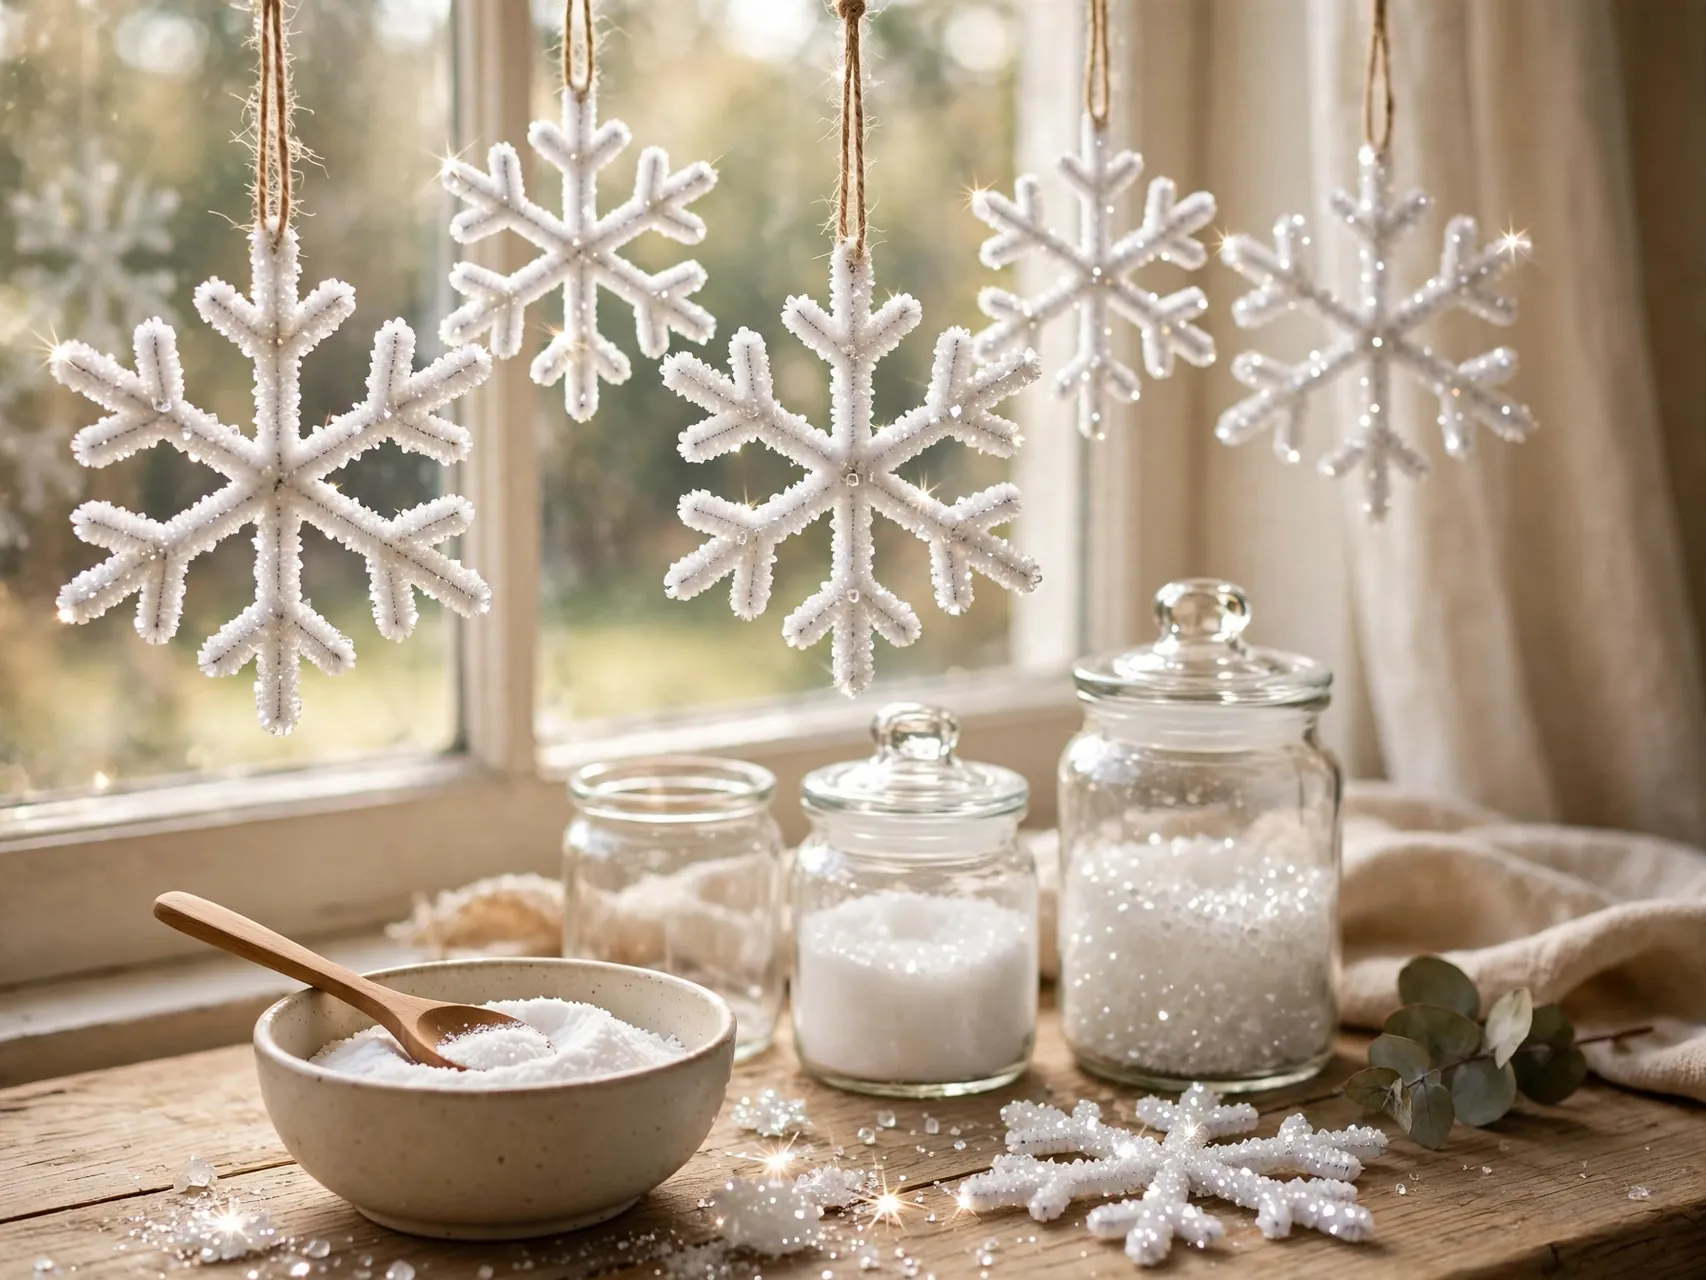
Twist white pipe cleaners into a six arm snowflake, tie it to a pencil with string, and suspend it in a jar while an adult prepares a borax and hot water solution. Crystals grow on the pipe cleaners as the solution cools, usually overnight, and the result sparkles like real frost.
This is an adult led science project: adults handle the borax and all boiling water, children design the pipe cleaner shape and observe. Finished crystals are decor only, never food or toys, and should hang out of reach of young children and pets, with hands washed after handling. Label jars clearly while they sit.
10. Paint Snowflakes With Cotton Ball Dabbing
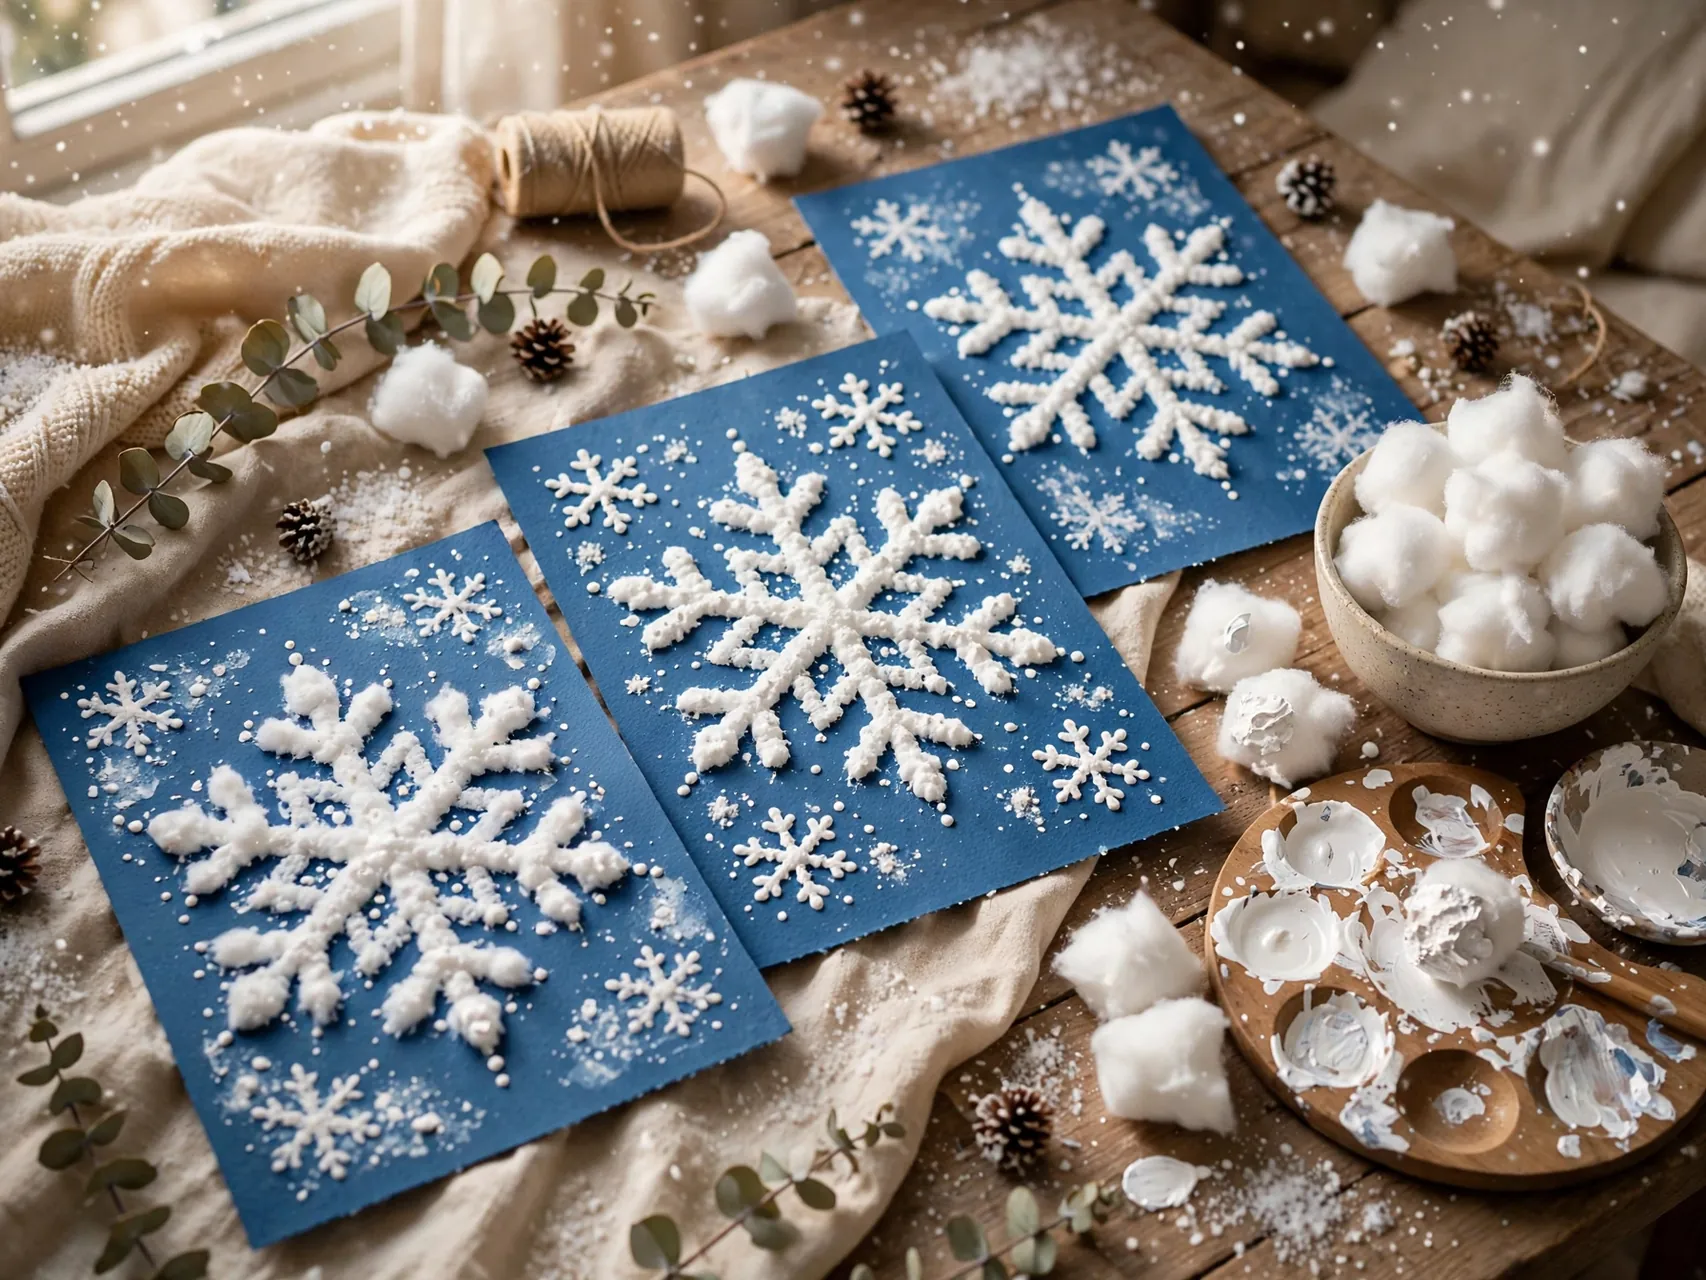
Clip a cotton ball in a clothespin for an easy grip brush, dip it in white or icy blue paint, and dab a snowflake design onto dark paper. A simple taped or drawn six arm guide underneath helps children keep their pattern spreading outward from the center.
Cotton ball painting gives soft, snowy edges that brushes cannot match, and the clothespin grip suits small hands and children who find brushes frustrating. Use washable non-toxic paint and expect this to be a smock project. A pinch of glitter shaken over wet paint, with adult help, adds frosty sparkle.
11. Thread Beaded Snowflake Ornaments
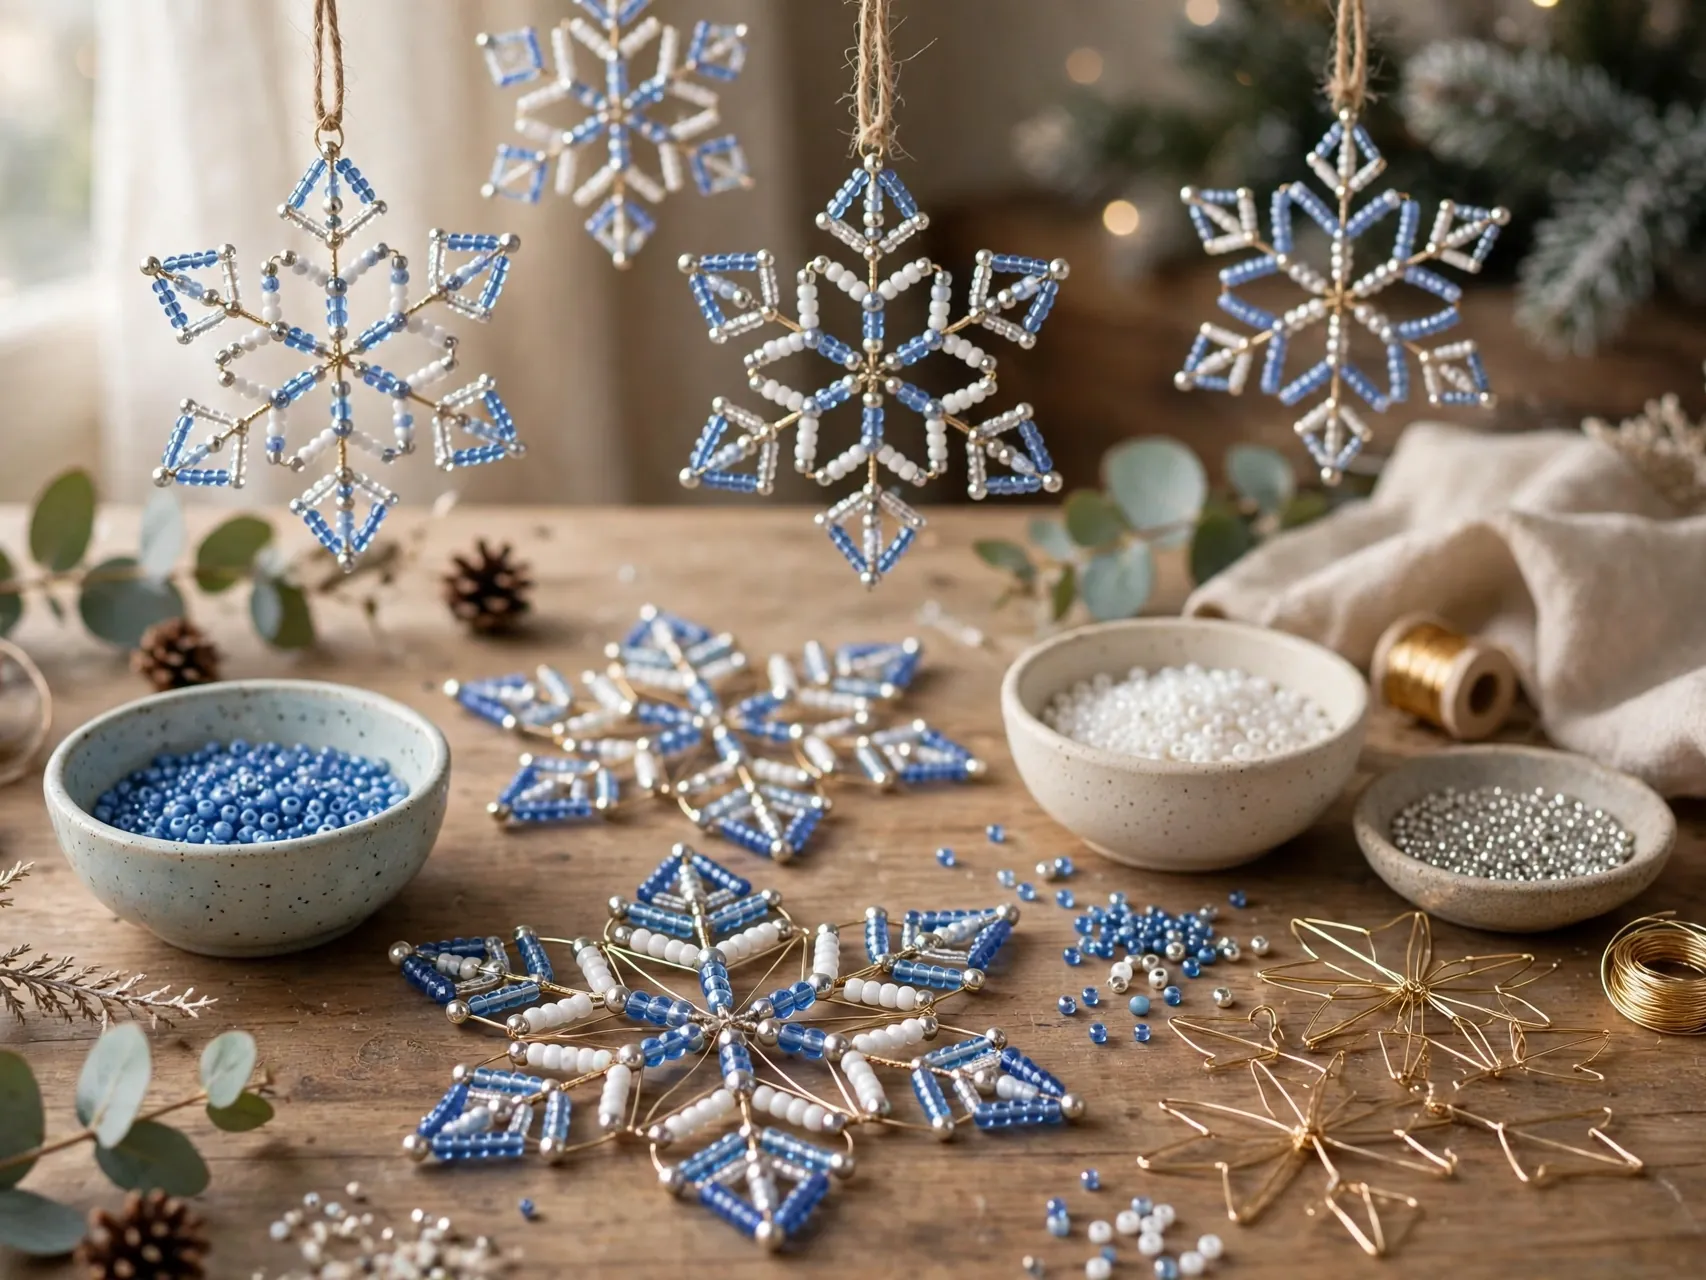
Start with a wire or pipe cleaner snowflake form, or twist three pipe cleaners into a star, then thread beads onto each arm in a pattern, leaving a small space at the ends. An adult bends or caps the tips so beads stay put, and a ribbon loop turns it into an ornament.
Beading builds counting, patterning, and patience in one quiet project, which makes it a lovely calm down craft before dinner. Beads are small parts, so this craft is for older children only, at a table away from babies and toddlers. Clear, white, and pale blue beads give the most wintry sparkle in tree lights.
12. Build LEGO and Block Snowflakes
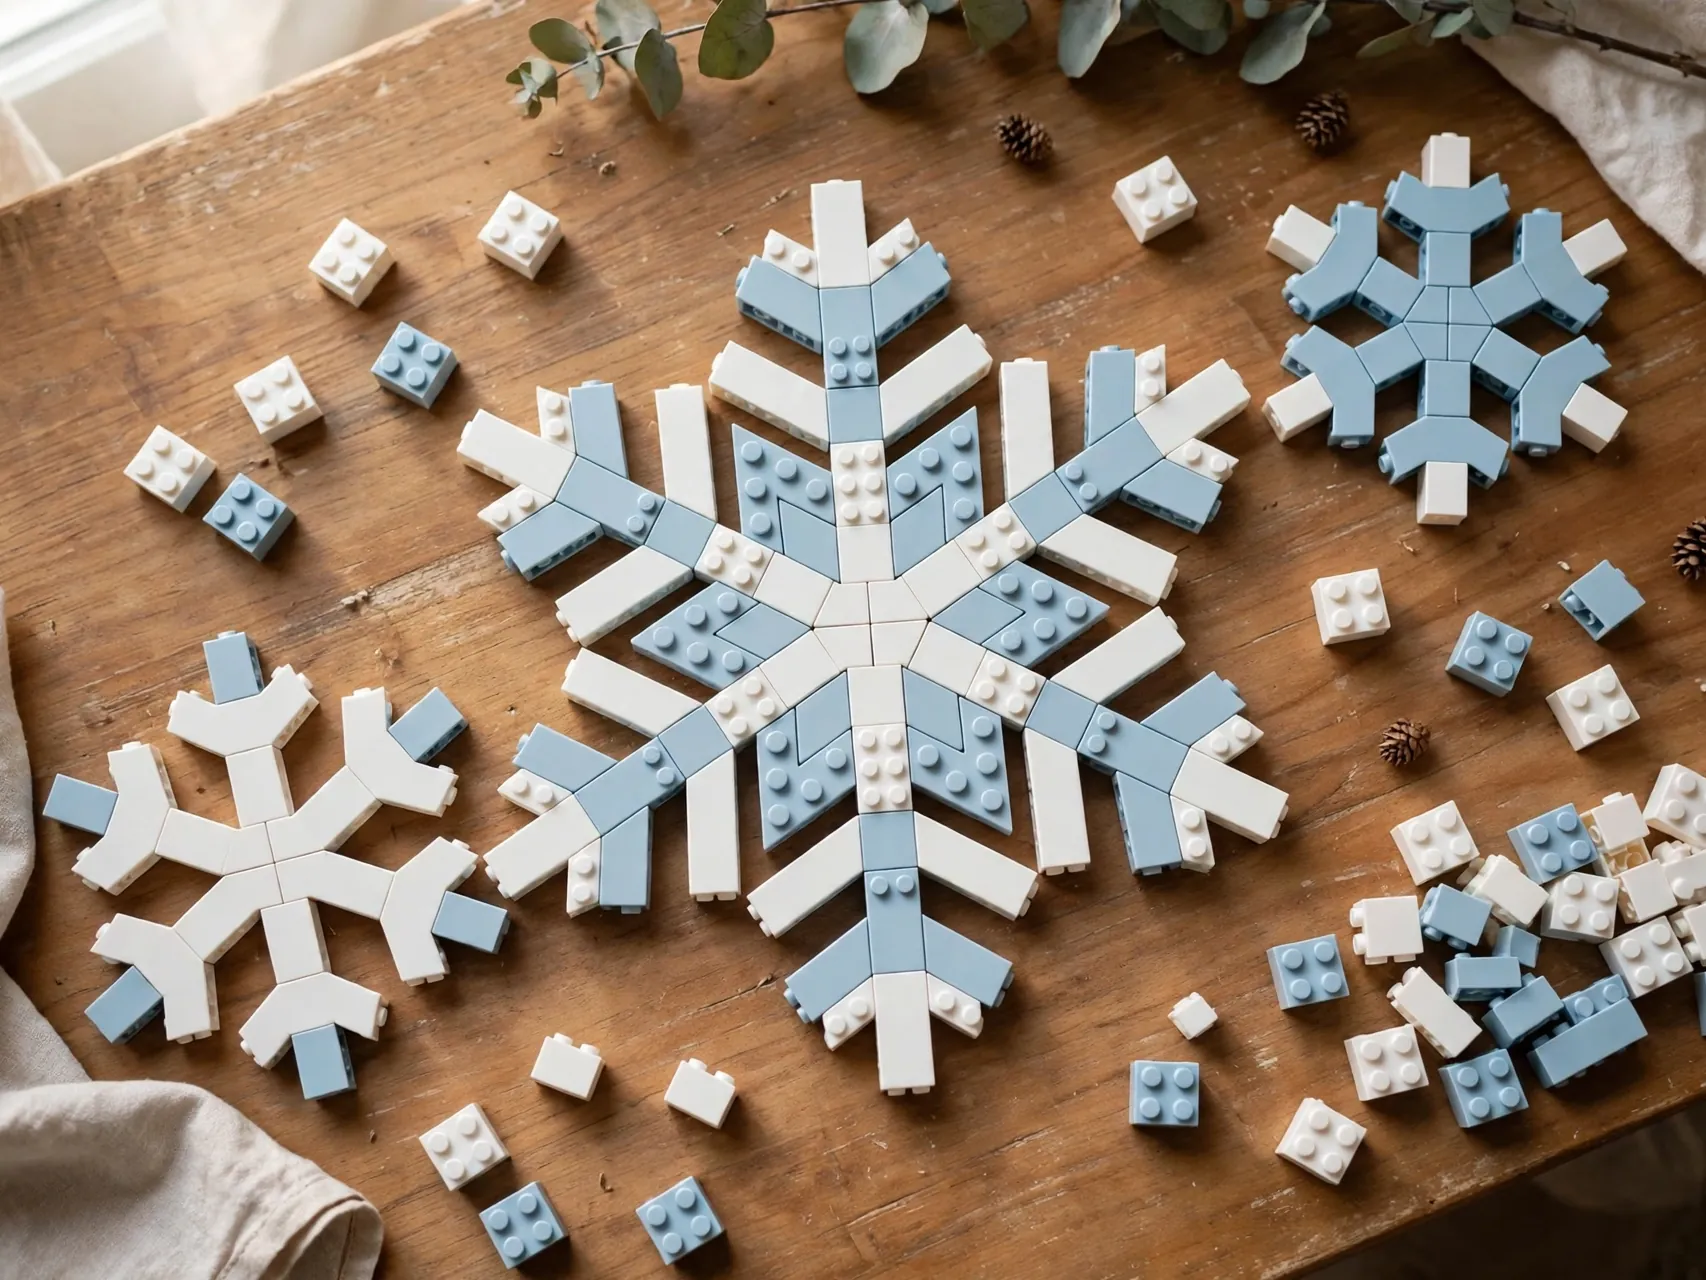
Challenge children to build a flat, six sided snowflake from white and light blue bricks or blocks on a base plate. Start with one arm, then copy it five more times around the center, which teaches symmetry in a way a worksheet never could.
Photograph each design before the bricks go back in the bin, and print favorite photos for a winter display. Keep small bricks away from children under 3 and follow the age guidance on your brick sets. This no mess project is perfect for the hour before dinner when paint is not an option.
13. Cut Giant Paper Bag Snowflakes for Walls
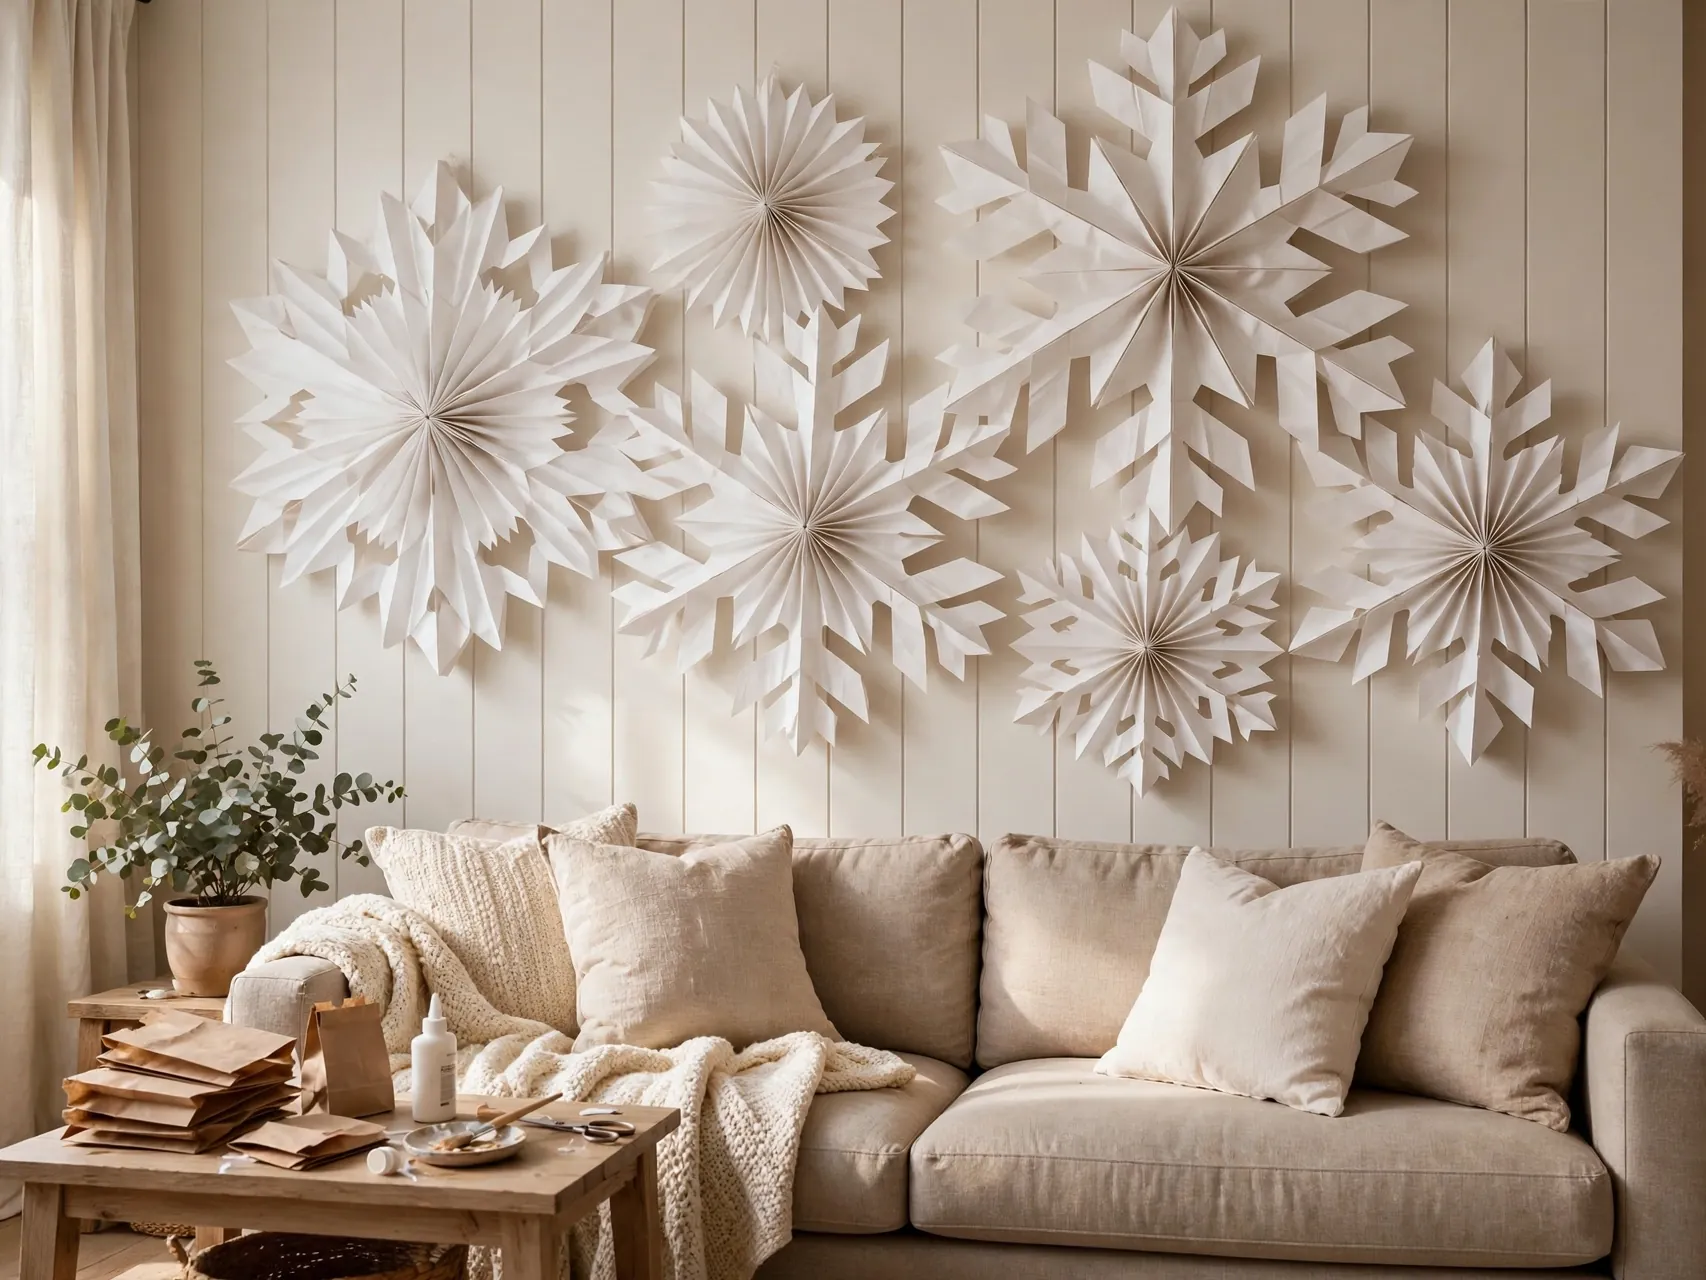
Glue a stack of paper lunch bags together in a fan pattern, following the common bag snowflake method, cut points and notches along the edges, and open the fan into a huge dimensional snowflake. White bags look crisp, brown bags look rustic, and both look impressive over a mantel.
Adults should handle a hot glue gun if you use one, while school glue works with a longer drying time and kid hands. These giant flakes are light, so a single removable hook or a loop of thread holds each one. Make three in different sizes for an instant winter wall.
14. Print Snowflakes With Cork and Bottle Cap Stamps
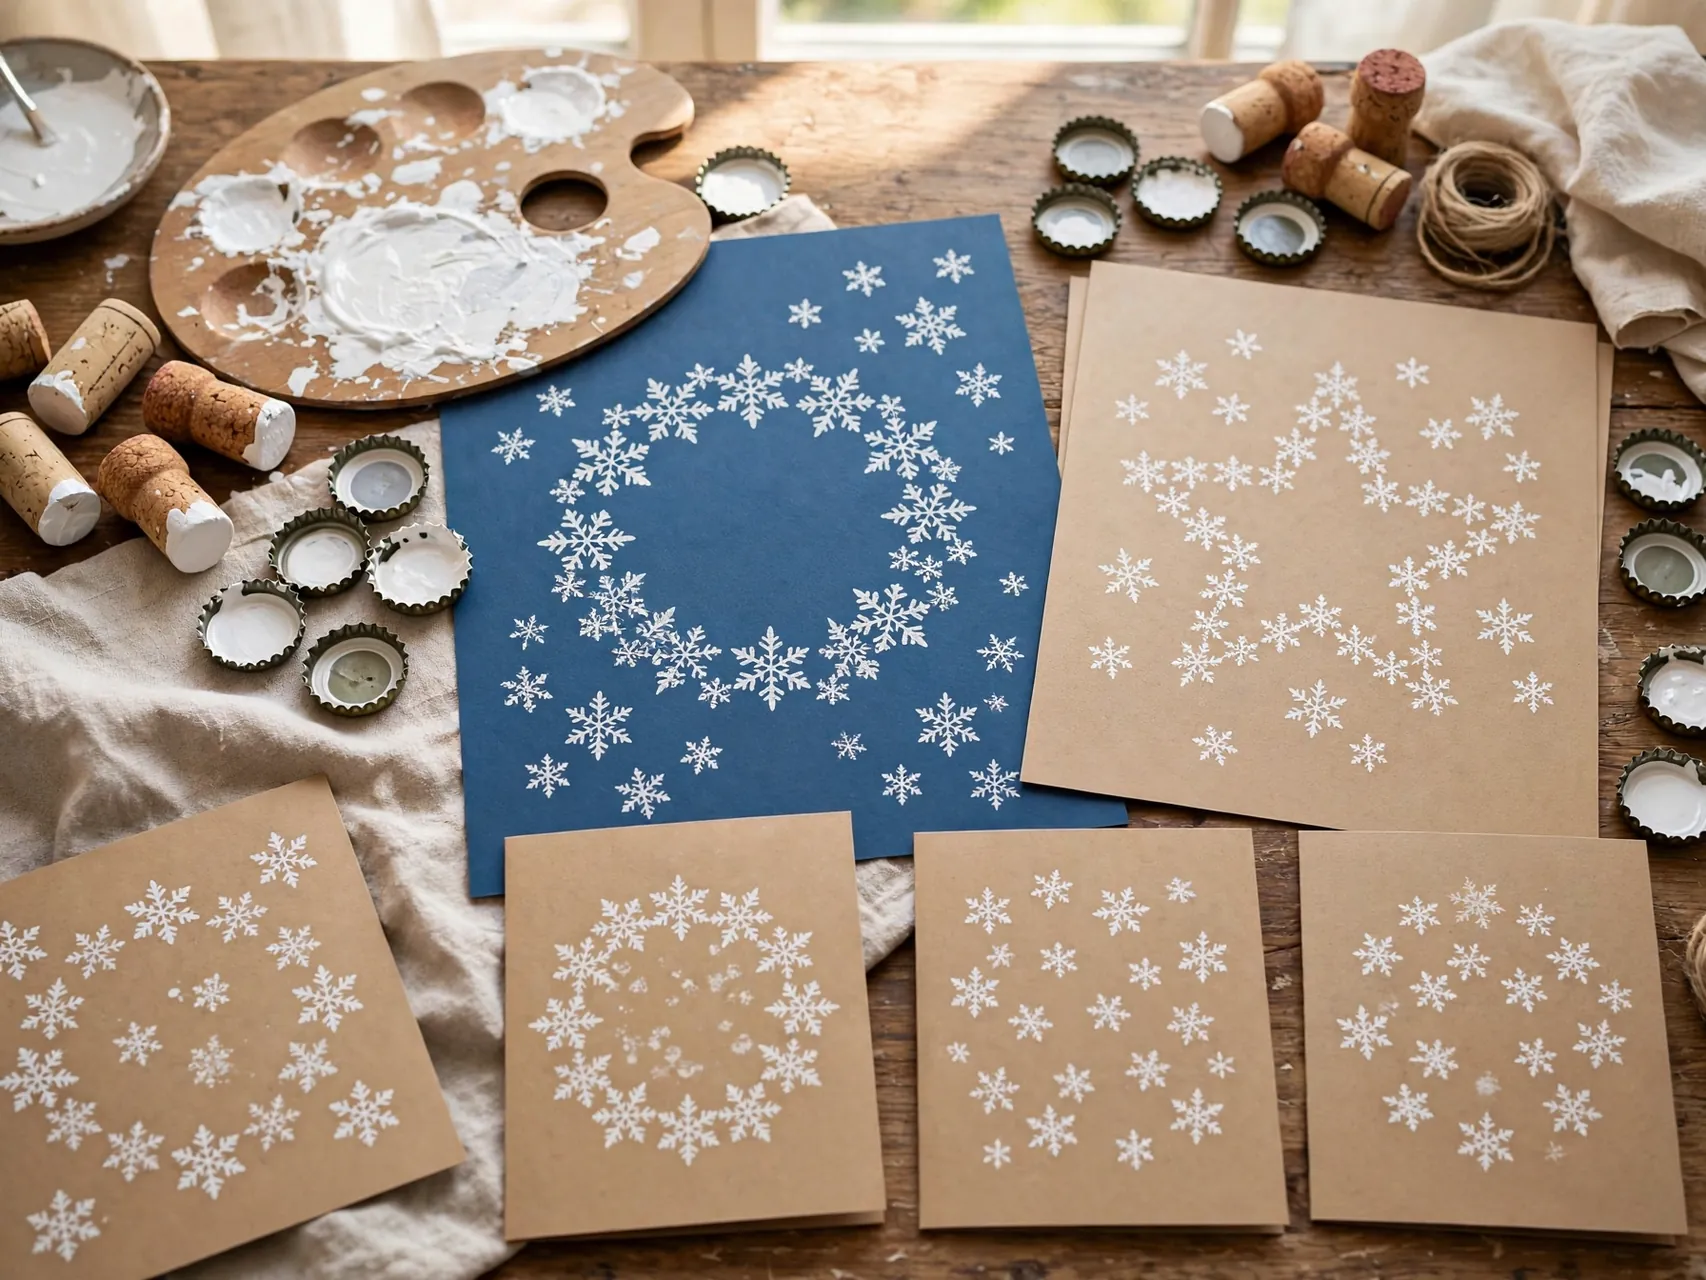
Dip corks, bottle caps, and the ends of cardboard tubes into white paint and stamp circles and rings in a loose six arm pattern. Overlap large and small prints so each snowflake looks layered, and add a dot center to pull the design together.
Stamping suits mixed age groups because toddlers can stamp freely inside a big drawn circle while older kids plan precise patterns. Use non-toxic washable paint and recycle your stamps afterward. Stamped flakes on long paper runners make a beautiful table covering for a winter birthday or holiday meal.
15. Weave Paper Strip Snowflakes
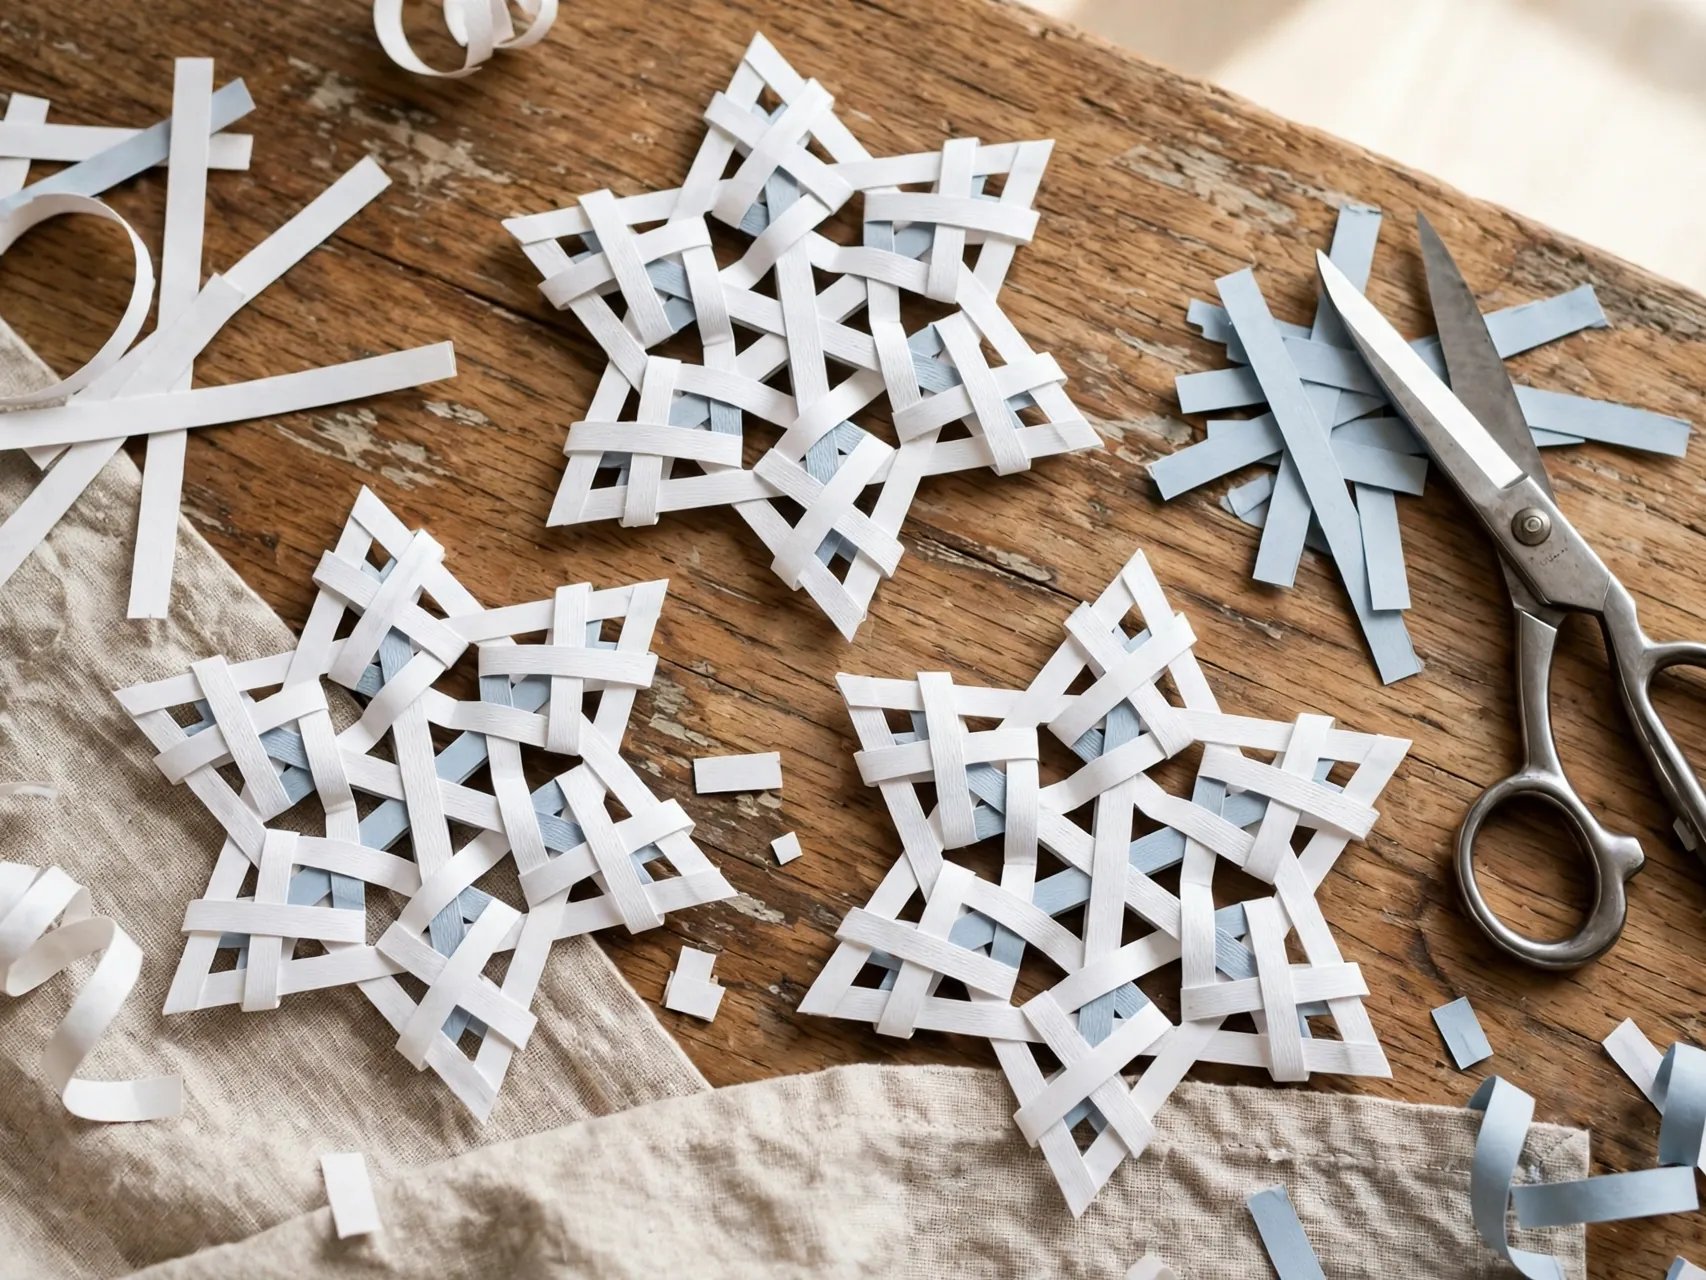
Cut paper into even strips and weave them over and under into a small mat, then trim the mat into a hexagon or star shape, or arrange woven strips into a six point star and glue the joins. The woven texture catches light differently from flat paper crafts.
Weaving takes patience, so this suits elementary age kids and up. An adult can pre-cut strips and start the first row for a child who wants to try. Keep glue dots handy for loose ends. Woven snowflakes look sophisticated in silver or pale gold paper and make thoughtful handmade gifts for teachers.
16. Make Puffy Paint Snowflakes That Dry Raised
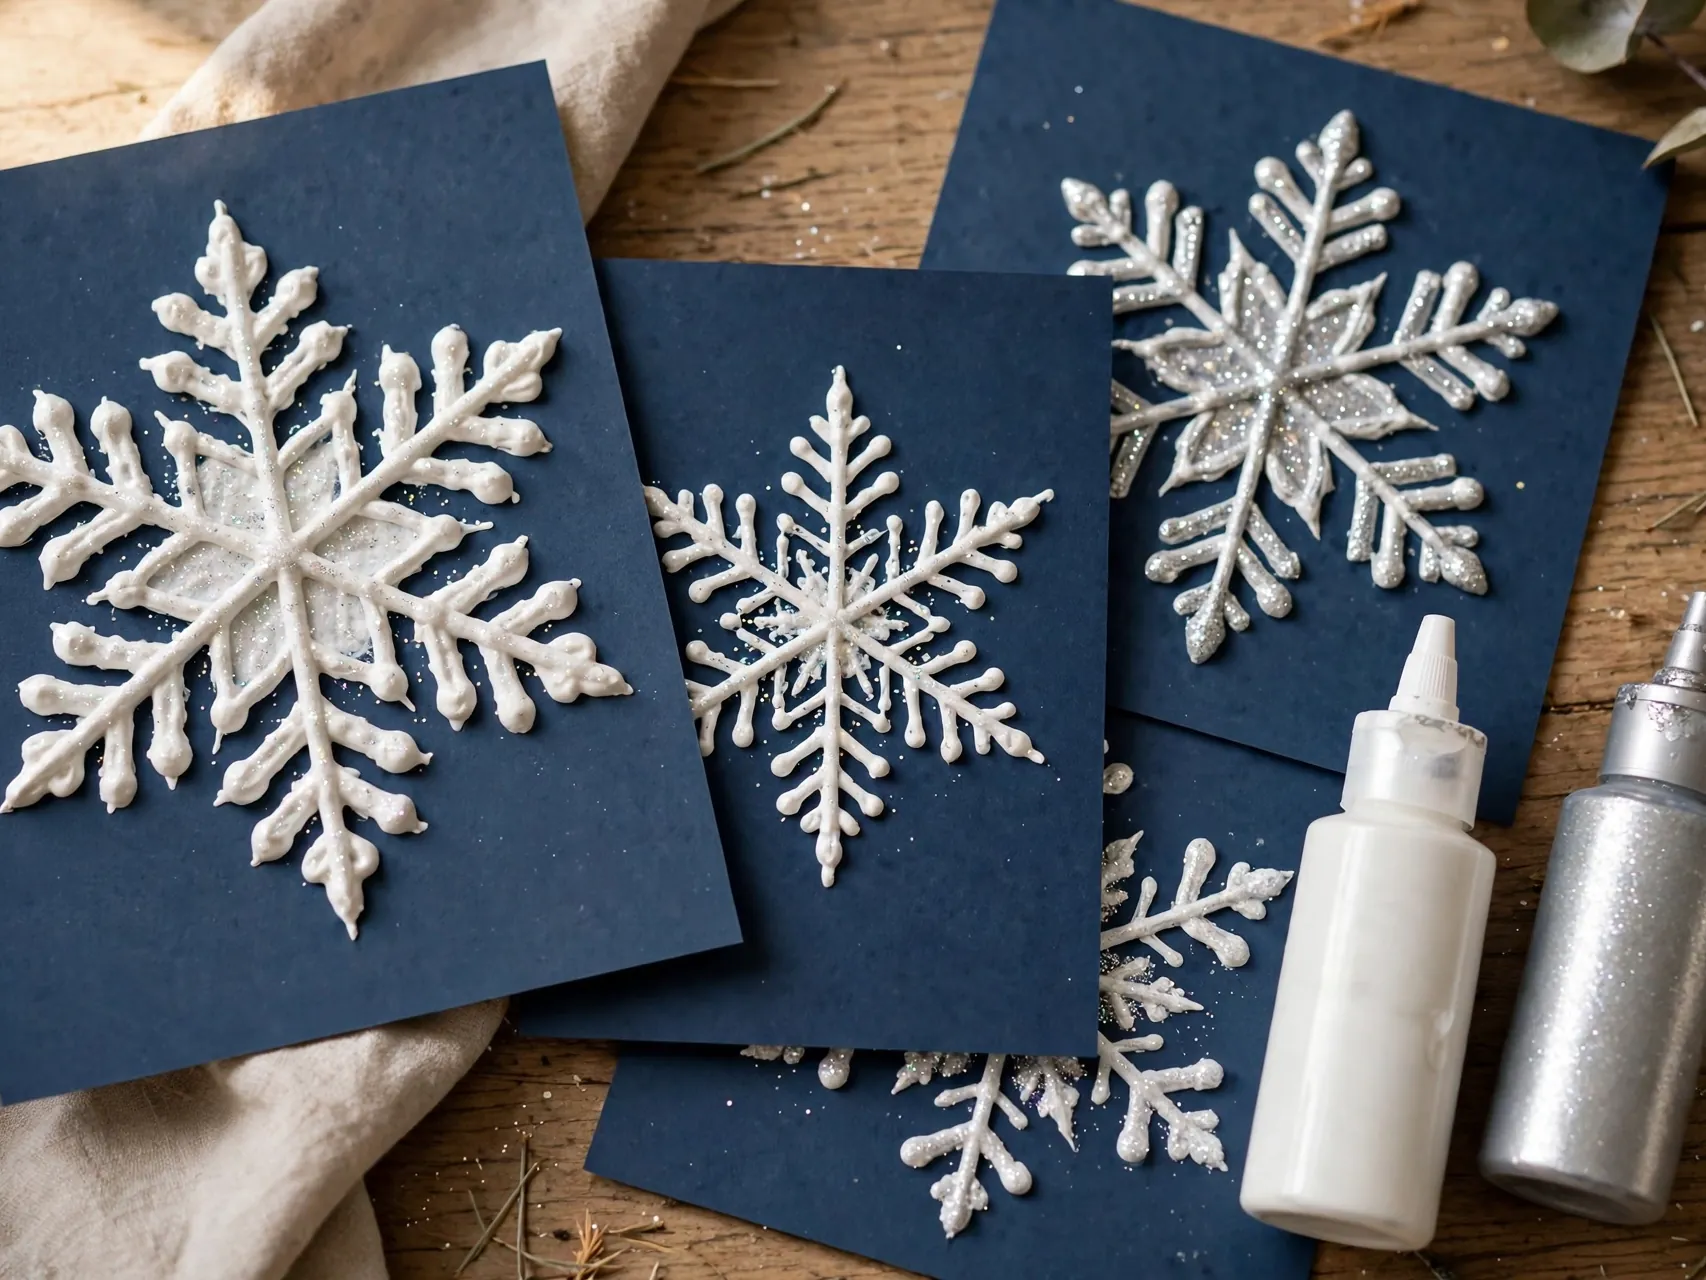
Squeeze puffy paint or a glue and shaving cream style puffy mixture from a bottle in snowflake lines on wax paper or dark card. The lines dry raised and soft looking, like piped frosting, and flakes on wax paper can be peeled and hung once fully dry.
Adults should mix any homemade puffy recipe and check that all ingredients are non-toxic before children use it. Thick lines need a long, undisturbed drying time, so park finished pieces somewhere safe overnight. These tactile flakes are a hit with children who learn by touch.
17. Fold Tissue Paper Snowflakes for Garlands

Tissue paper folds into soft, translucent snowflakes that flutter when you walk past. Fold small squares, cut simple shapes with safety scissors, unfold gently because tissue tears easily, and thread finished flakes onto string for a garland.
A snowflake garland across a bedroom doorway or classroom wall changes the whole room for almost no cost. Younger children can decorate garland flakes with sticker dots instead of cutting. Keep tissue crafts away from candles and heat sources, as with all paper decor, and store garlands flat between cardboard so they last.
18. Create Snowflake Window Clings With Glue
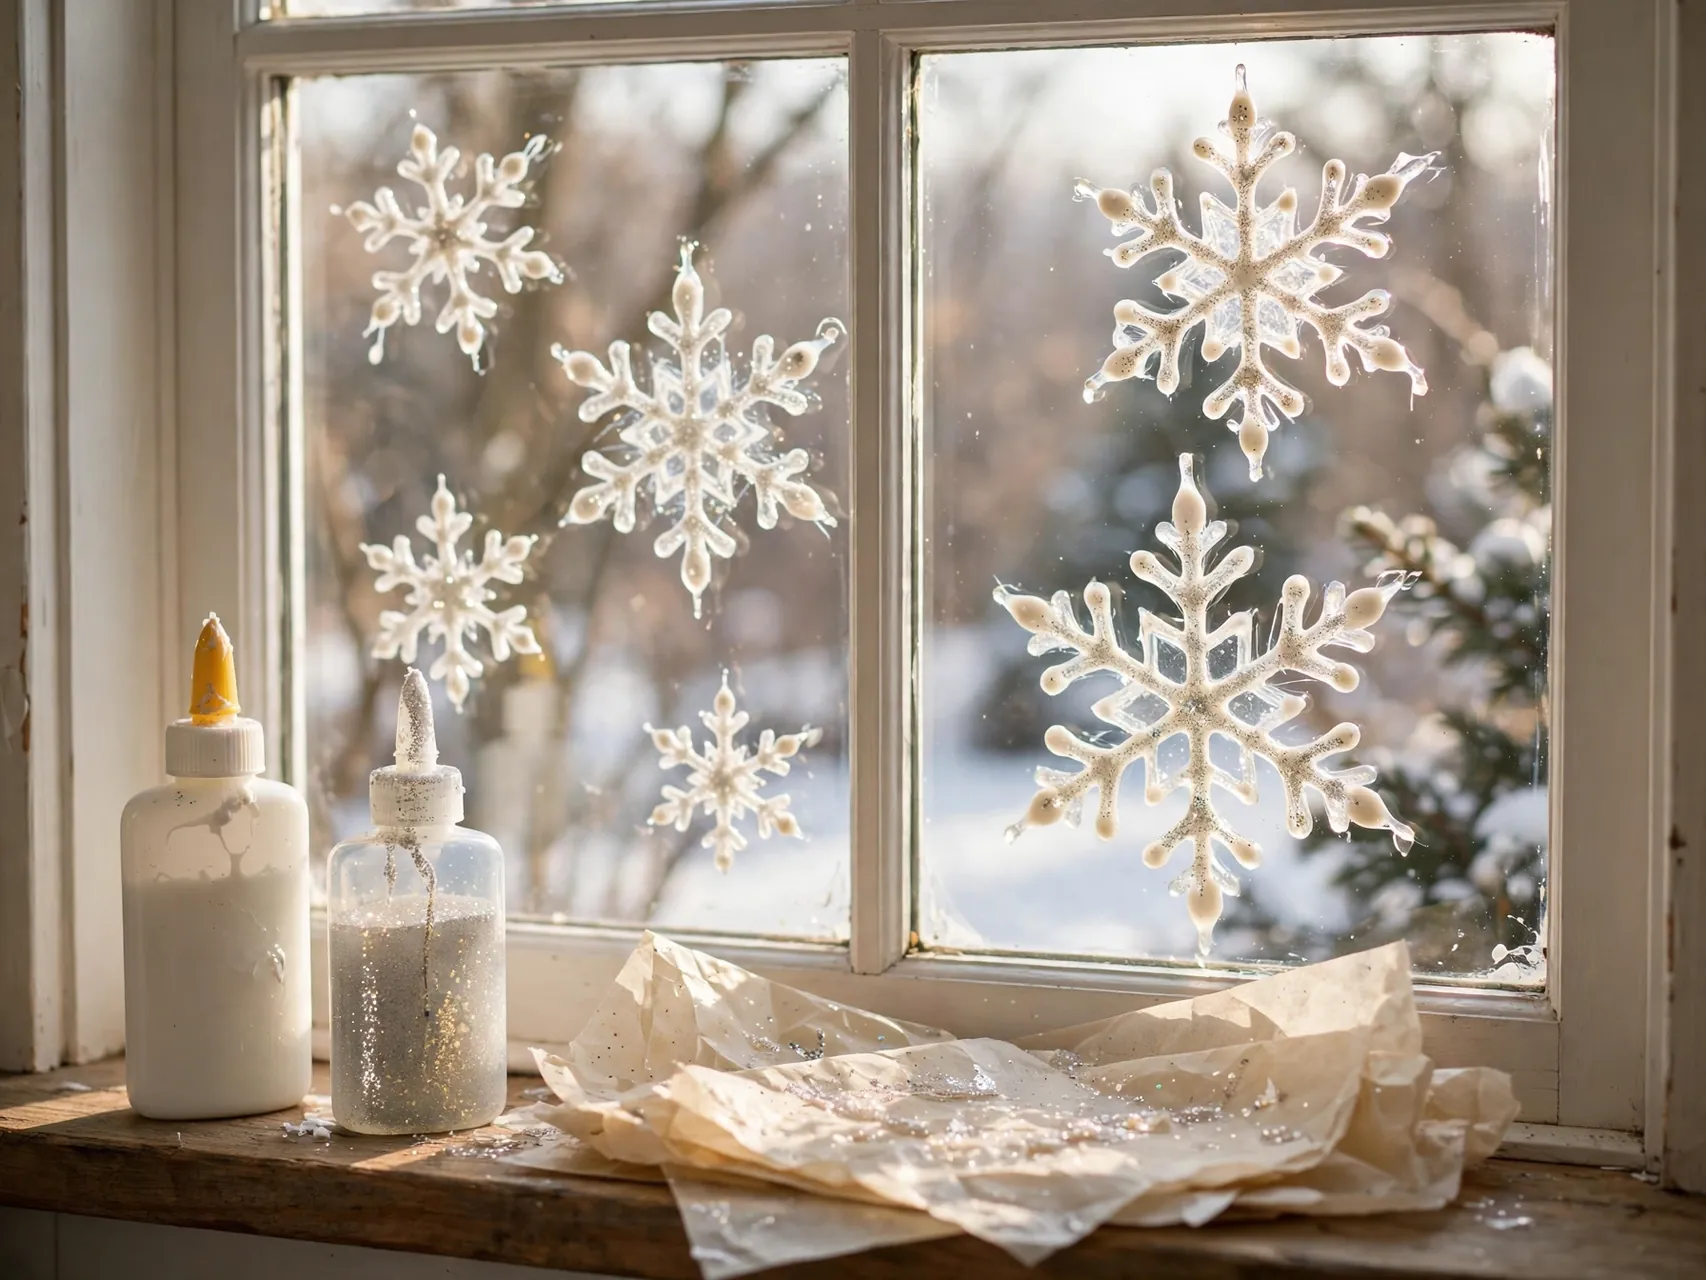
Draw snowflakes with white glue or glitter glue on a smooth plastic sheet or wax paper placed over a template. Let them dry completely until the glue turns clear and firm, peel them off, and press them onto a window where they cling on their own.
Peeling day feels like magic, but it requires patience, because thin lines tear if you rush them. Adults can outline the design and let children fill and decorate. Window clings leave no mess on glass, store flat in a folder, and can come back out every winter, which makes the wait worthwhile.
19. Paint Salt Snowflakes With Watercolor Resist
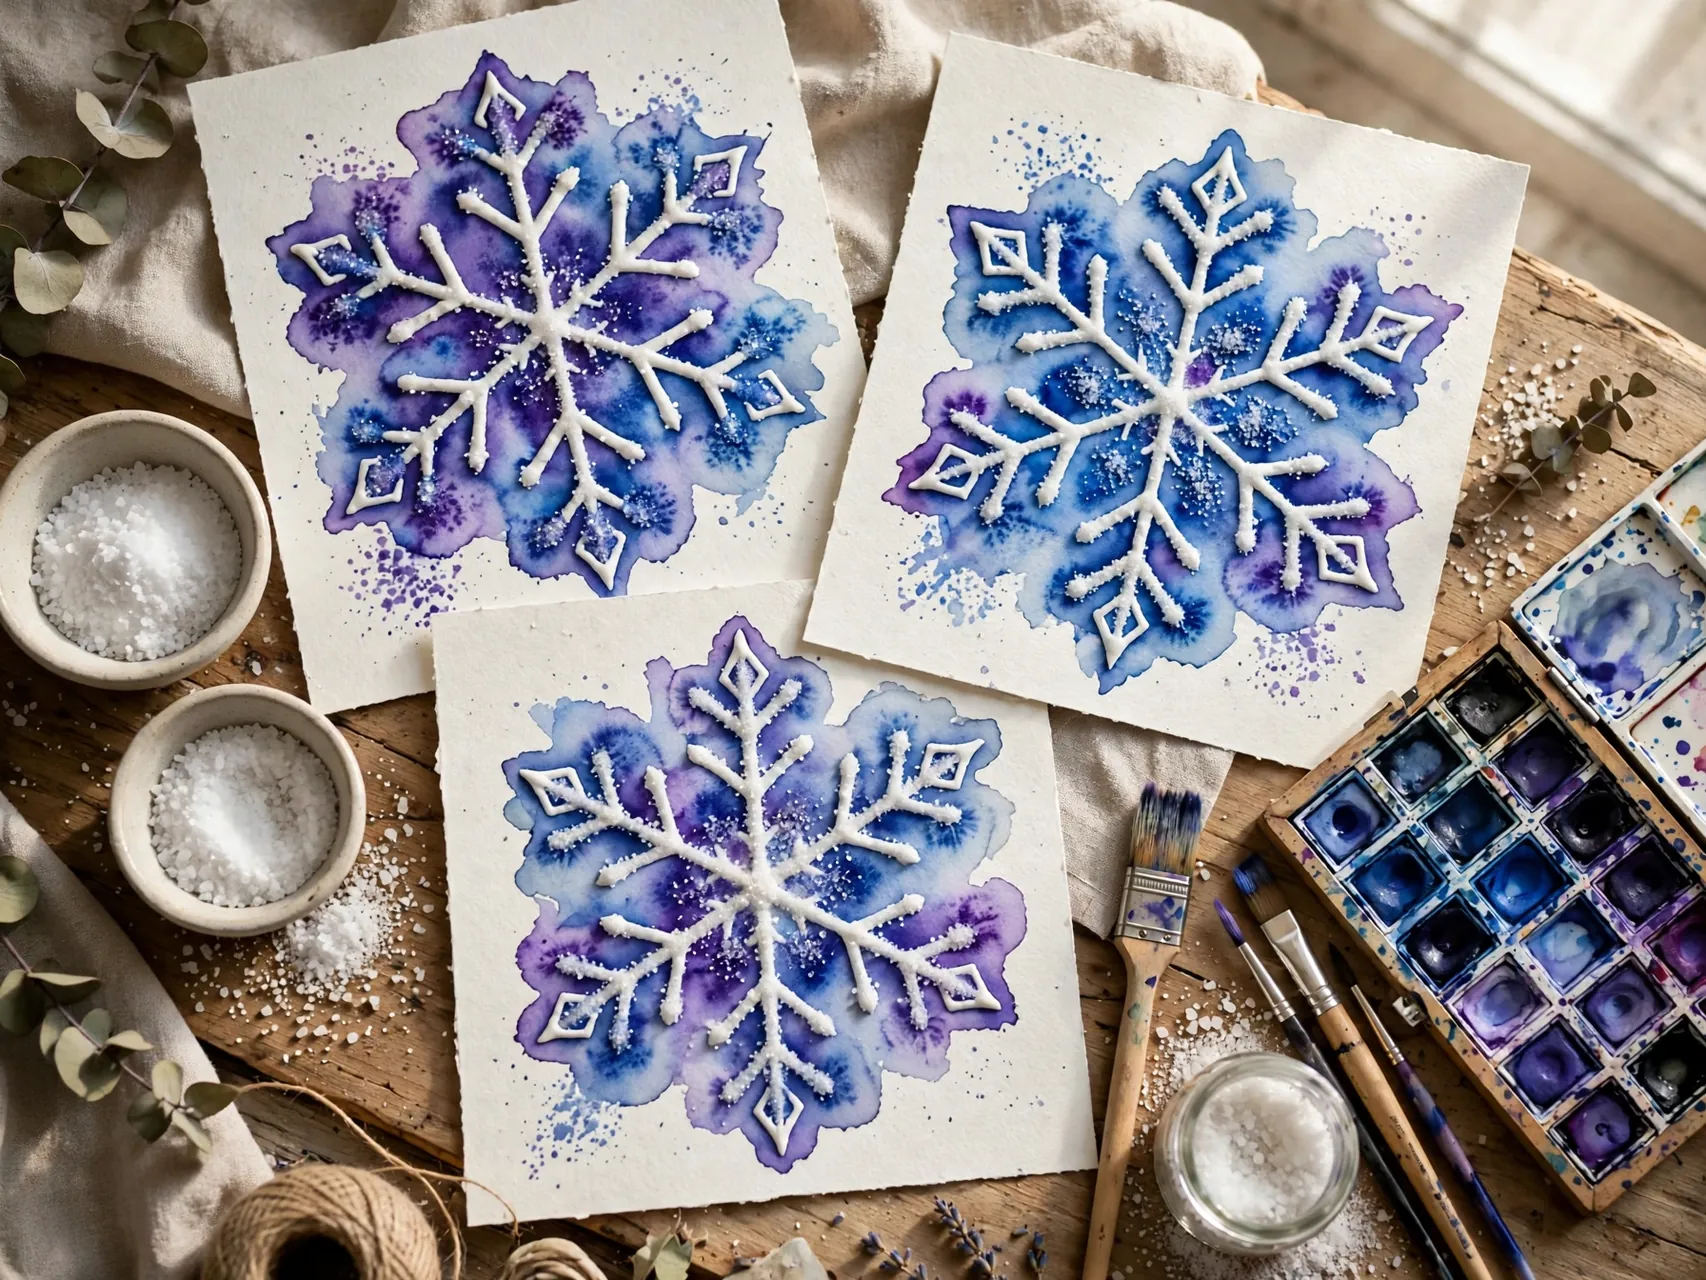
Draw a snowflake in thick lines of white glue on watercolor paper, sprinkle table salt over the wet glue, shake off the extra, and touch watercolor paint to the salt lines. The color travels along the salt and leaves a sparkling, crystalline edge as it dries.
This craft doubles as a tiny science lesson about absorption, and the sparkle is real salt crystal texture, no glitter needed. Keep salt art away from babies and pets, display it rather than playing with it once dry, and wash hands after. Frame the best one, because these look genuinely beautiful.
20. Assemble Marshmallow and Pretzel Snowflakes
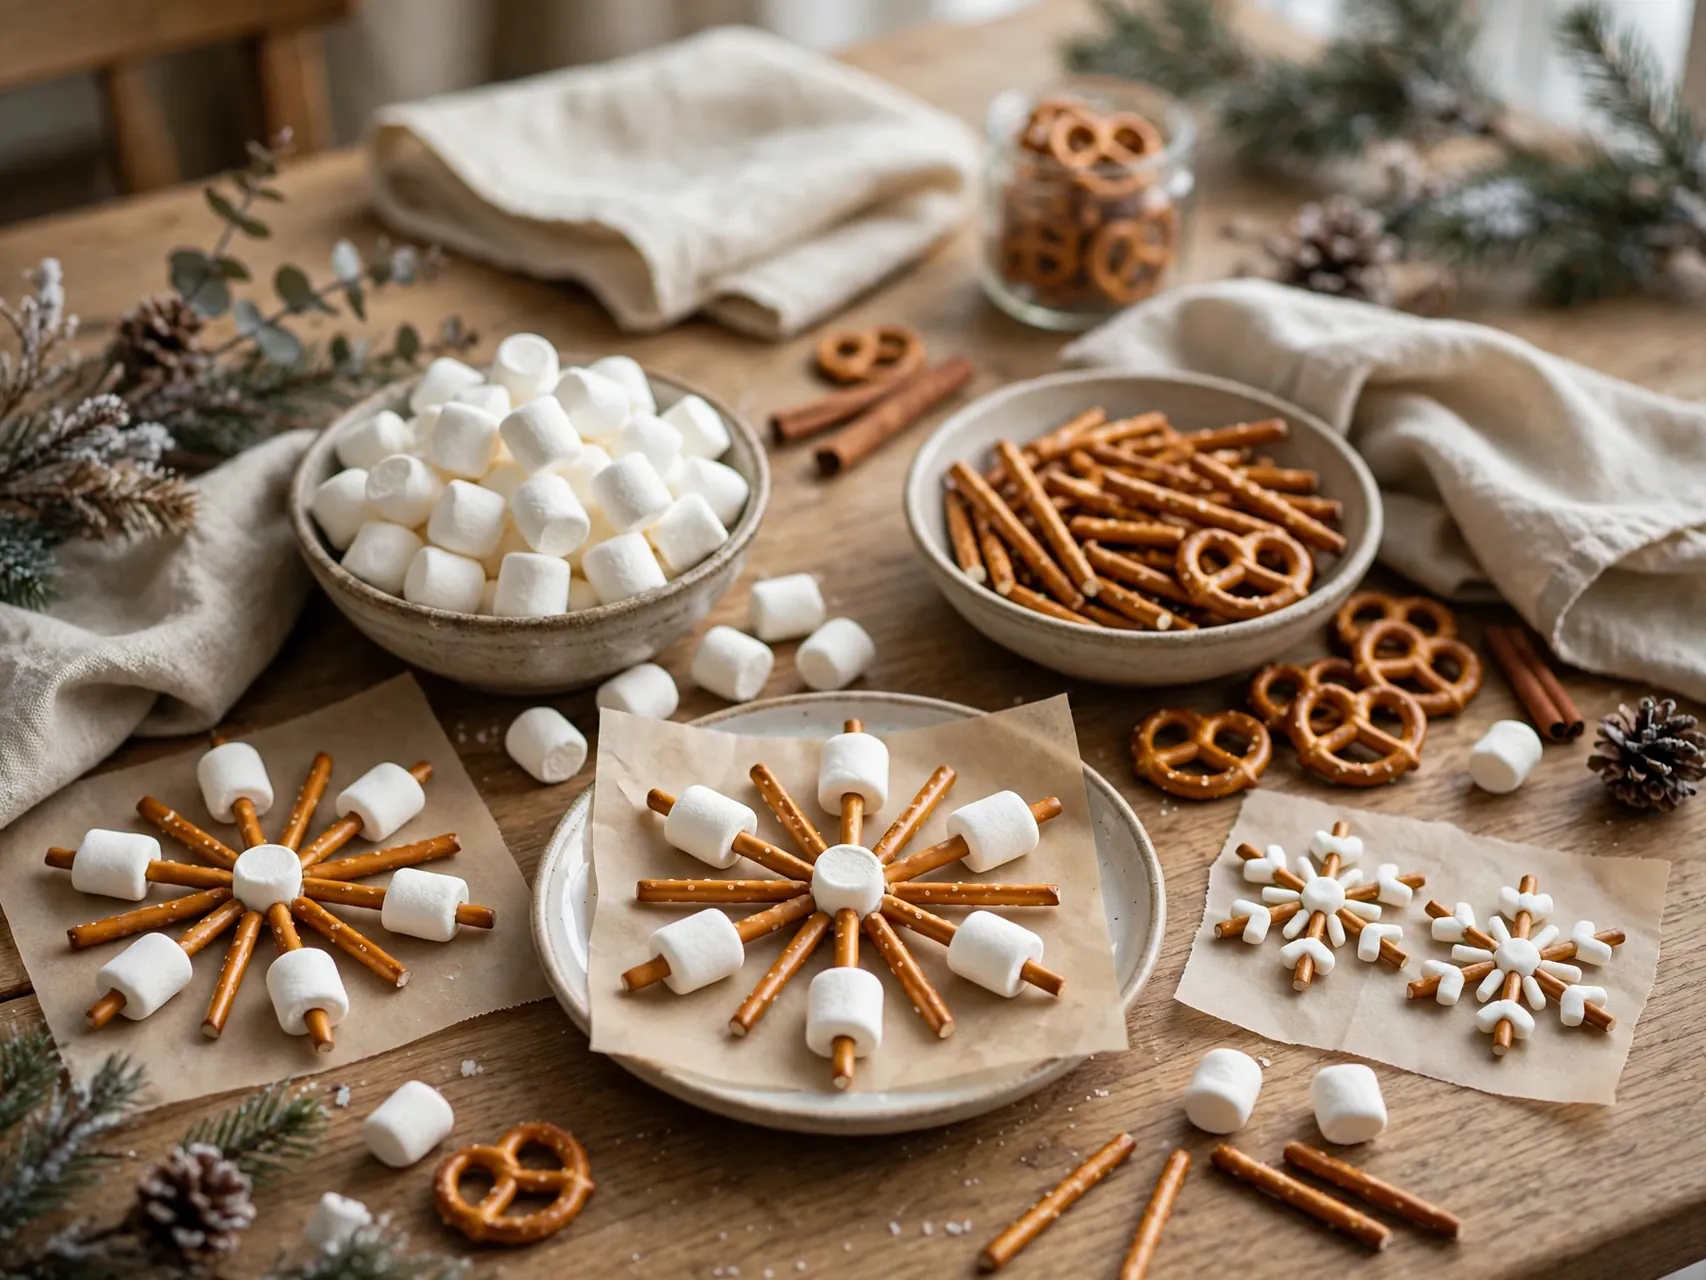
For a building challenge, arrange pretzel sticks in a six arm star and join them at the center with a marshmallow, then add mini marshmallows along the arms. Children design, count, and problem solve their way to a snowflake they can admire, photograph, and then dismantle.
Keep this as a building and counting activity at the table with clean hands, and let an adult decide what happens to the food pieces afterward based on how they were handled. It is a good reminder that winter crafts for kids can build math and engineering thinking, not just art skills. Wash hands before and after.
21. Host a Snowflake Craft Morning and Display Them All
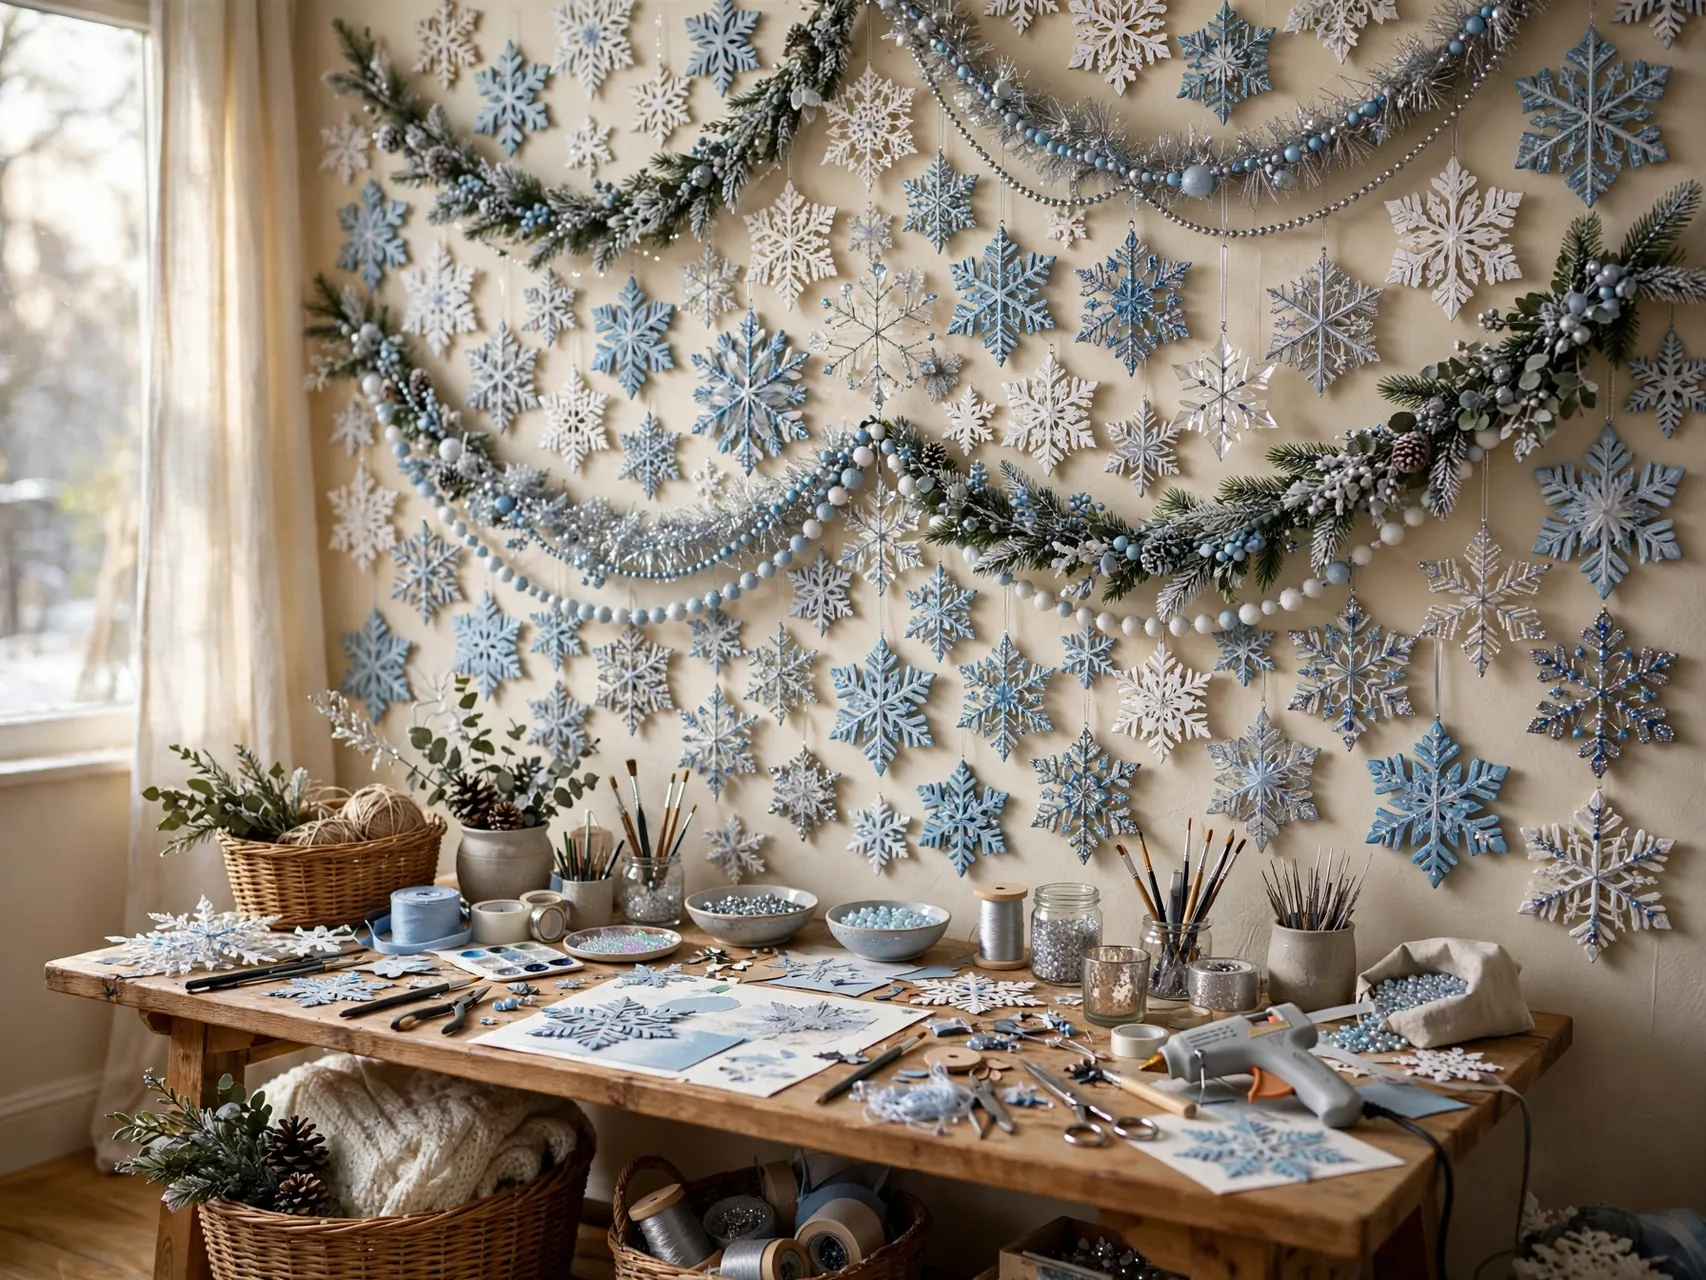
Finish the season by setting out three stations, one cutting, one gluing, one painting, and letting children rotate with a grown up at each table. In one morning you can fill a whole wall, window, or hallway with flakes in every style from this list.
String a line across the display area, clip flakes up with clothespins as they dry, and label each with a name and age. Take a photo of the maker beside their favorite flake. A shared display teaches children that snowflake activities for preschoolers and big kid science flakes belong side by side, each one different, like the real thing.
FAQ
What age can kids start making snowflake crafts?
Toddlers and preschoolers can start with sticker flakes, cotton ball painting, fork stamping, and Q-tip arranging, where an adult pre-cuts and the child places and paints. Folding and cutting paper snowflakes usually suits ages 5 and up with safety scissors, and detailed crafts like beading and weaving suit elementary age children.
What are the safest scissors and supplies for snowflake crafts?
Choose blunt tipped safety scissors sized for your child hand, non-toxic washable paint and glue, and paper that is not too thick for small hands. Adults should pre-cut for children who are frustrated by cutting, handle all craft knives and hot glue, and keep small parts like beads and sequins away from children under 3.
How do I teach kids that snowflakes have six sides?
Build one arm of a design together, then copy it six times around a center point, counting out loud as you go. Paper folding does the same job: the classic fold creates six sections, so the unfolded flake shows six matching parts. Building block and Q-tip snowflakes make the counting especially clear.
How can I display lots of paper snowflakes without damaging walls?
Hang flakes from thread taped to window frames or strung on a line with clothespins, use removable hooks for giant bag snowflakes, and press flat flakes under clear contact paper on windows as suncatchers. Avoid tape on painted walls where possible, and keep paper crafts away from candles and heaters.
Are borax crystal snowflakes safe for kids to make?
Borax snowflakes are an adult led science craft. Adults handle the borax and all boiling water, children design the pipe cleaner shape and watch crystals grow. Finished crystals are decor only, hang them out of reach of young children and pets, do not let children handle them with wet hands or put them near mouths, and wash hands after touching.
Key Takeaways
- Match the craft to the age: Stickers, stamping, and dabbing for little ones, cutting, weaving, and beading for older kids.
- Safety setup stays the same: Non-toxic supplies, safety scissors, adults on hot glue and boiling water, small parts away from under 3s.
- Six arms teach symmetry: Build one arm, copy it six times, and children learn the science while they craft.
- Everyday materials win: Coffee filters, paper plates, cotton swabs, and paper bags become the prettiest flakes in the window.
- Display is the payoff: A line, some clothespins, and a window turn one craft session into a whole winter scene.
- Making flakes this weekend? Save these easy snowflake crafts to Pinterest and pin the first one your kids will try.