25 Salt Dough Ornaments for a Handmade Christmas Tree
Introduction
Three pantry ingredients, one rolling pin, and a table full of cookie cutters are all it takes to fill a tree with ornaments that carry real memories. Salt dough ornaments are the handmade classic that families return to because every shape can become a handprint, a name, a pet paw, or the star that goes at the very top. The widely used recipe is simple: mix 2 cups of all purpose flour with 1 cup of fine salt and about 1 cup of water, kneaded until smooth, or the larger 4 cups flour to 1 cup salt to 1.5 cups water batch for a crowd. Roll near a quarter inch thick, cut your shapes, add a straw hole for hanging, and dry them at a low oven temperature around 200 to 250 degrees F until firm, or air dry them for several days. Salt dough is not edible, for people or for pets, and the high salt content can be harmful if a pet eats it, so hang ornaments out of pet reach and store them away from animals.
1. Mix the Classic Dough and Learn Its Feel

Stir the flour and salt together first so the salt spreads evenly, then add the water a little at a time and knead for several minutes until the dough is smooth, soft, and no longer sticky. Add flour a spoonful at a time if it clings, or water a teaspoon at a time if it cracks.
Rest the covered dough briefly while you set out cutters. Dough that feels like soft play dough rolls cleanly and cuts sharply.
2. Roll Evenly and Cut Clean Shapes

Roll the dough between two sheets of parchment or on a lightly floured surface to about a quarter inch thick, lifting and turning it once so it does not stick. Even thickness is the quiet secret of ornaments that dry flat instead of puffing or curling.
Press cutters straight down and lift straight up for clean edges. Reroll scraps gently and keep every shape the same thickness, because mixed thickness means mixed drying times.
3. Add Hanging Holes and Texture Before Drying

While the shapes are soft, push a drinking straw or skewer through the top of each ornament to make a clean hanging hole, leaving a small border so the hole does not tear out later. This two second step is the one beginners forget and regret at decorating time.
Press texture now too: a fork edge, a stamp, a sprig of greenery, lace, or the tines of a comb all print beautifully into salt dough. Texture added before drying survives painting and gives even plain white ornaments a crafted, detailed surface.
4. Make Baby and Child Handprint Keepsakes
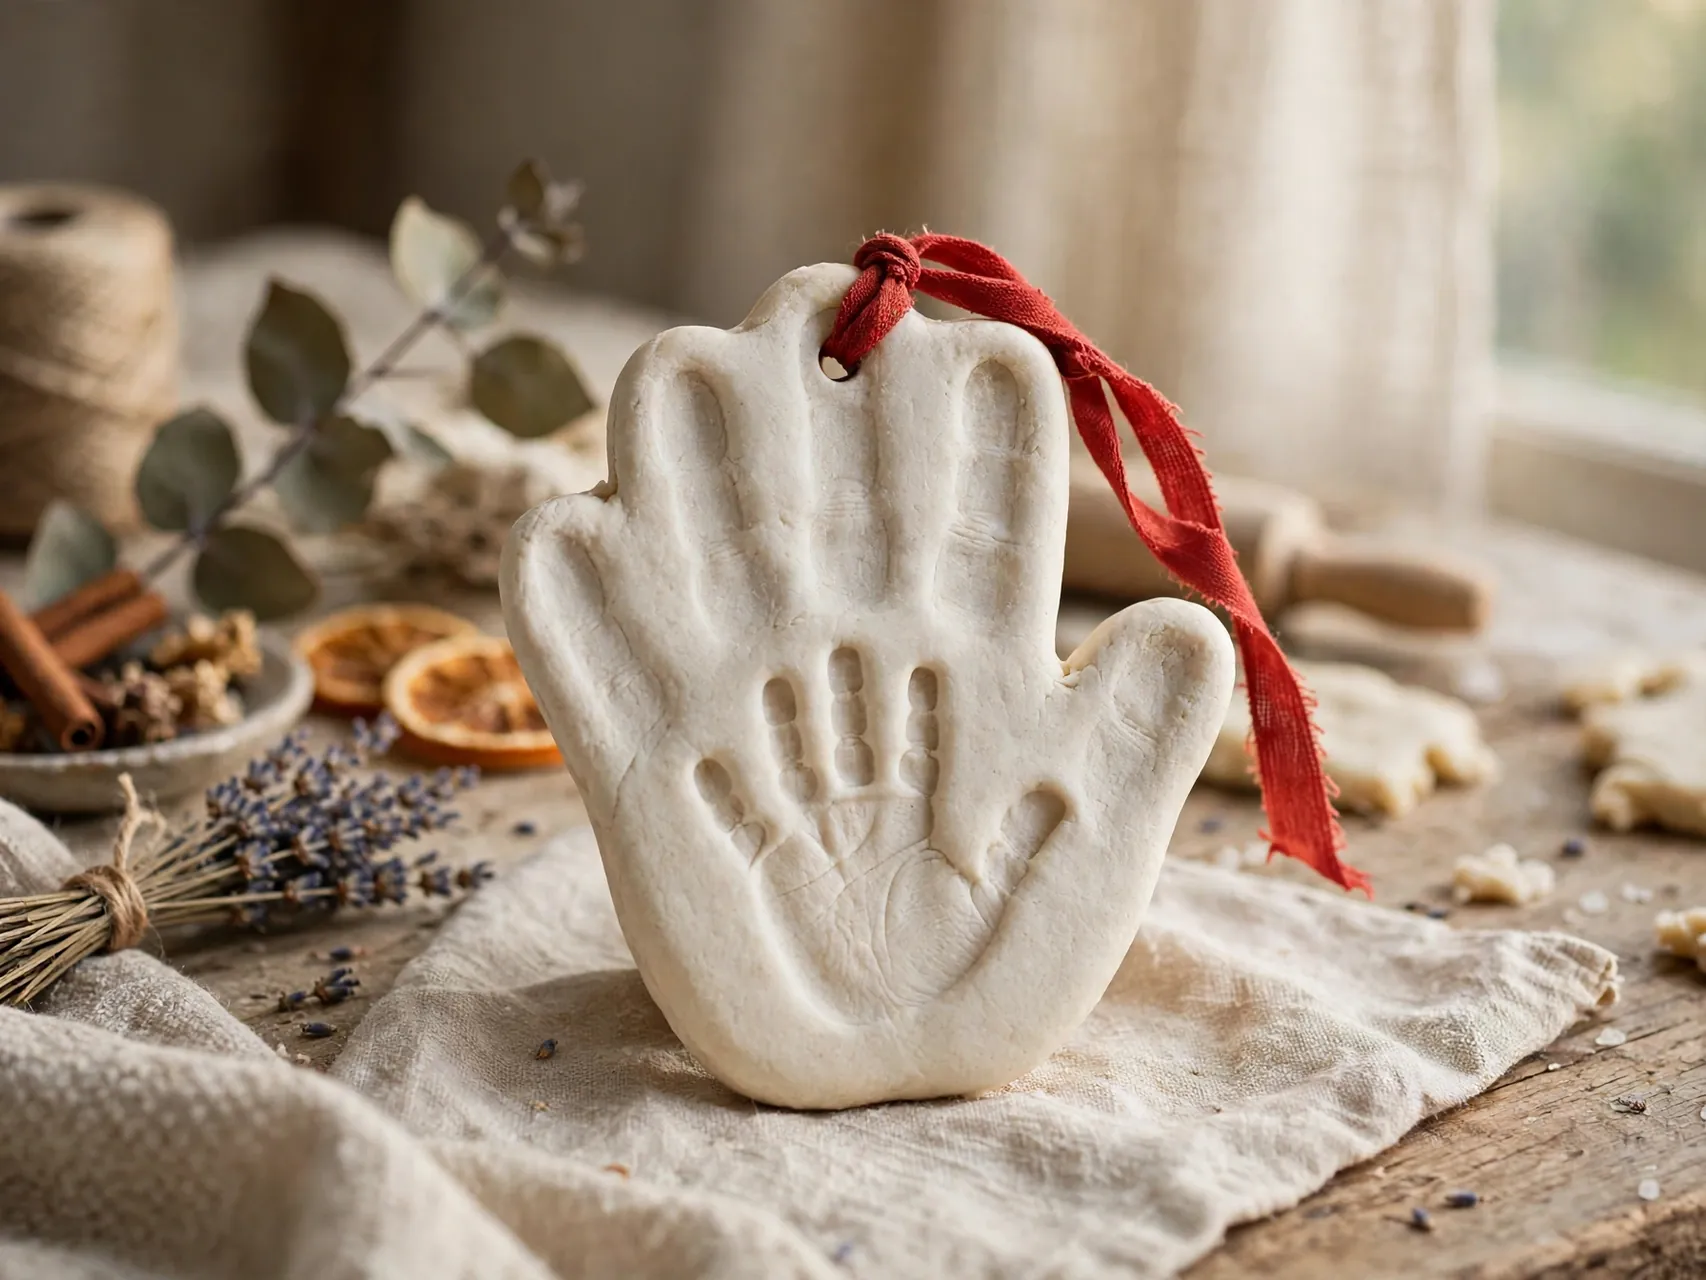
Roll a thicker round or heart, press a small hand gently and evenly into the center, and add the hanging hole above the print. Write the name and year beside the print with a toothpick before drying, while the dough still takes a mark easily.
Handprints are the ornaments families keep longest, so dry them slowly and seal them well after painting. A yearly row of growing hands becomes the most loved garland on the tree.
5. Press a Pet Paw Print With Care

For a pet keepsake, press one paw gently into a rolled round, reward the pet, and clean the paw right away with warm water, because the dough is salty and should not be licked or eaten. Work quickly, keep the dough itself away from the pet mouth, and discard any dough the pet has tasted.
Paint the paw pads in a contrasting color once dry and add the pet name and year. Hang paw print ornaments high on the tree and store the whole ornament box where pets cannot reach it between seasons.
6. Cut Classic Stars in Three Sizes

Stars are the shape salt dough does best. Cut a set in three sizes from the same batch, dry them together, and paint them in one palette, all white with gold edges, soft red, or sage green, so they read as a set across the whole tree.
Large stars carry a name or a year, medium stars take texture, and small stars fill gaps near the top of the tree.
7. Shape Gingerbread Style People and Houses

Cut gingerbread people and house shapes, dry them plain, then paint them to look iced: brown bases with white paint pen details for cuffs, buttons, roofs, and window lines. The gingerbread look needs no real baking skill, only a steady hand and a fine brush.
Remember that these are decorations, not food, and label the storage box clearly so no one mistakes them for cookies.
8. Make Snowflakes That Will Not Melt

Cut snowflake shapes or press a snowflake stamp into rounds, then paint them white with the faintest blue or silver at the edges. A dusting of fine glitter over wet paint or glue gives the frost sparkle that catches tree lights from across the room.
Snowflakes suit every palette and make pretty window hangings too. Flat and light, they are also the easiest ornaments to post to family far away.
9. Roll Cinnamon Scented Dough for a Warm Brown Set

Stir cinnamon into a batch of dough for a warm brown color and a gentle scent, rolling and cutting it exactly like the plain batch. The brown dough suits hearts, stars, reindeer, and gingerbread shapes that look lovely with only twine and no paint at all.
Keep scented ornaments stored separately so the fragrance does not transfer to painted pieces.
10. Stamp Names for Personalized Place Ornaments

Roll rounds or tags, stamp each family member name into the soft dough with letter stamps or a toothpick, and add the hole at the top. After drying, rub a little paint into the letters and wipe the surface so the name stands out in the grooves.
Name ornaments work as decorations, gift tags, and place markers in the same season.
11. Create a Wreath Ornament With a Bow

Cut a ring with two round cutters, one large and one small for the center, then texture the ring with small cuts or pressed dots to suggest greenery. Dry it flat, paint it deep green, and add tiny red dots for berries once the base coat is dry.
Finish with a small ribbon bow glued at the top beside the hanging twine. Wreath ornaments frame a branch beautifully and look especially good in odd numbered groups of three or five on the same side of the tree.
12. Make Angel Ornaments From Simple Shapes

An angel needs only a triangle or bell shaped body, a small round head, and two wing shapes, all cut from one rolled sheet and assembled after drying with a little craft glue. Paint the dress white or cream and the wings with a touch of gold.
Angels carry names and dates gracefully on the dress, which makes them a thoughtful memorial or first Christmas ornament. Keep the design simple and the paint soft, because the calm silhouette is what makes an angel ornament feel timeless rather than fussy.
13. Cut Woodland Animals for a Forest Tree

Foxes, owls, deer, and bears cut from cookie cutters or a paper template turn a batch of dough into a woodland set. Paint them in rust, cream, brown, and sage, keep faces to two dots and a line, and the whole set looks carved rather than homemade.
Woodland salt dough ornaments pair with pinecone and greenery garlands and suit cabins and nature loving homes. Group the animals on the lower and middle branches where children can spot each one, at a height pets cannot reach.
14. Make a Nativity Set in Miniature

Cut simple figures, a star, stable shapes, figures, and animals, in a small matching scale, dry them thoroughly, and paint them in one soft palette. A miniature set can hang as individual ornaments or stand together on a shelf if the bases are cut flat.
Work over two evenings, cutting and drying on the first and painting on the second.
15. Press Lace and Fabric for Vintage Texture
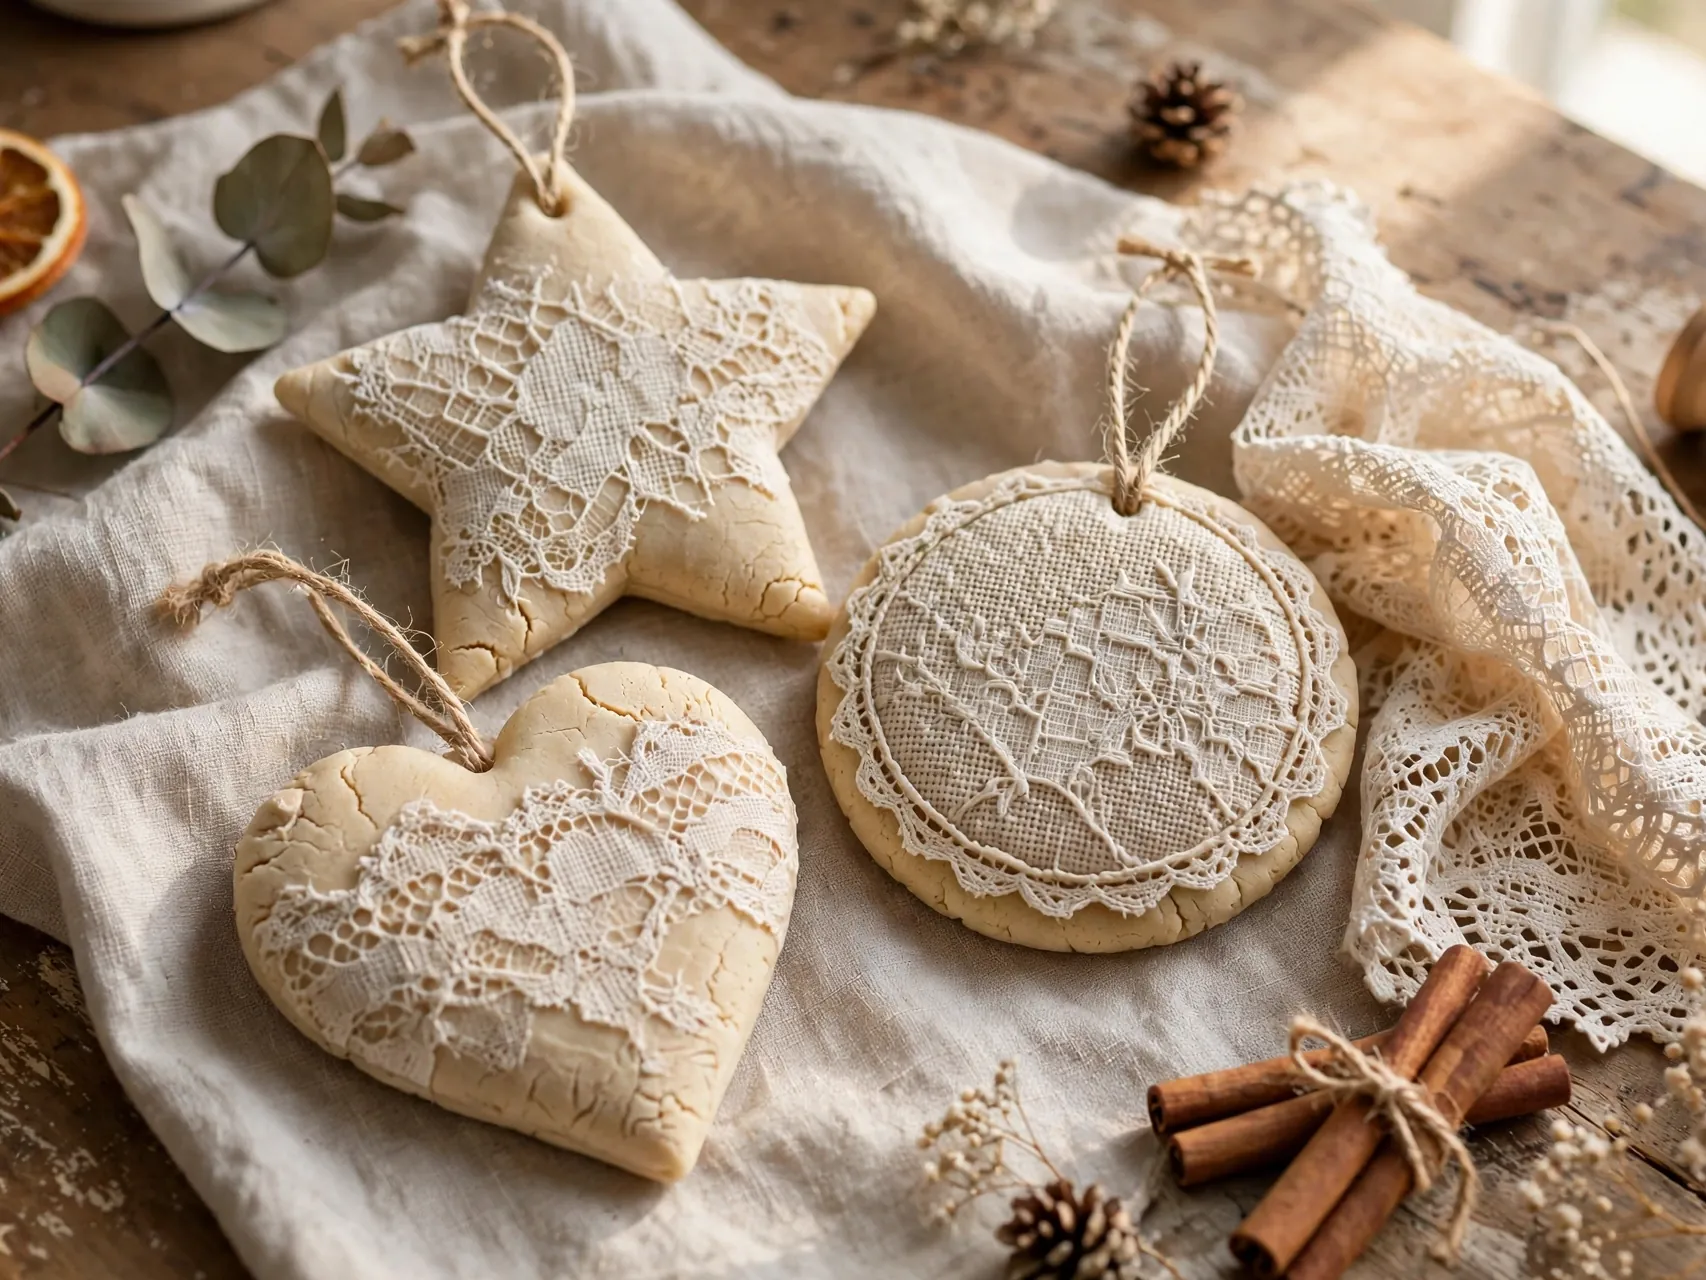
Lay a piece of lace, a doily, or textured fabric over the rolled dough and roll once more, gently, so the pattern prints into the surface, then cut your shapes so each one carries part of the design. Peel the fabric away slowly before drying.
Paint lace printed ornaments in cream, then rub darker paint into the pattern and wipe the top clean for an aged finish.
16. Make Photo Frame Ornaments for Grandparents
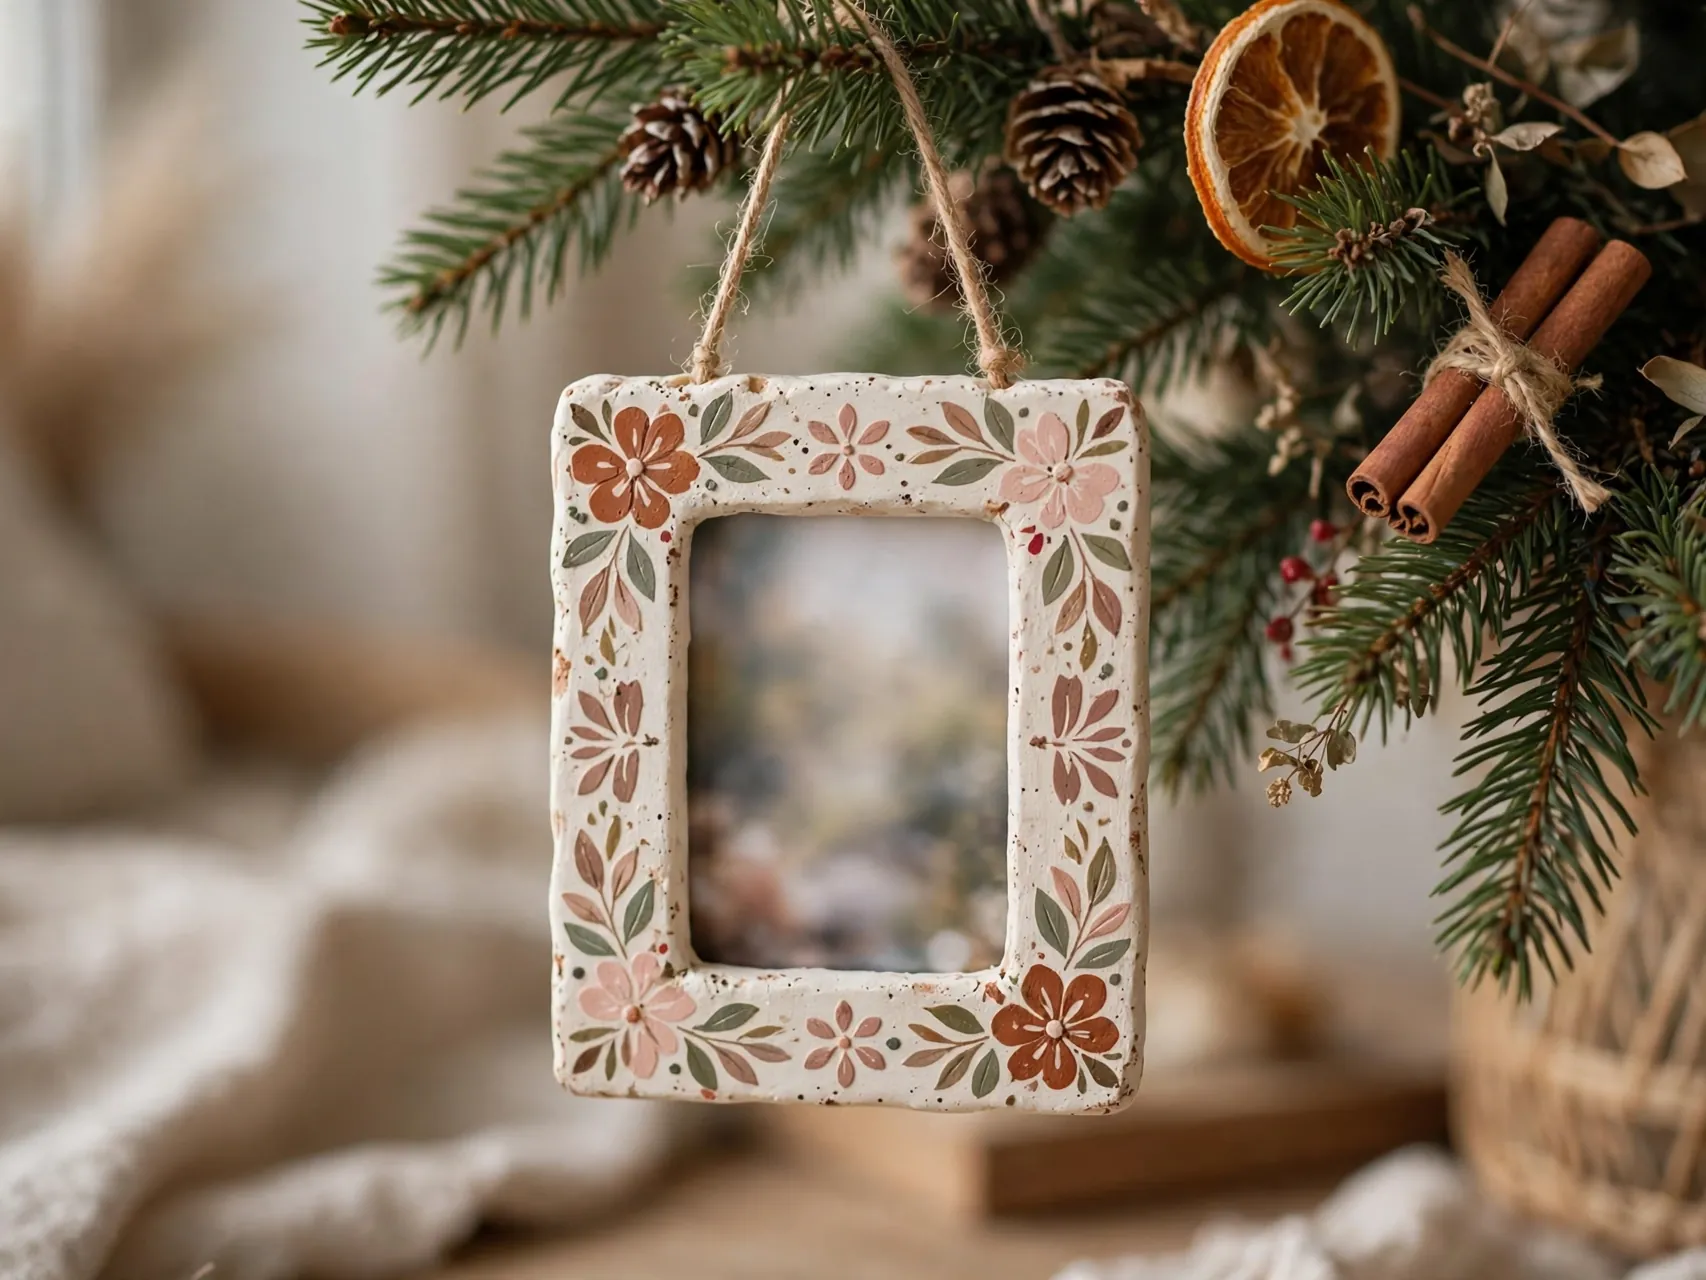
Cut a frame shape by removing the center of a round or heart with a smaller cutter, dry it flat, and paint it in the recipient favorite color. Once dry and sealed, fix a small printed photo behind the opening with tape or glue and add the hanging twine.
Write the year on the back before giving. Make one per grandchild for a complete set.
17. Paint a Scandinavian Red and White Set

Choose one palette and paint a whole batch in it: deep red and clean white, with simple stripes, dots, hearts, and stars. A strict two color set looks designed and calm, and it matches the red and white trees that never go out of style.
Paint bases on the first evening and details on the second, so coats stay neat.
18. Add Glitter and Gold for a Glam Set

Paint ornaments in cream, blush, or soft gray, then edge them with gold paint, add gold dots, or brush glue on one section and press in fine glitter. Seal glittered pieces well so the sparkle stays on the ornament and off the tree, gifts, and floor.
Glam dough ornaments prove the humble recipe can dress up for an elegant tree. Work glitter over a tray so the excess pours back into its pot, and keep these pieces for the upper branches where their shine meets the lights.
19. String a Salt Dough Garland for the Mantel

Make a batch of small matching shapes, stars, hearts, or rounds with a hole at each side or the top, dry and paint them in one palette, then thread them onto twine with wood beads or knots between each piece to hold the spacing.
Keep garlands away from heat and flames, and hang them where pets cannot jump for them.
20. Make Gift Tag Ornaments That Earn Their Keep

Cut tag shapes, stamp or paint a name on each, and tie them to this year gifts with ribbon. After the gift is opened, the tag moves to the recipient tree as an ornament, so one small make does two jobs in the same week.
Gift tag ornaments solve the prettiest problem in wrapping, the throwaway tag, and they cost pennies each from one batch of dough. Make a full alphabet worth of blanks early in December and personalize them as each gift is wrapped.
21. Dry Ornaments Slowly for the Strongest Finish

Whether you bake at a low temperature or air dry, slow and complete drying is what makes ornaments hard, flat, and long lasting. Turn oven dried pieces once if your recipe suggests it, and give air dried pieces several days, turning them so both sides dry evenly.
An ornament that feels cool or heavy for its size still holds moisture, so give it more time rather than painting too soon.
22. Seal and Paint With Simple, Lasting Finishes

Paint only on fully dry, cool ornaments, using acrylic paint in thin coats, and let each coat dry before adding details with a fine brush or paint pen. Two thin coats always look better and last longer than one thick, sticky one.
Finish with a clear craft sealant if you want shine and extra protection, following the sealant label and letting it cure fully before hanging. Sealed ornaments wipe clean after storage and keep their colors bright through many seasons of careful handling.
23. Store Them Dry So They Last for Years
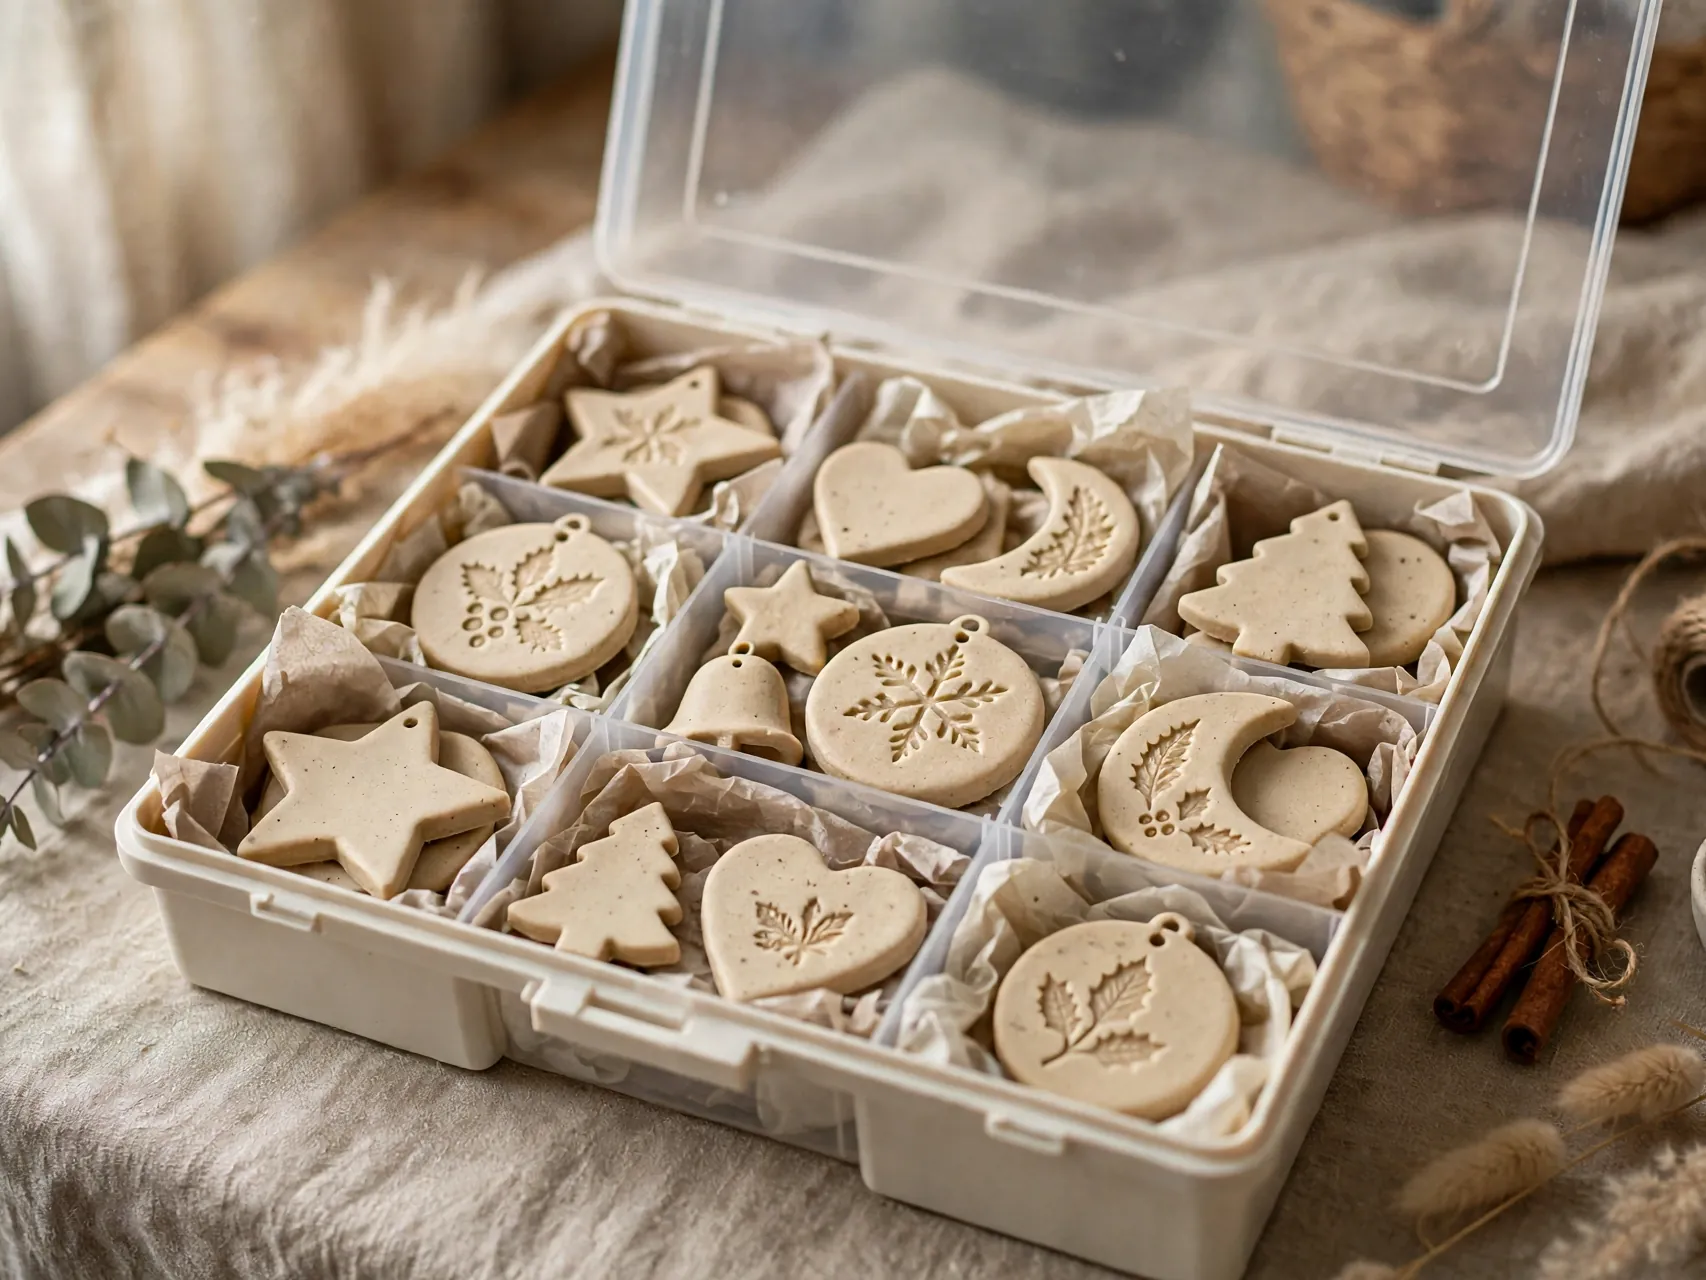
Wrap finished ornaments in tissue, layer them in a sturdy box with card between the layers, and store the box in a cool, dry place inside the home rather than a damp garage or attic. Add a note in the box lid if any piece is a dated keepsake.
Check the box each year and set aside any piece that feels soft or smells musty.
24. Give a Handmade Set as the Gift Itself

Box a set of six or eight painted ornaments in tissue inside a simple gift box, add a card with the year and a line about who made them, and you have a gift with more meaning than most of what the shops will sell this season.
Include a spare blank or two for the recipient to paint, and your set becomes an invitation to start a tradition.
25. Build the Full Handmade Tree, One Batch a Year
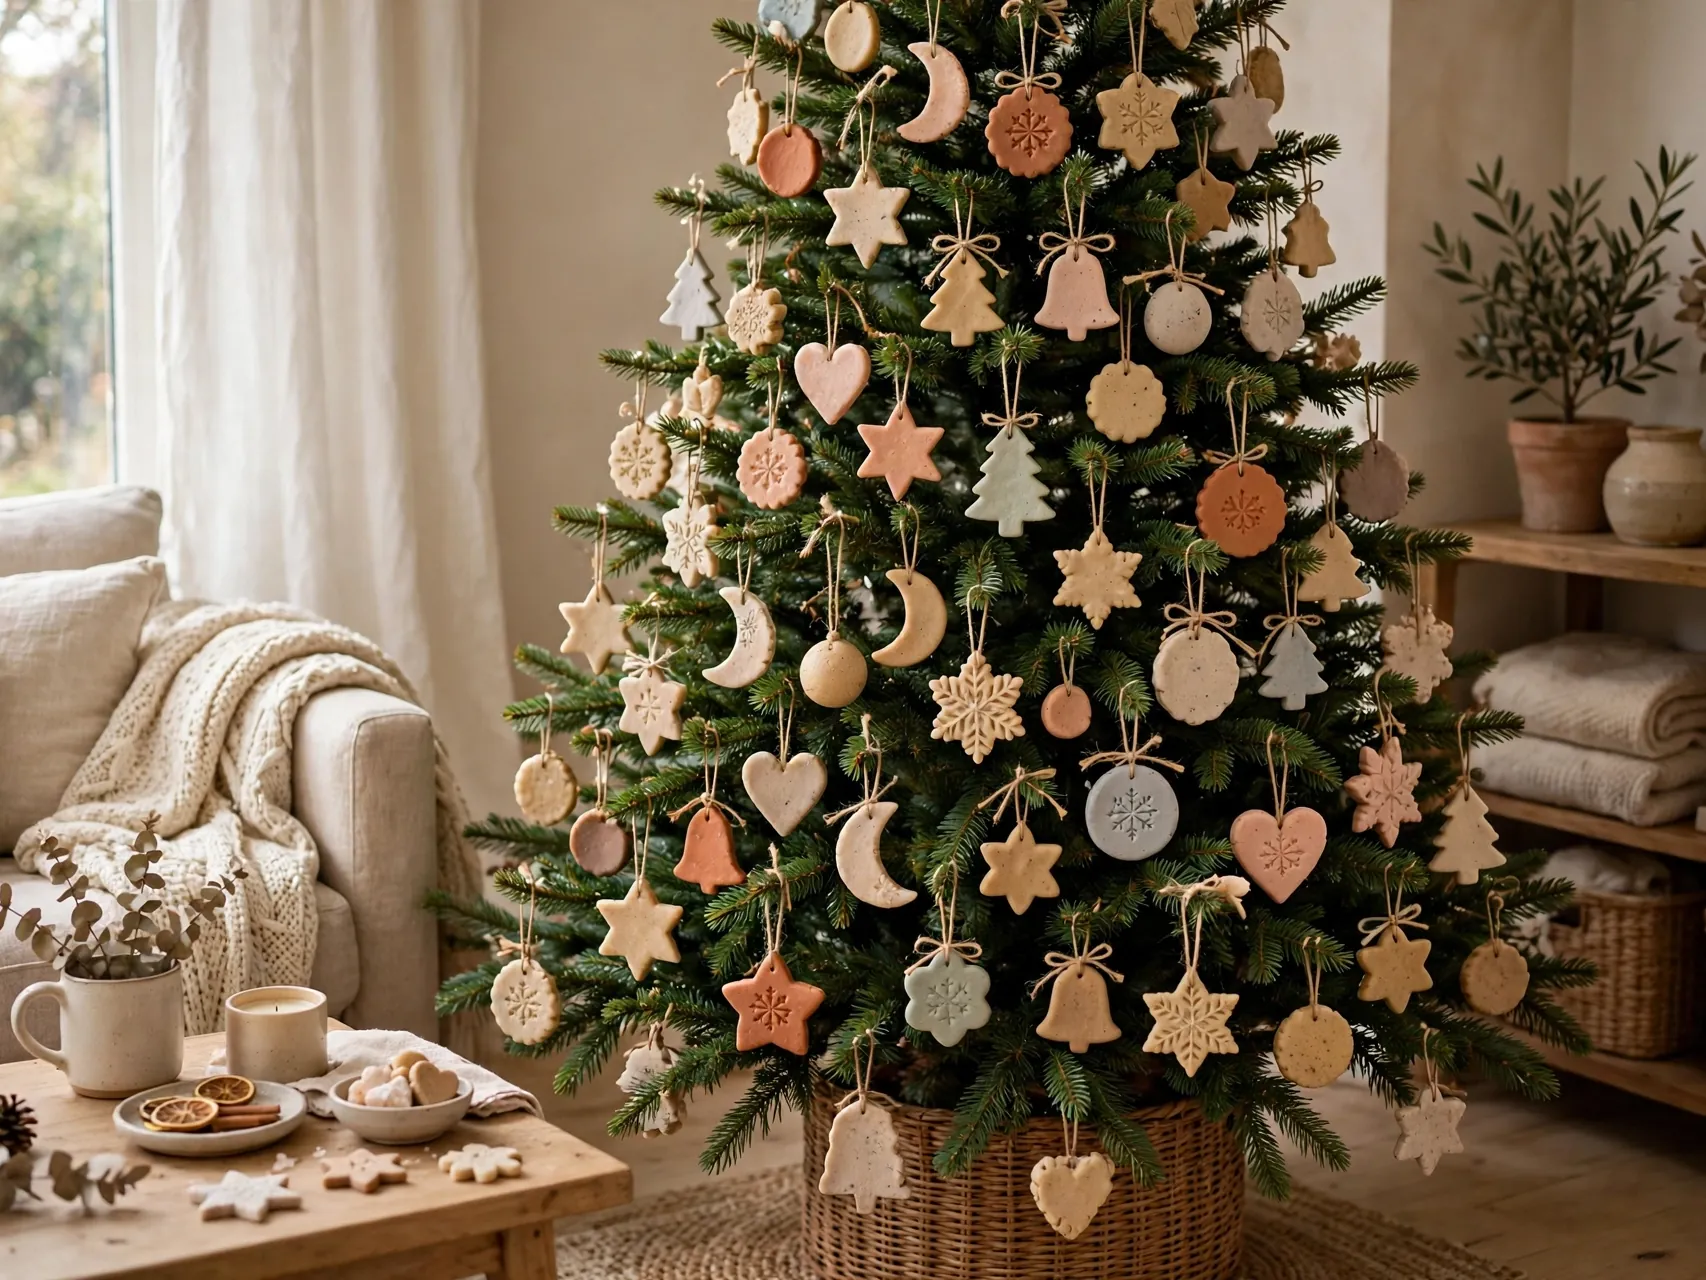
The loveliest way to use this list is slowly: one batch a year, a new shape or set each December, until the whole tree is handmade and every ornament has a story. Photograph the tree each year beside the ornament box so the growth of the collection is part of the record.
Start with the classic shapes and one keepsake, and let next year add the rest.
FAQ
What is the best salt dough recipe ratio for ornaments?
Widely published ratios include 2 cups flour to 1 cup salt to about 1 cup water, and a larger batch of 4 cups flour to 1 cup salt to 1.5 cups water. Add water gradually, knead until smooth, and adjust with a spoonful of flour or a teaspoon of water until the dough feels soft and not sticky.
How long do salt dough ornaments take to dry?
In a low oven around 200 to 250 degrees F, ornaments rolled near a quarter inch thick typically need a few hours until firm, while air drying takes several days with turning. Thicker keepsakes like handprints need longer. Dry them completely before painting, because trapped moisture shortens their life.
Are salt dough ornaments safe around pets?
No, they should be kept away from pets. Salt dough is not edible and its high salt content can be harmful if a pet eats it. Hang ornaments out of pet reach, supervise paw print making and wash paws right after, and store the ornament box where animals cannot get into it.
How do I stop ornaments puffing up or cracking?
Roll the dough evenly, avoid trapping air pockets, dry them slowly at a low temperature rather than a hot one, and let them cool in place. Even thickness matters most: thin spots dry and shrink faster than thick spots, which is what bends and cracks a piece.
How long will salt dough ornaments last?
Fully dried, sealed, and stored dry, they can last for many years. Wrap them in tissue, keep them in a sturdy box in a cool, dry place inside the home, and check them each season. Pieces that were painted before drying completely, or stored damp, are the ones that fail early.
Key Takeaways
- Ratios stay simple: Two cups flour to one cup salt to about one cup water, rolled near a quarter inch, is the classic starting point.
- Dry low and slow: Low oven heat or several days of air drying, completed fully before paint, is what makes ornaments last.
- Not edible, ever: Salt dough is unsafe for pets because of its high salt content, so hang it high and store it out of animal reach.
- Keepsakes carry the tree: Handprints, paw prints, names, and photos turn a three ingredient dough into family history.
- Seal and store dry: Thin acrylic coats, a clear sealant, tissue, and a dry indoor box protect your work for years.
- Starting your handmade tree this year? Save these salt dough ornaments to Pinterest and pin the first set you will make.