25 Paper Ghost Craft Ideas That Are Cute and Spooky
Introduction
A white shape, two eyes, and a wavy bottom are all it takes to make a ghost everyone recognizes. That simplicity is why a paper ghost craft works for toddlers, classrooms, and last minute party decor alike, with supplies as basic as paper, scissors, and a marker.
Mix flat and hanging versions for the best display. Flat ghosts fill windows, cards, and bulletin boards, while hanging ghosts with tissue or streamer tails add movement over doorways and party tables. Together, they make a room feel decorated in under an hour.
Keep the safety basics in place as you craft. Adults should help with cutting steps, kids should use safety scissors, and paints and glues should be non-toxic. For children under 3, skip googly eyes, beads, and other small parts and use drawn faces instead.
The list below runs from no-mess tearing and stamping projects for little hands to folded, layered, and glowing ghosts for older kids. Pick a few favorites, or work through them as a countdown to Halloween night.
1. Classic Cut Out Ghost With a Wavy Hem
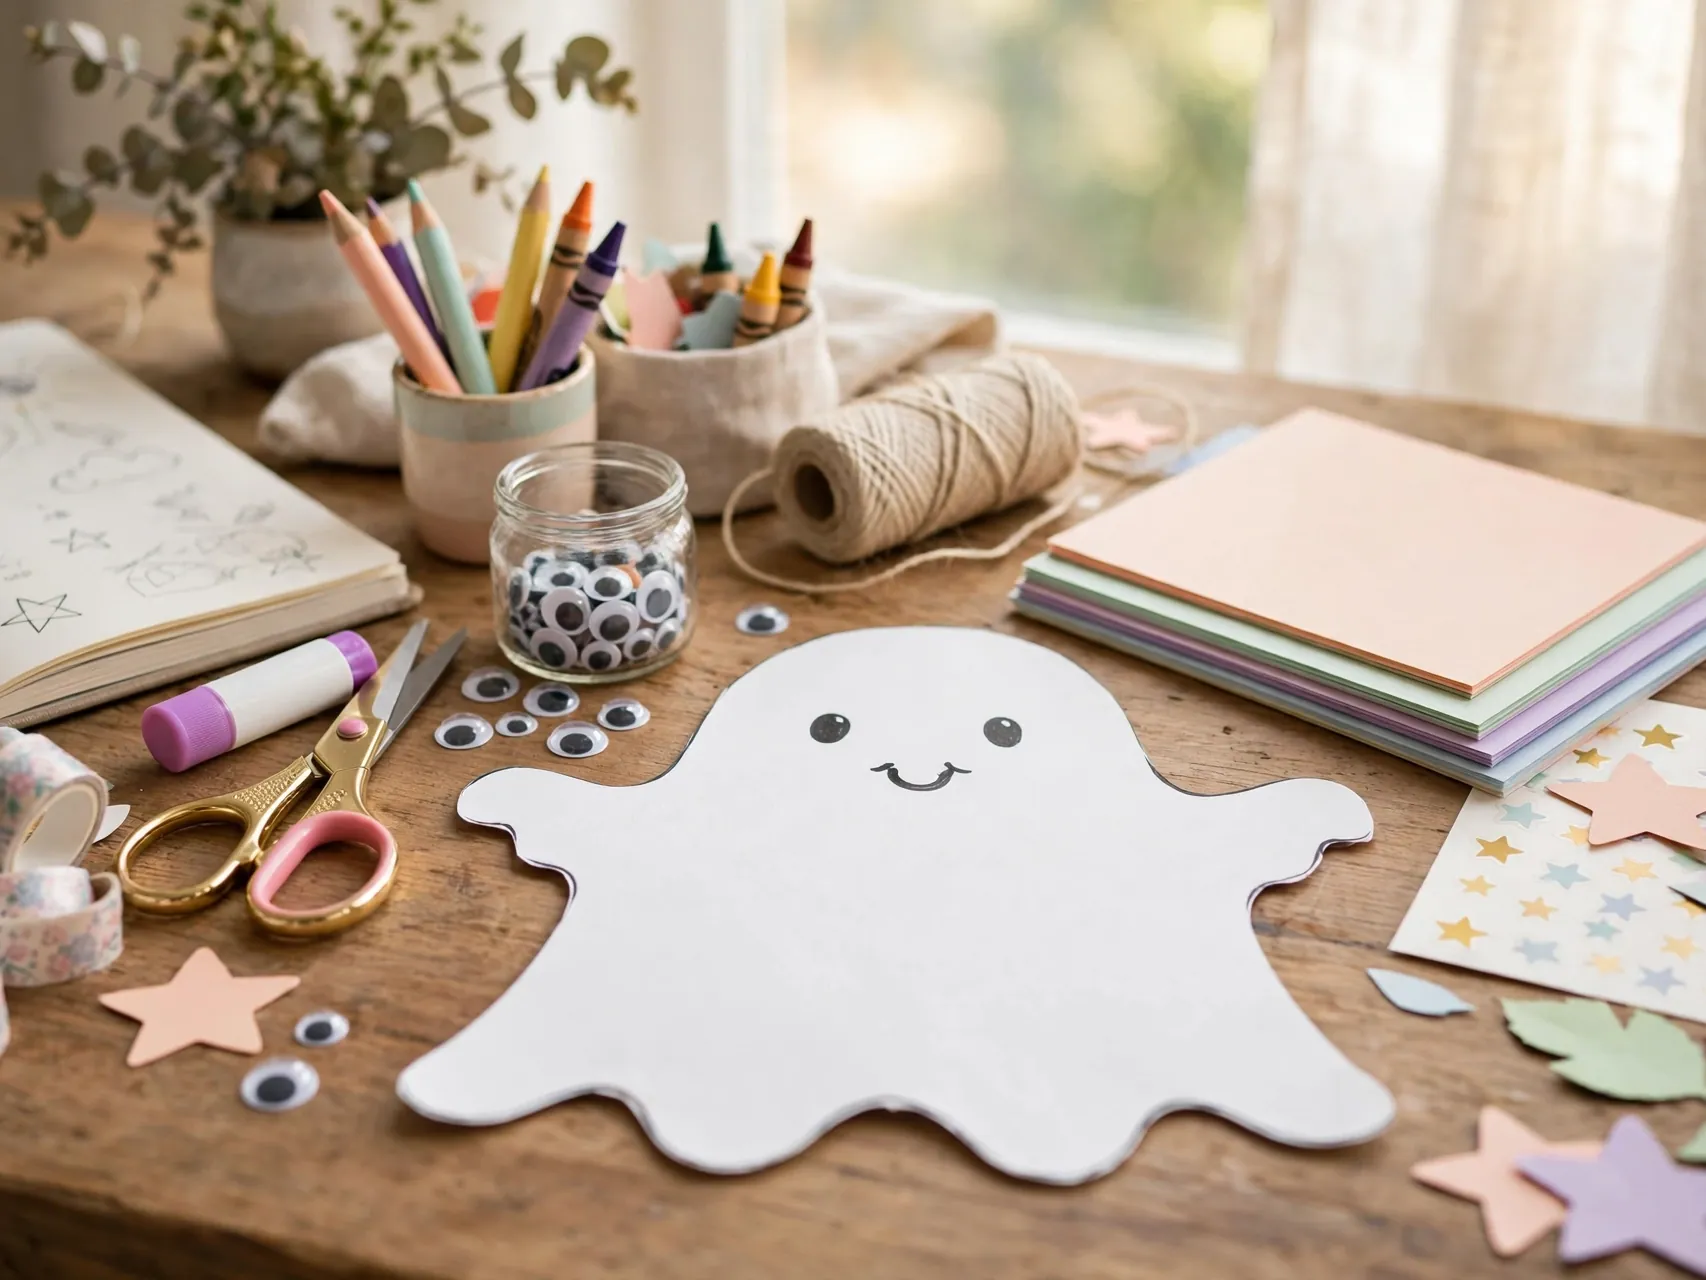
Draw a rounded ghost shape on white cardstock, with a wavy line along the bottom, and cut it out with adult help for younger kids. Add two oval eyes and an open mouth in black marker, and the basic ghost is done.
Make a whole family in different sizes and expressions. This is the template ghost that anchors almost every other idea in the list, so keep one as a pattern for tracing more shapes quickly.
2. Torn Paper Ghost on Black Cardstock

Tearing is easier than cutting for small hands. Draw a ghost outline on black paper, spread glue inside it, and let kids press on torn pieces of white paper until the shape is full and fluffy at the edges.
Add black paper eyes and a mouth on top once the glue holds. The torn texture gives the ghost a soft, cloudy look, and the contrast on black paper makes it a strong choice for classroom bulletin boards.
3. Paper Plate Ghost With Streamer Tails

A white paper plate is already the right color and shape for a ghost face. Glue or draw large black eyes and a mouth, then tape long strips of white crepe paper or tissue along the bottom edge as flowing tails.
Hang plates in a window or along a hallway where the streamers move as people pass. This classic paper plate ghost craft needs almost no prep, which is why teachers reach for it year after year.
4. Handprint Ghost Keepsake
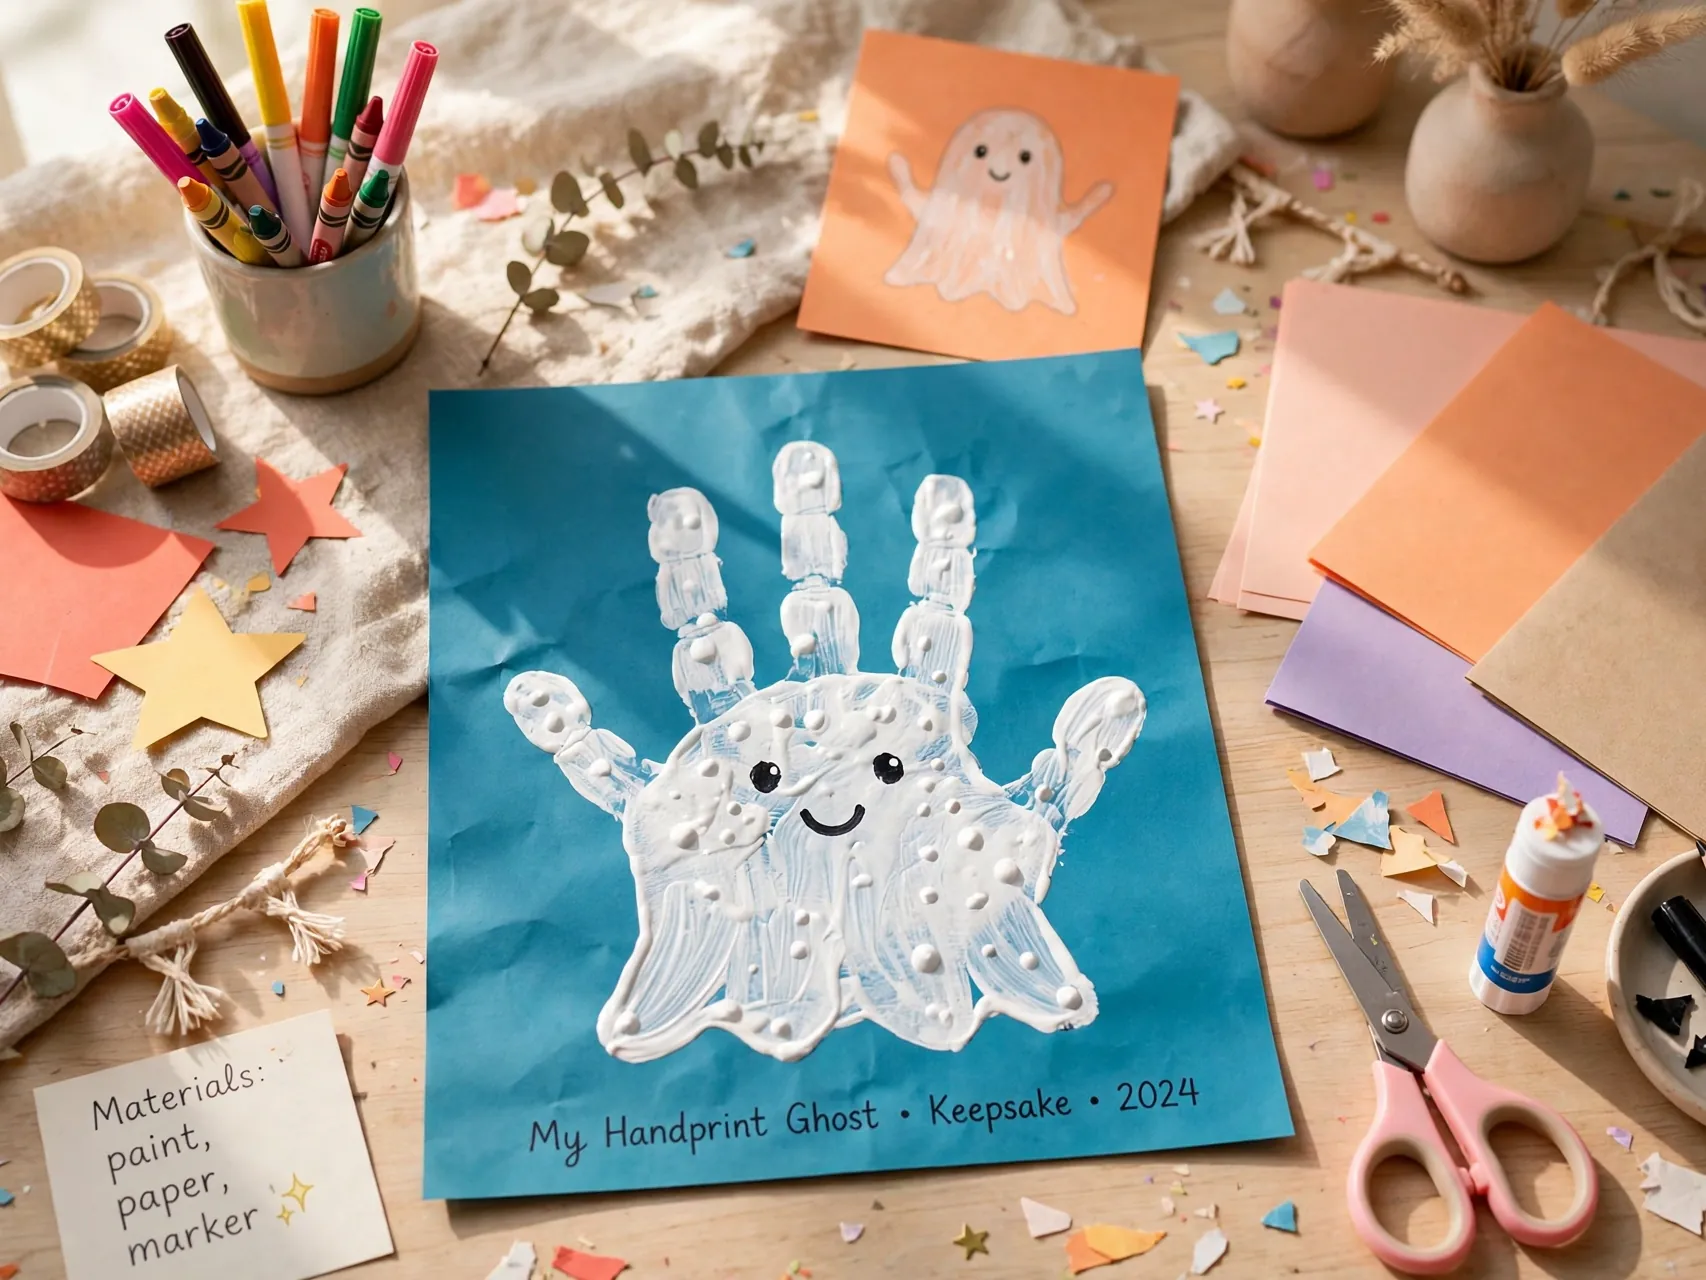
Trace a child hand with fingers pointing down, cut out the white shape, and the fingers become the wavy bottom of the ghost. Draw the face on the palm area, and add the child name and year on the back.
A handprint ghost craft doubles as a keepsake grandparents love to receive in a card. Make one each year and you get a sweet record of growing hands alongside your Halloween decorations.
5. Cotton Ball Ghost With a Fluffy Texture

Draw a ghost shape on sturdy paper, spread glue inside, and cover it with pulled apart cotton balls for a soft, puffy body. Kids enjoy the stretching and pressing as much as the finished look.
Glue black paper eyes and a mouth over the cotton once it is secure. Keep cotton ball ghosts for older toddlers and up with supervision, display them flat, and store them in a box so the texture does not get flattened.
6. Accordion Fold Ghost Chain
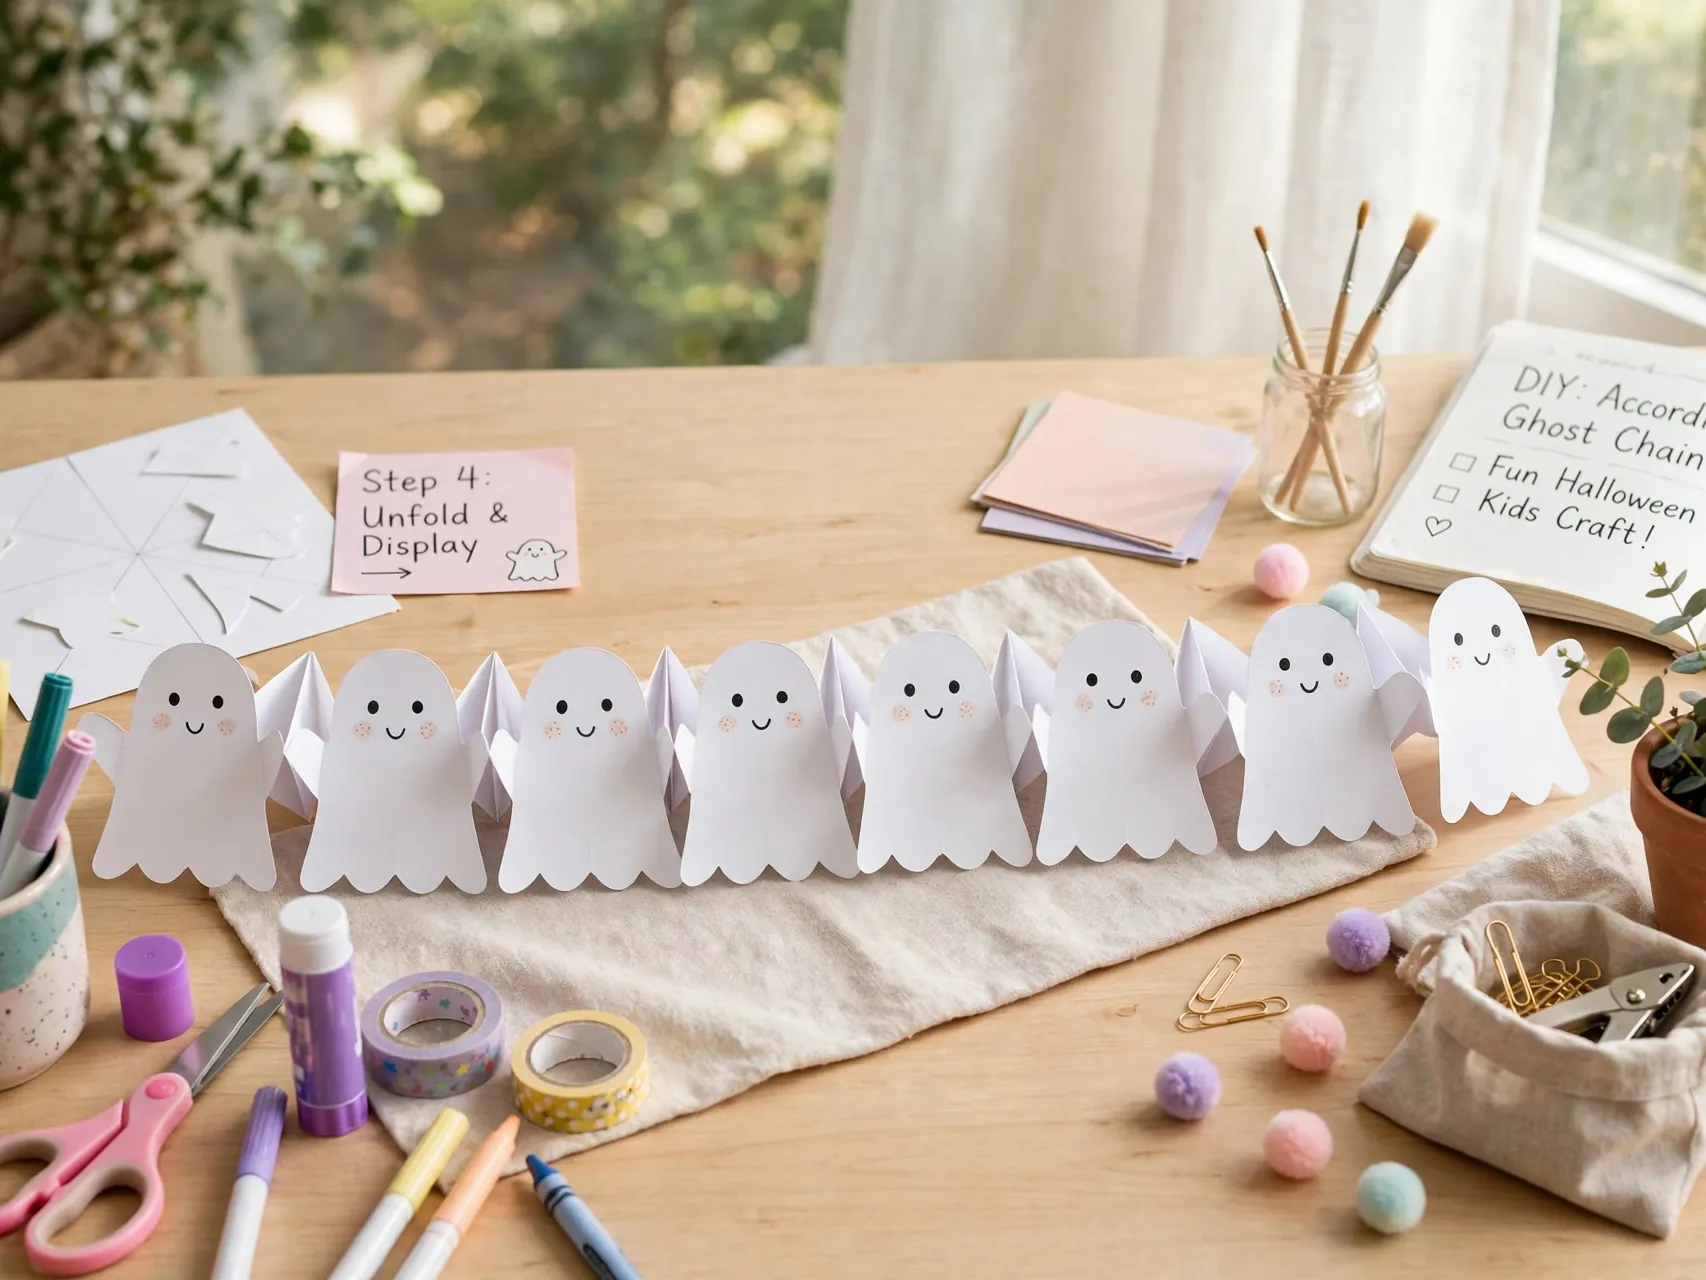
Fold a long strip of white paper back and forth, draw half a ghost against one fold, and cut with adult help. Open the strip to reveal a row of connected ghosts holding the line together, just like paper dolls.
Add tiny faces to each ghost in the row. Chains are fast to make in long lengths, so they are perfect for edging a classroom wall, a party table, or the front of a mantel in minutes.
7. Origami Ghost From a White Square
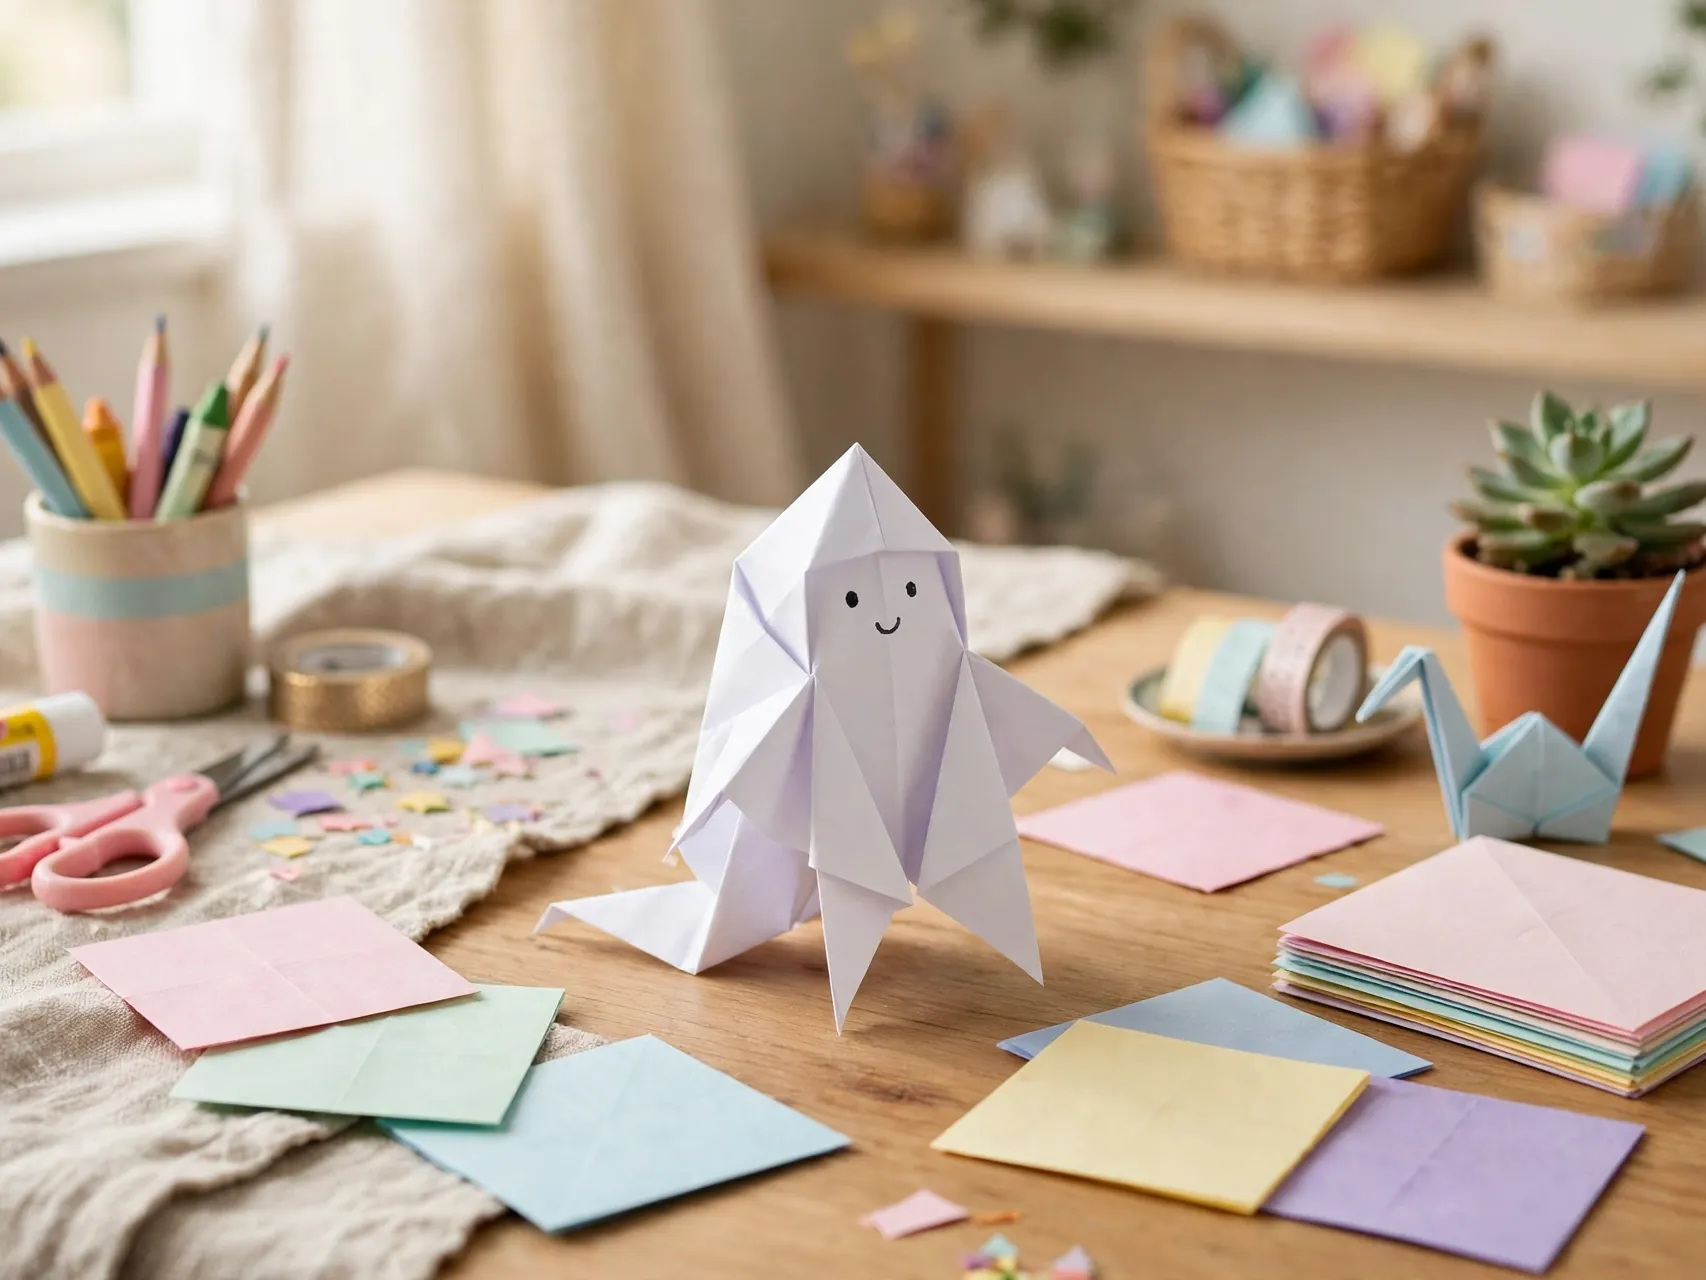
Start with a square of white paper, fold it into a simple ghost shape with a pointed or rounded head, and draw on a face. The folds give the ghost a little body and shadow, even though it stays flat enough for a card.
Origami versions suit older kids who enjoy folding challenges. Make a set in different sizes, stand them along a shelf if the base fold allows it, or tape them lightly to a window for a floating row.
8. Hanging Tissue Ghost With a Big Bow
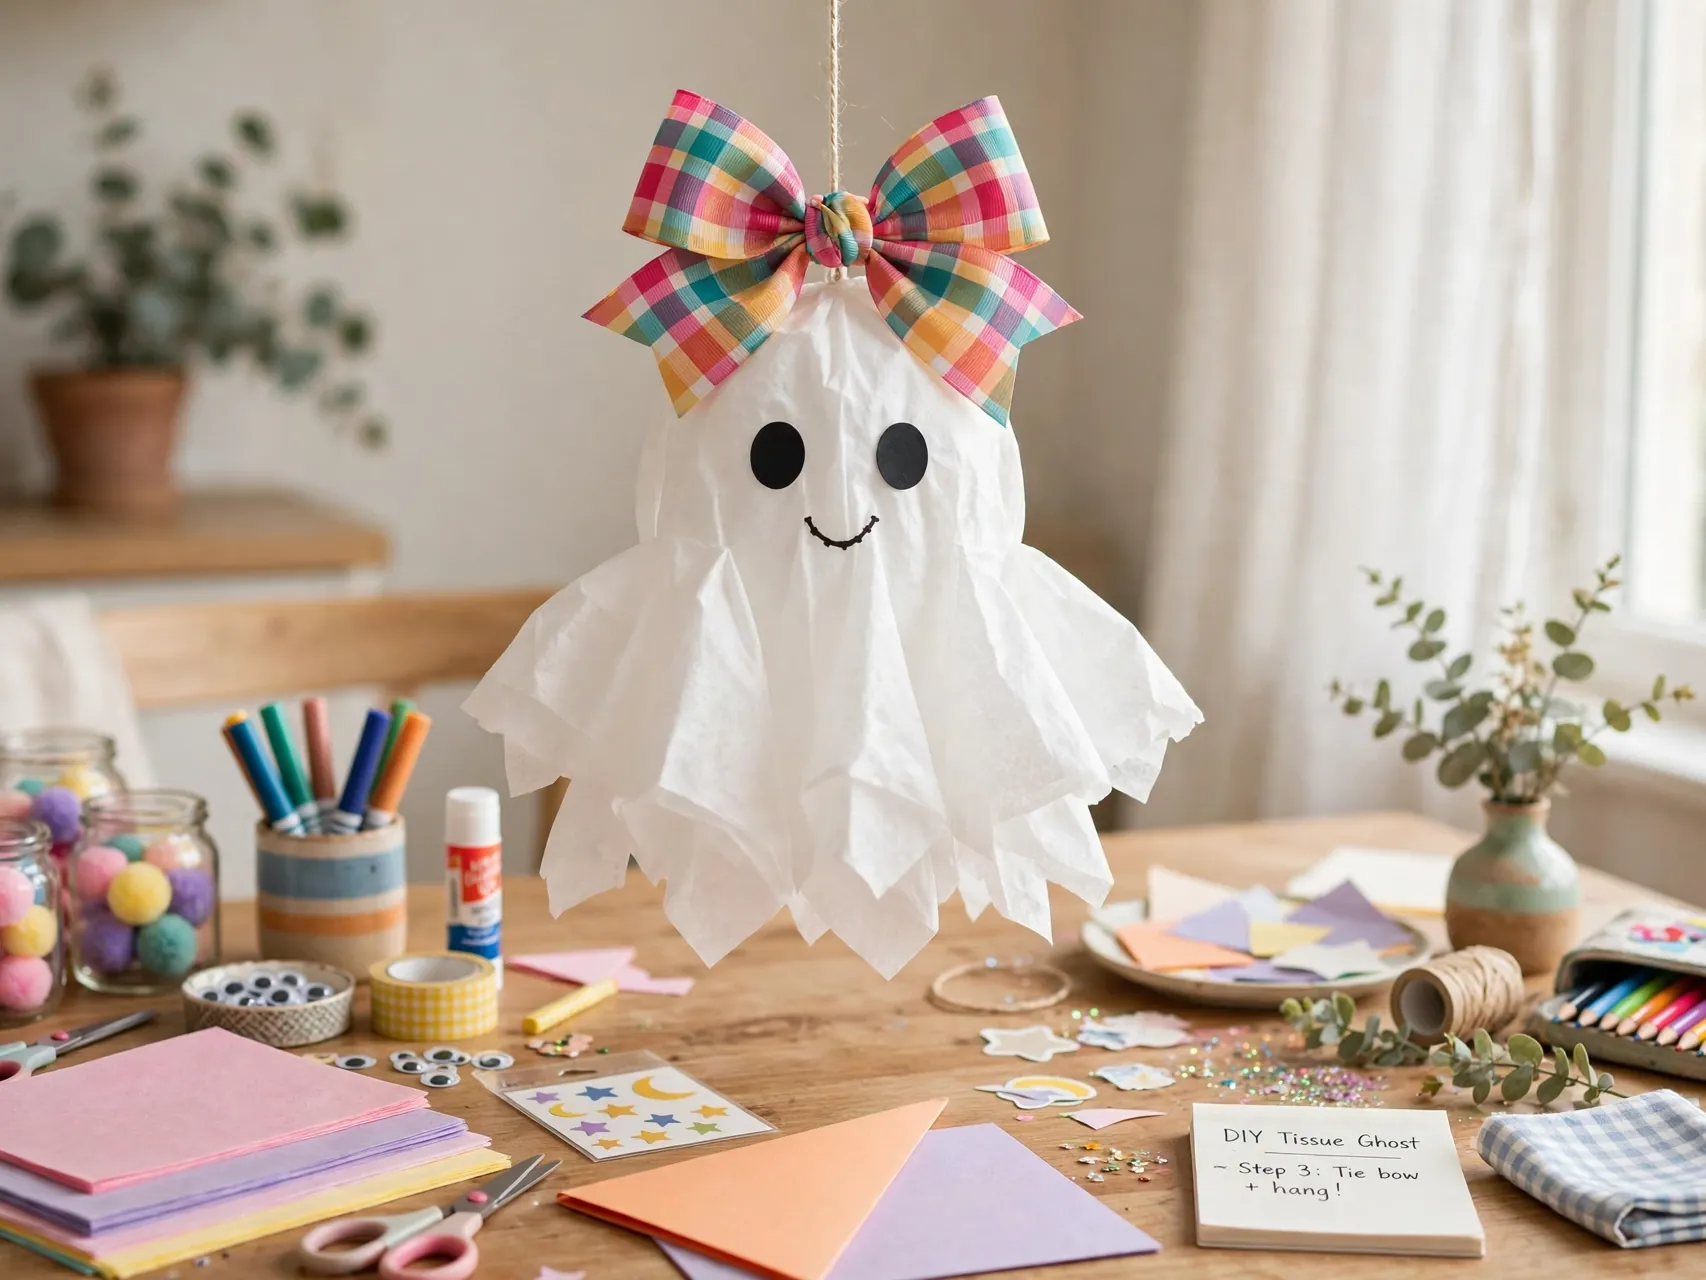
Layer two sheets of white tissue over a small ball or crumpled paper ball to form a head, tie string or ribbon under the head, and let the tissue drape into a flowing body. Draw or glue on a simple face.
Add a bow in orange, black, or purple under the chin for a cute finish. Hang these hanging paper ghost decorations from a chandelier, doorway, or porch where they can turn slowly in the air.
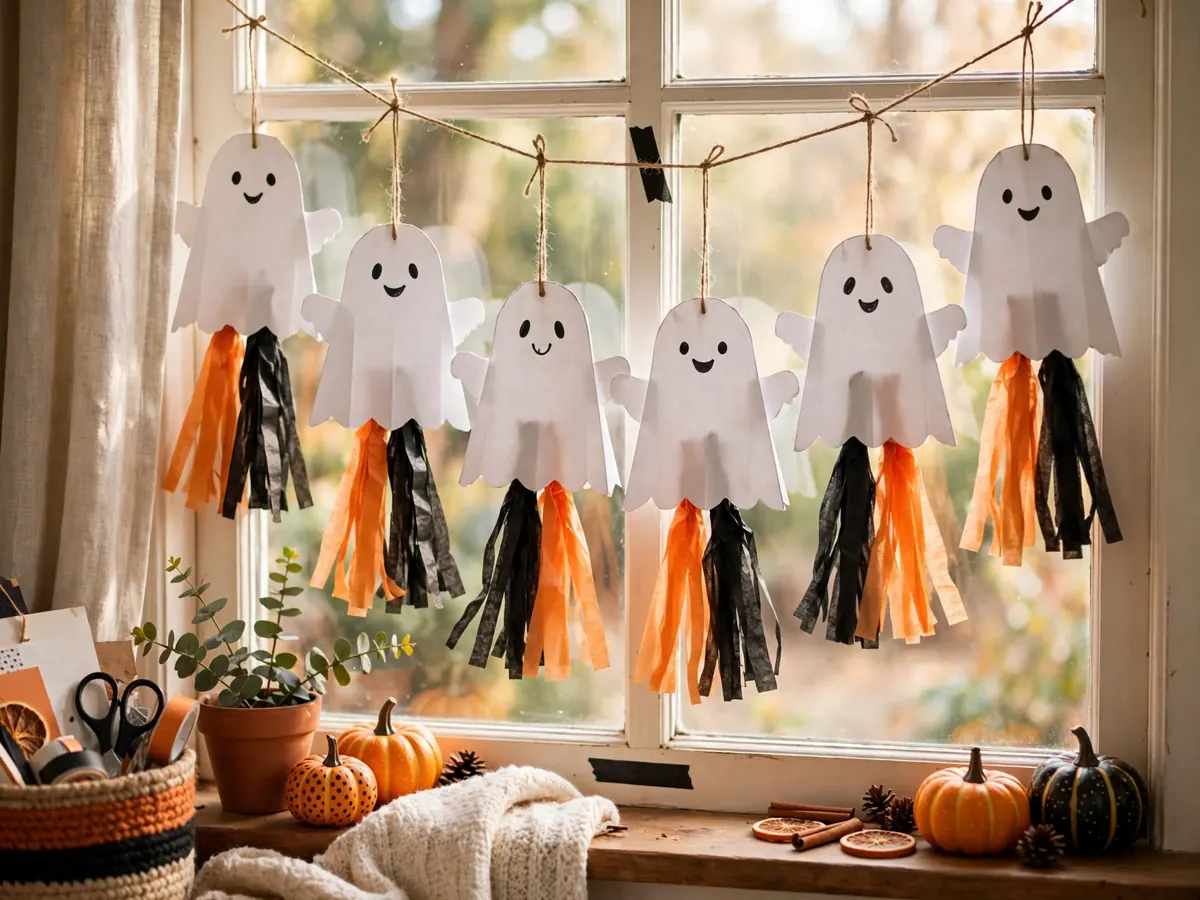
9. Paper Ghost Garland on Twine

Cut a batch of matching ghosts, punch a hole near the top of each with adult help, and thread them onto twine or ribbon. Alternate ghost sizes or mix in black bats and orange pumpkins for a fuller Halloween story.
Leave a little space between shapes so each ghost reads clearly from across the room. Garlands store flat in an envelope, which makes them one of the easiest decorations to keep for next year.
10. Blow Paint Ghosts on Black Paper

Put a small puddle of white washable paint on black paper and blow through a straw to spread it into a wild, blobby ghost shape. Every ghost comes out different, with drips and wisps that look surprisingly ghostlike.
Let the paint dry flat before adding eyes with a marker or paper dots. Adults should supervise straw use for young children, keep each straw personal, and expect some mess, so cover the table before you start.
11. Ghost Window Clings From White Paper Cutouts

Cut simple ghost shapes from white paper and tape them lightly inside a window, facing out. In daylight they read as clean white silhouettes, and at night they glow softly when room light sits behind them.
Group ghosts at different heights as if they are floating up the glass. Remove tape gently when the season ends so you do not leave residue, and save the flattest ghosts in a folder for next October.
12. Paper Bag Ghost Puppet
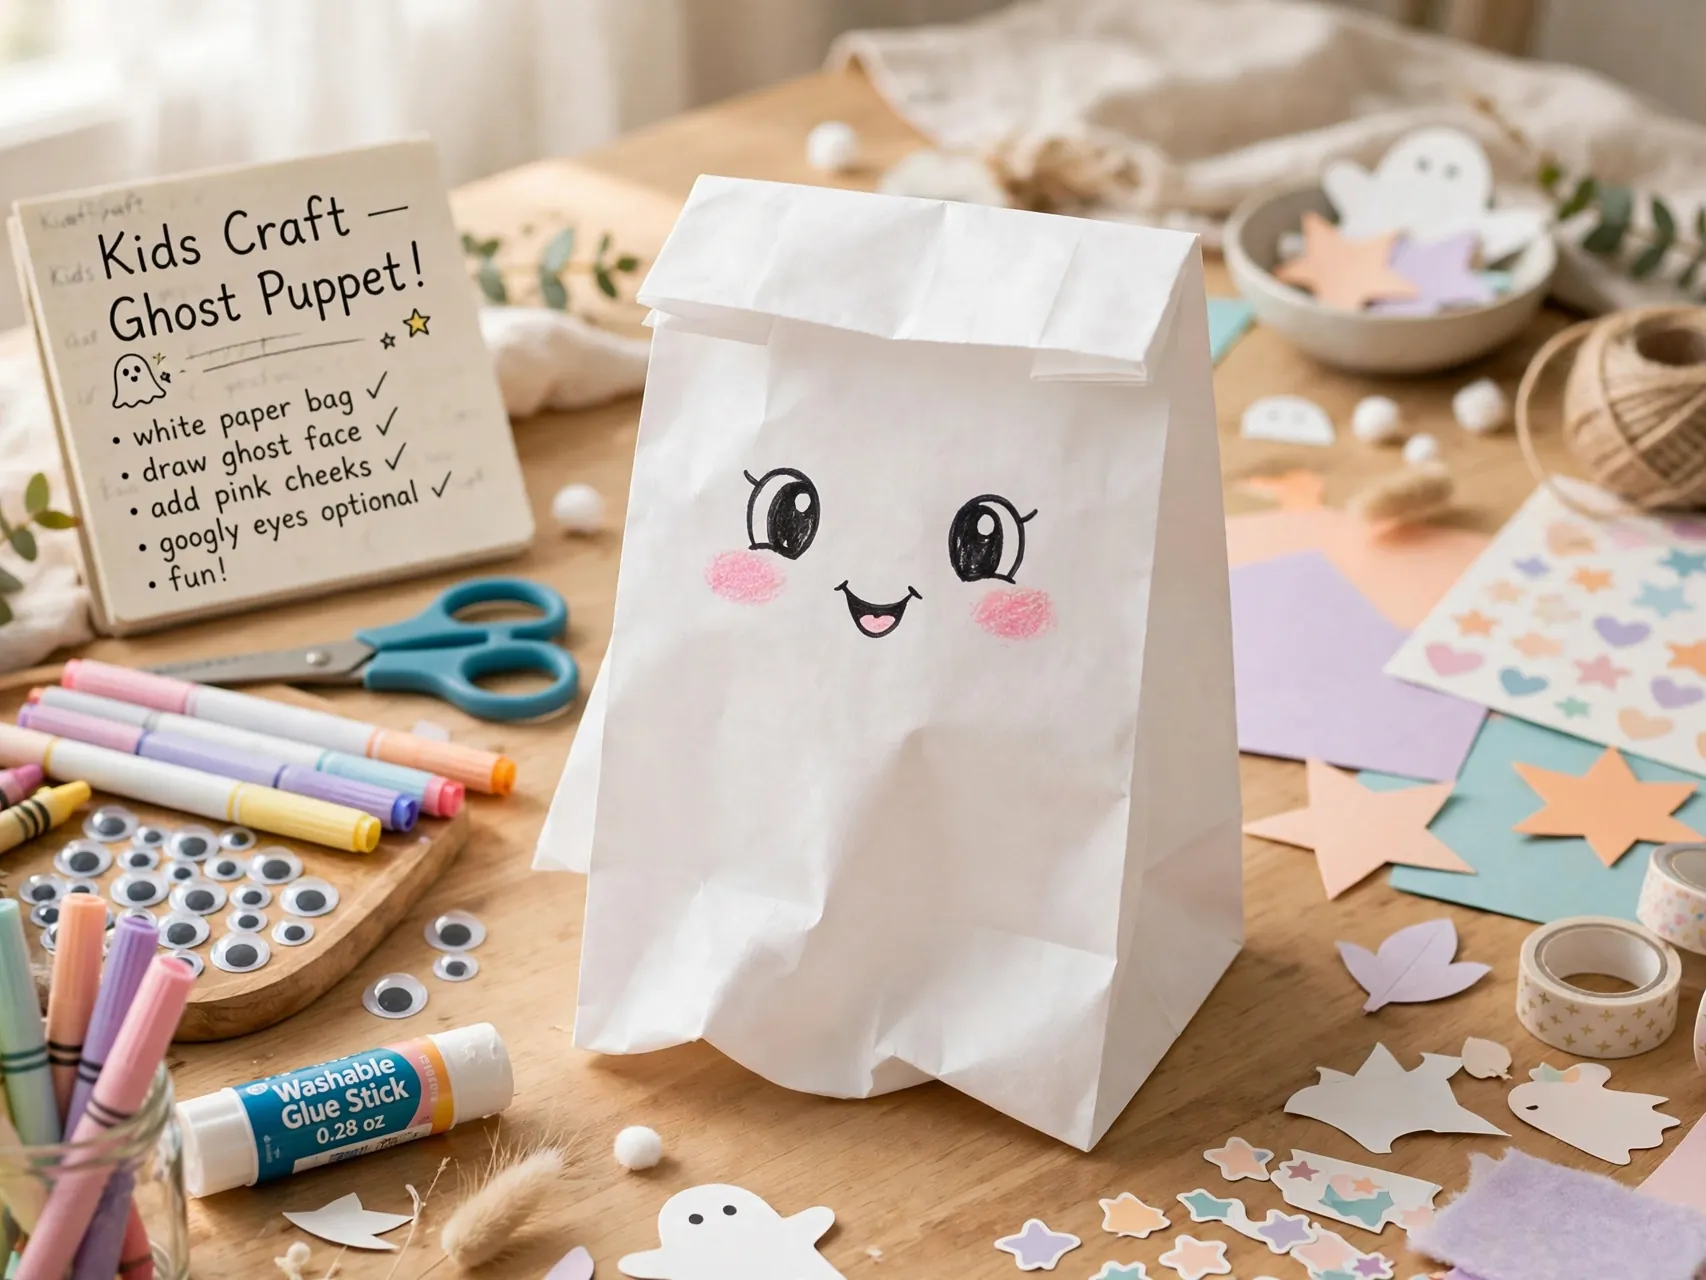
A small white paper bag becomes a puppet when you draw a ghost face on the flap and add streamer or tissue strips at the bottom. The flap moves as a mouth when a hand works the puppet from inside.
Kids can put on short ghost shows for each other, which stretches one craft into an afternoon of play. Write names on the back of each bag so puppets do not get mixed up in a classroom set.
13. Standing Paper Ghost With a Draped Look

Dampen a square of sturdy white paper, drape it over a small ball held upright on a stand, and let it dry into a stiff, draped ghost shape. Once dry, remove the form and draw a face on the front.
Place a battery tea light under a standing ghost for a soft glow, never a real candle. These ghosts look impressive on a mantel, and older kids enjoy the simple science of paper holding a new shape.
14. Ghost Bookmark With a Peek Over Top

Cut a long white ghost shape sized for a book page, with the face near the rounded top and a wavy tail below. A little lamination or clear tape over the surface helps it survive a season of reading.
Ghost bookmarks make thoughtful classroom gifts and party favors, because they are useful after Halloween week. Tuck one into a library book display and it quietly encourages kids to pick up a spooky story.
15. Layered Ghost With Gray Shadow Edges
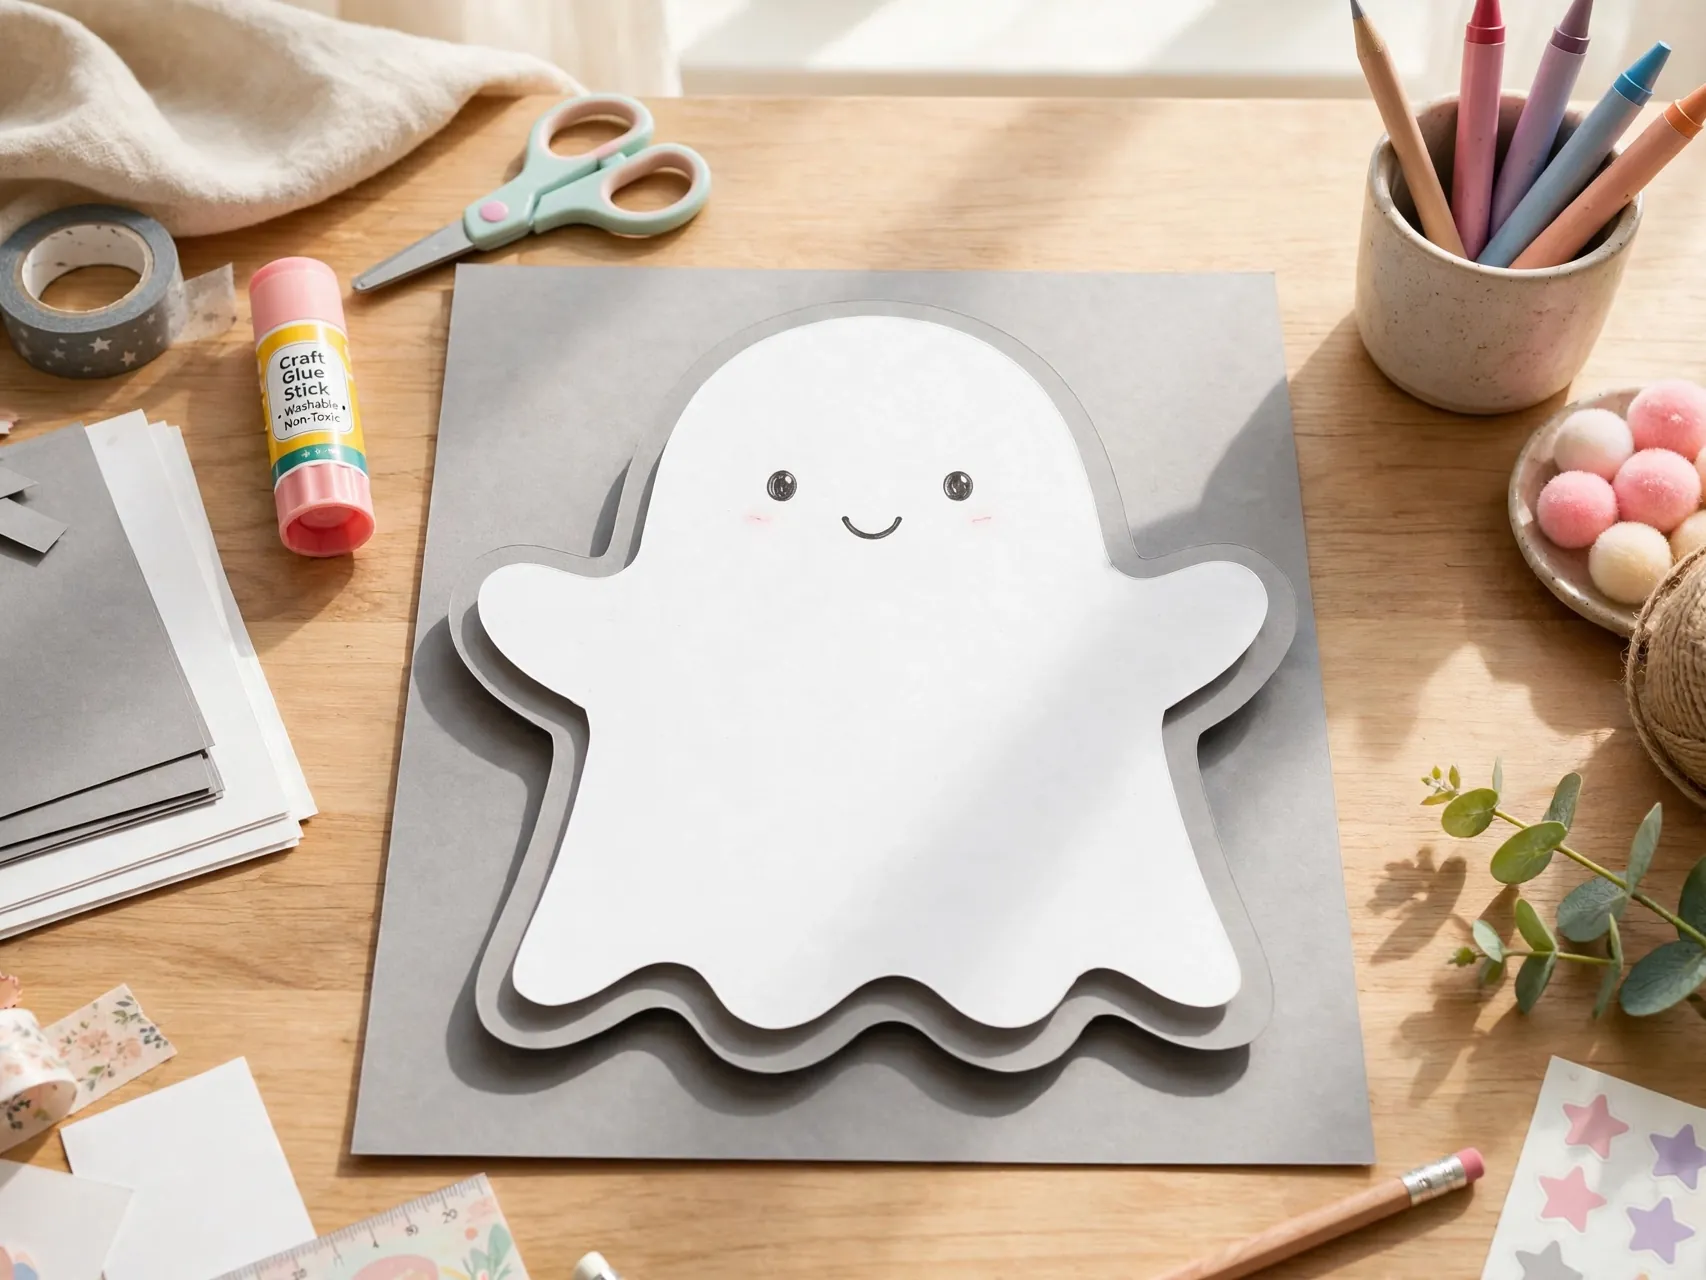
Cut the same ghost shape in white and in light gray, then glue the white ghost slightly offset over the gray one. The gray edge works like a shadow and makes the white ghost pop off dark backgrounds.
Try a third layer in pale purple or orange for a sunset effect behind the ghost. Layering is a simple way for older kids to add depth without needing advanced drawing skills or special supplies.
16. Ghost Mask on a Craft Stick
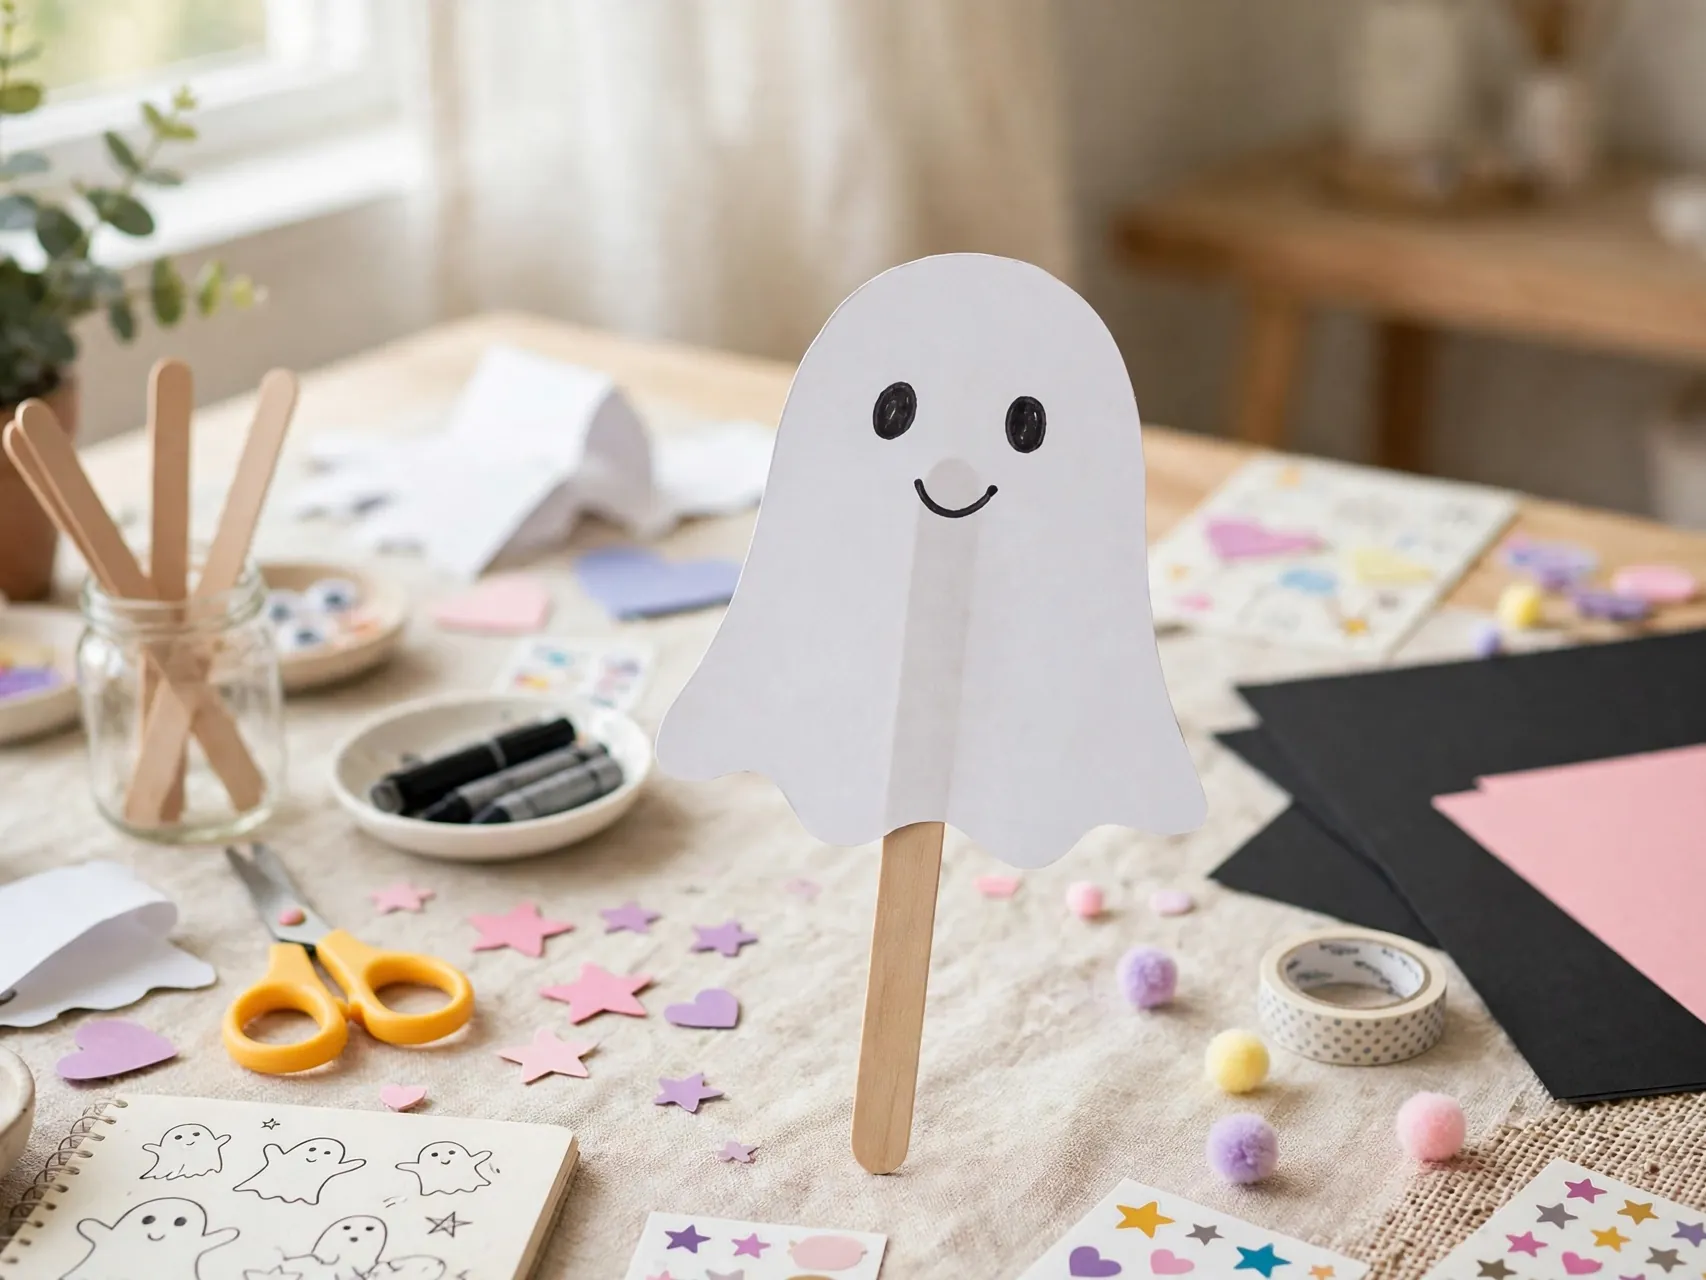
Cut a large ghost face from white cardstock, and have an adult cut and check the eye openings before a child holds it up. Tape a wide craft stick to the back as a handle, and let the glue dry fully before play.
Hold up masks should always let the child see clearly, and an adult should test the eye holes first. These masks are fun for party photos, and they avoid the fit and string issues of wear around masks for younger kids.
17. Mini Ghost Confetti for Party Tables

Use a ghost shaped punch if you have one, or cut small simple ghosts by hand, and scatter them along a party table runner with orange and black paper dots. Tiny ghosts turn a plain table into a Halloween setting in minutes.
Keep small paper pieces on tables away from toddlers, who may try to mouth them, and sweep them up after the party. Save a handful in a labeled bag and you will have instant table decor ready for next year.
18. Ghost Treat Bag Topper
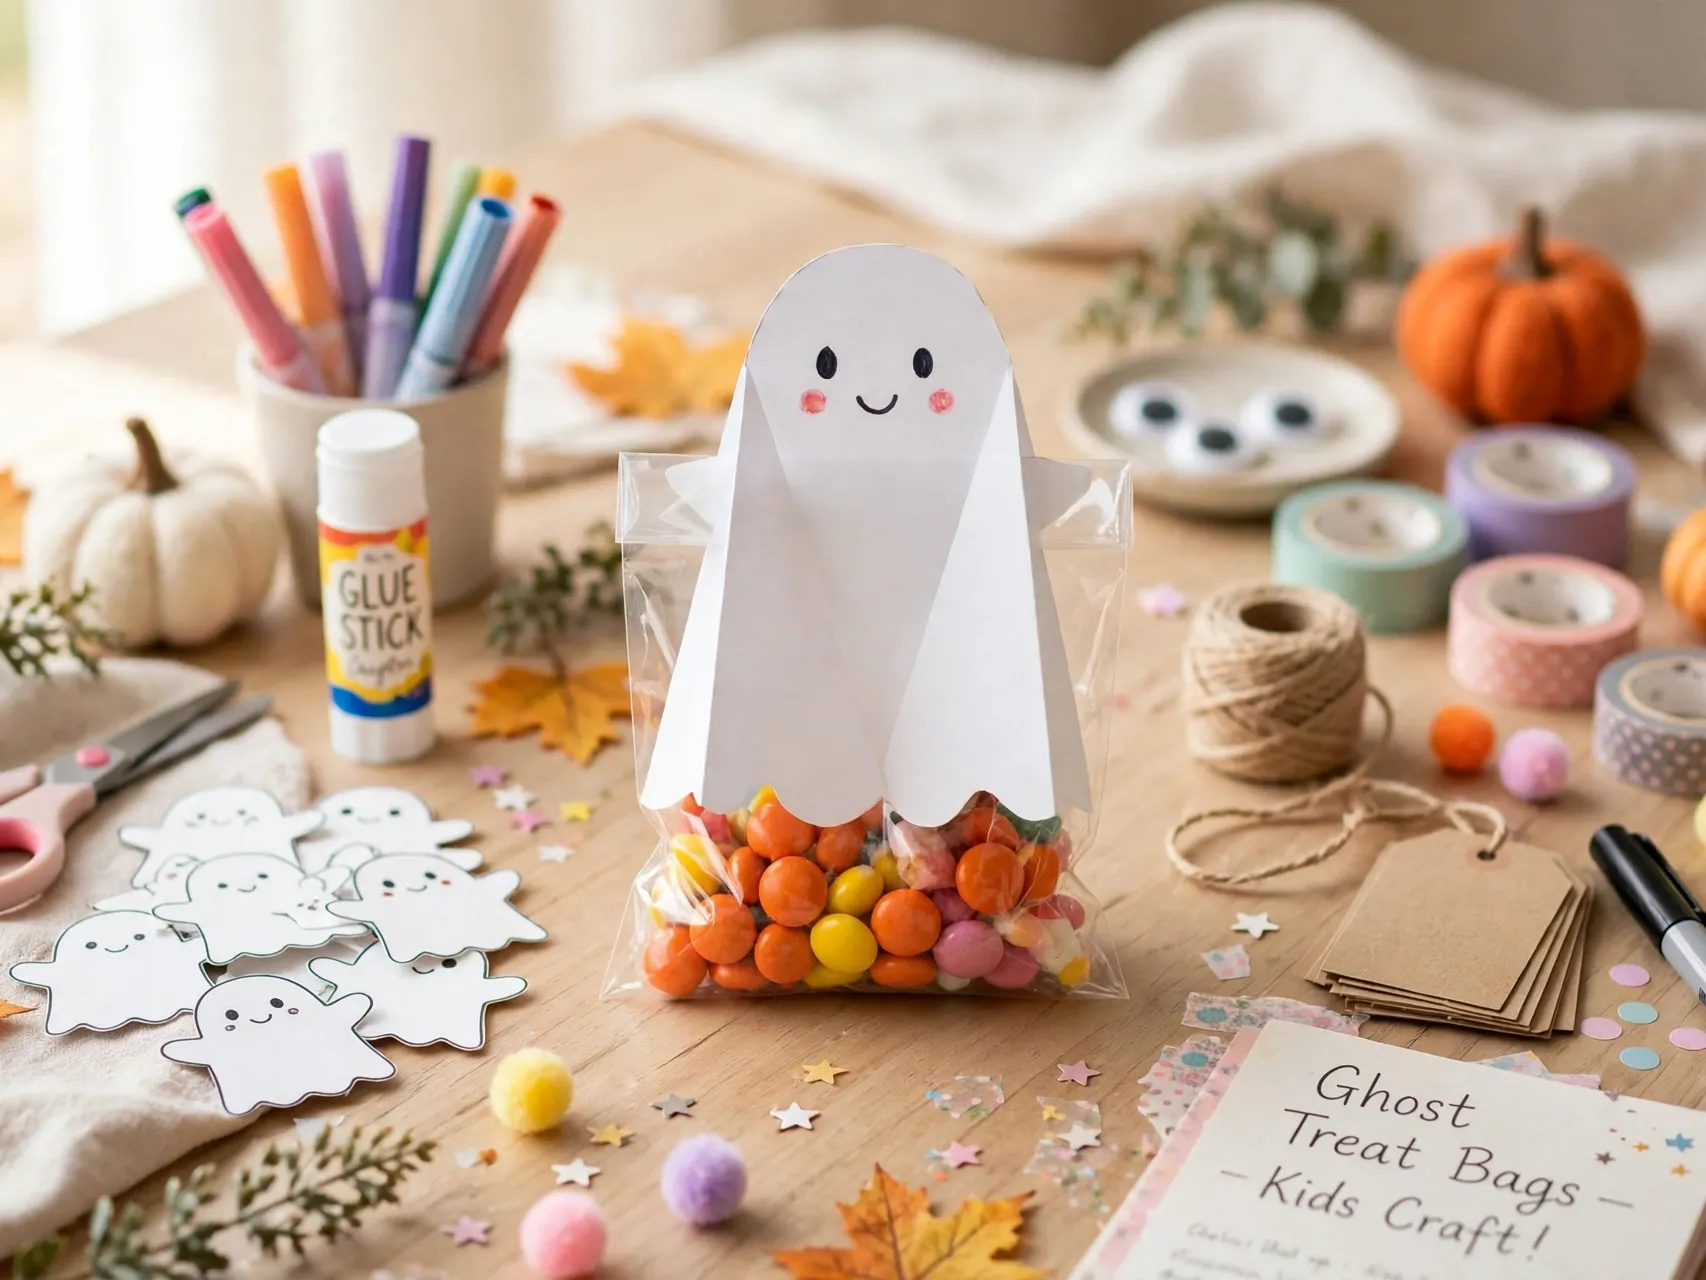
Fold a white ghost shape over the top of a small treat bag and staple or tape it in place, with adult help for stapling. The ghost face looks out from the bag, and a wavy bottom edge hangs down like a little costume.
Write each guest name under the face for party favors, or use toppers for classroom treats where school rules allow them. Choose non-food surprises if you are unsure about food policies, and keep the topper as the keepsake.
19. Smiling Ghost Card for Grandparents

Glue a friendly ghost to the front of a folded card, add a paper pumpkin or two at its feet, and write a short Halloween greeting inside. Cards slow the craft down in a good way, with writing practice built in.
Mail cards early enough to arrive before Halloween, or hand deliver them at a family visit. A handmade ghost card is one of the easy ghost crafts for kids that adults actually keep, long after bigger decorations are stored away.
20. Ghost and Moon Night Scene Collage

On dark blue or black paper, glue a yellow paper moon and stars at the top, then add white ghosts floating at different heights. A few gray paper hills or a black house silhouette at the bottom completes the night scene.
Collage scenes let each child compose a picture rather than copy a model, so no two are alike. Frame the best ones or hang the whole class set as a night sky gallery along a hallway wall.
21. Paper Ghost Wreath for a Classroom Door

Glue a ring of small paper ghosts, all facing out, onto a cardboard ring or a paper plate with the center cut out by an adult. Add a bow at the top and a welcome message on a paper banner across the middle.
If every child in class makes one ghost, the wreath becomes a true group project. Hang it inside the door where paper stays dry, and photograph it before it goes home with a lucky raffle winner or stays as class decor.
22. Ghost Finger Puppets for Story Time

Wrap a small strip of white paper into a tube that fits a child finger, tape it closed, and add a tiny face at the top with a wavy cut at the bottom. A set of five makes a whole ghost family.
Finger puppets are ideal for retelling Halloween stories and for shy kids who prefer to talk through a character. Keep the paper tubes large and simple for young children, and let older kids add hats and bows.
23. Glow in the Dark Paint Ghost Rocks Alternative on Paper

For a paper only glow effect, paint ghost shapes with glow in the dark craft paint on black paper and let them dry flat. Charge the page under a bright light, then turn lights down to see the ghosts appear.
Use paints labeled non-toxic and follow the maker directions for drying and cleanup. This is a big wow moment for older kids at a sleepover, and the finished page works as a bedroom poster for the rest of October.
24. Giant Ghost for a Door or Window

Scale up by drawing a ghost across two or three taped sheets of white paper, cutting it out, and adding a huge friendly face. A giant ghost on a front door or classroom window is visible from the street and needs no other decor.
An adult should do the long cutting and the hanging, especially on a ladder free, step stool only basis. Keep giant paper ghosts indoors or under a covered porch, because rain will soften and tear paper quickly.
25. Ghost Story Starter With a Speech Bubble

End the series with a writing craft. Glue a paper ghost to a page and add an empty speech bubble beside its mouth. Each child writes what their ghost would say, from a shy little boo to a full joke or greeting.
Younger children can dictate their line to an adult. Display the finished pages together and the ghosts seem to chat across the wall, which makes this a favorite final project for teachers closing a Halloween unit.
FAQ
What paper works best for paper ghost crafts?
White cardstock holds its shape best for cut out ghosts, garlands, and masks, while thinner construction paper and tissue work better for draped, torn, and hanging ghosts. Printer paper is fine for folding and practice shapes. Choose the paper by the job, not by habit.
How do I make ghost crafts safe for toddlers?
Pre-cut shapes for toddlers, let them tear, glue, stamp, and draw, and skip small parts like googly eyes, beads, and sequins. The CPSC warns that small parts can choke children under 3. Use safety scissors with supervision and washable, non-toxic paint and glue.
How can I hang paper ghosts without damaging walls?
Use removable poster putty, painter tape loops on the back, or thread hung from existing hooks and light fixtures with adult help. Test any adhesive on a hidden spot first. Avoid hanging paper ghosts where toddlers can pull them down or near heat sources and candles.
Can paper ghosts be used outdoors?
Paper ghosts do best indoors or on a covered porch for a short party window. Rain, dew, and wind tear and soften paper quickly. For a front yard display, hang ghosts under cover, bring them in at night, and expect them to be a one season decoration.
How do I store paper ghost crafts for next year?
Let glue and paint dry fully, lay flat ghosts in a folder or box with paper between layers, and store hanging ghosts loosely so tissue tails do not crush. Label the box by room or project. A few wrinkles are normal and often add to the floaty ghost look.
Key Takeaways
- Simple shape, endless versions: One rounded ghost with a wavy hem becomes chains, garlands, puppets, cards, and giant door decor with small changes.
- Match the method to the age: Tearing, stamping, and gluing suit toddlers, while cutting, folding, and layering stretch older kids.
- Safety stays simple: Safety scissors with adult help, non-toxic supplies, and drawn faces instead of small parts for under-3s.
- Mix flat and hanging: Window and wall ghosts plus swaying tissue ghosts together make a room feel fully decorated fast.
- Paper stays inside: Keep paper ghosts dry, away from candles and heat, and store them flat so they last another season.
- Found a ghost your kids will love? Save this guide to Pinterest and pin the cutest idea for your next craft afternoon.