21 DIY Halloween Decor Ideas That Look Spooky on a Budget
Introduction
Store bought Halloween decor adds up fast, and half of it looks the same as the house next door. The projects in this list cost very little, use supplies most homes already have, and end up looking more original than anything in a shopping cart. That is the real charm of diy halloween decor.
Every idea here is a true make, not a purchase. Think jars, cardboard, paper, fabric scraps, recycled jugs and cans, and a few dollar store basics turned into ghosts, lanterns, tombstones, and wreaths with your own hands.
Work in batches on a covered table, let paint dry fully between steps, and keep hot glue and cutting jobs for adults. By the end of a couple of craft sessions, your whole home can look haunted for the price of one store bought prop.
1. Turn Mason Jars Into Ghost Lanterns

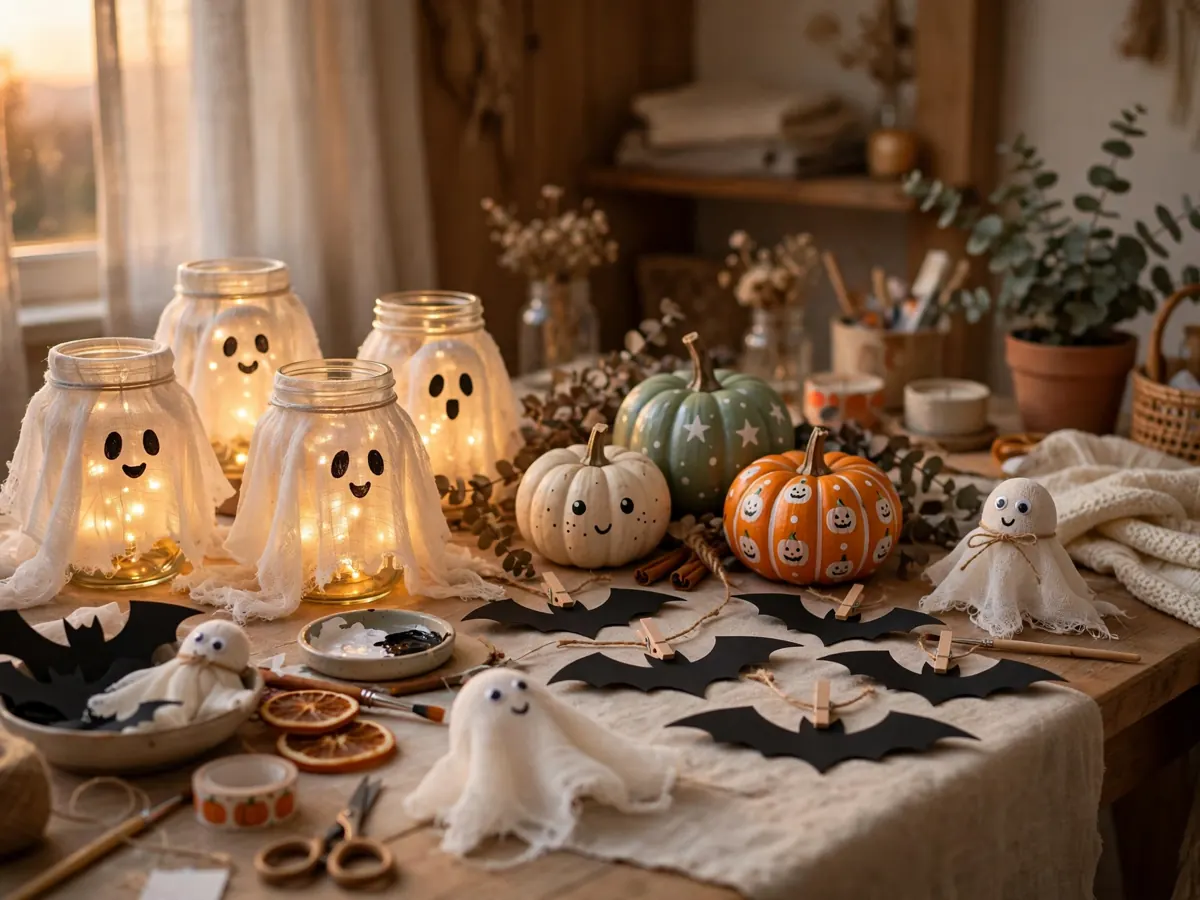
Wrap clean glass jars in white gauze or cheesecloth, leaving loose, uneven ends, then glue or draw on simple dark eyes and a round mouth. Drop a battery tea light inside each jar and the whole ghost glows softly from within.
Make a family of them in different jar sizes for a mantel, windowsill, or porch step. Because the light is flameless, these are safe beside fabric and paper and fine for kids to carry. This is one of the easiest easy diy halloween crafts to start with, and jars return to kitchen duty in November.
2. Cut a Flight of Paper Bats for the Wall

Fold black paper or cardstock, cut a simple bat shape, and open it out. Make dozens in two or three sizes, fold each one lightly down the middle for a 3D wing effect, and stick them to the wall in a sweeping flight from a corner, fireplace, or doorway.
Use removable adhesive strips or poster putty so walls stay clean, especially in rentals. A bat swarm costs almost nothing, fills a big blank wall in minutes, and stores flat in an envelope for next year. It is the highest impact paper project in this whole roundup.
3. Stretch Cotton Balls Into Realistic Cobwebs

Skip the bagged webbing and pull plain cotton balls apart into thin, wispy sheets. Stretched far enough, cotton makes soft, realistic webs across picture frames, mantel corners, plant pots, and bookshelf edges, and it blends into corners the way real webs do.
Add one small plastic spider per web and resist adding more. The secret is stretching until the cotton almost disappears. Keep webs away from candles and hot bulbs, and vacuum up the remains after the holiday, since cotton webs are a one season project worth their tiny cost.
4. Build Cardboard Tombstones for a Yard Graveyard

Cut tombstone shapes from sturdy cardboard boxes, paint them gray, then add darker shading around the edges and letter a funny epitaph with a brush or thick marker. A glued strip or stake at the back helps each stone stand in the lawn or a mulch bed.
Cardboard is a fair weather material, so set these out on dry days or under a covered porch, and bring them in if rain threatens. Doubling the cardboard layers makes stones sturdier, and a coat of outdoor craft paint helps them survive a few surprise drizzles.
5. Make Milk Jug Ghosts That Glow on the Porch

Save clean, empty plastic milk or water jugs, draw bold ghost faces with a black permanent marker, and place a battery light or a short strand of lights inside. Lined along the porch or walkway, the jugs glow like a row of friendly ghosts.
Cut a small opening at the back of each jug, away from little hands, to insert the light. Rinse jugs well before storing them for next year, and keep the faces simple and big, because bold eyes and mouths read best from the street after dark.
6. Drape Cheesecloth Ghosts From the Ceiling

Form a ghost head over a foam ball, balloon, or scrunched foil, drape two or three layers of cheesecloth over it, and add felt or marker eyes once the shape sets. Hang finished ghosts with clear line in doorways, corners, and porch ceilings where they can sway.
Fray and trim the cloth ends unevenly so each ghost looks wispy rather than dressed. These cost pennies each, weigh almost nothing, and pack into a small bag. Indoors they last for years, and outdoors they belong in sheltered spots away from rain.
7. Paint Pumpkins Instead of Carving Them

Painting skips the mess, the sharp tools, and the three day carved pumpkin slump. Coat real or foam pumpkins in matte black, white, or metallic paint, then add stripes, polka dots, spooky faces, or a drip effect. Foam pumpkins become permanent decor you reuse every year.
Use craft acrylics and let each coat dry before adding details. Group painted pumpkins with plain ones for contrast, and try one statement design, a haunted house silhouette or a crescent moon scene, as your porch centerpiece. Kids can paint safely alongside adults, which makes this a true family craft session.
8. Fill Apothecary Jars With Homemade Potions

Fill jars and bottles with water tinted by food coloring, add a fun prop in a few, glitter, plastic spiders, or a floating eyeball sweet, and finish with handwritten labels tied on with twine. Clustered on a tray, they become a witch potion station for a shelf or party table.
Make it unmistakably decorative, with aged labels and odd colors, and set potions out of reach of small children so nobody mistakes them for drinks. Plain water and coloring keep cleanup easy and safe, and the jars empty, rinse, and store in minutes.
9. Craft a Halloween Wreath From Dollar Store Finds
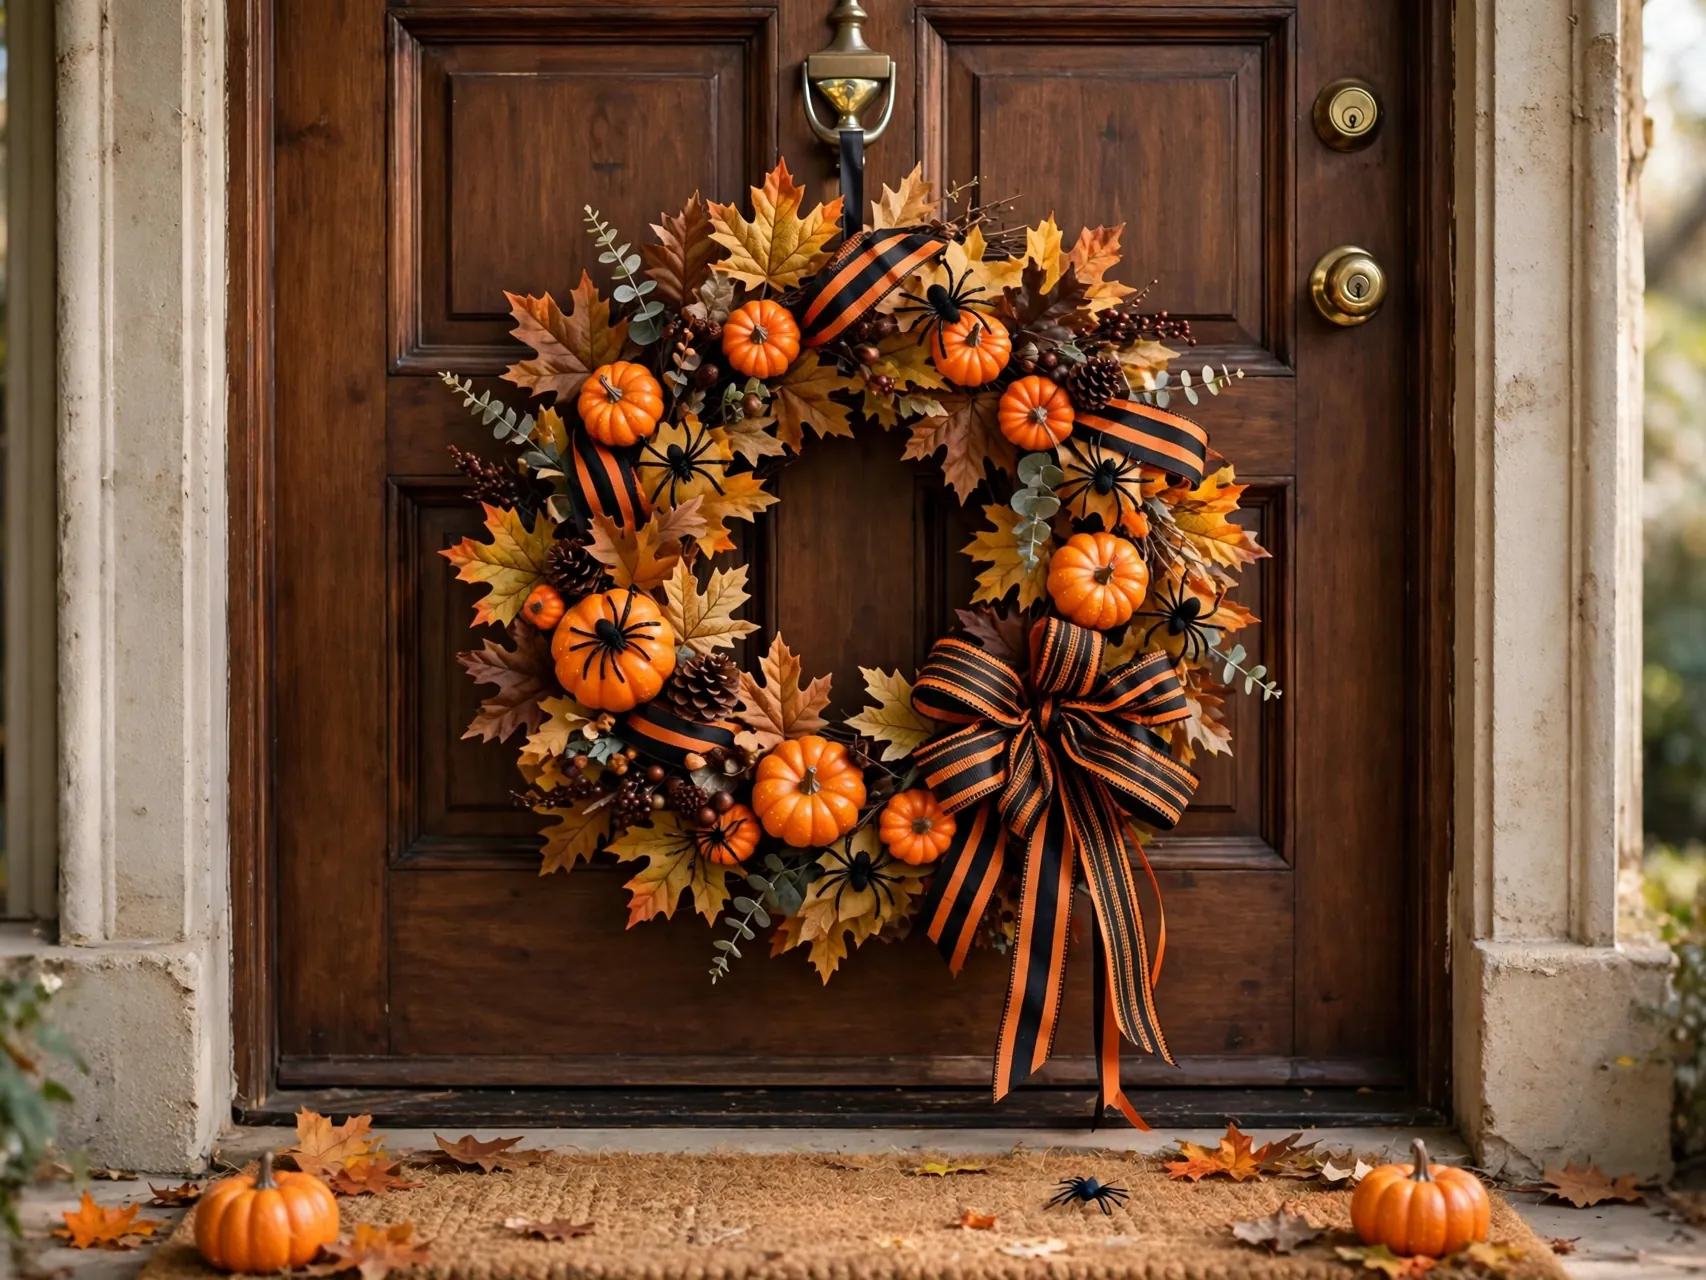
Start with a plain wreath form, then layer in dollar store halloween decor basics: black mesh or ribbon, plastic spiders, mini pumpkins, paper bats, or a small wooden sign. Hot glue or floral wire holds everything, and a big bow at the bottom finishes it like a boutique piece.
Choose one theme and two or three colors so the wreath looks designed rather than stuffed. An adult should run the glue gun. Hung on the front door, this single project announces your whole Halloween style before guests even knock.
10. Make Floating Witch Hats With Glow Inside

Hang lightweight witch hats at different heights on clear fishing line in an entry, over a table, or on the porch ceiling. Slip a battery tea light or glow stick inside a few hats and they hover like a spell in progress once the light fades.
Measure hanging heights so the lowest hat clears tall guests with room to spare, and secure knots well, since a fallen hat breaks the illusion. The hats themselves are cheap and reusable, store nested in one bag, and go up in under half an hour.
11. Turn Tin Cans Into Black Cat Lanterns

Clean empty cans, paint them matte black, then add triangle ears cut from card, painted eyes, and whiskers of wire, string, or drawn lines. A battery tea light inside turns each can into a black cat lantern for steps, shelves, or a windowsill.
Adults should handle any can edges, smoothing or taping rims before kids paint. A row of cats in different sizes looks charming rather than scary, which suits family porches. Rinse and dry cans well after the season so the paint stays fresh for next year.
12. Print Spooky Portraits for Thrifted Frames
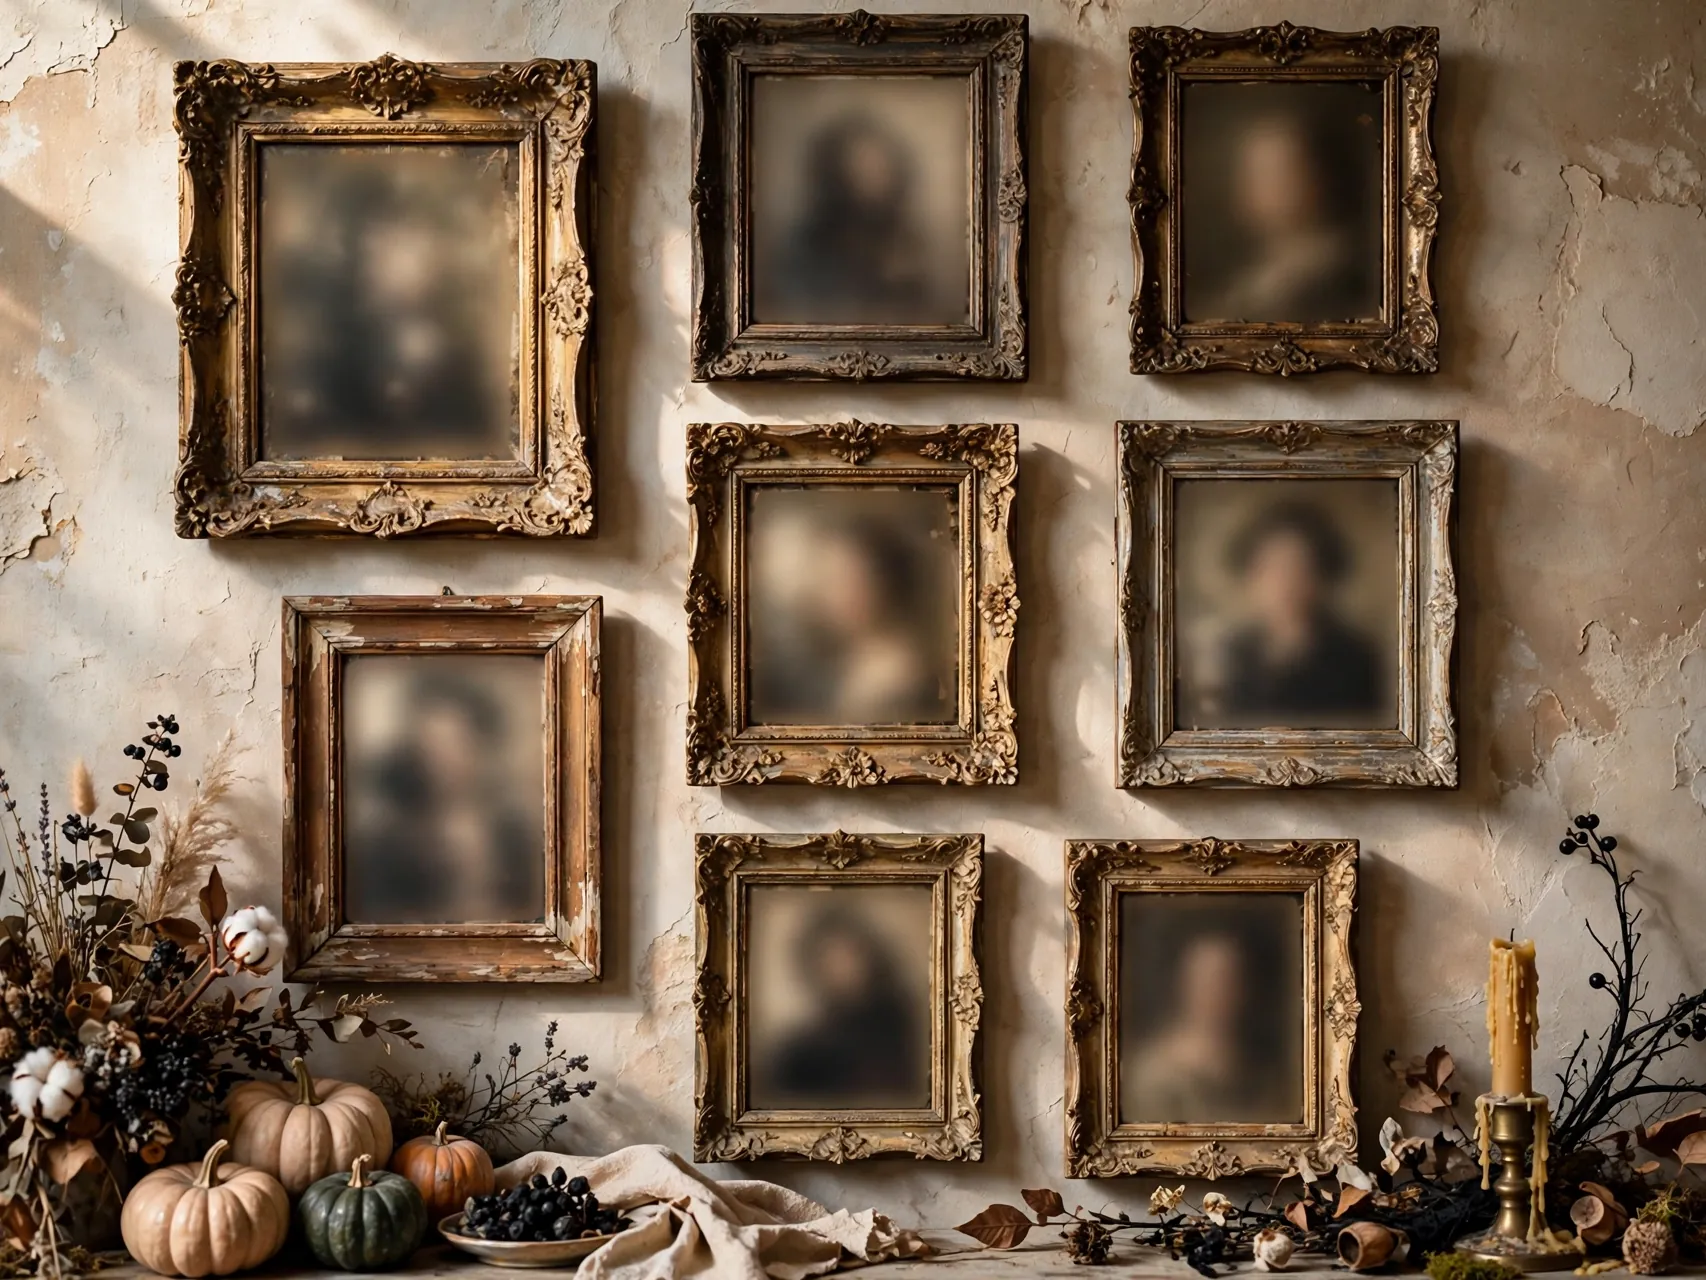
Give old frames a haunted gallery moment. Print antique style portraits, haunted house images, or your own photos edited with a sepia filter and spooky details, then swap them into frames you already own or find secondhand for the month of October.
A cluster of three to five portraits on a hallway wall delivers a real haunted house effect for the cost of printing. After the holiday, the original art goes back and the prints store flat in one envelope, ready to haunt again next year.
13. Build a Spell Book Stack With Aged Covers

Wrap old hardcover books or plain boxes in dark paper or fabric, then letter playful titles on the spines with a gold or white paint pen: potions, spells, and remedies for a full moon. Stack three on a console or mantel with a candle and a small prop on top.
Use books you no longer read, or make removable covers so good books stay unharmed underneath. This project fills tall vignettes beautifully, costs almost nothing, and pairs perfectly with the potion jars from earlier in this list for a full witchy corner.
14. Make Pumpkin Jar Lanterns With Orange Paint

Coat the inside or outside of clean jars with orange craft paint, add a jack o lantern face in black, and tie twine or raffia around the rim as a stem wrap. A battery candle inside turns each jar into a mini pumpkin lantern that never rots.
Line them down a table, group them on the porch, or give one per guest as a party favor. Painting the inside of the glass gives a smoother glow, but outside painting is easier for kids. Either way, these store and return for many Halloweens.
15. Hang Window Silhouettes Cut From Black Paper

Cut witches, cats, bats, haunted houses, and bare trees from black paper or thin card, and tape them inside your windows. When indoor lights switch on at dusk, the silhouettes appear like shadow theater for everyone passing by.
Simple, bold shapes read best from the street, so trace or print templates if freehand cutting frustrates you. This project is completely free if you have paper at home, removes in minutes with no residue when you use gentle tape, and works in apartments where outdoor decorating is not an option.
16. Weave a Felt Bat and Ghost Garland

Cut bats, ghosts, and pumpkins from felt or thick paper, then string them on twine with small gaps between shapes. Drape the garland across a mantel, doorway, bookshelf, or stair rail for instant handmade charm.
Felt needs no hemming and survives storage beautifully, making this a keeper project. Let kids design their own shapes for one mixed family garland, and photograph it each year to watch the collection grow. Two or three garlands in different spots tie your homemade halloween decorations together across rooms.
17. Spook Up Plain Candles With Gauze and Eyes

Wrap white pillar candles or LED pillars in strips of gauze, leaving gaps, and glue on two googly eyes to make mummy candles. Group two or three at different heights on a tray with a few plastic spiders for a finished tabletop scene.
Use LED pillars if the candles will sit near fabric, paper, or little hands, which at Halloween is nearly everywhere. The gauze removes cleanly afterward, so the same pillars return for winter holidays. This is a five minute project with a surprisingly polished result.
18. Make Spider Egg Sacs From Stockings and Stuffing

For a genuinely creepy corner, fill a white stocking or thin fabric pouch with soft stuffing and a cluster of small plastic spiders, tie it closed, then glue a few more spiders crawling on the outside. Hang the sac low in a doorway corner or porch nook.
Place these where they surprise but do not block passage, and warn squeamish guests if your crowd prefers cute over creepy. One or two sacs is plenty. They pack flat after the holiday, spiders and all, and take two minutes to rehang next year.
19. Create Ghost Handprint and Footprint Art With Kids

Paint little feet or hands with white washable paint, press them onto dark paper or canvas, then add eyes and a mouth once dry to turn each print into a ghost. Frame the best ones or string them into a keepsake banner.
Date the back of each piece, because these become the decorations families treasure most. Washable paint and a damp cloth nearby keep the session relaxed, and smudged ghosts still look adorable. This is the one project on the list that gets more valuable every single year.
20. Style Black Branch Arrangements in Vases
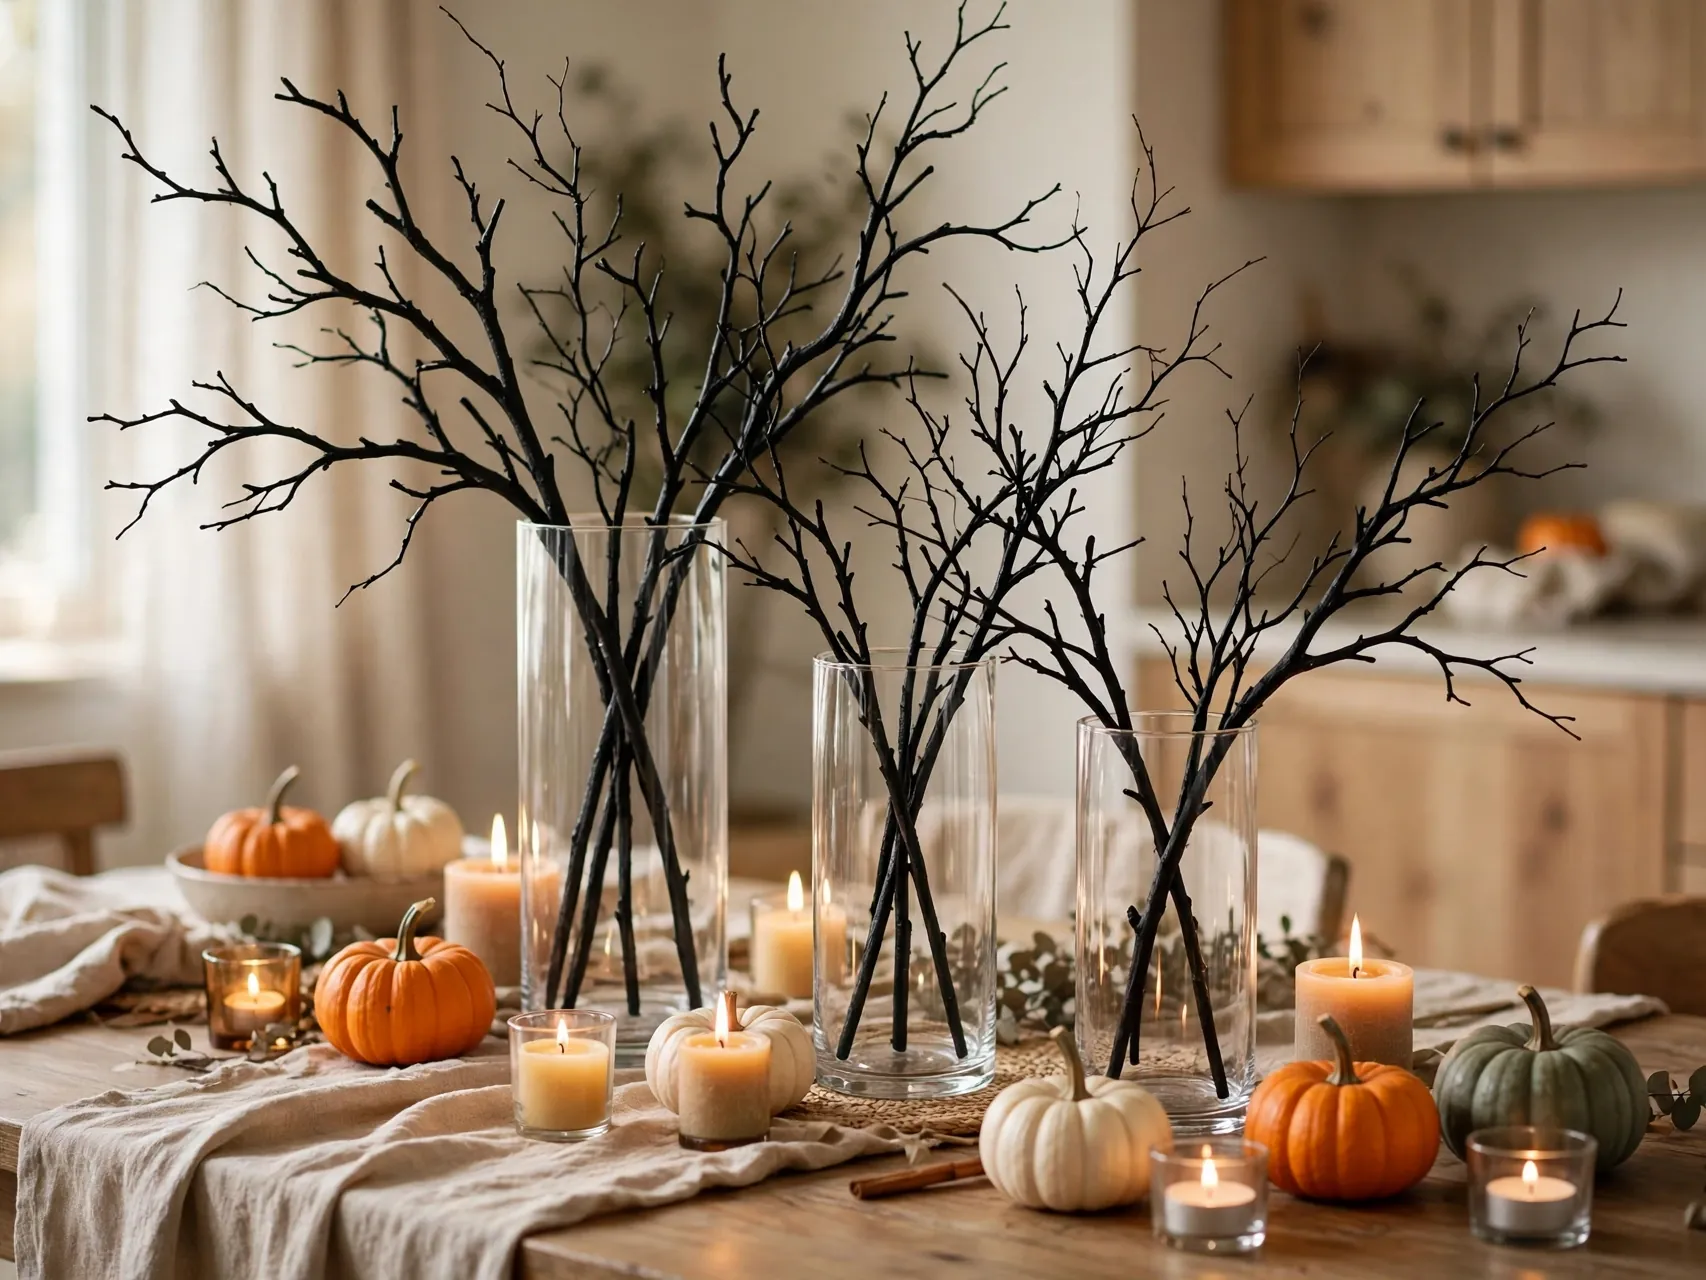
Gather fallen branches, spray them matte black, and arrange them tall in vases or buckets for instant gothic centerpieces. Hang a few mini paper bats, tiny pumpkins, or a strand of lights from the branches to finish the look.
Sturdy branches in a heavy vase stay put, and the arrangement fills vertical space that tabletop decor misses. Keep spray painting outdoors or in a ventilated area with surfaces protected, adults handling the paint. After Halloween, plain black branches still suit moody winter styling.
21. Set Up a Craft and Store System for Next Year

The last project protects all the others. As you pack away, sort handmade pieces into labeled boxes by room, wrap jar lanterns and painted pumpkins in tissue, keep paper bats and garlands flat, and note any repairs or supplies to replace while you remember.
Store everything clean and fully dry in a cool spot, and toss cotton webs and tired cardboard honestly. A simple photo of each finished display on your phone makes next year setup twice as fast. Good storage is what turns one budget craft season into a growing collection of cheap halloween decorations diy fans reuse for years.
FAQ
What are the cheapest Halloween decorations to make at home?
Paper bats, window silhouettes, and stretched cotton webs cost almost nothing beyond paper and cotton you may already own. Milk jug ghosts and jar lanterns turn recycling and pantry jars into glowing decor, and cardboard tombstones are free if you save boxes. The most expensive item in most projects here is a pack of battery tea lights, reused for years.
How do I make DIY Halloween decor last outdoors?
Choose materials that forgive weather, plastic, foam, painted wood, and sealed paint, and save cardboard and paper projects for covered porches or dry forecasts. Bring fabric ghosts in during rain, stake yard pieces firmly, and store everything clean and dry. A clear craft sealer on painted pieces helps them survive more than one season.
Which of these projects are best to make with kids?
Painted pumpkins, ghost handprint art, paper bats, felt garlands, and jar lanterns are all kid friendly with supervision. Adults should handle hot glue, spray paint, cutting thick cardboard, and any can edges. Setting out washable paints and giving kids their own small project, like one garland shape each, keeps craft sessions happy.
How can homemade decorations look polished instead of crafty?
Repeat one color palette across projects, group pieces in clusters instead of scattering them, and finish each display with light, a battery candle or string lights nearby. Simple shapes done neatly read more polished than complicated ones done roughly. Photographing your displays helps you spot and fix cluttered spots.
When should I start making Halloween decor?
Start in September for relaxed weekend sessions, beginning with keeper projects like painted foam pumpkins, garlands, and wreaths that store well. Save fresh material projects, real painted pumpkins and cotton webs, for October. A simple list ordered by room keeps crafting fun rather than rushed in the final week.
Key Takeaways
- Your recycling bin is a supply store: Jars, jugs, cans, and cardboard become lanterns, ghosts, cats, and tombstones for almost nothing.
- Paper does the heavy lifting: Bats, silhouettes, garlands, and portraits fill walls and windows at the lowest cost of any material.
- Flameless light finishes everything: Battery tea lights inside handmade pieces give the glow while staying safe near paper, fabric, and kids.
- Make keepers, store them well: Painted foam pumpkins, felt garlands, and wreaths return yearly when packed clean, dry, and labeled by room.
- Adults take the sharp and hot jobs: Hot glue, spray paint, and thick cutting stay with grown ups, while painting and shaping belong to everyone.
- Crafting your haunted home this year? Save this list to Pinterest and pin the first project you will make this weekend.