20 Tips on How to Make Scented Candles at Home Easily
Introduction
Learning how to make scented candles at home is mostly about temperature and patience. Melt the wax gently, add fragrance at the right heat, pour at the right moment, and let the candle cure. Get those four things right and even a first batch can smell wonderful and burn cleanly.
Soy wax is the friendly starting point for most beginners. It is easy to handle in flake form, cleans up with soap and water, and pairs with clear guidance from makers like CandleScience, whose instructions this guide follows for temperatures and timing.
Safety runs through every tip below. Melt wax only in a double boiler, never over direct flame, never leave melting wax unattended, and keep your workspace clear, dry, and away from children and pets while you work.
1. Choose Soy Wax for a Beginner Friendly First Batch

Soy container wax, sold as flakes, melts evenly, pours smoothly into jars and tins, and is widely documented, which matters when you need troubleshooting help at midnight. Popular soy waxes like Golden Brands 464 and 444 come with exact maker instructions for heat, fragrance, and pour temperatures.
Start with one wax and learn it well before blending or switching. Soy candle making for beginners goes best when only one thing changes at a time, because then you can actually tell what improved your candle.
2. Set Up a Safe, Dedicated Workspace First
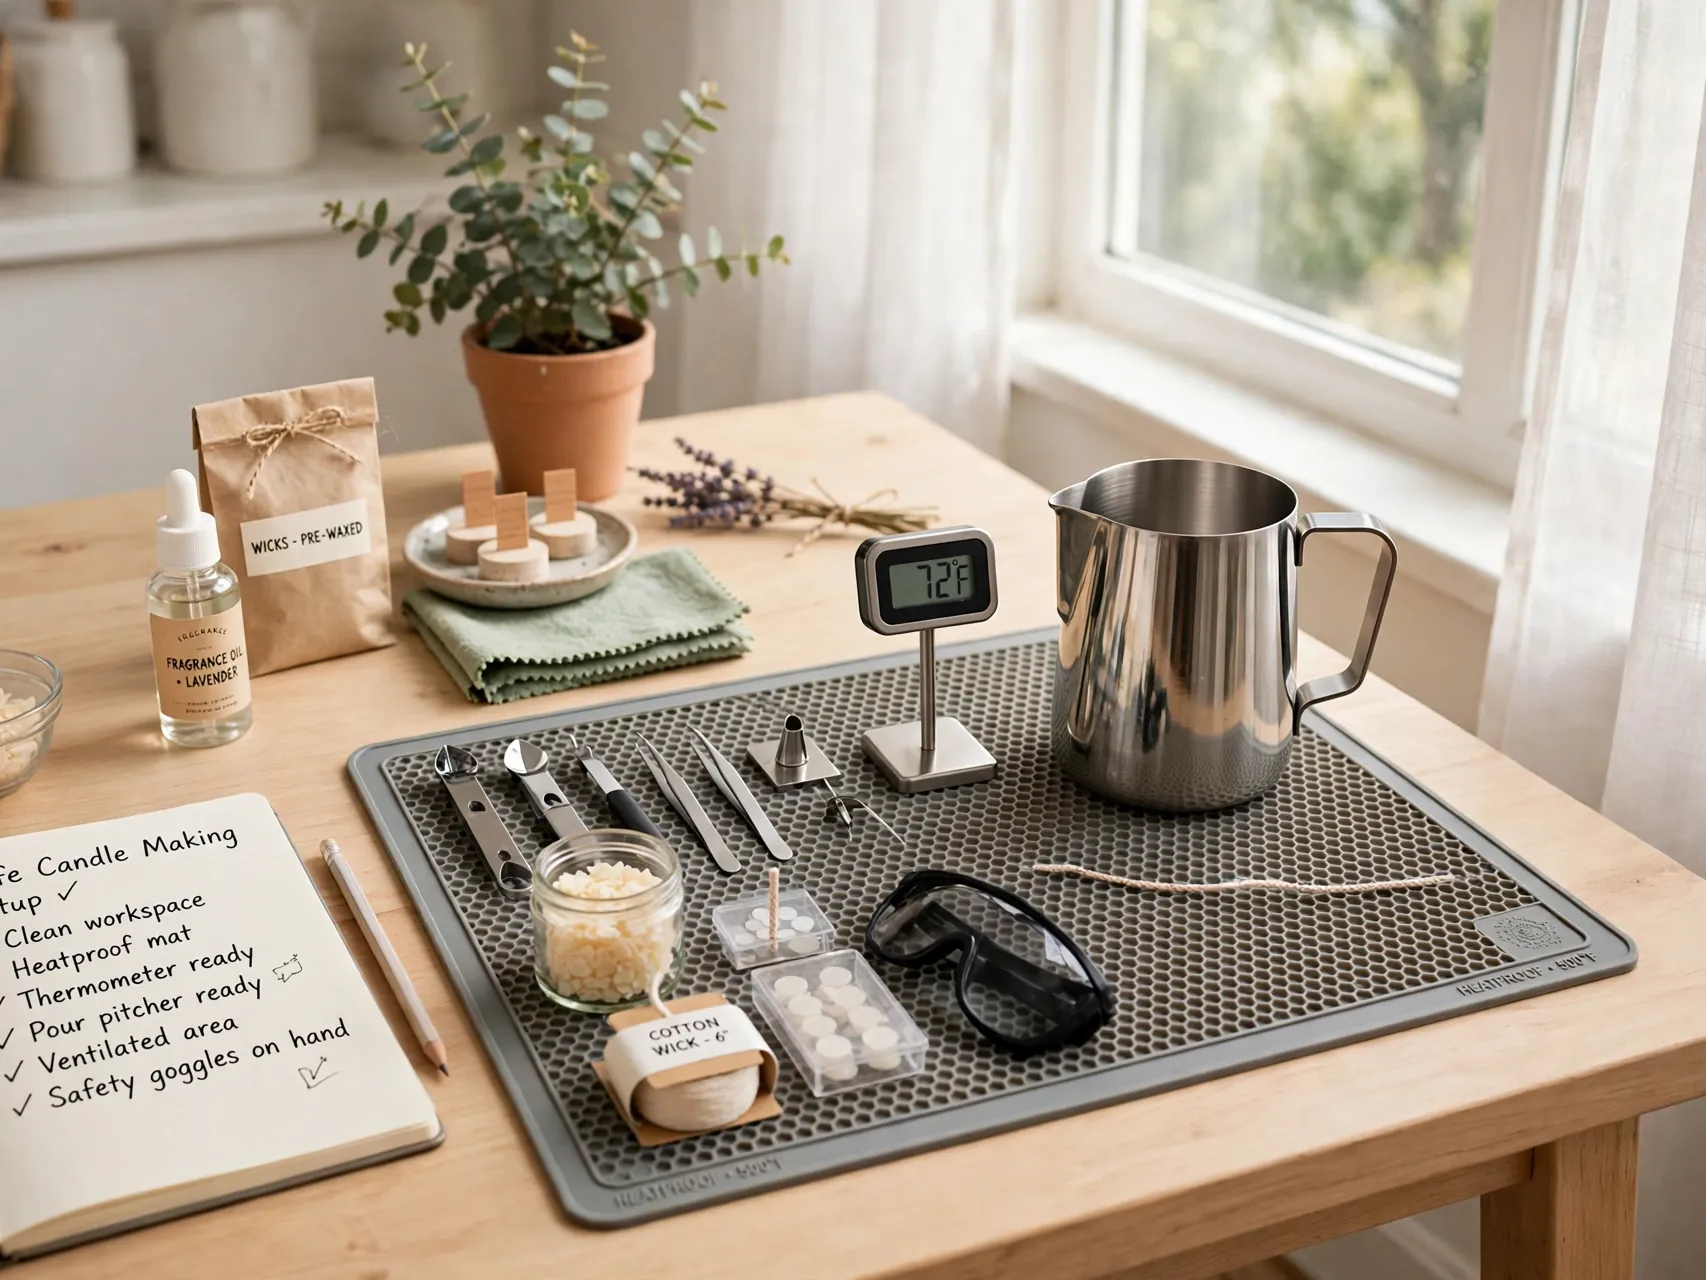
Cover the counter with newspaper or craft paper, gather every tool before heat is involved, and keep a clear path between your melting pot and your pouring spot. A thermometer, scale, pitcher, stirring utensil, and paper towels should all be within reach.
CandleScience kit guidance suggests working away from food preparation areas where possible and using a heat source without an open flame, like an electric hot plate or stovetop with a double boiler. A calm, room temperature space also helps candles cool evenly without cracks.
3. Always Melt Wax in a Double Boiler, Never Direct Heat

Place your pouring pitcher of wax inside a saucepan partly filled with water, and heat the water, not the wax directly. This double boiler method caps the temperature, prevents scorching, and is the method every major maker instruction is built on.
Never leave melting wax unattended, not for a minute. Wax is a fuel, and overheated wax is a fire risk. Keep water out of the wax itself, stir gently, and if you need to step away, turn the heat off first and return when you can watch it again.
4. Weigh Wax and Fragrance With a Digital Scale
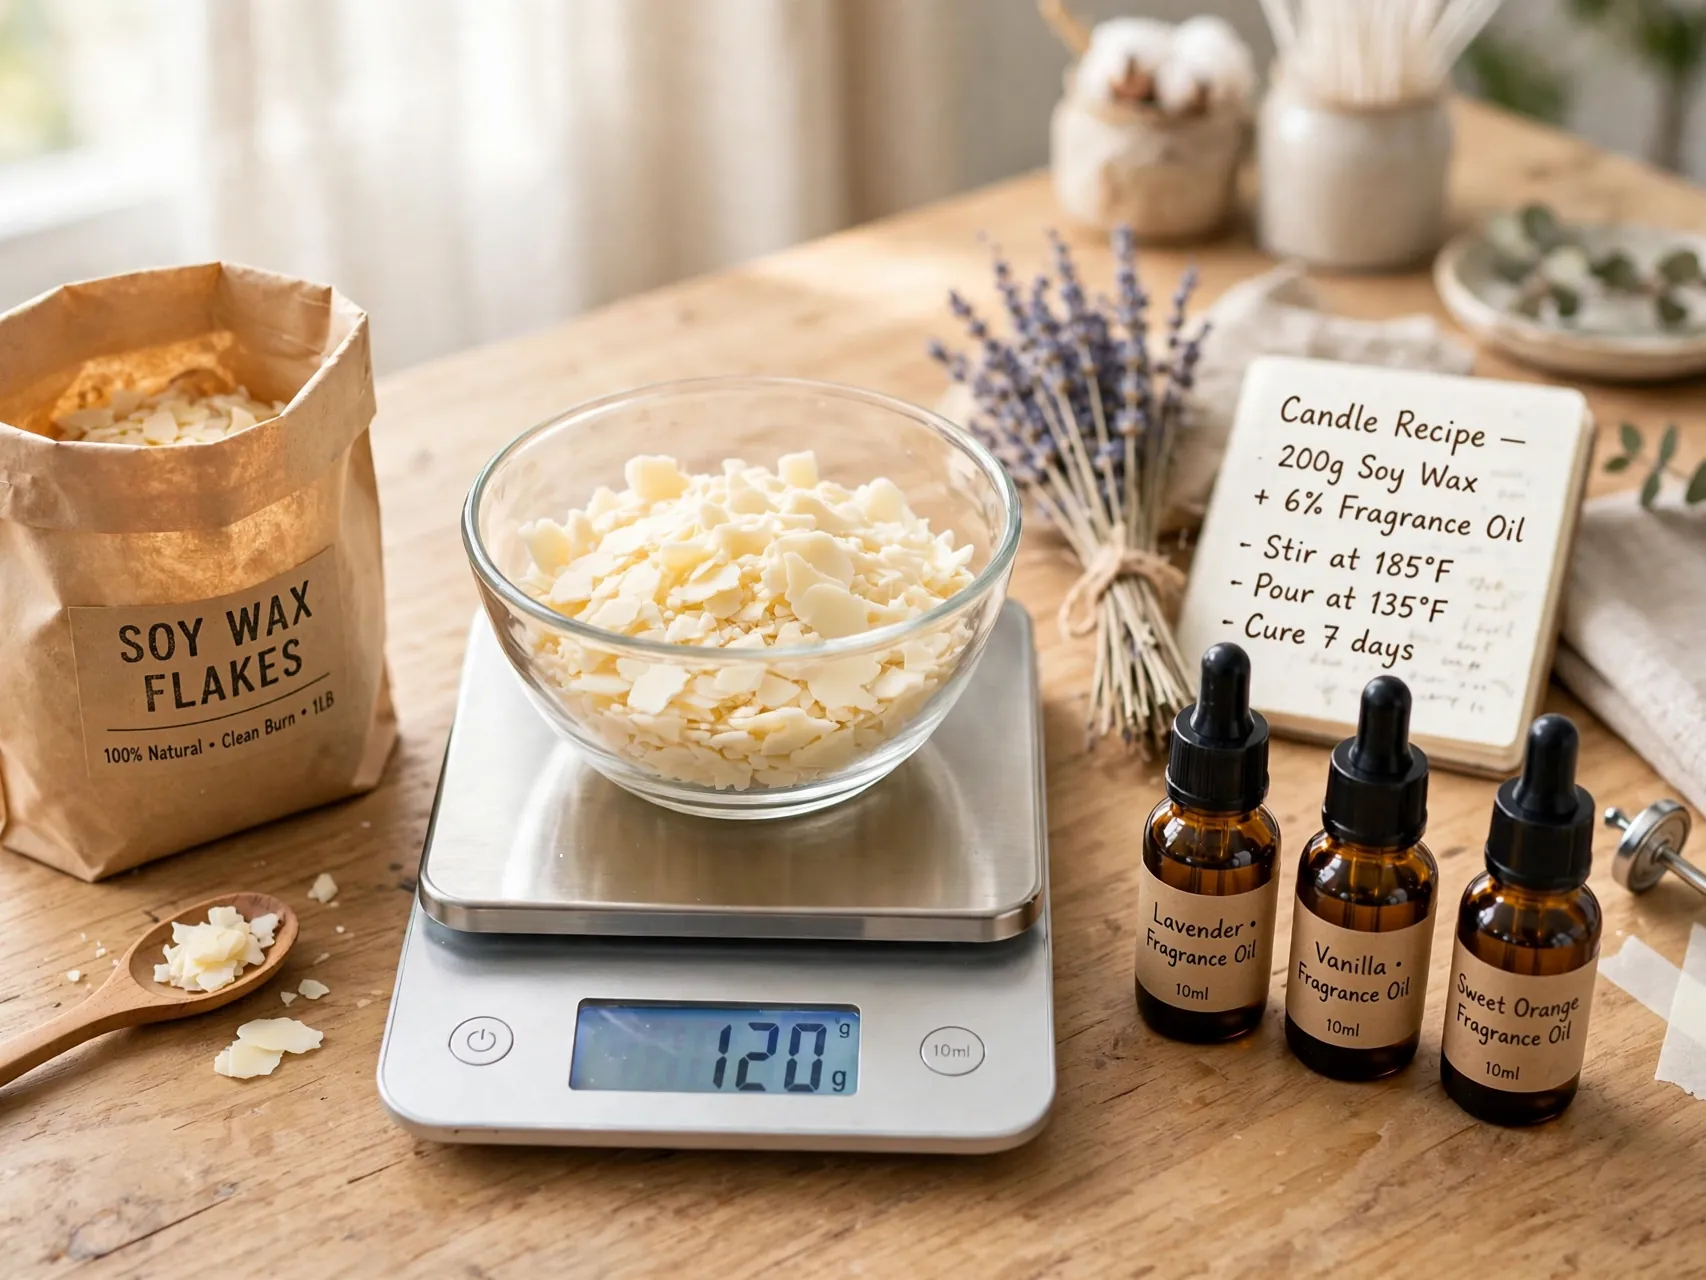
Candle recipes work by weight, not by cups. Place the pitcher on a digital scale, zero it, and weigh your wax flakes. Weigh fragrance the same way when it is time to add it. Consistent weights mean consistent candles, batch after batch.
Volume measuring fails because flakes pack unevenly and fragrance oils differ in density. A basic kitchen scale is accurate enough and quickly becomes the tool you trust most. Write your weights down in a notebook with the wax and fragrance names, so a great batch can be repeated exactly.
5. Pick Containers That Are Truly Heat Safe
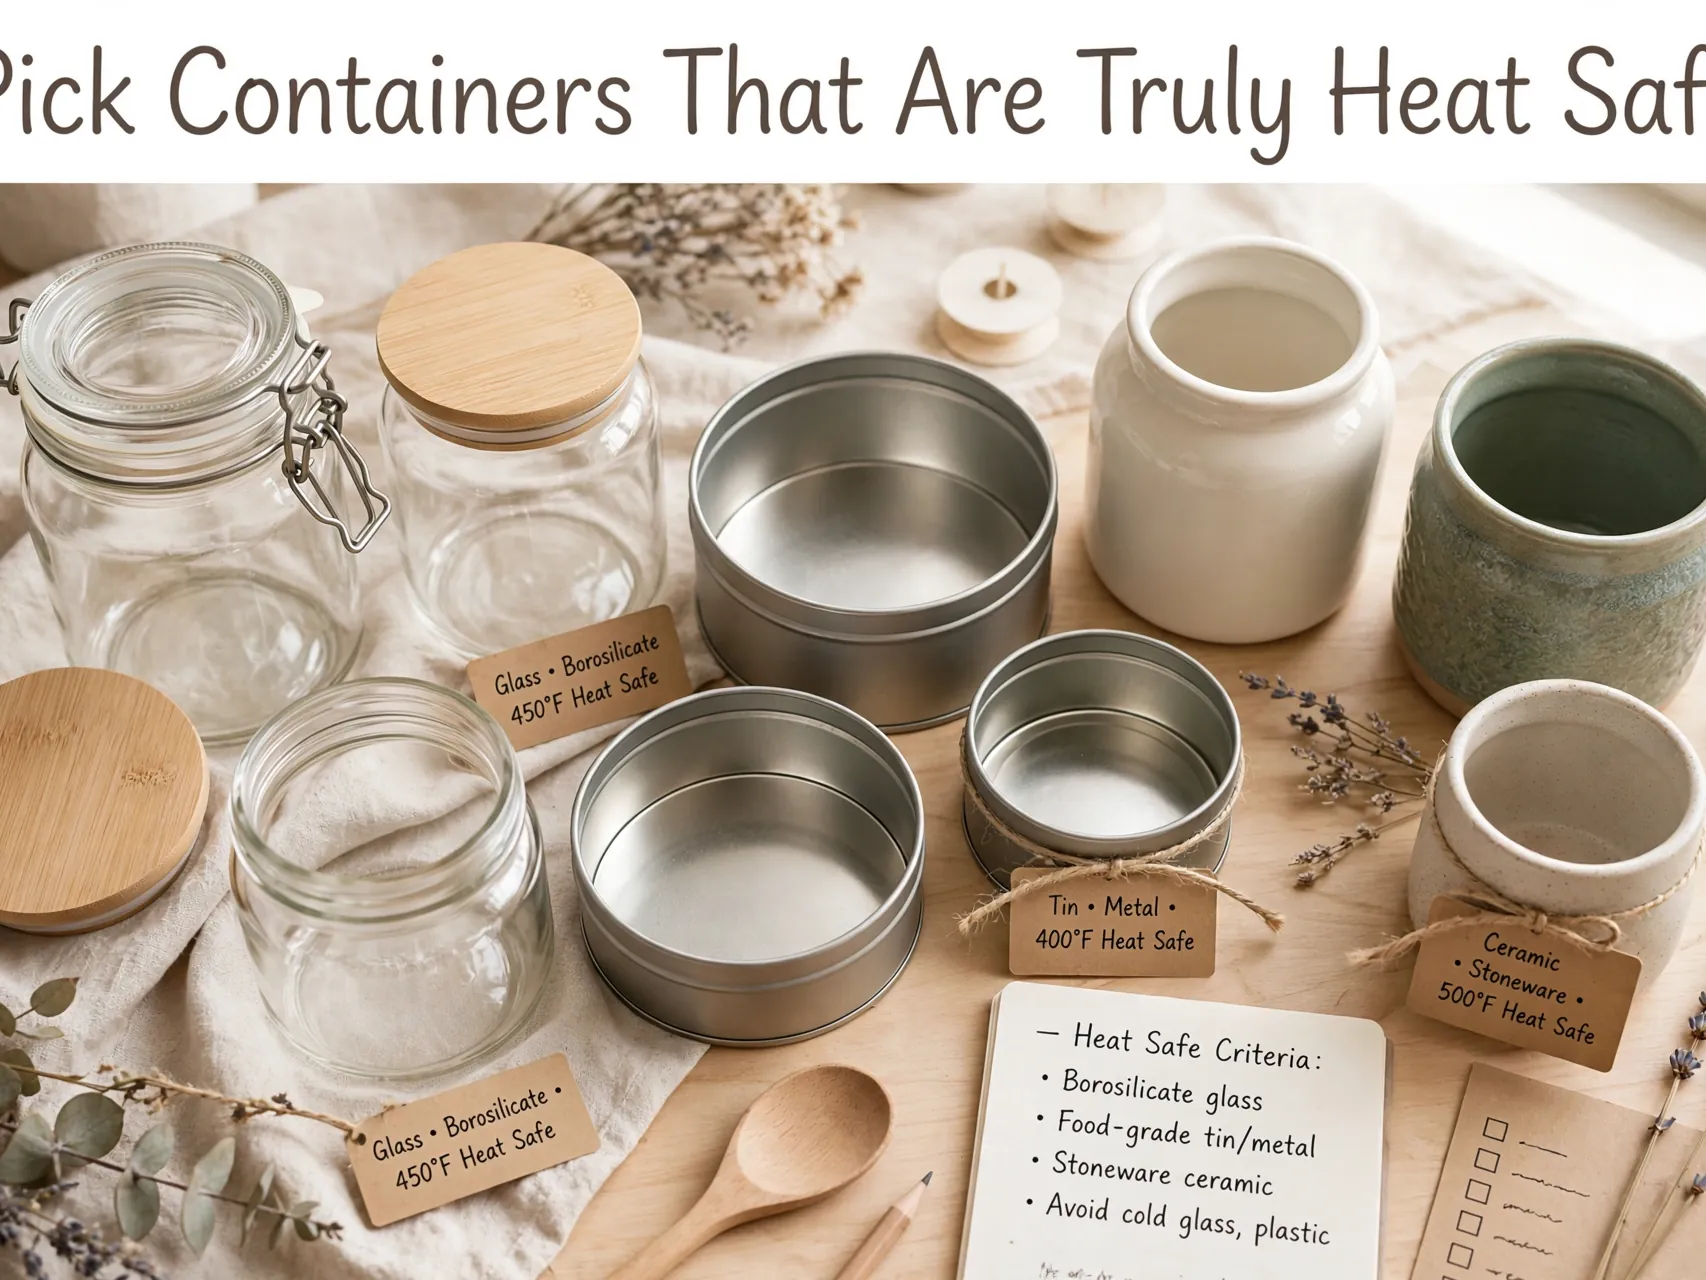
Use containers made and sold for candles: sturdy tins with lids, thick glass jars rated for candle use, or ceramic vessels confirmed heat safe by the maker. Thin, cracked, or decorative glass not intended for candles can fail under heat and is not worth the risk.
Check every container for chips and cracks before pouring, wash and dry it fully, and warm it slightly if your room is cold, which helps the wax grip the walls instead of pulling away. Keep containers on a flat, heat safe surface while they cool.
6. Size the Wick to the Container, Not by Guessing
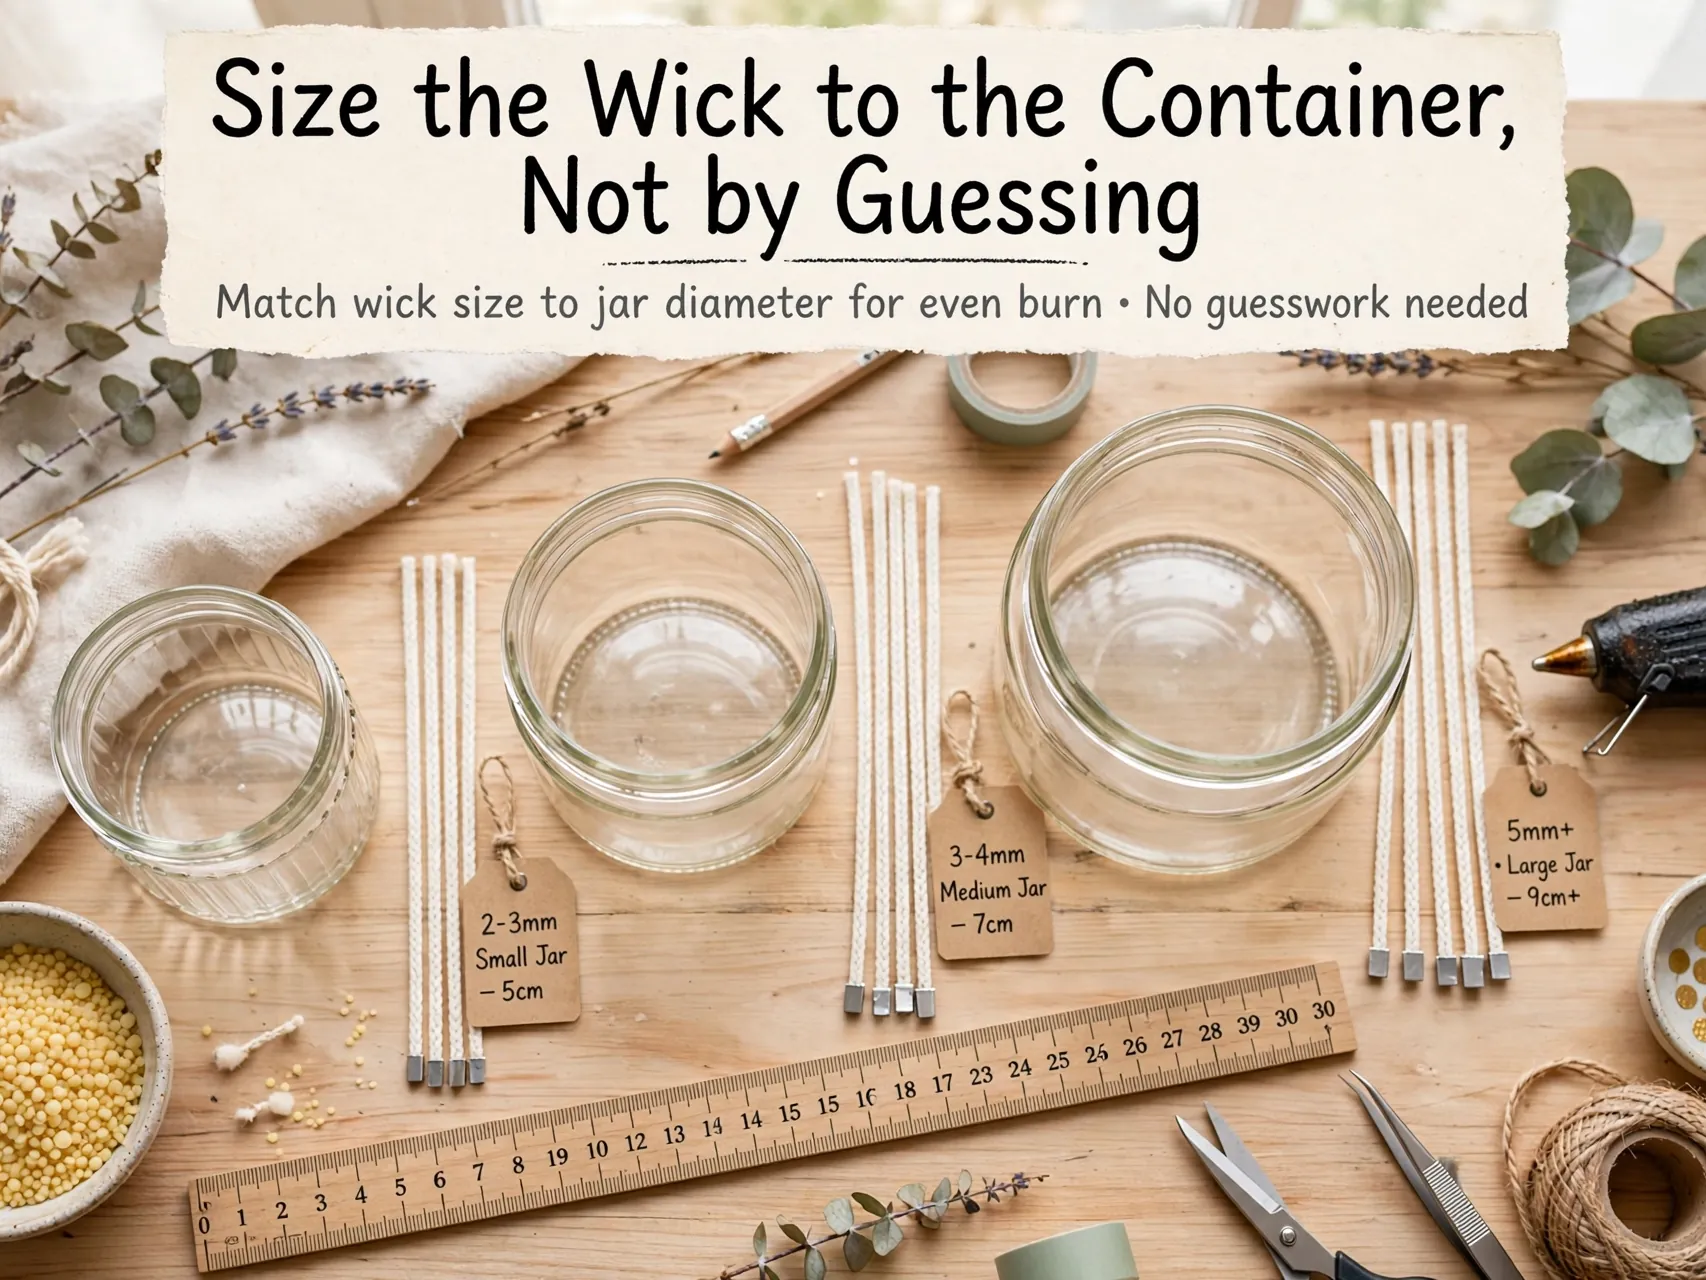
The wick is the engine of the candle. Too small and the flame tunnels down the center, wasting wax at the edges. Too large and it smokes, soots, and burns too hot. Wick choice depends on the wax type and the container diameter together.
Use the wick guide from your wax supplier, like the CandleScience wick guide, to pick a starting size for your exact jar width. Then burn test and adjust one size at a time. Correct wicking is the single biggest factor in a clean, even burn.
7. Secure and Center the Wick Before You Pour
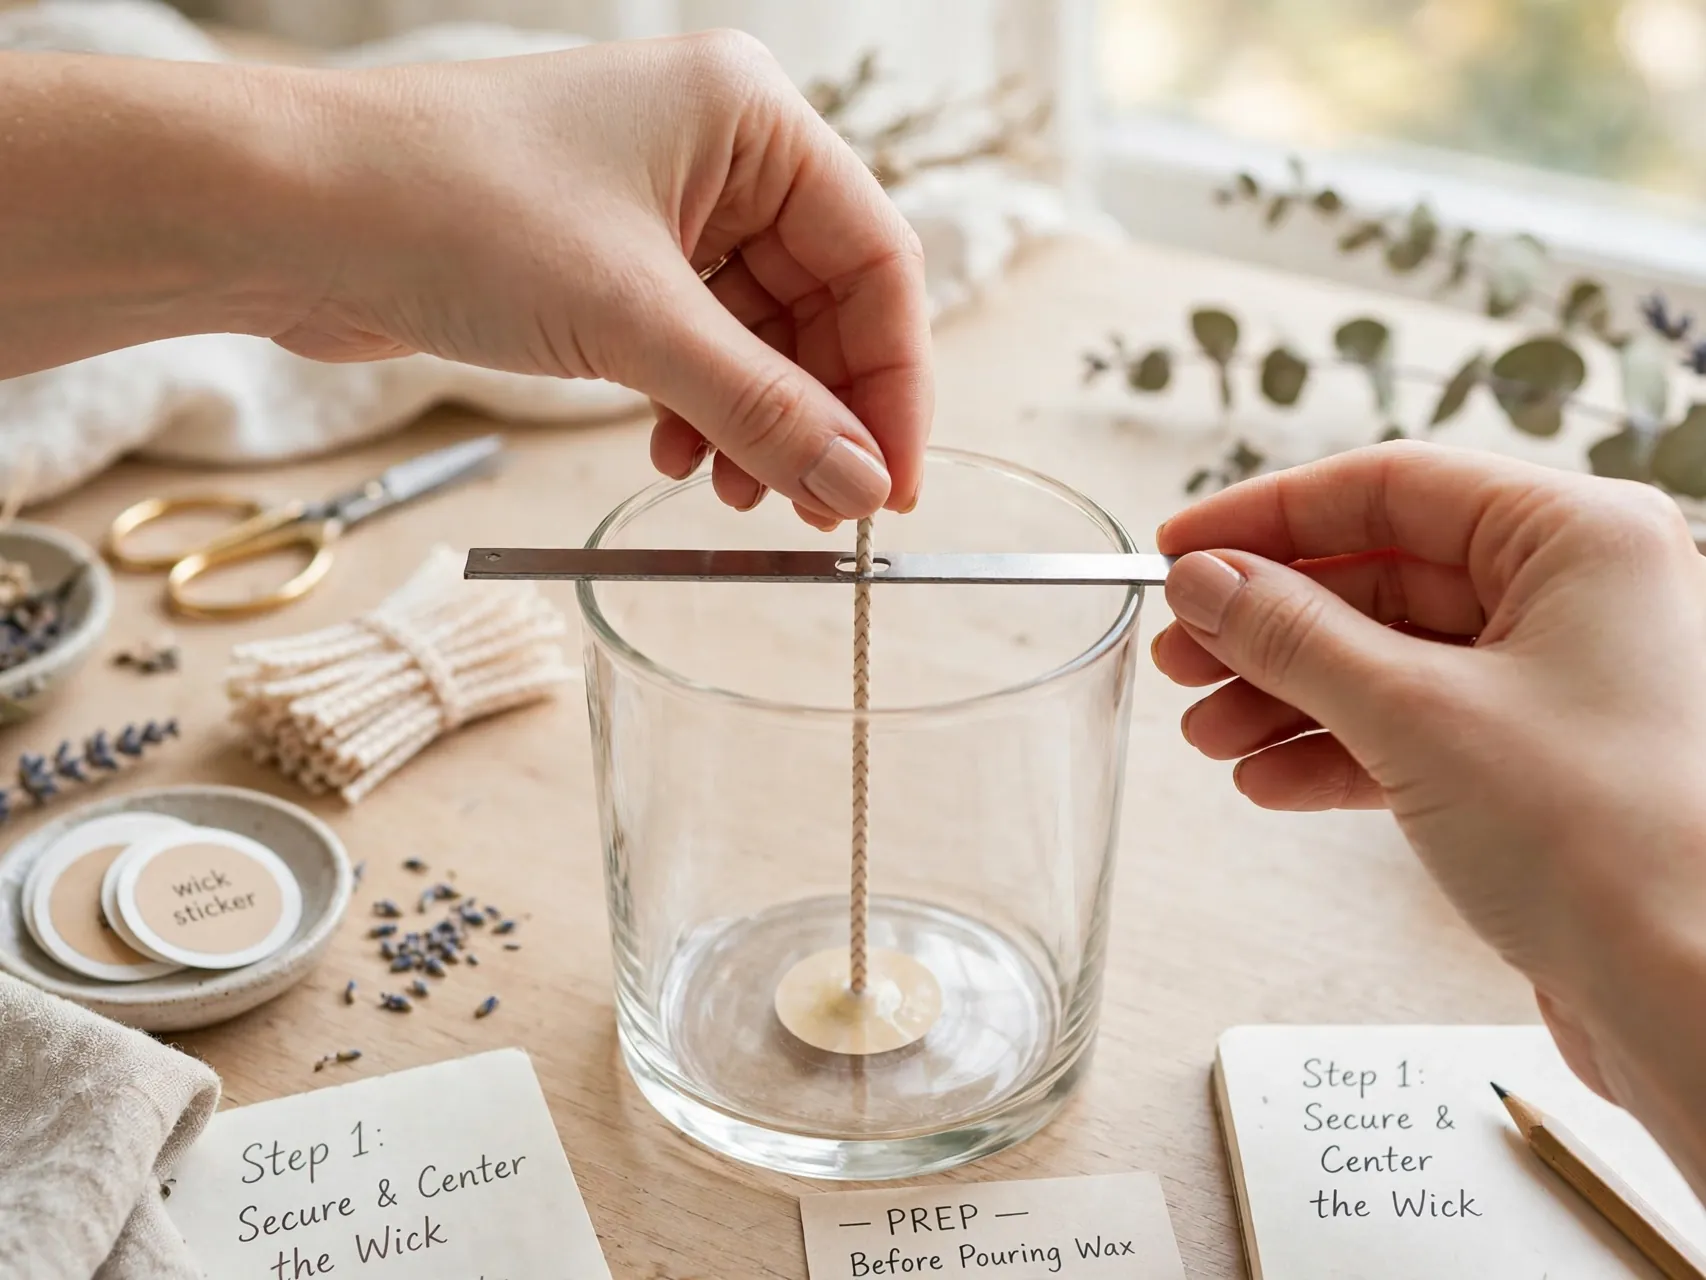
Fix the wick tab to the center of the container base with a wick sticker or a small dot of hot glue, pressing firmly. An off center wick guarantees an uneven melt pool and one hot side of the jar later.
Rest a wick bar, a clothespin, or two pencils across the top to hold the wick upright and centered while the wax sets. Check centering again right after pouring, because warm wax can let a wick lean if the top support is loose.
8. Heat Soy Wax to 185 Degrees for Fragrance

For common Golden Brands soy waxes, CandleScience directs heating the wax to 185 degrees Fahrenheit in a double boiler. Think of this as the binding temperature: hot enough for fragrance oil to mix and bond evenly through the wax, which is what creates good scent throw later.
Use a reliable thermometer and watch it climb slowly. Hold the wax near temperature without rushing past it. Stir gently as it heats, since brisk stirring whips in air bubbles that can show on the finished surface.
9. Understand Fragrance Flash Points in Plain Words
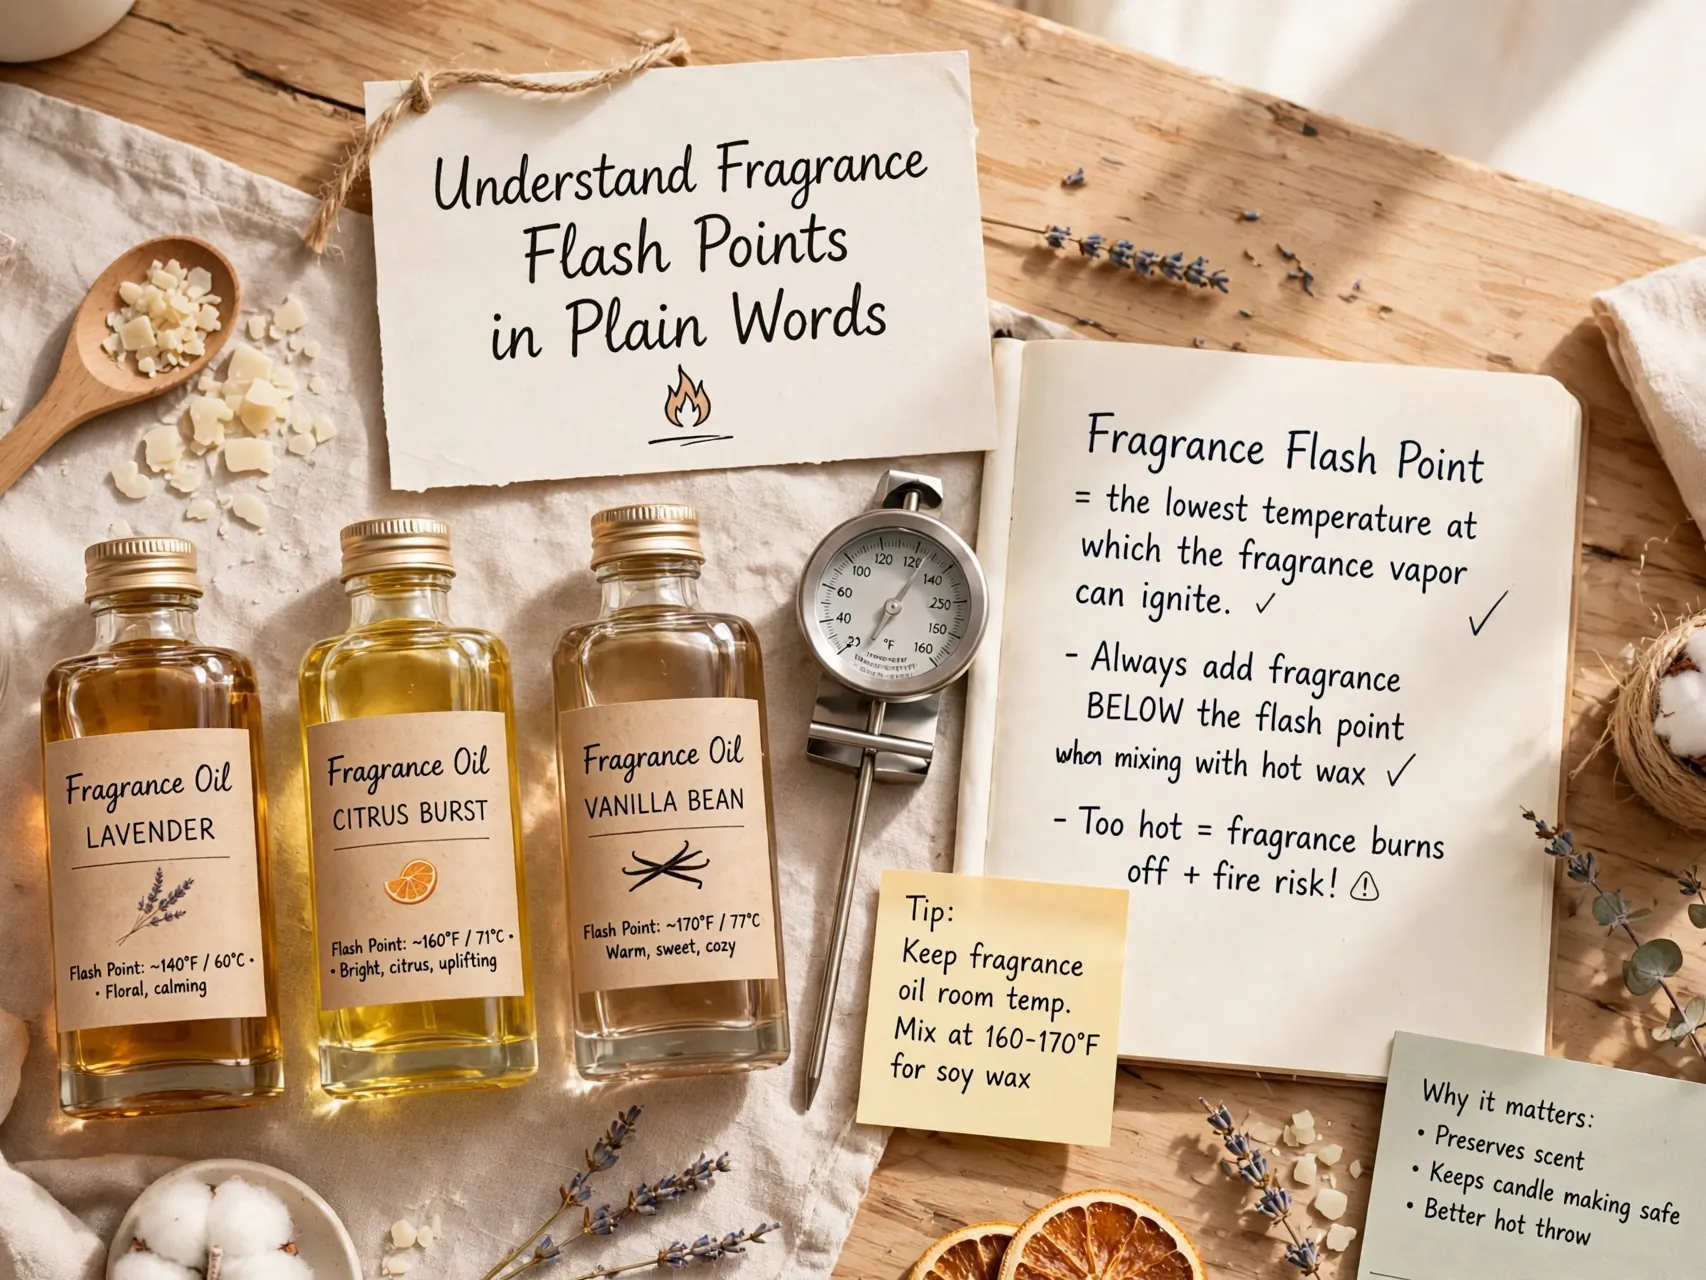
A flash point is the temperature at which a fragrance oil gives off vapors that could ignite if they met an open flame. Every candle fragrance lists one. It is a safety number first, and a scent quality clue second.
Very hot wax can also burn off the lightest, brightest notes of a fragrance, leaving a candle that smells weaker than expected. Following the maker plan, adding fragrance at 185 degrees and removing the wax from heat, keeps you in the tested zone. Never heat wax over an open flame, which is what makes flash points a practical concern.
10. Start With a 6 Percent Fragrance Load
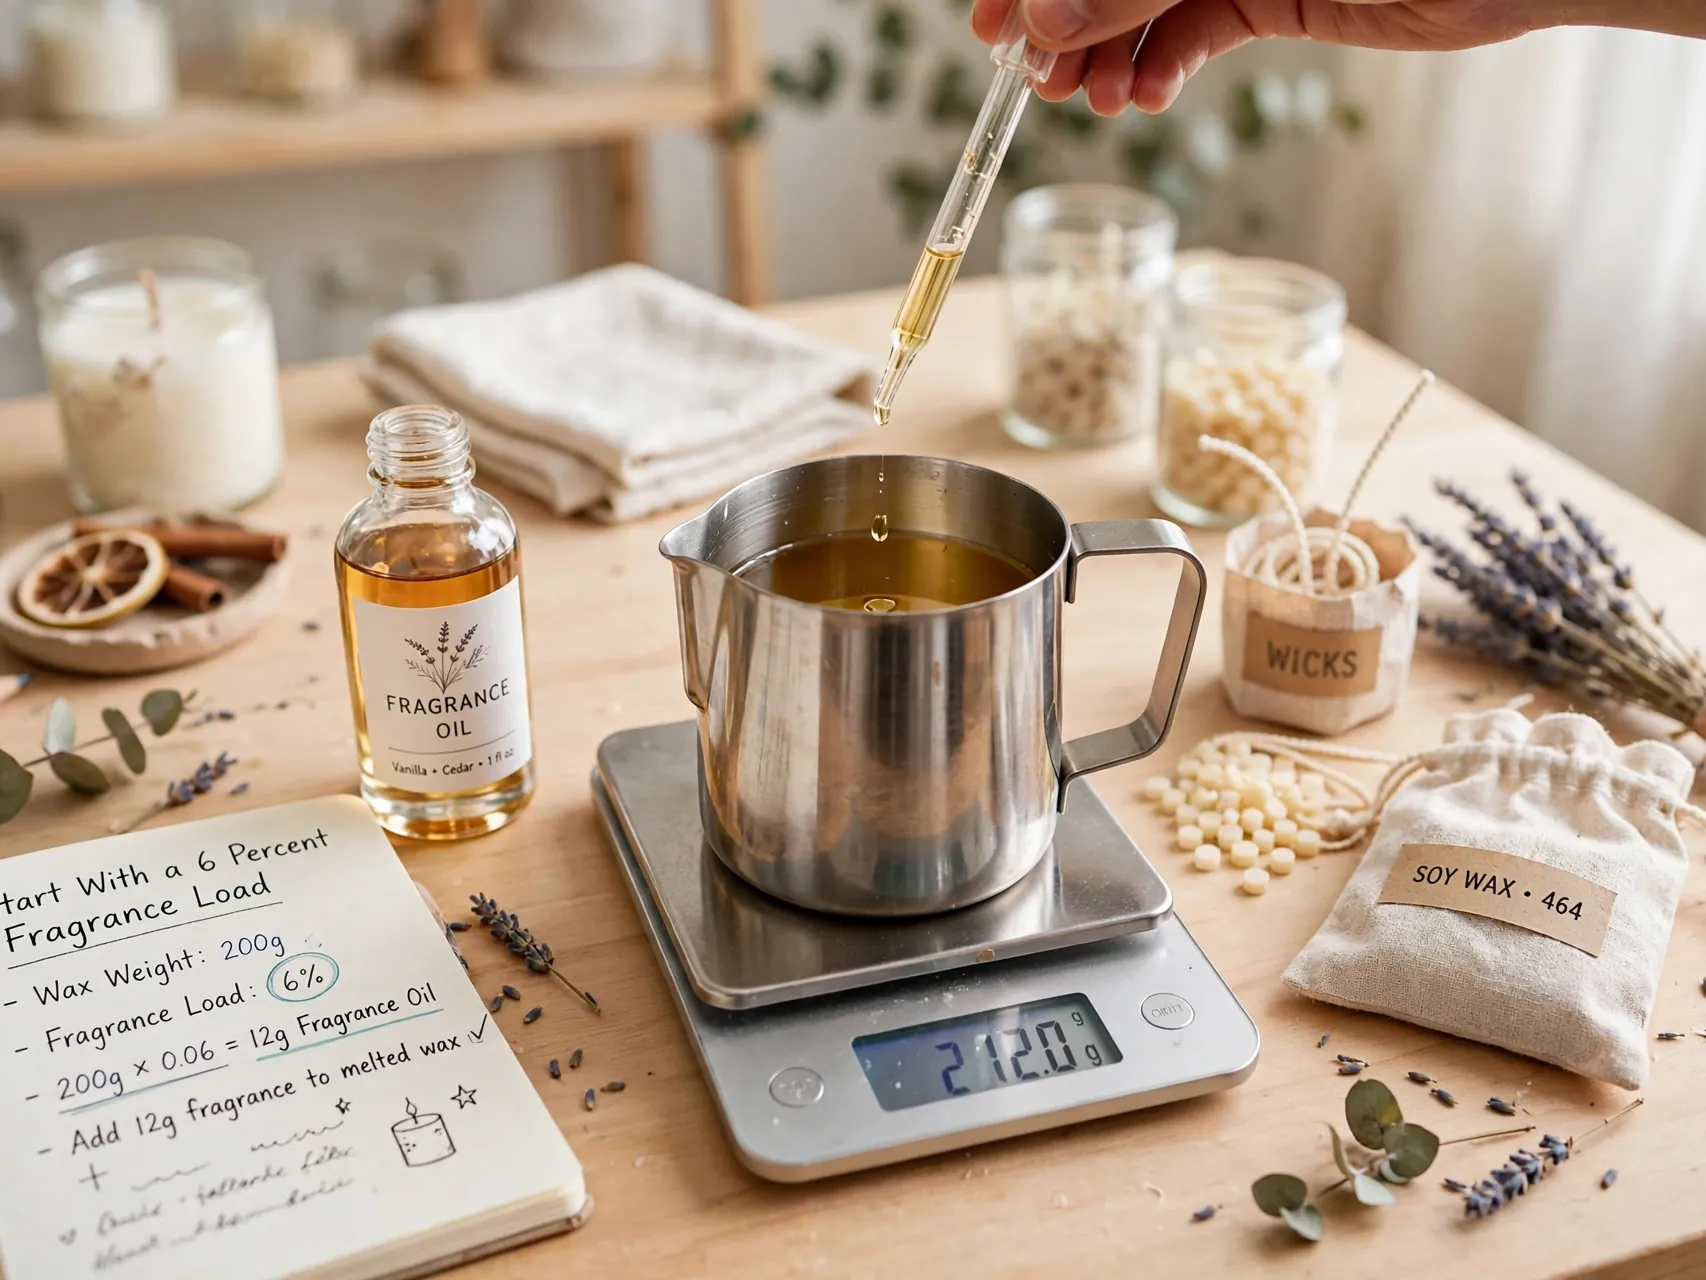
Fragrance load is the weight of fragrance compared to the weight of wax. CandleScience recommends starting at 6 percent for its soy waxes, which is about 1 ounce of fragrance per pound of wax. Many soy waxes can hold up to about 10 percent, but more is not automatically stronger.
Too much fragrance can cause sweating, poor burning, and frosting. Treat this candle fragrance load guide simply: start at 6 percent, burn test, and adjust in small steps only if the scent is genuinely weak after a full cure.
11. Use Fragrance Oils Made for Candles
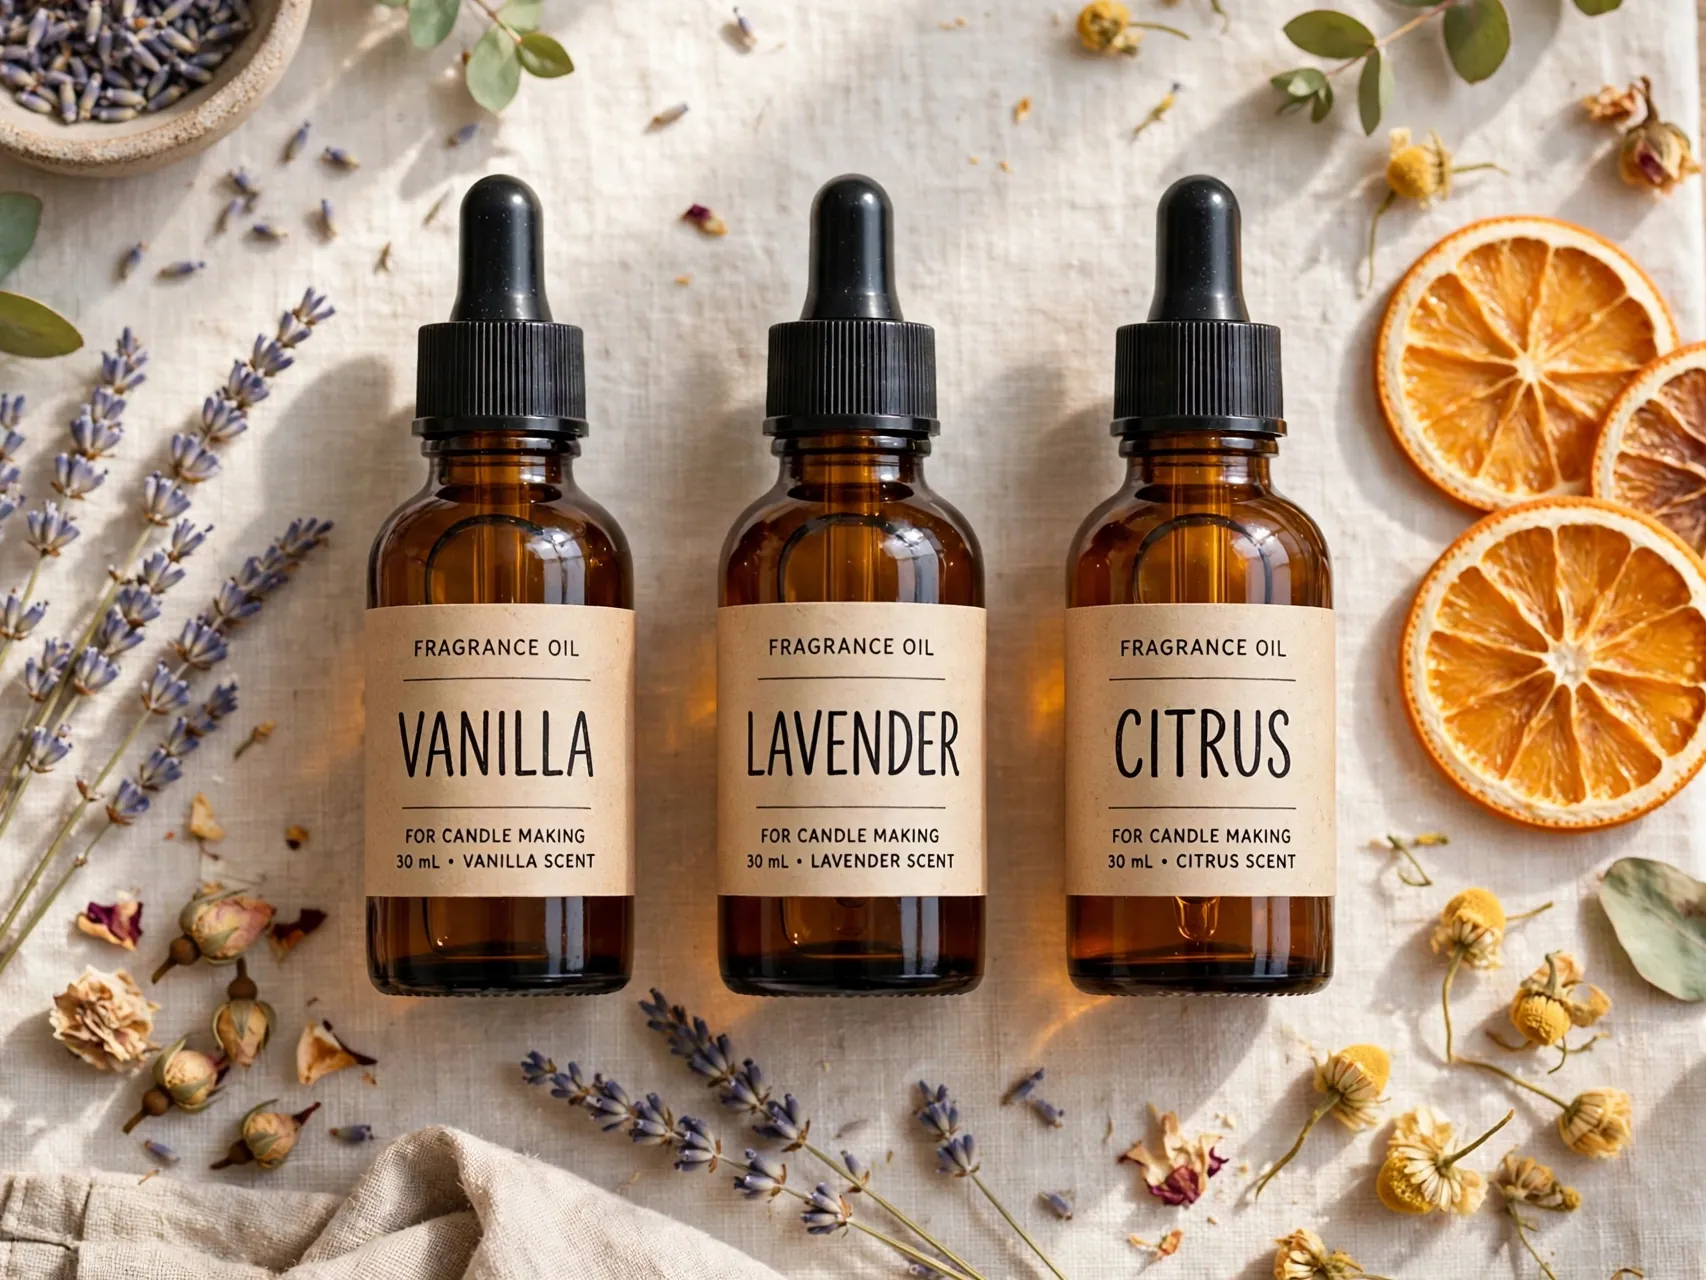
Choose fragrance oils developed and tested specifically for candle use. They are formulated to bind with wax and throw scent when burned. Random perfume oils, potpourri oils, or oils meant only for skin may separate, smoke, or behave unpredictably in a flame.
Essential oils can be used in some candles, but many fade quickly in heat and each has its own flash point and behavior, so follow guidance written for candles, not aromatherapy. For a first batch, a candle fragrance oil in a scent you love is the reliable path.
12. Stir Fragrance Gently for a Full Two Minutes
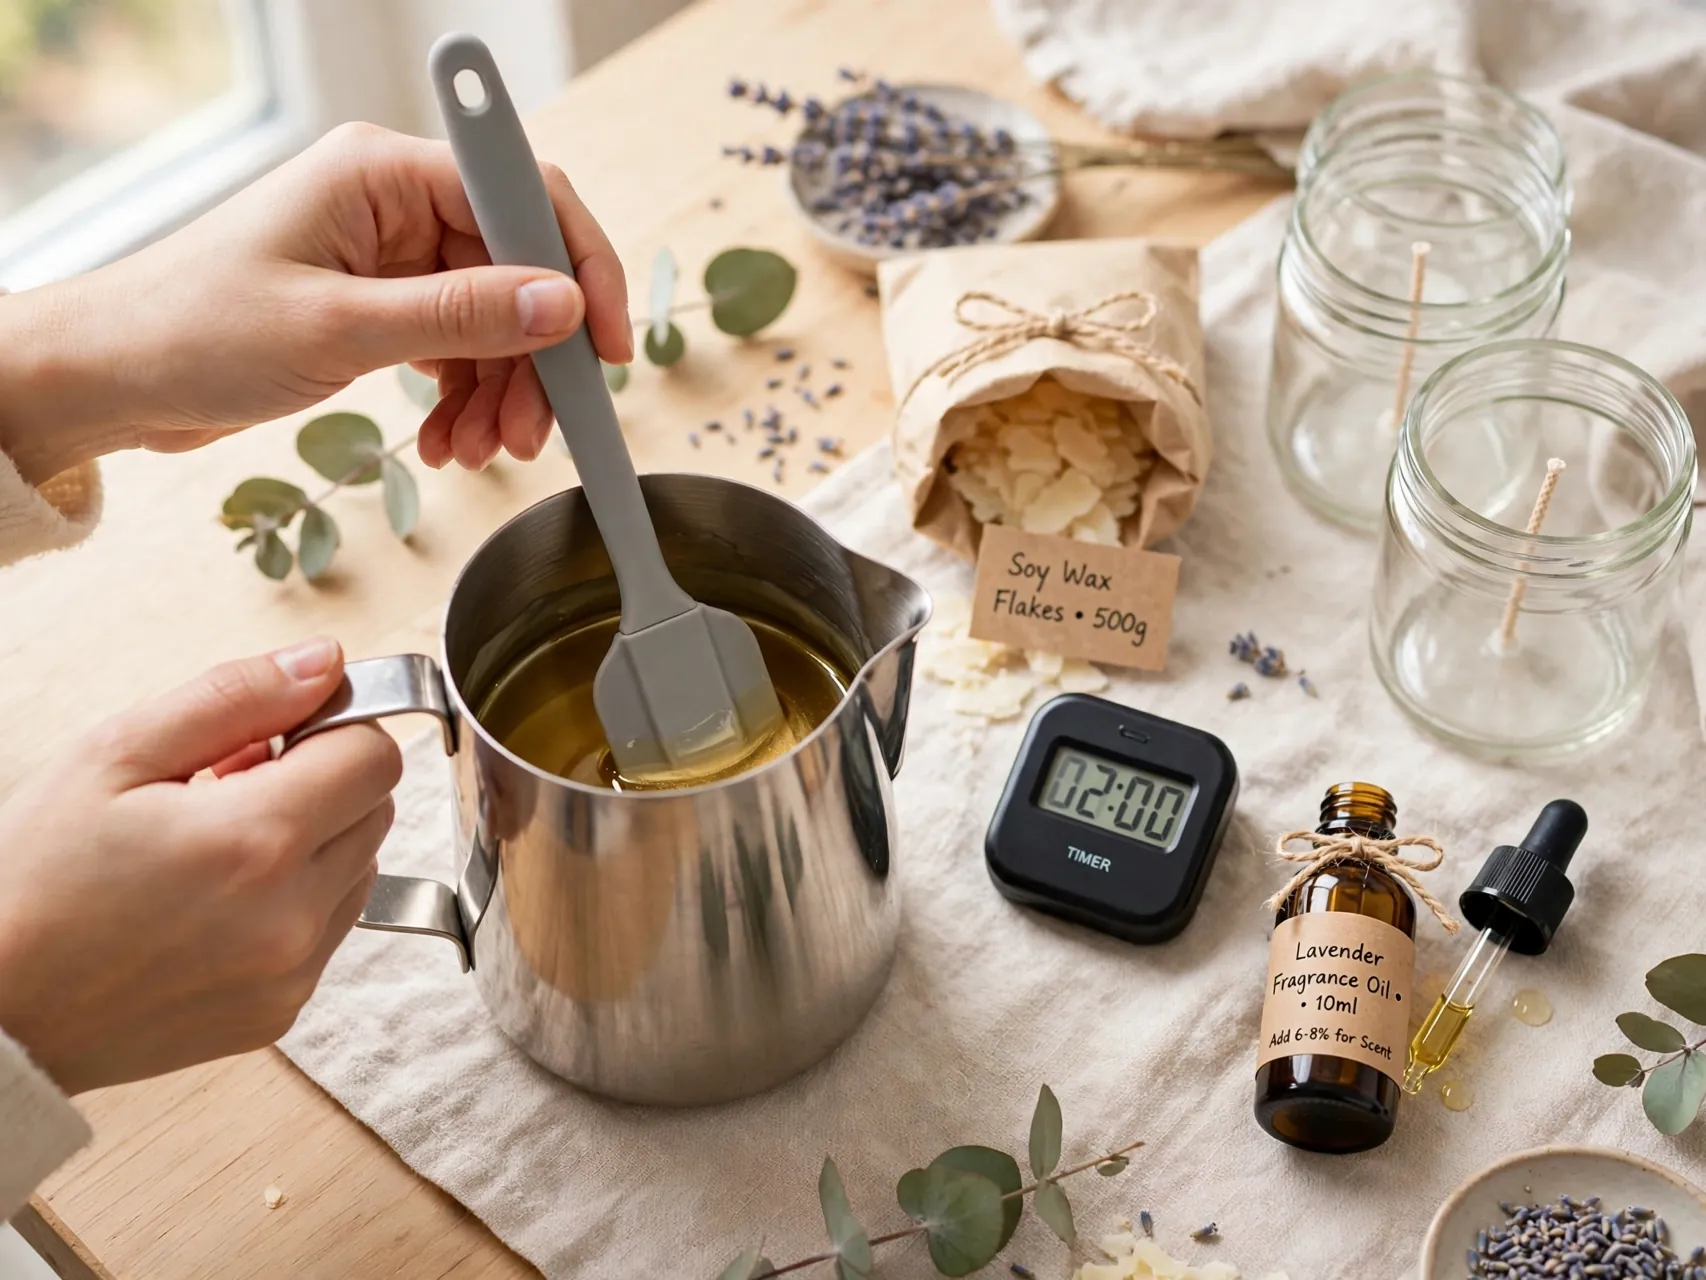
Once fragrance goes in at 185 degrees, remove the pitcher from the heat and stir slowly and steadily for two full minutes. This step feels long and is skipped by many beginners, which is exactly why their candles smell uneven.
Gentle stirring matters as much as the timing. Slow strokes bind the fragrance without whipping in air. Set a timer, keep the motion calm, and trust that this quiet two minutes is doing real work for the scent throw of every candle in the batch.
13. Cool the Wax to 135 Degrees Before Pouring
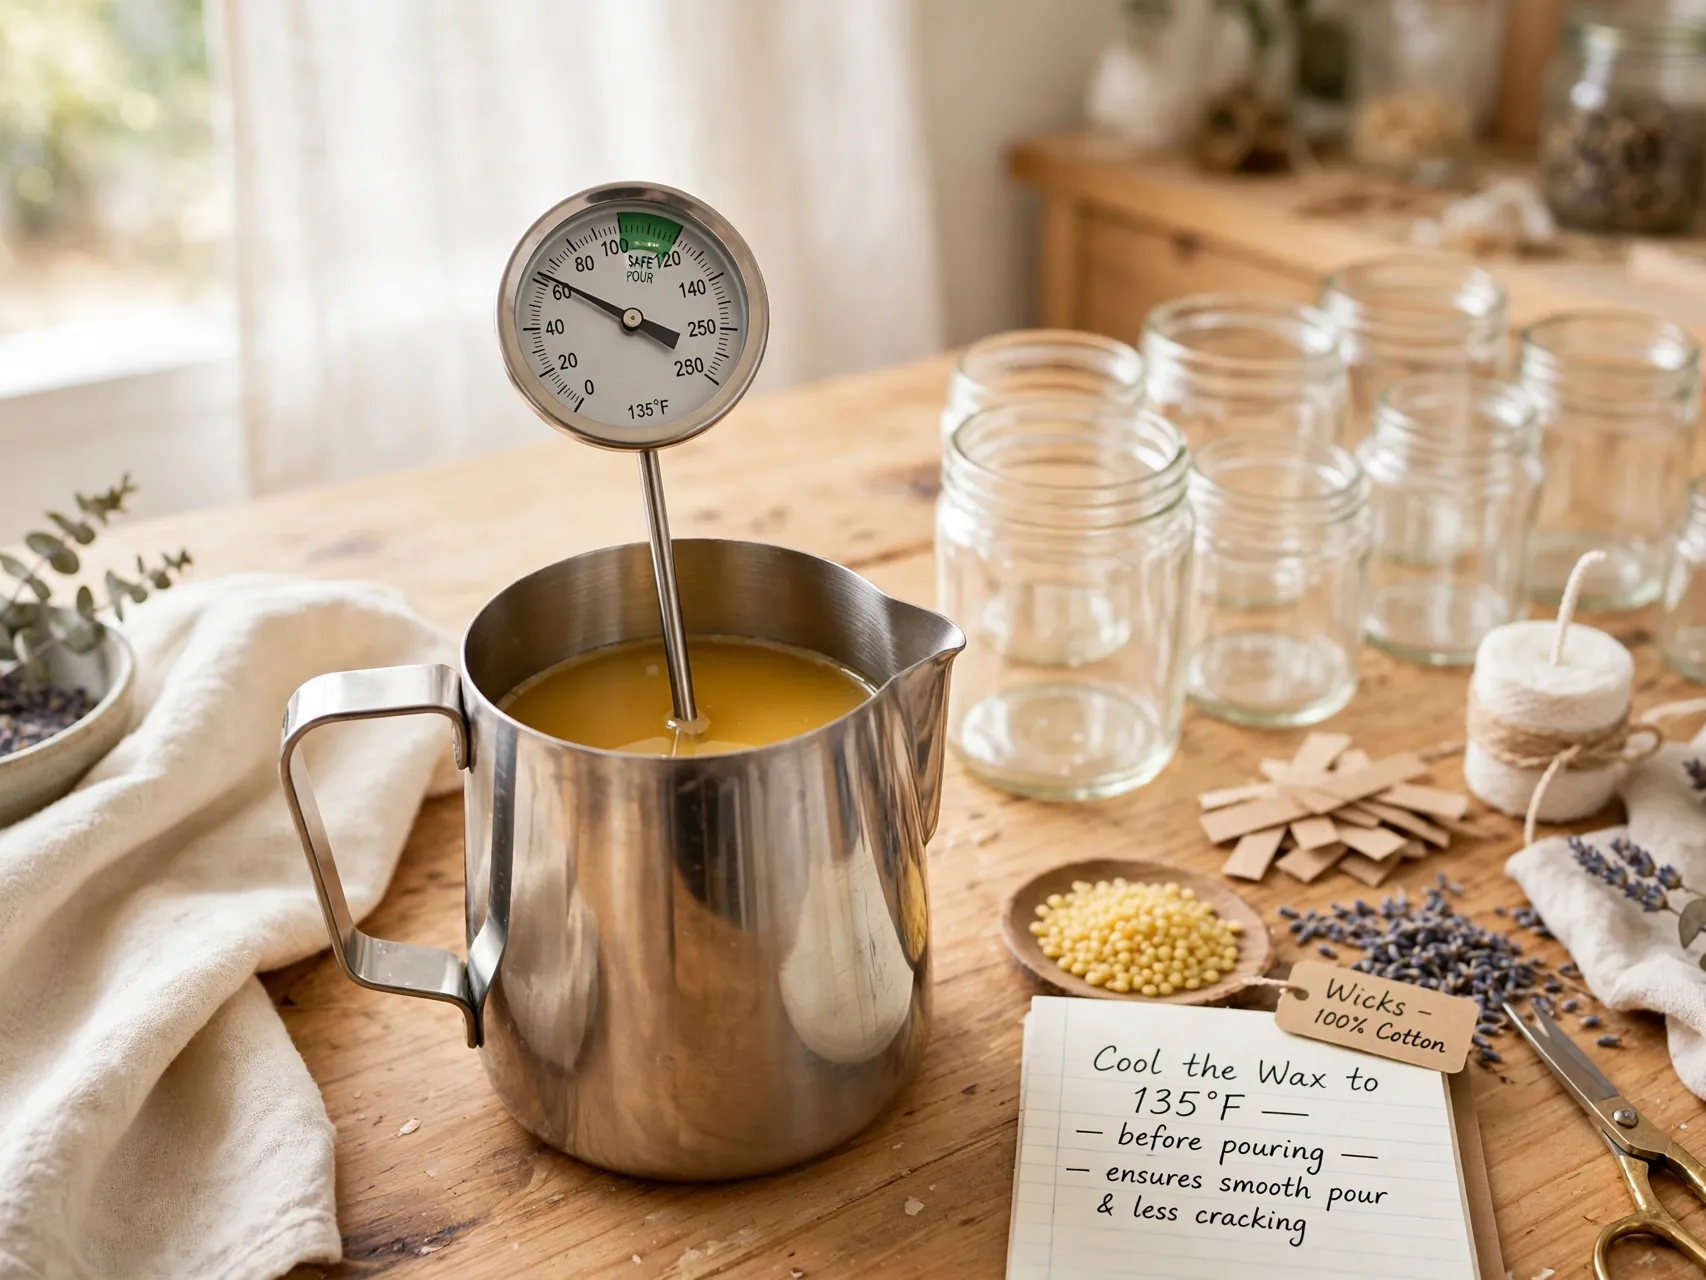
For Golden Brands 444 and 464 soy waxes, CandleScience recommends pouring at 135 degrees Fahrenheit. After stirring in fragrance at 185, let the pitcher sit and cool while you finish preparing containers and wicks. Watch the thermometer rather than guessing by time.
Pouring at the maker temperature reduces shrinkage problems like sinkholes and wet spots, and gives smoother tops. Pour slowly and steadily into each container, leaving a little room at the top, and save a small amount of wax in case a second small pour is needed later.
14. Pour Slowly and Keep the Workspace Draft Free
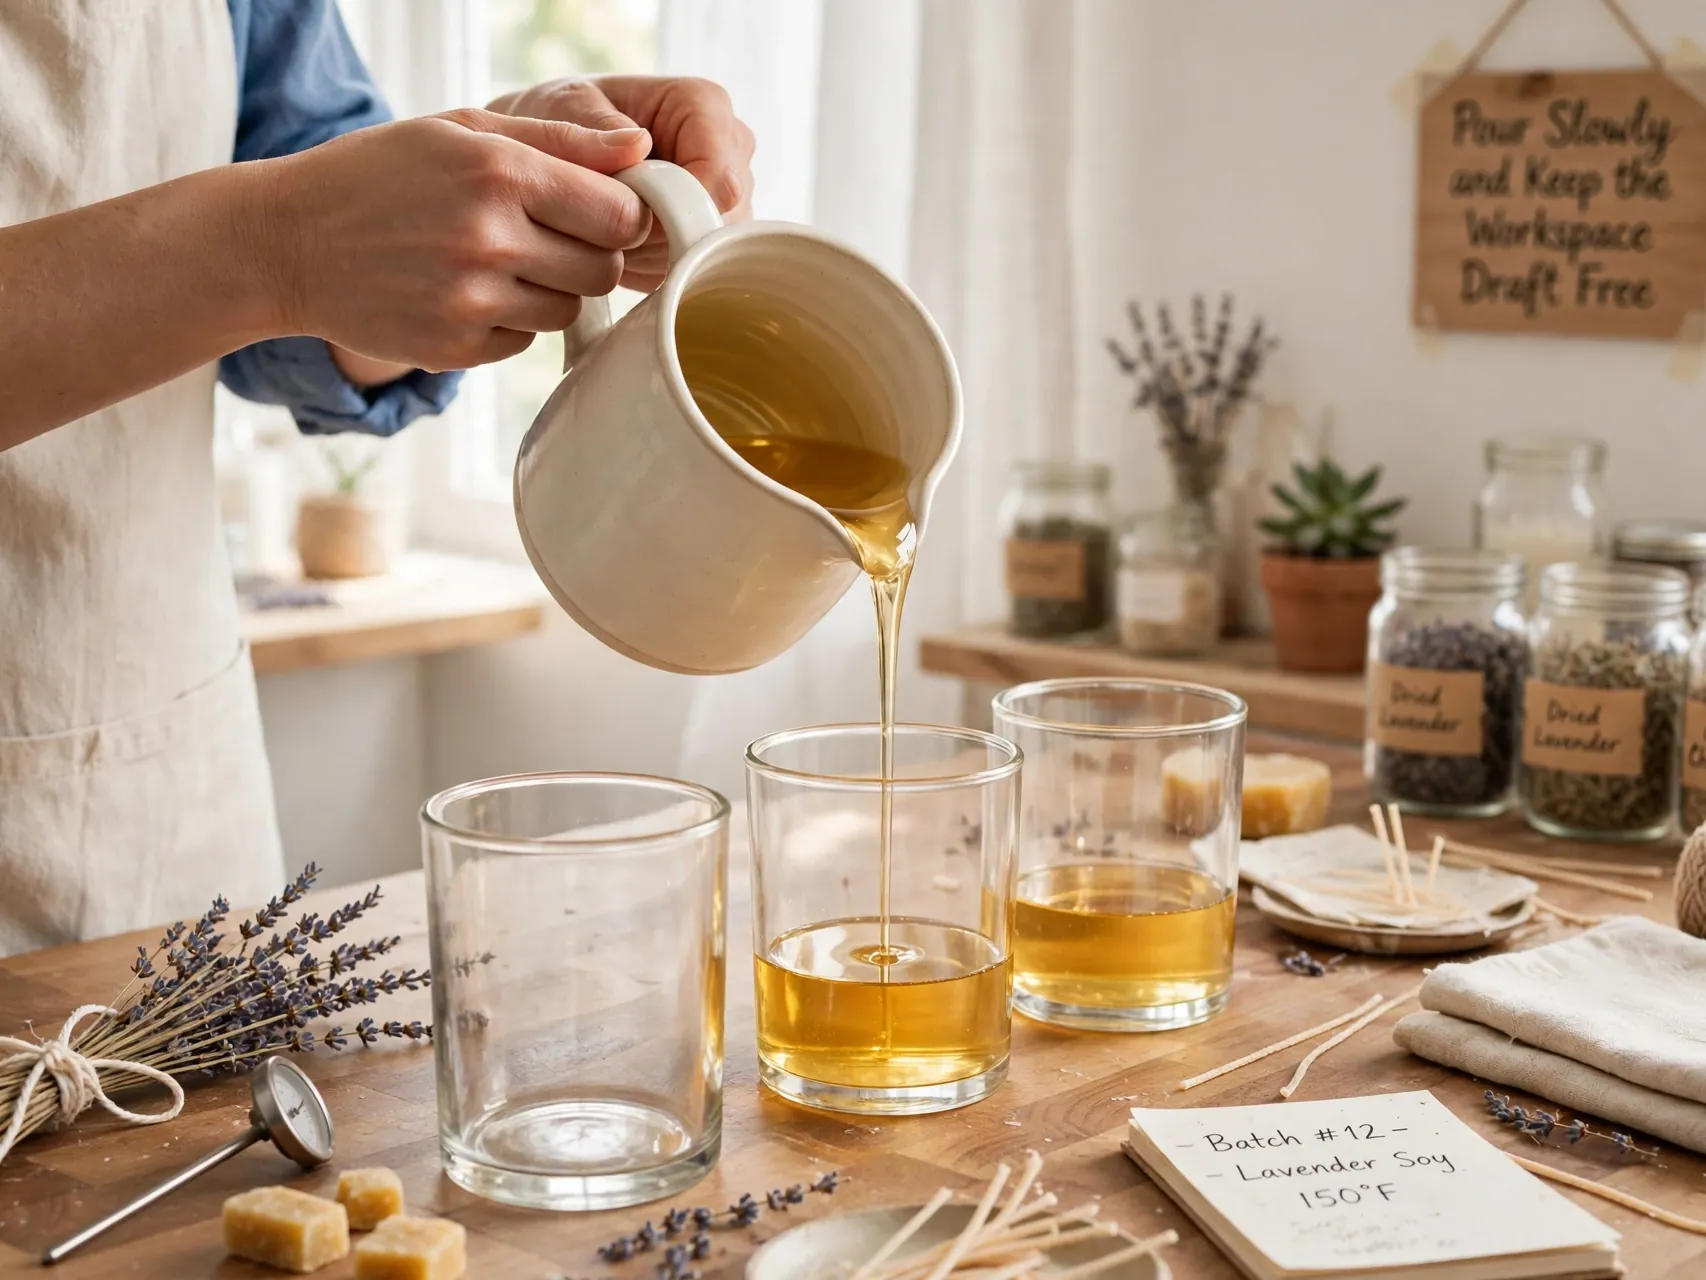
A slow pour introduces less air and lays the wax down evenly. Fill each container in one calm motion, tap nothing, and move the finished candles as little as possible while they set. Jostling warm candles is how surfaces ripple and wicks drift off center.
Let candles cool at steady room temperature, away from drafts, vents, and cold windowsills. Rapid or uneven cooling invites cracks and frosting in soy wax. Patience during cooling is free quality, and it is one of the easiest homemade candle tips to adopt.
15. Fix Sinkholes and Rough Tops the Simple Way
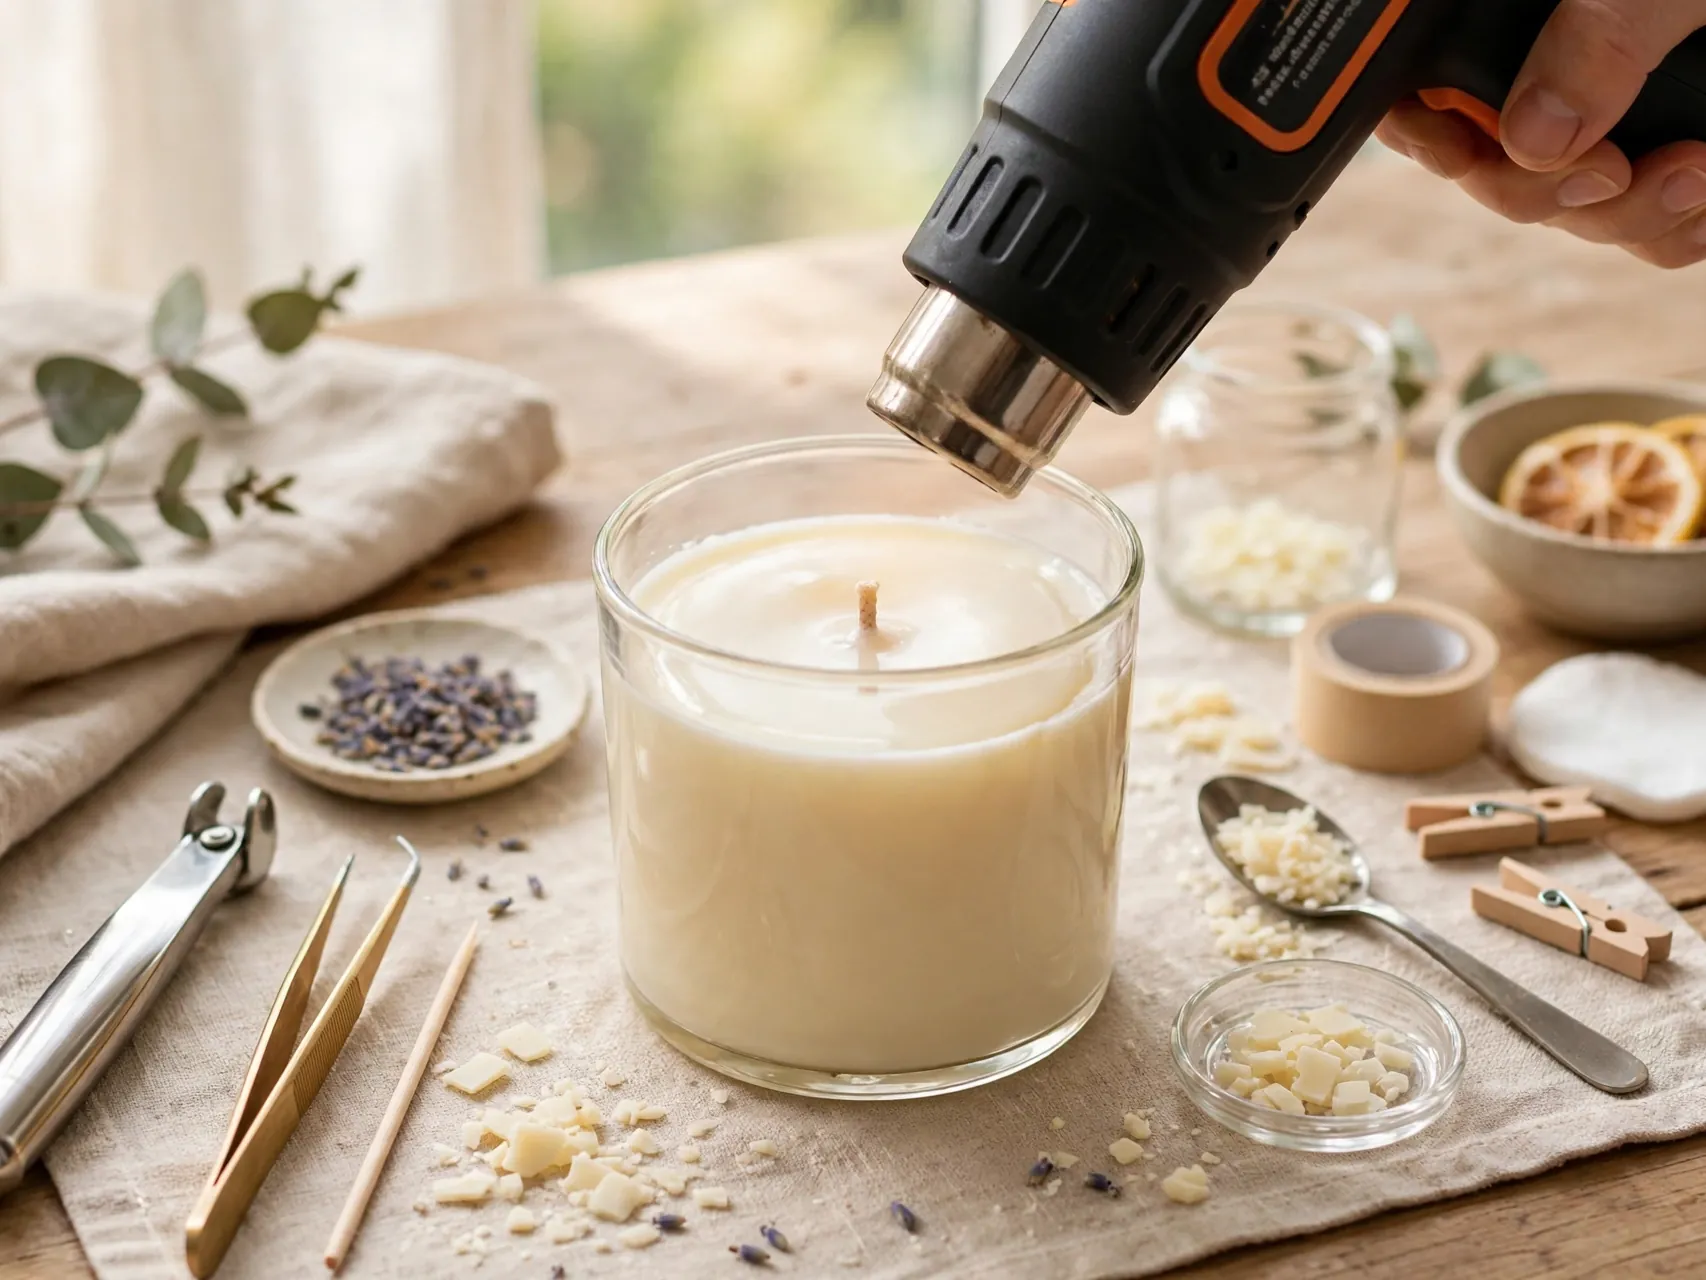
As soy wax cools it contracts, sometimes leaving a small sinkhole beside the wick. Poke a relief hole or two near the wick with a skewer and add a small second pour of saved wax at pouring temperature to level the top, as maker troubleshooting guides suggest.
A heat gun on low, waved briefly over the surface from a safe distance and used exactly as its own instructions allow, can also smooth a rough top. Never use improvised high heat near wax or fragrance, and always let a repaired candle cool fully again.
16. Let Soy Candles Cure for Two Weeks

Curing is resting time where the fragrance continues to bind into the soy wax. CandleScience recommends curing its soy container candles for two weeks for optimal scent throw. A candle burned after two days will smell fine. The same candle after two weeks usually smells noticeably fuller.
Store curing candles with lids on, upright, in a cool spot away from sunlight. Label each jar with the wax, fragrance, load, and pour date. When the cure completes, your notes tell you exactly which formula deserves a repeat batch.
17. Trim the Wick to a Quarter Inch Before Every Burn

Before lighting, trim the wick to about a quarter inch, 6 millimeters. A short wick gives a smaller, cleaner flame with less soot and less mushrooming. Long wicks are the main cause of smoking jars and blackened rims in home candles.
Trim only when the wax is fully set and cool, and remove the trimmings from the candle surface. If a flame ever grows tall, flickers wildly, or smokes, extinguish it, let it cool, trim, and relight. That small habit protects both the candle and the jar.
18. Burn Test Every New Recipe Before Gifting

A burn test is a full, supervised burn where you watch the melt pool, flame height, jar heat, and scent. Burn in sessions of a few hours, like real use, and note how far the melt pool reaches and how the candle behaves in the second half of the jar.
Change one variable at a time based on what you see: wick size first, then fragrance load. Never give or sell an untested candle recipe. A candle is a small, controlled fire in a jar, and testing is how home makers keep it controlled.
19. Add a Warning Label to Every Finished Candle
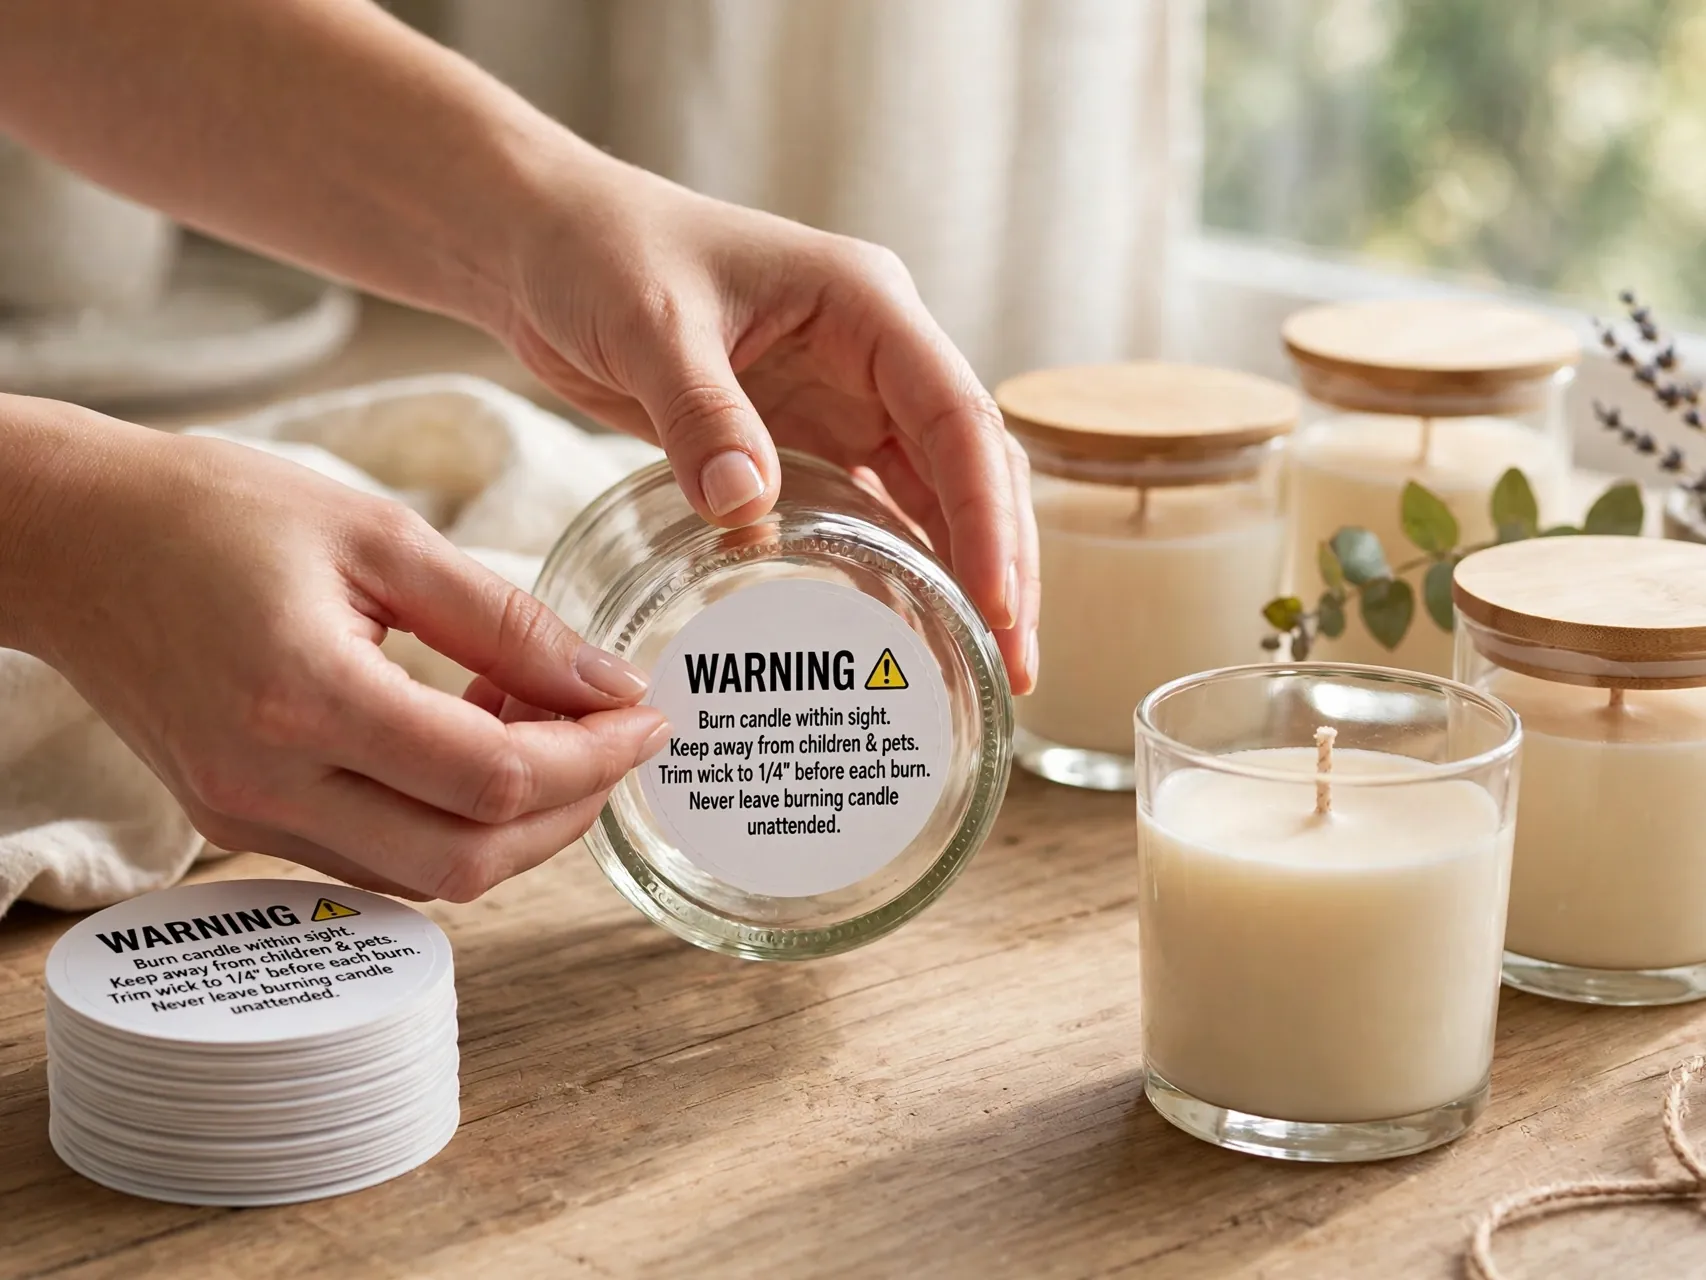
Every candle, gifted or kept, deserves a warning label on its base with basic burning instructions: burn within sight, keep away from things that can catch fire, and keep away from children and pets. Candle kits include these labels for a reason.
Your label can also carry the scent name and pour date, which turns record keeping into part of the gift. If you ever sell candles, follow the labeling rules that apply in your area. For home gifts, a clear safety label shows the care that went into the whole project.
20. Store Wax, Fragrance, and Candles Correctly
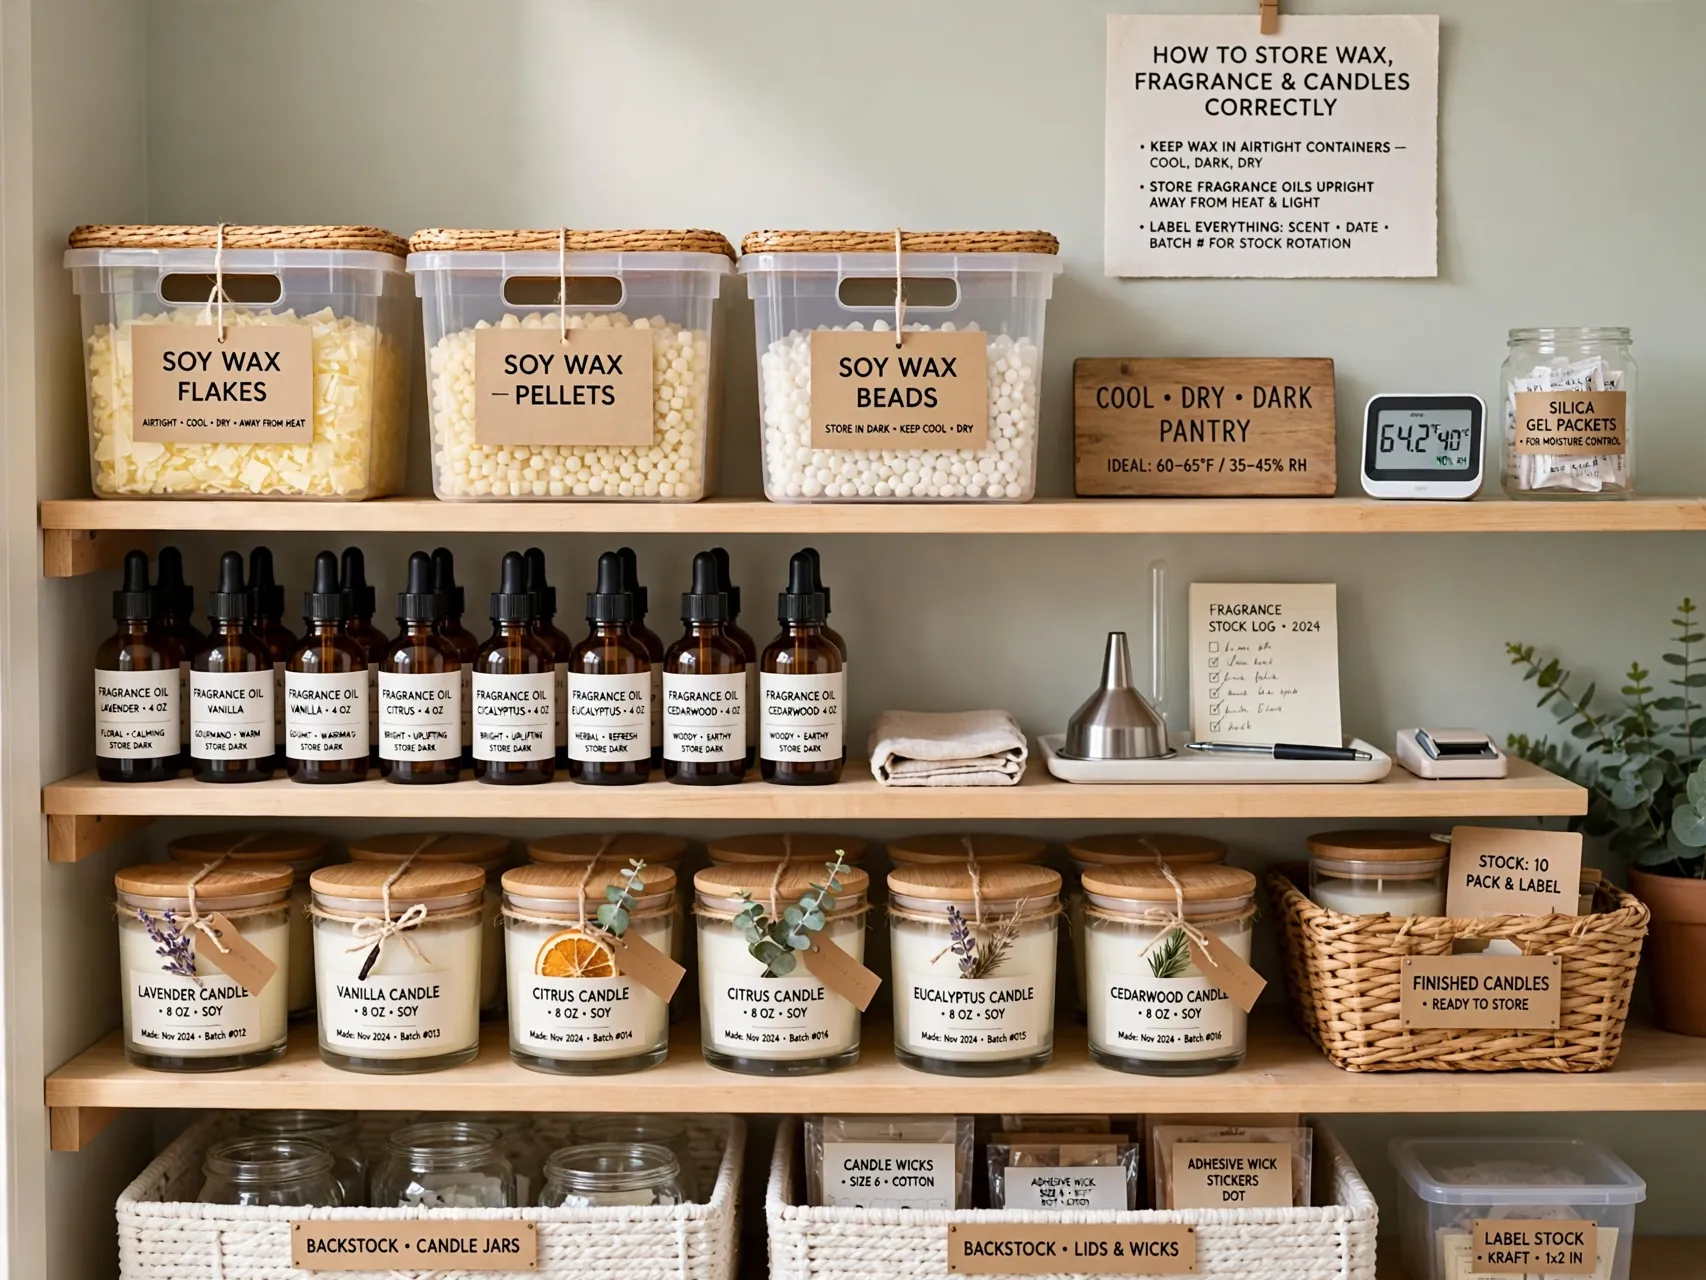
Keep unused wax sealed in a cool, dry place away from sunlight and humidity, so later batches behave like your first. Keep fragrance bottles tightly closed, upright, and away from heat, and keep them clearly labeled and out of reach of children.
Finished DIY scented candles at home store best with lids on, out of direct light, which protects both color and scent. With good notes, tested wicks, and patient curing, your kitchen table setup can produce candles that rival the ones that inspired you to start.
FAQ
What is the easiest wax for a first scented candle?
Soy container wax in flake form is the common beginner recommendation. It is forgiving, widely available, cleans up easily, and comes with precise maker instructions. For Golden Brands soy waxes, CandleScience guidance is to heat to 185 degrees, add fragrance, stir for two minutes, and pour at 135 degrees, then cure for two weeks.
How much fragrance oil should I use?
Start at 6 percent by weight, about 1 ounce of fragrance per pound of wax, as CandleScience recommends for its soy waxes. Stay within the maximum load printed for your specific wax, often around 10 percent for soy. More fragrance does not guarantee stronger scent and can cause sweating or poor burning, so test before increasing.
Why does my candle have cracks, frosting, or a sinkhole?
These are classic soy behaviors. Cracks and frosting often come from cooling too fast or unevenly, so let candles set at steady room temperature away from drafts. Sinkholes come from wax contracting as it cools. Poke relief holes near the wick and add a small second pour at the recommended pouring temperature to level the top.
Can I melt wax in the microwave instead of a double boiler?
Maker instructions are built around a double boiler or a dedicated wax melter, because they heat wax evenly and safely. Direct and uneven heating risks scorching and overheating, and melting wax must never be left unattended in any setup. For consistent, safe results, especially as a beginner, use the double boiler method in this guide.
How long should I wait before burning a homemade soy candle?
Let the candle cool fully first, then cure it. CandleScience recommends a two week cure for its soy container waxes for the best scent throw. Trim the wick to about a quarter inch before the first light, burn within sight on a heat safe surface, and keep the candle away from drafts, children, and pets.
Key Takeaways
- Temperatures run the recipe: Heat soy wax to 185 degrees, add fragrance, stir two minutes, cool, and pour at 135 degrees, per CandleScience guidance.
- Safety is non negotiable: Double boiler only, never leave melting wax unattended, no direct flame, and heat safe containers every time.
- Wick size decides burn quality: Match the wick to the wax and jar width with a supplier guide, then burn test and adjust.
- Start fragrance at 6 percent: About 1 ounce per pound of wax, increasing only after testing a fully cured candle.
- Cure for two weeks: Soy candles reward patience with stronger, rounder scent throw and a cleaner burn.
- Made a batch you are proud of? Save this guide to Pinterest and pin it before your next candle making day.