21 DIY Living Room Decor Ideas That Look Store-Bought
Introduction
The difference between a handmade piece and a store piece is rarely the idea. It is the finish. Clean edges, a limited color palette, and one afternoon of patience are what turn diy living room decor from crafty into convincing, and every project in this list is built around that simple truth.
Start by picking a palette of three or four colors from a rug, a cushion, or a favorite print you already own. When every project pulls from the same small palette, mismatched thrift finds suddenly read as a collection. That single decision does more for a budget friendly living room makeover than any one expensive buy.
Work in layers and in the right order. Do walls first, then large textiles like rugs and curtains, then furniture flips, and save styling projects like trays and shelves for last. Each layer makes the next one look better, and you can stop after any weekend and still have a room that feels finished.
Most of these easy diy home decor projects need only basic tools: a drill, a level, painter's tape, a staple gun, and a good paintbrush. Buy the brush and the tape once, borrow the rest if you need to, and let paint and fabric do the heavy lifting from there.
1. Paint One Accent Wall in a Deep, Confident Color
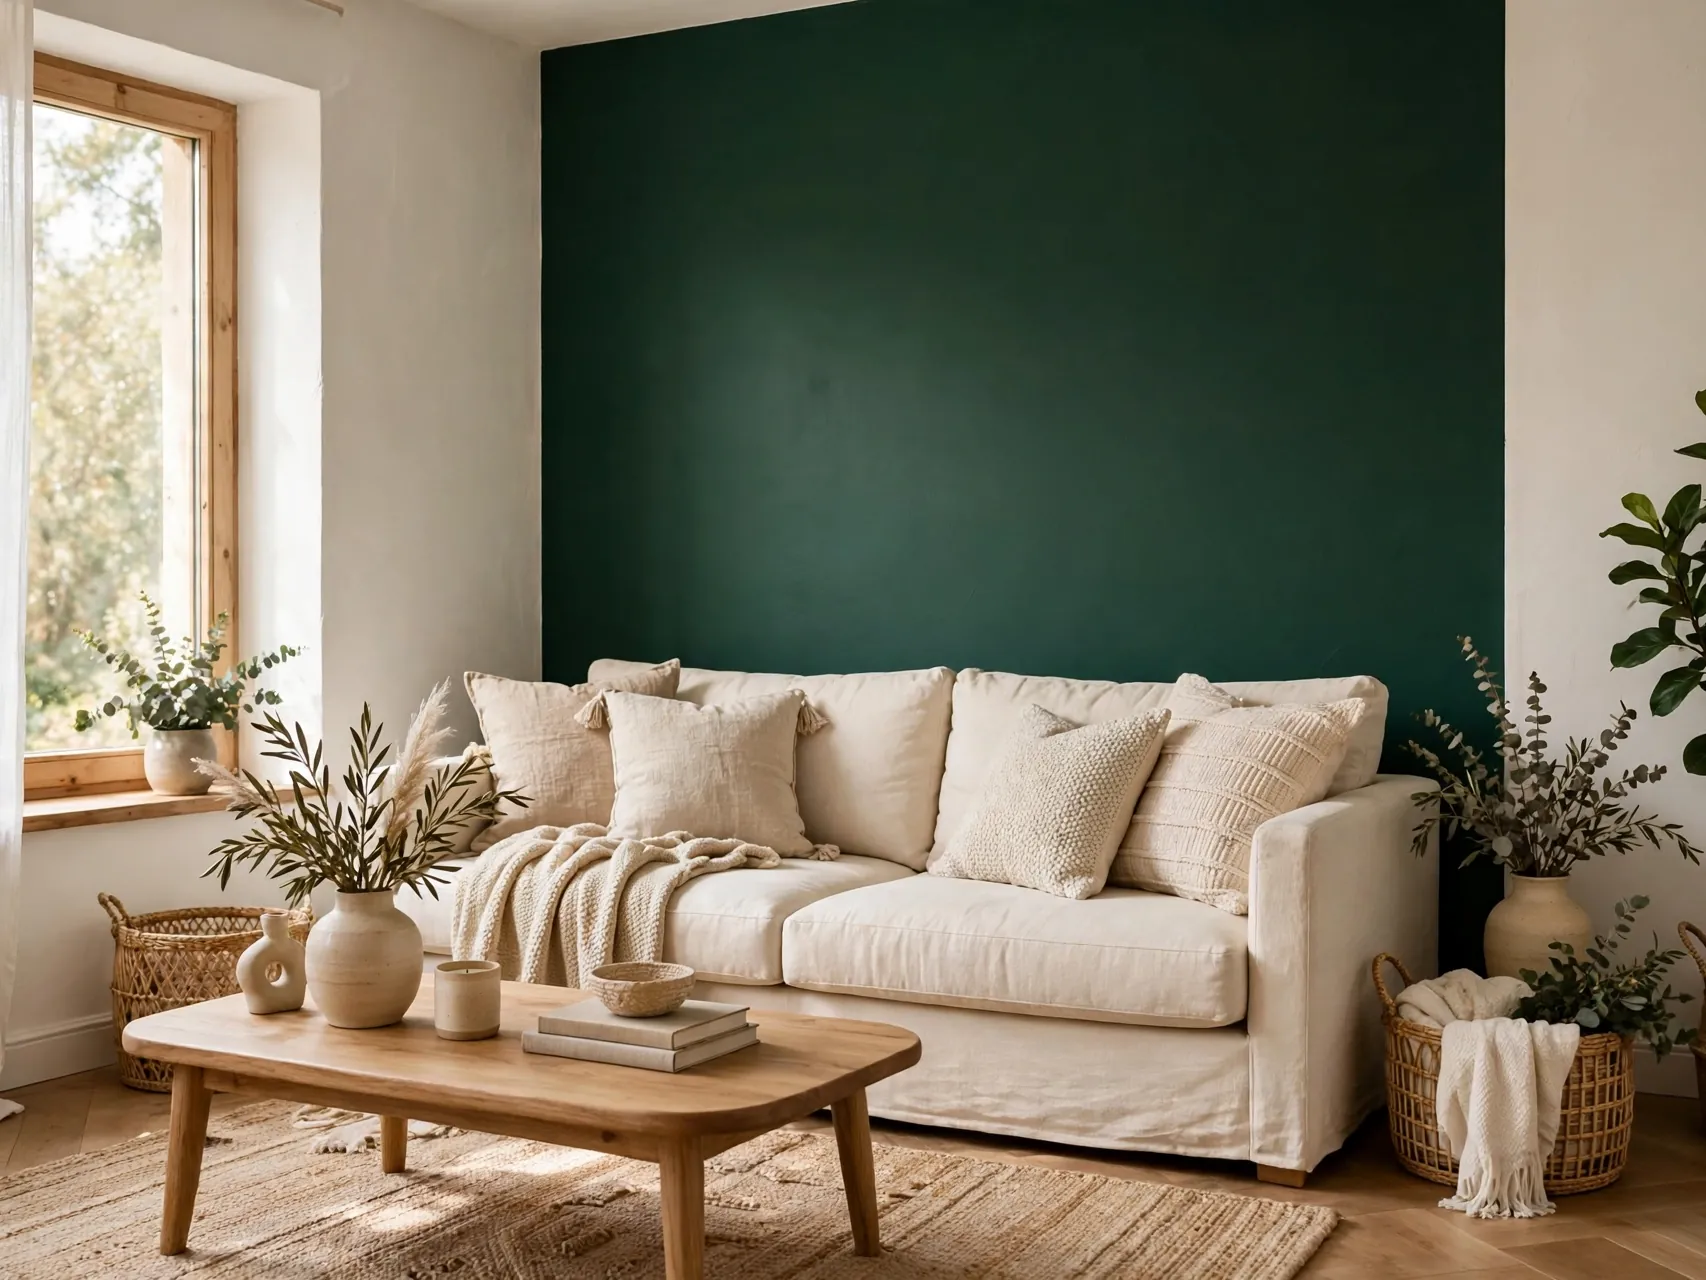
One deep wall behind the sofa, in forest green, navy, or warm clay, makes every light textile and wood tone in front of it look richer. Paint is still the cheapest large change you can make, and a single wall keeps the job to one afternoon and one can.
Tape edges carefully, use a small roller for a smooth finish, and do two thin coats instead of one thick one. Thin coats are the whole secret to a finish that looks sprayed rather than brushed. Let the wall cure before pushing furniture back against it.
2. Build a Gallery Wall From Thrifted Frames

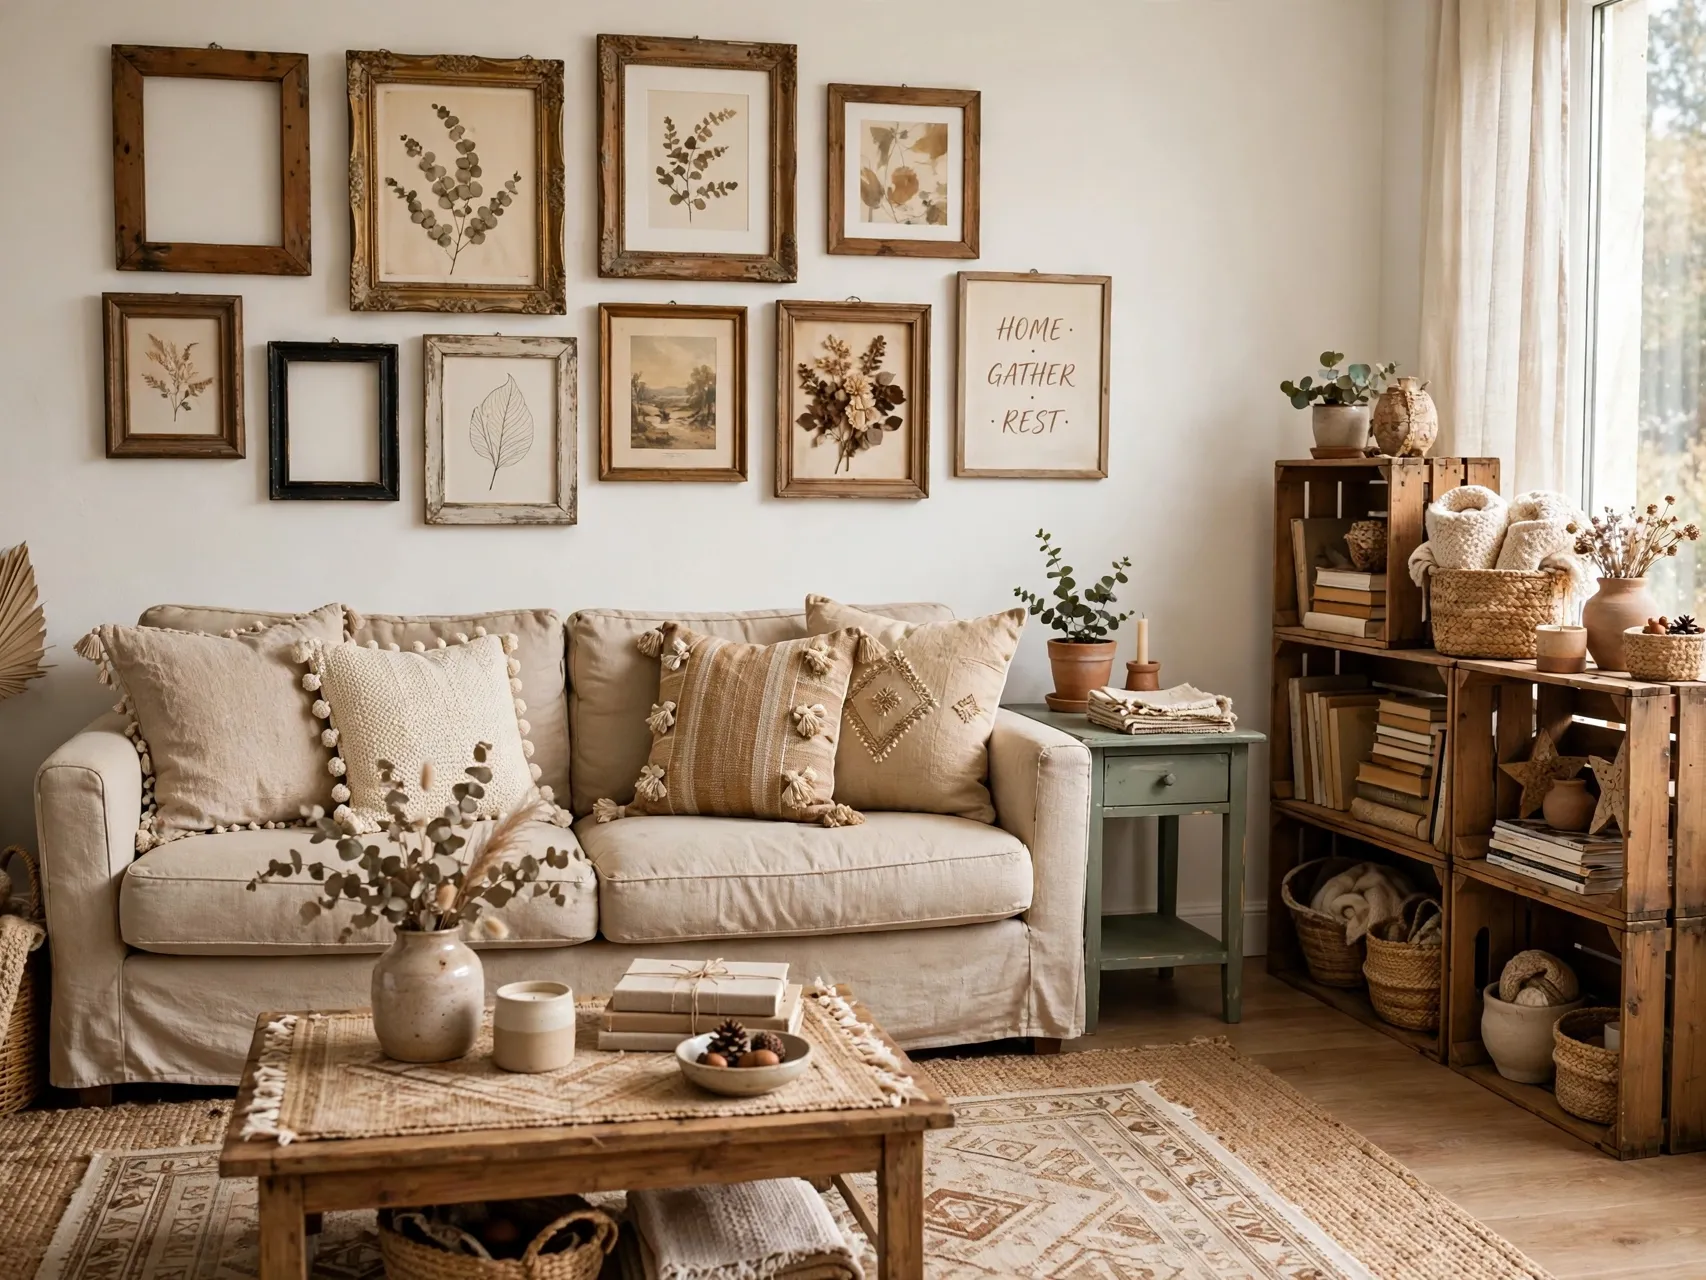
Thrift stores are full of solid wood and metal frames for very little money. Collect eight to ten in mixed sizes, then unify them with one coat of black, white, or brass-tone paint so the set reads as intentional rather than accidental.
Lay the layout on the floor first, trace it onto paper, and tape the paper to the wall before you drill anything. Fill the frames with printable art, family photos, and one textile scrap or pressed leaf for texture. Consistent spacing, about two inches between frames, is what sells the store look.
3. Paint Oversized Abstract Art on a Plain Canvas
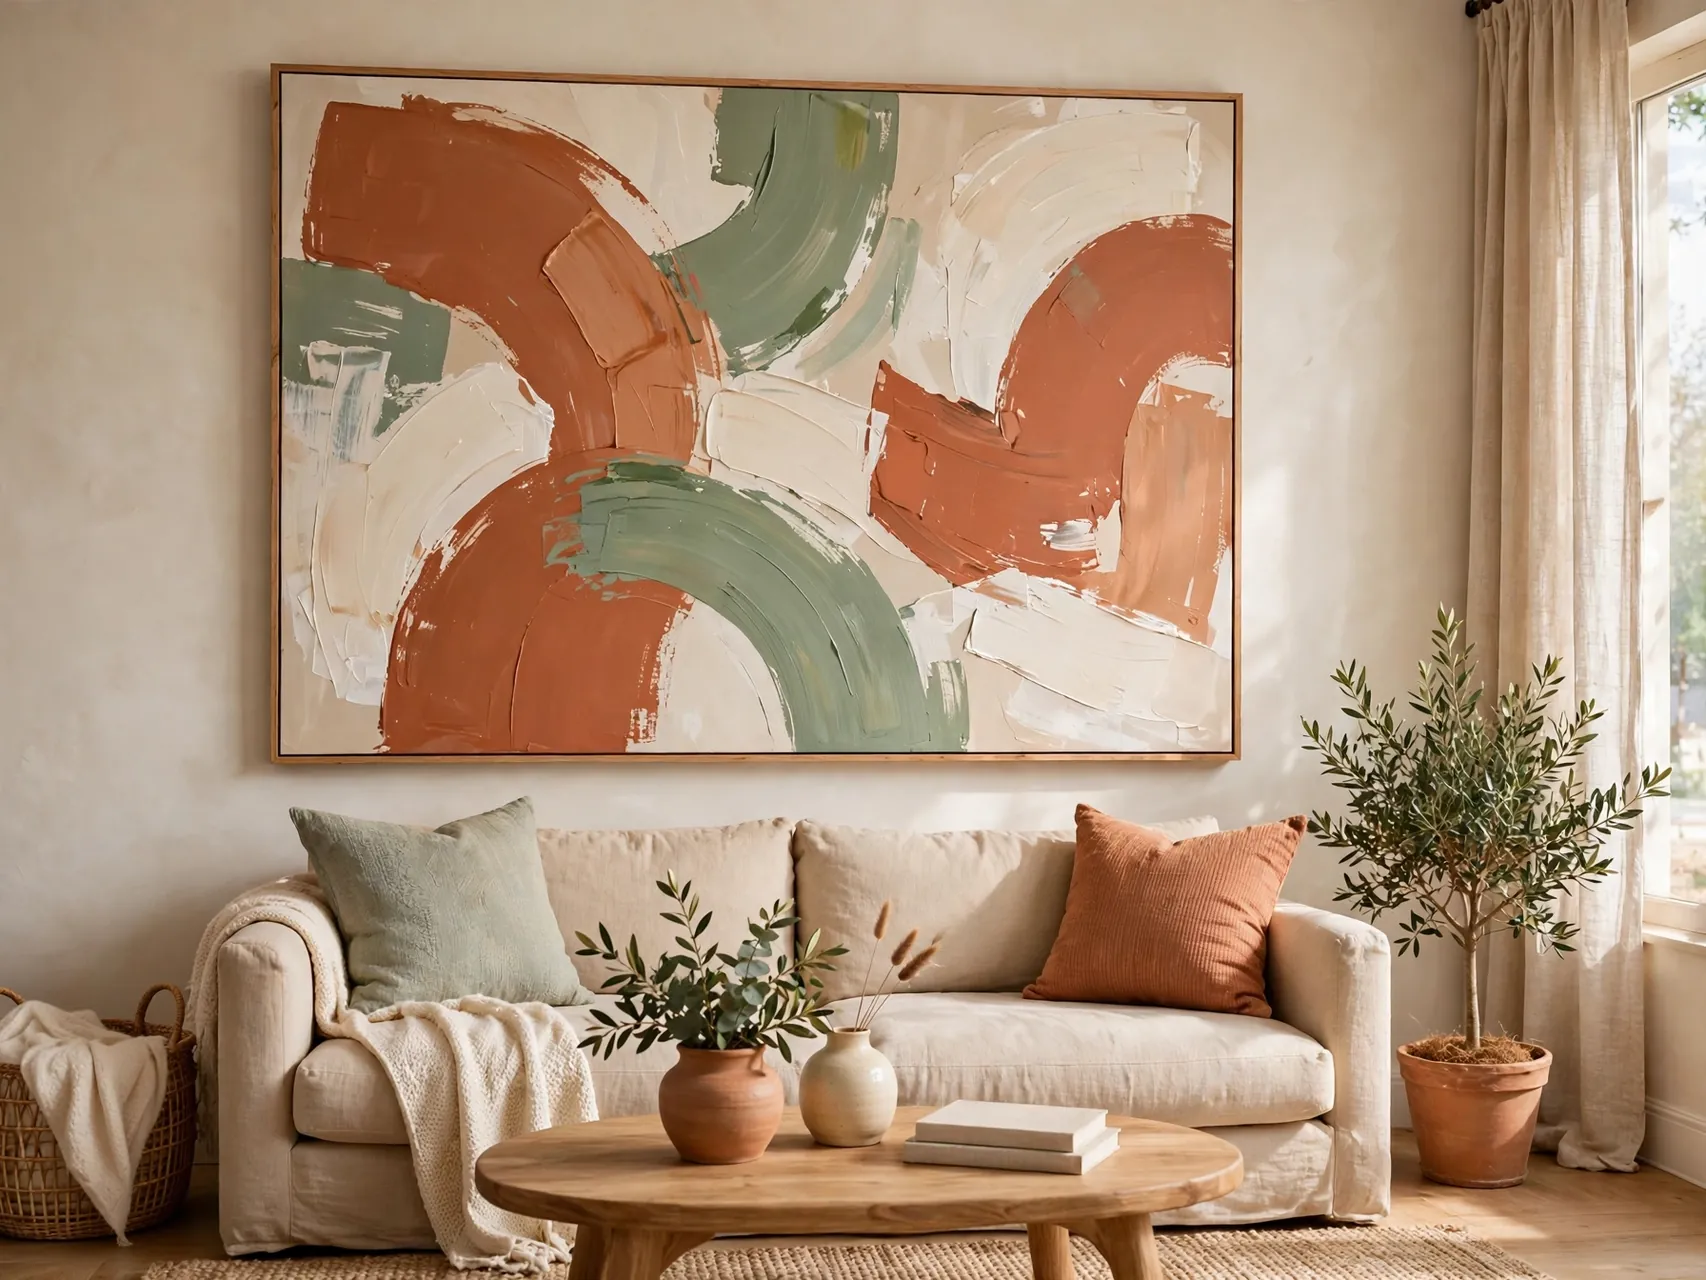
A large blank canvas costs far less than large framed art, and abstract work is forgiving for beginners. Use leftover wall paint in three palette colors, a wide brush, and loose sweeping strokes. Keep plenty of white space so the piece breathes like gallery art.
Work in layers and let each one dry before adding the next, which keeps colors clean instead of muddy. A simple wood strip frame, stained and glued around the edges, finishes the piece and hides the stapled canvas sides completely.
4. Sew or No-Sew Fresh Pillow Covers
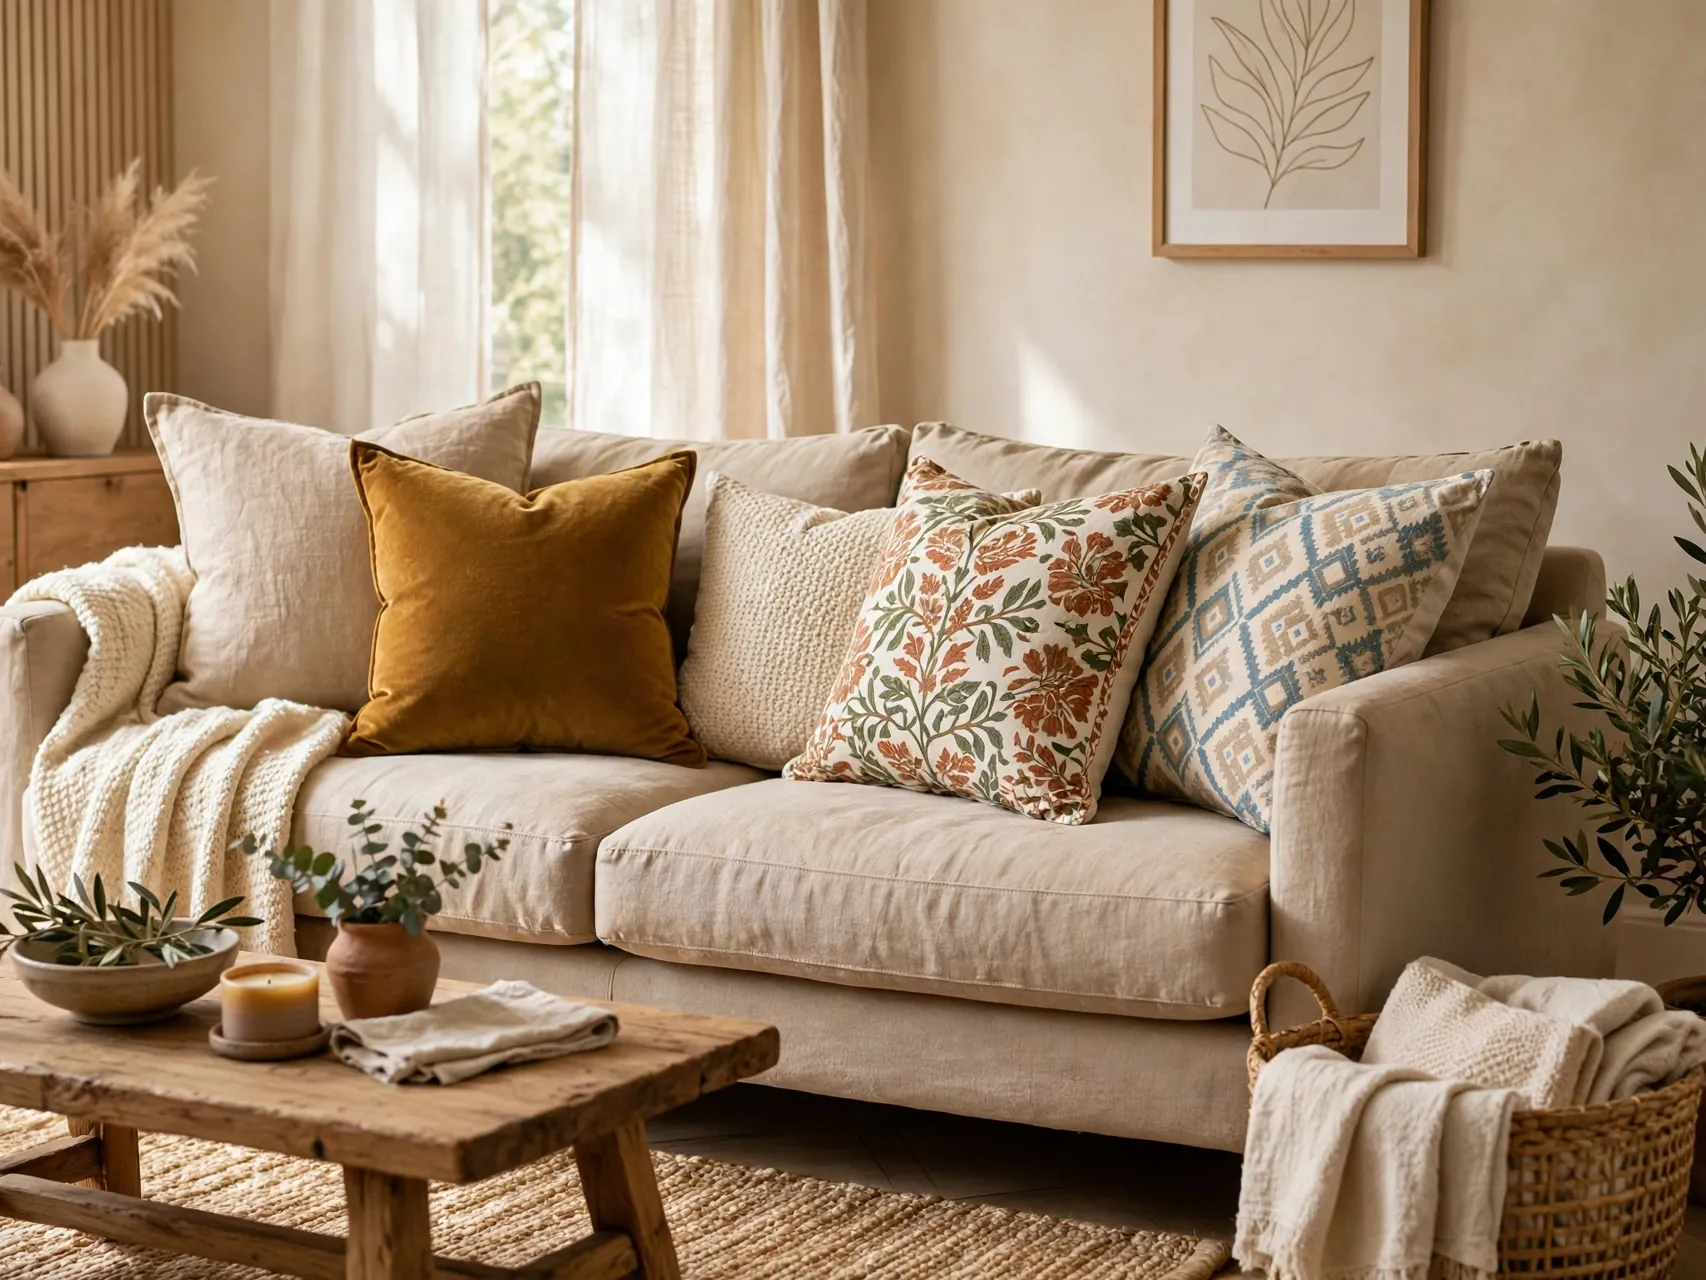
Keep the pillow inserts you own and change only the covers. Fabric remnants, thrifted tablecloths, and even sturdy scarves all work. A simple envelope back needs no zipper, and fabric glue or iron-on hemming tape handles the no-sew version neatly.
Mix one solid, one stripe, and one pattern per sofa, all inside your palette. This is the fastest diy living room decor on a budget win in the whole list, because seating is where the eye lands first and tired pillows date a room faster than anything else.
5. Layer a Jute Rug Under Your Existing Rug
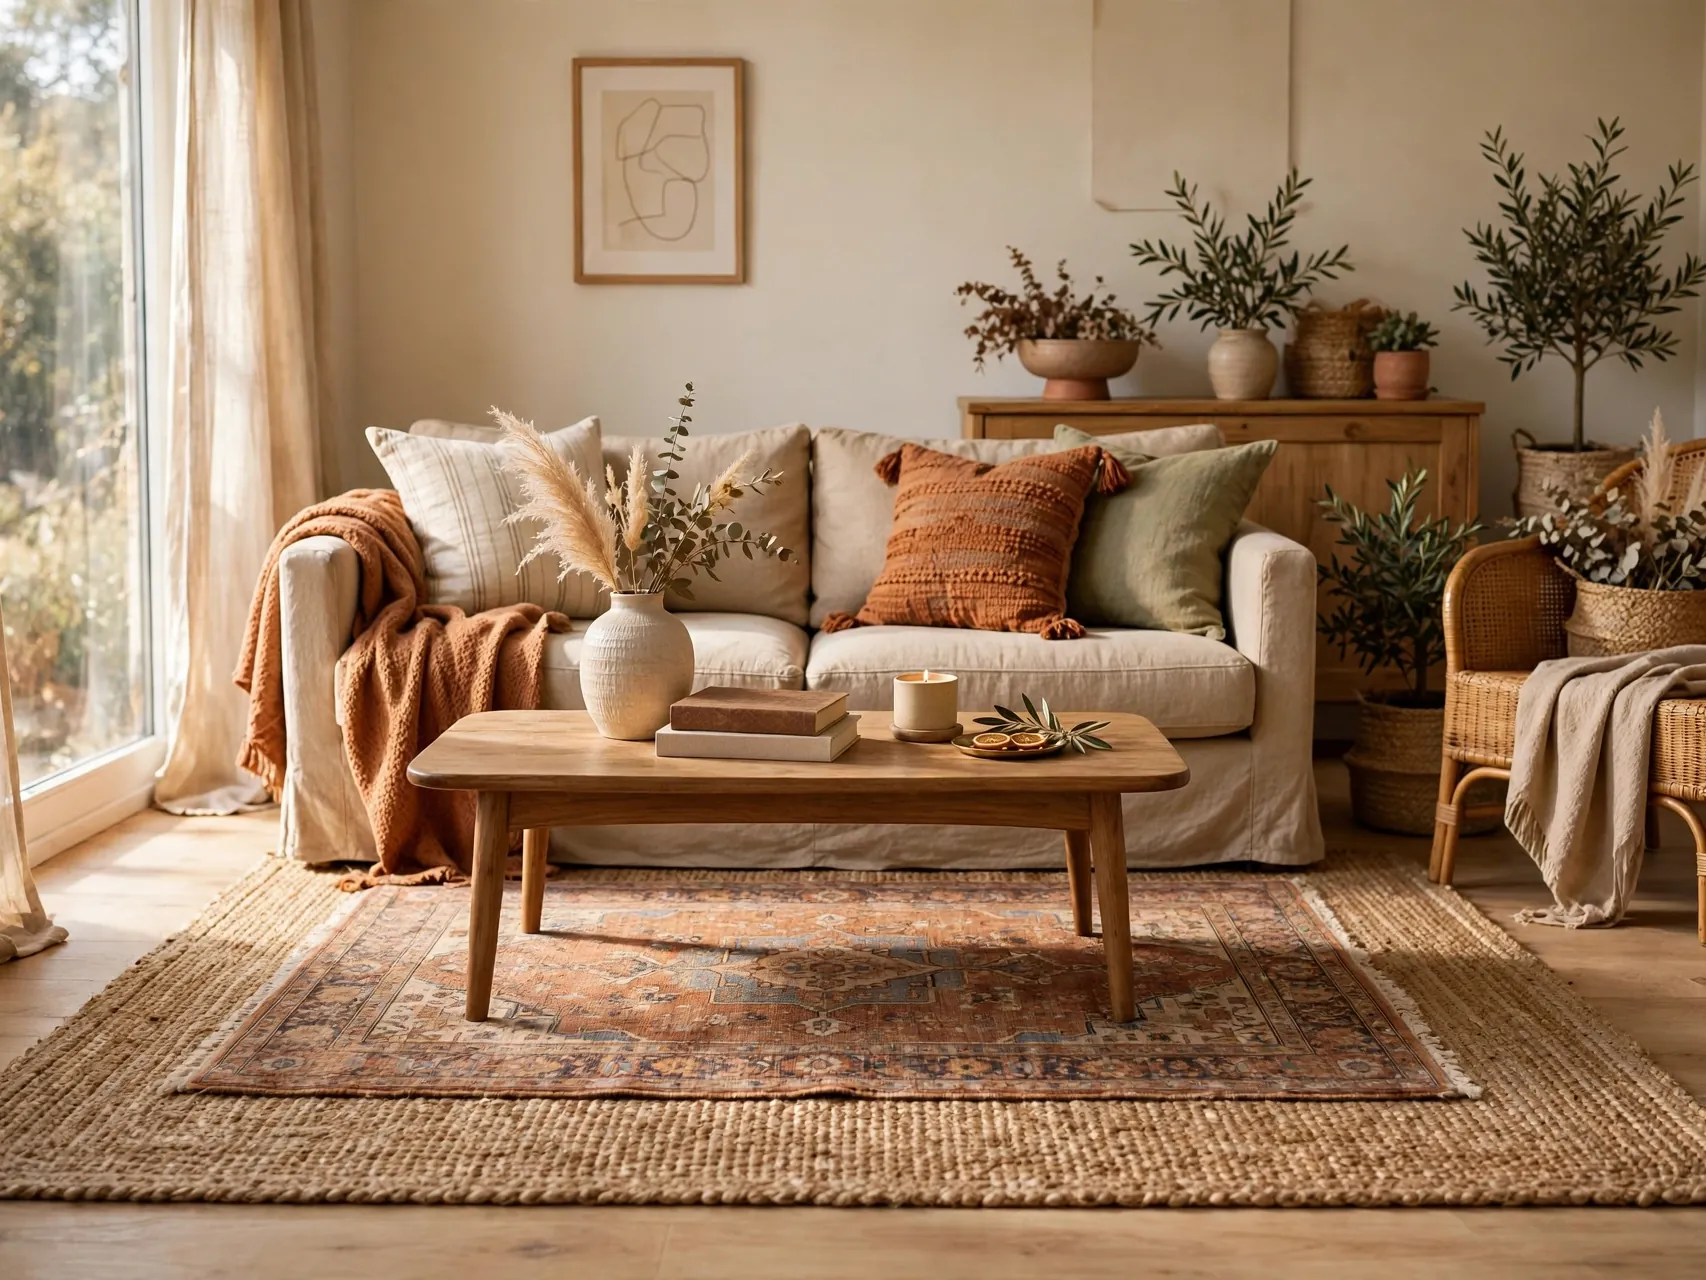
If your favorite rug is too small for the seating area, place an inexpensive flat jute rug underneath it, sized to the full conversation area. The layered edge looks like a designer trick and finally lets the front legs of the sofa and chairs sit on fabric.
Keep the top rug centered with an even border of jute showing on all sides. A thin rug pad underneath stops both layers from creeping on hard floors. The added texture underfoot also makes the whole seating zone feel warmer and quieter.
6. Stack Wooden Crates Into a Bookshelf
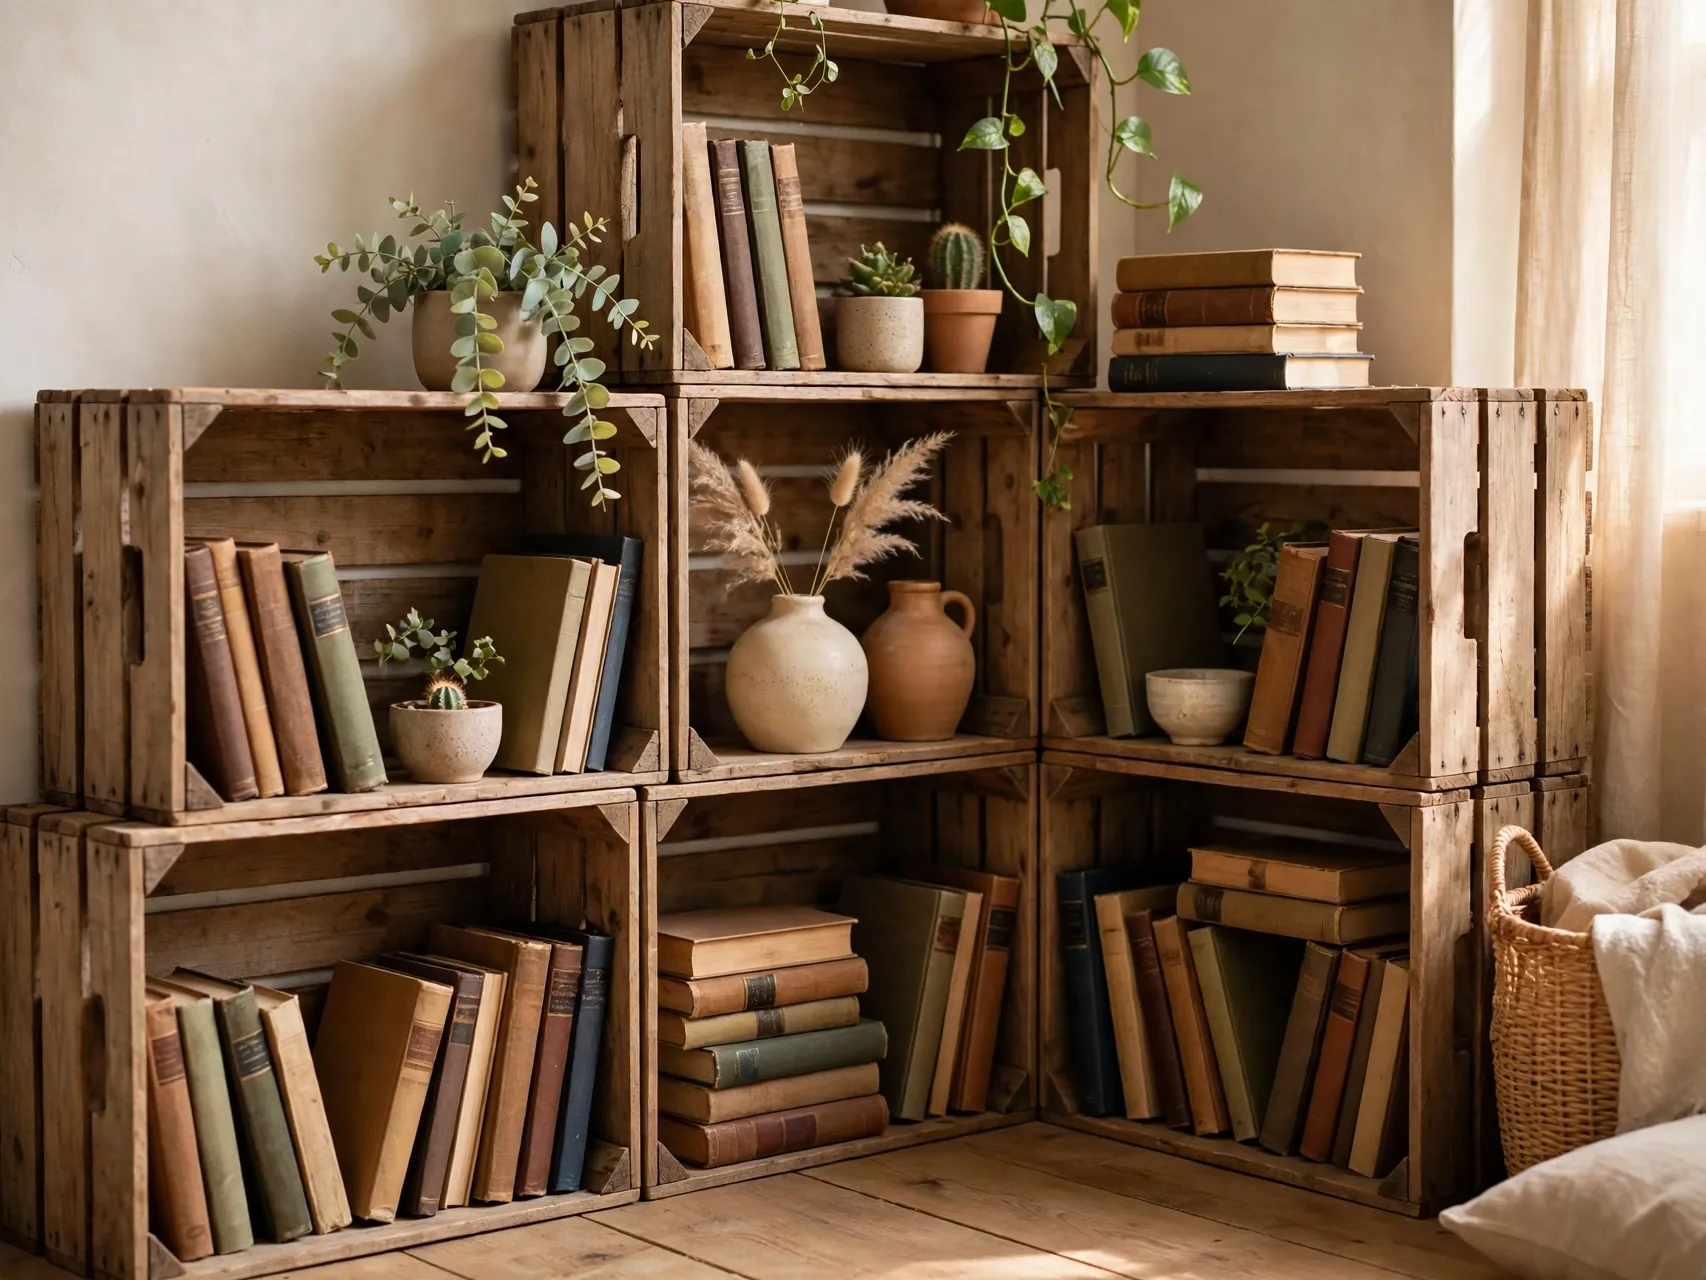
Unfinished wooden crates, sanded and stained, stack into a low bookshelf with cubbies for books, baskets, and plants. Screw the crates to each other for stability, and anchor the finished unit to the wall if children or pets will be near it.
Stain, rather than paint, keeps the wood grain visible and reads more like furniture. Alternate vertical and horizontal crates for a composed rhythm, and style each cubby with a mix of upright books, one horizontal stack, and one small object.
7. Paint Glass Bottles Into Matte Vases
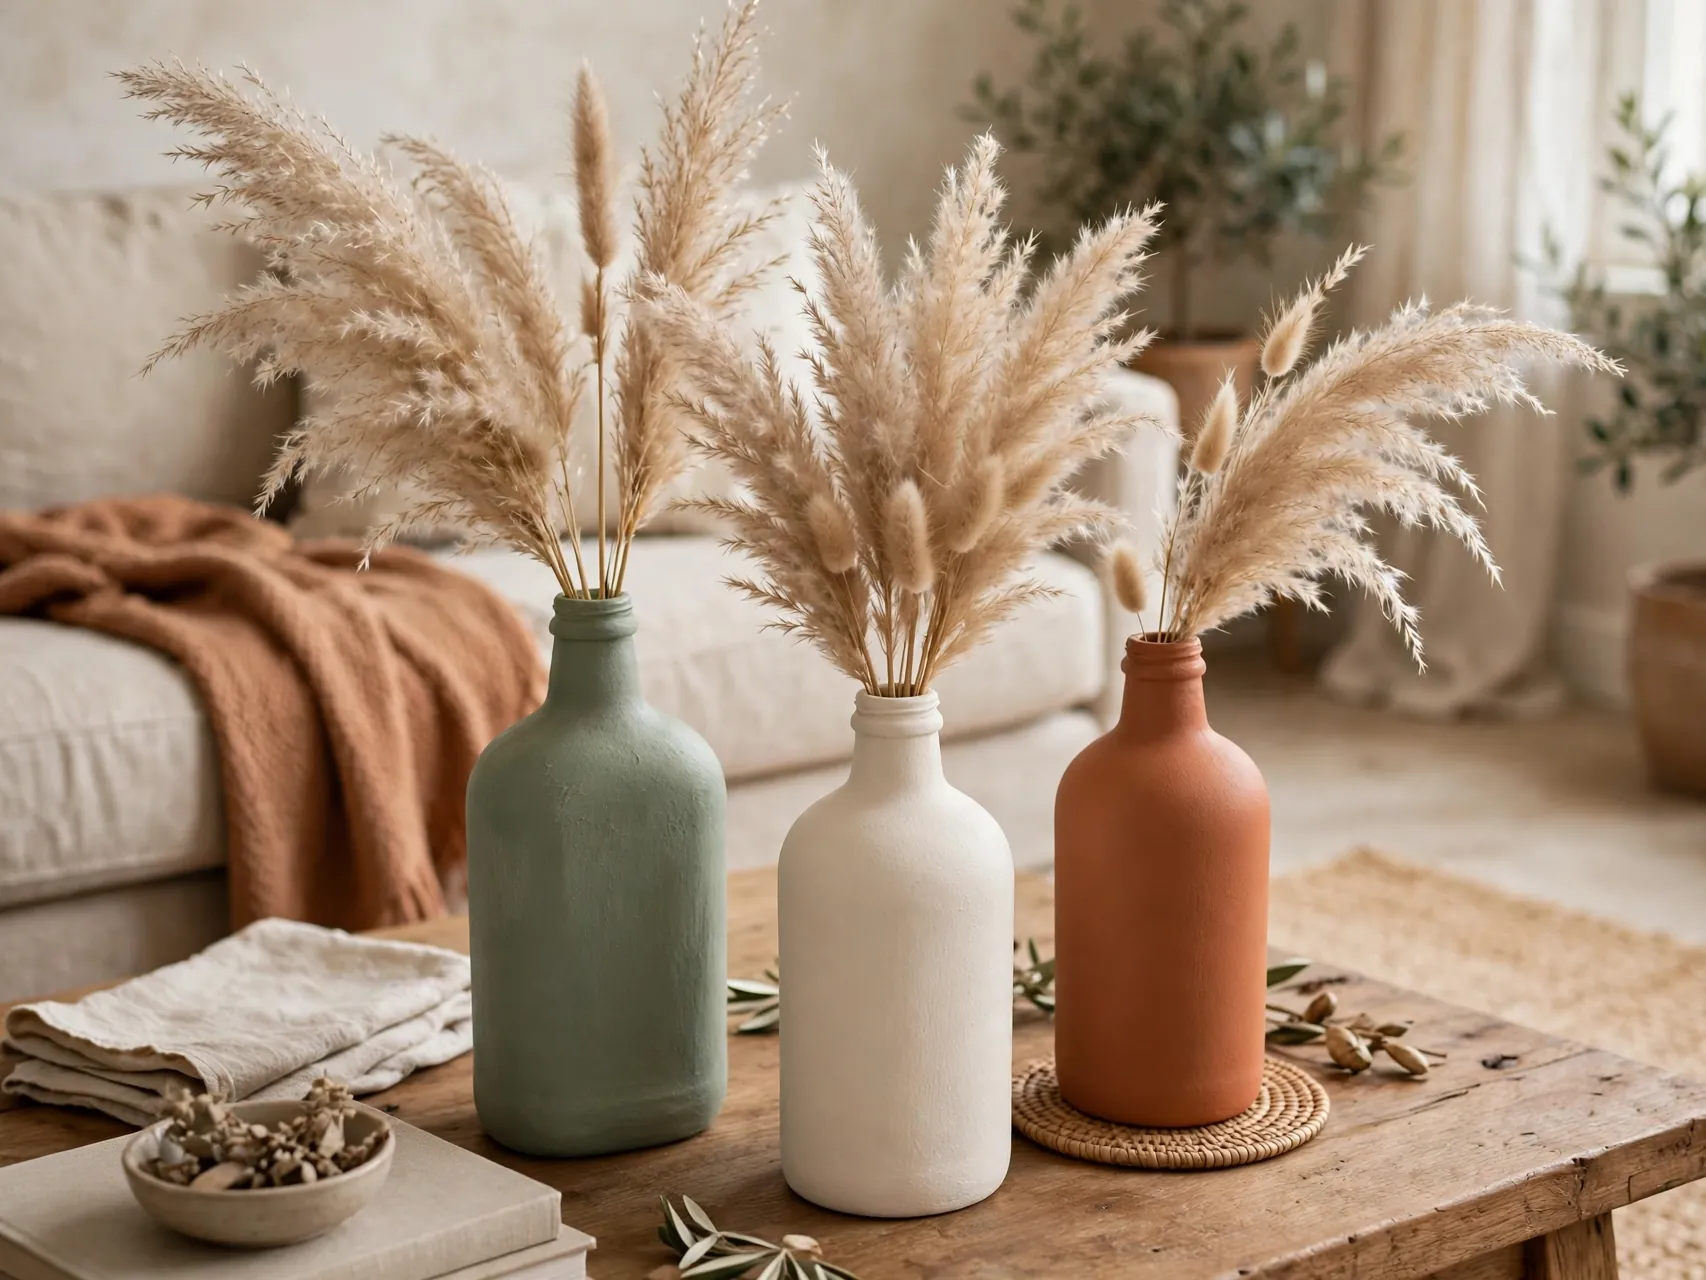
Save interesting glass bottles and jars, wash them well, and coat them in matte paint in your palette colors. A mix of baking soda stirred into acrylic paint gives that chalky, ceramic-style texture that makes painted glass look like stoneware on a shelf.
Group three bottles of different heights on a tray or mantel, and add dried stems, pampas, or a single fresh branch. Odd numbers and varied heights are what separate a styled vignette from a recycling lineup, and the cost is close to zero.
8. Add Picture Frame Molding Panels to a Blank Wall
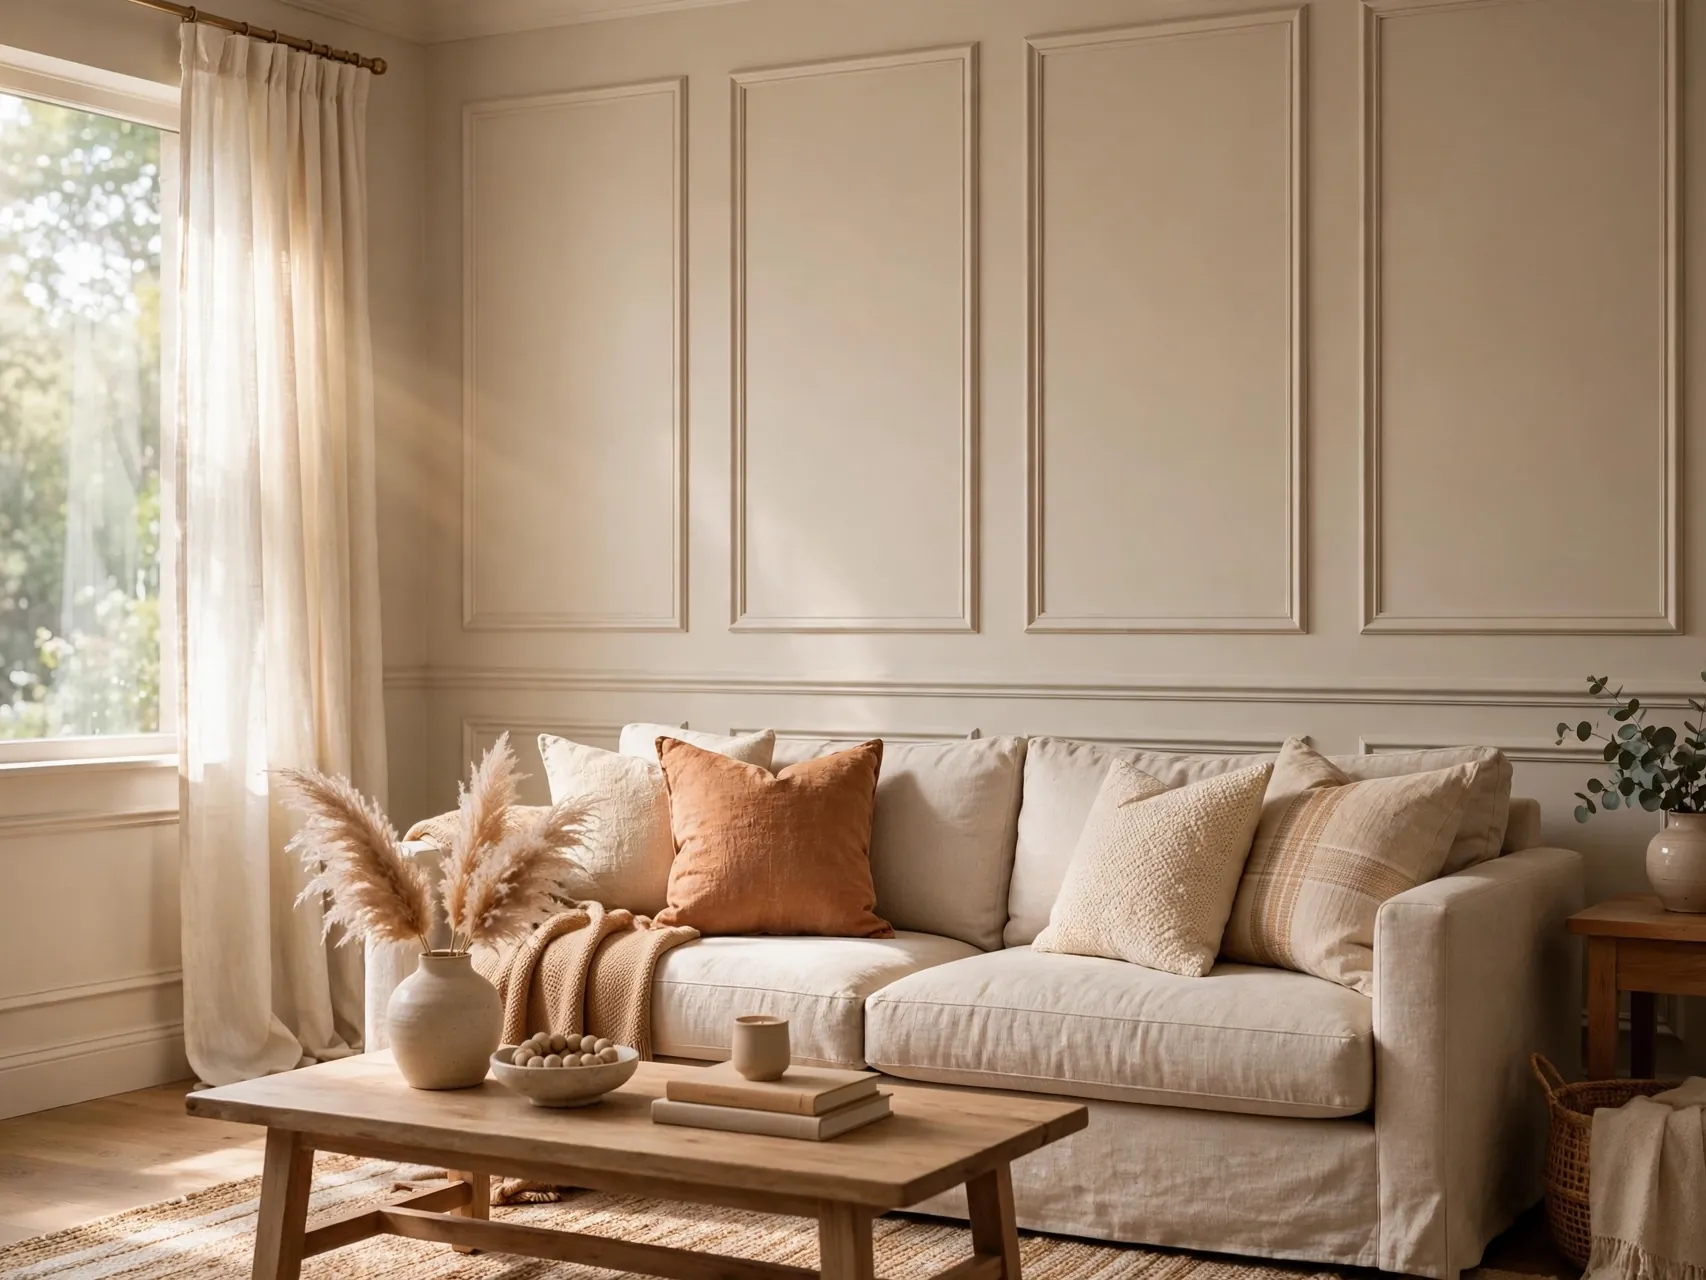
Thin wood or PVC trim, cut into rectangles and glued or nailed below or above the sofa wall, creates the classic paneled look that reads as custom millwork. Paint the panels the same color as the wall so the effect is shadow and shape, not contrast.
Measure carefully and use a level and painter's tape mock-up before cutting. Fill seams with caulk, sand once dry, and then paint. This is a slightly slower project, but it is the one guests most often assume was professionally installed.
9. Style a Coffee Table Tray From What You Own
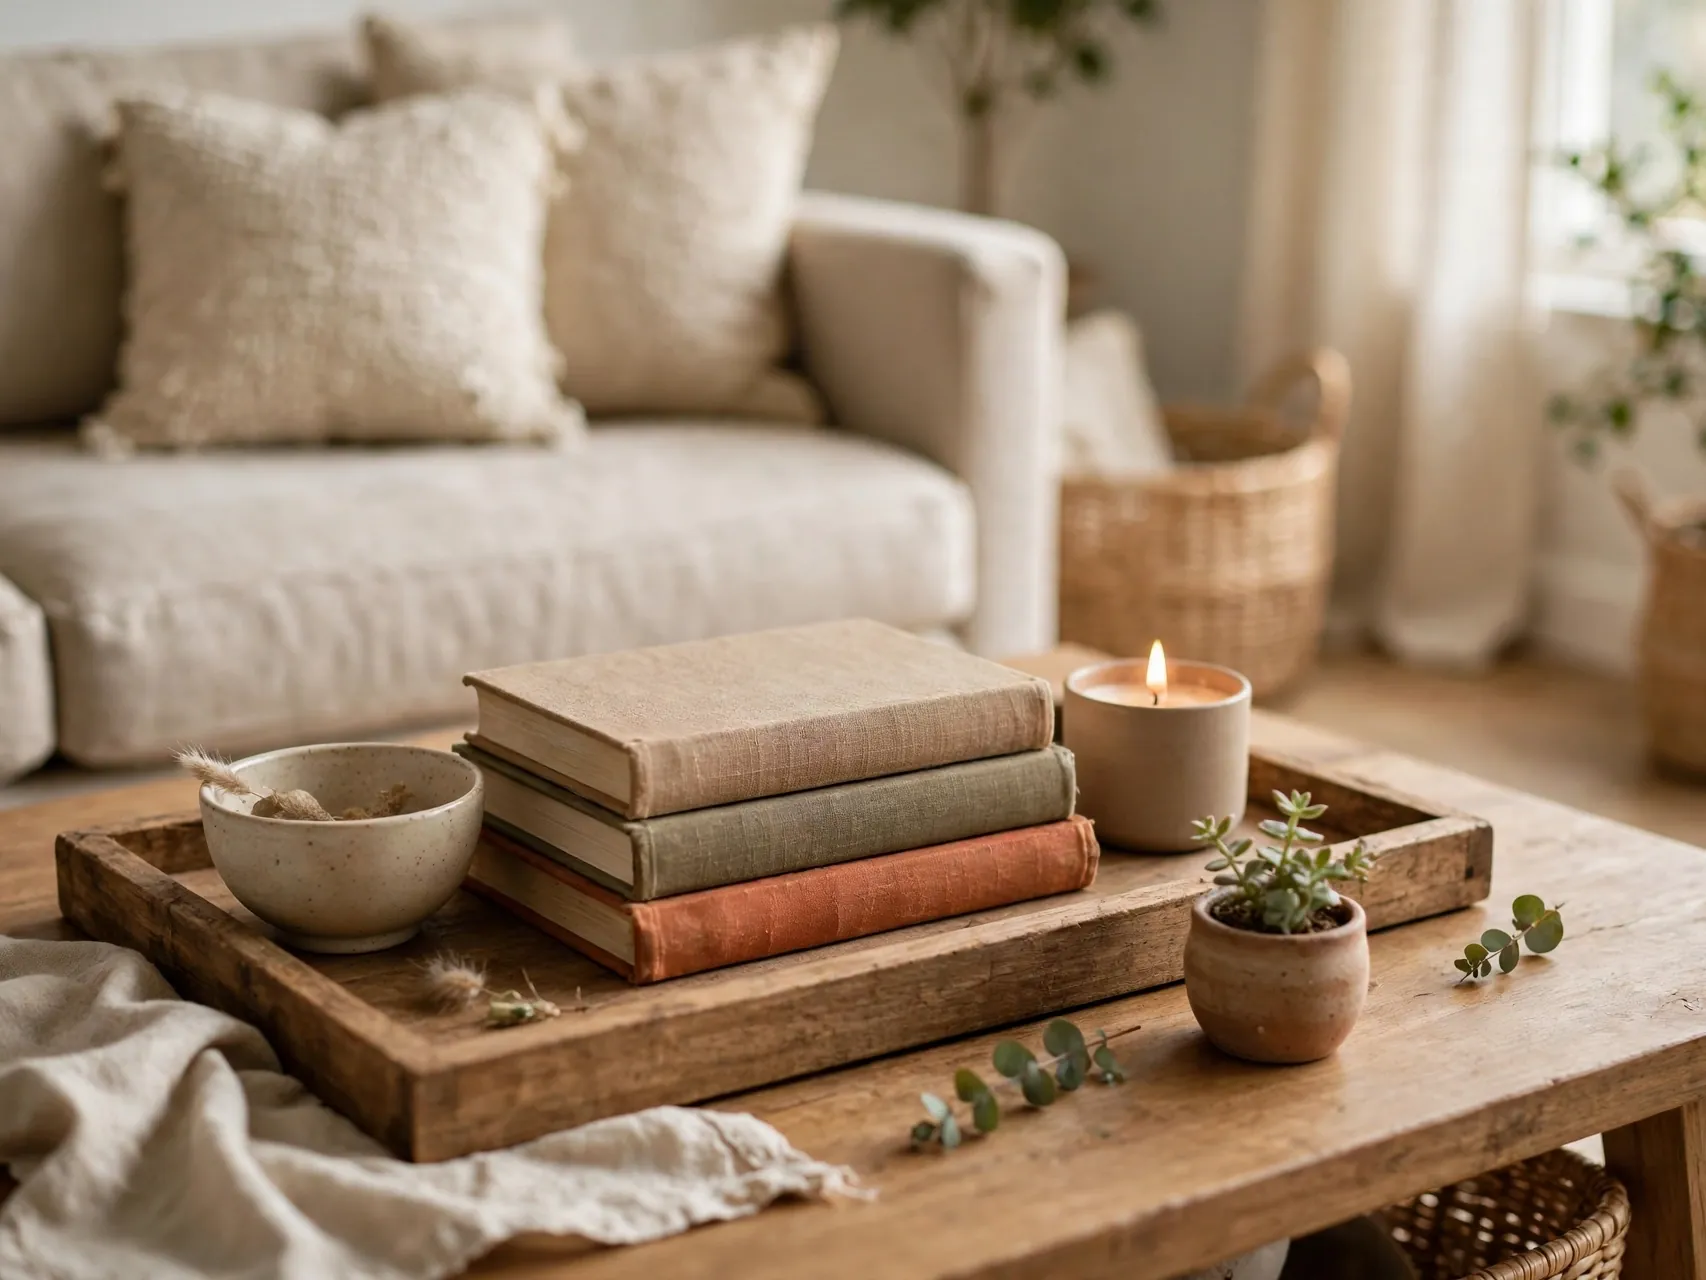
A tray corrals the coffee table into one composed moment. Use a thrifted tray, a shallow basket, or even a framed picture with the glass removed. Add a small stack of books, a candle, and one natural object like a stone or a small plant.
Keep at least half the table clear for drinks and feet. The store-bought secret is restraint: three objects grouped tightly on a tray look curated, while ten objects spread across the table look like clutter no matter how nice each one is.
10. Fake a Board and Batten Look With Paint Alone

Real board and batten needs lumber, but the painted version needs only tape and two paint tones. Tape a horizontal line at chair-rail height, paint below it in a deeper tone and above it in a lighter one, and the wall gains instant architecture.
Add taped vertical stripes below the line, spaced evenly, to suggest battens before painting if you want more detail. Peel tape while the final coat is still slightly wet for the crispest lines. It is renter friendly in spirit, because one coat of paint undoes it.
11. Wrap Rope Around a Plain Basket for a Designer Look

A plain plastic or dollar store basket becomes a textured storage piece when wrapped in cotton or jute rope with hot glue. Start at the base, keep rows tight, and tuck the end inside. The result holds throws beside the sofa and looks like a boutique buy.
Add fabric handles or a folded linen liner for a softer finish. Baskets like this are workhorse homemade living room decorations, hiding remotes, chargers, and toys while adding the natural texture that makes neutral rooms feel warm instead of flat.
12. Make Drop Cloth Curtains That Read as Linen
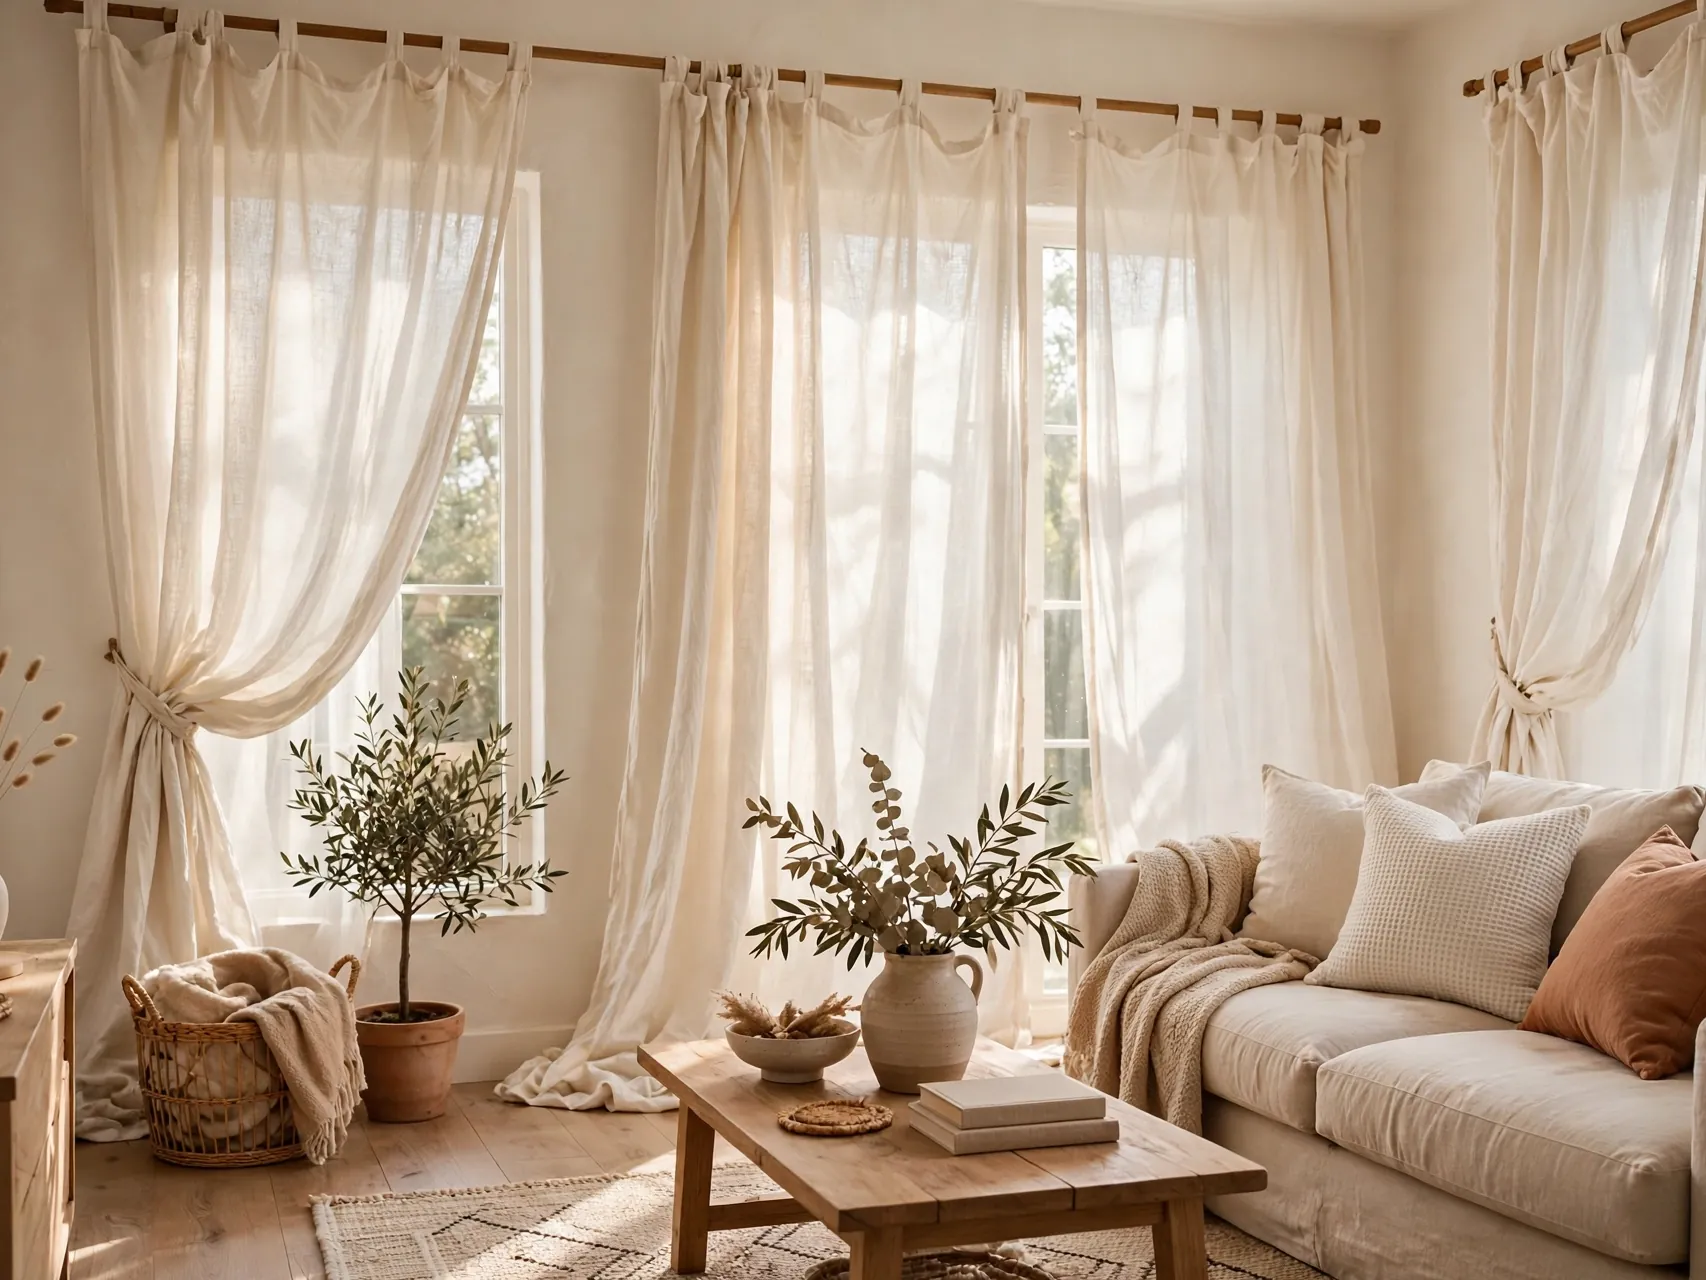
Canvas drop cloths from the hardware store have a natural, linen-like weave at a fraction of curtain prices. Wash and iron them, hem with iron-on tape, and hang with clip rings so no sewing is needed. The soft, washed texture suits almost every style.
Hang the rod high and wide so panels stack mostly on the wall and let in maximum light. Panels should just kiss the floor for the tailored look. Two drop cloths usually cover one wide window, and the savings versus ready-made linen panels is dramatic.
13. Build a Simple Blanket Ladder From Two Boards
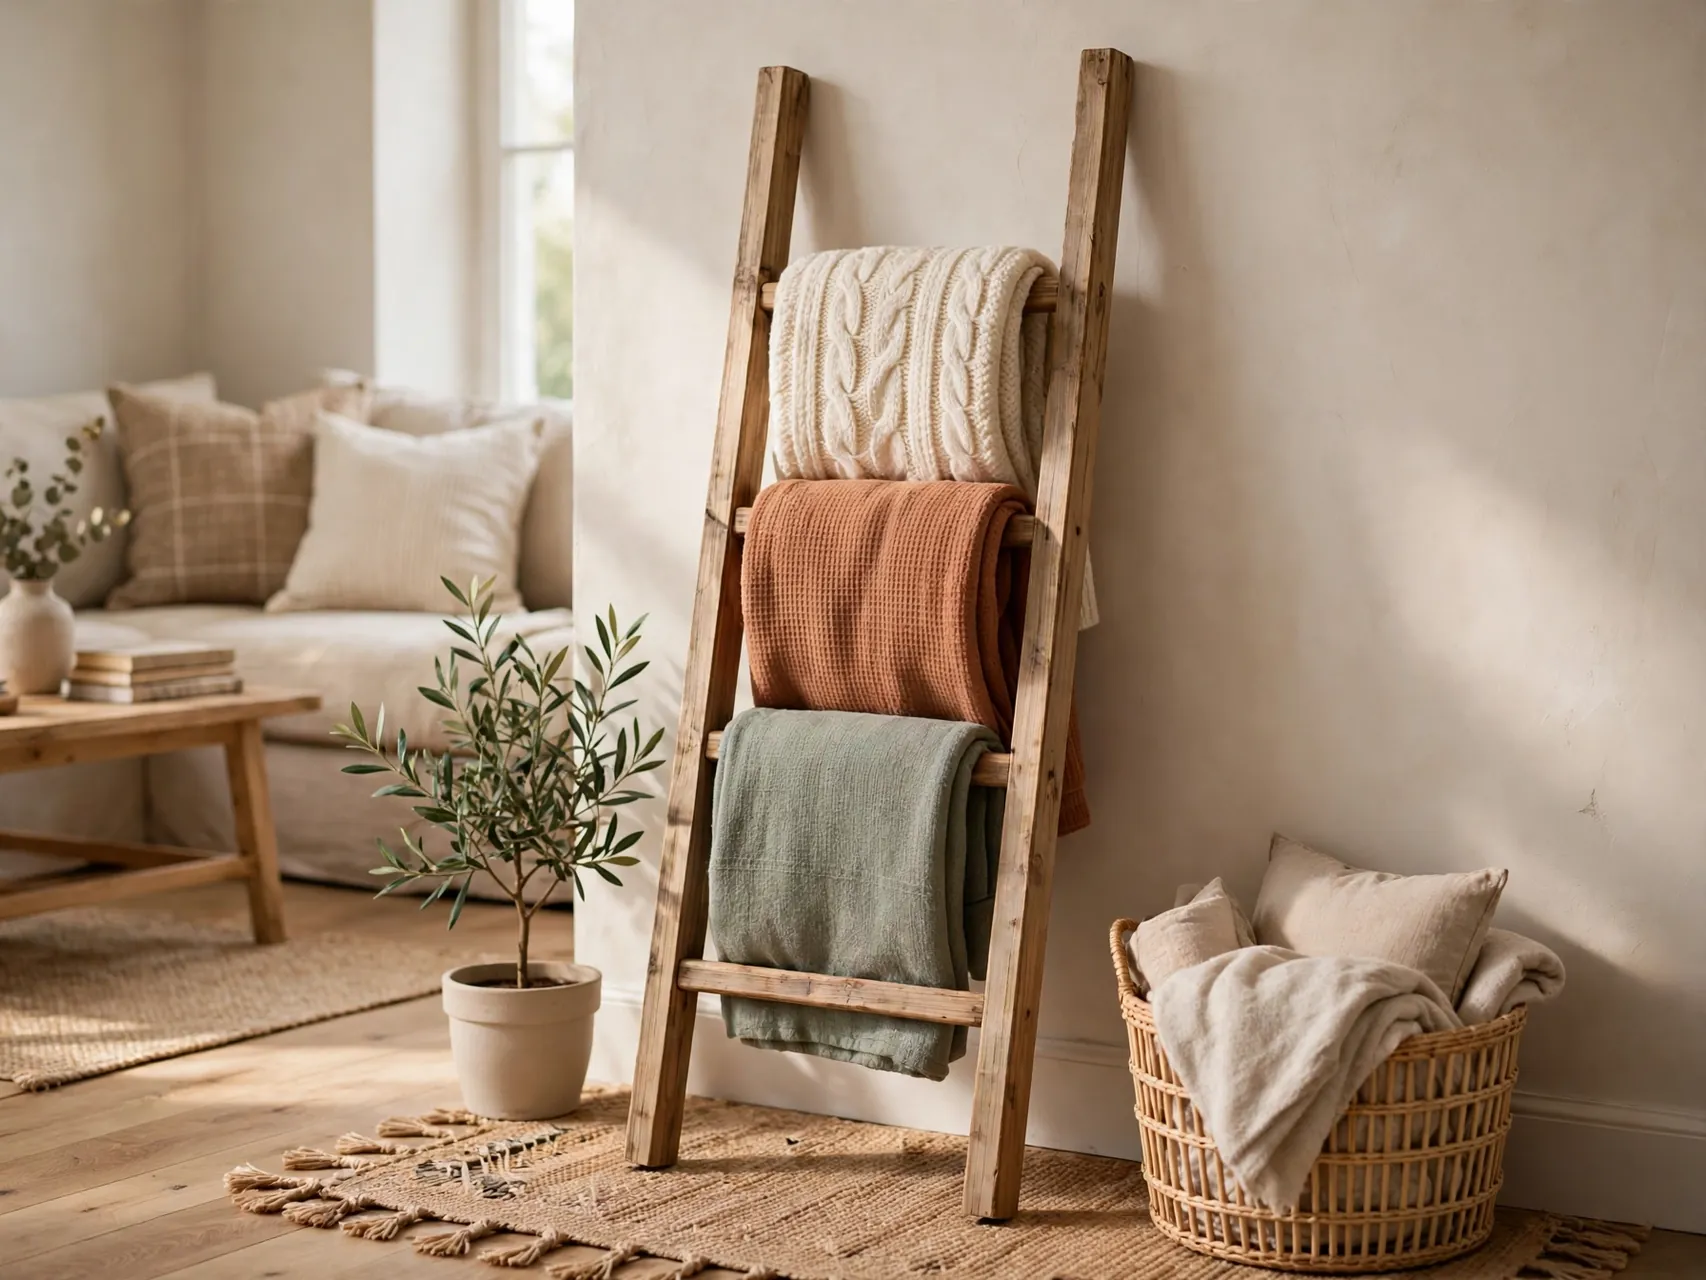
Two long boards and four shorter rungs, screwed together and sanded smooth, make a leaning blanket ladder in under an hour. Stain it to match your wood tones, or paint it your accent color for a bolder moment in a quiet corner.
Lean it at a gentle angle and add a small felt pad where it touches the wall. Drape two or three throws with varied textures, folded to similar widths. One ladder organizes blankets beautifully. A ladder piled with eight blankets just moves the clutter upright.
14. Flip a Thrifted Side Table With Paint and New Hardware

A sturdy but dated side table is the ideal first furniture flip. Clean it, lightly sand glossy areas, prime, and paint in a palette color. Swap the knob or handle for a simple wood or brass-tone one, and the piece reads as new.
Test your color on the underside first, and let paint cure fully before styling the top. Solid wood thrift finds hold up for years, and one confident painted piece per room is plenty. A full set of matching painted furniture starts to look like a project again.
15. Press Flowers or Leaves Into Floating Frames
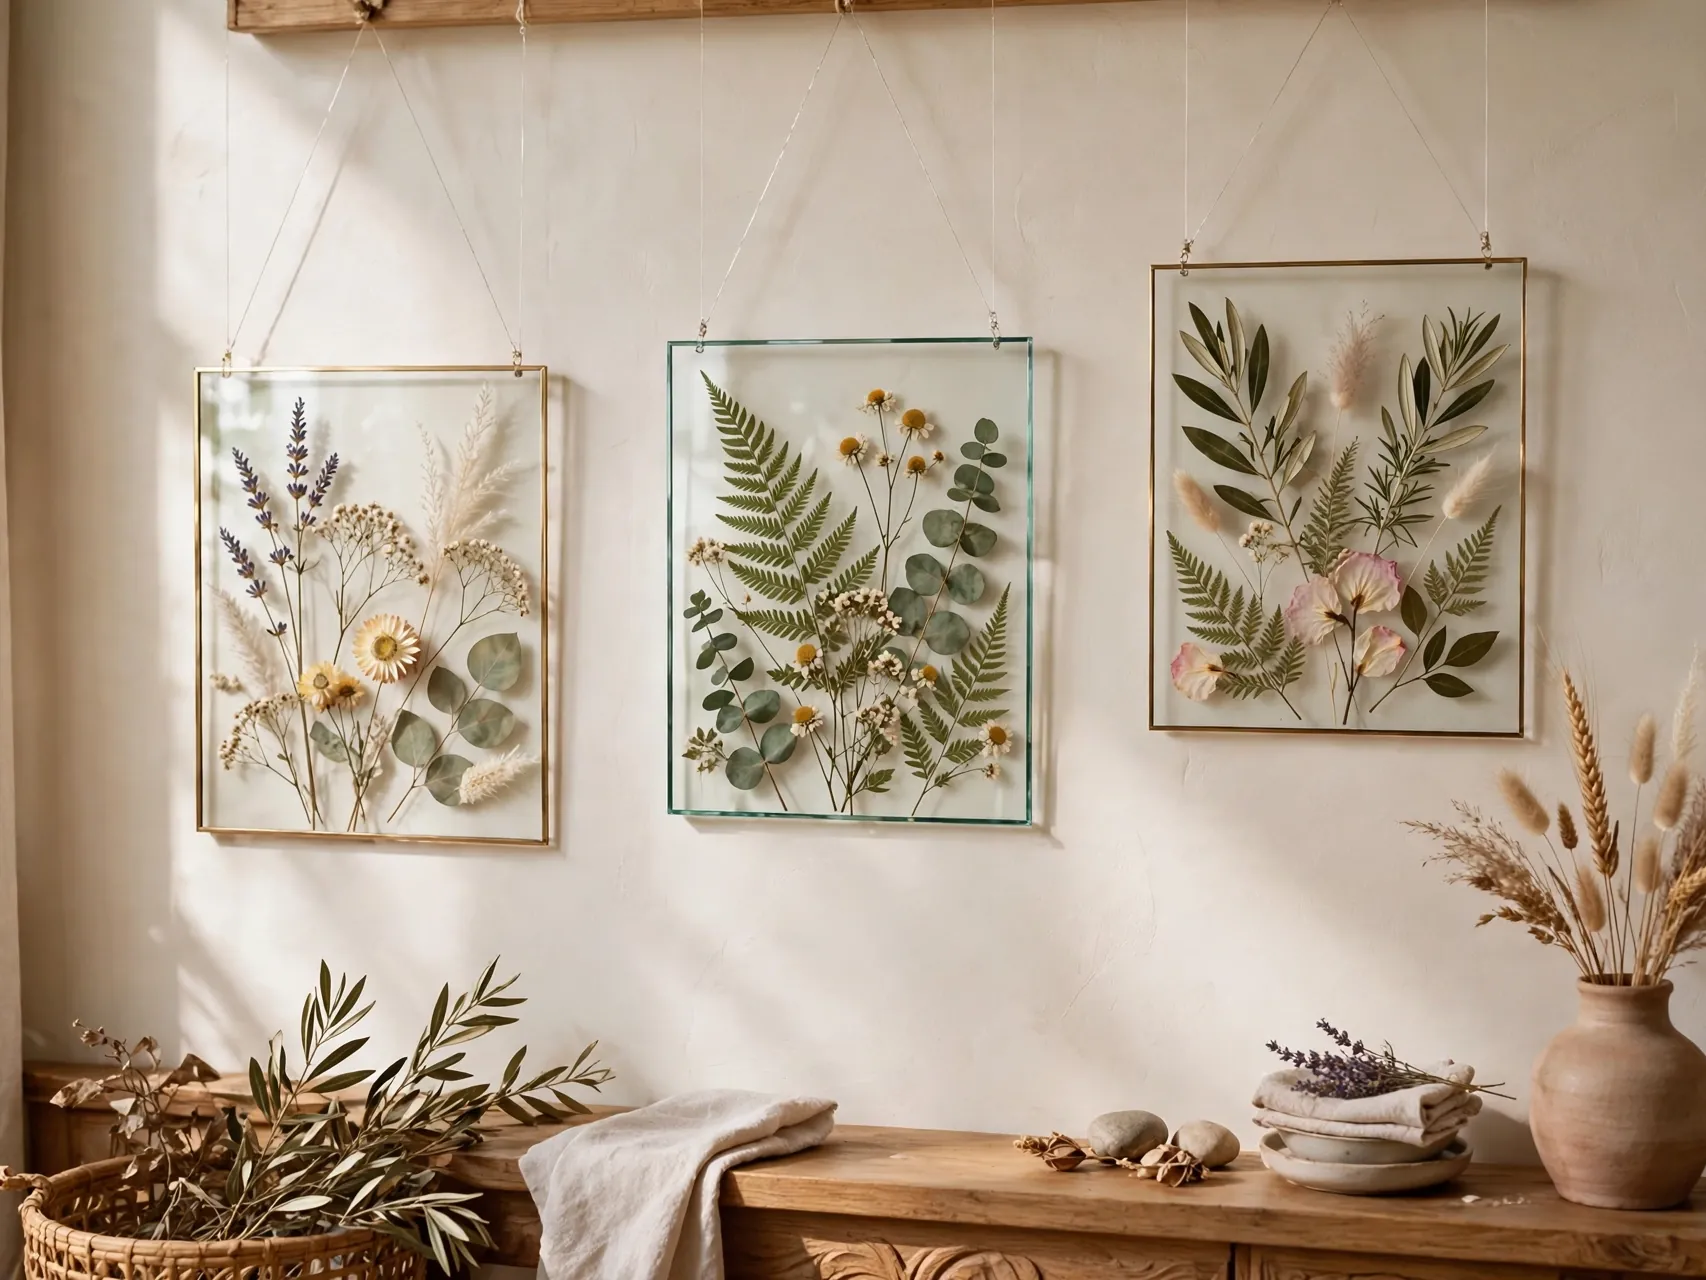
Press flowers, ferns, or autumn leaves between heavy books for about a week, then arrange them between two panes of glass in a floating frame. The botanical look is delicate, personal, and costs almost nothing if you gather from your own garden with permission.
Keep arrangements simple, one stem or a small trio per frame, with plenty of clear glass around them. Hang two or three as a quiet series above a console or beside a window, where natural light makes the pressed shapes glow.
16. String a Felt or Paper Garland for the Mantel
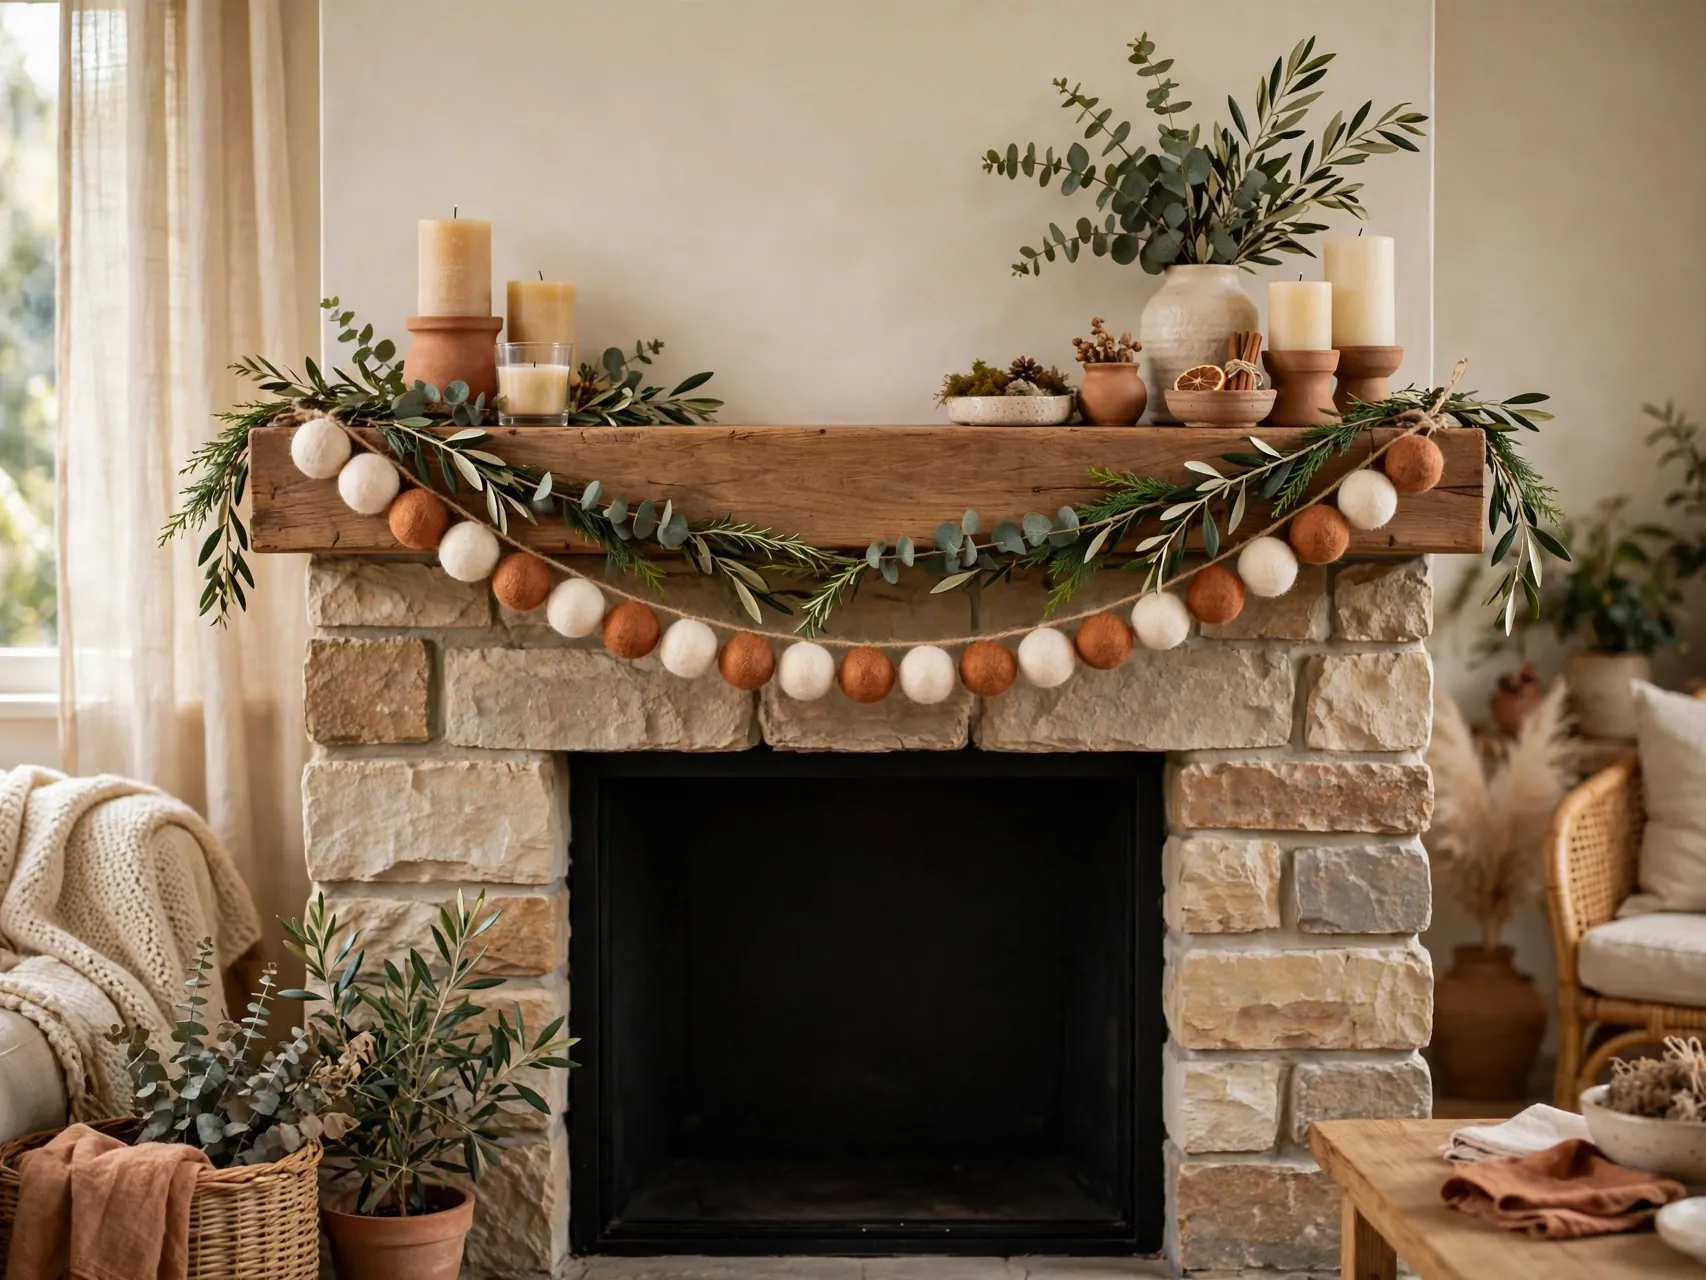
Cut circles, leaves, or simple shapes from felt or sturdy paper in your palette, and stitch or glue them along twine. Draped across a mantel, bookshelf, or window, a handmade garland adds color and movement without any visual weight.
Felt holds up for years and does not fray, which makes it the better long-term choice. Keep shapes large and spacing even for a modern look. Small, busy garlands read as party decor, while simple, generous ones read as design.
17. Create a Reading Corner With a Floor Cushion
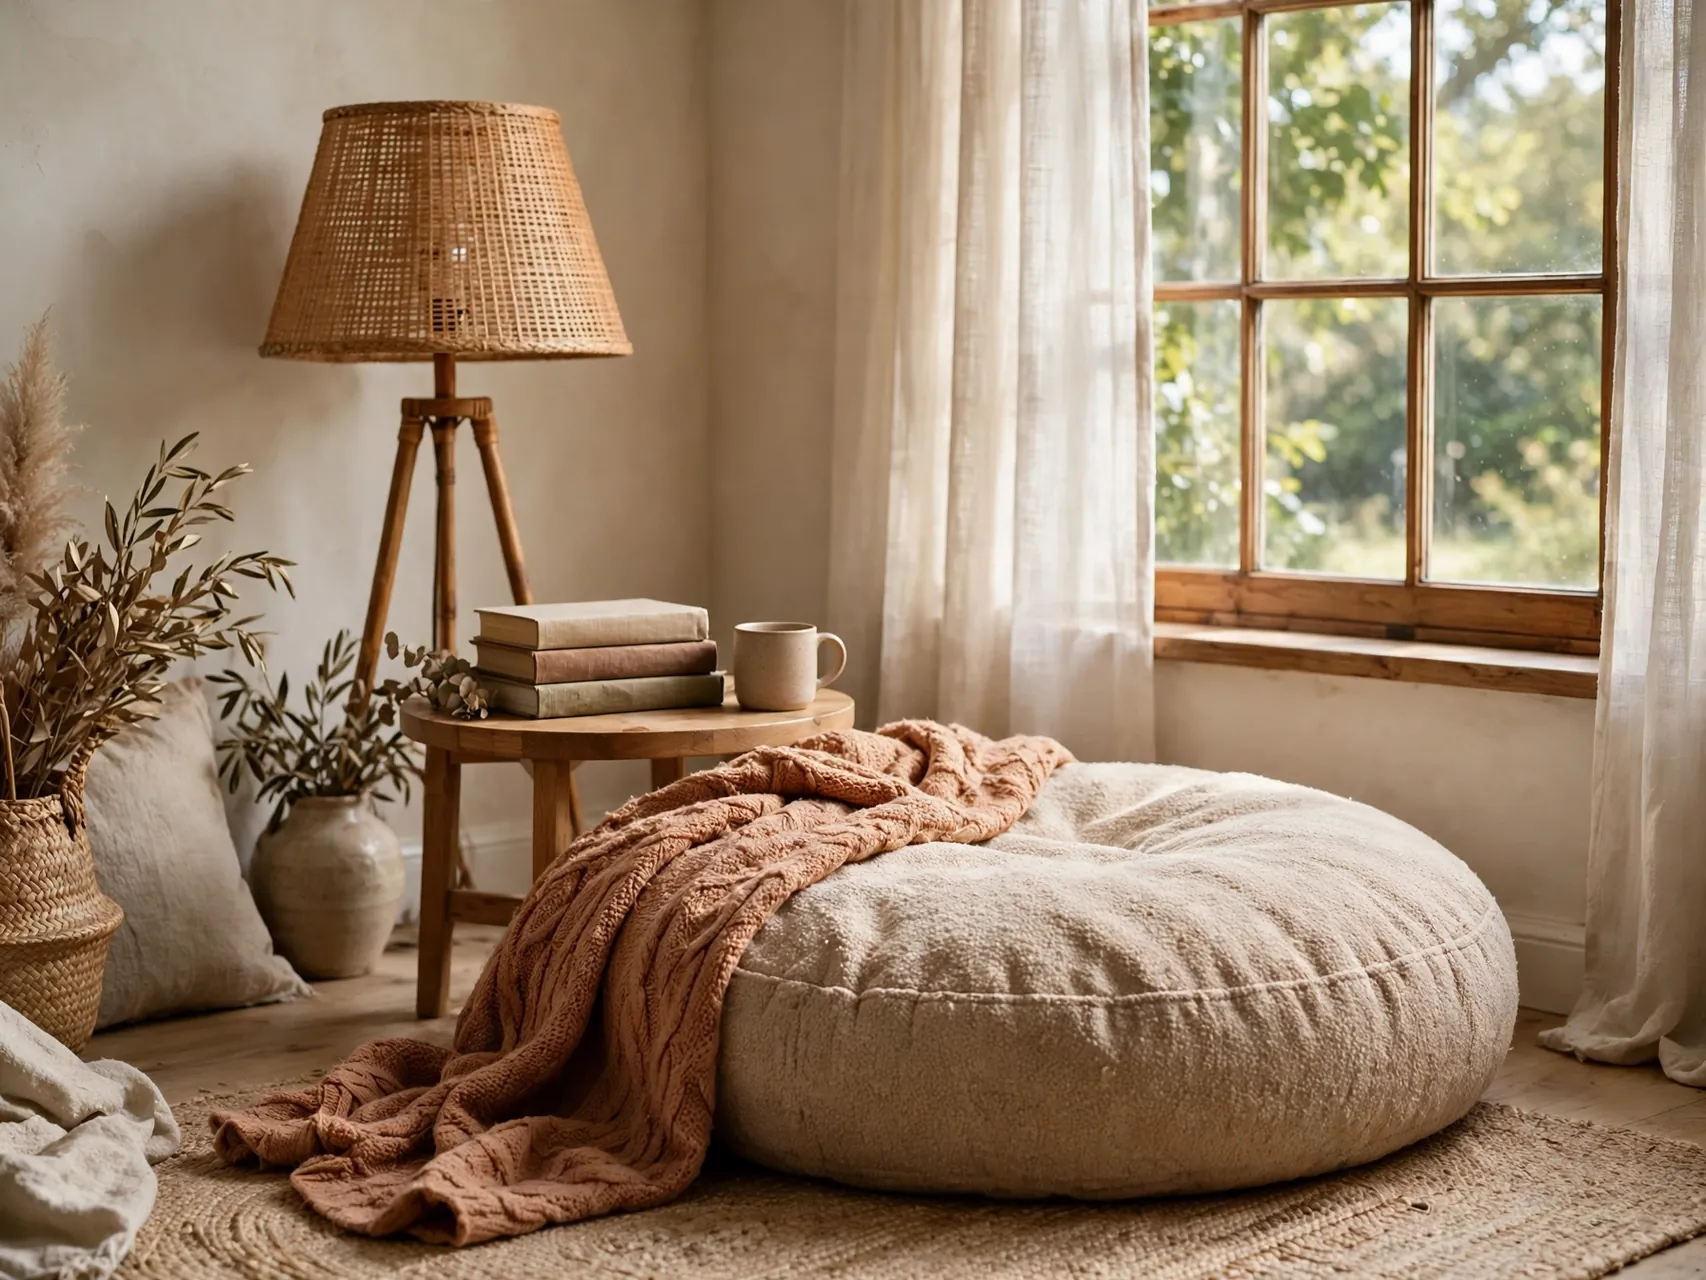
An unused corner becomes a reading spot with one large floor cushion, a small side table or stool, a warm lamp, and a basket for books. Add a small rug underneath to define the zone, and the corner suddenly looks planned rather than leftover.
Choose a washable cushion cover if kids or pets will claim the spot, which they will. This kind of layered, lived-in corner is exactly what makes diy living room decor feel personal in a way a matching furniture set never can.
18. Line One Niche or Bookshelf Back With Peel and Stick Paper
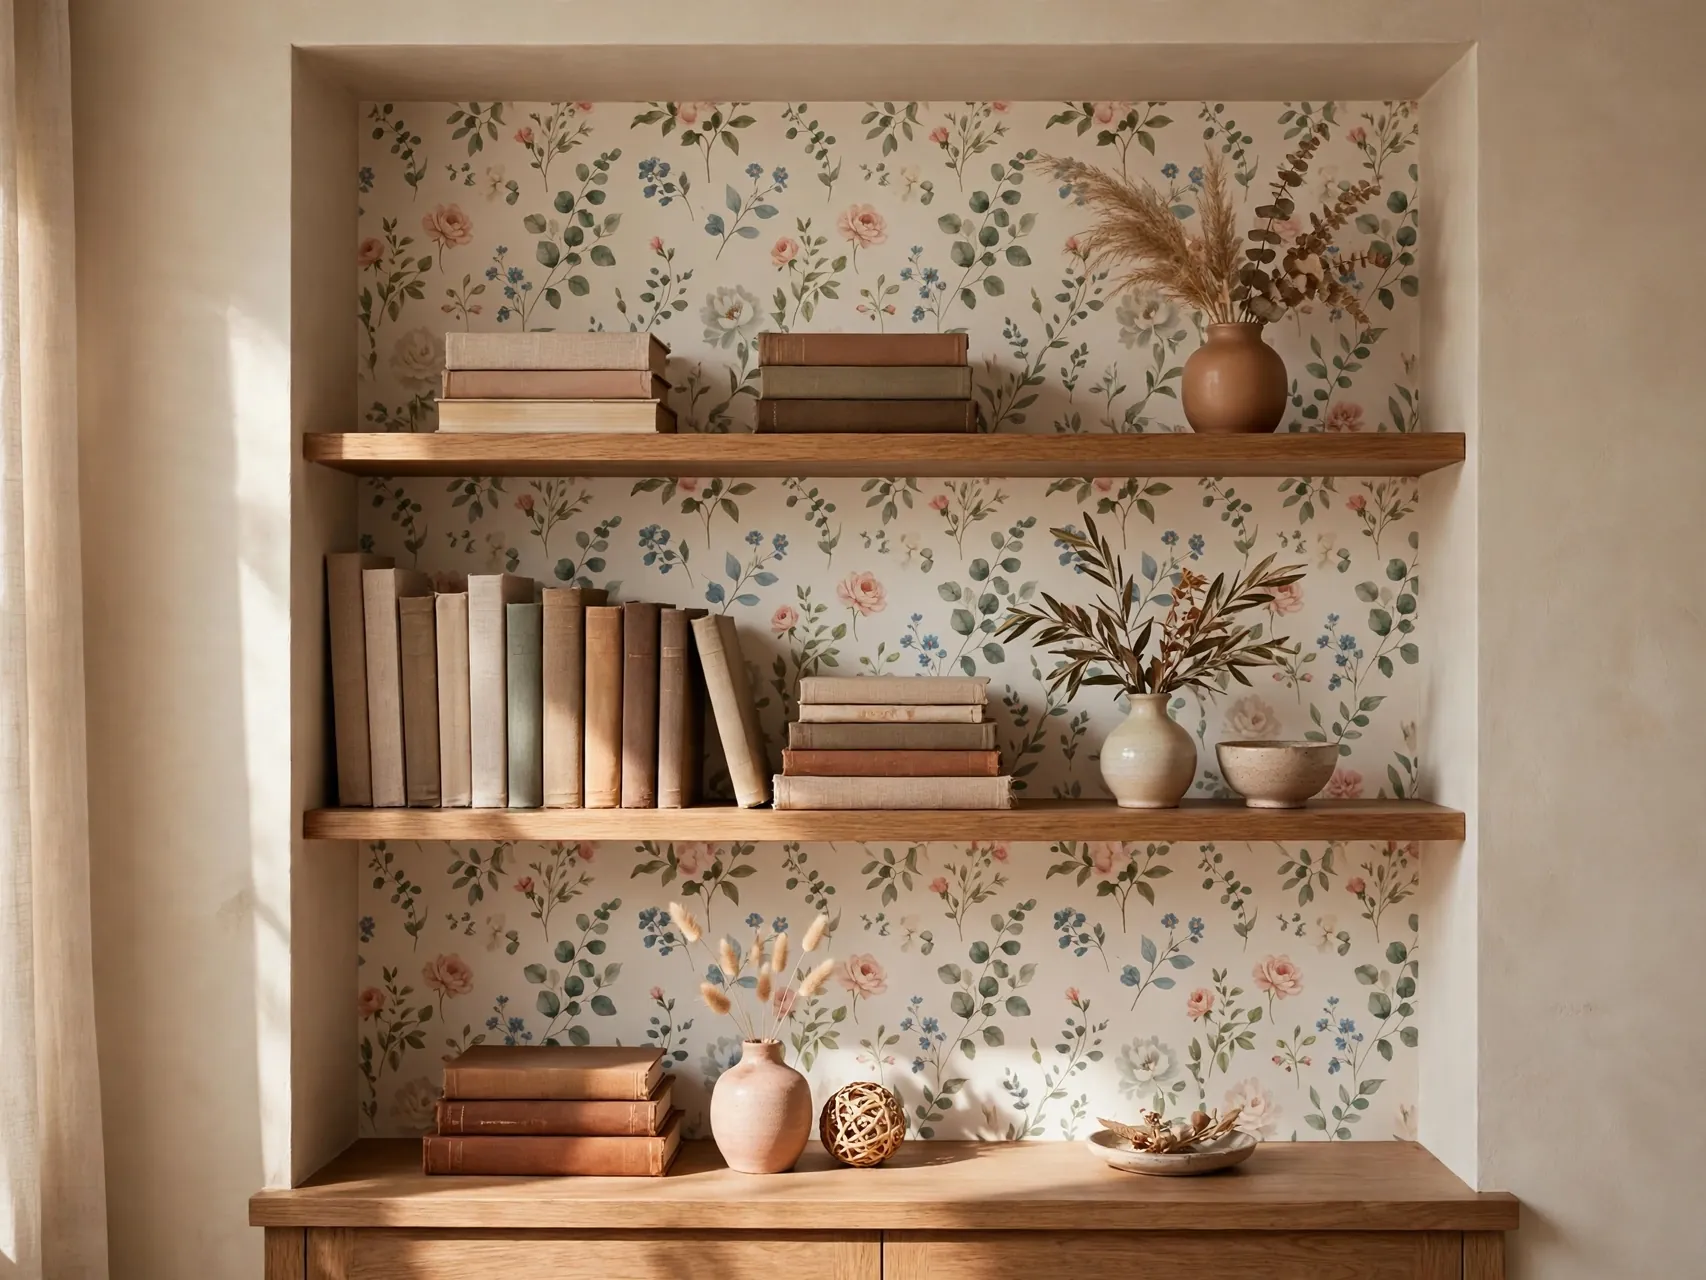
Peel and stick wallpaper on just the back panel of a bookshelf, or inside one alcove, gives pattern and depth for the price of a single roll. A subtle grasscloth look or a small-scale print makes everything styled in front of it look more expensive.
Measure twice and apply slowly from the top, smoothing as you go. Because the area is small, mistakes are cheap and the paper removes cleanly in most rentals. Keep shelf styling simple afterward so the pattern can do its quiet work.
19. Make Twig Candle Holders With LED Candles

Glue straight twigs or cinnamon-toned sticks around a plain glass jar to make a rustic candle holder, and finish it with a battery LED candle inside. The flickering effect gives you the cozy glow with none of the open flame risk near textiles and paper.
If you ever use real candles elsewhere in the room, follow basic fire safety: keep flames well away from curtains and decorations, and never leave them burning unattended. The LED version is the smarter everyday choice for busy family living rooms.
20. Knot or Weave a Yarn Wall Hanging

A dowel, a few skeins of chunky yarn in palette colors, and simple knots create a soft wall hanging that fills a large blank space for very little money. Vary the strand lengths into a gentle V shape, trim the ends evenly, and steam out any kinks.
Hang it where a large framed piece would cost too much, such as above a long sofa. Textile art adds the softness that living rooms full of hard furniture need, and it weighs almost nothing, so one small hook is usually enough.
21. Reset Your Bookshelves Like a Stylist
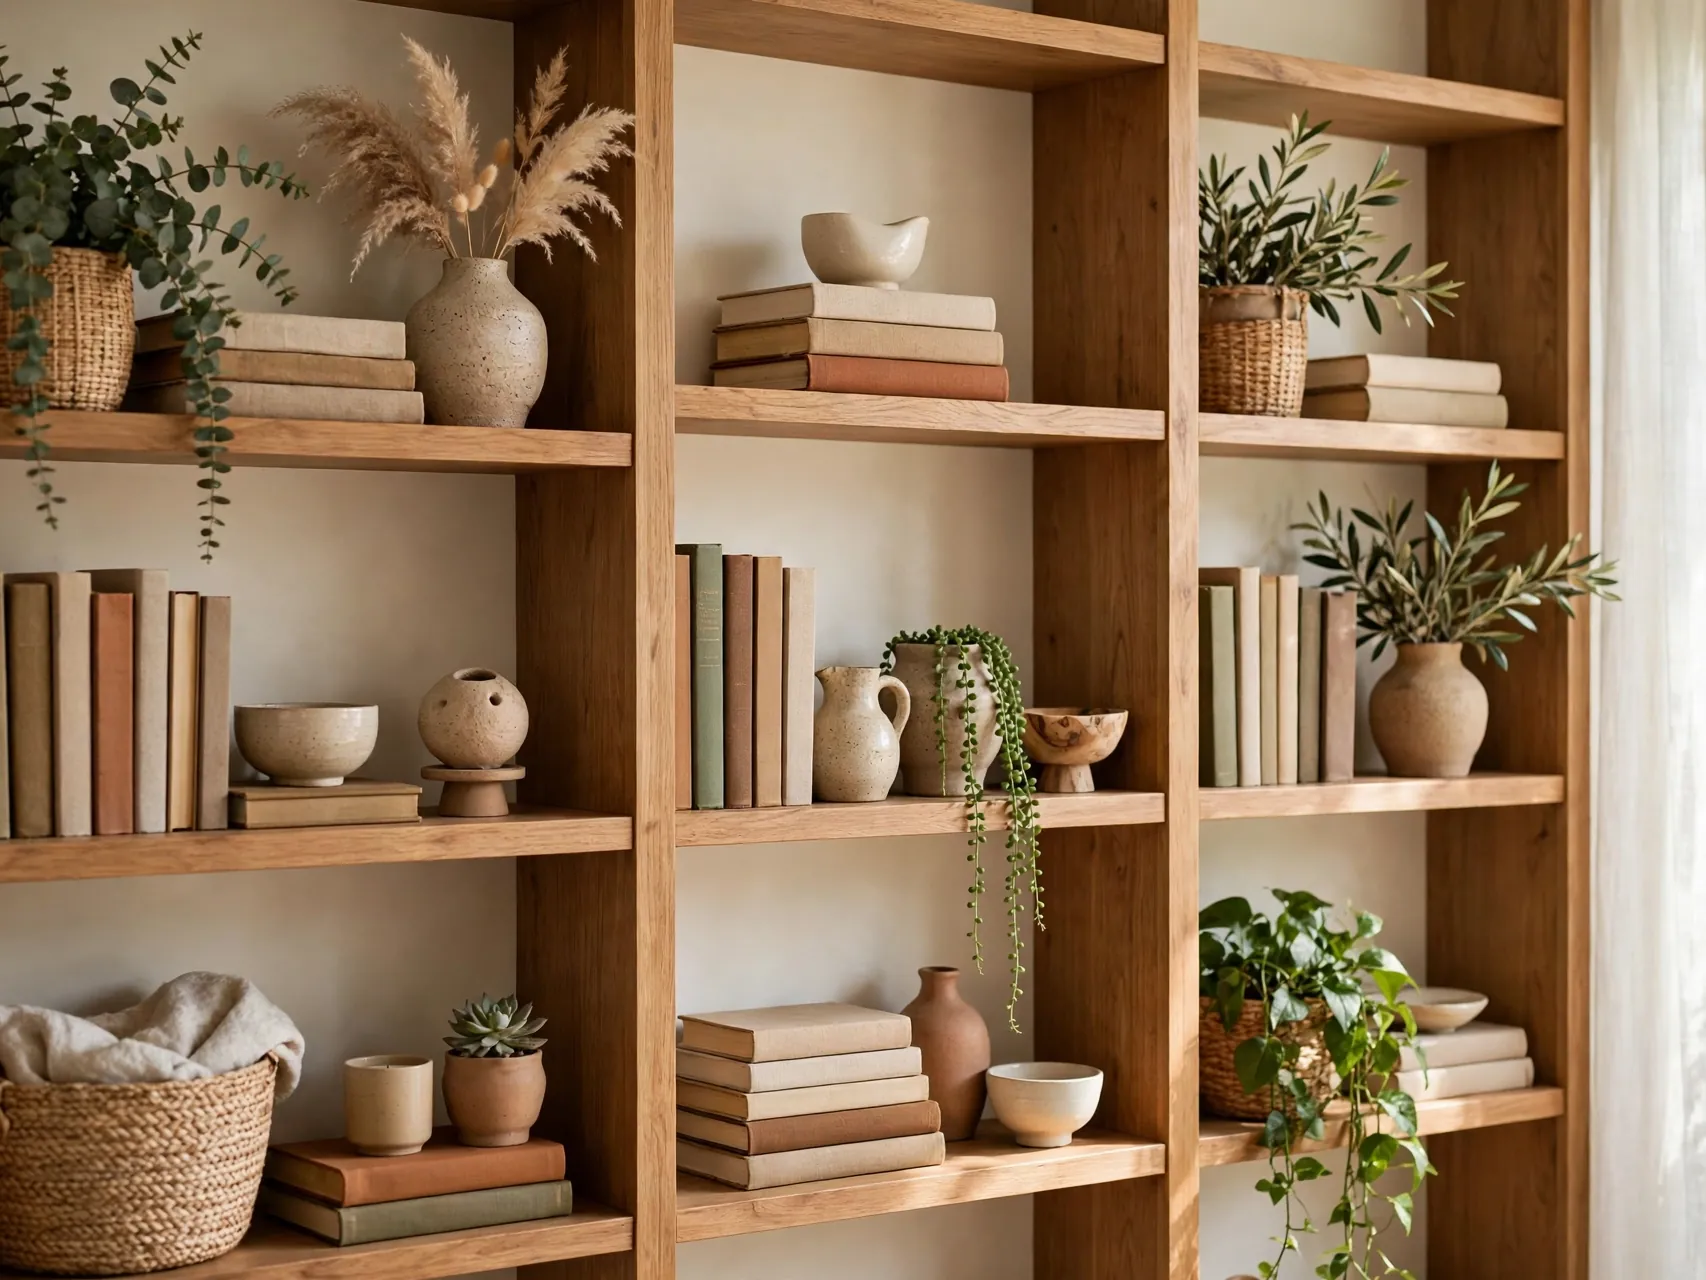
The final project costs nothing. Empty one bookshelf completely, then rebuild it with books in small upright and horizontal groups, one object per shelf zone, and real empty space left on purpose. Turn some books spine-in for a calm, tonal effect if your shelves feel noisy.
Repeat one color or material on each shelf level so the eye travels happily. Step back every few minutes and edit out one more item than feels natural. That last edit is the entire difference between storage and styling.
FAQ
How can I make DIY decor look store-bought instead of crafty?
Focus on finish and restraint. Sand edges, use thin even paint coats, keep to a three or four color palette, and group objects with breathing room around them. One well finished piece always looks more expensive than five rushed projects in the same room.
What are the cheapest DIY living room projects with the biggest impact?
Paint is first: one accent wall or one furniture flip changes the whole room for the cost of a single can. After that, pillow covers, a layered jute rug, and a thrifted frame gallery wall give the largest visible change per dollar.
What basic tools do I need to start?
A drill, a level, painter's tape, a staple gun, scissors, a hot glue gun, and one good paintbrush cover nearly every project in this list. Buy quality tape and brushes, borrow the rest at first, and add tools only when a project you love requires them.
How do I choose colors so my DIY pieces match each other?
Pull your palette from one item you already love, such as a rug or a print, and repeat its colors in paint, fabric, and small objects. When every project draws from the same three or four colors, thrifted and handmade pieces read as one collected set.
Are these projects renter friendly?
Many are. Pillow covers, trays, baskets, ladders, and garlands need no holes or paint at all. For walls, choose options your lease allows, use removable hooks rated for the weight, and keep the painted projects for walls you have written permission to paint.
Key Takeaways
- Finish sells the project: Thin paint coats, sanded edges, and caulked seams are what make handmade pieces read as store-bought.
- One palette, every project: Three or four shared colors turn mixed thrift finds and crafts into a collected, designed room.
- Paint first, style last: Walls, textiles, and furniture flips in that order give the biggest change for a budget friendly living room makeover.
- Thrift the frames and tables: Solid wood frames and side tables secondhand cost little and upgrade beautifully with paint and new hardware.
- Edit like a stylist: Empty space around your projects is not wasted. It is the detail that makes everything else look intentional.
- Love a good before and after? Save this list to Pinterest and pin the first project you will finish this weekend.