21 Halloween Paper Crafts for Kids That Are Easy and Fun
Introduction
Paper is the easiest craft supply to love. It is cheap, it is already in most homes, cleanup is simple, and children can turn a plain sheet into a ghost, a bat, or a pumpkin in one short sitting. That is why halloween paper crafts are a favorite for families, classrooms, and party tables every October.
This list includes 21 projects for a range of ages, from tearing and sticking crafts for preschoolers to folding and cutting projects for older kids. Each craft lists the simple idea, the basic steps, and the display or play moment at the end.
Keep safety simple throughout. Use safety scissors for young children, let adults pre-cut tricky shapes, choose non-toxic and washable supplies, and keep small parts like googly eyes away from children under three. Always supervise crafting, and keep finished paper decor away from candles, stoves, and heaters.
1. Paper Plate Jack-o-Lantern
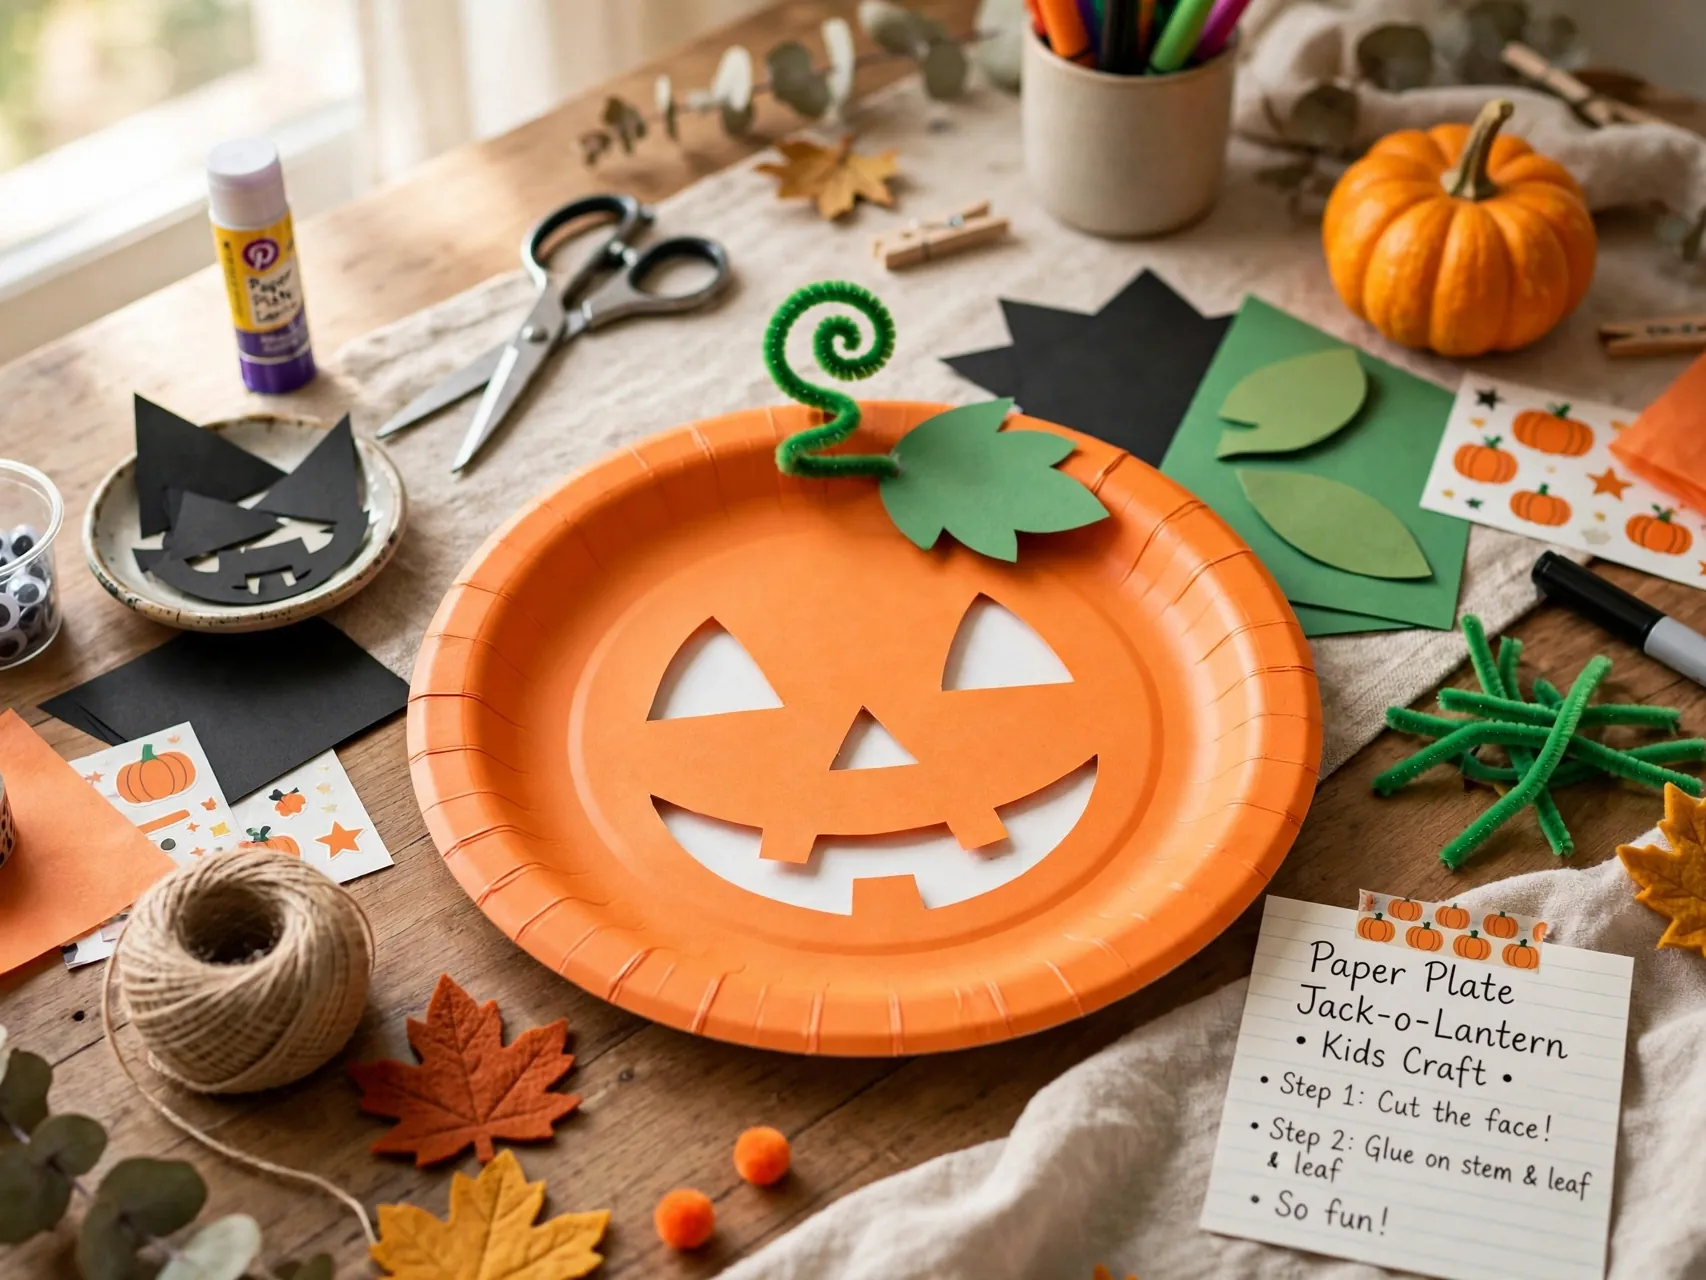
Color or paint the back of a paper plate orange, let it dry, then glue on black paper triangles and a grin for the face. Add a green paper stem at the top and a loop of string on the back for hanging.
This is one of the best first halloween crafts for kids because the shape is done for you. Younger children can tear paper for the face instead of cutting, and every pumpkin looks different, which makes a great classroom wall display.
2. Handprint Ghost Keepsake
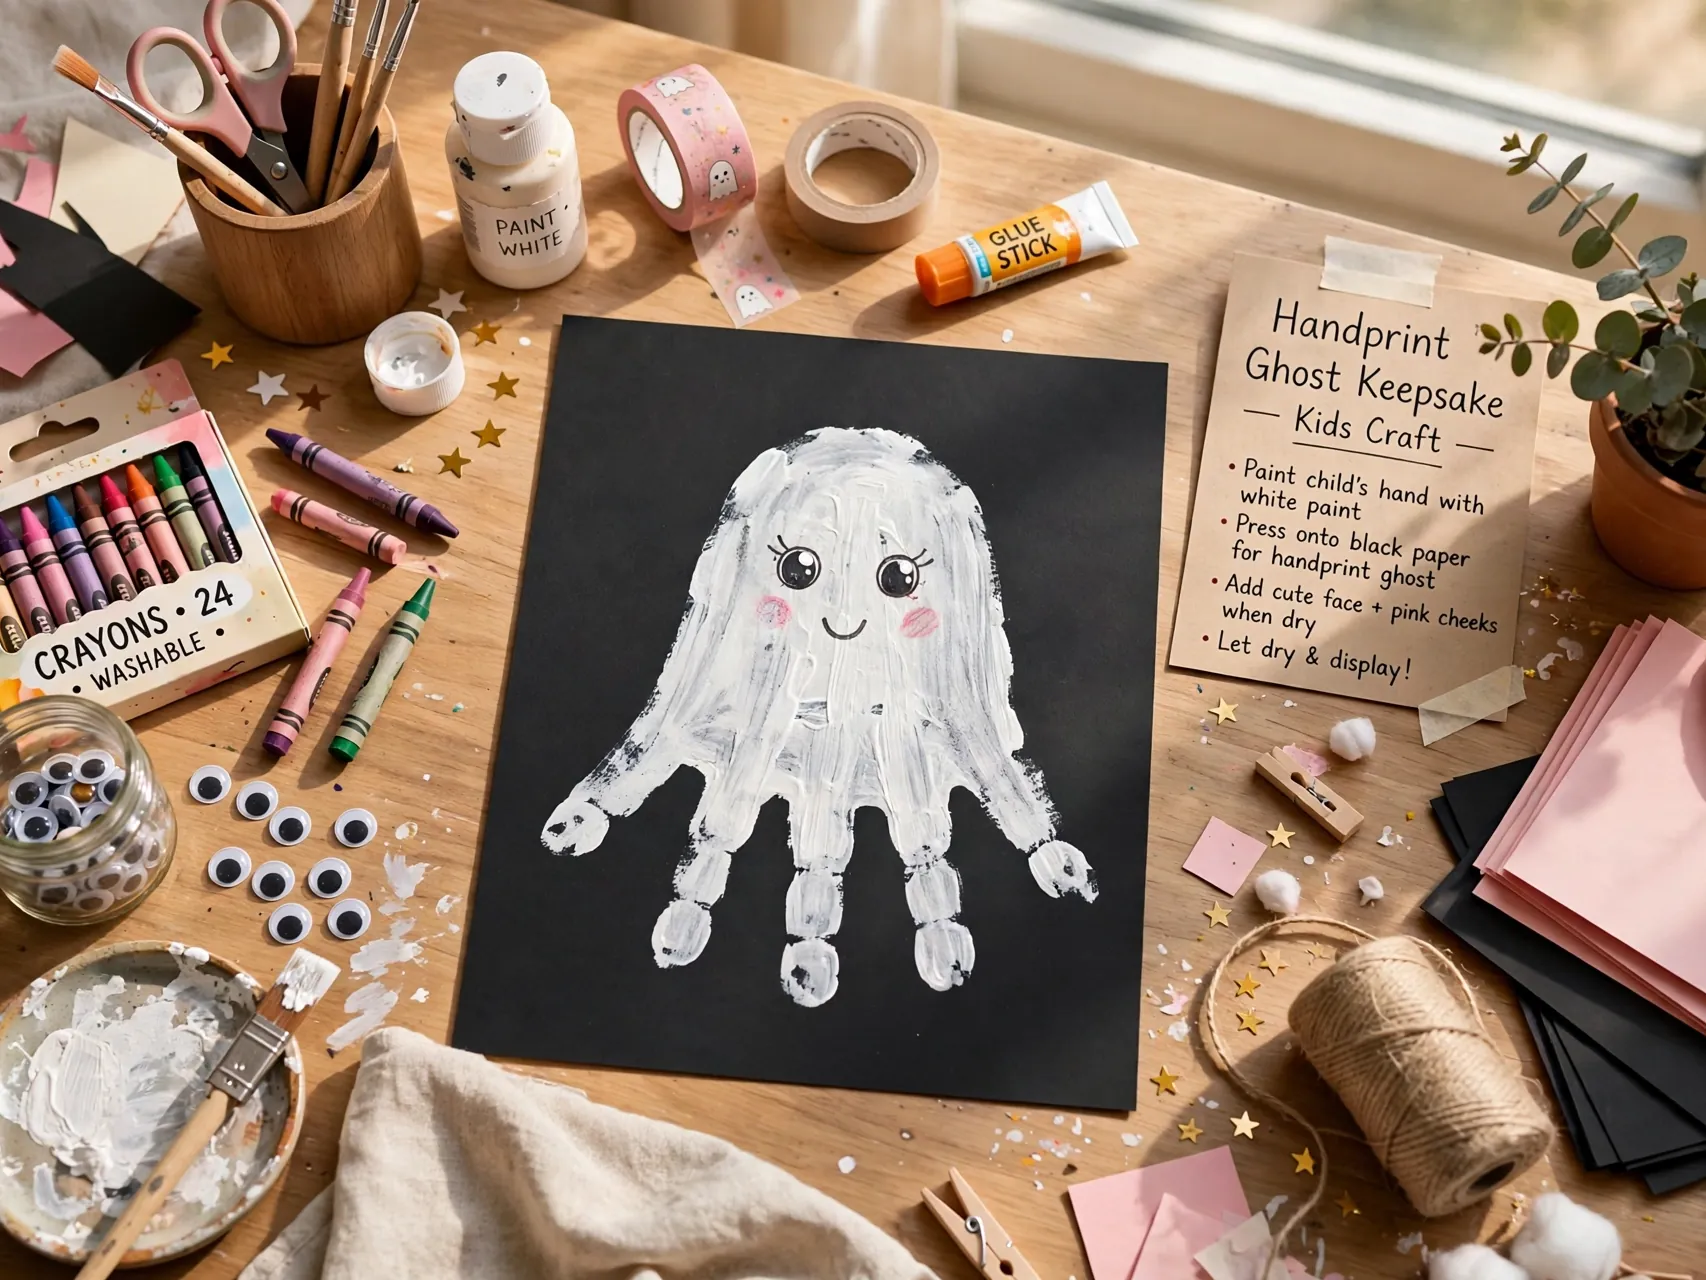
Trace a child hand on white paper with fingers together, or use white washable paint for a handprint on dark paper. The fingers become the wavy bottom of the ghost once you turn the print upside down. Add two eyes and a small round mouth.
Adults should do any cutting for young children. Handprint ghosts make sweet keepsakes for grandparents, and a set of family handprints in different sizes makes a lovely banner for the hallway or front window.
Write the child name and the year on the back of each keepsake ghost before you hang it, because future you will be grateful for the date when these sweet prints come out of storage every October.
3. Accordion Paper Chain Bats
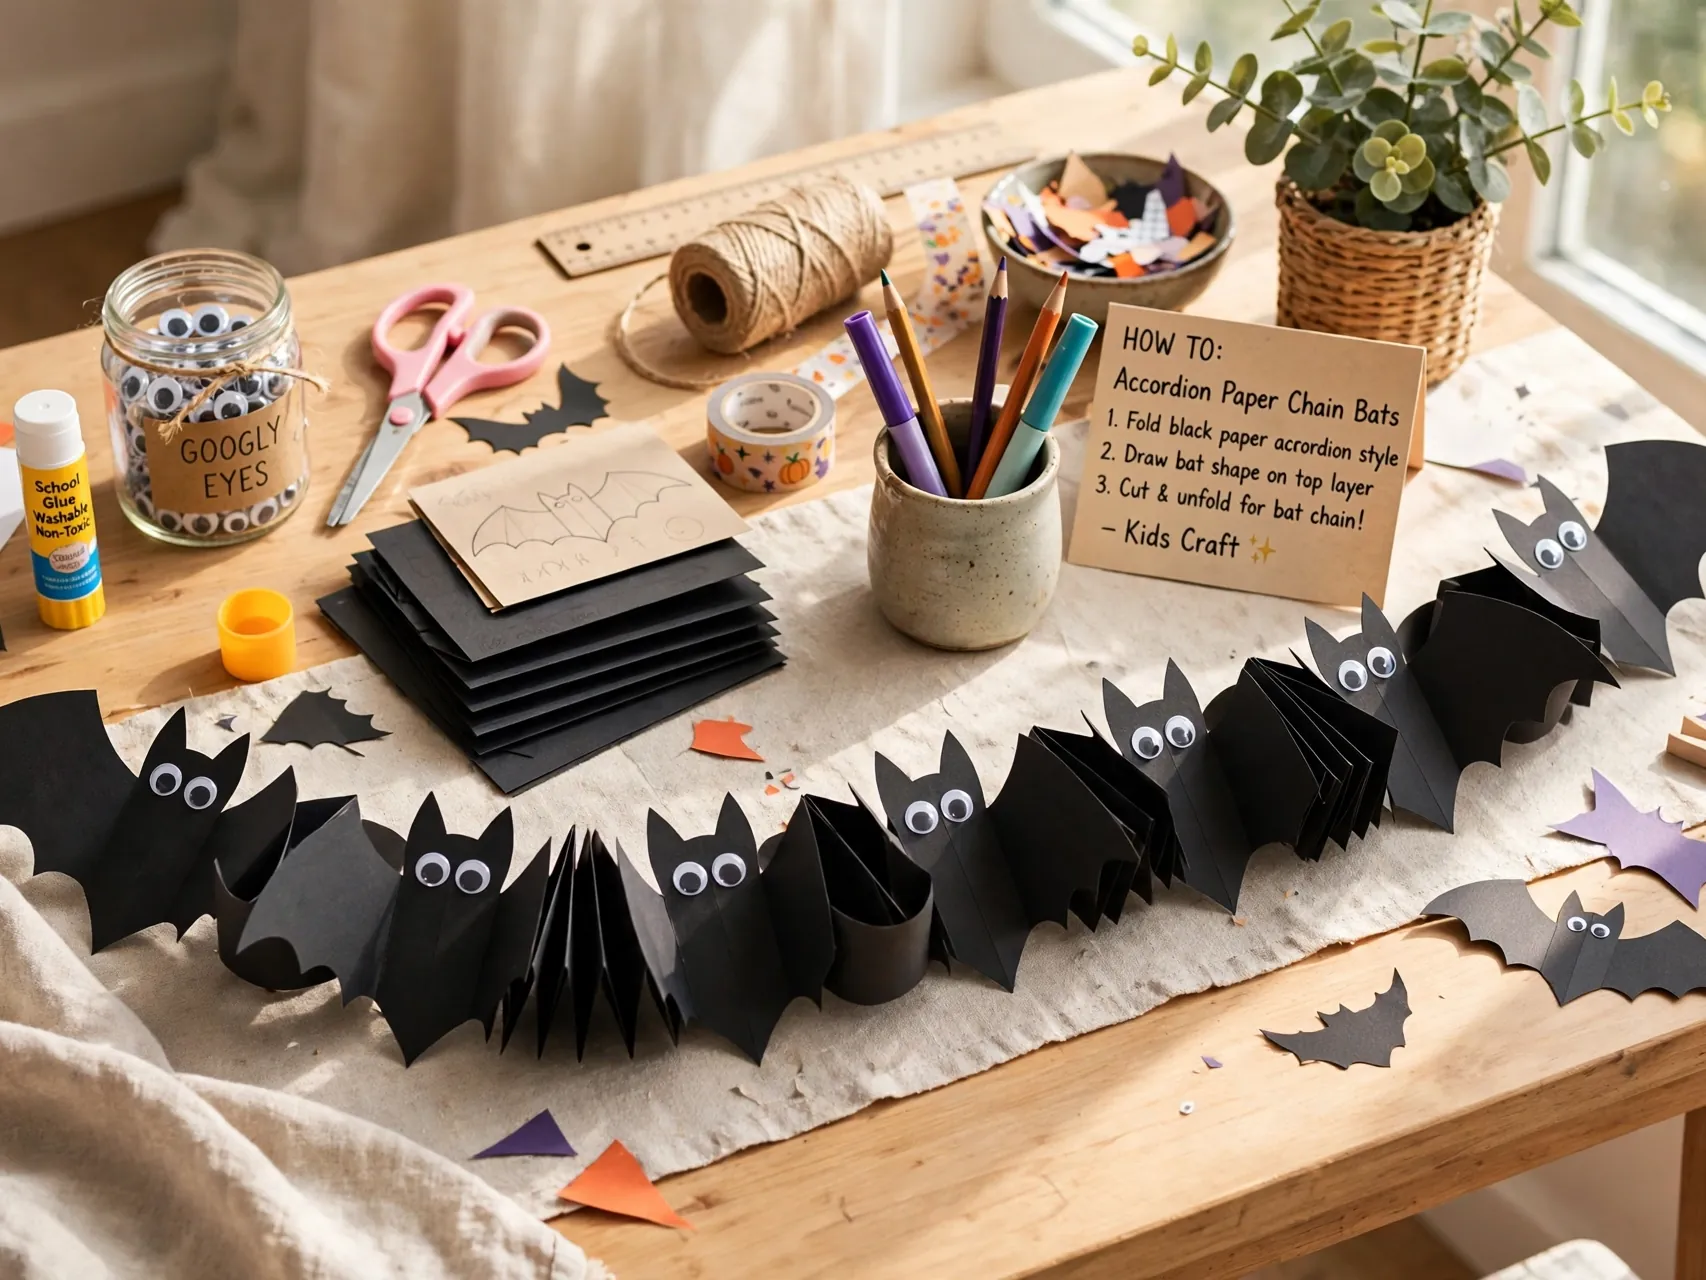
Fold a long strip of black paper back and forth like a fan. Draw half a bat shape on the top fold, with the wing touching both edges, then cut along the line through all layers with adult help for younger kids.
Unfold gently to reveal a connected string of bats with no glue needed. Hang the chain across a window, a mantel, or a party table edge. This classic fold and cut method also works for ghosts, pumpkins, and cats.
4. Paper Strip Pumpkin
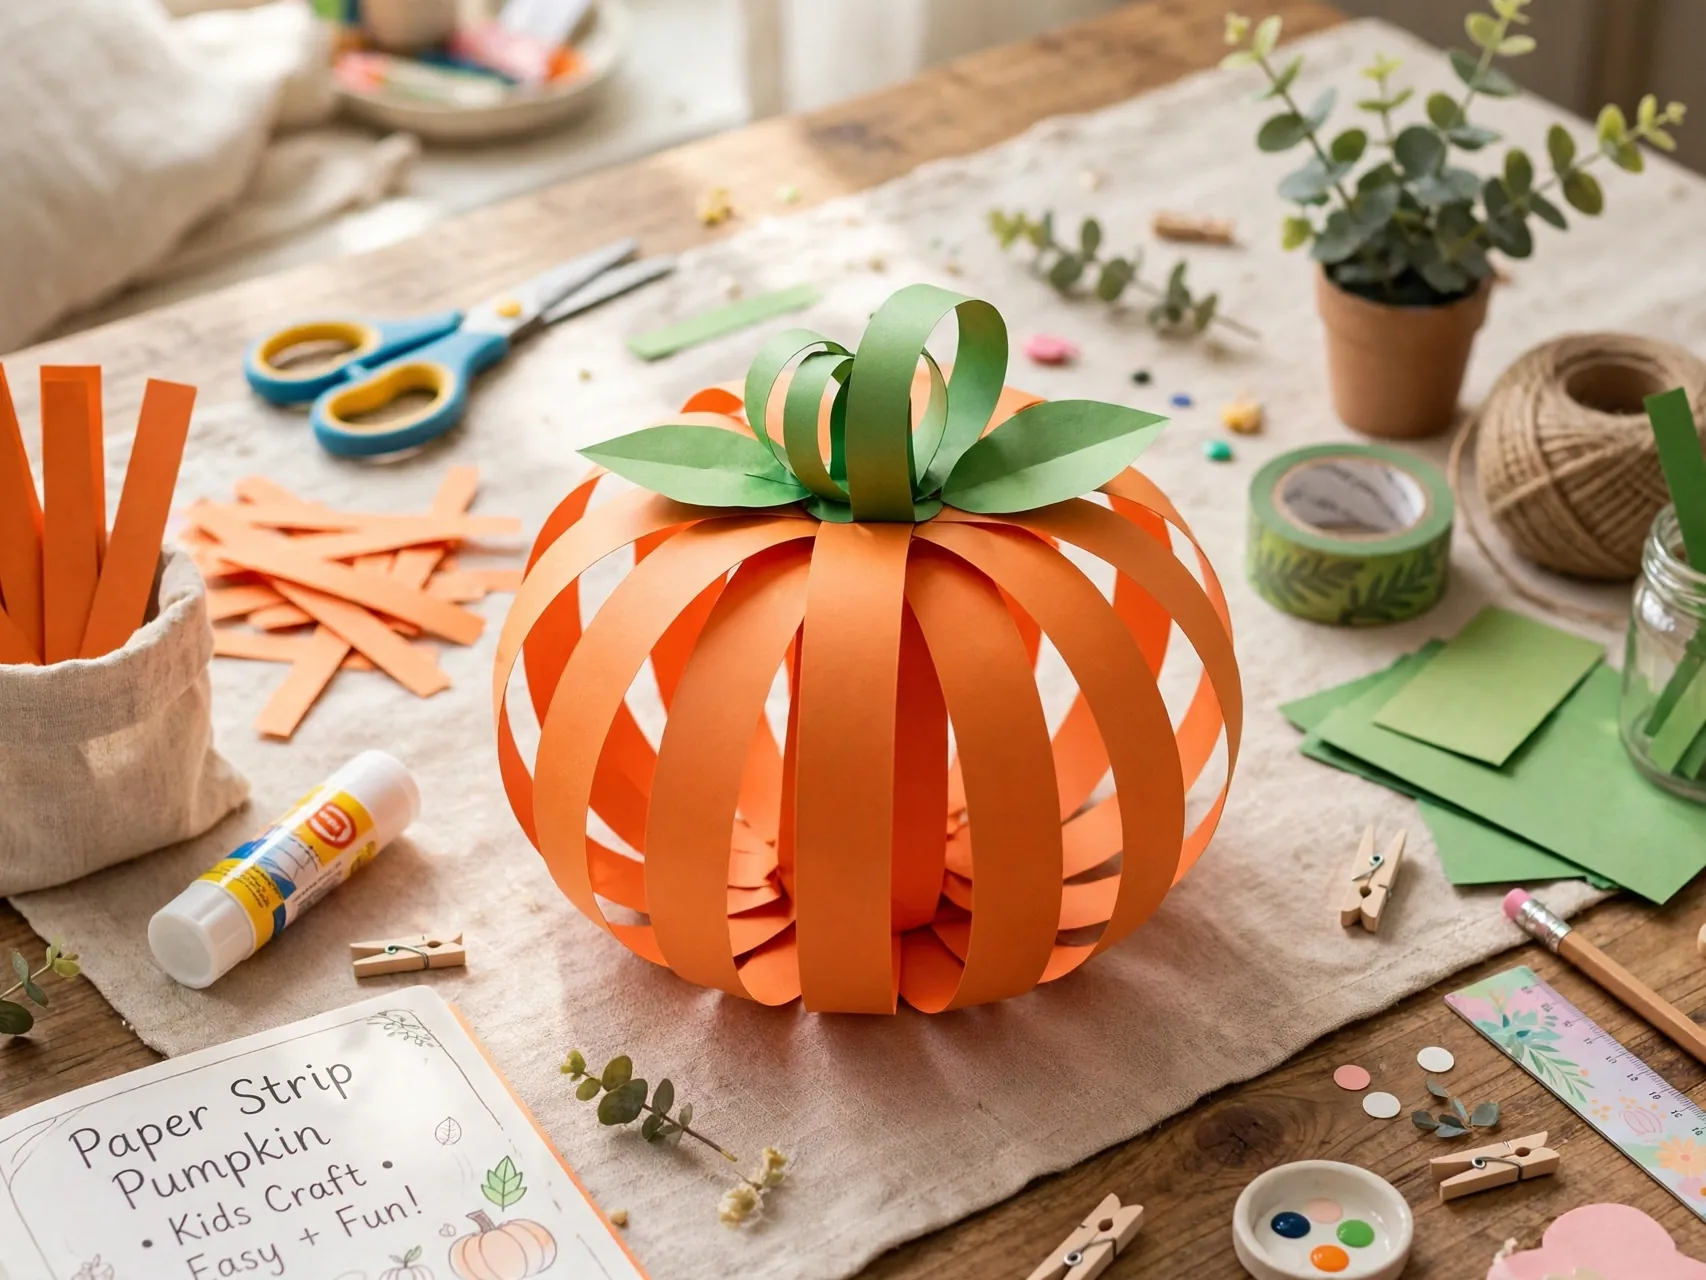
Cut several equal orange strips, stack them, and fasten the ends together at the top and bottom to form a round pumpkin shape. Add a green paper stem and a curled green strip as a vine to finish it.
Older kids can measure and cut their own strips, while adults can pre-cut for younger children. These pumpkins sit nicely on shelves and party tables, and a group of different sizes makes a charming pumpkin patch centerpiece.
5. Hanging Tissue Ghost
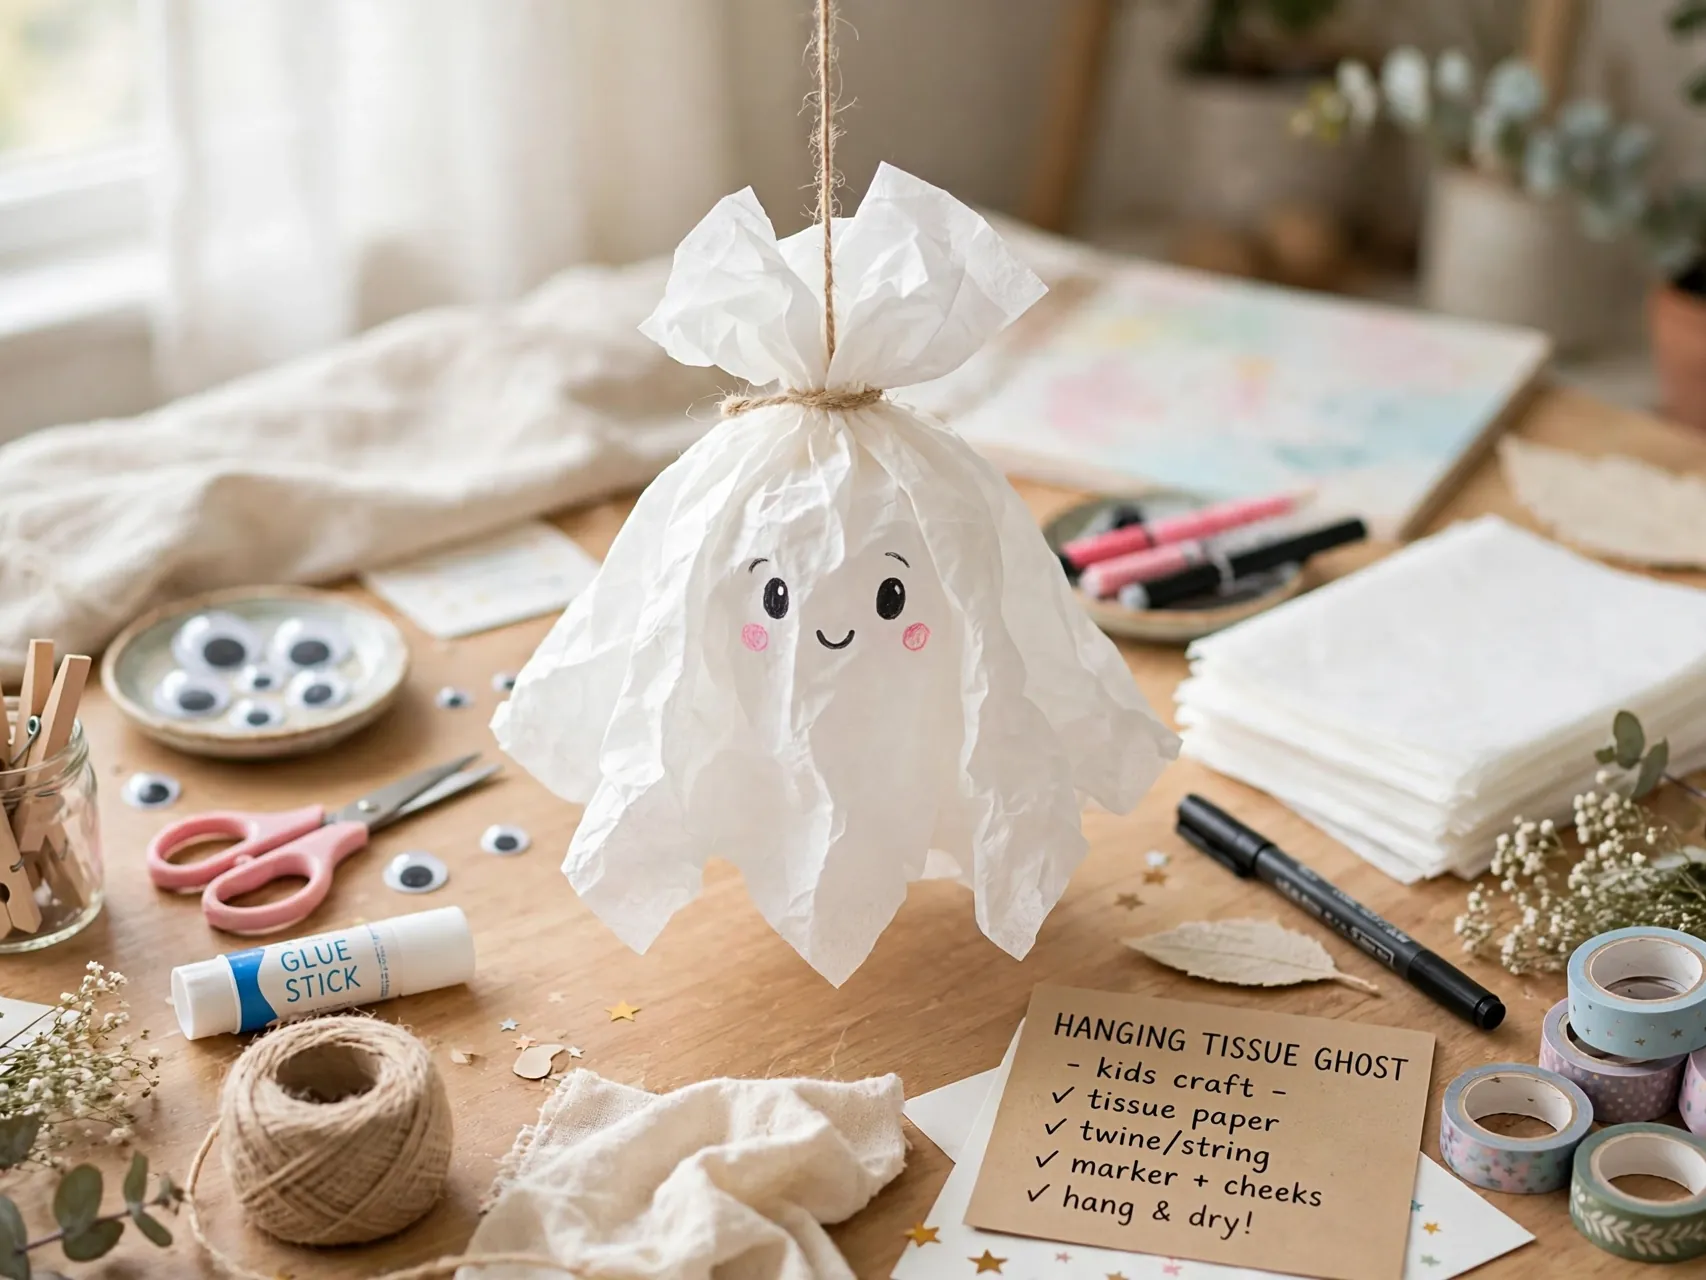
Drape white tissue or two coffee filters over a small ball of crumpled paper or a lollipop, tie string or ribbon at the neck, and draw a friendly face with a marker. Hang ghosts from a branch, a light fixture, or a doorway.
Lollipop ghosts double as party favors, as long as an adult checks treats for young children first. Keep hanging ghosts well away from any candle or heat source, and use LED lights nearby instead of real flames.
Group ghosts in odd numbers, like three or five together at different heights, because clusters look more natural and playful than a single straight line, and they move gently when a door opens nearby in the room.
6. Paper Bag Monster Puppets
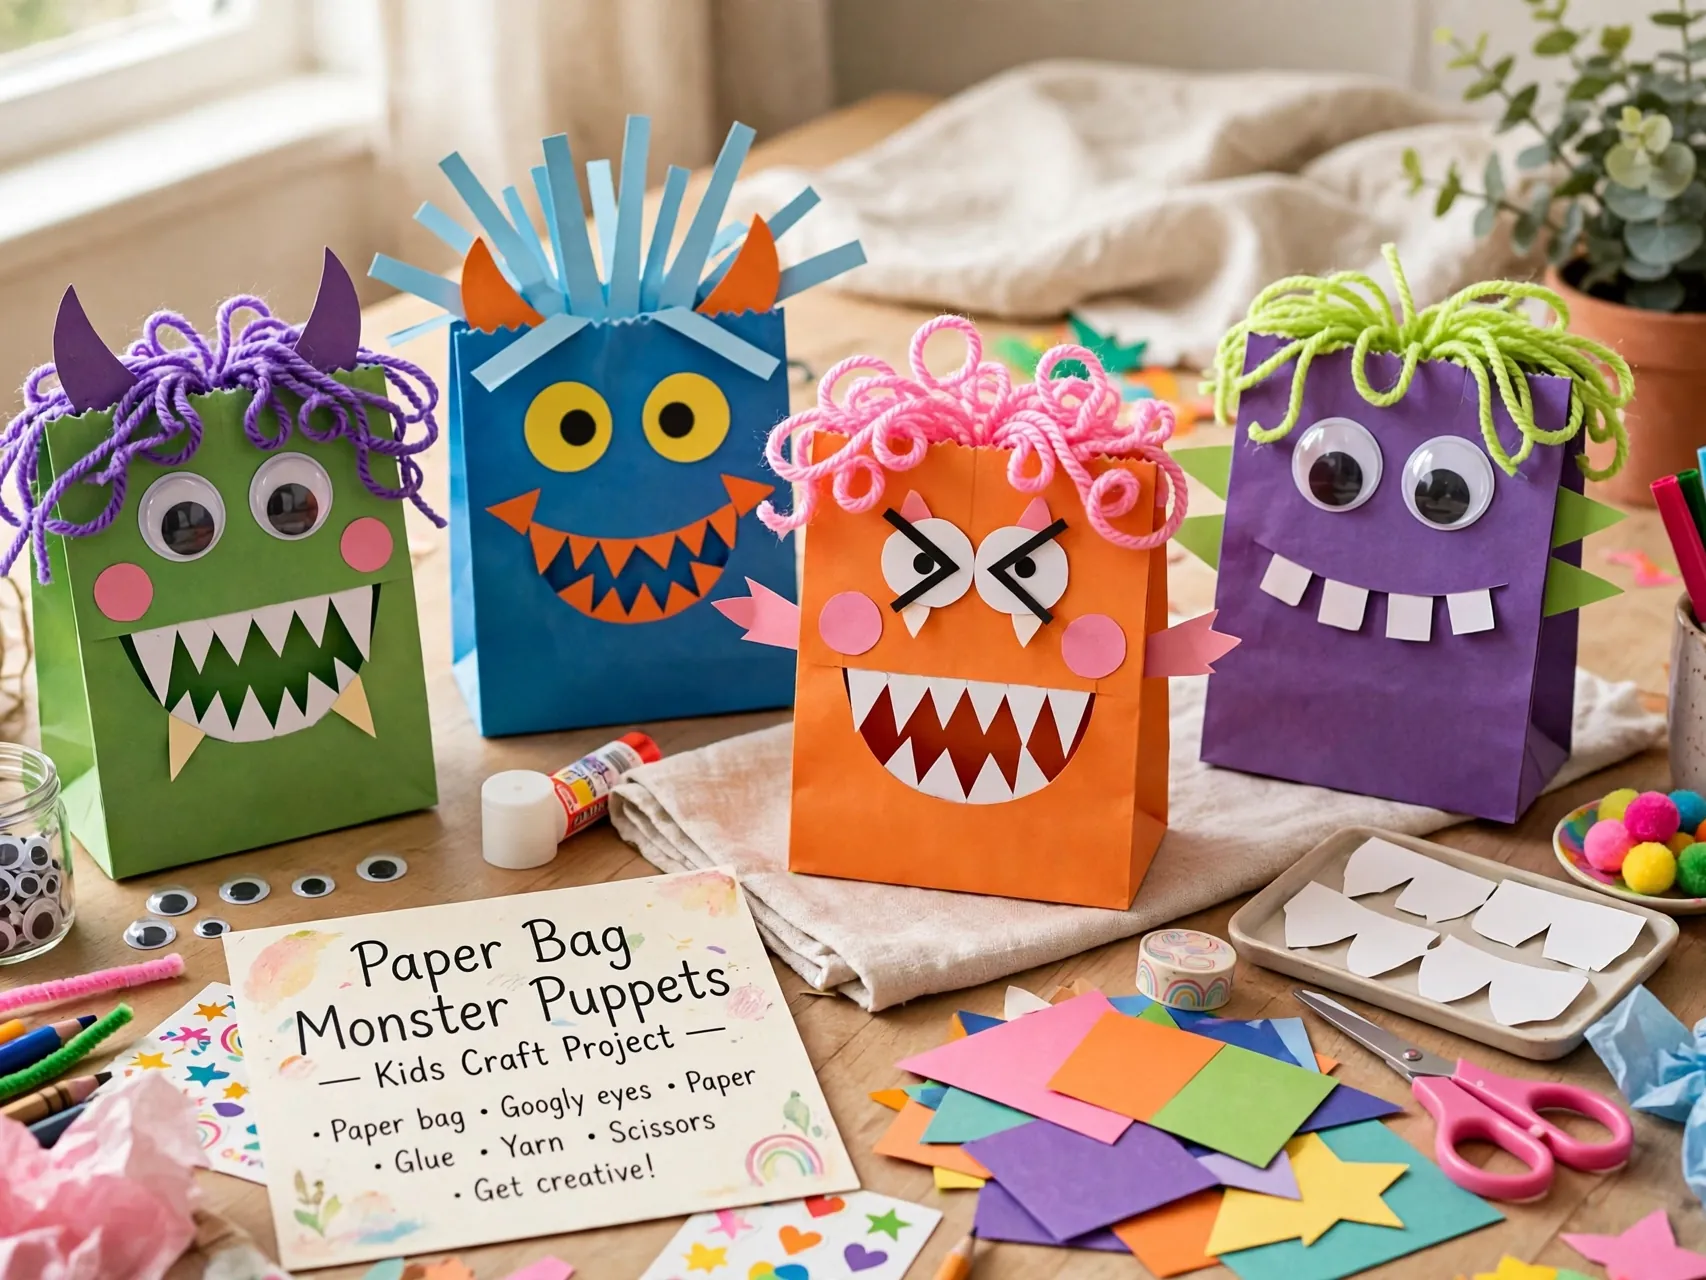
Glue colored paper, big eyes, horns, teeth, and spots onto a paper lunch bag, using the folded bottom as the monster mouth. Children slip a hand inside and make the monster talk, roar, and tell silly stories.
Let kids invent their own monster rather than copying a sample. Puppet making builds storytelling and confidence, and a set of puppets can star in a short Halloween show for family at the end of craft time.
7. Spiderweb Paper Cutting
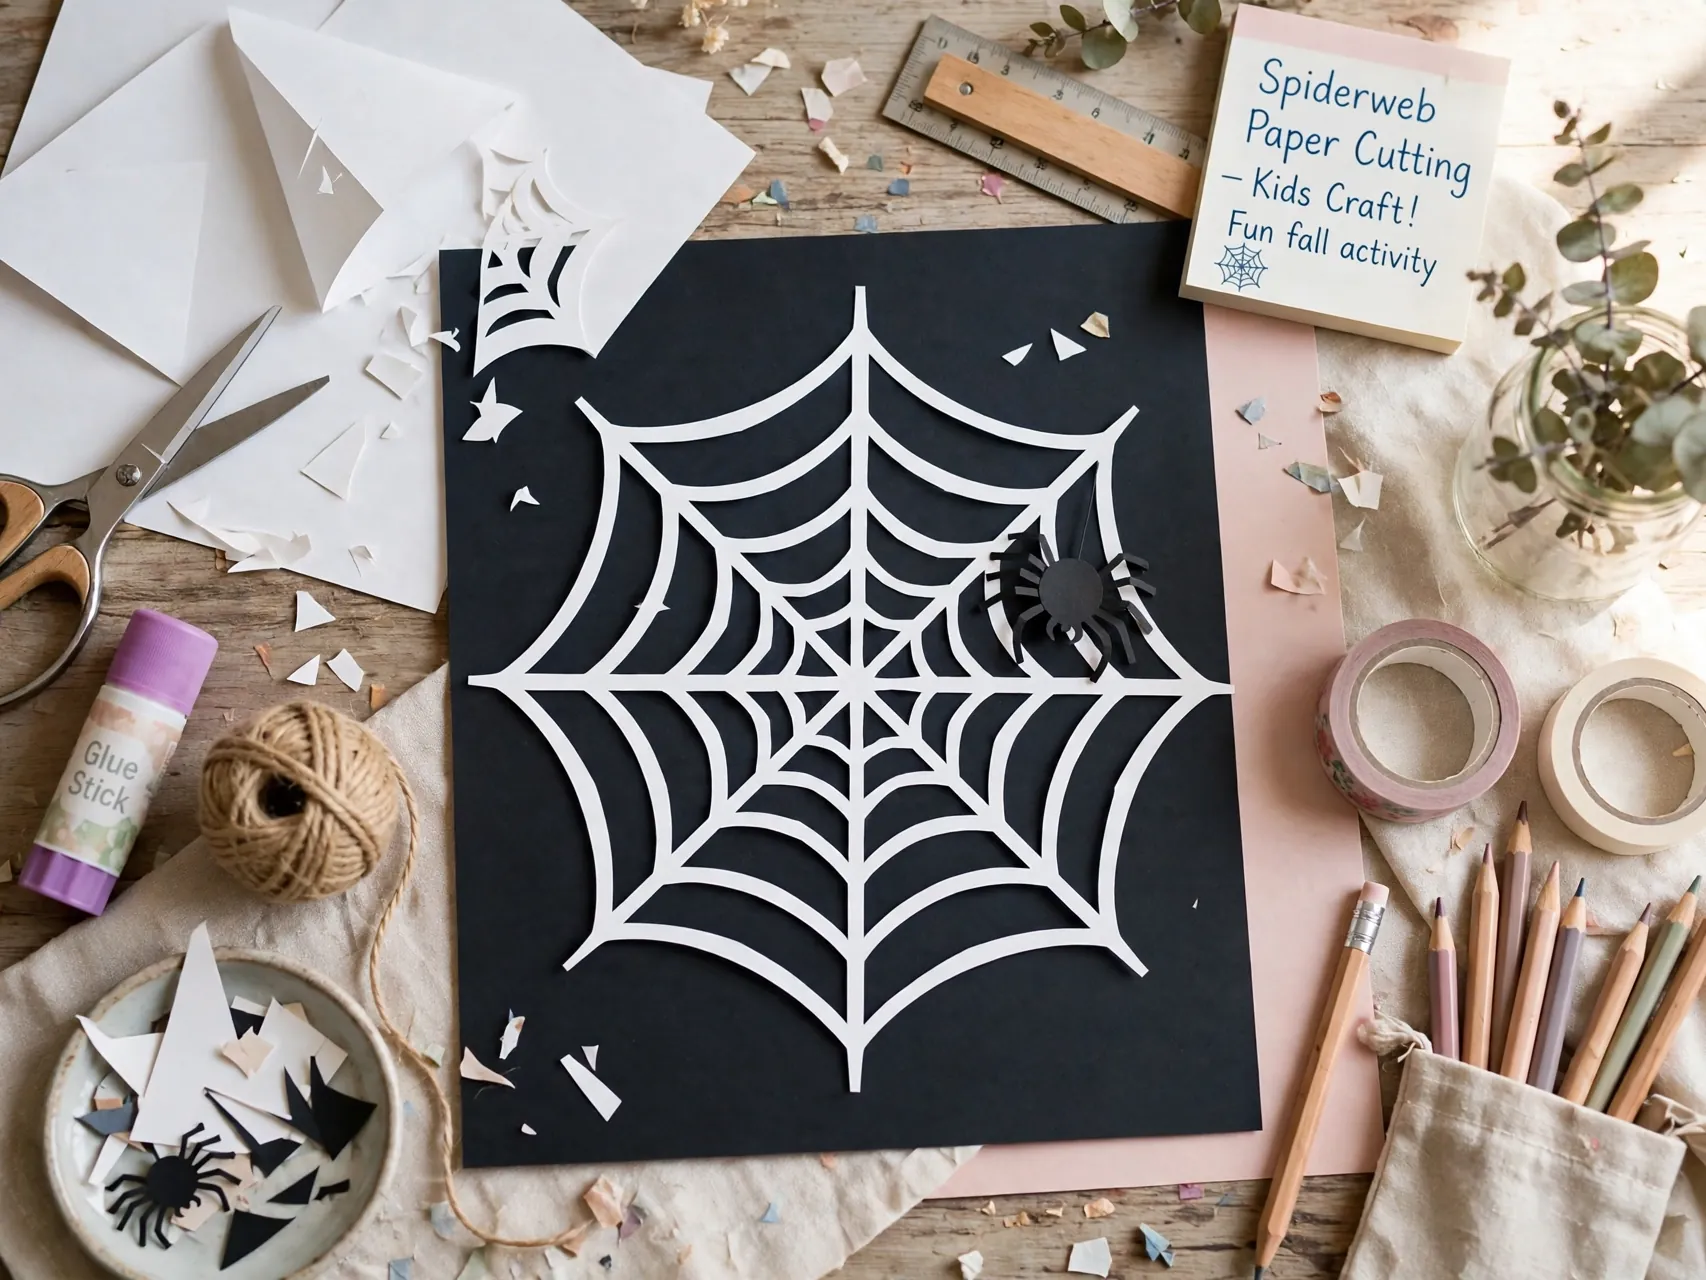
Fold a square of black, white, or gray paper several times, cut small notches and curves along the folds, then unfold to reveal a web. This works like a snowflake craft, so older kids who know paper snowflakes will pick it up fast.
Tape webs to windows and corners, and add a simple paper spider hanging from a thread of yarn. Adults should handle cutting for preschoolers, who can still help fold, unfold, and choose where each web will live.
8. Candy Corn Paper Garland

Cut triangle shapes with rounded corners, then color or glue paper in three bands, white at the tip, orange in the middle, and yellow at the wide end. String the pieces on yarn to make a bright garland.
Garlands are perfect DIY halloween paper decorations because children can each make a few pieces and the group result looks impressive. Hang the finished garland over a door, a bookcase, or the front of a party snack table.
Mix in a few plain orange and black shapes between the candy corn pieces if your garland needs more length, because the pattern still reads clearly and younger children can finish simple solid shapes much faster alone.
9. Black Cat Paper Mask
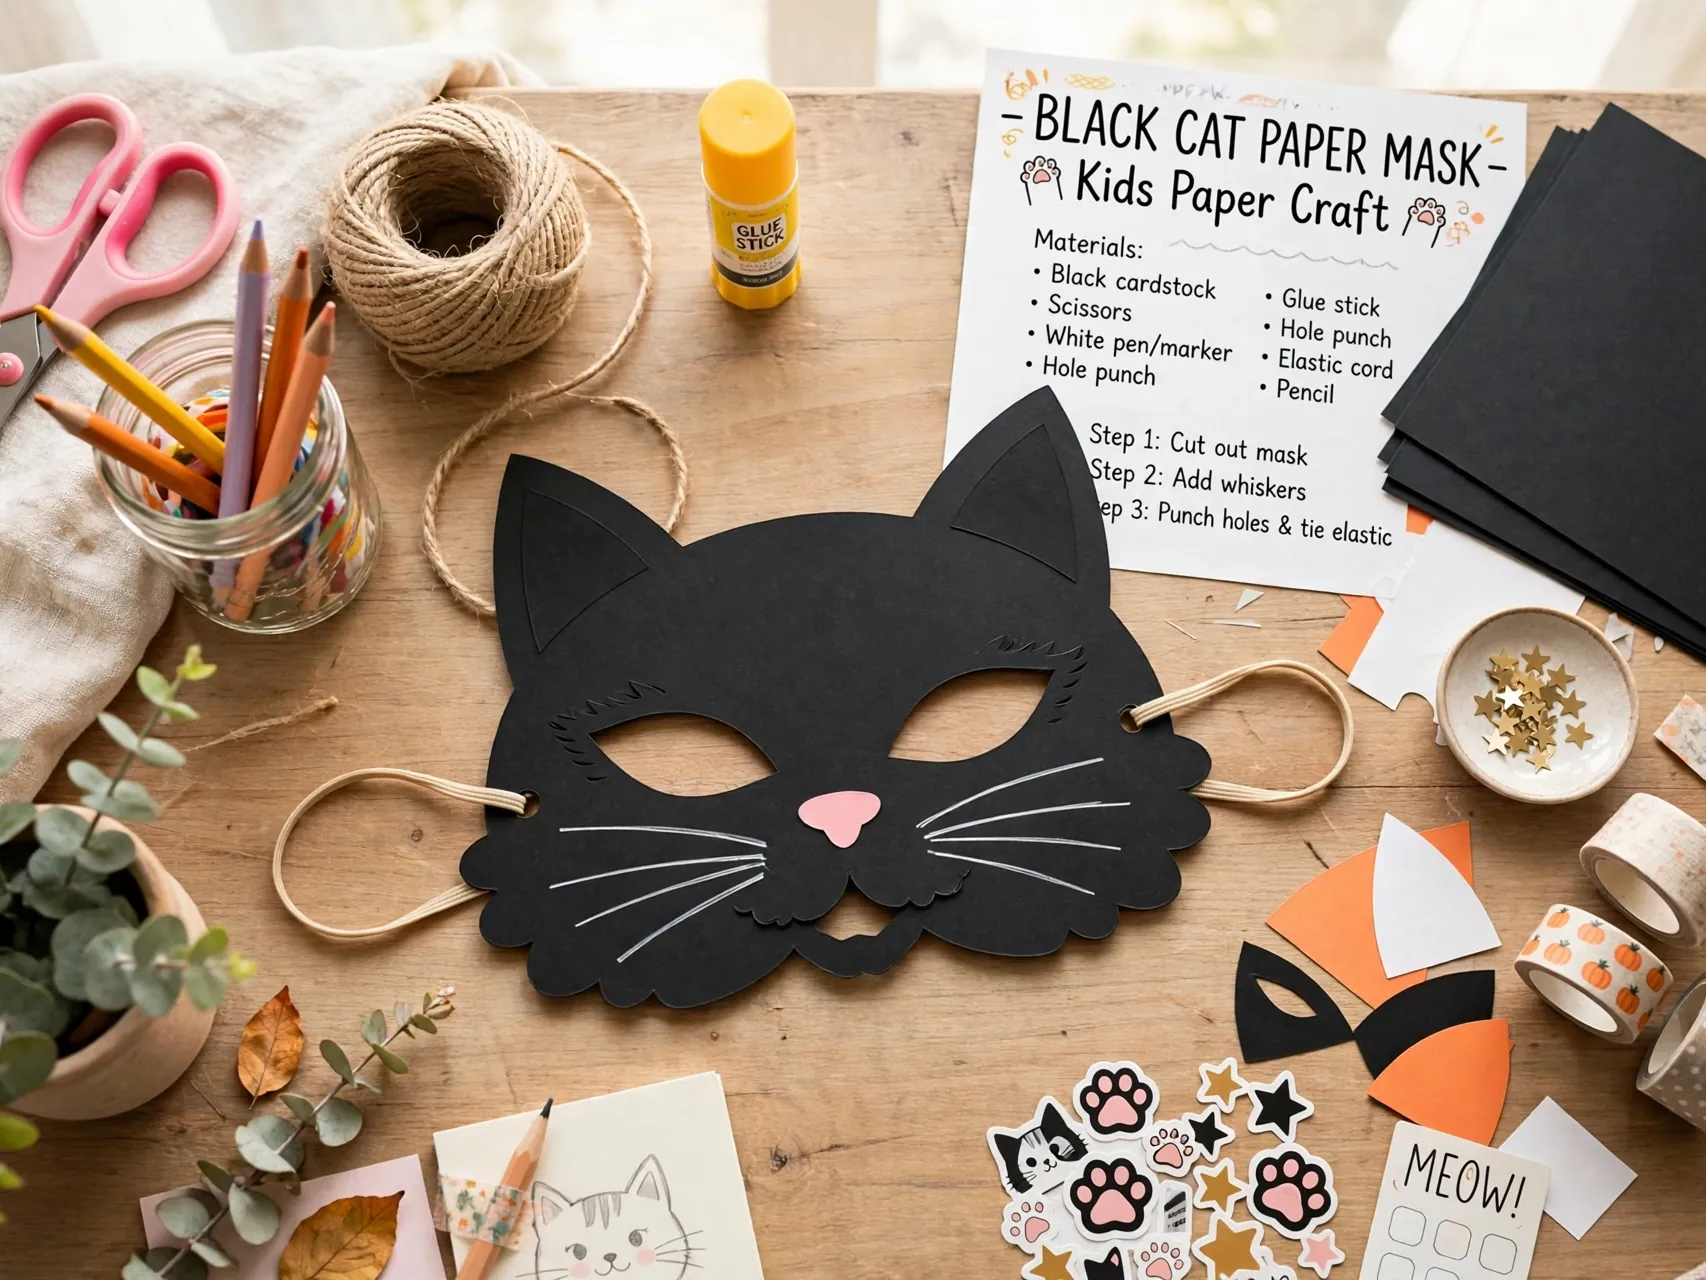
Cut a cat face shape from black cardstock, with ears and eye openings, then add a pink paper nose and white paper whiskers. Attach elastic string or a craft stick handle, with adult help for the holes and knots.
Make sure eye openings are large enough for clear vision, and have children take masks off when walking outside or on stairs. A mask on a stick is often safer for young kids, because they can lower it instantly.
10. Paper Roll Bat
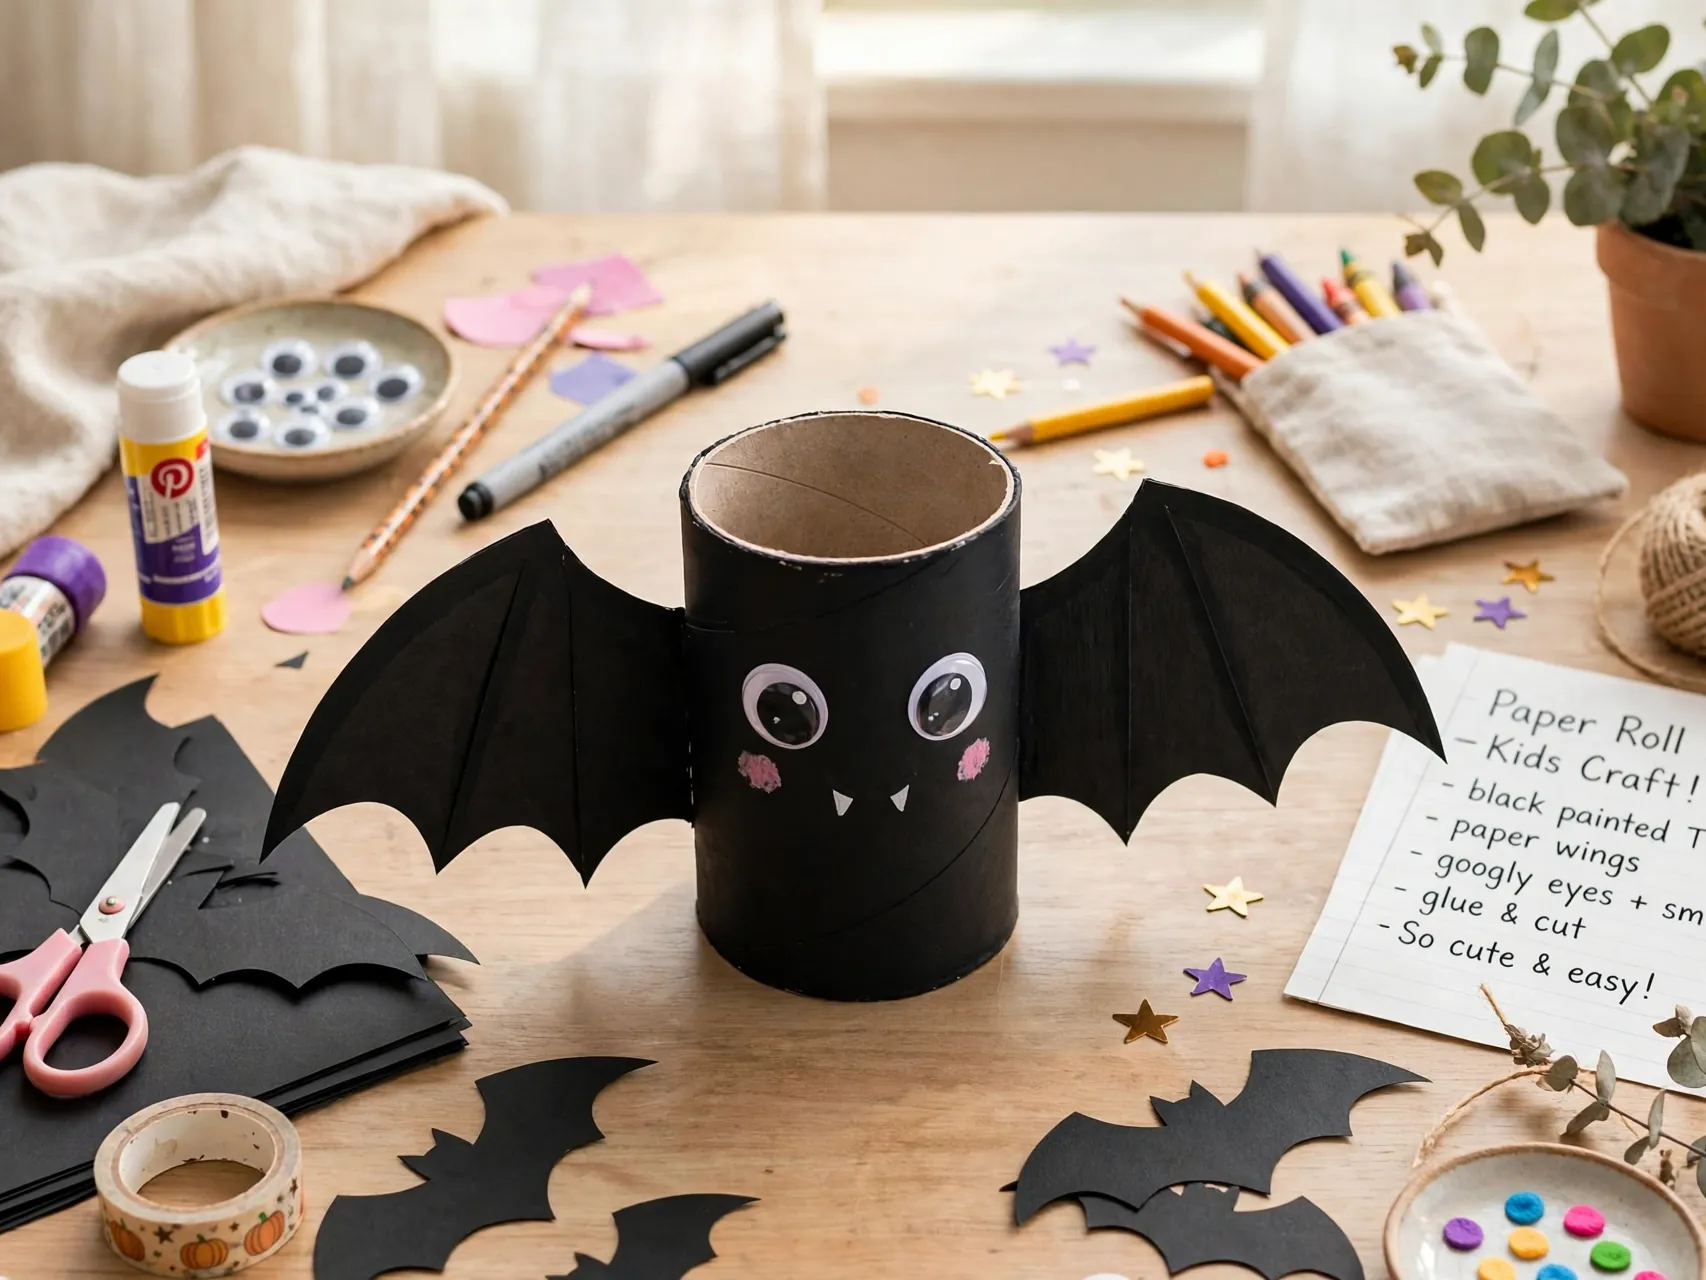
Cover a cardboard toilet paper roll in black or purple paper, fold the top edges inward to make pointed ears, and glue on paper wings, eyes, and tiny white fangs. Stand bats in a row or hang them upside down with string.
Save rolls in advance for classrooms or parties so you have enough. For children under three, skip small glued eyes and draw faces with a marker instead, and always supervise play with small craft pieces.
11. Ghost Lollipop Covers
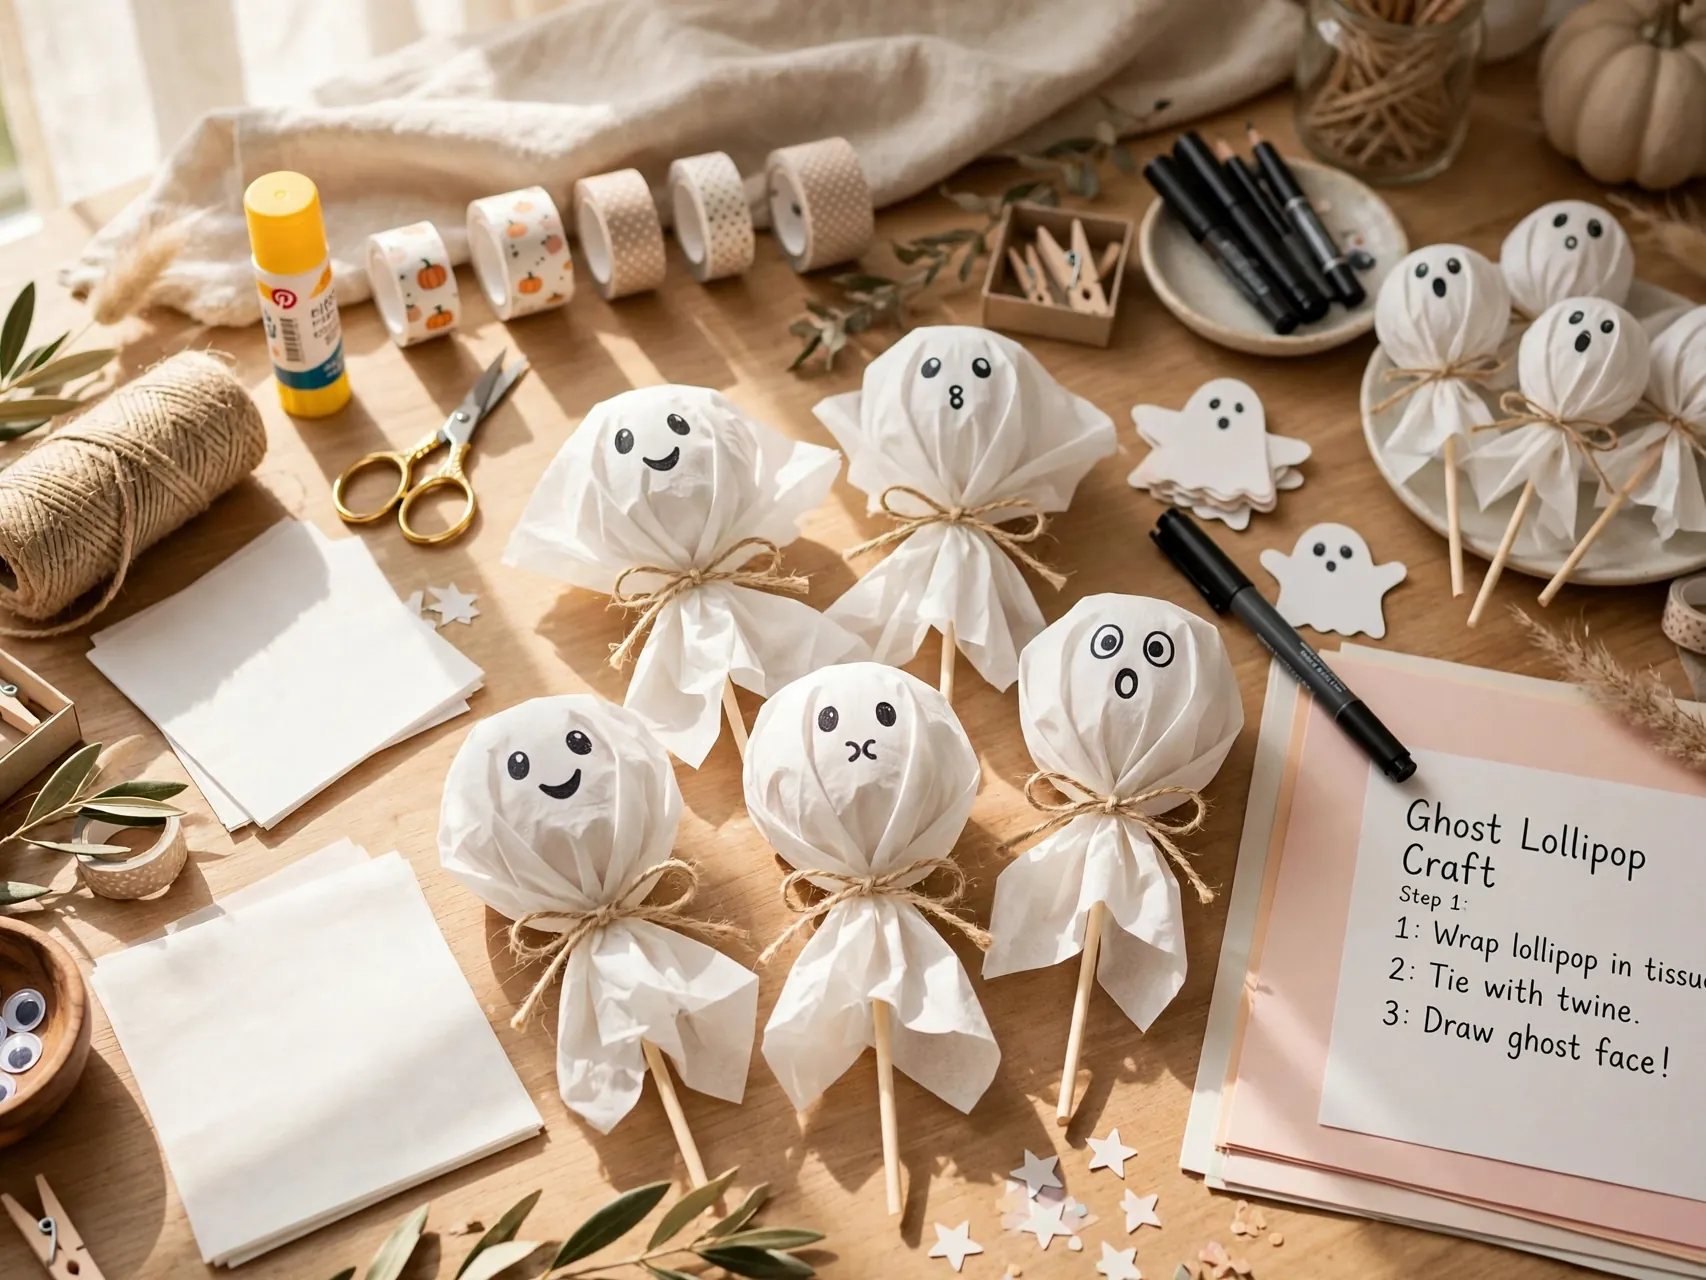
Place a lollipop in the center of white tissue or a coffee filter, gather the material down around the candy, tie at the neck with string, and draw a simple ghost face. Stand the ghosts in a foam block or a small pumpkin for display.
These make kind party favors and classroom treats when the candy is commercially wrapped and checked by an adult. Keep the craft table and the snack table separate during parties, so glue and paper stay out of food.
Write a short friendly message or the guest name on the back of each ghost with a fine marker, and these simple favors become place cards that guide guests to their seats at a Halloween party table.
12. Haunted House Paper Scene
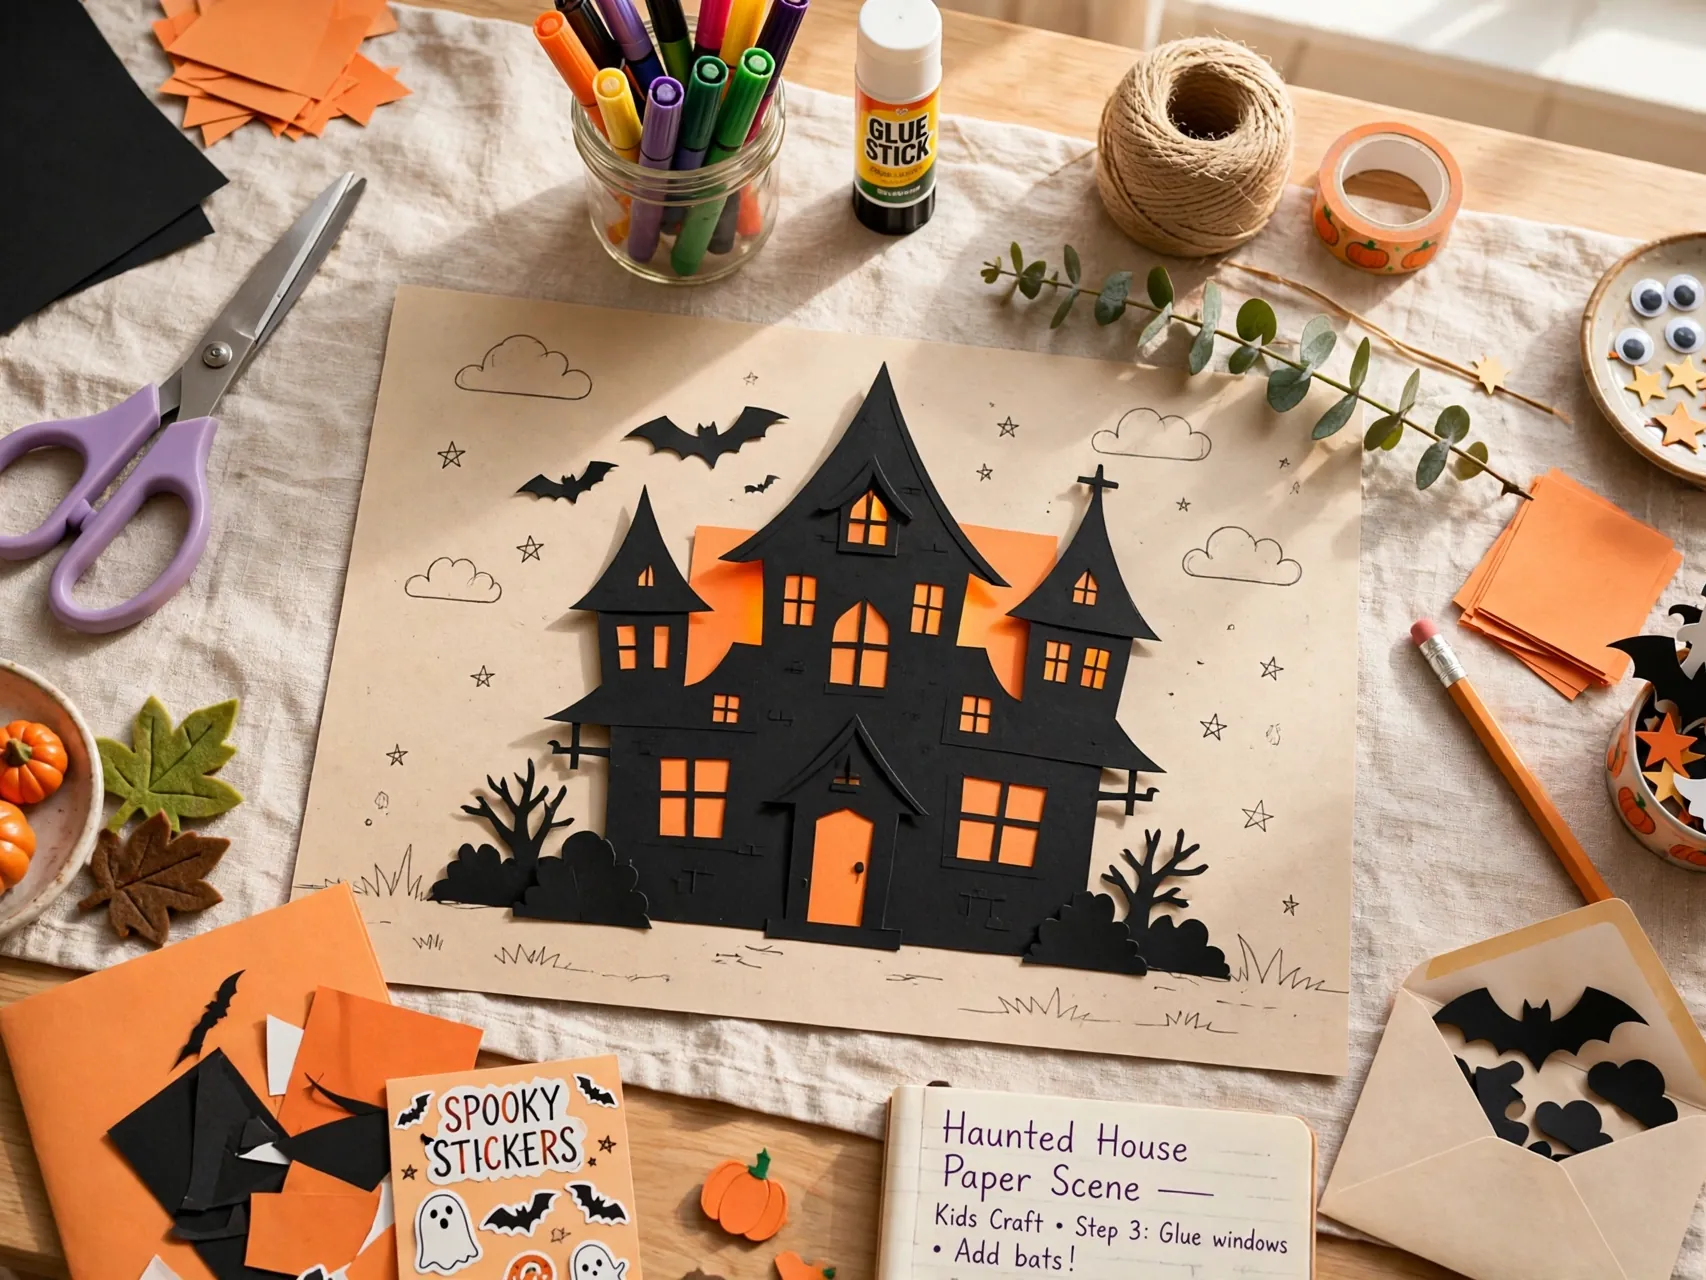
Cut a house shape from black paper, add yellow paper windows, a crooked door, a moon, and bats in the sky, then glue the scene onto a dark blue or purple background sheet. Older kids can add a fence, a tree, and a path.
This layered picture project teaches planning, because children decide what goes in front and what goes behind. Display scenes in windows with a battery light behind them for a soft evening glow, never a real candle.
13. Pumpkin Face Sticker Collage

Draw or print a large pumpkin outline and give children orange stickers, torn tissue, or crayons to fill it in. Add black paper or sticker shapes for the face, changing the expression as many times as they like before gluing.
This mess light option is ideal for toddlers and preschoolers, who do best with big motions like pressing, tearing, and dabbing. It is also a calm choice for a party craft station, because there is no paint to spill.
14. Paper Fan Rosette Pumpkins and Ghosts
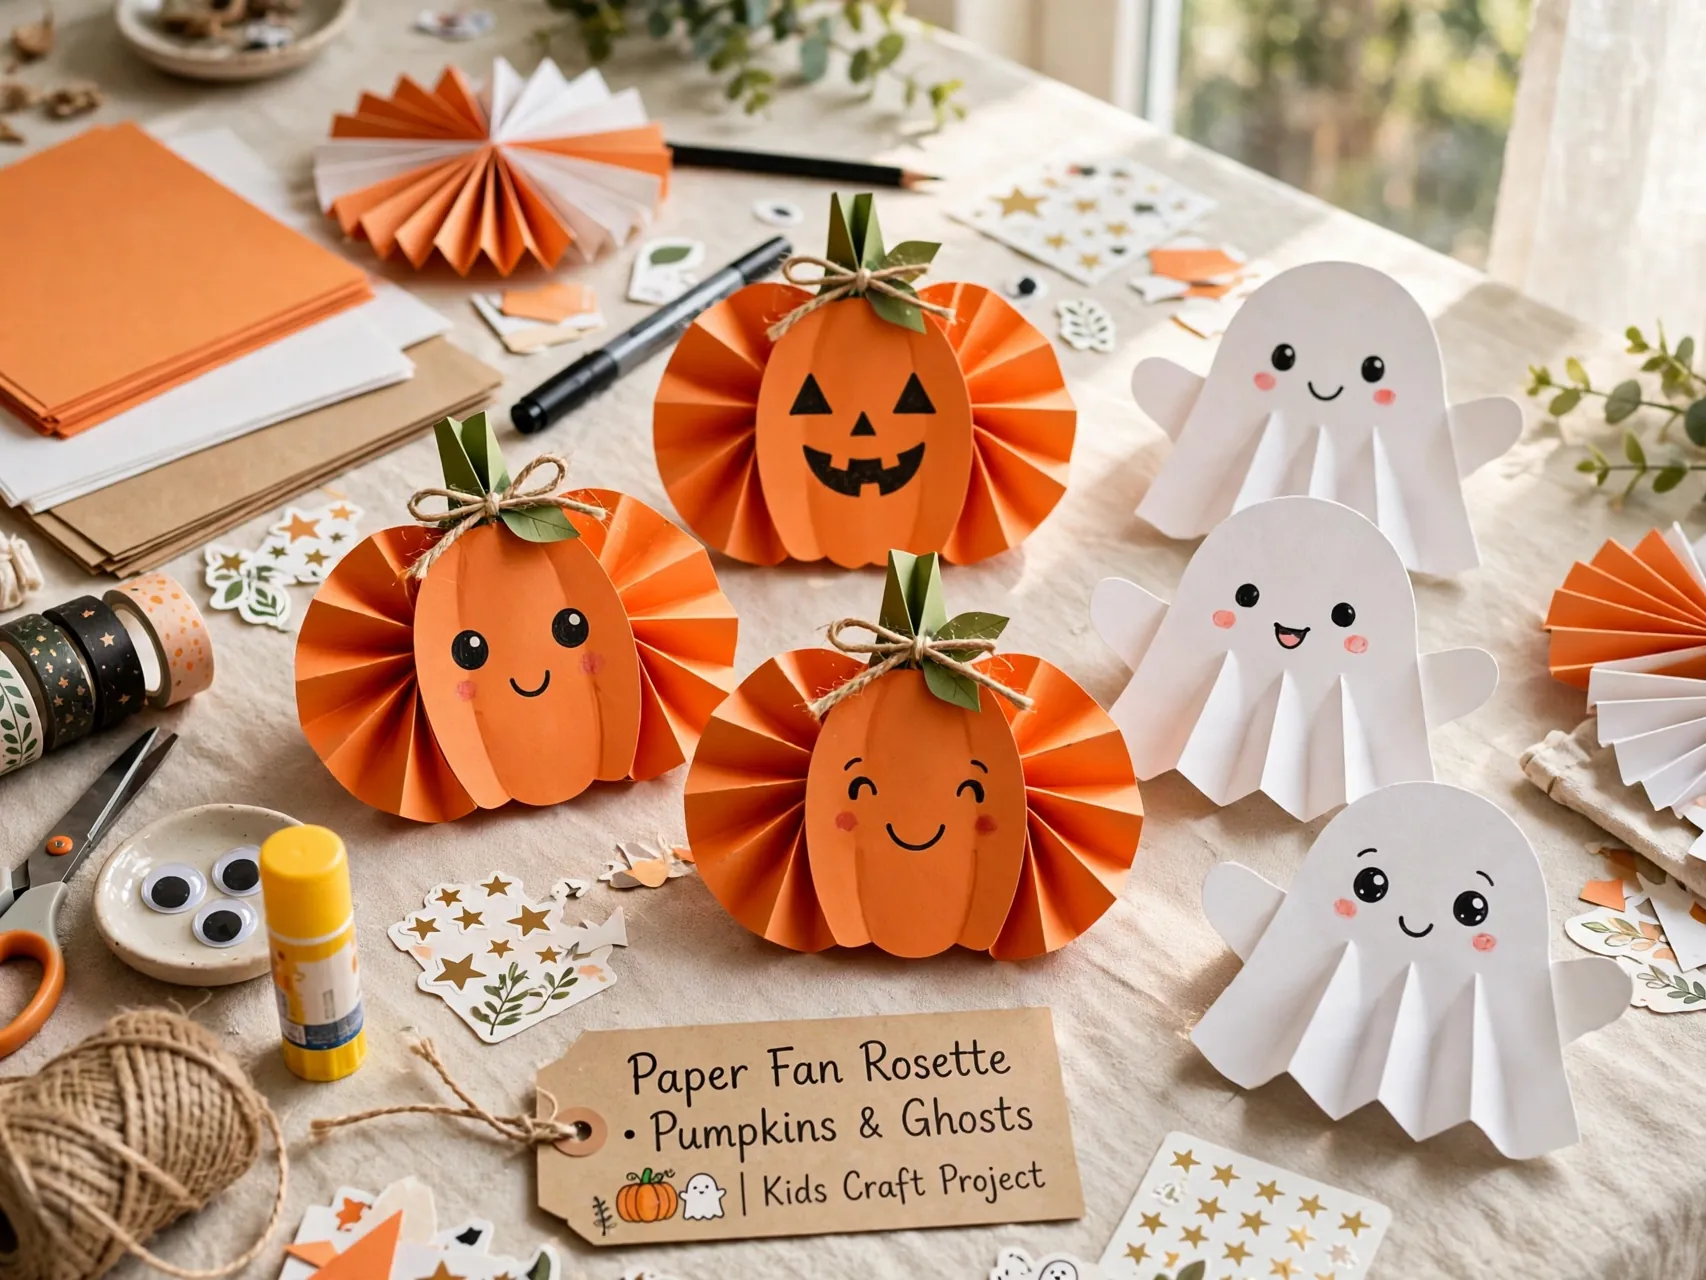
Fold orange or white paper into accordion fans, join the ends into a round rosette, and add a paper face in the center. Rosettes look fancy, but the folding is simple, and older kids can make them with little help.
Hang rosettes at different heights for a party backdrop or photo spot. Use cardstock for rosettes you want to keep, and keep paper backdrops away from lights that get hot and from any open flame.
Layer a smaller rosette in a contrasting color on top of a larger one for a fuller party backdrop, and add a paper stem or a tiny hat shape to help guests tell pumpkins and ghosts apart quickly.
15. Witch Hat Paper Cone Craft
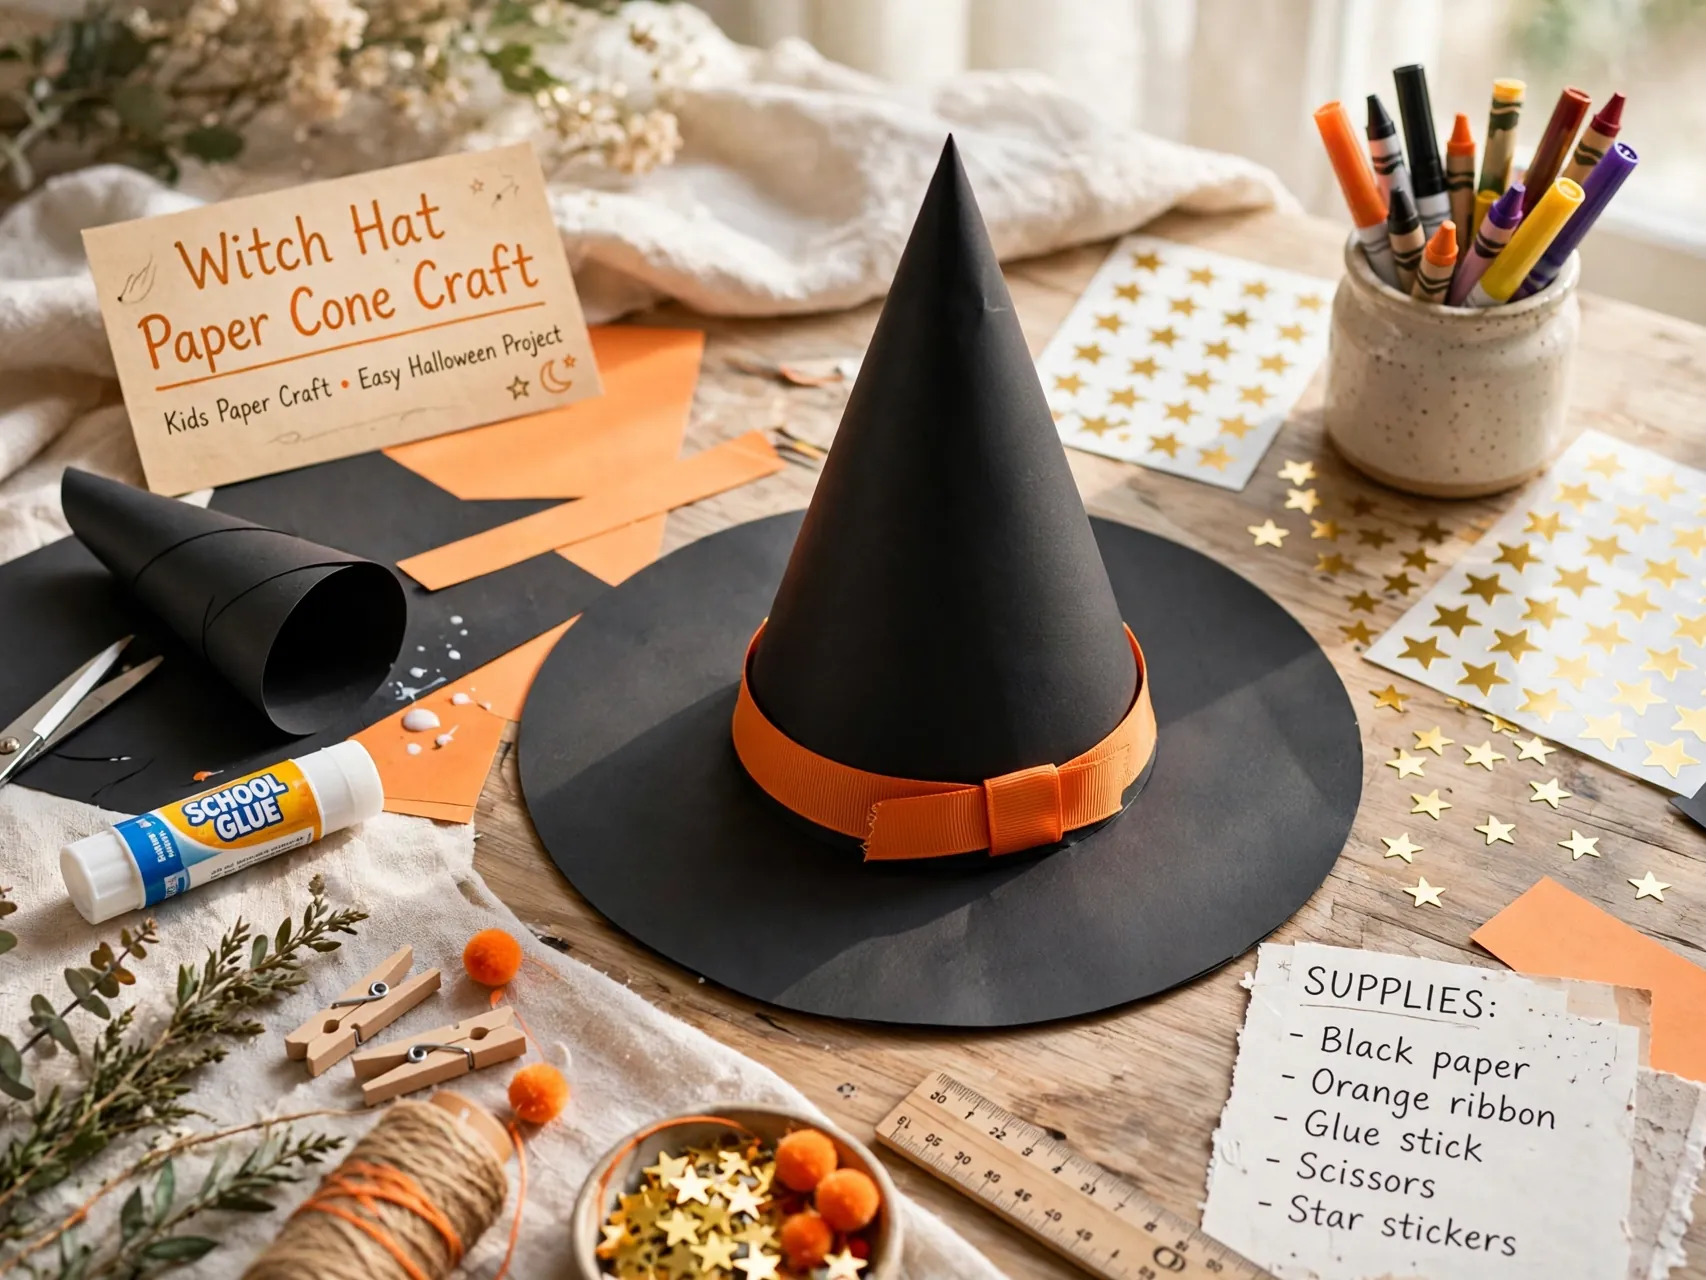
Roll black paper into a cone for the hat, glue the edge, and attach it to a black paper circle as the brim. Decorate with a paper buckle, stars, or a purple band. Small hats can top cupcakes picks or table decor, and larger ones can be worn briefly for photos.
Adults should help with rolling and stapling if you use a stapler. If children wear a hat, make sure it fits above the eyes and comes off for walking, games, and trick or treating.
16. Movable Paper Spider
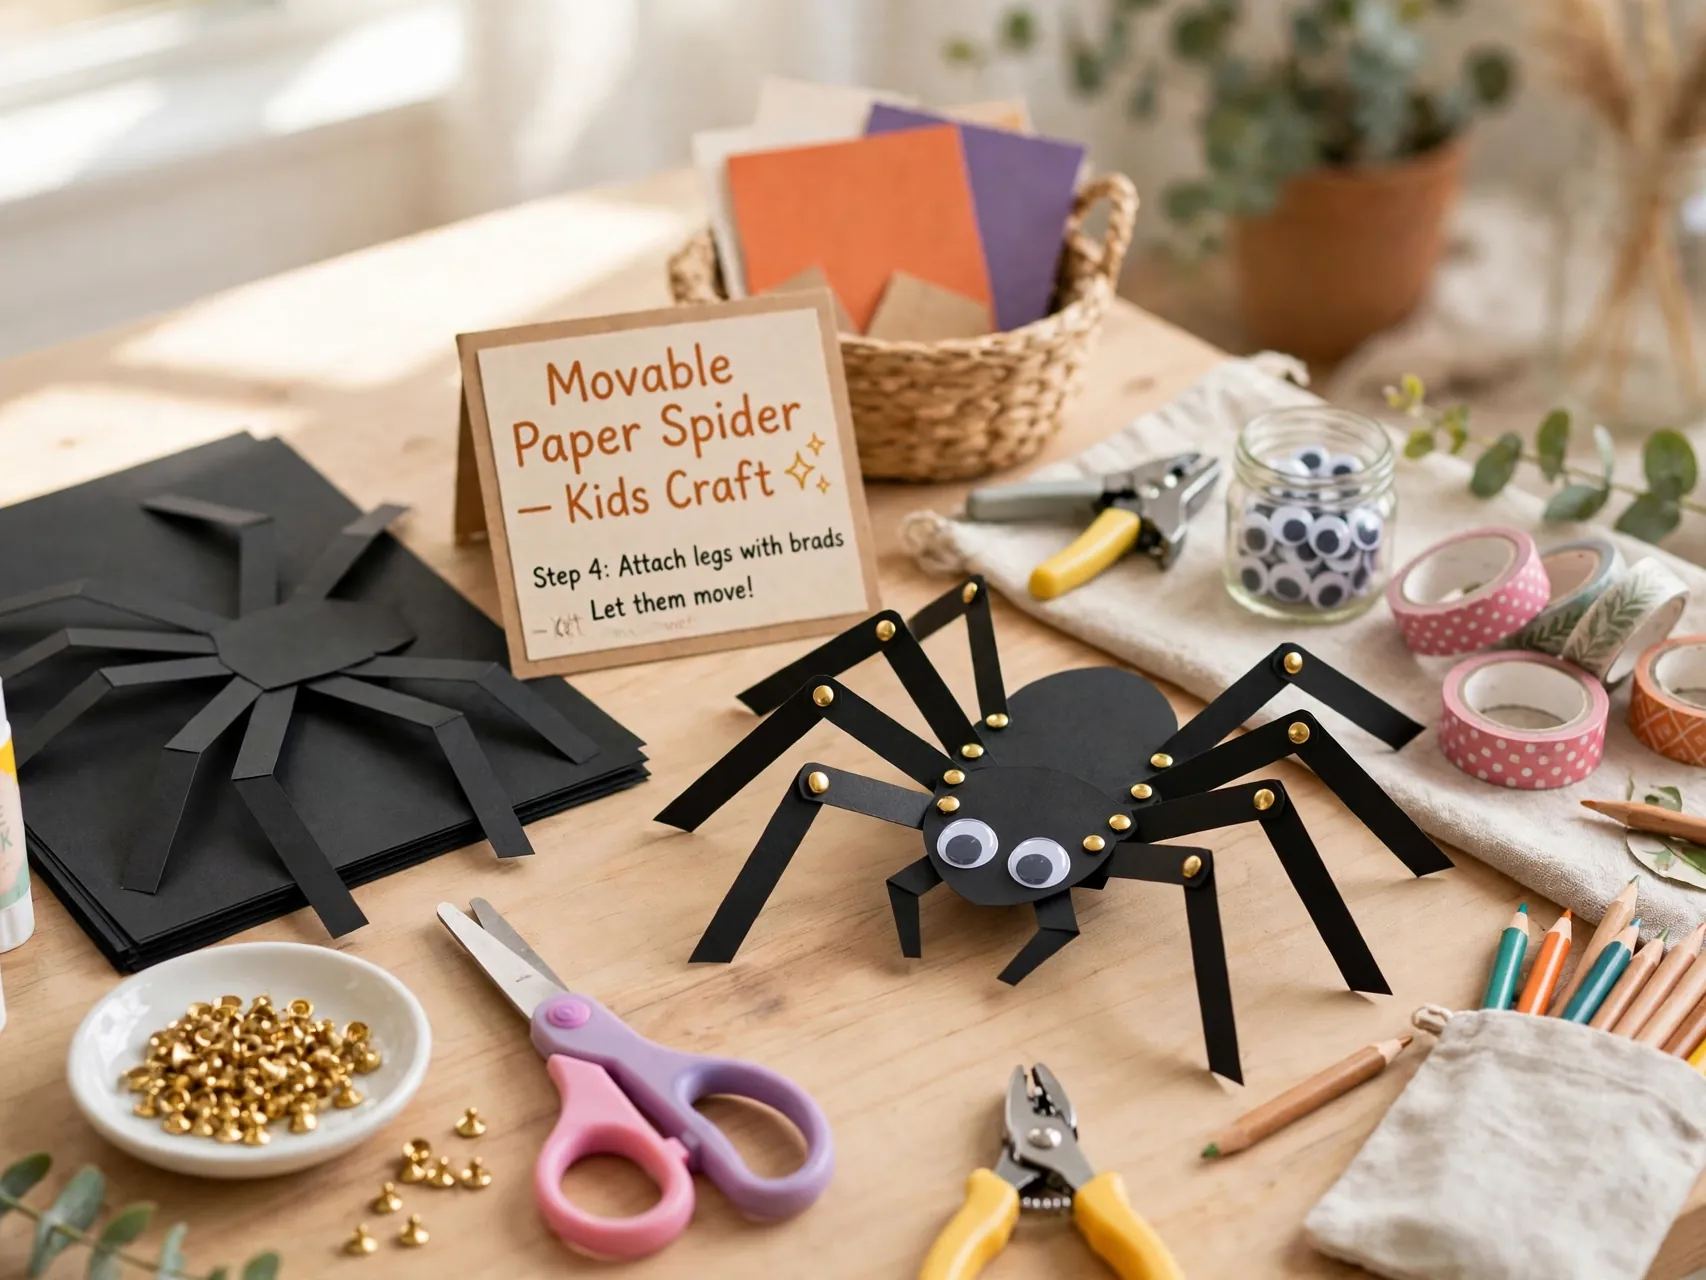
Cut a round black body and eight paper legs, attach the legs with paper fasteners so they move, and add big friendly eyes. Children love posing the legs and making the spider dance across the table or hang from a web.
Paper fasteners have small metal parts, so this craft suits older children, with adults handling the fasteners. For younger kids, glue the legs in place instead and skip the moving parts completely.
17. Halloween Paper Lanterns
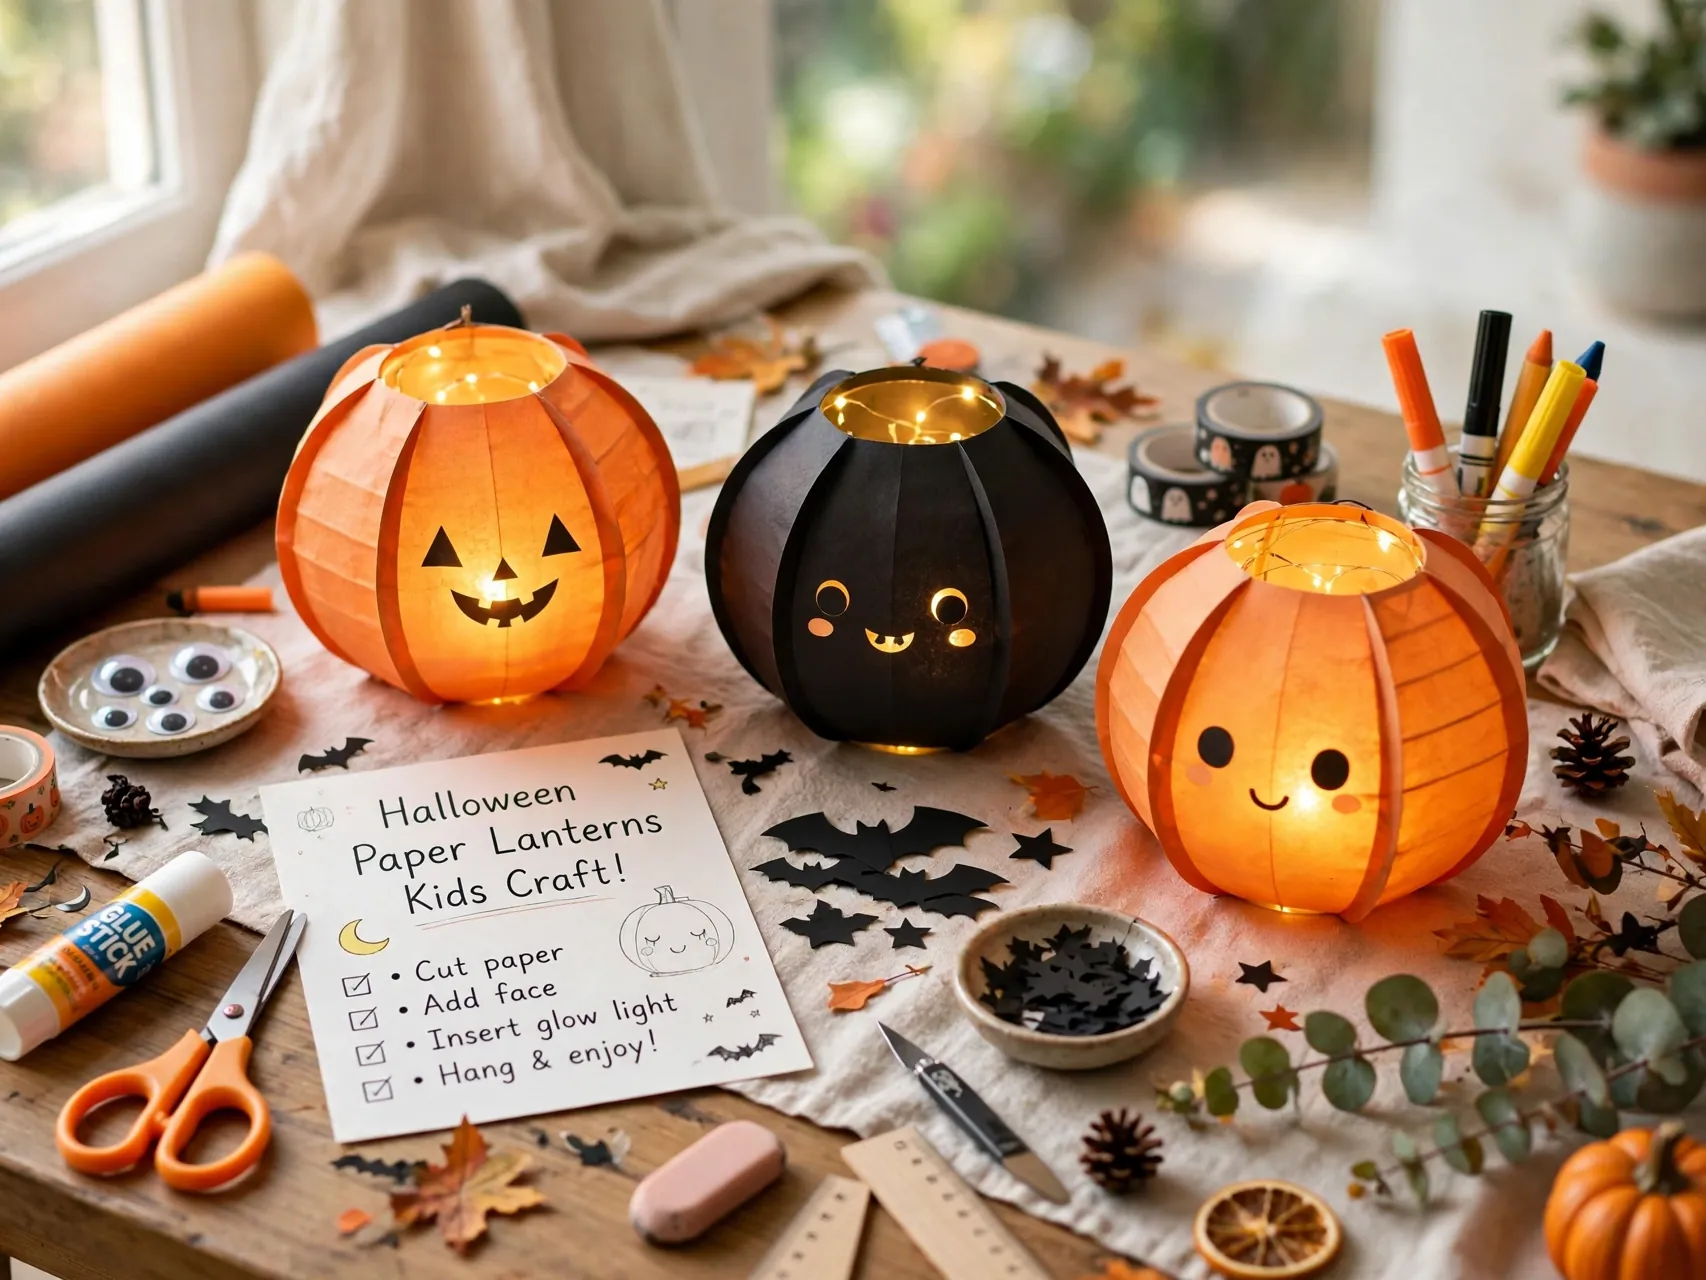
Fold a sheet of orange, green, or purple paper in half, cut slits along the fold, unfold, and roll it into a lantern shape with the ends glued or taped. Add a paper handle and a drawn or glued face for a jack-o-lantern, monster, or ghost lantern.
Use only battery operated tea lights inside paper lanterns, never real candles. Paper and flame must never mix, and this is a good moment to teach children that rule while they admire the glow.
Make lanterns in a row of rainbow Halloween colors for a cheerful classroom display, or keep to orange and black for a classic look, and either way, the cutting practice builds real confidence with scissors for growing hands.
18. Handprint Spider on a Web

Paint or trace both hands with fingers spread and thumbs tucked, place the prints palm to palm on paper, and you have an eight finger spider body and legs. Add eyes and draw a web in the corner with a white or silver crayon on dark paper.
Use washable paint and a smock or old shirt, and wash hands right after printing. This is a beloved preschool keepsake craft, and a wall of handprint spiders in many sizes looks wonderful for a class or family display.
19. Paper Plate Witch or Vampire Face
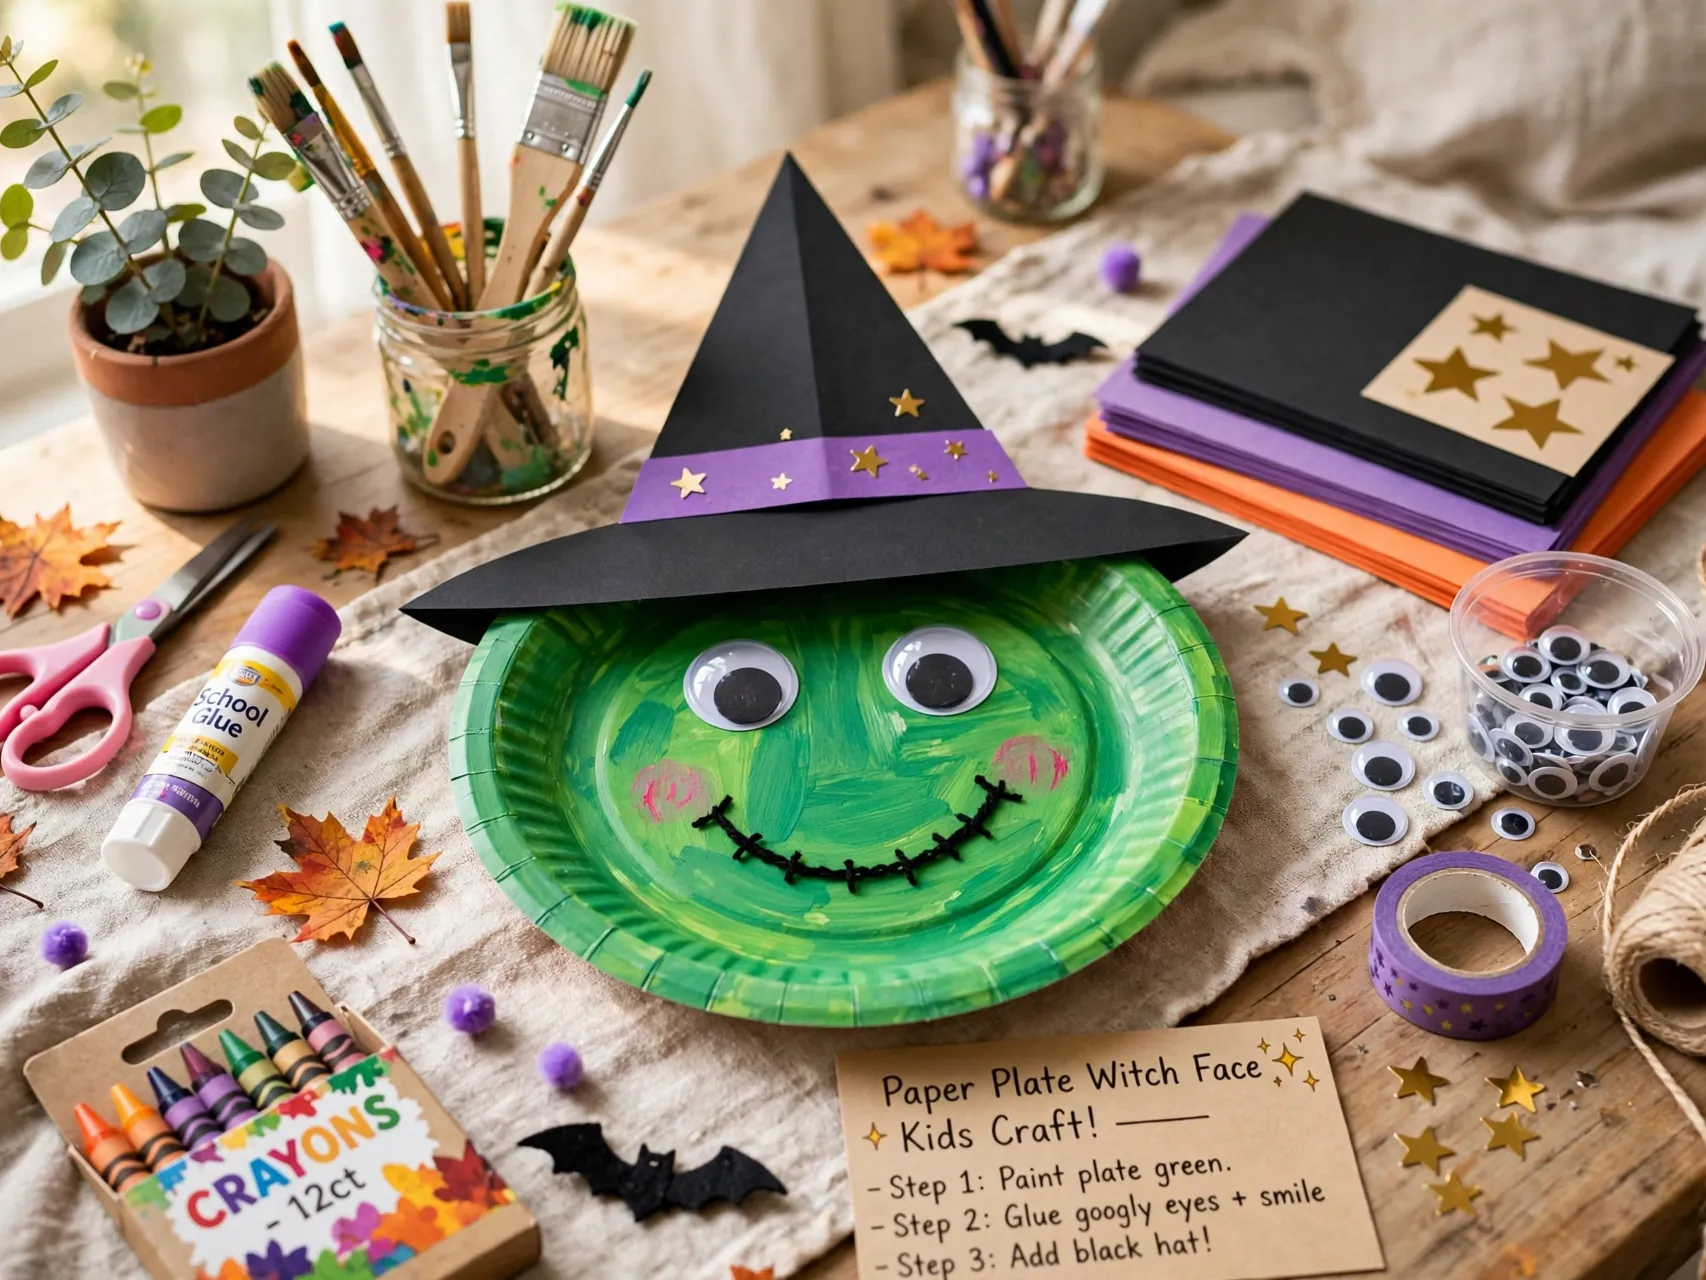
Turn a paper plate into a character face with paper hair, a hat or collar, and drawn features. Green paper strips make witch hair, black and red paper make a vampire collar and cape edge, and cotton balls can become a beard or fluffy hair.
Plates are sturdy, cheap, and easy for small hands to hold while gluing. Punch a hole at the top and hang finished faces as a character gallery, which is a fun way to decorate a hallway for a party.
Add yarn hair glued around the plate edge for a softer, funnier character, and let children choose their own colors, because a purple haired witch or a blue bearded vampire is exactly the kind of invention worth celebrating.
20. Printable Halloween Bookmarks
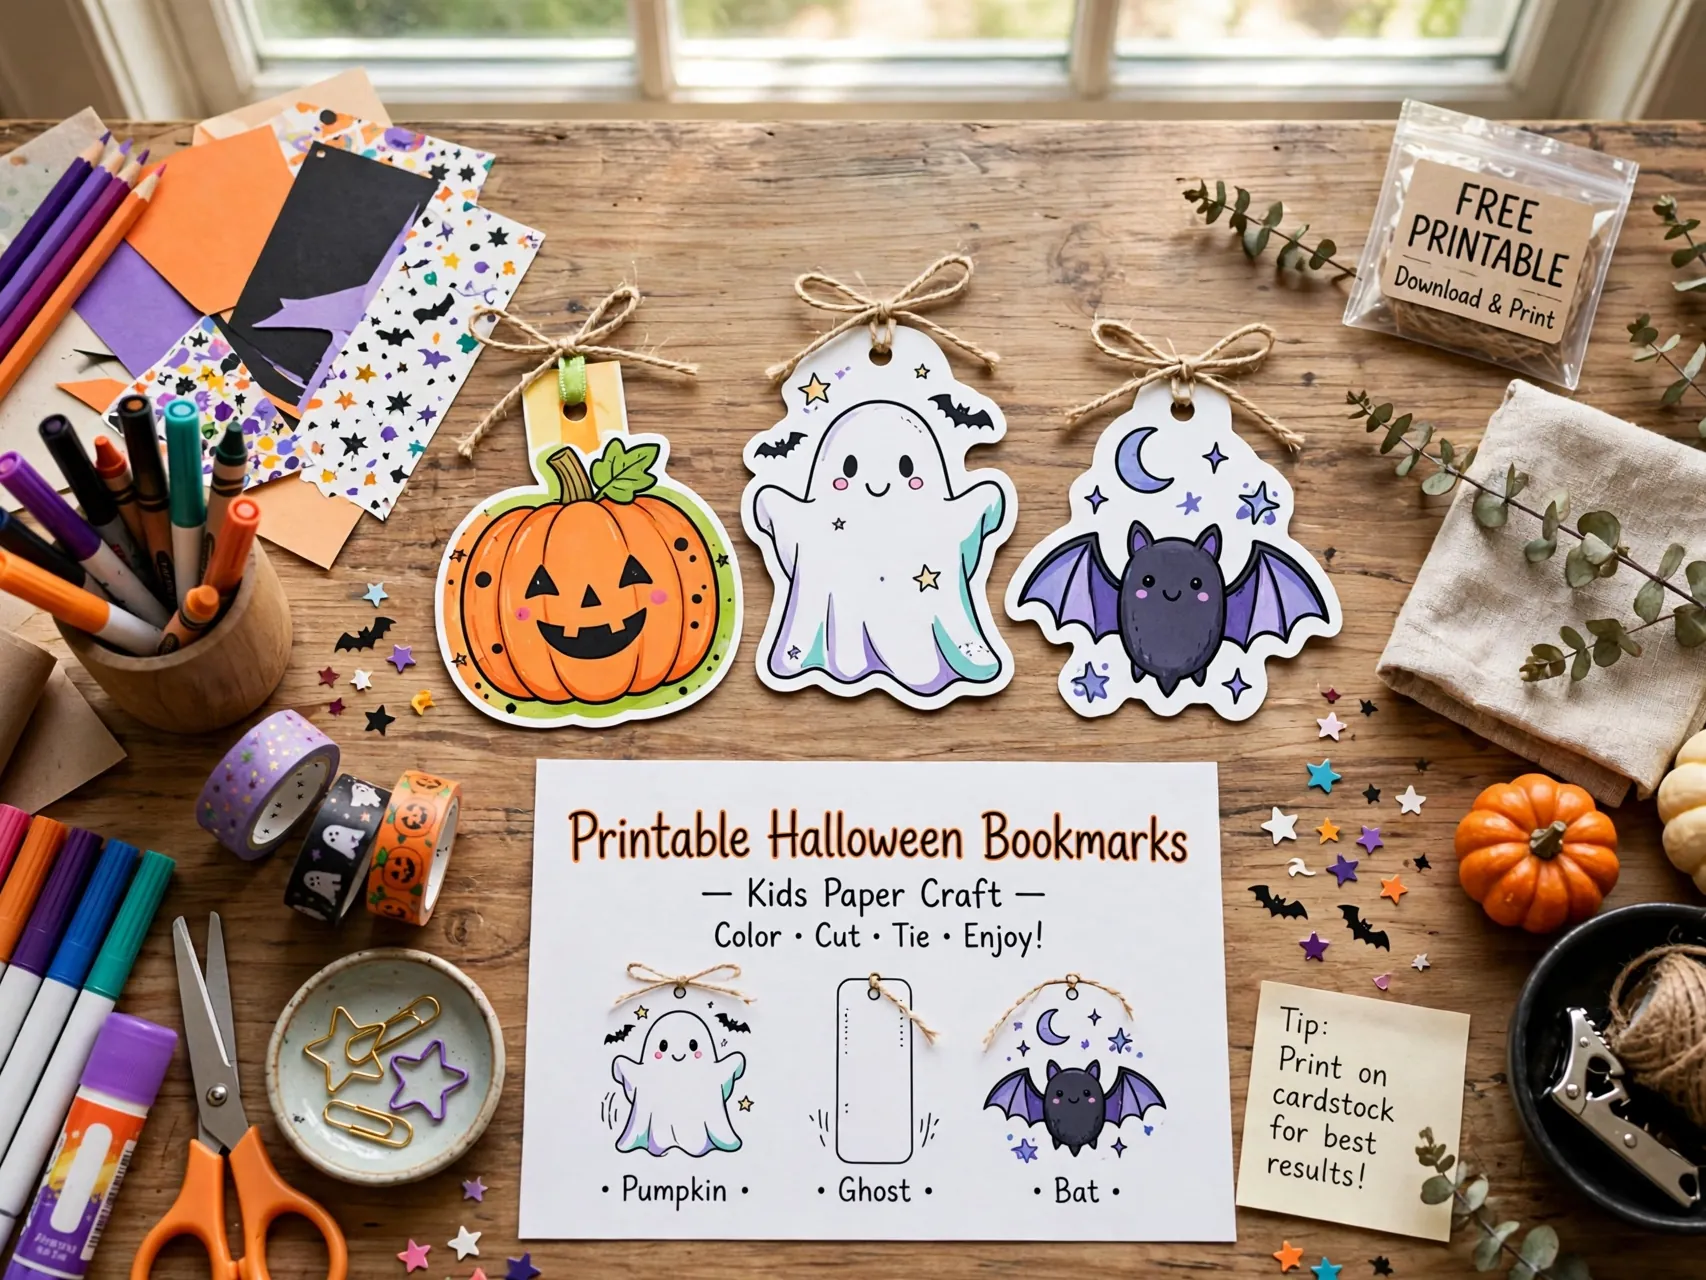
Color and cut sturdy paper strips decorated with pumpkins, ghosts, bats, and cats, then glue them onto cardstock for strength. Add a name and a tassel of yarn if you like. Printable halloween crafts like this are perfect for classrooms, because prep is fast and every child finishes.
Bookmarks make a non-candy party favor and a kind library or reading corner gift. Remind children to cut on the lines with safety scissors, and let adults trim cardstock edges for younger readers.
21. Halloween Countdown Paper Chain
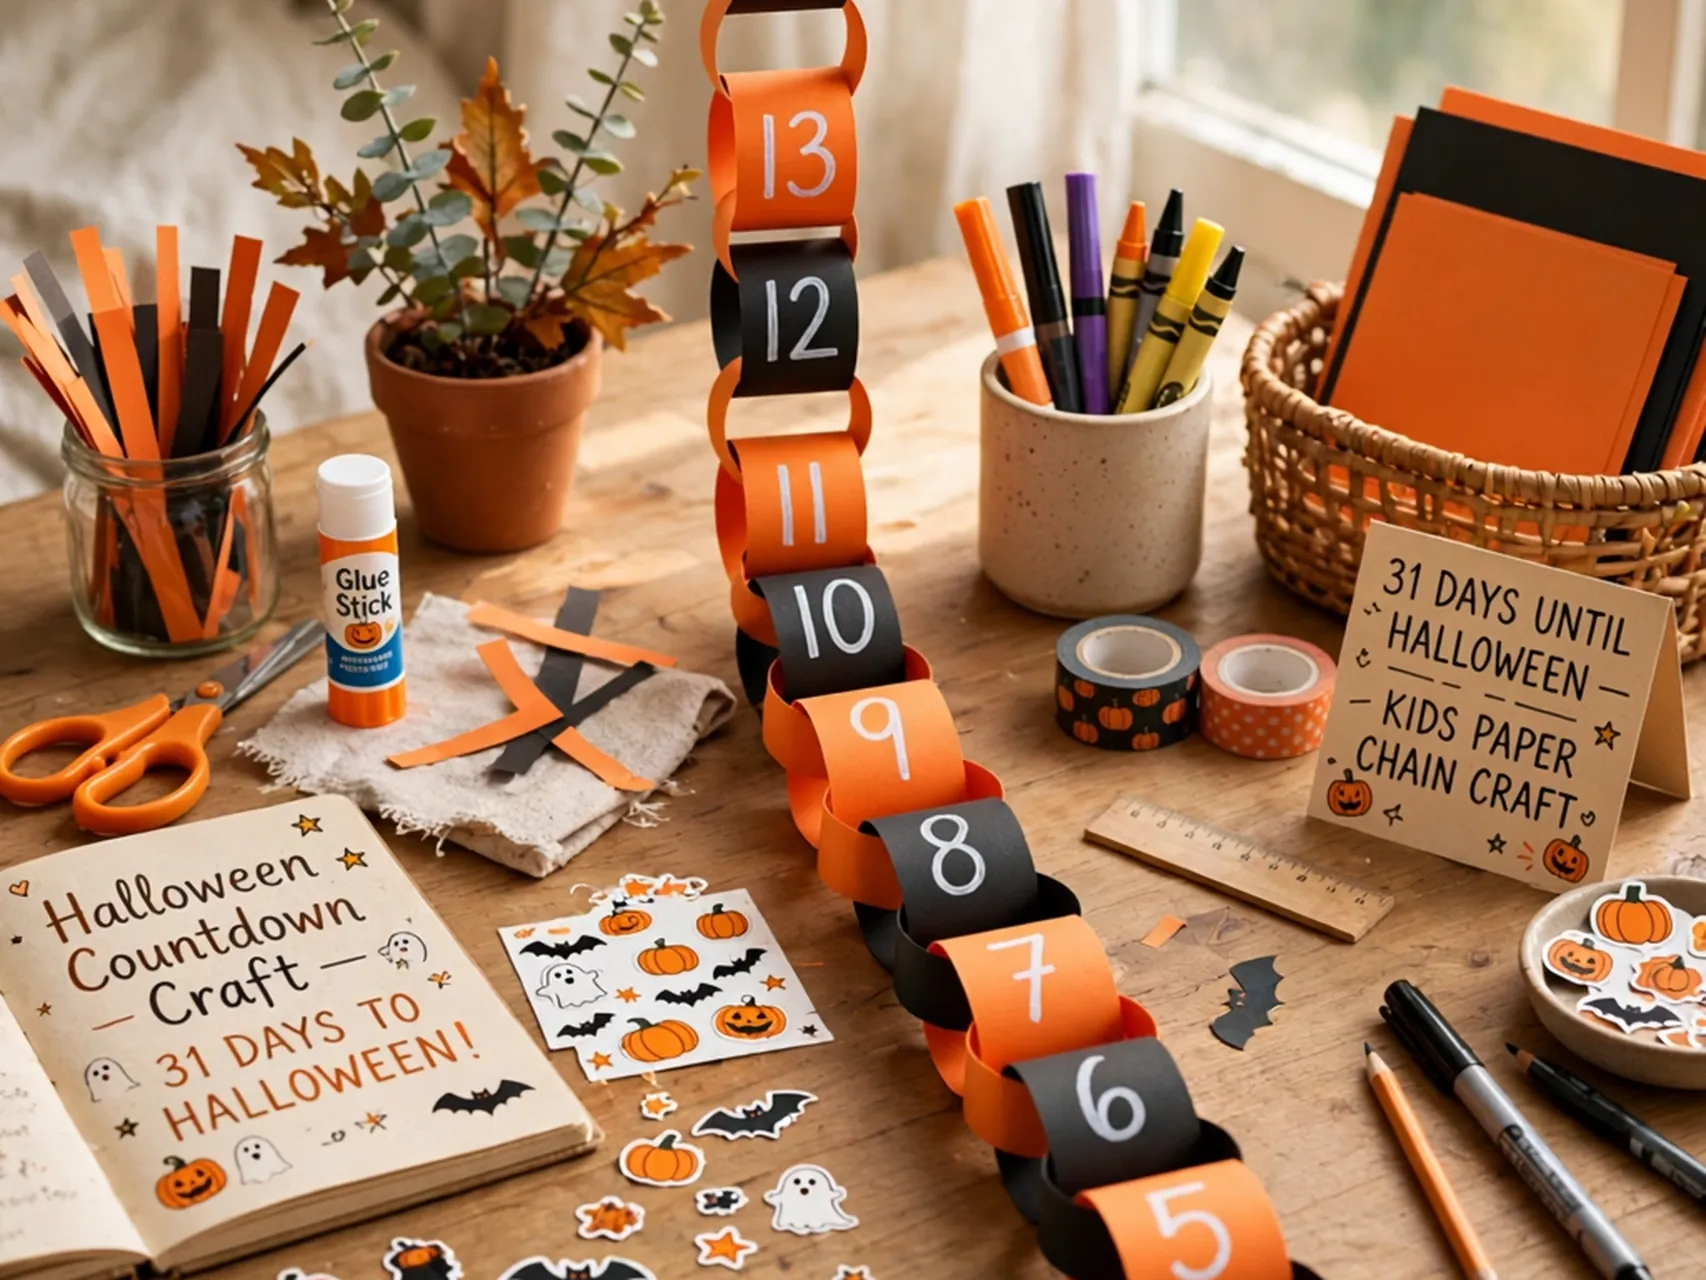
Link orange, black, purple, and green paper strips into a long chain, one link for each day until Halloween. Hang it across a doorway or mantel, and let a child tear off one link each morning as the big day gets closer.
Number the links or write a tiny kind activity on some of them, like read a Halloween story or draw a pumpkin. Paper chains are among the most loved easy halloween crafts for kids, because the making and the daily ritual are both part of the fun.
Take a photo of your child with the chain each week as it gets shorter, because the shrinking chain and the growing excitement together make a sweet October memory you will enjoy looking back on for years.
FAQ
What age are Halloween paper crafts best for?
Paper crafts suit ages two and up with the right level of help. Toddlers and preschoolers do best with tearing, sticking, handprints, and pre-cut shapes. Kindergarten and older children can add safety scissors, folding, and simple cutting. Always supervise, and adjust each project to the child in front of you.
What supplies do I need for most Halloween paper crafts?
Construction paper or cardstock in orange, black, white, purple, and green covers most projects. Add safety scissors, glue sticks, washable markers or crayons, paper plates, cardboard rolls, and string. Choose non-toxic, washable supplies, and you likely own almost everything already.
How do I keep paper crafting safe for young children?
Use safety scissors, let adults pre-cut tricky shapes, and keep small parts like googly eyes, beads, and paper fastener pieces away from children under three, because they are choking hazards. Supervise gluing and cutting, wash hands after paint, and keep finished paper away from candles and heat.
Can these crafts be used as Halloween decorations?
Yes, most of them double as decor. Garlands, chains, rosettes, window scenes, and hanging ghosts and bats all work as DIY halloween paper decorations for doors, windows, mantels, and party tables. Display them away from open flames and heat sources, and use battery lights for any glow effect.
What are good mess free Halloween paper crafts for a classroom?
Sticker pumpkin collages, paper chains, accordion bats, garlands, and printable bookmarks are the lowest mess options. They need no paint, dry instantly, and clean up with a quick sweep of scraps. Pre-cut kits and glue sticks keep a whole class moving without bottlenecks at the sink.
Key Takeaways
- Paper does it all: One pack of colored paper covers ghosts, bats, pumpkins, webs, garlands, and more.
- Match the craft to the age: Tearing and sticking for little ones, folding and cutting for older kids.
- Safety is built in: Safety scissors, non-toxic supplies, adult cutting help, and no small parts for toddlers.
- Crafts become decor: Chains, garlands, and window scenes decorate your home or classroom for free.
- Keep paper away from flame: Battery lights only, and paper displays stay clear of candles and heaters.
- Making Halloween with your kids this year? Save this list to Pinterest and pin the crafts you will try first.