25 Quick Crafts for Adults You Can Finish in One Hour
Introduction
An hour is enough. It is enough to paint, wrap, stamp, pour, or fold something real, set it on the shelf, and feel that small lift that only finished things give. These quick crafts for adults are chosen for exactly that window: one sitting, basic supplies, and a result you would actually keep or give.
Each idea lists its core materials in the text and keeps steps short. Times here mean active making time. Paint, glue, and wax sometimes need extra drying or setting time afterward, and that is noted where it matters, so your hour stays honest.
Pick the project that matches the supplies you already own. That is the real shortcut. The best craft session starts at your own supply drawer, not at a store checkout.
1. Paint a Mini Canvas With Simple Abstract Shapes

A small canvas, acrylic paint, and one wide brush are all you need. Lay down a soft background color, then add bold arches, half circles, or stripes in two or three colors you love together. Abstract art forgives everything, which is why it relaxes people.
Work wet into wet for blended edges or let each layer dry for crisp shapes. A set of three mini canvases in the same palette makes a ready made gallery for a hallway or bathroom wall.
2. Stamp Plain Tea Towels With Fabric Paint

Plain cotton tea towels, fabric paint, and a simple stamp turn kitchen basics into gifts. Carve a leaf or citrus shape into a halved potato for a rustic stamp, or use a sponge cut into a triangle or circle for modern patterns.
Press the stamp evenly, lift straight up, and repeat in a loose grid or border. Let the paint dry, then heat set it if the paint label directs. Fold and tie a finished towel with twine and it is ready to give.
3. Wrap Yarn Around Bottles for Instant Vases

Clean glass bottles, yarn, and a line of craft glue become soft, textured vases in about fifteen minutes each. Start at the base, glue a short section at a time, and keep the wraps tight and level as you spiral upward.
One color looks calm, while color blocked bands look playful. Group three bottles of different heights with a few stems in each and you have a mantel display. These are classic easy one hour crafts because the technique is simply wrapping, yet the finish looks boutique.
4. Make Painted Rock Paperweights and Garden Markers

Smooth, washed rocks take acrylic paint and paint pens beautifully. Paint mandala dots, tiny flowers, simple words, or vegetable names for garden markers. A limited palette of three colors keeps a whole set looking coordinated.
Let the paint dry, then add a clear sealer if the rocks will live outdoors or hold down papers on a breezy desk. Rock painting is meditative, nearly silent work, and it uses the smallest scraps of leftover paint in your craft box.
5. Pour a Small Scented Candle in a Jar

With soy wax flakes, a wick, a heat safe jar, and candle fragrance oil, one candle pours well within an hour. Melt the wax in a double boiler, never over direct heat and never unattended, cool it to the wax maker guidance, stir in fragrance, and pour around a centered wick.
The candle then needs to set and cure beyond your craft hour, so plan this one ahead of gifting. Trim the wick short before lighting, and add a simple kraft label for a handmade finish that looks shop ready.
6. Thread a Felt Ball Garland for Any Shelf

Premade wool felt balls, a long needle, and sturdy thread or twine make a garland with zero mess. Thread each ball through its center, slide it along, and space the balls a few inches apart, knotting the ends when the length suits your shelf or mantel.
Choose rainbow brights for a playroom or creams and rust tones for fall. Because there is no paint or glue, this is the cleanest project in the list, ideal for crafting at the kitchen table while dinner finishes in the oven.
7. Decoupage a Wooden Box or Tray

A plain wooden box, pretty paper napkins or scrapbook paper, and decoupage medium give you a keepsake box in one sitting. Cut the paper to size, brush medium on the wood, lay the paper down smoothly, and seal over the top once it is positioned.
Separate the layers of a paper napkin and use only the printed top layer for the smoothest finish. Small wrinkles are normal and add to the handmade character. Line the finished box with felt and it becomes a gift box worth keeping.
8. Shape Air Dry Clay Trinket Dishes

Roll air dry clay to an even slab, press it gently into a small bowl as a mold, trim the edge, and lift it out once it holds its shape. Press a leaf, lace, or a stamp into the clay before shaping for a delicate imprint.
Air dry clay needs a day or two to harden fully, so your hour covers shaping, and painting comes in a later mini session. Paint the rim gold or add a tiny painted motif, and rings and earrings finally have a home.
9. Create Pressed Flower Art in a Frame

If you have flowers already pressed in a book, this project takes minutes. Arrange them on cardstock or watercolor paper, fix them with tiny dots of clear glue, and frame the piece under glass. Compositions look best with odd numbers and plenty of empty space.
No pressed flowers ready? Start the pressing today in a heavy book and make the frame next week. Either way, the finished art brings a quiet, botanical calm to a desk or a reading nook.
10. Sew or Glue Fabric Scrap Key Fobs
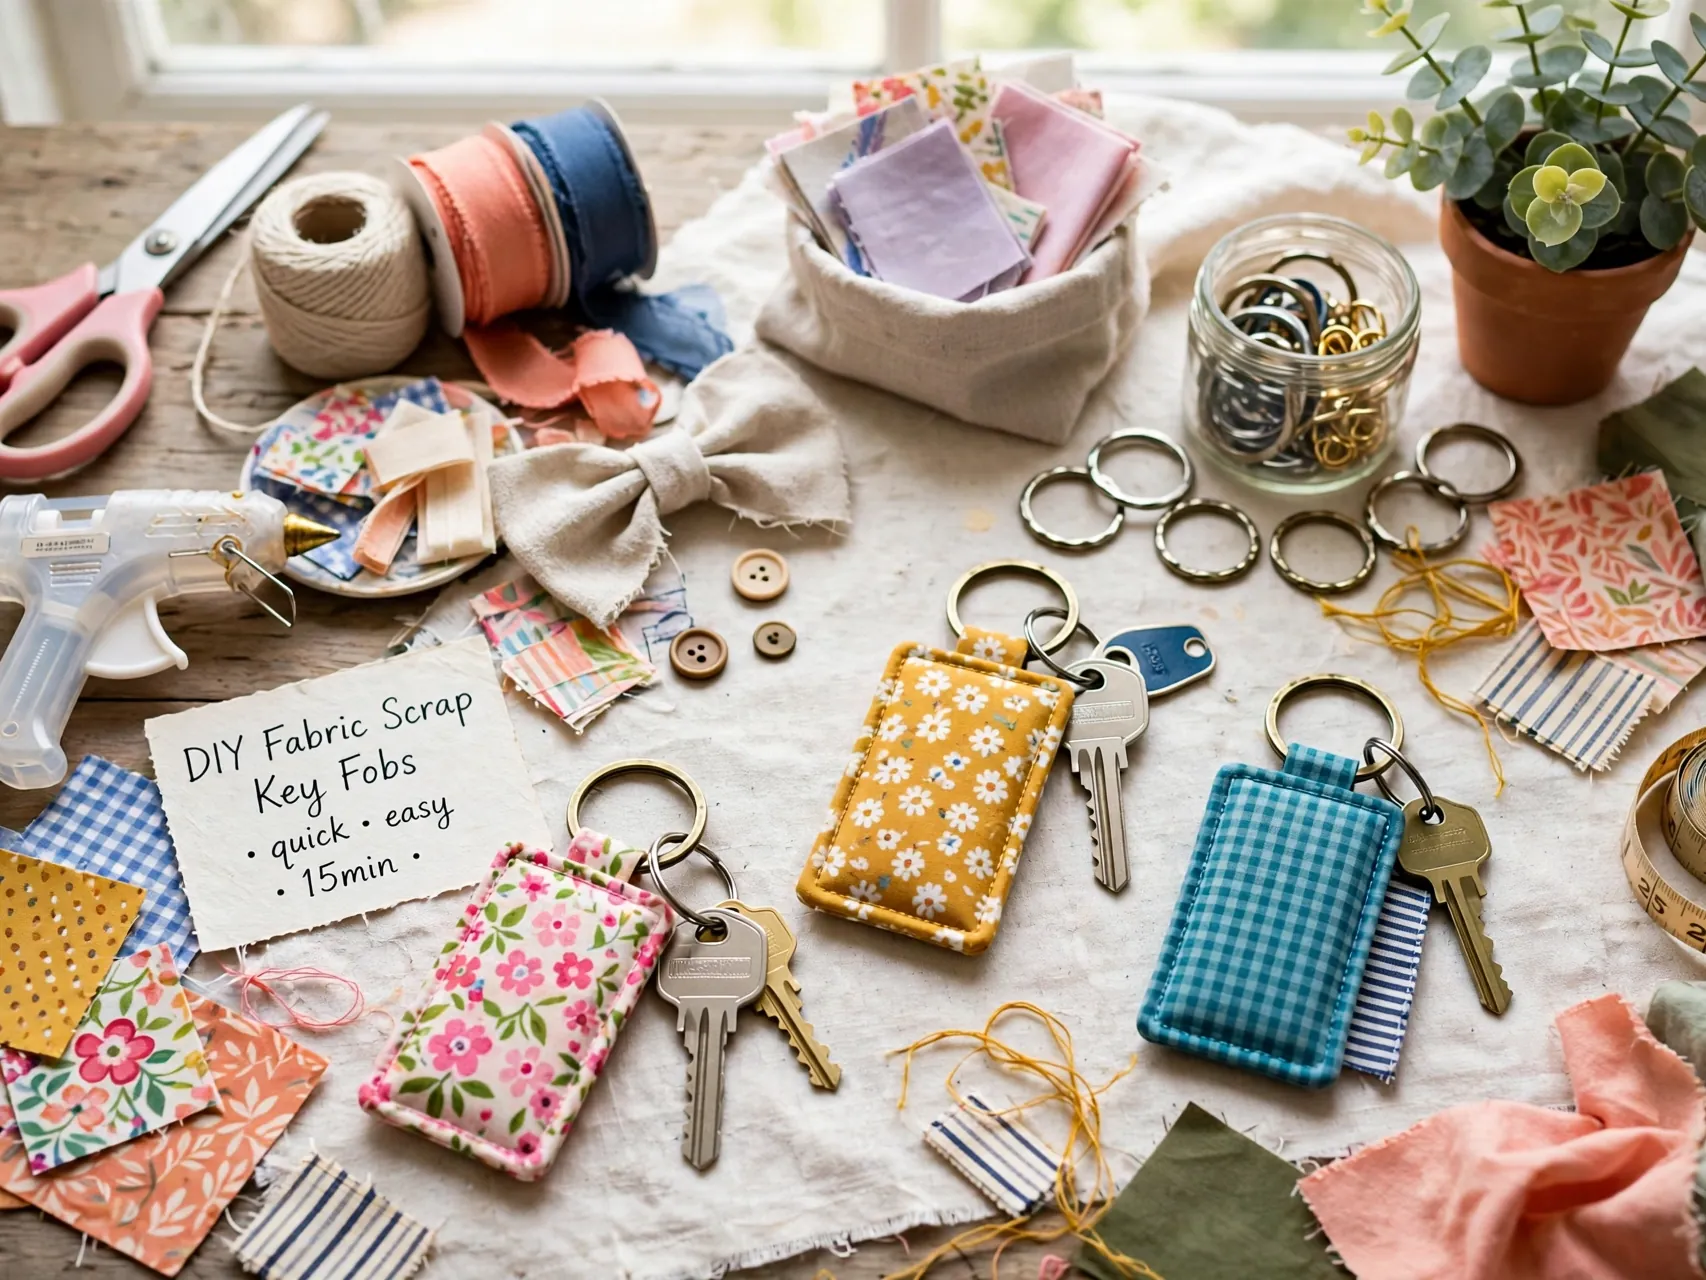
A strip of sturdy fabric, a key ring, and a few stitches or fabric glue make a key fob that uses up favorite scraps. Fold the strip around the ring, secure the layers, and trim the ends neatly. Add a small charm or bead for personality.
These are satisfying fast handmade gift ideas because they take minutes, cost almost nothing, and everyone loses their keys less with a fob they can feel in a bag. Make several in one session and your gift drawer is stocked.
11. Design Custom Bookmarks With Cardstock and Ribbon

Cut cardstock to a long bookmark shape, then decorate with paint, stamps, lettering, washi tape, or pressed stickers. Punch a hole at the top and thread ribbon, twine, or a simple tassel through it.
Bookmarks are the perfect low stakes canvas for trying a new pen or stamp. Make one for your current read, then a few themed extras for gifts. Slipping a handmade bookmark into a given book turns a simple present into a personal one.
12. Paint Terracotta Pots With One Bold Idea

A small terra cotta pot and acrylic paint give a finished planter in under an hour when you keep the design simple: one color block, a dotted band, or a taped geometric shape. Let the pot dry fully before painting so the color stays bright.
Seal the outside after the paint dries if the pot will be watered often. This quick version covers the fun part, decoration, while the full prep and sealing routine belongs to a dedicated pot painting session when you make a whole set.
13. Make Photo Magnets From Favorite Prints
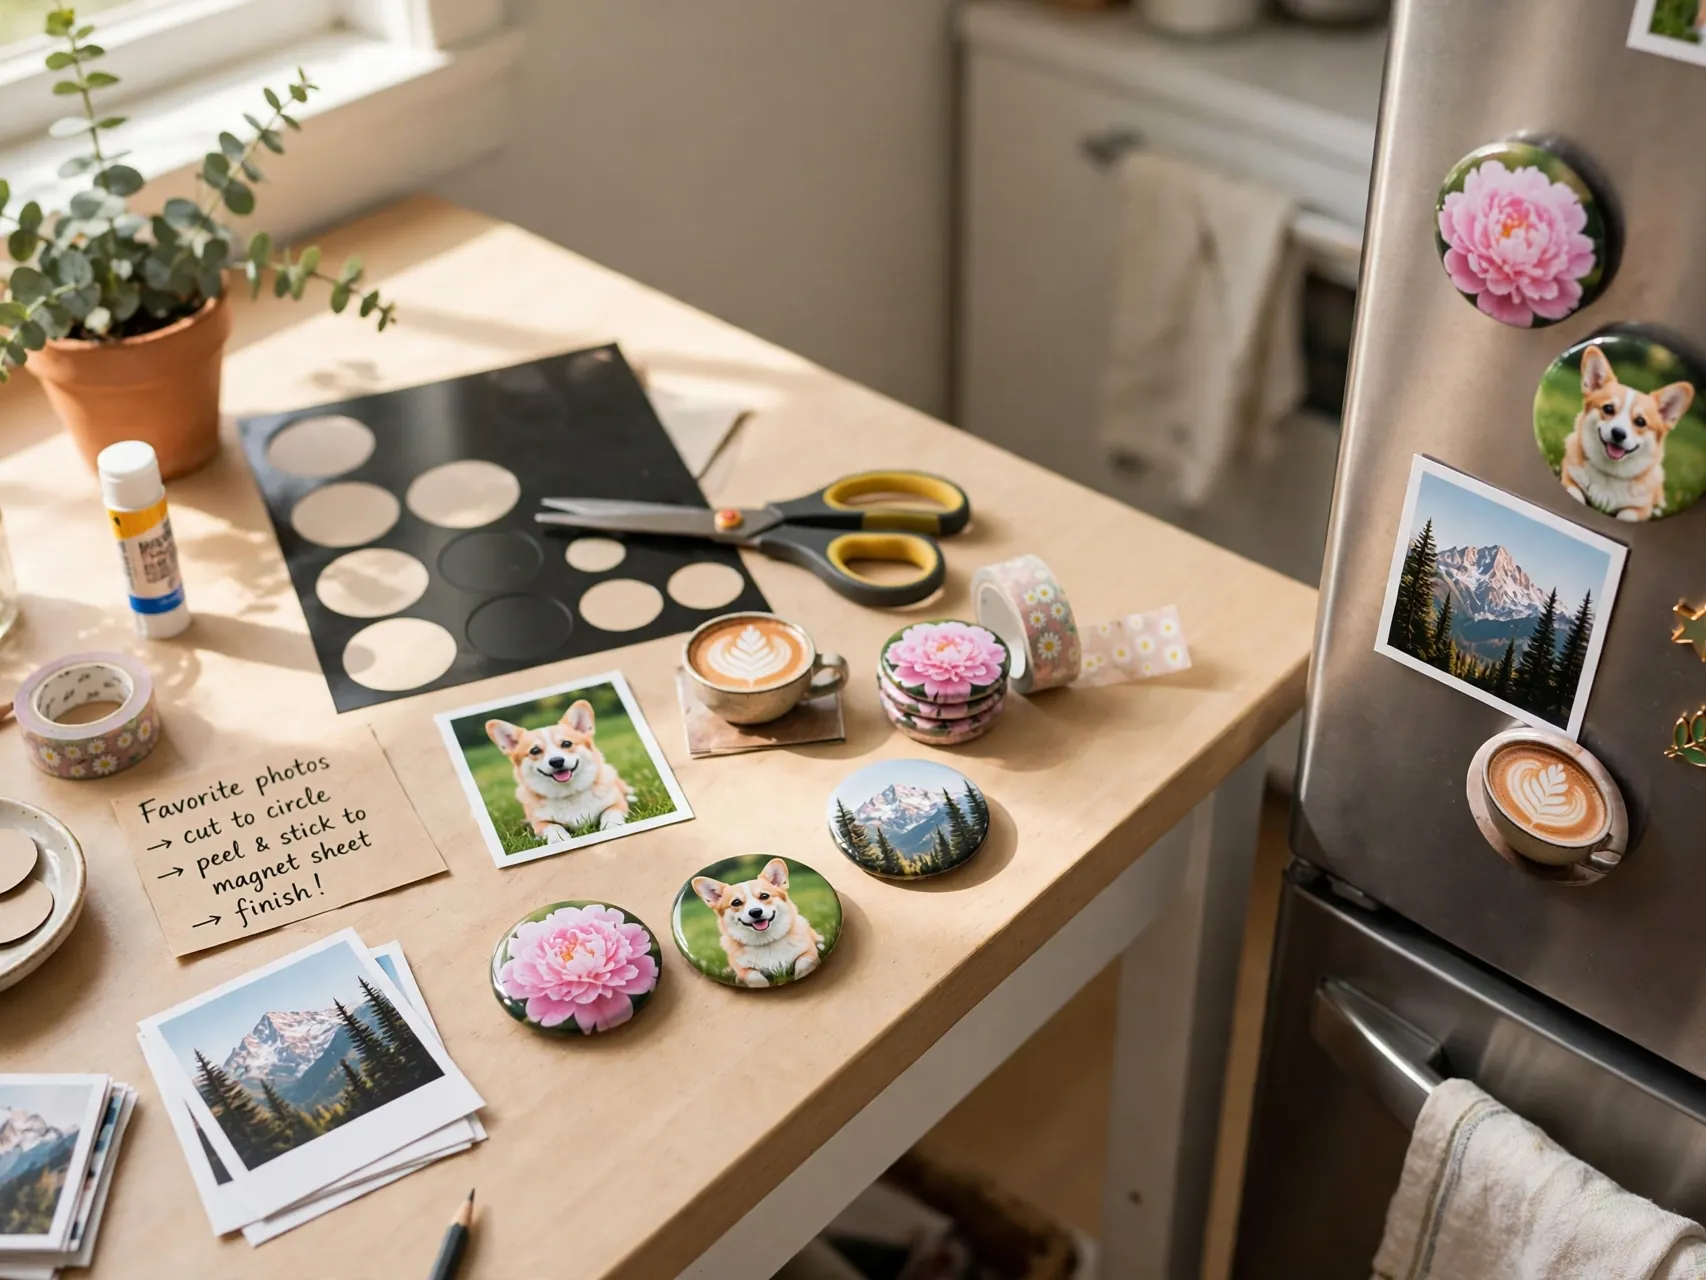
Small printed photos, clear glass gems or tiles, strong craft glue, and flat magnets become fridge art in one session. Glue the photo behind the glass so it shows through magnified, trim the edges, and attach the magnet to the back.
Let the glue clear and dry fully before sticking them up. Family photos, pet pictures, and travel shots all work. A little set tied in a bag is a heartfelt, inexpensive gift that grandparents especially treasure.
14. Tie a Simple Macrame Plant Hanger

Cotton cord, a wooden ring, and three basic knots are enough for a hanging home for a trailing plant. Cut cords evenly, fold them over the ring, and work alternating square knots or simple gathering knots down the length, then knot a basket section near the bottom.
Beginner hangers run long the first time, so measure against the pot you plan to use. Once you feel the knot rhythm, later hangers take half the time, and windows fill up fast.
15. Marble Mugs With Nail Polish and Warm Water
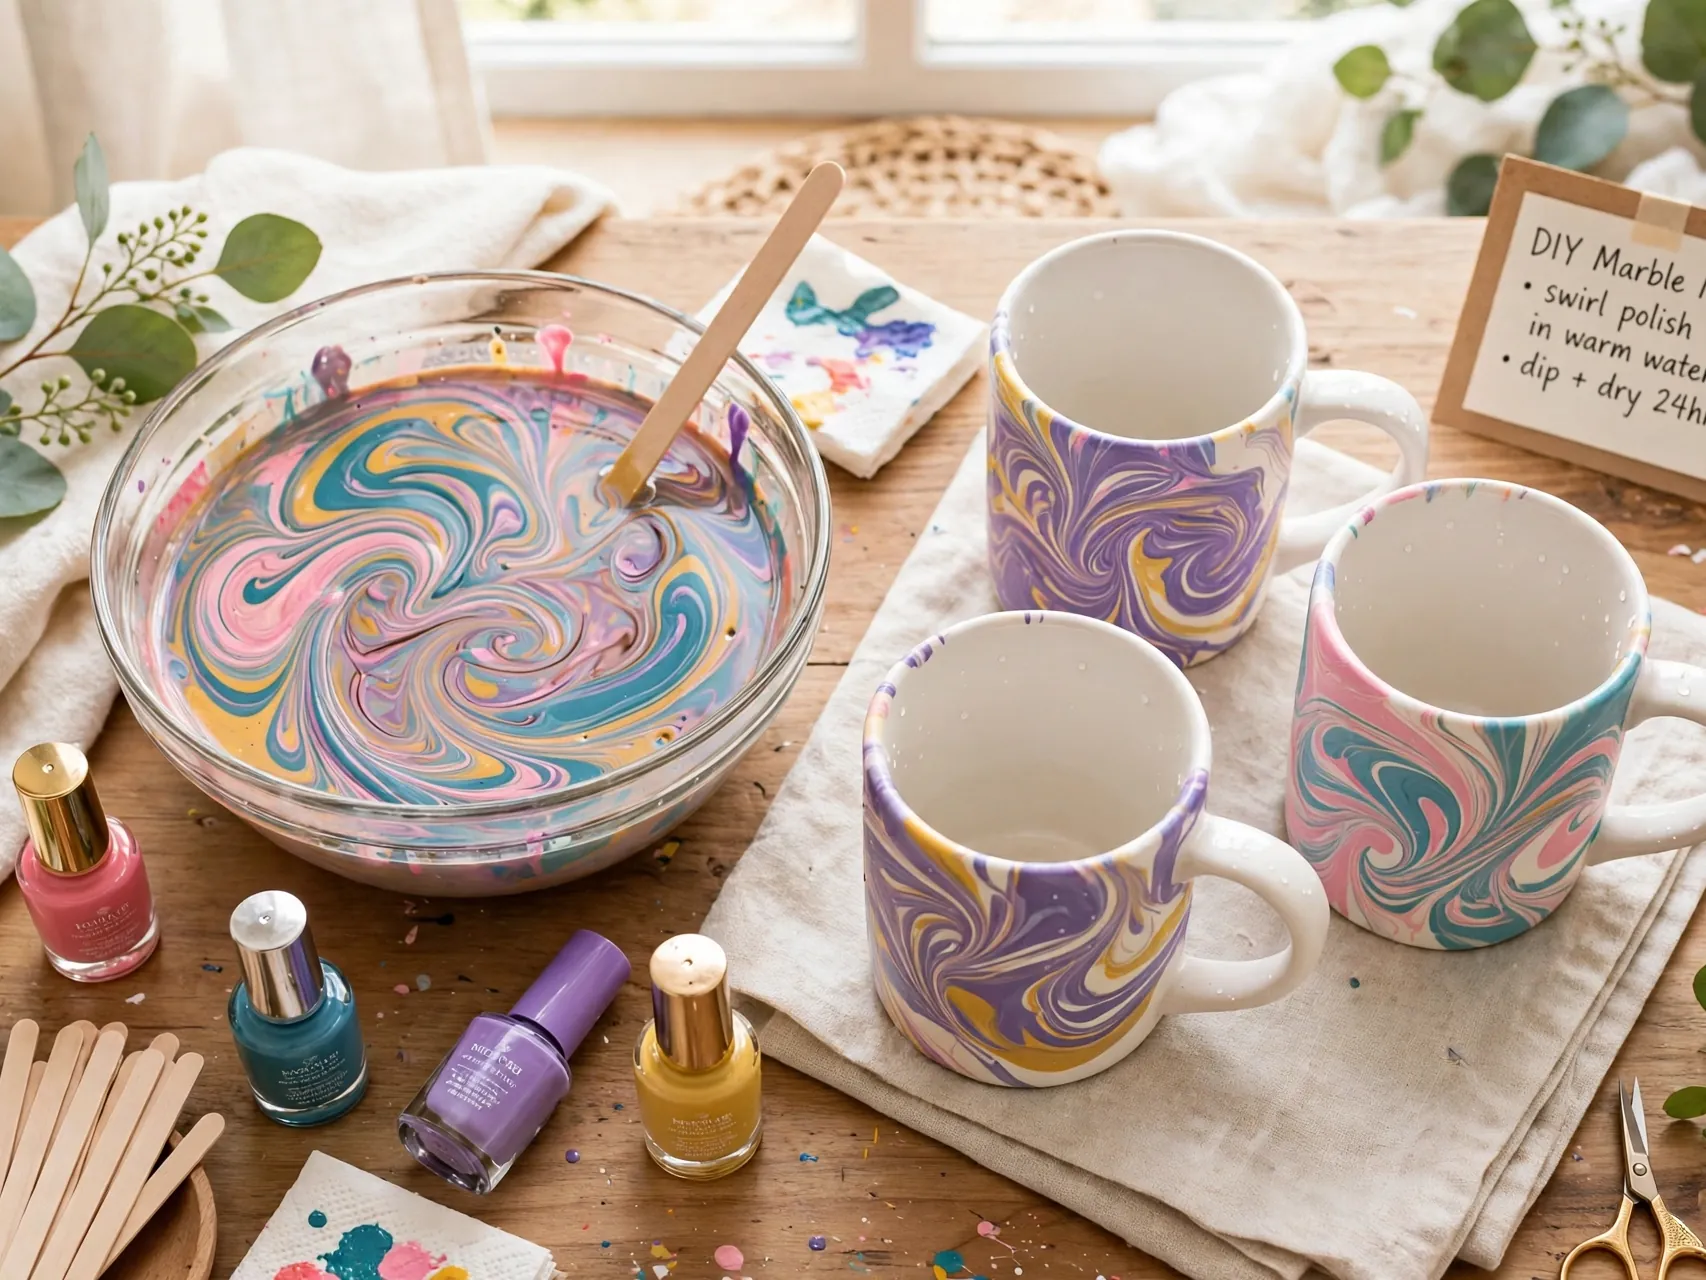
A plain white mug, warm water in a disposable container, and a few drops of nail polish create swirling marble patterns. Drizzle the polish on the water, swirl once, dip the mug, and lift it out to dry on paper.
Keep the design below the lip line and hand wash the mug, since marbled polish is decorative. Work with ventilation and follow the product label. Every mug comes out different, which makes sets feel collected and artistic rather than matched.
16. Craft a Wreath From a Grapevine Base and Greenery

A premade grapevine wreath base does the hard work. Tuck in faux greenery stems, a few flowers, or seasonal picks, securing with floral wire or hot glue as you circle the base. Fill one side fully and leave part of the vine showing for a modern, asymmetric look.
A small wreath finishes comfortably in an hour. Hang it on an interior door, a mirror, or above a mantel. Swap a bow or a few picks by season and the same wreath carries you through the year.
17. Make Bath Salts With Bicarbonate and Essential Oils
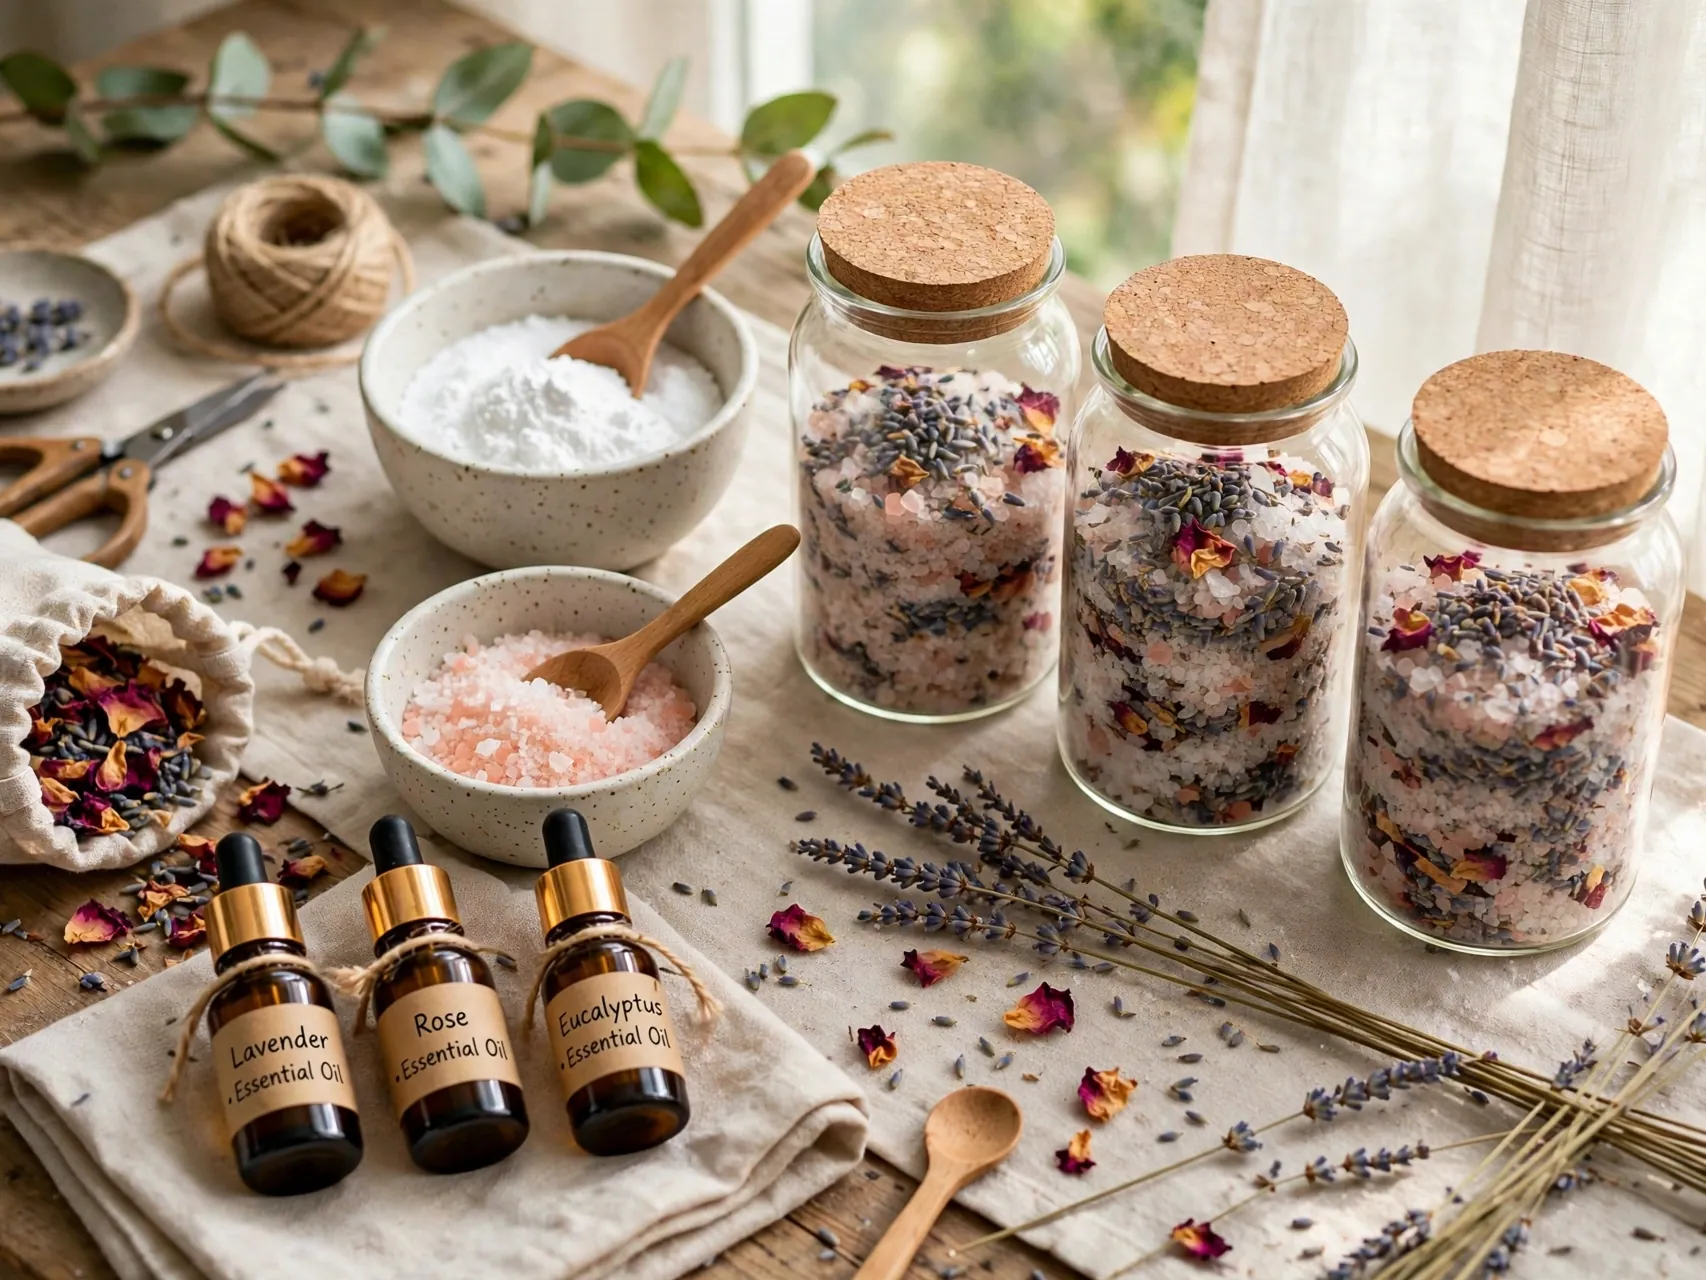
Mix Epsom salt with a smaller amount of baking soda, add a few drops of a skin suitable essential oil you already enjoy, and stir until evenly scented. A spoon of dried petals adds color. Spoon the mix into clean, dry jars and label them.
Follow sensible dilution and the oil maker guidance, and skip any ingredient your skin dislikes. These jars are gentle simple DIY crafts for adults that double as last minute gifts, and a small wooden scoop tied on with twine finishes them beautifully.
18. Fold Origami Cranes or Flowers From Pretty Paper

Square paper and a clear folding guide are the only supplies. Start with a crane, a tulip, or a simple box, crease sharply with a fingernail, and take folds one at a time without rushing the alignment.
A small flock or bouquet builds quickly once the first fold sequence clicks. String cranes on thread for a hanging mobile, or set paper flowers in a tiny vase. Origami rewards patience with a calm, screen free hour.
19. Embroider a Simple Hoop With Three Stitches
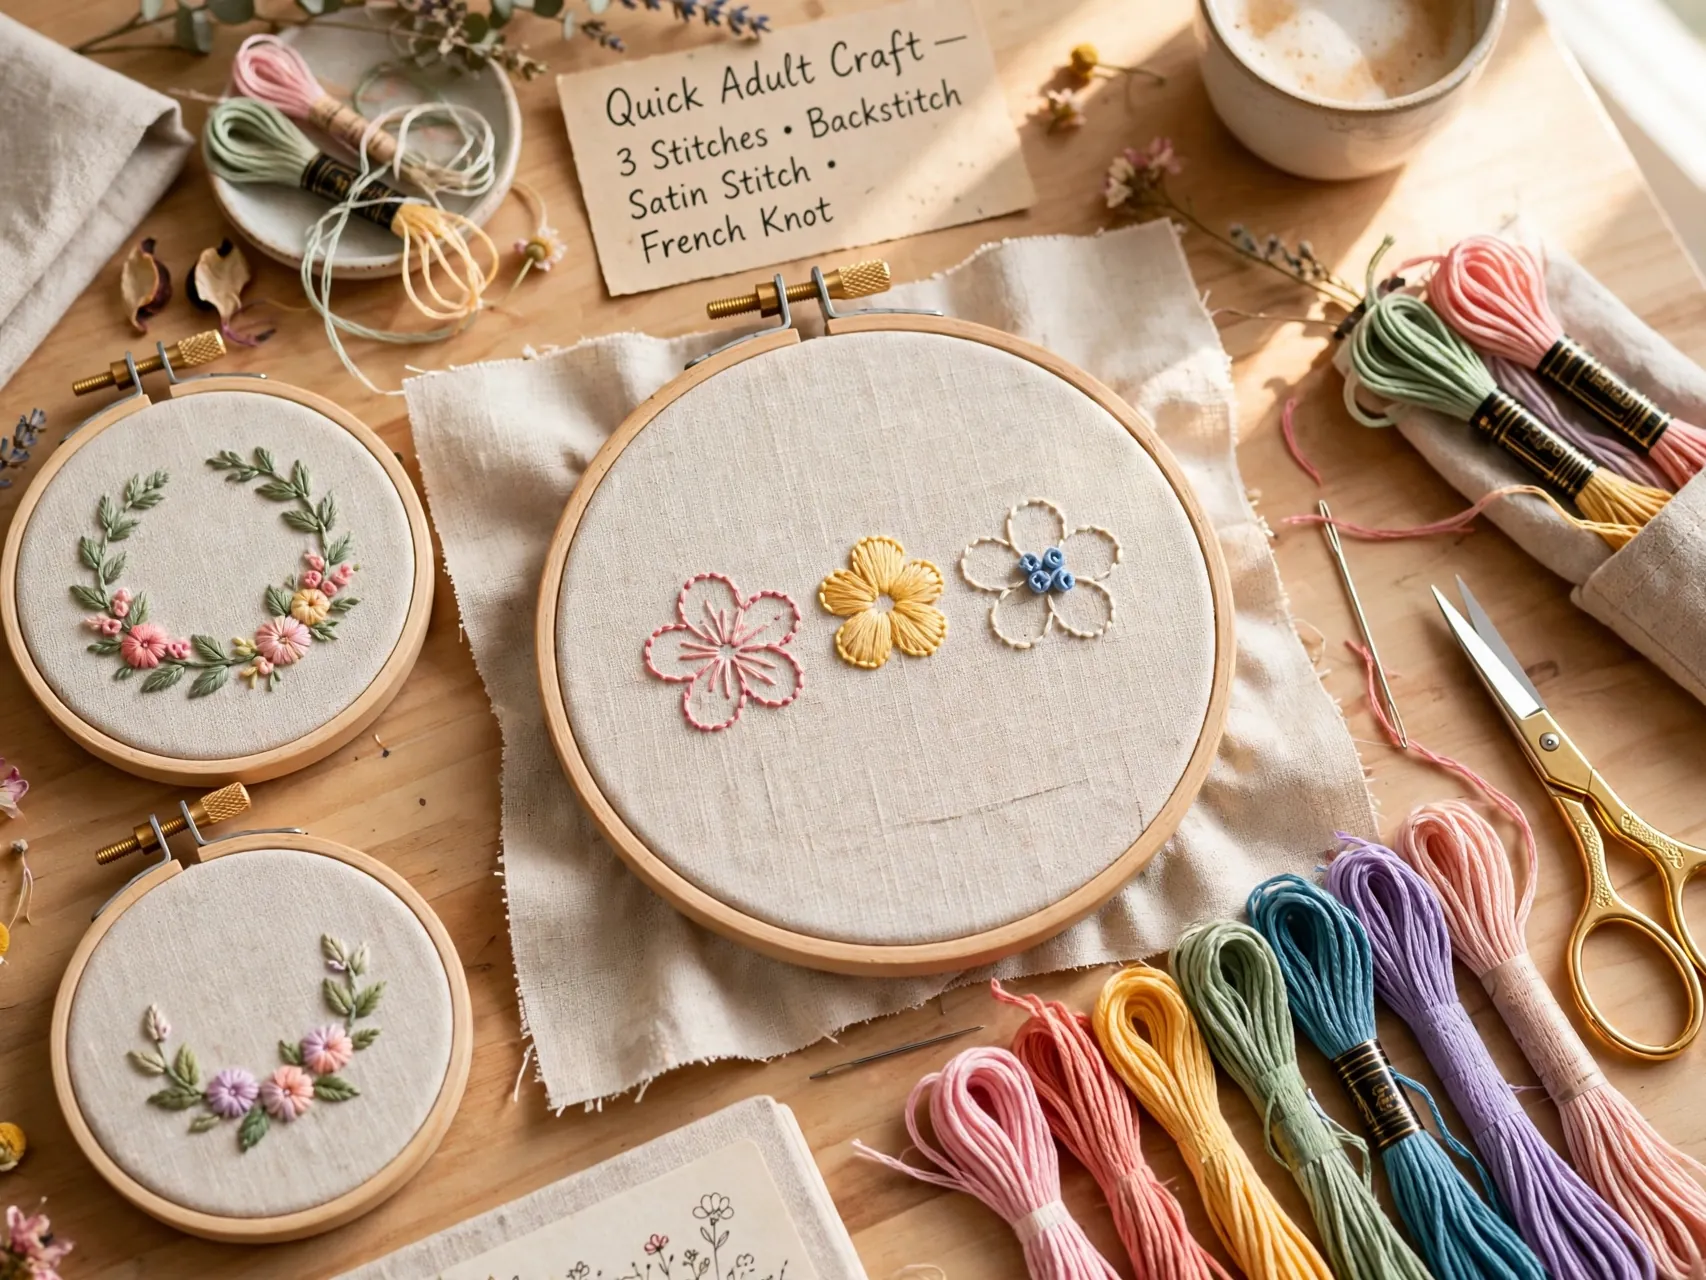
Fabric in a hoop, a needle, and embroidery floss in two colors can make a finished mini artwork with just backstitch, French knots, and lazy daisy petals. Draw or transfer a tiny sprig, a heart, or an initial, then stitch the outline slowly.
Small hoops finish in one sitting, and the hoop itself becomes the frame. Hang it as is or back it with felt. Embroidery travels well too, which makes it a favorite craft for waiting rooms and passenger seats.
20. Paint Wooden Spoons for a Colorful Kitchen Crock
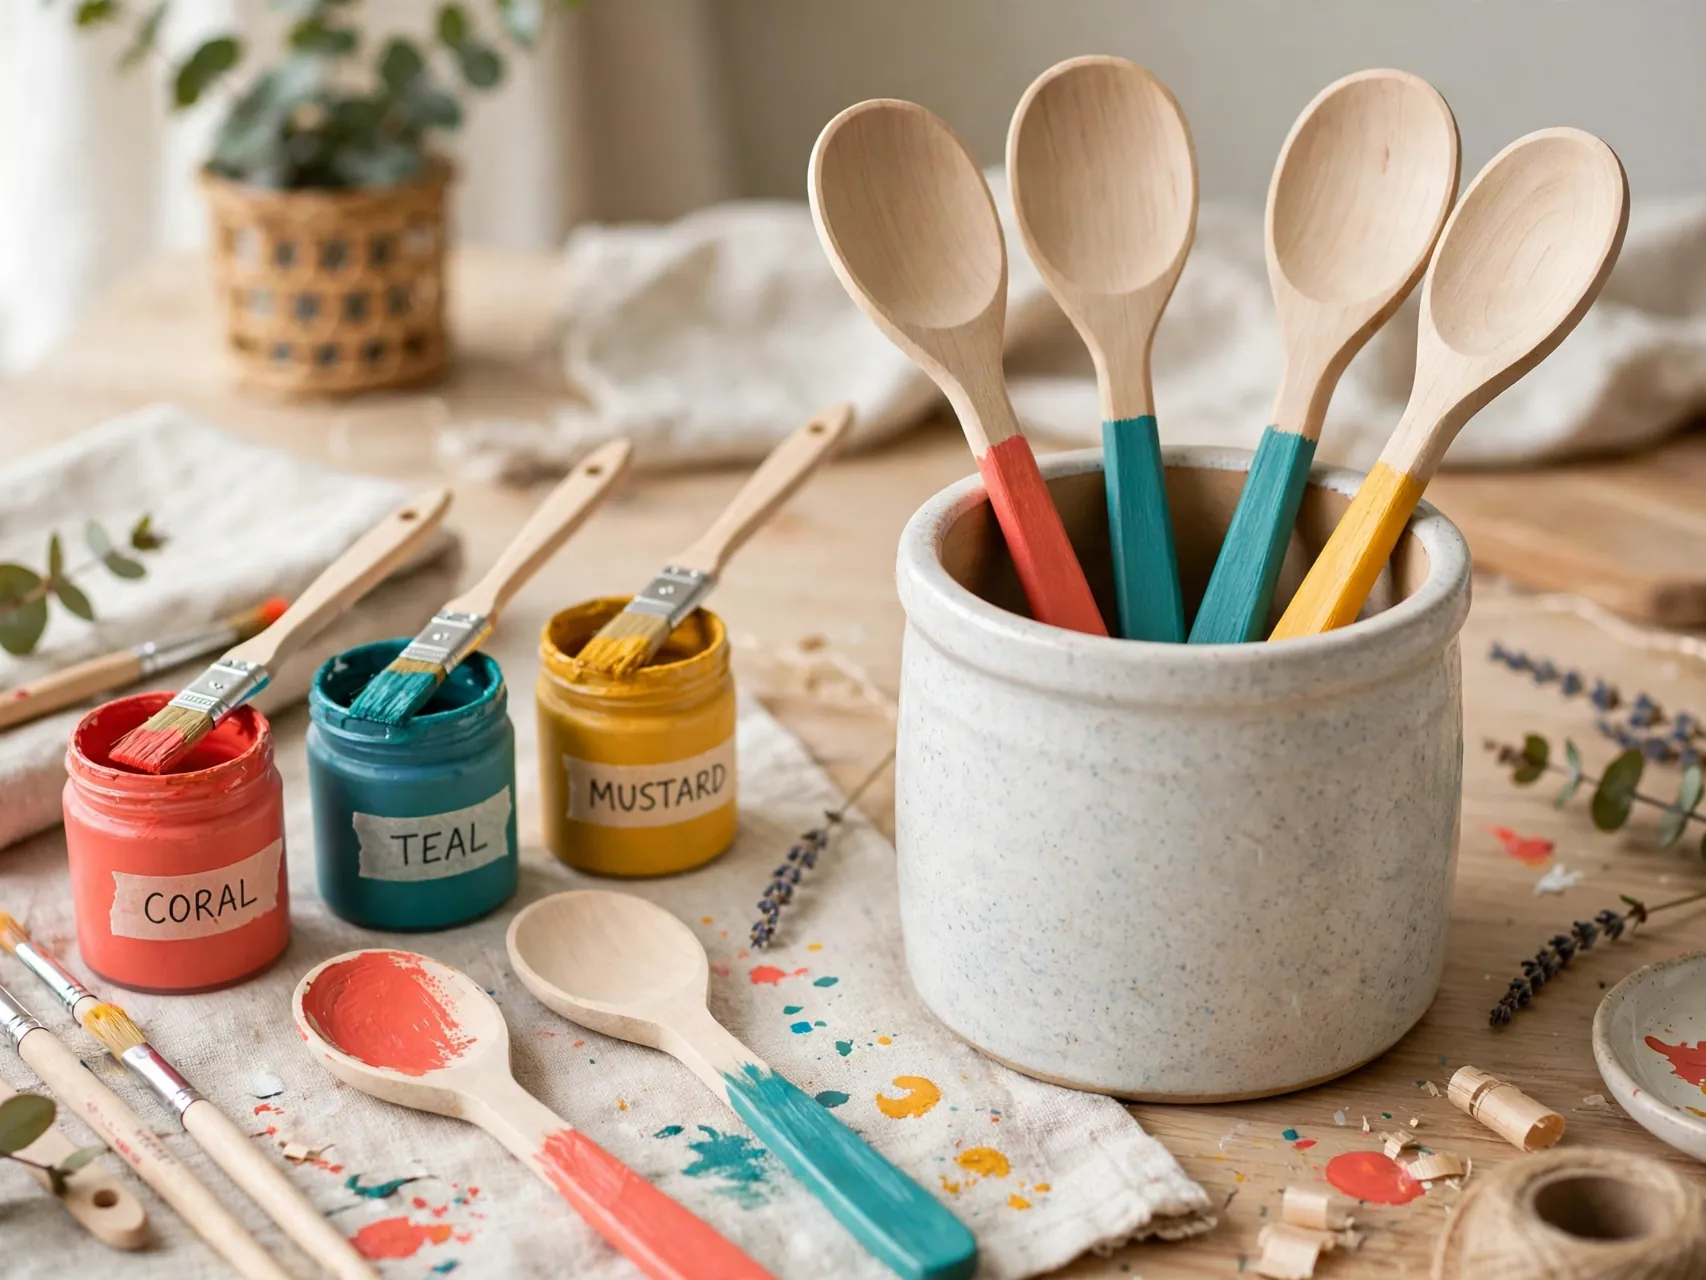
Tape off the handles of plain wooden spoons and paint them in a cheerful set of colors, keeping paint on the handle section only, well away from the part that touches food. Two thin coats dry quickly and look smooth.
Use paints and finishes exactly as their labels allow for kitchen items, and when in doubt keep painted spoons for display or serving dry goods. A crock of color dipped handles brightens the plainest kitchen counter in one afternoon session.
21. Build a Tiny Terrarium in a Glass Container

Layer pebbles, a little activated charcoal if you have it, and potting mix in a clean glass container, then nestle in a small succulent or air plant with a spoon. Add one tiny stone or figure for charm and mist lightly.
Open containers suit succulents best, since they prefer dry air and drainage friendly care. Place your terrarium in bright, indirect light. It is living decor you assembled in under an hour that keeps changing slowly for months.
22. Make Beaded Bracelets With Elastic Cord

Beads, elastic cord, and scissors are the whole supply list. Measure your wrist, string a pattern that repeats or fades through a color story, tie a secure knot with a dab of glue if the cord label allows, and trim the ends close.
Stacking sets look intentional: make three coordinating bracelets in one session. Beading is portable, tidy, and easy to pause, which is why it stays on so many lists of beginner crafts for adults at home.
23. Cover Switch Plates With Scrapbook Paper

Remove a plain switch plate, trace and cut pretty paper to fit, glue it smooth, trim the openings carefully, and seal the surface once dry. Reinstall only after everything is fully dry, and keep paper and tools away from wiring, working only on the removed plate itself.
This tiny upgrade surprises guests in hallways and guest rooms. One sheet of paper covers several plates, so a whole room can match in one short session. It is renter friendly too when you keep the original plates to swap back.
24. Make a No Sew Fleece Throw Pillow Cover
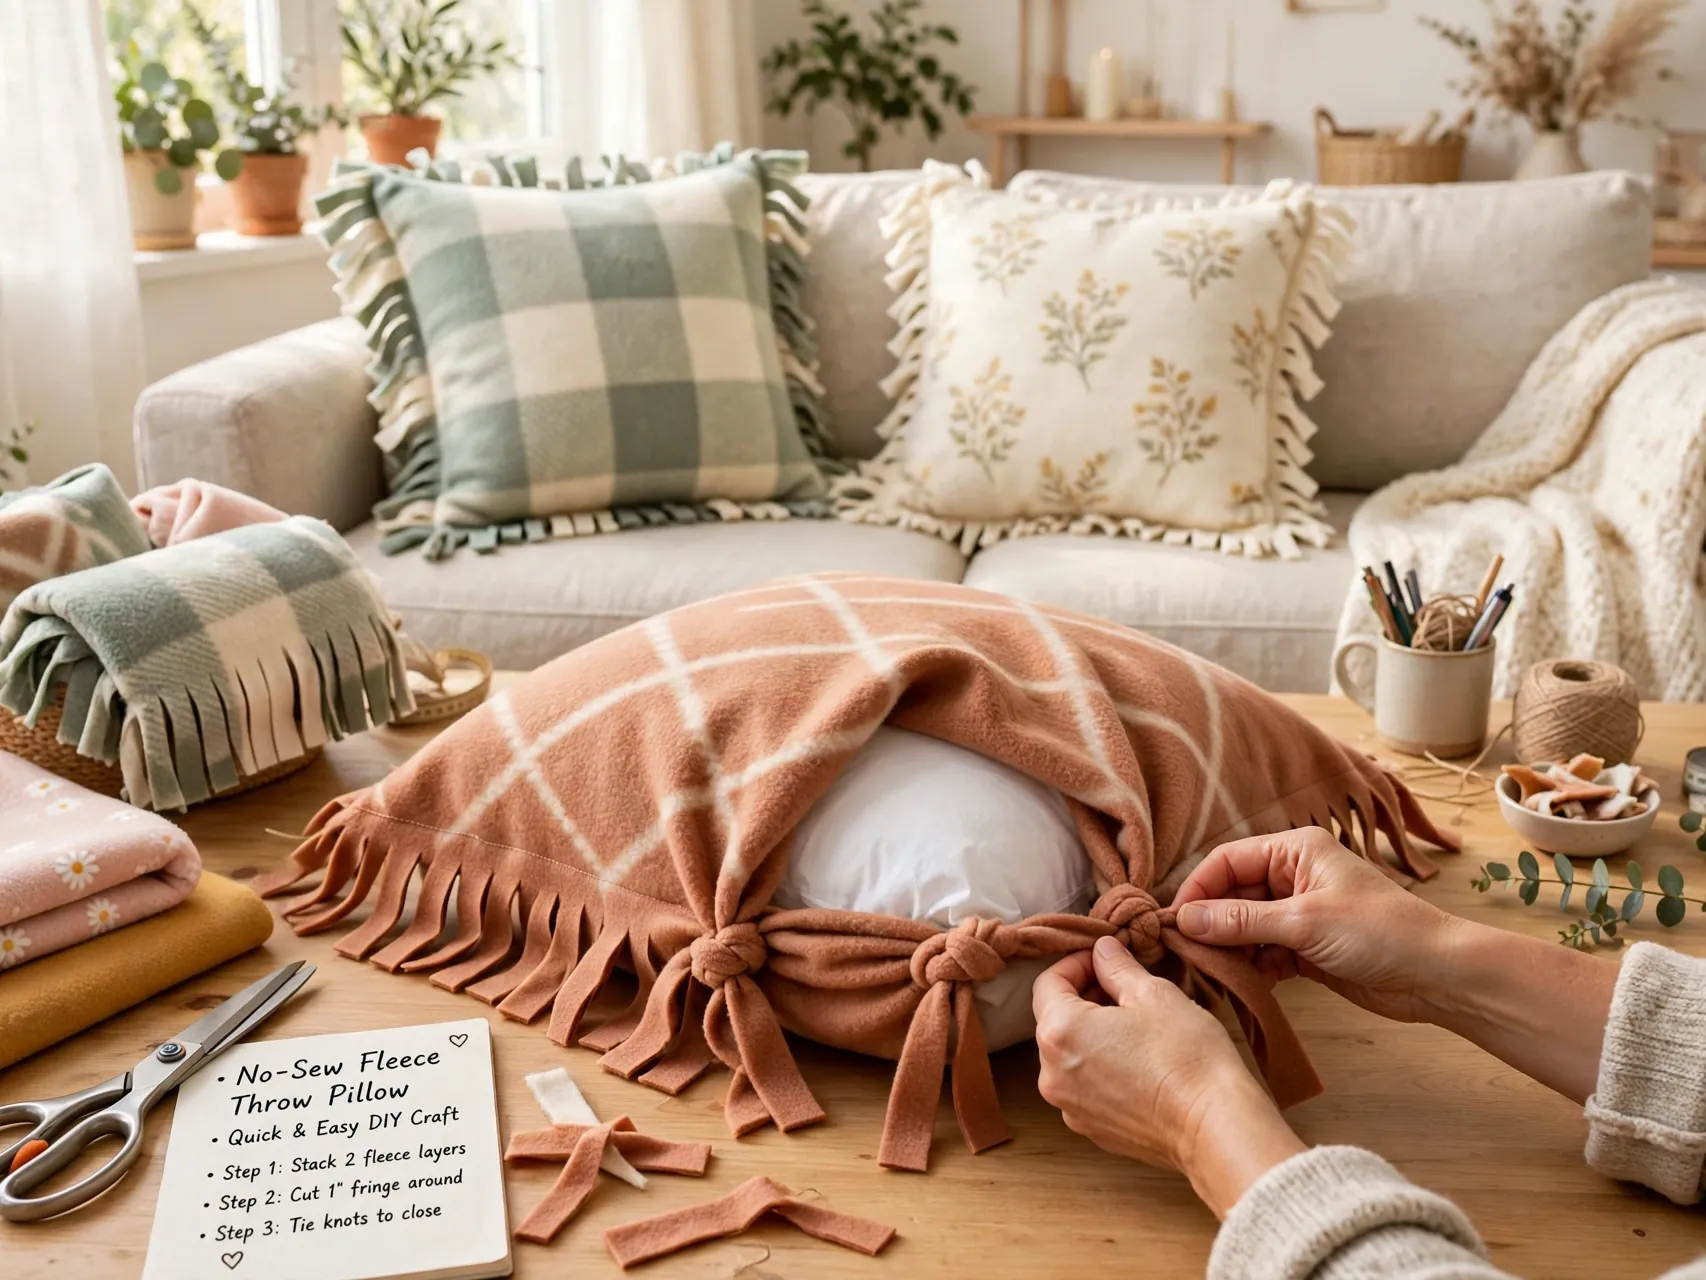
Cut two fleece squares larger than your pillow form, fringe all four edges evenly, and tie the matching fringes together around three sides. Slip the pillow in, tie the last side, and fluff. No needle, no machine, just scissors and knots.
Fleece does not fray, so edges stay neat without hemming. Choose a pattern on one side and a solid on the other for a reversible cover. Kids can help with the tying, making this a genuine family craft hour.
25. Assemble a Craft Starter Kit So Next Time Is Faster
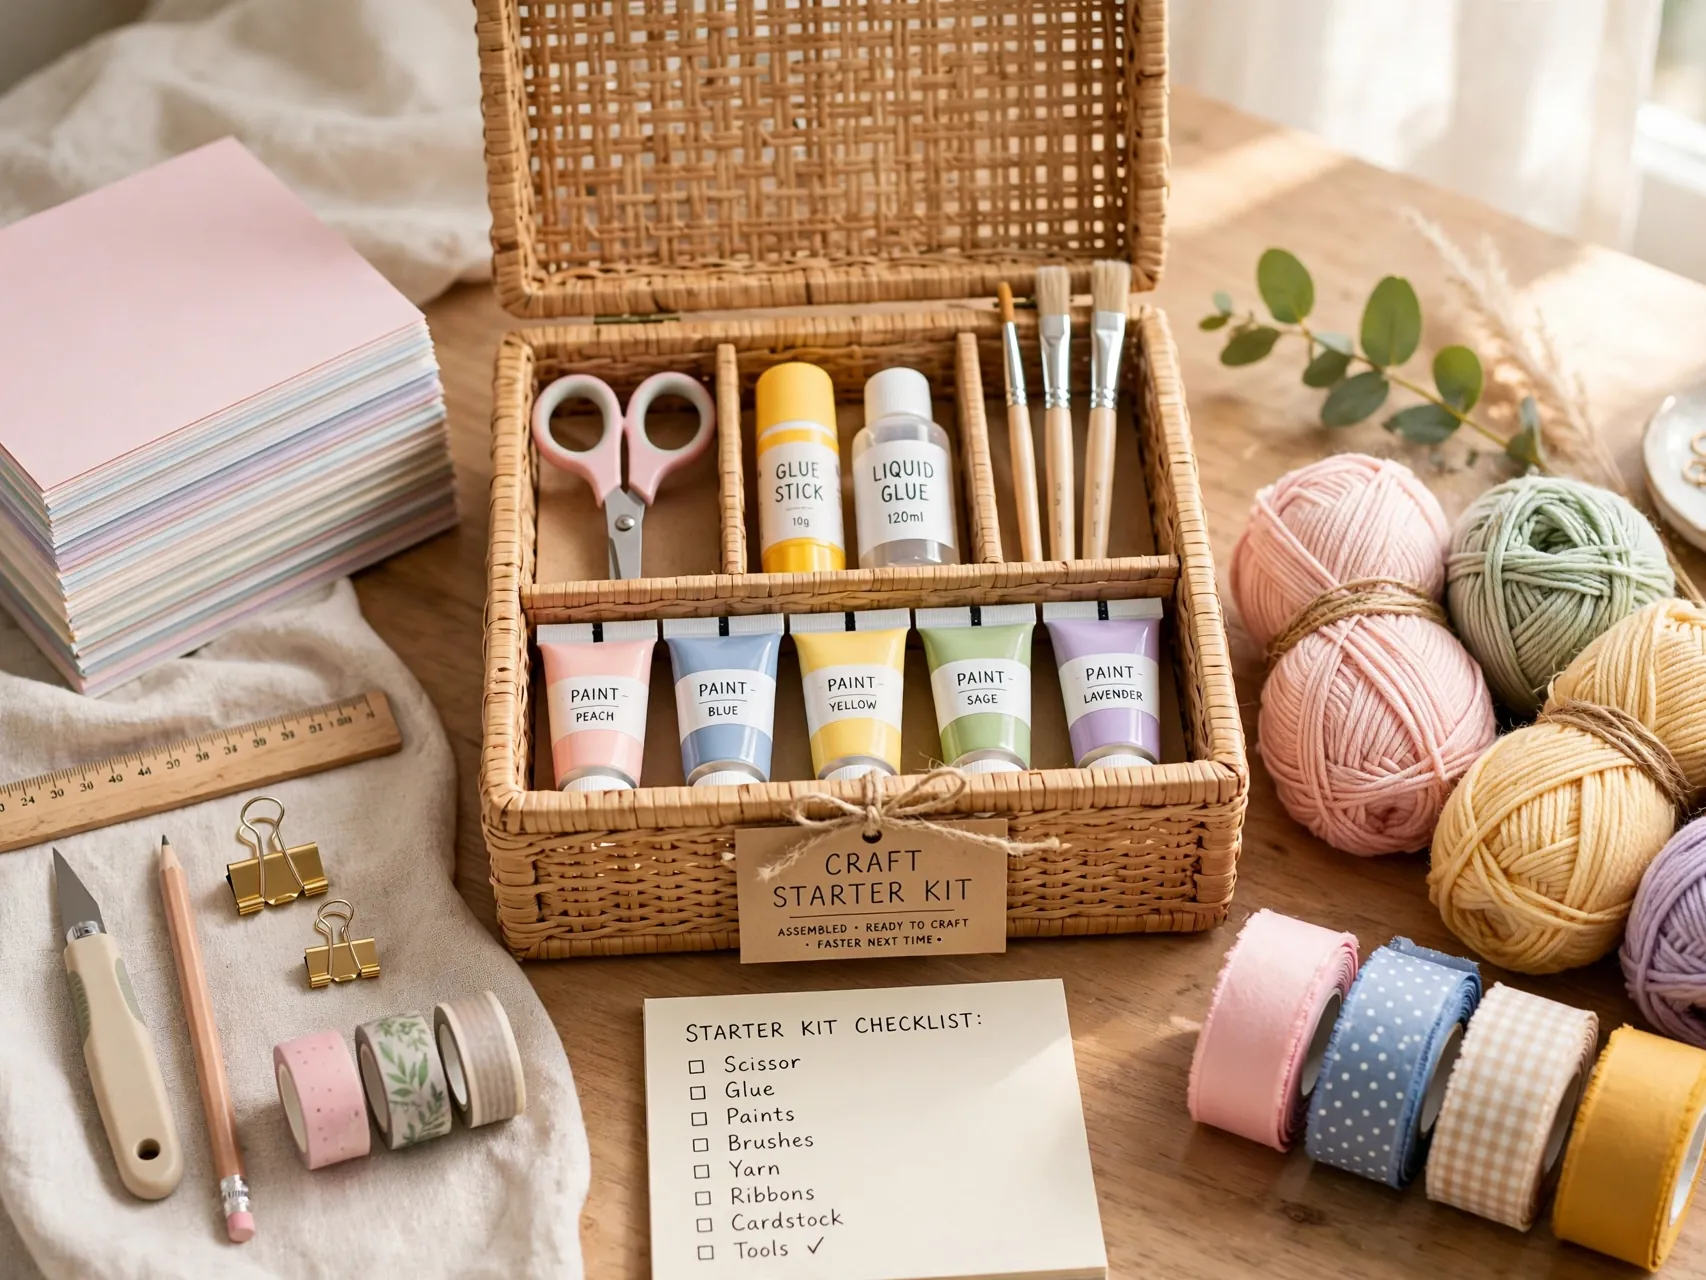
Use your final idea in this list to set up every future session. Gather acrylic paints in a core palette, brushes, craft glue, scissors, a glue gun, cardstock, twine, paint pens, and a small box of mixed basics like beads and buttons into one tote or bin.
Label small jars, add a notebook for ideas, and restock only what you finish. A ready kit removes the setup friction that kills short craft windows. With supplies at hand, any spare hour becomes a making hour, and that is the real habit behind this whole list.
FAQ
What crafts can I realistically finish in one hour?
Projects with few steps and no long curing: felt ball garlands, painted rocks, bookmarks, yarn wrapped bottles, photo magnets, beaded bracelets, and stamped towels all finish fully in an hour. Projects like candles and clay dishes shape or pour within the hour but need setting time afterward, which each section notes honestly.
What basic supplies cover most quick crafts?
A starter kit of acrylic paints, brushes, craft glue, a hot glue gun, scissors, cardstock, twine, paint pens, and a few blanks like jars, pots, and plain towels covers the majority of this list. Add project specific items only when you choose that craft, and your kit stays affordable and uncluttered.
Are these crafts suitable for complete beginners?
Yes. Every project here uses one or two simple techniques, painting, wrapping, stamping, threading, folding, or gluing, with no prior skill assumed. Start with the felt ball garland, painted rocks, or bookmarks if you want the gentlest first session, then move toward candles, clay, and macrame as your confidence grows.
How do I make quick crafts look polished instead of homemade in a bad way?
Limit your palette to two or three colors, repeat one detail across a set, and take two minutes for finishing touches: trimmed threads, clean edges, a label, or a tied ribbon. Grouping finished pieces in threes for display also lifts them instantly. Simple and consistent almost always reads as intentional.
Can I make these crafts as gifts without spending much?
Absolutely. Key fobs, bath salts, photo magnets, bookmarks, and painted pots cost very little per piece, especially in small batches. Make several at once, package them simply with twine and a handwritten tag, and note any care or safety basics on the tag, like candle trimming or hand washing for decorated mugs.
Key Takeaways
- One hour is a real craft window: With supplies ready, most of these projects finish fully in a single relaxed sitting.
- Active time versus drying time: Paint, glue, wax, and clay may set longer in the background, and planning for that keeps expectations honest.
- A small starter kit unlocks everything: Core paints, tools, and blanks mean your next session starts at the table, not the store.
- Simple finishes look professional: Limited palettes, repeated details, and two minutes of tidying lift every project.
- Make multiples for gifts: Batching key fobs, salts, magnets, and bookmarks stocks a thoughtful gift drawer at very low cost.
- Found your next free hour project? Save this list to Pinterest and pin the craft you will try first.