
24 Tips on How to Paint a Ceiling Without Streaks or Mess
Introduction
Ceilings are unforgiving. They are the largest unbroken surface in a room, lit by windows at a low angle that reveals every roller line. Learning how to paint a ceiling without streaks or mess is less about talent and more about order: prep fully, choose flat paint, keep a wet edge, and never stop mid ceiling.
These 24 tips follow the job in sequence, from checking old paint for lead and setting up ladders safely, through cutting in, rolling in small sections, and finishing with a calm cleanup. Most streaks blamed on paint are really caused by a dry roller, uneven pressure, or a pause that let an edge set.
Set aside an unhurried day, protect everything below, and work when you can see. Natural daylight shows misses honestly, and a second pair of eyes from the doorway helps. With the room ready before the roller is loaded, the painting itself becomes the easiest part of the whole project.
1. Check the Ceiling Age and Paint Condition First
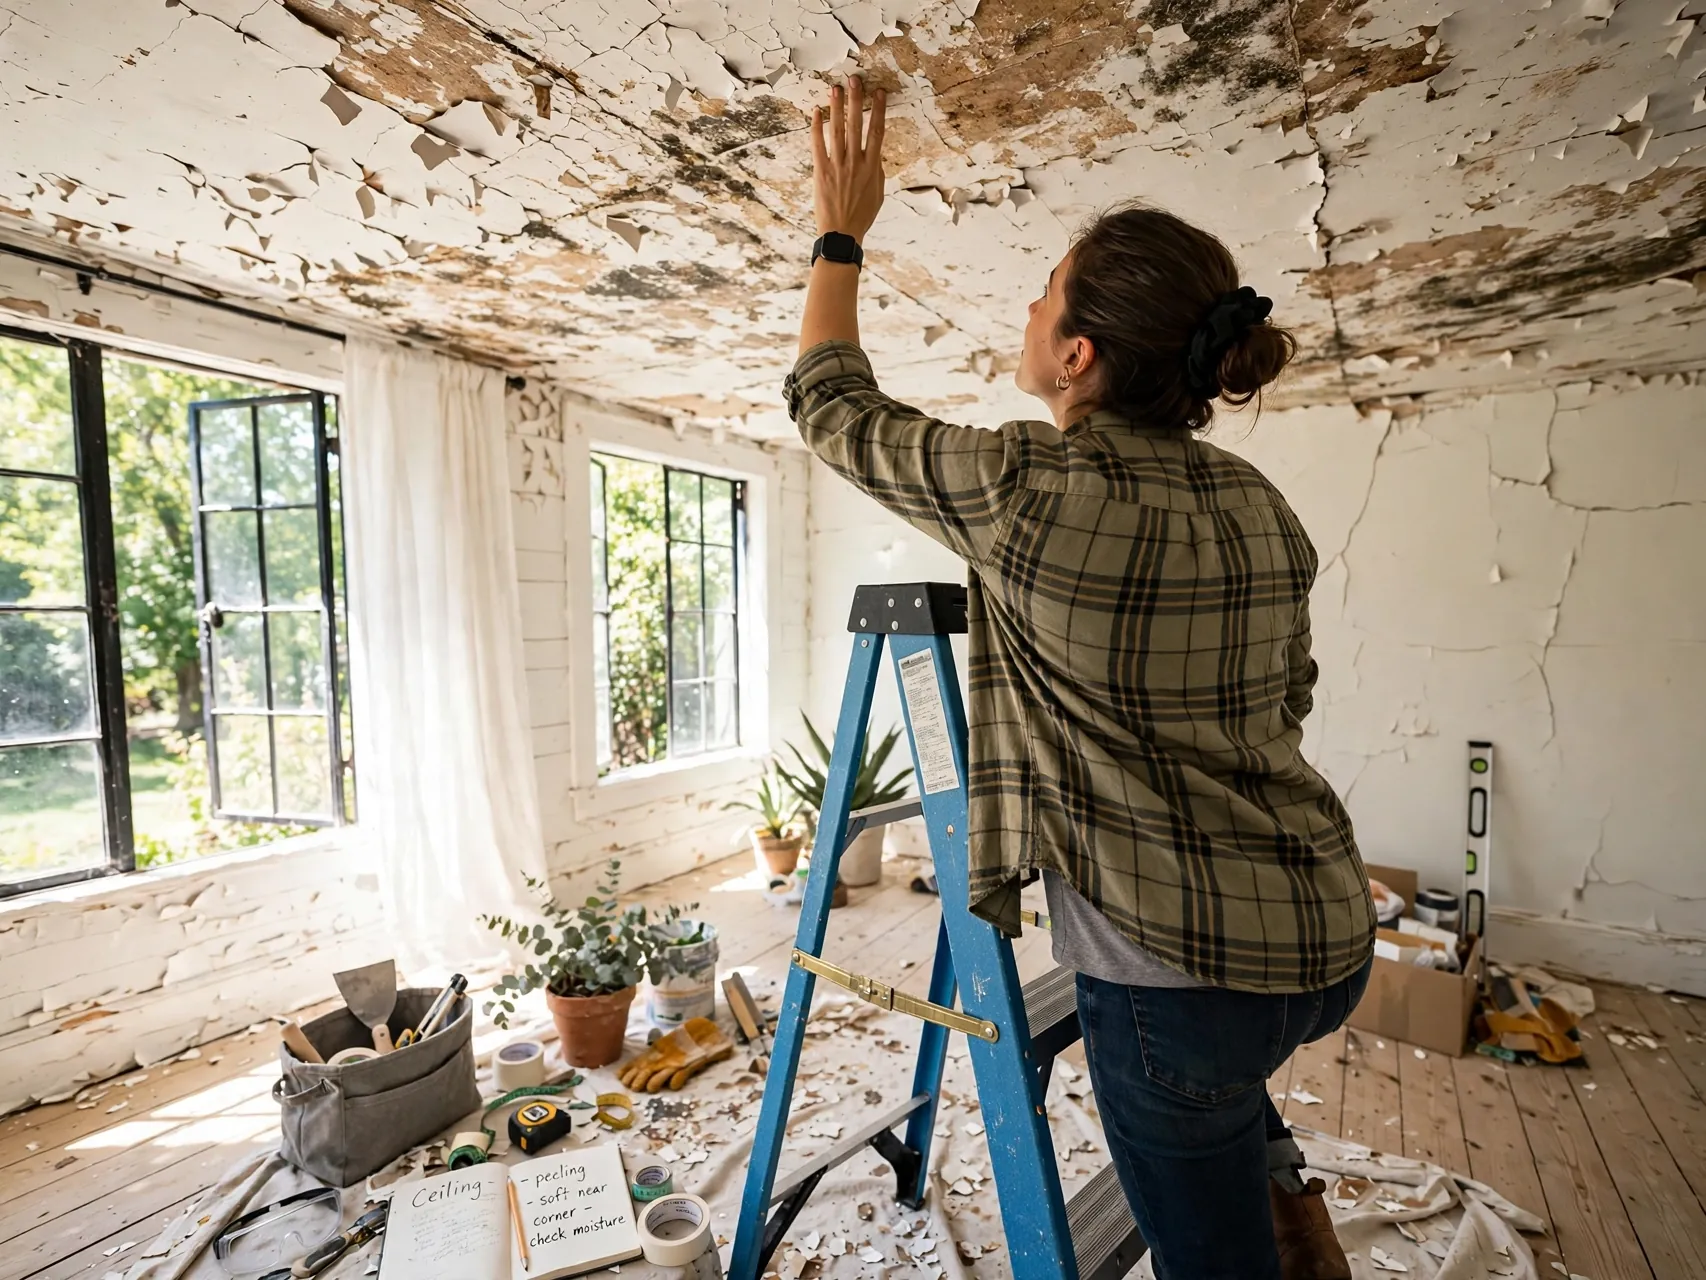
Before any scraping or sanding, think about age. Homes built before 1978 may have lead paint, and the EPA advises lead-safe care when old paint is disturbed. Do not dry scrape or sand suspect paint. Test with an EPA recognized kit or hire a lead-safe professional, and fix the cause of any peeling, such as a leak, before you coat over it.
Take a short break between coats rather than rushing the second one. Stepping out of the room resets your eyes, so you return noticing coverage honestly instead of hopefully.
2. Decide Whether Your Textured Ceiling Is Safe to Roll

Old popcorn or heavy texture can loosen when wet paint soaks it, and very old texture may contain asbestos. If the ceiling is pre-1980s texture of unknown makeup, have it tested before rolling or scraping, and leave removal to professionals if there is any doubt. On sound, modern texture, test a small hidden patch with paint and let it dry before committing to the whole room.
Keep pets and children out of the room until the floor is clear and paint is dry. One curious pass under a wet ceiling undoes careful protection in seconds.
3. Clear the Room or Cover Everything Completely
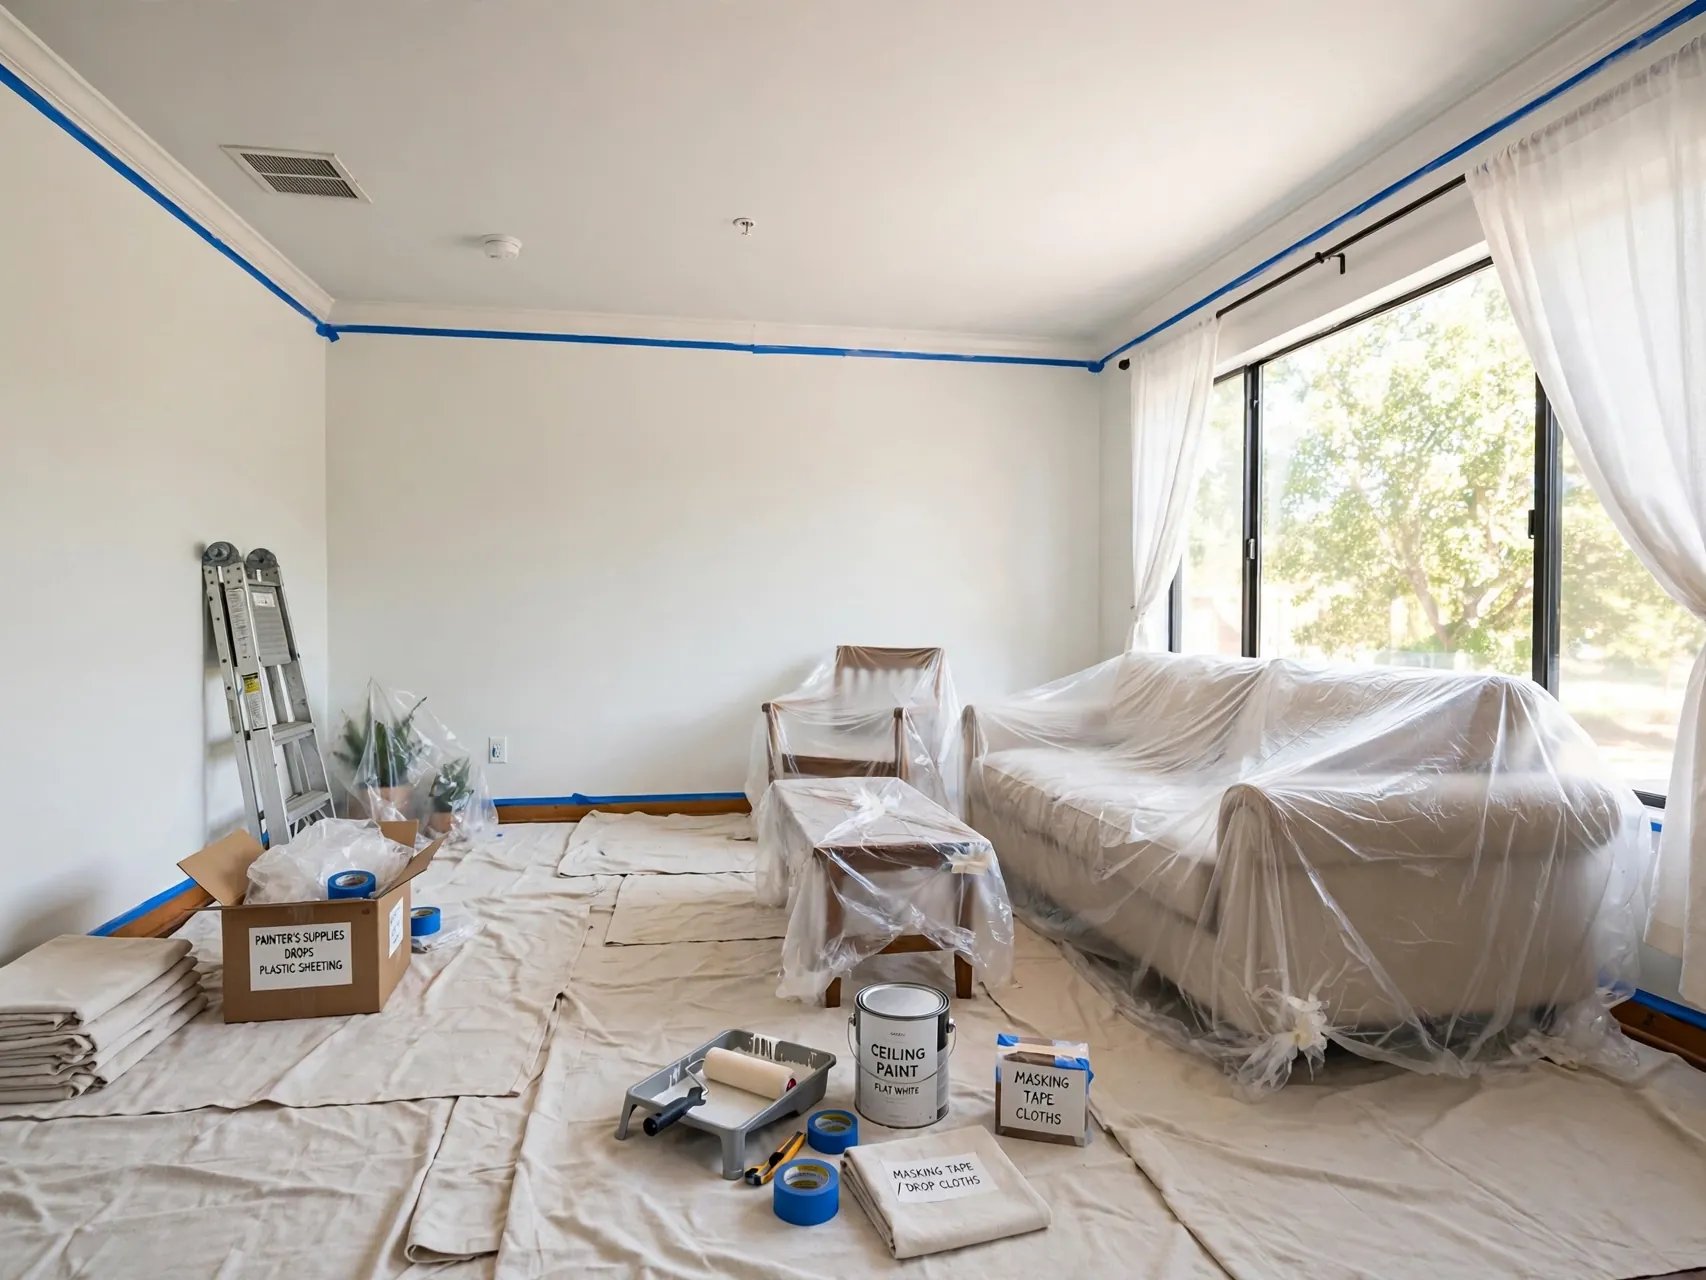
Ceiling paint drips fall straight down onto everything you meant to protect later. Move out light furniture, roll up rugs, and cover what stays with canvas drop cloths, which absorb drips and stay put better than plastic. Tape plastic over light fixtures only with the power off at the breaker, and remove it before restoring power. A fully protected room lets you roll freely without flinching.
If you are painting alone, set a timer for regular water and stretch breaks. Ceiling work tires the neck and arms quietly, and tired arms are where streaks begin.
4. Set Up Ladder Safety Before You Open Paint

Most ceiling work is safer from the floor with an extension pole. When a ladder is needed for cutting in, place it on a flat, dry surface, keep three points of contact, never stand on the top steps, and move the ladder instead of leaning or overreaching. Keep the area below clear, wear shoes with grip, and never carry open paint up a ladder in your hand.
5. Protect Your Eyes, Skin, and Lungs

Paint drips fall directly toward your face, so wear safety glasses or goggles the whole time you roll, not just at the start. A hat, long sleeves, and gloves keep wash-up easy. Open windows or run a fan for ventilation, follow the paint label for respirator guidance when sanding filler, and take fresh air breaks. Comfort is technique too: tired, stinging eyes rush the finish.
6. Fill Cracks and Dents, Then Let Repairs Dry Fully
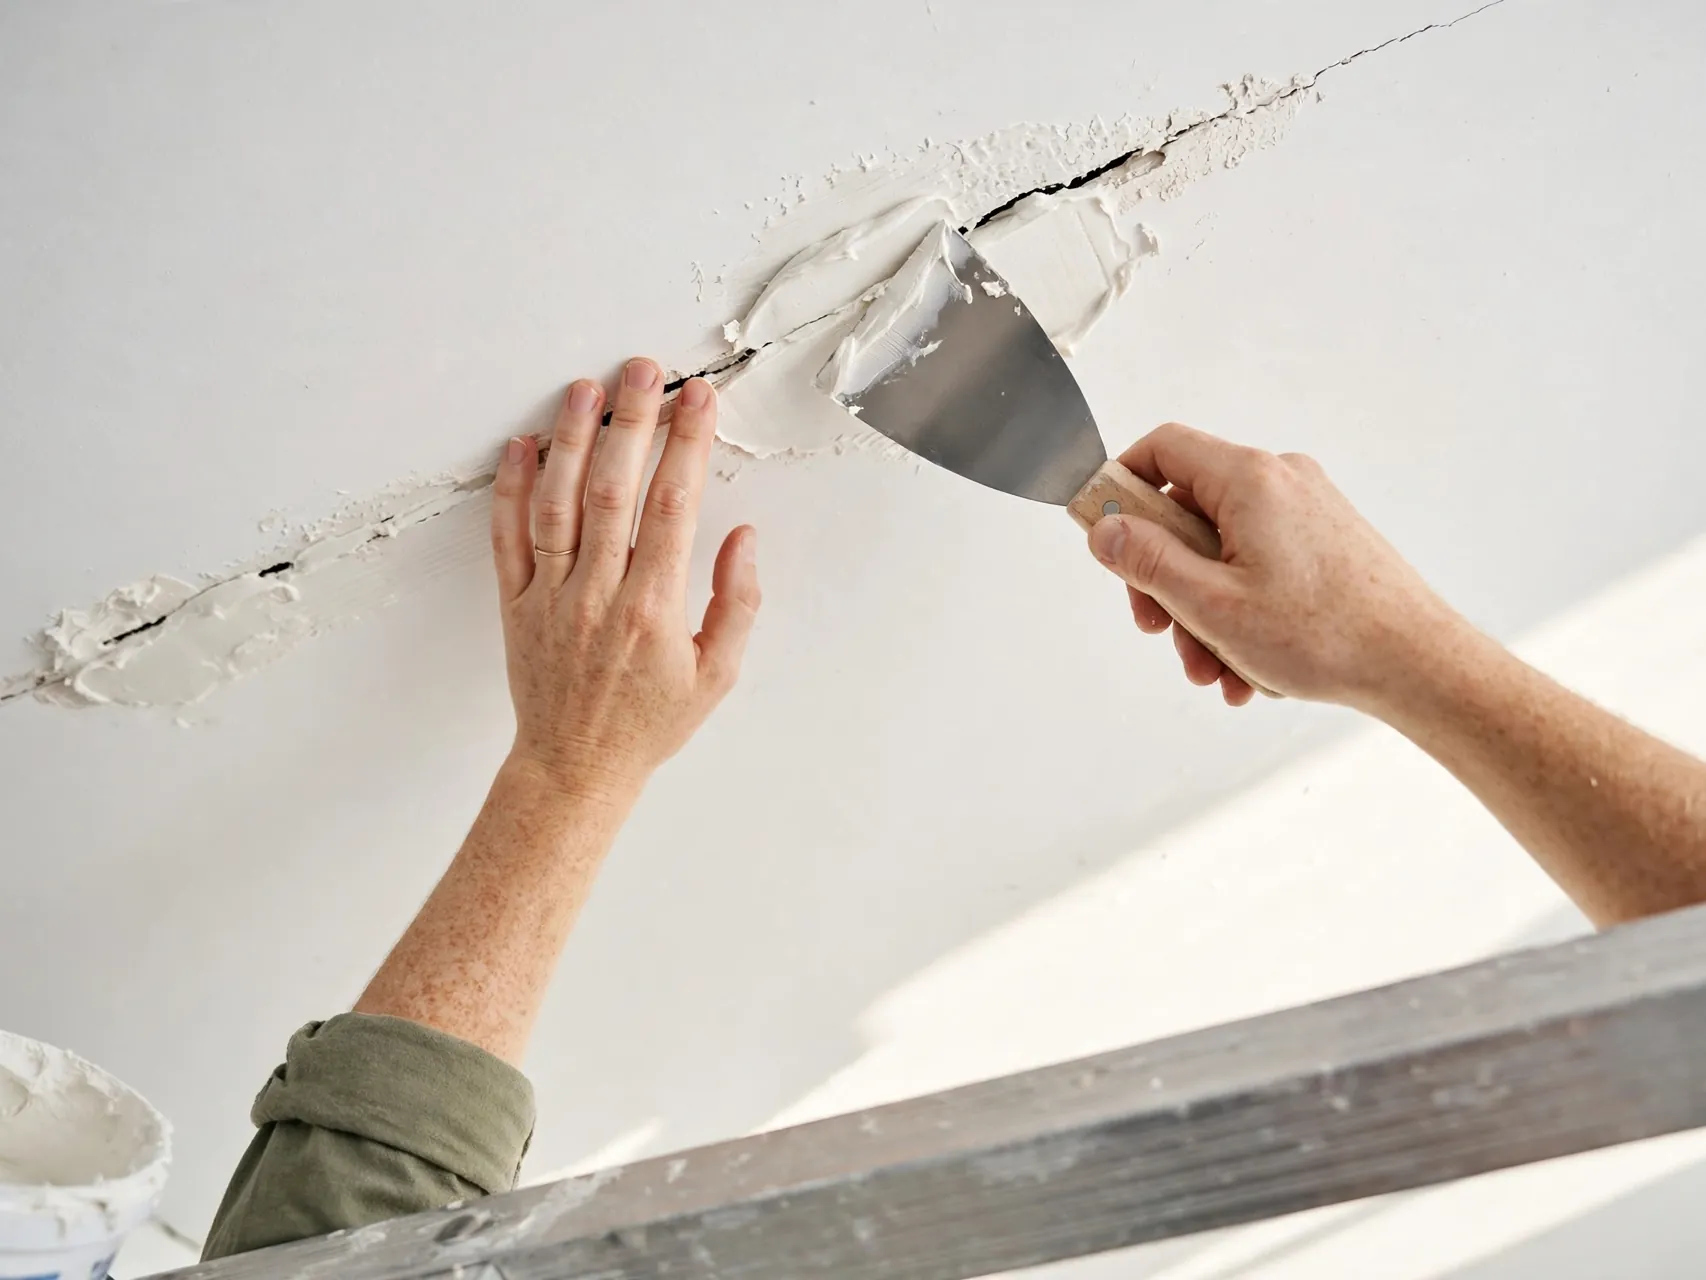
Inspect the ceiling with a bright work light held at an angle, and mark every crack, nail pop, and dent with painter tape. Fill with suitable filler, let it dry completely per the label, and sand smooth with fine paper while wearing a dust mask. Damp filler telegraphs through paint as a dull patch, so patience here is what makes repairs disappear later.
7. Wash Grease and Dust From the Surface

Kitchen and bathroom ceilings hold a film of grease and steam residue that paint cannot grip. Wash with a mild detergent solution on a well wrung mop or sponge, rinse, and let the ceiling dry fully. Dust every corner and the tops of walls, because a roller flicks loose dust into wet paint. Clean, dry, and dull is the surface every good ceiling finish starts from.
8. Prime Stains With a Stain-Blocking Primer

Water marks, smoke, and nicotine stains bleed through ordinary ceiling paint and reappear within days. Seal them first with a stain-blocking primer made for the job, after fixing the leak that caused them. Prime patched areas too, so filler does not flash as a different sheen. Skipping primer to save an hour is the most common reason a fresh ceiling still looks patchy in window light.
9. Choose Flat Ceiling Paint Made for the Job

Flat or matte sheen is the ceiling standard because it scatters light instead of reflecting every roller pass. Paints labeled for ceilings are usually flat, bright white, and spatter resistant, and they dry a little slower to help you keep a wet edge. Avoid leftover satin wall paint on ceilings. Its shine will advertise every lap mark you worked so hard to avoid.
10. Pick the Right Roller Nap for Your Surface

On smooth ceilings, a 3/8 inch nap roller lays paint evenly without heavy stipple. Lightly textured ceilings do better with 1/2 inch nap, which reaches into low spots without flooding them. Use a quality woven cover that does not shed lint, rinse and spin it dry before first use, and keep a spare cover ready. A worn, matted roller cannot hold enough paint to prevent streaks.
11. Stir Paint Thoroughly and Box Multiple Cans Together

Pigment settles, and a half stirred can lays color unevenly from start to finish. Stir slowly until the paint runs uniform, and if you need more than one can, pour them together into a larger bucket so any tiny shade difference blends into one batch. Strain old paint through a mesh if it has skins or lumps. Consistent paint in the tray means consistent color on the ceiling.
12. Cut In the Edges First With an Angled Brush

Use a 2 or 2.5 inch angled brush to paint a band around the ceiling edges, around lights, and where walls meet the ceiling. Work one wall length at a time, feathering the inner edge so no hard ridge forms. Roll into this band while it is still wet to blend textures. Cutting in the whole room long before rolling lets edges dry and causes the picture frame effect.
13. Load the Roller Evenly and Never Roll Dry

Dip the roller, then roll it on the tray ramp or a grid until the nap is full but not dripping. A dry roller is the number one streak maker: it drags, skips, and leaves transparent stripes you only see when the coat dries. Reload often, more often than feels necessary, and listen to the roller. If it squeaks or sounds papery against the ceiling, it is already too dry.
14. Work in Small Sections of About Three Feet Square
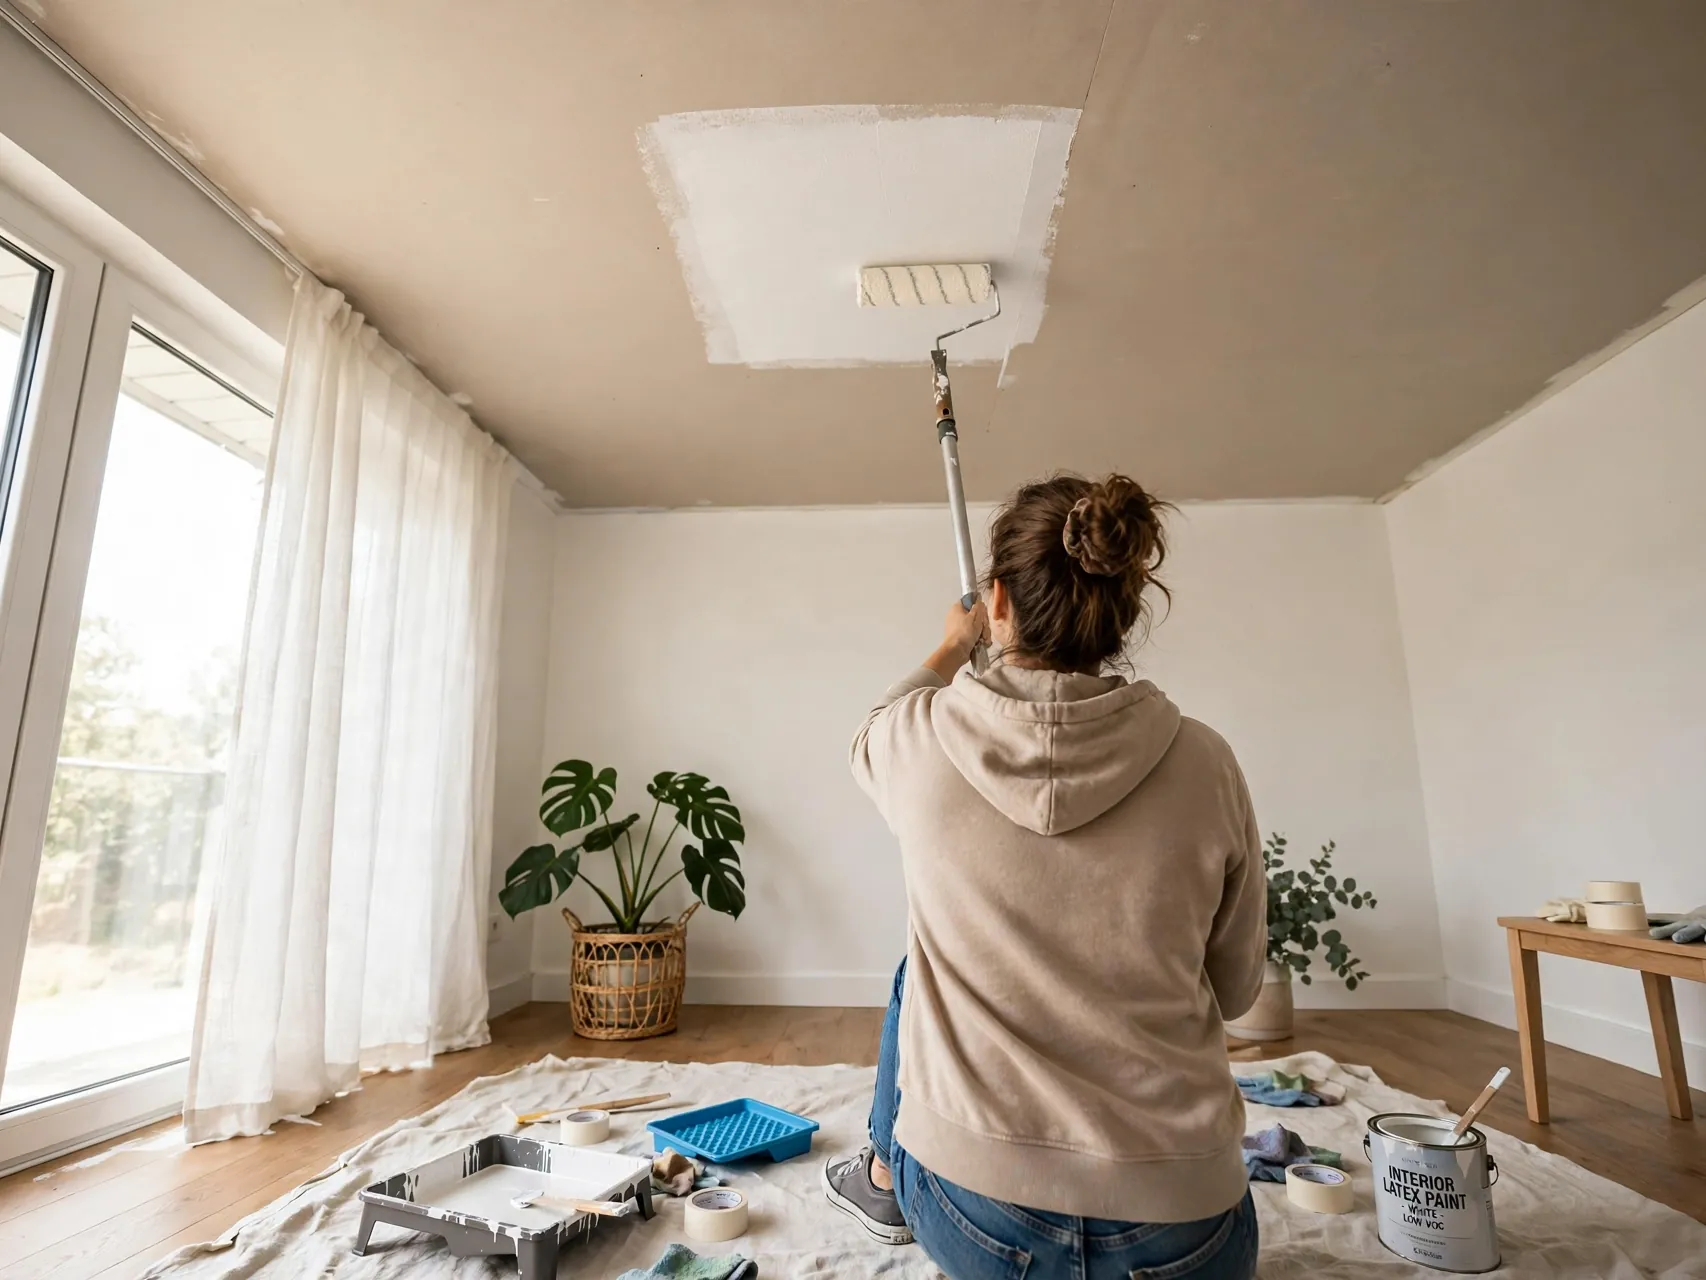
Divide the ceiling mentally into small squares, roughly three feet each, and finish one completely before moving on. Small sections keep the working edge wet and manageable for one person with a pole. In larger rooms or with a fast drying paint, work with a helper cutting in ahead of you. Racing across a whole ceiling in long random passes is how lap lines and missed holidays happen.
15. Roll a W or M Pattern, Then Fill It In

Start each section by rolling a loose W or M without lifting the roller, spreading paint across the square. Then fill the gaps with straight, parallel passes, slightly overlapping each stroke. This two step method spreads paint evenly before you smooth it, instead of pushing a thick ridge ahead of the roller. Keep pressure light and even, letting the loaded nap do the work rather than your arms.
16. Keep a Wet Edge From Start to Finish

Every new pass should overlap the previous, still wet section by a small amount, so the two films merge into one. Plan your route across the ceiling so you always roll back into wet paint, never into a dried edge. If paint starts to tack up, because the room is hot or drafty, shrink your sections and work faster rather than pressing harder or adding extra passes.
17. Finish Each Section Rolling Toward the Main Window

Make the final light pass in every section in one consistent direction, ideally parallel to the light from the room main window. Faint texture lines then run with the light instead of across it, so they cast almost no shadow. Keep that direction for the whole ceiling and for the second coat. Random final directions are a hidden cause of ceilings that look striped only at certain hours.
18. Use Light, Even Pressure and Let the Pole Help

An extension pole gives you reach, leverage, and a better viewing angle from the floor. Grip it comfortably, keep the roller flat so one edge does not dig a track, and avoid squeezing paint out at the sides with heavy pressure. Heavy hands make ridges, thin centers, and sore shoulders. If you are straining, the section is too big or the roller needs reloading, not more force.
19. Do Not Go Back Over Paint That Is Starting to Set
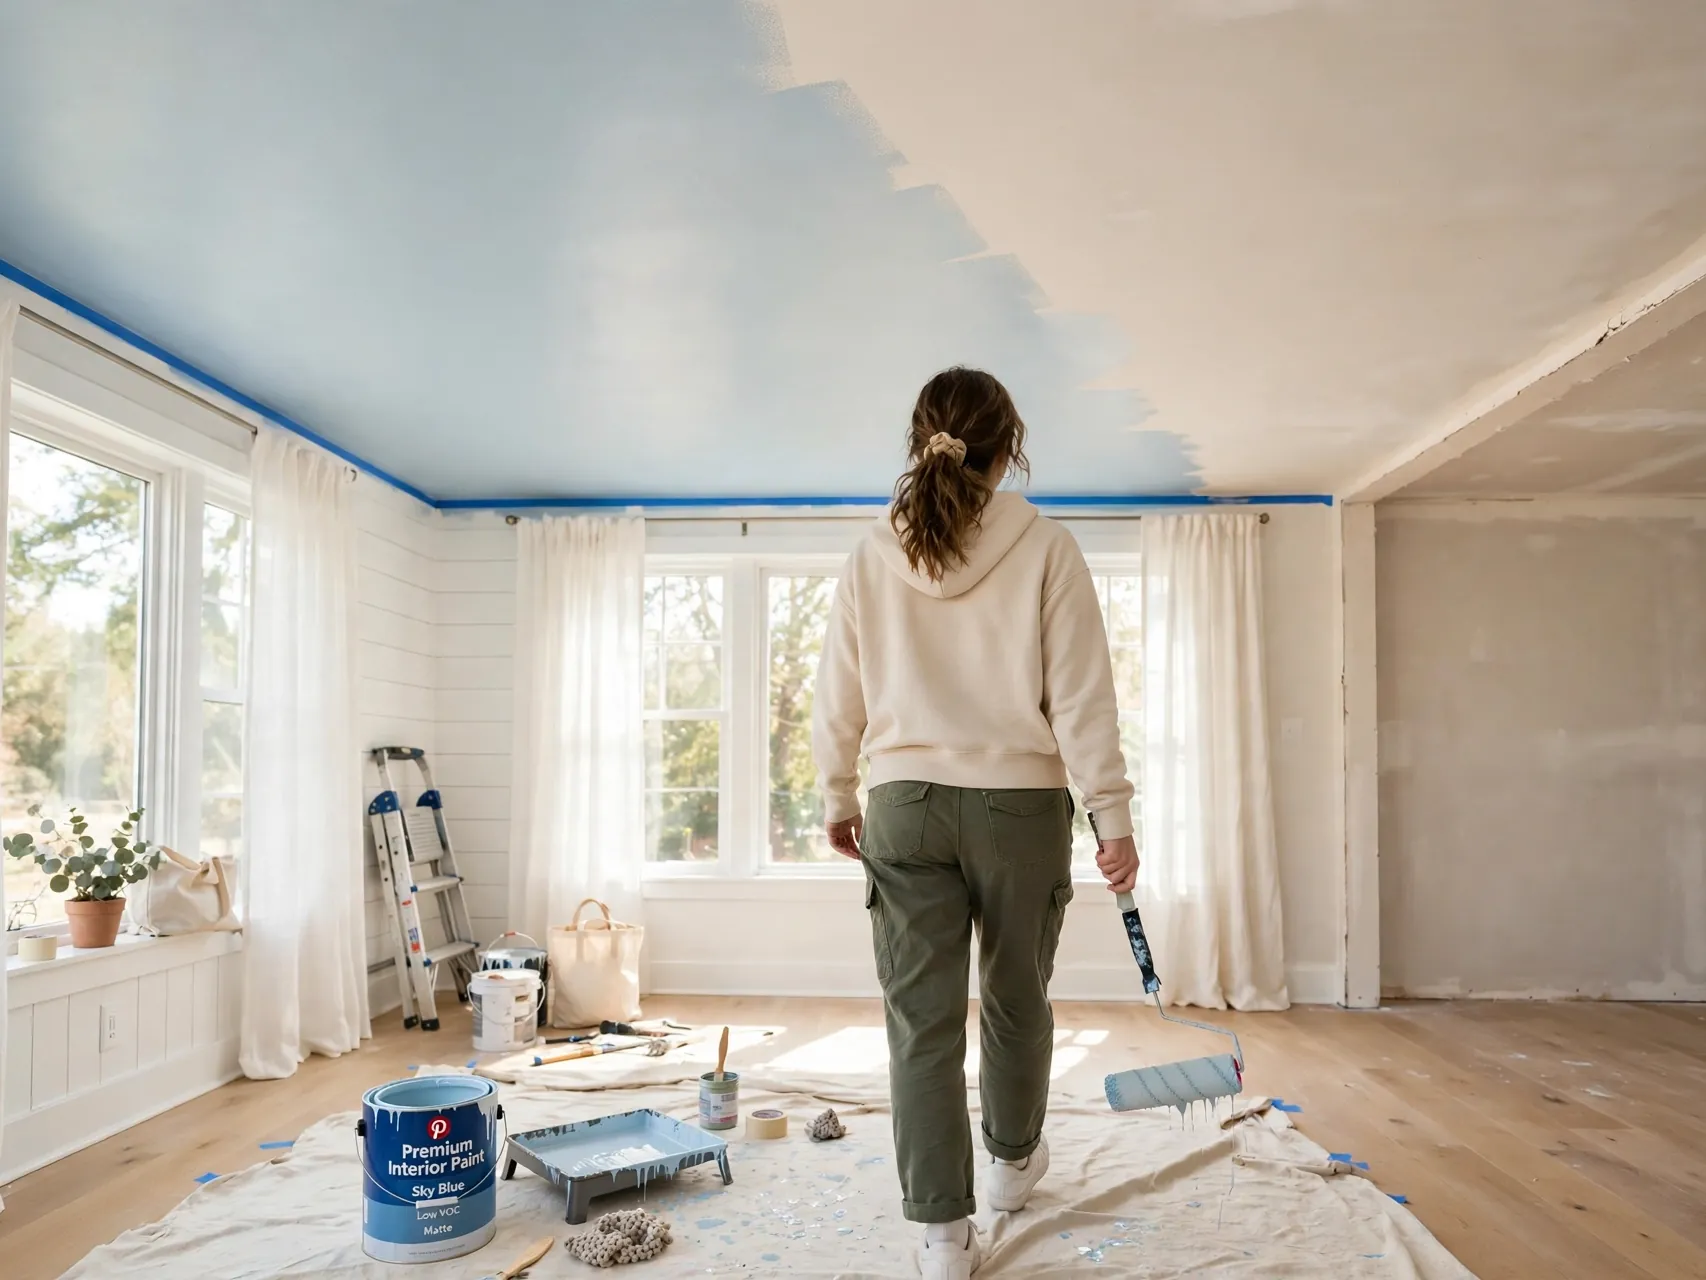
The urge to fix a thin spot you spot five minutes later ruins more ceilings than any other habit. Rolling into paint that has begun to set lifts it into ridges and dull patches. Note the spot, finish the coat, and judge it only when fully dry. Most thin spots vanish under the second coat, which is planned anyway, so patience literally is the technique here.
20. Apply Two Thin Coats Instead of One Thick Coat

Two thin coats cover better, dry more evenly, and show fewer marks than one heavy coat forced to do everything. Let the first coat dry for the full time on the label, not just until it feels dry to a fingertip. Roll the second coat following the same section plan and final direction. If coverage still looks uneven when dry, a third thin coat beats any amount of spot patching.
21. Manage Drips and Spatter the Moment They Happen

Keep a damp rag in your pocket and a small brush in hand. Wipe wall splashes and floor drips immediately, while they lift cleanly, and roll out any drip line on the ceiling while that section is still wet. Roll slowly near edges to cut spatter, and never shake a loaded roller. Ten seconds of wiping now saves an hour of scraping hardened specks off trim and flooring later.
22. Pull Tape at the Right Moment for Clean Lines
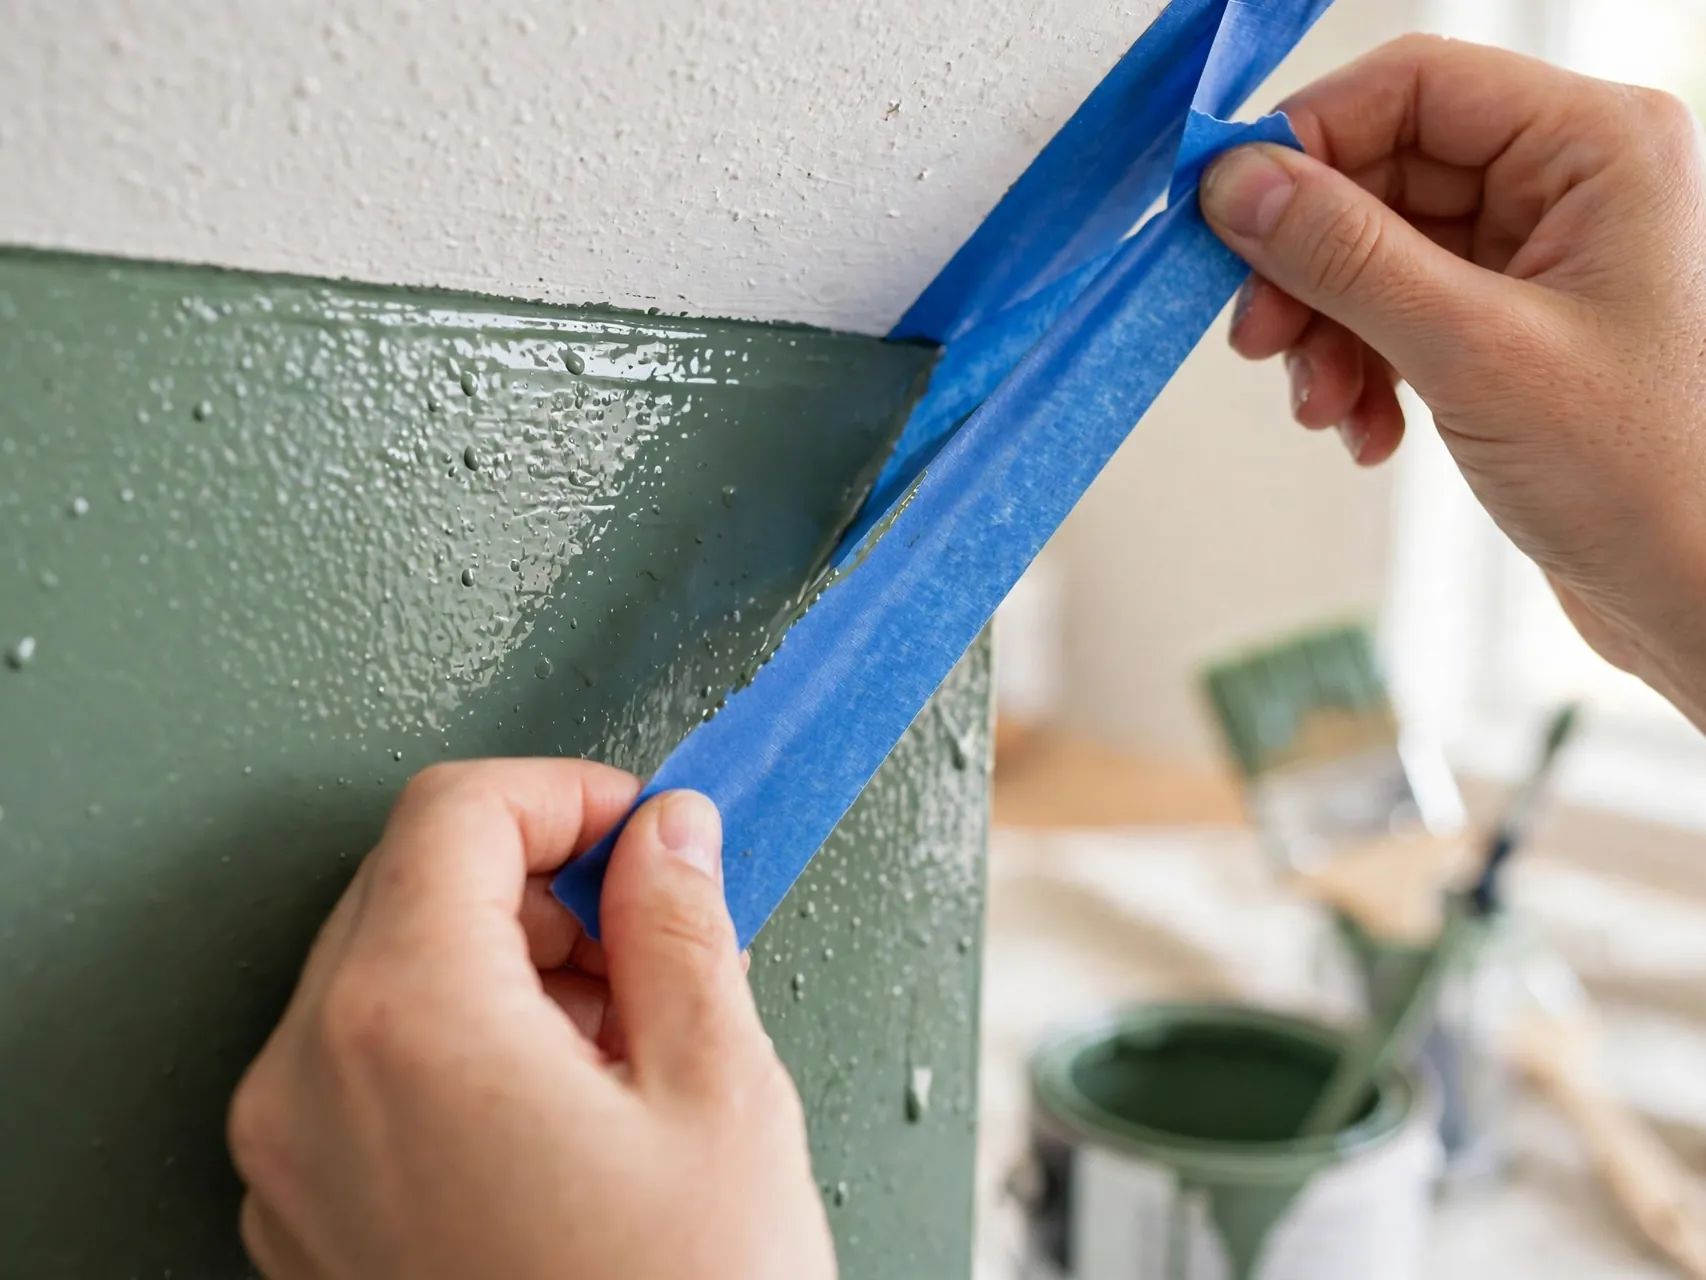
If you taped wall tops or trim, score the paint edge lightly and pull the tape while the final coat is still slightly wet, pulling slowly at an angle away from the fresh paint. Pulling dry tape can tear the film and lift flakes from the ceiling edge. If paint has dried hard, run a utility knife gently along the tape line first, then remove it in short, steady strips.
23. Judge the Finish in Daylight, Not at Midnight

Fresh paint lies. Wet patches, sheen differences, and your own tired eyes make a good ceiling look patchy at night. Wait until the next day, open curtains fully, and view the ceiling from the doorway and from across the room at the hours light rakes across it. Only then decide whether a full extra coat is needed. Most ceilings that worried their painters at midnight look calm and even by morning.
24. Clean Up Calmly and Store Leftovers Properly

Wash rollers, brushes, and trays with warm soapy water for water based paint, working over a bucket rather than a garden drain. Label leftover paint with the room and date, seal the lid with a mallet over a cloth, and store it away from freezing. Flat leftover ceiling paint is perfect for future touch ups over small marks, as long as it is the same batch you boxed for the job.
Finally, walk the room once more in daylight before putting furniture back. Returning pieces to a fully dry, checked ceiling protects both the finish and the furniture, and it gives you one quiet moment to enjoy how much brighter the whole room feels.
##
FAQ
Why does my ceiling show roller marks after drying?
Roller marks usually come from a dry roller, uneven pressure, paint that began to set before the next pass, or a sheen above flat. Reload more often, work in smaller sections, keep a wet edge, and finish every section in the same direction toward the main window. If marks persist after two coats, a third thin coat in flat ceiling paint will usually calm them.
Should I paint the ceiling or the walls first?
Paint the ceiling first. Drips and spatter land on walls that are about to be painted anyway, and your wall color can then be cut in neatly up to a finished ceiling. Painting walls first means ceiling work threatens fresh wall paint, and touch ups along the top edge almost always flash as visible patches in side light.
Do I always need primer on a ceiling?
Not always. A clean, previously painted ceiling in good condition, repainted in a similar flat white, often needs only a good wash and two finish coats. Primer earns its place over stains, repairs, bare drywall, smoke or grease damage, and strong color changes. When in doubt, prime the problem areas at least, since unprimed patches and stains love to show through one finish coat.
How do I paint a ceiling without making a mess on the floor?
Cover everything with canvas drop cloths taped at the edges, roll slowly with a loaded but not dripping roller, use a splatter guard if you like, and wipe any drip immediately with a damp rag. An extension pole keeps you under control and off ladders. Most ceiling mess is really rolling too fast with too much paint, so slow passes are the real secret.
Is it safe to paint a ceiling in an older home?
Yes, with precautions. If the home was built before 1978, treat old paint as possible lead paint: do not dry sand or scrape it, consider an EPA recognized test or a lead-safe professional, and keep children away from dust. On any ceiling, use ladder care, eye protection, and ventilation, and have suspect old texture tested before disturbing it.
Key Takeaways
- Flat paint hides a multitude: A true flat ceiling paint, well stirred and boxed, forgives small technique flaws that satin would advertise.
- Wet edge, small sections: Three foot sections, a loaded roller, and rolling back into wet paint prevent nearly all streaks.
- One final direction: Finish each section rolling toward the main window so faint lines run with the light, not across it.
- Never re-roll setting paint: Note thin spots, finish the coat, and let the planned second coat do the fixing.
- Safety and prep rule: Ladder care, eye protection, ventilation, and lead caution for pre-1978 ceilings come before any rolling.
- Ready for a streak free ceiling? Save these tips to Pinterest and pin your painting day plan before you open the can.