20 Kids Craft Room Ideas That Inspire Endless Creativity
Introduction
The best craft space for children is not the biggest one. It is the one where supplies are easy to reach, mess is easy to clean, and finished art has somewhere proud to go. These kids craft room ideas work for a full spare room, a playroom corner, or even a stretch of hallway wall. Start with safety before style. Choose non-toxic paints, glues and markers, anchor any tall shelf or storage unit to the wall so it cannot tip, and keep small parts like beads, buttons and tiny caps stored up high and away from children under 3. Scissors, hot glue and craft knives stay in an adult only box, always. Then think in zones: a making zone at the table, a drying zone for wet work, a storage zone children can reach, and a display zone that rotates. When each zone has a clear job, cleanup stops being a battle and becomes part of the routine. Use the ideas below as a menu, not a shopping list. Pick the five or six that fit your space, your child ages and your tolerance for glitter, and build the room slowly. A craft space that grows with your children will inspire far more creativity than a perfect room they are afraid to mess up.
1. Start With a Wipe Clean Table at Child Height
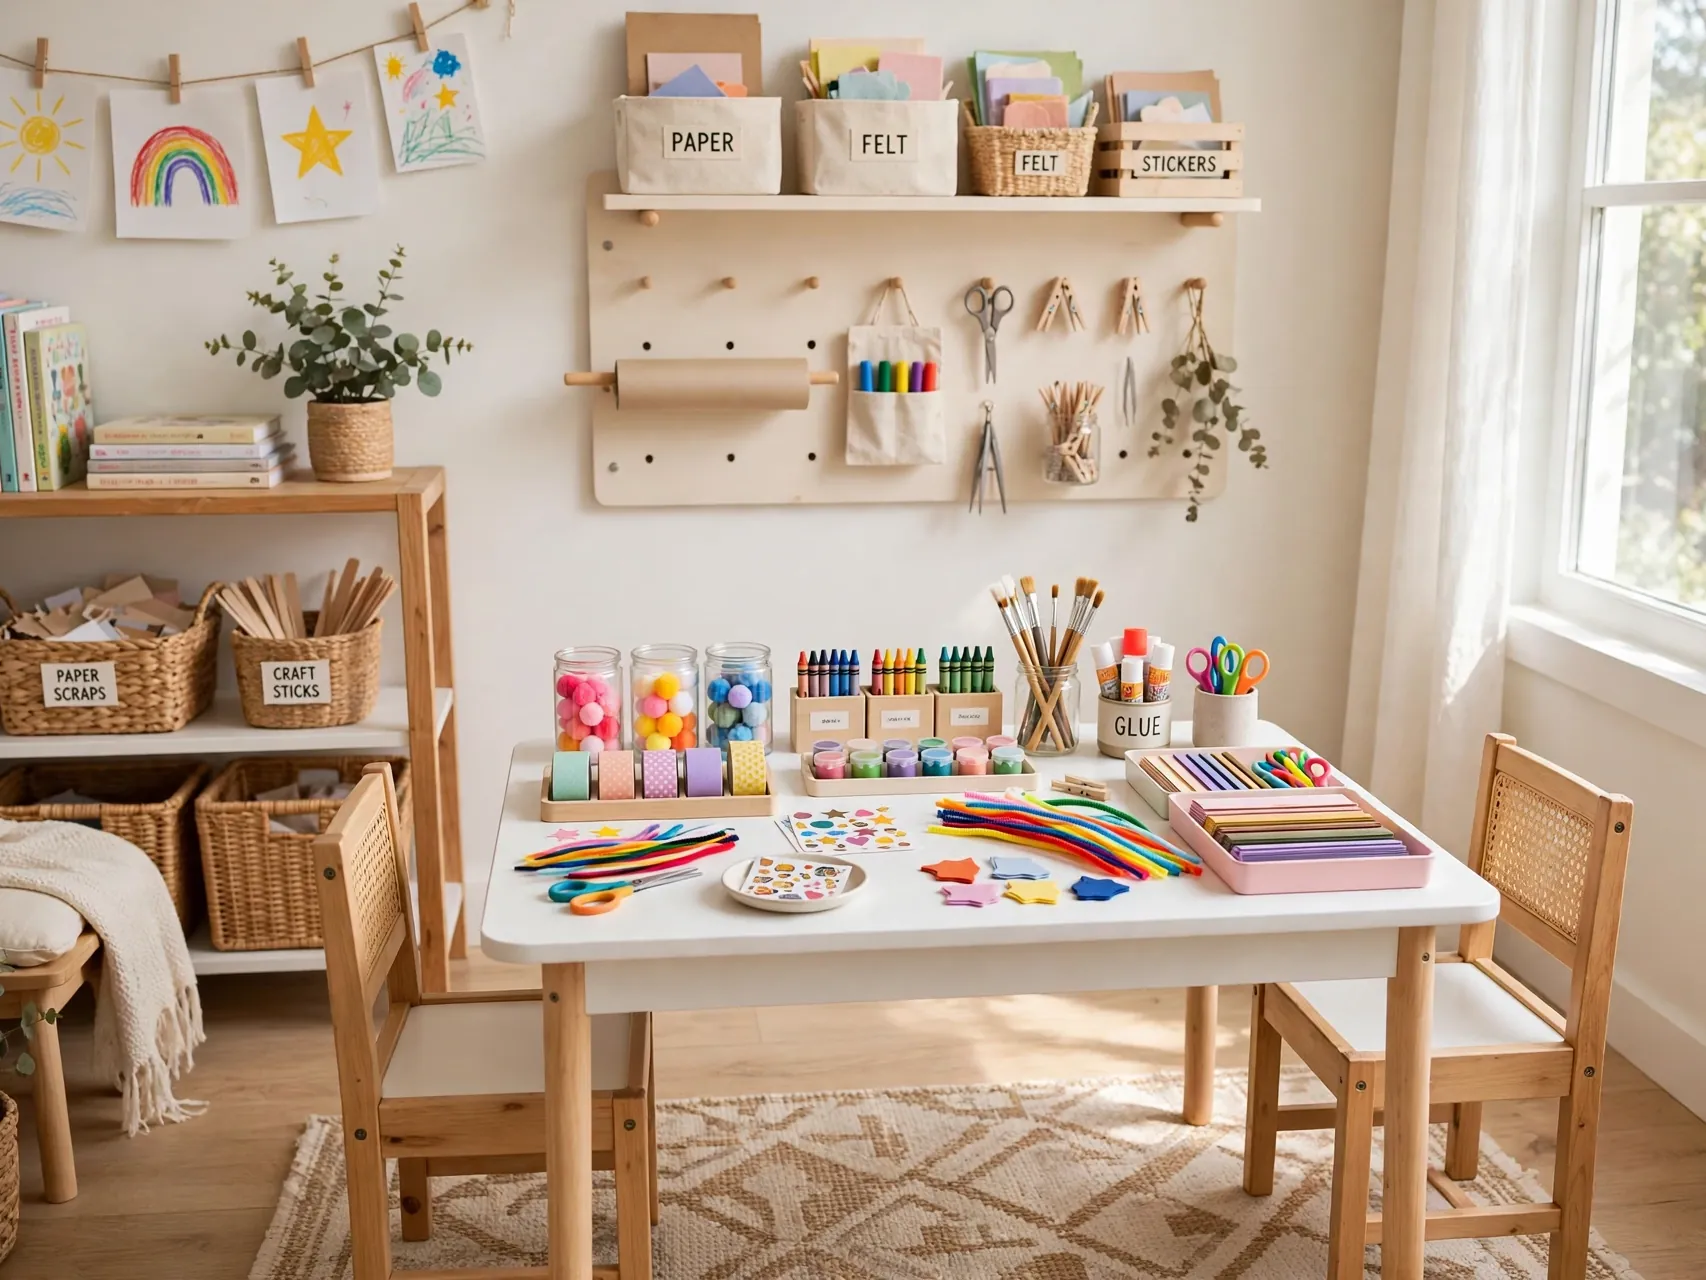
A sturdy table with a smooth, wipe clean top is the heart of the room. Choose one at a height where children can sit with feet flat and elbows comfortable, because wobbly posture ends craft sessions early.
Cover the surface with a washable mat for paint days, and keep a small bin and a damp cloth right on the table. When cleanup tools live where the mess happens, children learn to wipe, toss scraps and reset the table as a normal final step, not a punishment after the fun.
2. Roll In a Three Tier Supply Cart
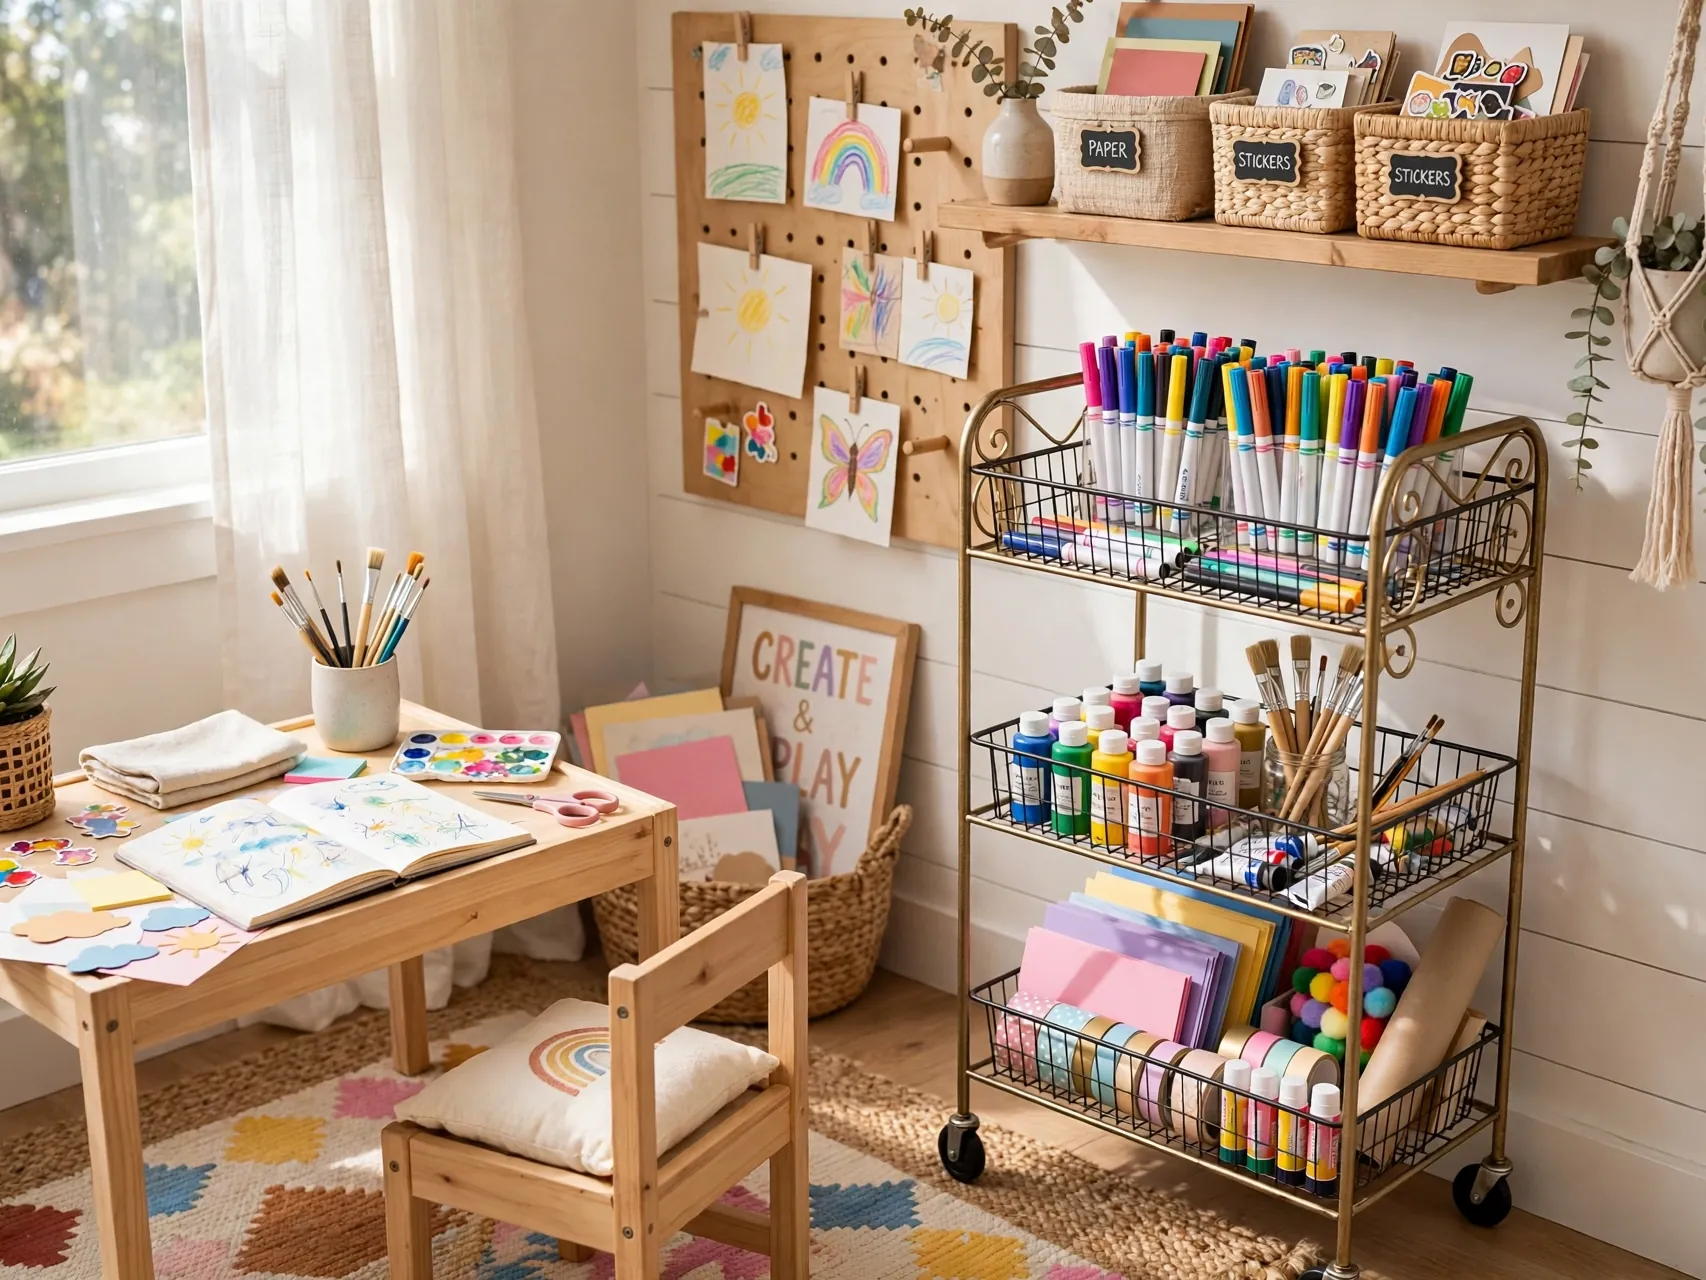
A rolling three tier cart holds the everyday kit: paper on one level, coloring tools on another, and glue, tape and safe scissors on the third. It moves to the table for projects and parks against the wall when floor space matters.
Keep only current supplies on the cart and refill it weekly from a larger store cupboard. A cart that is too full becomes a digging pit. Clear cups or small trays on each tier keep pencils upright, crayons sorted and sticky tools away from clean paper.
3. Sort Supplies Into Clear Labeled Bins
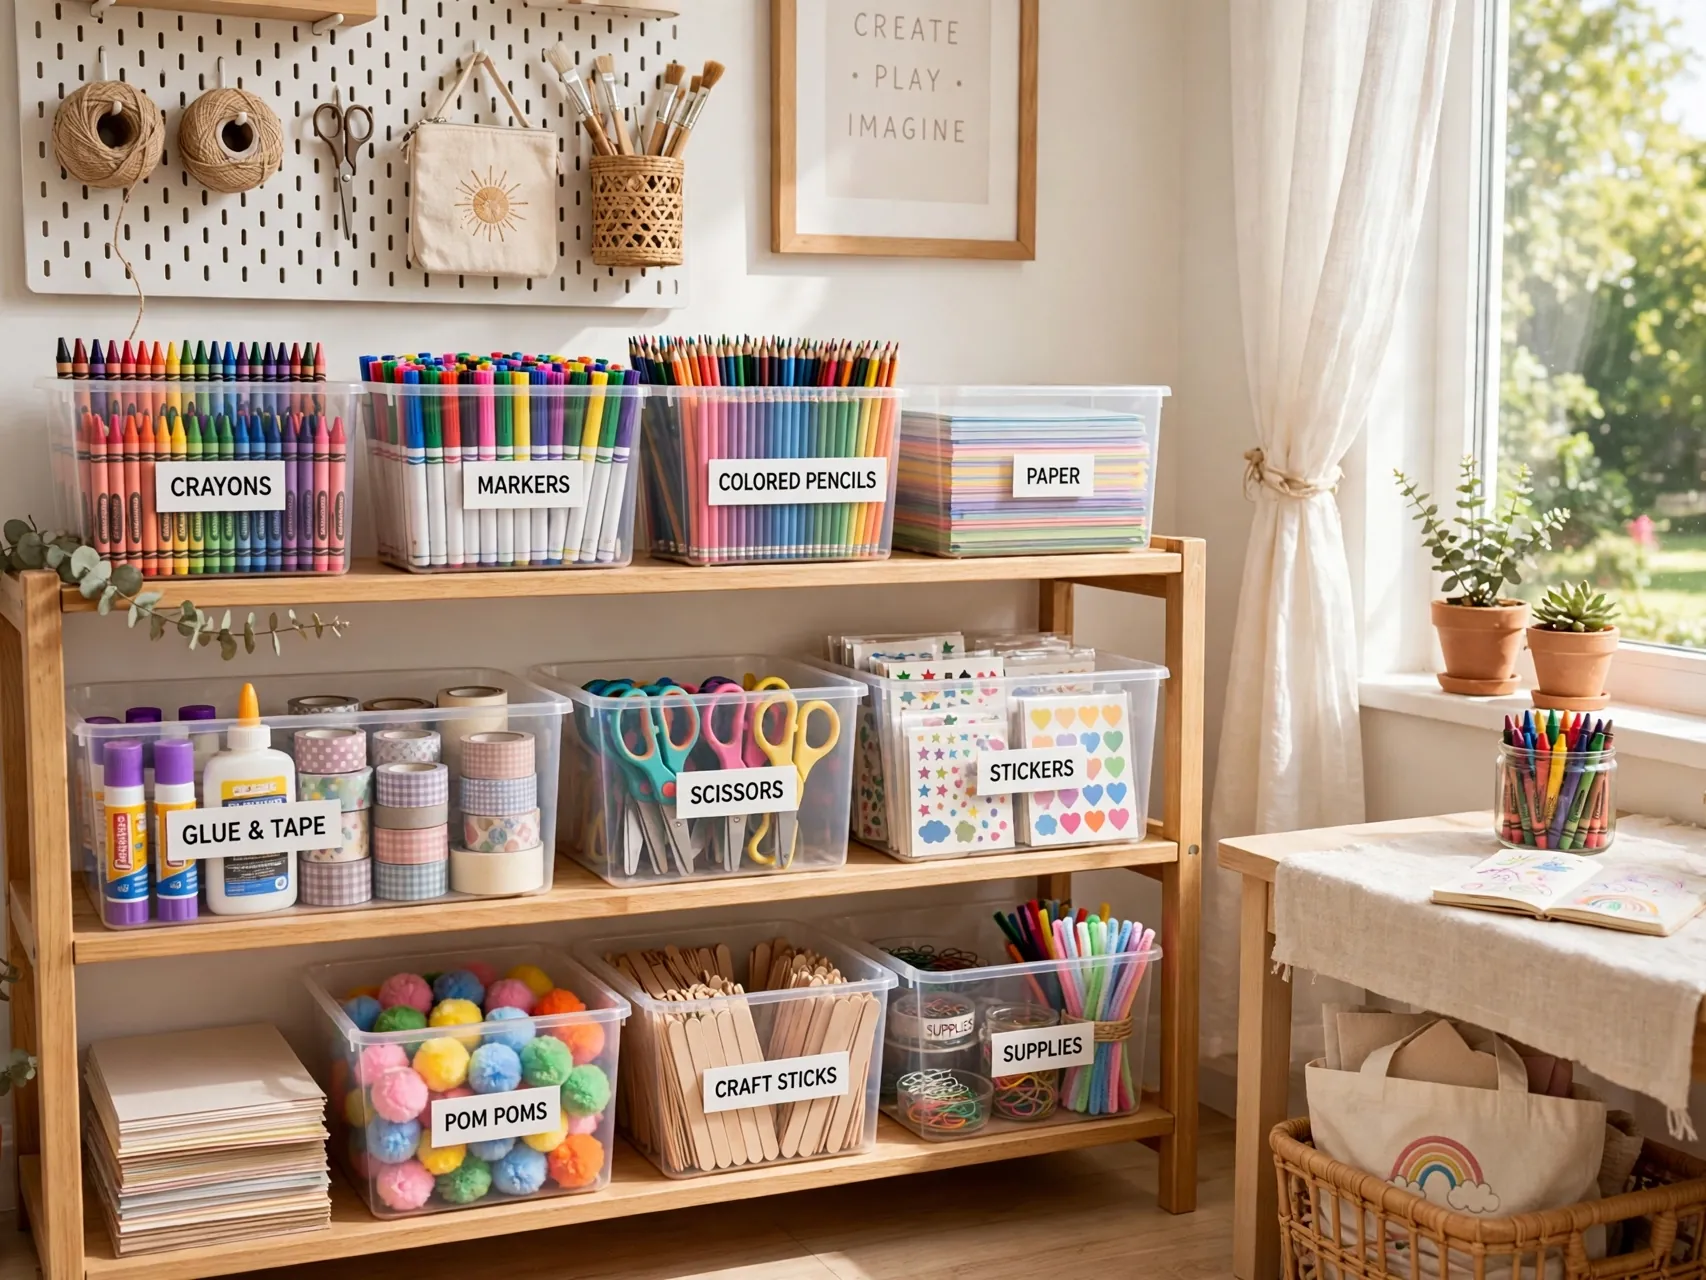
Clear bins with picture labels let young children find and return supplies without reading. One bin for paper, one for coloring tools, one for play dough, one for collage pieces, each with a simple photo or drawing on the front.
Store bins on low, open shelves that children can reach safely, and anchor the shelf unit to the wall. Keep heavy bins at the bottom. This single system prevents the classic craft room problem where every supply ends up mixed in one deep, discouraging box.
4. Hang a Low Pegboard Tool Wall
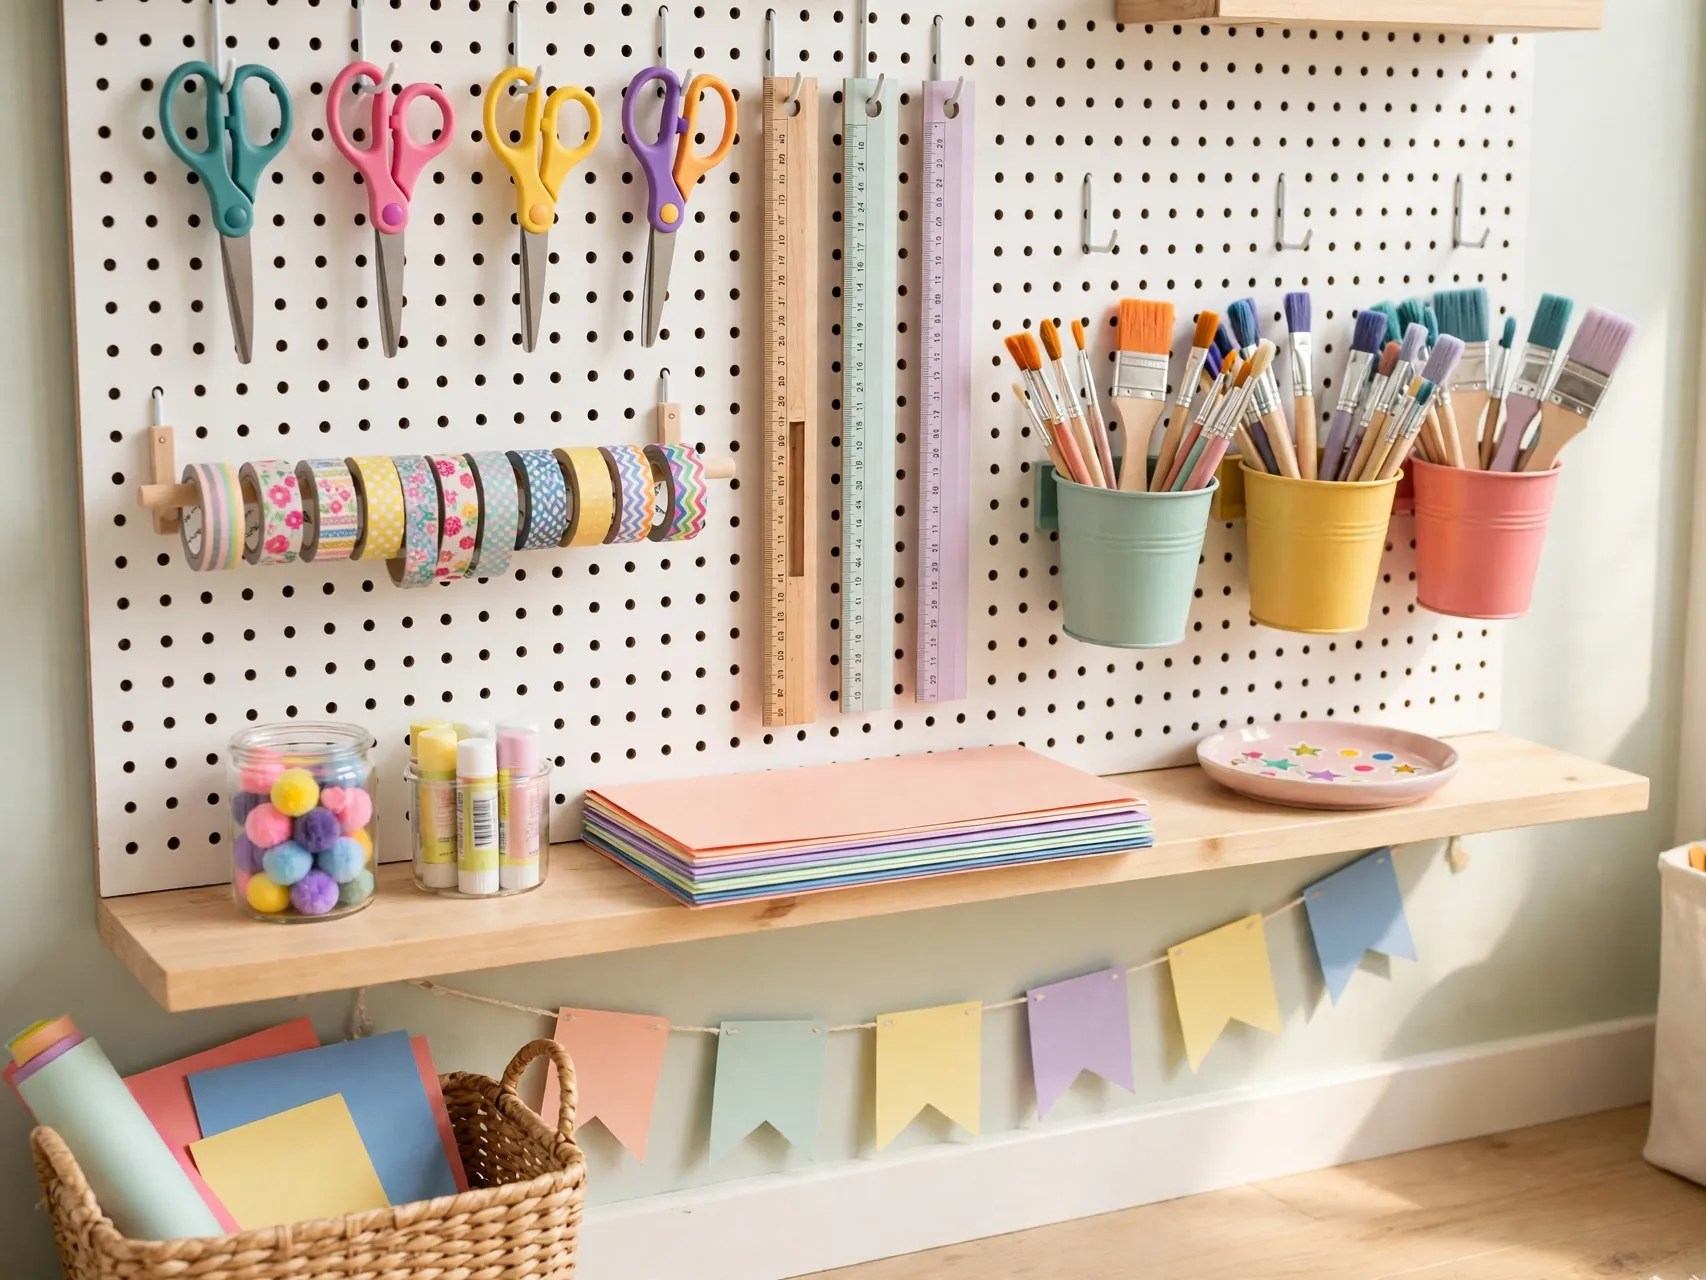
A pegboard at child height turns tools into visible, returnable homes. Hang cups for pencils, hooks for safe scissors, a small shelf for tape and a clip for works in progress, all outlined so children can see where each item belongs.
Fix the board firmly to studs or proper anchors, keep only age appropriate tools on it, and reserve the top row for adult items or leave it for display. Pegboards grow beautifully: rearrange hooks in minutes as crafts change from coloring to sewing cards to simple model making.
5. Add a Paper Roll Station at the End of the Table
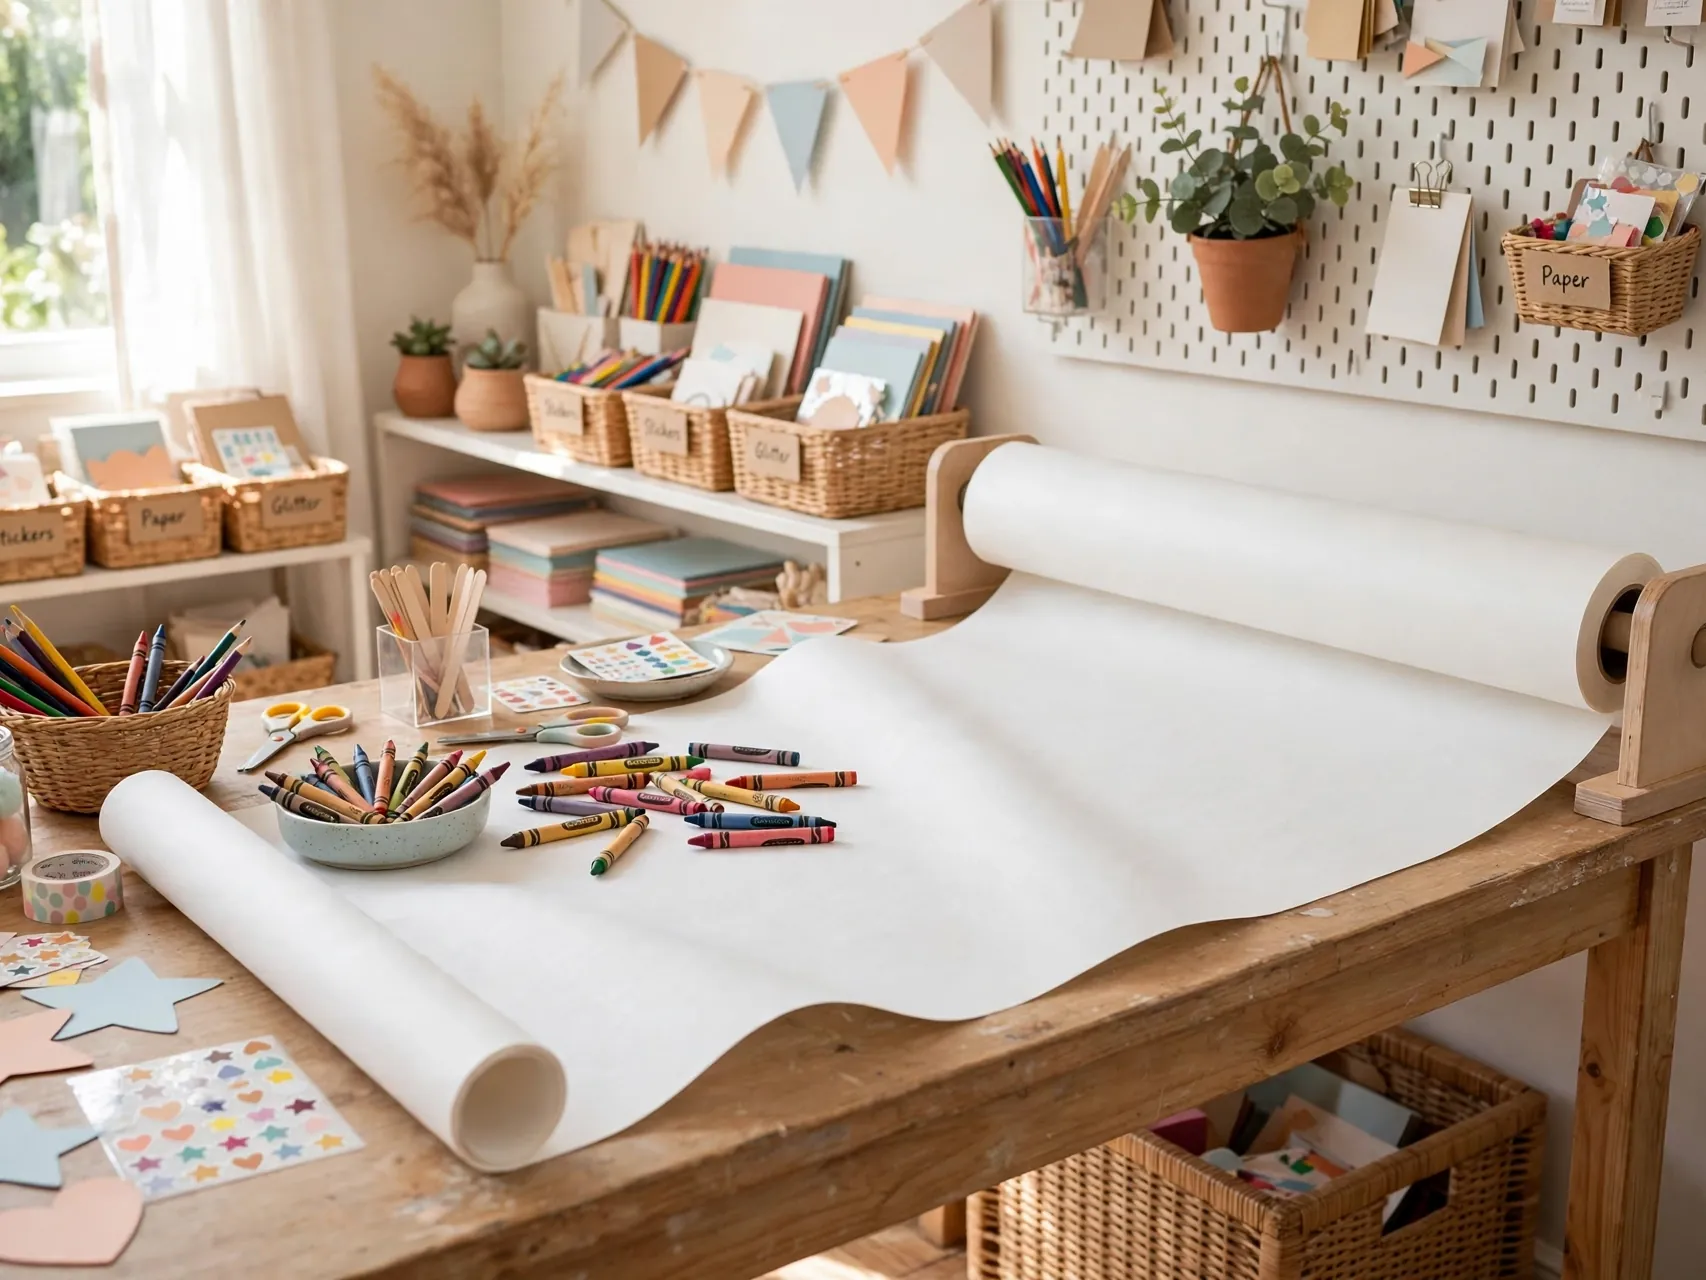
A wall mounted or table end paper roll gives children a fresh, generous sheet whenever inspiration strikes. Large paper invites large ideas, and tearing off a sheet feels far less precious than rationing single pages.
Pair the roll with a nearby bin for scraps worth saving and a recycling spot for the rest. Keep the cutter edge adult managed for younger children. For drawing, coloring contests and planning cardboard builds, this simple station becomes the most used feature in the whole room.
6. Create a Drying Rack or Line for Wet Work
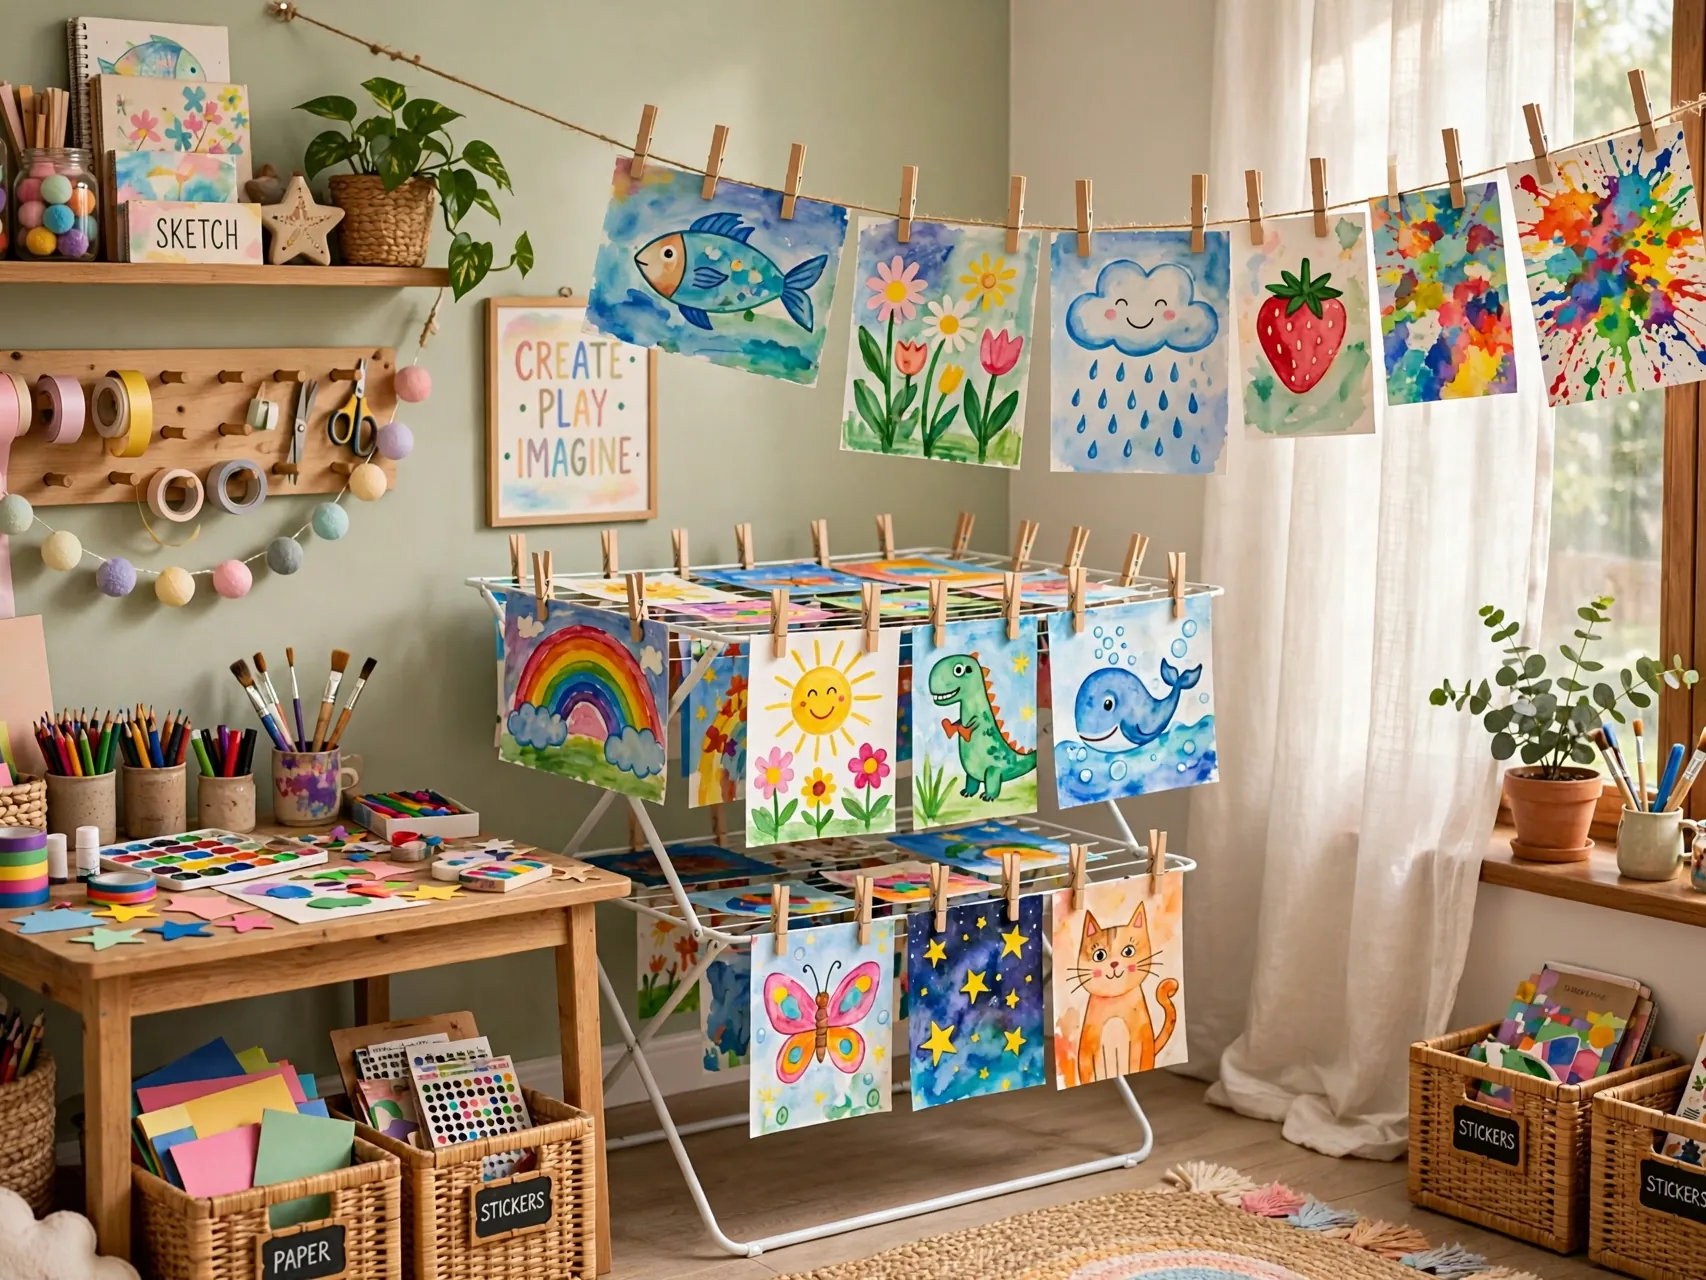
Paintings need somewhere to go while they dry, or they end up stacked wet and ruined. A small dish style rack, a retractable line with clips, or a flat tray shelf solves it elegantly.
Place the drying zone away from the main walkway so sleeves do not brush wet paint. Teach children to carry work flat with two hands and clip or lay it down straight away. Once dry, art moves to display, a portfolio or the recycling, so the drying zone never becomes a permanent paper mountain.
7. Build a Gallery Wall That Rotates
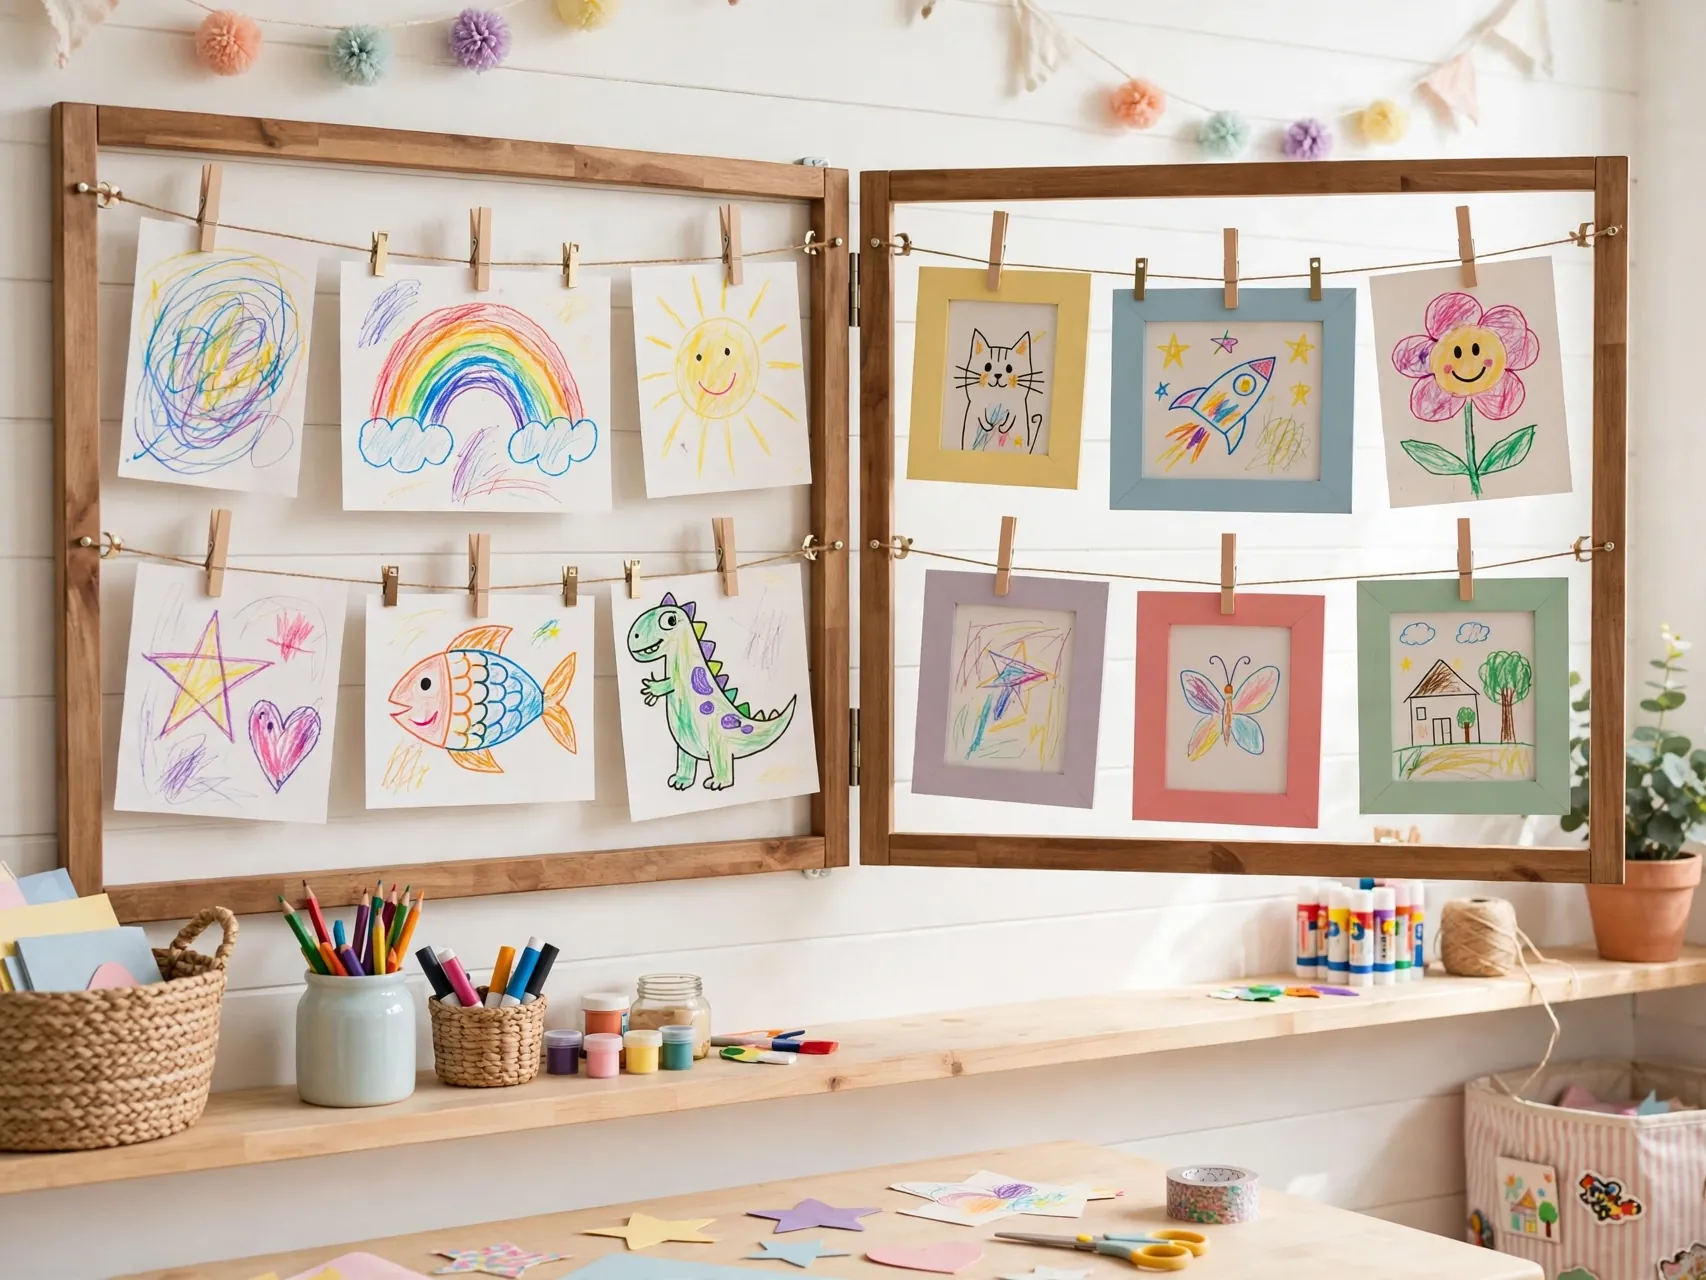
Children create more when their work is honored. A simple gallery of clipboards, a wire with clips, or inexpensive frames with removable backs lets you swap art in seconds and keep the display fresh.
Let each child choose one piece a week for the gallery, and store the rest in a portfolio. Rotating display teaches editing and pride without covering every wall forever. Leave a little empty space in the arrangement: a gallery with breathing room looks intentional and makes each piece easier to enjoy.
8. Set Up a Recycling Invention Bin
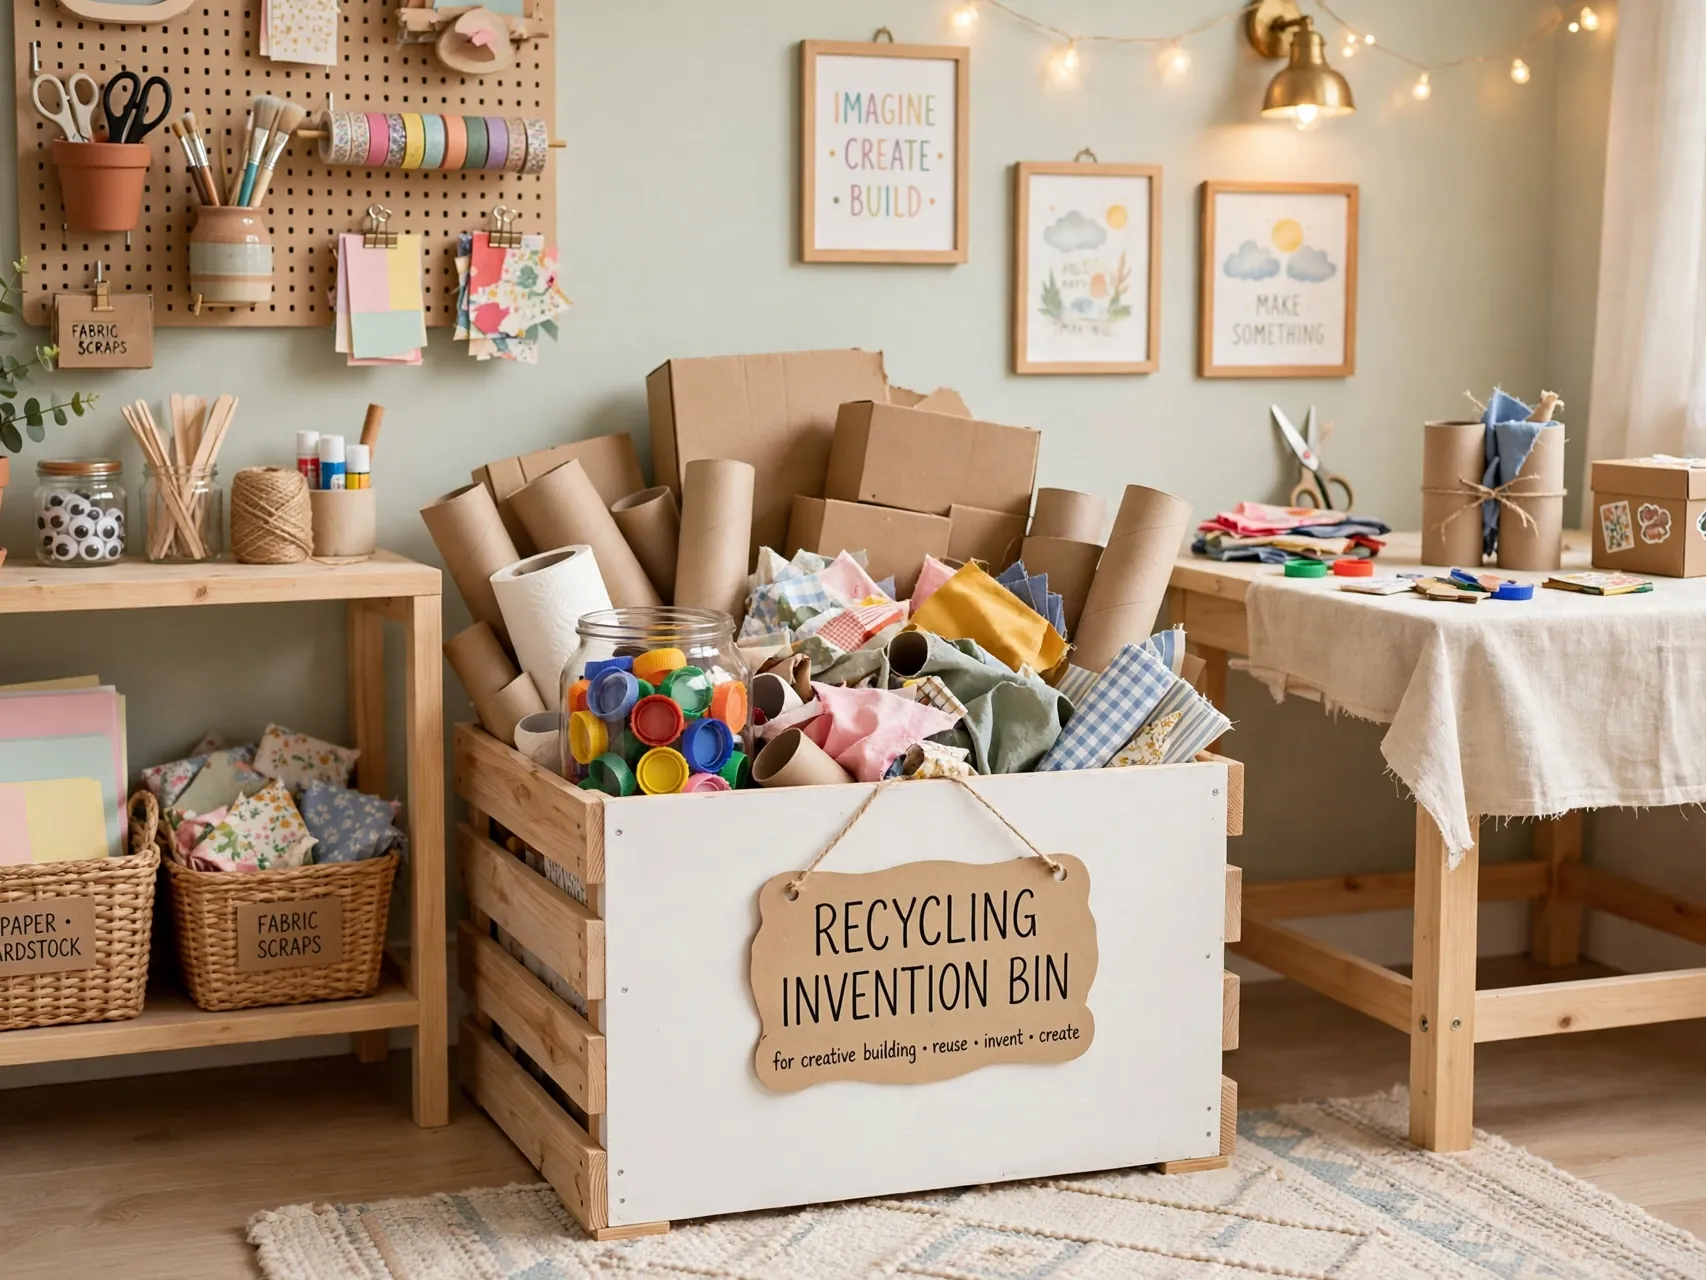
A dedicated bin of clean recyclables, cardboard tubes, boxes, lids and scrap fabric, invites open ended building at zero cost. Children who invent from scraps learn problem solving that a closed craft kit cannot teach.
Wash items before they enter the bin, remove anything sharp, small or unsafe for your child ages, and refresh the stock regularly. Keep tape, glue and safe scissors nearby so an idea can start immediately. Set a weekly limit: if the bin overflows, something goes out before new scraps come in.
9. Make a Cozy Reading and Idea Corner

Craft rooms need thinking space too. A small rug, a cushion or two and a basket of picture books, craft books and magazines gives children a place to browse for their next project idea.
This corner also gives a waiting child somewhere calm while glue dries or a sibling finishes. Keep the book basket small and rotate titles from the library. Many of the best projects start here, with a child announcing a plan and heading to the table with real purpose and a picture in mind.
10. Use a Portable Caddy for Each Child
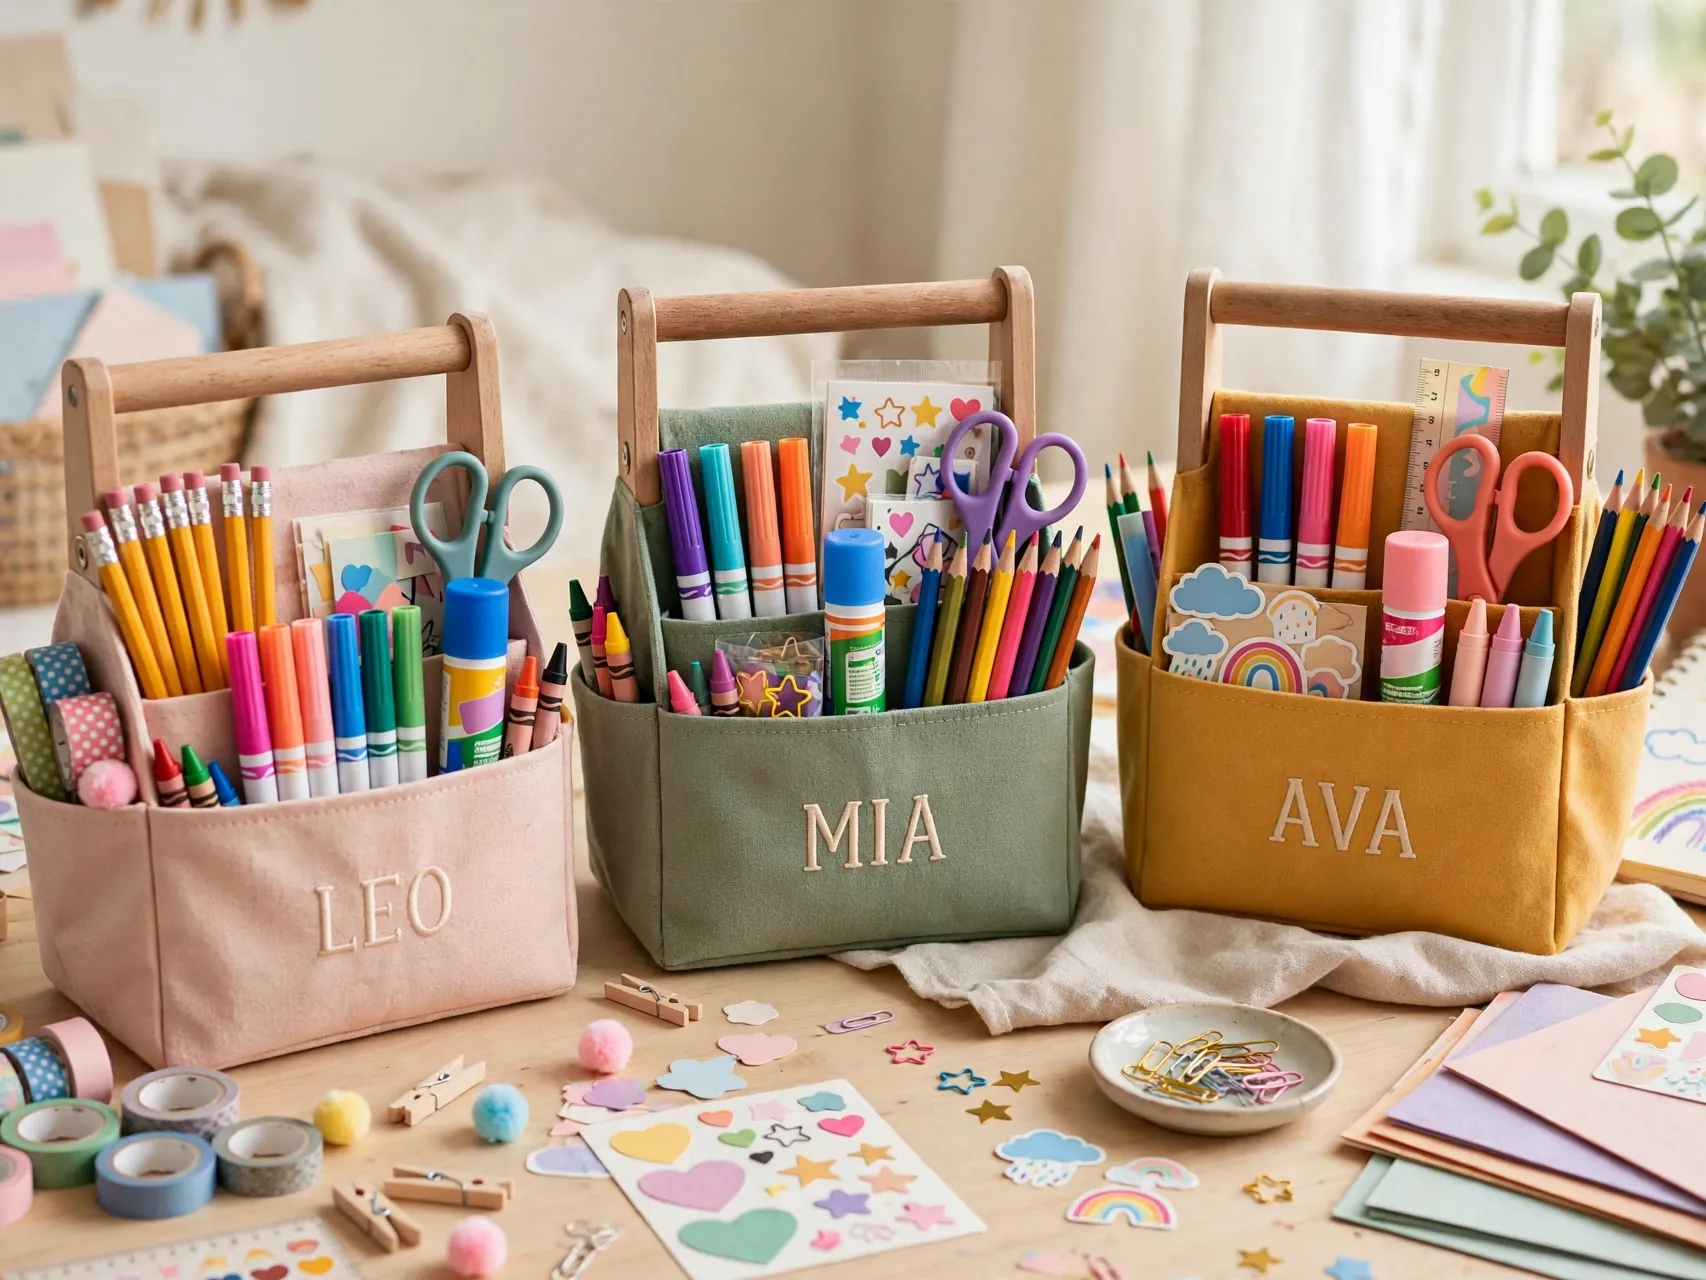
Individual caddies with handles stop arguments and speed up setup. Each child keeps basic tools in their own caddy: pencils, crayons, a glue stick, safe scissors and an eraser, all non-toxic and age appropriate.
Caddies travel to the table, the floor or a grandparent house, then return to a shelf at cleanup. Personal kits also reveal habits: the child who always loses glue sticks gets a bright one. Shared supplies stay in the shared bins, so the room keeps both fairness and flexibility.
11. Add a Sensory Play Tray Zone
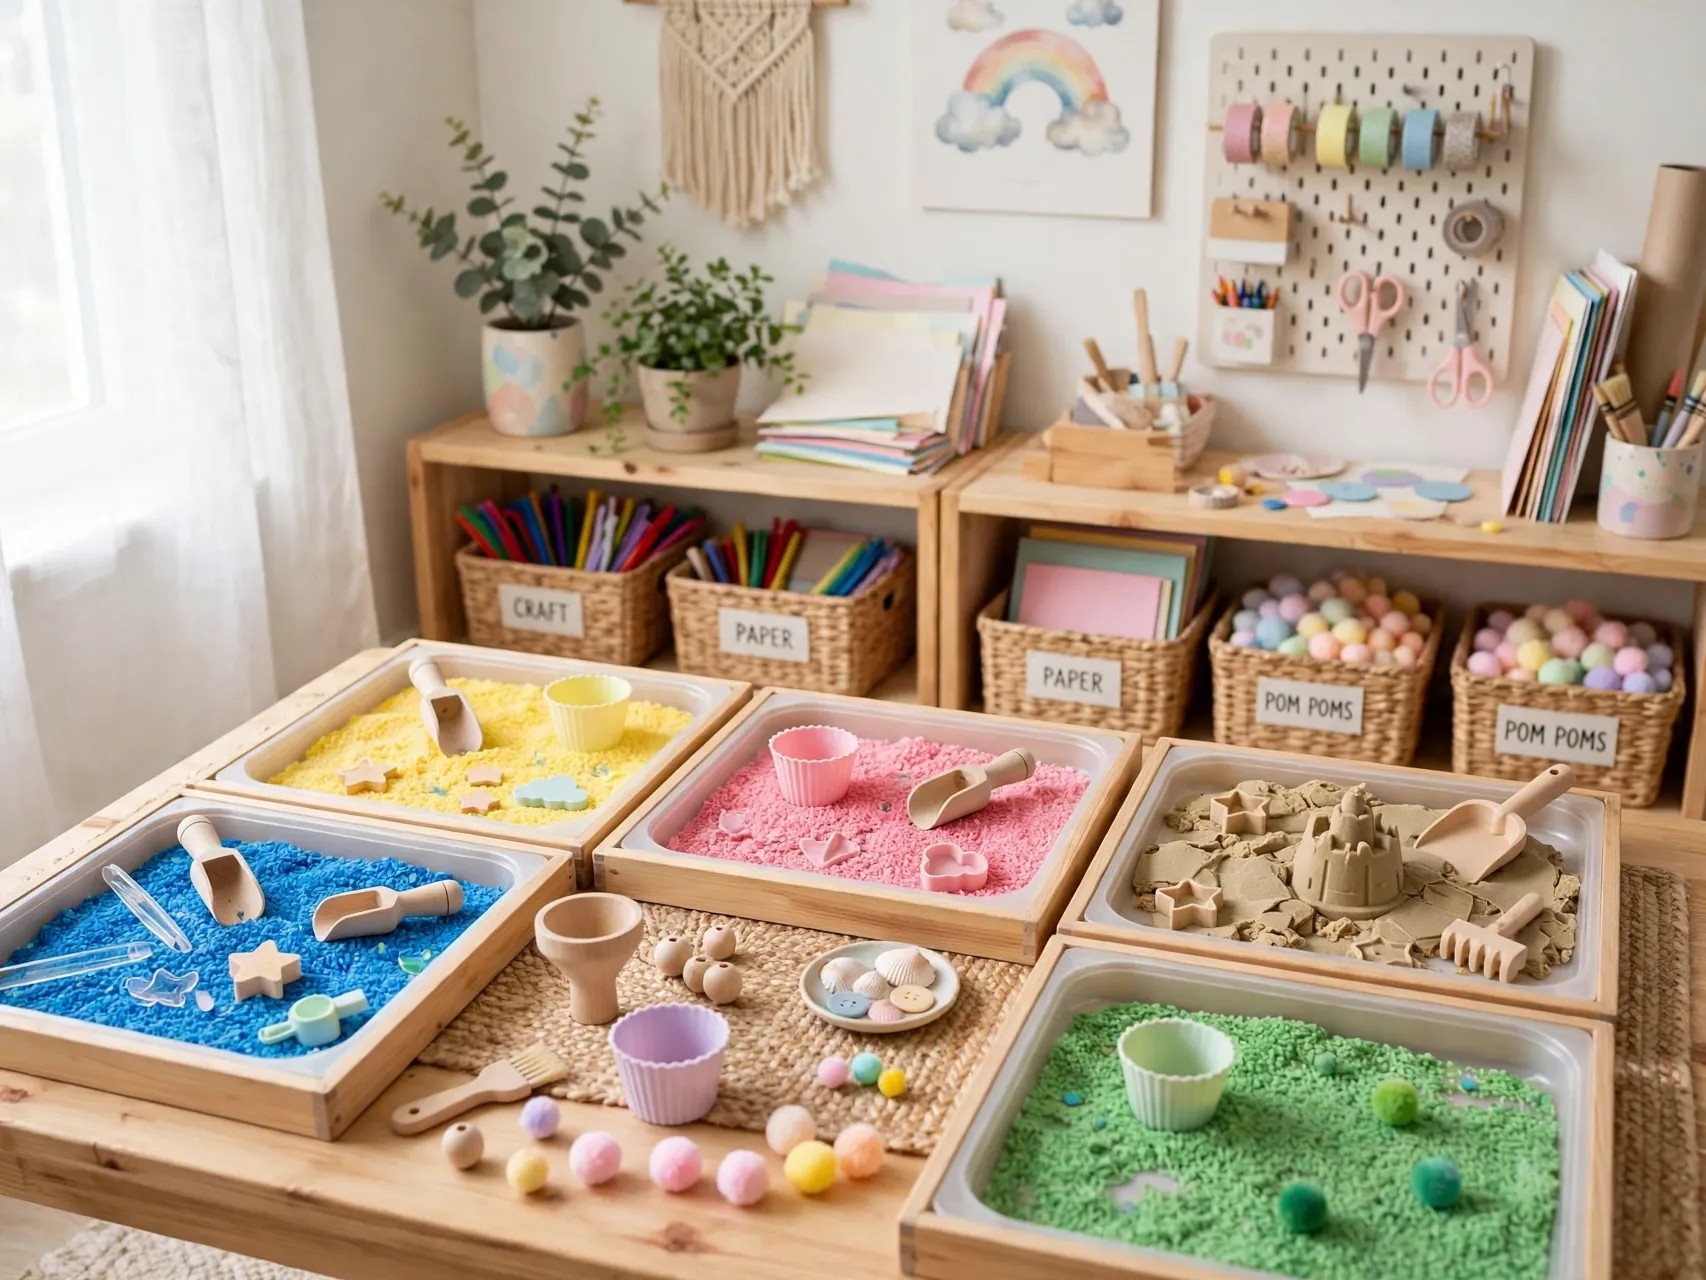
A large tray or shallow bin contains sensory play like play dough, kinetic style sand alternatives approved for your child age, or water beads only for older children under close supervision. Containment is what makes sensory play relaxing for adults.
Keep sensory materials separate from paper crafts, store them sealed, and check manufacturer age guidance honestly. For children under 3, stick to large, taste safe dough and close supervision, with no small add ins. A washable mat under the tray catches escapes and makes the whole zone a quick sweep to reset.
12. Install Task Lighting That Actually Helps
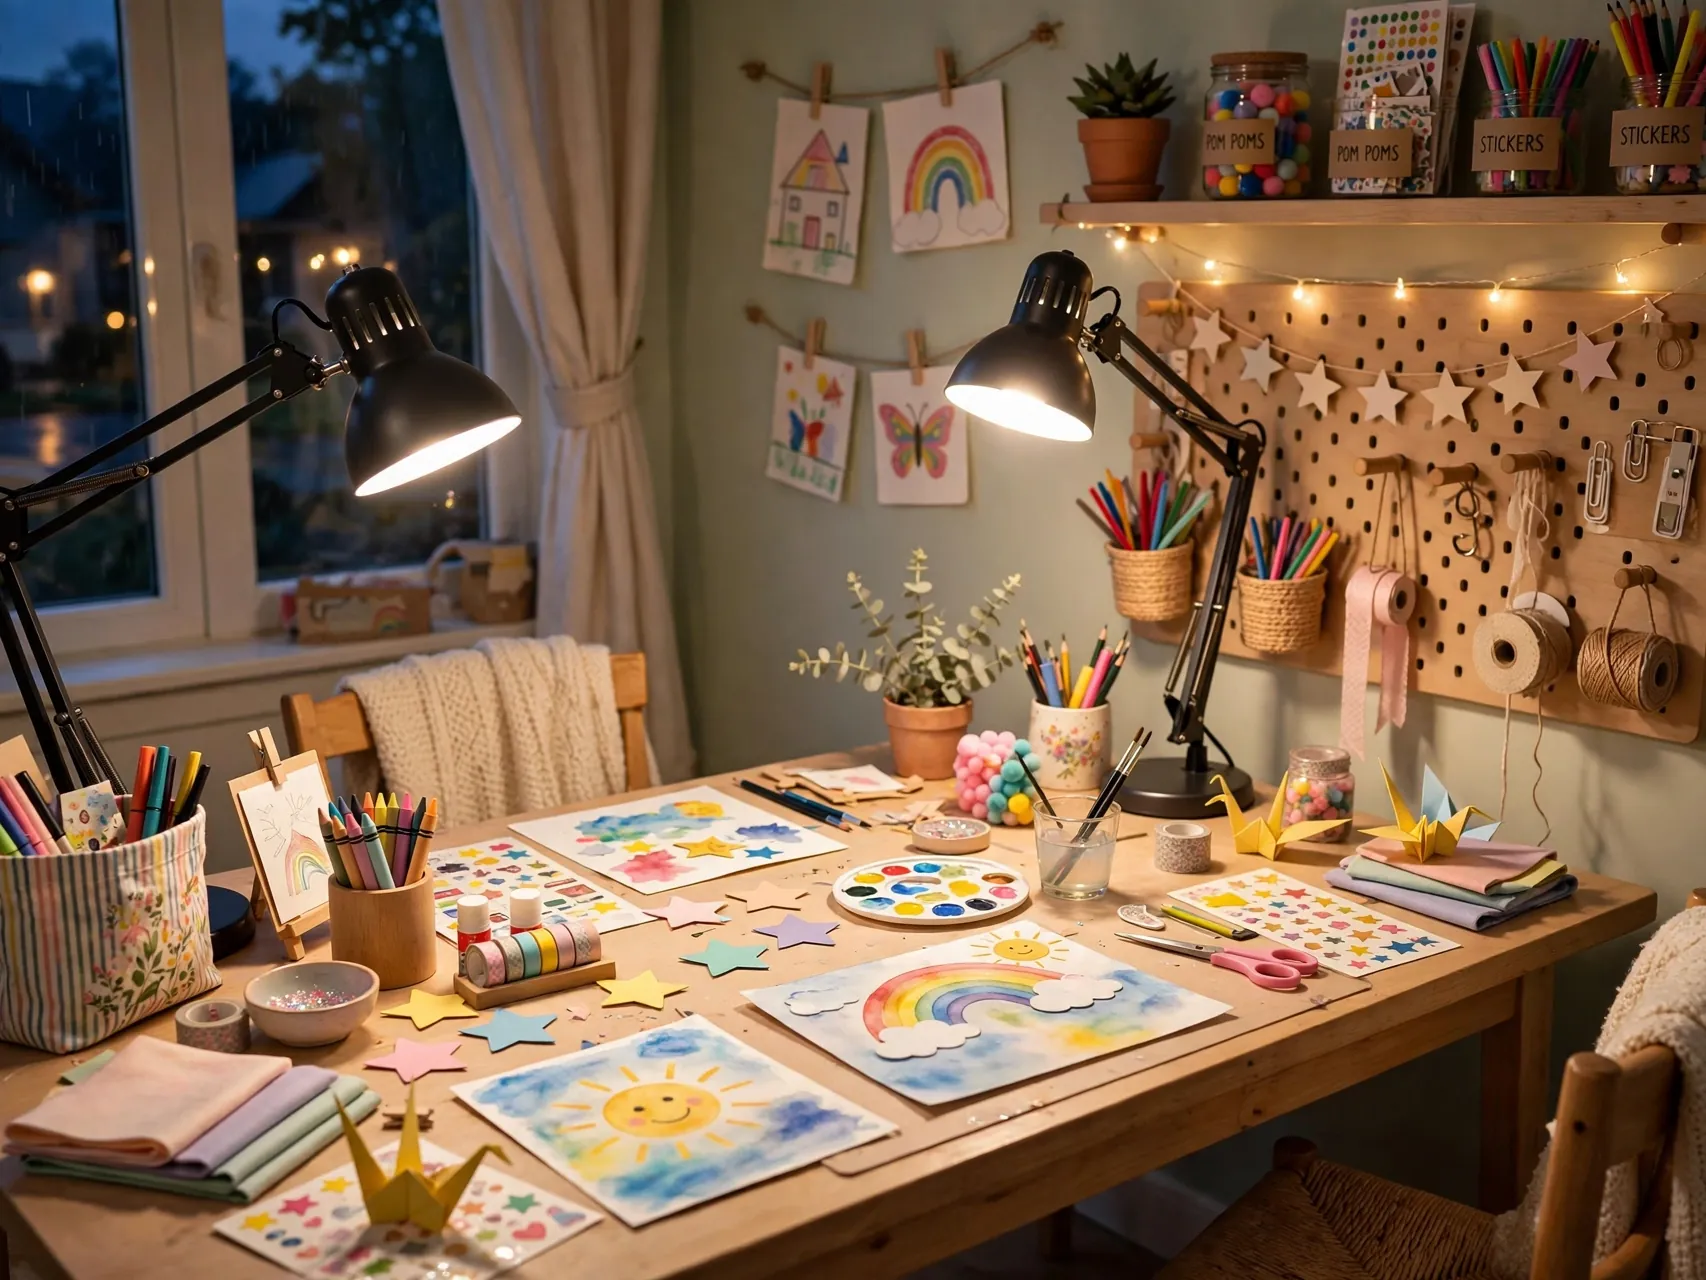
Good light prevents eye strain and color mistakes. Add a bright, cool running LED lamp at the main table, positioned to shine over the shoulder rather than into eyes, with cords kept off the floor and out of reach.
Natural light is lovely but shifts through the day, so a consistent lamp matters for afternoon crafting. Choose sturdy lamps that cannot tip easily, and keep the switch reachable for older children. If the room has one dim ceiling light, this single upgrade makes every other idea on this list work better.
13. Keep a Dress Up and Costume Craft Rail
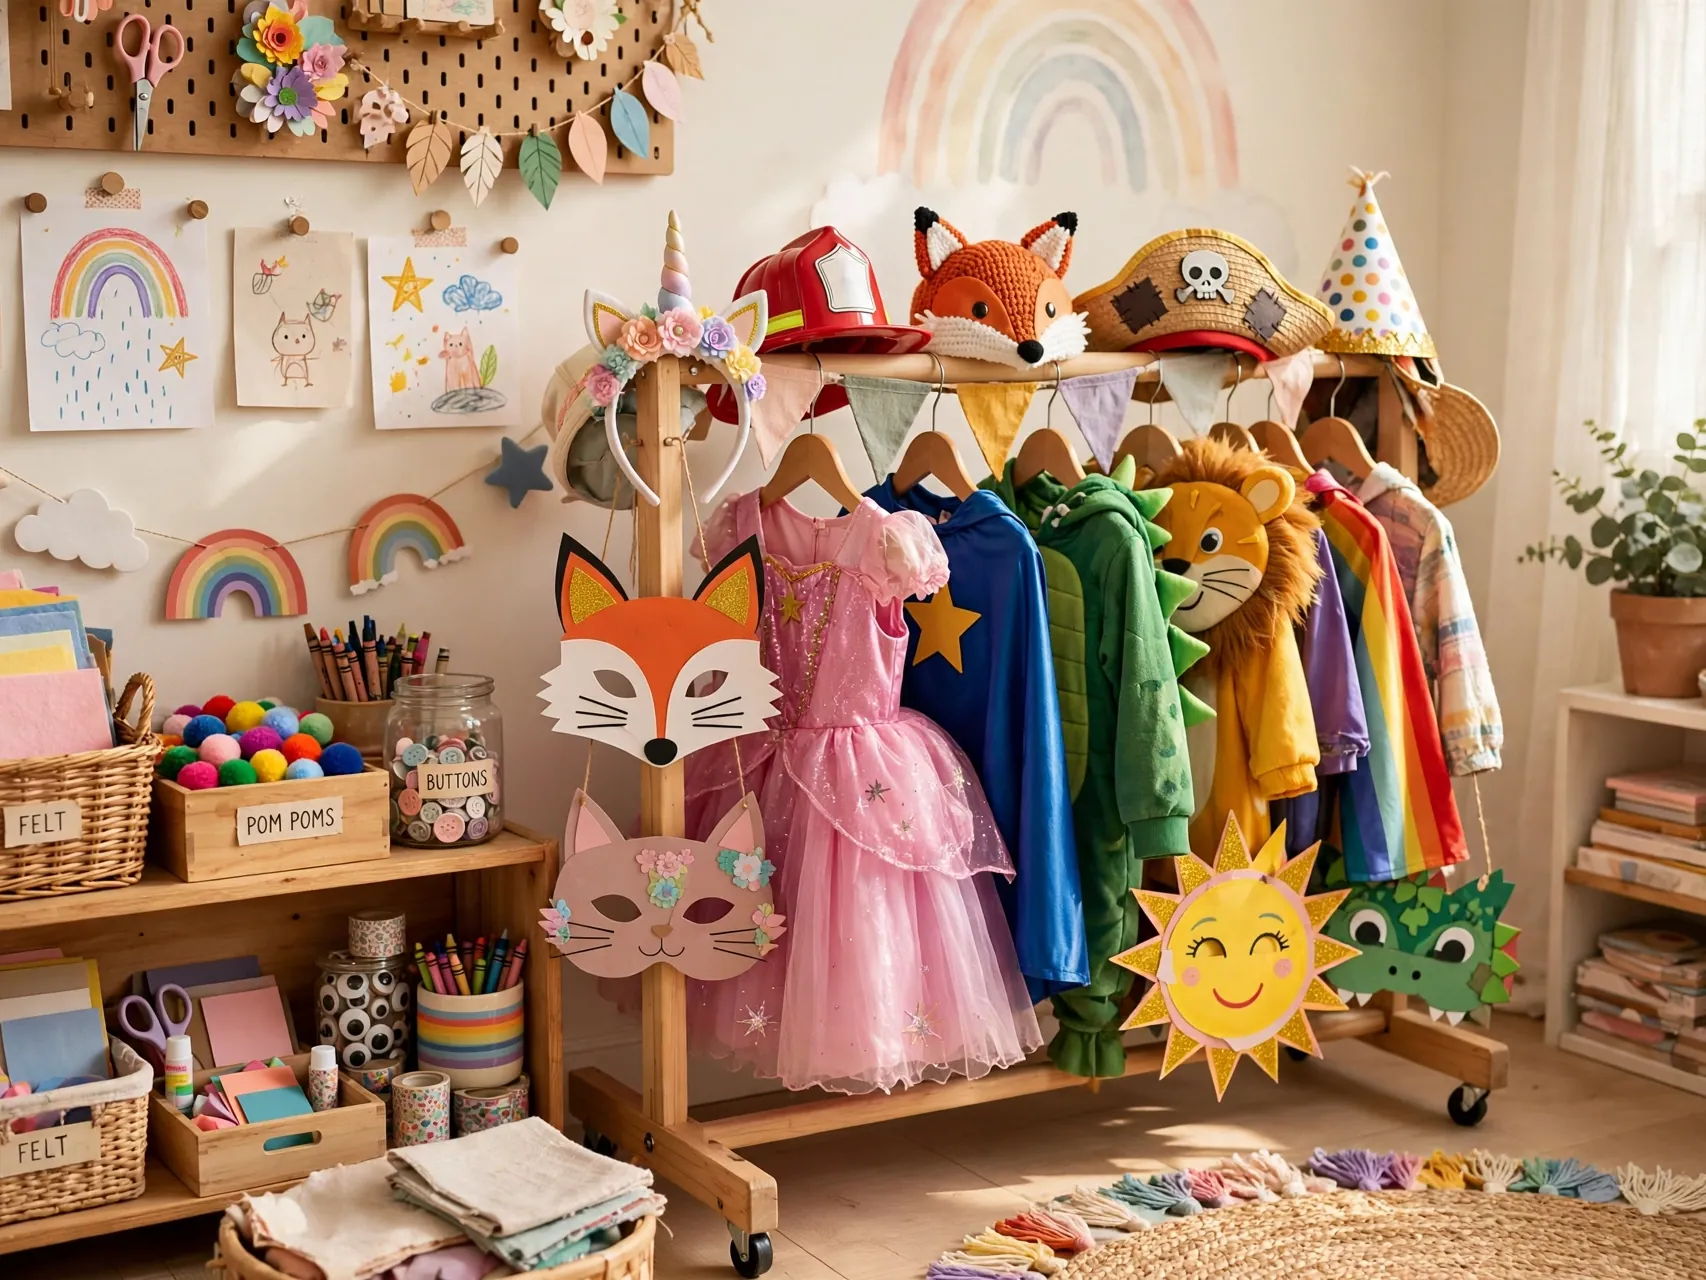
A low rail or row of sturdy hooks with dress up pieces, aprons and smocks serves two jobs: protecting clothes during messy work and inspiring costume crafts like masks, crowns and capes from paper and fabric scraps.
Anchor hooks well, keep the rail at child height, and wash smocks regularly. Costume making is real making: measuring, decorating and storytelling all in one. Store finished costume pieces here too, so play and craft feed each other instead of competing for the same shelf space and your patience.
14. Design a Lego and Building Overflow Table
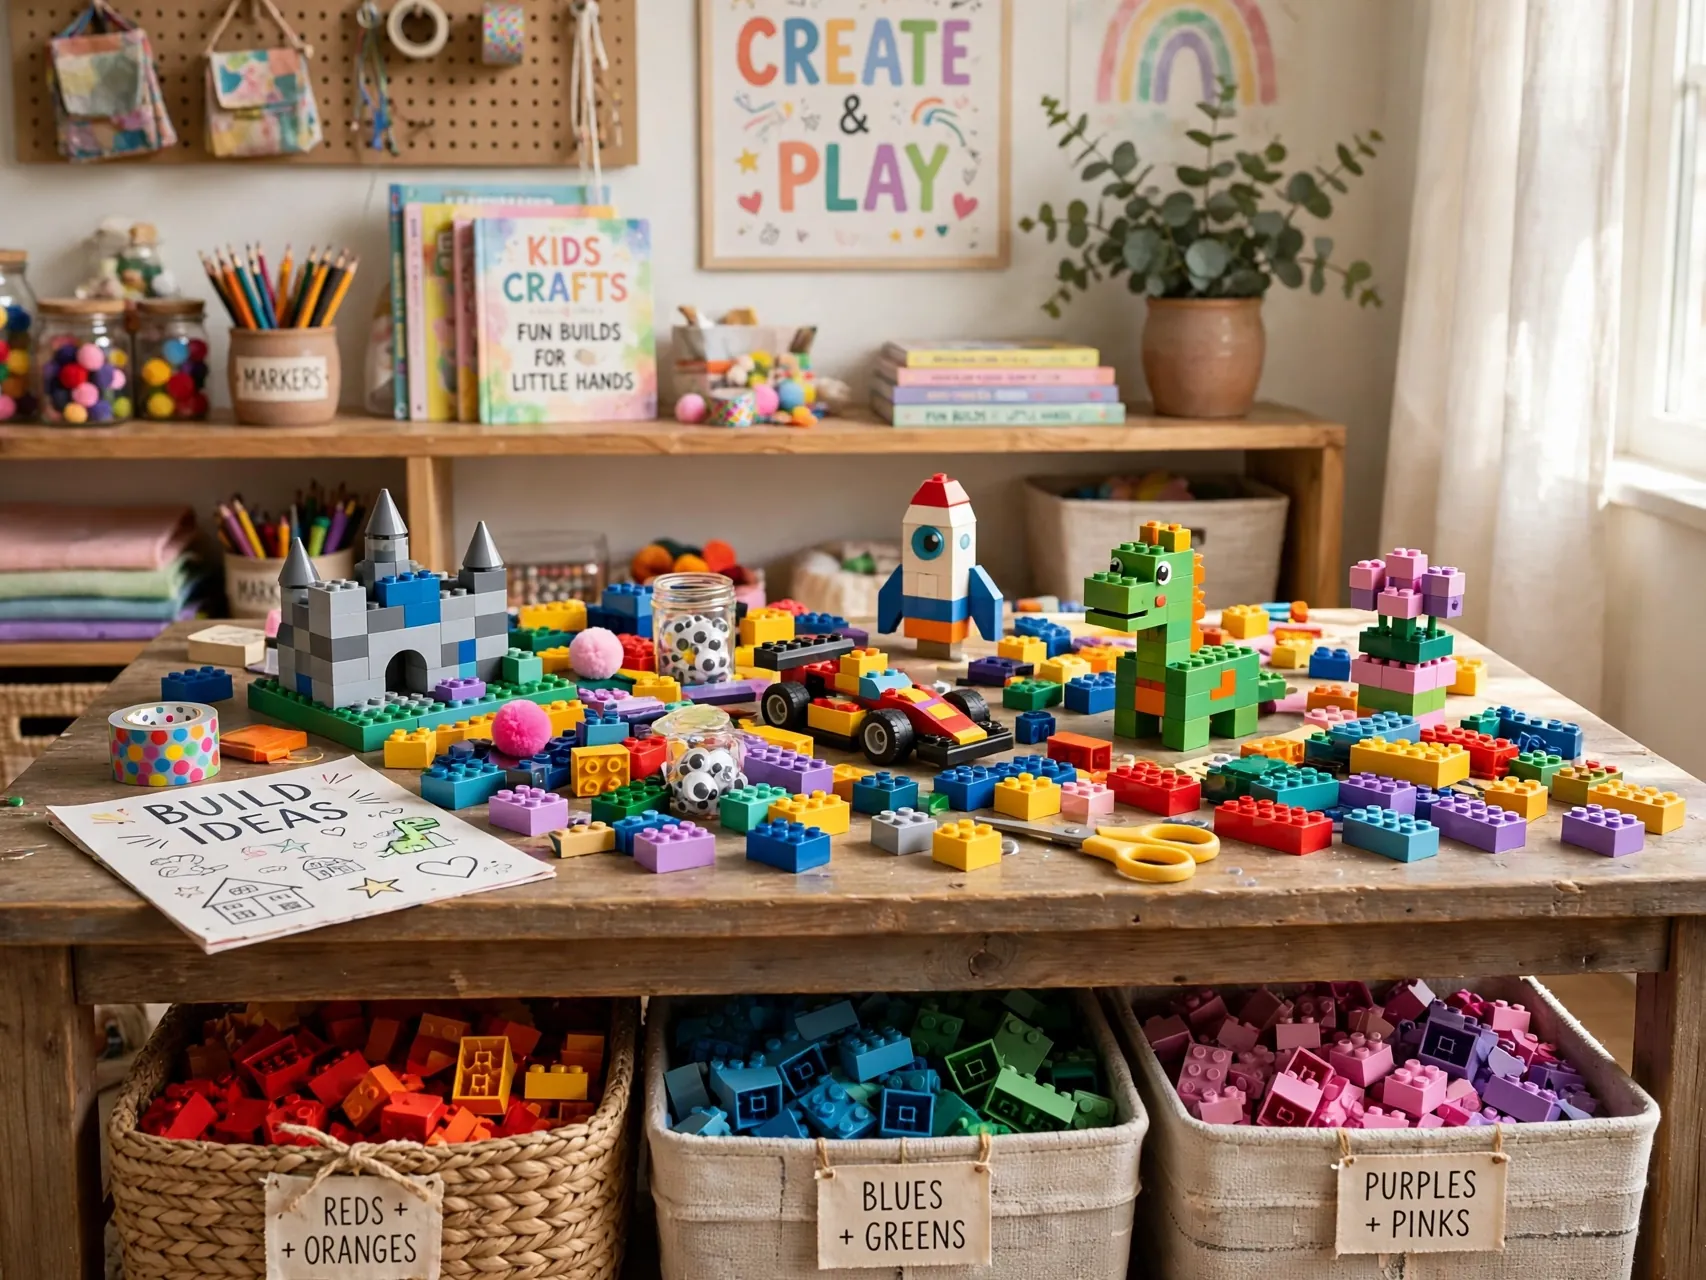
Building toys creep into every craft room, so give them a defined home: a second small table or a large tray where constructions can stay up for several days without blocking the art table.
Keep loose pieces in a low, wide bin with a lid, sorted loosely by size rather than color for faster building. For households with children under 3, keep all small building pieces in a separate room entirely, since they are a choking hazard. A clear boundary keeps both crafts and builds enjoyable.
15. Use Vertical Wall Storage for Paper and Boards
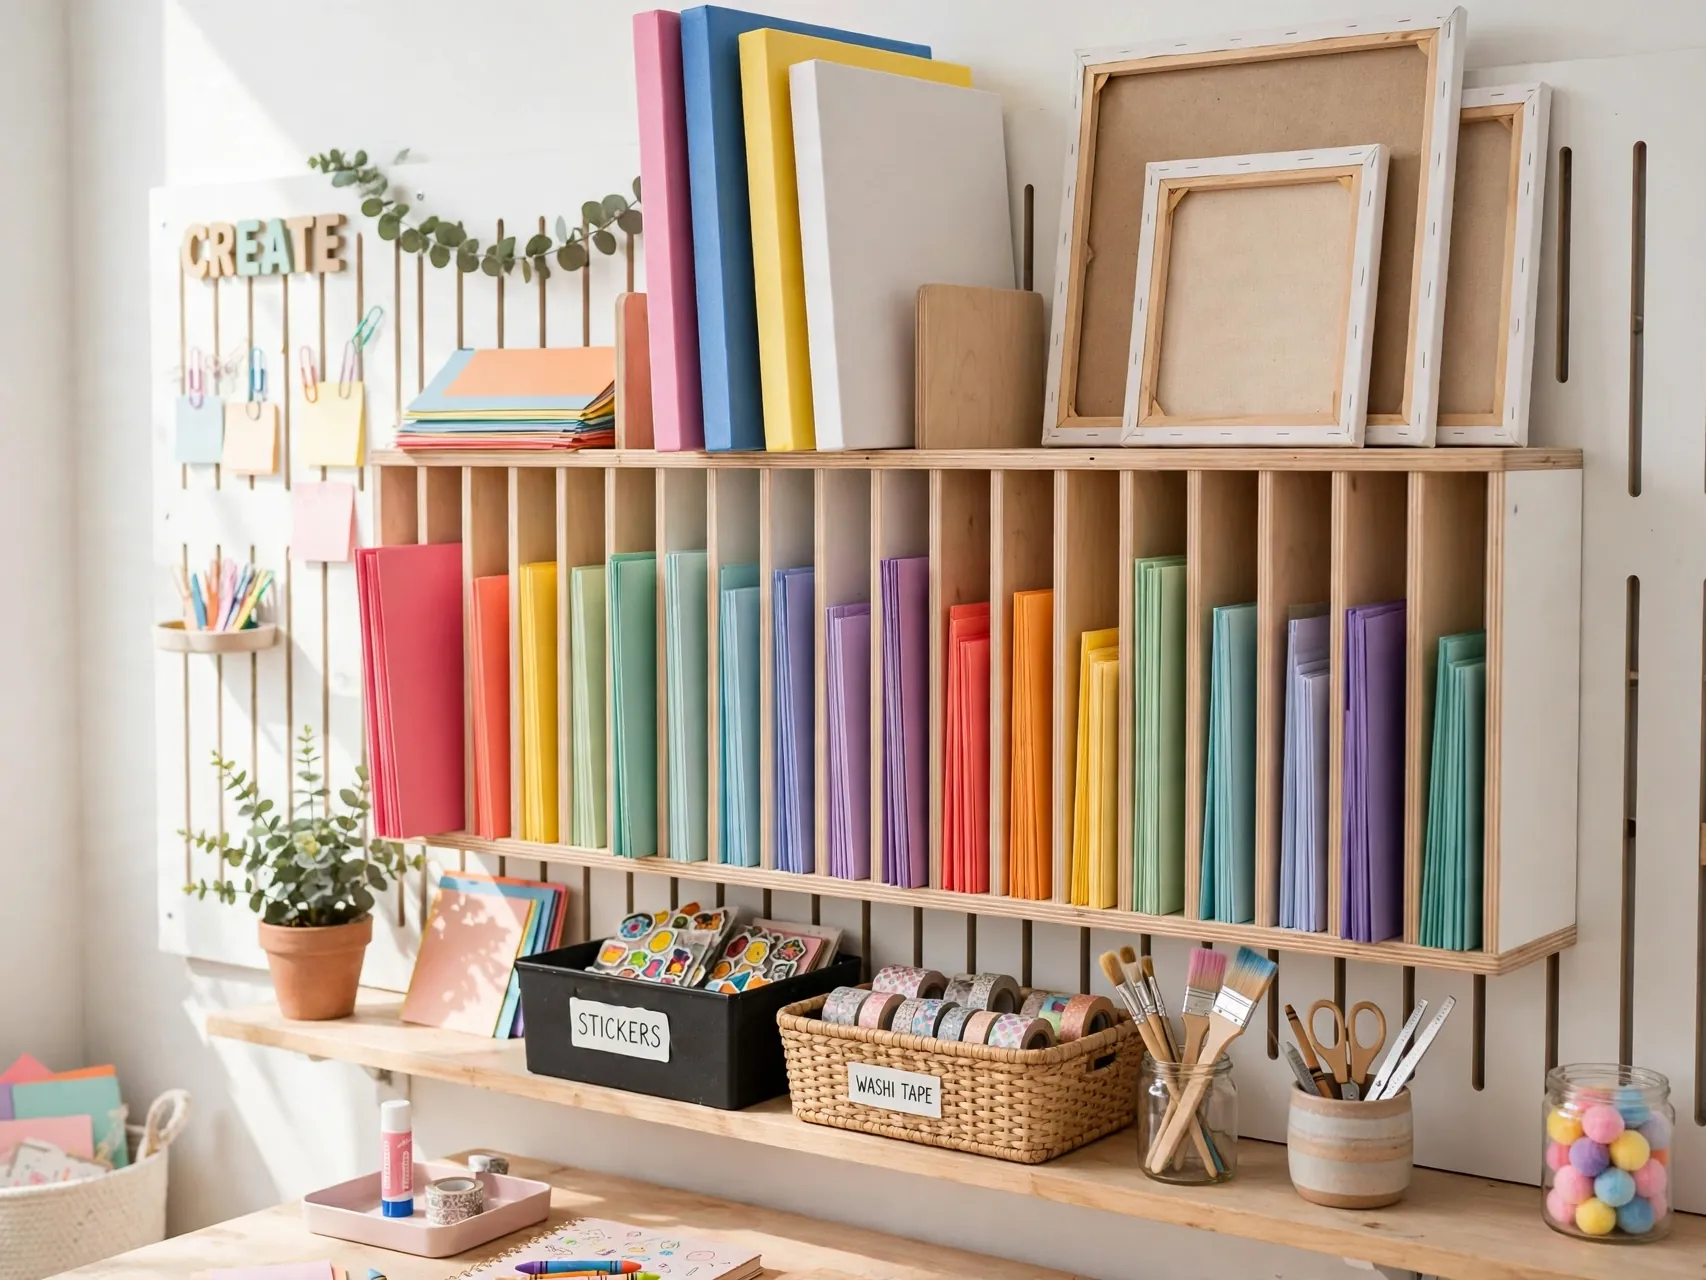
Flat paper, card and foam boards warp and tear in piles. A wall mounted file sorter, vertical slots or a large art portfolio leaning safely in a secured spot keeps sheet goods flat, visible and easy to choose from.
Sort by type or color in broad groups that children can maintain. Keep the heaviest stock lowest. Vertical storage also frees table and shelf space for tools. When children can see their paper choices at a glance, they start projects faster and waste fewer sheets testing what is hidden in a stack.
16. Add a Chalkboard or Whiteboard Planning Wall
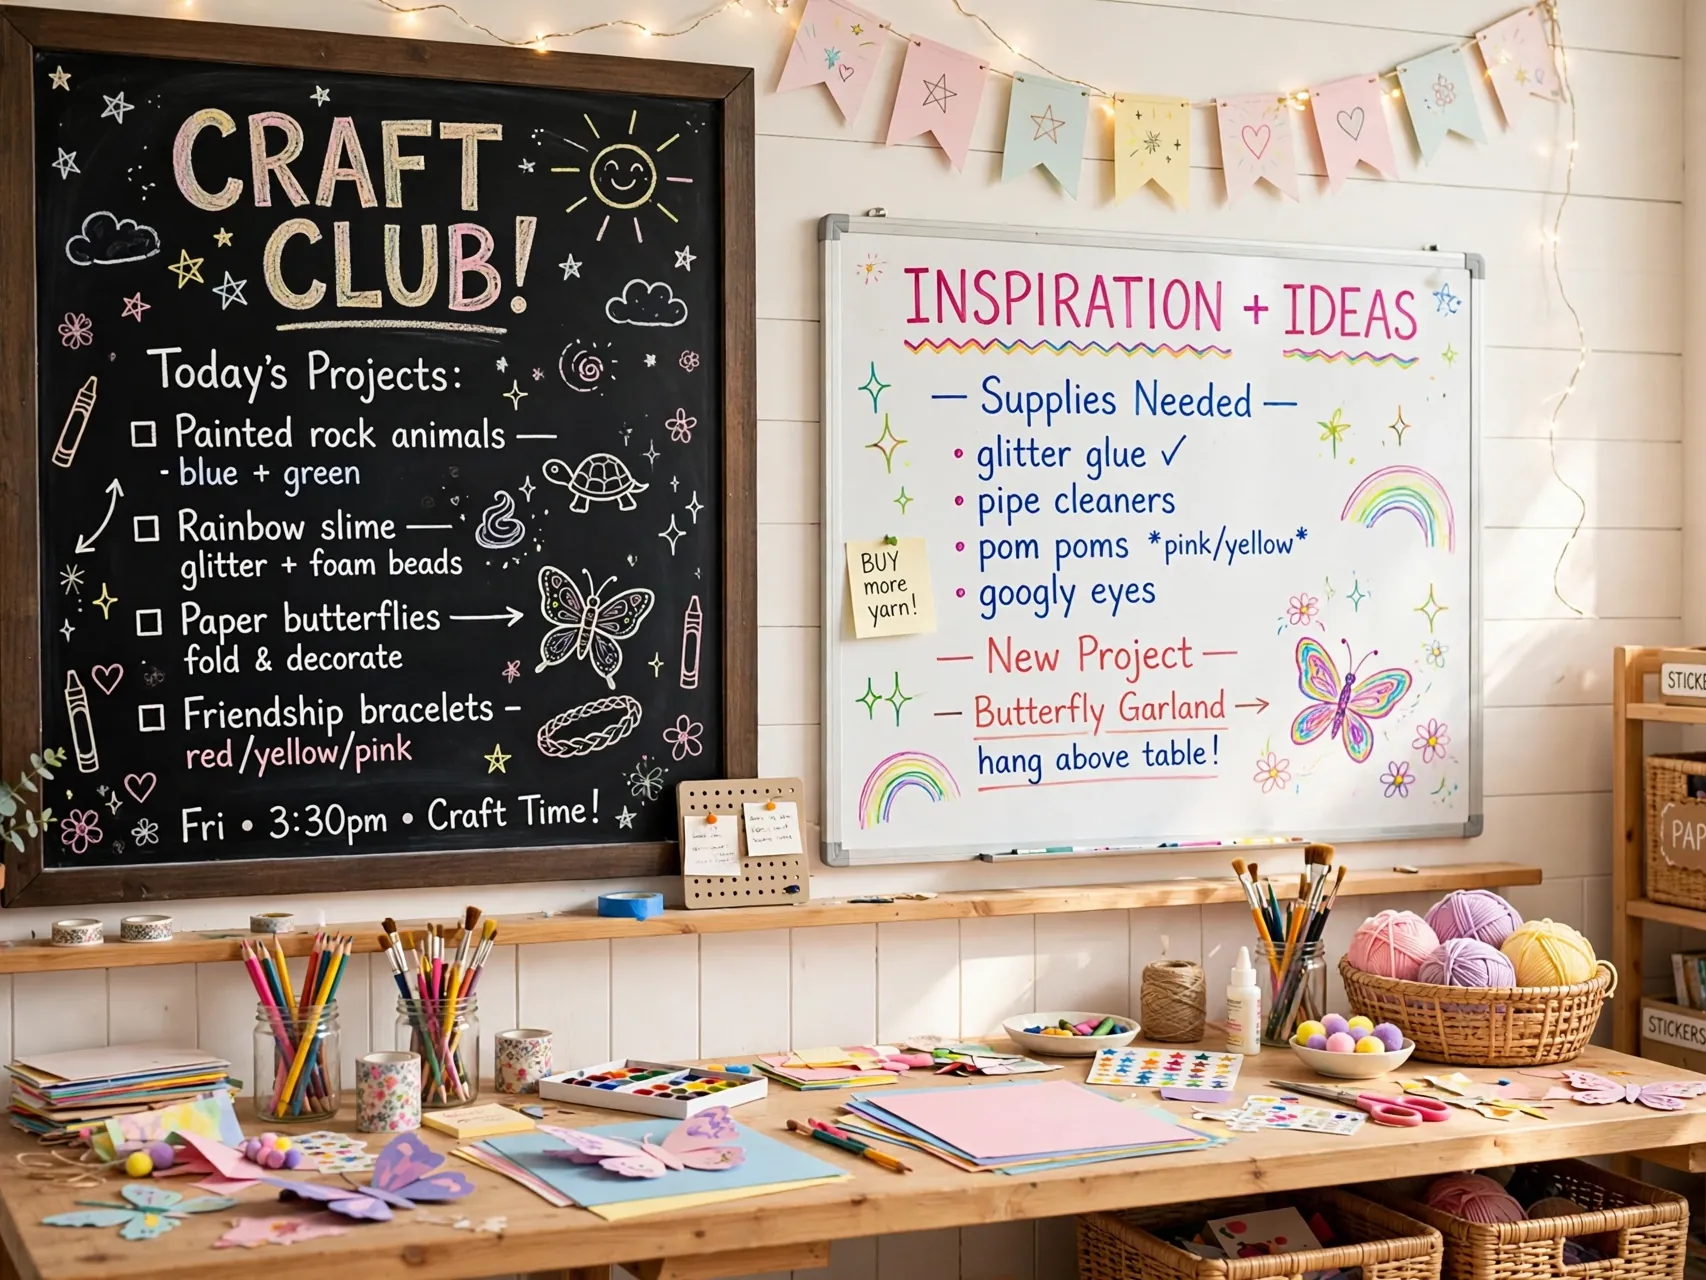
A low chalkboard or whiteboard gives children a place to sketch plans, practice letters and vote on the next group project. It also absorbs the urge to draw on actual walls, which every parent appreciates.
Use dust free chalk or low odor markers as the maker directs, keep erasers on a small shelf, and set a simple rule: the board is for drawing, furniture is not. For younger children, the board doubles as a backdrop for puppet shows and story telling, making it one of the hardest working surfaces in the room.
17. Create a Nature Craft Shelf
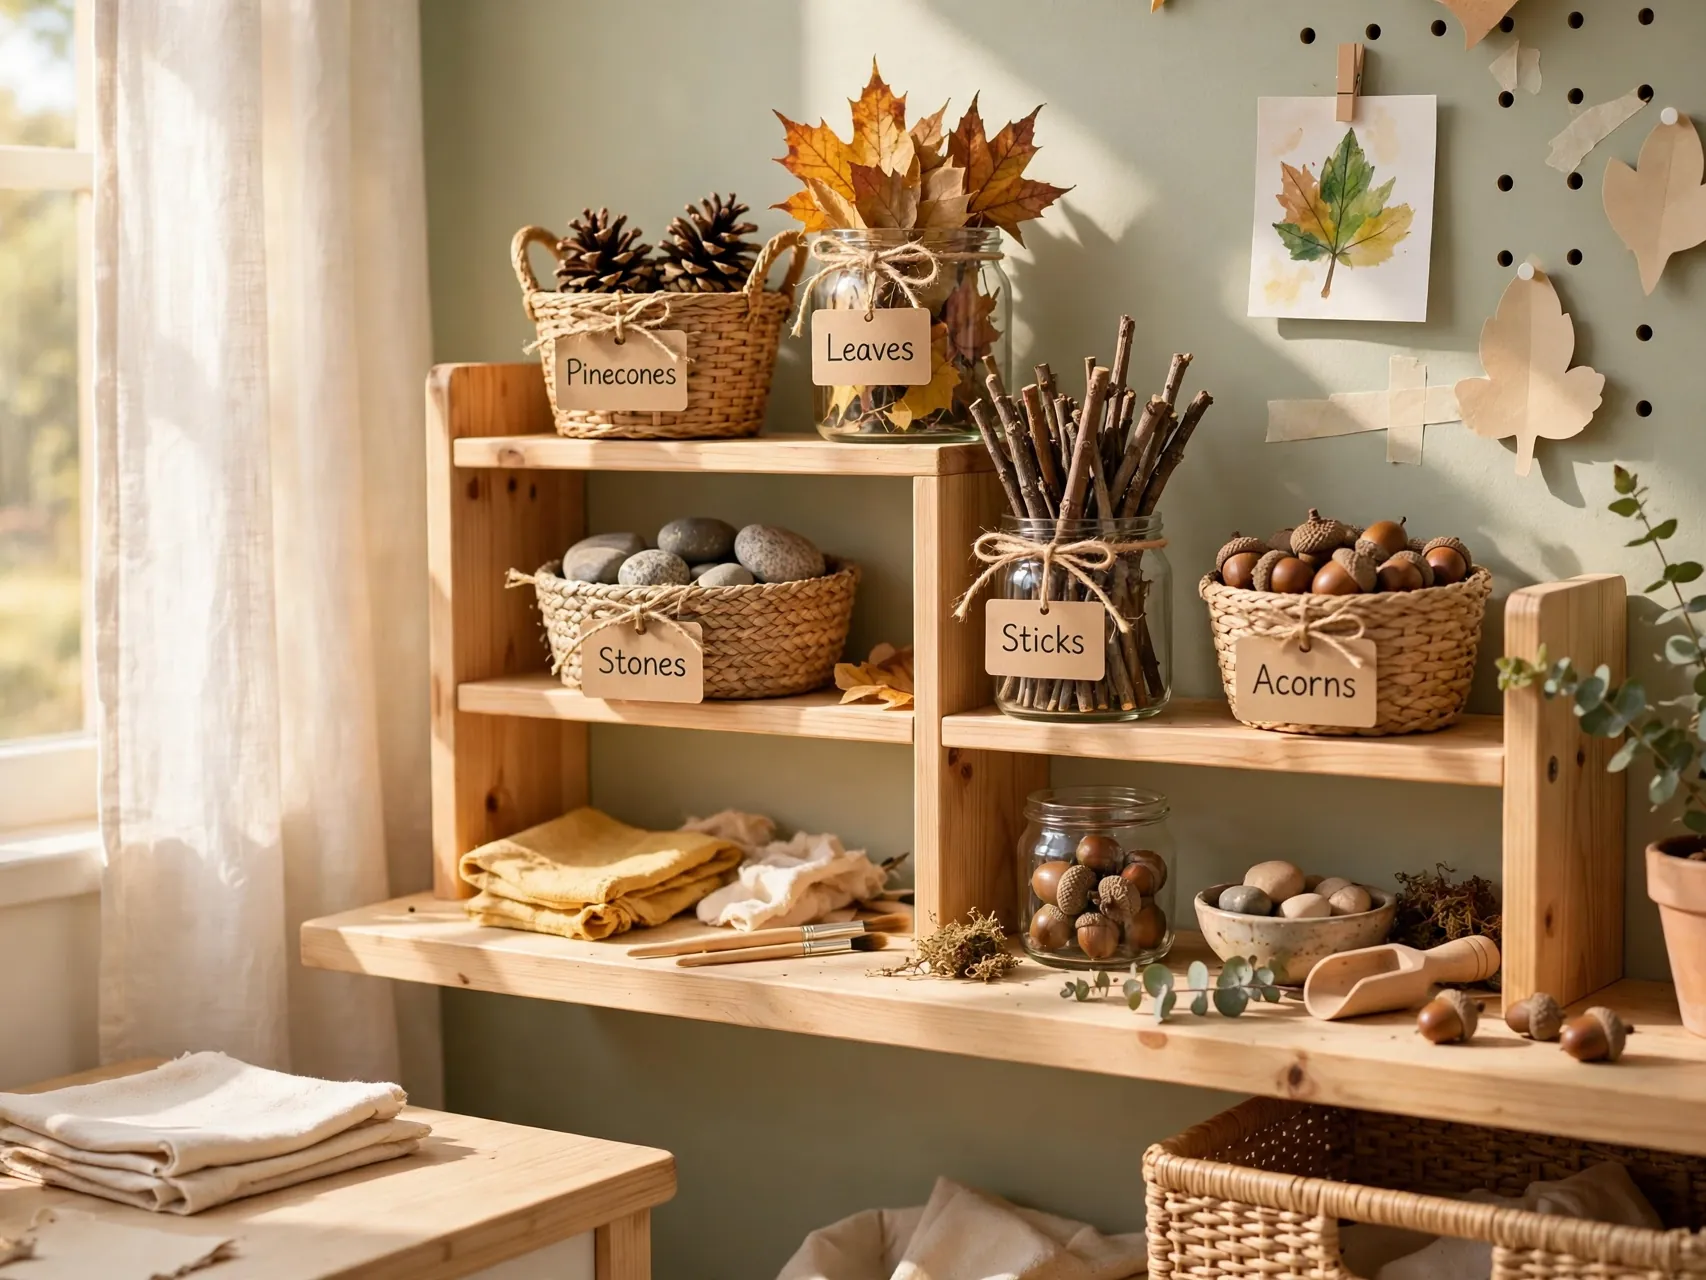
A small shelf or tray for pinecones, smooth stones, leaves and sticks gathered on walks connects crafting to the outdoors. Children can paint stones, build with sticks and press leaves into seasonal projects.
Clean and dry finds before storing them, check for anything sharp, and keep natural materials in an open tray so they stay dry and visible. Rotate the collection with the seasons and compost what fades. Nature supplies are free, beautiful and wonderfully open ended, and collecting them becomes a family habit all on its own.
18. Set Boundaries With a Mess Mat and Apron Rule
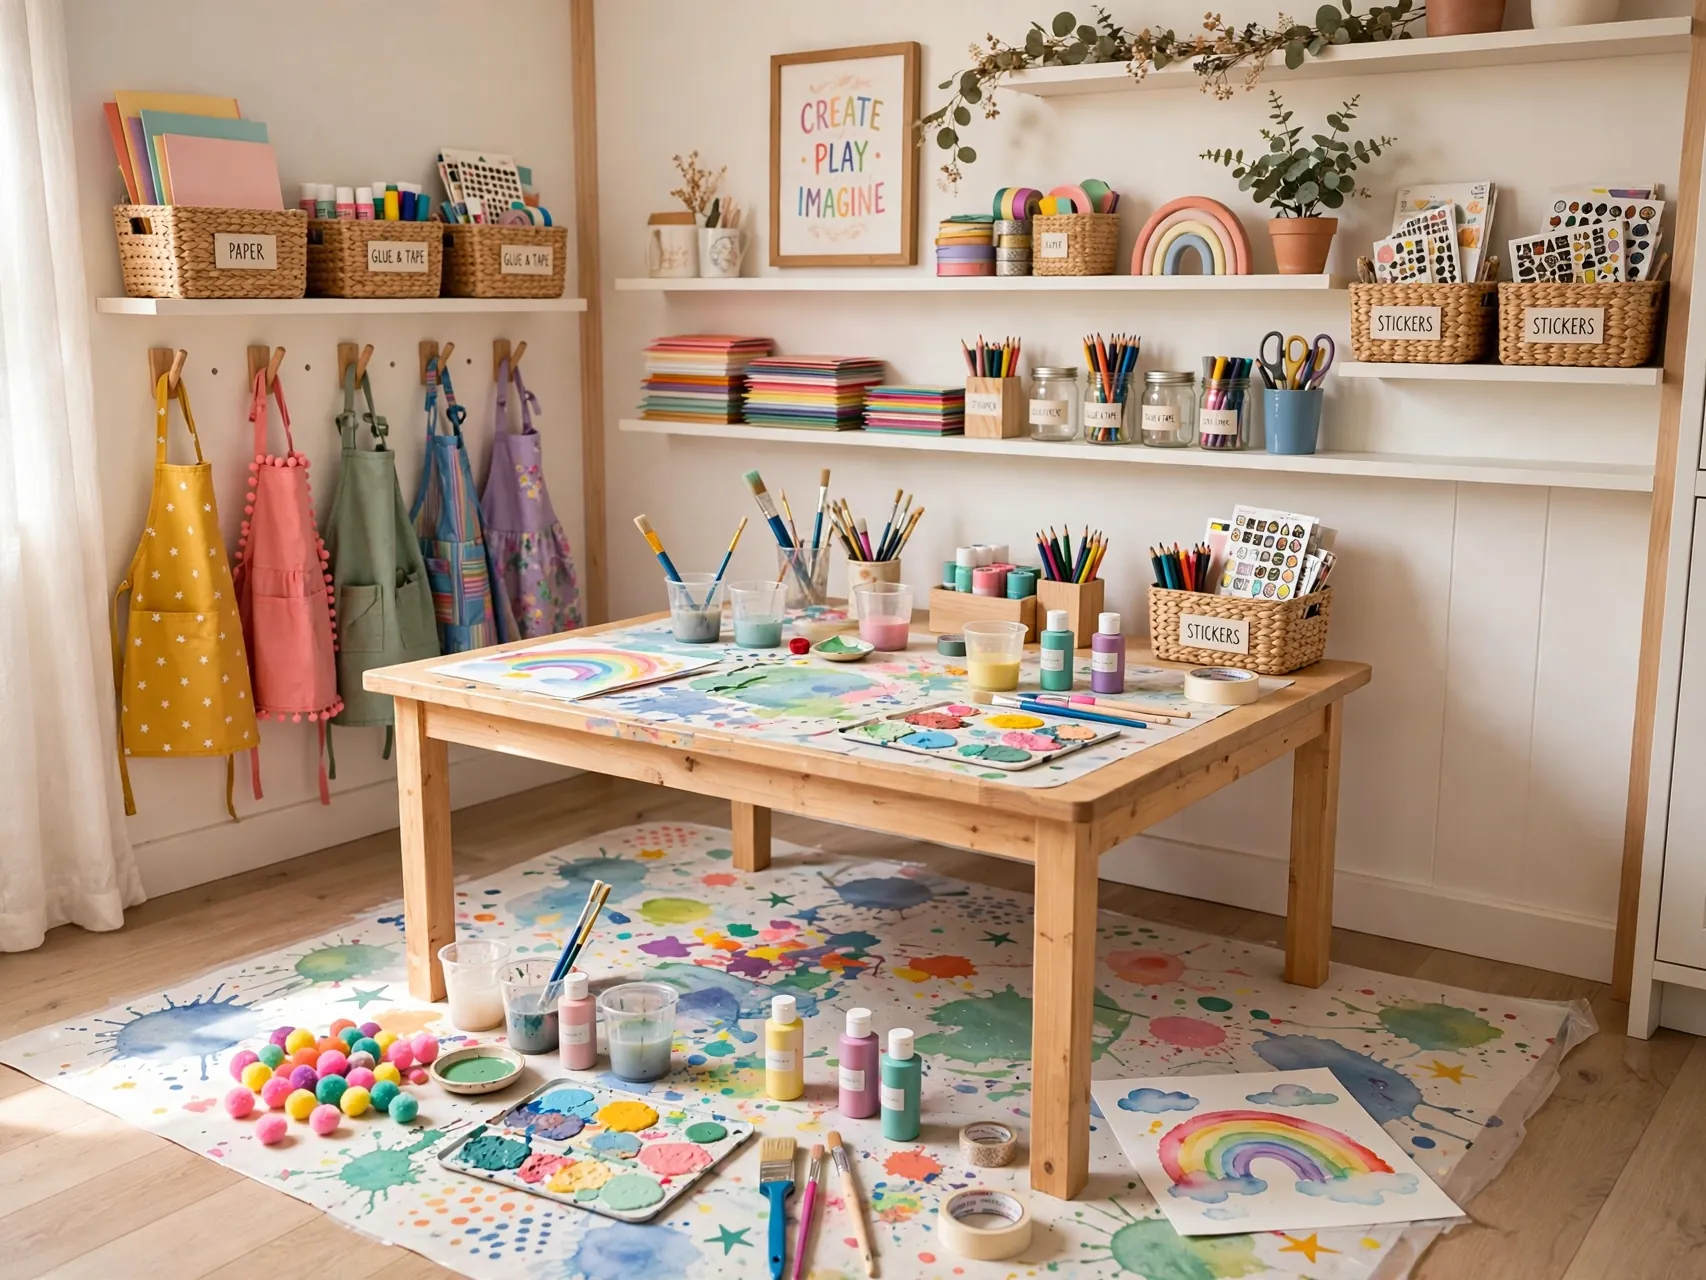
A large washable mat under the main table defines the mess zone and protects floors from paint and glue. Pair it with one calm rule: messy supplies stay on the mat, and aprons go on before paint or glue comes out.
Rules work when they are few, visible and consistent. Shake the mat outside or wash it weekly. Children rise to clear boundaries surprisingly well, and adults relax when the floor is protected. The mat also signals session start and end, which helps younger children transition without a cleanup argument every time.
19. Store Adult Tools and Refills Up High
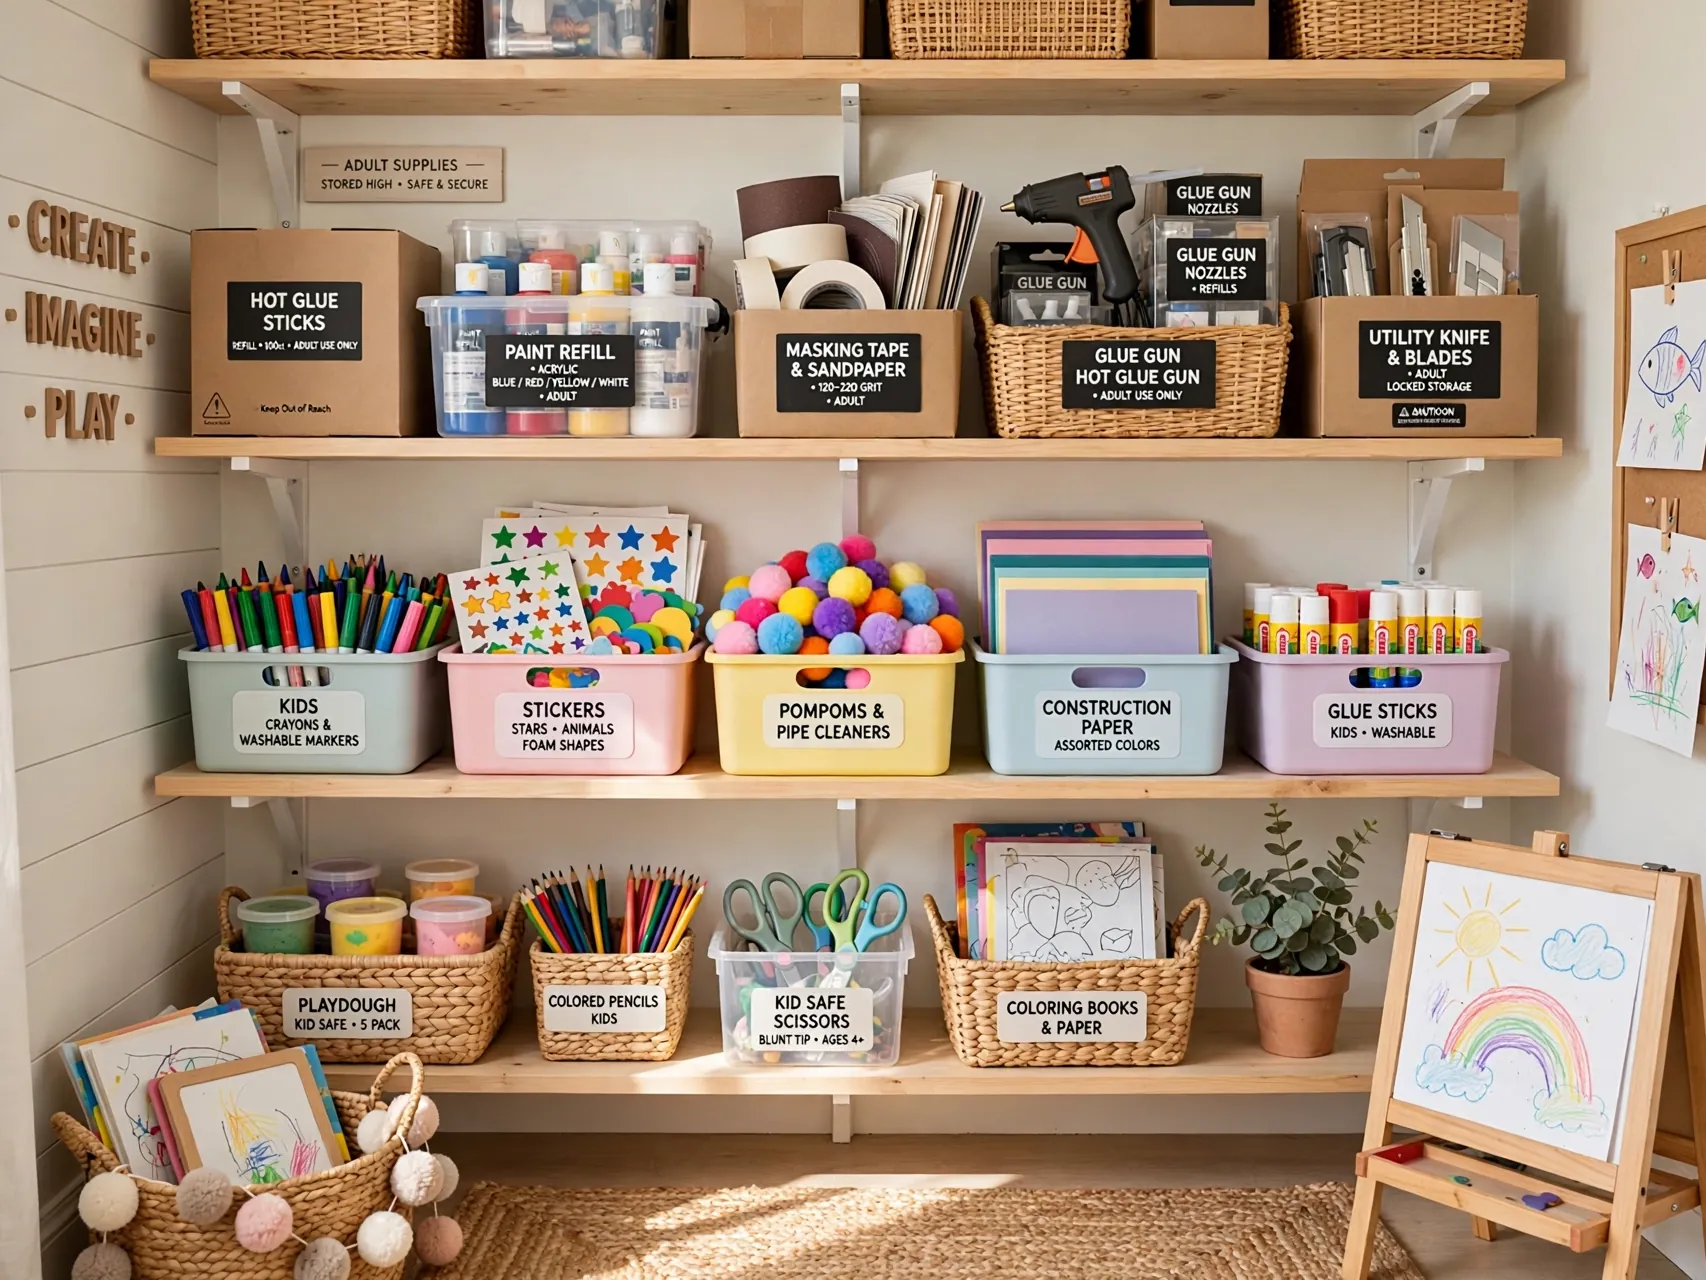
Every craft room needs an adult shelf: refill paints, spare blades for paper trimmers, hot glue, strong adhesives and cleaning supplies, stored high, latched where needed and completely out of child reach.
This separation is the safety backbone of the room. Children get generous access to their own non-toxic, age appropriate supplies, while anything sharp, hot, small or chemical lives above adult shoulder height. Review the adult shelf monthly, discard dried out supplies, and never let overflow drift down onto child level shelves during a busy tidy up.
20. Finish With a Weekly Reset Routine

Craft rooms stay inspiring when they are reset, not just tidied. Once a week, spend fifteen minutes together: return supplies to labeled homes, recycle true scraps, file or photograph finished art, and restock one thing that ran out.
End the reset by choosing next week featured project and pinning its picture or book page to the gallery wall. That small ritual keeps the room feeling fresh, shows children how creative spaces are cared for, and guarantees the room keeps sparking ideas instead of slowly filling with beautiful, unusable clutter.
FAQ
How big does a kids craft room need to be?
It does not need to be a room at all. A corner with a small table, a rolling cart and a display line covers most crafts for young children. Zones and reachable storage matter far more than square footage. Start with the corner, learn what your children actually make, and expand only when a real need appears.
What are the most important safety rules for a kids craft space?
Use non-toxic supplies, anchor tall storage to the wall, keep small parts away from children under 3, and store scissors, hot glue and other adult tools up high. Supervise craft time, especially with younger children, and check age guidance on kits and materials honestly rather than assuming older sibling supplies suit everyone.
How do I keep a craft room from taking over the house?
Give every supply a labeled home at child height, keep a drying zone so wet work has a destination, and run a short weekly reset. A gallery rotation and a portfolio for keepers stop paper from spreading. When storage is full, use a one in, one out habit for new kits and scrap materials.
What supplies should I buy first?
Start with paper in a few sizes, washable markers and crayons, glue sticks, safe scissors for older children, play dough and a watercolor set, all non-toxic. Add a paper roll, clear bins and a supply cart before buying specialty kits. Basics used daily beat novelty supplies that need instructions and batteries for every session.
How can siblings of different ages share one craft space?
Zone by age as well as by activity. Keep toddler safe basics on the lowest shelves, older child tools higher and in their own caddies, and small parts completely out of the shared room if a child under 3 uses it. Shared display and shared basics keep the room feeling communal, while personal caddies protect fairness.
Key Takeaways
- Safety first, always: Non-toxic supplies, anchored storage, small parts away from under 3s and adult tools stored up high.
- Zones make it work: A making zone, drying zone, reachable storage zone and rotating display zone keep creativity flowing and cleanup calm.
- Reachable storage wins: Clear labeled bins, a rolling cart and a pegboard at child height let children start and finish projects independently.
- Honor the work: A rotating gallery, a portfolio for keepers and a weekly reset stop art from becoming clutter.
- Start small: A corner with five good ideas beats a full room with no system, so build slowly around what your children actually love making.
- Love these ideas for your home? Save this guide to Pinterest and pin your favorite to try first.