21 IKEA Wedding Hacks for a Beautiful Budget Wedding Day
Introduction
A beautiful wedding does not need a huge decor budget, it needs a few good pieces used with intention. These IKEA wedding hacks turn simple glassware, lanterns, frames and faux greenery into ceremony and reception styling that looks planned, polished and far more expensive than it was.
Start with a tight plan. Choose two or three hero items, buy them in quantity, and repeat them everywhere: down the aisle, on the tables and around your signs. Repetition is what makes budget pieces feel like a design scheme instead of a collection of bargains.
Shop early, because popular jars, candles and faux stems can sell out in peak wedding season, and test every hack at home first. A painted bottle, a tied garland and a styled place setting all look different in real light, and a calm trial run saves stress later.
Finally, think past the day itself. The best hacks below become home decor, gifts or resale items afterwards, so your money keeps working long after the last dance. Pick the ideas that suit your venue, your colors and the time you honestly have for DIY.
1. Line the Aisle With Lanterns and Flameless Candles

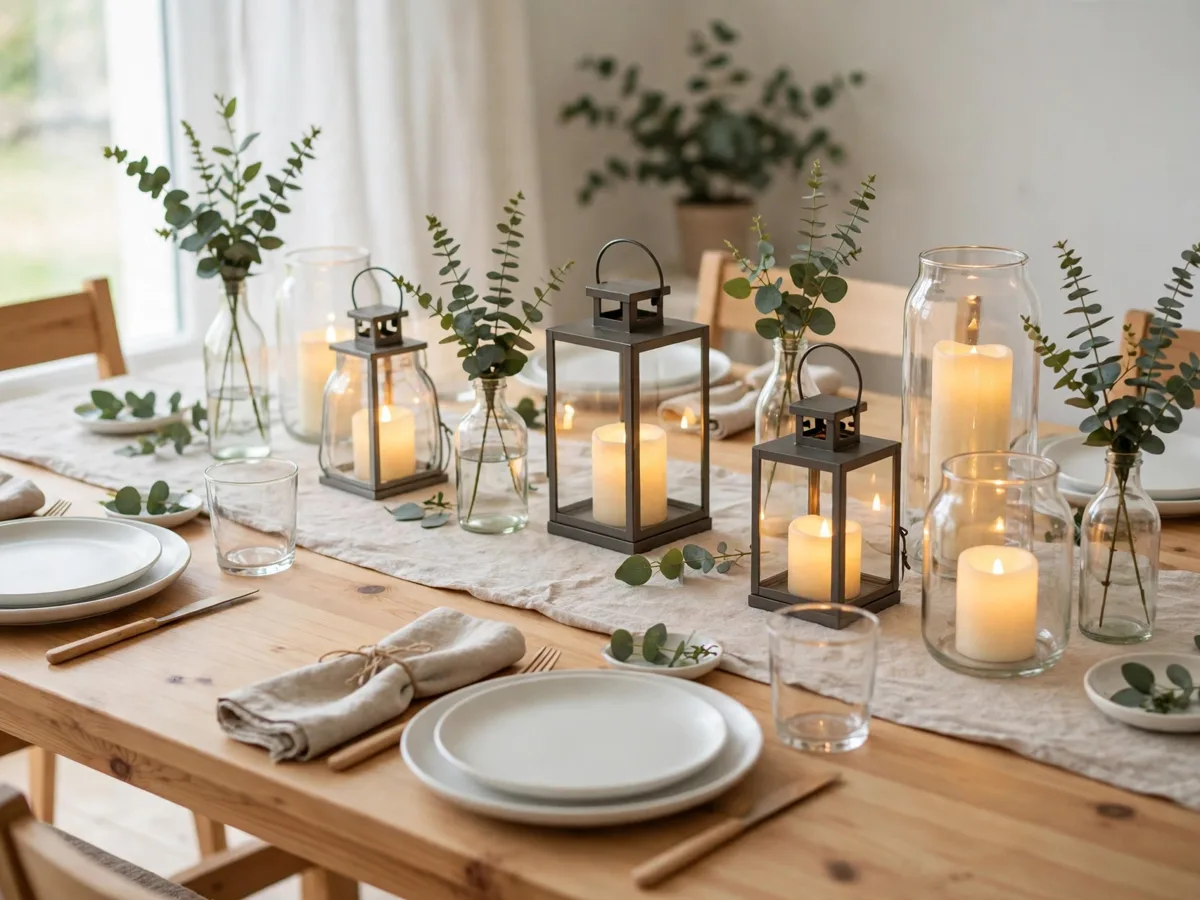
Cluster simple metal or glass lanterns along both sides of the aisle, grouped in twos and threes with a sprig of greenery at the base of each group. The rhythm of repeated shapes leads the eye straight to the ceremony spot and photographs beautifully at golden hour.
Use flameless LED candles inside, especially outdoors or in venues that restrict open flame. They can be switched on hours before guests arrive, they will not blow out in a breeze, and there is no wax to clean up. After the wedding the lanterns move straight to your porch, patio or hallway at home.
2. Build a Faux Greenery Arch That Never Wilts

Clip faux eucalyptus, ivory vine and fern stems onto a simple wood or metal arch frame with floral wire and zip ties, working from one corner in a loose, uneven sweep. Mix in a handful of fresh flowers on the morning itself for scent and softness where guests stand closest.
Faux greenery is the calm choice for hot days, because nothing droops during photos or a long receiving line. Build the arch panels at home, transport them flat, and attach them on site in minutes. Later, the same stems become wreaths, mantel garlands and table runners at home.
3. Turn Glass Bottles Into Bud Vase Centerpieces

Collect clear glass bottles and small jars in two or three heights, remove the labels, and group them down the center of each table with single stems of greenery, baby breath or seasonal blooms. Odd numbers and varied heights keep the arrangement feeling relaxed and designed.
For a warmer look, spray paint a few bottle necks in a soft metallic tone and leave the rest clear. Keep arrangements low and light, because narrow bottle necks tip easily under heavy flowers. These cheap wedding centerpieces cost very little per table and guests can take a bottle home as a favor.
4. Use Picture Frames for Table Numbers and Signs
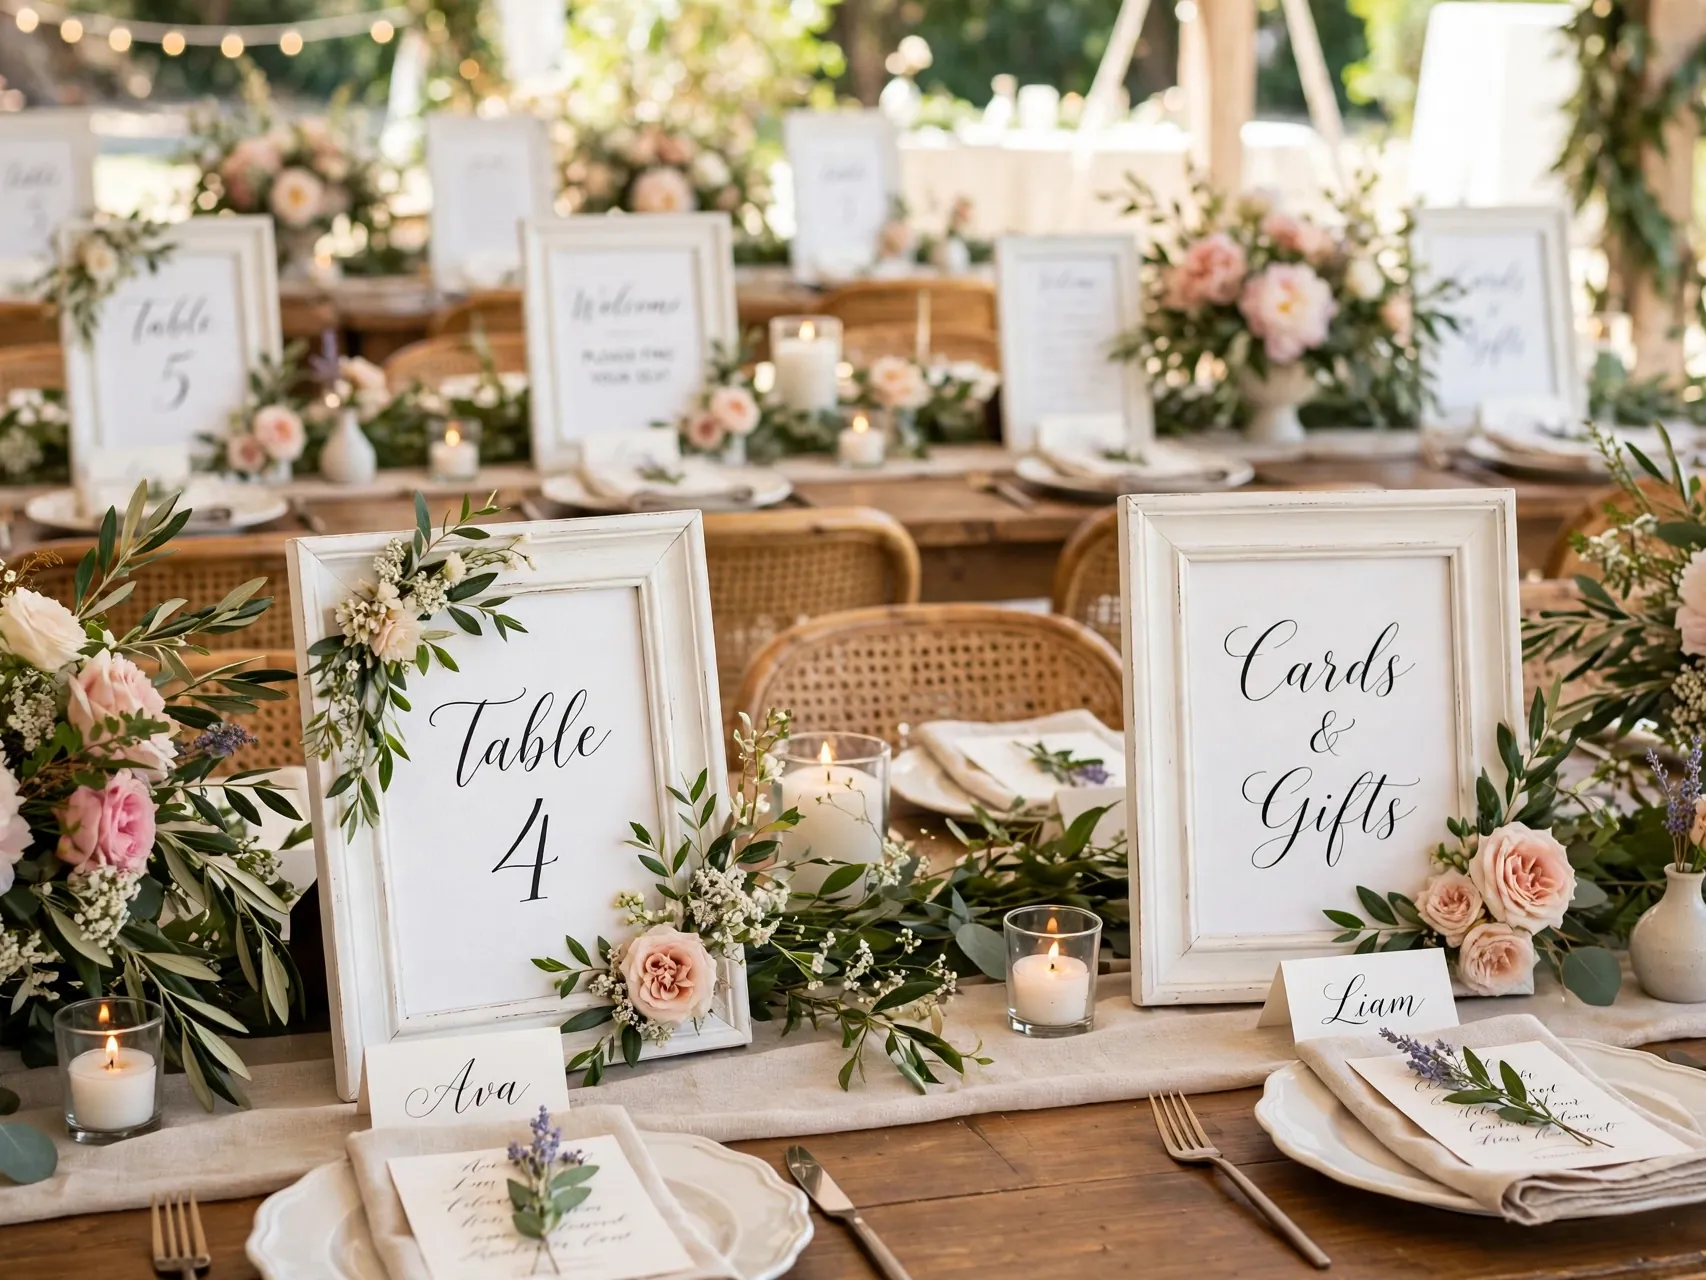
Simple frames in one finish, gold, black or natural wood, become table numbers, menu cards, reserved signs and a welcome sign when you print inserts at home. Stand the largest frame on an easel at the entrance and repeat smaller frames on every table for a joined up look.
Print on matte card in your wedding fonts and colors, and design everything in one sitting so the type, spacing and wording match. Frames are easy to transport, hard to damage, and useful forever afterwards for photos and prints around your home, which makes them a smart budget buy.
5. Style a Candlelit Glow With Tea Light Holders

Scatter small glass tea light holders and votives along tables, window sills, steps and the cake table to build soft layers of light. Group them on mirrors or trays so the flames reflect and the whole setting feels richer than the simple pieces suggest.
Choose flameless tea lights if your venue bans real flame, and mix heights with a few taller candle holders for variety. Candlelight flatters every color scheme and every guest, and it hides a plain village hall or garden wall better than almost any other decor you can buy.
6. Stack Wooden Crates for Cake and Drink Stations

Sturdy wooden crates stacked at different heights create a cake stand base, a drinks station, a card and gift corner or a photo display shelf. Sand rough edges, and stain or paint them if you want a cleaner finish than raw rustic wood.
Place the heaviest items on the lowest crates and keep the stack stable and level, testing it before the cake anywhere near it. Line one crate with a linen cloth for bread or favors. Crates earn their keep after the wedding as shoe storage, book shelves and plant stands at home.
7. Sew Table Runners From Flat Sheets and Fabric

Flat sheets, plain curtains and offcut fabric make long, soft table runners for a fraction of rental linen prices. Cut to length, hem the edges or use iron on hem tape, and layer the runner over a plain white or ivory tablecloth for contrast.
A runner grounds your centerpieces and lets simple tables look dressed. Choose a fabric that drapes well and does not crease badly in transport, and roll runners around a tube instead of folding them. After the day, the same fabric becomes cushion covers, a throw or napkins for your first dinner parties.
8. Set Tables With Simple Classic Dinnerware

Plain white or softly speckled dinnerware, simple glass tumblers and classic cutlery give you a clean, hotel style place setting that suits any theme. Buying one matching set for a small wedding can cost less than hiring, and it photographs as calm and elegant.
Dress each setting with a folded cloth napkin, a sprig of greenery and a printed name card. Keep the palette tight: white plates, clear glass, one metal tone. For larger guest lists, mix bought sets for the top table with hired basics for guests, and no one will notice the join.
9. Create a Self Serve Drinks Station With Dispensers

Glass drink dispensers with taps, set on a crate or stand, let guests help themselves to lemonade, infused water or a signature punch. Add paper straws, a small framed label for each drink, and a stack of simple glasses on a tray beside them.
A self serve station cuts queueing at the bar and gives non drinkers something pretty too. Freeze fruit in ice cubes for color that lasts, and keep a small towel hidden nearby for drips. Test the taps at home first, because a slow dispenser is easy to swap before the day, not during it.
10. String Warm Lights Overhead for Evening Magic

Drape warm white string lights or festoon bulbs above outdoor seating, across a hall ceiling or along a fence line to define the party space after dark. Zigzag strands between secure anchor points and keep cords tidy, taped and out of walkways.
Light at head height and above makes even a plain backyard feel like a venue. Use outdoor rated lights outside, check the load on each outlet, and add a few lanterns at ground level so the glow has layers. Photographers love this light, and guests linger longer under it.
11. Make a Photo Display From Frames and Twine

Stretch twine between two frames, a ladder or a pair of branches and clip up printed photos of your story together with mini pegs. Guests browse it during drinks, it fills an awkward corner, and it costs almost nothing beyond printing.
Mix candid shots with a few formal ones, and leave a blank card or two for guests to write messages and clip up during the evening. Keep copies of every print, because displayed photos get handled, and use LED candles nearby rather than real flames near paper and fabric.
12. Tie Chair Sashes From Curtain Panels
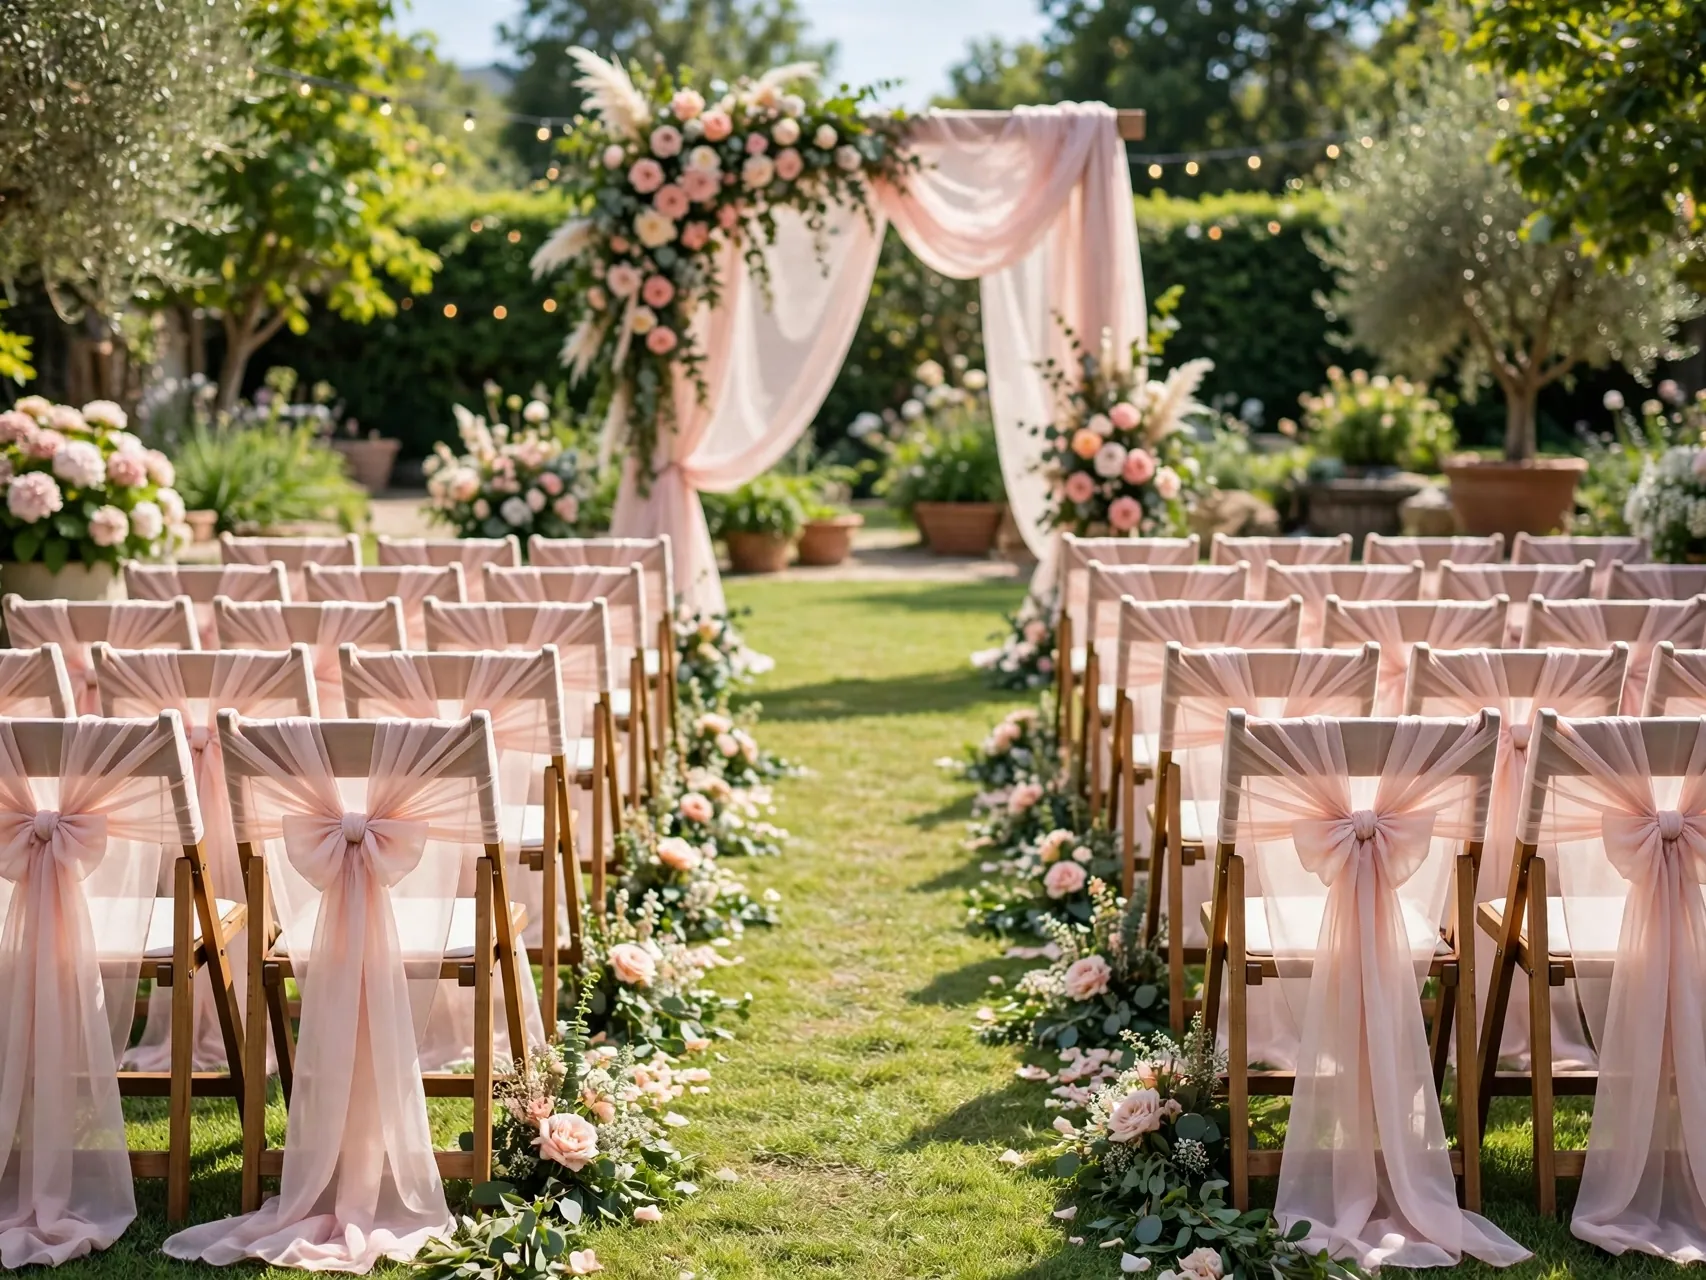
Voile curtain panels cut into long strips become soft chair sashes for the ceremony chairs or just the couple chairs at the top table. Tie a simple loose bow or knot at the back of each chair and let the ends hang for movement.
Doing every chair is a big job, so consider sashes only for the aisle chairs and the wedding party table. The effect still reads as intentional and styled. Choose a color close to your flowers or napkins, steam the strips the night before, and pack a small kit with spare strips and safety pins.
13. Paint Candle Holders to Match Your Palette
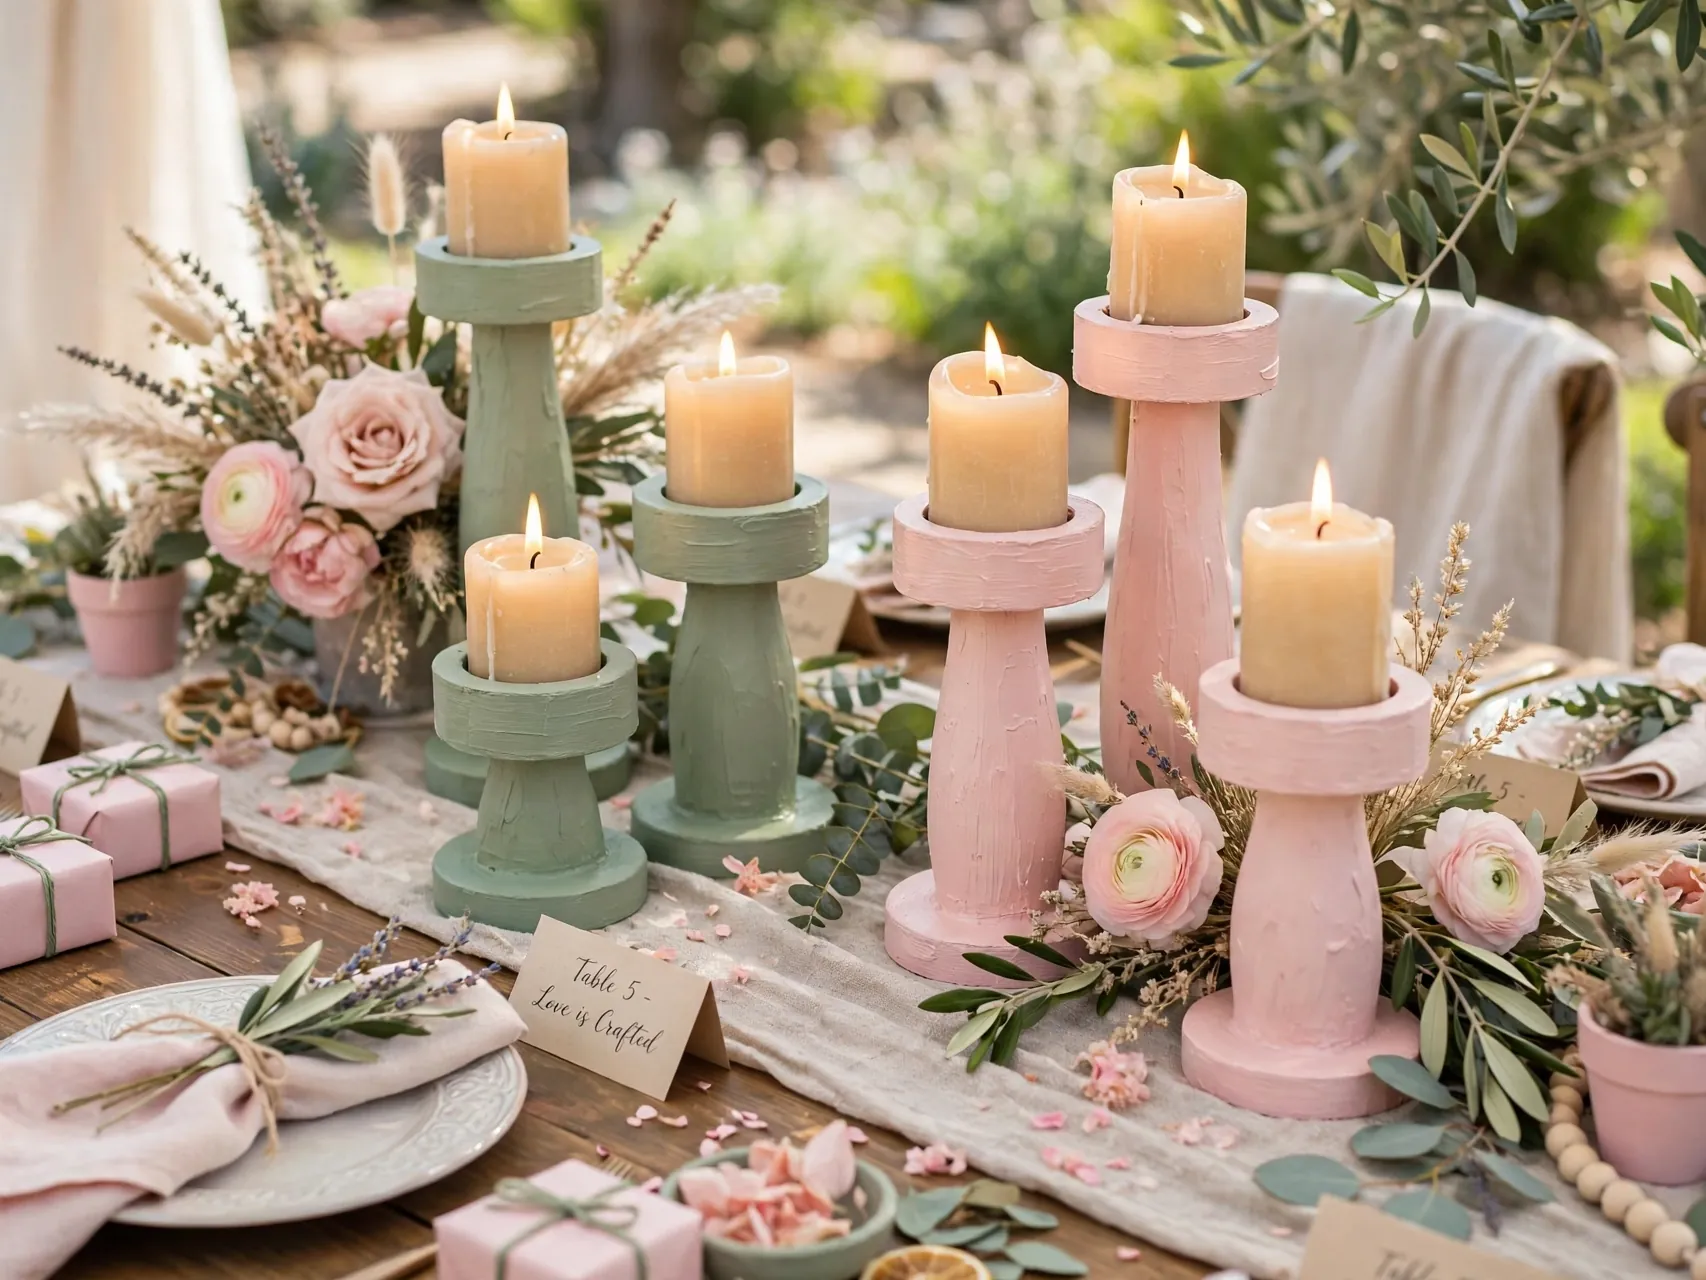
Plain glass or metal candle holders become custom decor with a coat of spray paint in your exact wedding colors: matte sage, soft blush, classic black or a gentle metallic. Paint outdoors, use light coats, and let pieces cure fully before packing them.
Group painted holders with clear ones so the color feels designed rather than heavy. Keep paint away from any surface that touches a flame, and use flameless candles in painted holders to be safe. This is one of the fastest diy wedding decorations to finish, and a full set takes a single afternoon.
14. Build a Tiered Dessert Stand From Trays and Holders

Stack serving trays and plates on upturned candle holders, small bowls or glasses to build a tiered stand for cupcakes, cookies and petit fours. A tablecloth under the stand hides the joins and makes the whole dessert table look planned and generous.
Test the tower at home with weight on it, glue or museum putty can steady the joins for the day, and keep the tallest tiers at the back of the table. Guests serve themselves happily, small bakes look abundant, and the same trays go back to everyday use in your kitchen afterwards.
15. Fill Spice Racks and Trays With Favors
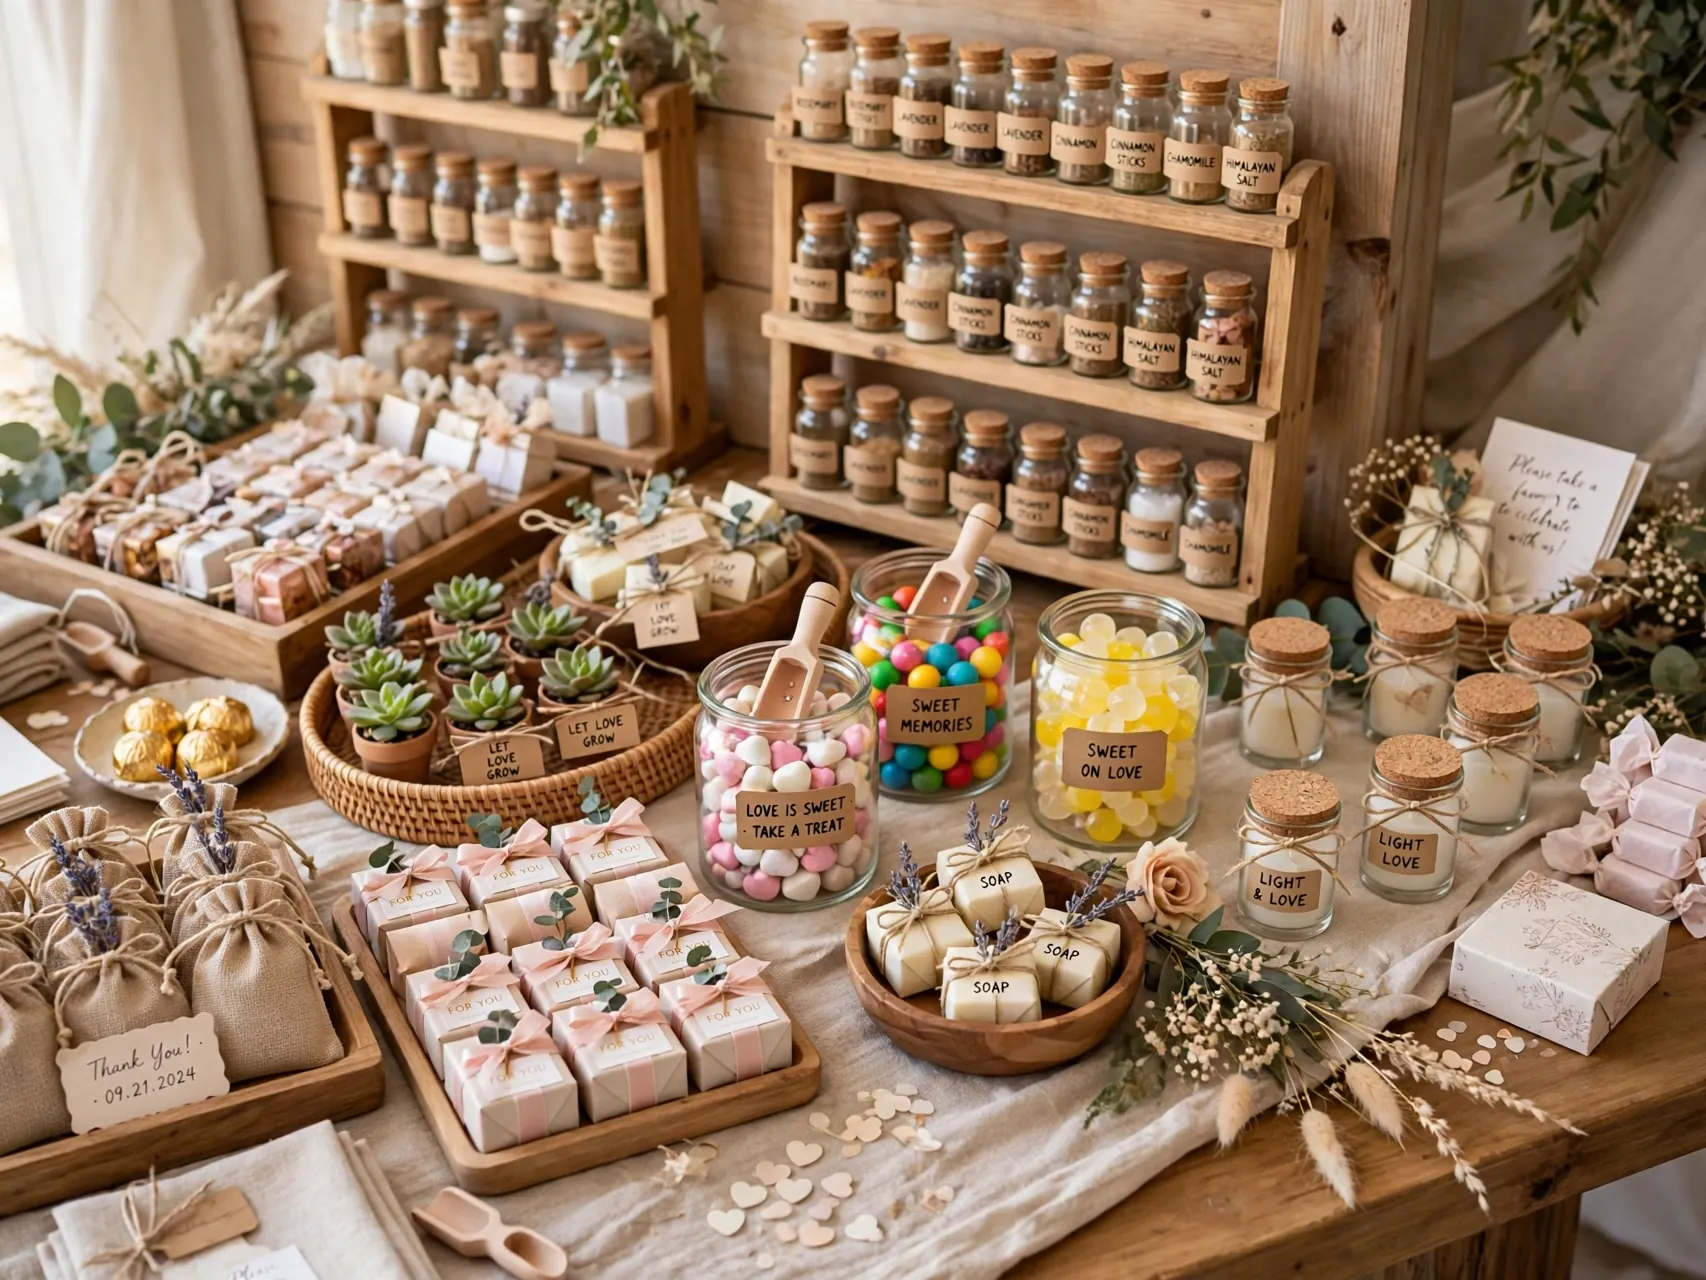
Small spice racks, trays and divided boxes corral favors into a tidy display instead of a scattered pile: seed packets, small soaps, sweets or tiny succulents all sit neatly in rows with a small framed sign inviting guests to take one.
A contained favor station looks generous and keeps tables clear for dinner. Stand the display near the exit so guests grab a favor on the way out, and keep a few spares under the table for anyone who misses it. The racks return to your kitchen or bathroom shelves the next week.
16. Pot Succulents as Place Cards and Favors in One

A small potted succulent at each place setting does two jobs at once: a name flag on a cocktail stick turns it into a place card, and at the end of the night it goes home with the guest as a living favor.
Buy plants a few weeks early so they settle and look full, water them lightly the day before, and keep them out of harsh sun during setup. Choose sturdy varieties that forgive a car ride home. This is a favorite affordable wedding table decor trick because nothing is thrown away afterwards.
17. Frame a Welcome Sign Guests Actually Read
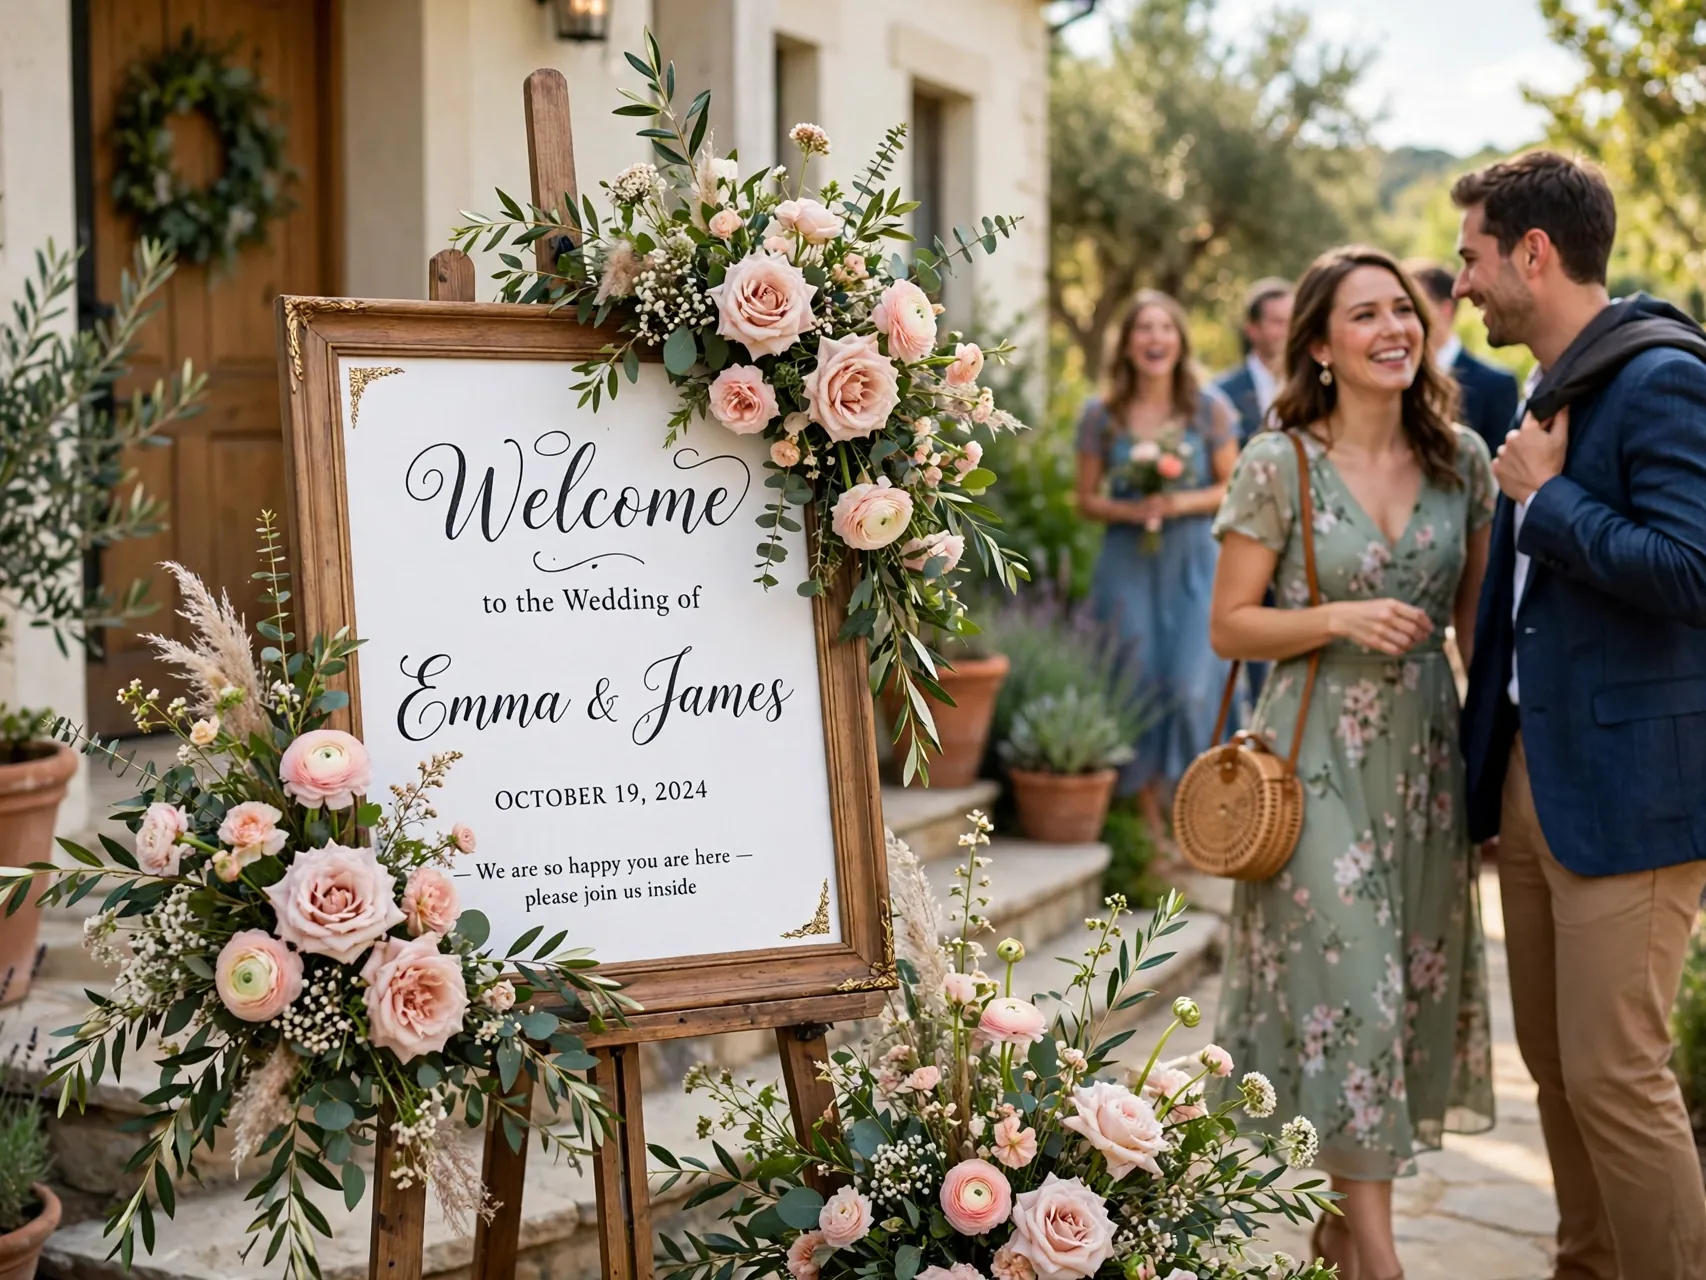
Your largest frame, a printed welcome insert and a small easel create the sign that quietly runs the day: order of events, table plan directions, and a note about photos. Place it where guests arrive, at eye level, with a lantern or plant at its base.
Keep the wording short and the type big, because guests read signs while standing and chatting. One clear sign prevents a hundred small questions to you and your helpers. After the wedding, the frame holds your favorite photo and the insert becomes a keepsake in a memory box.
18. Assemble a Card Box From a Simple Storage Box

A lidded storage box or glass terrarium style box, with a slot cut in the top or a small sign on the front, becomes a secure card box that matches your theme with a ribbon, a sprig of greenery or a painted finish.
Place it on the gift table with a framed label, in sight of a trusted helper, and empty it once during the evening for safekeeping. Cards hold money and vouchers, so treat the box like the valuable thing it is. At home it returns to storing keepsakes, letters and wedding mementos.
19. Fold Napkins With a Sprig and a Twist
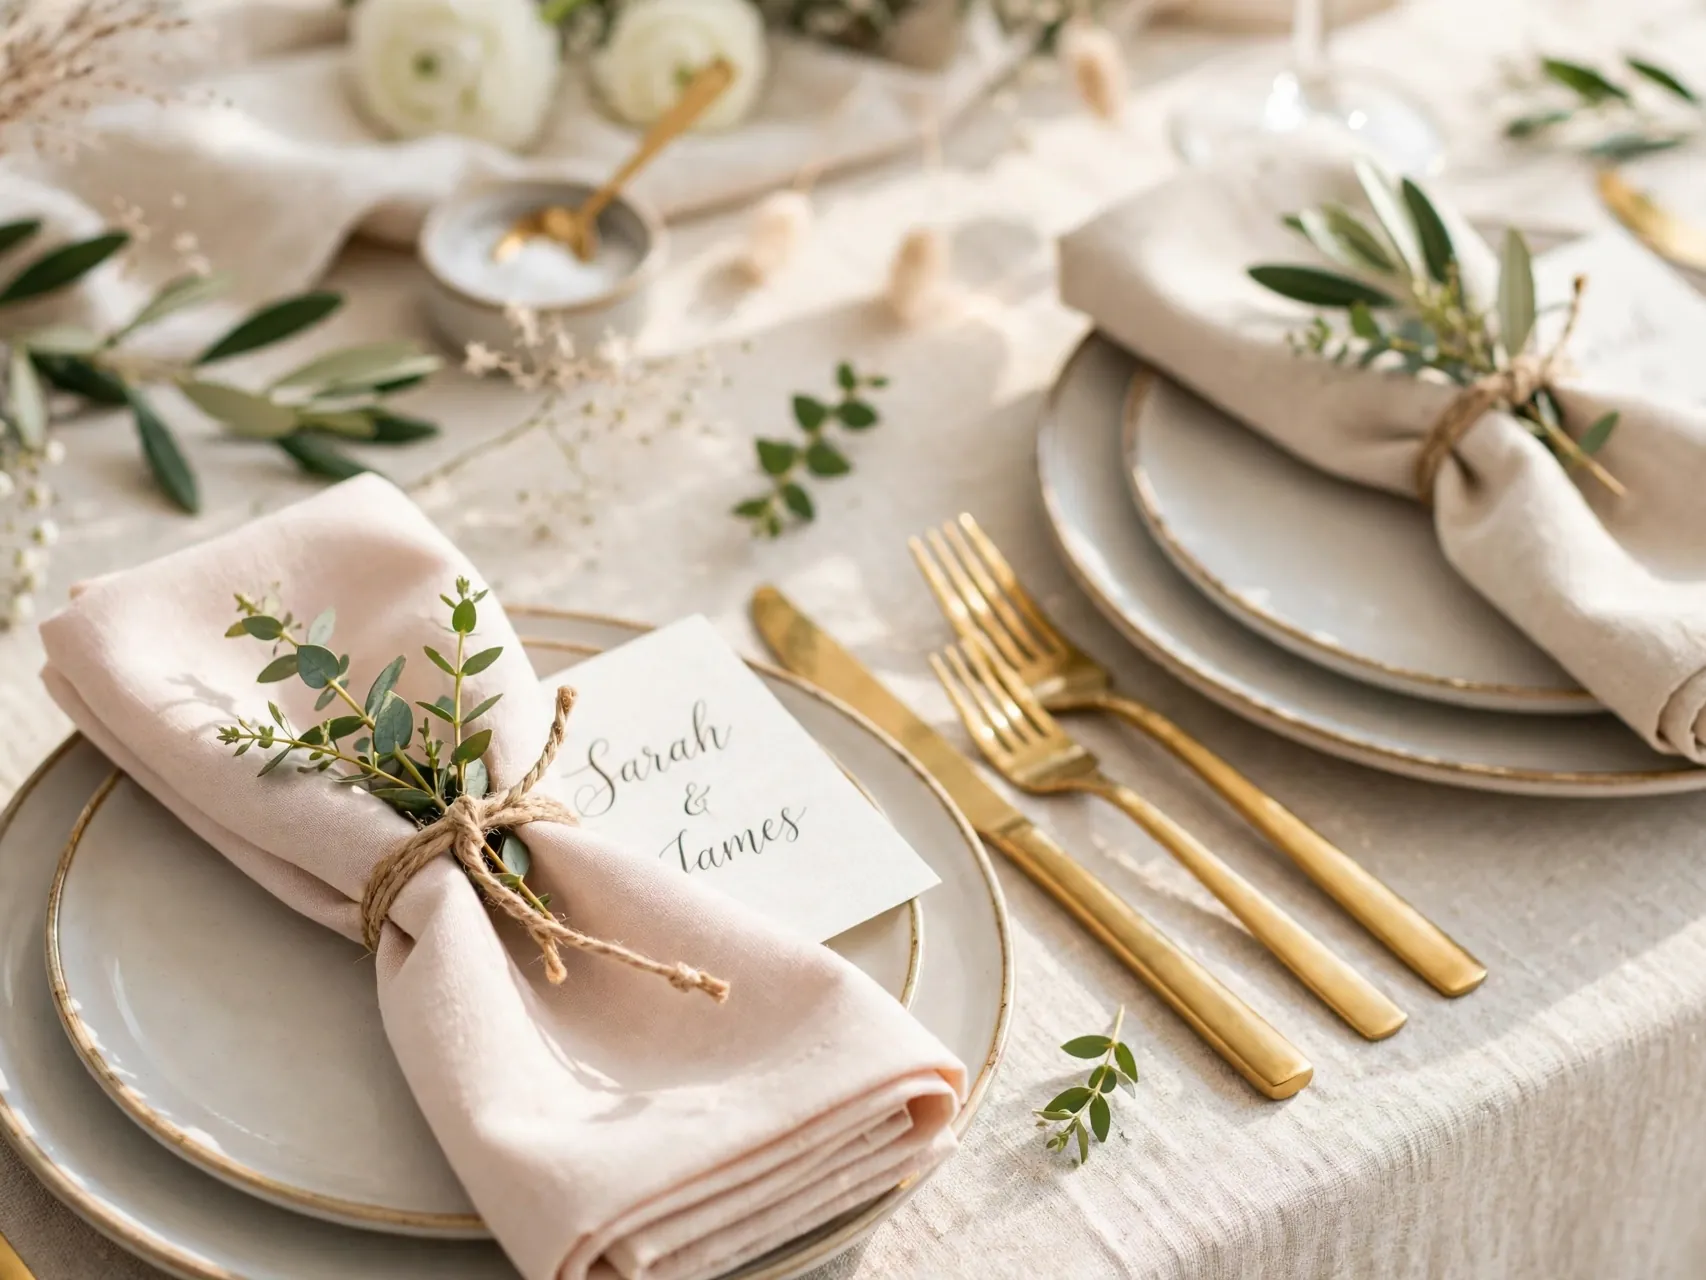
A simple napkin fold, a sprig of faux or fresh greenery and a twist of twine or ribbon turns a plain place setting into a styled one in seconds. Practice the fold once, then set up an assembly line with helpers and music the day before if your venue allows.
Cloth napkins feel luxurious and can be bought cheaply in bulk packs, washed and reused or resold afterwards. Keep the sprig small and flat so glasses and cutlery sit comfortably. This tiny detail appears in almost every guest photo of the tables, which makes it worth the small effort.
20. Create a Quiet Guest Book Nook
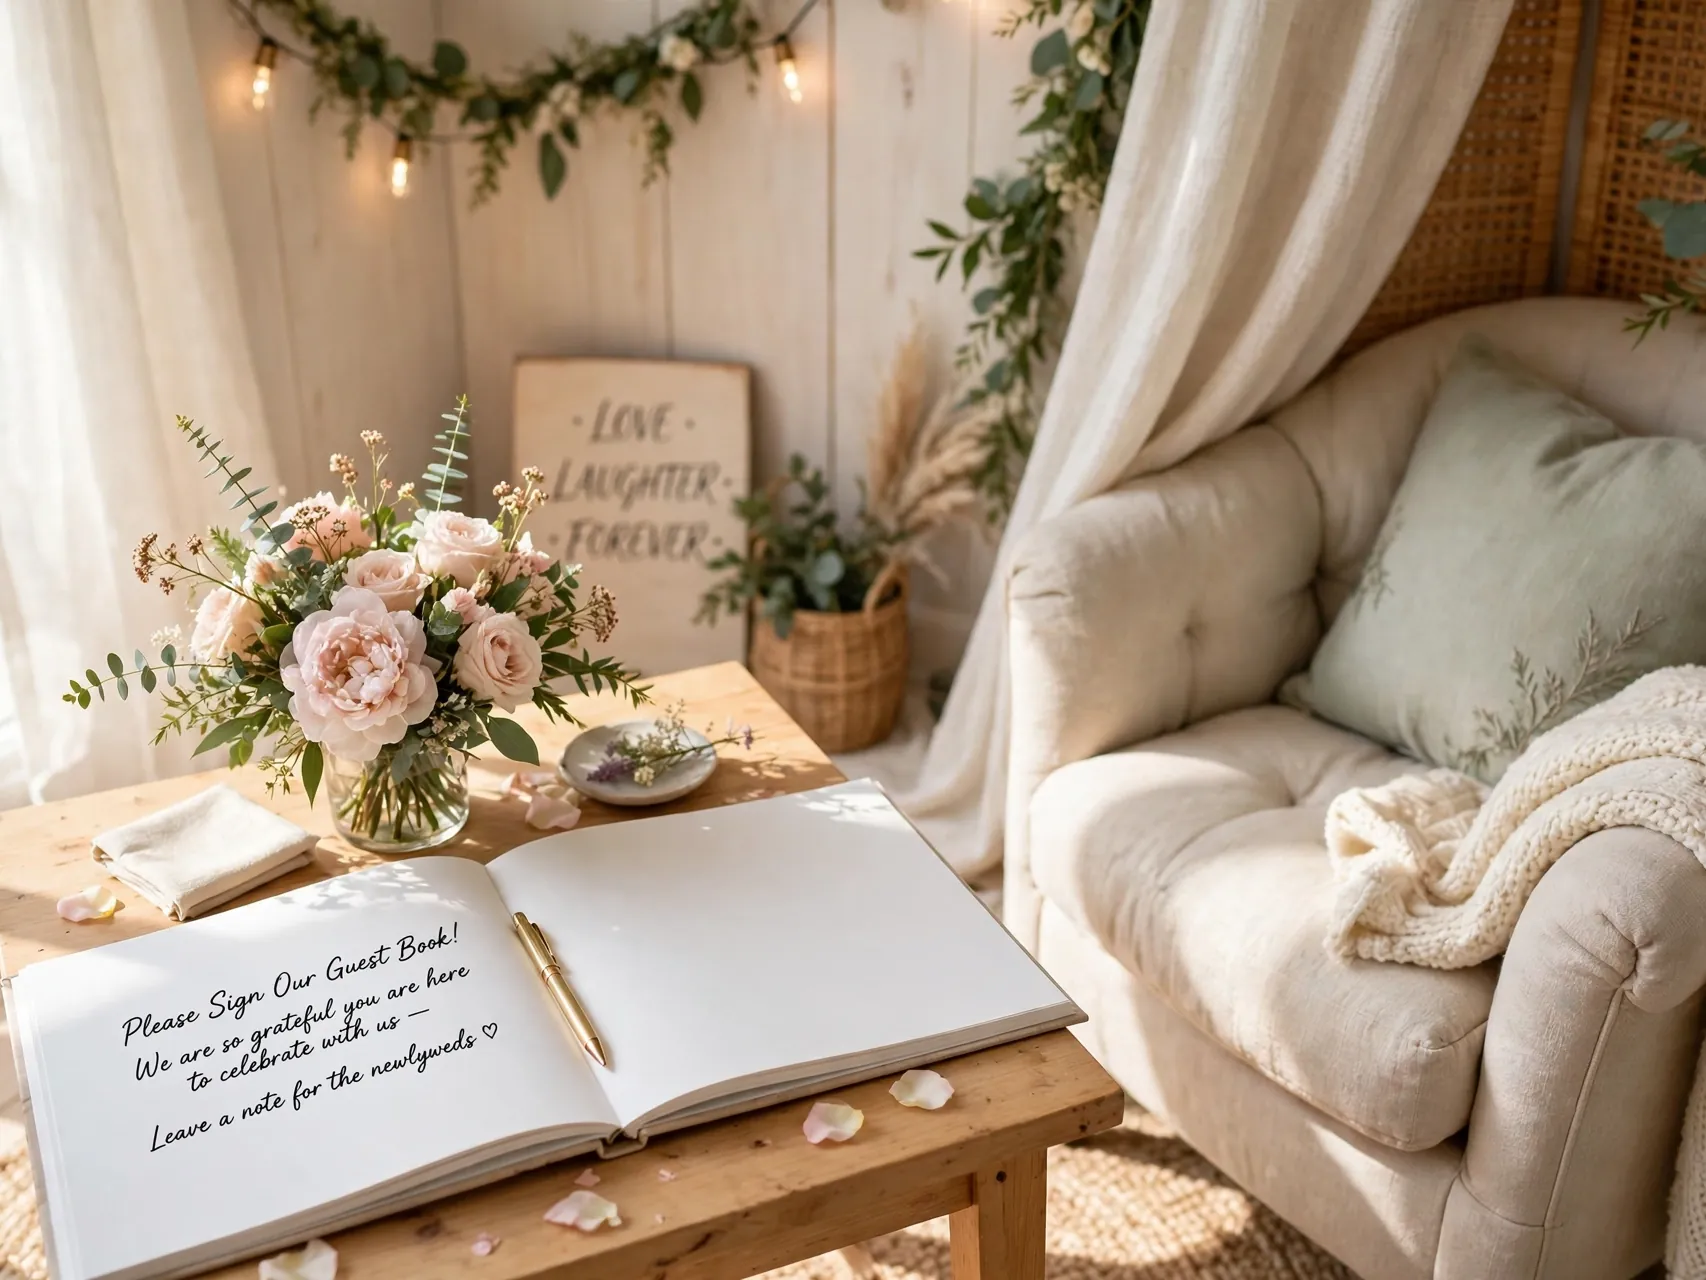
Set a small table in a calm corner with your guest book, good pens, a framed photo and a soft lantern. A defined nook invites longer, kinder messages than a book abandoned on the gift table, and it doubles as a pretty photo spot.
Add a small sign asking guests to sign, because people often miss the book without a prompt. Test your pens on the actual paper at home, keep spares, and choose ink that will not bleed through pages. This corner takes ten minutes to style and gives you one of the few keepsakes you will reread for years.
21. Plan a Reuse Basket for the Morning After
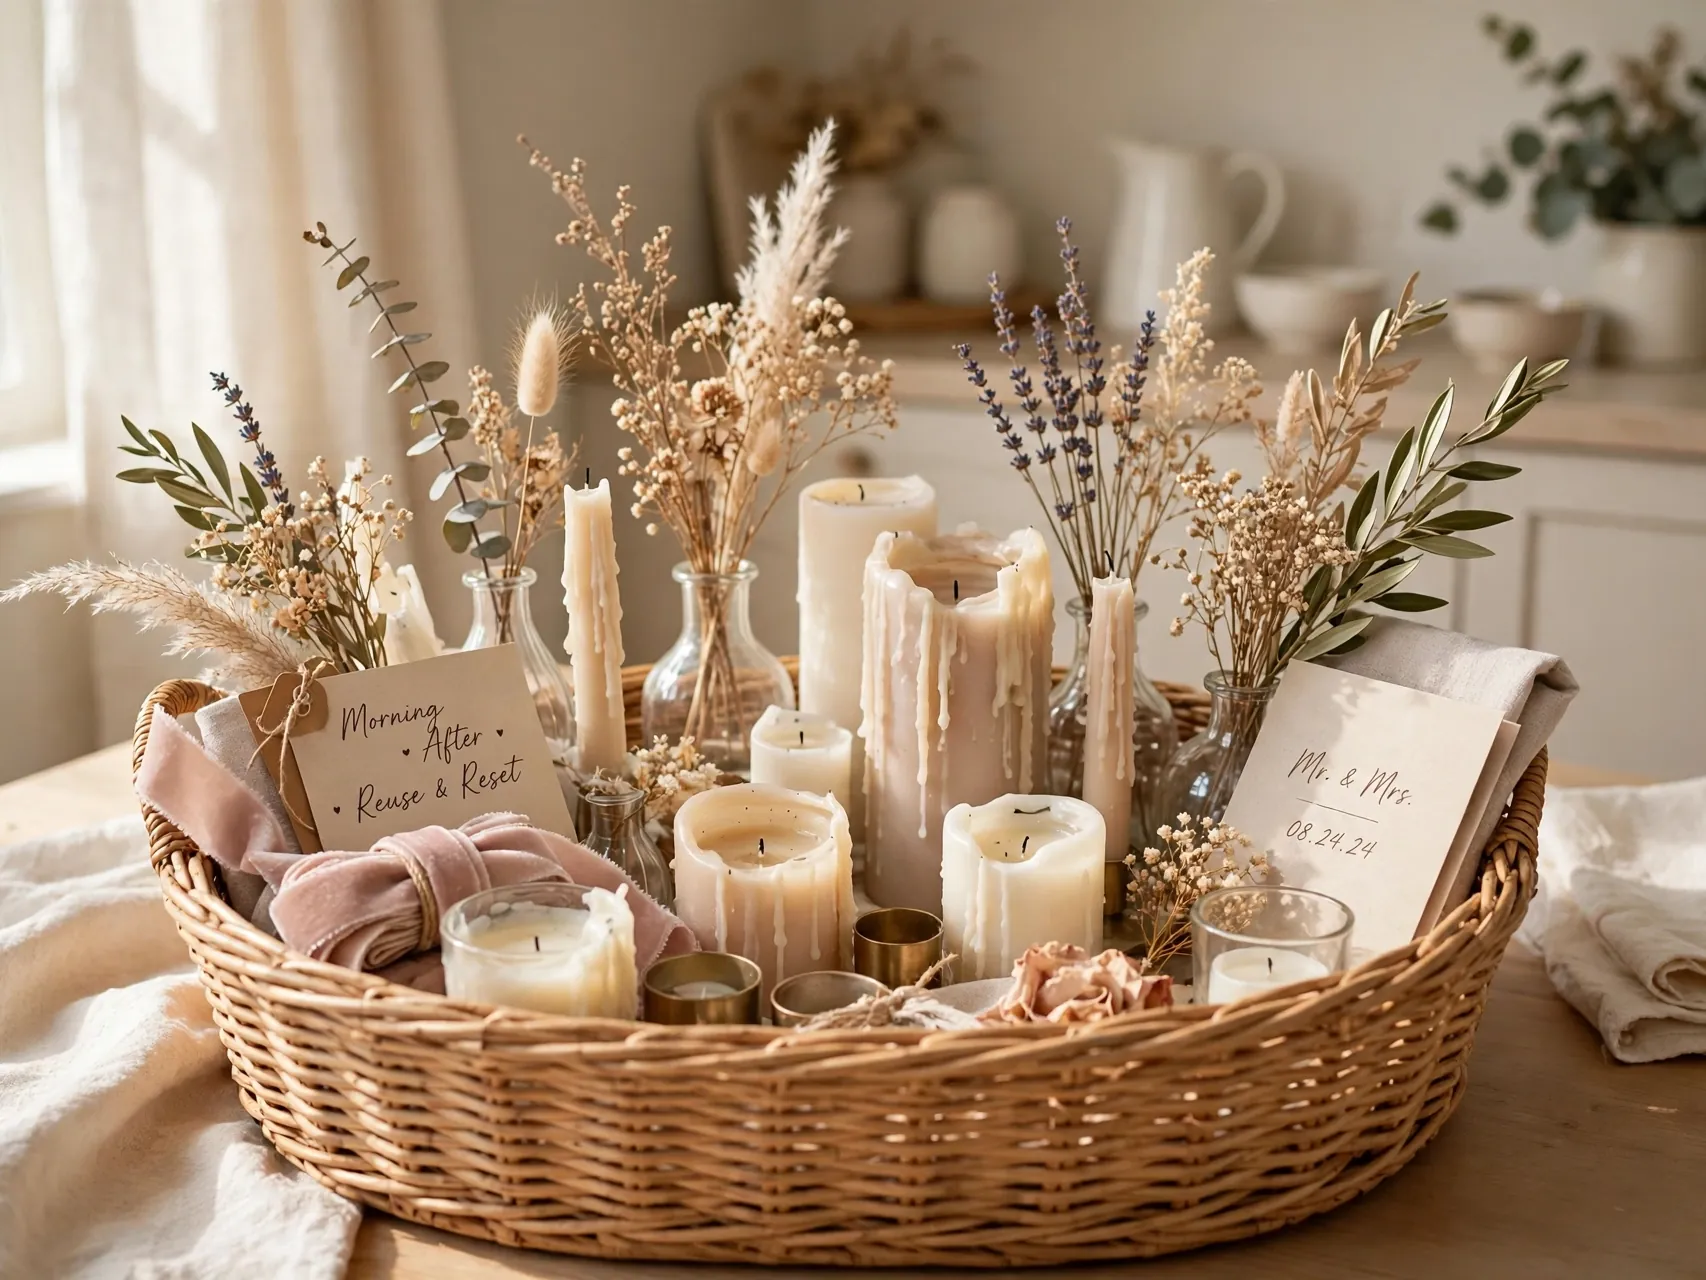
Label a crate or basket for every hack you want to keep, and brief one helper to gather lanterns, frames, faux stems and candle holders into it before the venue clear out. A plan made in advance is the difference between keeping your decor and losing it in the tidy up.
Wash and dry glassware before storing, coil lights loosely so they work next time, and photograph your tables before the party starts. Your future self, decorating a first home, a baby shower or an anniversary dinner, will be very glad the budget wedding decor ideas were packed with care.
FAQ
How far ahead should I buy IKEA items for a wedding?
Start two to three months ahead for popular jars, candles, lanterns and faux greenery, especially for spring and summer dates. Buy a little extra of small items so breakages and last minute tables are covered, and keep receipts, because unopened spares can often be returned after the day if store policy allows.
What are the easiest hacks for a complete beginner?
Lanterns with flameless candles, framed table numbers, bottle bud vases and string lights need no craft skill at all, just grouping and repetition. Start with those four, style one test table at home, and photograph it. If the test table looks good, the full room will too.
How do I make budget decor look expensive?
Repeat a few items everywhere, keep colors tight, group pieces in odd numbers, and add one soft layer such as cloth napkins or candlelight. Clutter makes cheap decor look cheap, while space, symmetry and repetition make simple pieces look like a hired styling package.
Can I use real candles in IKEA lanterns and holders?
Only if your venue allows open flame and the holder is made for real candles. Many venues require flameless candles, which look convincing in frosted glass and can be lit for hours. Always keep real flames away from fabric, paper signs and faux greenery, and never leave them unattended.
What should I do with all the decor after the wedding?
Plan the second life before you buy: lanterns for the porch, frames for photos, crates for storage, dinnerware for home. Sell matched sets as a bundle if you will not use them, because future couples search for exactly these ready made collections.
Key Takeaways
- Repeat to look expensive: Two or three hero items, bought in quantity and used everywhere, beat a cart full of one off bargains.
- Flameless is venue friendly: LED candles give you hours of safe glow with no wax, no wind problems and no rule breaking.
- Test one table at home: A single styled trial setting reveals spacing, height and color issues while they are still easy to fix.
- Buy early in peak season: Popular jars, lanterns and faux stems sell out, so shop months ahead and keep spares.
- Plan the second life: Lanterns, frames, crates and dinnerware all earn their cost again at home after the day.
- Pack with a plan: A labeled reuse crate and one briefed helper save your favorite pieces during the clear out.
Planning a beautiful wedding on a real budget? Save these IKEA wedding hacks to Pinterest and pin the first table you will test at home.