25 Steps on How to Replace a Light Switch Safely at Home
Introduction
Replacing a worn or dated light switch is a common home job, but it is electrical work, and electrical work demands a safety-first order of operations with no shortcuts. This guide on how to replace a light switch is built around one rule above all others: the breaker goes off, and a tester proves the power is off, before any wire is ever touched.
Read all 25 steps before you start, including the stop points. If you find aluminum wiring, no ground wire, damaged insulation, a confusing 3-way setup, or anything you do not fully understand, the correct step is to stop and hire a licensed electrician. Local codes and permits may also apply in your area, and a pro will know them. There is no savings worth an injury or a house fire.
If your switch is a simple single pole switch, the wiring is modern and clearly matched, and every check in this guide passes, the swap itself is methodical: photograph the old wiring, move one wire at a time to the matching terminal on the new switch, secure everything neatly, restore power, and test. Slow, verified, and boring is exactly what good electrical work looks like.
1. Decide Honestly Whether This Job Is Yours to Do
Before tools, decide. A like-for-like swap of a standard single pole switch in a modern box is the beginner scope of this guide. Dimmer compatibility, smart switches needing a neutral, 3-way switches you do not fully understand, and any box that looks crowded, old, or damaged all raise the difficulty. If any step in this guide feels uncertain as you read, hire a licensed electrician instead. That is a successful outcome, not a failure.
2. Know the Stop Signs Before You Start

Memorize the hire-a-pro triggers now, so you recognize them calmly later: aluminum wiring, which needs special rated devices and methods, no ground wire present, cracked or heat damaged insulation, wires too short to work with safely, a metal box with rust or damage, burning smells, scorch marks, and any 3-way or multi-location wiring you cannot map with confidence. Meeting any one of these ends the DIY version of this job on the spot.
3. Check Local Codes and Permit Rules First

Electrical work is regulated for good reason. Many areas allow a homeowner to replace a switch like-for-like in their own home, while others require a permit, an inspection, or a licensed electrician for any wiring work, and rentals usually belong to the landlord entirely. Check your local building department guidance before you begin, follow the National Electrical Code based rules your area adopts, and never do unpermitted work that could affect insurance or a future sale.
4. Buy the Correct Replacement Switch

Match the new switch to the old one in type and rating: single pole for a switch that controls a light from one location, 3-way only if the light is controlled from two locations. Choose a switch rated for your wiring material, copper or, only with the correct CO/ALR rating and a professional plan, aluminum. Standard switches handle typical household lighting loads. Buying the exact match prevents the improvisation that electrical work never rewards.
5. Gather Tools, Especially a Non-Contact Voltage Tester
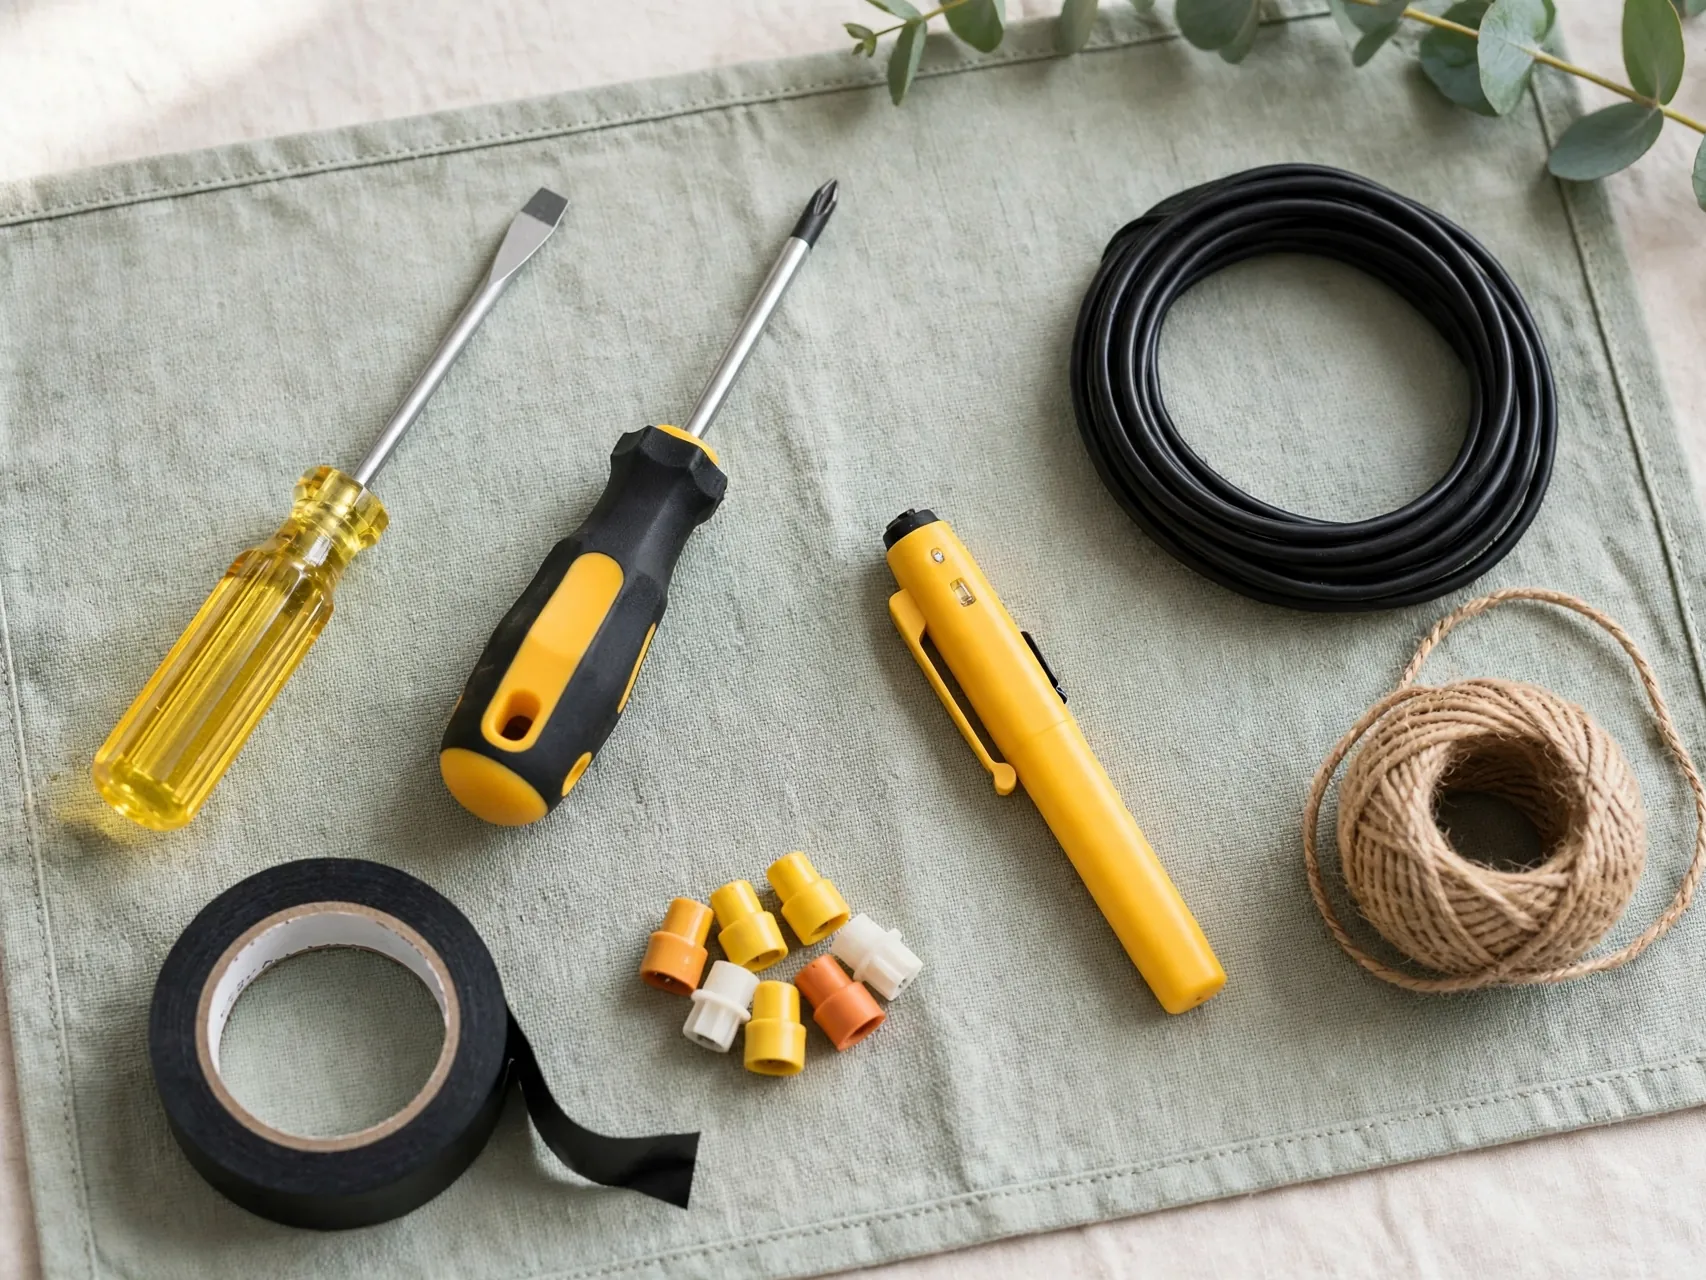
You will need a non-contact voltage tester, screwdrivers, needle nose pliers, wire strippers, electrical tape, a flashlight, and your phone for photos. The tester is not optional equipment: it is the tool that proves a circuit is dead before your fingers trust that fact. Test the tester itself on a known live outlet before and after using it at the switch, so you know its silence at the switch means safety, not a dead battery.
6. Work in Daylight and Tell Your Household

Plan the job for daylight hours, because you will be working with the power off and reading wire colors inside a dark wall box. Tell everyone in the home that you are working on the circuit, which breaker will be off, and that nobody should touch the panel until you say the job is done. Keep children and pets out of the work area. Most panel accidents involve a second person helpfully restoring power at exactly the wrong moment.
7. Turn On the Light That the Switch Controls
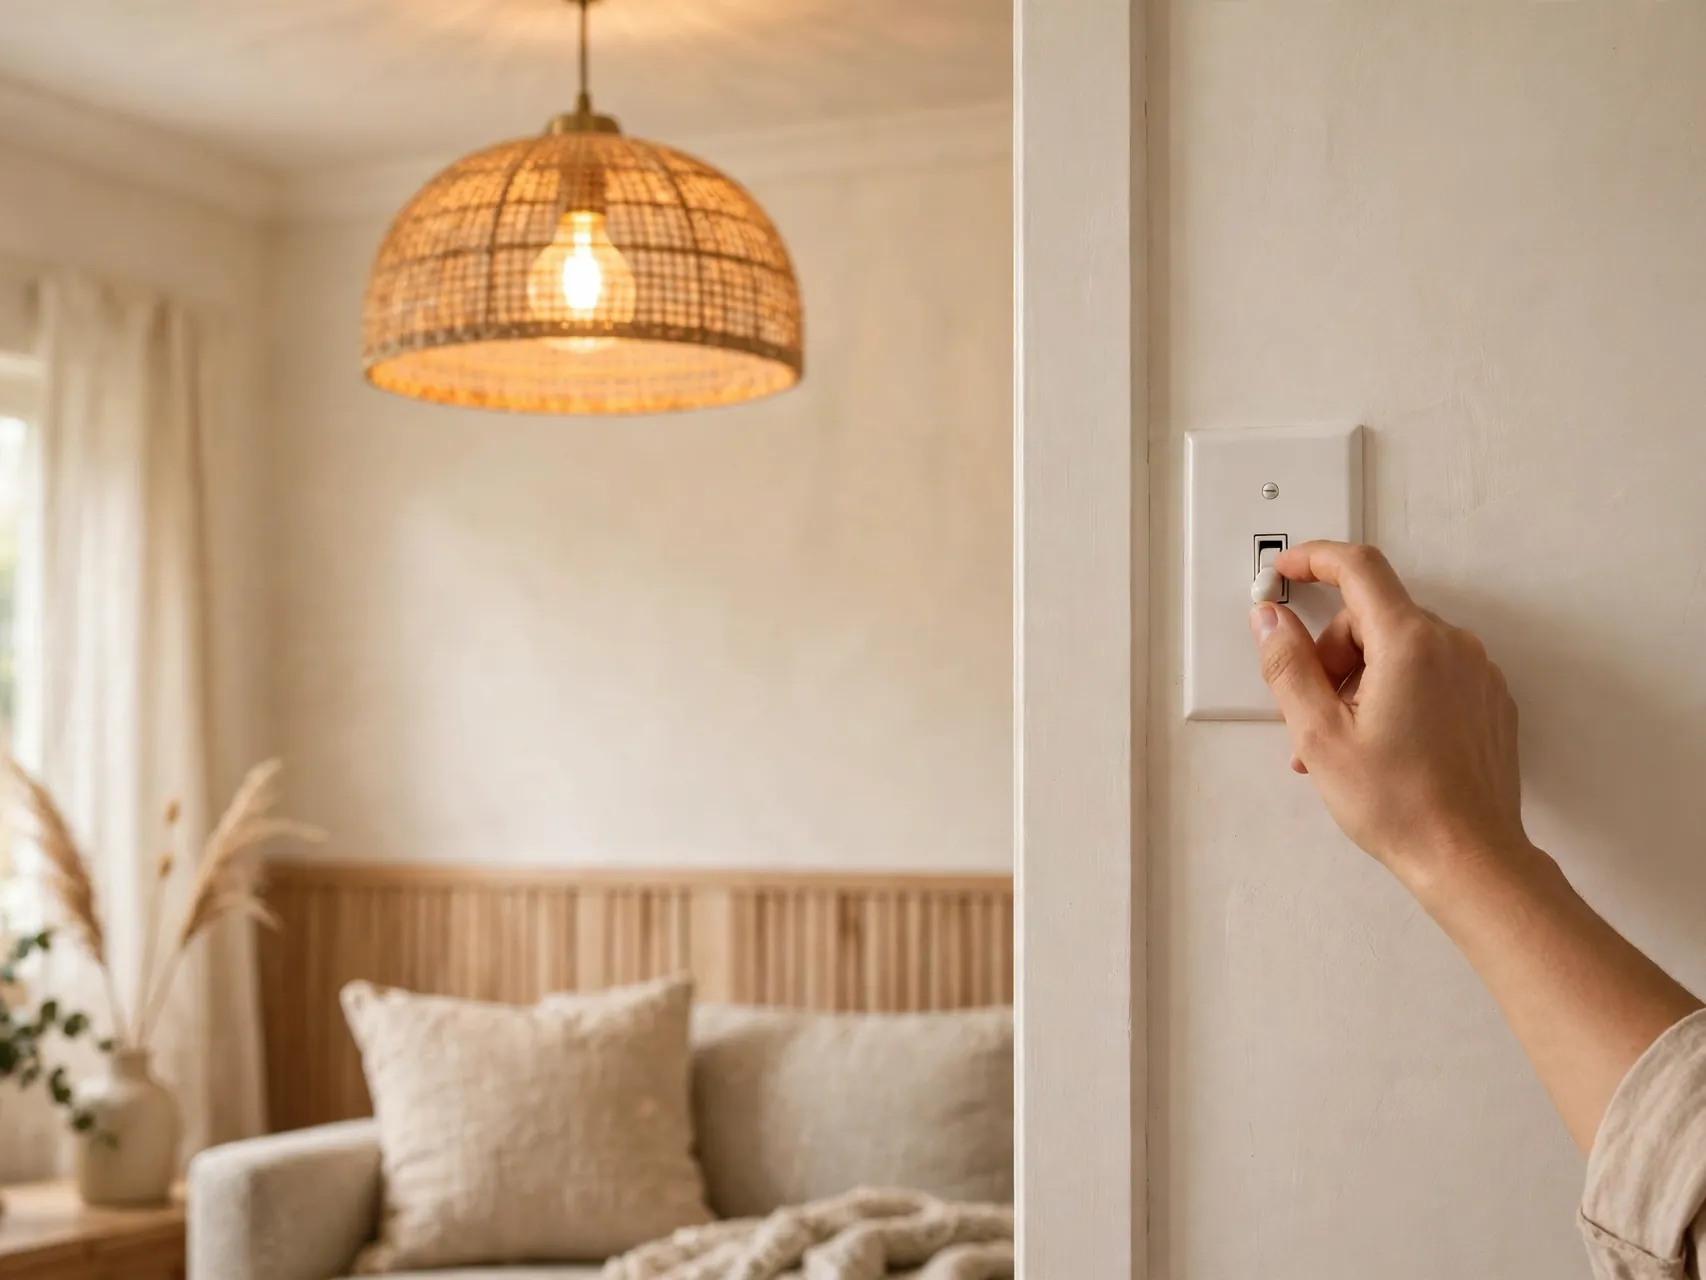
Start at the switch and turn the light on, so you have a clear signal to watch while you find its breaker. If several switches control several lights, label the one you are replacing with a small piece of tape. This simple setup step means the moment the correct breaker opens, the light going out confirms you are in the right neighborhood of the panel, before the tester gives the final, trusted proof at the wires themselves.
8. Turn the Breaker OFF at the Panel
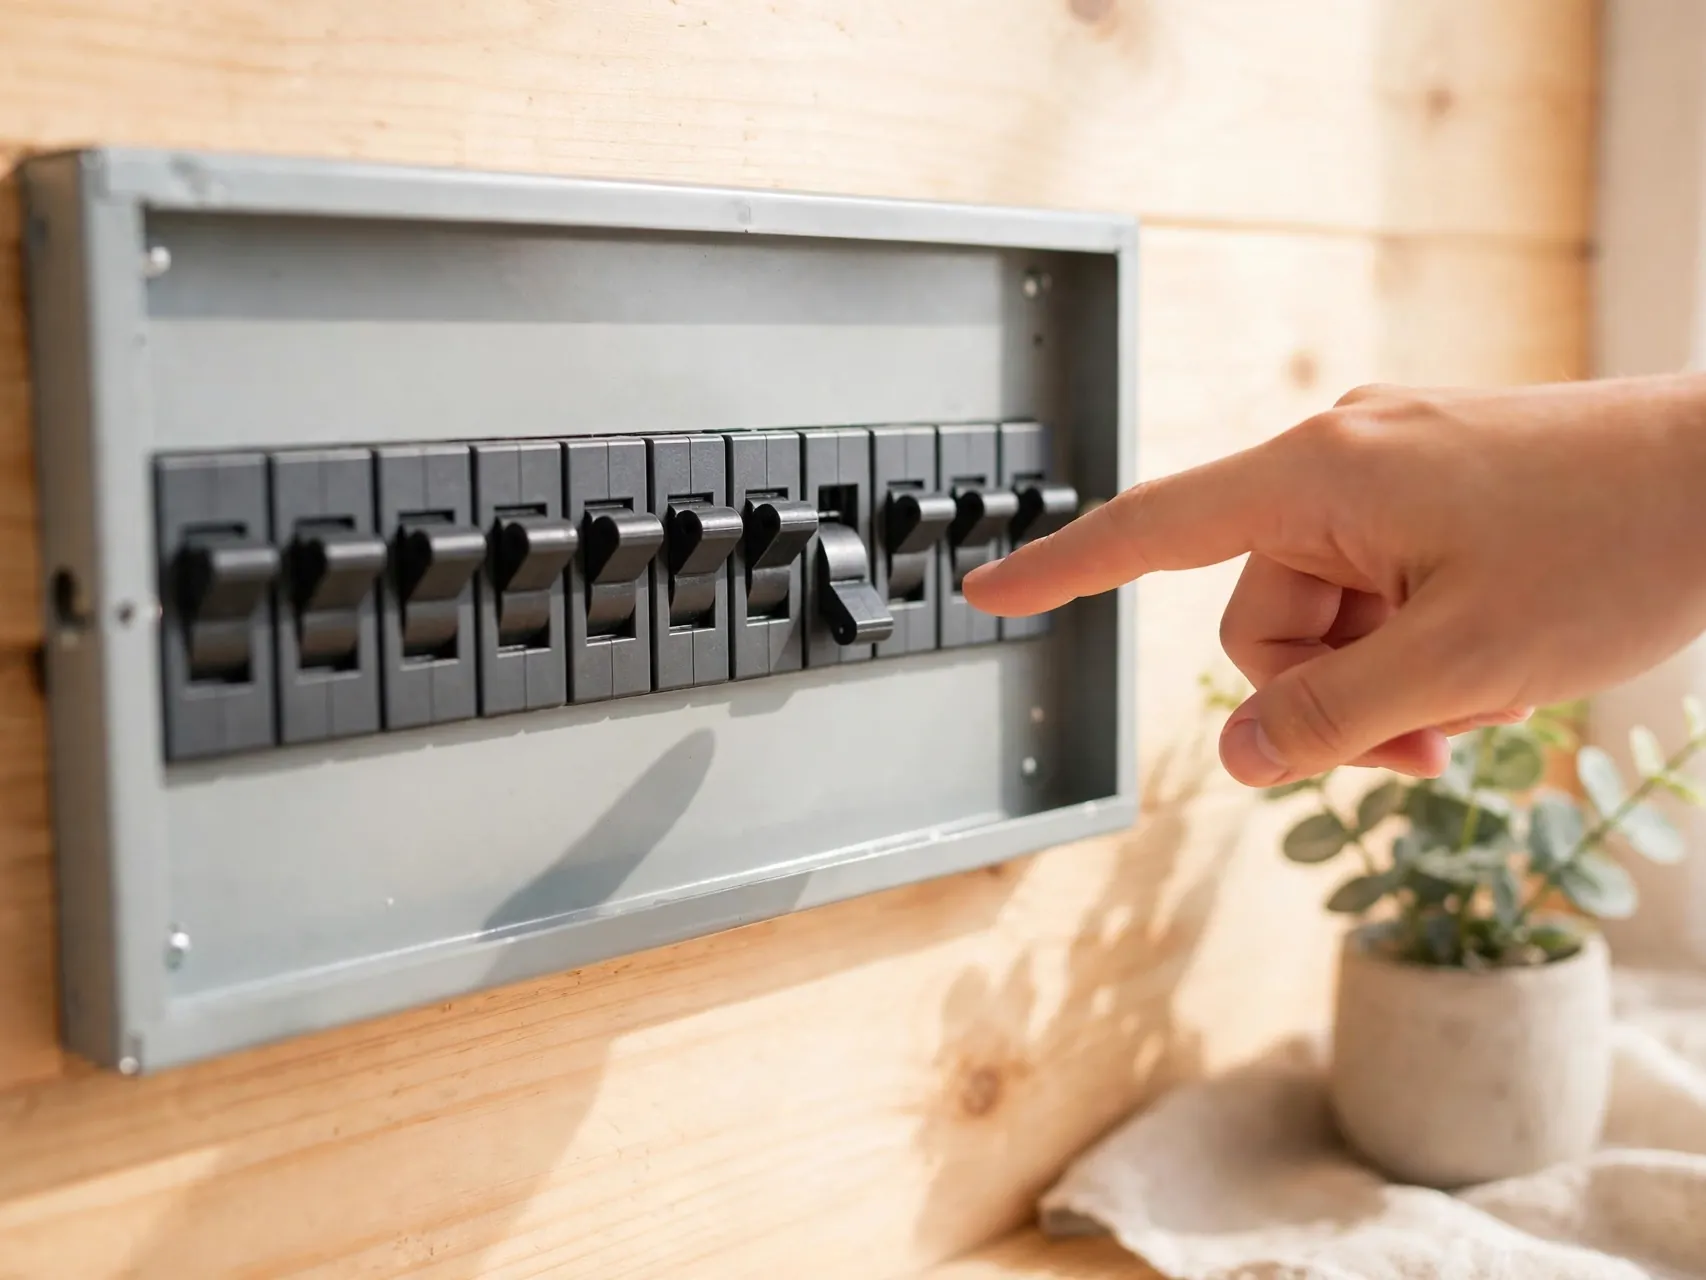
At the electrical panel, switch the breaker for that circuit firmly to OFF. If breakers are unlabeled or you are unsure which one feeds the switch, turn the light on and open breakers one at a time until it goes out, then label that breaker for the future. Never rely on the wall switch alone to make wiring safe: a switch only interrupts part of the circuit and the box can remain live. The breaker is the control point, always.
9. Lock or Tag the Breaker So It Stays Off
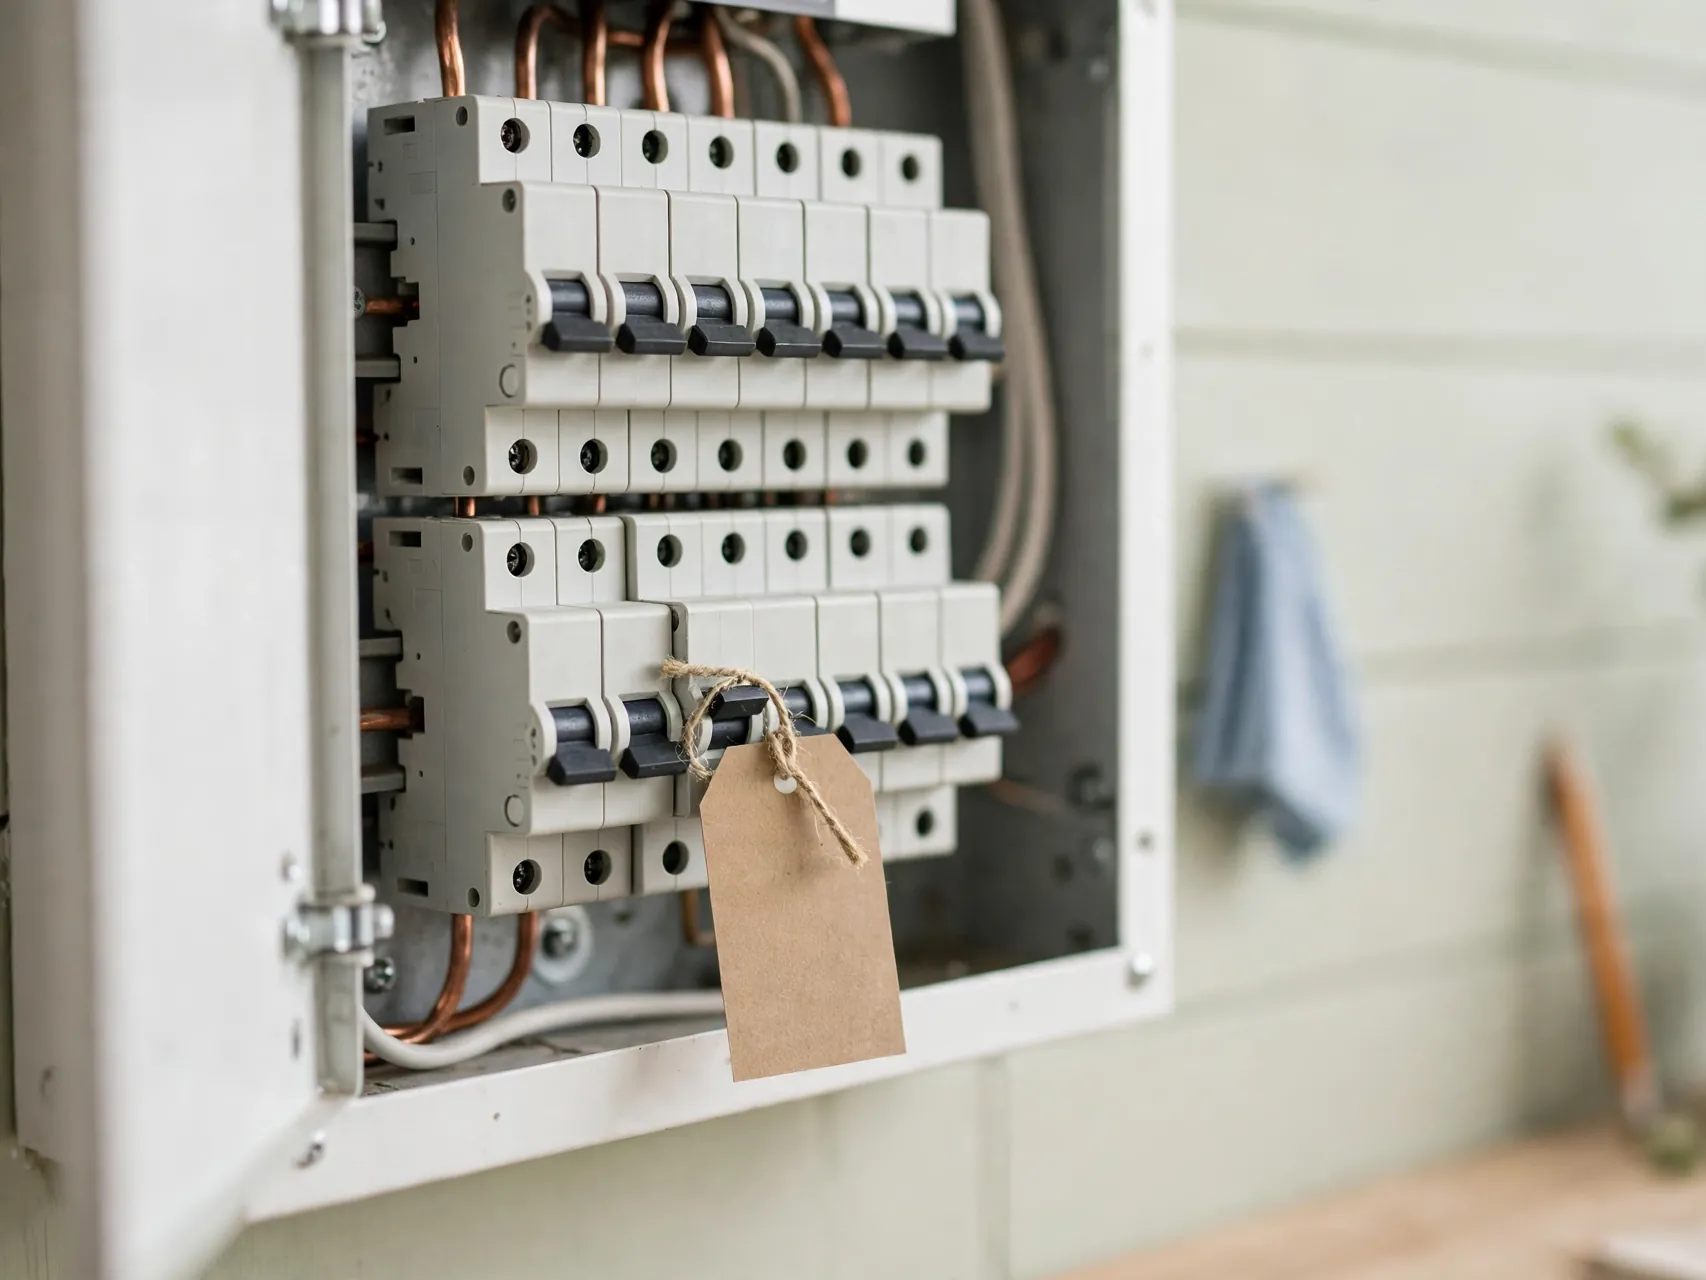
Prevent anyone from restoring power while you work. Tape a clear note over the breaker and the panel door saying electrical work is in progress and the breaker must stay off, or use a breaker lockout device if you have one. ESFI guidance for home electrical projects starts exactly here: power off at the breaker, every time, with no exceptions for a job that will only take a minute. Quick jobs cause slow healing injuries.
10. Confirm the Light Is Out, Then Test Anyway
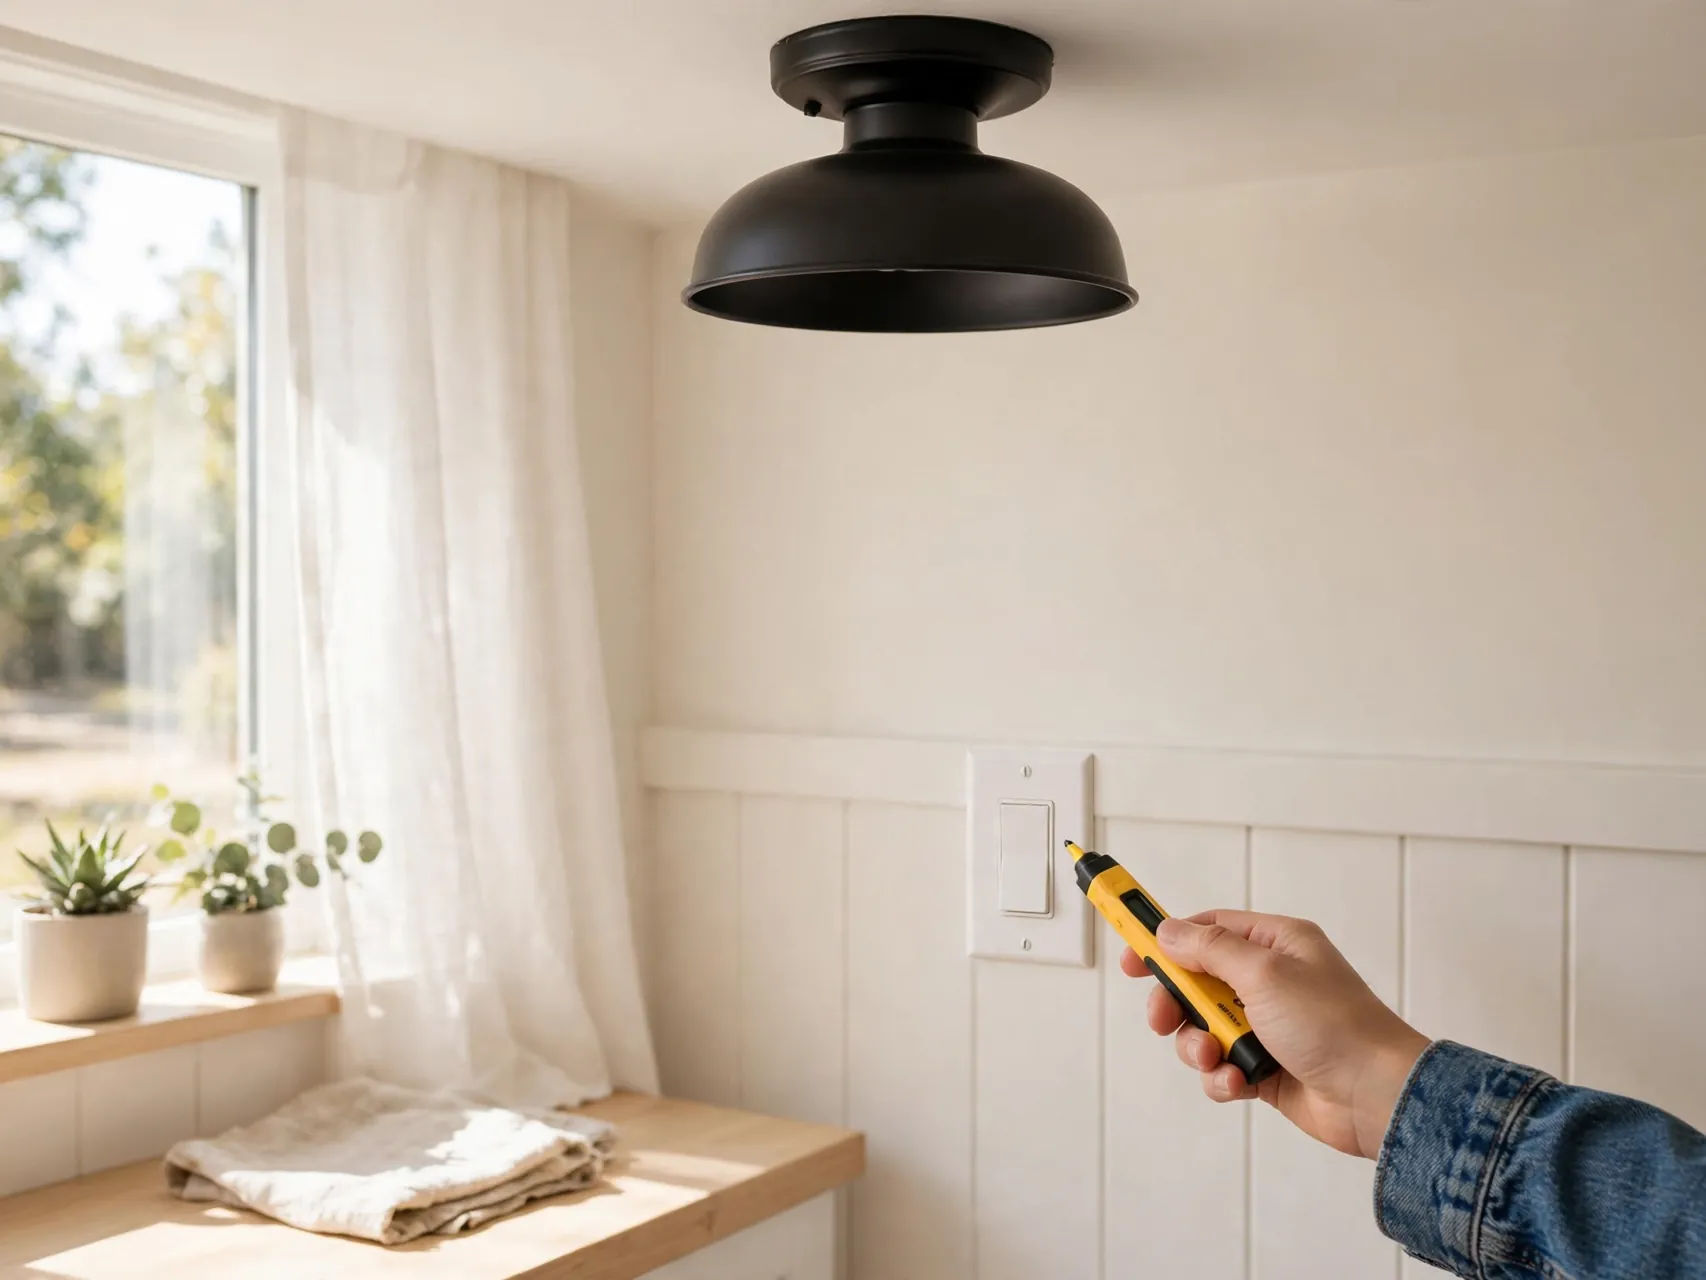
Back at the switch, flip it both ways and confirm the light stays out. Treat that only as a hint, never as proof: a miswired fixture or a wrong breaker can leave a dark light on a live circuit. The next step is the one that actually protects you. Until the voltage tester confirms the box is dead at the wires, assume every wire in that box is live and keep your hands and tools away from bare metal.
11. Verify Power Is Off With the Tester at the Switch
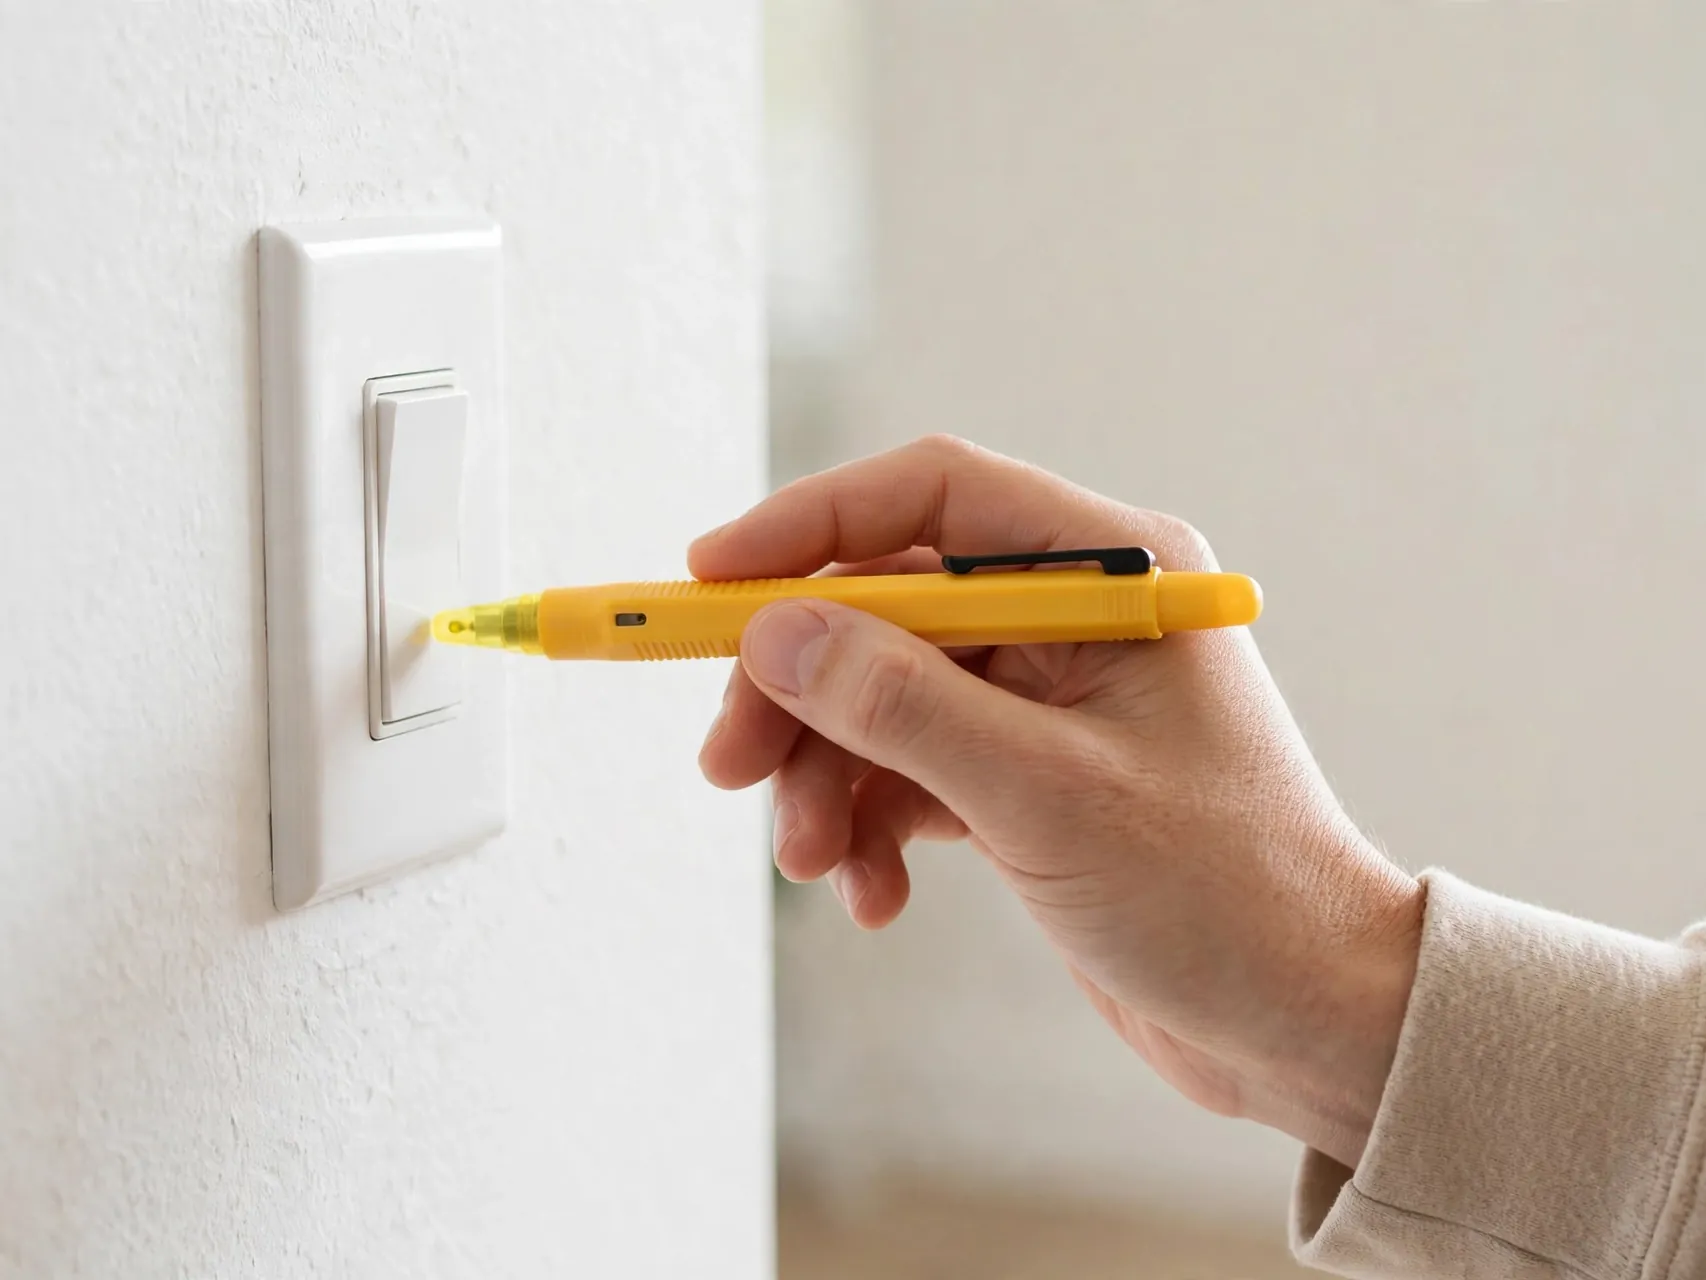
Remove nothing yet. Hold your non-contact voltage tester near the switch terminals and each wire entering the box, following the tester maker instructions. It must stay silent and dark at every point. If it beeps, lights, or gives any signal anywhere, stop immediately: power is still present, which means the wrong breaker is off or the circuit is fed in an unexpected way. Return to the panel, correct it, and test again. Never proceed on a signal.
12. Remove the Wall Plate and Test Once More
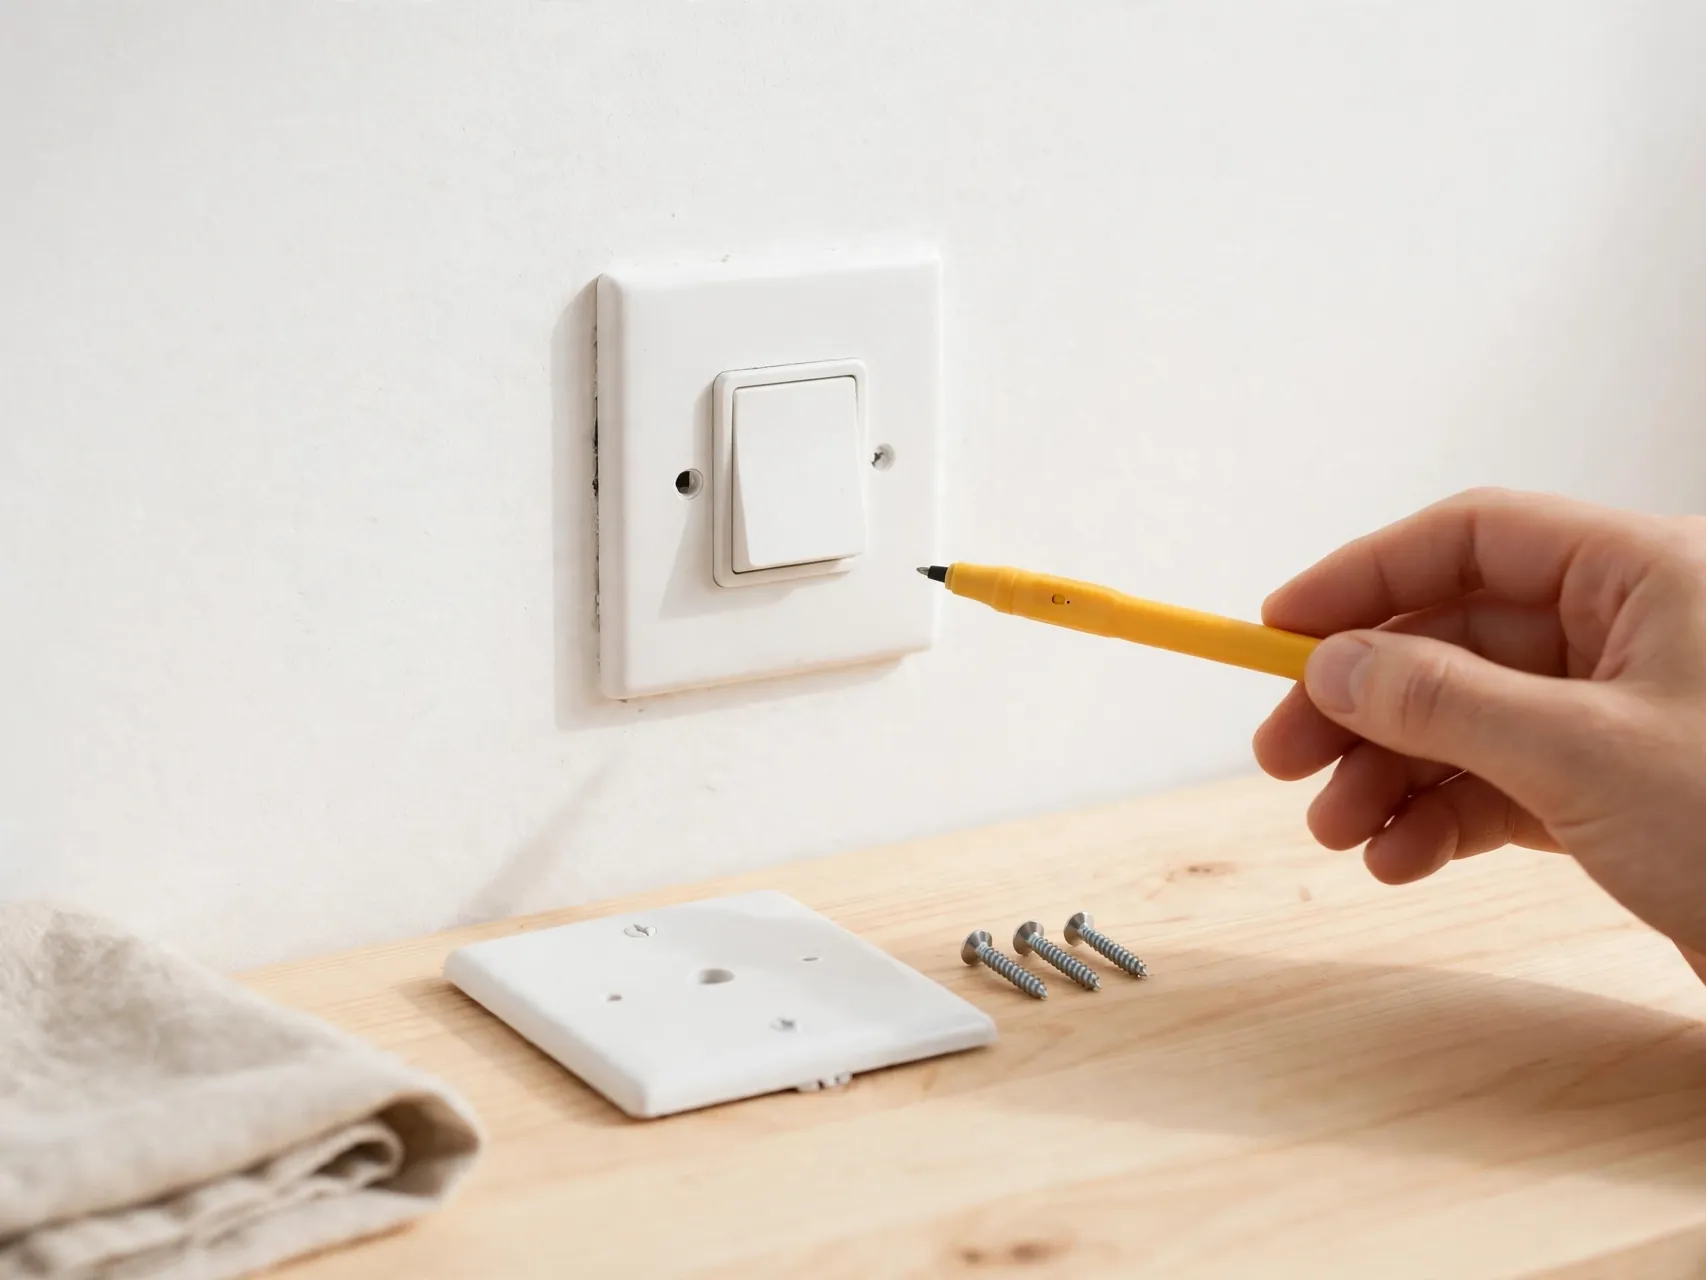
With the tester silent, remove the wall plate screws and set the plate and screws aside together. Then test again around the now exposed switch and wires, because moving things can reveal a wire the first test missed, and because a second confirmation costs ten seconds. Only after this second silent test do you touch anything conductive. This double verification, breaker off plus tester proof, is the heart of safe switch replacement and it is never skipped.
13. Unscrew the Switch and Pull It Gently Forward
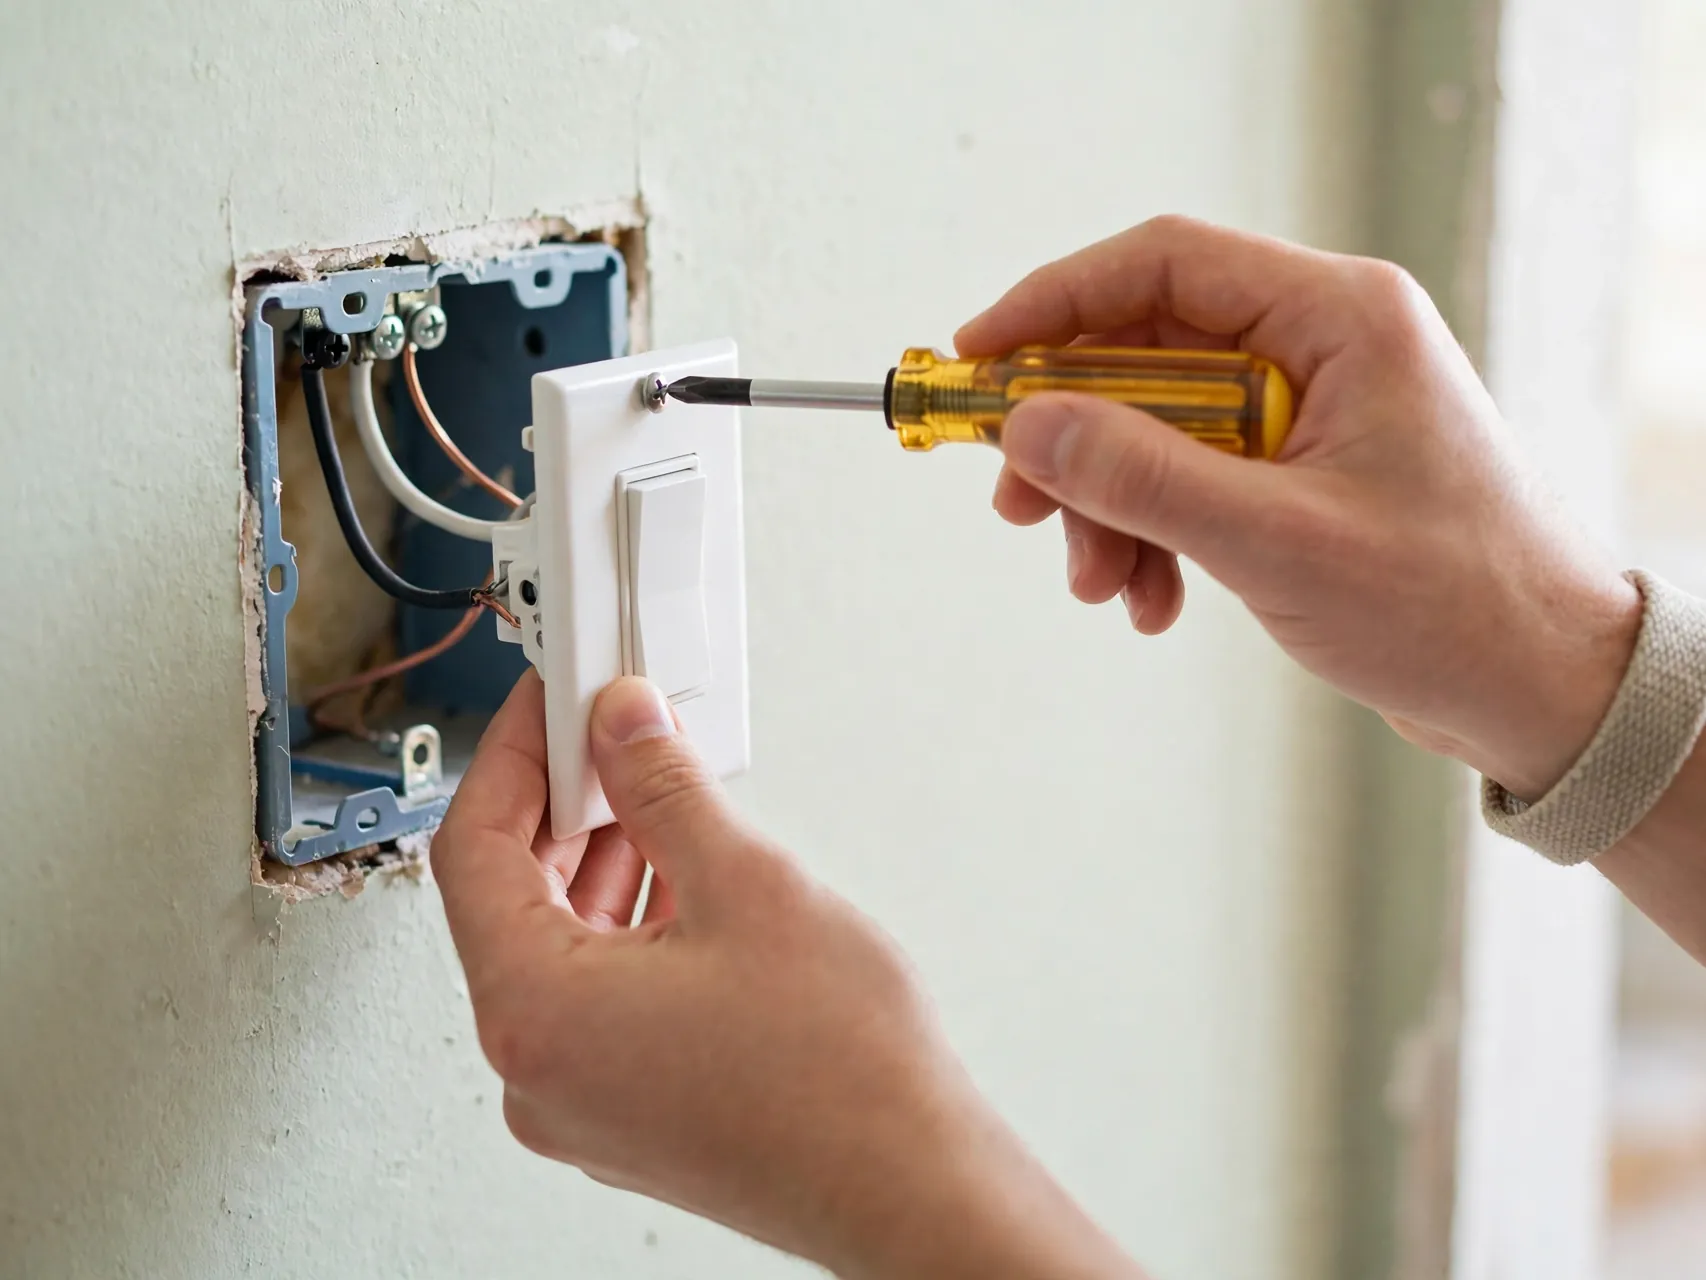
Remove the top and bottom mounting screws holding the switch to the box, and ease the switch straight out on its wires, handling it by its body, not by bare conductors. Do not tug, twist, or force it. Wires in older boxes can be stiff or short, and rough handling cracks aged insulation. Support the switch in one hand while you study it. If wires resist or insulation crumbles at a touch, stop here and call an electrician.
14. Photograph the Existing Wiring Before Disconnecting Anything
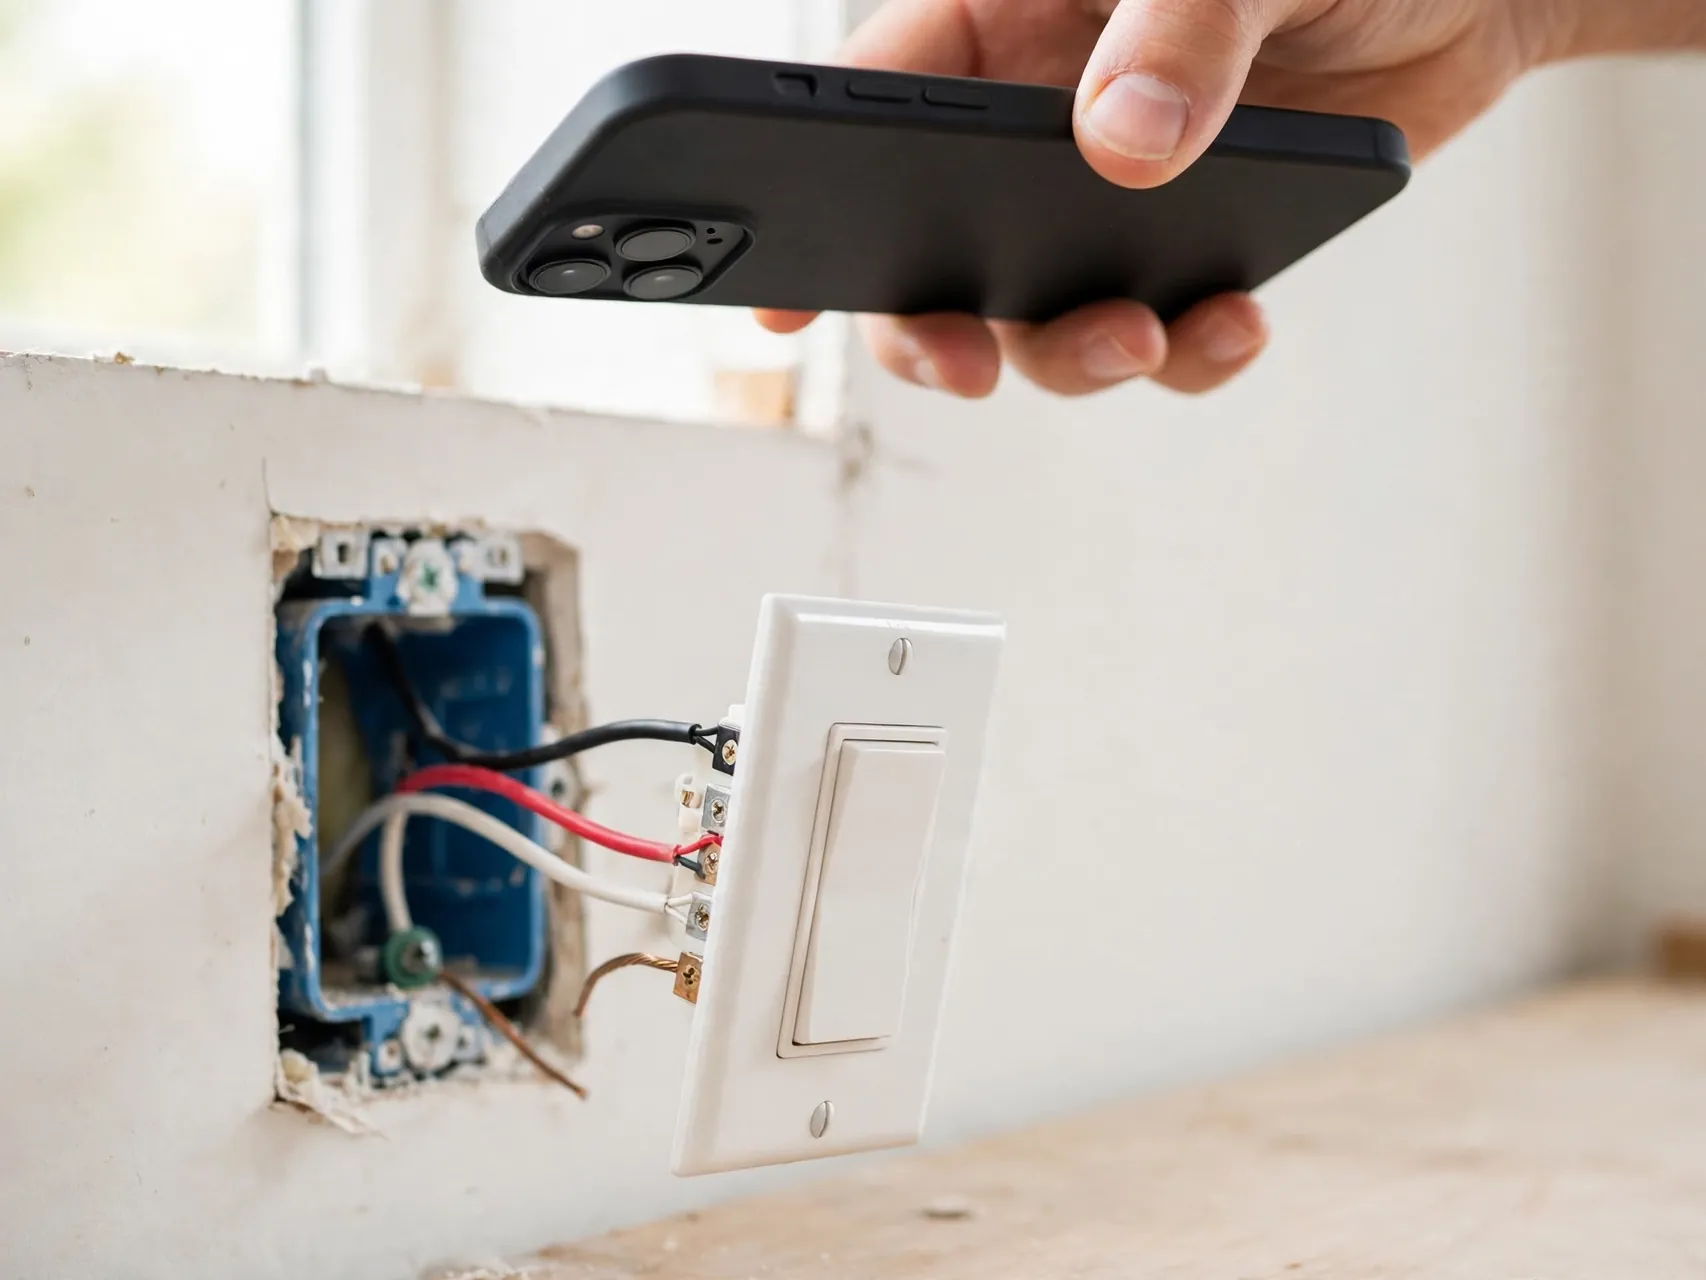
Take clear, well lit photos of the switch from several angles, showing exactly which wire lands on which screw, plus a close shot of any wire connected differently from the rest. Photograph any labels, tape flags, or unusual connections. This photo record is your map for wiring the new switch wire-for-wire, and it is also what an electrician will want to see if you stop and call one. Photos taken now are free. Guesses made later are not.
15. Label Each Wire Before You Remove It
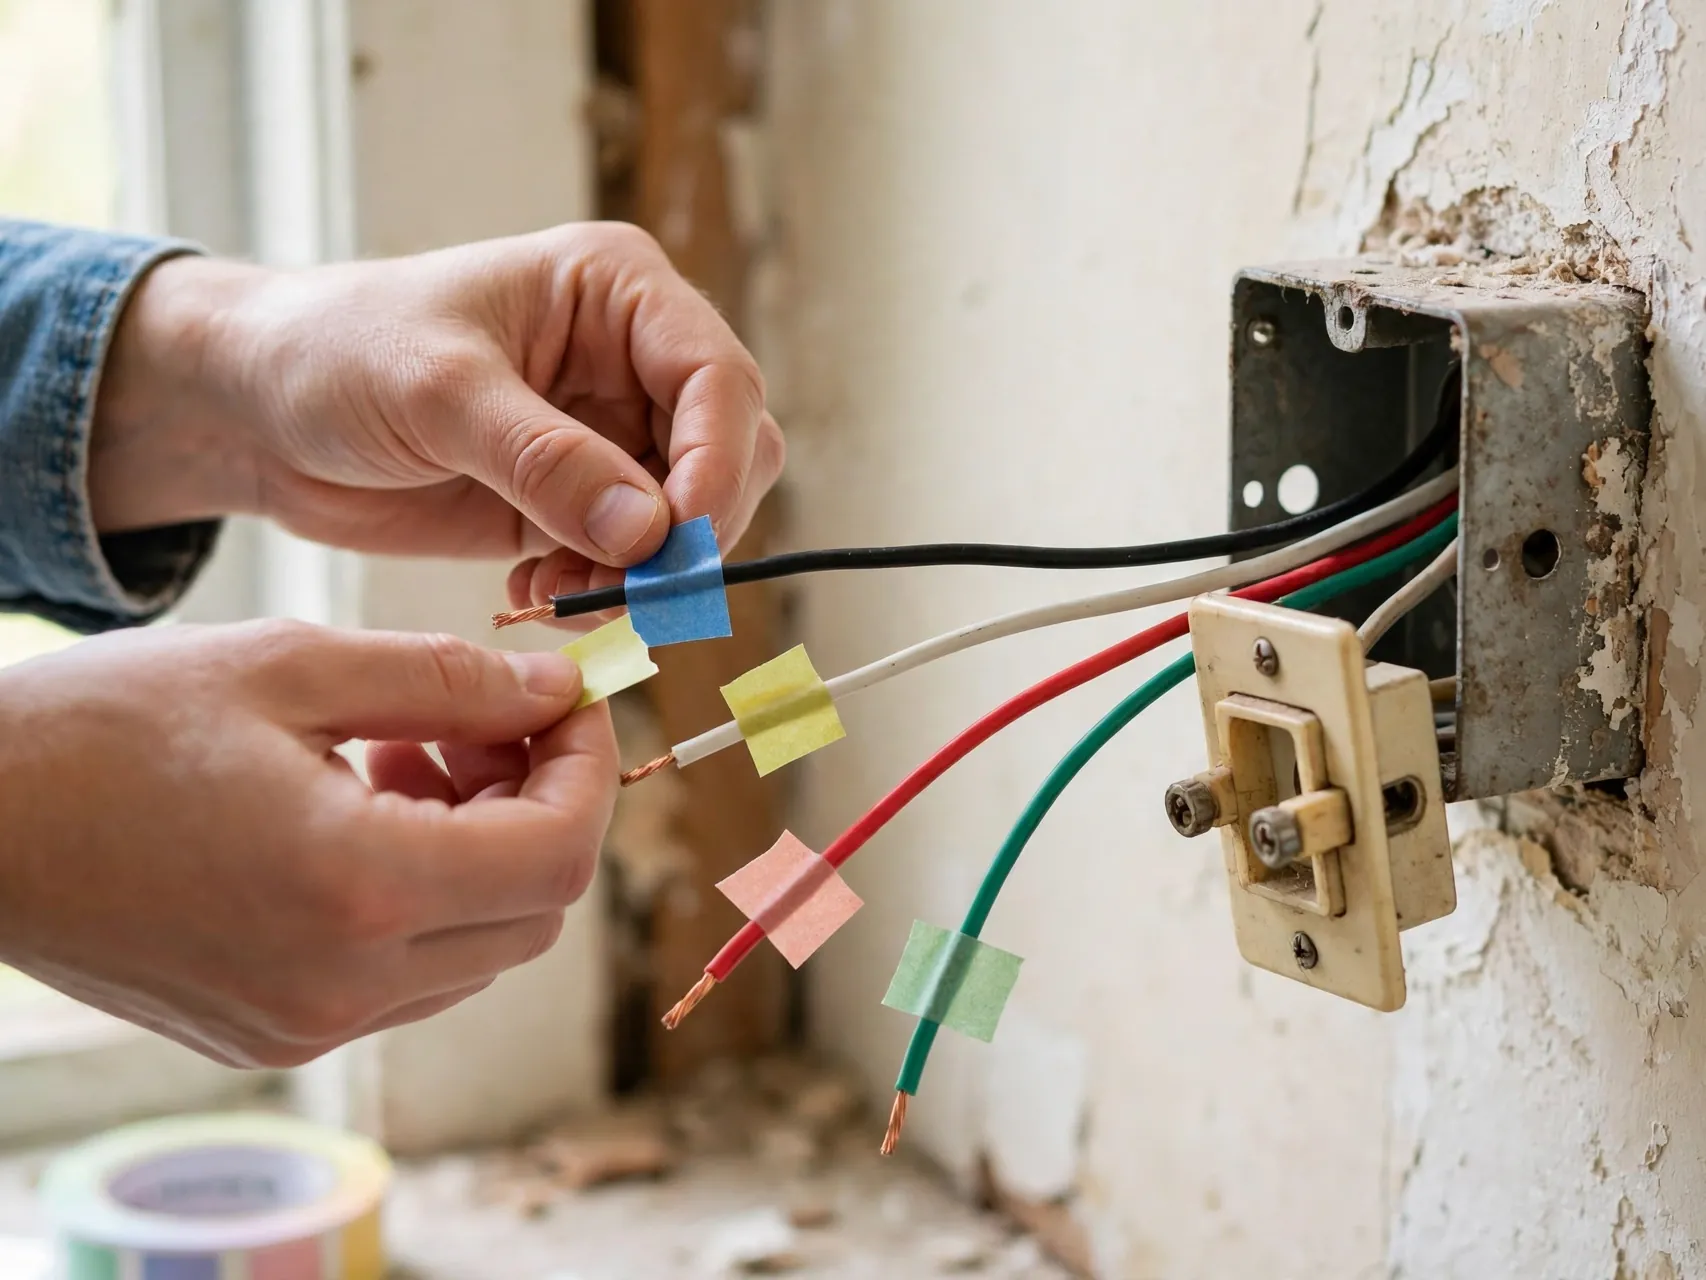
Add small tape flags and write what each wire connects to: for example, top brass screw, bottom brass screw, or green ground screw. On a standard switch the two circuit wires may look identical, and on a 3-way the common wire is critical and often lands on a darker screw. Labels plus photos mean the new switch can be wired by matching, not by memory or hope. Work on one switch only, and never disconnect wires in a box you have not mapped.
16. Inspect Every Wire and the Box Carefully
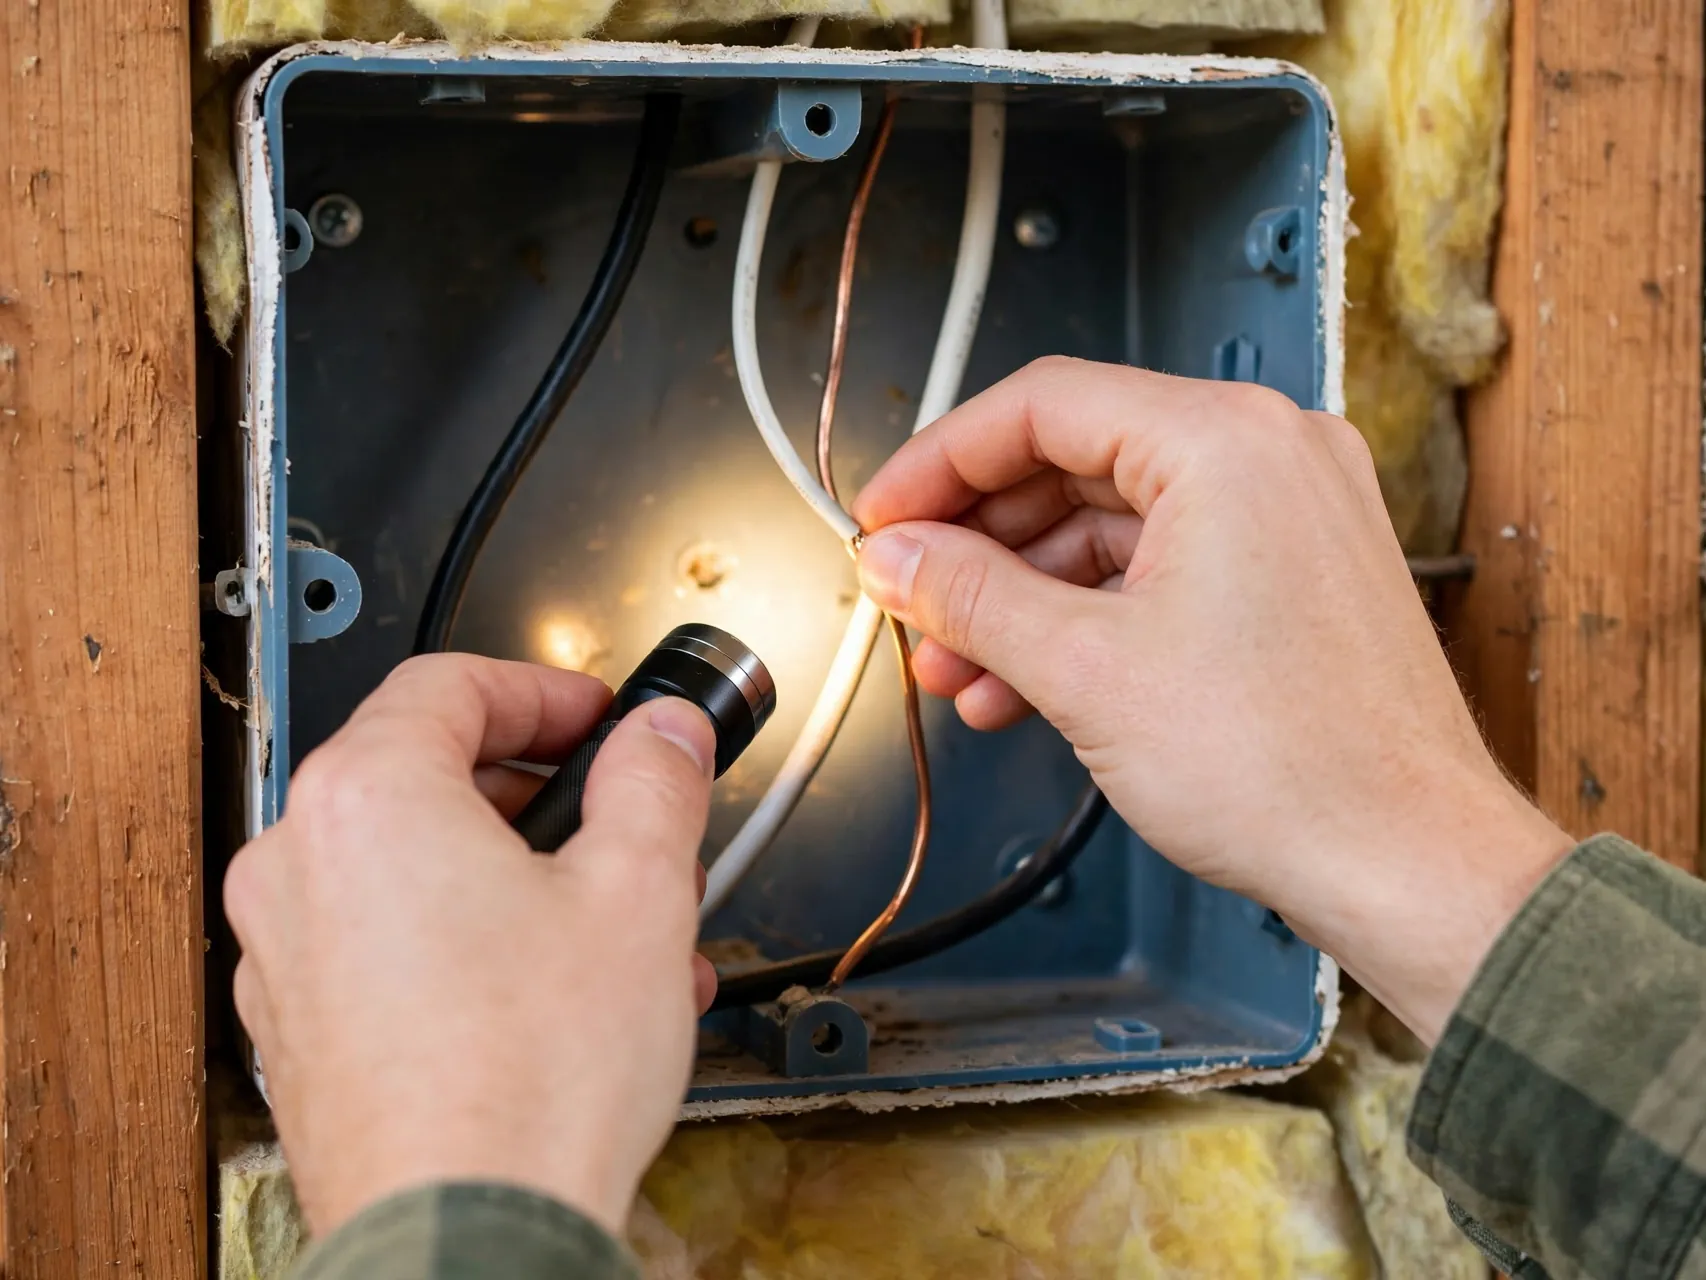
With the switch out, inspect before you touch terminals. Look for the green or bare copper ground wire, check insulation for cracks, nicks, melting, or brittleness, and look for scorch marks, rust, or a damaged box. Note if the wiring is aluminum, silvery rather than copper colored, because that is a stop-and-call-a-pro finding for most homeowners. Healthy, modern, copper wiring in a sound box is the green light for the swap. Anything else is information telling you to pause.
17. Disconnect the Old Switch One Wire at a Time
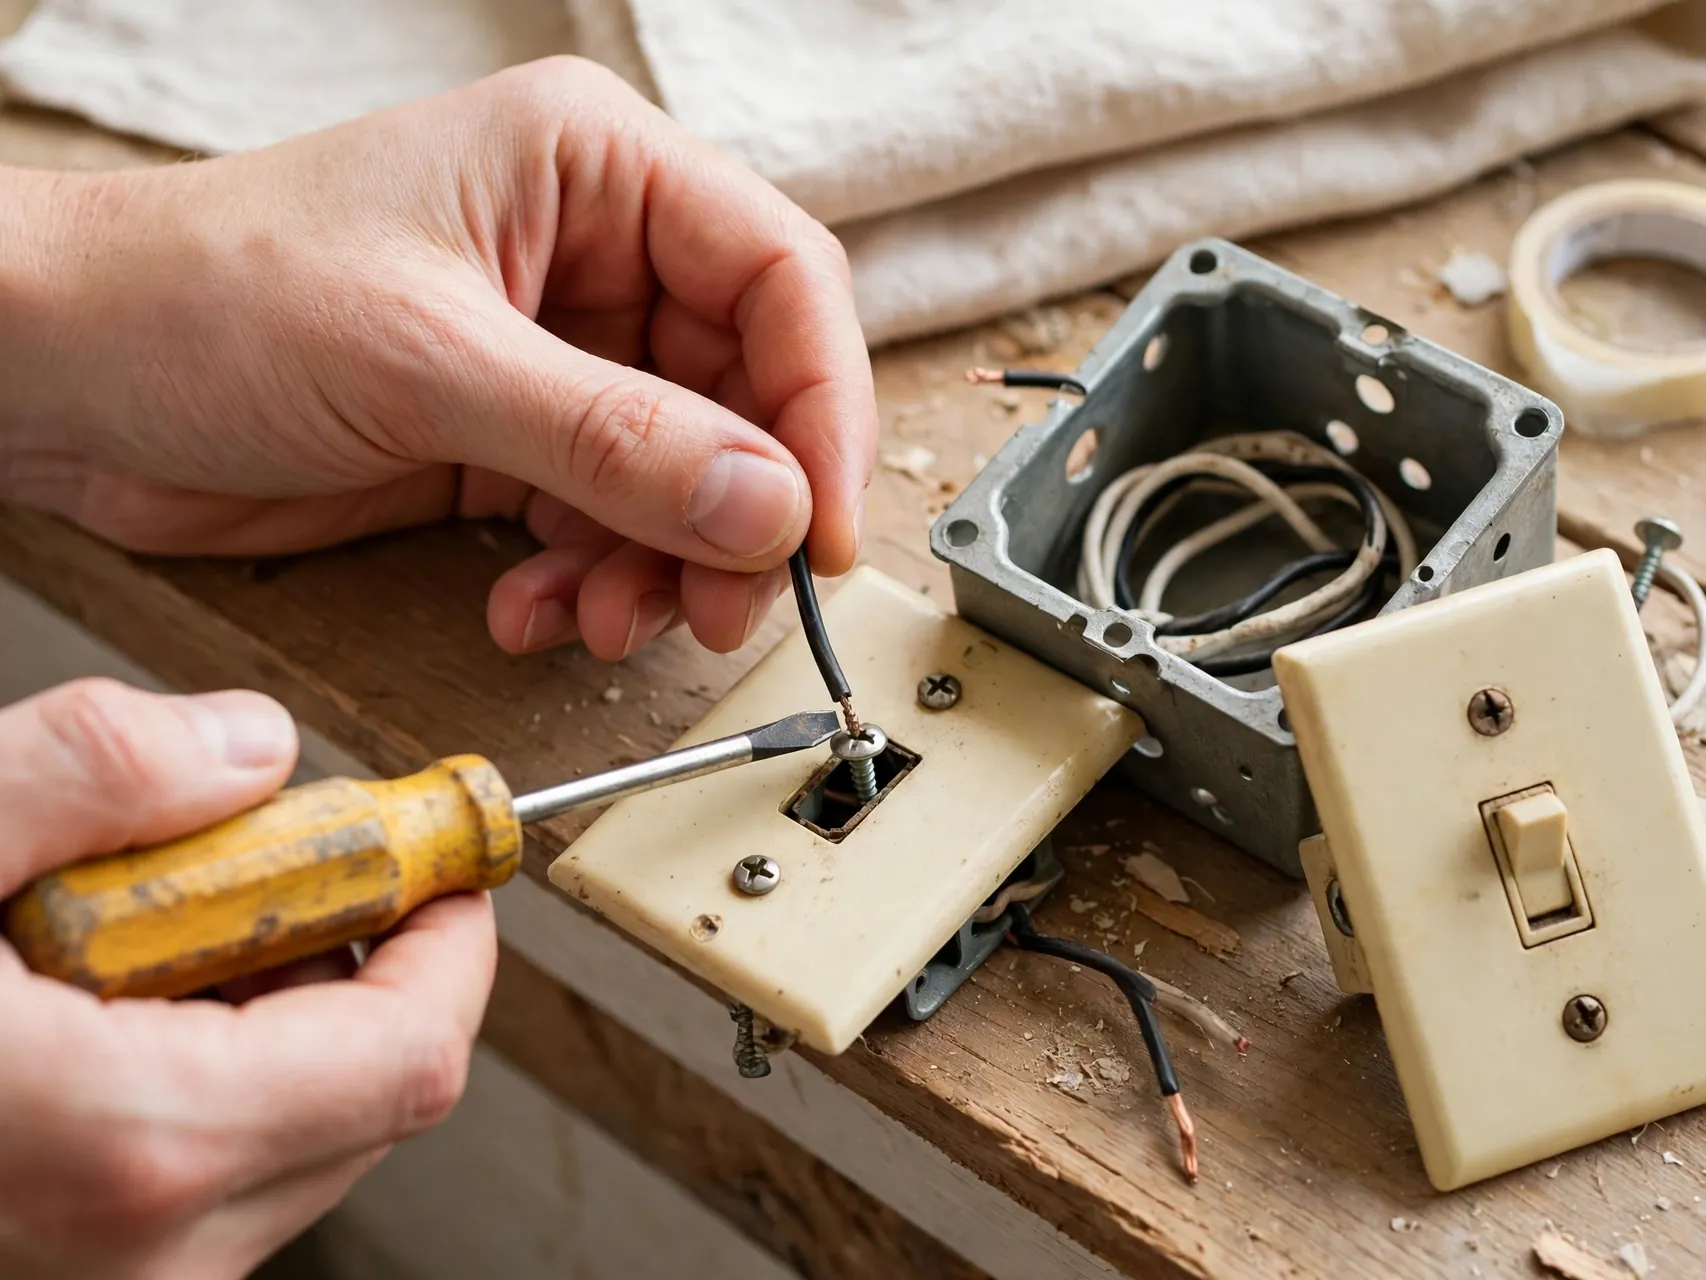
Loosen each terminal screw and unhook its wire, keeping the wire end bent in its existing hook shape if it is sound, and move methodically so wires cannot spring together or vanish into the wall. If wires are pushed into back-stab holes on the old switch, release them with the small release slot as the maker directs; many electricians prefer moving them to the screw terminals on the new switch for a firmer connection. Keep every wire identified as it comes off.
18. Prepare Wire Ends Only If They Need It
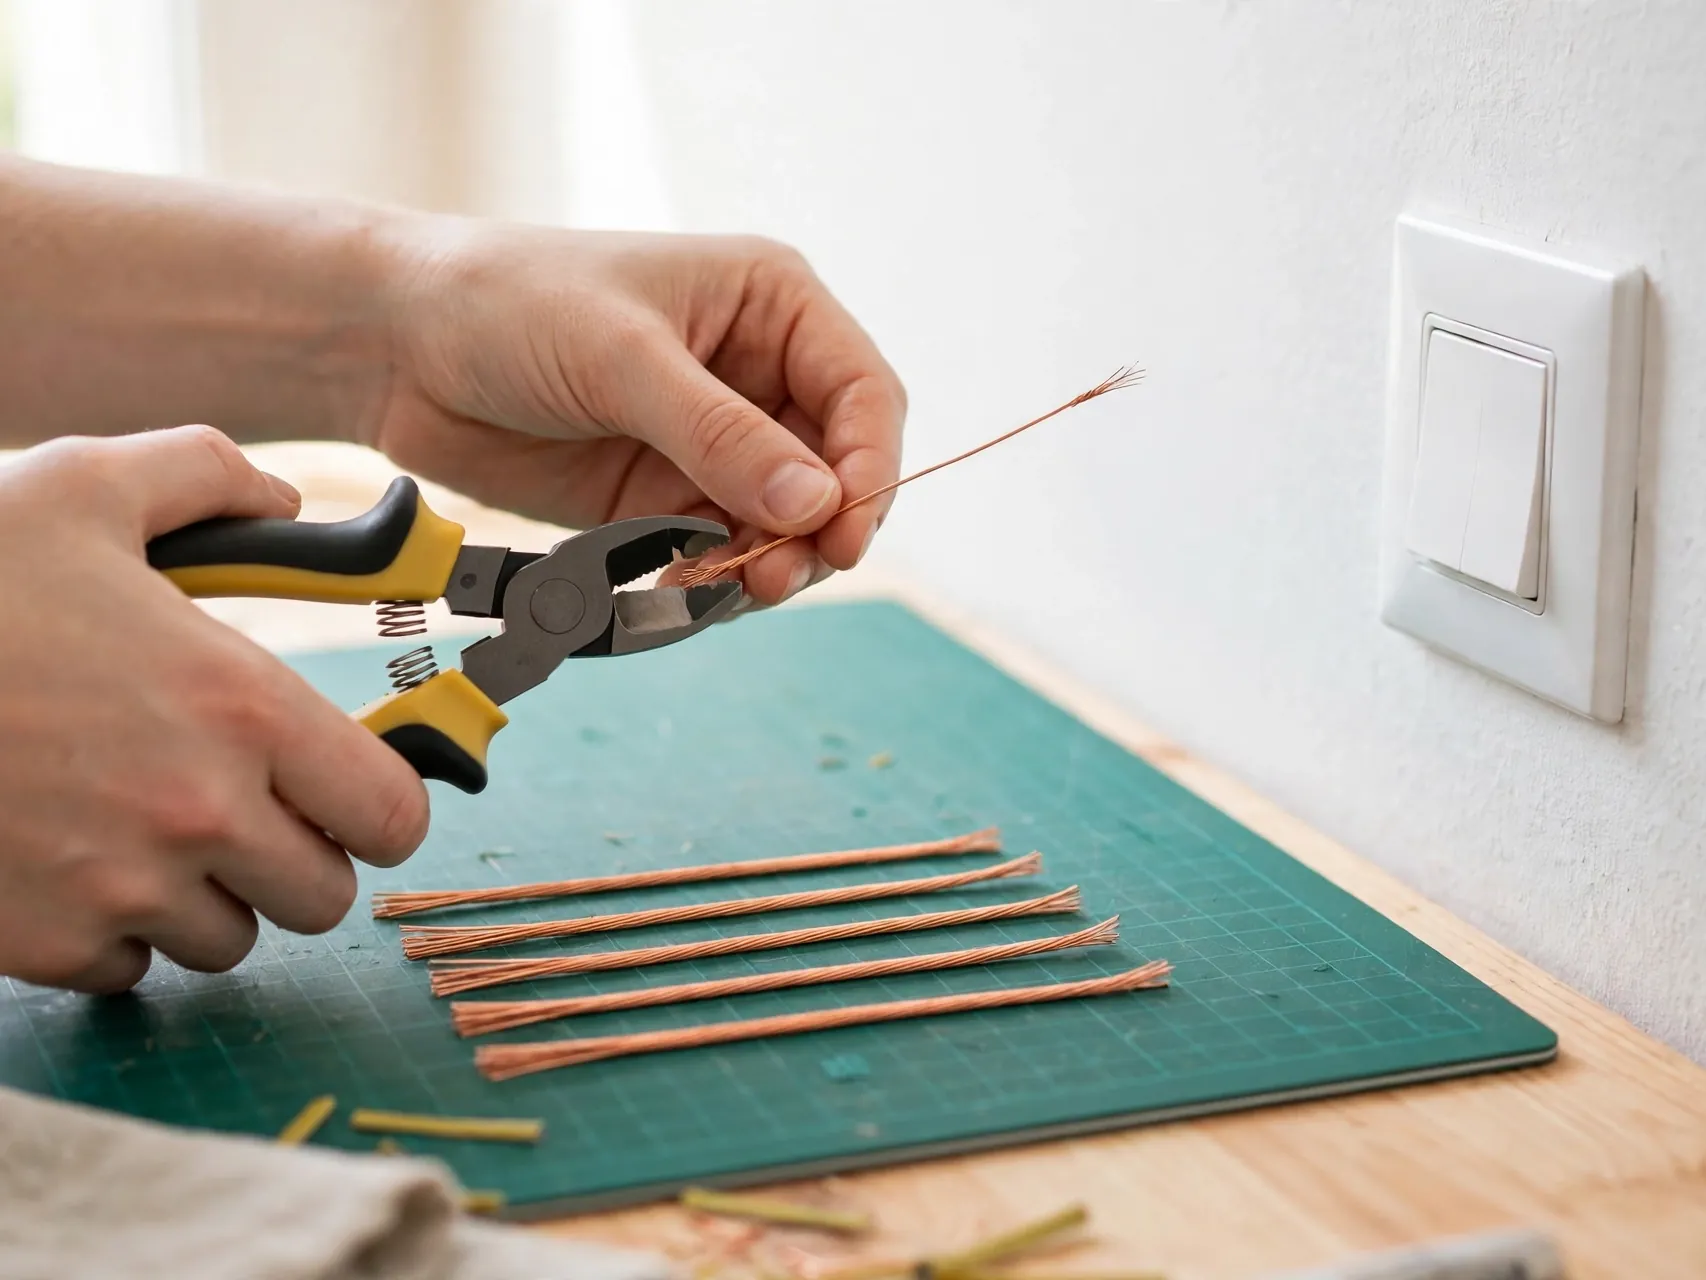
If a wire end is nicked, frayed, or too short of clean copper, trim and strip it with wire strippers to the length shown on the new switch strip gauge, exposing fresh, undamaged conductor without nicking it. Nicked copper breaks later inside the box, so redo any strip that cuts strands. If a wire is too short to strip and connect safely with room to spare, stop: extending wires with connectors inside the box is a judgment call best left to an electrician.
19. Connect the Ground Wire to the Green Screw First
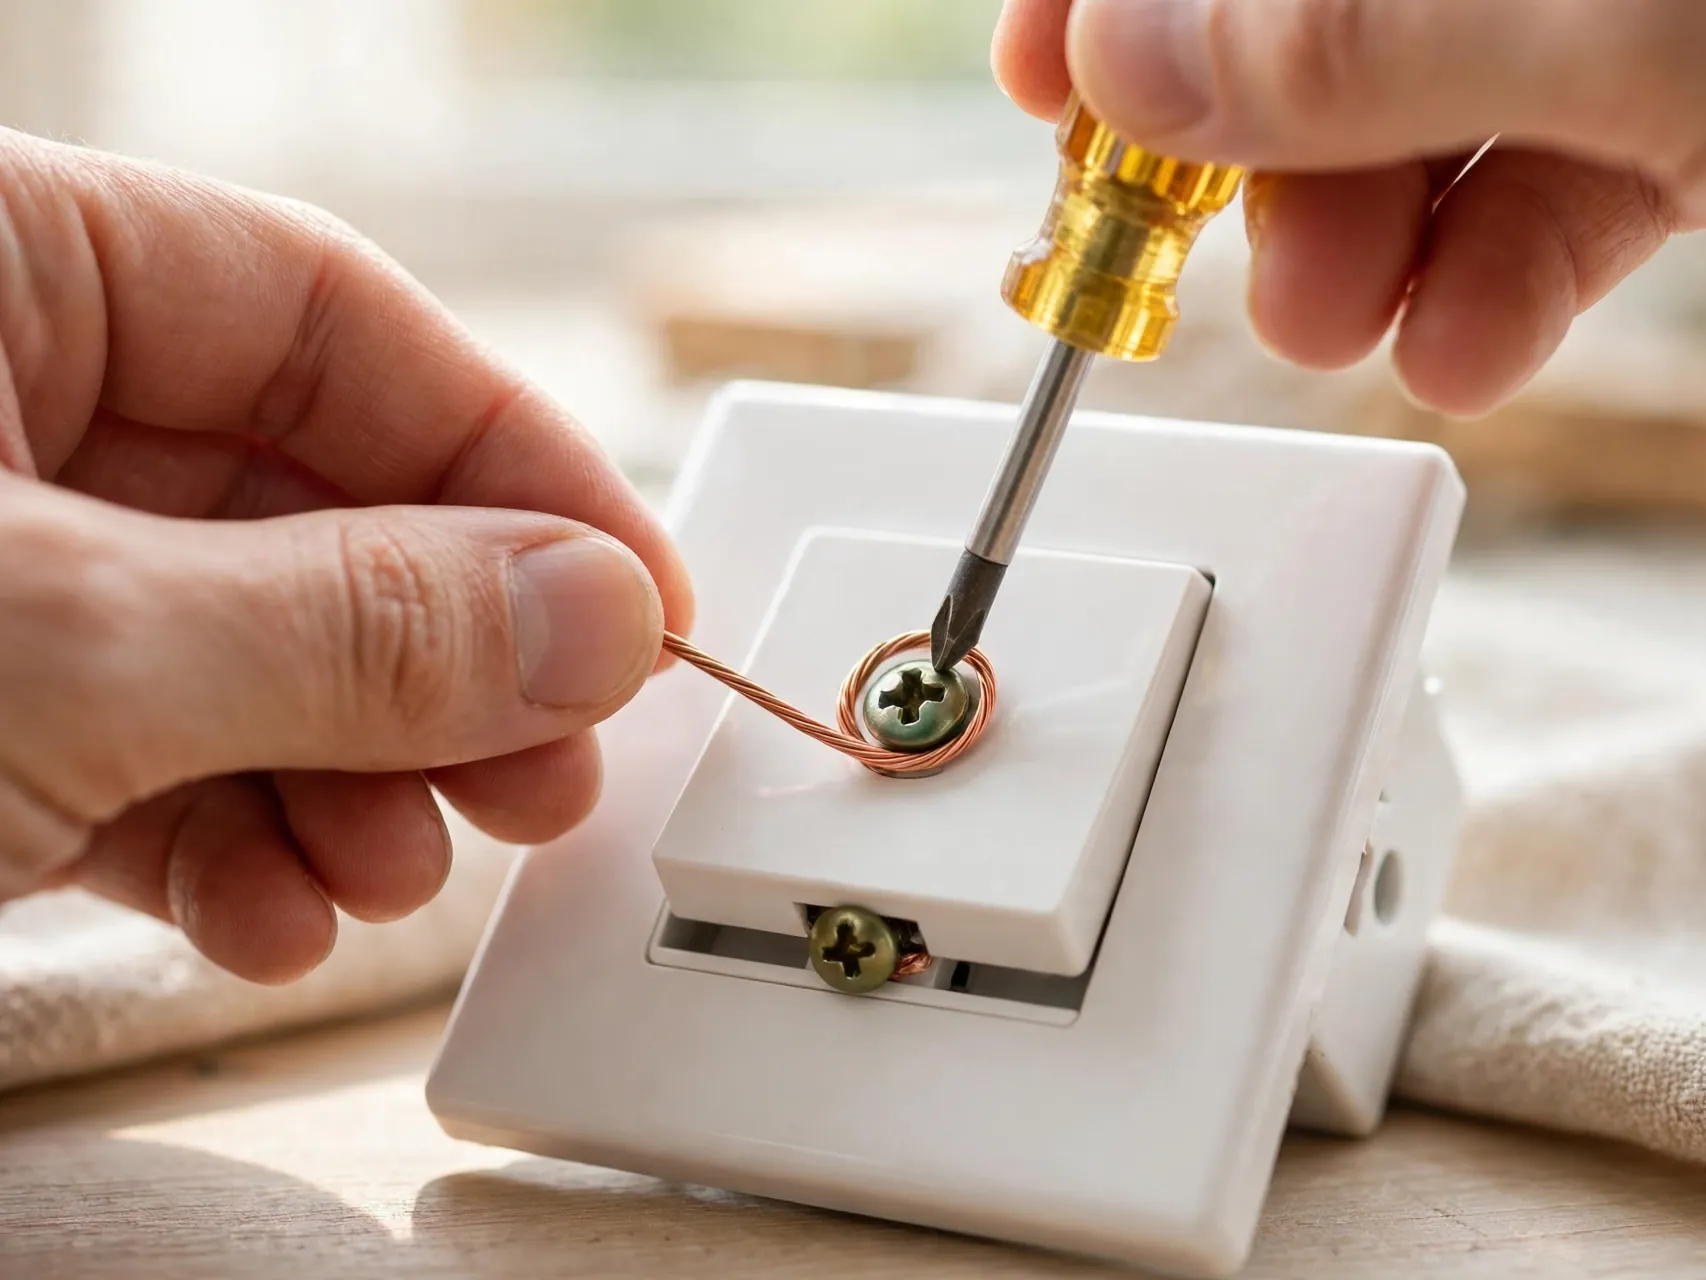
Attach the bare copper or green ground wire to the green ground screw on the new switch, forming a clockwise hook so the loop closes as the screw tightens, and snug the screw firmly. Grounding is the safety path that helps a fault trip the breaker instead of energizing metal parts. If your box has no ground wire, do not invent one, do not attach the ground to a neutral, and do not proceed as if nothing matters: stop and hire an electrician to assess the older wiring.
20. Match the Circuit Wires Wire-for-Wire to the New Switch

Using your photos and labels, move each circuit wire to exactly the terminal position it held on the old switch: same wire, matching screw, no creative improvements. On a single pole switch the two circuit wires land on the two brass screws. On a 3-way, the common wire must return to the darker common screw and the travelers to the lighter screws. Tighten each screw firmly, then tug each wire gently: a correct connection does not move, slip, or expose bare copper beyond the terminal.
21. Check Your Work Against the Photos Before Closing Up
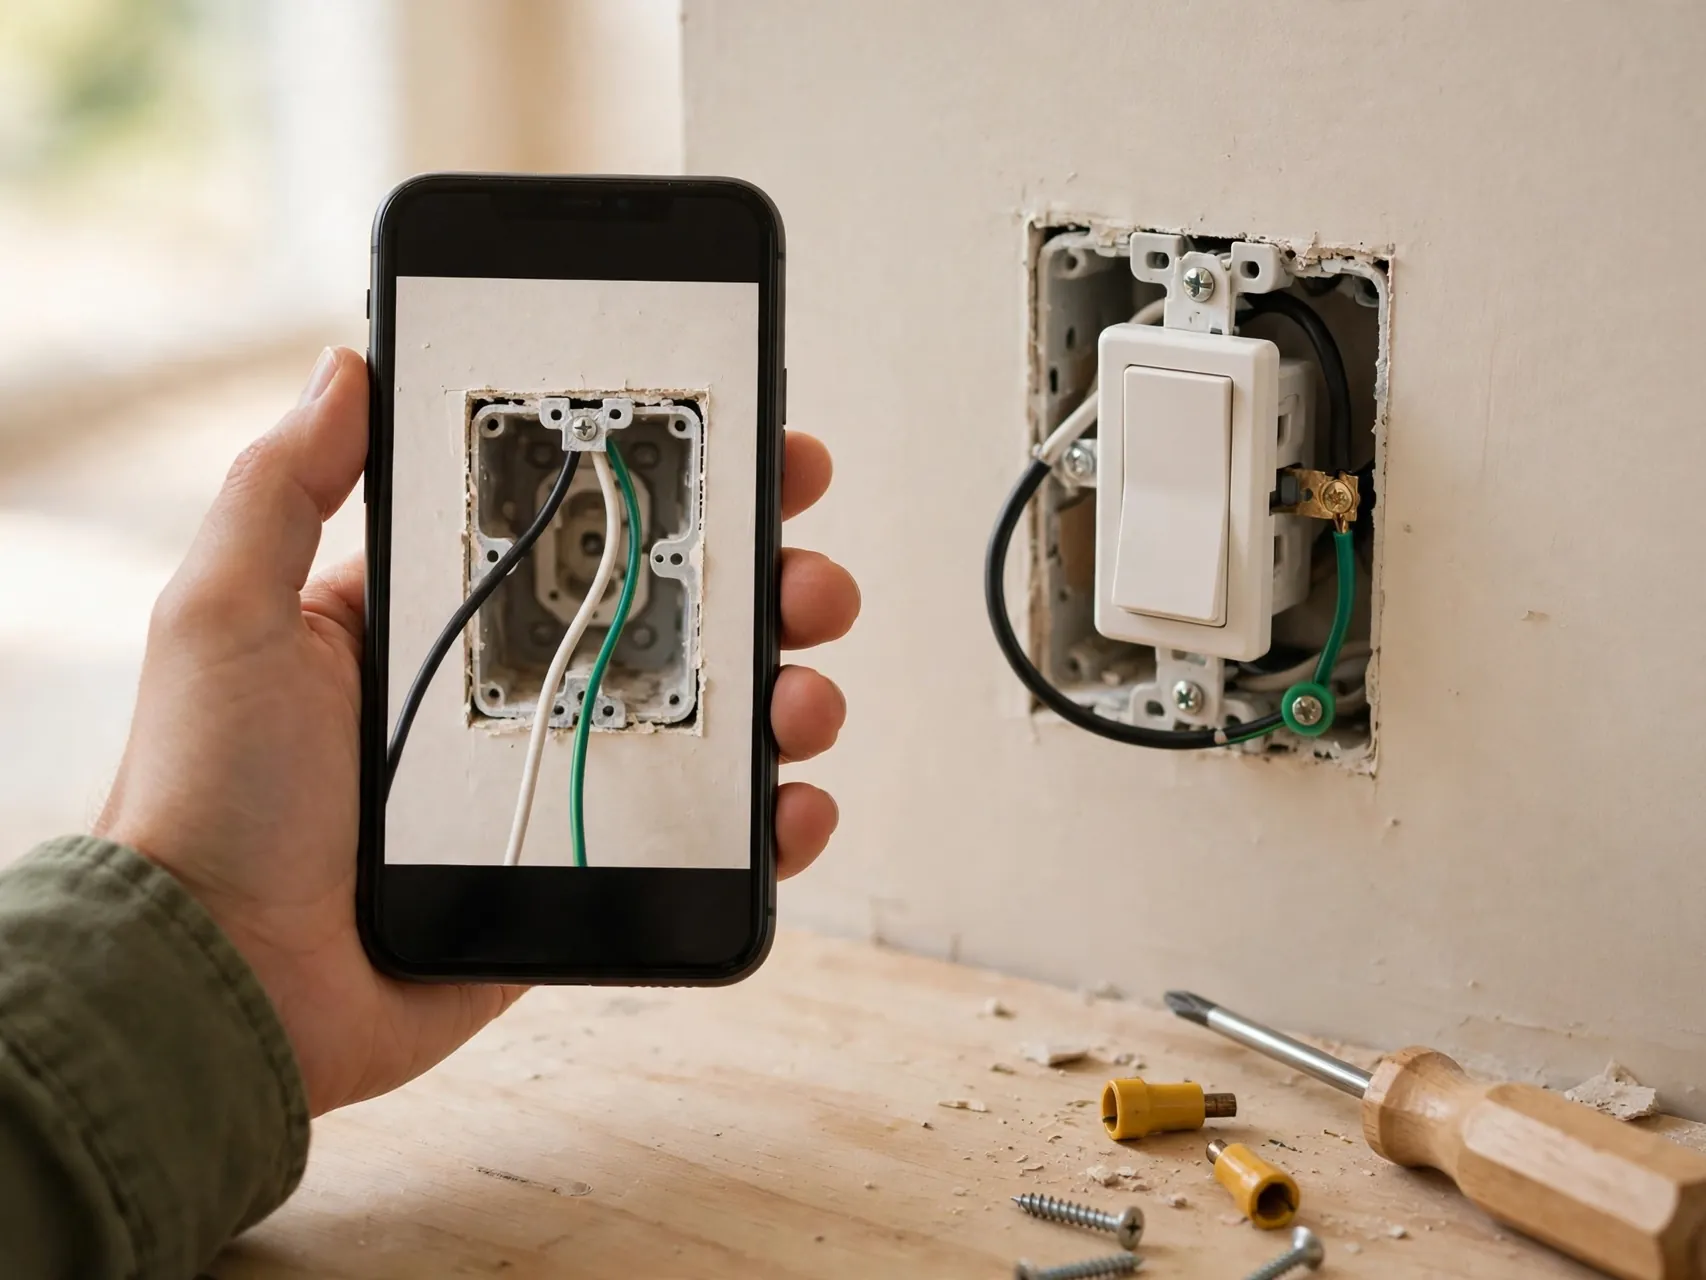
Pause and compare the finished new switch against your photographs, wire by wire, screw by screw. Confirm no bare copper shows outside any terminal except the intended ground connection, no insulation is trapped under a screw, and no stray strand touches another terminal or the box. This quiet two minute audit, done with the power still safely off, catches nearly every wiring mistake while it is still free and safe to fix.
22. Fold the Wires Neatly and Seat the Switch

Fold the wires back into the box in smooth, gentle bends, like an accordion, so nothing is pinched, kinked, or forced against a sharp box edge. Ease the switch in straight, fit the mounting screws, and snug them so the switch sits firm and level without cracking its frame by overtightening. If the switch will not seat without force, pull it back out and rearrange the wires. Force in an electrical box is how insulation gets cut and connections get stressed.
23. Fit the Wall Plate Without Pinching Anything
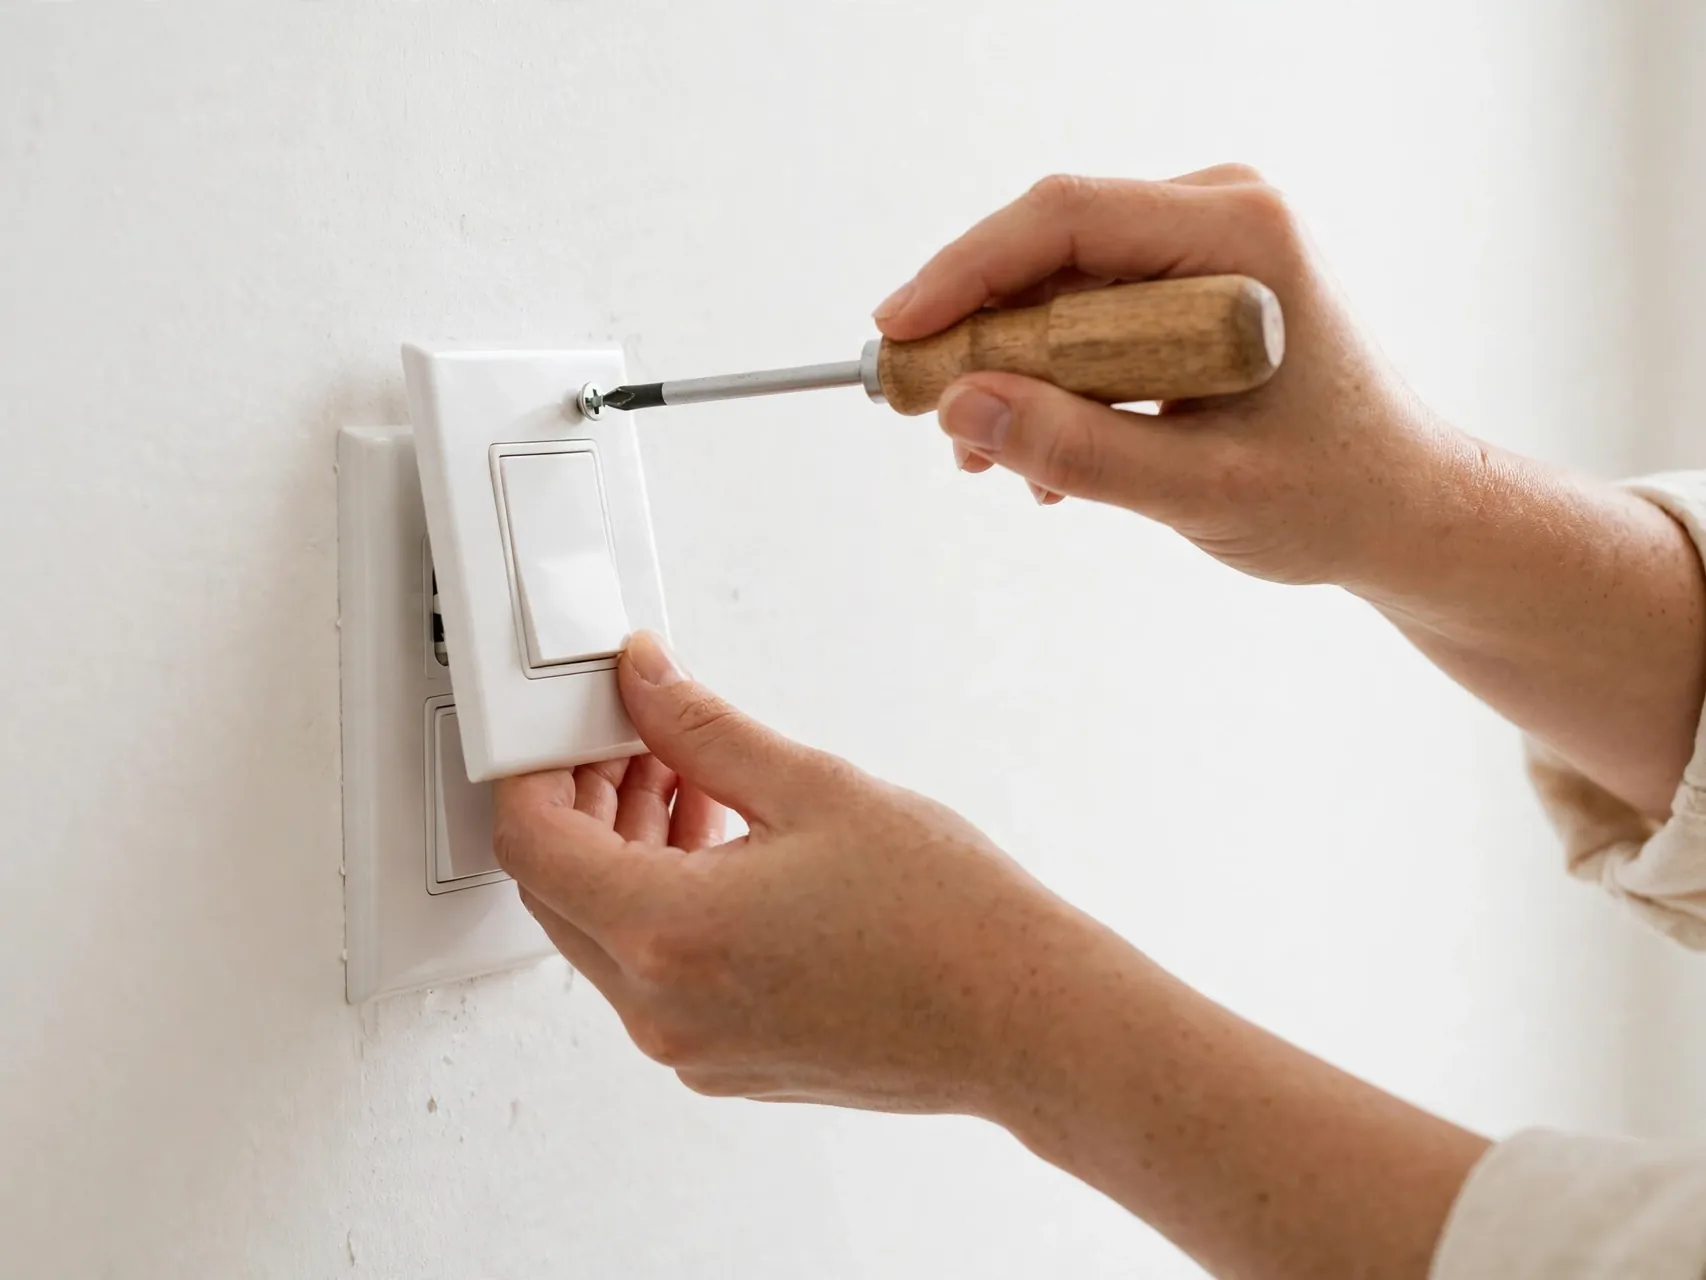
Set the wall plate over the switch, check that the toggle moves freely through its full travel without brushing the plate, and tighten the plate screws gently, just snug, since overtightening cracks plates and can distort a cheap switch body. Step back and confirm everything looks straight and finished. Only when the switch is fully mounted, covered, and your tools and hands are clear of the box is the job ready for power to return.
24. Restore Power at the Breaker and Test From a Distance
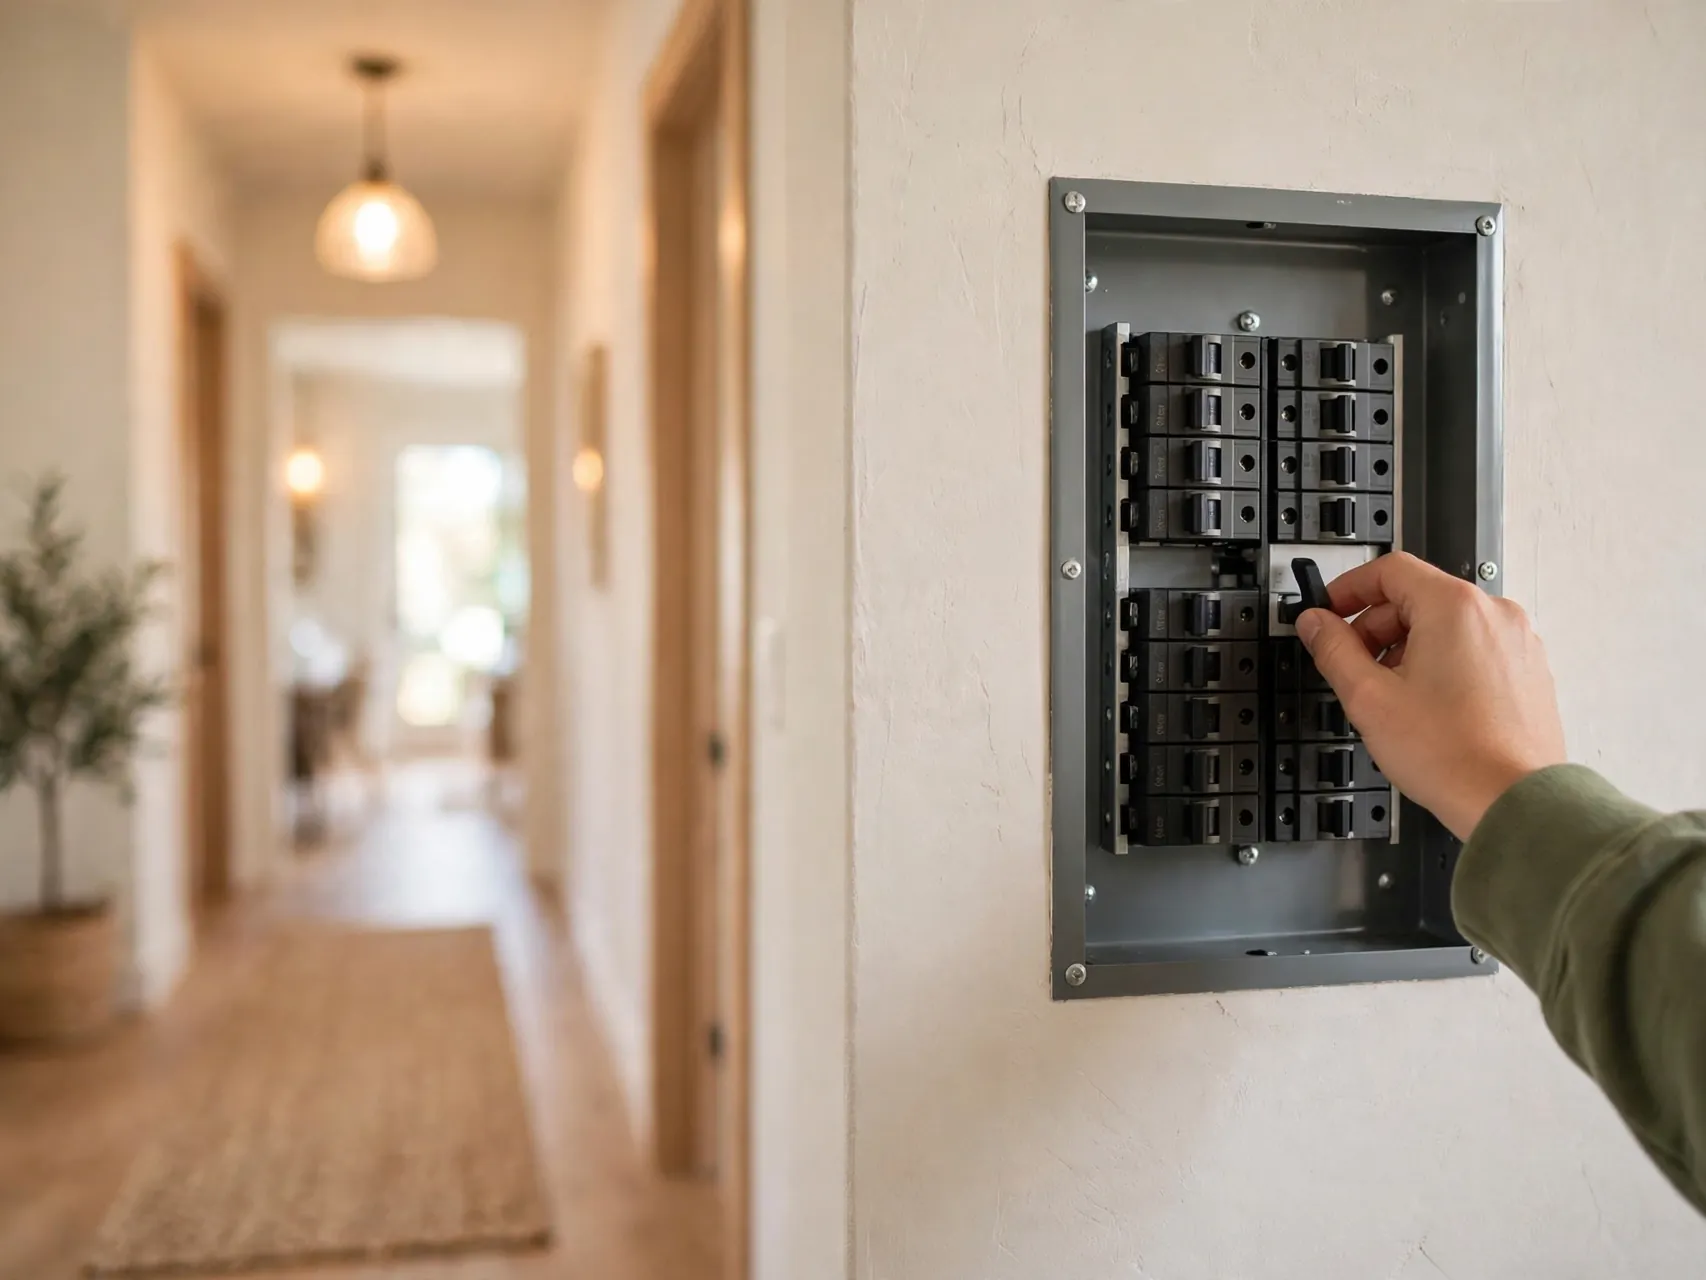
Remove your lockout note, stand to the side of the panel rather than directly in front of it, and switch the breaker firmly ON. Then test the new switch at the wall: the light should respond cleanly, on and off, with no buzzing, flickering, sparking, warmth, smell, or delay. If anything abnormal happens, switch the breaker back OFF at once and call an electrician rather than opening the box to investigate a live fault. Normal is silent, cool, and boring.
25. If Anything Feels Uncertain at Any Point, Hire a Pro
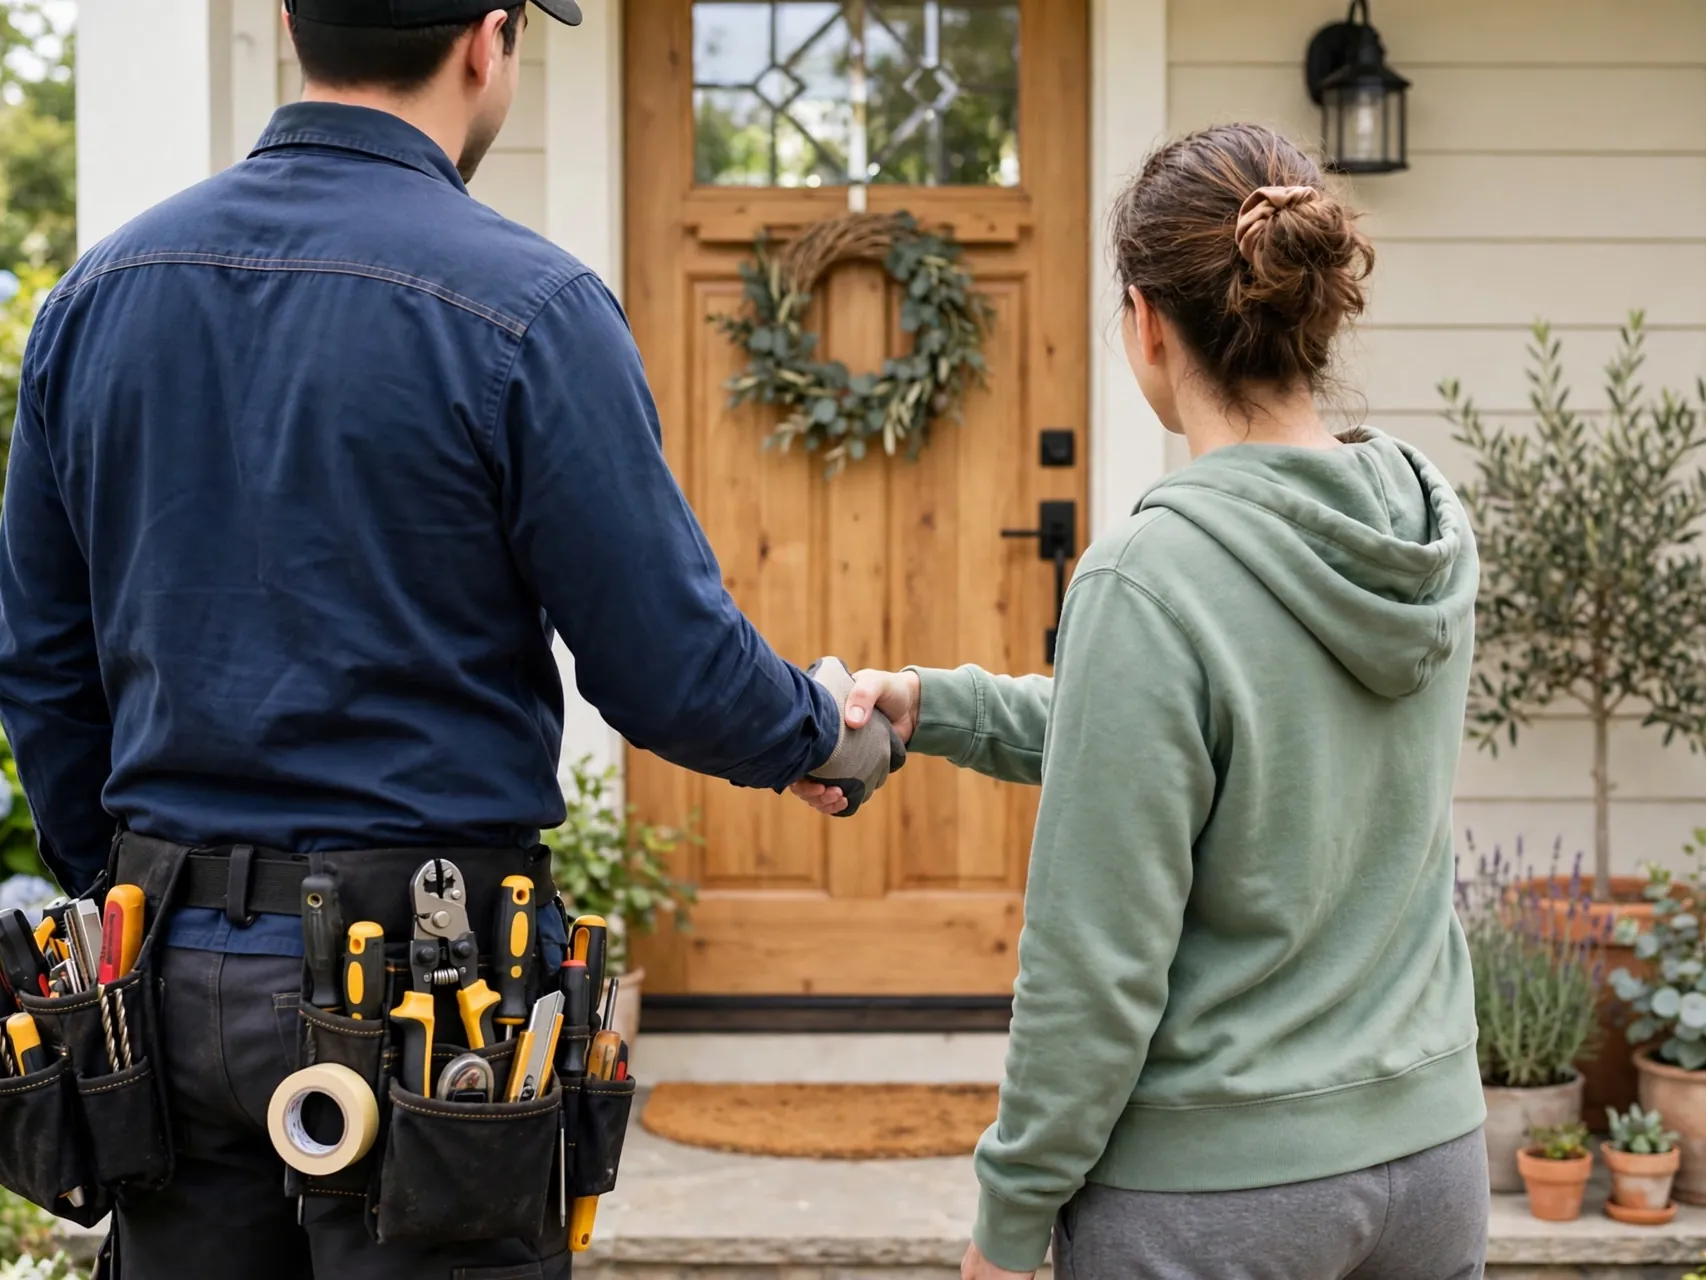
Let this final step govern all the others. Cracked insulation you noticed at step 16, a wire you cannot identify at step 15, a tester that chirped at step 11, a 3-way layout your photos cannot untangle: each is a complete, respectable reason to stop, leave the breaker off, and hire a licensed electrician. Pros also confirm local code and permit compliance. A finished switch is satisfying. A safe home, and a safe you, matter far more than any single DIY win.
FAQ
Can I replace a light switch with the power on if I am careful?
No, never. Working on a live circuit risks severe shock, burns, and fire, and no level of care makes it acceptable. ESFI guidance is unambiguous: turn the power off at the breaker, then test the wires to prove they are dead before touching them. If you cannot identify or control the correct breaker, that alone is a reason to hire a licensed electrician for the whole job.
How do I know the power is really off?
Use three confirmations together: the correct breaker is switched off and tagged, the light no longer responds to the switch, and a non-contact voltage tester, checked on a known live outlet, stays silent at every wire and terminal in the box. The tester reading is the proof. If it signals at any point, stop, return to the panel, and do not touch the wiring until the box tests completely dead.
What if my switch has three wires or controls a light from two places?
That is likely a 3-way switch, and its common wire must land on the correct, usually darker, screw while the two travelers land on the others. Photograph and label everything before disconnecting, and wire the replacement exactly wire-for-wire. If the layout is at all unclear, or the light then behaves oddly, stop with the breaker off and call an electrician. 3-way confusion is one of the classic stop points.
What should I do if there is no ground wire in the box?
Stop and get professional advice. Older wiring without a ground needs an electrician to assess safe, code compliant options for your home. Do not connect the green screw to a neutral wire, a trick sometimes called a bootleg ground, because it can put voltage on metal parts and defeat safety protection. The absence of a ground is not a small detail to work around; it changes the job.
When exactly should I hire an electrician instead?
Hire one for aluminum wiring, no ground wire, damaged or brittle insulation, scorch marks or burning smells, wires too short to connect safely, crowded or damaged boxes, any 3-way or multi-location setup you cannot map confidently, and any moment of genuine uncertainty at any step. Also hire one whenever local code or permit rules require it. A short professional visit costs far less than repairing a wiring mistake.
Key Takeaways
- Breaker off, then prove it: The breaker goes OFF at the panel, gets tagged, and a non-contact tester must stay silent at the switch before any wire is touched.
- Never work live: A dark light is not proof of a dead circuit, and no shortcut around testing is ever acceptable.
- Photograph and label first: Clear photos and tape labels let you wire the new switch exactly wire-for-wire, with no memory or guesswork.
- Know the stop signs: Aluminum wiring, no ground, damaged insulation, and 3-way confusion all mean stop and hire a licensed electrician.
- Codes are part of safety: Local codes and permits may apply, and a professional confirms compliance when you are unsure.
- Uncertain means stop: If any step feels unclear, leaving the breaker off and calling a pro is the correct finish. Save this safety-first guide to Pinterest before your next switch project.