23 Halloween Paper Garland Ideas You Can Make in Minutes
Introduction
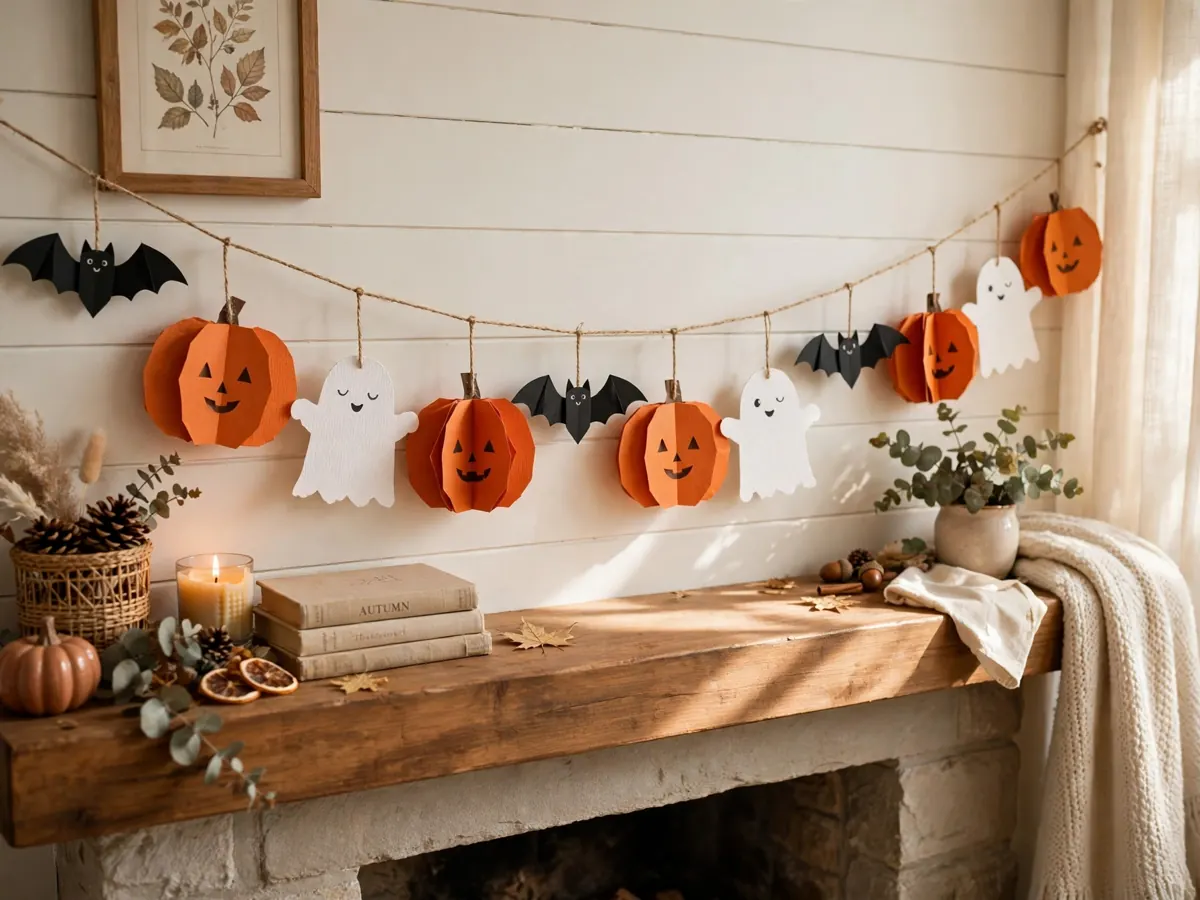
A mantel, doorway, or classroom wall can go from plain to Halloween ready with one string and a stack of paper shapes. That is the appeal of a halloween paper garland: it is fast, light, cheap to make in any length, and easy to store flat when October ends.
The quickest garlands use one repeated shape, cut in batches, given a simple face, and threaded or taped onto twine. Adults should help with cutting and hole punching, kids can use safety scissors for simple shapes, and all glue and paint should be non-toxic. Keep small punched pieces and short string ends away from children under 3.
Measure your space before you cut, so you make enough shapes the first time. As a rough guide, space medium shapes a few inches apart and add extra twine at both ends for tying. A gentle swag, rather than a tight straight line, looks best for most of these ideas.
Below you will find accordion chains that unfold in seconds, classic bunting, character garlands, and letter banners, plus a few grown up versions for parties where cute is not the goal.
1. Classic Pumpkin Accordion Chain
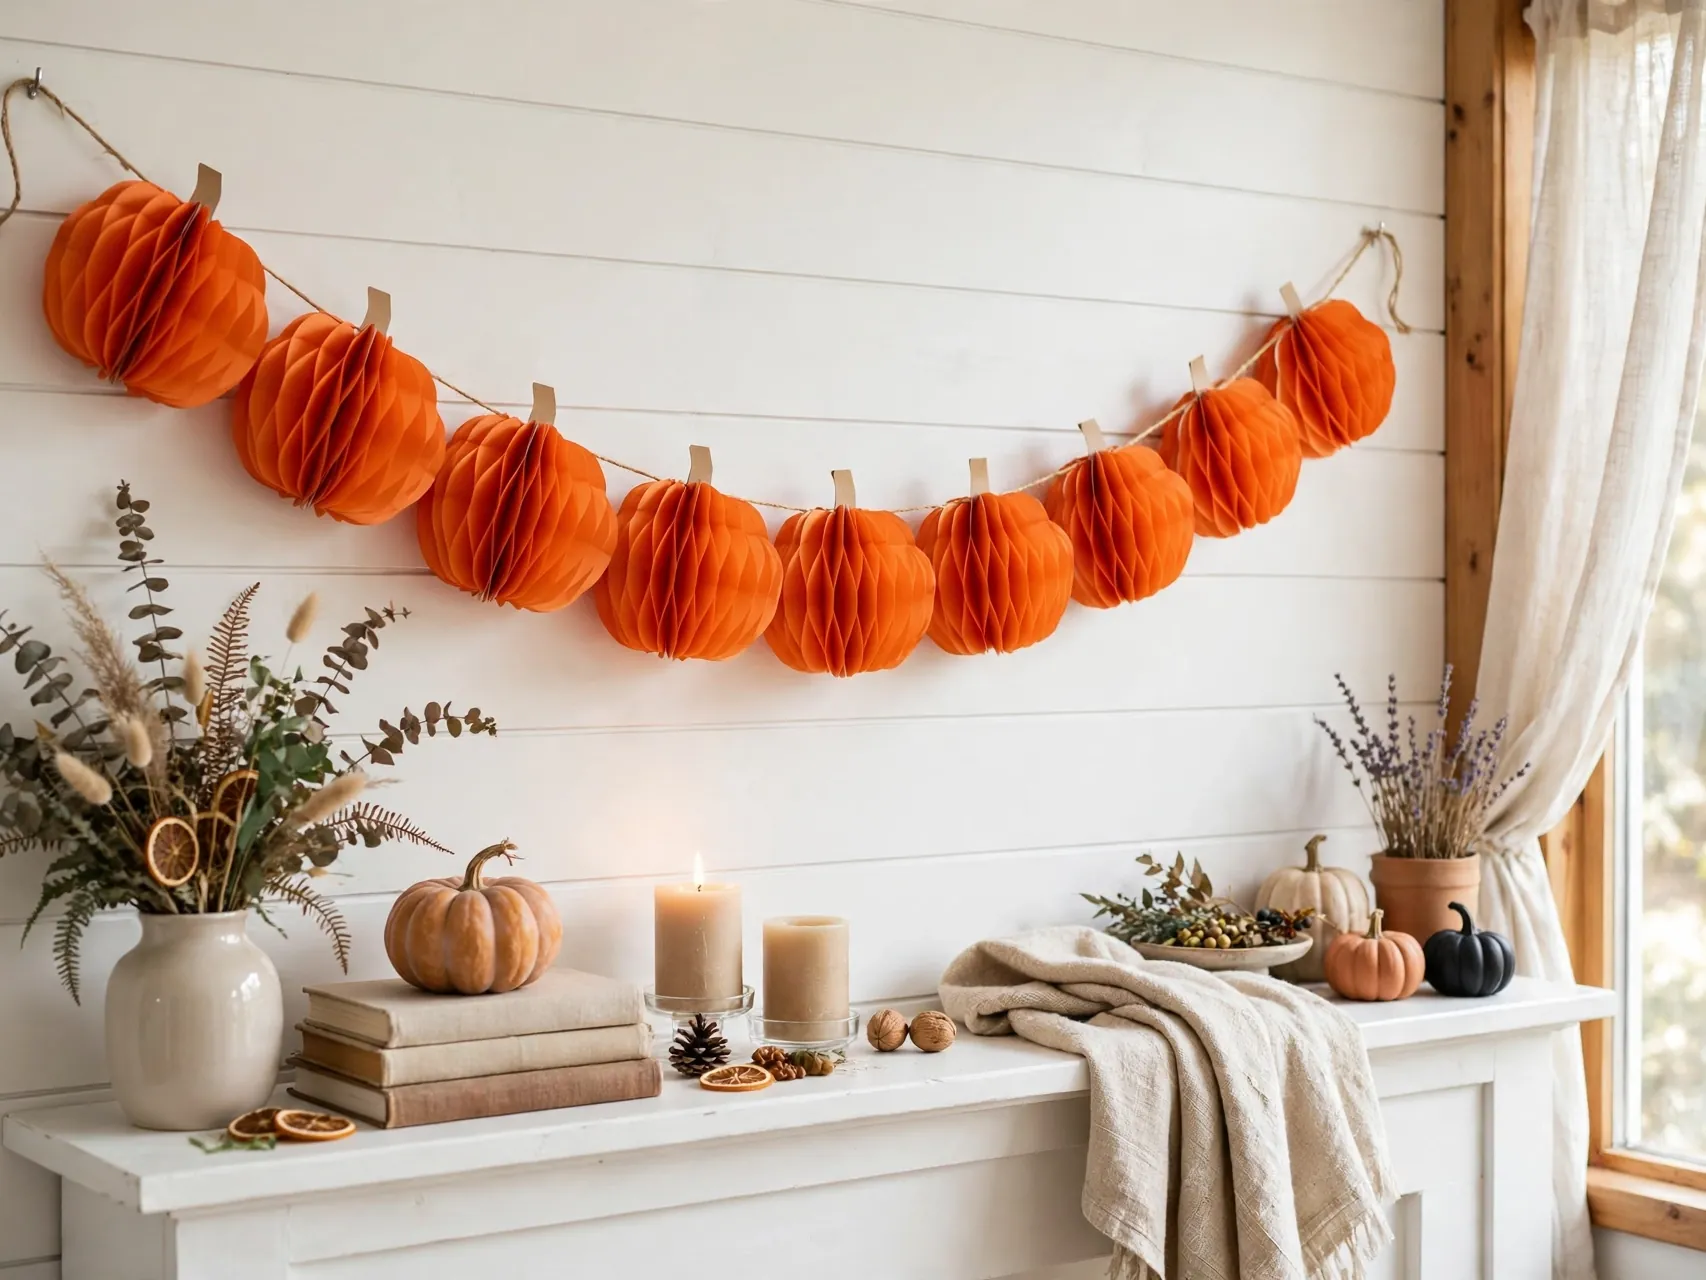
Fold orange paper accordion style, draw half a pumpkin shape against the fold, and cut it out with the fold kept intact on one side. Open the paper to reveal a row of connected pumpkins, then add triangle eyes and smiles with a black marker.
This paper pumpkin garland is the fastest full length garland in the list, because one cut makes many pumpkins. Make two chains and layer them at slightly different heights on a mantel for a fuller, patch like effect.
If a fold tears while cutting, tape the join on the back and keep going. Accordion chains are forgiving, and a repaired pumpkin in the middle of a long row is almost impossible to spot once the garland is hanging.
2. Ghost Accordion Chain in White

Use the same accordion method in white paper, with a rounded ghost and a wavy bottom edge drawn against the fold. Add two dot eyes and a small oval mouth to each ghost after unfolding, and keep faces varied for charm.
White ghost chains glow nicely against dark walls and bookcases. Layer a ghost chain in front of a pumpkin chain on the same hooks and you get a two tone display from supplies you already used once.
3. Bat Bunting With Wings Almost Touching
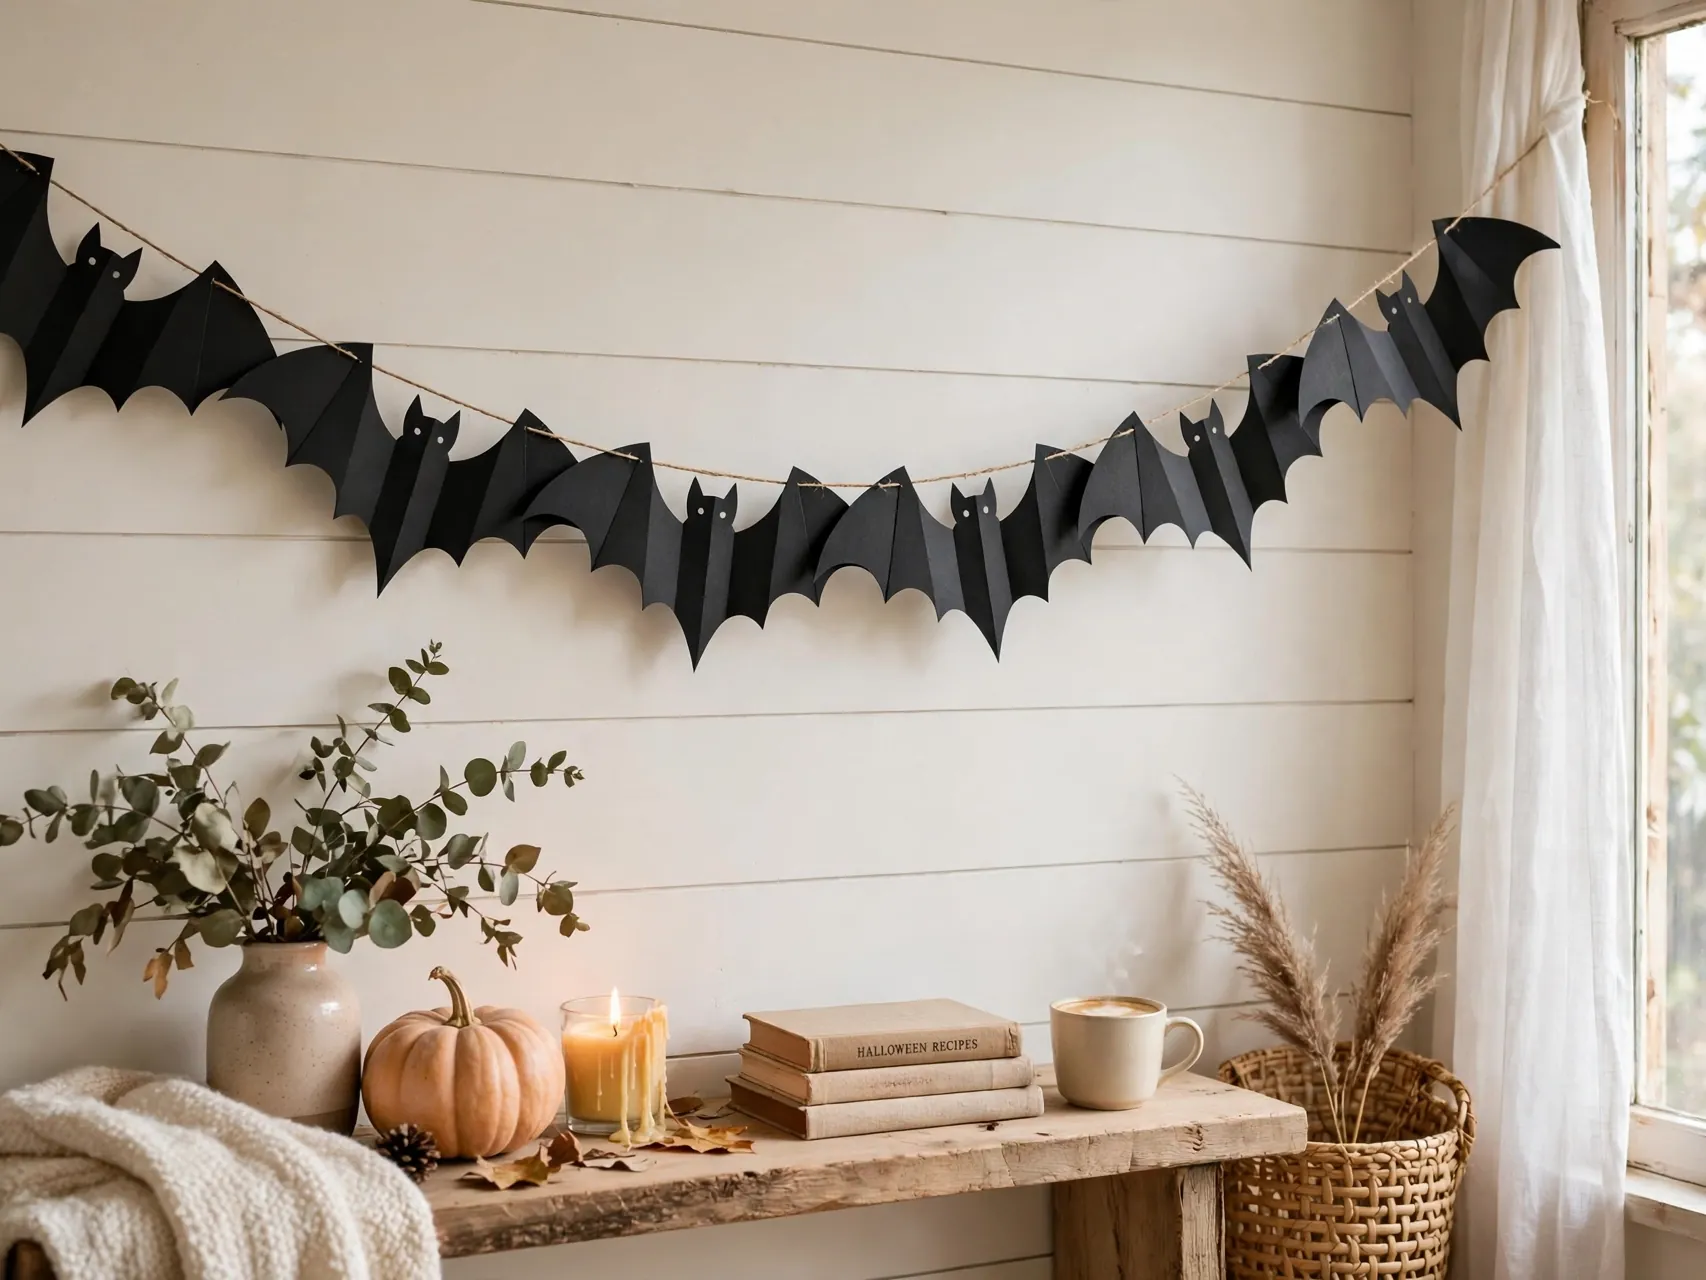
Fold black paper in half, draw half a bat with a scalloped wing, and cut to get a symmetrical bat. Punch a hole near the top of each bat with adult help and thread them close together on twine so the wings nearly touch.
Close spacing creates a swooping colony effect that looks dramatic over a doorway or window. Add one white or purple bat in the middle of the run as a surprise detail that kids love pointing out to guests.
4. Triangle Banner in Black, Orange, and Purple

Cut triangles from black, orange, and purple cardstock, fold the top edge over twine, and glue or tape it in place. Leave the triangles plain for a clean party look, or draw a small ghost, pumpkin, or star on each flag.
Triangle bunting is the most forgiving easy halloween banner diy project for beginners, because imperfect triangles still look good in a row. It scales from a toddler bedroom to a full party hall just by cutting more flags.
5. Paper Chain Garland in Halloween Colors

Cut paper into short strips, loop the first strip into a ring and glue it, then link each new strip through the last ring. Orange, black, purple, and green strips in a repeating pattern make a classic chain with a Halloween twist.
Paper chains are ideal for group making, because everyone can produce links at their own pace and the garland grows fast. Drape chains in swags across a ceiling corner or frame a classroom door with them for instant party energy.
6. Jack-o-Lantern Faces Garland With Mixed Expressions
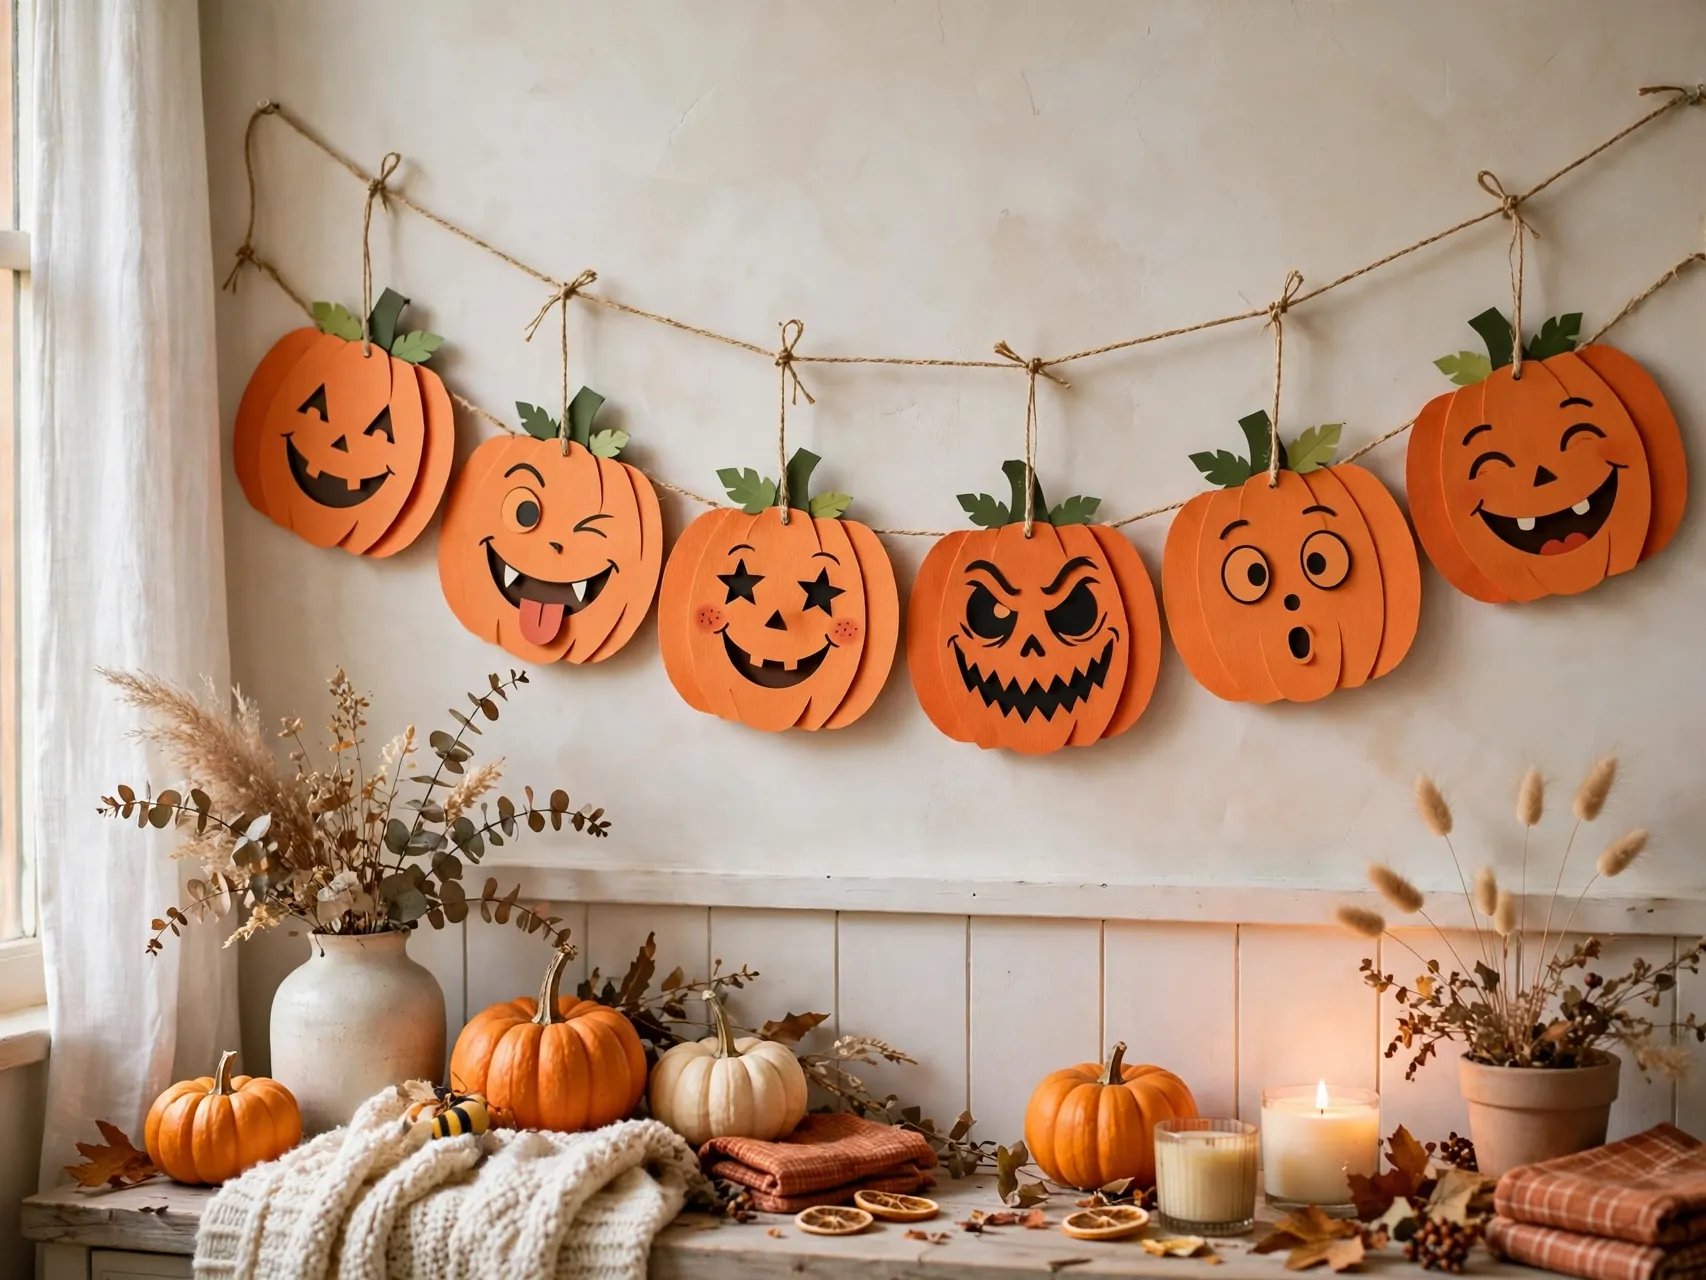
Cut orange circles or pumpkin shapes, then give every pumpkin a different face, sleepy, silly, surprised, and toothy. Thread the pumpkins onto jute and space them evenly so each expression gets its moment.
Mixed faces are what make this garland feel handmade rather than store bought. Let each family member design a few pumpkins and sign the back, and the garland becomes a yearly keepsake you will enjoy unpacking each October.
7. Friendly Ghost and Bat Mix on One String
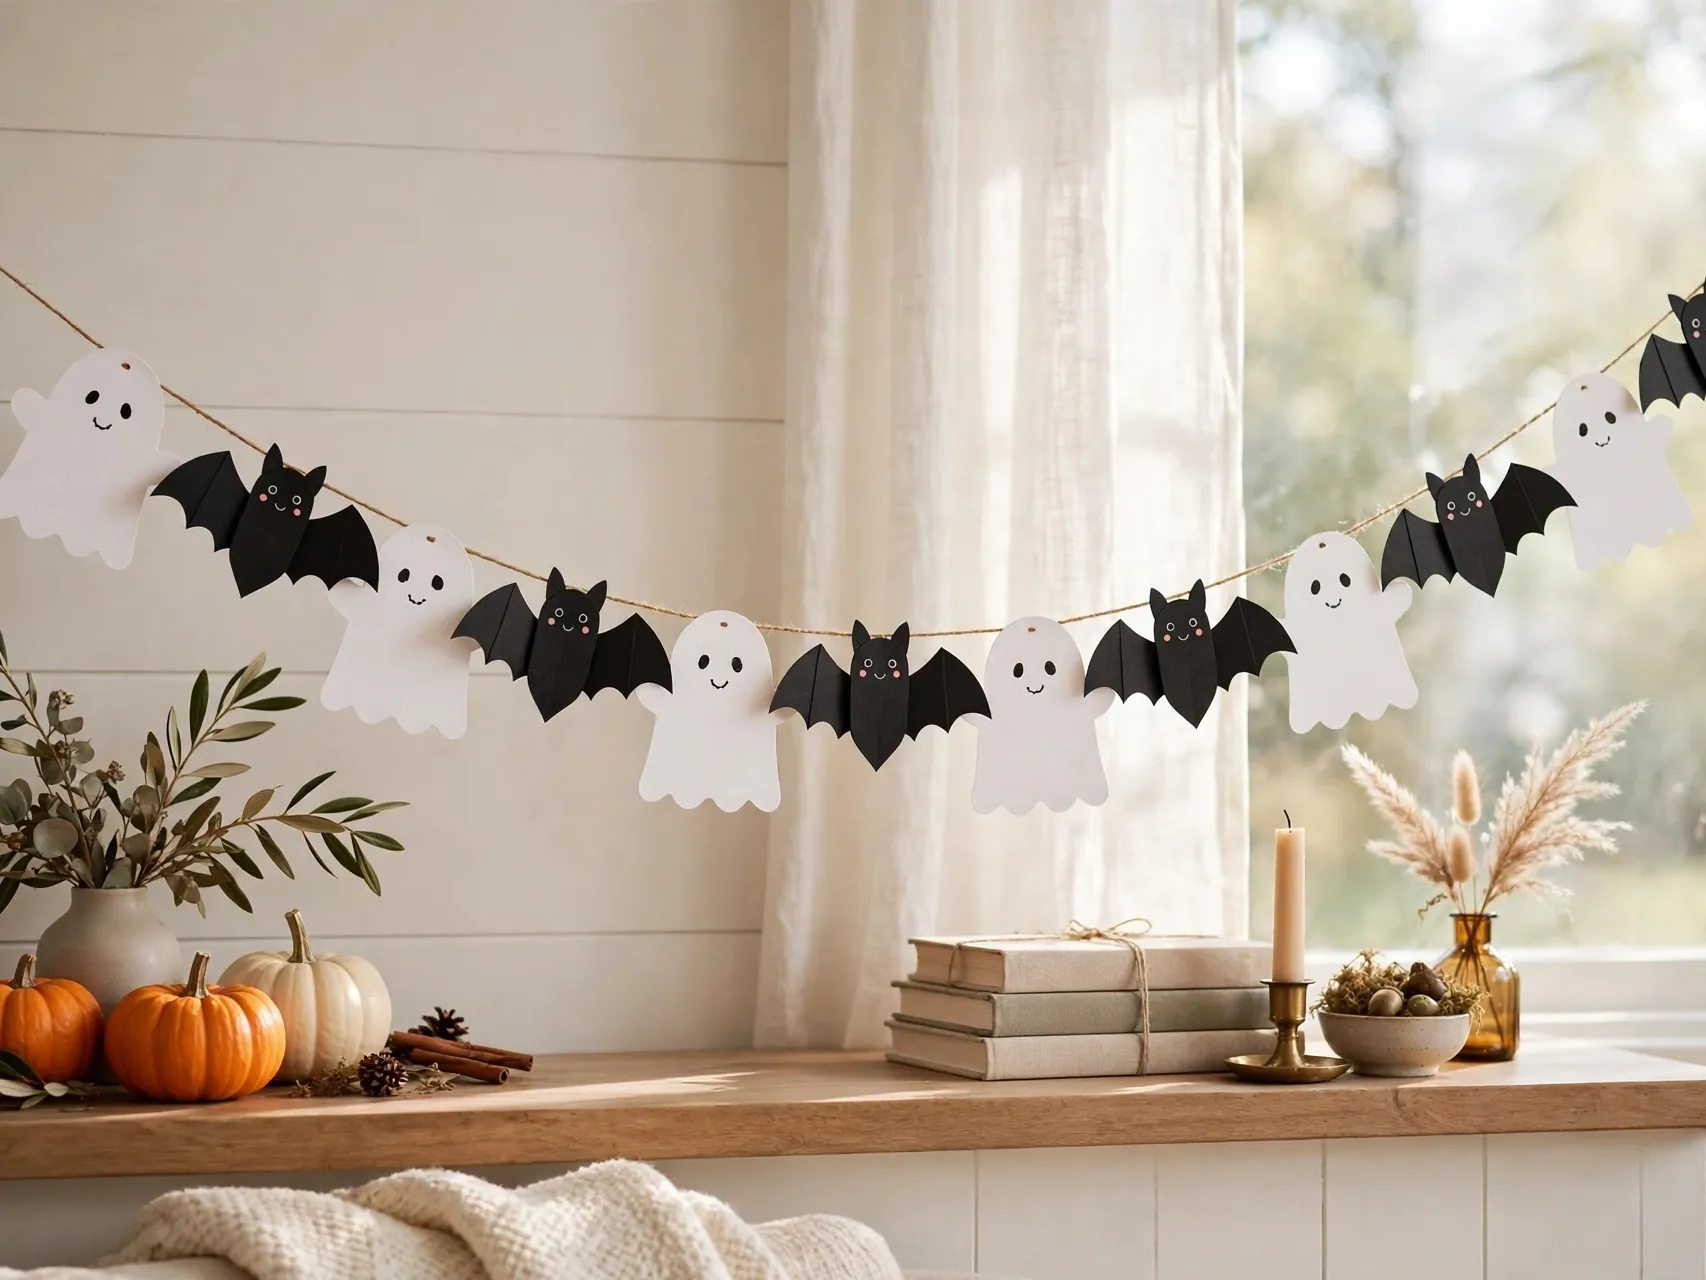
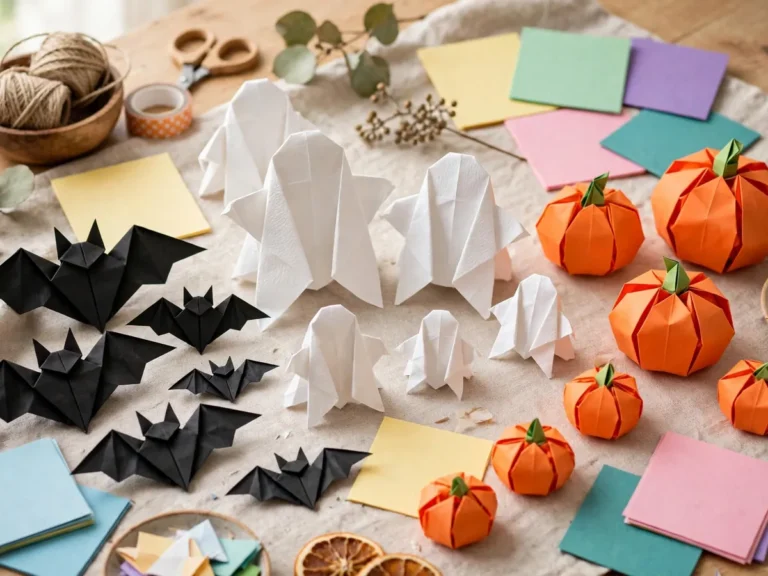
Alternate white ghosts and black bats along one length of twine for a strong black and white rhythm. The contrast carries across a room, and the pattern is simple enough for young kids to help arrange before threading.
Add a single orange pumpkin at the center as a focal point if you like. Mixed shape garlands are a good way to use up paper scraps, because each shape can be cut from whatever color remains in the stack.
8. Candy Corn Triangle Garland

Cut large triangles, then add a yellow band at the bottom and an orange band in the middle, leaving the tip white, to copy candy corn colors. Glue the bands on as paper strips for crisp lines, which is easier than painting for most kids.
Thread candy corn triangles point down along twine for a sweet, non-spooky garland that suits younger children and school parties. A matching bowl of real candy corn on the table below completes the theme for guests.
9. Black Cat Silhouette Garland
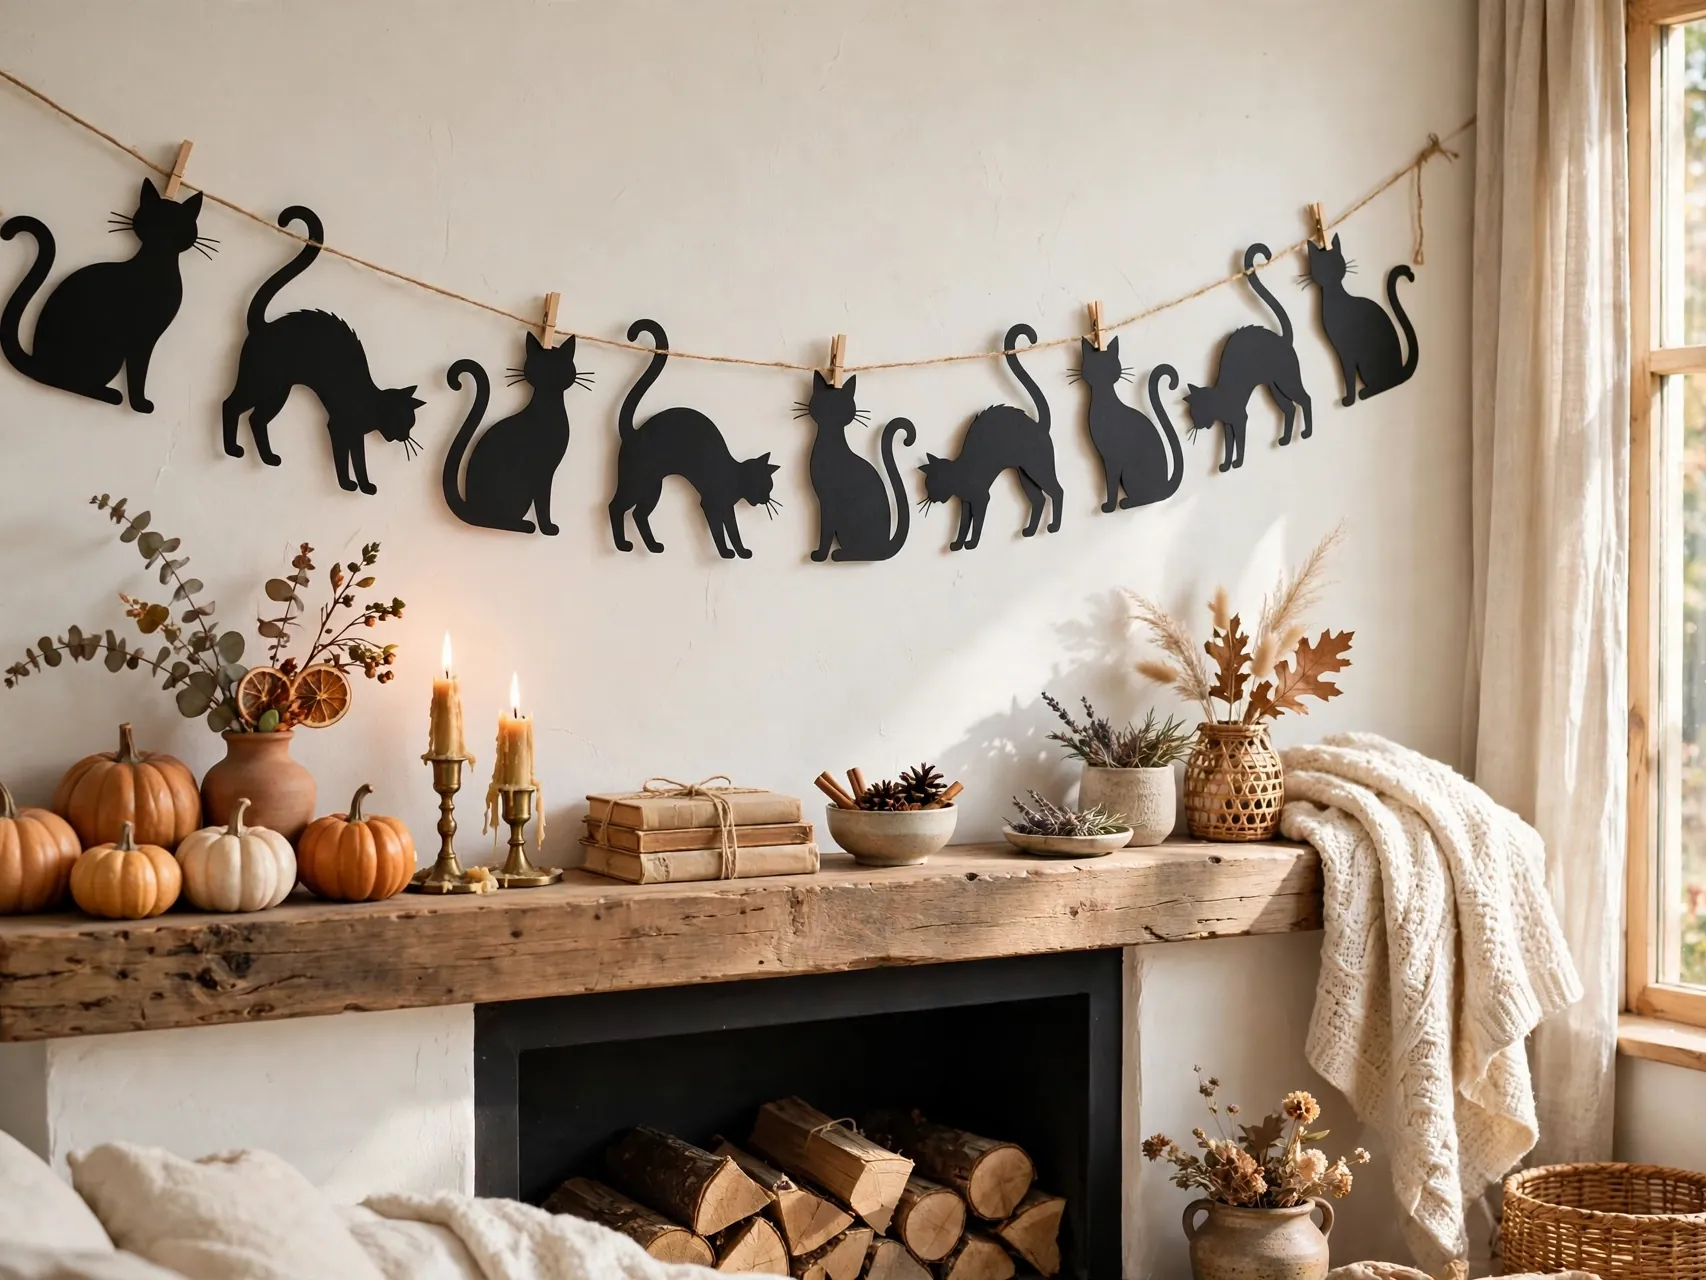
Cut a simple sitting cat silhouette from black cardstock, with pointed ears and a curling tail, and add two small eyes in white or green paper. Repeat the cat along twine, all facing the same way, like cats watching from a fence.
Cat garlands feel a little more elegant than monster shapes, so they work in living rooms and entry halls. Cut cats from sturdy cardstock so ears and tails survive hanging and storage without bending or tearing.
10. Witch Hat Garland in Purple and Black

Cut pointed witch hats from black and purple paper, add a contrasting band and a small yellow buckle square to each, and thread them along a string. The buckle detail takes seconds and makes the whole garland look considered.
Alternate hat colors in a strict pattern for a tidy look, or mix them randomly for a playful one. Witch hats pair well with a purple tablecloth and battery candles for a party corner that feels themed without being scary.
11. Spider and Web Garland for a Creepier Corner

Cut small paper webs and simple round spiders with eight leg strips, then alternate them on black twine. Hang one spider lower than the others on a short thread so it appears to dangle from the garland into open space.
This is the creepiest garland in the list, in a fun way, and older kids usually claim it as their favorite. Keep dangling pieces out of walkways and away from toddlers, and check that legs are glued firmly before hanging.
12. Boo Letter Banner With Big Paper Letters
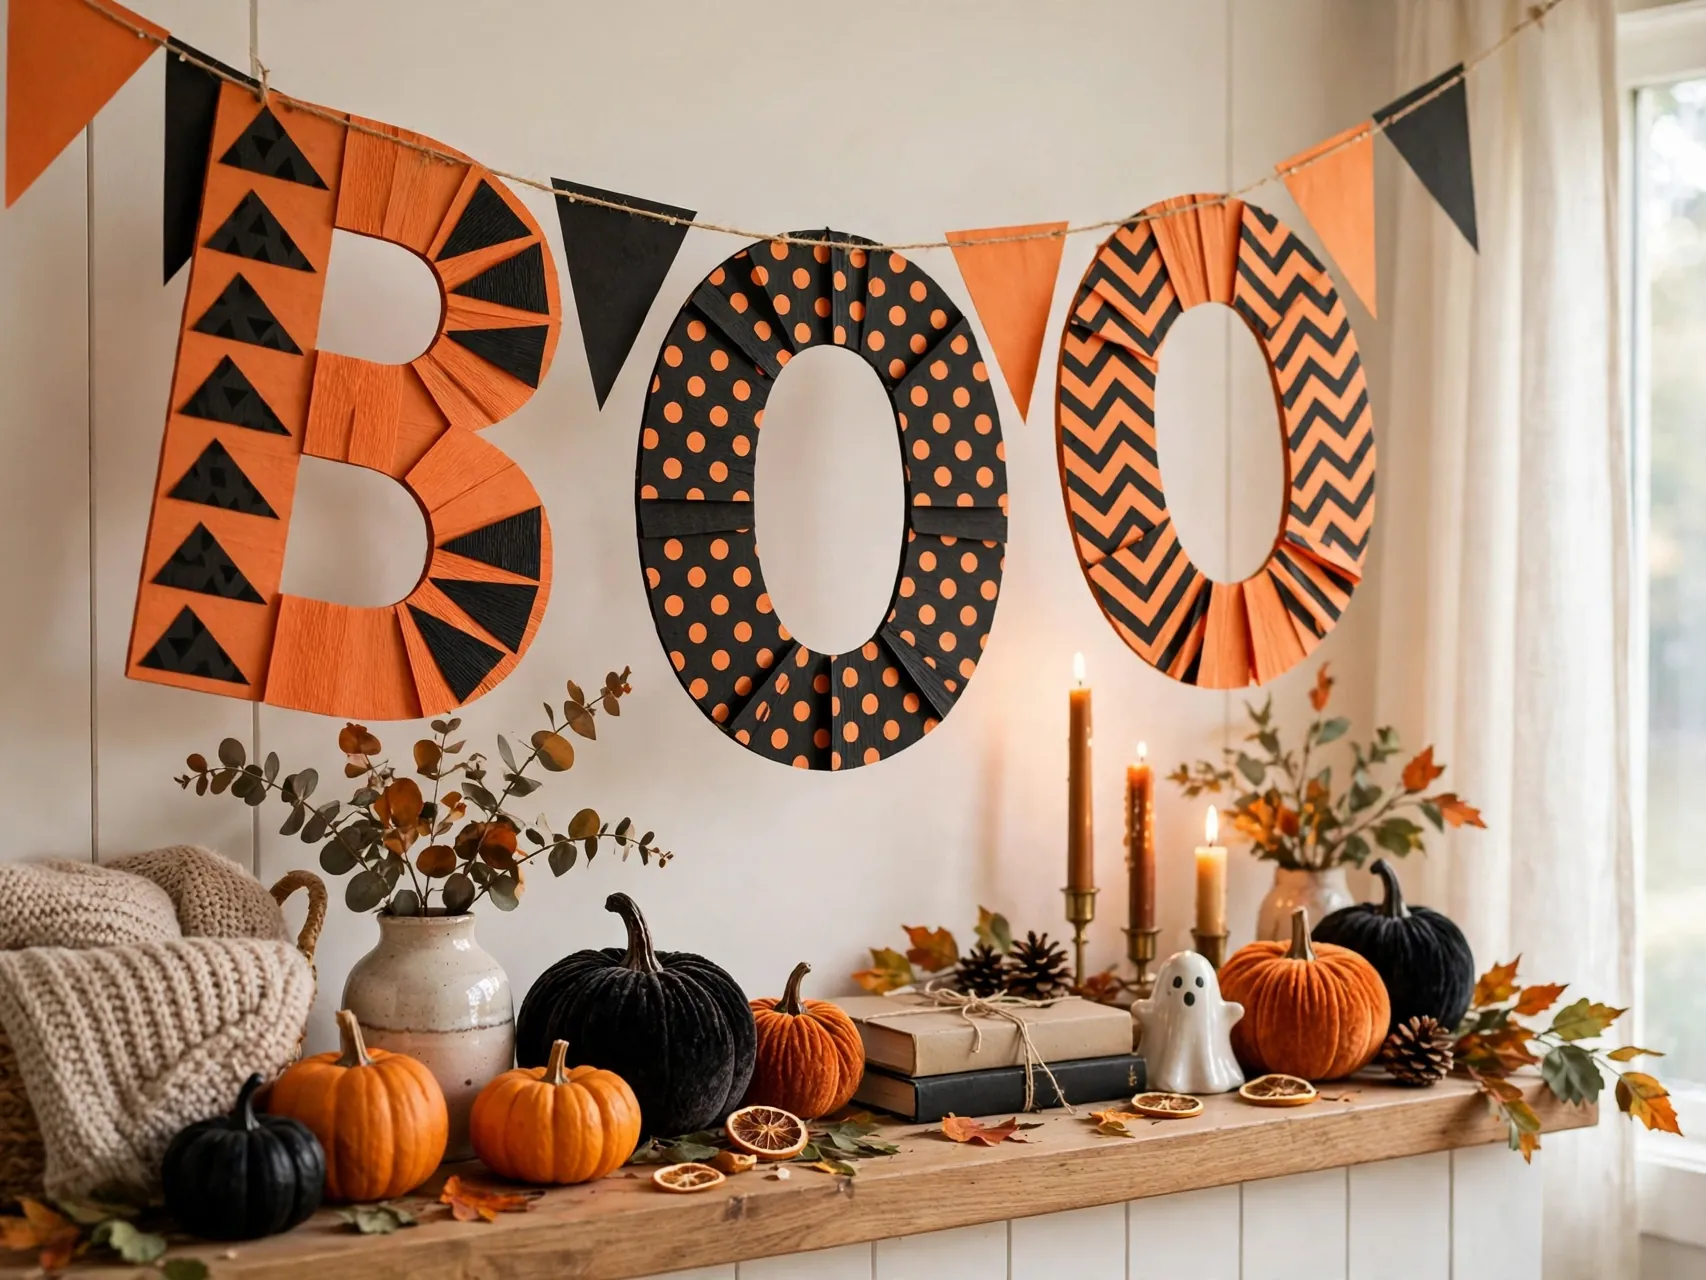
Cut large letters spelling Boo, Eek, or Spooky from black or orange cardstock and thread or clip each letter to twine. Back each letter with a white or purple circle or flag shape so the word reads clearly against a busy wall.
Letter banners make strong photo backdrops for party pictures. Keep letters large, space them generously, and hang the banner at eye level behind a treat table where guests naturally gather and take photos.
13. Haunted House Row Garland
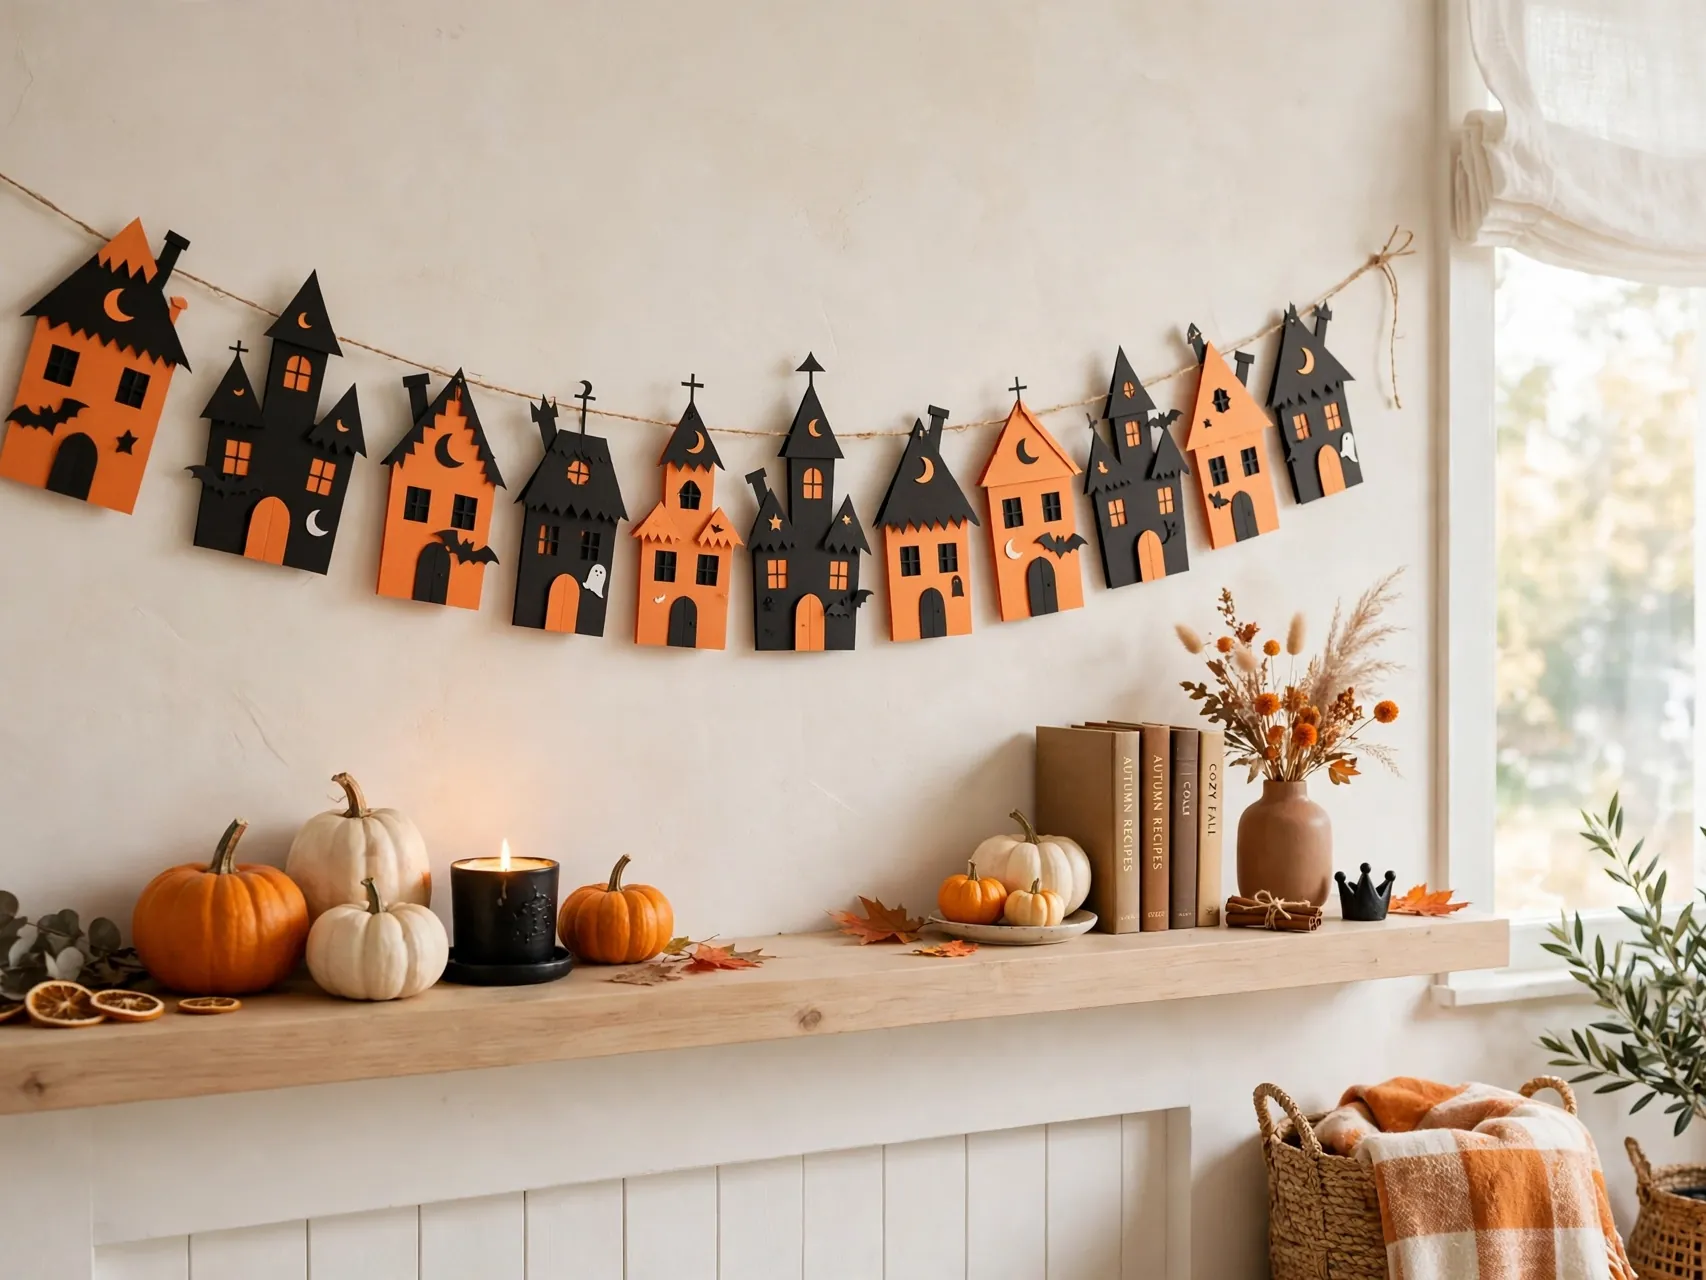
Cut a row of simple house silhouettes in black and gray, add tiny yellow paper windows, and finish a few rooftops with a small ghost or bat. Thread the houses close together so they read as a spooky street.
Haunted house garlands reward detail lovers, because every house can have different windows, doors, and roof shapes. Display the row along a mantel or above a classroom whiteboard where people can enjoy the small differences up close.
14. Moon and Stars Garland in Gold and Black
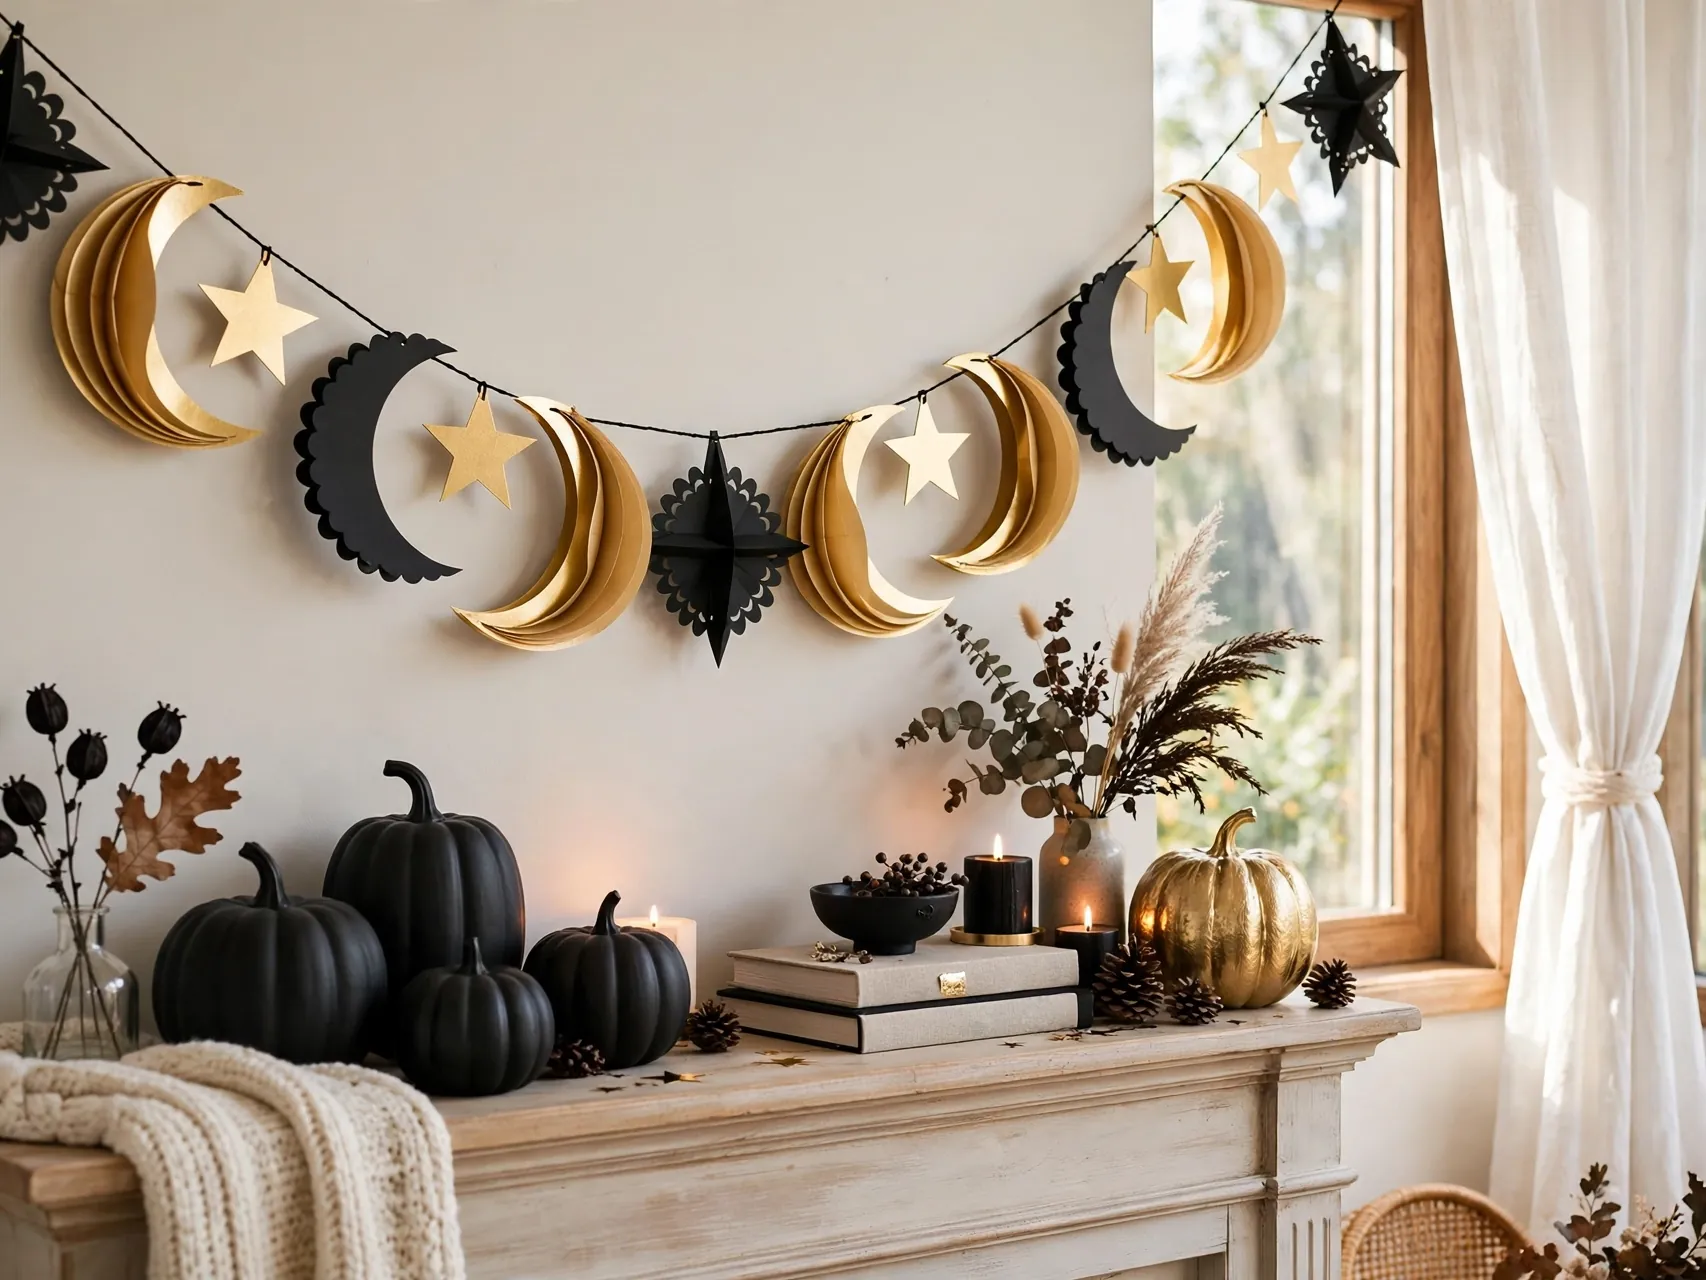
Cut crescent moons and stars from gold, yellow, and black paper and alternate them along a string for a night sky garland. This design feels calm and pretty, which makes it a good choice for bedrooms and softer Halloween styling.
Use sturdy paper for star points so they stay sharp. A moon and stars garland also transitions well into a general fall display, and it can stay up into November without looking like leftover Halloween clutter.
15. Monster Faces Garland in Bright Colors
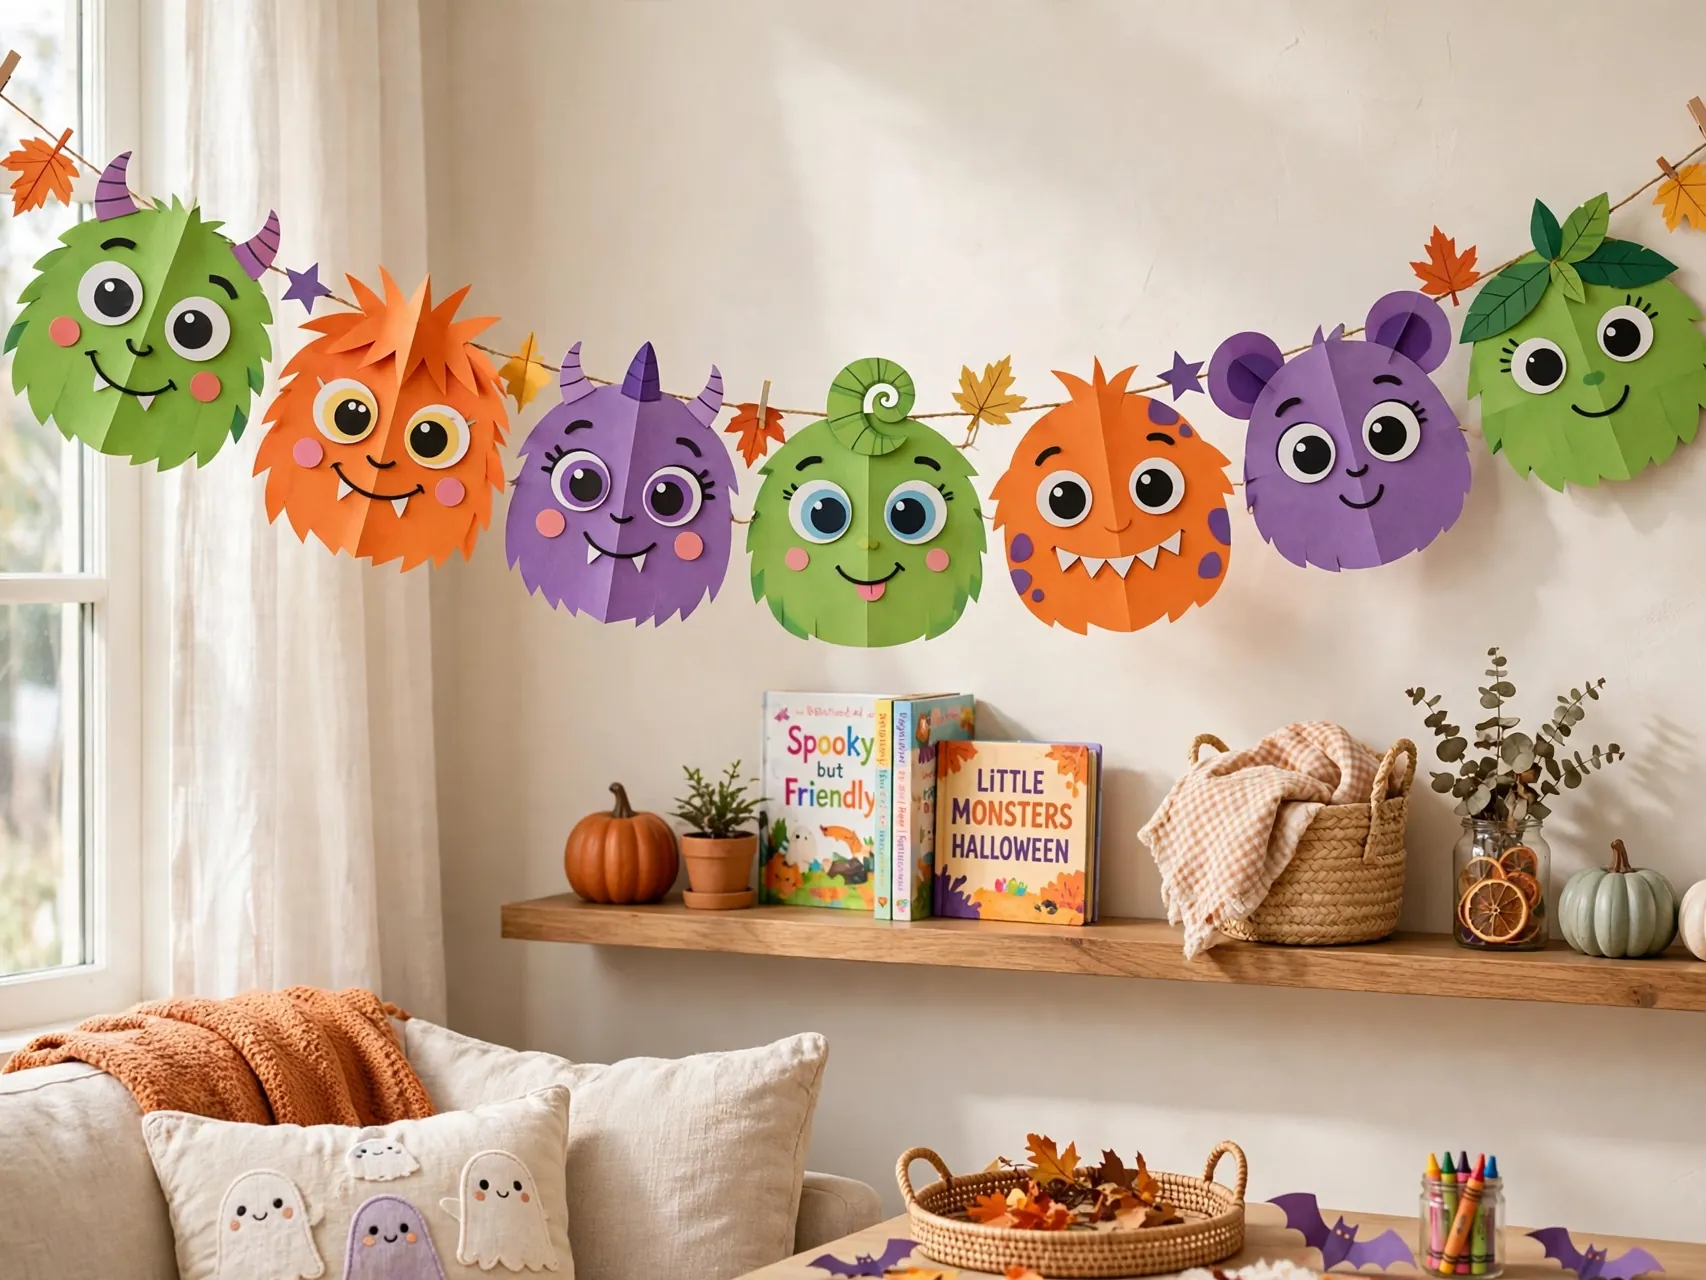
Cut circles in lime, purple, pink, and teal, then add one, two, or three large paper eyes, horns, and wide mouths with paper teeth. No two monsters should match, and that variety is exactly the point of this garland.
Use large paper eyes rather than small plastic ones, especially around young children. Monster garlands are a hit at kids parties because guests can each make a monster on arrival and add it to the string during the party.
16. Skeleton Paper Chain Garland

Build a wiggly skeleton from white paper rings linked as a short chain for the spine and limbs, then add a round head with drawn eyes, nose, and a stitched smile. Make several skeletons and string them across a wall as a dancing line.
This project takes a little longer than flat shapes, so start it with older kids or as a family weekend craft. Photograph the finished skeleton line, because it is one of the most charming diy halloween garland ideas for a classroom door.
17. Printable Shape Garland for the Fastest Setup

If time is truly short, print simple Halloween shapes, color them if you like, cut them out, and sandwich twine between each shape and a backing piece with glue. Spacing shapes evenly as you go keeps the finished garland neat.
Printed garlands are also the most consistent option for matching party colors exactly. Keep a spare printed set in an envelope and you can replace a torn shape in minutes instead of remaking the whole garland next year.
18. Tissue Paper Tassel Garland in Halloween Colors

Cut fringe into folded tissue paper sheets, roll and twist the top, and loop tassels onto twine in orange, black, purple, and white. Tassels add soft movement and volume that flat shapes cannot, and they photograph beautifully behind a party table.
An adult should do the fringe cutting in batches for speed and safety. Fluff each tassel gently after hanging, keep tissue away from candles and heat, and expect tassel garlands to be a one or two season decoration.
19. Paper Fan Rosette Garland With Halloween Centers

Fold paper strips accordion style, join the ends into rosettes with adult help for any hot glue step, and glue a pumpkin, ghost, or bat circle in each center. String rosettes with a little space between them so each fan keeps its round shape.
Rosettes have a crafted, boutique look that suits mantels and party backdrops. Make them in two sizes and alternate large and small along the string for a rhythm that looks planned rather than repetitive.
20. Mini Bunting for a Dollhouse, Shelf, or Cake
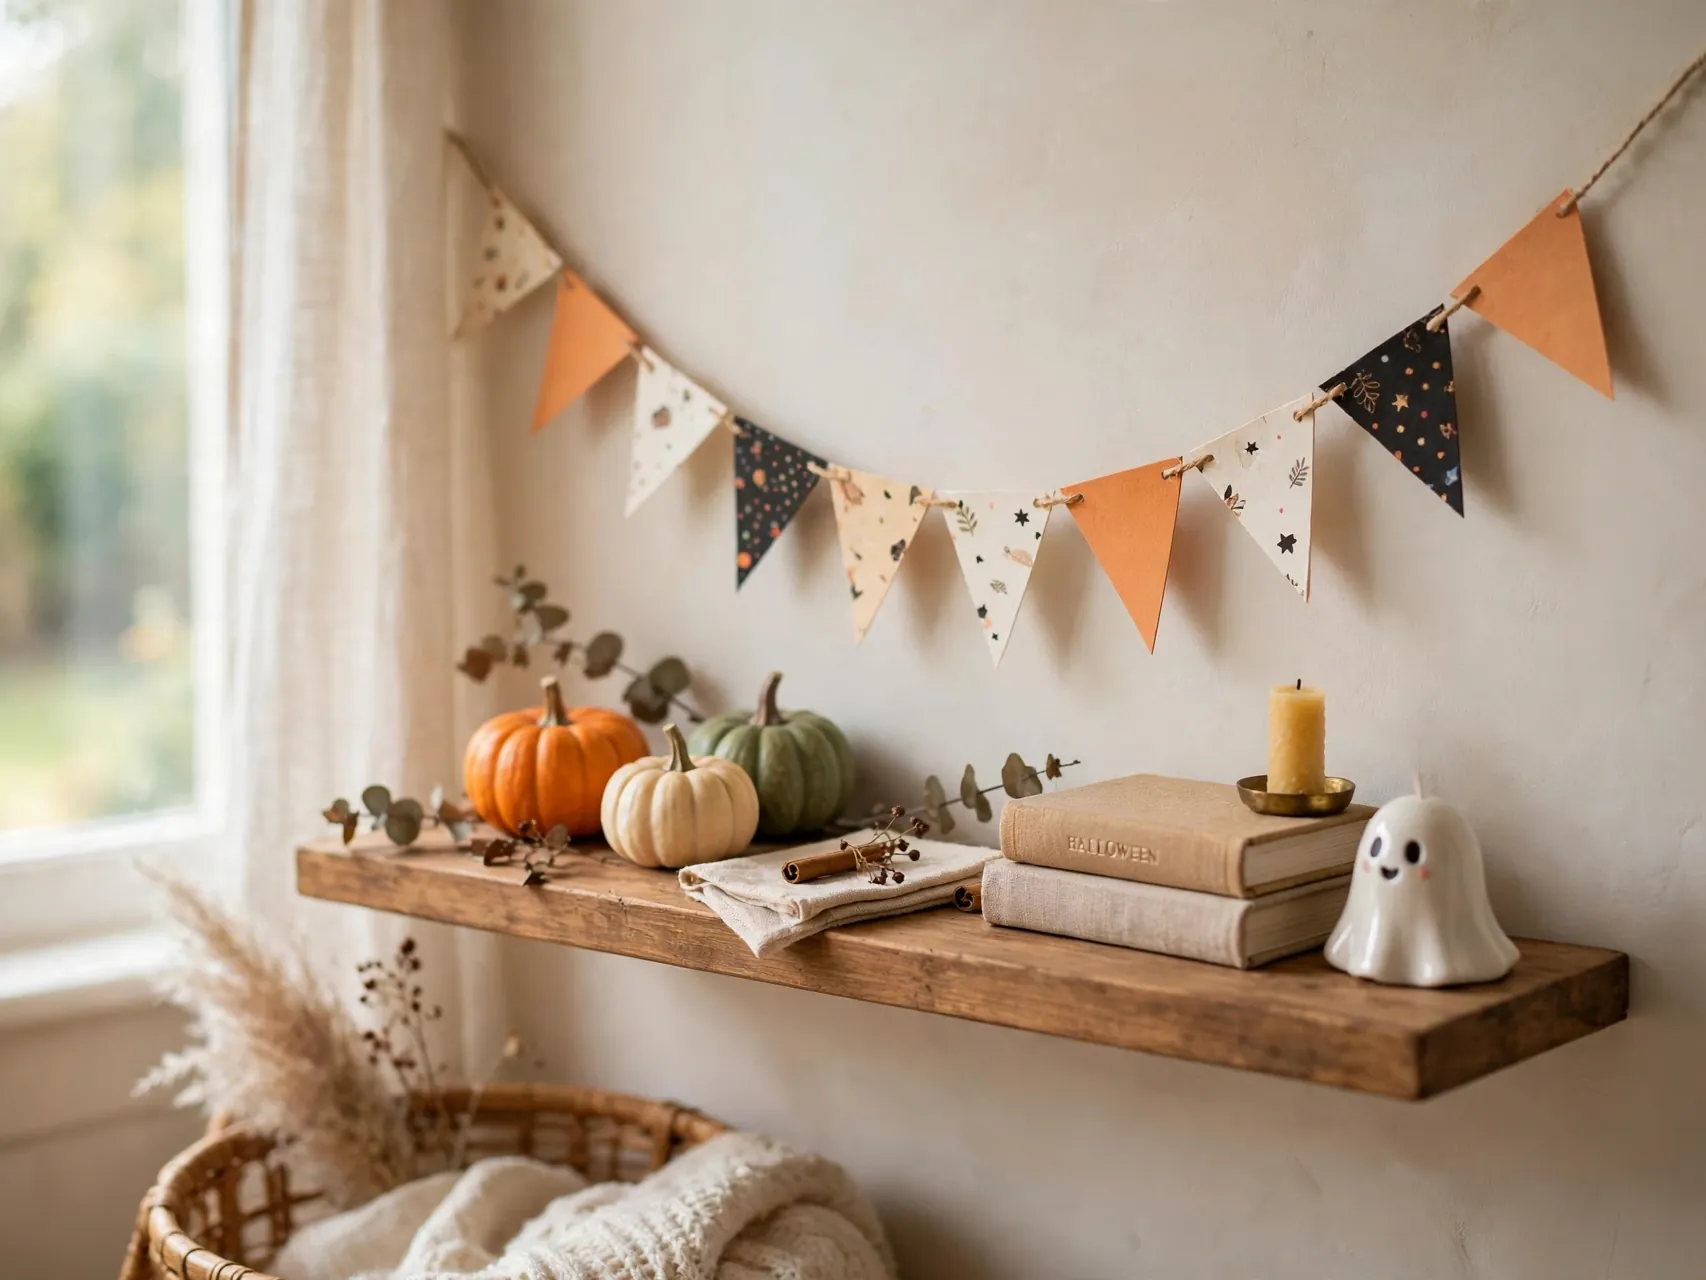
Scale the triangle banner down to tiny flags on thread and you can decorate a dollhouse, a bookshelf edge, a plant pot, or the top of a Halloween cake with two sticks as poles. Mini scale makes everything feel instantly cuter.
Use a needle only with adult handling, or tape tiny flags to thread instead. Mini bunting is a sweet project for older kids who like precise work, and it uses the smallest scraps from bigger garland projects.
21. Glow Friendly Garland With Battery Fairy Lights

Thread white ghost or pale pumpkin shapes onto a string, then weave a battery powered fairy light strand loosely along the same line. The light glows behind the paper shapes in the evening and turns a simple garland into the room focal point.
Use battery lights only with paper decor, keep the battery pack accessible for switching off, and do not leave lights on unattended. This evening version is especially pretty in a window, where it welcomes trick or treat visitors.
22. Classroom Countdown Garland With Numbered Pumpkins
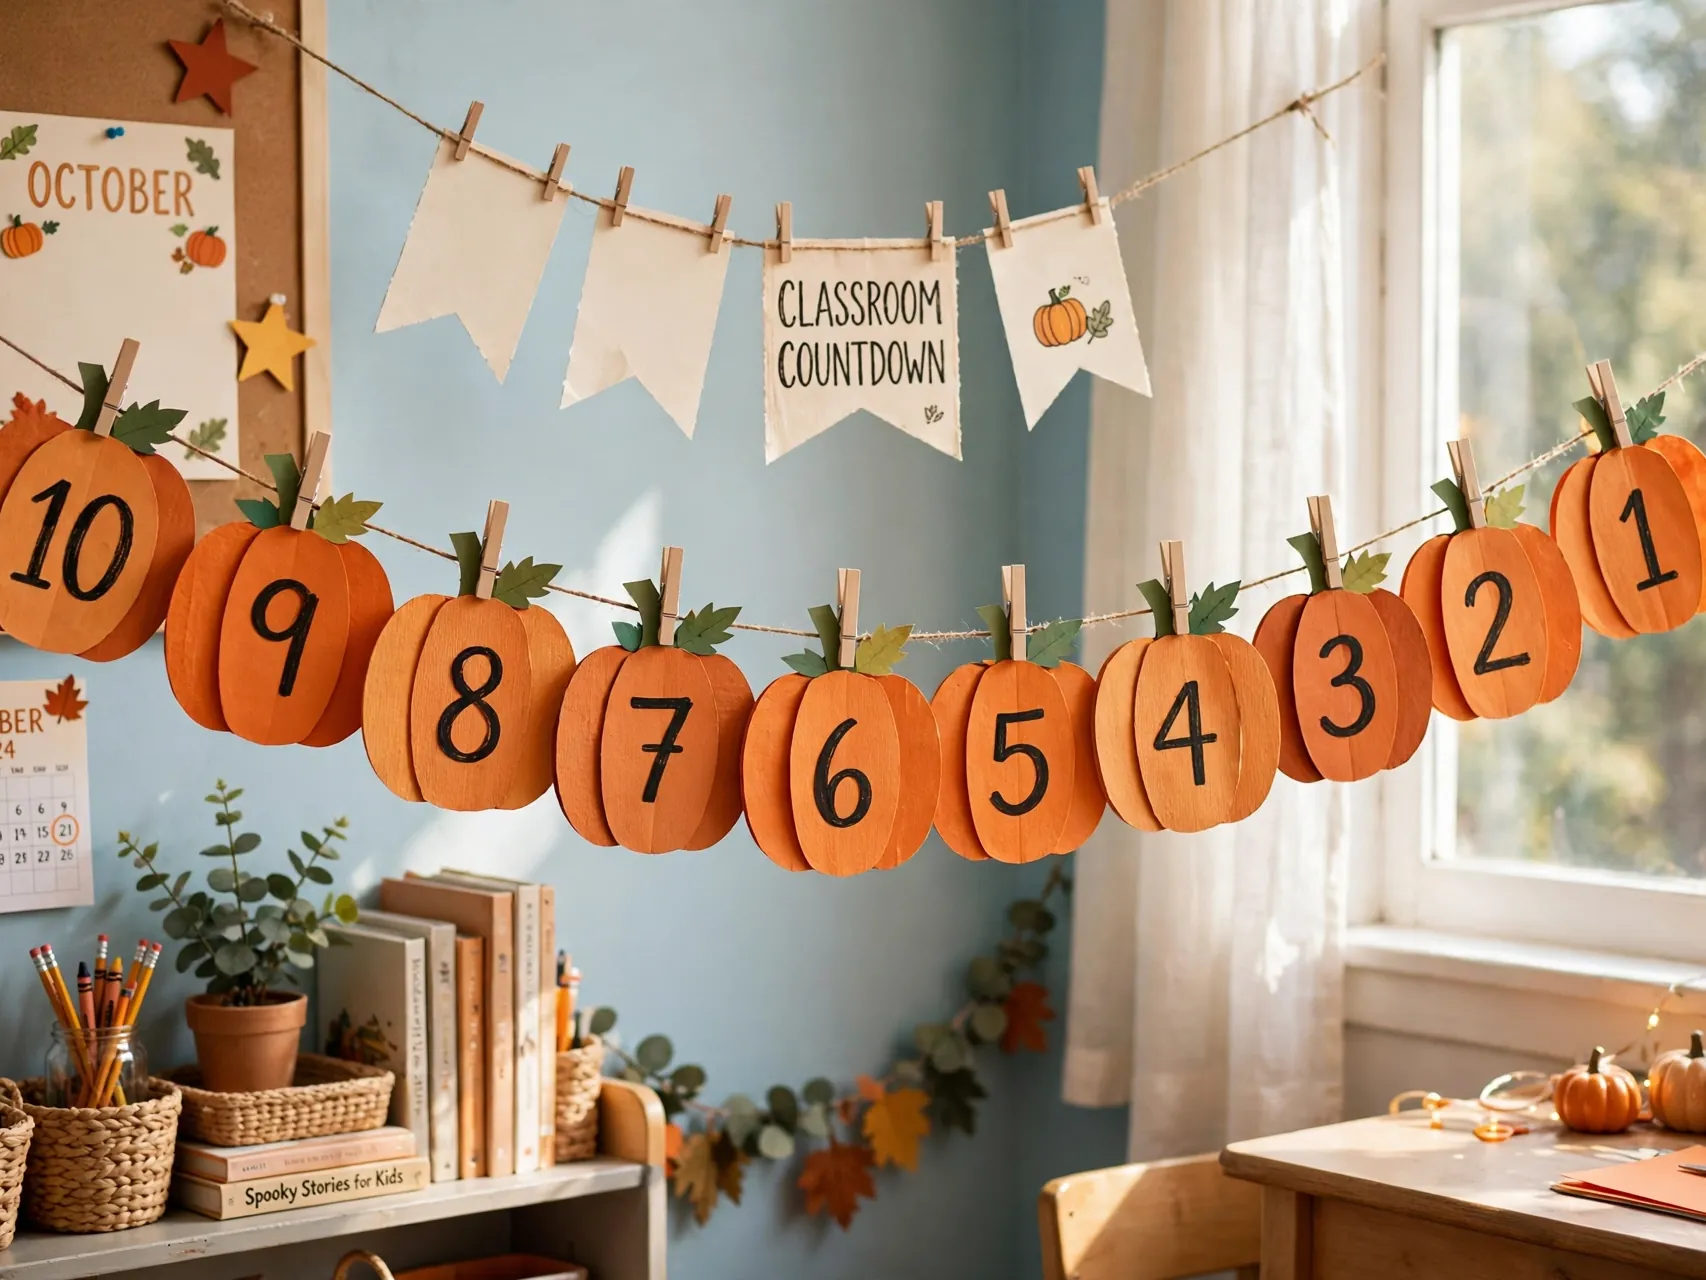
Number a set of paper pumpkins for the days leading to Halloween and hang them in order across the classroom. Remove or turn over one pumpkin each day as a countdown, and let a different student handle the daily reveal.
Teachers can add a simple word, kindness prompt, or joke on the back of each pumpkin. Countdown garlands build excitement in a managed way and give the decoration a daily job, which makes them a classroom favorite year after year.
23. Mixed Scrap Garland From Leftover Paper

Finish the season paper stack with a scrap garland. Cut whatever shapes the remaining paper allows, stars from gold scraps, bats from black, ghosts from white, and pumpkins from orange, then thread them in a repeating color order to keep it cohesive.
A planned color order is the trick that makes scraps look intentional. Hang this garland in a kitchen or hallway, photograph your favorite sections for next year ideas, and recycle any tired paper pieces when the season ends.
FAQ
How long should a paper garland be for a mantel?
Measure the mantel first, then add extra length for a gentle swag and for tying at both ends. A garland that dips slightly in the middle looks fuller than one pulled tight. Make a few spare shapes, because adding length at the end is easier than remaking a short garland.
How do I attach paper shapes to string without a hole punch?
Fold a small tab at the top of each shape over the twine and tape or glue it, clip shapes on with small clothespins for a removable option, or sandwich the twine between the shape and a backing piece with a glue stick. All three methods work without punching.
Can toddlers help make paper garlands?
Toddlers can choose colors, stick on paper eyes and faces with help, and hand shapes to an adult for threading. Adults should handle cutting, punching, and hanging. Keep small cut pieces, loose string, and finished garlands out of reach of children under 3, because small parts and cords can be hazards.
How do I hang a garland without damaging walls?
Use removable hooks, painter tape loops, or tie the ends to existing fixtures like mantel edges, curtain rods, and shelf brackets. Test tape on a hidden area first and avoid hanging paper garlands near heat sources, candles, or stovetops. Battery lights are the safe partner for paper.
How should I store paper garlands for next year?
Remove garlands gently, lay them flat or loop them loosely around a piece of cardboard so shapes do not tangle or fold, and store them in a labeled envelope or box in a dry place. Flat shapes usually survive well, while tissue tassels may need replacing after a season or two.
Key Takeaways
- One shape, cut in batches: Accordion chains and repeated cutouts are the fastest route to a full length garland.
- Contrast makes it read: Black and white mixes, plus one strong accent color, keep garlands clear and photogenic across a room.
- Measure and space first: A gentle swag, even spacing, and spare shapes at the ends prevent the most common garland frustrations.
- Safety is built in: Adult help for cutting and hanging, non-toxic supplies, no small parts for under-3s, and battery lights only near paper.
- Store flat, reuse longer: Loose loops around cardboard and a labeled box keep garlands ready for next October.
- Planning your mantel or party wall? Save this guide to Pinterest and pin the garland you will make first this Halloween.