25 Halloween Origami Ideas Kids Can Fold in Minutes
Introduction
All you need is a stack of square paper and a marker to keep kids happily folding for an entire October afternoon. The best halloween origami models use a handful of basic folds, finish in minutes, and turn into real decorations kids are proud to hang.
Start every session the same way: a flat table, paper in Halloween colors like orange, black, white, purple, and green, and creases made crisp by running a fingertip along each fold. Medium weight craft paper folds cleanly without tearing, and standard squares suit most models in this list.
Work from the easiest folds at the top toward the stretch projects at the bottom. Younger kids do best with a grown-up folding alongside them, and scissors, when a model needs them, are always an adult or supervised step.
1. Fold the Classic Origami Ghost First

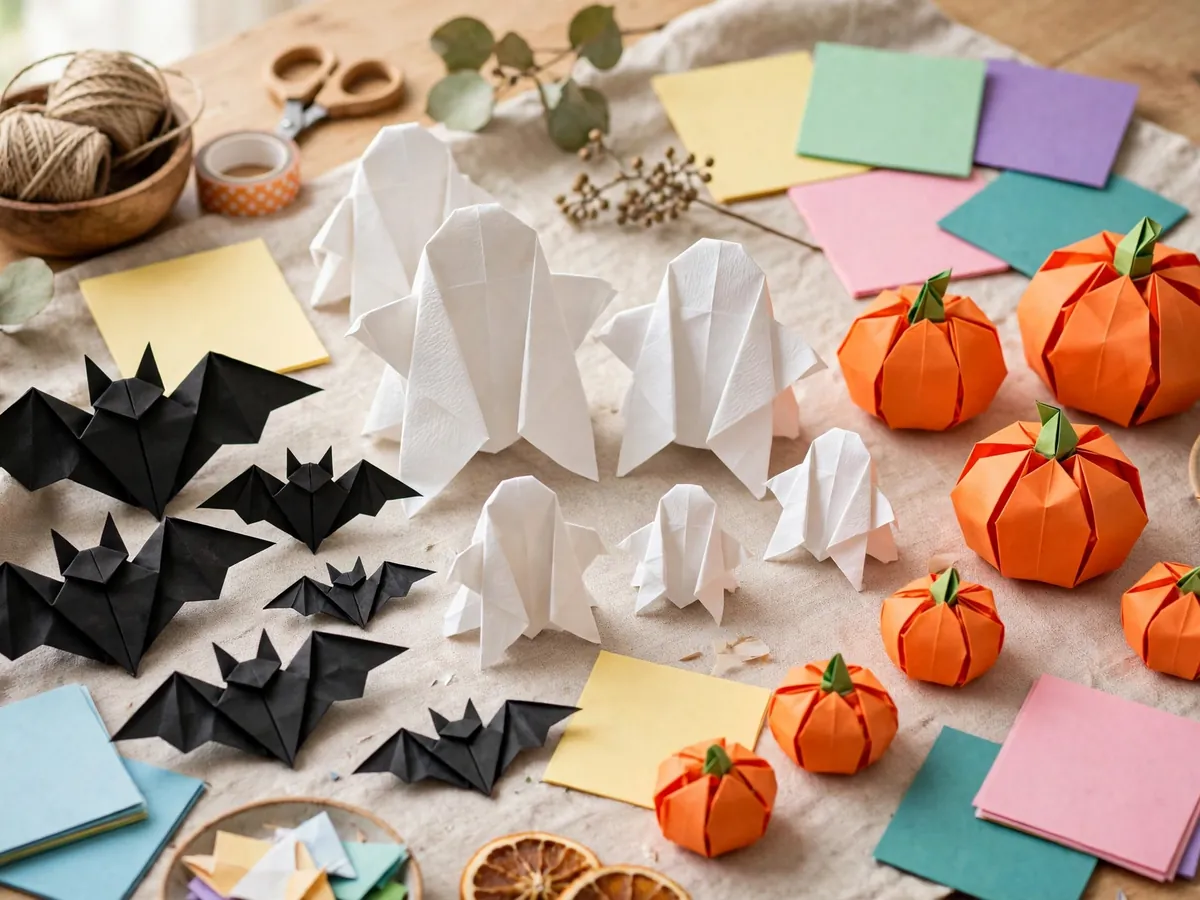
The origami ghost and bat pair starts with the ghost, the easiest fold in this whole list. One white square, a few diagonal folds, the top point folded down to round the head, and the bottom corners shaped into a flowing tail.
Flip it over and draw two oval eyes and a small mouth, and the ghost is done. Because it is so quick, kids can make a whole family in different sizes.
2. Make an Origami Bat With Wide Wings
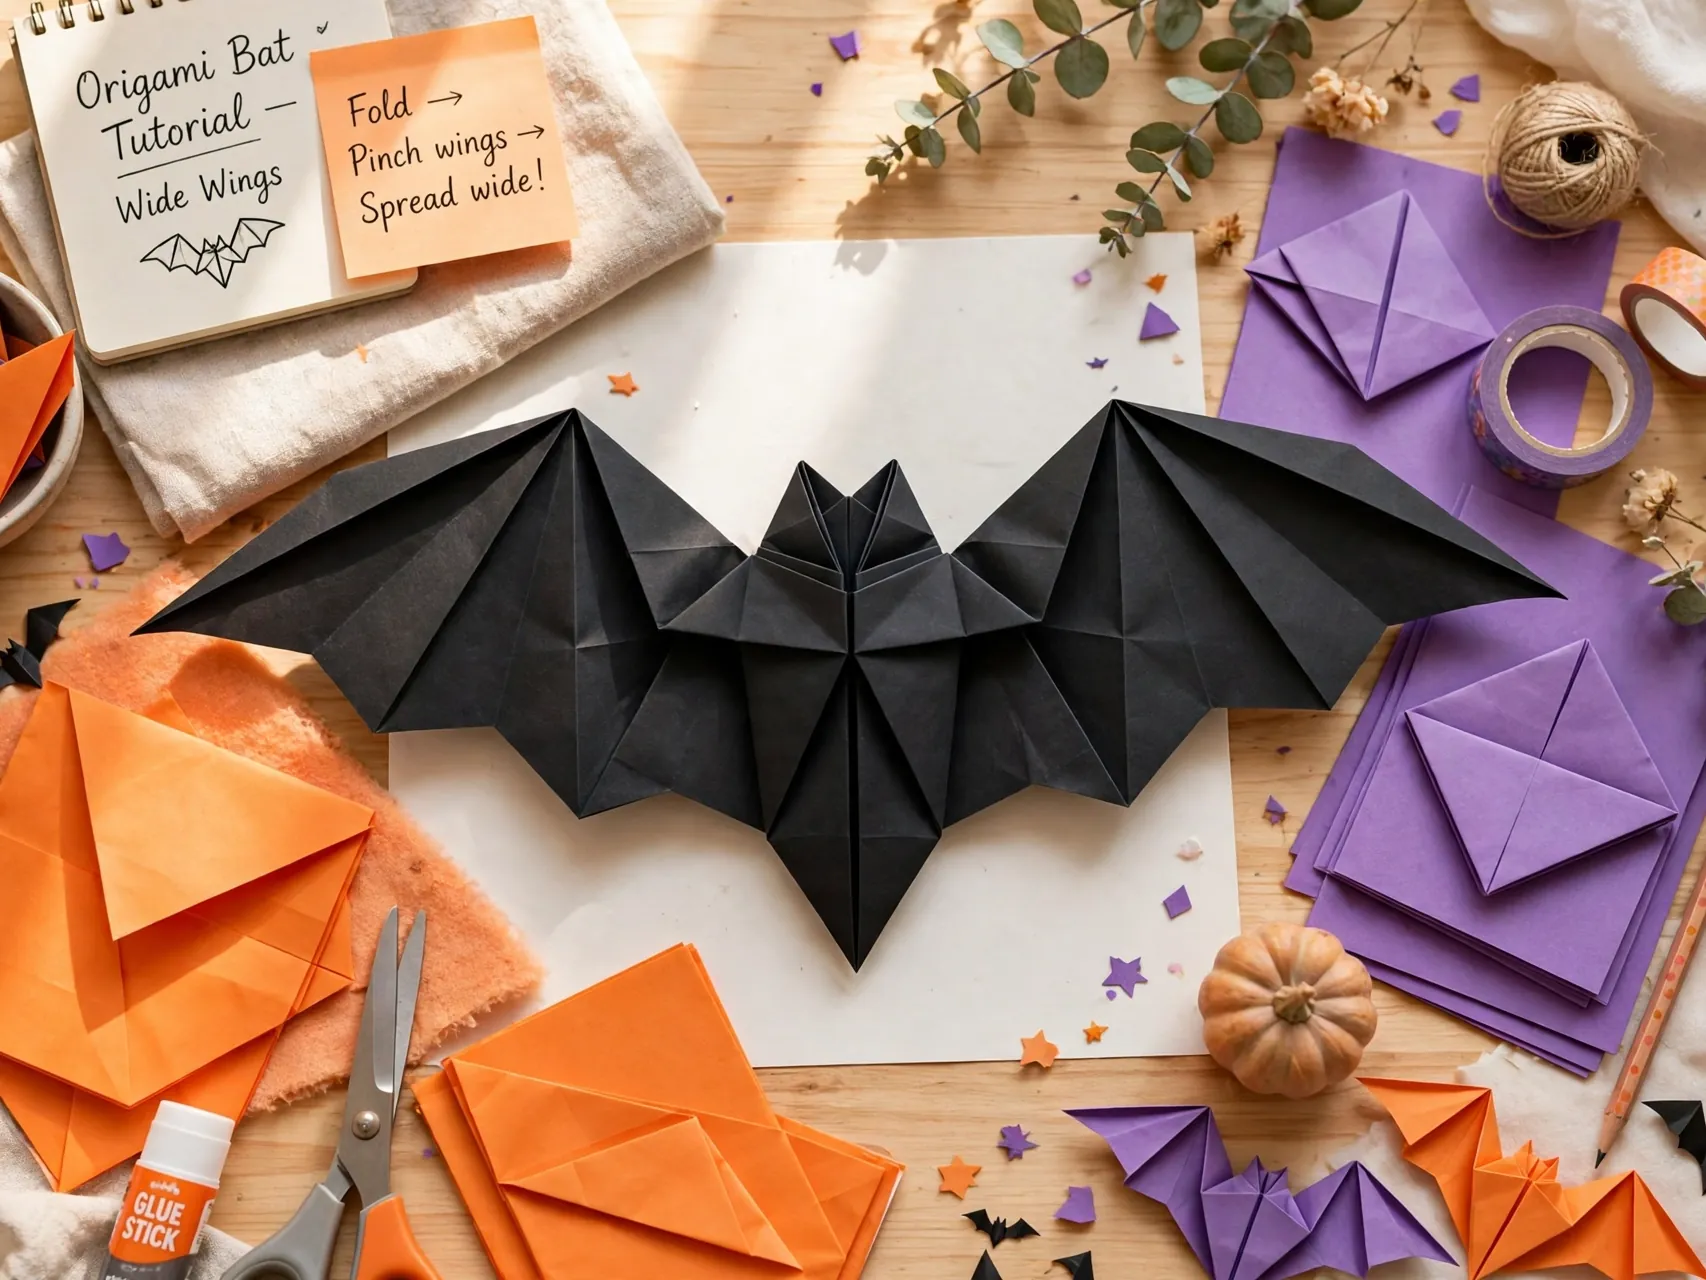
The bat is the natural second fold. Black or dark gray paper folded from a triangle base forms a small body with wide, angled wings and tiny ear points. The folds are still basic, but corners need to line up so both wings match.
Hang finished bats from the ceiling with thread at different heights and they look like a colony in flight. A small cluster over a doorway is one of the fastest Halloween displays a family can make.
3. Inflate a 3D Origami Pumpkin
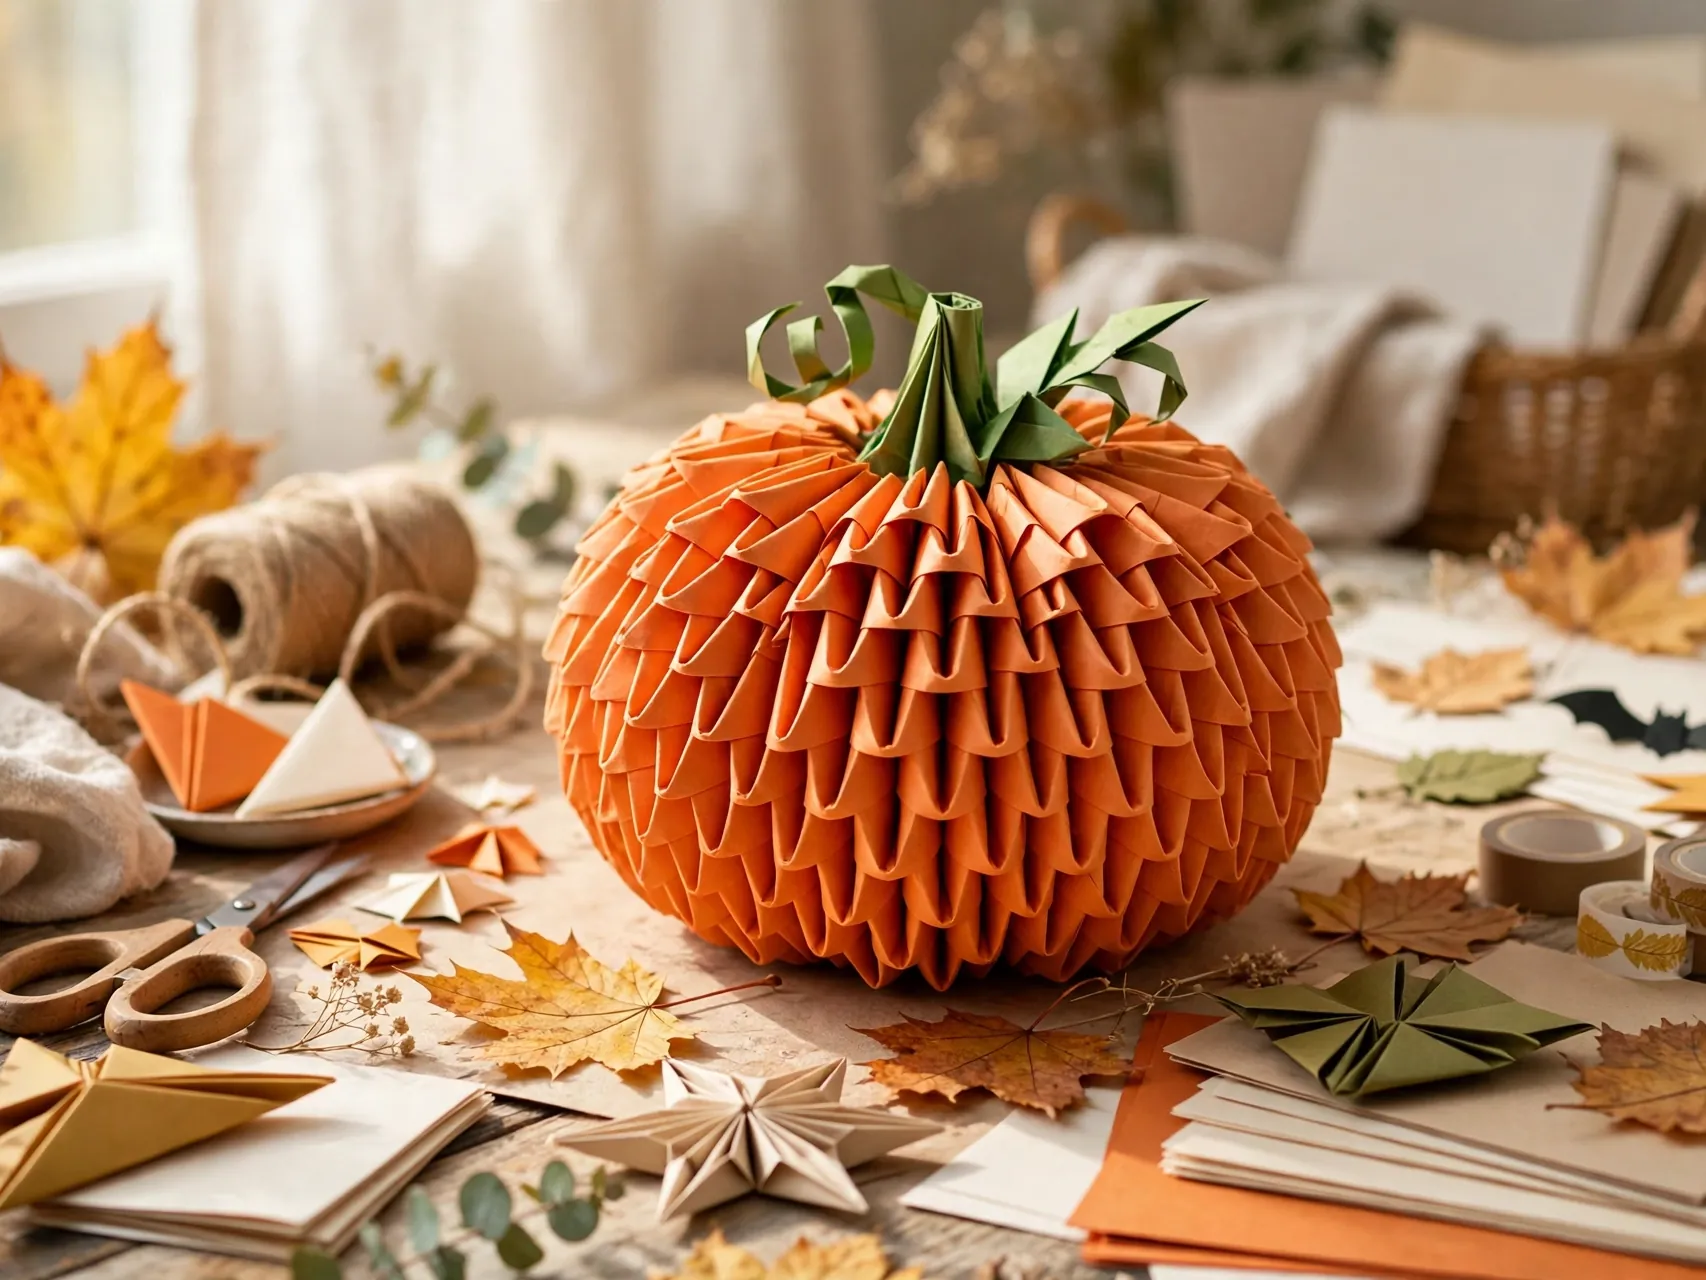
Origami pumpkin folding has the best payoff in paper crafts: you fold a flat shape, then blow gently into a small opening and it puffs into a round pumpkin. Orange paper, careful creases first, then folds that collapse into a smaller base.
The inflation moment always gets a reaction, so save it for last and let the folder do it themselves. Draw triangle eyes and a jagged smile with a black marker to finish the jack-o-lantern face. Line up pumpkins in different sizes on a mantel, using smaller squares of paper for the babies.
4. Fold a Flat Pumpkin for Cards and Garlands
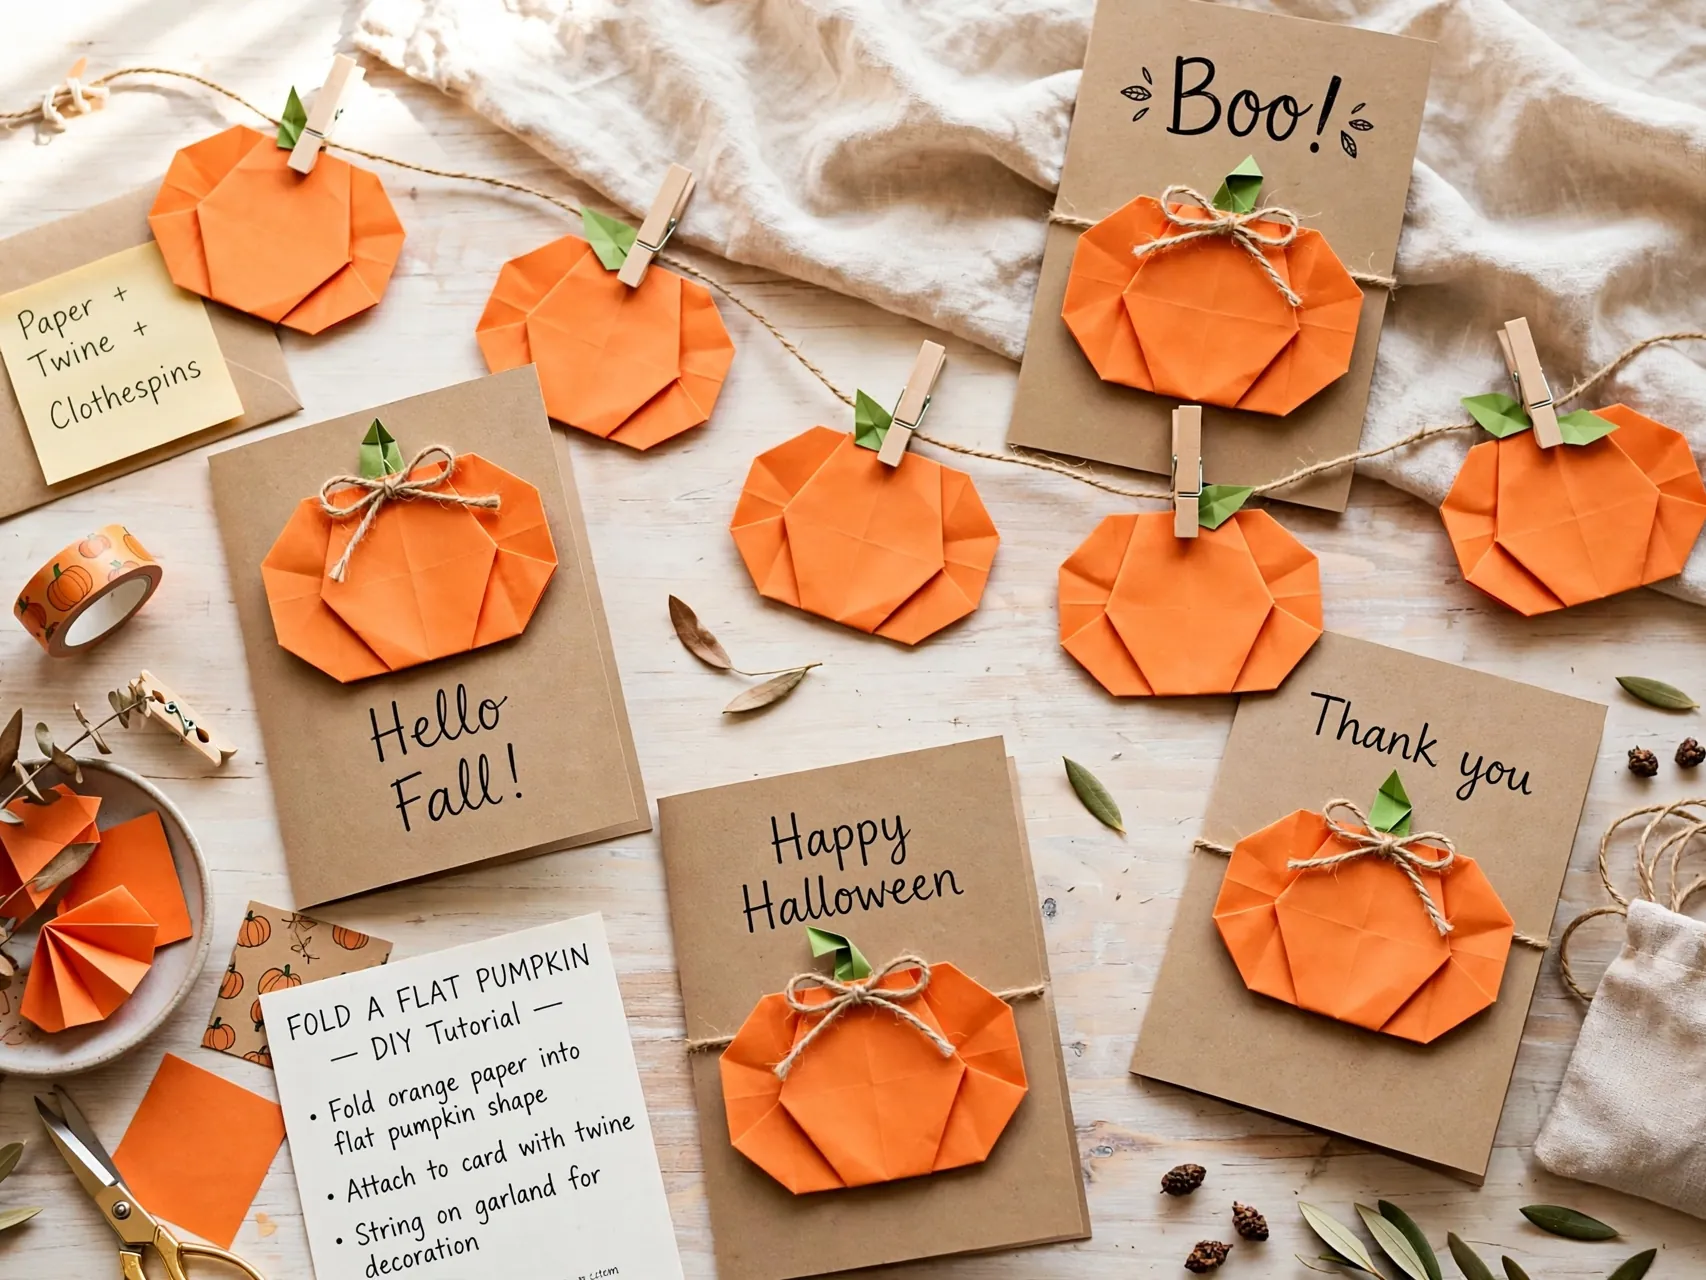
Not every pumpkin needs to be 3D. A flat pumpkin, made by rounding the corners of a folded orange shape and adding a small green stem, glues neatly onto cards, gift tags, and paper garlands.
Flat models are kinder for younger kids because there is no collapsing step to get wrong. Make ten flat pumpkins, draw a different face on each, and string them into a banner. They also tuck into lunchboxes and backpack pockets as tiny surprises during Halloween week.
5. Create a Black Cat Face With Pointed Ears
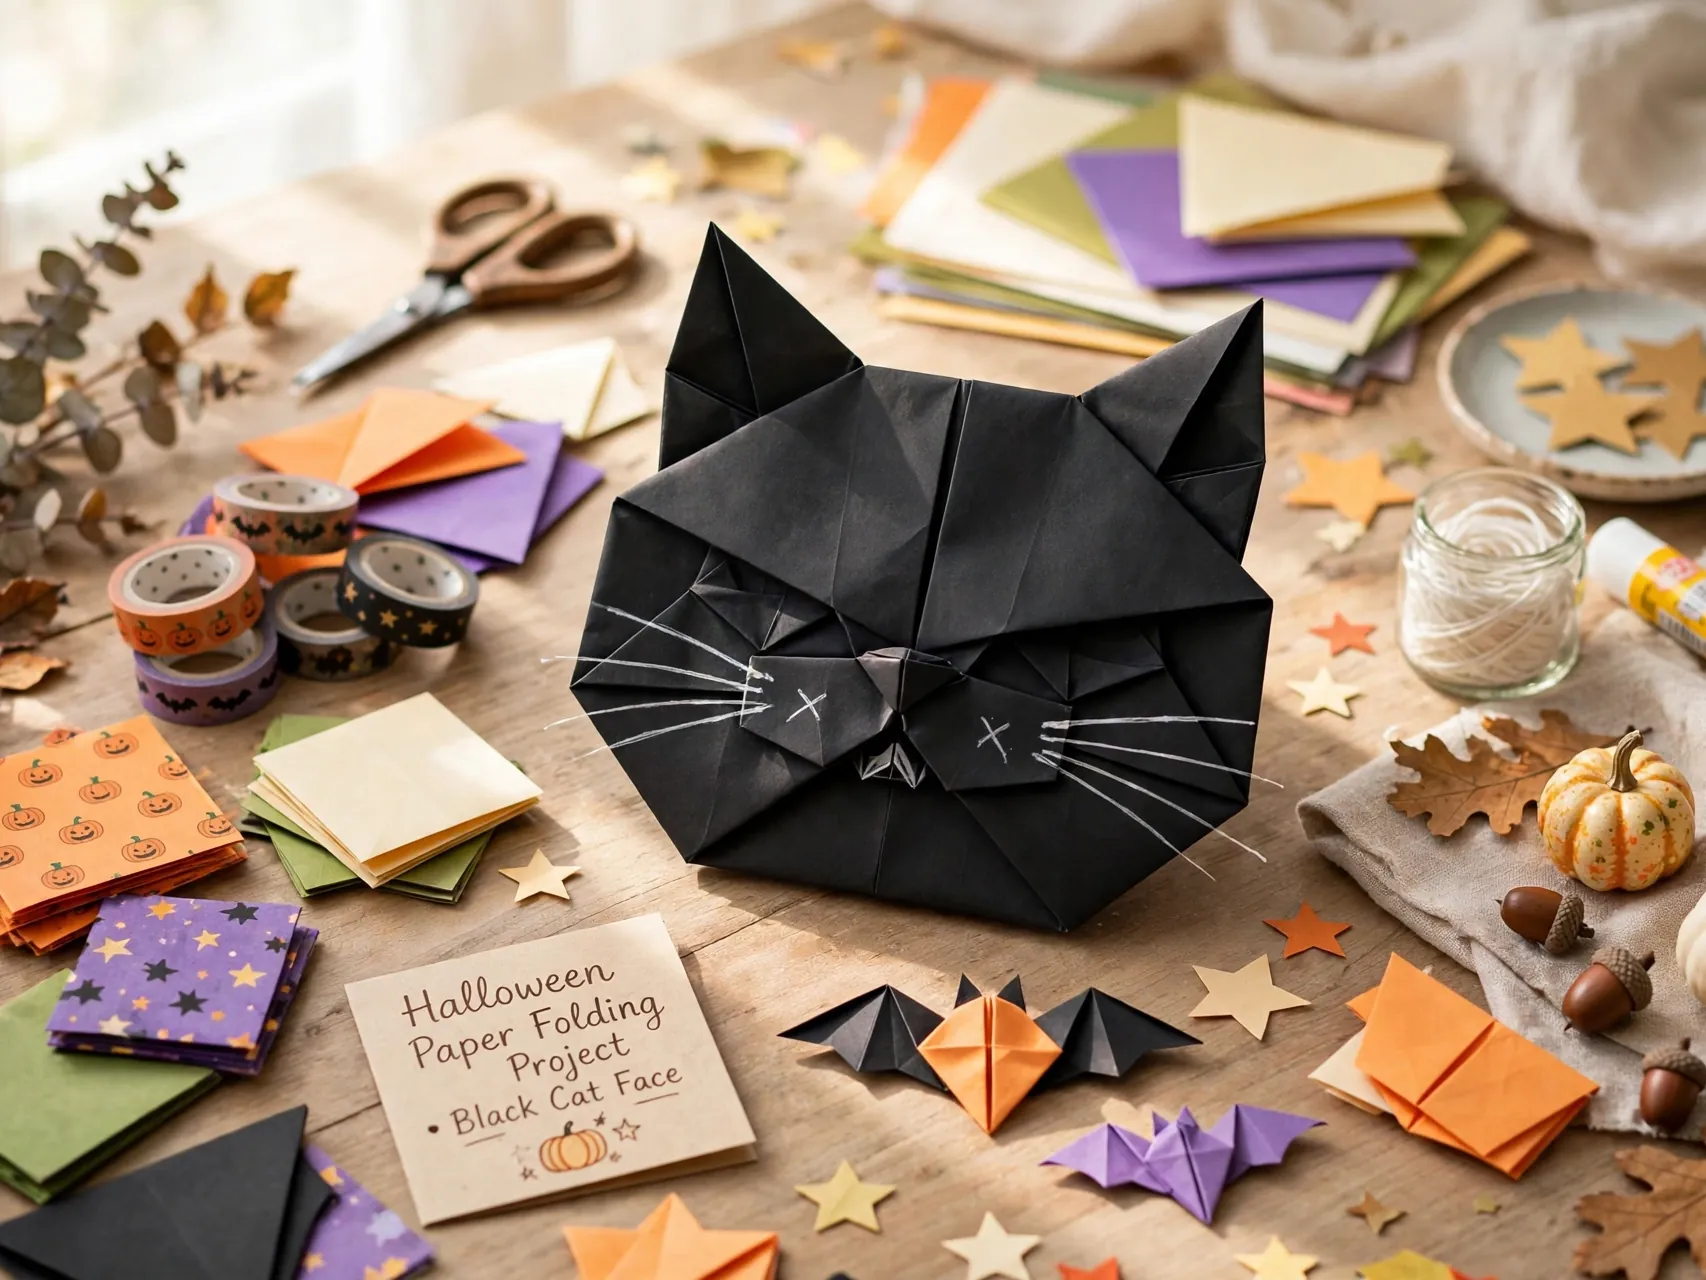
An origami cat face is a few folds from a triangle: the top corners become pointed ears, the bottom point tucks away, and the face is ready for whiskers. Black paper with gold or green drawn eyes gives the classic Halloween cat.
This fold suits kids who love drawing as much as folding, because the personality is all in the face. Make a row of cats with different expressions and line them along a windowsill. Double-sided paper, black outside and white inside, adds a neat contrast at the ears.
6. Fold a Witch Hat That Stands on Its Own

A witch hat folds from a large black square into a tall cone shape with a brim, and it stands up on a table, which makes it instant decor. The folds are simple, but bigger paper is easier for small hands to control on this one.
Add a purple or orange paper band around the cone once it is folded. A set of hats in different sizes makes a funny centerpiece on a cone of books or beside a bowl of treats.
7. Make Candy Corn From Three Colors of Paper

Candy corn is a friendly triangle fold with a color trick: layer white, orange, and yellow paper, or color the bands onto a folded white triangle with markers. The shape is simple enough for early folders who are still learning to match corners.
Because candy corn reads as Halloween without anything scary, it is a classroom favorite. String a long candy corn garland across a bulletin board or a bedroom door. Let kids choose: classic colors, or silly rainbow candy corn that could never exist in a real candy bag.
8. Fold a Friendly Vampire With a Cape Collar
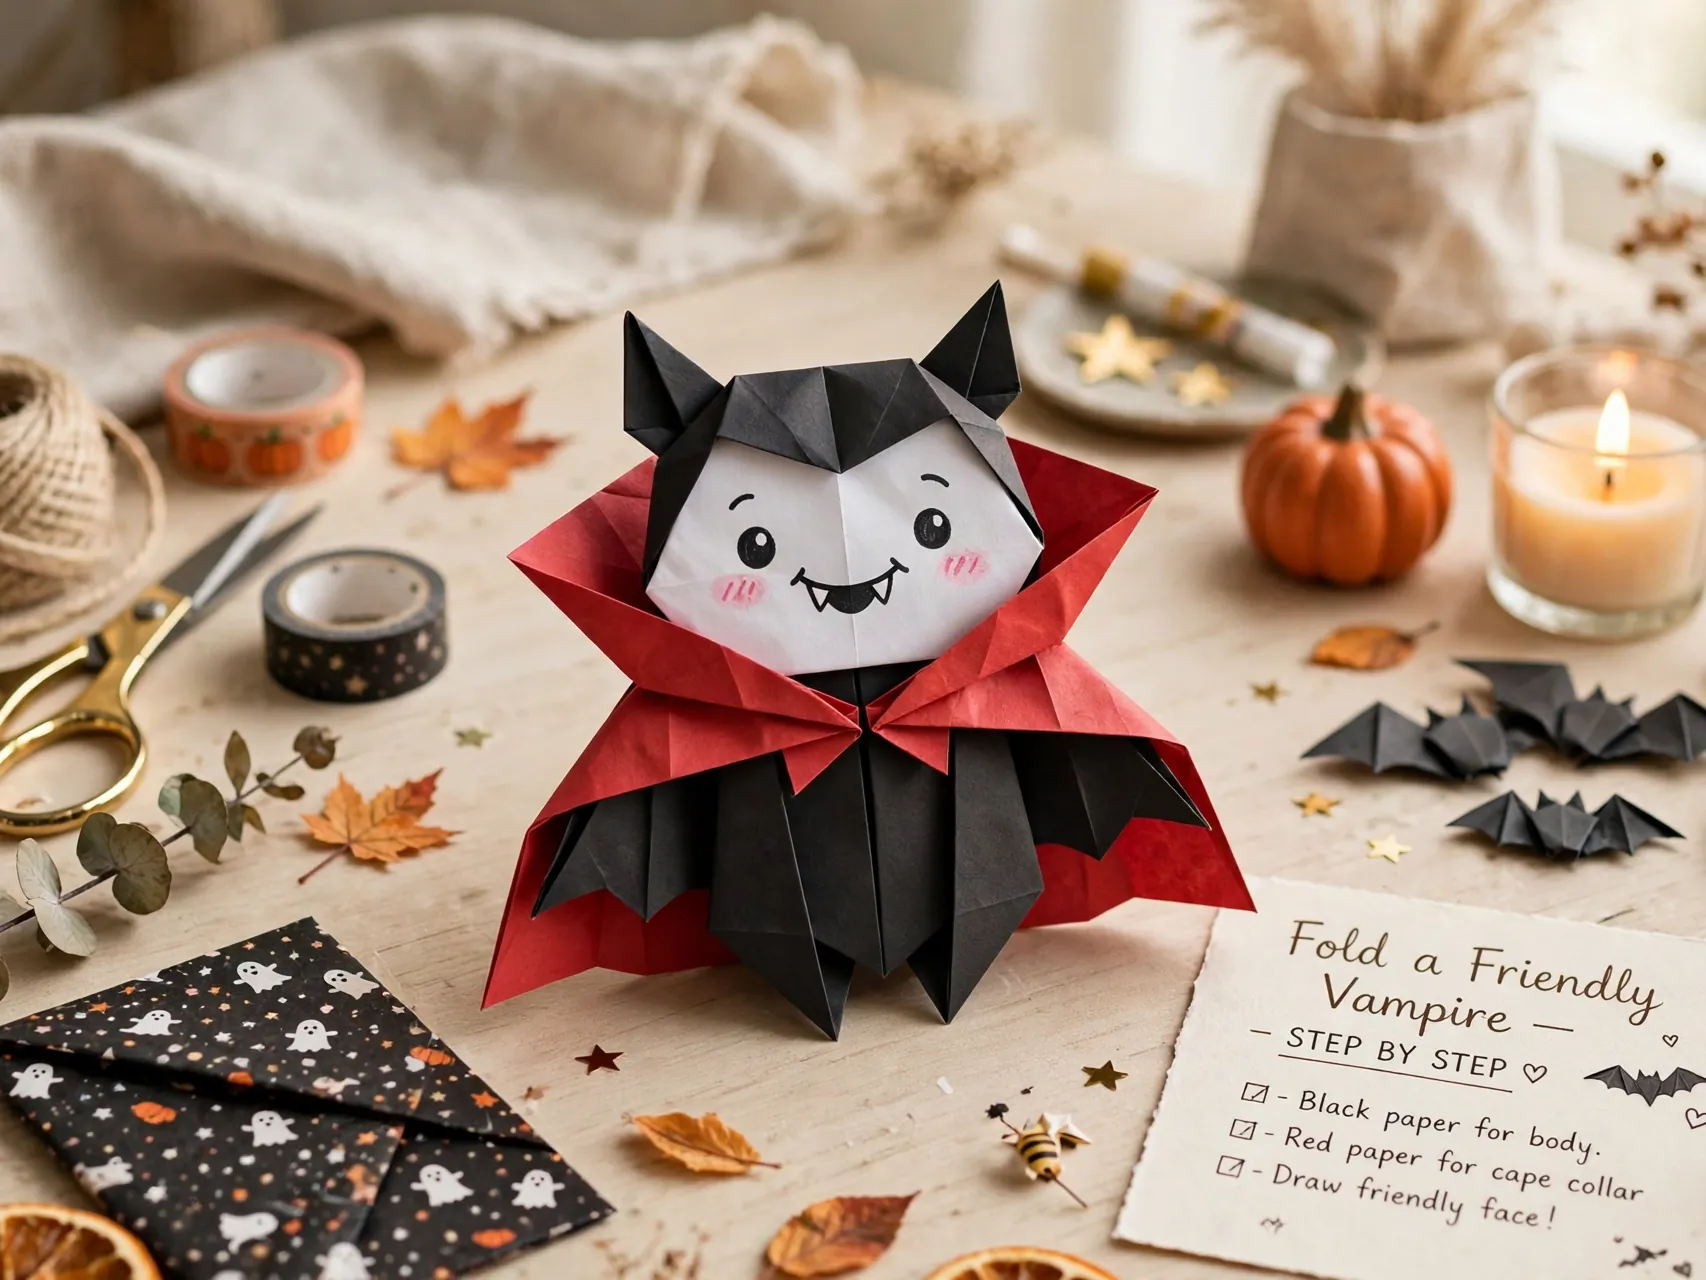
A vampire face folds much like the cat, with a wide collar shape at the bottom that suggests a cape. Pale paper for the face, a black or red backing square for the cape, and drawn fangs complete the character.
Keep the fangs small and the smile friendly and this vampire stays party-appropriate for young kids. Vampires pair well with ghosts and cats on the same garland because the shapes are all face-forward and similar in size.
9. Build a Frankenstein Face With a Flat Top
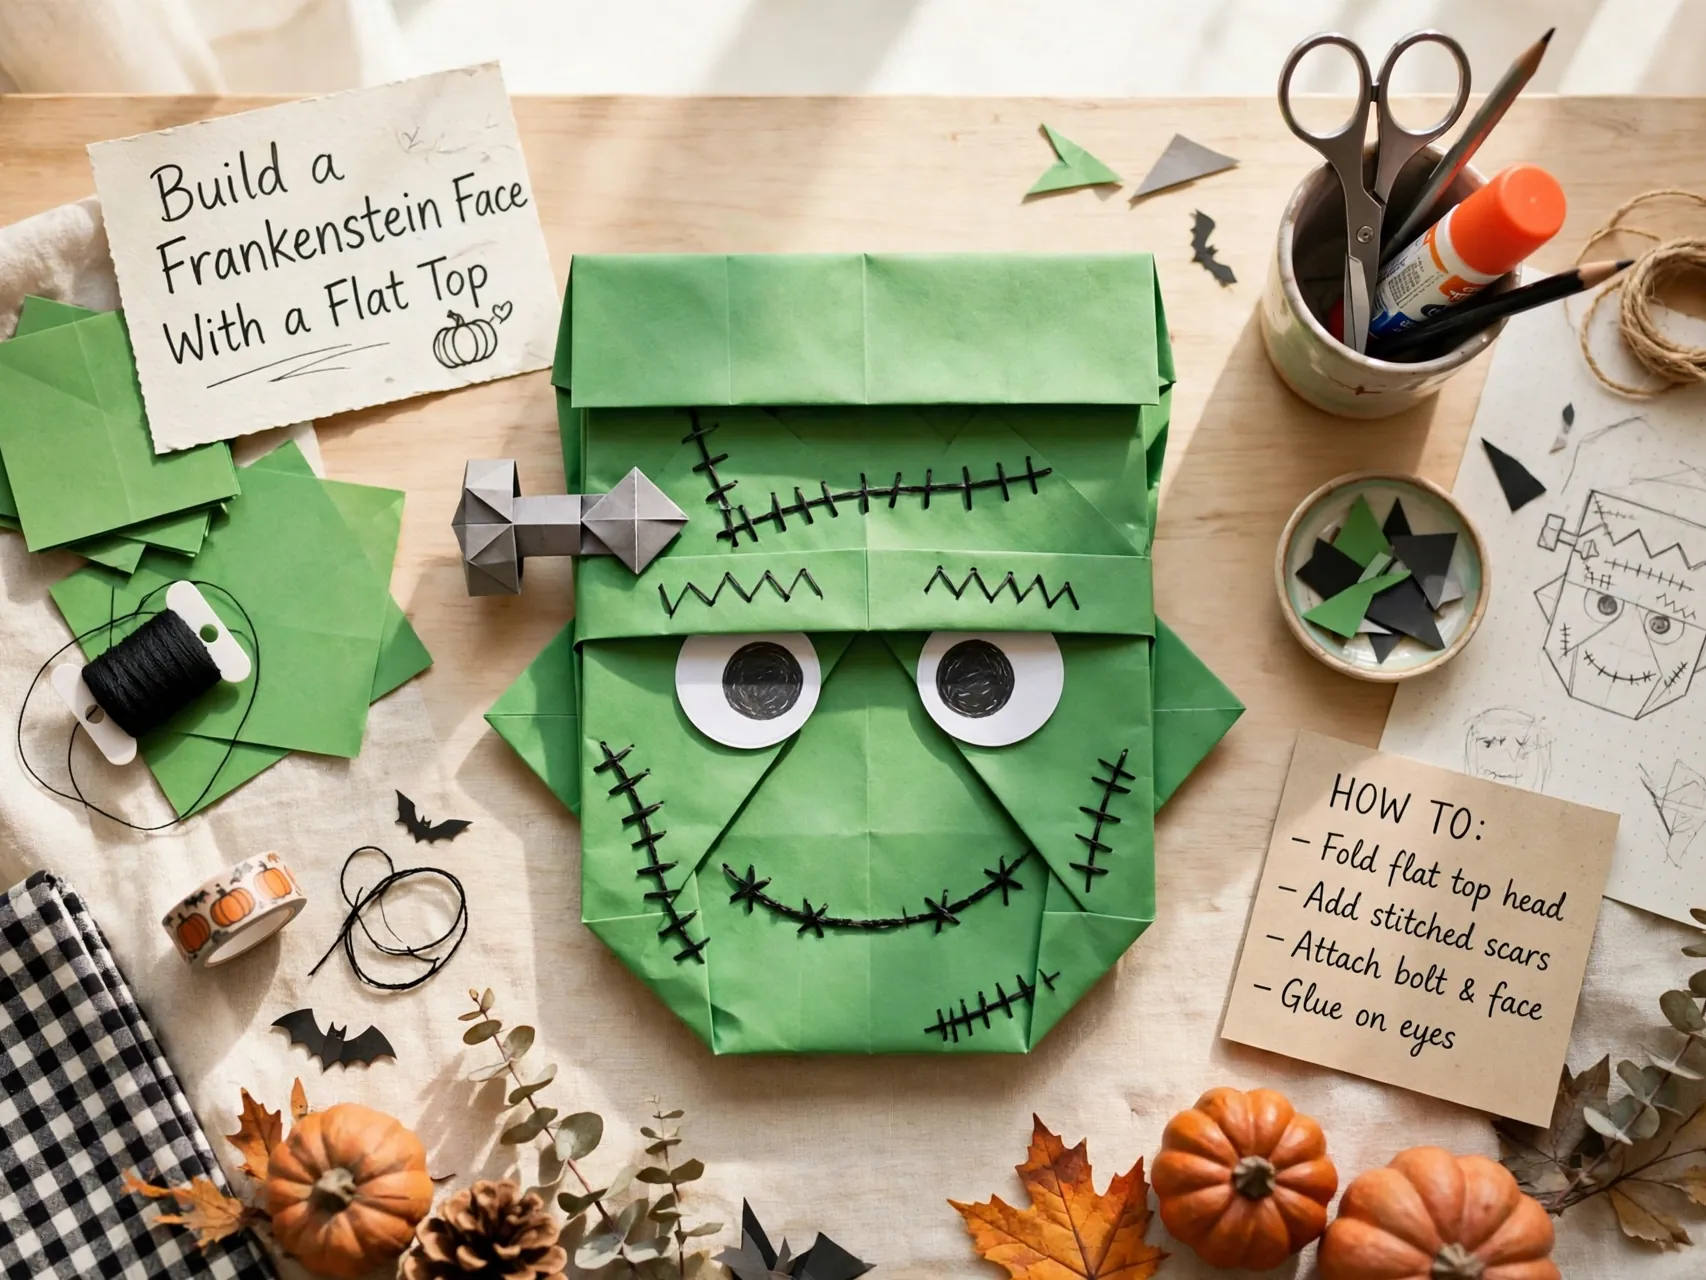
Frankenstein is a green square face with a flat top, which is really just a folded rectangle with the corners managed neatly. Black paper or marker creates the hairline across the top, and two small rectangles at the sides become the famous bolts.
Sleepy eyes and a straight stitched-looking mouth keep him gentle. This is a good model for kids who like their folding tidy and geometric.
10. Fold an Origami Spider With Eight Legs
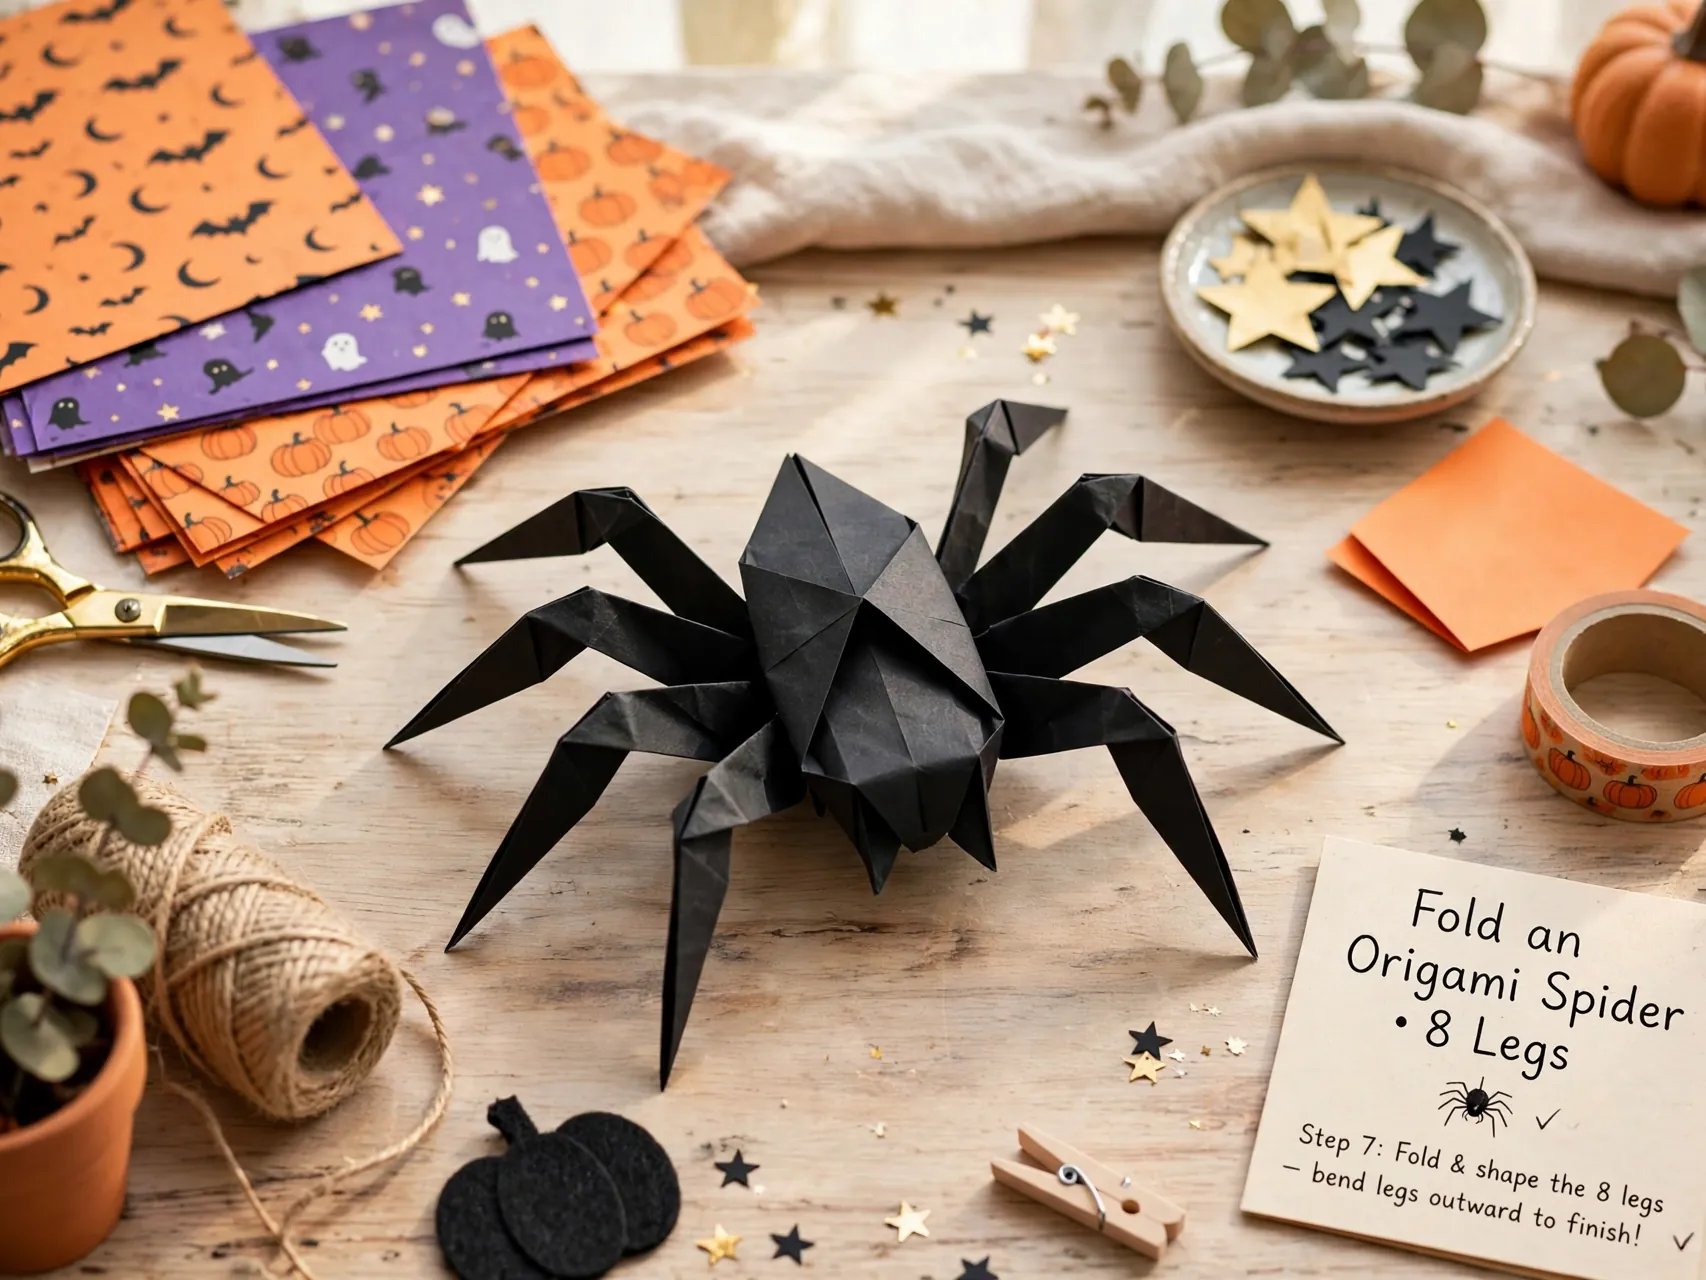
The spider is a stretch project for older kids: a folded body base, then narrow sections shaped into eight legs. Some versions use careful folds only, while others ask an adult to help with small cuts that split folded layers into legs.
Work this one slowly and expect the first spider to be a practice spider. Hang the good ones from thread in doorways so the legs dangle. Because spiders involve more steps, they suit kids around nine and up, or younger kids folding step by step beside an adult.
11. Hang a Folded Spider Web in the Window
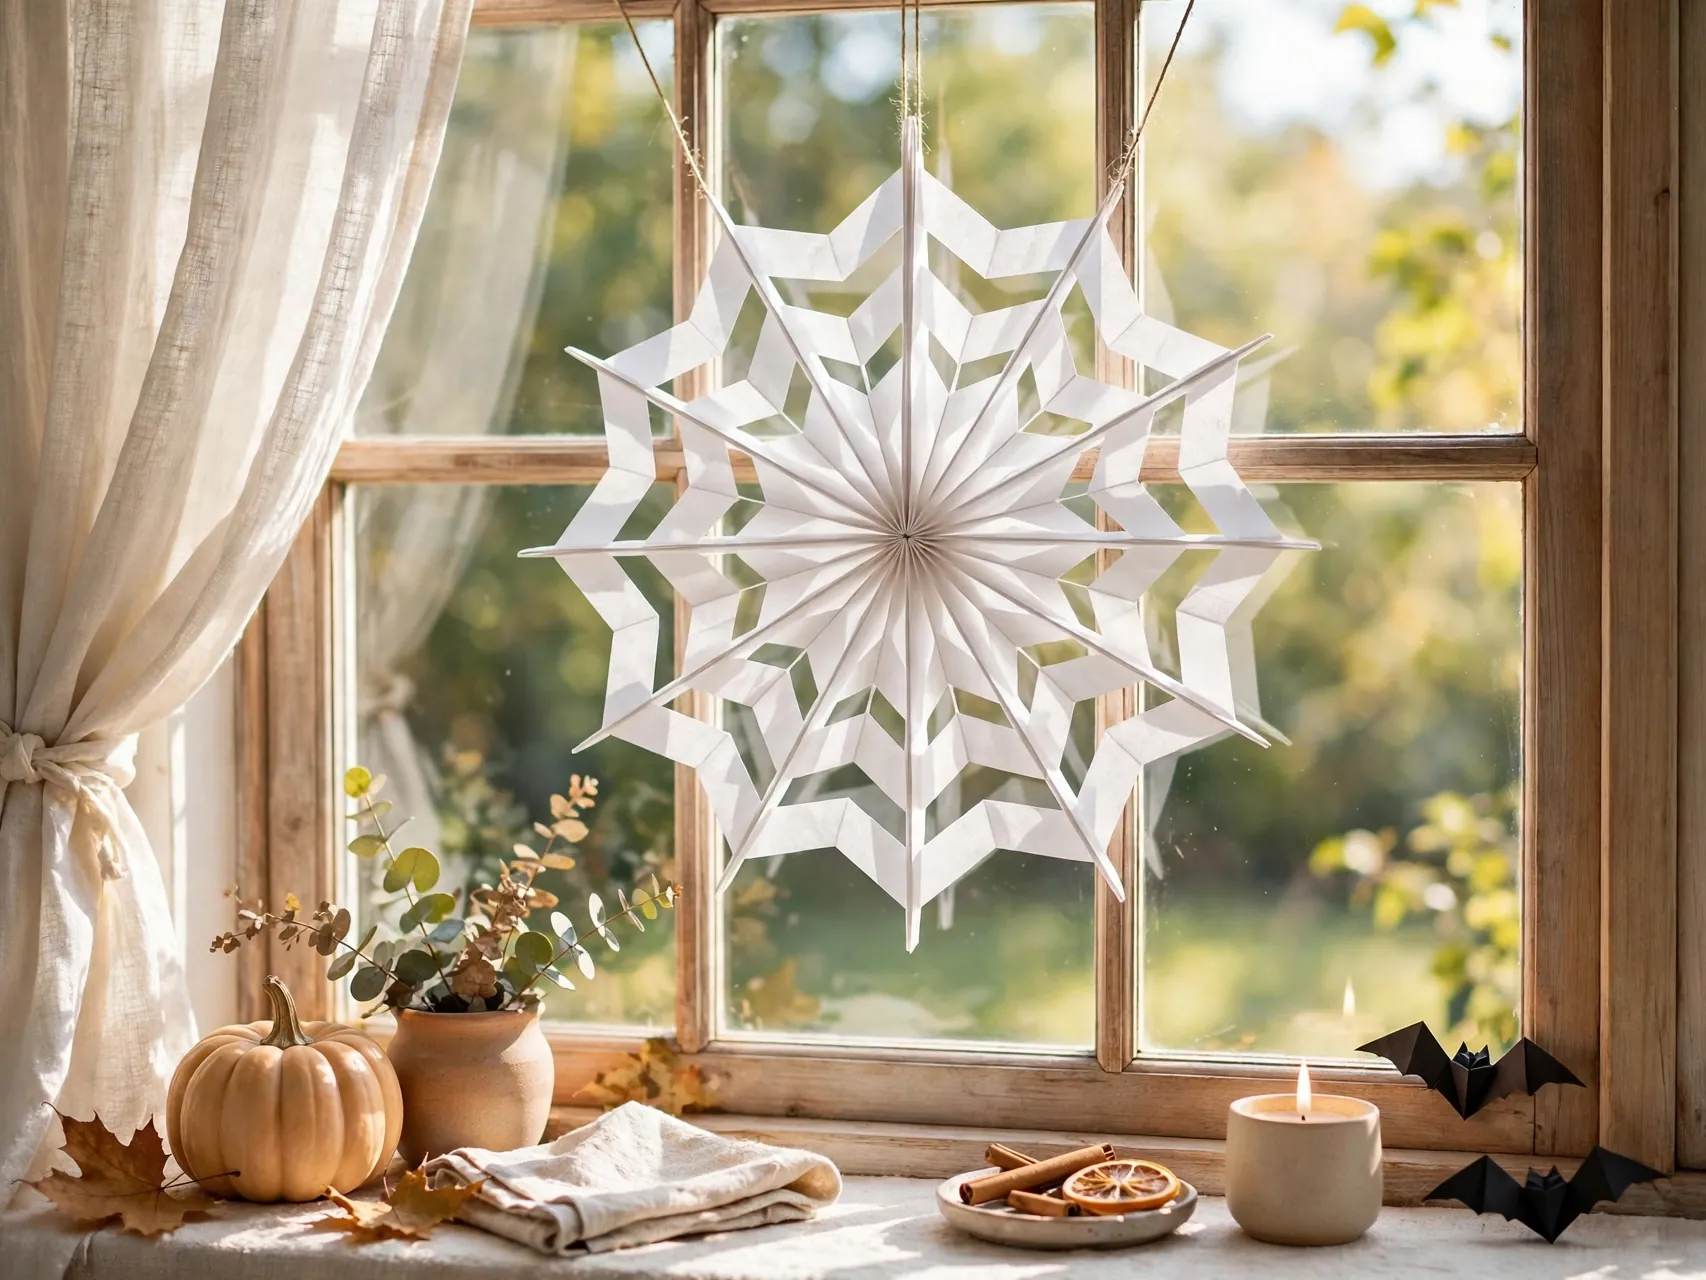
A paper web is made by folding a square into a narrow wedge and cutting curved notches along the edges, then unfolding to reveal the web. This is the snowflake technique in Halloween form, and the reveal moment is pure delight.
Adult help with the cutting is a must for younger kids, and safety scissors keep it age appropriate. Hang webs flat against windows or doors with removable tape. White webs read classic, gray webs read moody, and a tiny folded spider sitting on one web ties the whole window together.
12. Make Origami Ghost Bookmarks That Peek Out
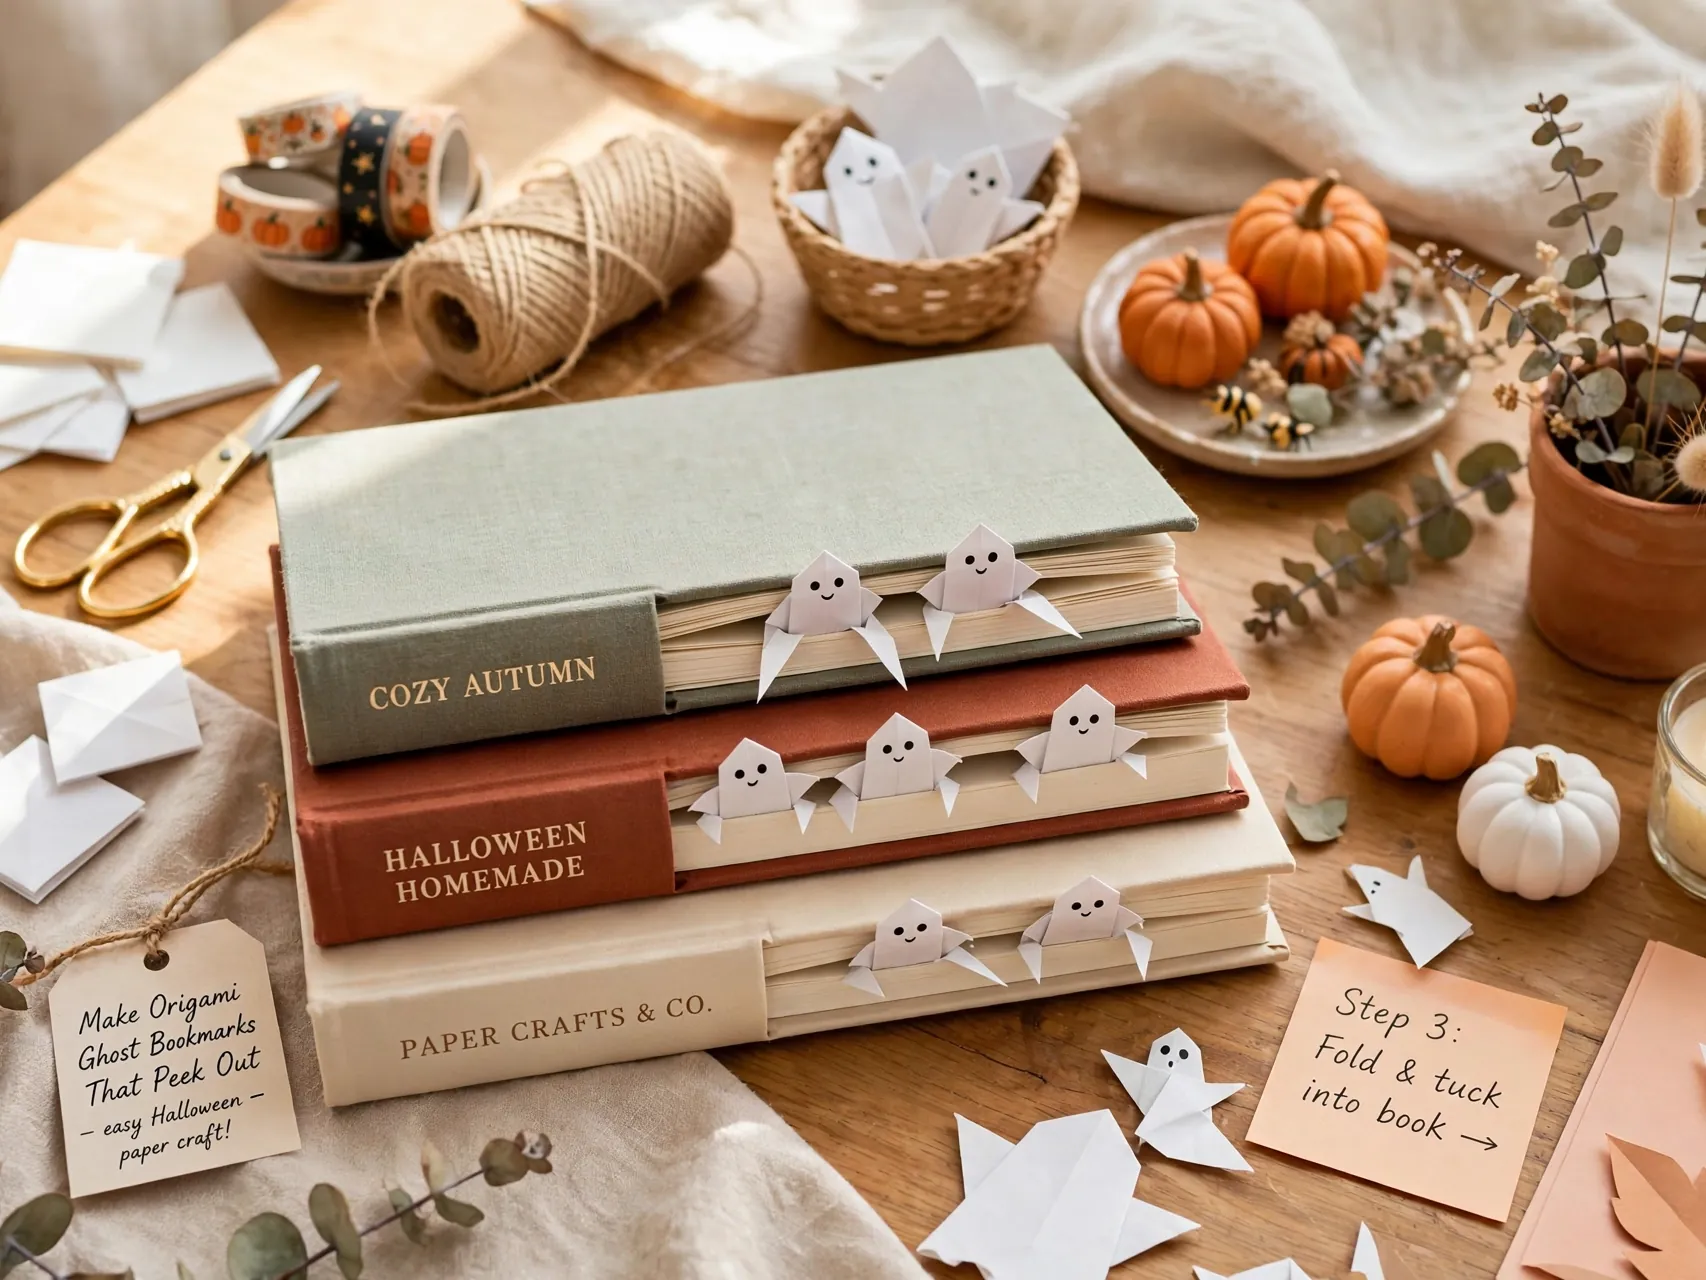
A corner bookmark folds from one square into a pocket that slips over a page corner. In white paper with a drawn ghost face, it peeks out of fall reading books like it is saving your spot and haunting it a little.
Corner bookmarks are practical origami: kids actually use them all year. Make ghost, pumpkin, and bat versions for a full Halloween set. These are also a sweet, flat, mail-friendly gift for grandparents and teachers during October, tucked inside a card with a note.
13. Fold a Skull for Older Kids Who Want a Challenge

A skull model uses more folds to shape a rounded cranium and a narrower jaw, then relies on drawn eye sockets and teeth lines for its effect. White paper is traditional, and the drawing stage matters as much as the folding here.
Place skulls at the top of the difficulty list for a family folding night, so confident folders have a goal to work toward. A single skull on a shelf with a folded pumpkin beside it makes a classic Halloween pairing.
14. Create a Haunted House From Folded Squares

A simple house fold, a square base with a triangle roof, becomes haunted with dark paper and tiny drawn windows. Add a yellow moon behind it and crooked shutters with marker, and a whole spooky scene appears from very basic folds.
Make three houses in different sizes and colors for a haunted village on a mantel or a deep windowsill. Kids can invent a story for each house as they decorate it. This is easy halloween origami for kids at its best: one simple shape, endless imagination on top.
15. Fold a Crow or Raven for a Moody Touch
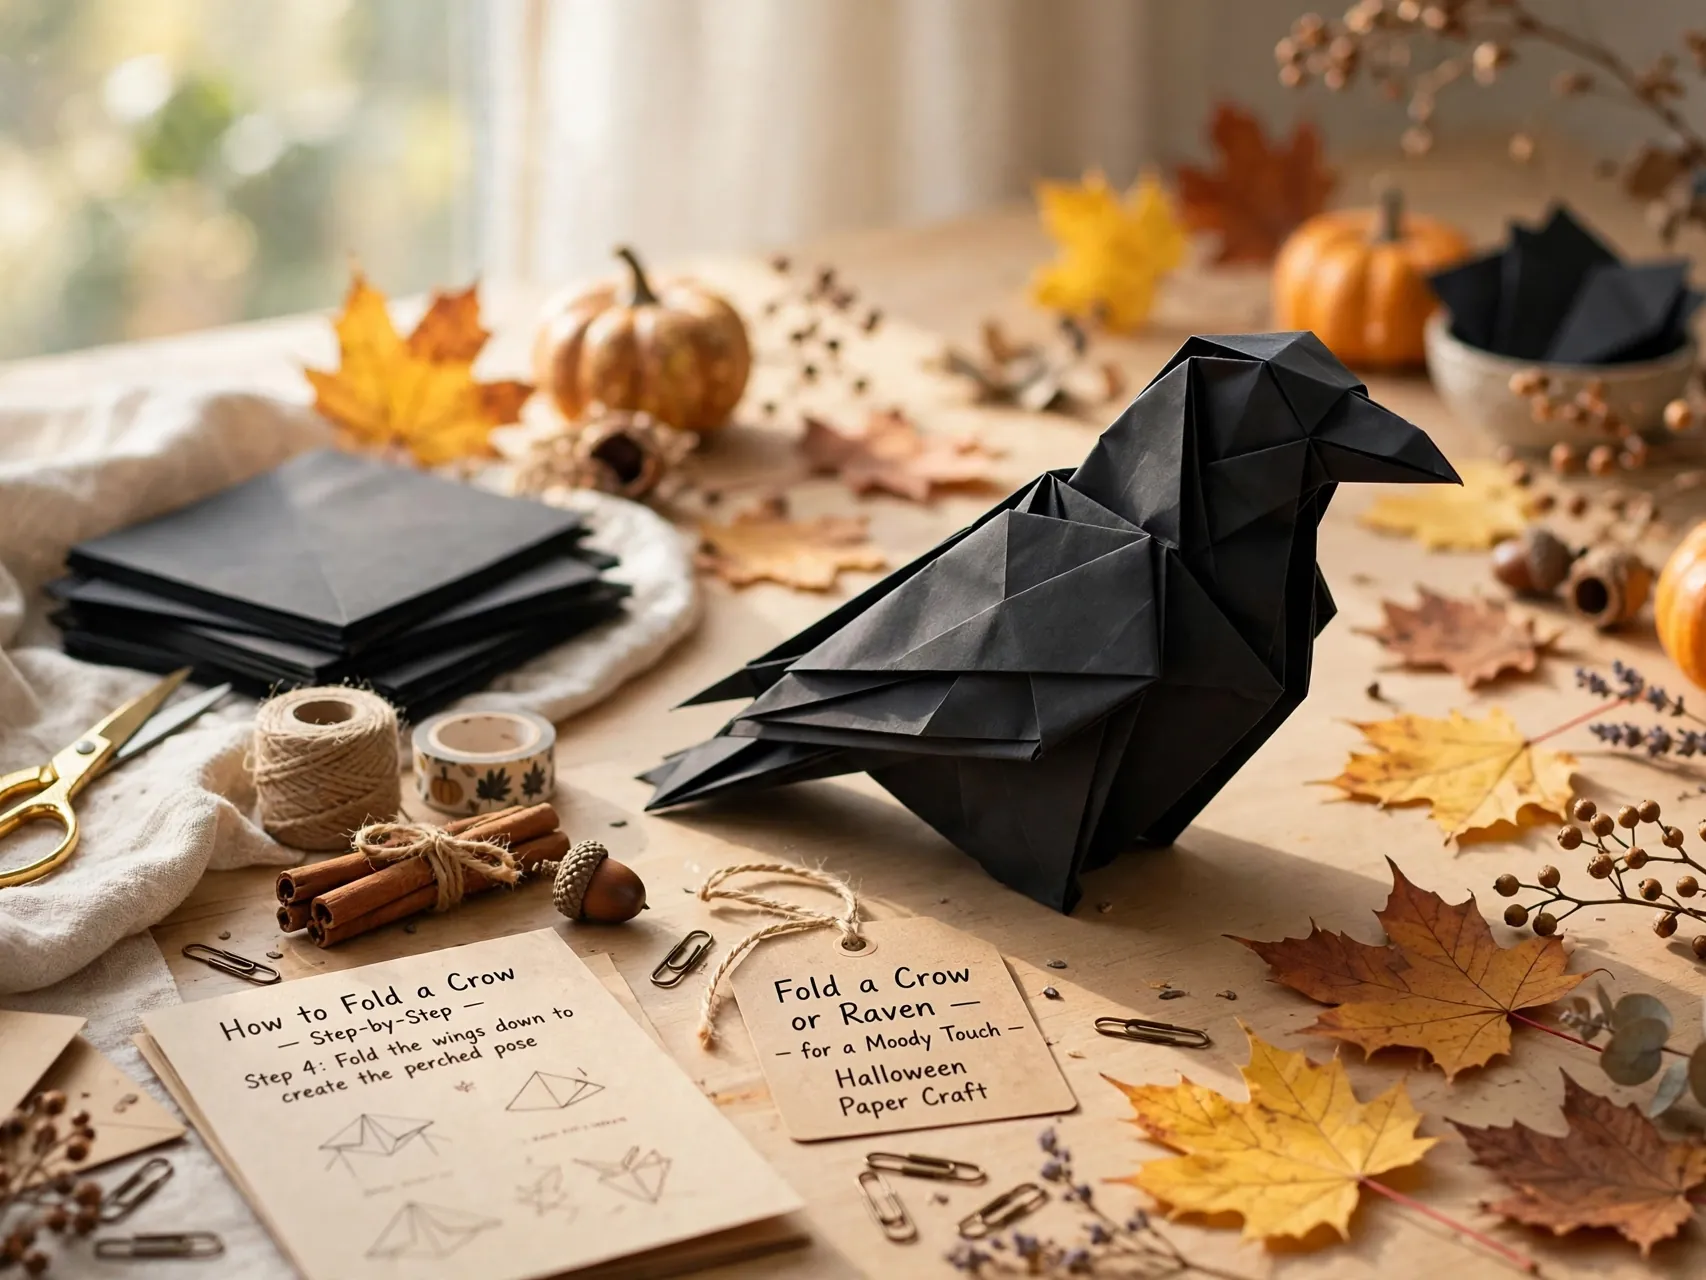
A basic bird fold in black paper becomes a Halloween crow with a drawn eye and a pointed beak shape. Bird bases introduce a new fold family, so this is a good bridge model for kids who have mastered ghosts and bats.
Perch folded crows on bookshelf edges, mantels, and the tops of picture frames, where a single black bird looks stylish rather than scary. A row of crows on a kitchen window ledge is the kind of quiet Halloween decor adults appreciate too.
16. Make Flapping Bats That Move When Pulled

Some bat models are built so the wings flap when you hold the body and gently pull or move the tail section. Moving models take more careful folding, but the payoff, a bat that actually flutters, makes kids repeat the fold again and again.
Use thinner paper for flapping models so the wings move freely, and fold slowly to keep both sides even. These bats are wonderful for storytelling and little puppet shows at Halloween parties.
17. Fold Tiny Ghosts for a Floating Mobile

Fold ghosts from small squares, three or four inches across, and hang five or seven from a branch or an embroidery hoop with thread at different lengths. The result is a gentle mobile that turns in the air and suits a nursery, a reading corner, or a classroom ceiling.
Balance matters more than perfection: hang ghosts one at a time and adjust lengths as you go.
18. Turn Folded Pumpkins Into a Table Centerpiece
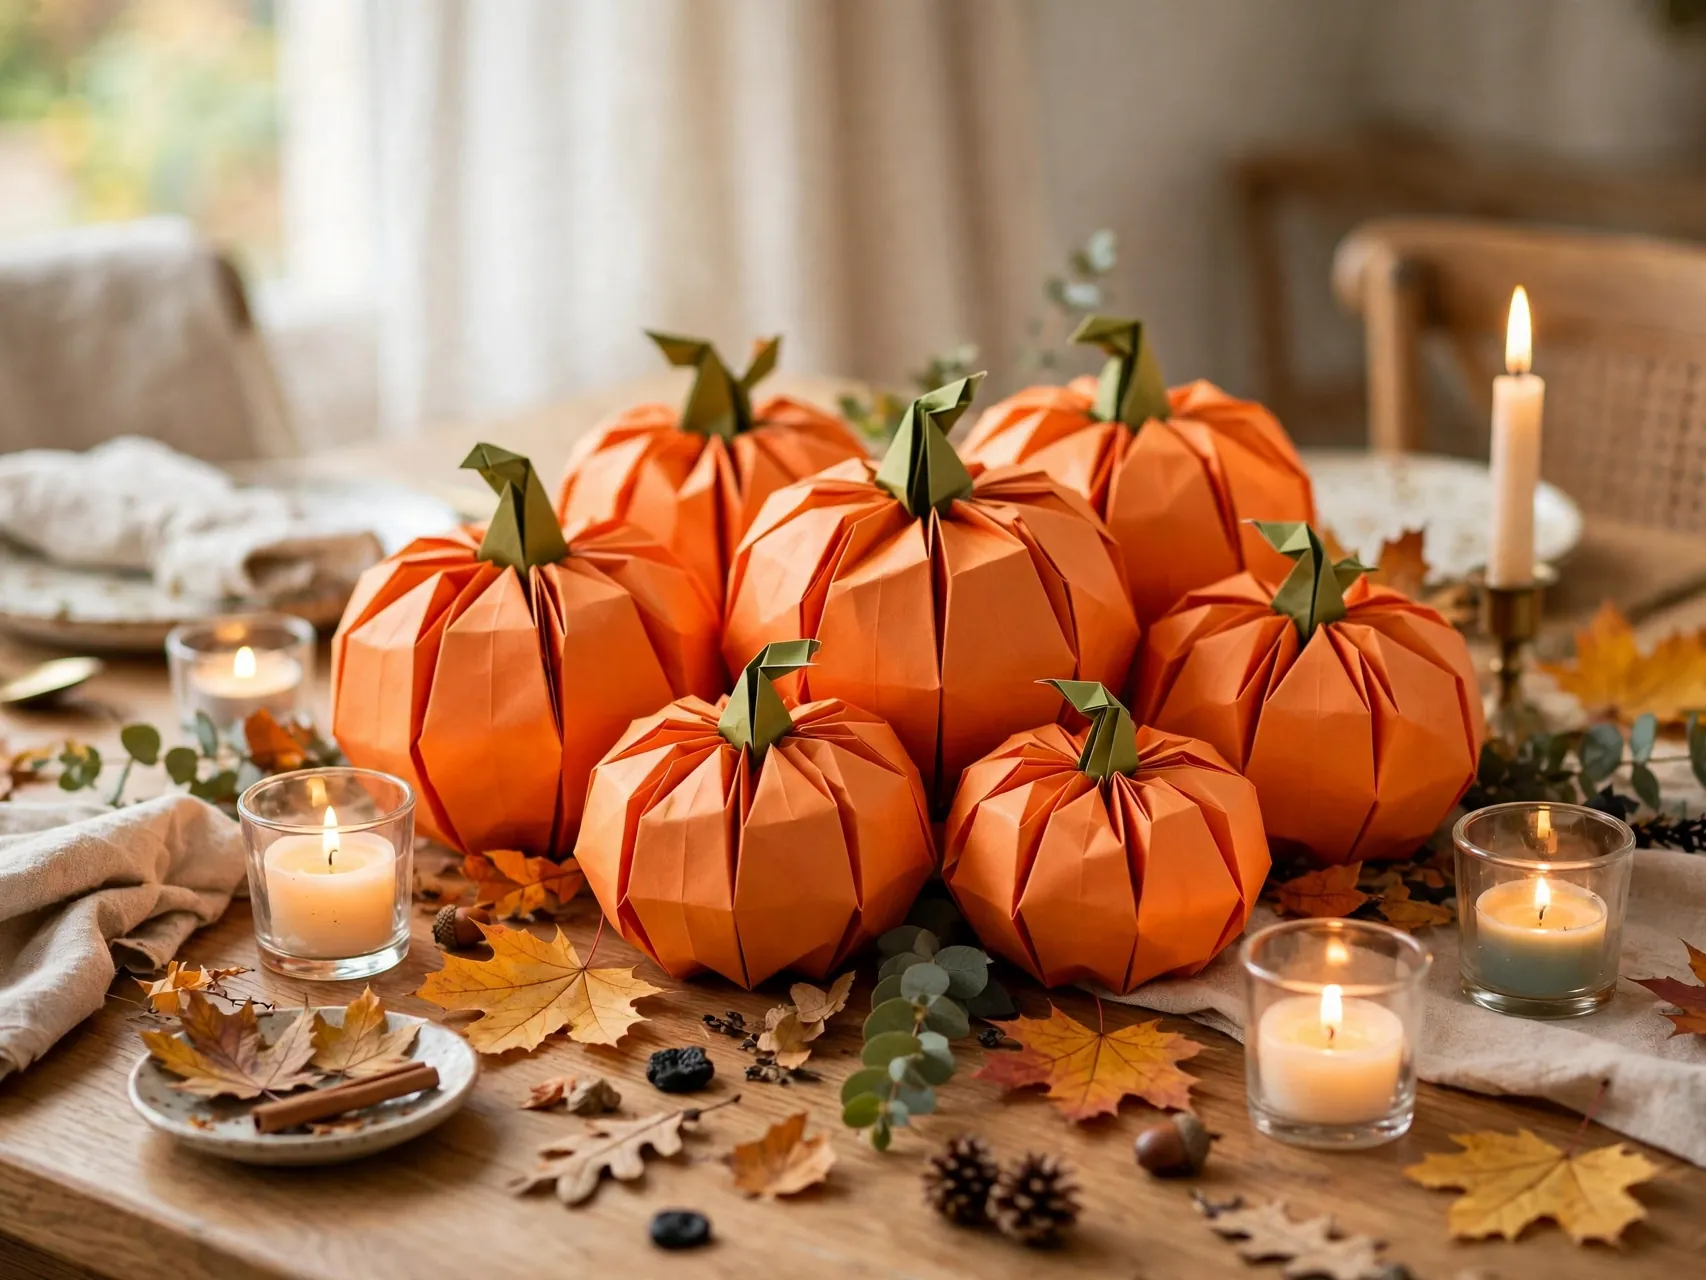
A cluster of 3D pumpkins in mixed sizes, with one ghost and one bat tucked among them, makes a centerpiece that costs almost nothing and stores flat after Halloween if you gently deflate the pumpkins.
Arrange them on a tray or a runner so the group reads as one display. Kids feel genuinely proud when their folding lands in the middle of the family table. Add battery operated tea lights beside, never inside, the paper pumpkins, and keep all paper decor away from real candle flames.
19. Fold Witch Boot Bookmarks and Table Markers
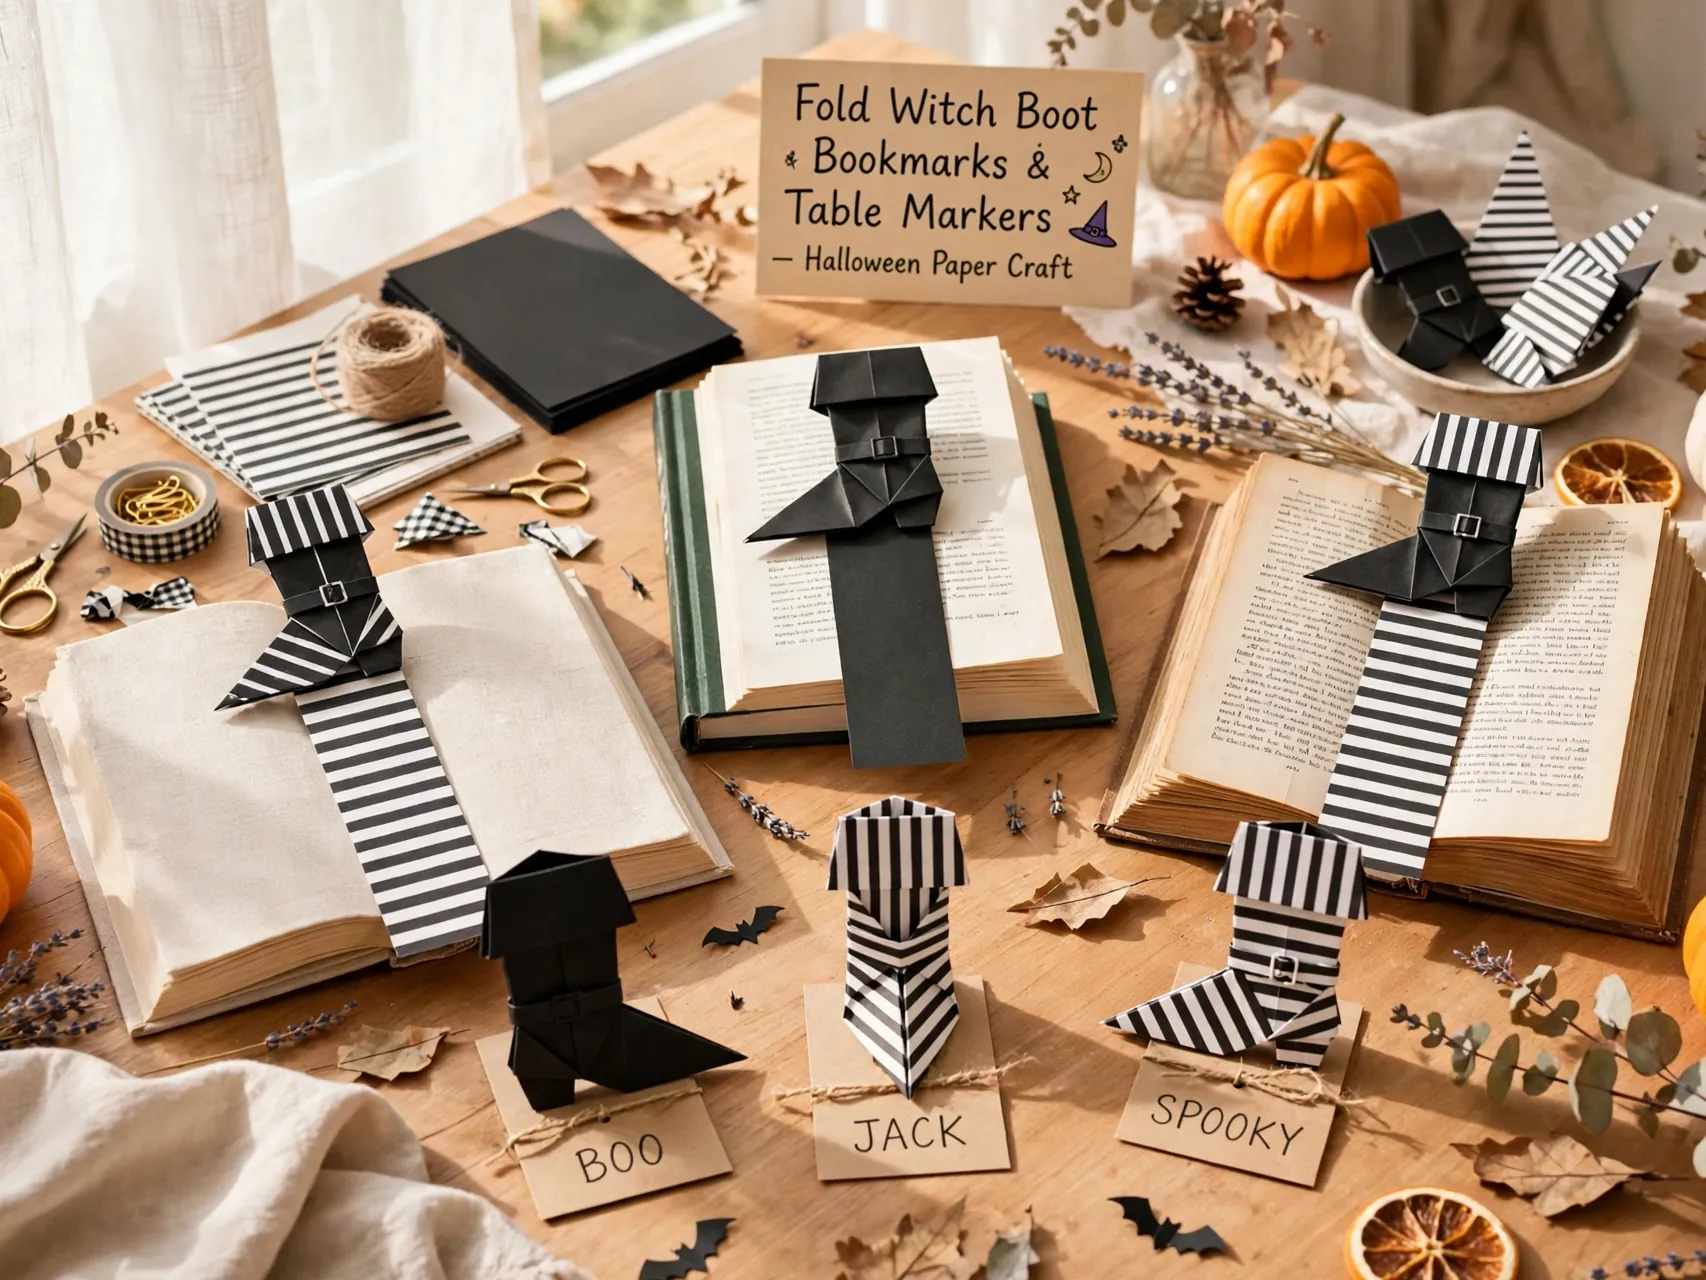
A witch boot shape, folded flat with a curled pointed toe, works as a bookmark, a gift tag, or a party place marker. Black paper with a purple or orange buckle drawn or glued on gives it the classic storybook look.
Boots are a fun change from faces and animals, and the flat shape is forgiving for newer folders. Write guest names along the boot for a Halloween dinner, or tuck one into each party favor bag.
20. Make an Origami Tombstone Treat Box
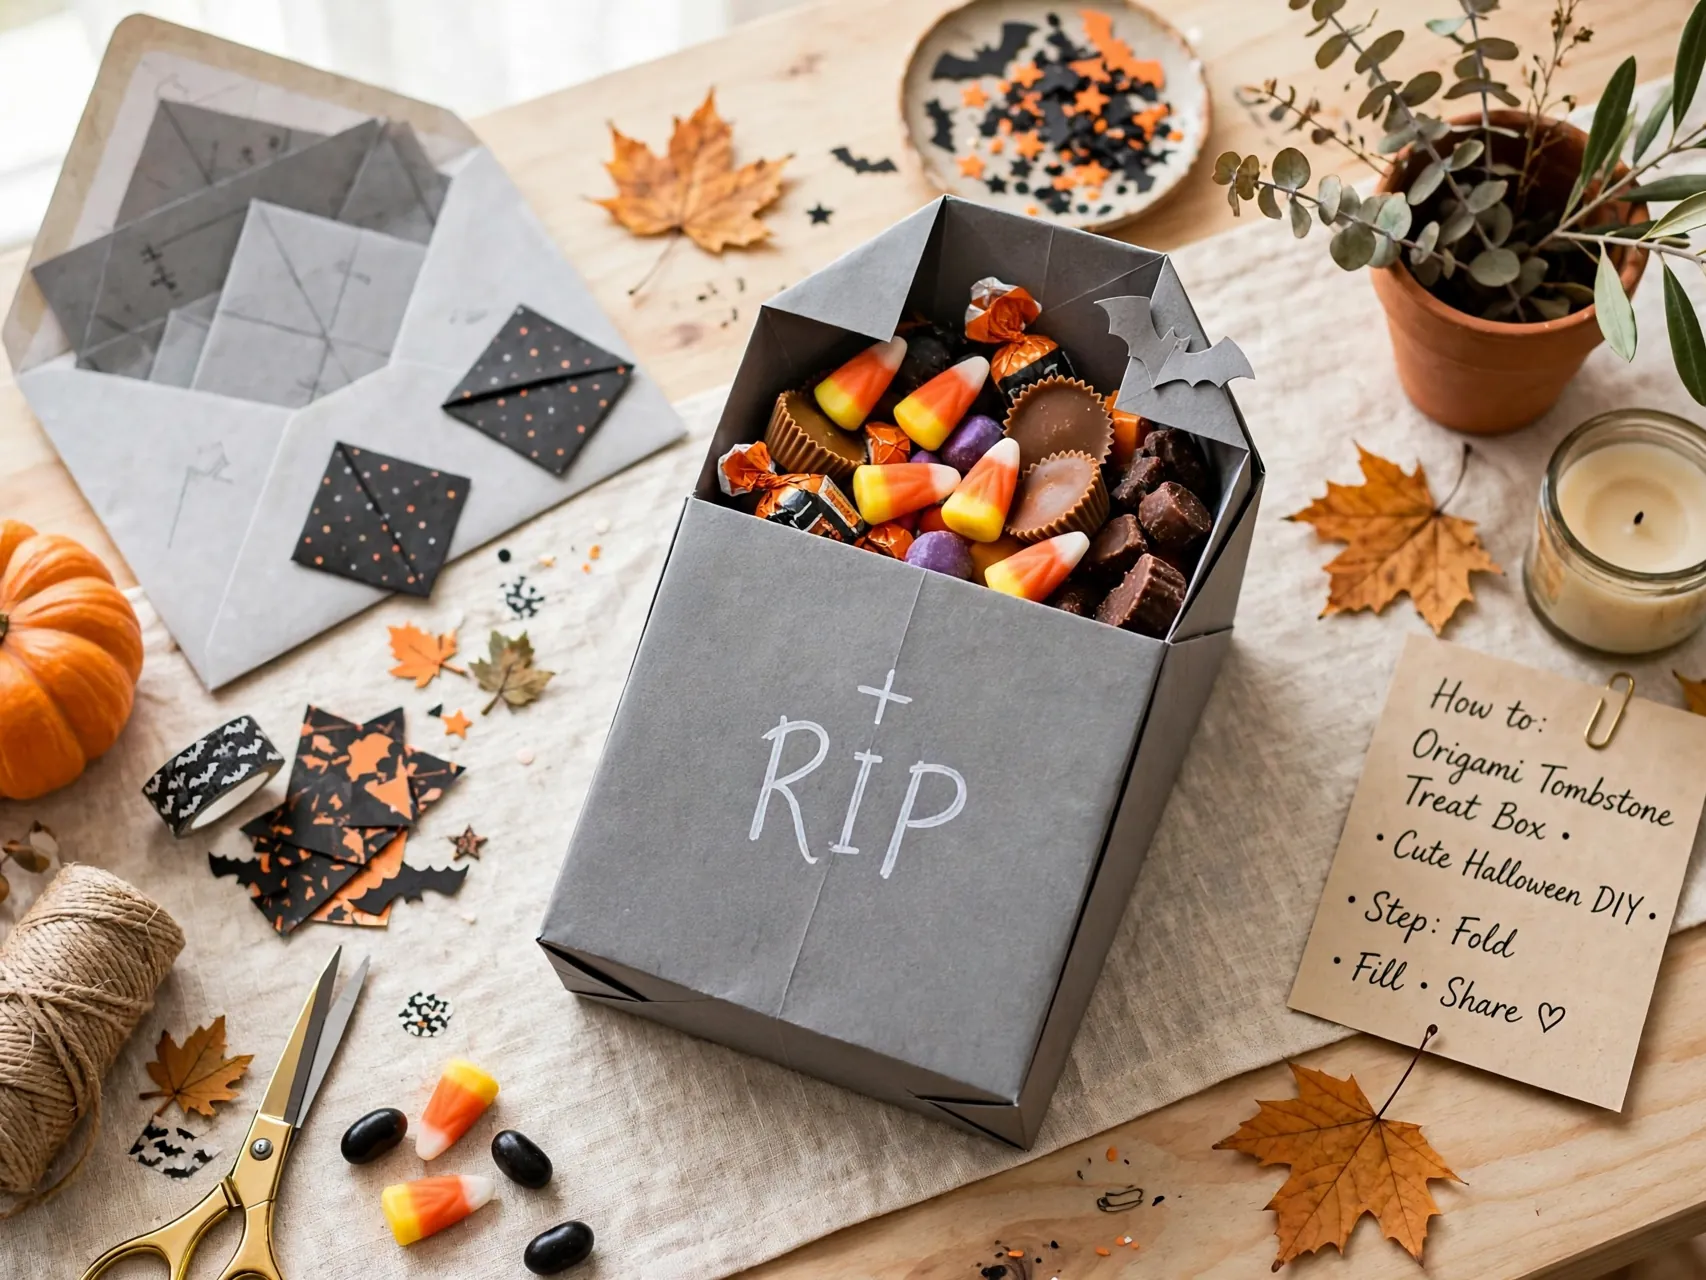
Box folds take a few more steps, but a small open box in gray paper, with a rounded tombstone lid or a drawn stone front, holds two or three wrapped candies perfectly. This is the origami version of a party favor.
Older kids can manage box bases with guidance, and decorating the stones with funny epitaph words is half the fun. Keep the writing kind and silly for younger groups. A row of tombstone boxes along a party table does double duty as decor and take-home treats.
21. Fold a Simple Owl for a Woodland Halloween

An owl face folds from a square with ear tufts at the top and big drawn eyes below. Brown, gray, or purple paper all work, and the wide eyes give kids lots of drawing room.
Owls soften a Halloween display and connect it to fall woodland themes, so they stay up through November without looking out of season. Pair an owl with a folded moon for a sweet night scene on a child desk or a classroom shelf. This fold is quick enough to make during a short craft break.
22. Create Paper Claws for Dress-Up Play

Origami claws fold into pointed cones that slip over fingertips, turning hands into monster or werewolf paws. Each claw is one sheet folded into a tight triangle tube, and a full set means ten sheets and a little patience.
Claws are for older kids who can fold the repeated tuck neatly, and they should be used gently: paper claws are for posing and pretend, not for swiping at faces. Use black paper for a dramatic set or green for monster hands.
23. Fold a Ghost Garland That Actually Hangs Straight
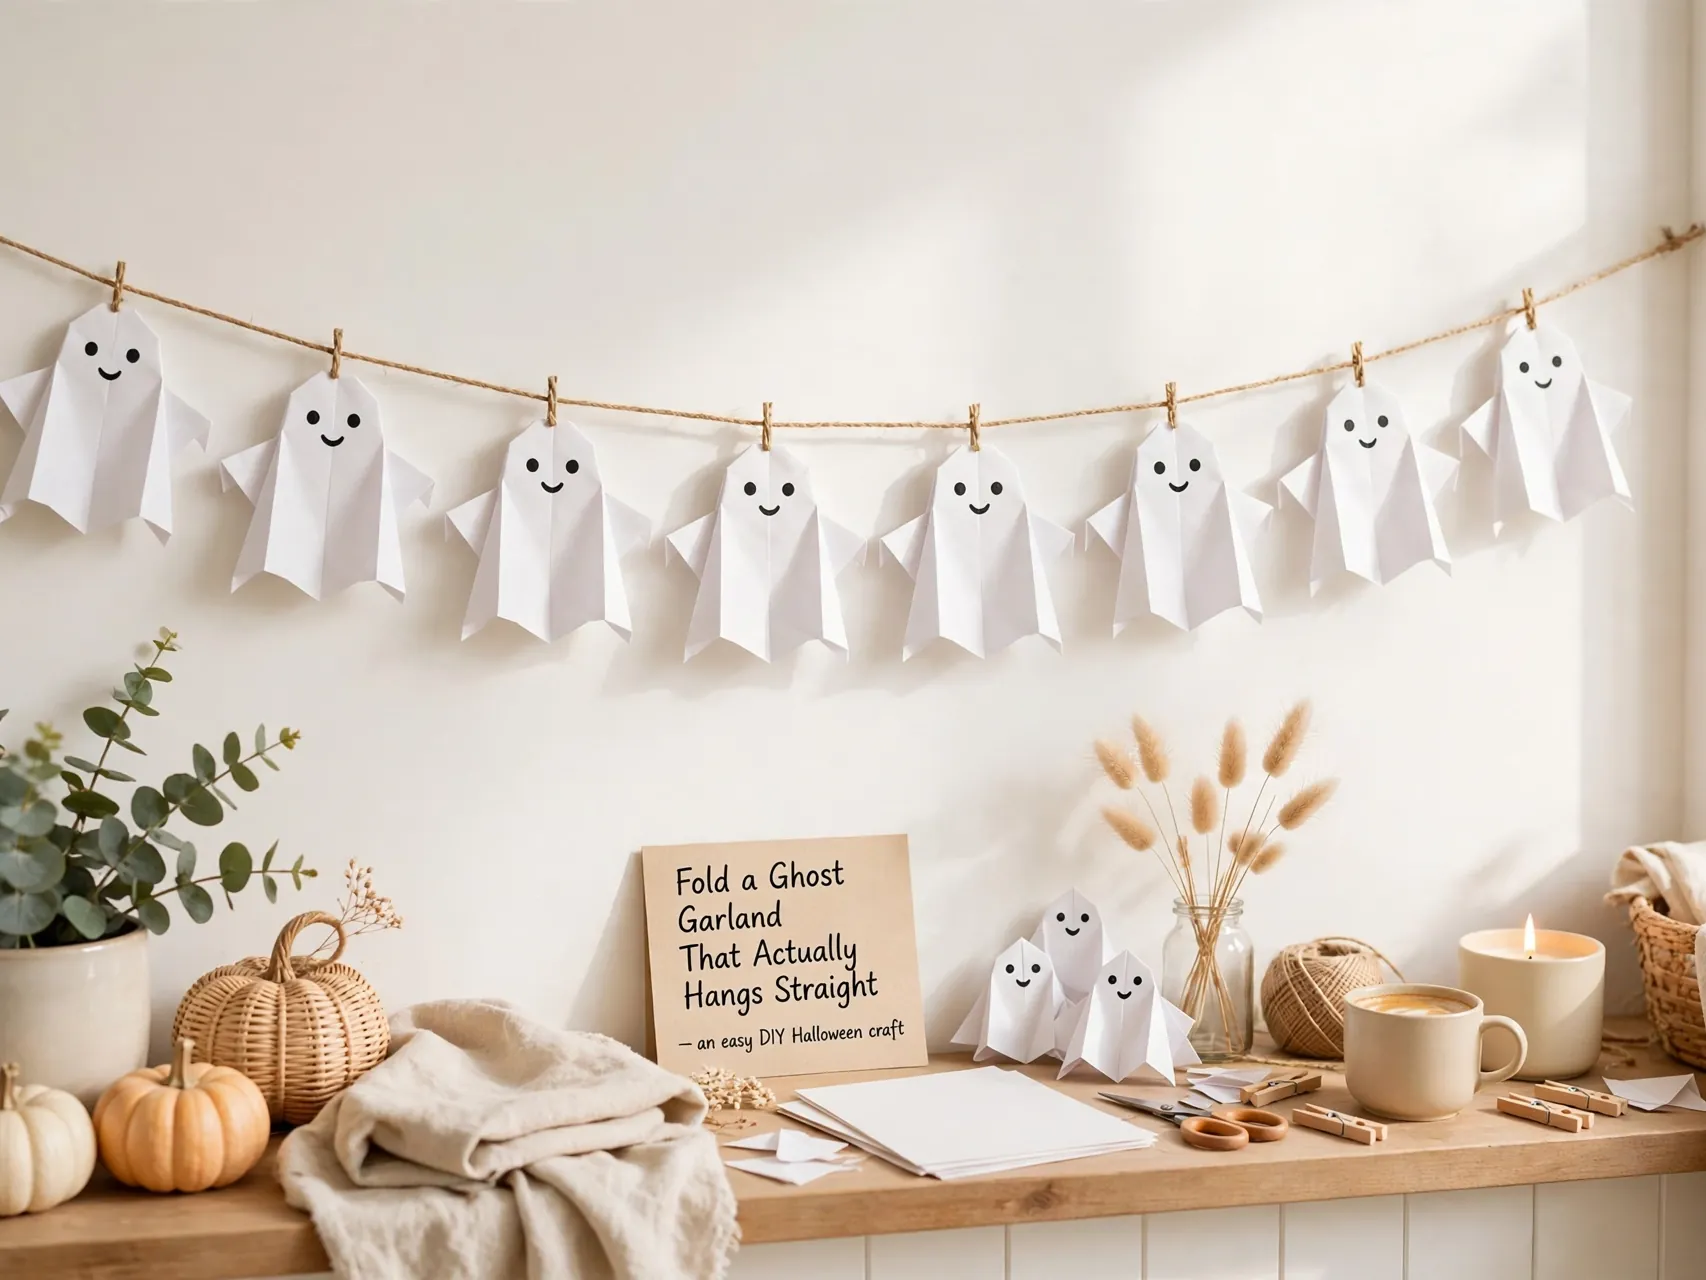
Fold six to nine ghosts in the same size, punch or tape thread to the top of each, and space them evenly on one long strand. Identical size is the secret: mixed sizes swing unevenly, while matched ghosts hang like a proper banner.
Add one bat at each end as bookends. Ghost garlands suit classroom doors, mantels, and bedroom walls, and they come down in seconds with no damage when you use removable hooks or tape. This is often the first halloween paper folding crafts project families repeat every single year.
24. Make a Pumpkin Patch Display for the Classroom

Give every child one orange square and let the whole class fold flat or 3D pumpkins, draw unique faces, and add their pumpkins to a shared patch on a bulletin board or a green paper field along a wall.
Group projects remove the pressure of a perfect fold, because thirty pumpkins together look abundant and joyful even when every single one is different. Teachers appreciate that the supplies are just paper and markers, the mess is a few scraps, and the display builds itself as kids finish at different speeds.
25. Host a Family Folding Night With a Difficulty Ladder

End the season by folding together: set out ghosts and cats for the youngest folders, bats and pumpkins in the middle, and a spider or skull challenge for teens and adults. Put on music, set out snacks, and let everyone teach the fold they just learned to someone else.
A folding night creates decor and memories at the same time, and kids who teach a fold remember it far better than kids who only follow along. Photograph the final mantel full of everyone work.
FAQ
What is the easiest Halloween origami for kids to start with?
The ghost is the easiest model. It uses one white square, a handful of basic folds, and a drawn-on face, and it forgives uneven corners. After the ghost, try the cat face and the flat pumpkin. Save spiders, skulls, and box folds for older kids or for folding together with an adult.
What paper works best for Halloween origami?
Square paper is essential for most models. Medium weight craft or origami paper, roughly 60 to 80 gsm, folds crisply and holds its shape without tearing. Standard six inch squares suit most projects. Thinner paper helps moving models like flapping bats, while larger squares help small hands on hats and houses.
What age is Halloween origami suitable for?
The simplest folds in this list suit most kids aged 7 and up, with a grown-up nearby for the first attempts. Younger children can join in by drawing faces and folding the easiest shapes hand over hand with an adult. Models with many steps, small cuts, or tight tucks are better for older kids, around 9 and up.
How do I display Halloween origami without damaging walls?
Thread and removable tape are the gentlest options. Hang ghosts and bats from ceilings, windows, and doorframes with thread, line flat models along shelves and mantels, and use removable hooks or poster putty for garlands. Keep paper models away from candles, heaters, and damp spots so they stay crisp all season.
Why do my child folds look uneven, and how can I help?
Uneven results usually come from rushed creases and corners that were not lined up before folding. Slow down the first fold of each model, press every crease firmly with a fingertip, and start with larger paper, which is more forgiving. Remind kids that a slightly wobbly ghost is still a ghost, and that the second attempt is always better.
Key Takeaways
- Ghost first, always: The ghost is the confidence-building first fold, then bats, cats, and pumpkins follow naturally.
- Square, medium paper wins: Six inch squares in orange, black, white, purple, and green cover nearly every model here.
- Faces are drawn, not folded: Most personality comes from a marker after folding, which keeps easy halloween origami for kids truly easy.
- Order by difficulty: Simple faces for young kids, 3D pumpkins in the middle, spiders and skulls as stretch projects.
- Display as you go: Garlands, mobiles, and pumpkin patches turn practice folds into real Halloween decor.
- Folding with your kids this October? Save this guide to Pinterest and pin the model you will try first.