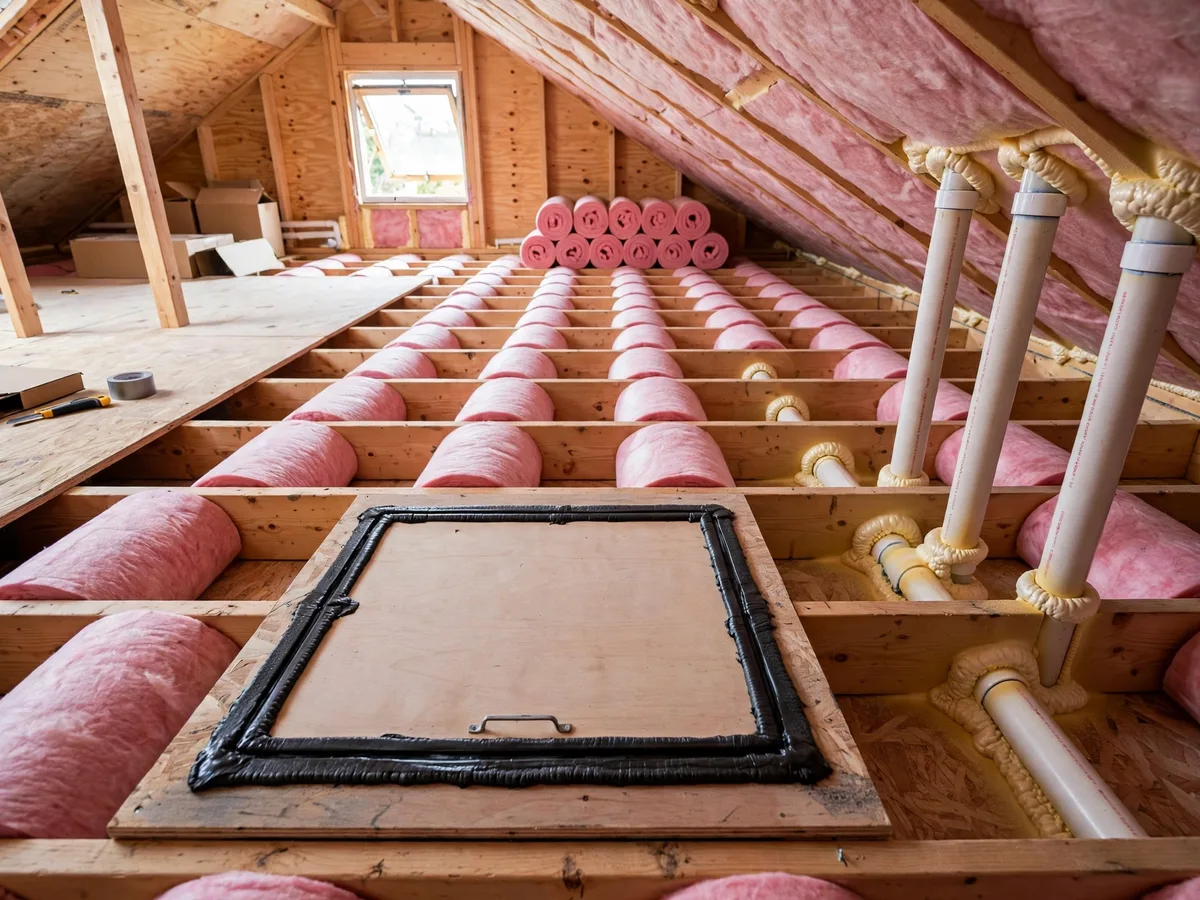
23 DIY Home Insulation Tips to Cut Your Energy Bills Fast
Introduction
A drafty house is expensive in both directions: heated air escapes all winter, and hot summer air creeps in while your cooling works overtime. The encouraging truth about diy home insulation is that the biggest wins are usually the smallest jobs. Sealing air leaks and topping up weak spots, work the US Department of Energy and ENERGY STAR recommend to homeowners, can help lower heating and cooling costs and make rooms feel even and calm.
Order matters more than budget. Seal air leaks first, because insulation laid over open gaps cannot do its full job. Then add insulation where it is thin, missing, or damaged. Most of the projects below need basic tools, a free weekend, and patience rather than skill.
Read the safety tips before you start, especially the ones about protective gear, light fixtures, attic vents, and old wiring.
1. Gear Up With the Right Protective Equipment First

Fiberglass insulation irritates skin, eyes, and lungs, so dress for it every single time. Wear a properly fitted respirator or dust mask rated for insulation work, safety glasses or goggles, gloves, long sleeves, long pants, and a hat. Cover skin fully, because tiny fibers itch for hours.
Work in a ventilated space, take breaks for fresh air, and wash up and change clothes when you finish. Keep children and pets out of the work area until everything is bagged and put away.
2. Hunt Air Leaks Before You Buy Insulation

On a windy day, close windows and exterior doors, then move a lit incense stick or the back of your hand slowly around window frames, door edges, outlets, and baseboards. Flickering smoke or a cool stream of air marks a leak worth sealing.
Check the classic hiding spots too: the attic hatch, plumbing and wiring penetrations, recessed lights, and where walls meet floors and ceilings. Mark each leak with painter tape so nothing gets forgotten.
3. Seal Attic Penetrations With Caulk and Foam
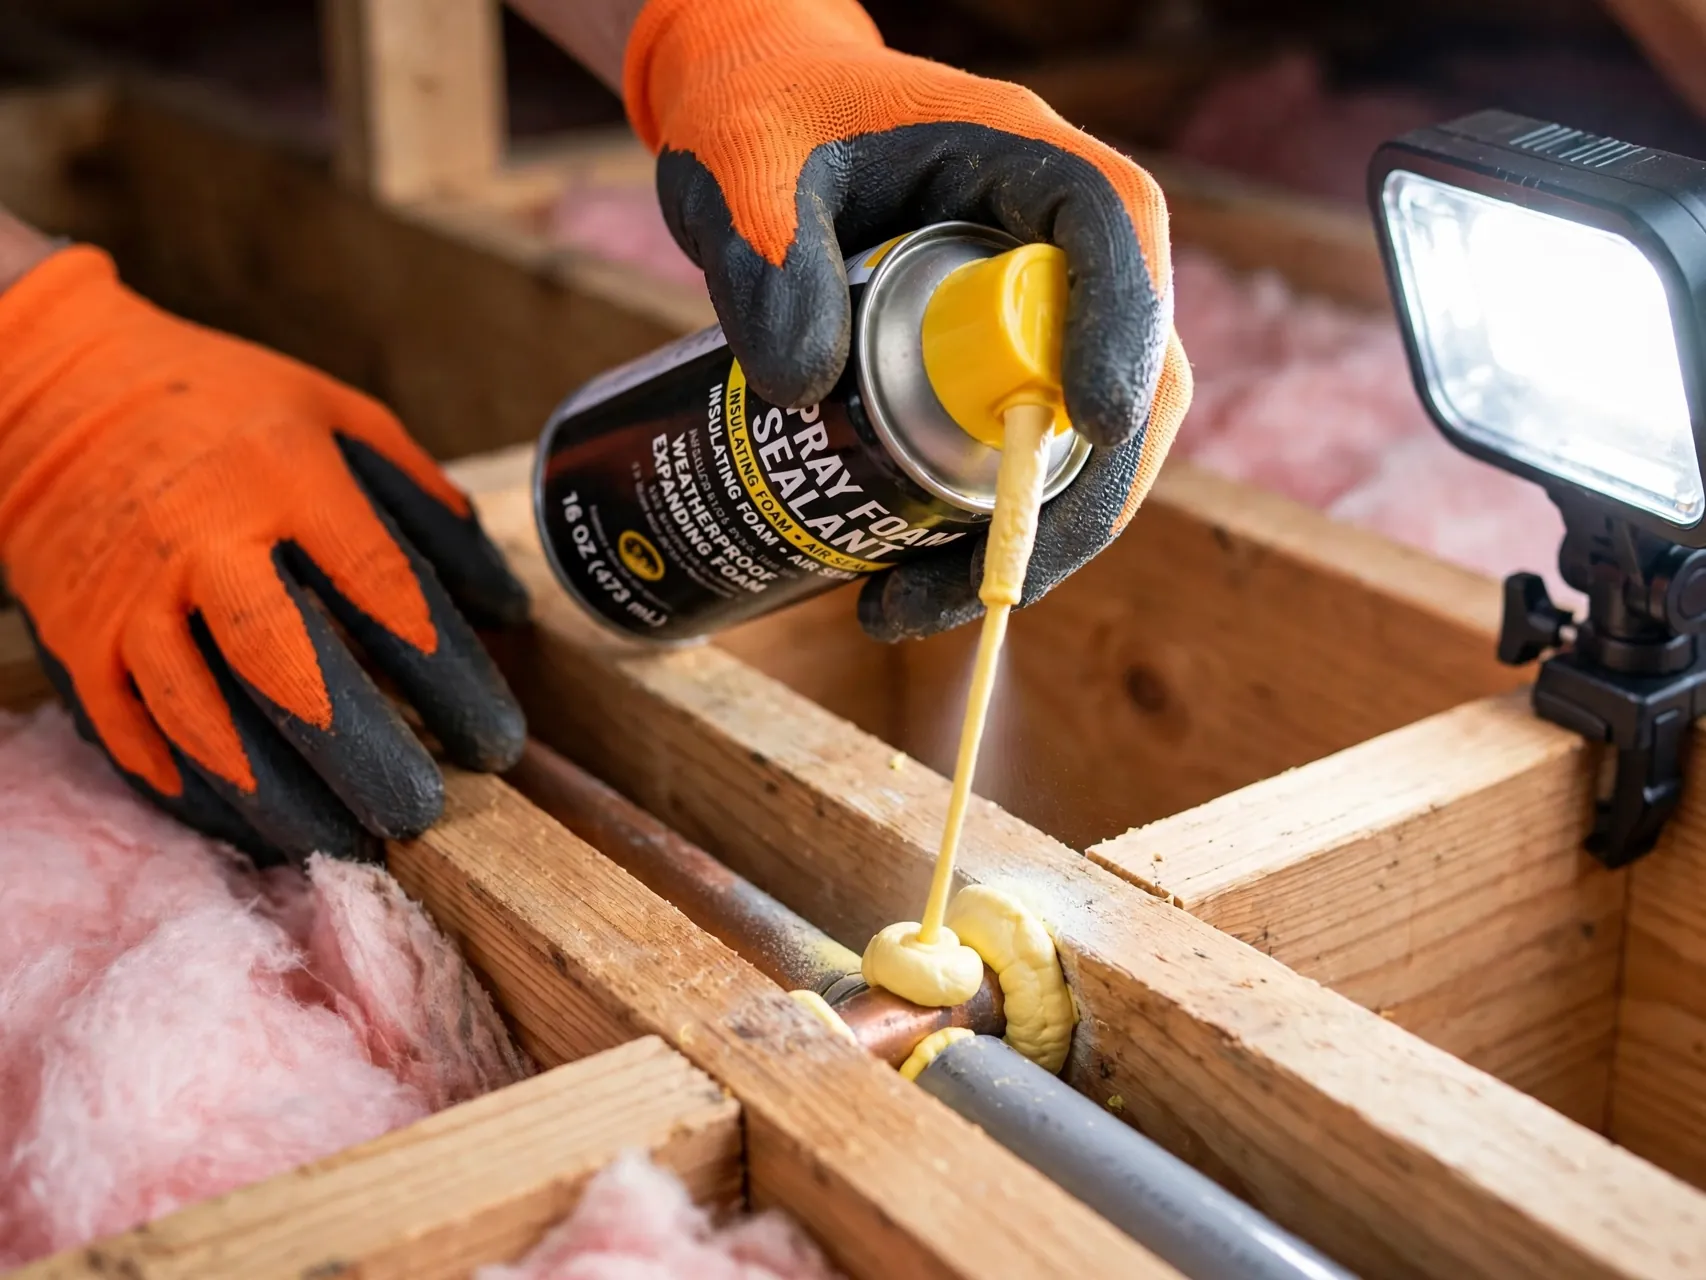
Warm air rises into the attic through every hole cut for pipes, wires, and vents, so sealing these penetrations is the highest value hour in the whole project. Pull insulation back gently, seal small gaps with caulk, and use expanding foam for larger openings, following the can directions.
Work methodically from one end of the attic to the other. Wear your protective gear, step only on joists or boards laid across them, and carry a headlamp so both hands stay free.
4. Weatherstrip and Insulate the Attic Hatch
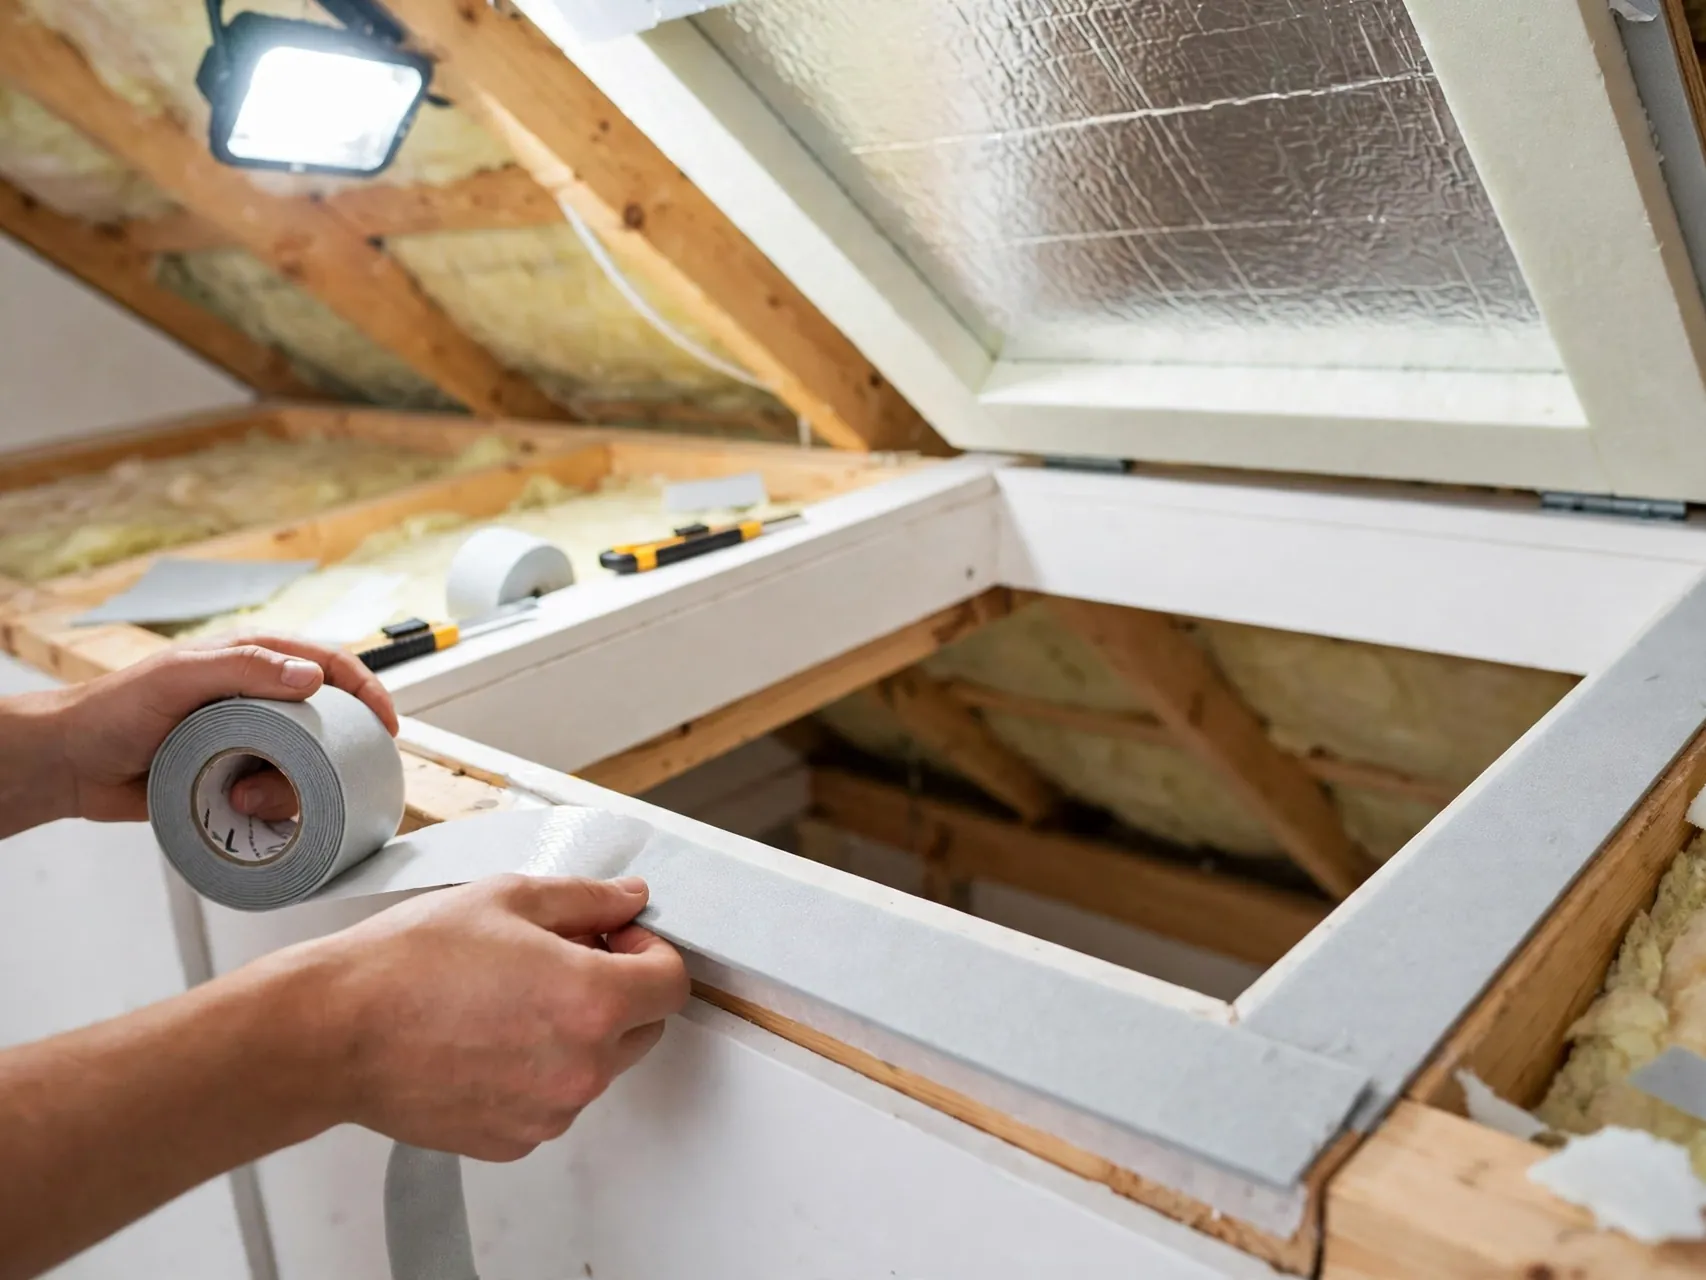
An attic hatch or pull down stair is a large, thin hole in your ceiling, and many homes leave it bare. Add weatherstripping around the opening so it seals when closed, then attach insulation to the top side of the hatch, or fit an insulated cover made for pull down stairs.
A simple rigid foam box built to sit over the hatch opening works well too, sealed at the edges each time you close it.
5. Keep Soffit Vents Clear With Baffles

Attics need to breathe. Soffit vents along the eaves bring in fresh air that protects the roof and controls moisture, and insulation piled over them blocks that flow. Before adding insulation near the eaves, fit simple baffles, also called rafter vents, that hold a clear air channel from the soffit up along the roof.
Check every vent bay you can reach and clear any old insulation that has slumped into the opening. Never treat blocked vents as a bonus seal. A well insulated attic with working ventilation stays drier, lasts longer, and performs better in every season, which is exactly what DOE attic guidance calls for.
6. Never Cover Recessed Lights Unless They Are Rated for Contact

Recessed light fixtures get hot, and burying them under insulation is a fire risk unless the fixture is rated for insulation contact, usually marked IC rated. Check the label on every fixture in the ceiling before insulation goes anywhere near it.
For fixtures that are not rated, build or buy a proper barrier that keeps insulation at the distance the maker and ENERGY STAR guidance specify, and seal around the barrier carefully. The same caution applies to flues, exhaust fans, and any other heat source in the attic. When a label is missing or unclear, treat the fixture as not rated and ask an electrician before you cover anything.
7. Stop and Call an Electrician for Knob and Tube Wiring
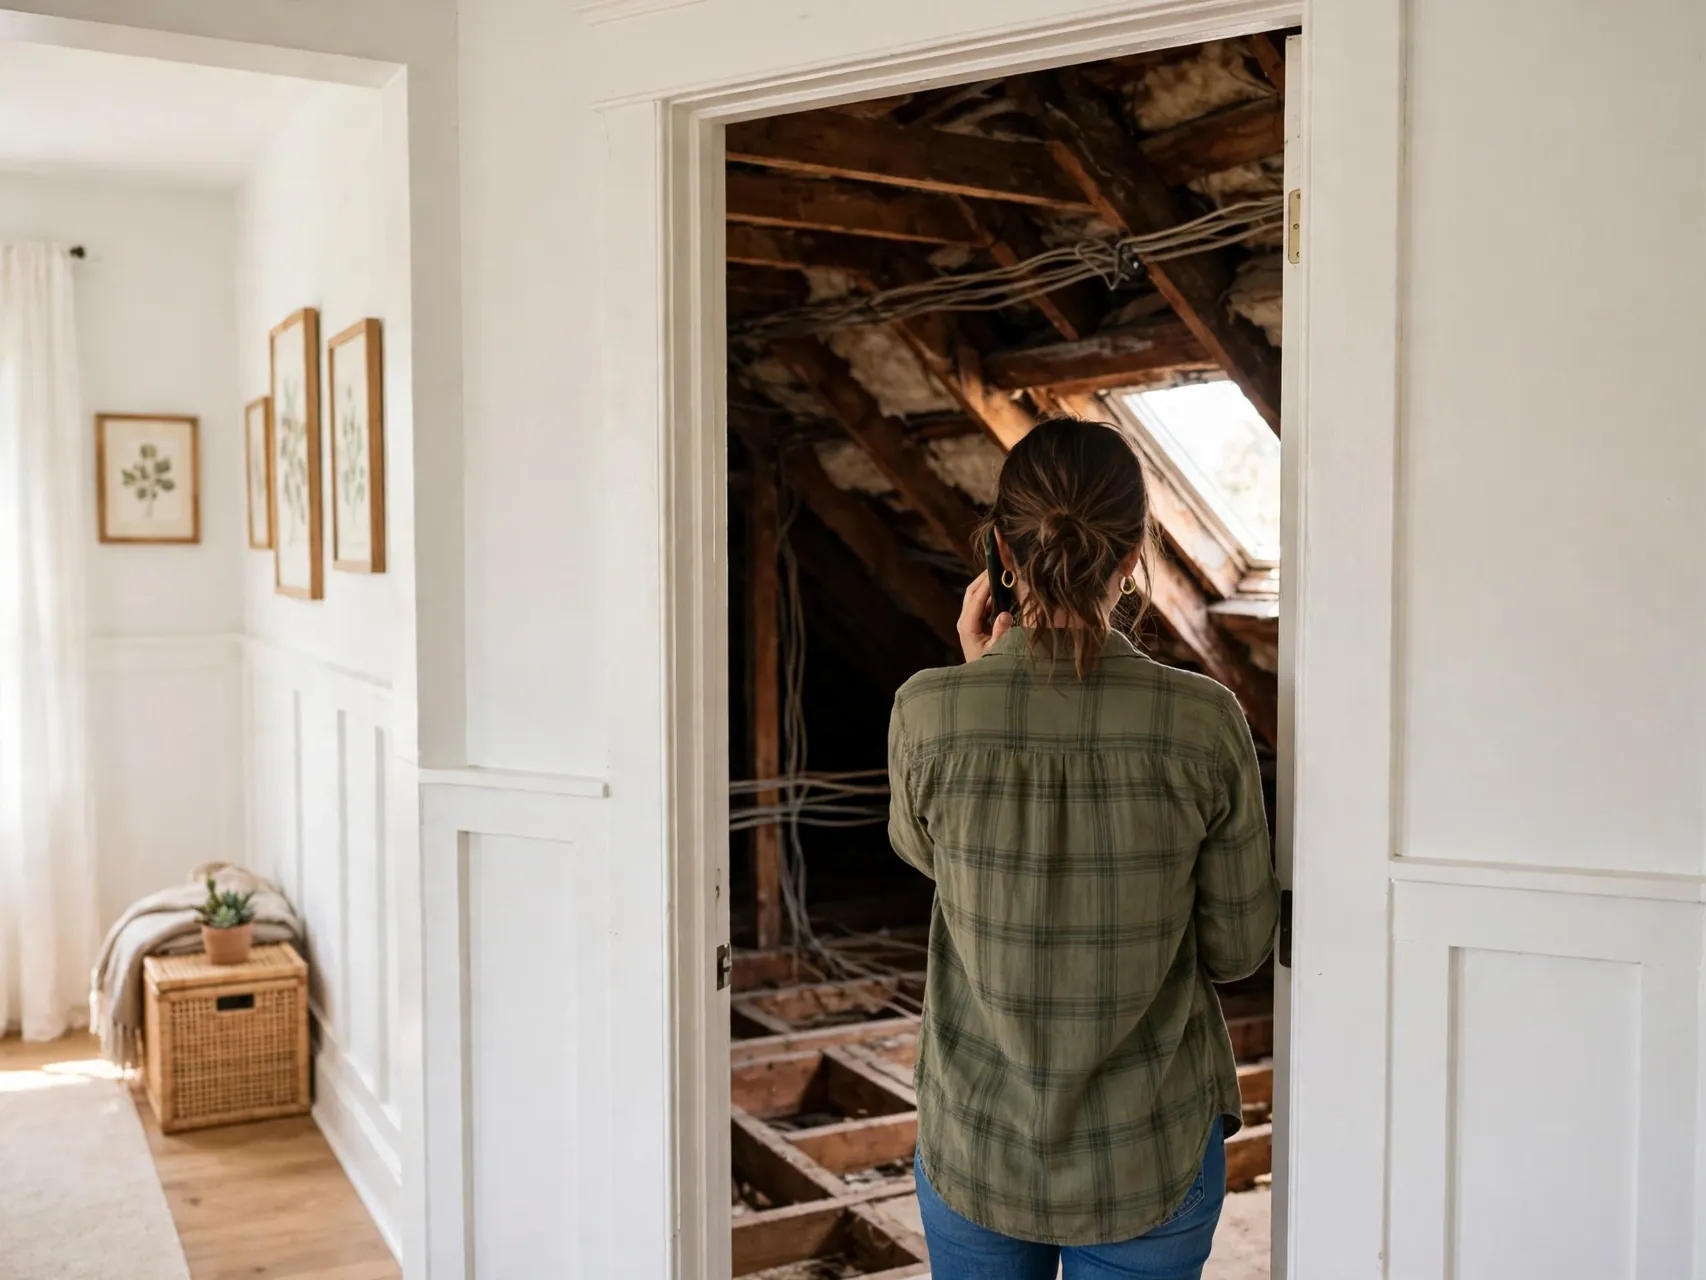
Older homes, especially those built in the early 1900s, may still have live knob and tube wiring in the attic: single wires running through porcelain knobs and tubes. This wiring needs air around it to shed heat, and burying it in insulation can create a fire hazard.
If you find it, stop. Do not lay insulation over it, under it, or packed around it. Take photos, mark the area, and hire a licensed electrician to assess or replace the wiring before insulation work continues in that part of the attic.
8. Add Attic Insulation in a Perpendicular Second Layer

When the attic is sealed and safe, topping up insulation is straightforward. If existing batts or rolls run between the joists, lay the new layer across the joists at a right angle, using unfaced material with no paper or foil backing, as ENERGY STAR describes. This covers the tops of the joists, which otherwise act as bridges for heat.
Fit pieces snugly without compressing them, because squashed insulation loses insulating power. Work from the far corner back toward the hatch so you never walk on finished areas.
9. Weatherstrip Exterior Doors and Fit Door Sweeps

Hold a hand near each exterior door on a cold or windy day and you will likely feel the leak. Self adhesive foam or V-strip weatherstripping around the frame closes the sides and top, and a door sweep seals the gap at the floor where the biggest draft usually lives.
Adjust or replace worn sweeps so the seal touches the threshold without dragging hard. Check the door still latches easily, because a seal that stops the door closing properly will simply be removed in frustration.
10. Caulk Window Frames Inside and Out
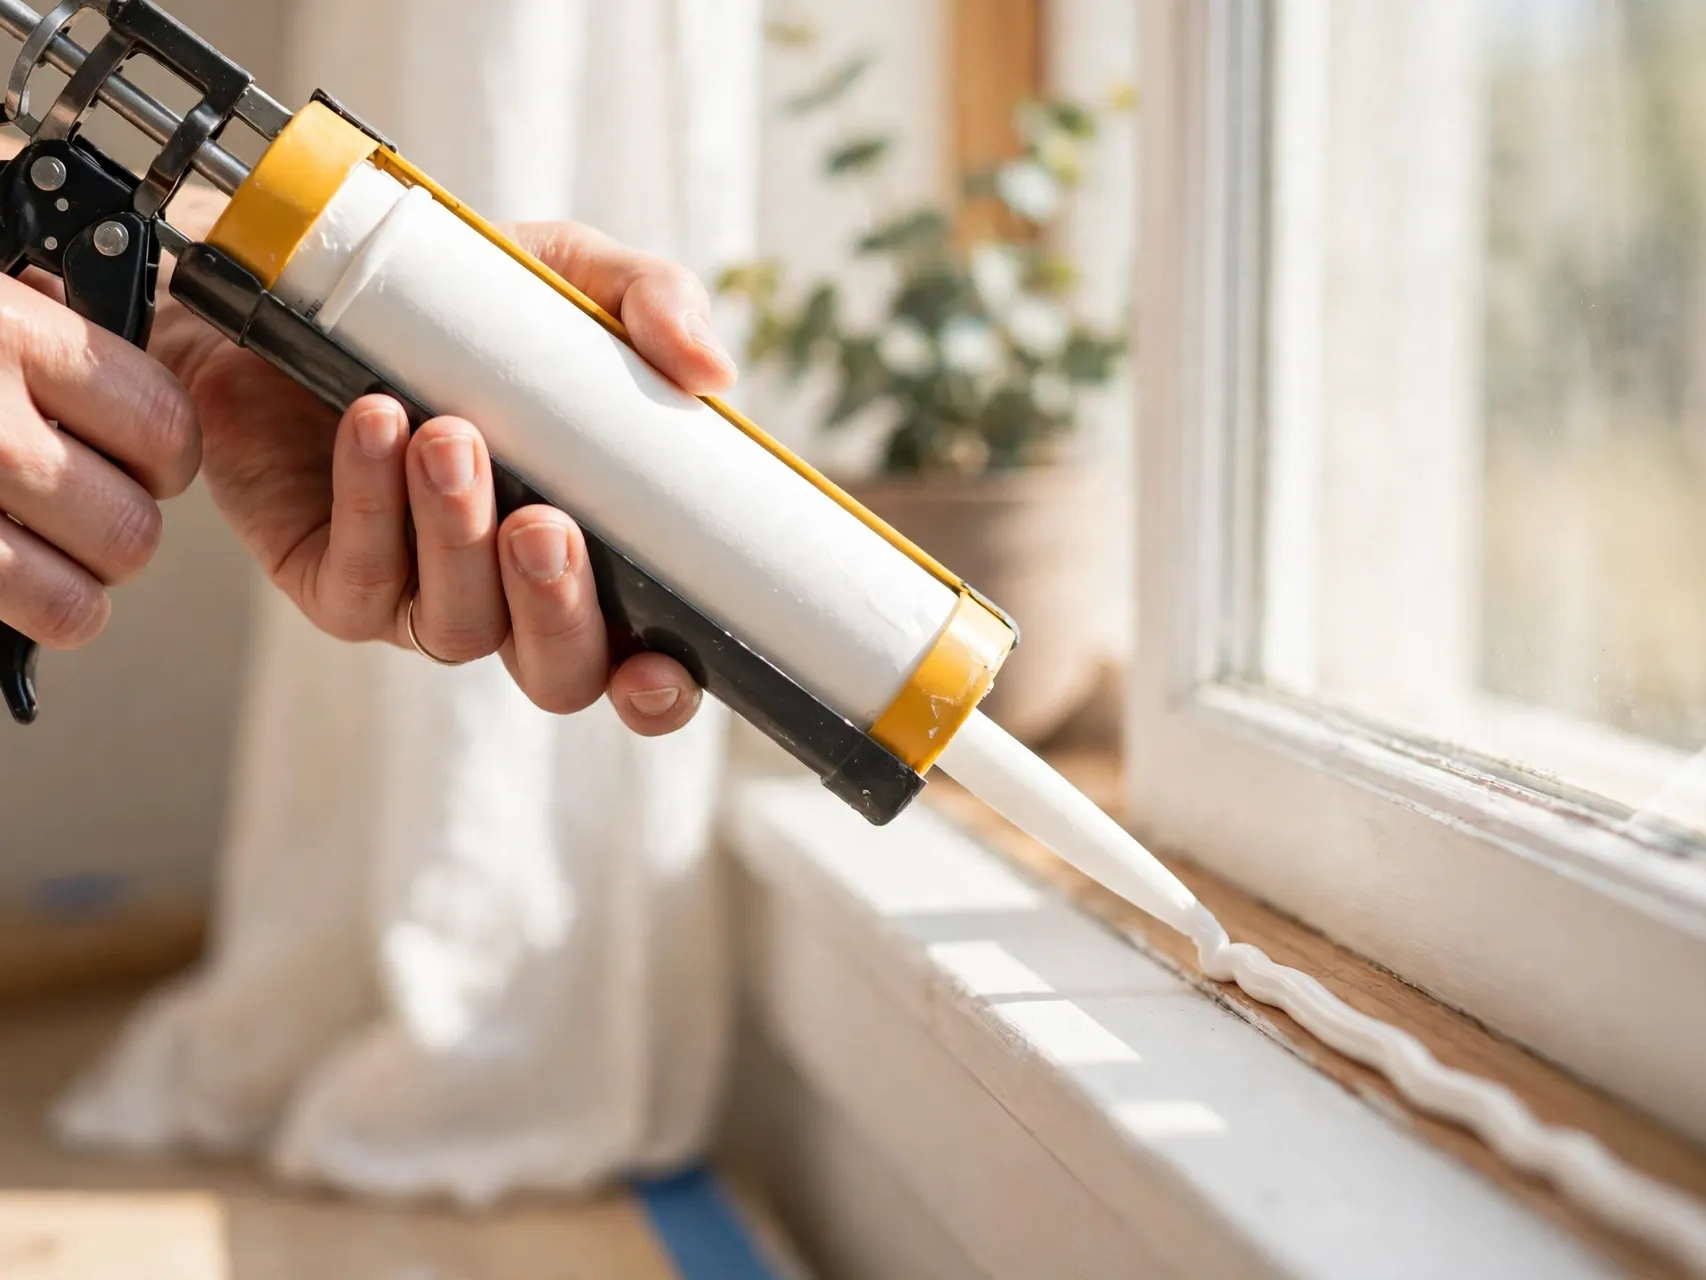
Window glass gets the blame, but the frame joints leak just as much. Outside, seal cracks where the frame meets the siding with exterior caulk. Inside, run a fine bead where trim meets the wall and at any joint that shows daylight or moves air.
Remove crumbling old caulk first so the new bead bonds to clean surfaces.
11. Fit Interior Window Film Kits for Winter
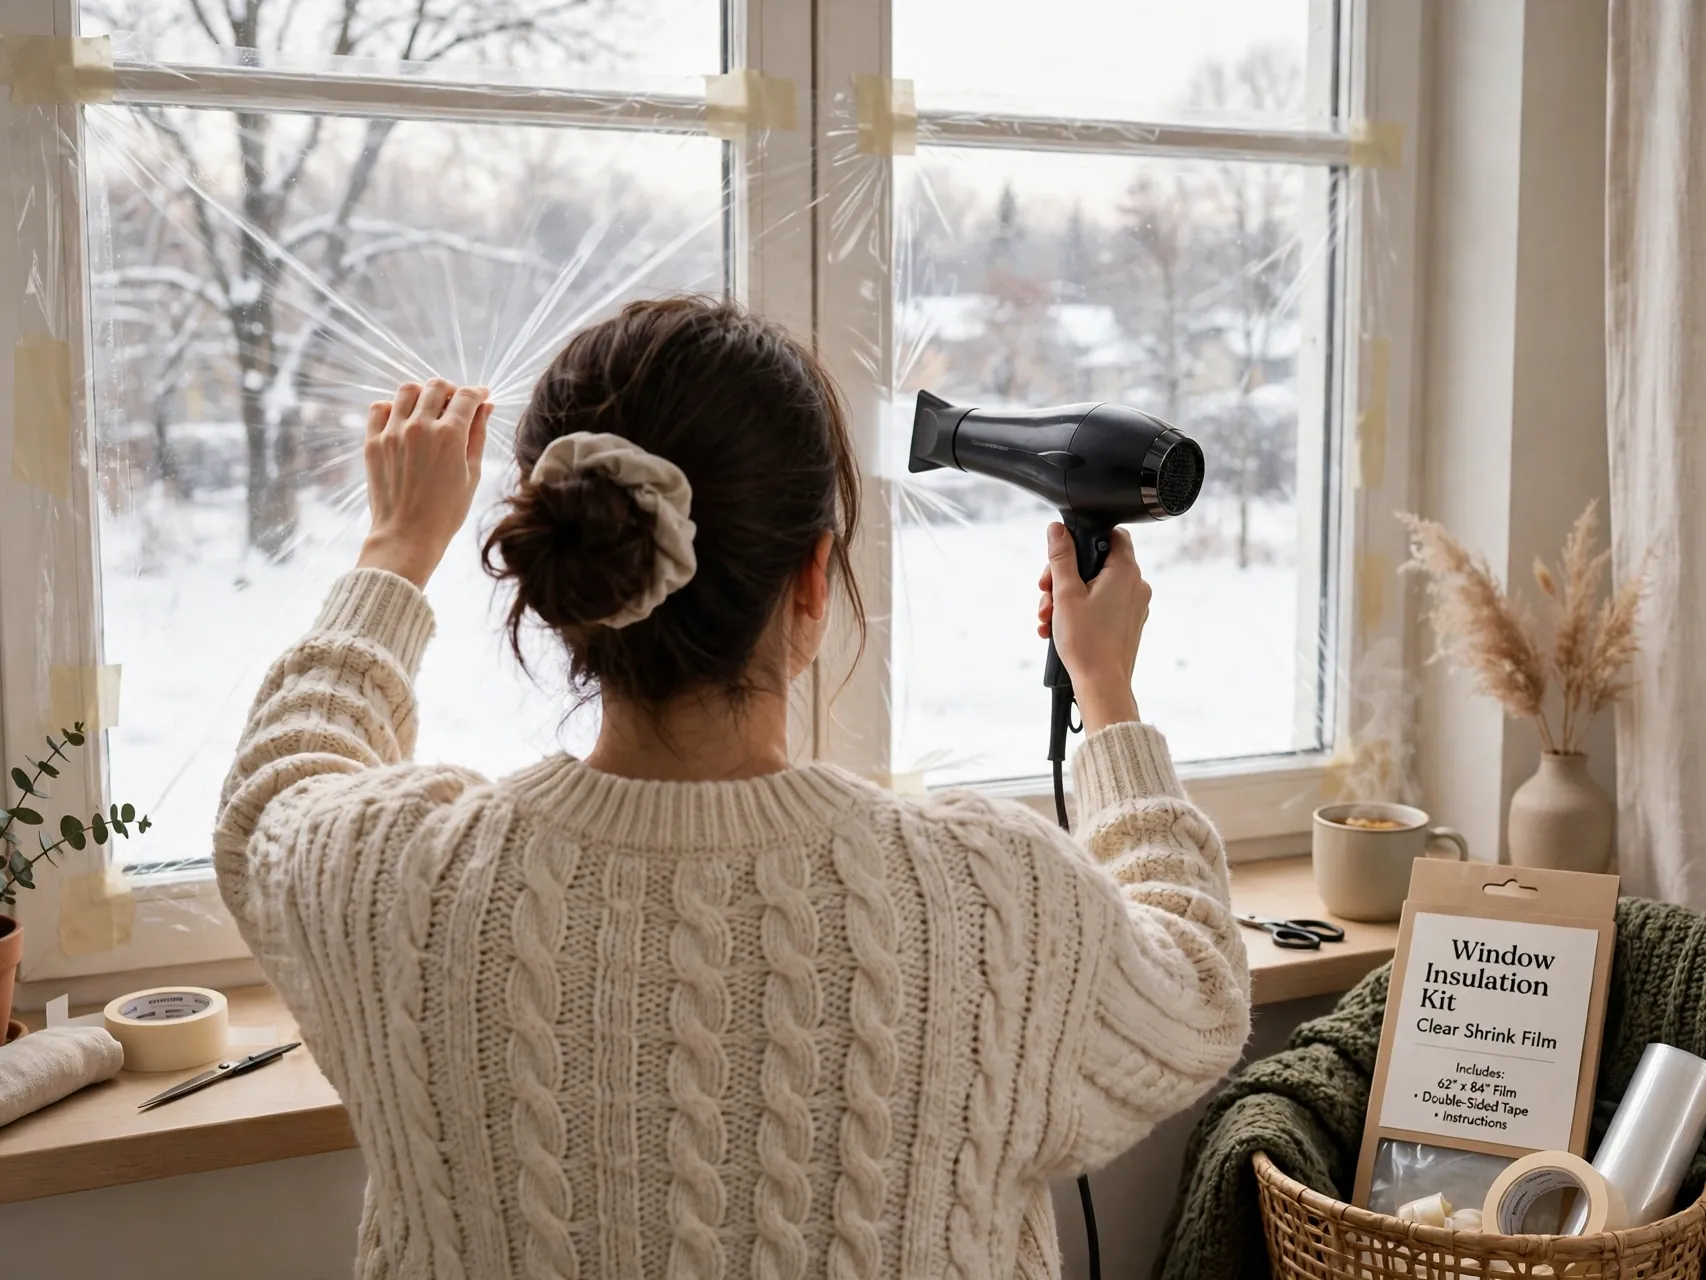
For single pane or older windows, an interior insulation film kit adds a still air layer that slows heat loss. The film tapes to the frame, then shrinks smooth and nearly invisible with gentle heat from a hair dryer. It is inexpensive, removable in spring, and friendly to renters.
Clean the frame well so the tape holds all season, and size each sheet before you cut. Film cannot fix a rotten frame or a broken seal in a double pane unit, and it should never cover a window you need as an emergency exit.
12. Add Foam Gaskets Behind Outlets and Switches
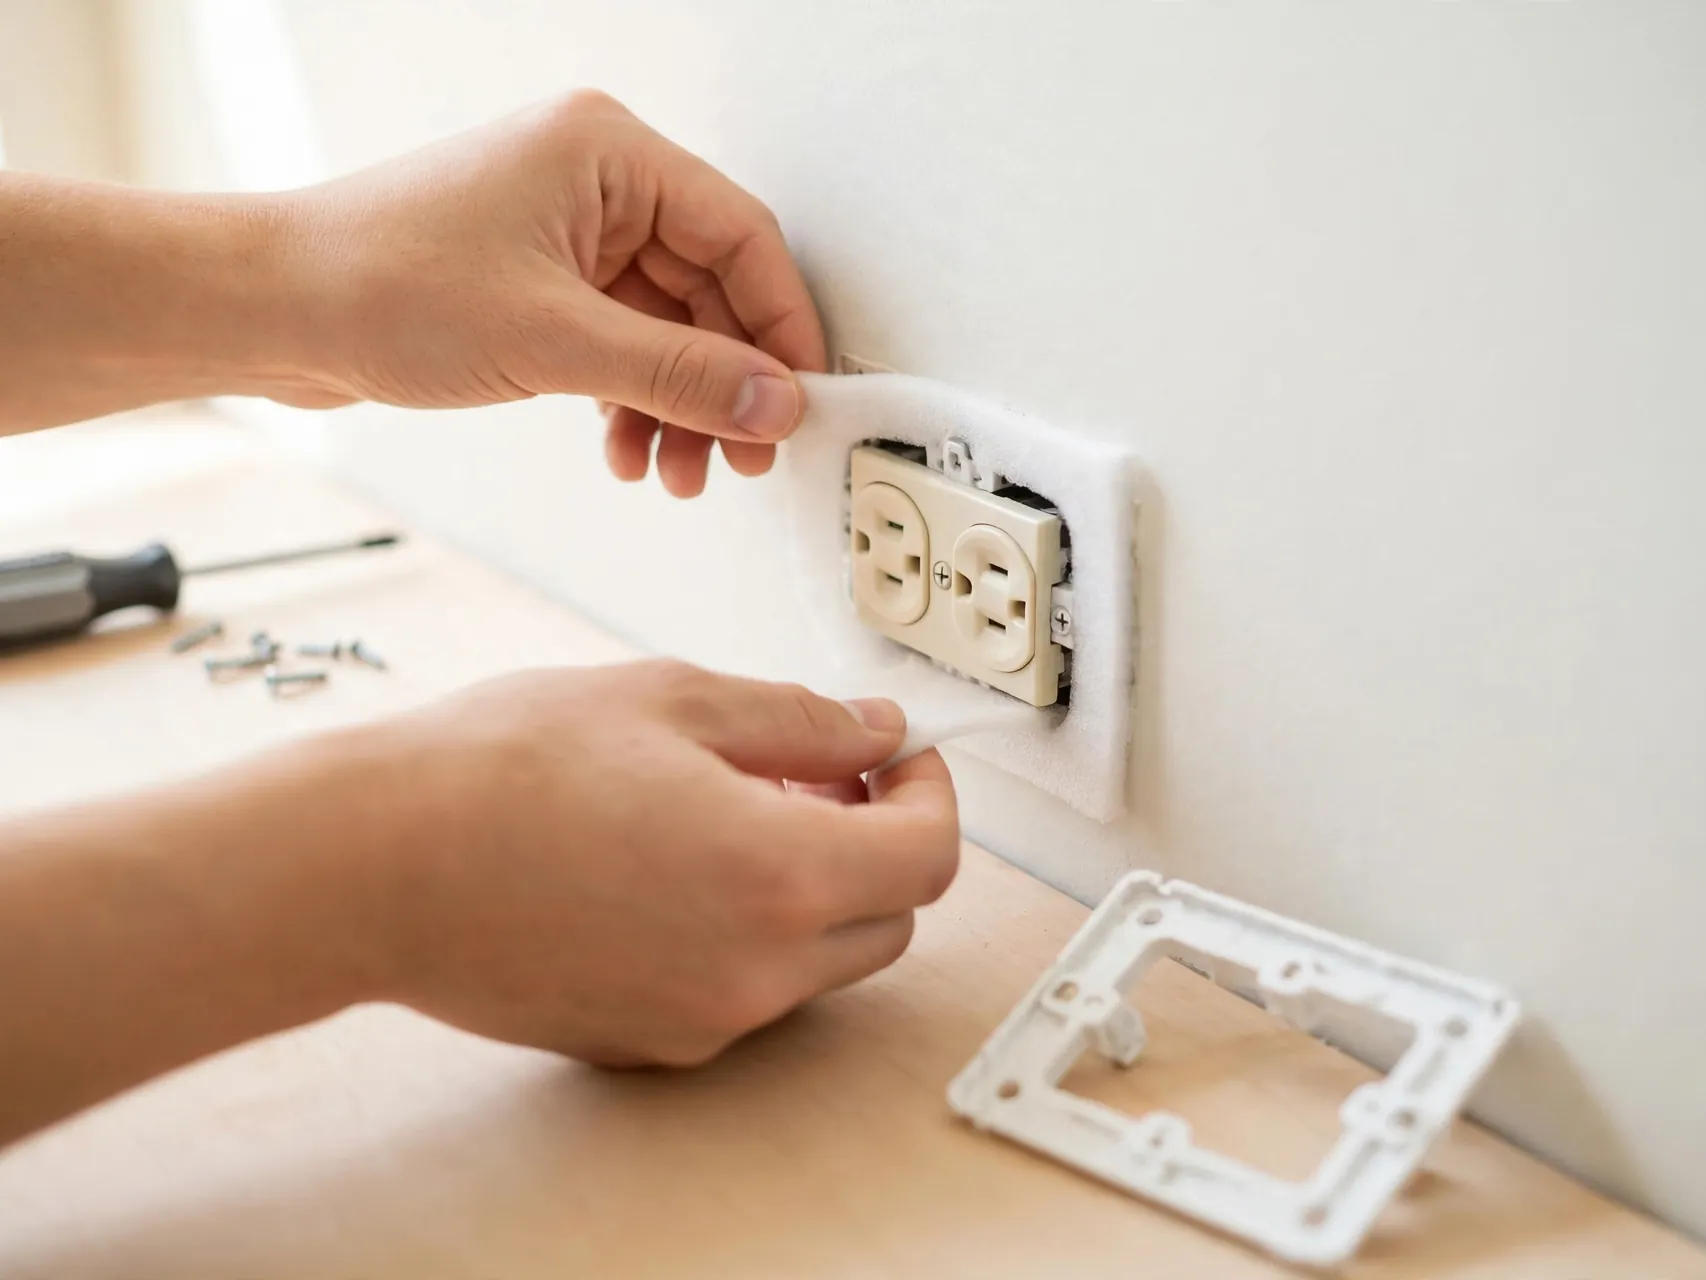
Outlets and switches on exterior walls are small holes straight into the wall cavity, and cold air seeps through them all winter. Foam gaskets made for this job sit behind the cover plate and seal the opening in minutes.
Turn the power off at the breaker before removing any plate. Fit the gasket, replace the plate snugly, and restore power. For child safety, refit outlet covers where needed. The cost per outlet is tiny, and a whole house round takes about an hour.
13. Seal and Insulate Rim Joists in the Basement

The rim joist, where the house frame sits on the foundation, is one of the leakiest and least insulated areas in many homes. In the basement or crawl space, look along the top of the foundation wall for gaps, daylight, and cobwebs moving in a draft, a classic leak sign.
Cut rigid foam board to fit each joist bay snugly and seal every edge with caulk or foam, following local code guidance for foam use, or fit insulation batts tightly and seal the perimeter. Keep material clear of furnaces, flues, and heat sources.
14. Insulate Hot Water Pipes With Foam Sleeves
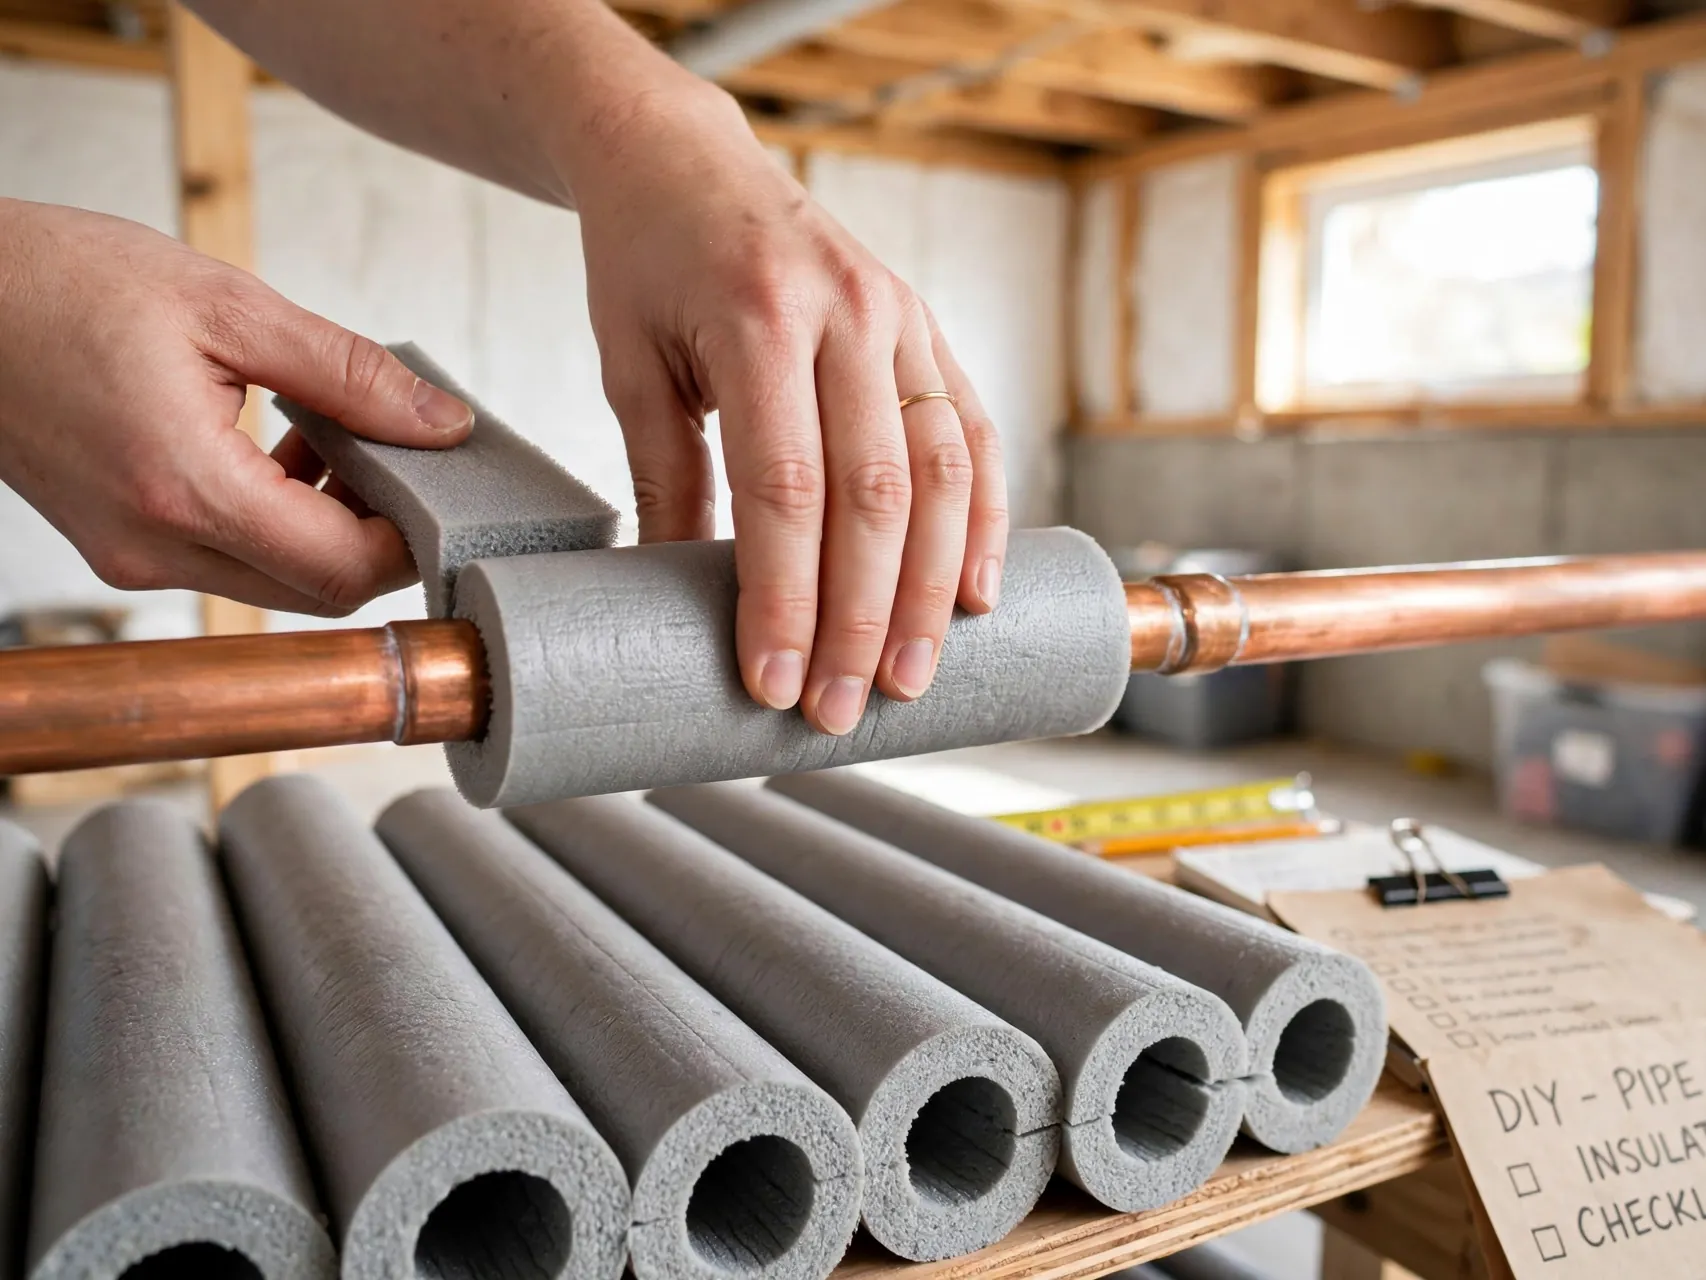
Hot water loses heat as it travels, so pipes in unheated basements, garages, and crawl spaces waste energy on every shower. Foam pipe sleeves, split down one side, slip on in seconds and hold in place with tape at the joints. Fit them on the hot lines you can reach, especially the first runs from the water heater.
Measure pipe diameter before you buy so sleeves fit snugly. Pipe insulation also slows freezing in cold snaps, a welcome bonus. Keep sleeves away from flues and follow the maker temperature guidance near the water heater itself.
15. Wrap the Water Heater Only If the Maker Allows It

A tank that feels warm to the touch is heating your basement instead of your water. An insulating jacket made for water heaters can slow that loss, but only when the appliance maker allows it. Check the manual or the labels on the tank first, because some modern tanks already carry enough insulation and say not to add a wrap.
If a wrap is allowed, fit it exactly as its maker directs, keeping all vents, controls, burners, and flues completely clear, and never cover warning labels. For gas units especially, blocked vents are dangerous.
16. Seal Duct Joints With Mastic and Insulate Exposed Ducts

Ducts running through unheated attics, basements, and garages leak conditioned air at every loose joint. Seal seams and connections with duct mastic or metal backed tape made for ducts, not the cloth tape that shares the name and fails within a few seasons.
Once joints are sealed, wrap exposed ducts in unconditioned spaces with duct insulation so heated or cooled air arrives at the rooms at the right temperature. Keep insulation clear of flues and follow maker guidance.
17. Insulate the Garage Door With a Kit

An attached garage shares a wall and often a ceiling with your living space, and a thin metal garage door leaks heat all winter. Insulation kits made for garage doors use light panels cut to fit each door section, adding a useful layer without weighing the door down much.
Check the door balance after fitting, and have the spring adjusted by a garage door professional if the door feels heavy, because springs are under high tension and are not a DIY adjustment.
18. Add a Storm Door for an Extra Air Barrier

A well fitted storm door adds a second sealed layer at your most used entrance, cutting drafts and protecting the main door from weather. Choose one with a full perimeter seal and a closer that pulls it firmly shut, and fit weatherstripping carefully so there are no open corners.
In summer, many storm doors accept a screen panel, giving you ventilation without opening the house to insects. Measure the opening precisely and check which side the handle belongs on before ordering.
19. Close Fireplace and Chimney Losses Safely

An open flue is a chimney for your heated air, rising straight out of the house day and night. When the fireplace is not in use and fully cold, close the damper. For fireplaces you rarely use, a removable chimney balloon or a fitted flue plug, made for this purpose, seals the opening far better.
Safety rules are strict: never seal a flue while any ember is warm, remove any plug and open the damper fully before lighting a fire, and leave a clear reminder tag on the plug so nobody forgets. Have chimneys inspected and cleaned regularly if you burn wood. When in doubt about flue condition, call a chimney professional before sealing anything.
20. Insulate Floors Over Unheated Crawl Spaces
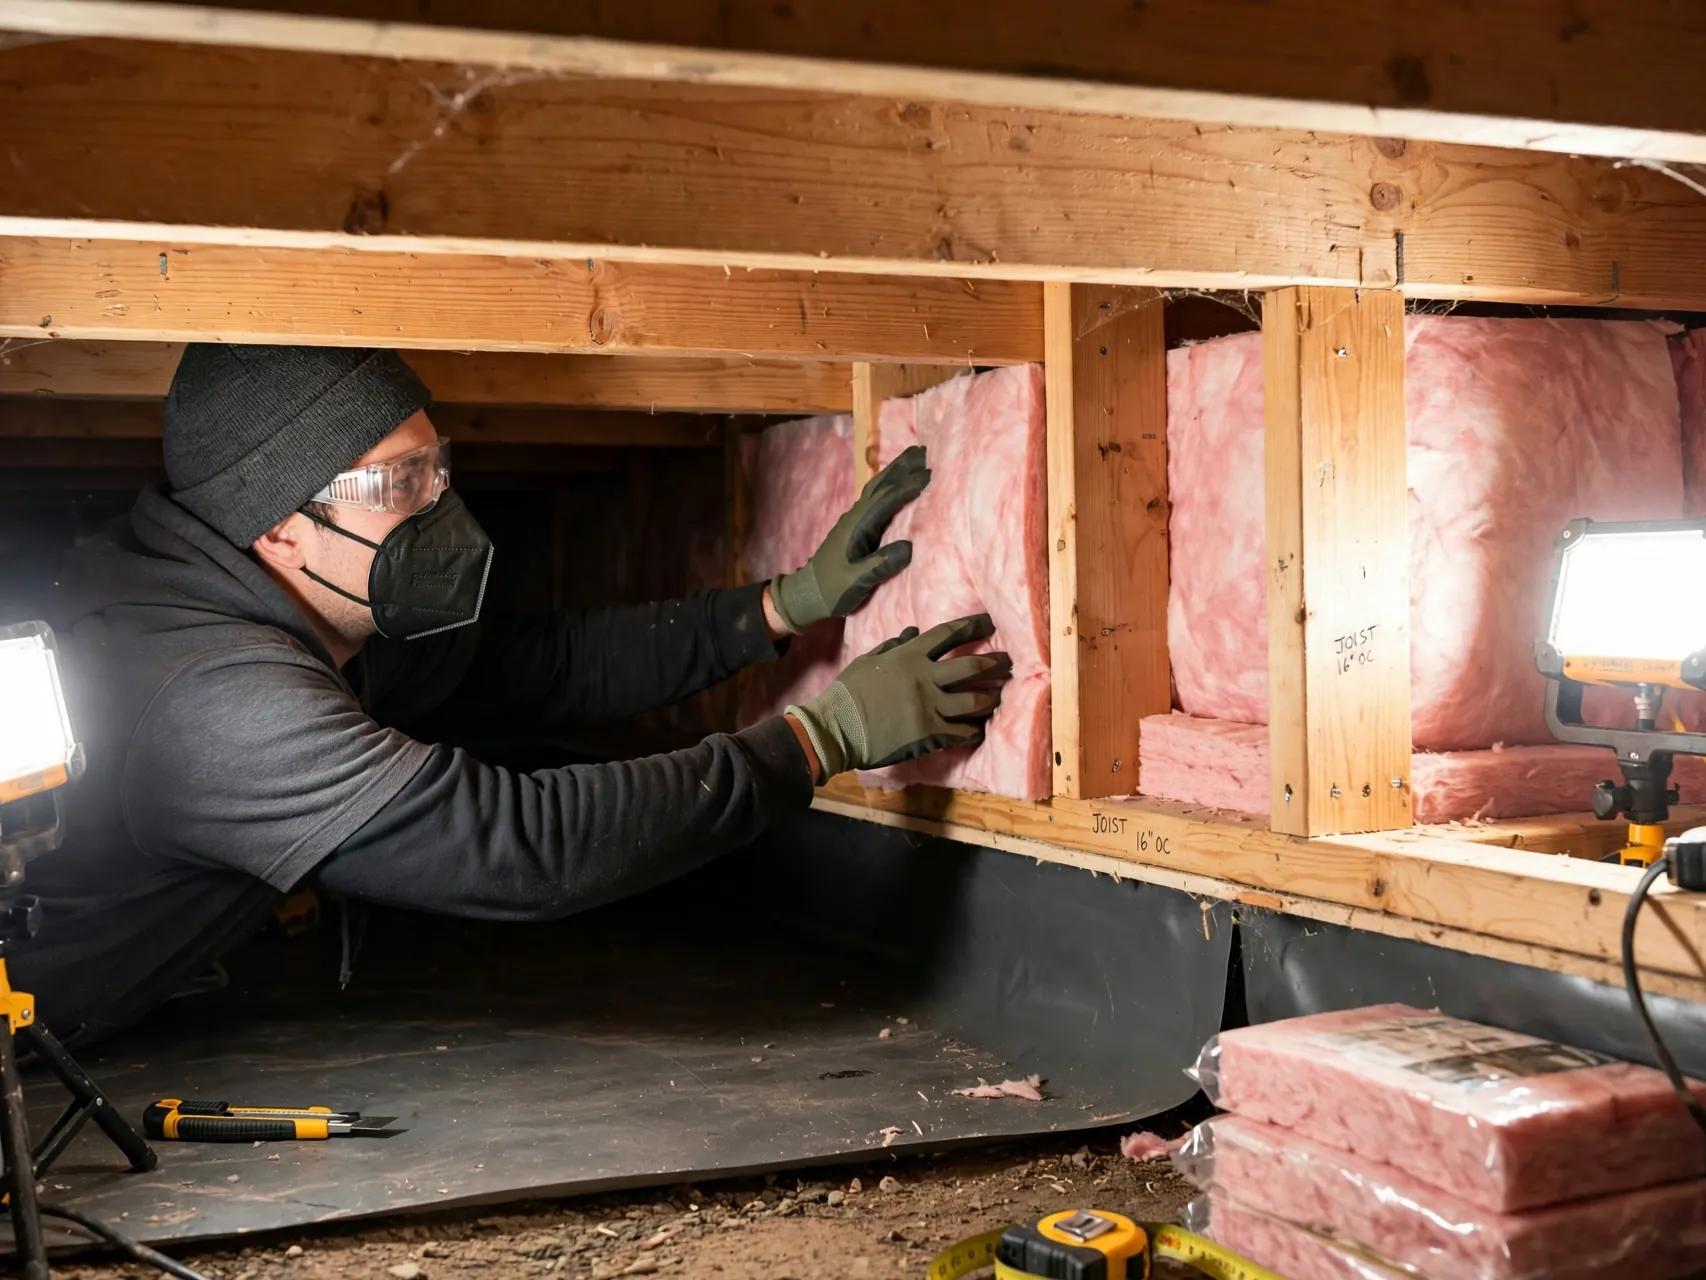
Rooms above a vented crawl space or unheated garage often have cold floors, because the underside of the floor faces outdoor temperatures. Batts fitted snugly between the floor joists, held in place with wire supports or mesh, slow that heat loss and make the rooms above far more comfortable.
Wear full protective gear for this overhead work and check for plumbing leaks or pest damage before covering anything. Keep insulation clear of heat sources and recessed fixtures below, and never compress batts into shallow spaces.
21. Close Foundation and Sill Plate Gaps
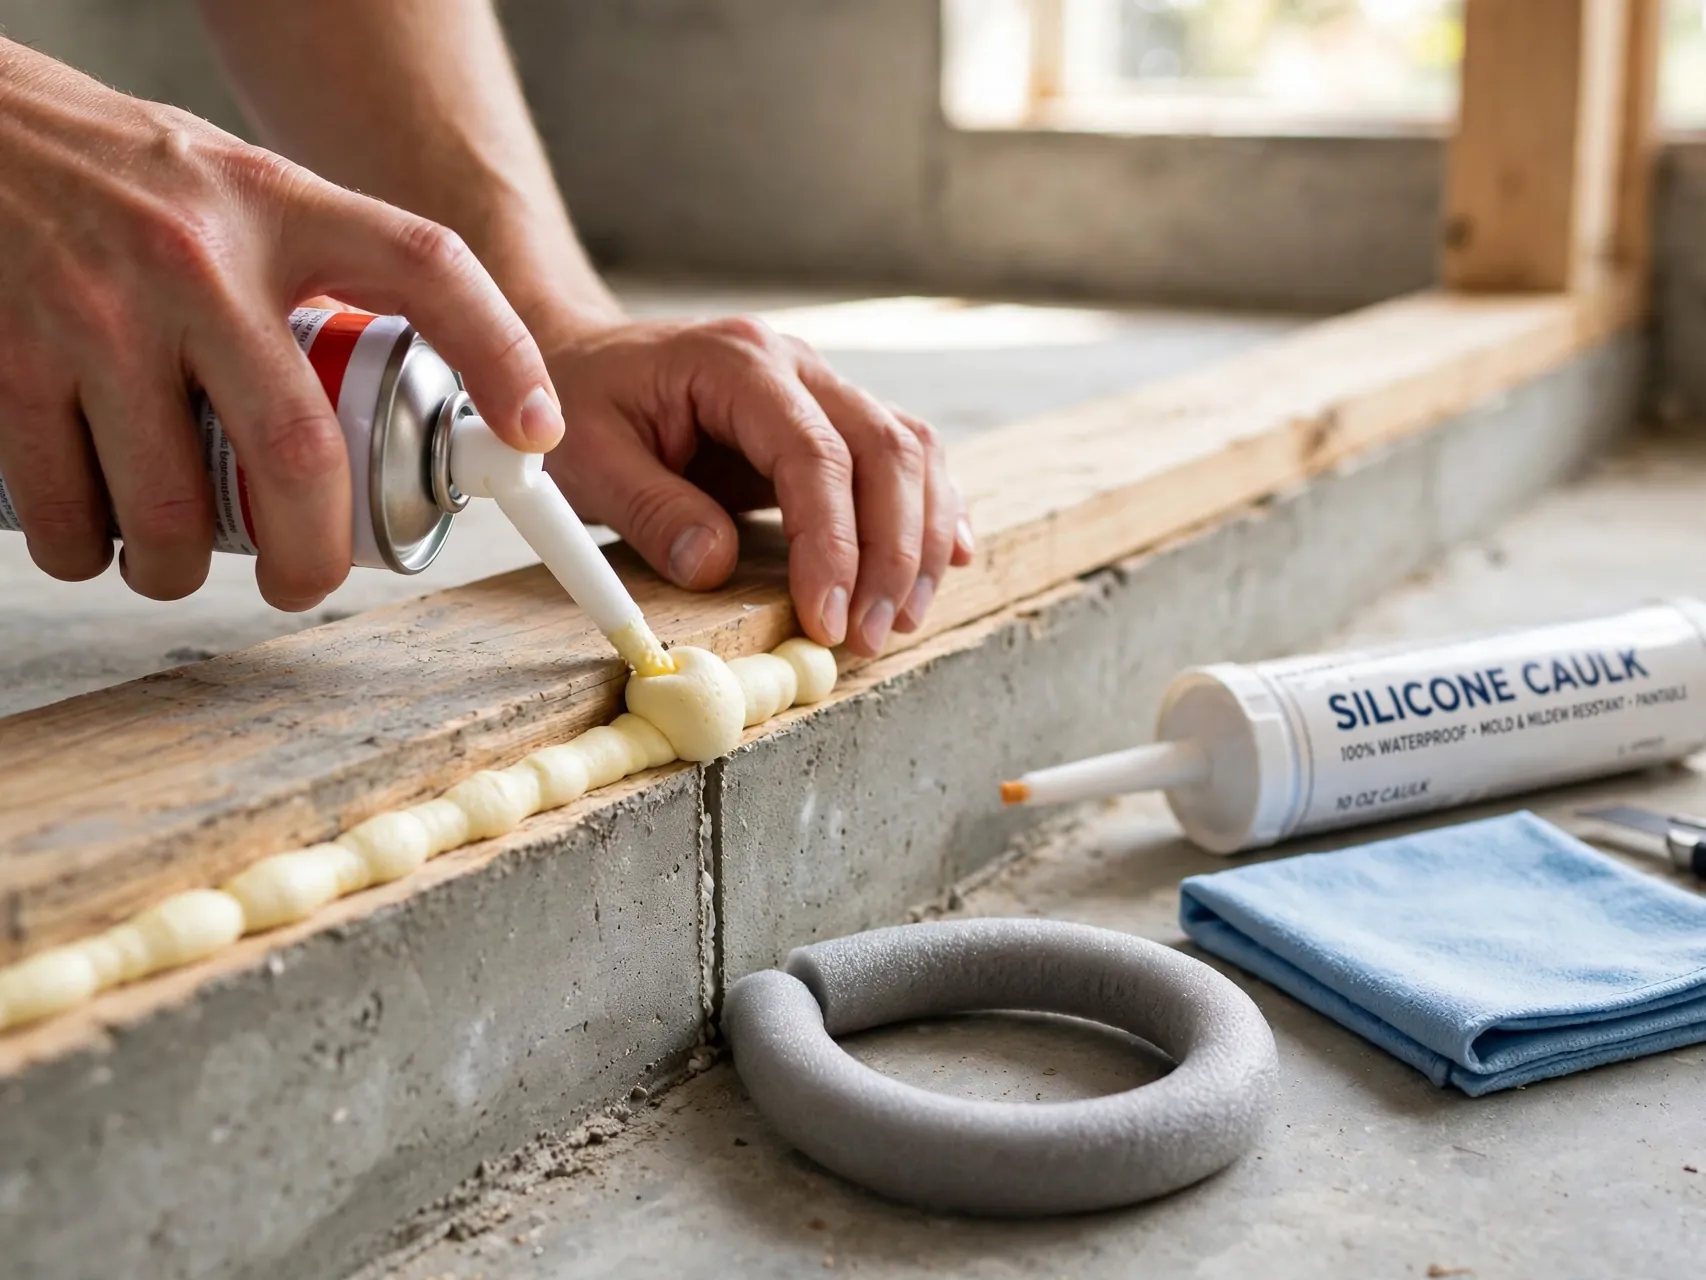
Where the wooden sill plate meets the concrete foundation, gaps and cracks invite cold air, moisture, and insects. From inside the basement or crawl space, seal this joint with caulk for thin cracks or foam for wider gaps, working along the whole perimeter of the house.
Outside, check where siding meets the foundation and where pipes, cables, and vents pass through the wall, and seal those penetrations as well. Keep foam products clear of heat sources and follow maker guidance.
22. Hang Thermal Curtains as a Finishing Layer

Thermal or lined curtains add a soft insulating layer over windows, especially older ones, and they help most when fitted close to the wall, wide enough to overlap the frame, and long enough to meet the sill or floor. Close them at dusk in winter to hold the day warmth in, and open them on sunny days to let free solar heat through.
Curtains are a finishing layer, not a substitute for sealing frames and sashes first.
23. Check Your Work Each Season and Top Up Worn Seals

Insulation work is not finished forever in one weekend. Weatherstripping compresses, caulk cracks, film comes down in spring, and attic insulation can slump or get disturbed by stored boxes and visiting tradespeople. A short seasonal walk through keeps every gain you made.
Each fall, feel for drafts at doors and windows, peek into the attic to confirm insulation depth and clear soffit vents, and replace any seal that has peeled or flattened.
FAQ
What insulation project should a beginner do first?
Start with air sealing, not insulation rolls. Weatherstrip doors, fit door sweeps, add outlet gaskets, caulk window frames, and seal the attic hatch. These jobs are cheap, safe, and fast, and they make any later insulation work perform better. Move to the attic once you have your protective gear and understand the light fixture, vent, and wiring safety rules.
What protective gear do I need for fiberglass insulation?
Wear a respirator or a mask rated for insulation fibers, safety glasses or goggles, gloves, a hat, and full long sleeves and long pants. Work with ventilation, take fresh air breaks, and wash skin and clothes afterward. Keep children and pets away from the work zone until tools and offcuts are packed away and surfaces are wiped down.
Can I insulate over knob and tube wiring?
No. Never bury knob and tube wiring in insulation or pack insulation around it. That wiring needs open air to release heat, and covering it is a fire risk flagged by DOE and ENERGY STAR guidance. Stop work in that area and hire a licensed electrician to inspect or replace the wiring before insulation goes anywhere near it.
How much money will DIY insulation save me?
Savings depend on your climate, your home, and how leaky it was to start with, so honest guides avoid promising a fixed figure. What guidance from the Department of Energy supports is the direction: sealing air leaks and bringing insulation up to recommended levels can help lower heating and cooling costs and improve comfort. The leakiest homes usually feel the biggest change, in bills and in how even the rooms feel.
Which jobs should I leave to a professional?
Hire out anything involving live knob and tube wiring, spray foam installation, suspected asbestos or vermiculite insulation, chimney and flue repairs, and garage door spring adjustments. Also call a pro if your attic has water damage, mold, or vents that exhaust into the attic instead of outdoors. DIY works best on sealing, weatherstripping, batts, and simple wraps, and knowing the line keeps the whole project safe.
Key Takeaways
- Seal before you insulate: Air sealing doors, windows, outlets, and attic penetrations is what makes every later layer perform.
- Gear up every time: Respirator or mask, gloves, and eye protection are non-negotiable when handling fiberglass.
- Respect the three attic stop signs: Keep soffit vents clear with baffles, never cover recessed lights unless they are rated for contact, and never bury knob and tube wiring, flag it for an electrician.
- Small jobs stack up: Pipe sleeves, duct sealing, rim joist foam, and a sealed attic hatch quietly cut waste in every season.
- Maintain the win: A short seasonal check keeps seals tight and insulation at full depth, so bills stay lower.
- Ready for a cozier home and calmer bills? Save this guide to Pinterest and pin the first project you will tackle this weekend.