21 Crochet for Beginners Tips to Start Stitching Today
Introduction
Crochet looks complicated from the outside, but it is really one hook, one strand of yarn, and a handful of simple movements repeated until they feel natural. The best approach to crochet for beginners is to shrink the learning curve: pick forgiving supplies, learn three core stitches, and finish a small project in your first week.
Skip the fancy yarn and the giant pattern book for now. A smooth ball of medium weight yarn, one comfortable hook, and a quiet half hour will teach you more than a cart full of supplies ever will.
The 21 tips below follow the order real beginners need, from choosing yarn to finishing, washing, and displaying your first handmade pieces at home.
1. Start With Smooth, Light Colored Worsted Yarn
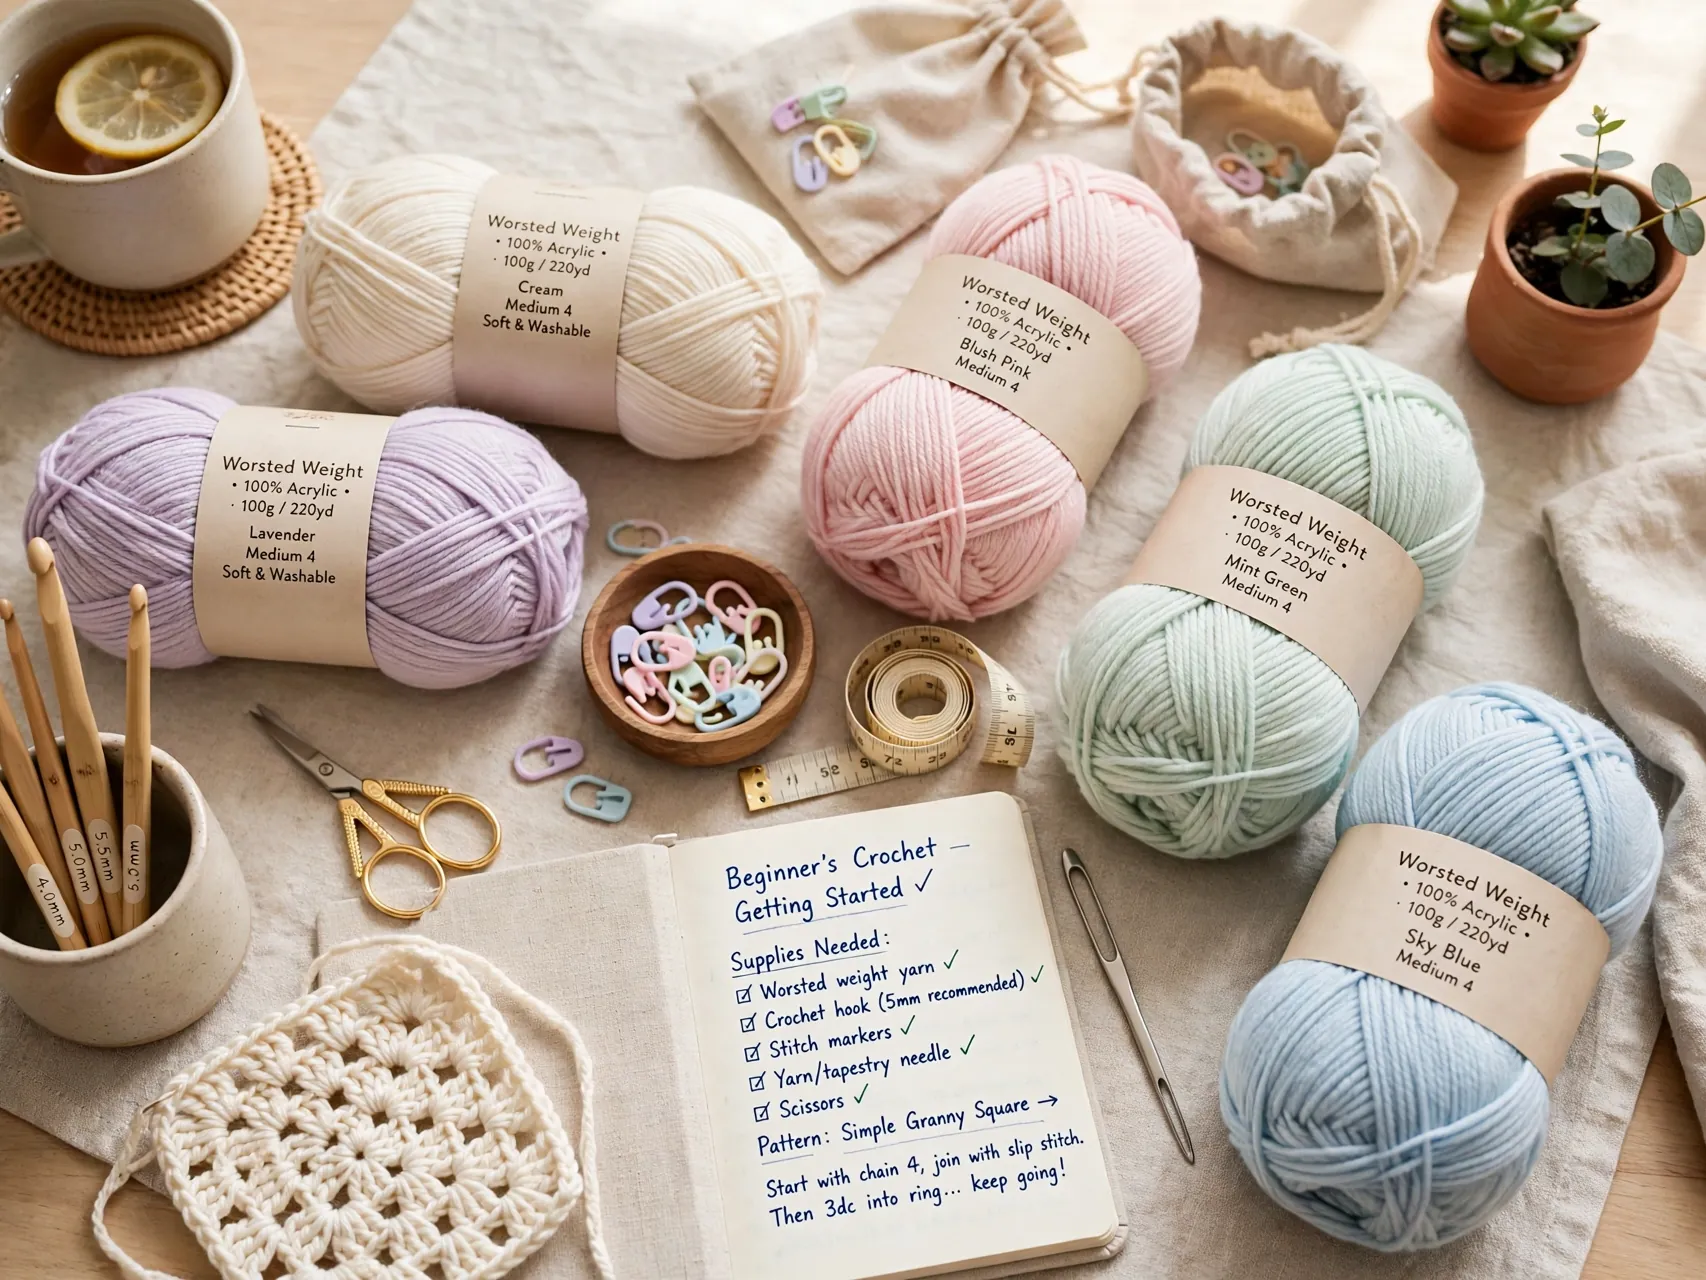
Medium weight yarn, often called worsted or category 4, is the kindest starting point. It is thick enough to handle easily, thin enough to form clear stitches, and it shows every loop so you can spot mistakes early.
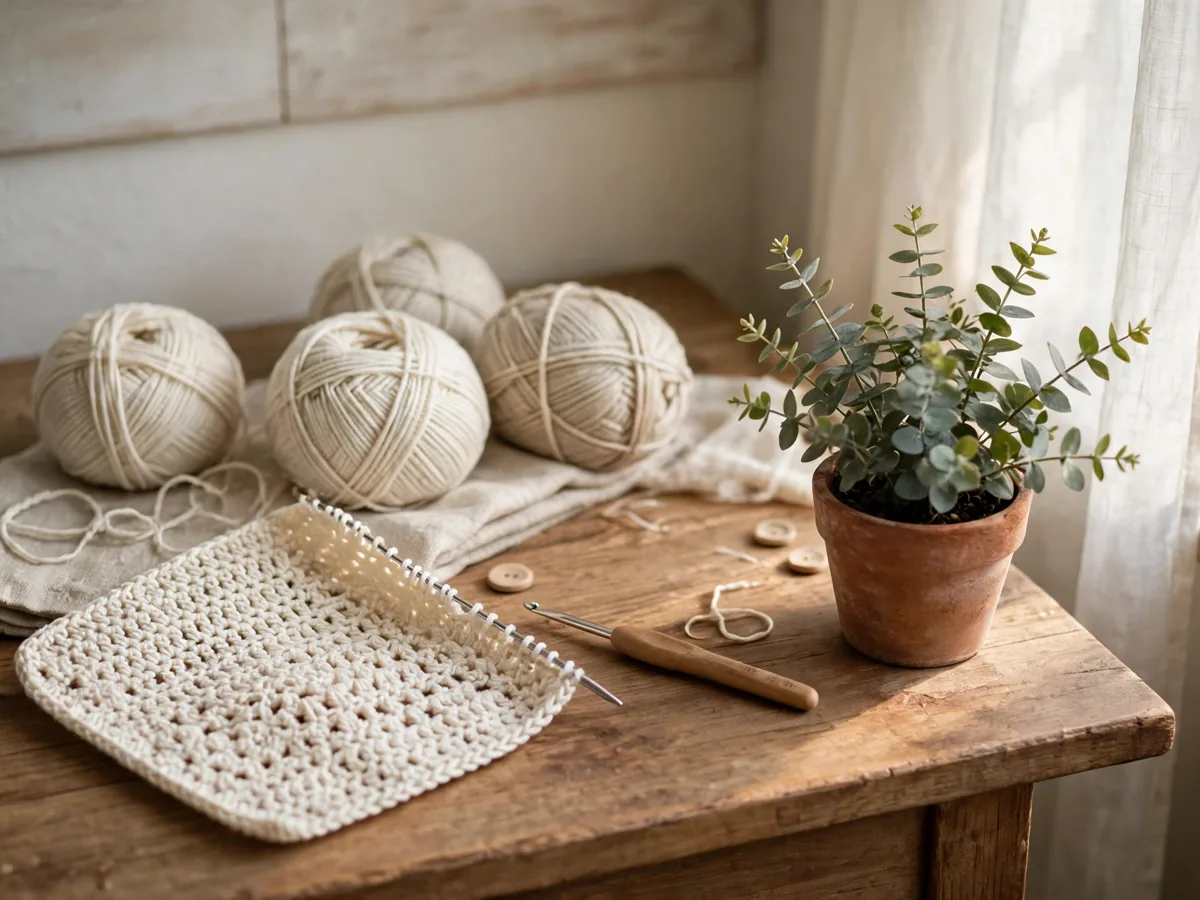
Choose a light, solid color like cream, pale yellow, or soft blue. Dark yarn, fuzzy yarn, and busy mixes hide the stitch structure you are trying to learn. A smooth acrylic or acrylic blend also slides on the hook without splitting, which keeps your first rows calm instead of frustrating.
2. Match Your Hook to the Yarn Label

Every yarn label suggests a hook size, and for worsted yarn that is usually around 5mm to 5.5mm. Start there. A hook that is too small makes tight, stubborn stitches, while a hook that is too large makes loose, floppy fabric that is hard to read.
Ergonomic hooks with a soft grip are worth trying if your hands tire quickly. Buy one good hook in the suggested size first, learn how it feels, and add other sizes later when a project actually calls for them.
3. Learn How to Hold the Hook and Yarn Comfortably

There are two common hook grips, the pencil grip and the knife grip, and neither one is wrong. Try both for a few rows and keep the one that lets your wrist stay relaxed. Most crocheters hold the hook in their dominant hand and guide the yarn with the other.
For how to hold a crochet hook and yarn together, drape the yarn over your non dominant index finger so it feeds with light, steady tension. Comfort beats textbook form at this stage, because a relaxed hold is what lets you practice longer.
4. Master the Slip Knot and Foundation Chain First
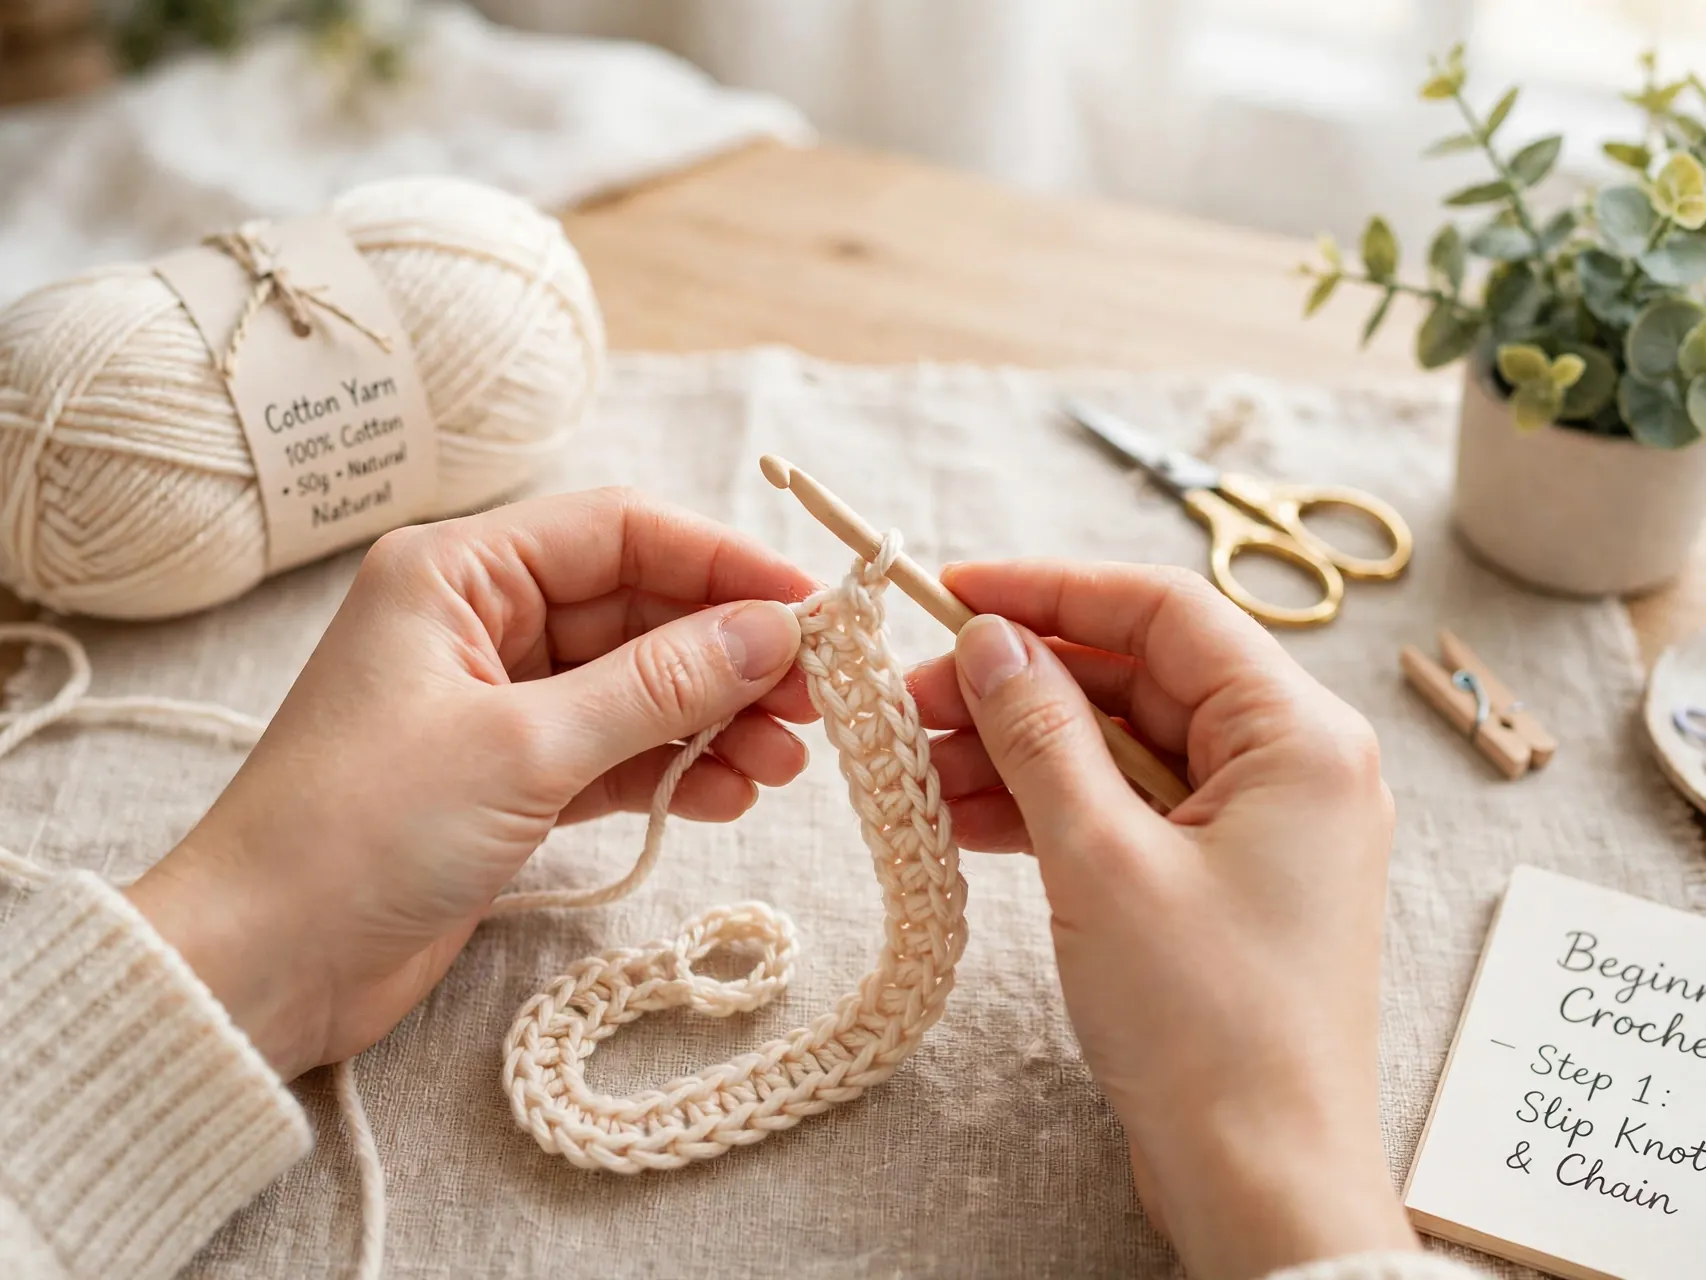
Every project starts with a slip knot on the hook, followed by a foundation chain of simple loop stitches. The chain is not busywork. It teaches you the yarn over movement and the rhythm that every other stitch builds on.
Make chains until they look even, like a soft braid rather than a row of tight knots and loose loops. If your chain is much tighter than your later rows, use a hook one size larger just for the chain, then switch back for the body of the work.
5. Learn Single Crochet Before Anything Fancy

Single crochet is the first real stitch most beginners should settle into. It makes a firm, tidy fabric that suits dishcloths, coasters, and bags, and the short movement is easy to repeat and count.
Work a small square of single crochet, turning at the end of each row with one chain. Do not rush to taller stitches until you can finish a row, count it, and find the first and last stitch without guessing. That confidence carries into every pattern you will ever follow.
6. Add Double Crochet for Speed and Drape

Double crochet is taller, faster, and softer than single crochet, which is why blankets and scarves use it so often. The yarn over at the start feels awkward for a day, then suddenly clicks.
Practice alternating rows of single and double crochet in one swatch. You will see how stitch height changes the fabric, and you will learn the turning chains each stitch needs. Together with chain and slip stitch, these are the beginner crochet stitches that unlock most starter patterns.
7. Count Your Stitches at the End of Every Row
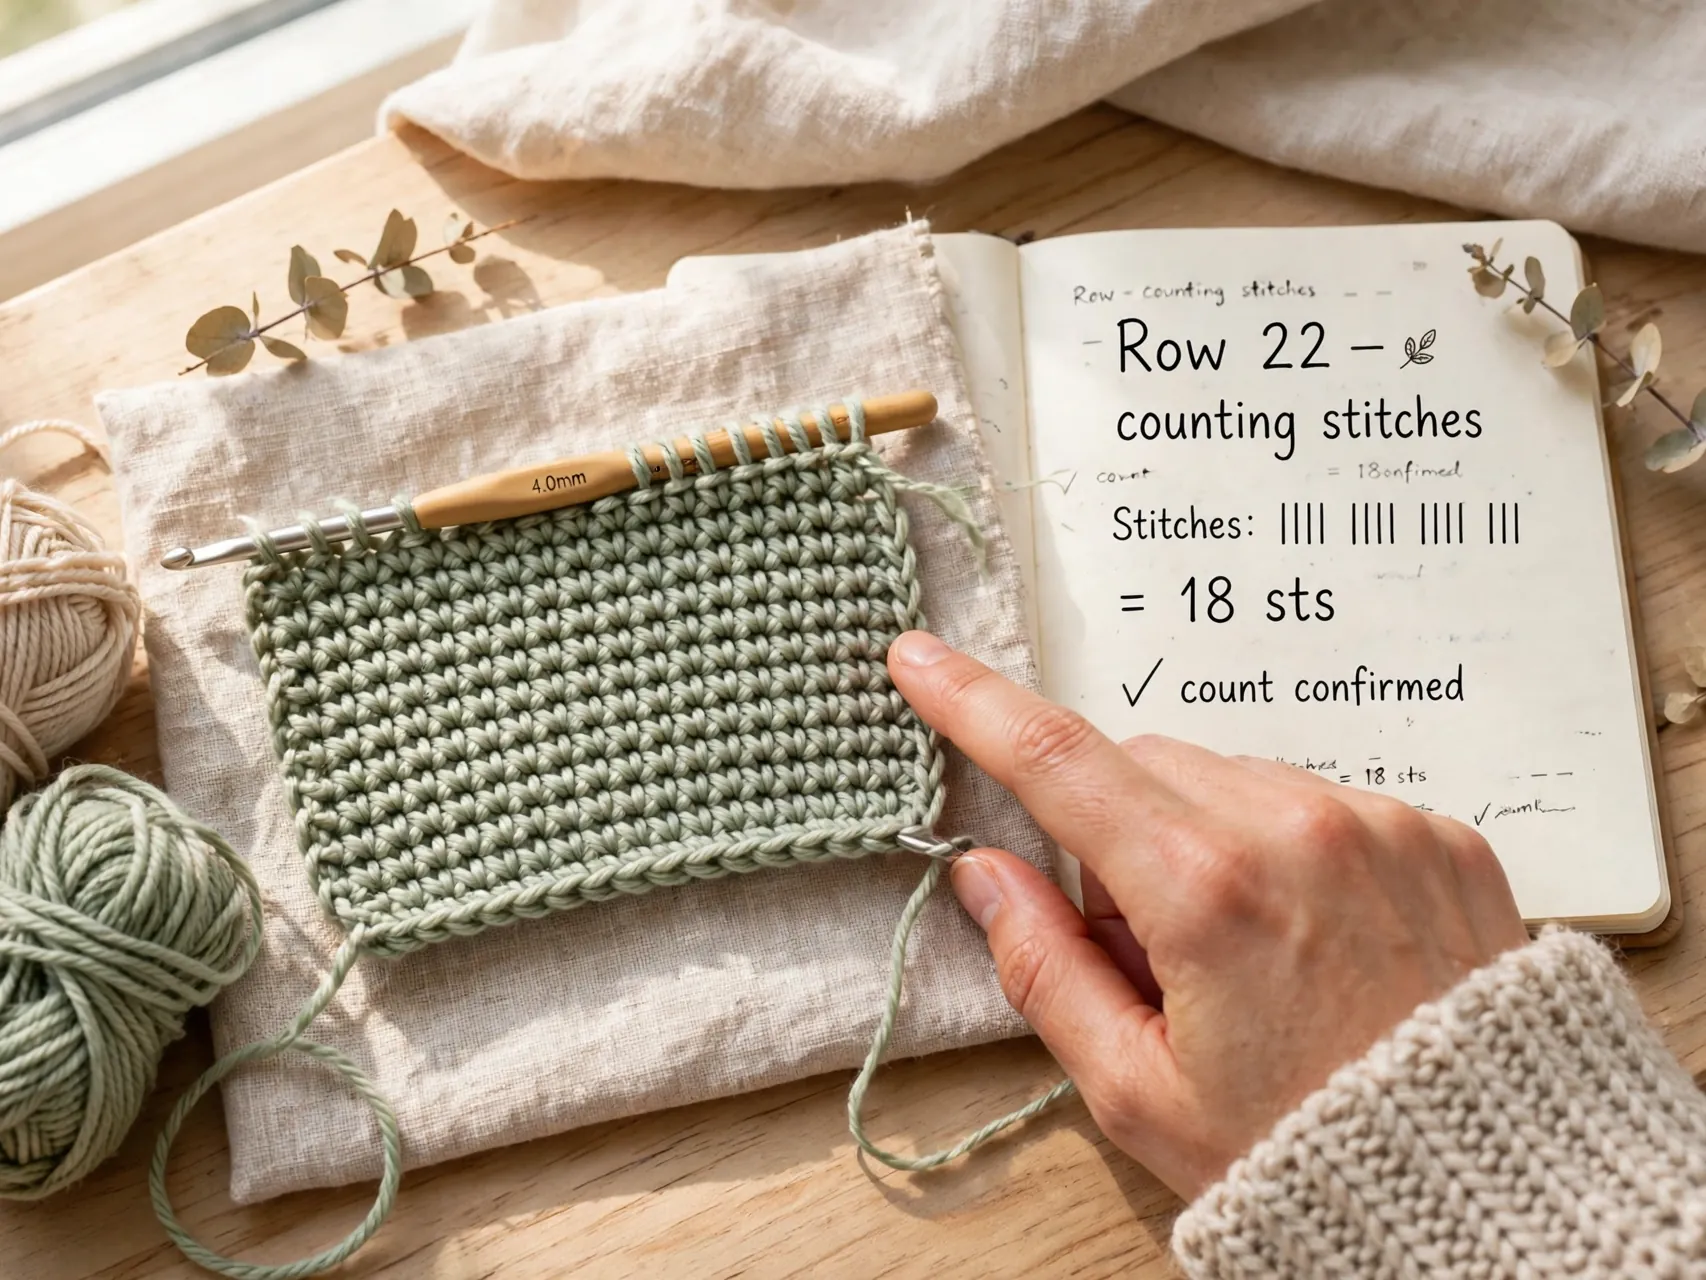
Most wavy edges and shrinking blankets come from one simple habit: not counting. Stitches get skipped at row ends and added at turning chains, and the piece quietly changes width.
Count out loud for your first few projects, every single row. It takes ten seconds and saves hours of undoing. If the count is wrong, find the mistake while it is one row back, not twenty. Counting soon becomes automatic, but in the beginning it is the habit that keeps your work looking straight and square.
8. Use Stitch Markers Like Training Wheels
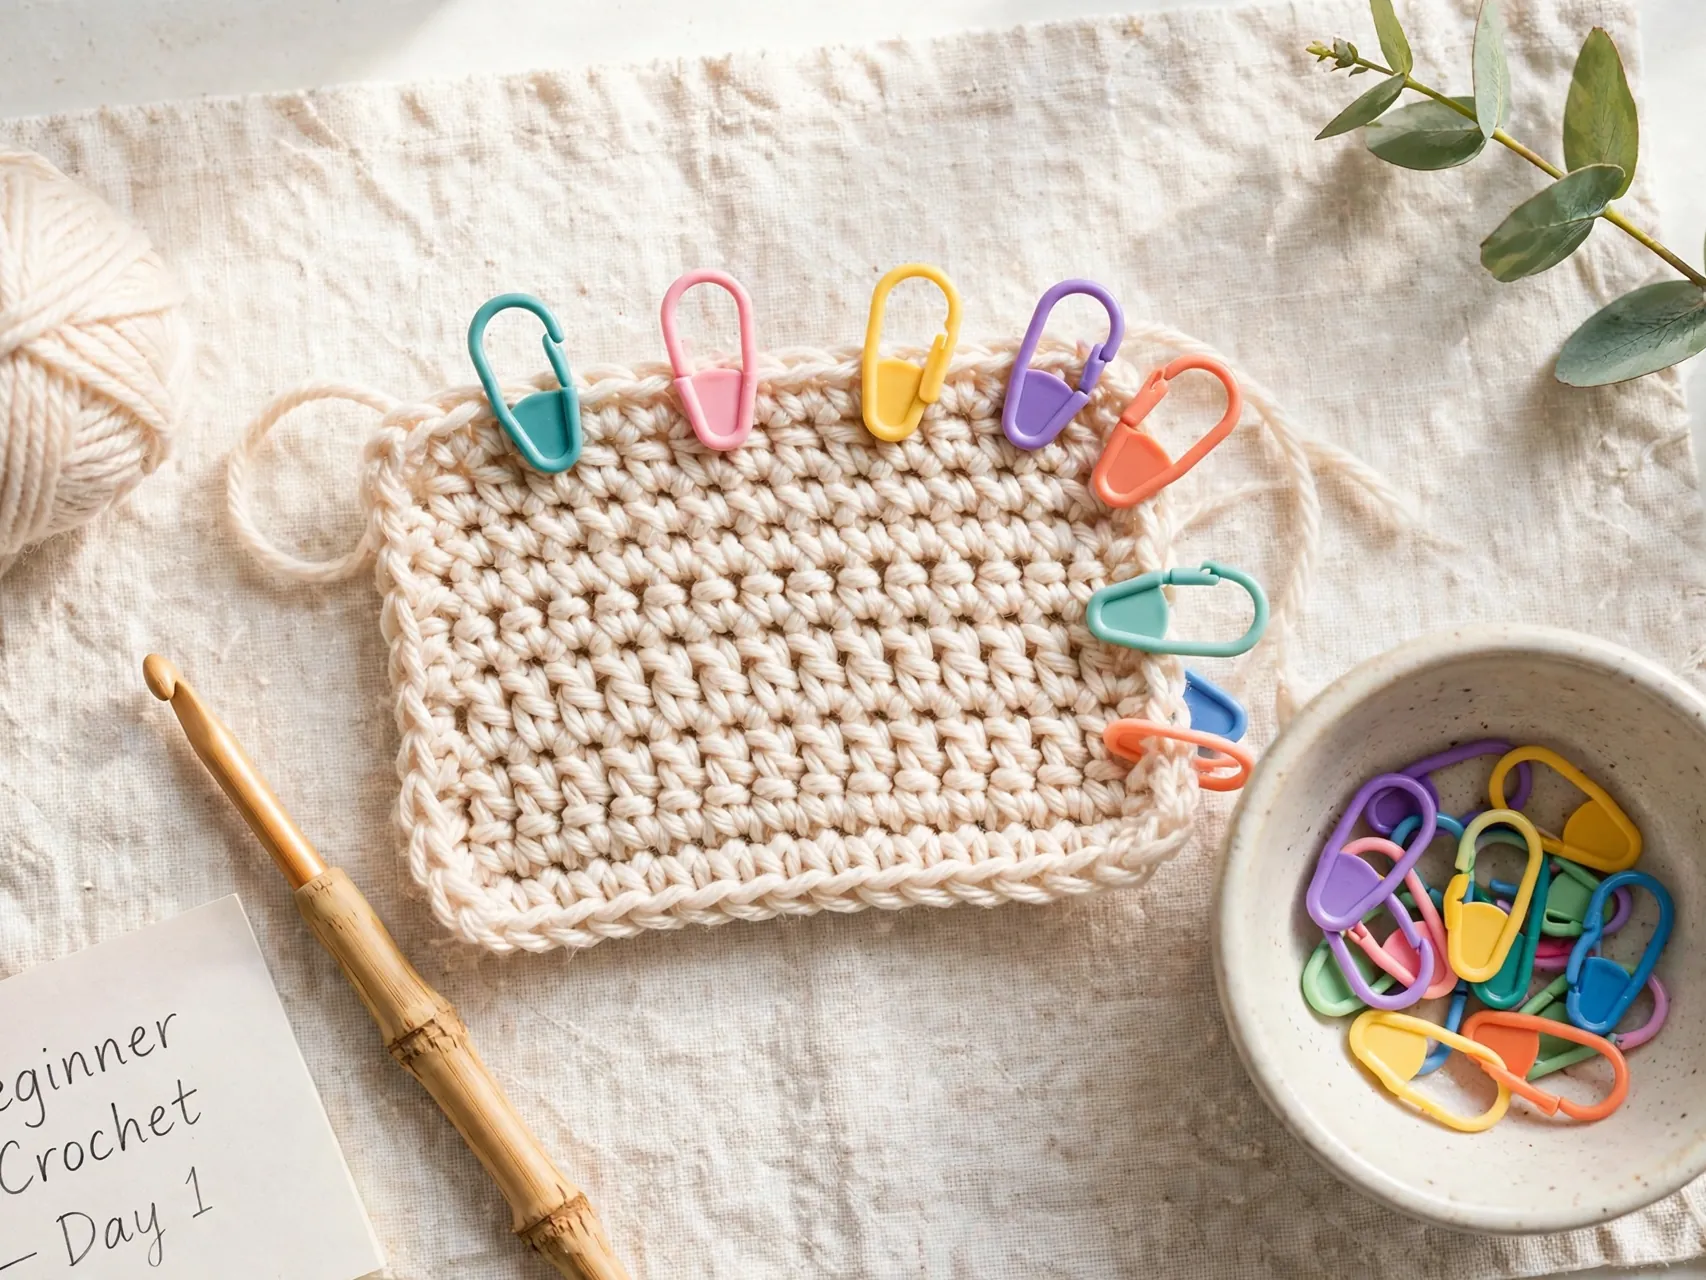
Clip a stitch marker into the first and last stitch of a row and you will never hunt for the edge again. Markers also help in rounds, where the start of each round hides in the fabric.
Locking markers made for crochet open and close, so they stay put without snagging yarn. Use them to mark pattern repeats, increases, or the spot where you stopped for the day. They cost very little, and for beginners they remove the most common source of frustration in one small click.
9. Keep Your Tension Even by Relaxing Your Hands
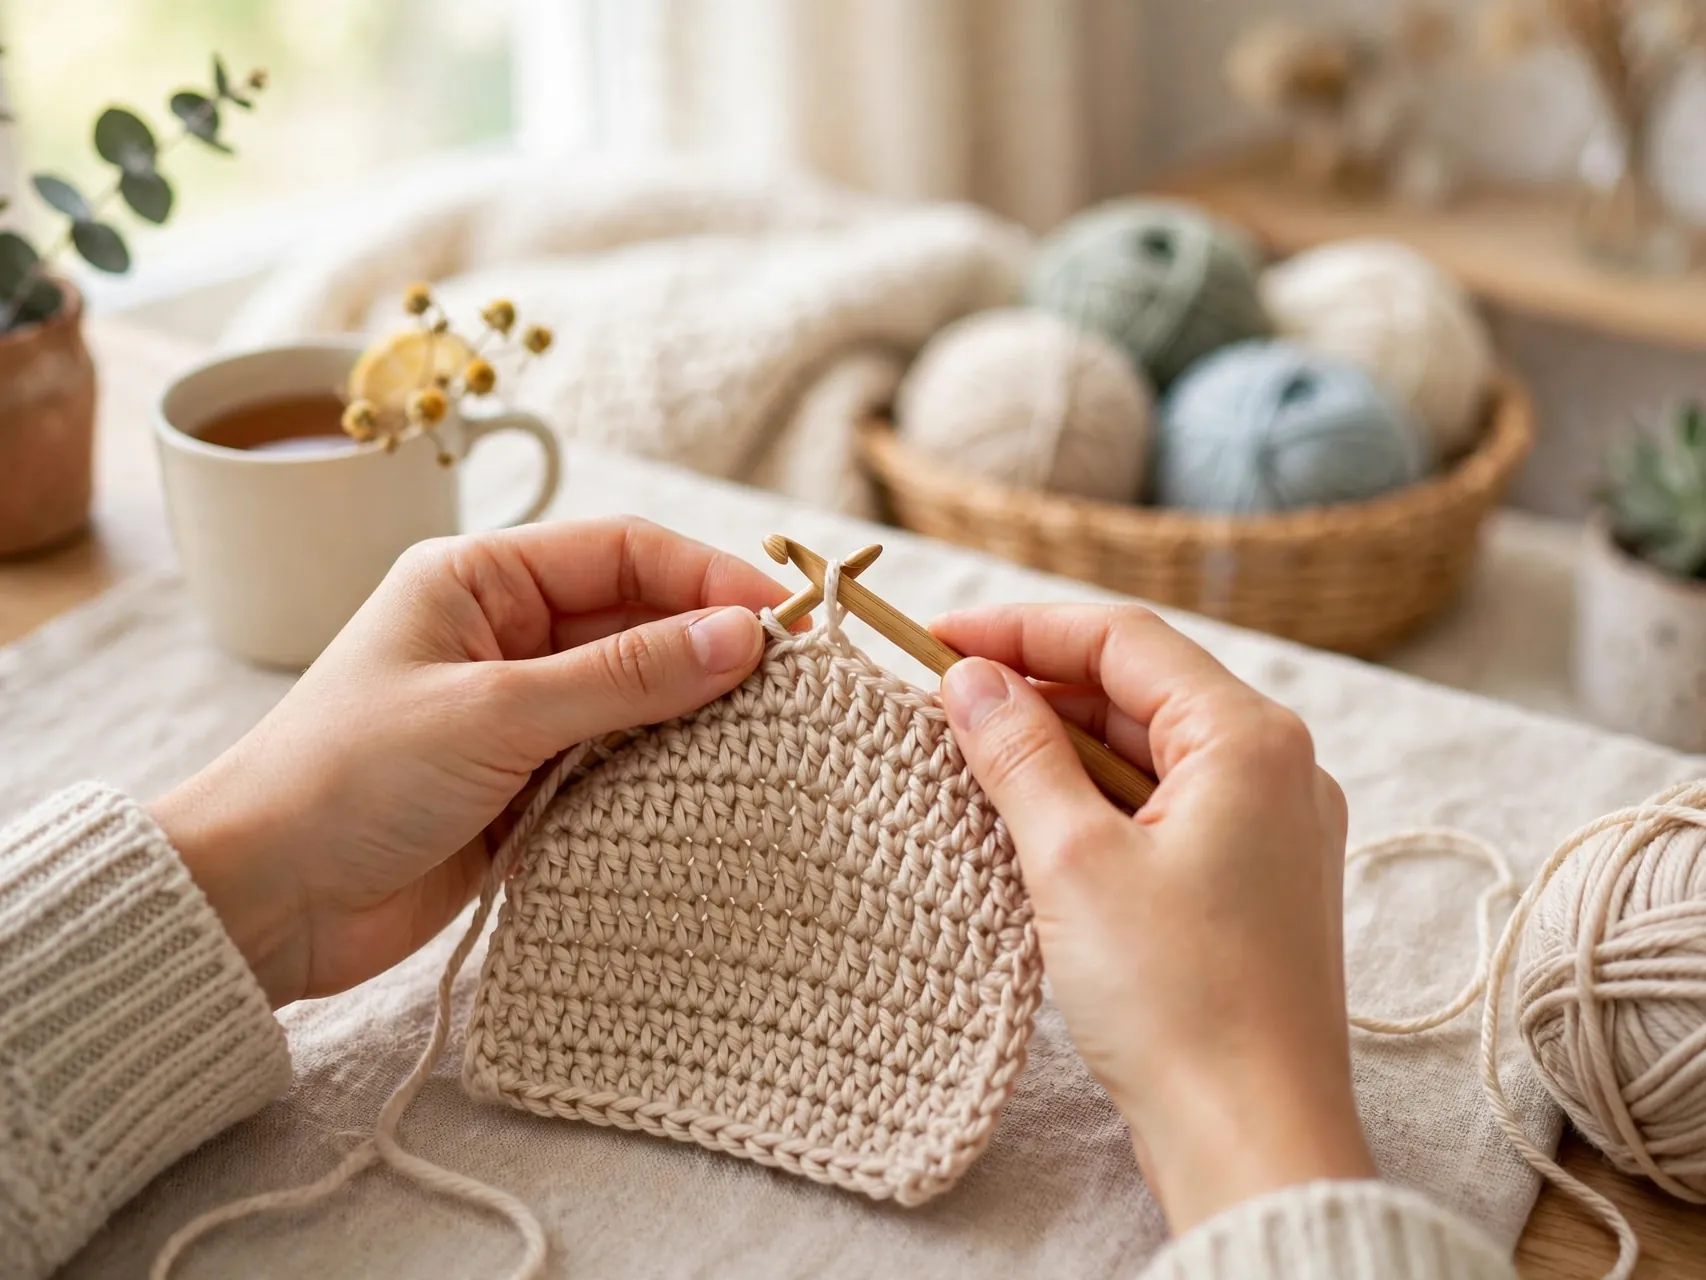
Tension is simply how tightly you pull each stitch, and even tension comes from relaxed hands, not force. If you grip the yarn hard, stitches shrink, your hook squeaks, and your fingers ache.
Feed the yarn smoothly, let the hook do the sizing, and pull each loop up to the full width of the hook shaft. Short practice sessions help too. Ten calm minutes builds better muscle memory than an hour of tense stitching, and your fabric will show the difference.
10. Make a Gauge Swatch Before Bigger Projects

Gauge means how many stitches and rows fit in a measured square, usually 4 inches. Patterns list a gauge so the finished size matches the design. For scarves it barely matters, but for hats and garments it decides the fit.
Crochet a swatch a little bigger than 4 inches, lay it flat, and count the stitches across the middle. Too many stitches means your work is tight, so try a larger hook. Too few means go smaller. This small test follows Craft Yarn Council standards used across patterns.
11. Learn the Common Abbreviations and US Versus UK Terms
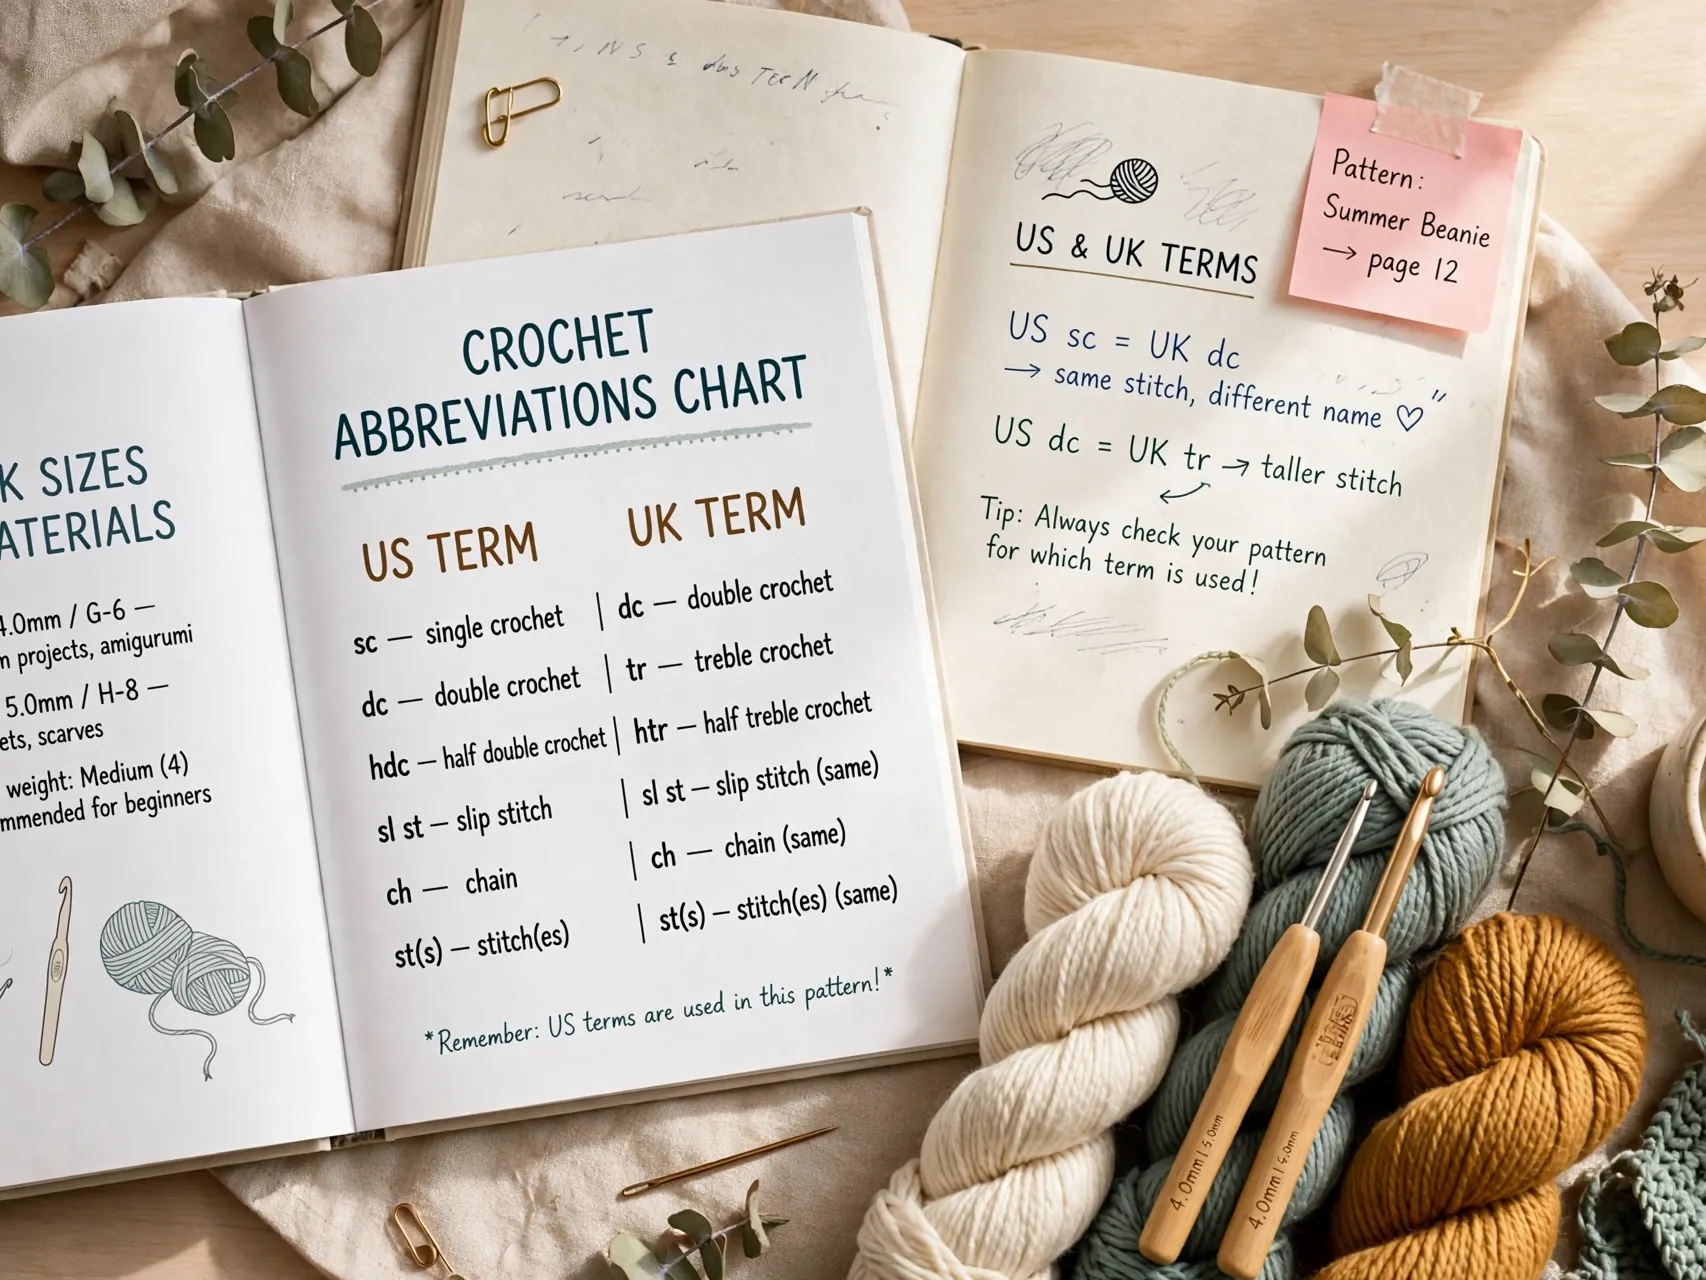
Patterns shorten everything: ch for chain, sc for single crochet, dc for double crochet, sl st for slip stitch. Keep a small abbreviation list beside you for the first month and it soon reads like plain language.
One trap matters. US and UK terms use the same names for different stitches, so a UK double crochet equals a US single crochet. Check which system a pattern uses before you start, especially with free patterns found online, and note it at the top of your printed copy.
12. Choose a True First Project, Not a Dream Project

The best easy first crochet projects are flat, small, and forgiving: a cotton dishcloth, a simple scarf in double crochet, coasters, or a basic granny square. You practice rows, edges, and finishing, and you get a usable item within days.
Save fitted sweaters, fine lace, and color charts for later. Early wins build the patience that harder projects demand. Many beginners keep their first dishcloth forever, wonky corner and all, because it marks the moment the craft stopped feeling mysterious.
13. Read the Whole Pattern Before You Pick Up the Hook

A two minute read through a pattern prevents most mid project surprises. Check the finished size, the yarn amount, the hook, and any special stitches listed at the start, so you can practice an unfamiliar stitch on scrap yarn first.
Highlight the size you are making if the pattern lists several. Note where repeats begin and end, usually shown with stars or brackets. Reading first turns a pattern from a test into a map, and maps are much easier to follow.
14. Learn to Recognize and Fix Mistakes Calmly
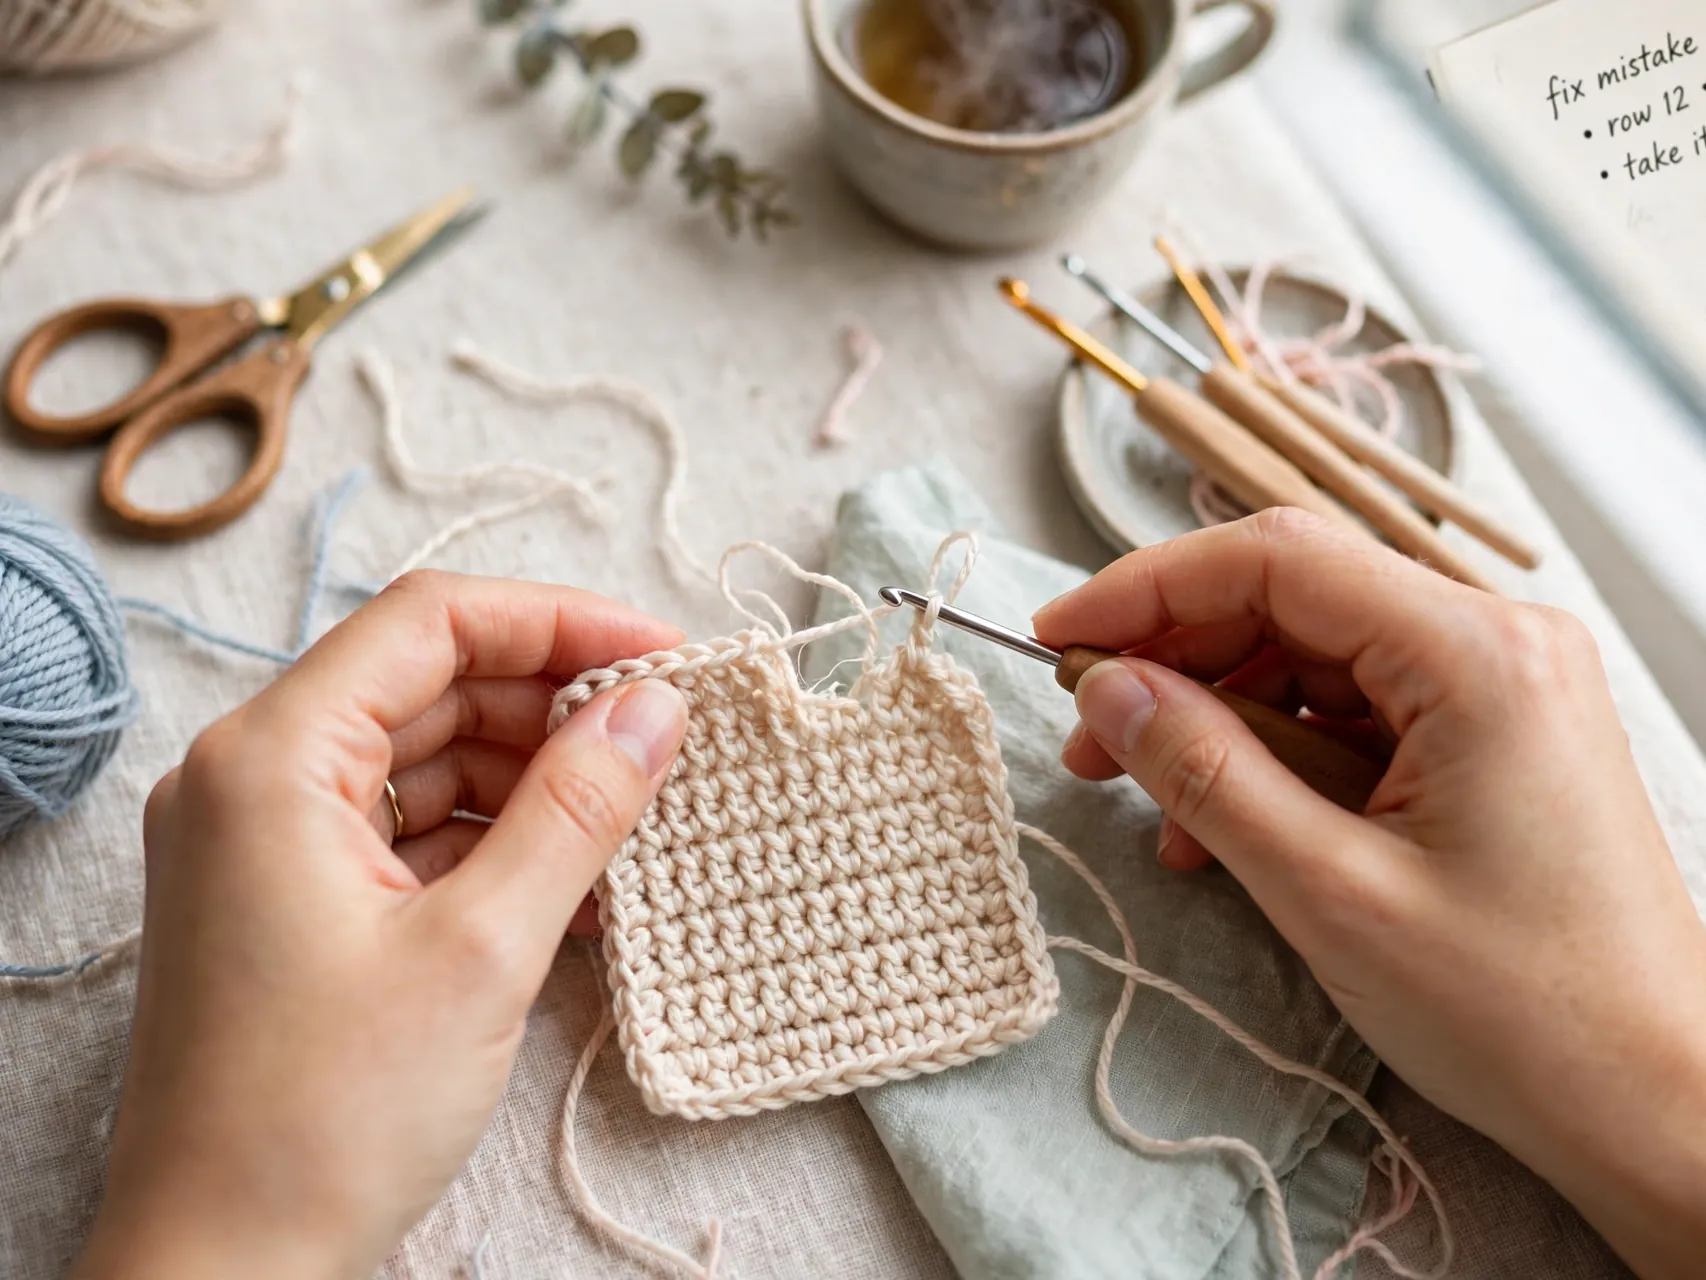
Every crocheter undoes work. Pulling stitches out to reach an error is so normal it has its own nickname, frogging, because you rip it, rip it. Undoing a row is not failure. It is how the craft teaches your eyes.
Learn what a missed stitch, an extra stitch, and a twisted stitch look like in the fabric. Fix small errors right away, and accept tiny ones in practice pieces. If the mistake changes the shape or the count, go back. Your future self, finishing a neat edge, will be glad you did.
15. Keep a Small, Tidy Crochet Kit

Beyond hook and yarn, a beginner kit needs small scissors, a yarn needle with a large eye for weaving ends, stitch markers, and a tape measure. A row counter or a simple notes app helps on longer pieces.
Keep it all in one pouch or basket that can move from sofa to table to porch. A tidy kit matters more than a big one, because searching for a needle mid row breaks your rhythm. Add tools only when a project needs them, and your kit stays light and useful.
16. Weave In Ends Properly So Work Does Not Unravel
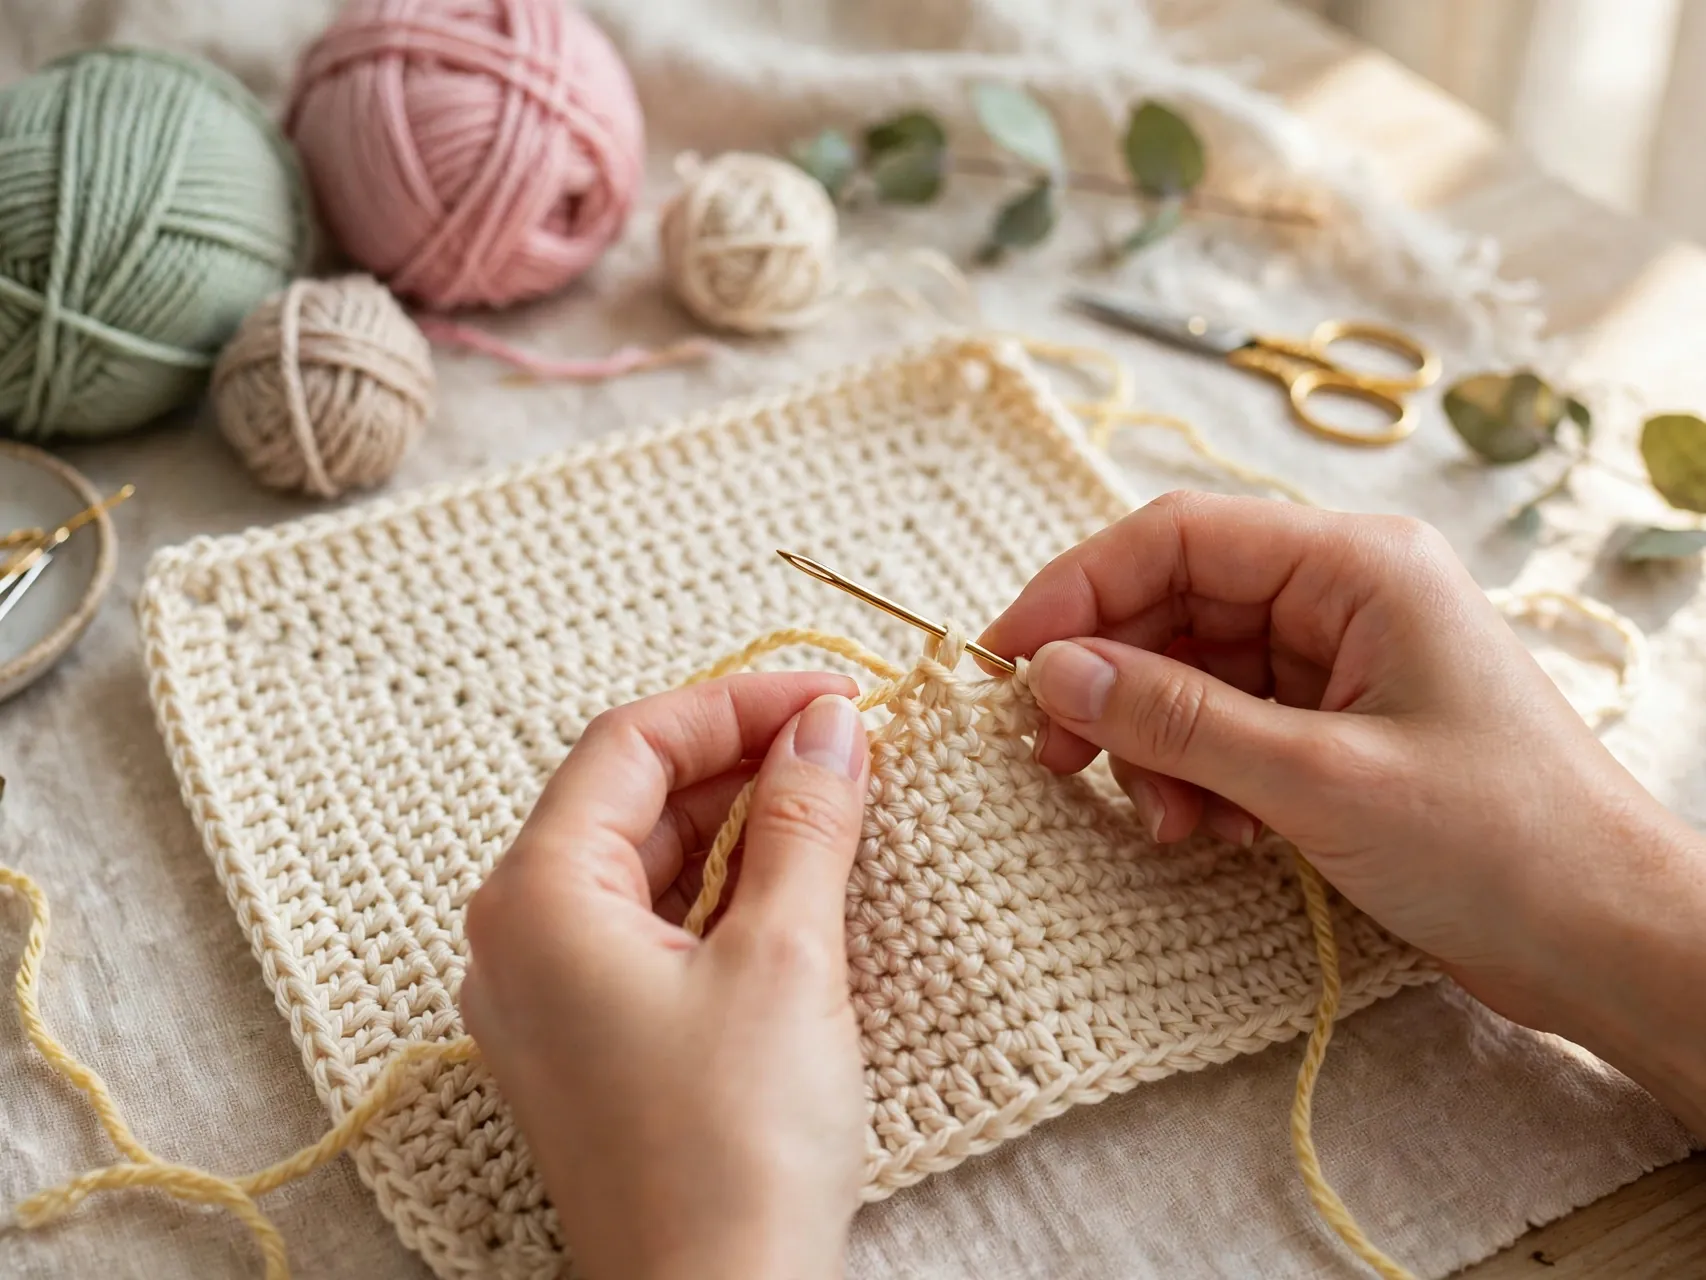
Leaving a tail of yarn at the start and end of a piece is not the finish. Thread the tail on a yarn needle and weave it through stitches in one direction, then back in another, so friction locks it in place.
Never just snip a tail flush with the fabric, because short ends work loose in the wash. Weave as you finish each piece rather than saving every end for one long session. Trim only after weaving, and your blankets and scarves will survive real life, laundry included.
17. Practice in Short Daily Sessions

Crochet skill grows in small, steady doses. Fifteen to twenty minutes a day beats one long weekend session, because your hands remember movements better with frequent, fresh practice.
Keep a practice swatch going beside your real project. Use it to test a new stitch, try a different grip, or warm up before a tricky section. Many beginners find stitching genuinely calming once the basics settle, and a daily swatch becomes a quiet ritual rather than homework.
18. Watch Your Posture and Take Hand Breaks

Sit with your back supported, your work raised on a cushion if needed, and good light falling over your shoulder onto the stitches. Hunching over dim, dark yarn is a fast route to sore shoulders and missed stitches.
Set a gentle rhythm of breaks. Stretch your fingers, roll your wrists, and look across the room to rest your eyes every half hour or so. Crochet should leave you relaxed, not stiff, and small ergonomic habits protect that feeling for years of making.
19. Block Finished Pieces for a Polished Look

Blocking is the gentle shaping step that turns a slightly wavy handmade piece into a flat, finished one. For many acrylic pieces, washing and laying flat to dry, pinned to the right size, is enough. Natural fibers respond well to light steam or wet blocking, so follow the yarn label care guidance.
Do not skip this step on squares that must join together, like granny square blankets. Even, blocked squares sew up neatly, and the whole project suddenly looks planned rather than improvised.
20. Wash and Store Handmade Pieces With Care

The yarn label is your care guide. Many acrylics handle a gentle machine wash, while wool and cotton often prefer hand washing and flat drying to keep their shape. When in doubt, wash one swatch first and see how it behaves.
Store folded pieces in a clean, dry spot, and avoid hanging heavy crochet, which stretches under its own weight. Keeping a note of the yarn name and color with each stored project helps later repairs match almost invisibly.
21. Style Your First Makes Around the Home
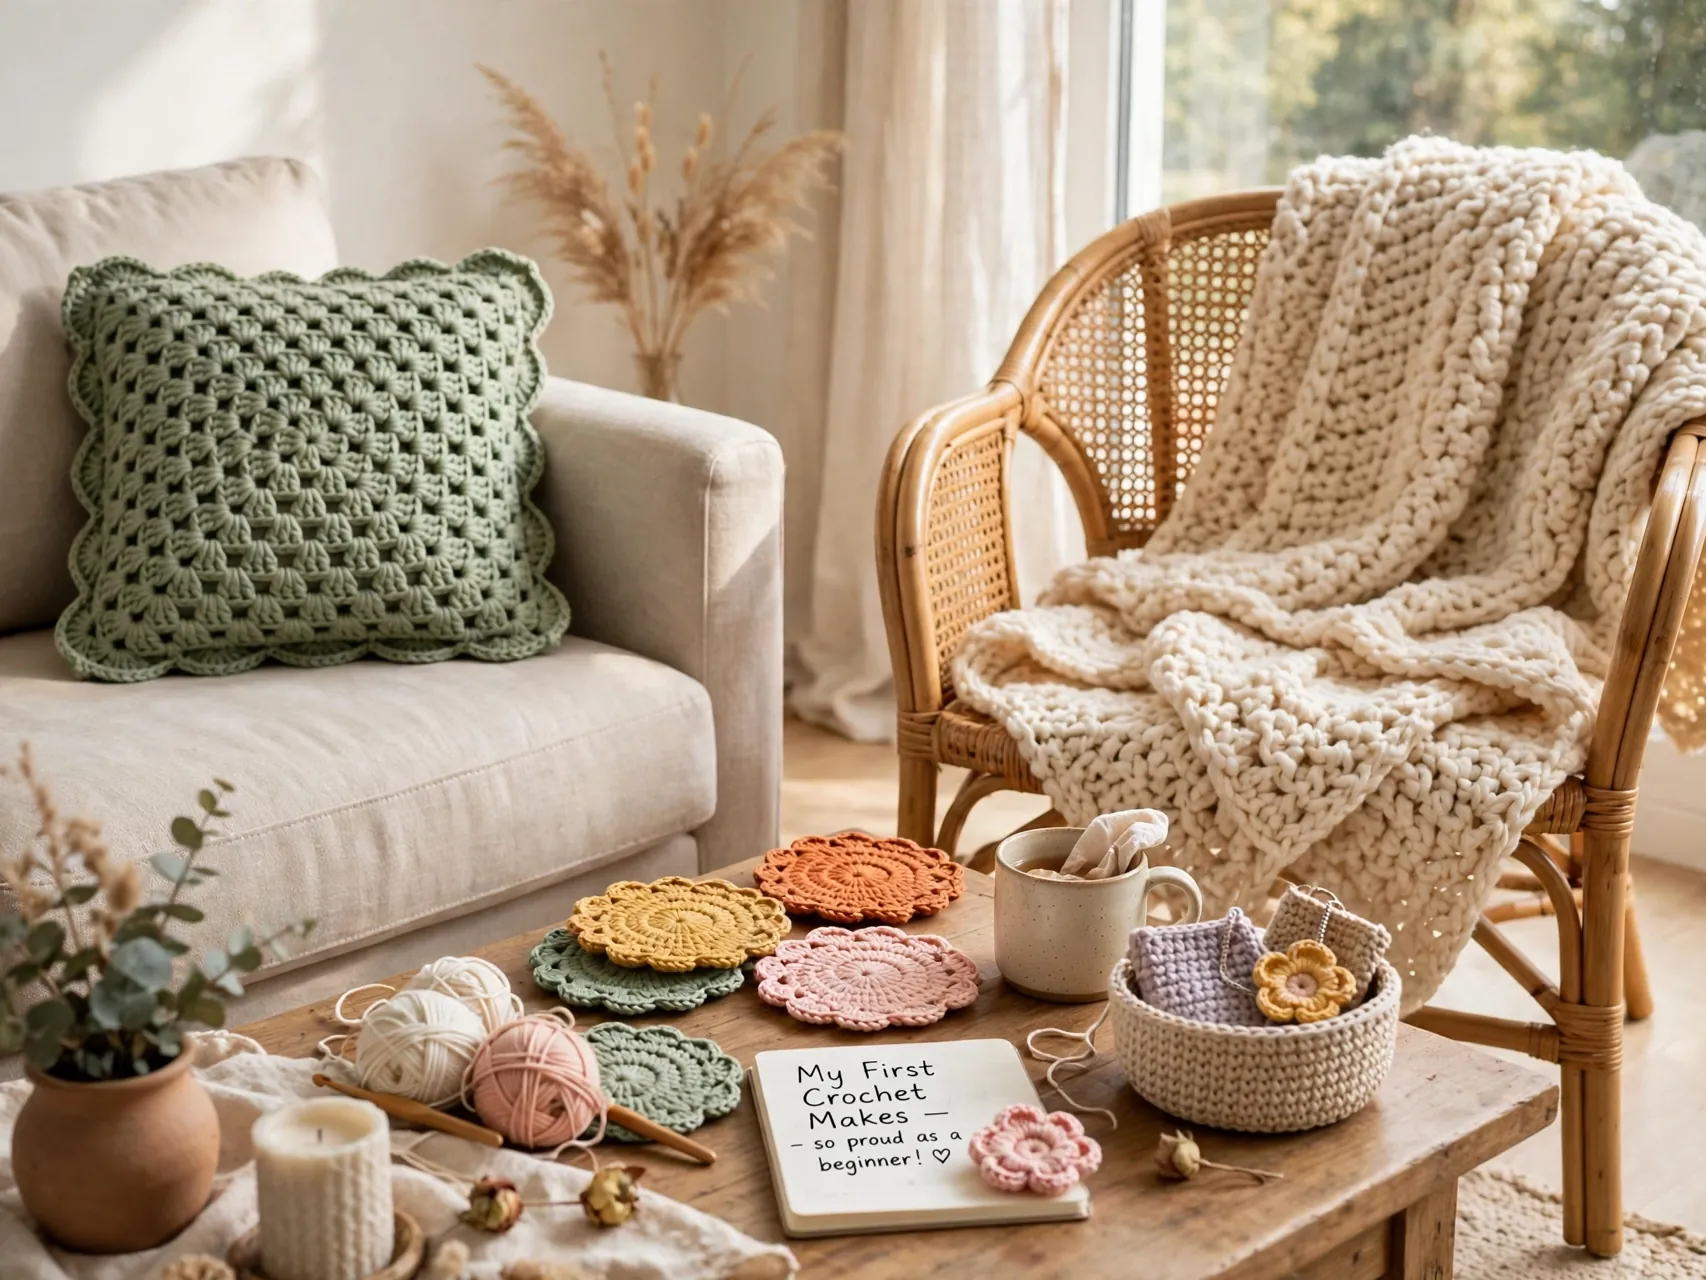
Your first finished pieces deserve a place in the house, not a drawer. Drape a simple scarf over a chair back, stack folded dishcloths in an open kitchen basket, and set coasters on the coffee table where guests actually use them.
Seeing your work in daily life is the best motivation to keep learning. From there, natural next steps are a granny square cushion cover, a market bag, or a baby blanket for a gift. Each project adds one new skill, and your home slowly fills with pieces that carry a story.
FAQ
What is the easiest crochet stitch for a total beginner?
Start with the foundation chain, then single crochet. It makes a firm fabric, the movement is short and easy to count, and it teaches you where stitches sit. Once single crochet feels steady, add double crochet for taller, faster rows. Most starter patterns use just these stitches.
What yarn and hook should I buy first?
Choose smooth, light colored, medium weight worsted yarn, which is one of the standard best yarn for beginners crochet picks because stitches stay visible. Pair it with the hook size printed on the yarn label, usually around 5mm to 5.5mm. Add scissors, a yarn needle, and stitch markers and you have a complete starter kit.
Why do my edges keep getting narrower?
Usually a stitch is being missed at the end of a row or the turning chain is being counted by mistake. Count stitches at the end of every row, and place a marker in the first and last stitch so the edges are easy to find. Even tension helps too, because very tight end stitches hide in the fabric.
How long does it take to learn crochet basics?
Most people can chain and work single crochet rows in their first sitting, and finish a small dishcloth within the first week of short daily practice. Reading patterns confidently takes a few projects. Progress is faster when you practice a little every day and choose small projects you can finish.
Should I learn from videos or written patterns?
Both help in different ways. Videos show hand position and stitch movement clearly, which is ideal for your first stitches. Written patterns teach abbreviations and structure, which you need for bigger projects. A good routine is to watch a stitch once, then follow the written steps yourself with yarn in hand.
Key Takeaways
- Forgiving supplies first: Smooth, light colored worsted yarn and the label suggested hook make stitches visible and learning calm.
- Three stitches unlock most patterns: Chain, single crochet, and double crochet form the base of nearly every beginner project.
- Count every row: Counting plus stitch markers prevents shrinking edges and most beginner frustration.
- Small projects, finished fast: Dishcloths, coasters, and scarves build real skill and confidence in days, not months.
- Finish like a maker: Weave ends securely, block pieces flat, and follow yarn label care so your work lasts.
- Ready to stitch your first row today? Save this guide to Pinterest and pin it for your next craft night.