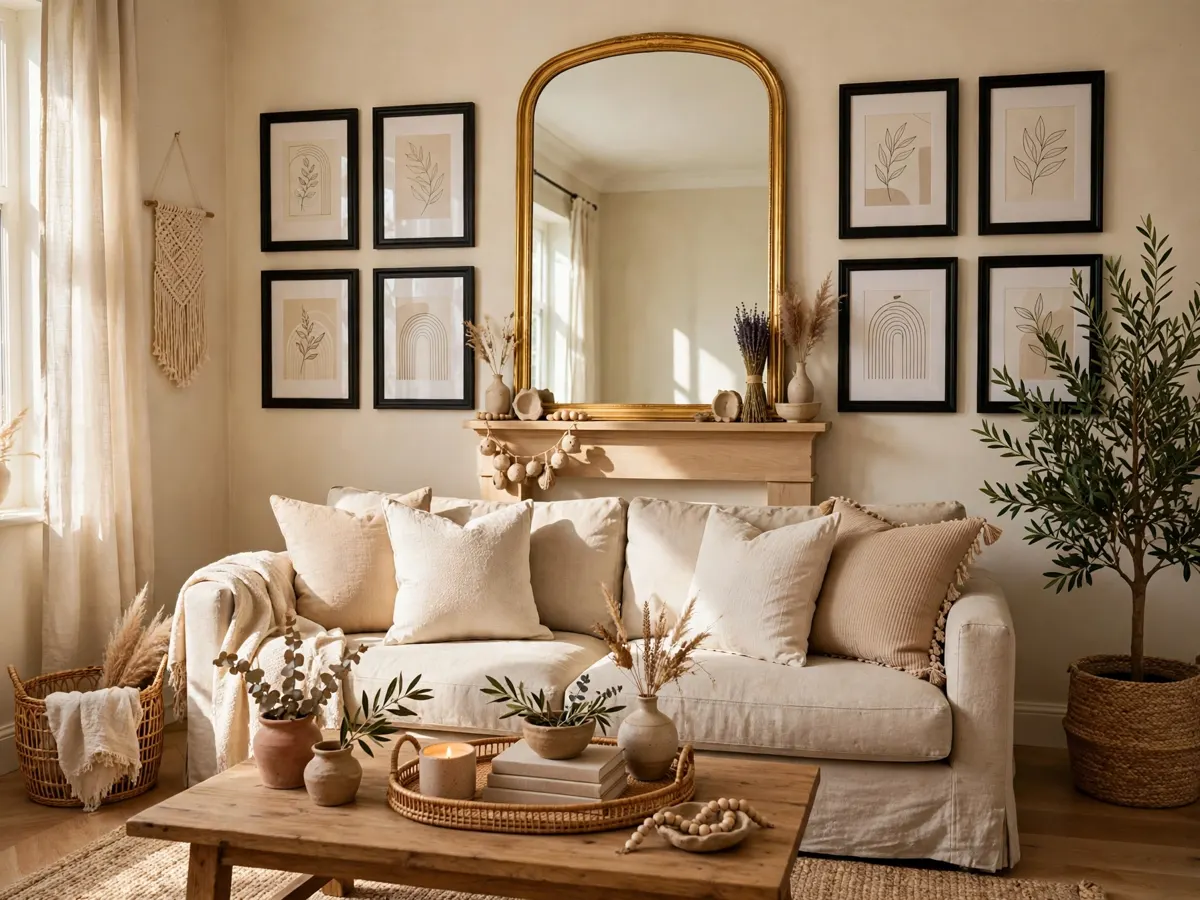
22 DIY Home Decor Ideas That Look Expensive but Cost Less
Introduction
Expensive looking rooms are rarely about expensive things. They are about calm colors, good scale, clean finishes, and chosen pieces. These diy home decor ideas use paint, paper, fabric, and thrifted finds to get that polished feeling for far less than store prices.
The secret designers repeat is restraint. Pick one palette per room, two or three colors plus a metal or wood tone, and let every project follow it. One painted vase is a craft, but five pieces in the same finish become a collection, and collections look costly.
Finish quality matters more than supply price. Sand rough edges, wipe dust before paint, use two thin coats instead of one thick one, and let pieces cure before styling. Neat edges and level hanging do more for a luxury feeling than any fancy item.
Start with the project your room needs most, a blank wall, a tired lamp, a bare table, and work through this list one weekend at a time. Nothing here needs rare tools.
1. Spray Paint Thrifted Vases in One Matte Finish

Gather mismatched glass and ceramic vases from thrift shelves and paint them all in one matte color, white, stone, black, or a soft sage. The shapes still differ, which keeps the group interesting, but the shared finish makes them read as a designed set.
Clean and dry each vase well, use a primer suited to glass and ceramic when the maker directs, and spray thin coats outdoors or in a ventilated space. Group three or five on a mantel or tray with single stems, and the arrangement looks like a boutique window for pocket money.
2. Create a Large Gallery Wall With Matching Frames
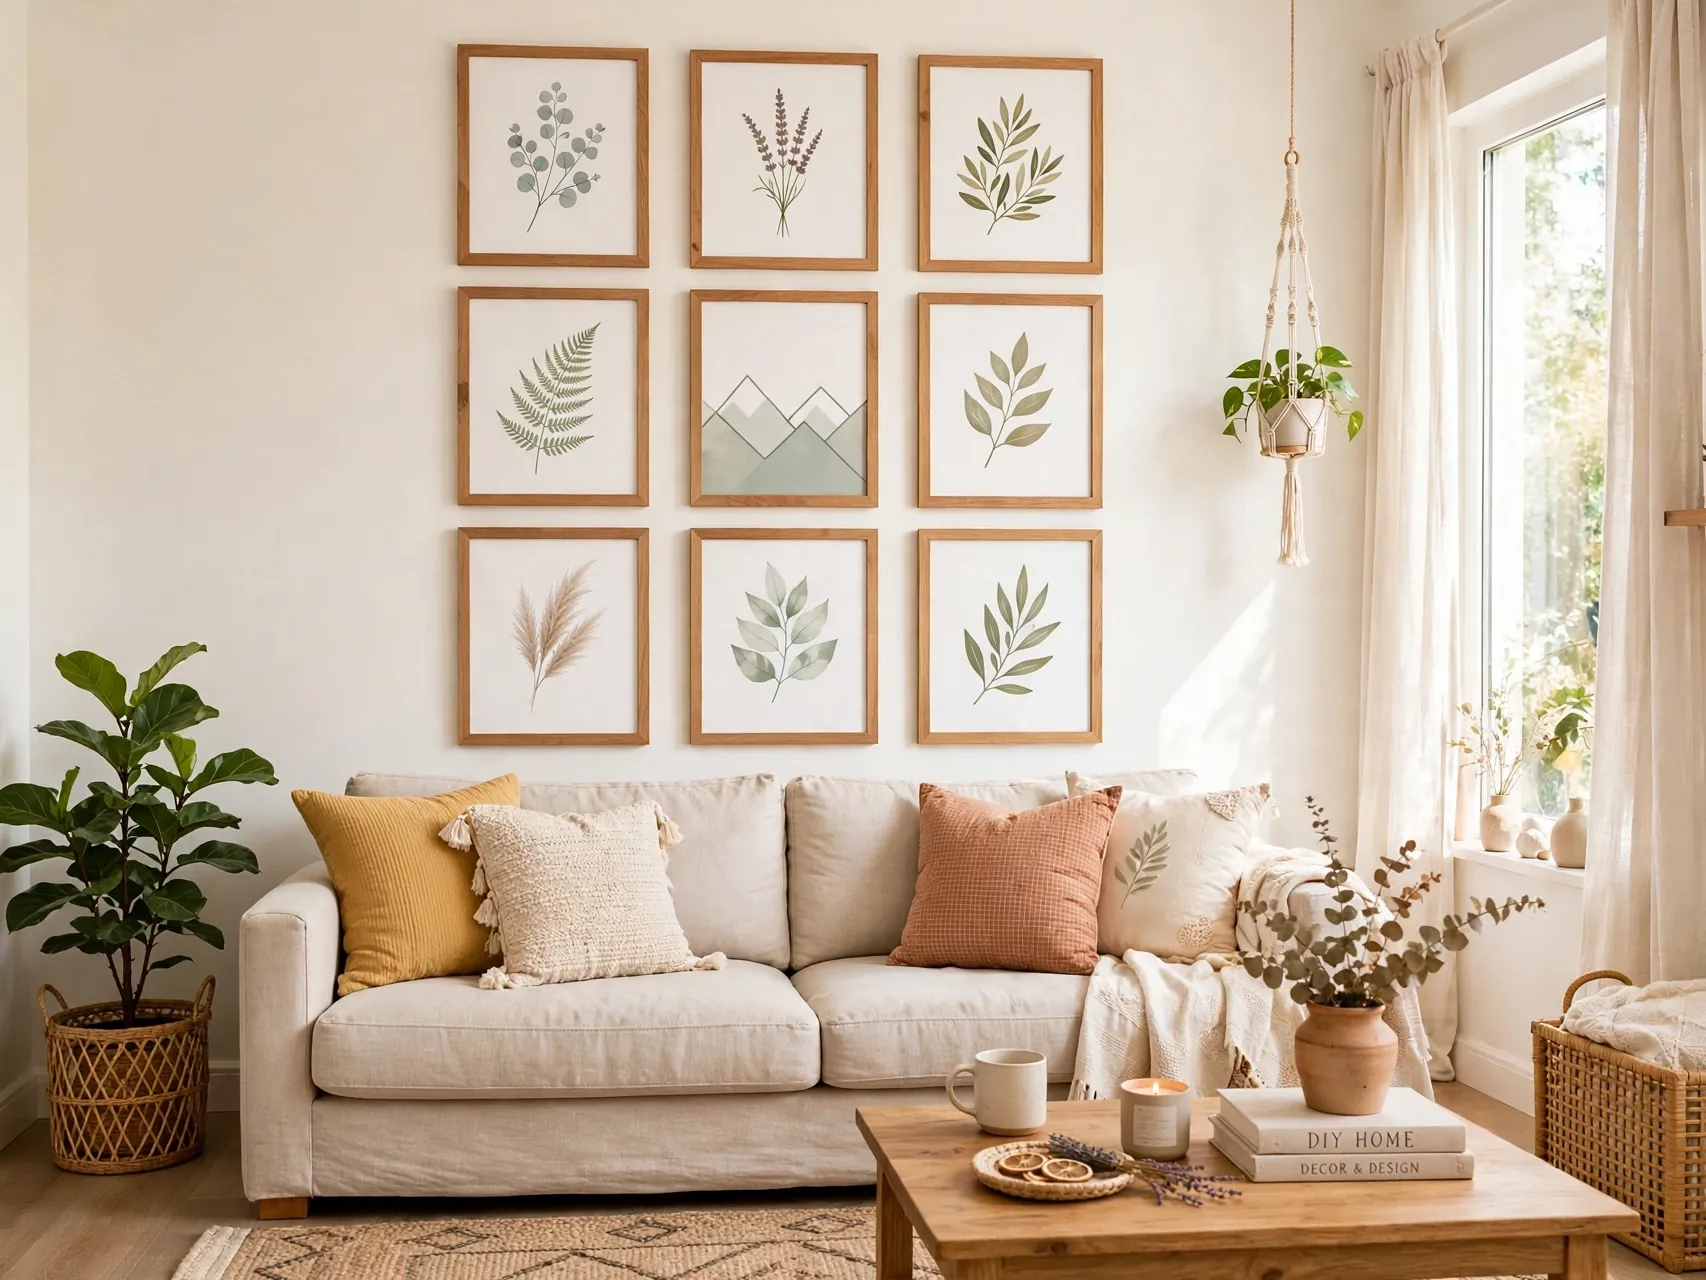
A tight grid of matching frames looks far more expensive than a scatter of mixed sizes. Print favorite photos or free public domain art in one tone, black and white is the calmest, and hang the frames with equal gaps using a paper template first.
Keep the center of the gallery at comfortable eye level and leave breathing room at the edges. Large art at low cost is the real trick here: one strong layout makes the whole wall feel planned, and guests assume a decorator measured it, not a Saturday afternoon with painter tape.
3. Add Picture Frame Molding to a Plain Wall
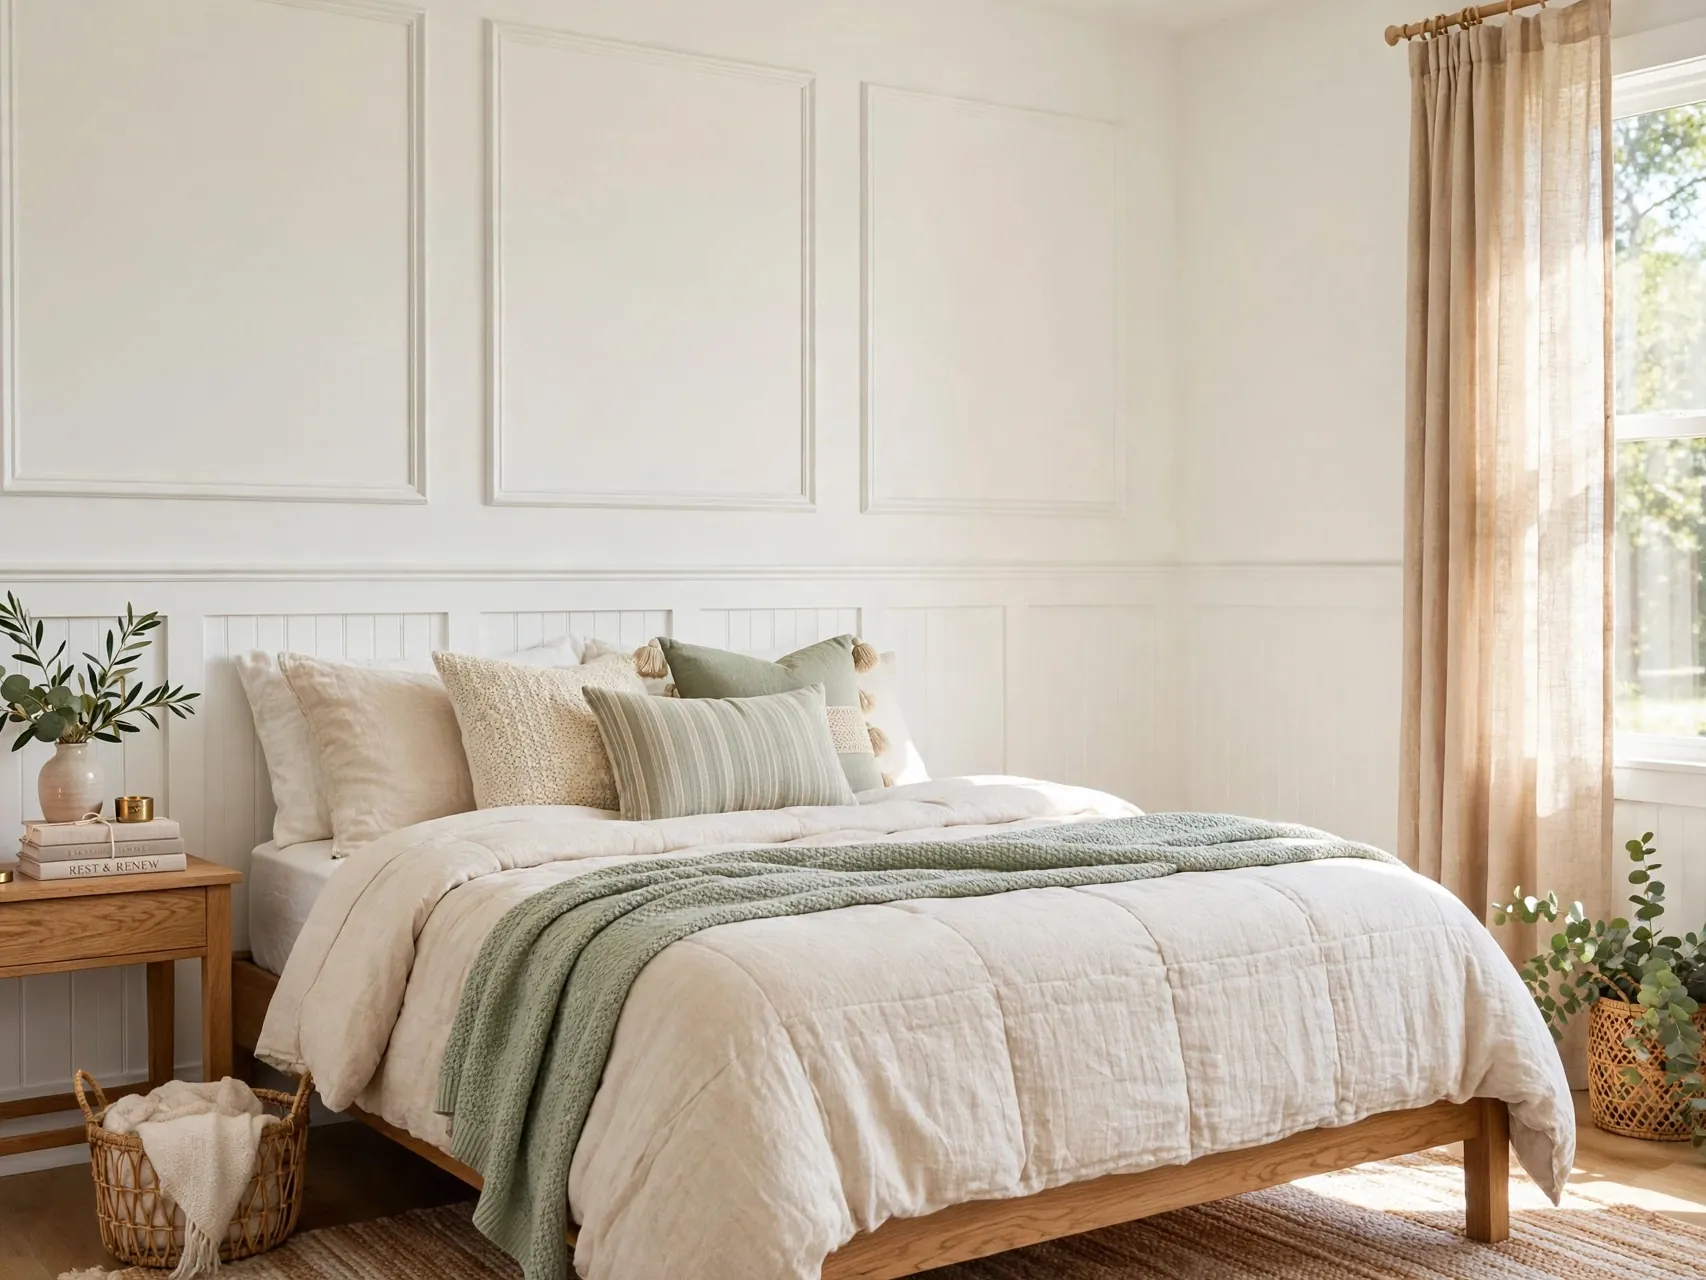
Thin molding strips arranged as rectangles on a wall, painted the same color as the wall, create the paneled look of older, grander homes. Measure carefully, keep the boxes level and evenly spaced, and caulk edges for a seamless finish.
This project costs mostly in trim and paint, yet it changes how every piece of furniture against that wall looks. It suits living rooms, bedrooms, and hallways. Renters should check their lease first, since molding is a permanent change, and everyone should locate pipes and wires before nailing into a wall.
4. Make an Oversized Mirror the Room Focal Point

Mirrors bounce light and double the view of everything pretty in a room, which is why designers use them generously. A large thrifted mirror with a painted or gilded frame, hung or leaned safely over a console, mantel, or dresser, instantly lifts the space.
Secure heavy mirrors with proper hardware into studs or rated anchors, never a single small nail. Keep the reflection in mind when you place it, a mirror facing a window or a styled shelf looks best. A simple frame in one strong finish keeps the look expensive and calm.
5. Style a Coffee Table Tray With Books and Height
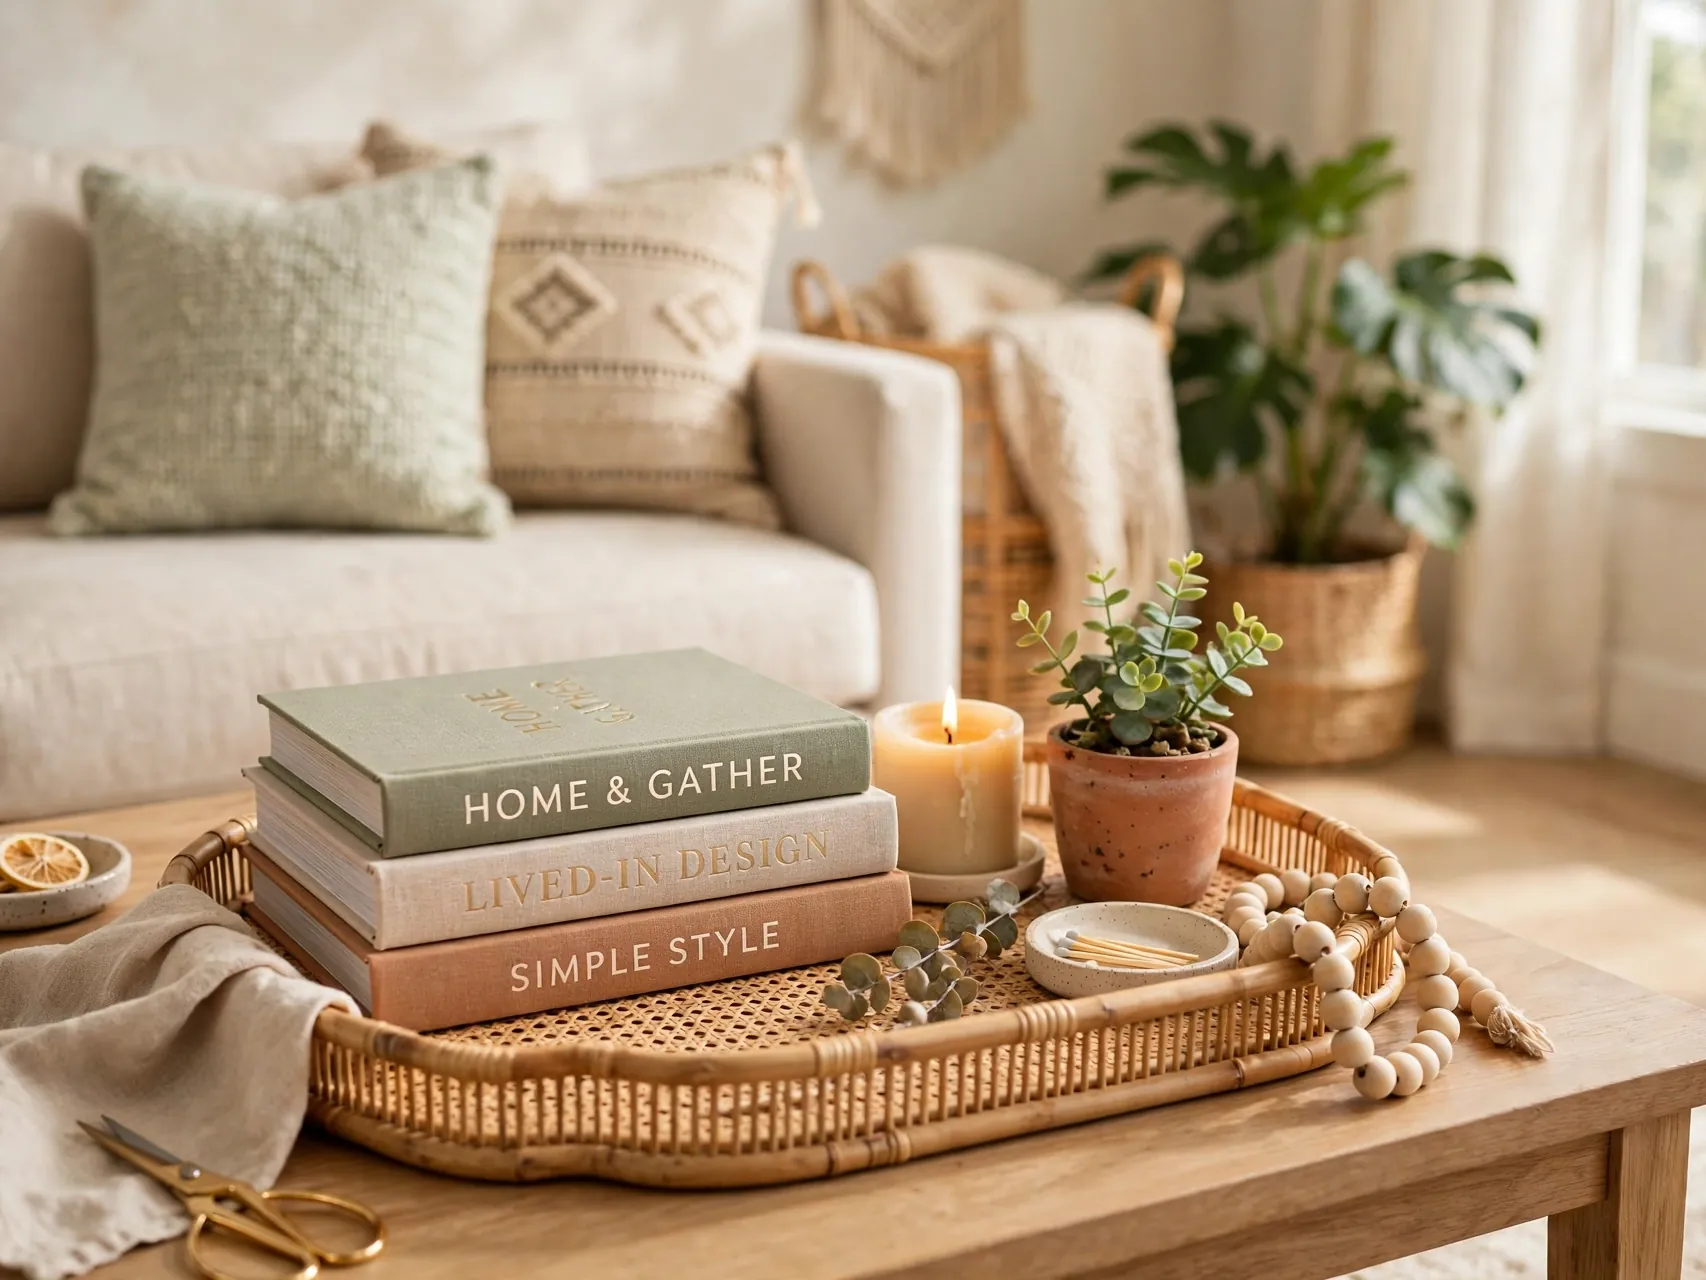
A tray gathers loose items into one intentional moment. Stack two or three large books, add a small plant or candle on top, and leave real empty space around the group. That empty space is the luxury signal most tables miss.
Use books you own, wrapped in plain paper or turned to show neutral spines if colors clash with your palette. A thrifted brass or wood tray works beautifully. Keep the arrangement low enough to see over, and edit it monthly, because styled trays collect clutter quietly until the calm feeling disappears again.
6. Sew or No Sew Pillow Covers in Linen Look Fabric

New pillow covers change a sofa faster than any other small spend. Linen look cotton in cream, oatmeal, and one accent color gives that relaxed, high end texture, and envelope style covers are a gentle first sewing project.
No sew versions use fabric glue or iron on tape for the seams, which holds well for decorative pillows. Mix two sizes and one lumbar shape for a designer rhythm. Washable covers matter in real homes, so choose fabric that launders well and keep the inserts plump, because a full pillow always looks more expensive than a flat one.
7. Paint Interior Doors a Deep, Rich Color
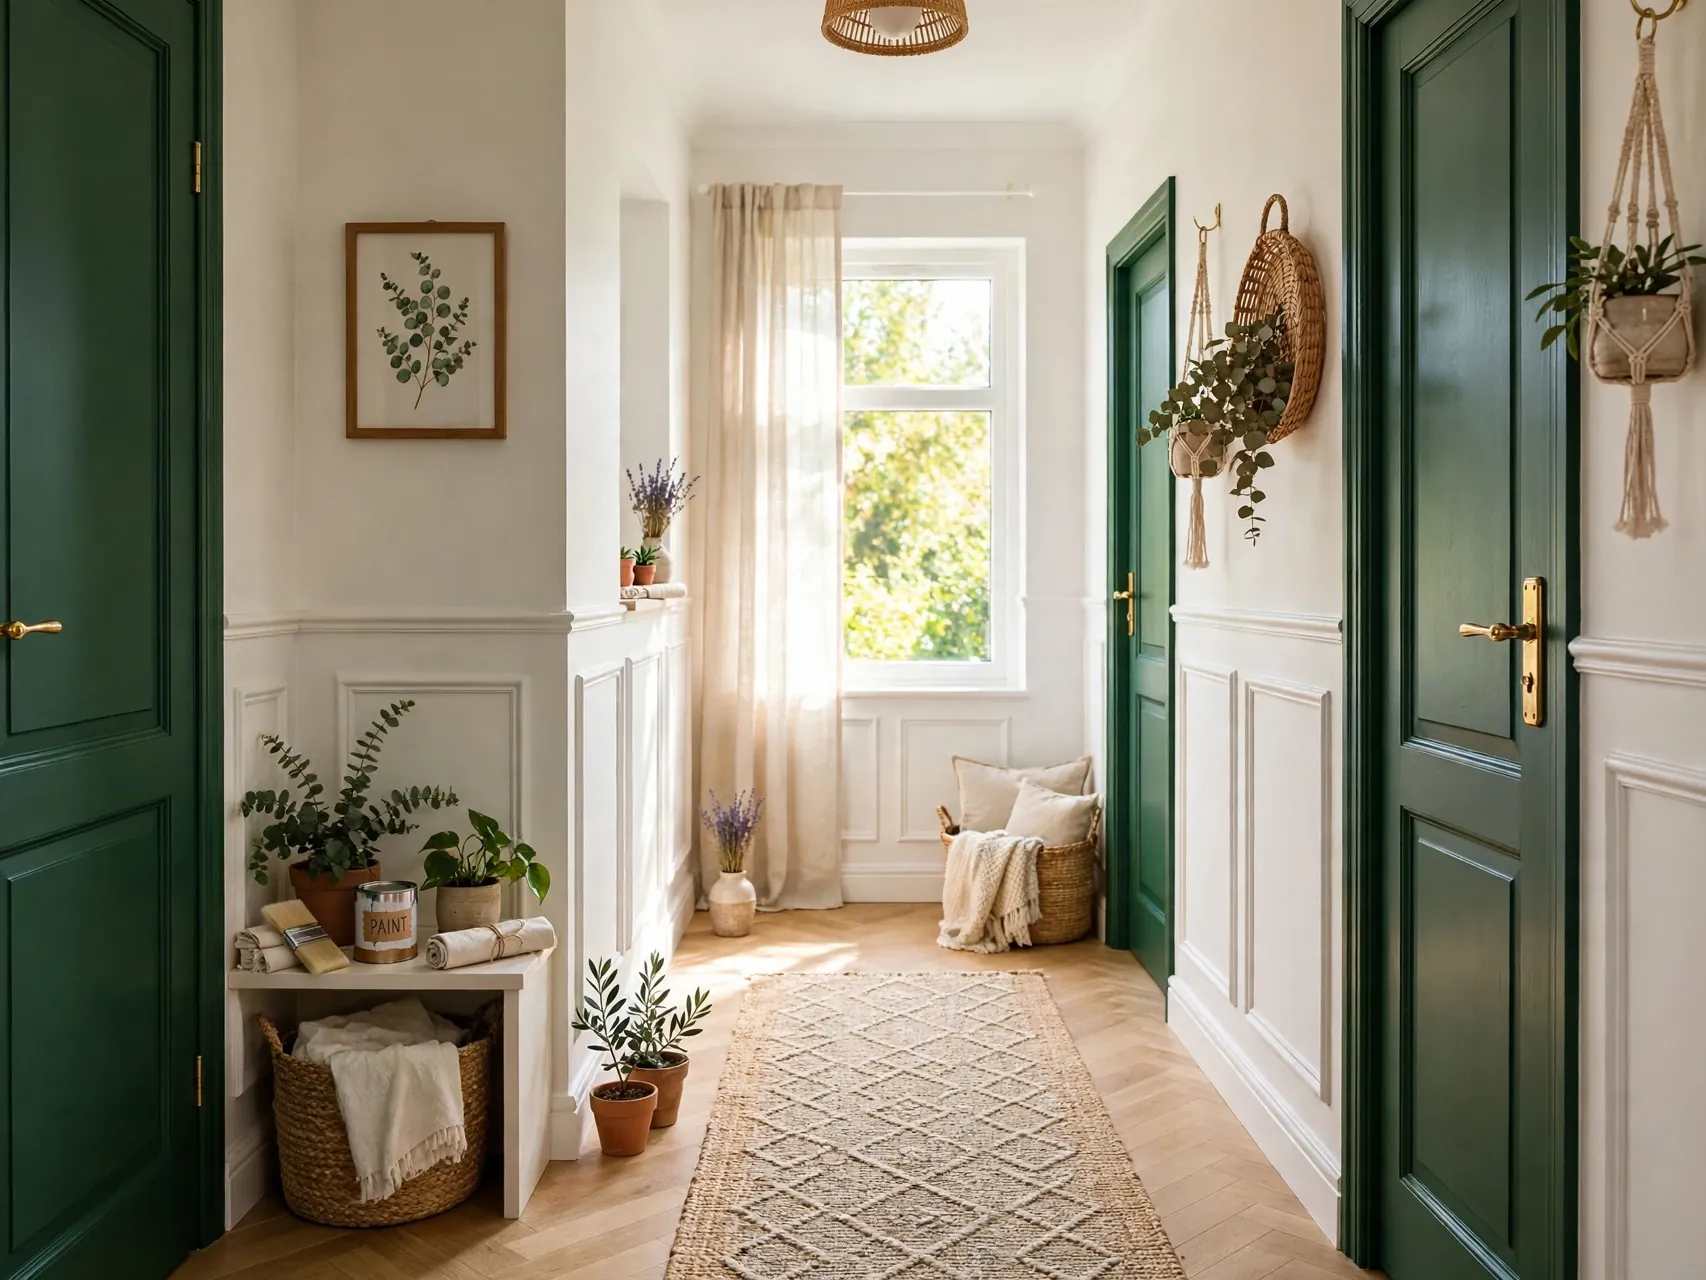
A deep green, navy, charcoal, or warm black interior door turns a plain hallway into a designed space. Prep well, remove or tape hardware, and use a smooth finish paint made for doors and trim so the surface looks factory finished.
Carry the color onto the trim for a calm, built in feeling, or keep trim white for crisp contrast. This is a one door at a time project, so it fits a weekend morning. Update the handle at the same time if yours is worn, and the whole opening reads like a custom detail.
8. Upgrade Cabinet and Drawer Hardware Everywhere

Matching hardware is a quiet luxury cue. Swapping dated knobs and pulls for one finish, brushed brass, matte black, or polished nickel, across a kitchen, bathroom, or dresser makes separate pieces feel like a set.
Measure hole spacing before ordering, and fill and drill only when you must. Keep the old hardware in a labeled bag in case you rent and need to restore it. This project needs only a screwdriver and patience, yet visitors notice the change without knowing why the room suddenly feels more finished and pulled together.
9. Layer Curtains High and Wide for a Custom Look
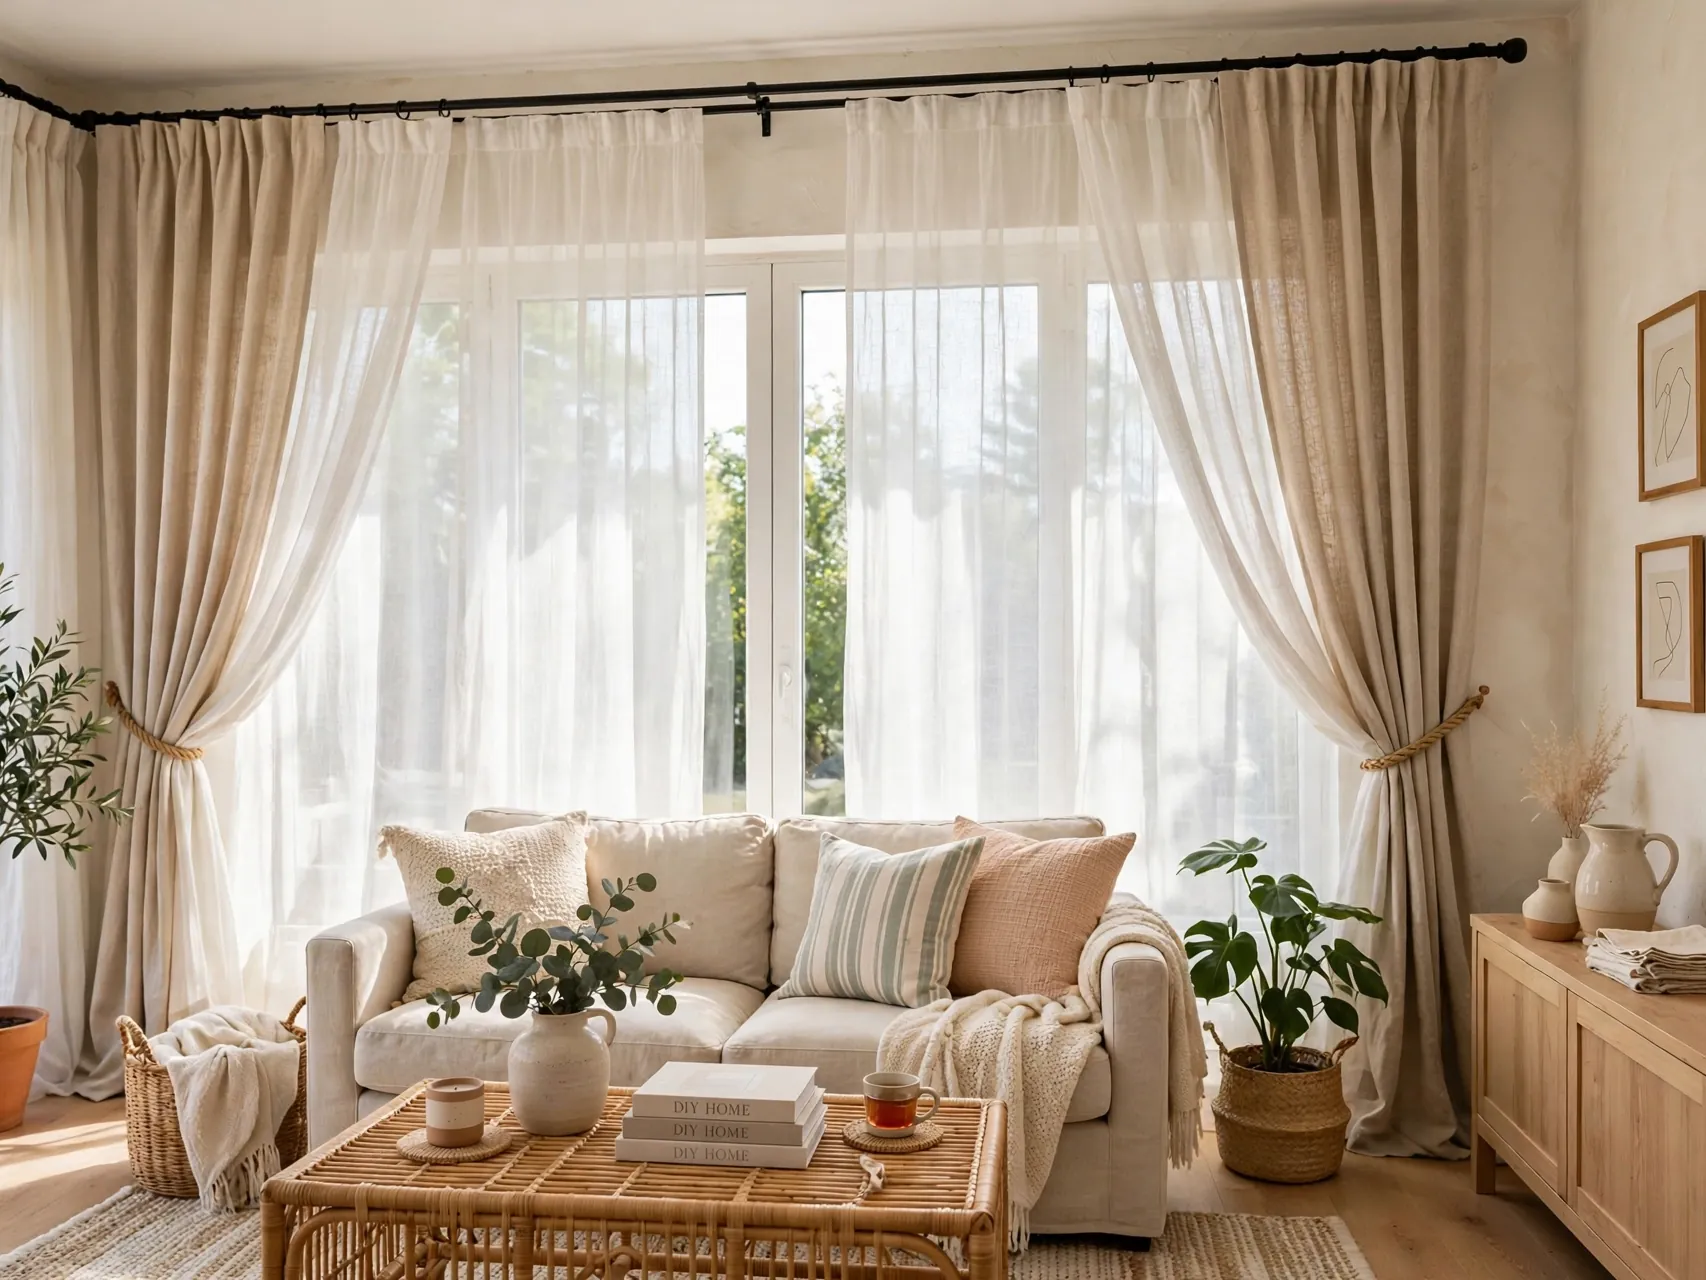
Hang curtain rods close to the ceiling and wider than the window, so panels fall beside the glass and the window reads much larger. Floor length panels in a natural weave, hung straight and steamed, are a classic expensive signal.
Add a simple second layer, sheers behind the main panels, for softness and privacy. Budget panels look far better when they are full, so use two panels per side if the fabric is thin. Keep hems even and just touching the floor or sill as designed, because tidy lengths separate a styled room from a rushed one.
10. Make Faux Built In Shelves From Basic Bookcases
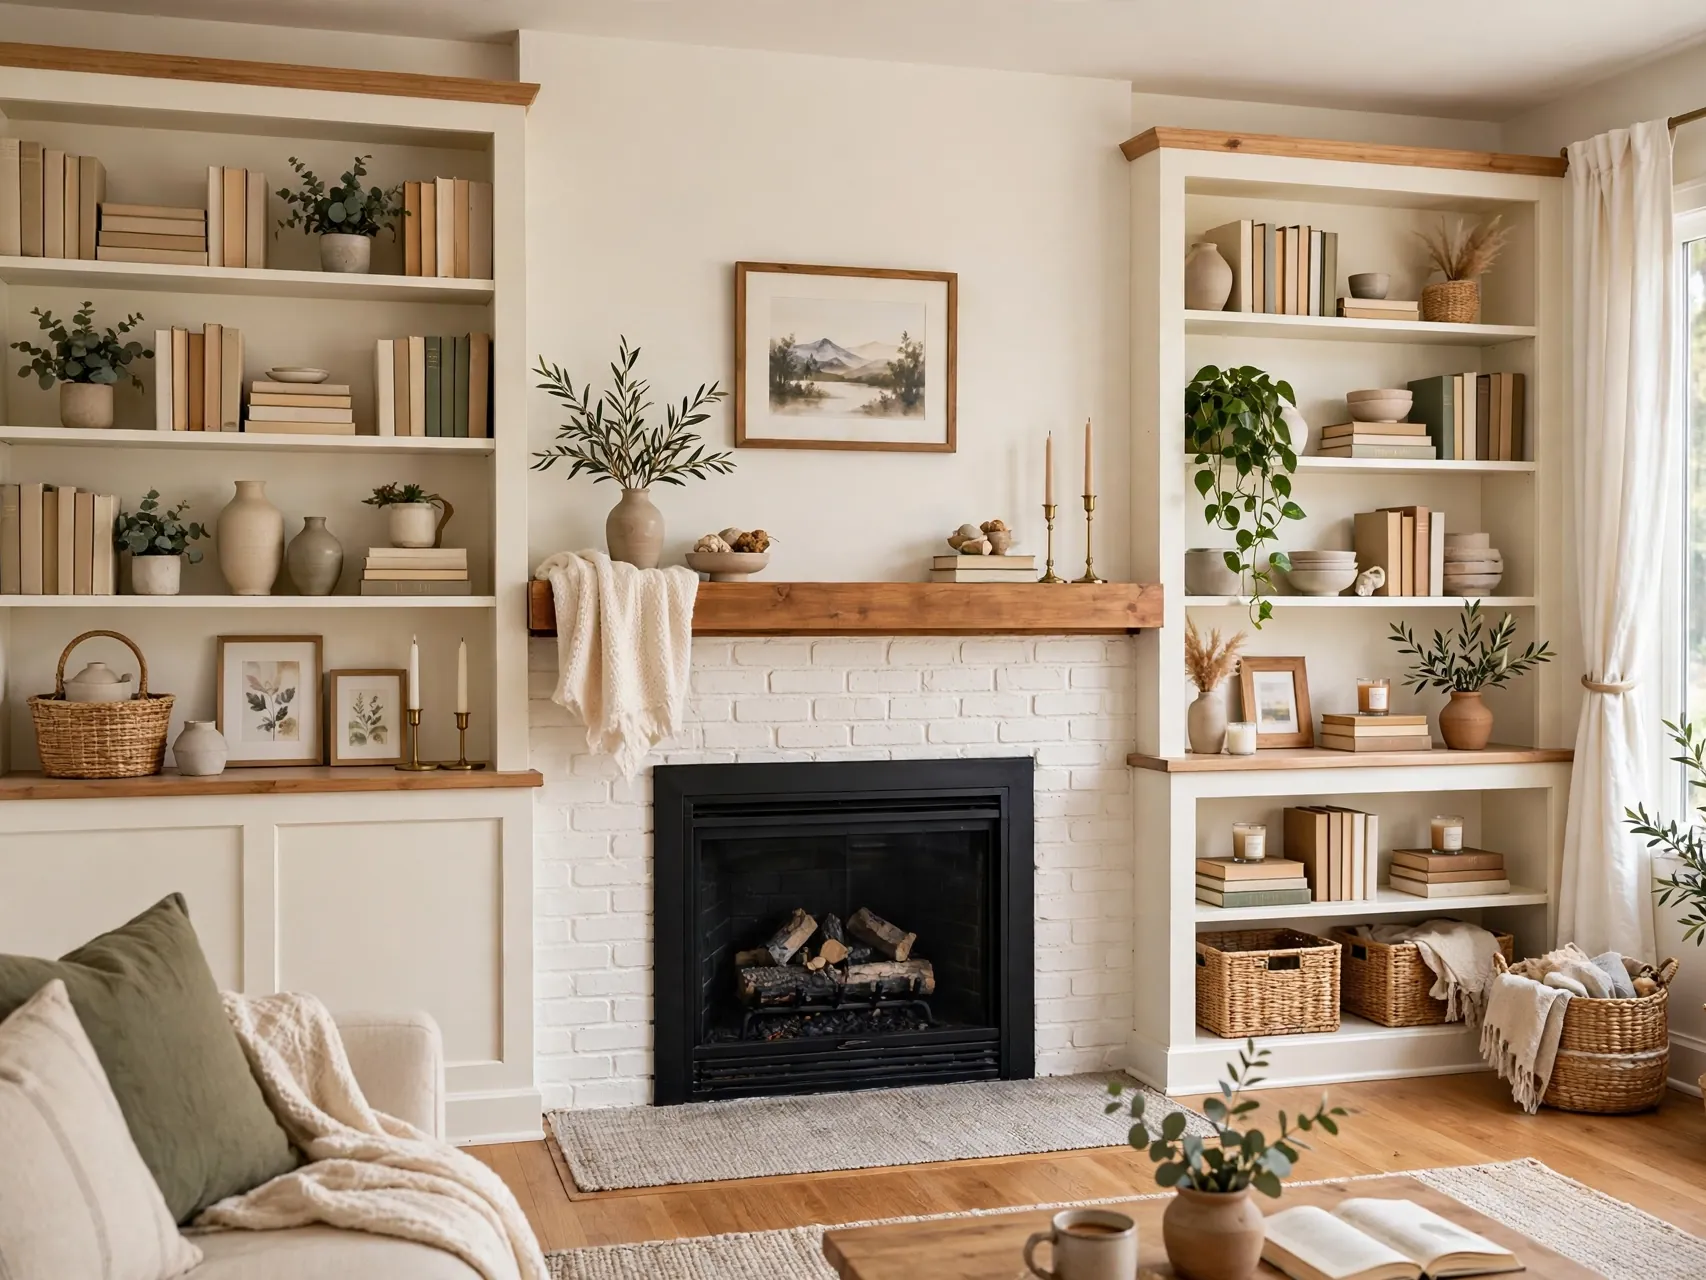
Two or three simple bookcases placed together, painted the wall color, and finished with trim at the top and base look like custom built ins. Fill them with a mix of books, boxes, baskets, and a few art pieces, leaving some shelves half empty.
Anchor bookcases to the wall for safety before styling. Painting shelves, wall, and trim in one color is what sells the illusion, so do not rush the prep. This project gives a living room or office a library feeling for a fraction of carpentry costs, and the storage is genuinely useful every single day.
11. Create Limewash or Texture Paint Effects on One Wall

Soft, cloudy paint finishes like limewash effects add depth that flat paint cannot match, and they hide minor wall flaws gracefully. Practice the cross hatch brush technique on a board first, work in small sections, and keep a wet edge as the maker directs.
Choose one wall only, behind a bed or sofa, in a warm neutral or muted clay tone. The texture catches light through the day, so the room feels alive without pattern or bright color. Ventilate the room while painting, protect floors well, and let the finish cure before leaning art or furniture against it.
12. Style Open Shelves With the Rule of Three
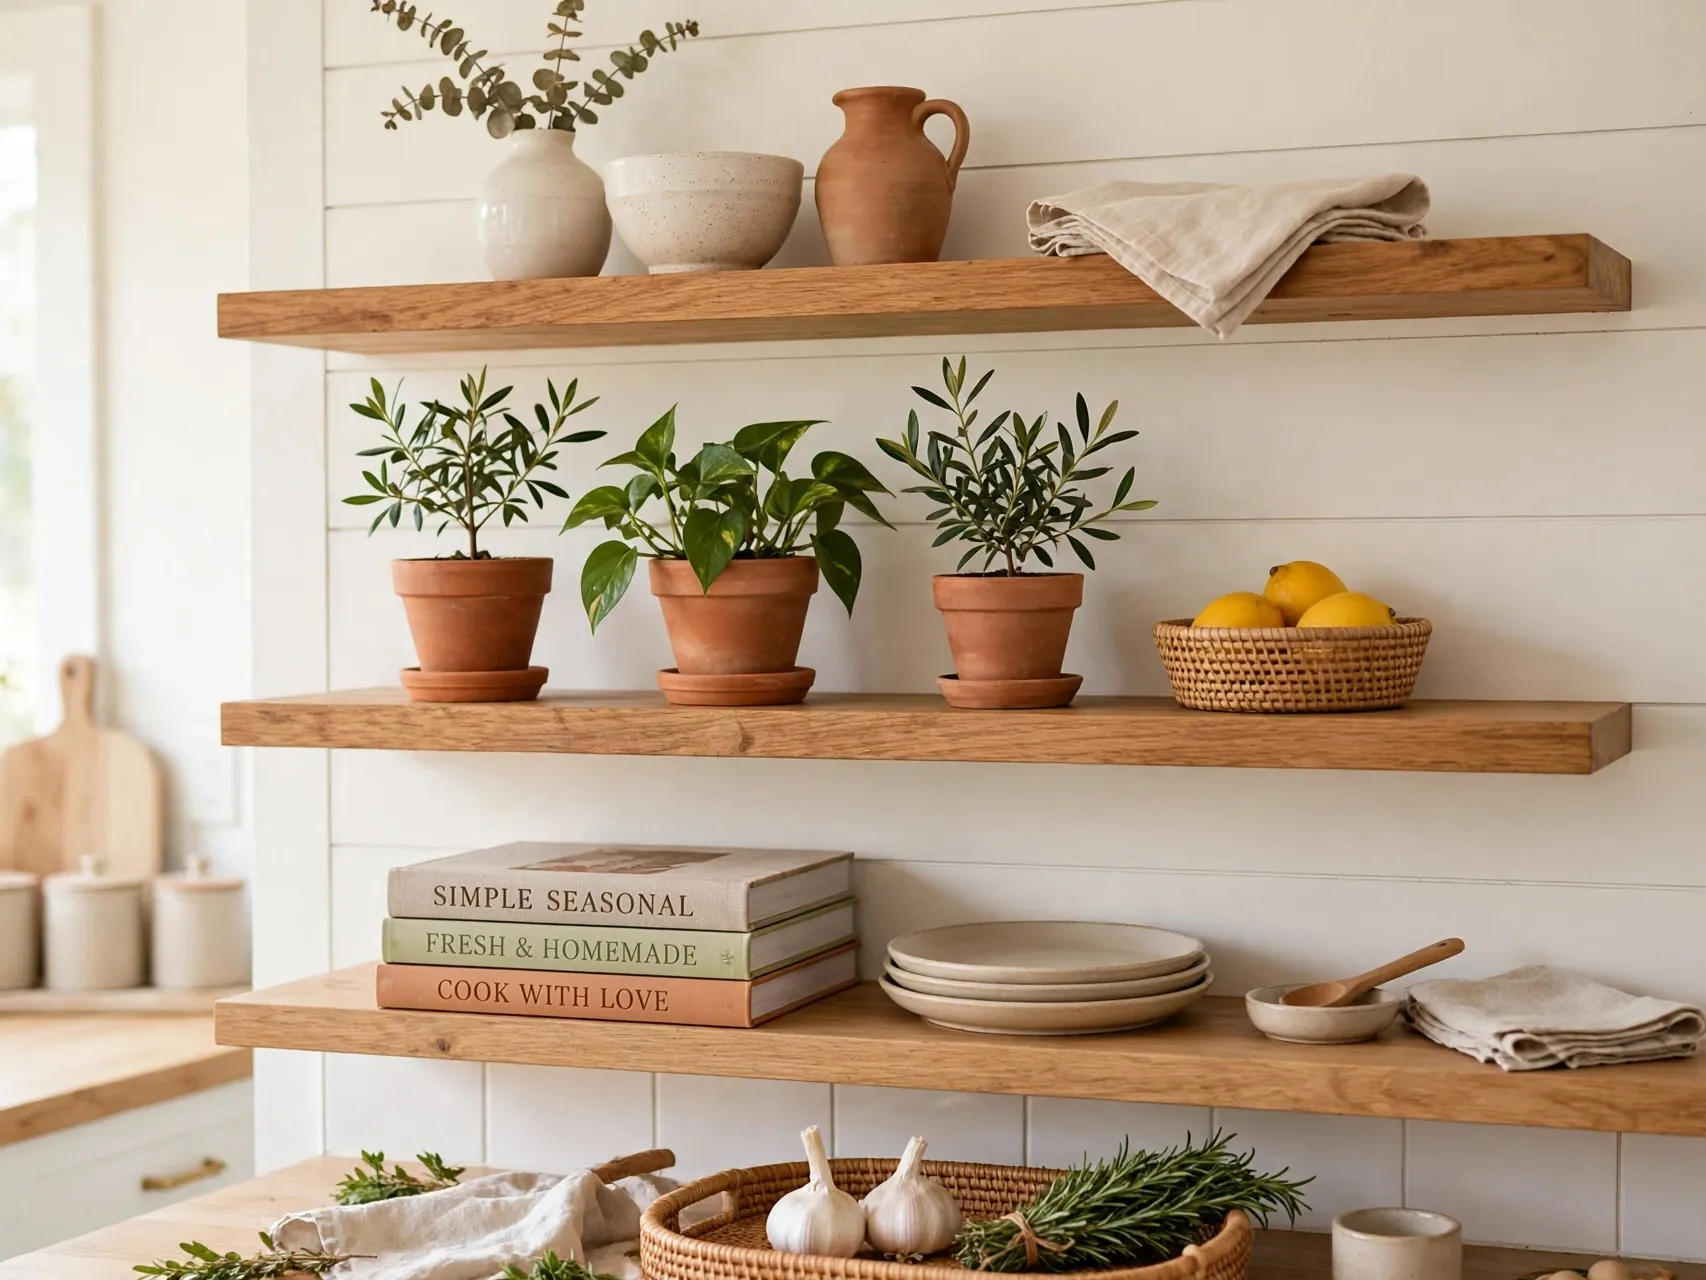
Open shelves look expensive when they are edited, not full. Group items in threes, vary height with books lying flat, repeat one material like white ceramic or wood, and leave clear gaps so each group can breathe.
Step back and photograph the shelf, because a phone picture shows clutter your eye forgives. Remove one item from every group that feels busy. Kitchens, bathrooms, and living rooms all benefit from this no cost styling discipline. It is the easiest idea on this list, and often the one that makes the biggest visible difference by tonight.
13. Make a Statement Headboard From Fabric or Wood
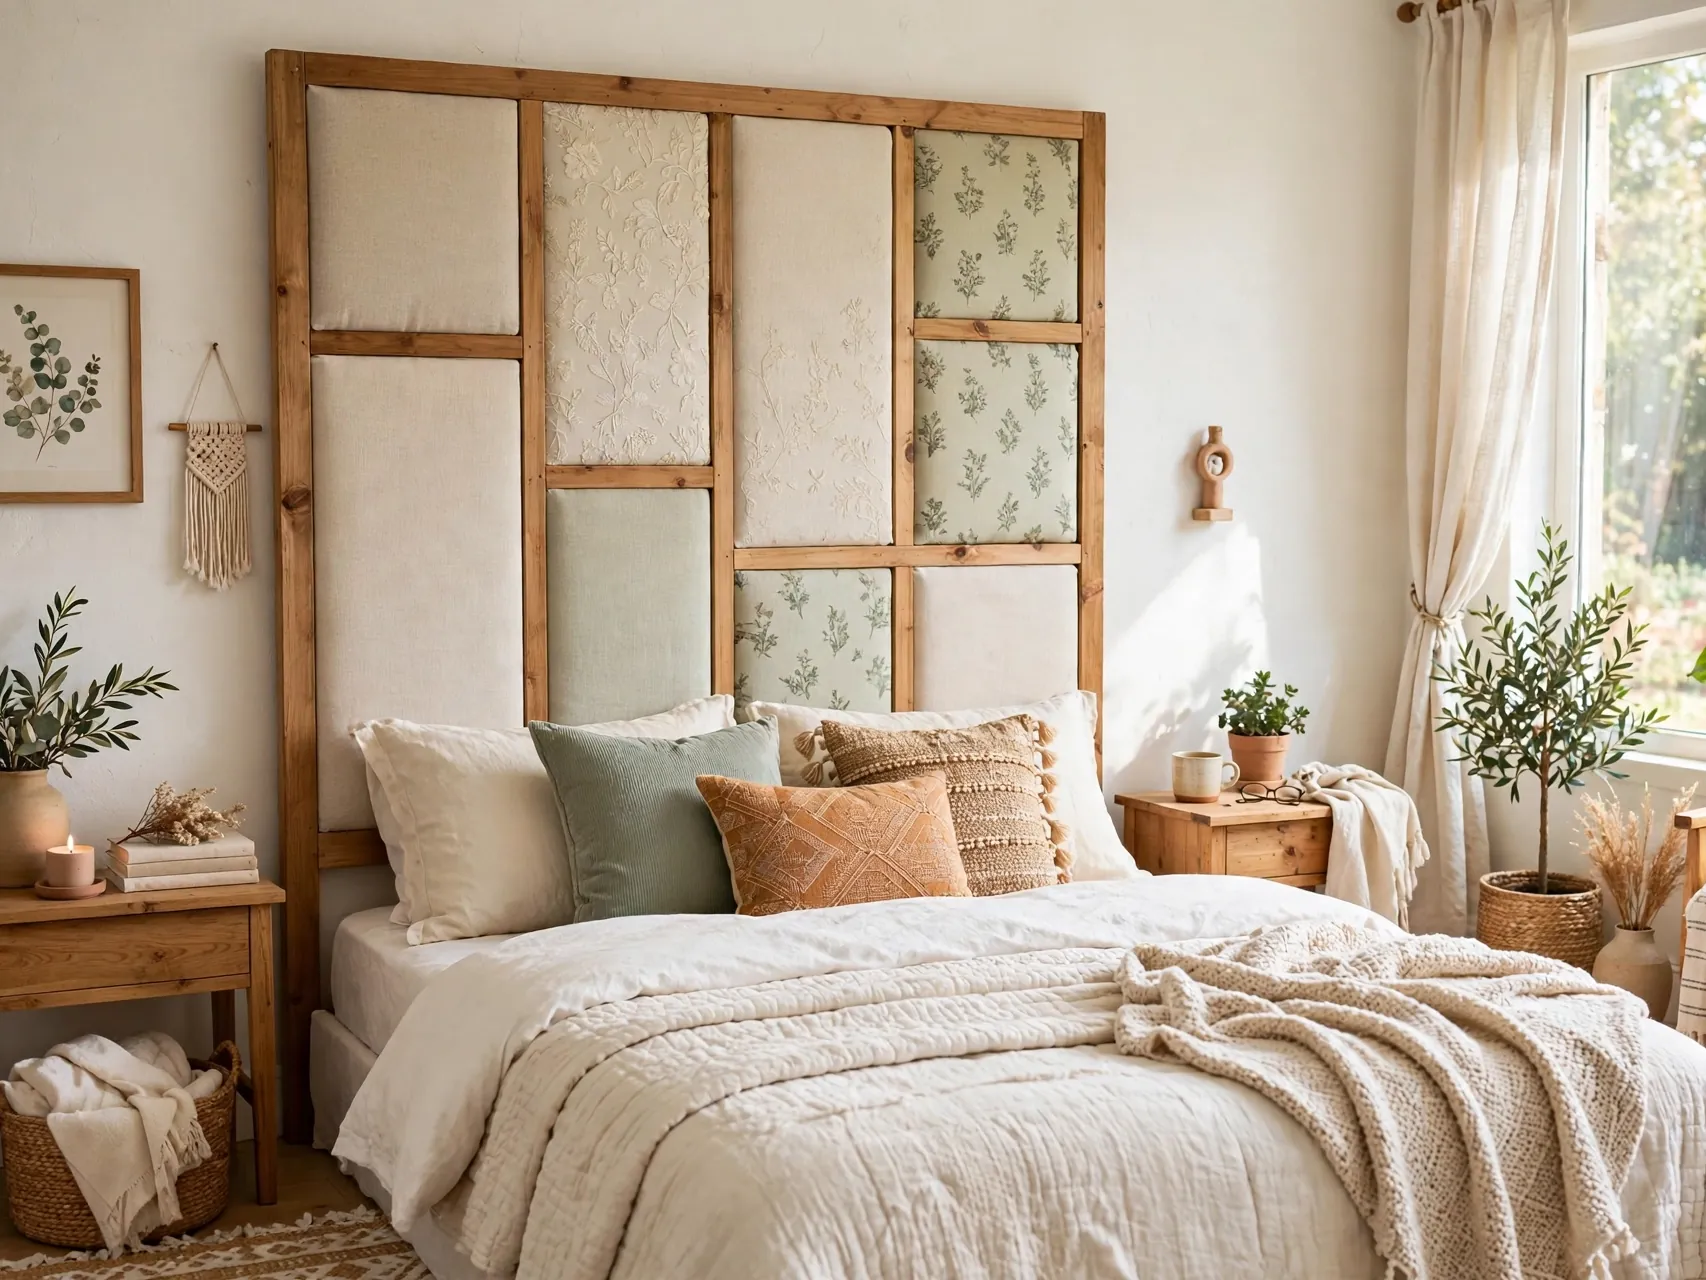
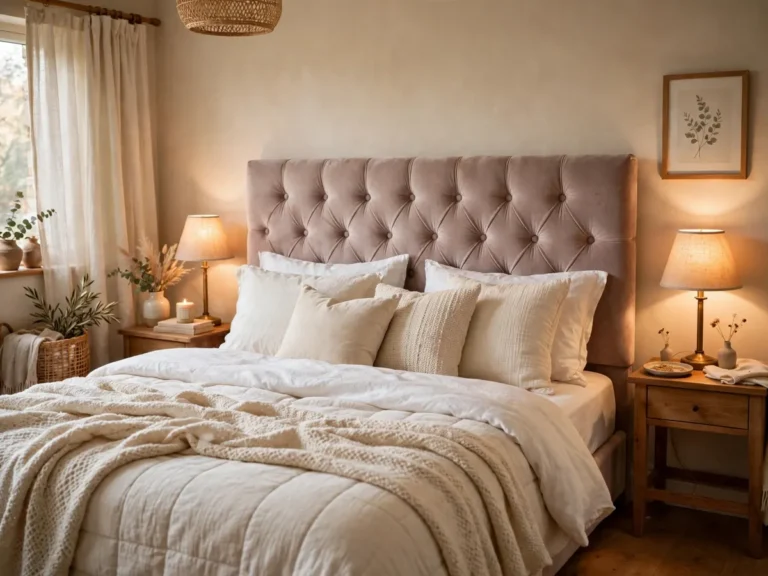
A tall headboard anchors a bedroom like a hotel suite. Simple versions use a plywood panel padded with foam and covered in fabric, or a set of stained wood planks mounted securely to the wall or bed frame.
Choose fabric in a solid, textured weave so it suits any bedding, and make the panel wider than the mattress for a generous look. Secure all fixings properly so nothing shifts. Add warm bedside lighting and crisp white or cream bedding, and the whole room takes on that calm, expensive, rested feeling guests love.
14. Turn Dollar Store Frames Into a Unified Art Set

Small budget frames become a set when you paint them one color, use the same mat style, and choose art in a shared theme, botanicals, architecture sketches, or family photos in one tone.
Mats are the real luxury trick: a wide white mat makes even a small print look gallery ready. Hang the set in a row or a salon cluster with planned spacing. Because the frames cost little, you can afford the larger count that makes a wall feel collected, and the unified finish keeps the low cost completely invisible.
15. Add Peel and Stick Backsplash or Tile Accents

Peel and stick tile sheets give kitchens and bathrooms a fresh, patterned surface without grout, mess, or a contractor. Clean and dry the wall well, plan the layout from the most visible corner, and press each sheet firmly as the maker directs.
Choose classic patterns, subway, marble look, or soft zellige styles, which read more expensive than loud prints. Check heat and moisture guidance for the product, especially behind stoves and in showers. Renters love that many versions remove cleanly, but always test a small hidden area first and follow the product instructions for removal.
16. Refresh Lamps With New Shades and Warm Bulbs
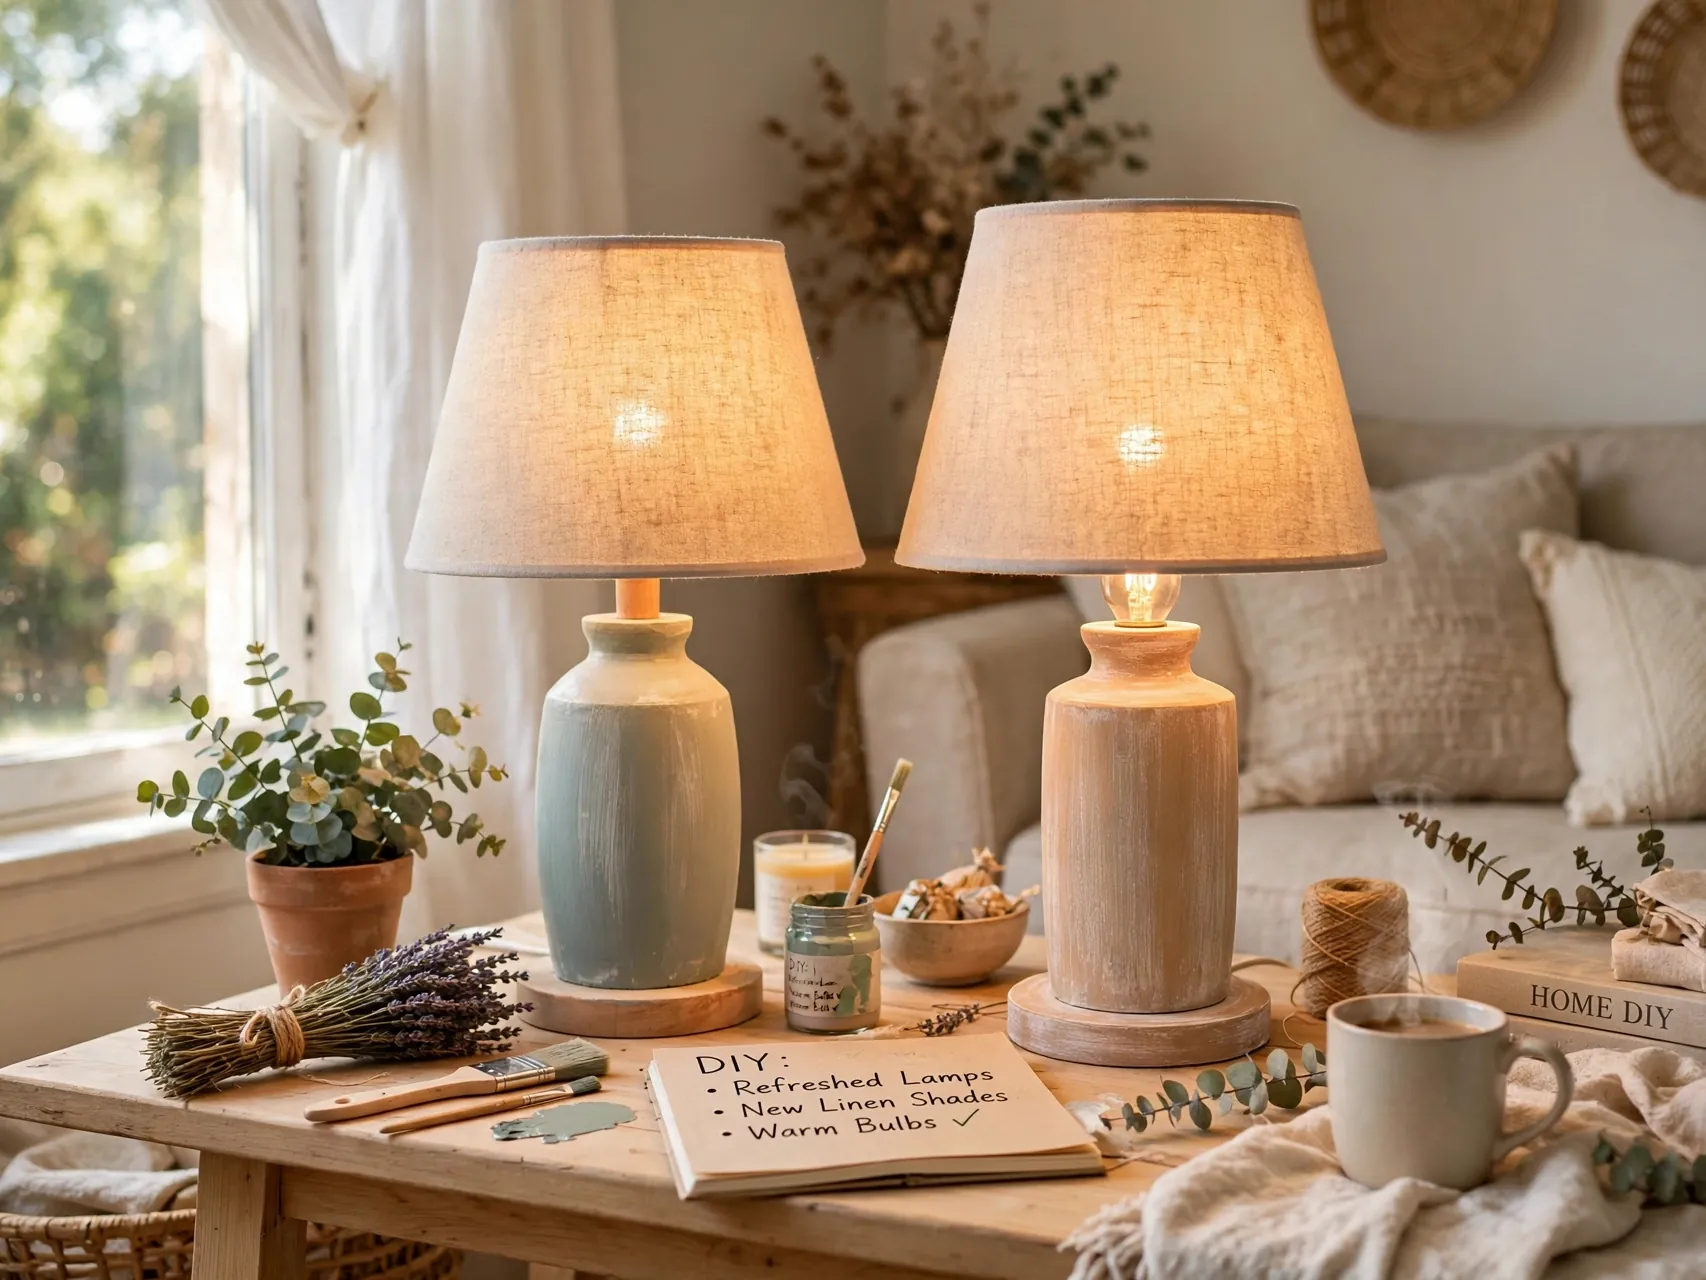
A dated lamp often needs only a clean, a coat of paint on the base, and a new shade in the right size and shape. Drum and empire shades in linen look fabric update almost any base, and warm white LED bulbs give the cozy glow expensive rooms share.
Check cords and sockets before styling any secondhand lamp, and have damaged electrics repaired by a professional or replace the lamp. Never exceed the socket wattage rating. Two matching refreshed lamps on a console or bedside tables create the symmetry that makes a room feel designed, for the price of shades.
17. Make a Woven or Textured Wall Hanging

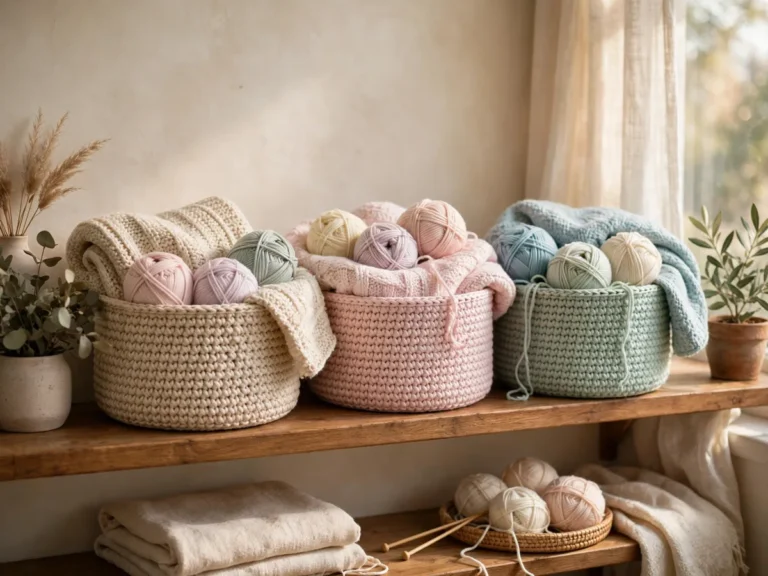
A simple wall hanging from yarn, rope, or fabric strips on a dowel or branch adds the handmade texture that softens modern rooms. Keep the palette in your room colors, vary the lengths in a gentle curve, and trim the ends neatly for a finished look.
Larger hangings suit the space over a sofa or bed, where a single art piece might cost far more. This project uses leftover yarn and fabric happily. Hang it from a proper hook into a stud or rated anchor, and dust it gently now and then so the fibers stay fresh and bright.
18. Style a Mantel or Console With Symmetry
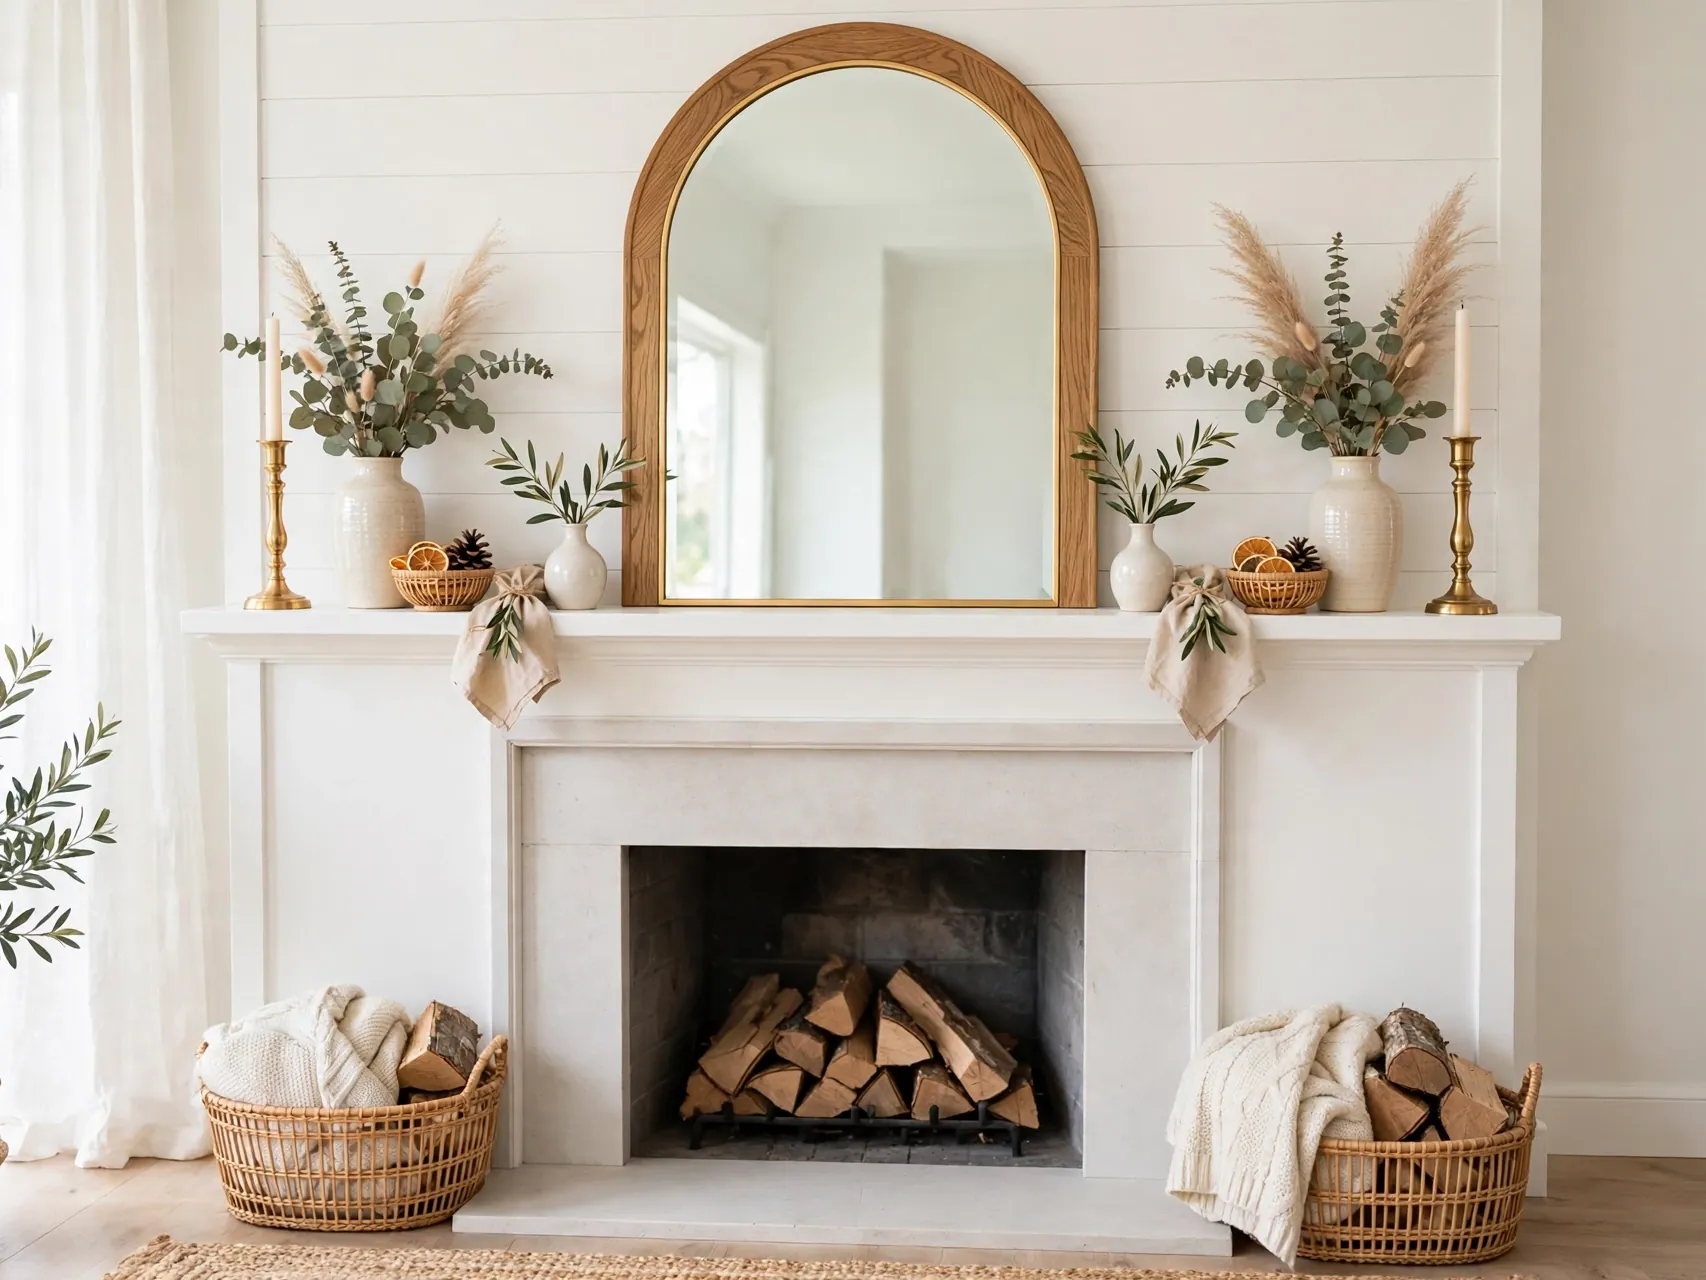
Place matching items at each end of a mantel or console, a pair of lamps, vases, or candlesticks, then center one larger piece in the middle. Symmetry is the oldest designer trick for instant order, and it costs nothing to rearrange what you own.
Add one softer layer in front, a garland, a stack of books, or a small plant, to stop the look feeling stiff. This approach also makes seasonal decorating easy, because only the center and the soft layer need to change. Photograph the result, adjust heights until it feels calm, and enjoy the expensive balance.
19. Create a Spa Bathroom With Rolled Towels and Wood
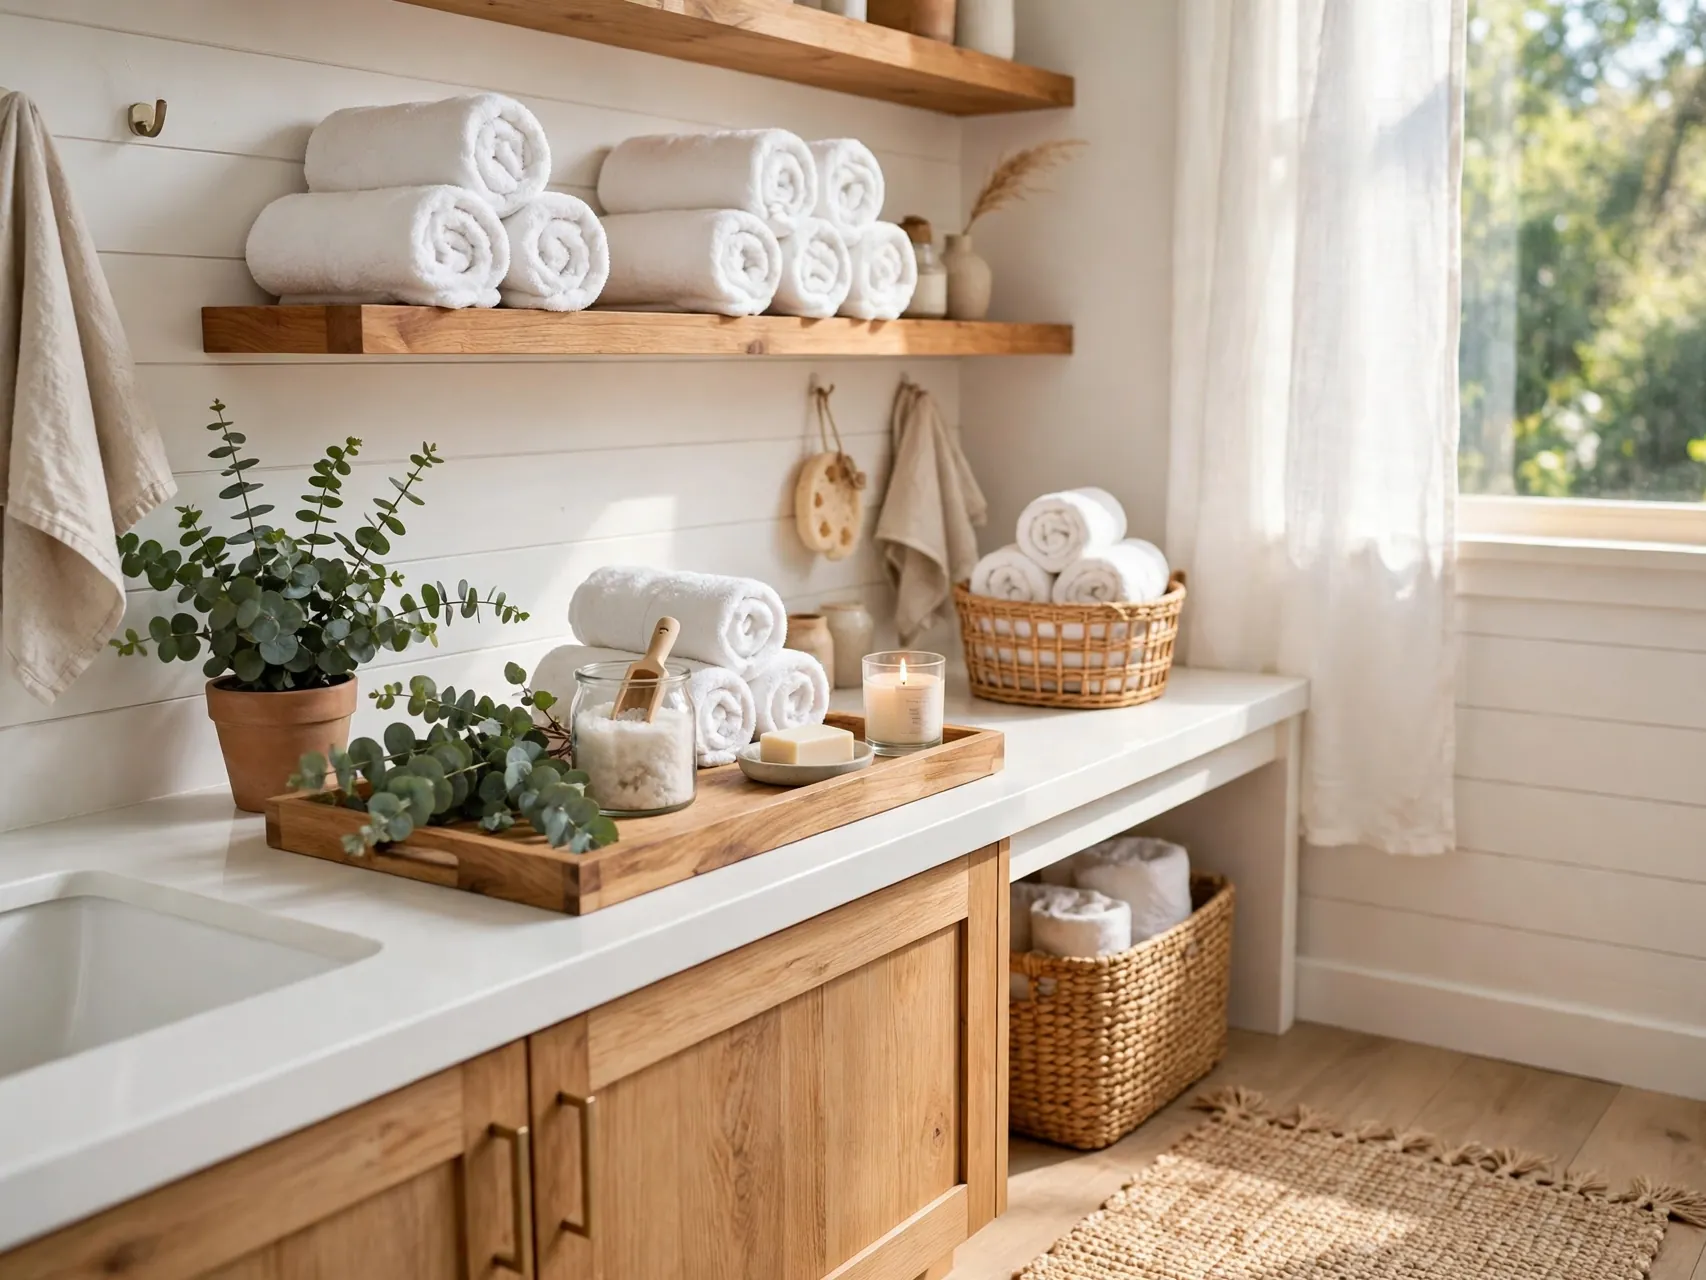
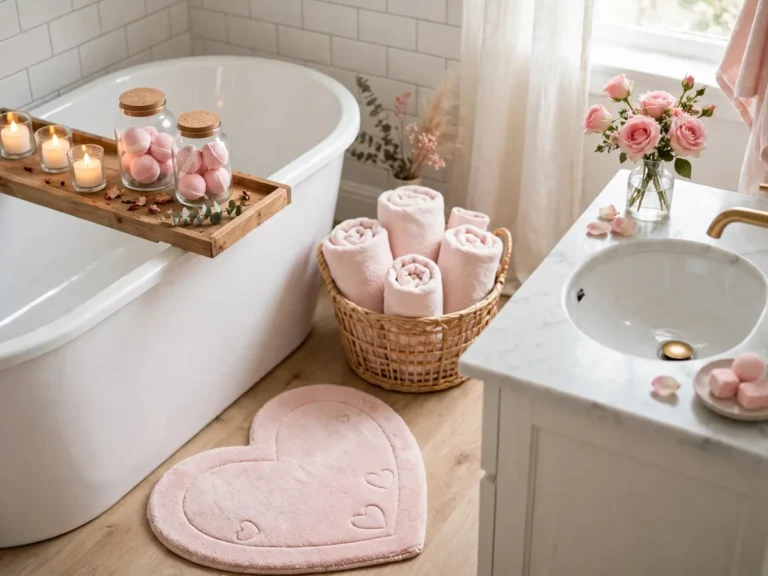
Roll white or cream towels on an open shelf or in a basket, add a wood stool or tray, a small plant, and amber or frosted glass bottles for soap and lotion. Those four elements recreate the spa look seen in boutique hotels, using mostly what you have.
Decanting products into matching bottles is the detail that does the heavy lifting, because it removes loud labels from view. Keep surfaces clear and wipe bottles weekly. A bathroom styled this way feels calm every morning, and the project takes an hour, which makes it a perfect first win from this list.
20. Paint a Rug Pattern or Border on a Plain Runner

A plain, inexpensive flat weave runner becomes custom when you paint a simple border, stripe, or geometric pattern with fabric or suitable floor paint. Tape the design carefully, test colors on the back edge first, and let each coat dry fully.
Keep patterns simple and colors in your room palette, because bold experiments on floors are hard to undo. Seal if the paint maker recommends it for wear. A painted runner in a hallway or kitchen adds the tailored layer that makes guests ask where you found it, and the honest answer is your own craft table.
21. Make Apothecary Jar Displays for Kitchen and Bath

Clear glass jars with lids, filled with cotton balls, bath salts, pasta, coffee beans, or wooden utensils, bring order and a little old pharmacy charm to counters. Group jars in odd numbers on a tray or shelf, and keep fillings in a calm color range.
Label jars simply or not at all if the contents speak for themselves. The glass and repetition do the styling work. This idea costs little at thrift and dollar stores, yet it removes visual noise from packaging, which is one of the fastest ways any room starts to look more expensive and more peaceful at once.
22. Finish With a Styled Entry That Sets the Tone
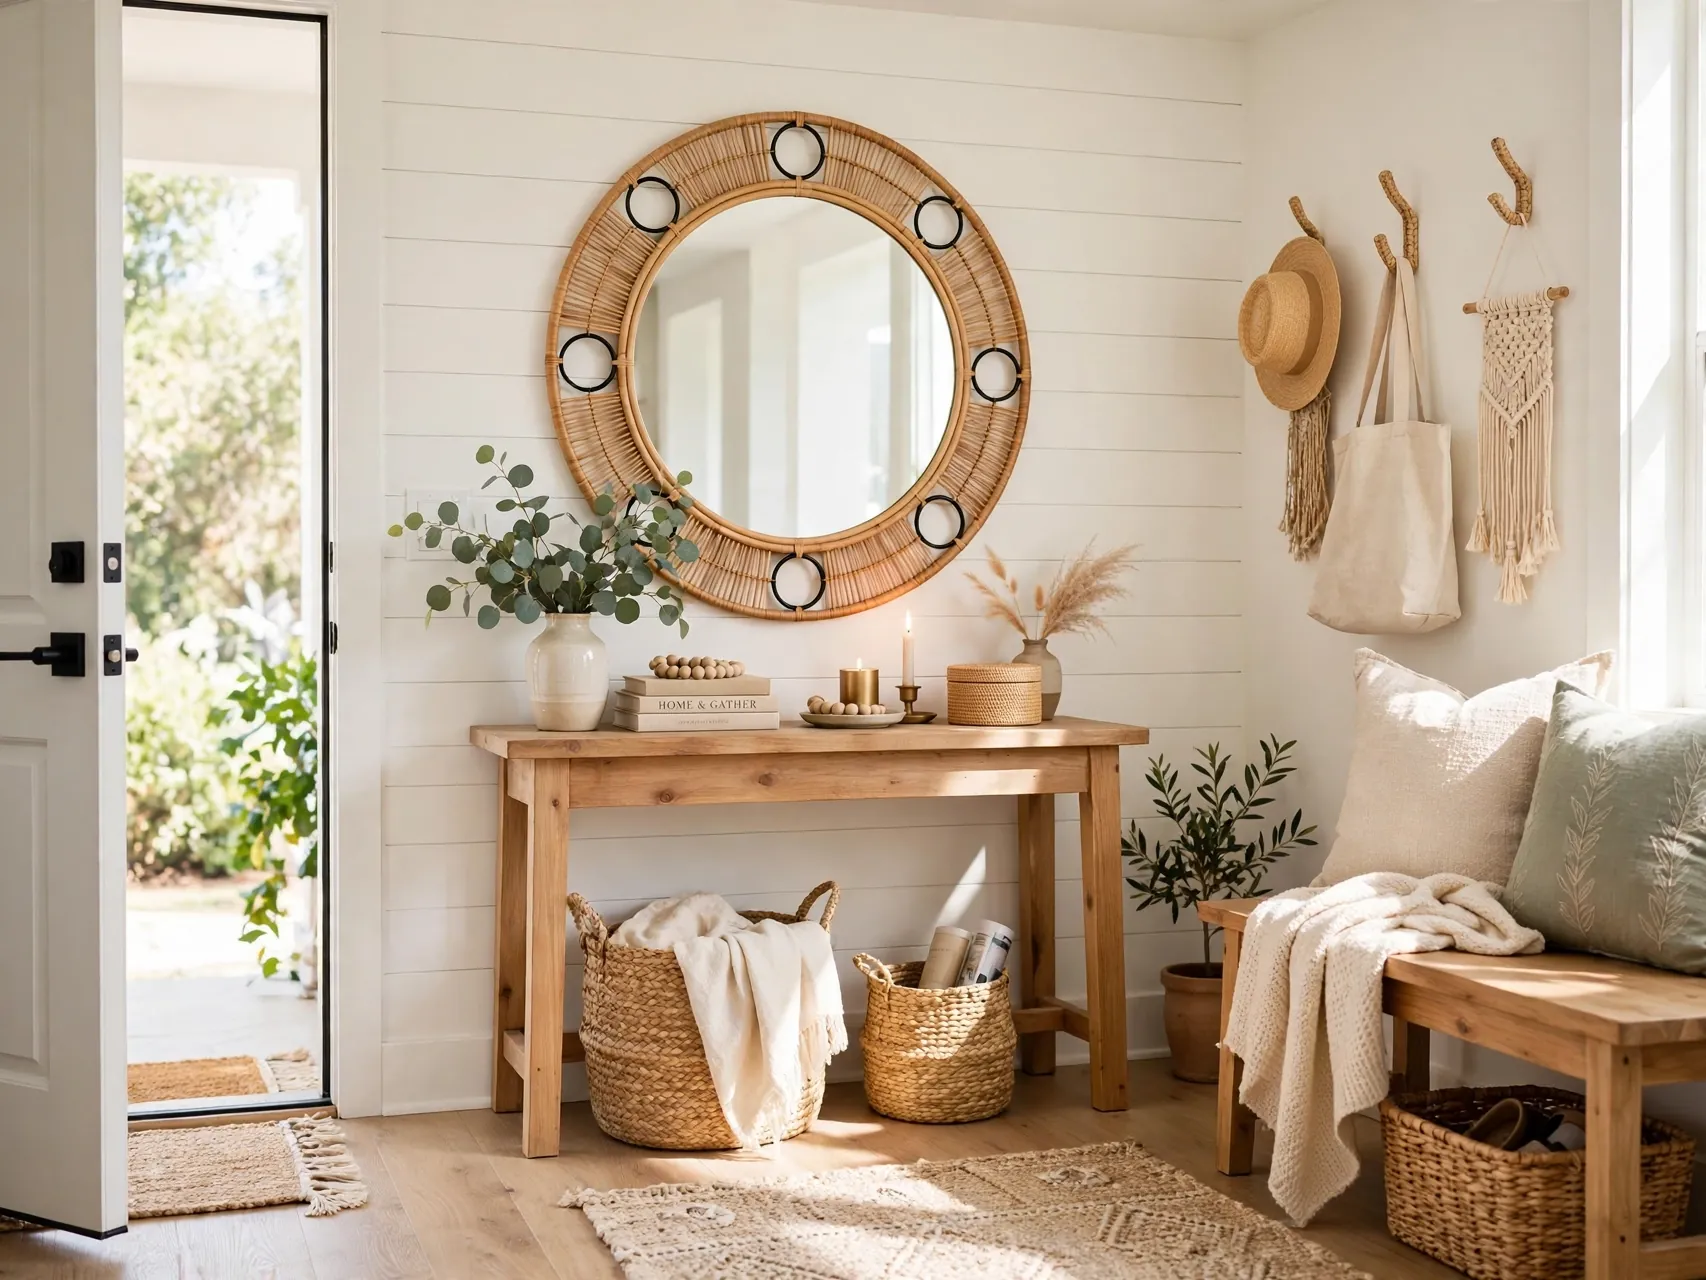
Your entry decides how the whole home feels in the first ten seconds. Add a mirror or art, a small console or bench, hooks or a tray for keys, one plant or vase, and good warm light, all in your home palette.
Keep only daily items here and give everything else another home, because a clear entry reads luxurious while a crowded one never does. A washable runner ties the space together and protects the floor. This final project pulls every lesson together, palette, symmetry, editing, and finish, right where it matters most, at the door.
FAQ
How can I make cheap decor look expensive?
Use one palette across a room, group items in sets, choose matte and natural finishes, and finish every project neatly with sanded edges, even paint, and level hanging. Scale helps too: fewer, larger pieces look costlier than many small ones. Editing is free, and a clear surface with one styled group beats a crowded shelf every time.
What colors make a home look more expensive?
Warm whites, creams, soft grays, deep greens, navy, and natural wood tones are classic choices because they layer calmly and suit many styles. The color matters less than consistency: repeat your chosen shades in paint, fabric, and accessories so rooms feel connected. Add one metal finish, like brushed brass or matte black, and use it throughout for a designed thread.
What is the cheapest high impact DIY decor project?
Paint is usually the answer. A door in a deep color, thrifted vases in one matte finish, or bookcases painted to match a wall all transform a room for the cost of a can or two. Styling changes are free: editing shelves, grouping items in threes, and adding symmetry cost nothing and show results the same day.
How do I choose DIY projects that match my home?
Start from the room need, not the craft. A blank wall wants a gallery, molding, or a mirror, a dark corner wants a refreshed lamp, and a busy counter wants jars and a tray. Keep every project inside your palette and finish quality rules, and the new piece will belong immediately instead of looking like a random weekend experiment.
Are these ideas suitable for renters?
Many are. Pillow covers, trays, jar displays, lamps, gallery walls with removable hooks where allowed, peel and stick products tested first, and styling changes all leave little or no trace. Permanent work like molding, painting doors, and built in looks needs your landlord permission in writing. When in doubt, choose the version of a project that moves with you.
Key Takeaways
- One palette, repeated: Two or three colors plus one metal or wood tone, used across every project, is what makes budget pieces look like a collection.
- Finish like you mean it: Sanded edges, thin coats, caulked seams, and level hanging separate expensive looking DIY from obvious DIY every time.
- Bigger and fewer wins: Large mirrors, full curtains, and generous art groupings read costlier than many small, scattered items.
- Edit before you buy: Clear surfaces, grouped displays, and symmetry from things you own deliver luxury at zero cost, so style first, shop second.
- Light sets the mood: Refreshed lamps, correct shade sizes, and warm LED bulbs give rooms the soft glow that expensive spaces share.
- Want a home that looks high end on a real life budget? Save this guide to Pinterest and pin the first project for this weekend.