22 DIY Bath Bombs You Will Want to Make This Weekend
Introduction
A bath bomb turns an ordinary soak into a small event, and the good news is that diy bath bombs need only a bowl, a mold, and a handful of pantry style ingredients. Baking soda and citric acid do the fizzing, while Epsom salt, a little oil, and scent make the bath feel like a treat.
This weekend list starts with the base method that almost every recipe shares, then spins it into colors, scents, shapes, and gift ready versions. Master the base once and every variation after it becomes easy and fast.
Two safety notes before you begin. Handle citric acid powder calmly, avoid breathing its dust, and keep it out of your eyes. Use only skin safe scents at modest amounts, patch test a new recipe first, and skip bath bombs entirely on broken or irritated skin.
1. Master the Basic 2 to 1 Ratio
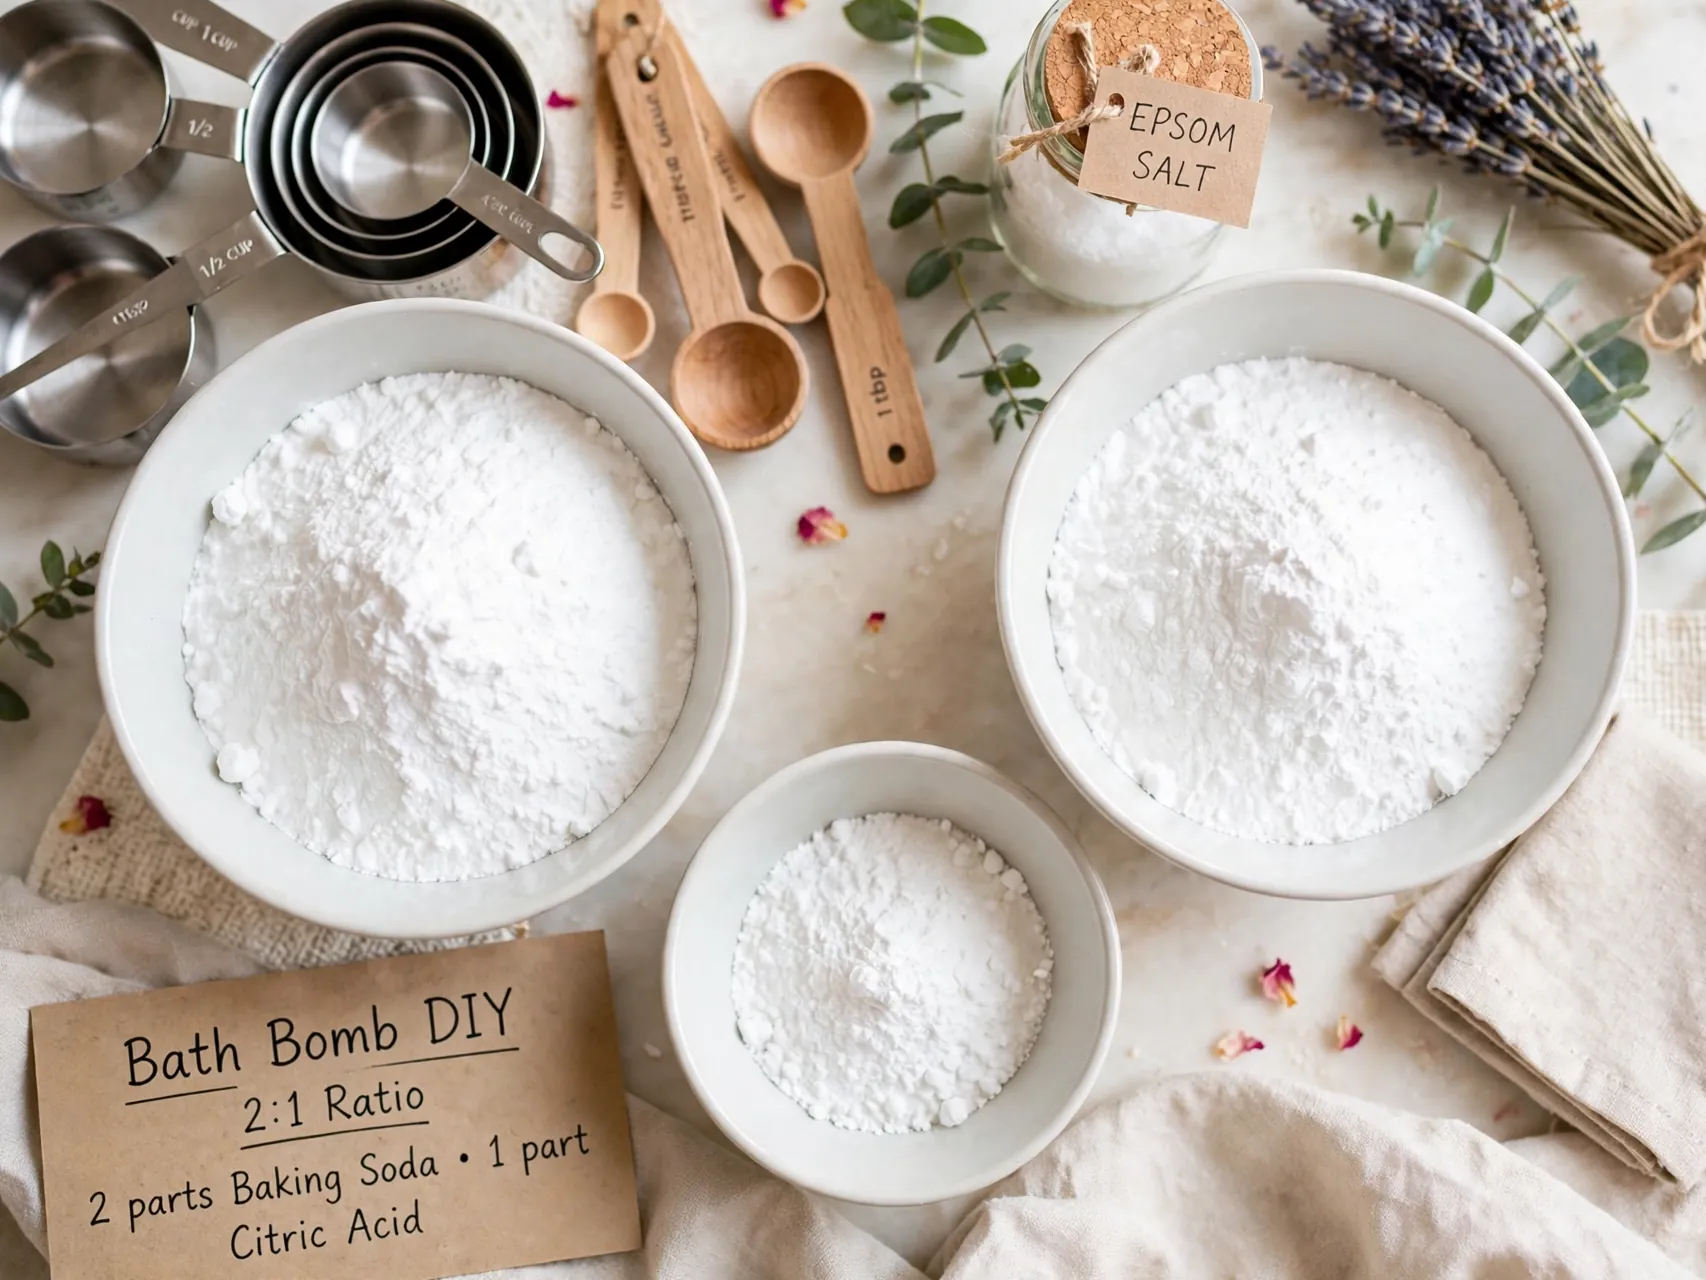
Nearly every reliable homemade bath bomb recipe starts near two parts baking soda to one part citric acid. A common small batch is one cup of baking soda, half a cup of citric acid, half a cup of cornstarch, and half a cup of Epsom salt, plus a small amount of oil and scent.
That ratio balances fizz and strength. Too much citric acid makes a harsh, fast bomb that can crumble, while too little gives a soft fizz that ends in seconds. Learn this base by heart before you start inventing variations.
2. Sift Dry Ingredients to Remove Clumps
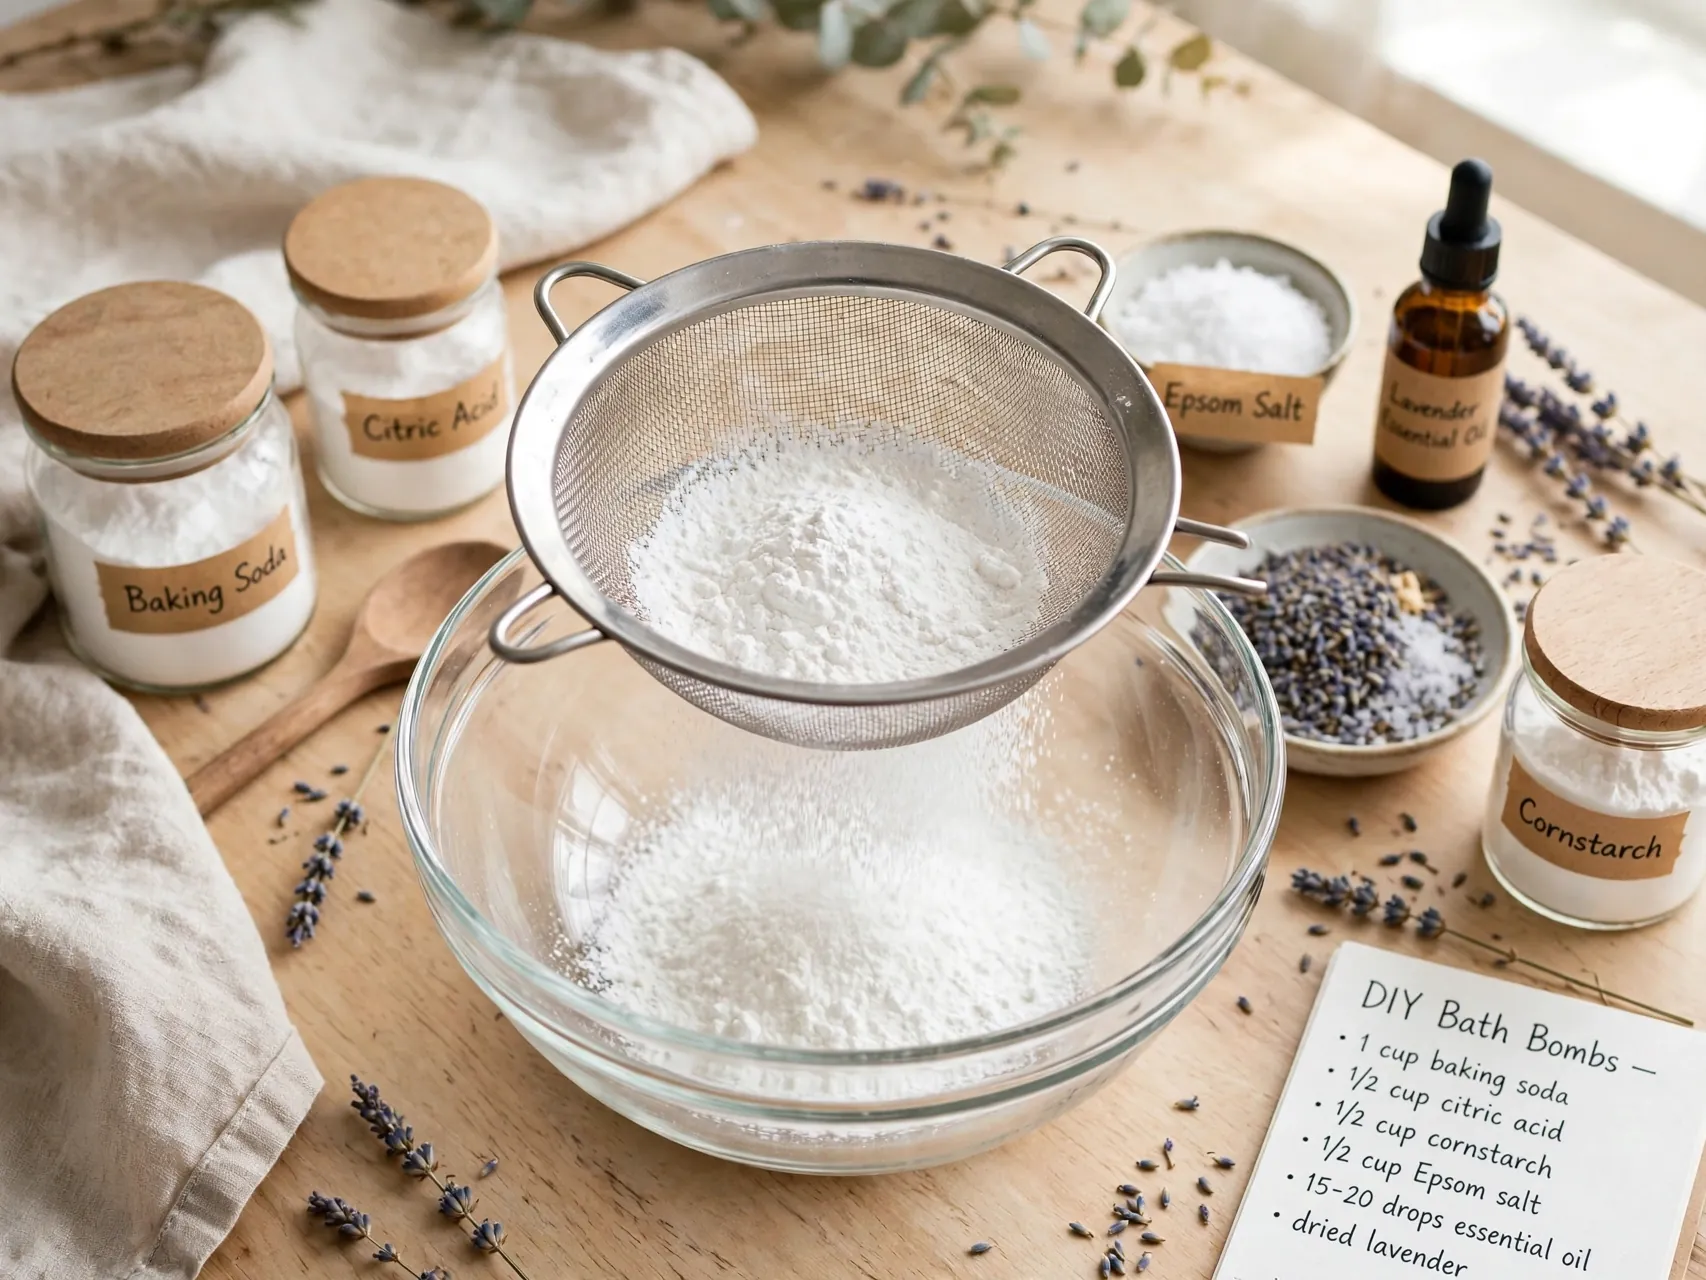
Whisk or sift the baking soda and cornstarch before anything wet comes near the bowl. Lumps in the dry mix become weak spots in the finished bomb, and they also hold pockets of color or oil that streak the bath.
Break up citric acid clumps gently with the back of a spoon rather than breathing over the bowl. A smooth, even dry base is the quiet reason some bombs come out hard and glassy while others crack along invisible fault lines.
3. Add Liquid With a Spray Bottle Only

Water starts the fizz reaction, so how you add liquid decides whether the fizz happens in the mold or later in your tub. Put witch hazel or water in a fine spray bottle and mist the mix a few sprays at a time, mixing constantly between rounds.
Pouring liquid in, even a teaspoon at once, soaks one spot and sets off bubbling you cannot undo. Spray, mix, spray, mix is slower by a minute and saves whole batches, especially on humid days when the air is already adding moisture.
4. Aim for the Wet Sand Texture

The perfect mixture feels like damp sand and holds together when you squeeze a handful, keeping the shape of your fingers for a moment before crumbling at the edges. That squeeze test is more reliable than any fixed number of sprays.
If the mix falls apart like dry flour, it needs a few more mists. If it feels wet, soft, or starts fizzing in the bowl, it has gone too far, and the finished bombs will likely expand, crack, or lose their fizz. Stop a touch early rather than a touch late.
5. Mix Color Into the Epsom Salt First

For soft, speckled color, stir your color into the Epsom salt before the salt joins the main bowl. The crystals take color evenly and spread tiny flecks through the bomb instead of one dark patch where a drop landed.
This trick suits pastel and spa style bombs beautifully. Keep the salt separate until the dry base is whisked smooth, then fold it in last so the crystals stay whole and visible in the finished surface.
6. Use Mica for Soft Bath Safe Color
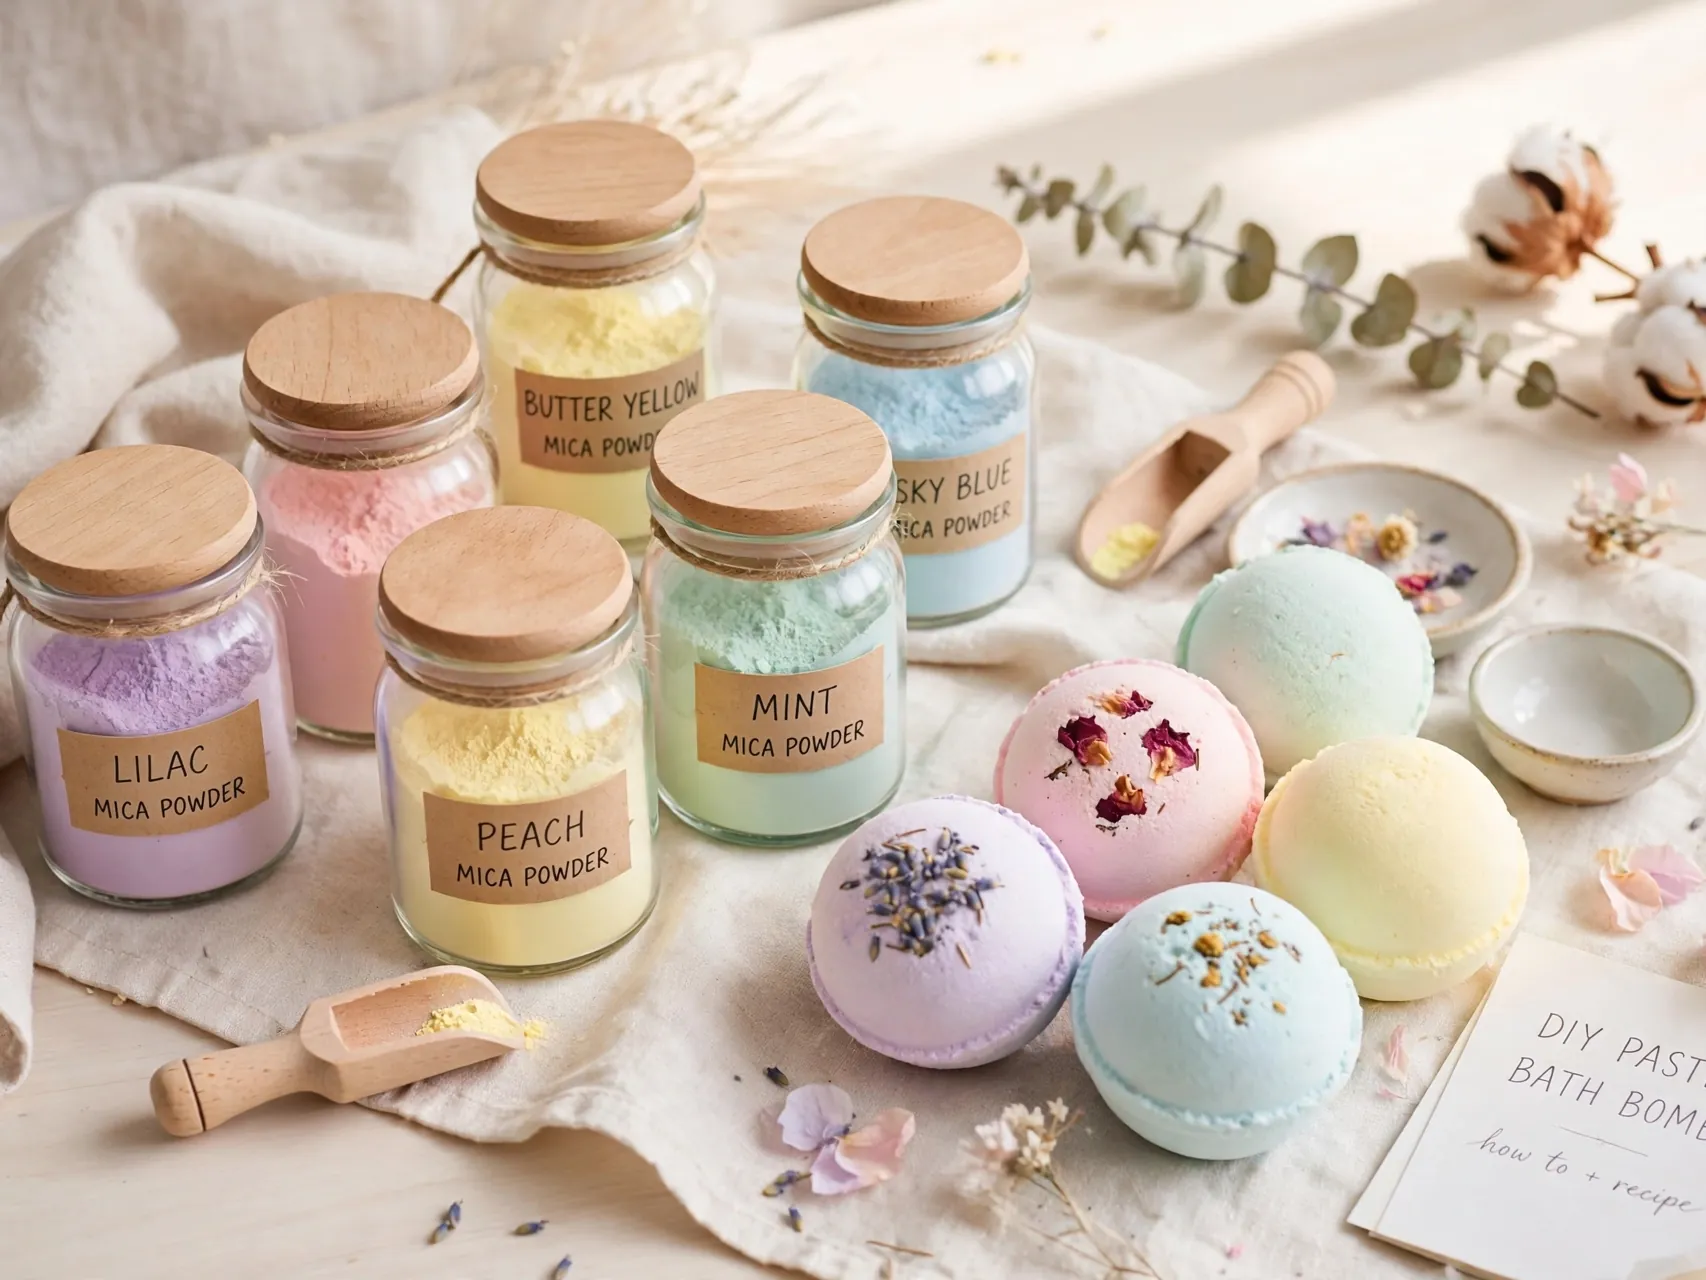
Cosmetic grade mica powders made for bath products give gentle, shimmery color without the staining risk of strong dyes. Start with a small amount, mix it through the dry ingredients, and remember the color deepens when the bomb hits water.
Choose colorants labeled for bath and body use, and skip craft glitter, craft pigments, and food coloring experiments that are not made for skin or tubs. Rinse the tub after colorful baths, and test bright shades in an older tub first if staining worries you.
7. Choose Skin Safe Scents and Keep Them Modest
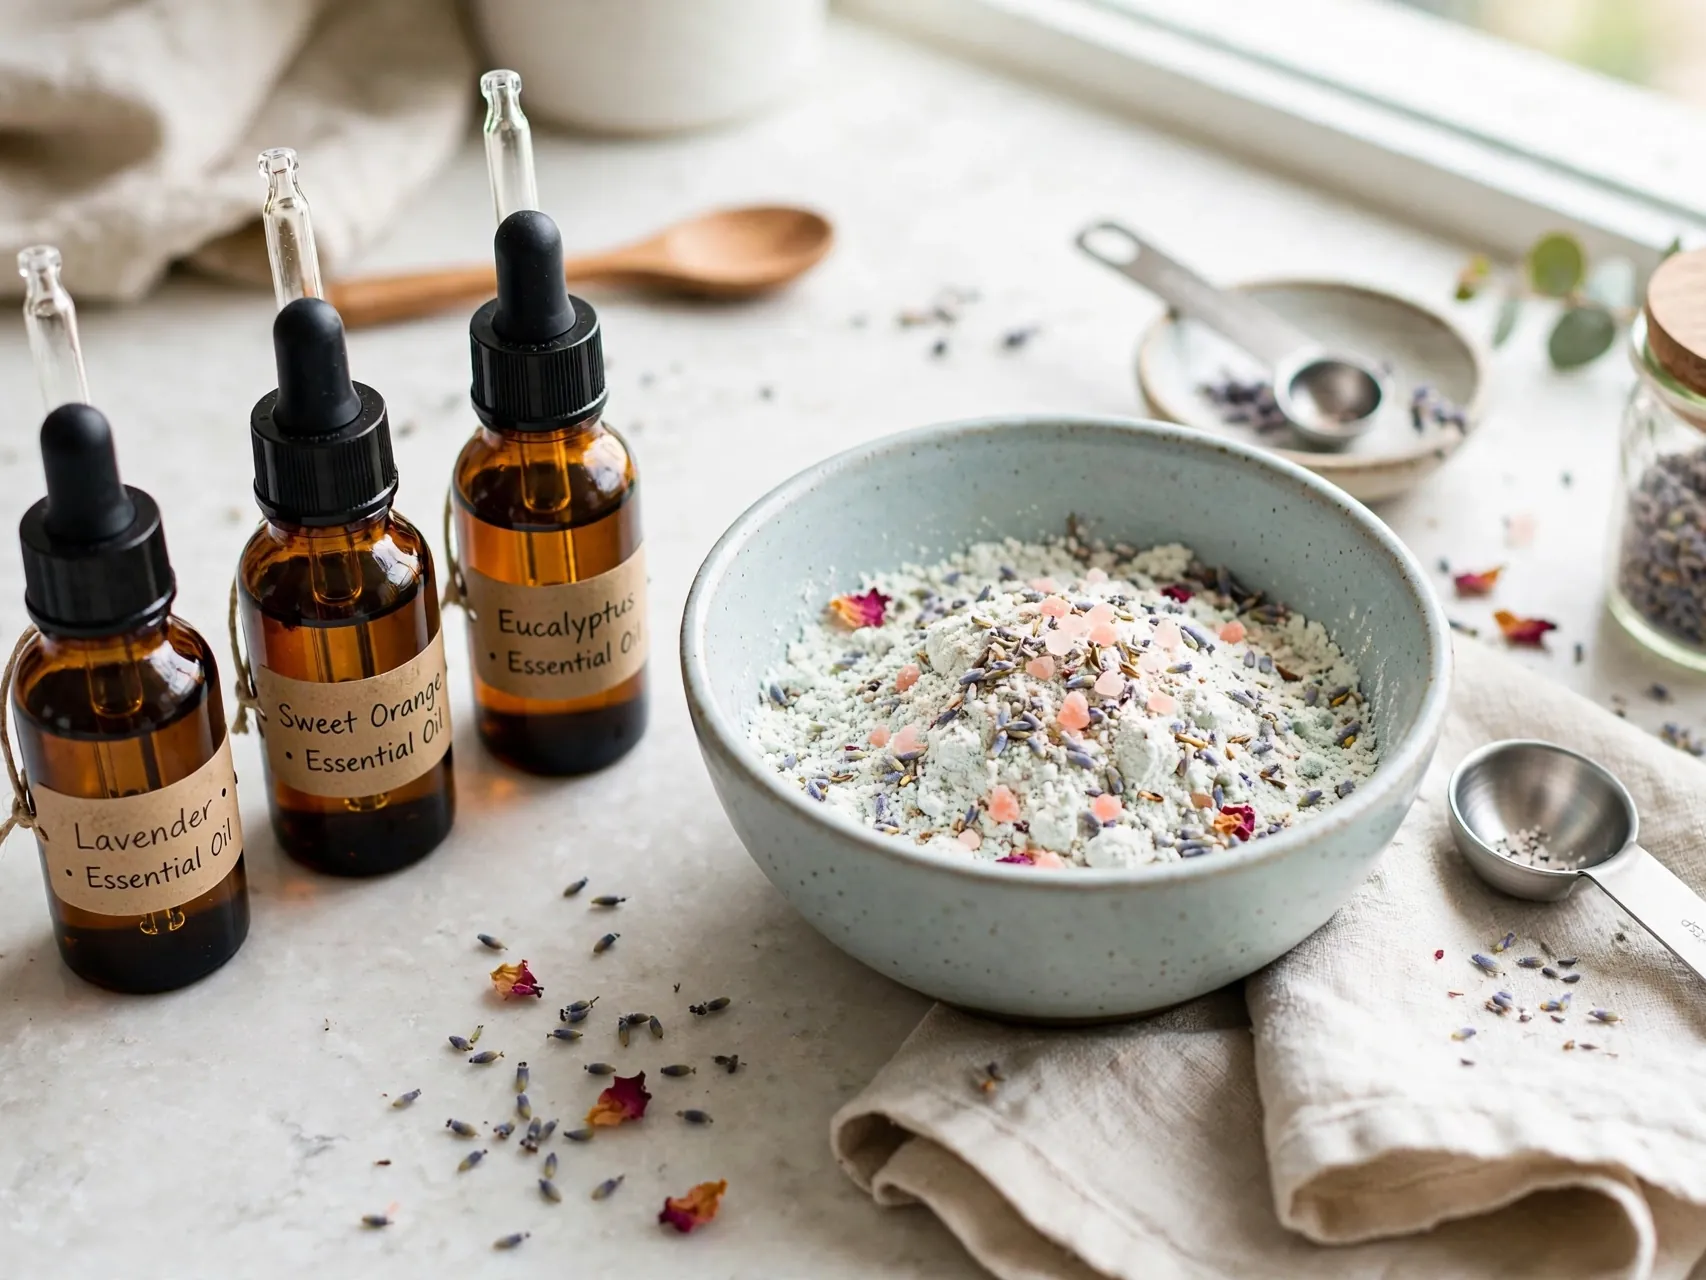
Scent is the soul of the bomb, but skin sets the limits. Use fragrance oils labeled skin safe for bath products, or essential oils commonly used in bath recipes, and keep amounts modest, roughly a teaspoon or less for a small batch unless your supplier guidance says otherwise.
Strong is not better in a hot bath, where scent blooms quickly. Blend scents in the oil before adding it to the bowl so the fragrance spreads evenly instead of landing in one overpowering pocket.
8. Go Easy on Oils to Keep the Fizz
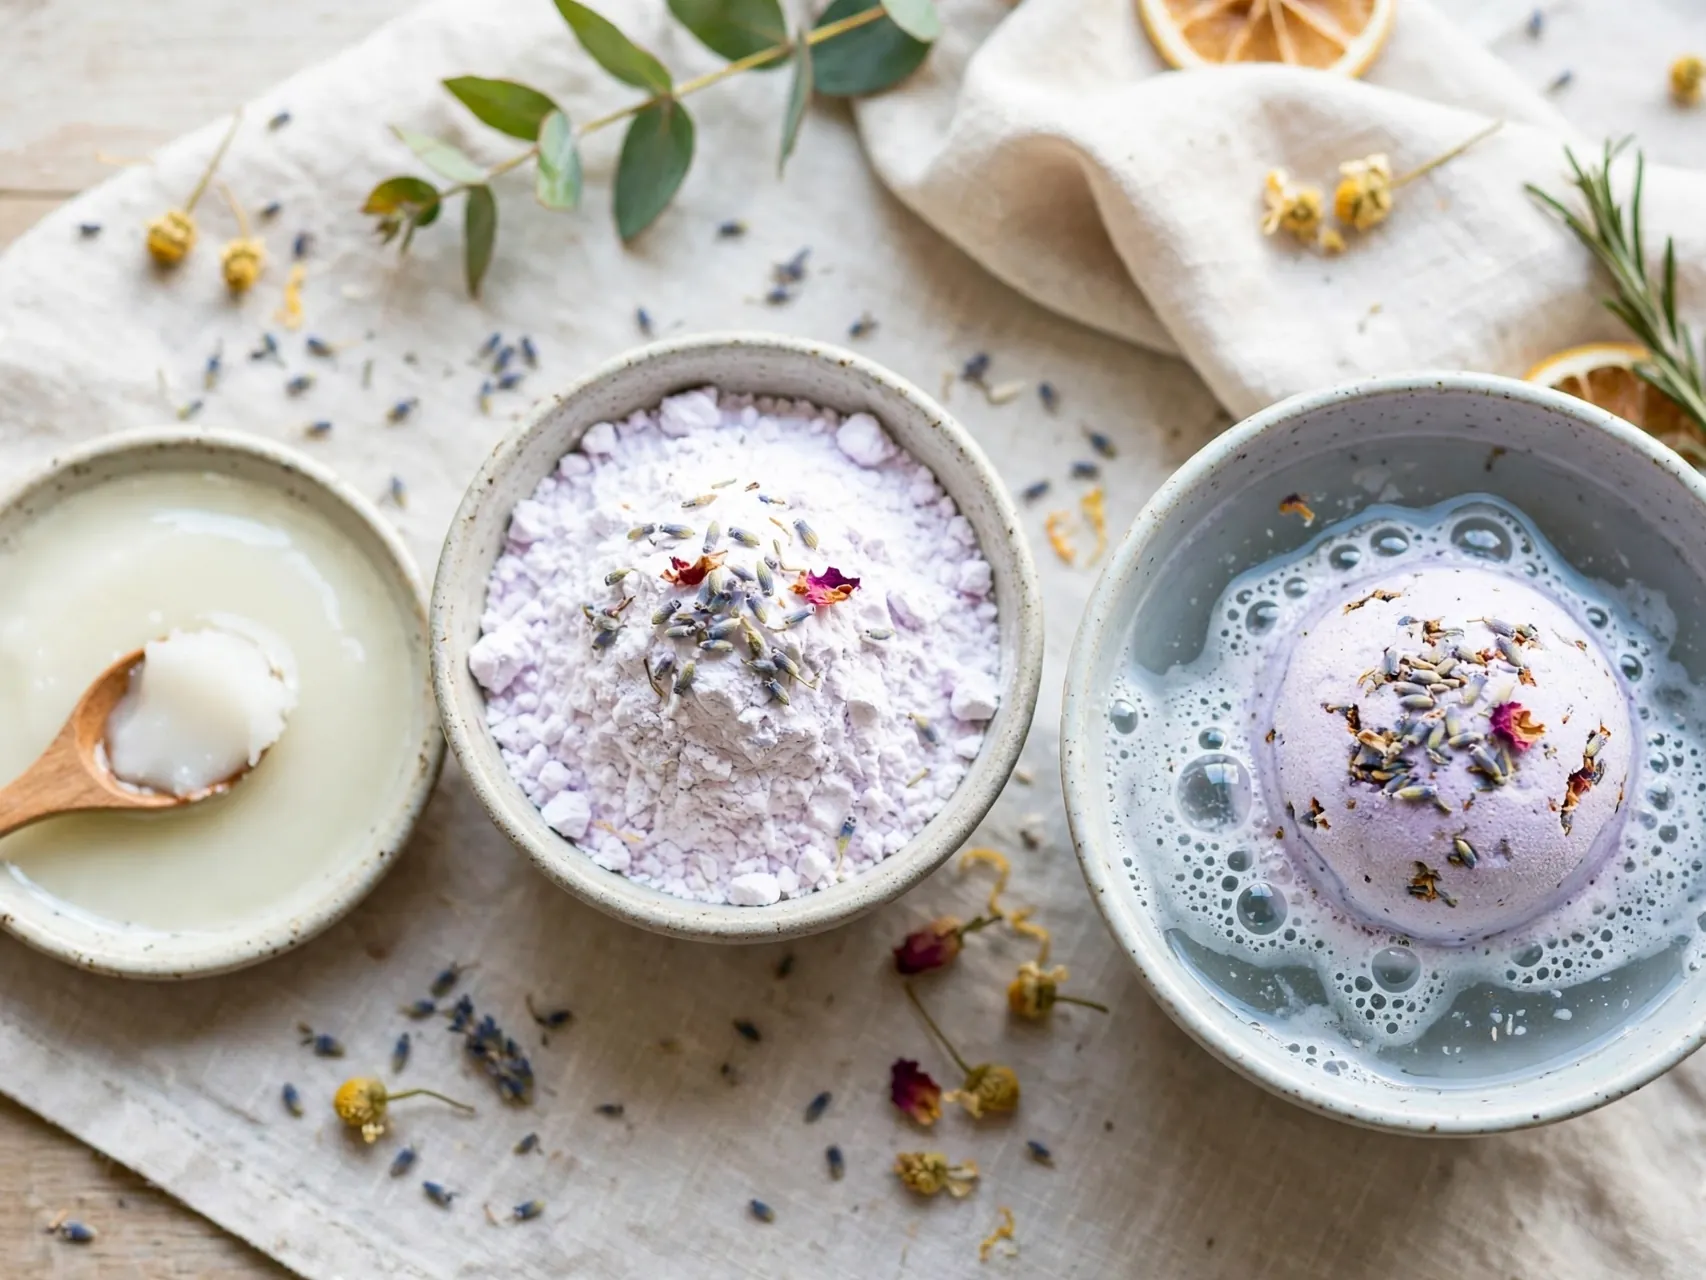
A little melted coconut oil, almond oil, or another light bath oil binds the mix and leaves skin feeling soft. Too much oil coats the powders and smothers the reaction, giving you a pretty bomb that melts into an oily puddle with barely a bubble.
Measure the oil instead of pouring from the jar. If your bombs keep underperforming, reduce the oil slightly before you change anything else, because excess oil is the most common hidden cause of lazy fizz in bath bombs with epsom salt and other rich recipes.
9. Add Cornstarch for a Slower, Silky Fizz
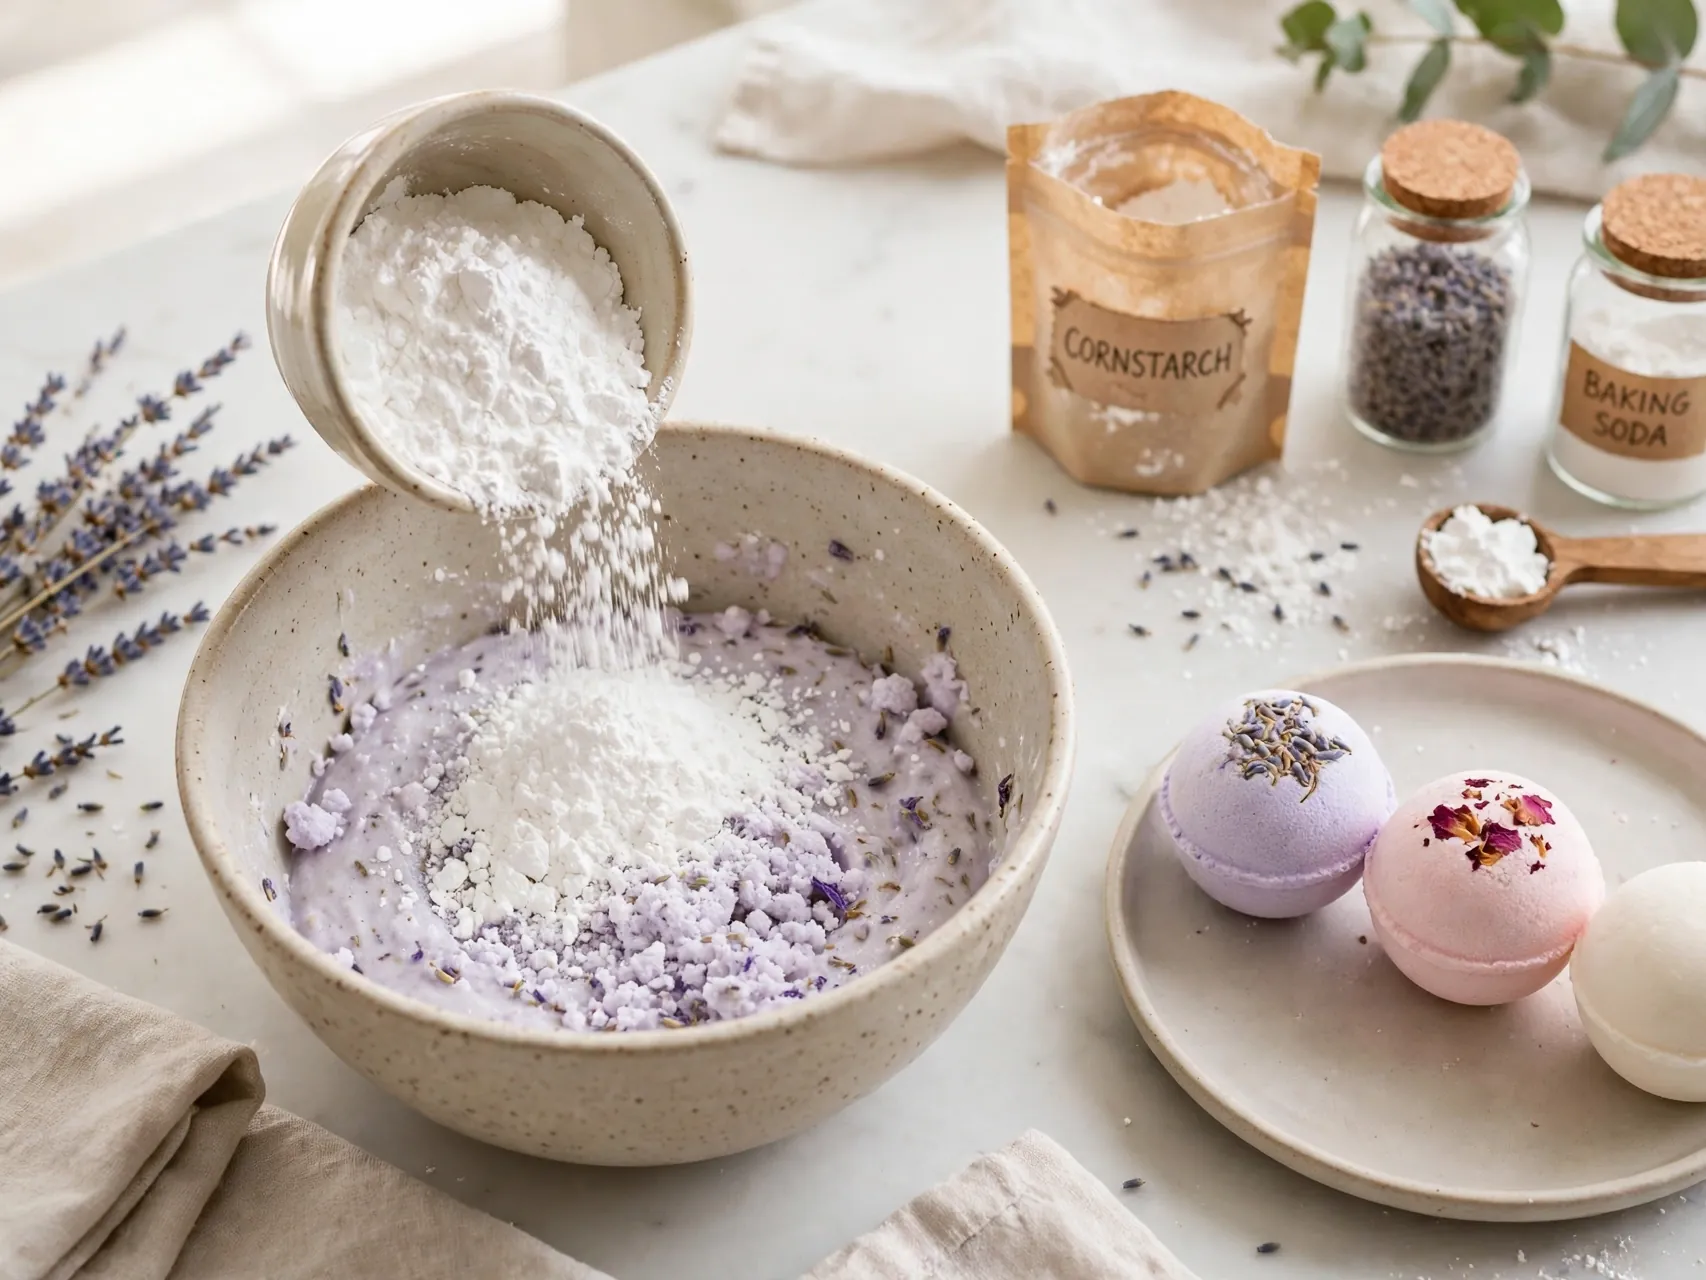
Cornstarch softens the water feel and slows the reaction, so the bomb rolls and fizzes for longer instead of bursting apart in twenty seconds. It also helps the mixture pack firmly, which supports clean edges from detailed molds.
If you prefer a fast, dramatic fizz, reduce the cornstarch a little. If you love a long, gentle soak show, keep the full amount. This one ingredient is your simplest dial for tuning how every bomb behaves in the tub.
10. Pack Molds Tightly in Layers

Loose packing is why bombs crumble at the seam. Fill each half of a round mold in small handfuls, pressing down firmly as you go, then mound a little extra on top of each half before pressing them together with a twist.
Hold the closed mold for several seconds, tap it gently, and ease one side off at a time. Work over a tray so a dropped bomb lands softly, and set finished bombs down without stacking anything on them while they are fresh.
11. Try Silicone Molds for Easy Shapes

Silicone muffin, flower, heart, and shell molds make bath bombs accessible to anyone nervous about two part sphere molds. Press the mix in very firmly, level the back with a spoon, and let the bombs dry right in the mold before flexing them out.
Detailed shapes need extra firm packing in the corners and a full drying time, or petals and points snap off. Silicone shapes are also ideal for kids craft sessions with an adult leading, because there is no tricky seam to hold together.
12. Make Lavender Oat Bombs for Calm Nights
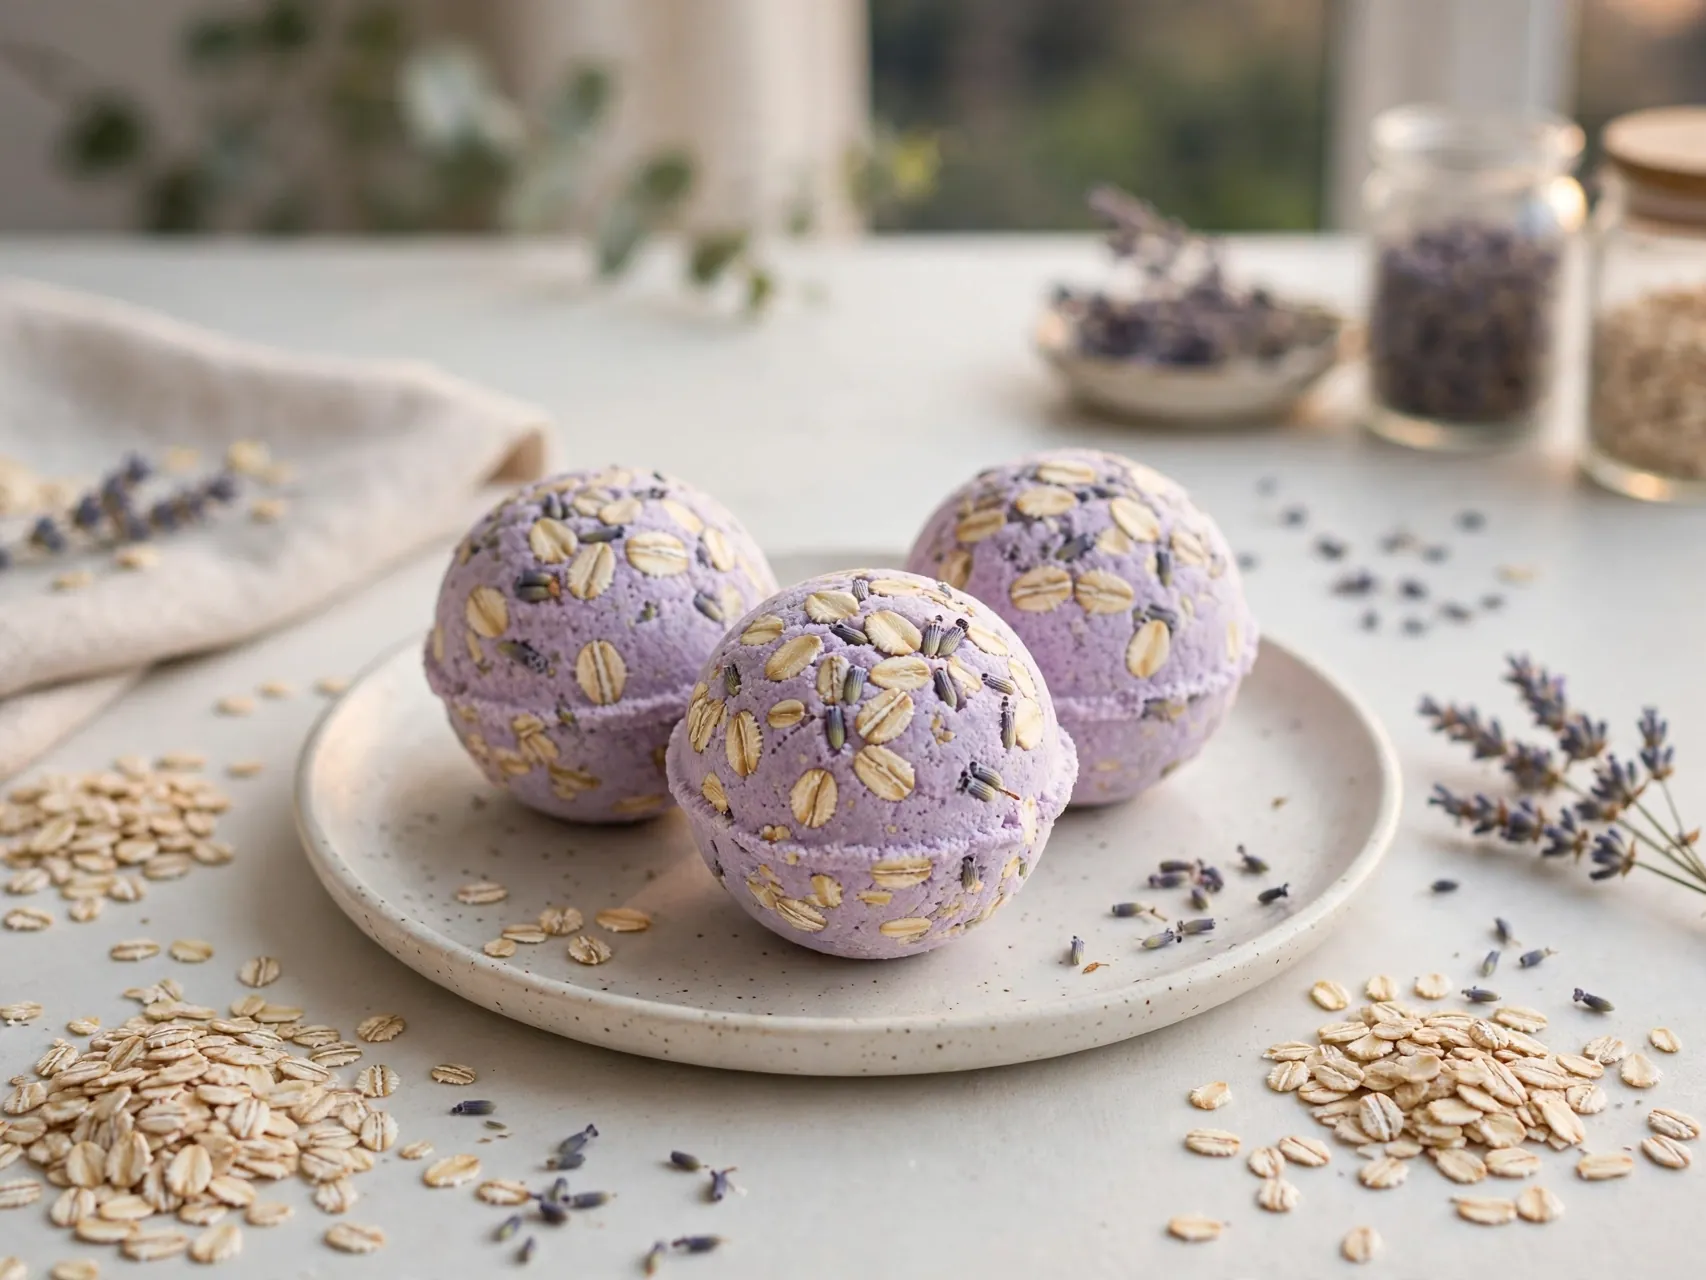
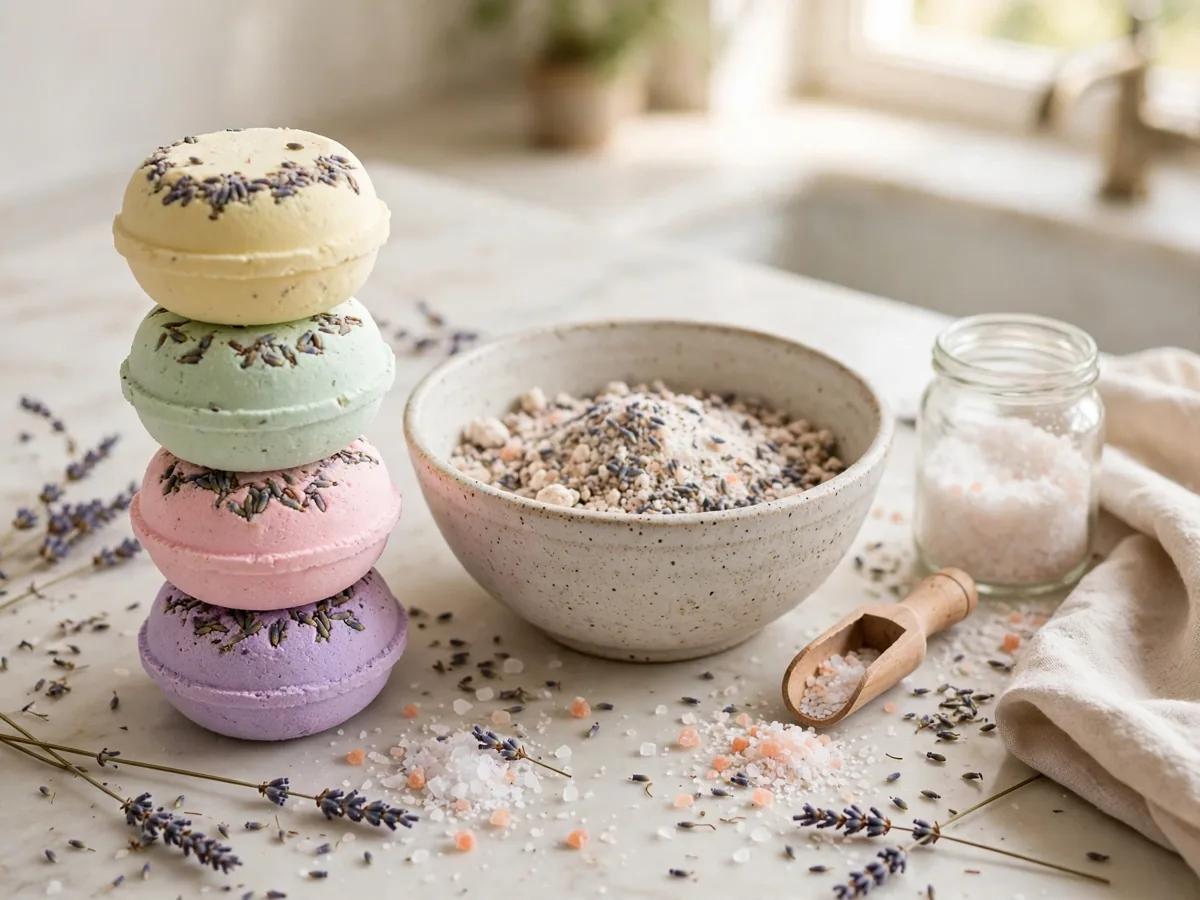
Add a tablespoon of finely ground oats to the base and scent it with a modest amount of lavender. The oats soften the water and give the bomb a cozy, spa like feel that suits an evening soak before bed.
A few dried lavender buds pressed on top look lovely, but keep them few, because loose botanicals mean extra tub cleanup. Grind the oats fine so nothing feels scratchy, and note the lavender clearly on the label if the bombs are gifts.
13. Make Citrus Sunrise Bombs for Morning Baths

Orange and lemon toned mica, a bright citrus scent, and a two tone layered pack turn the base recipe into a cheerful morning bomb. Citrus is the scent family most people call energizing, which makes these favorites for weekend reset baths.
Layer yellow over orange by packing one color, then the other, pressing firmly between layers. Citrus oils are strong, so keep the amount modest, use only skin safe products, and remind gift recipients to patch test first like any new bath product.
14. Make Rose Petal Bombs for Gifting

Blush mica, a soft rose scent, and a pinch of dried rose petals in the mold before packing create the most gifted bomb on this list. Place petals in the mold first so they show on the finished surface instead of hiding inside.
Dry these bombs a full day, then wrap them individually so the petals stay put and the scent stays in. A small ingredient label tucked in the wrap makes the gift feel boutique and helps anyone with sensitivities decide before their bath.
15. Make Hidden Color Bombs for a Fun Reveal

Hide a small pinch of a second, stronger color in the center of a plain looking bomb, and the bath water changes shade as the shell dissolves. Pack half the mold, add the color pinch, cover it completely, and finish packing as usual.
Use only bath safe colorants, keep the hidden amount small, and expect the tub to need a rinse afterward. These are a delight for older kids and teens, with an adult handling the citric acid mixing stage and supervising bath time for younger children as usual.
16. Make Mini Bombs for Foot Soaks and Travel
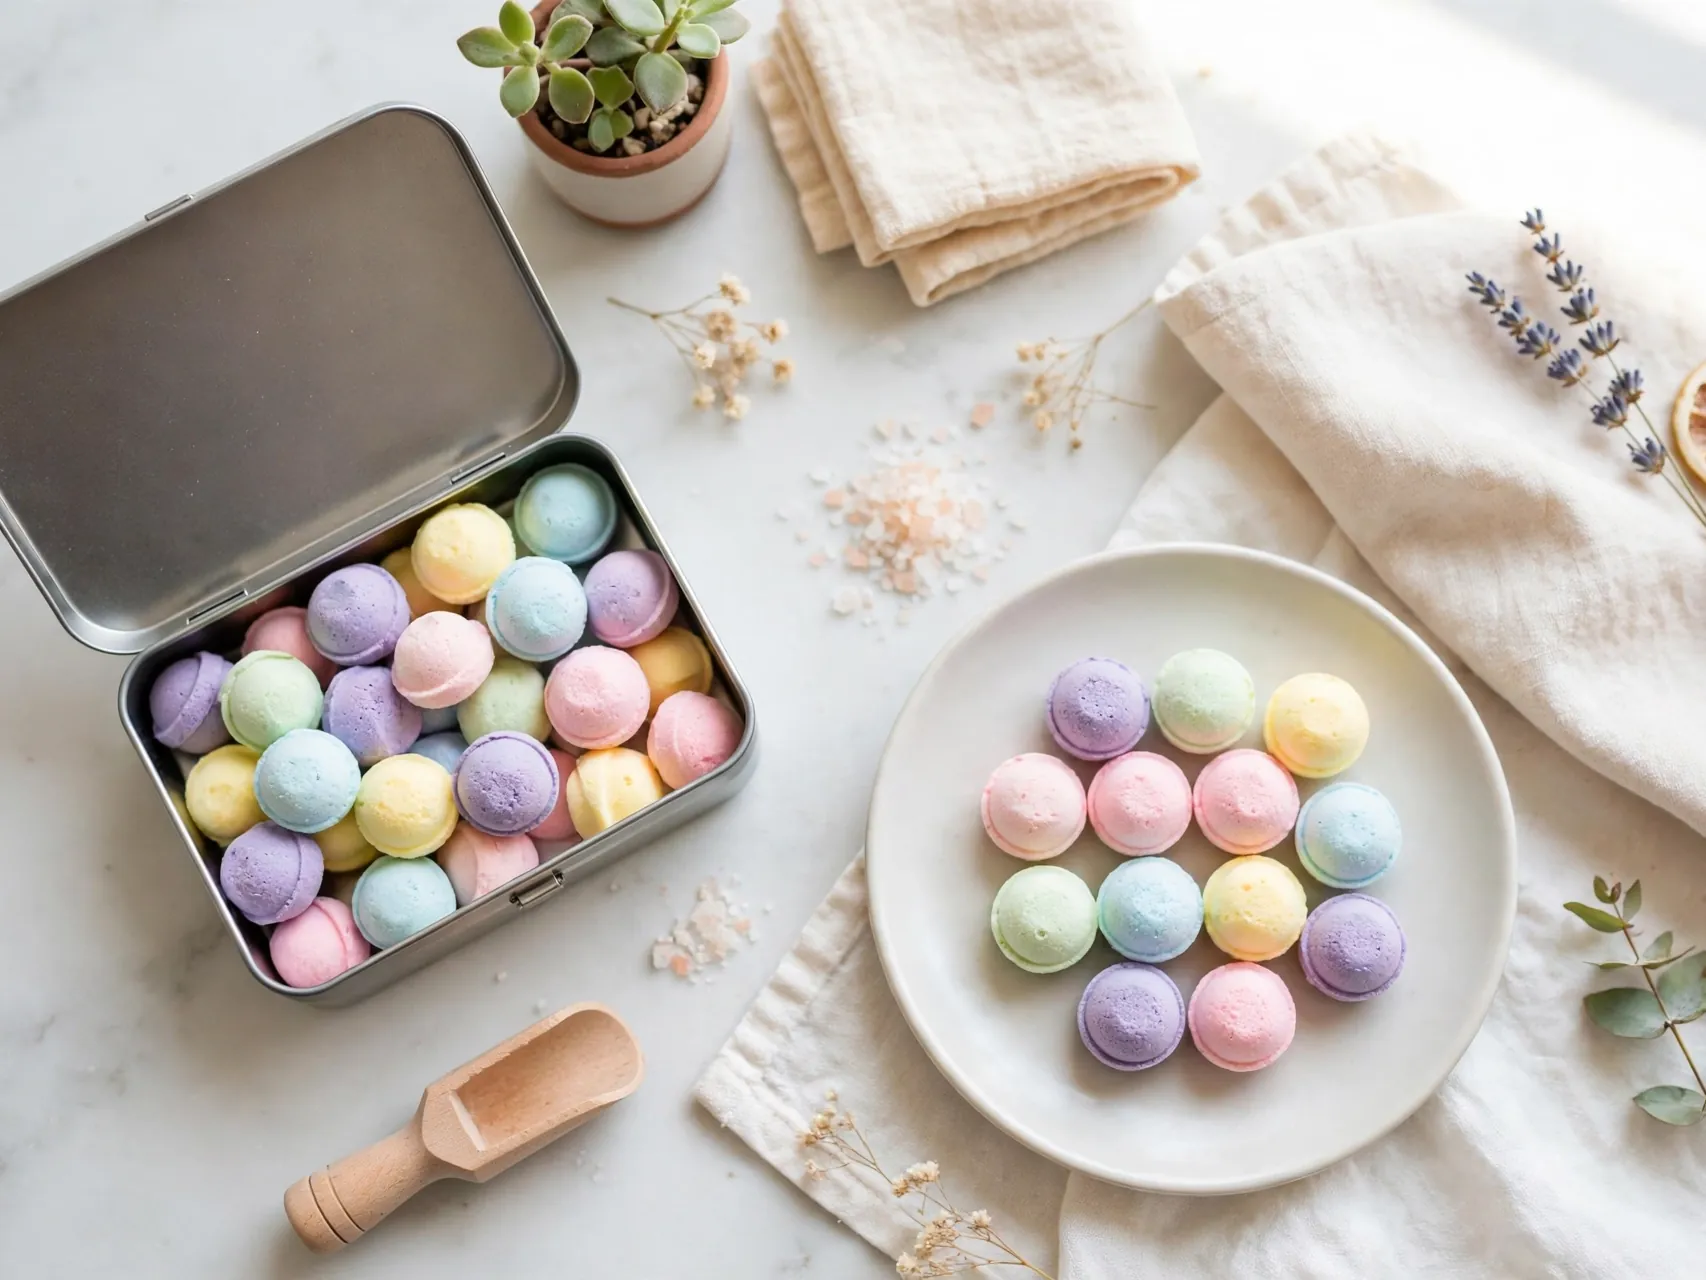
The same mixture pressed into small silicone trays makes mini bombs that are perfect for foot soak basins, one per basin, with peppermint or eucalyptus style scents that feel fresh after a long day on your feet.
Minis dry faster, store easily in a small jar, and travel well in a sealed bag. They are also the smartest way to test a new scent or color: make six minis first, and only scale up the versions your household actually loves.
17. Dry Bombs Flat for a Full Day

Fresh bombs are fragile, so dry them on a flat tray lined with a towel or parchment for at least 24 hours before wrapping or jarring them. Humid climates and large bombs may need longer, and patience here prevents the heartbreak of bombs cracking in their packaging.
Keep drying bombs out of steamy bathrooms, which undoes the drying as fast as it happens. A dry bomb feels light, hard, and smooth, with no cool damp feeling when you hold it in your palm.
18. Troubleshoot Cracking and Crumbing
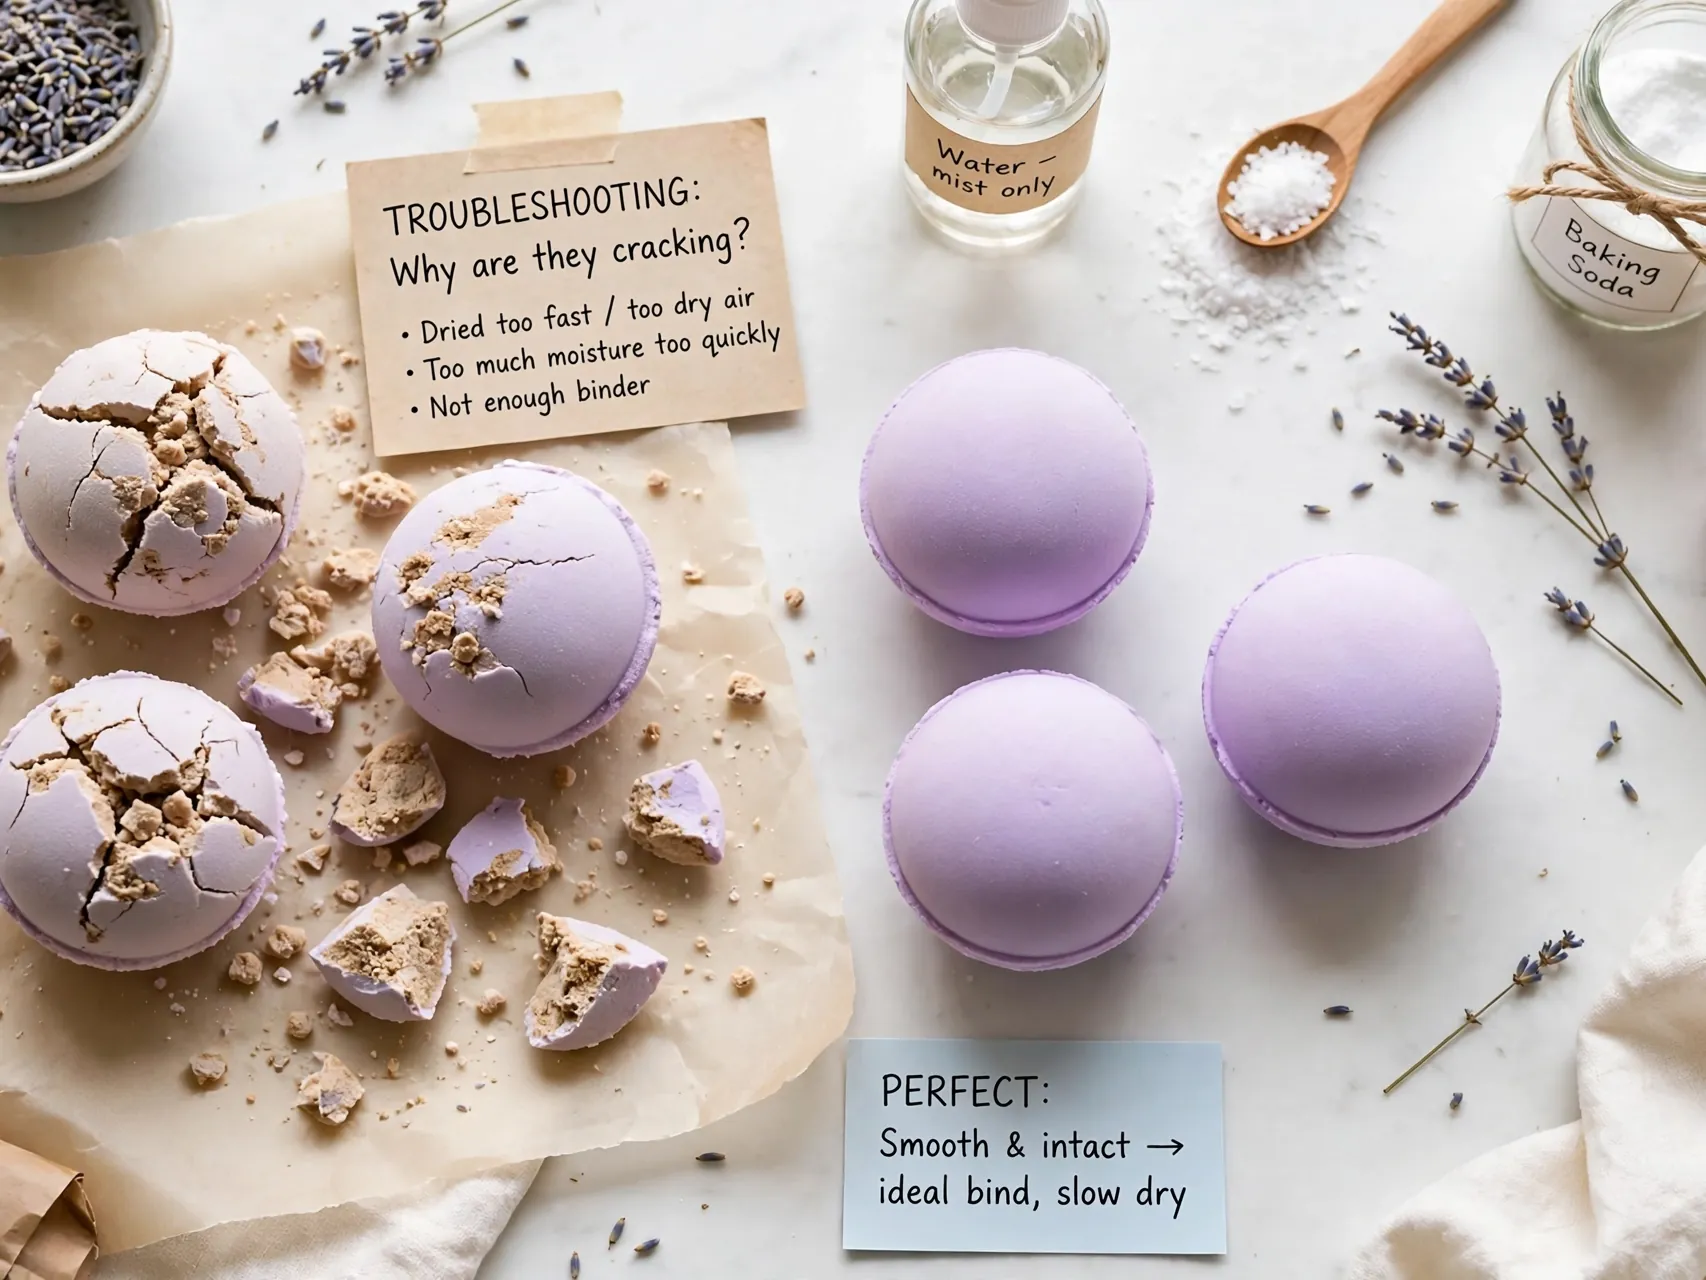
Cracks usually mean the mix was too dry, the packing was loose, or the bomb dried too fast in moving air. Crumbling at the seam means the two halves were not mounded and pressed firmly enough to knit together.
Fix the next batch, not the broken one: add a few more sprays of binder, pack in smaller pressed layers, and dry bombs away from vents and fans. Broken bombs are not wasted, though, because the crumbs work perfectly well sprinkled into a bath as fizzy soak.
19. Troubleshoot Bombs That Expand or Go Flat

Bombs that swell, wart, or flatten in the mold got too wet, plain and simple. The reaction started early, gas built up, and the shape lost its sharp edges. Humid rooms and heavy handed spraying are the usual culprits.
Next time, spray less, mix faster, and consider making bombs on a dry day or in an air conditioned room. This is the heart of bath bomb troubleshooting: nearly every flaw traces back to moisture, either too much, too little, or arriving at the wrong moment.
20. Wrap and Store Away From Humidity
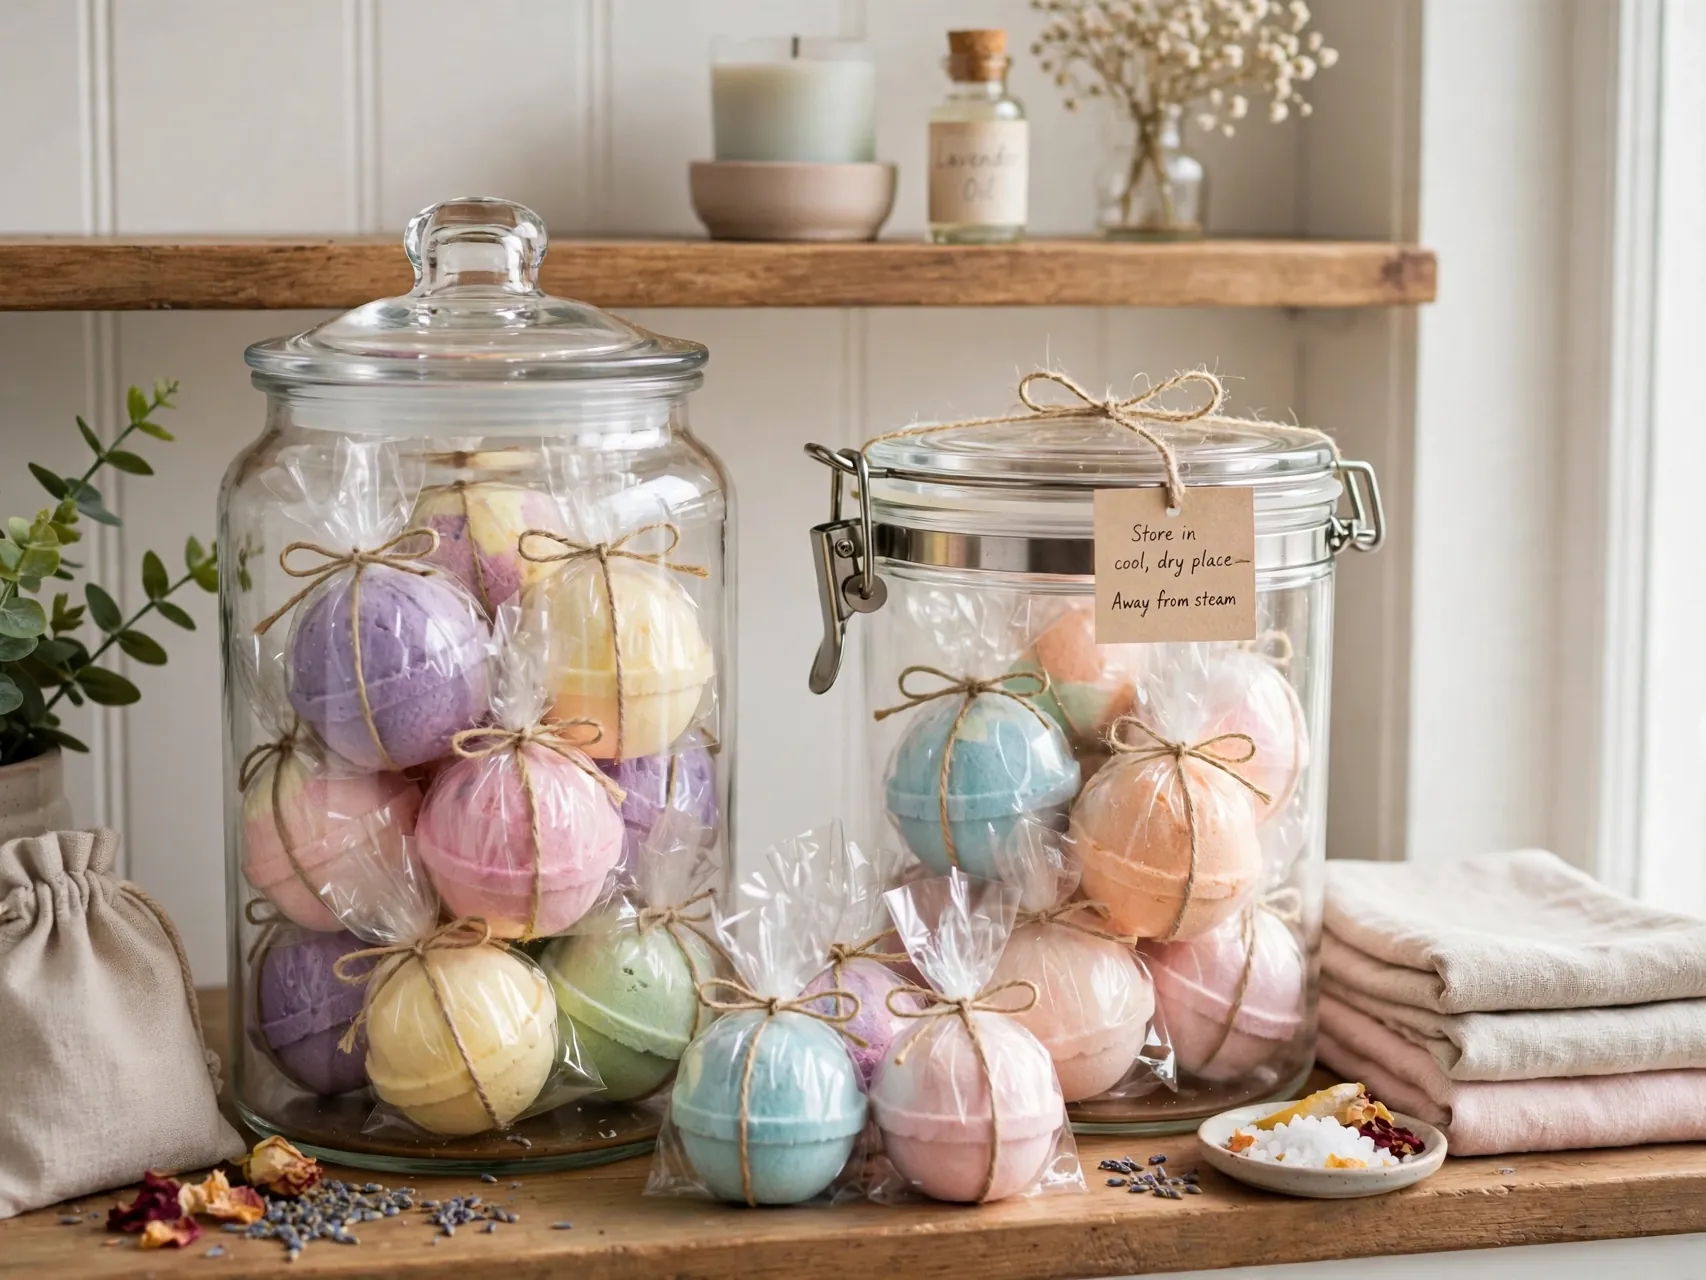
Wrap dried bombs individually or store them in an airtight jar with the lid kept closed, away from the steamy bathroom shelf. Moisture in the air slowly wakes the citric acid up, and stored bombs can lose their fizz weeks before you use them.
Shrink wrap, small sealed bags, or a tight lidded jar all work. Label the scent and the date made, use older bombs first, and keep gift batches in a cool bedroom cupboard rather than beside the shower they were made for.
21. Do a Patch Test and Label Ingredients
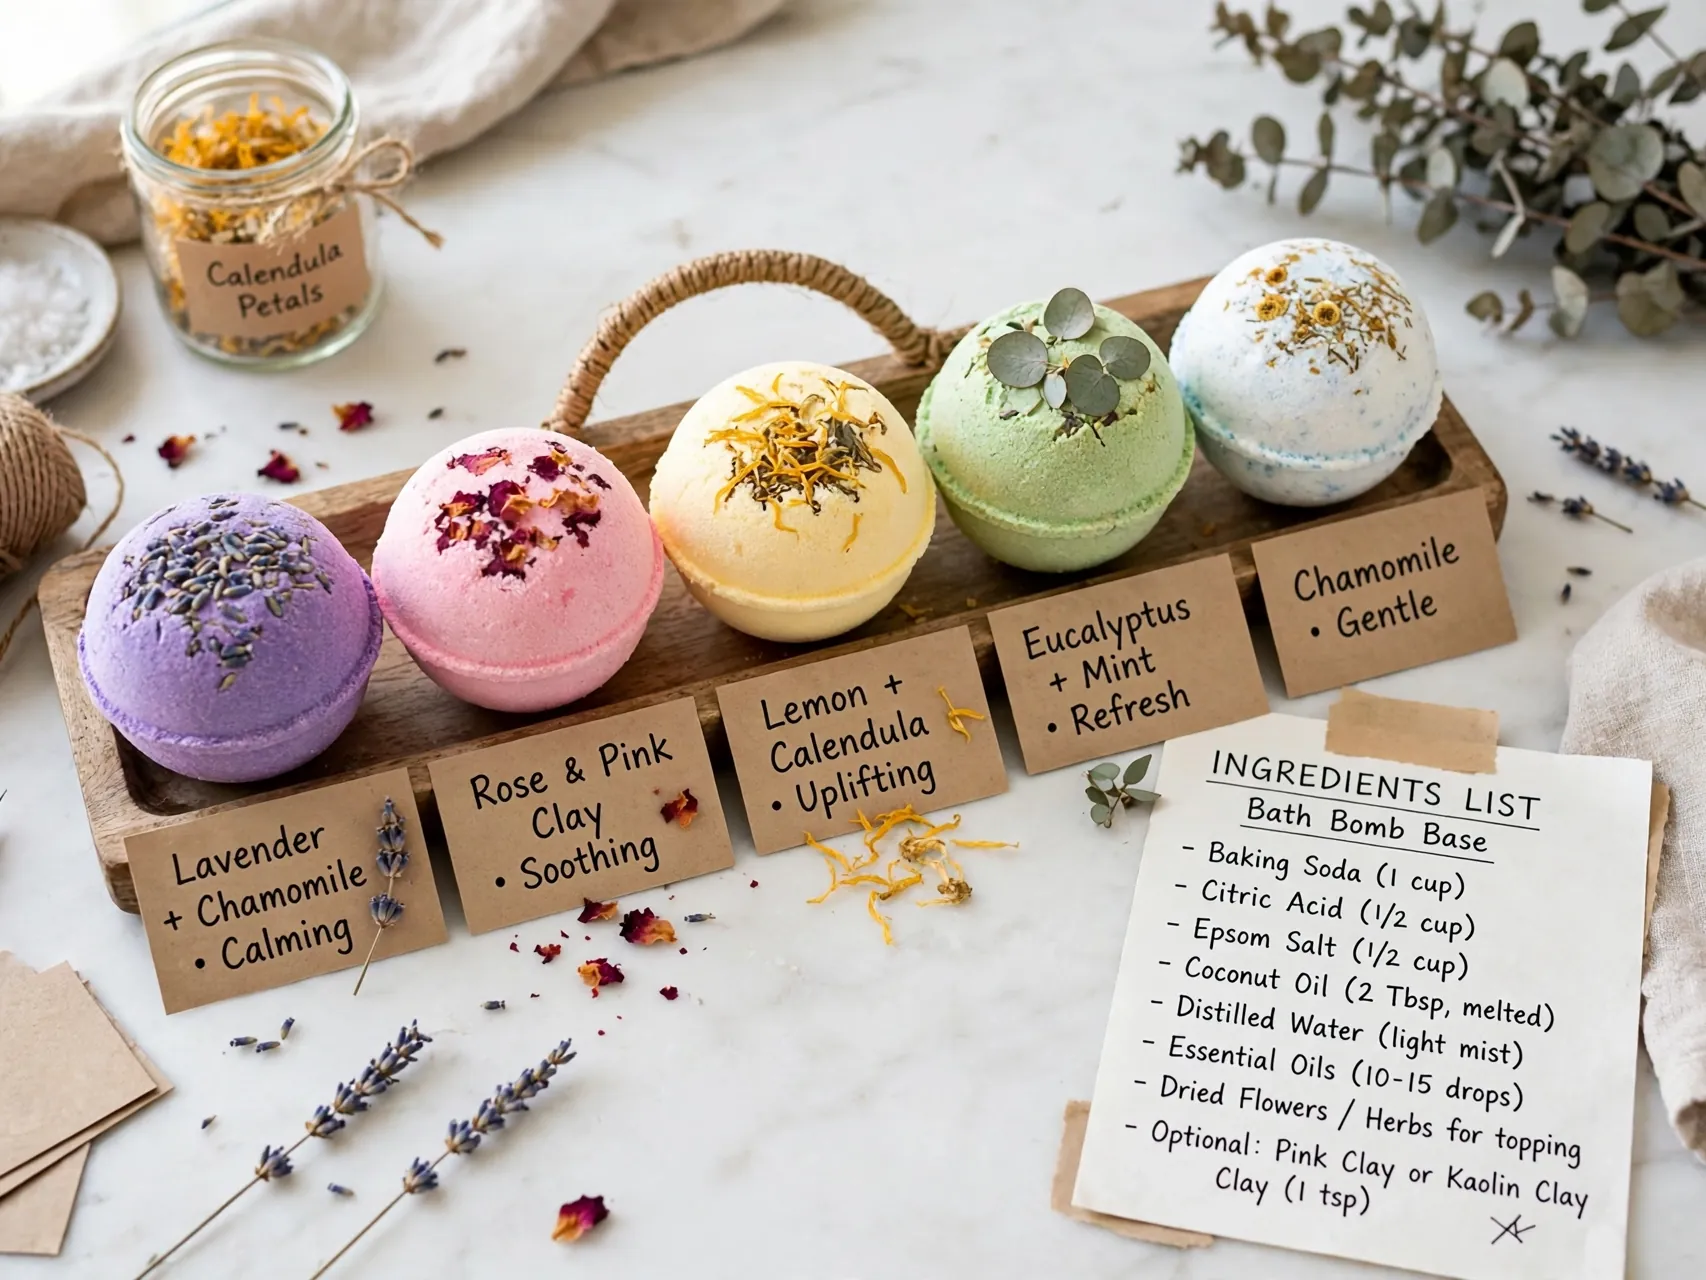
Before a long soak with any new recipe, test a little of the dissolved mixture on the inside of your wrist or elbow and wait to see how your skin feels. Skin varies, and a scent or color that suits one person may bother another.
Label homemade bombs with every ingredient, especially when gifting. Clear labels protect friends with allergies and sensitivities, and they make your easy bath bombs for gifts look thoughtful and professional at the same time. When in doubt about an ingredient, leave it out.
22. Skip Bombs on Broken or Irritated Skin

This final idea is a rule, not a recipe. Citric acid and fragrance do not belong on broken, freshly shaved, sunburned, or irritated skin, where even gentle products can sting. Save the fancy soak for healthy skin days and choose a plain warm bath instead.
Keep bath bombs for adult use or with adult supervision, store them where small children and pets cannot reach or mistake them for food, and rinse skin with clean water after colorful or strongly scented baths. Simple care like this keeps diy bath bombs the relaxing treat they are meant to be.
FAQ
What is the basic bath bomb recipe ratio?
A reliable starting point is two parts baking soda to one part citric acid, with cornstarch and Epsom salt as supporting ingredients. One cup of baking soda, half a cup of citric acid, half a cup of cornstarch, and half a cup of Epsom salt, plus about two teaspoons of oil, a modest amount of skin safe scent, and sprayed binder, makes a small testable batch you can adjust from there.
Why do my bath bombs keep crumbling or cracking?
Too little binder, loose packing, and drying in moving air are the usual causes. The mixture should hold together when squeezed, like damp sand. Pack molds in small, firmly pressed layers, mound the centers before joining halves, and dry bombs flat for at least 24 hours away from vents. Crumbs from failed batches still work sprinkled into the bath, so nothing is wasted.
Can I make bath bombs without citric acid?
Citric acid is what reacts with baking soda to create the fizz, so a bomb without it will mostly just dissolve. Cream of tartar is sometimes used as a gentler alternative in education settings, but the fizz is weaker and the texture changes. For the classic rolling, foaming result, citric acid powder from a food or bath supplier is the ingredient to keep, handled calmly and kept away from eyes.
How long do homemade bath bombs last in storage?
Stored fully dry in airtight packaging away from humidity, homemade bombs keep their fizz well for several months, with scent fading gradually over time. Bathroom shelves are the worst storage spot because steam slowly activates them. Keep them in a sealed jar or wrapped in a cool cupboard, label the date, and use the oldest batch first for the liveliest fizz.
Are homemade bath bombs safe for sensitive skin and kids?
They can be, with care: use only skin safe scents at modest amounts, avoid strong colors, patch test first, and supervise children in the bath. Skip bombs on broken or irritated skin, and avoid recipes with ingredients anyone in the household is sensitive to. For young children, a plain or very lightly scented mini bomb made and used under adult supervision is the safest choice.
Key Takeaways
- Ratio and texture rule everything: Two parts baking soda to one part citric acid, mixed to damp sand, solves most diy bath bombs problems before they start.
- Spray, never pour: Liquid added by mist keeps the fizz in the tub where it belongs, not fizzing away in your mixing bowl.
- Skin safety is non negotiable: Skin safe scents only, modest amounts, patch tests, labels, and no bombs on broken skin.
- Dry and store with patience: A full day flat to dry, then airtight storage away from bathroom steam, keeps bombs hard and lively.
- Flaws are lessons: Cracking means too dry, swelling means too wet, and weak fizz usually means too much oil.
- Planning a cozy soak this weekend? Save this list to Pinterest and pin the recipe you want to try first.