24 DIY Advent Calendar Ideas to Make Before December 1
Introduction

The best countdown is the one that is ready before the month begins, and these diy advent calendar ideas are all designed to be made, numbered, and filled before December 1. Some take an afternoon with paper and twine, others become a reusable advent calendar your family unpacks year after year.
Choose the style that fits your space first: a hanging calendar for a small home, a basket calendar for a mantel, or a pocket calendar for bigger fillers. Then list 24 fillers before you shop, mixing treats, notes, and activities.
Two safety notes help every version. Keep small parts, loose magnets, and button batteries away from young children, and choose age appropriate fillers for toddlers. For candy, read labels every time for major food allergens, and check with families before sharing calendars at school or with neighbors if allergies are a concern.
Start with the base this week, number everything before you fill it, and keep day 24 a little special. A homemade advent calendar does not need to be perfect, just finished and hung safely.
1. Kraft Paper Bags Clipped to Twine
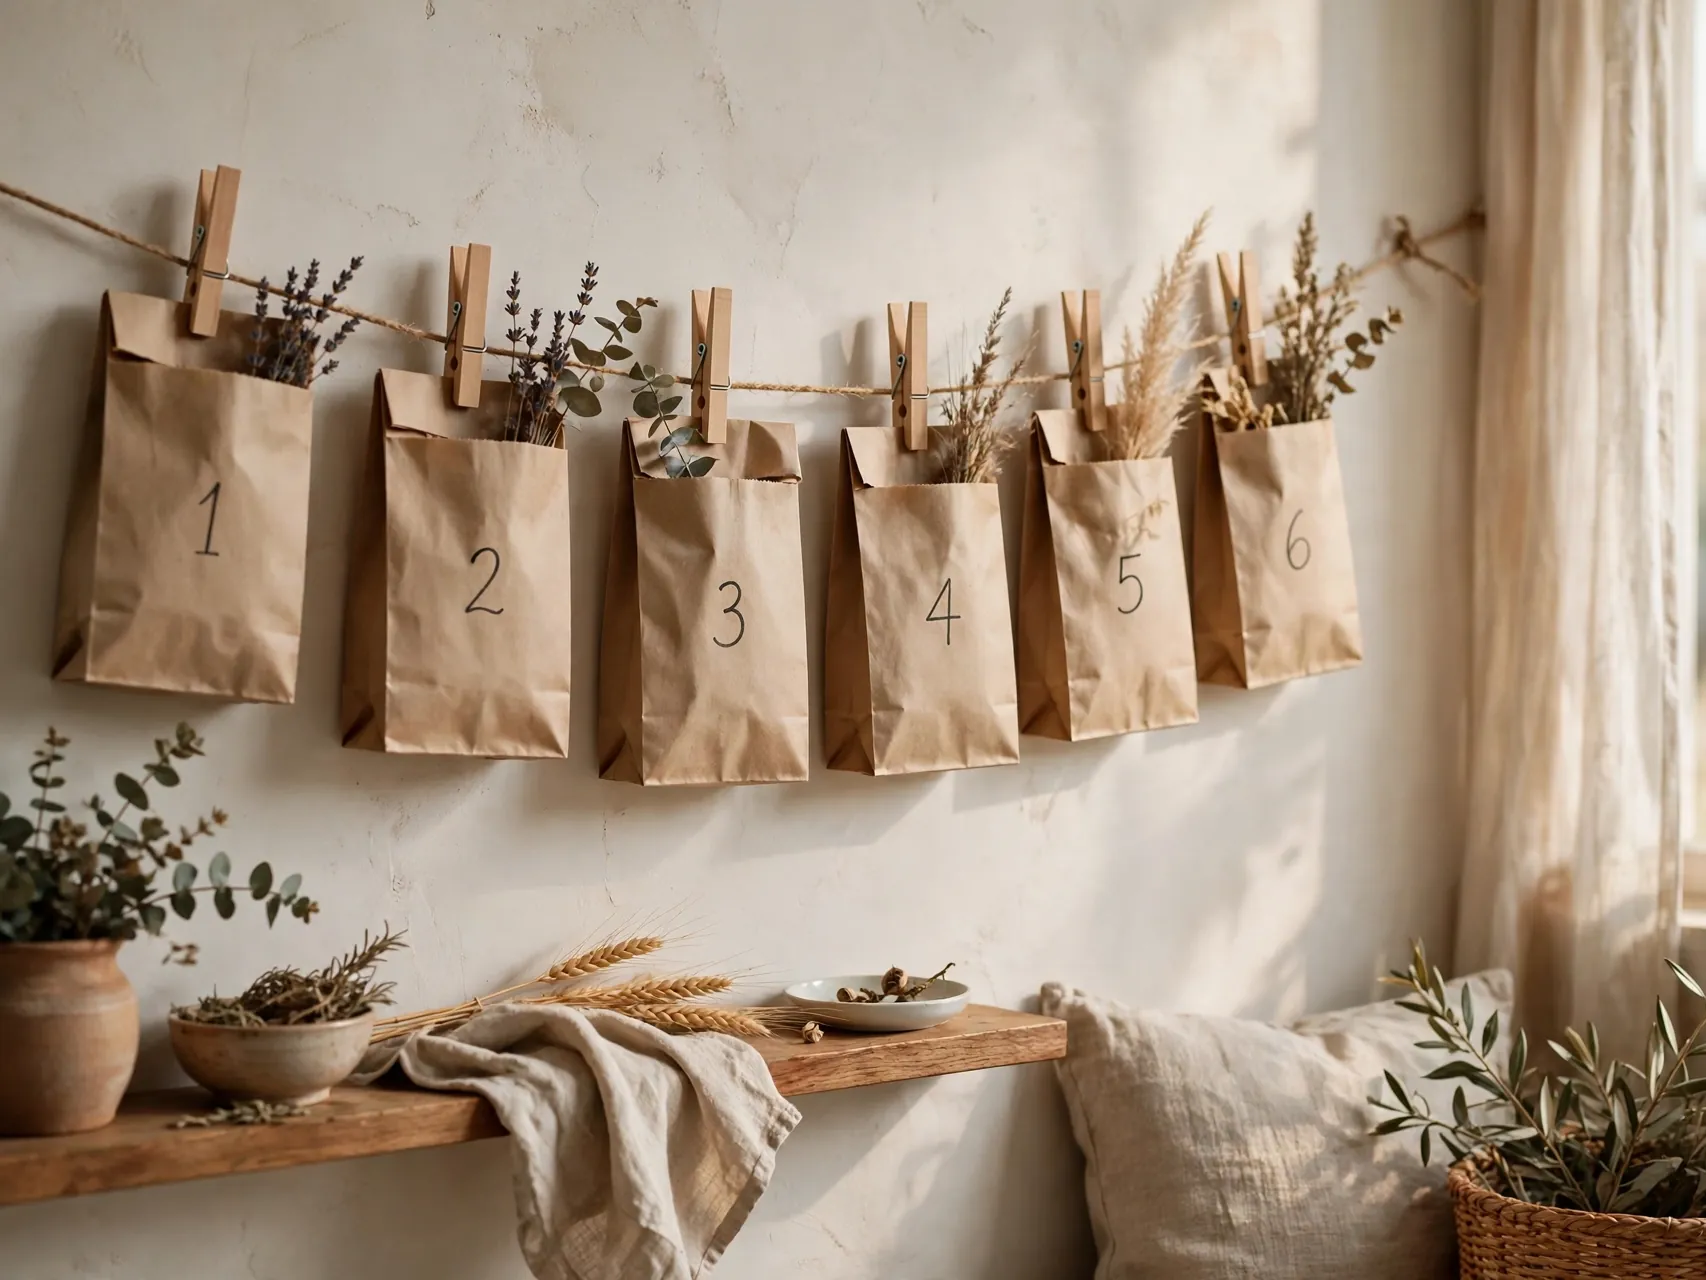
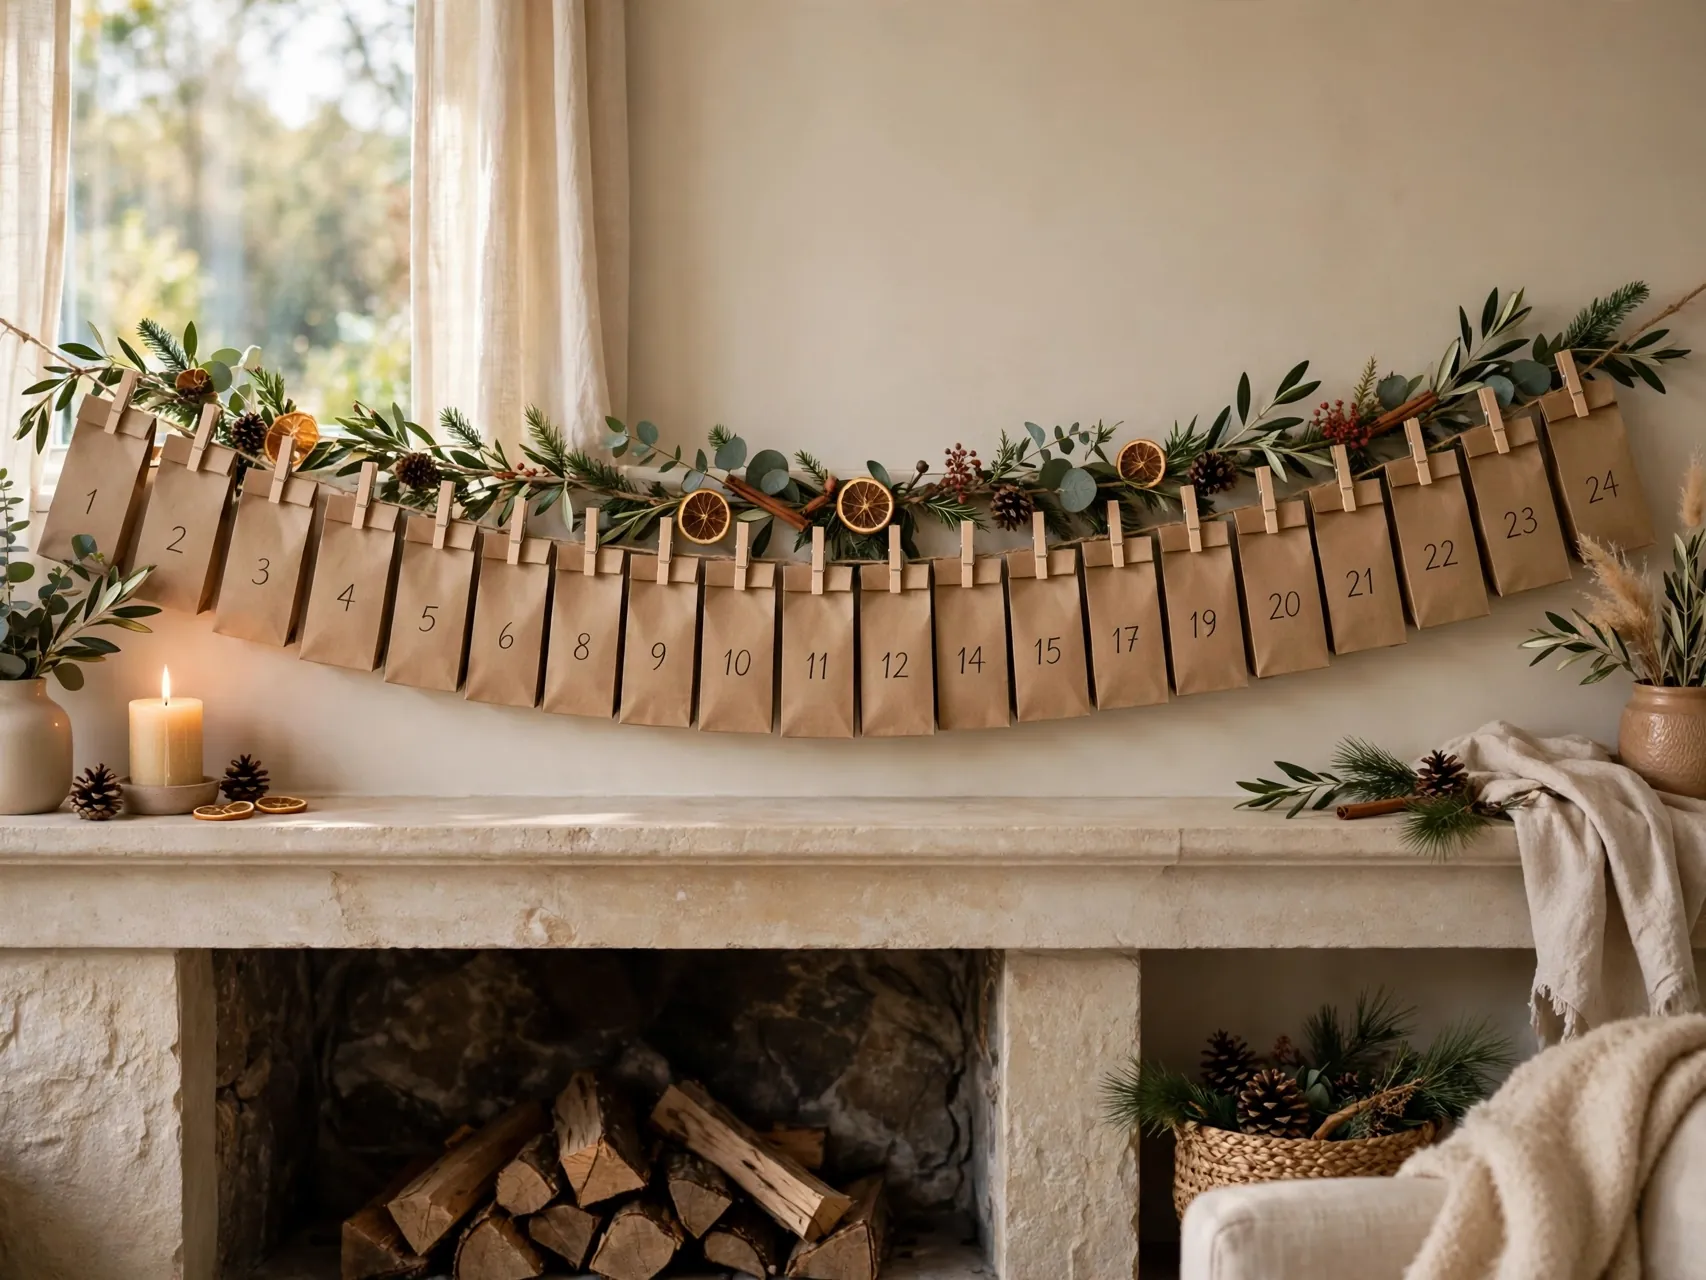
Number 24 small kraft bags, fold the tops over, and clip them with wooden clothespins along two or three rows of twine. This classic christmas countdown calendar idea fits a wall or mantel, and the bags hold notes, stickers, or wrapped treats.
Hang twine on secure hooks, keep the lowest row within easy reach, and leave a little space between bags so little hands can unclip one without pulling down the rest. Tip: stamp or sticker the numbers before filling, so inks and glues dry flat.
2. Numbered Envelopes on a Cork Board

Pin 24 envelopes to a cork board in neat rows for a flat, tidy calendar that works in a hallway or kitchen. Envelopes suit note based fillers best: activity cards, jokes, kindness prompts, photo prints, or a gift card tucked into day 24.
Use push pins only where children cannot reach them, or swap pins for washi tape on a poster board if toddlers are in the house. Vary envelope colors in a simple pattern for a designed look. Tip: write the filler list on the back of the board so refilling next year takes minutes.
3. Mini Stockings Hung From a Branch

Hang 24 mini stockings from a clean, sturdy branch or dowel mounted on the wall for a soft, rustic calendar. Stockings stretch a little, so they handle chunkier advent calendar fillers like socks, hair clips, or small ornaments better than paper bags do.
Tie each stocking at slightly varied lengths, and anchor the branch with fixings rated for the filled weight. Keep stockings for young children free of small detachable decorations. Tip: tag one initial stocking for each child if siblings share.
4. Matchbox Drawers in a Wooden Tray

Glue 24 empty matchboxes into a grid inside a shallow wooden tray or sturdy box lid, cover each drawer front with patterned paper, and add a number and a small knob or ribbon pull. The result looks like a tiny chest of drawers.
Matchbox drawers are very small, so plan fillers like single wrapped candies, coins for a giving jar, beads for older children, or folded notes. Keep tiny fillers away from children under three. Tip: stack the boxes in four rows of six and let glue dry overnight before decorating fronts.
5. Toilet Roll Houses in a Village Row

Fold the top of each toilet roll into a roof shape, paint or wrap 24 rolls as little houses, and stand them in rows on a shelf or tray as an advent village. Add numbered doors, tiny paper windows, and a treat or note inside each house.
A village suits a mantel or sideboard where it can stay undisturbed, and older children love helping to paint it. Use flameless candles nearby rather than real flame around paper houses. Tip: glue the houses lightly to a long board so the whole village moves as one piece for cleaning.
6. Fabric Pouches Tied With Ribbon

Sew or buy 24 small fabric pouches, tie each closed with ribbon, and add a numbered tag. Fabric pouches are the heart of a reusable advent calendar because they wash, store flat, and feel generous in small hands.
Hang pouches from a branch, pile them in a basket, or pin them to a fabric board. Choose sturdy cotton or felt. Keep ribbons short and supervised for very young children, since long cords are not a toddler toy. Tip: pick two or three coordinating prints rather than 24 different ones.
7. Mason Jars With Numbered Lids

Line up 24 small mason jars or other clean glass jars, paint or sticker a number on each lid, and fill them with treats, notes, or tiny decorations. Jars look beautiful on open shelves and let excited kids peek without opening, if you choose opaque fillers.
Glass belongs on a stable shelf out of toddler reach, and plastic jars are the safer swap for a child bedroom. Keep jars small so the display does not dominate the room. Tip: add a sprig of faux greenery behind the rows so the shelf looks styled, not stored.
8. Wooden Tree Board With Hooks
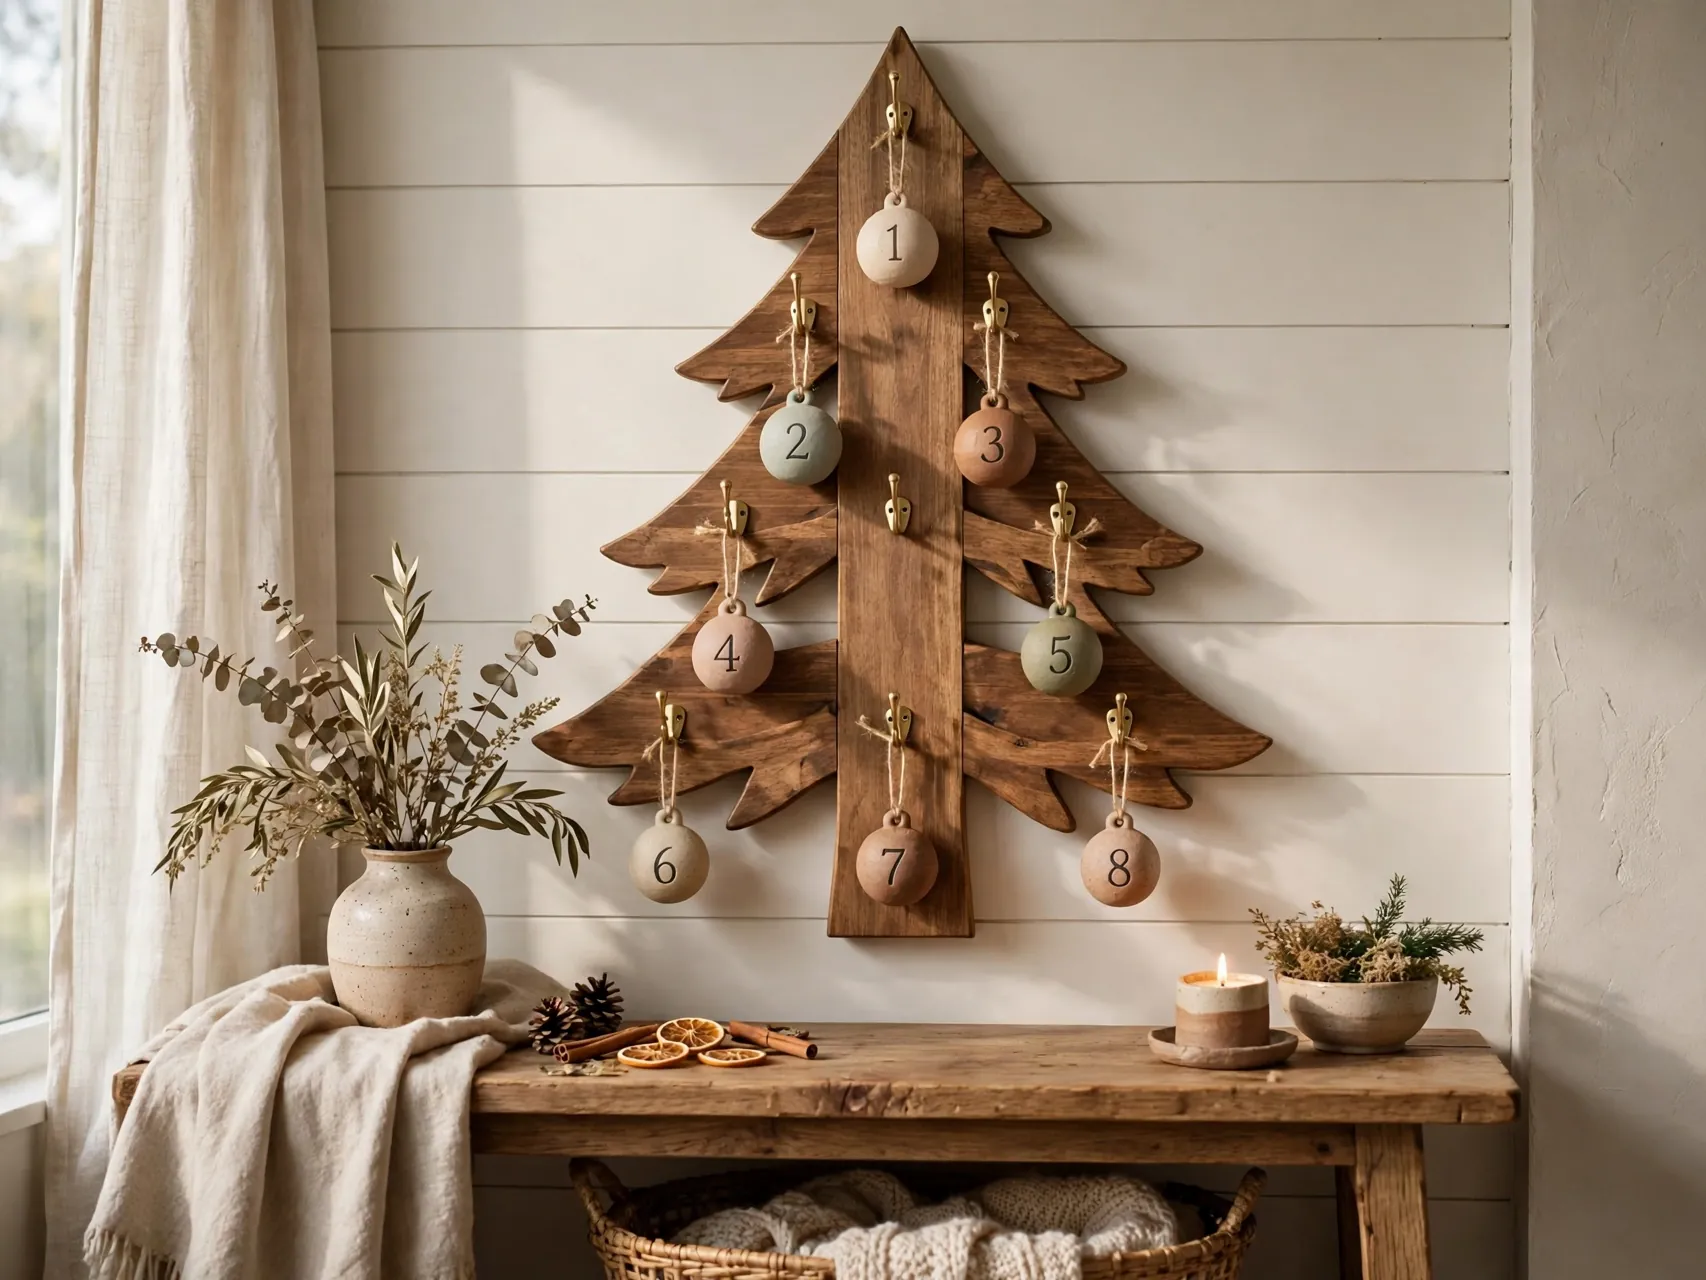
Cut or buy a tree shaped wooden board, add 24 small hooks or pegs in rows, and hang a numbered ornament, pouch, or tiny bucket from each one. A wooden tree board becomes real holiday decor that stores flat against a closet wall.
Sand edges smooth, fix hooks firmly, and hang the board with fixings rated for the filled weight. This is a weekend project, so start it earliest. Tip: paint the tree deep green, then let the hanging pieces carry the bright colors.
9. Paper Chain With Activity Notes Inside

Make a 24 link paper chain and write one activity inside each link before gluing it closed: bake cookies, read a holiday book, drive to see lights, call a grandparent. Each day, tear off one link to reveal what the family will do together.
This is the kindest calendar for budgets and for readers who want less candy and less clutter. Use paper strips from wrapping paper or craft paper in two or three colors. Hang the chain where tearing one link will not pull the whole garland down. Tip: keep weekday activities tiny and save bigger outings for weekends.
10. Wrapped Book a Day Countdown

Wrap 24 books, picture books for little ones or chapter books for older readers, and number each parcel. Unwrapping a book a day builds a calm bedtime ritual, and the books can come from your own shelves, a library sale, or thrift finds.
Wrap in kraft paper or fabric. Rediscovering a loved book counts as a treat, so you do not need 24 new titles. Tip: place the longest, most festive book at day 24.
11. Egg Carton Calendar Painted in Festive Colors
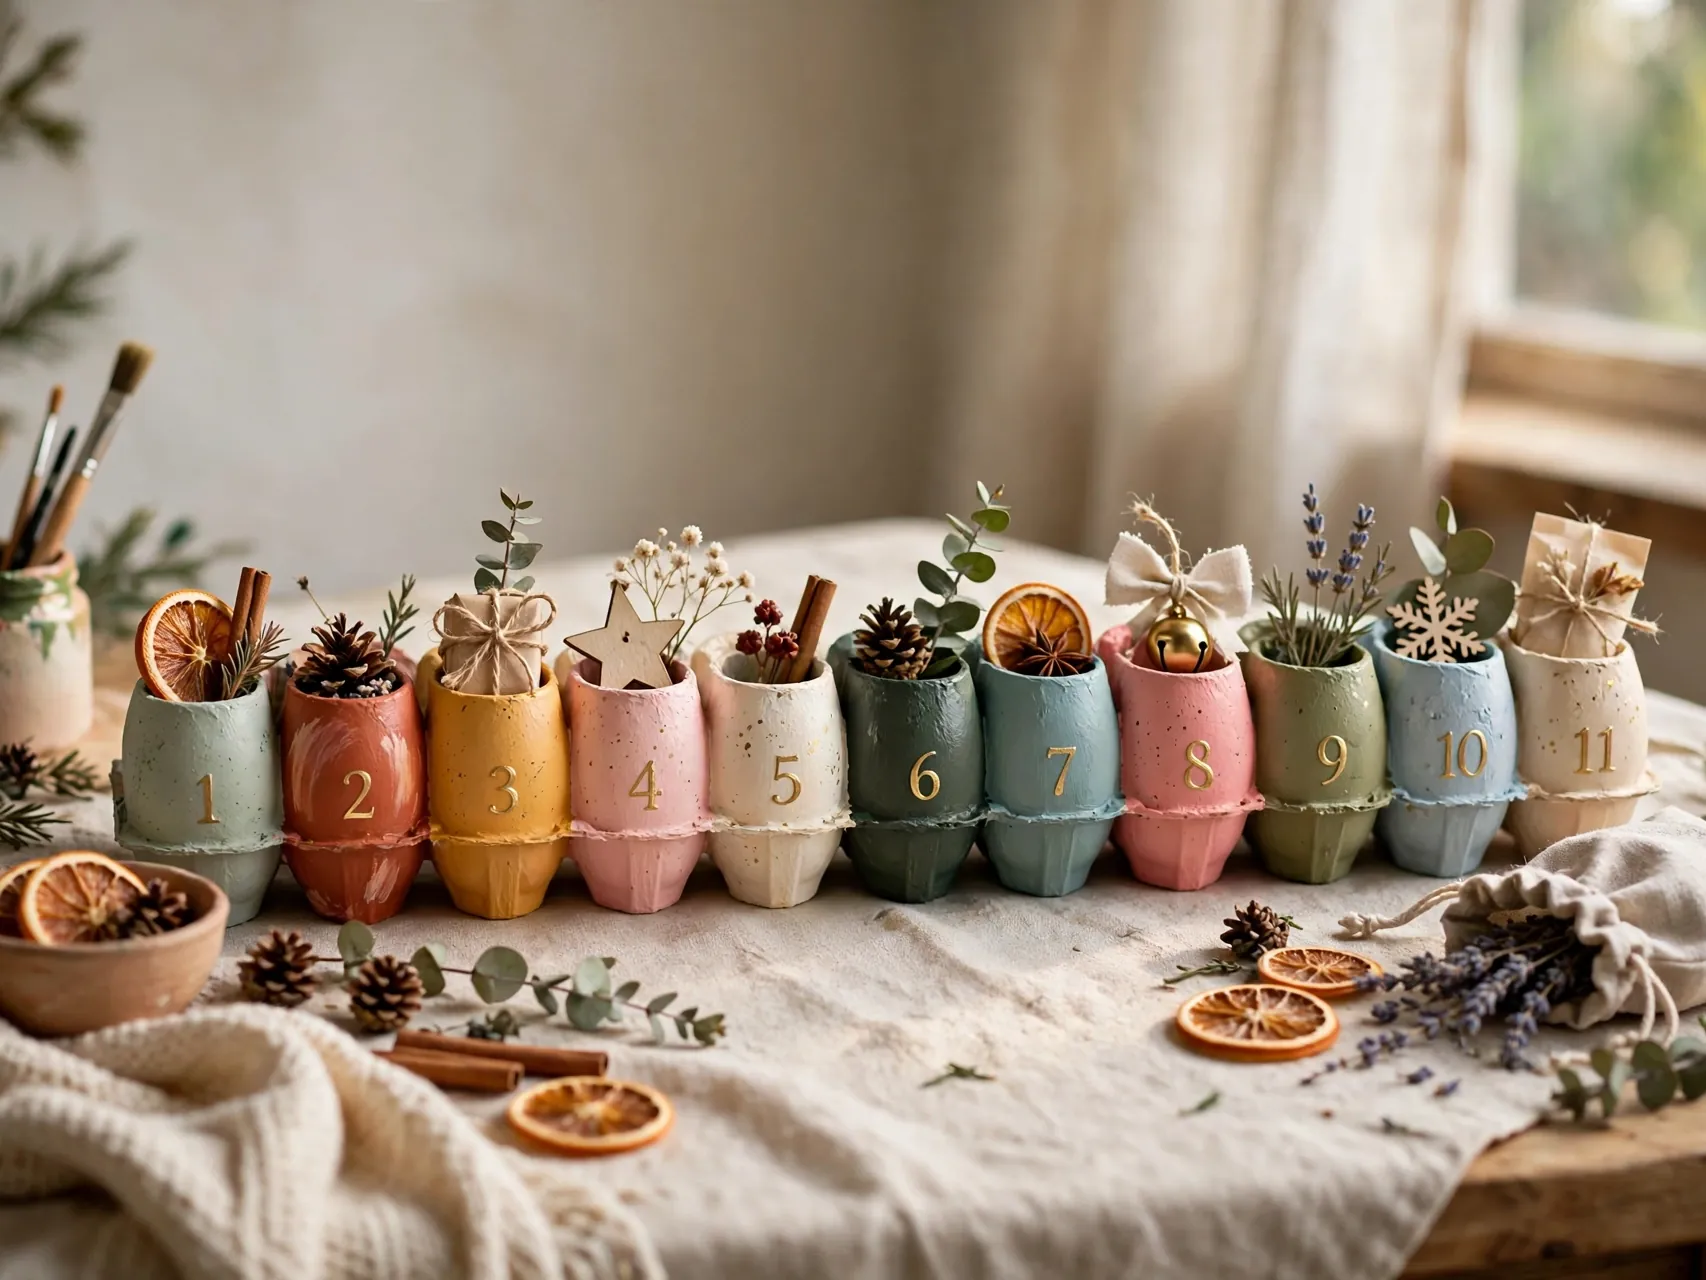
Two standard egg cartons give you 24 cups, ready made. Paint the cartons in festive colors, fill each cup with a tiny treat or note, number the lid or each cup, and close it for a compact calendar that suits a kitchen counter or classroom shelf.
Check cartons are clean and dry before painting, and choose fillers that fit the small cups, like a single wrapped candy or a folded joke. Keep small fillers away from young toddlers. Tip: this is a great last minute build because the structure already exists, so all your time goes into decorating.
12. Mini Muffin Tin With Paper Covers
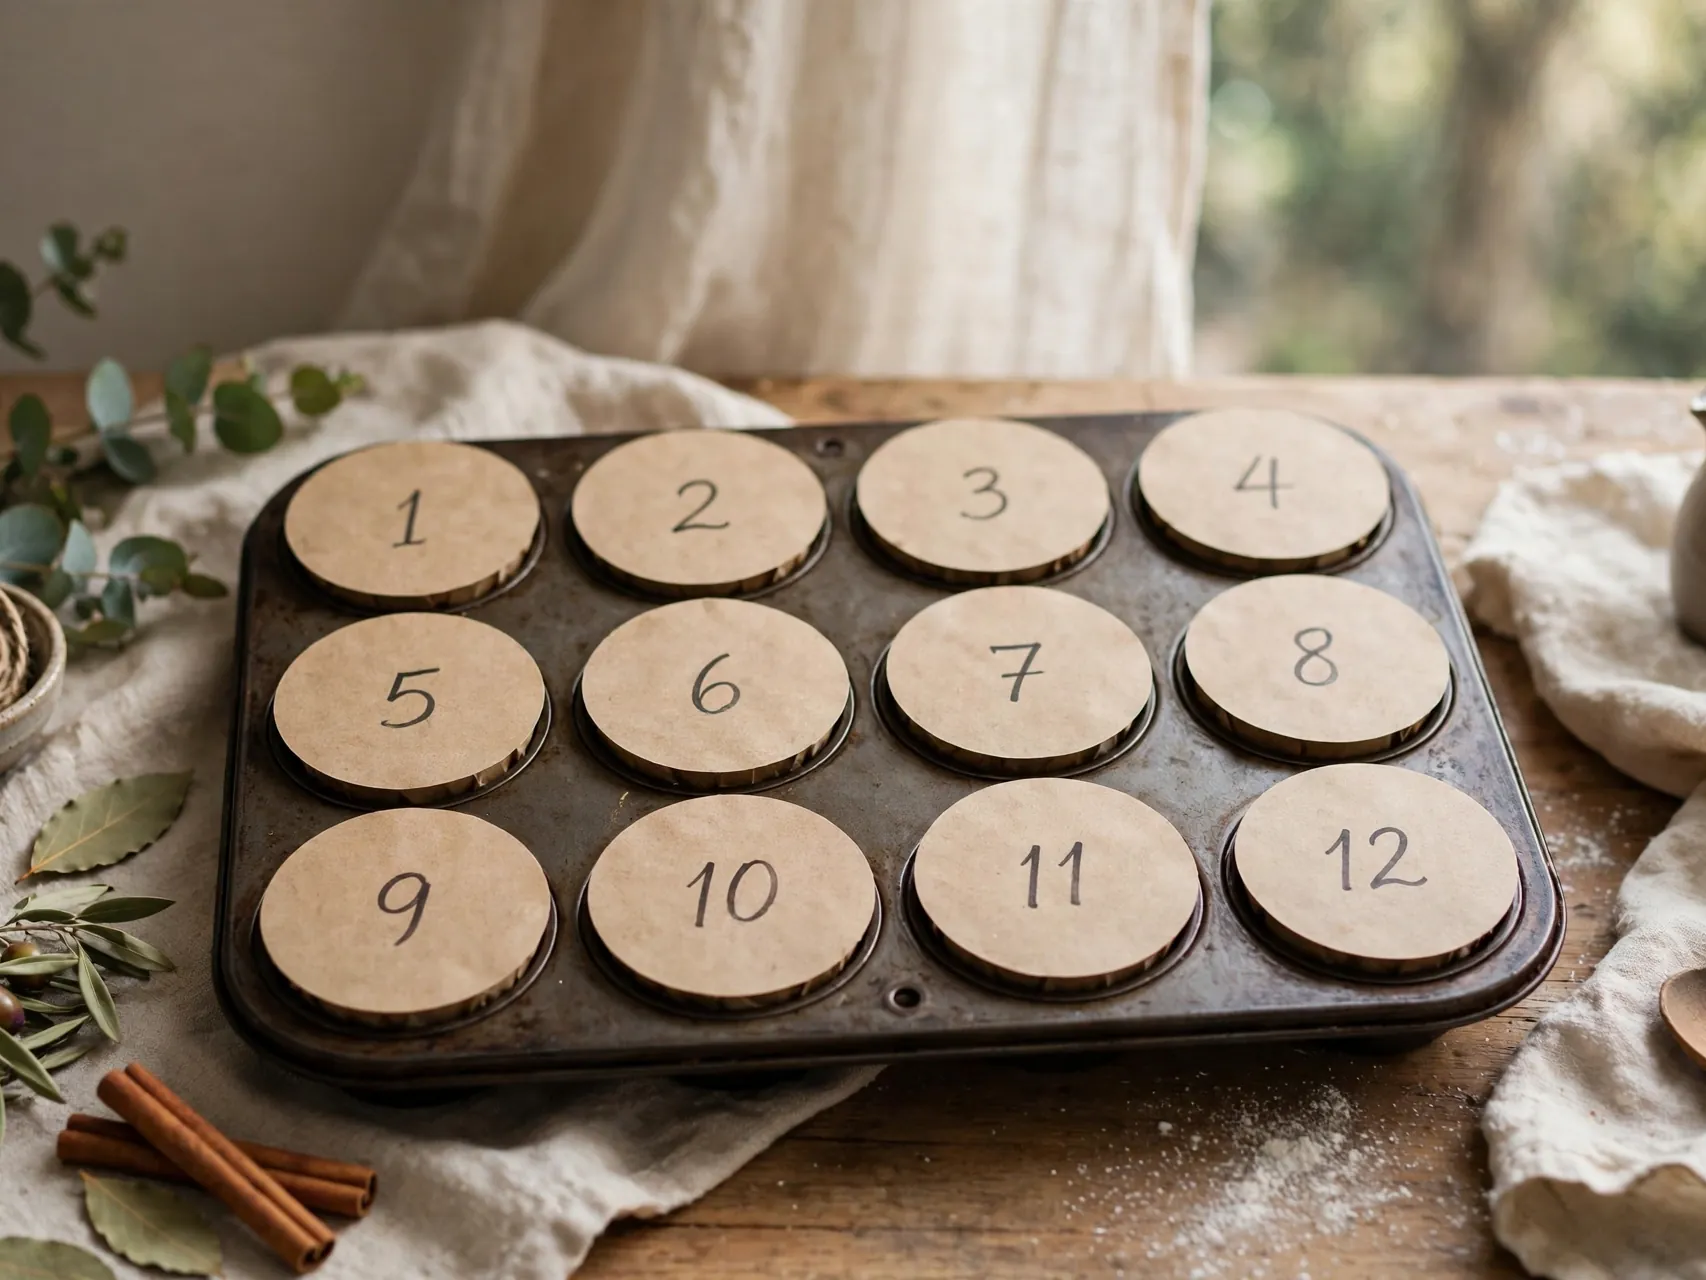
A 24 cup mini muffin tin is an advent calendar hiding in your kitchen. Fill each cup, then cover it with a numbered circle of card stock or wrapping paper taped or glued lightly around the edges, ready to be peeled or punched open each morning.
Wash and dry the tin well before adding food fillers, and use wrapped treats so fillings stay clean and safe. The tin stores and reuses for years. Tip: a magnetic tin on the refrigerator saves counter space, but only if little climbers cannot reach fillers meant for older kids.
13. Shoe Organizer Pockets Behind a Door
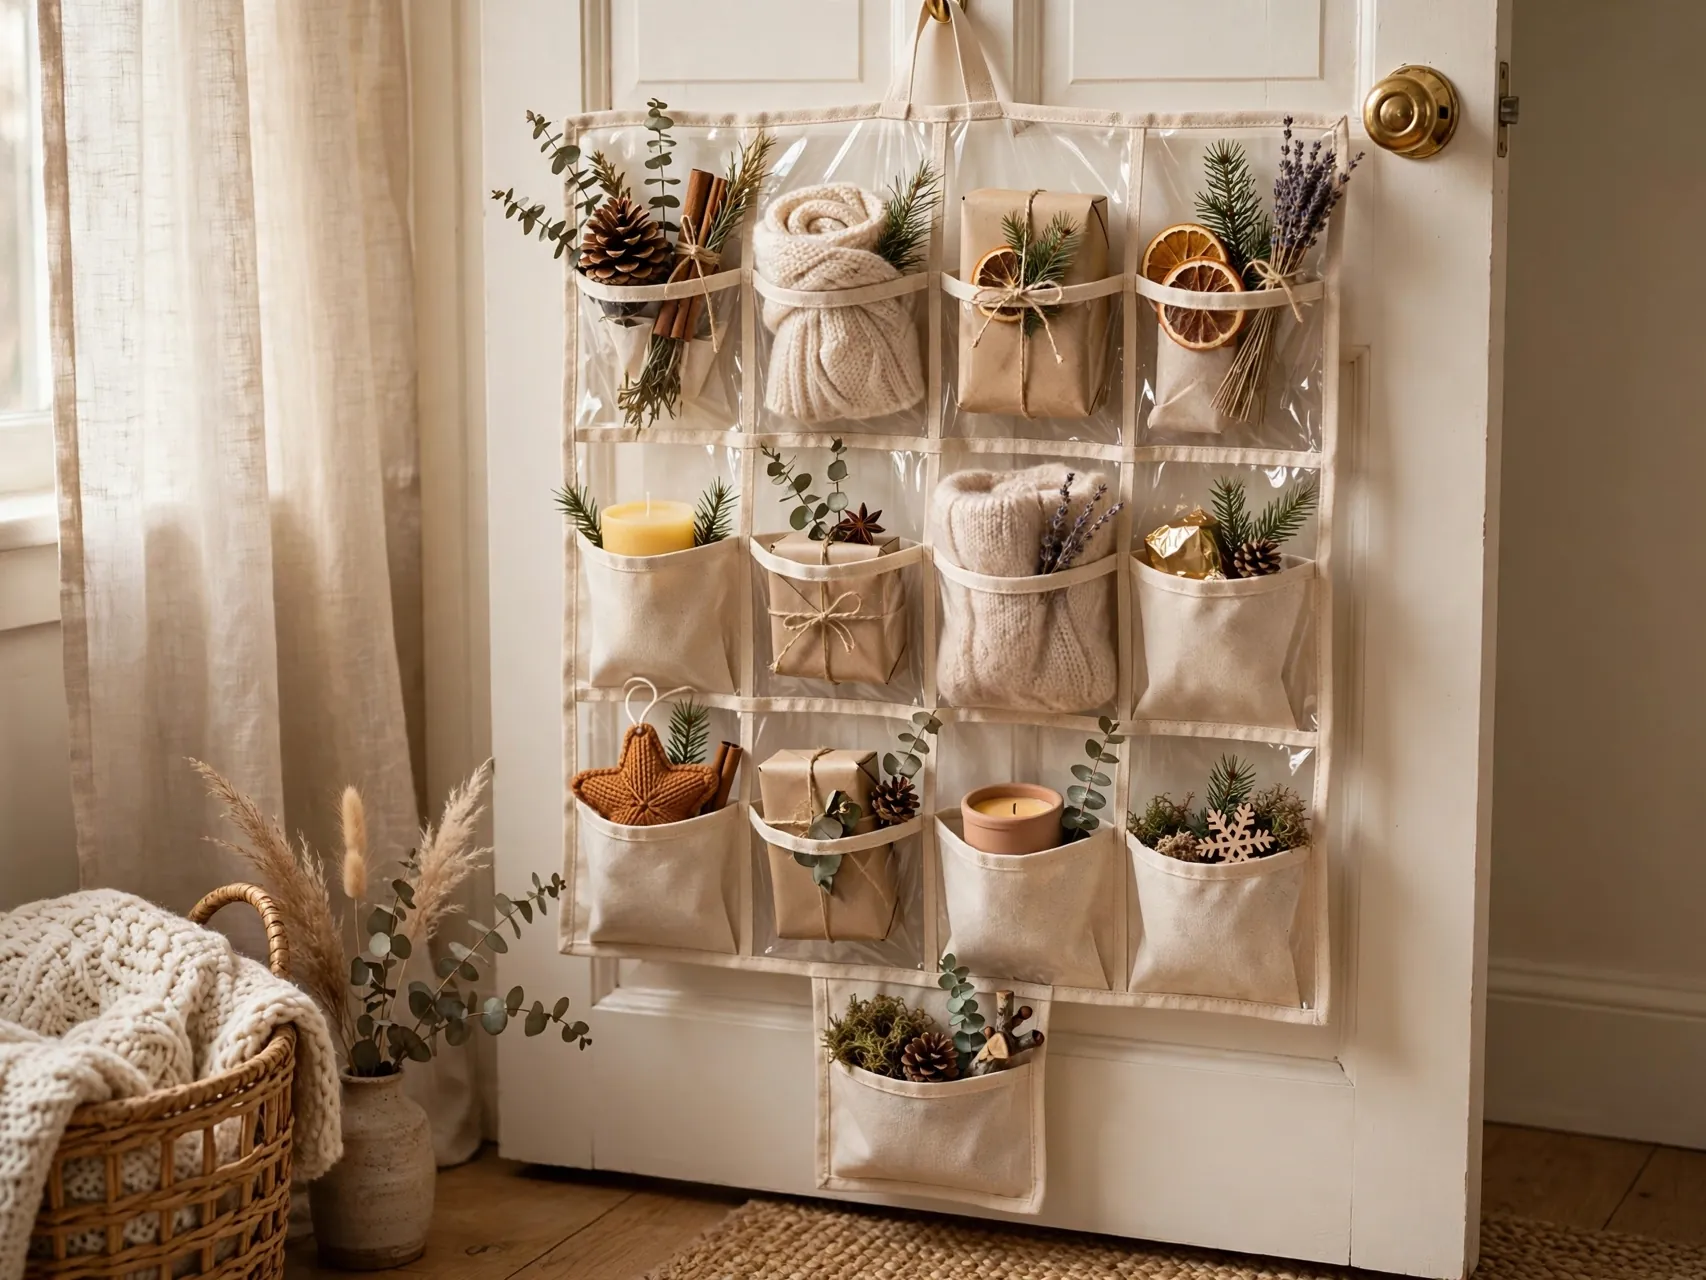
A hanging shoe organizer with 24 pockets is the fastest big calendar you can make. Number each pocket with a tag or clothespin, fill with treats, small books, socks, or craft supplies, and hang it behind a door or inside a closet door.
This version suits larger fillers and multi child families, since pockets hold more than bags do. Hang it on hooks rated for the weight, and keep heavy or small items in higher pockets away from toddlers. Tip: fabric pockets look softer than clear plastic in a bedroom.
14. Clothespin Calendar on a Wire Frame

Clip 24 small envelopes or mini parcels to a wire frame, cooling rack style grid, or framed chicken wire using clothespins. The grid keeps every day visible and orderly, which helps children find their number without emptying the whole calendar at once.
Hang the frame with proper fixings, tuck a little faux greenery at one corner, and keep the design mostly flat for small spaces. Check clothespins close firmly so parcels do not slide. Tip: paint all the clothespins one color, like gold or red, for a tidy and intentional finish.
15. Small Boxes Stacked as a Christmas Tree

Stack 24 small boxes in a tree shape, wide at the bottom and narrow at the top, wrap or paint them in greens and creams, and add a star to the highest box. A tree of boxes looks festive even before anyone opens a single day.
Glue or tape boxes lightly together if the stack lives where pets or toddlers bump furniture, or rebuild it on a tray for stability. Fill boxes before stacking, heaviest at the bottom. Tip: number out of order on purpose so each morning starts with a happy little search.
16. Felt Pockets on a Wall Hanging

Sew rows of felt pockets onto a large felt backing, add stitched or iron on numbers, and hang the panel from a wooden dowel. Felt is quiet, soft, and kind to walls, and the finished hanging becomes a reusable advent calendar for many Decembers.
Keep pockets at least a few inches deep so treats and notes do not slide out, and hang the dowel on secure hooks. Felt suits note and flat fillers best. Tip: choose a cream or forest green base and let pocket colors alternate in a calm, simple pattern.
17. Tin Cans Wrapped and Stacked

Wash 24 small clean tins or cans, check every rim is smooth with no sharp edges, wrap them in festive paper, and cover the open top with tissue or a numbered paper circle. Stack them in a pyramid on a tray or line them along a shelf.
Use only cans with fully smooth edges, and skip this idea for toddlers if any rim feels rough. Fillers sit loose inside, so this suits treats, notes, and small decorations. Tip: a glue dot under each tissue cover keeps it neat until the day it is torn open.
18. Brown Paper Parcels in a Basket

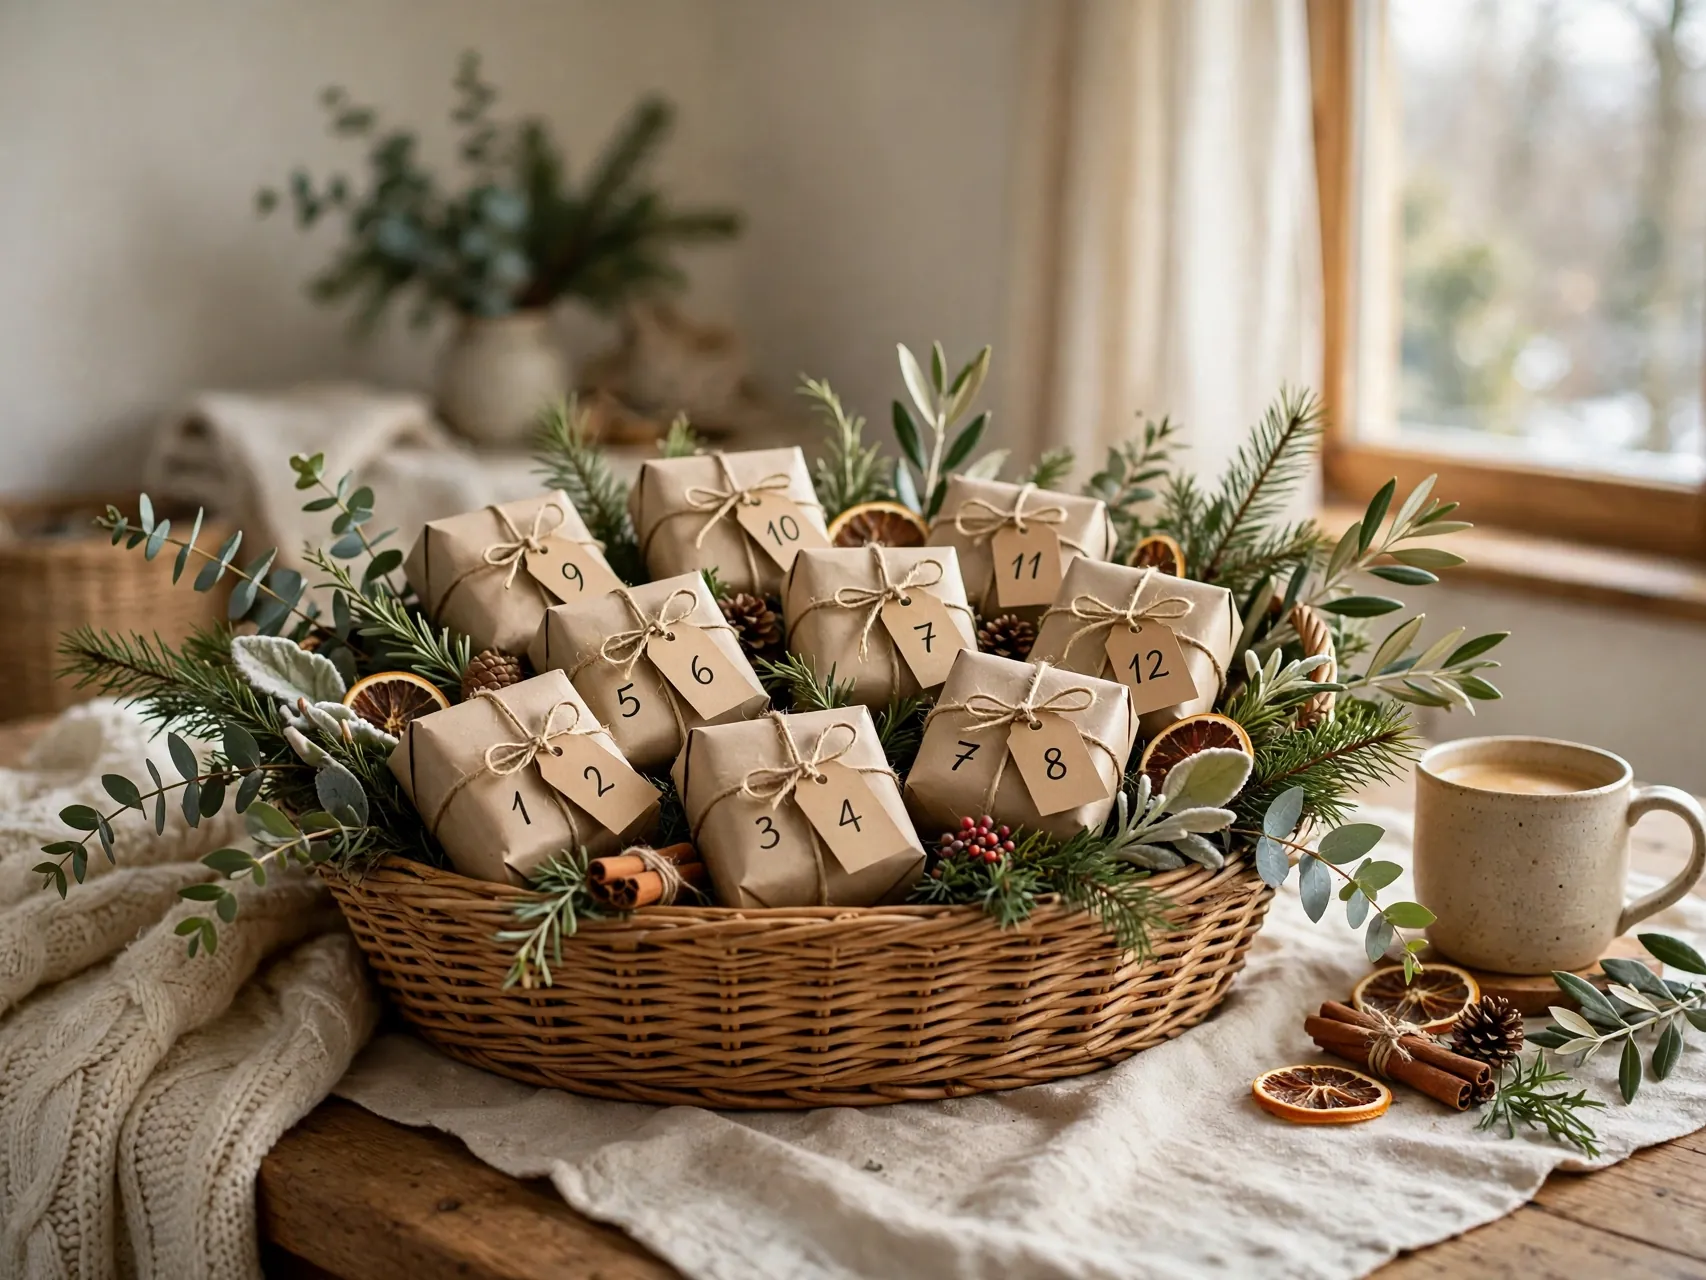
Wrap 24 small surprises in brown paper, tie each with twine and a numbered tag, add a sprig of greenery, and pile them in a woven basket or wooden crate. Searching for today number in the basket becomes part of the morning fun.
This homemade advent calendar needs no wall space and moves easily between rooms. Keep the basket out of reach if fillers include items for older children only. Tip: mix a few larger parcels among small ones so the search stays interesting.
19. Advent Jar of Kindness Notes

Fill a large jar or a set of small jars with 24 folded kindness prompts: leave a kind note, donate a toy, thank a teacher, feed the birds. Draw one card each day and do it together. No candy, no clutter, just a daily nudge toward generosity.
Write prompts that fit your real life and budget, and add a few cozy family prompts too, like hot cocoa night or a board game. This idea pairs well with a treat calendar for siblings who want both. Tip: let children help write next year prompts during this December.
20. Tea and Coffee Sachet Envelopes for Adults

For an adult countdown, fill 24 envelopes or small tins with individual tea bags, coffee sachets, or tasting notes for a drink to try each day. Arrange them in a wooden box or standing in a basket on the kitchen counter for a calm morning ritual.
Check labels if you are gifting to someone with allergies or caffeine limits, and offer a few herbal, caffeine free days in the mix. Add a short note in some envelopes to make it personal. Tip: day 24 deserves the most special blend and a handwritten card tucked behind it.
21. Photo Memory Envelopes for Family
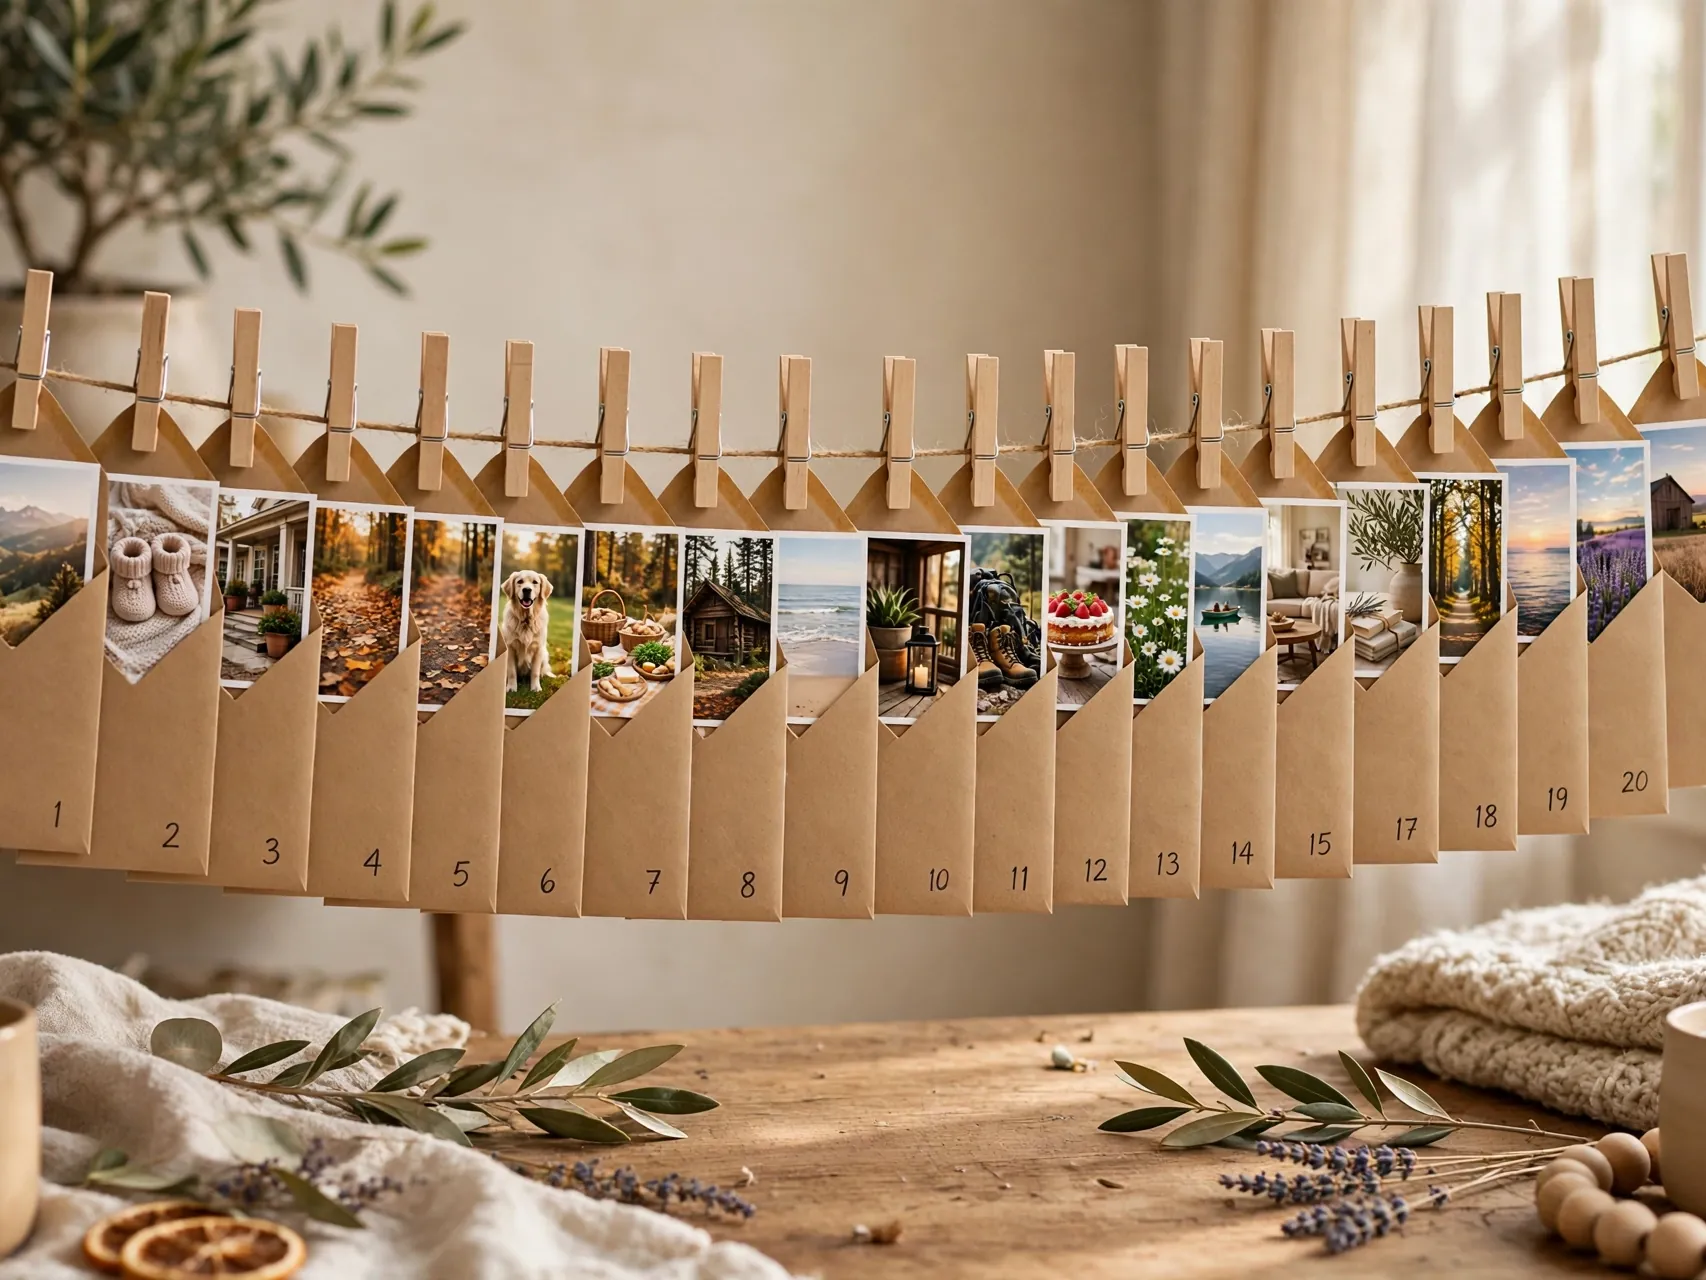
Print 24 favorite photos from the year, slip one into each numbered envelope with a short note about the memory, and hang or stack them for a family countdown. Each day opens a story, without a single purchase beyond prints.
Choose photos that make everyone feel included, and keep a few funny ones for the middle days of December. This version suits grandparents beautifully if you mail it early. Tip: after December, bind the opened envelopes into a small memory book.
22. Puzzle Piece a Day in Numbered Bags

Divide one festive jigsaw puzzle into 24 small bags, a handful of pieces per day, and build it slowly all month on a tray or puzzle mat. By day 24 the picture is complete, which gives the countdown a satisfying shared ending.
Choose a puzzle size your family can realistically finish in daily handfuls, and keep loose pieces away from toddlers and pets, since puzzle pieces are classic small parts. Work on a surface that can stay undisturbed. Tip: photograph the box image once, then hide it if your family enjoys a challenge.
23. Ornament a Day on a Small Tabletop Tree
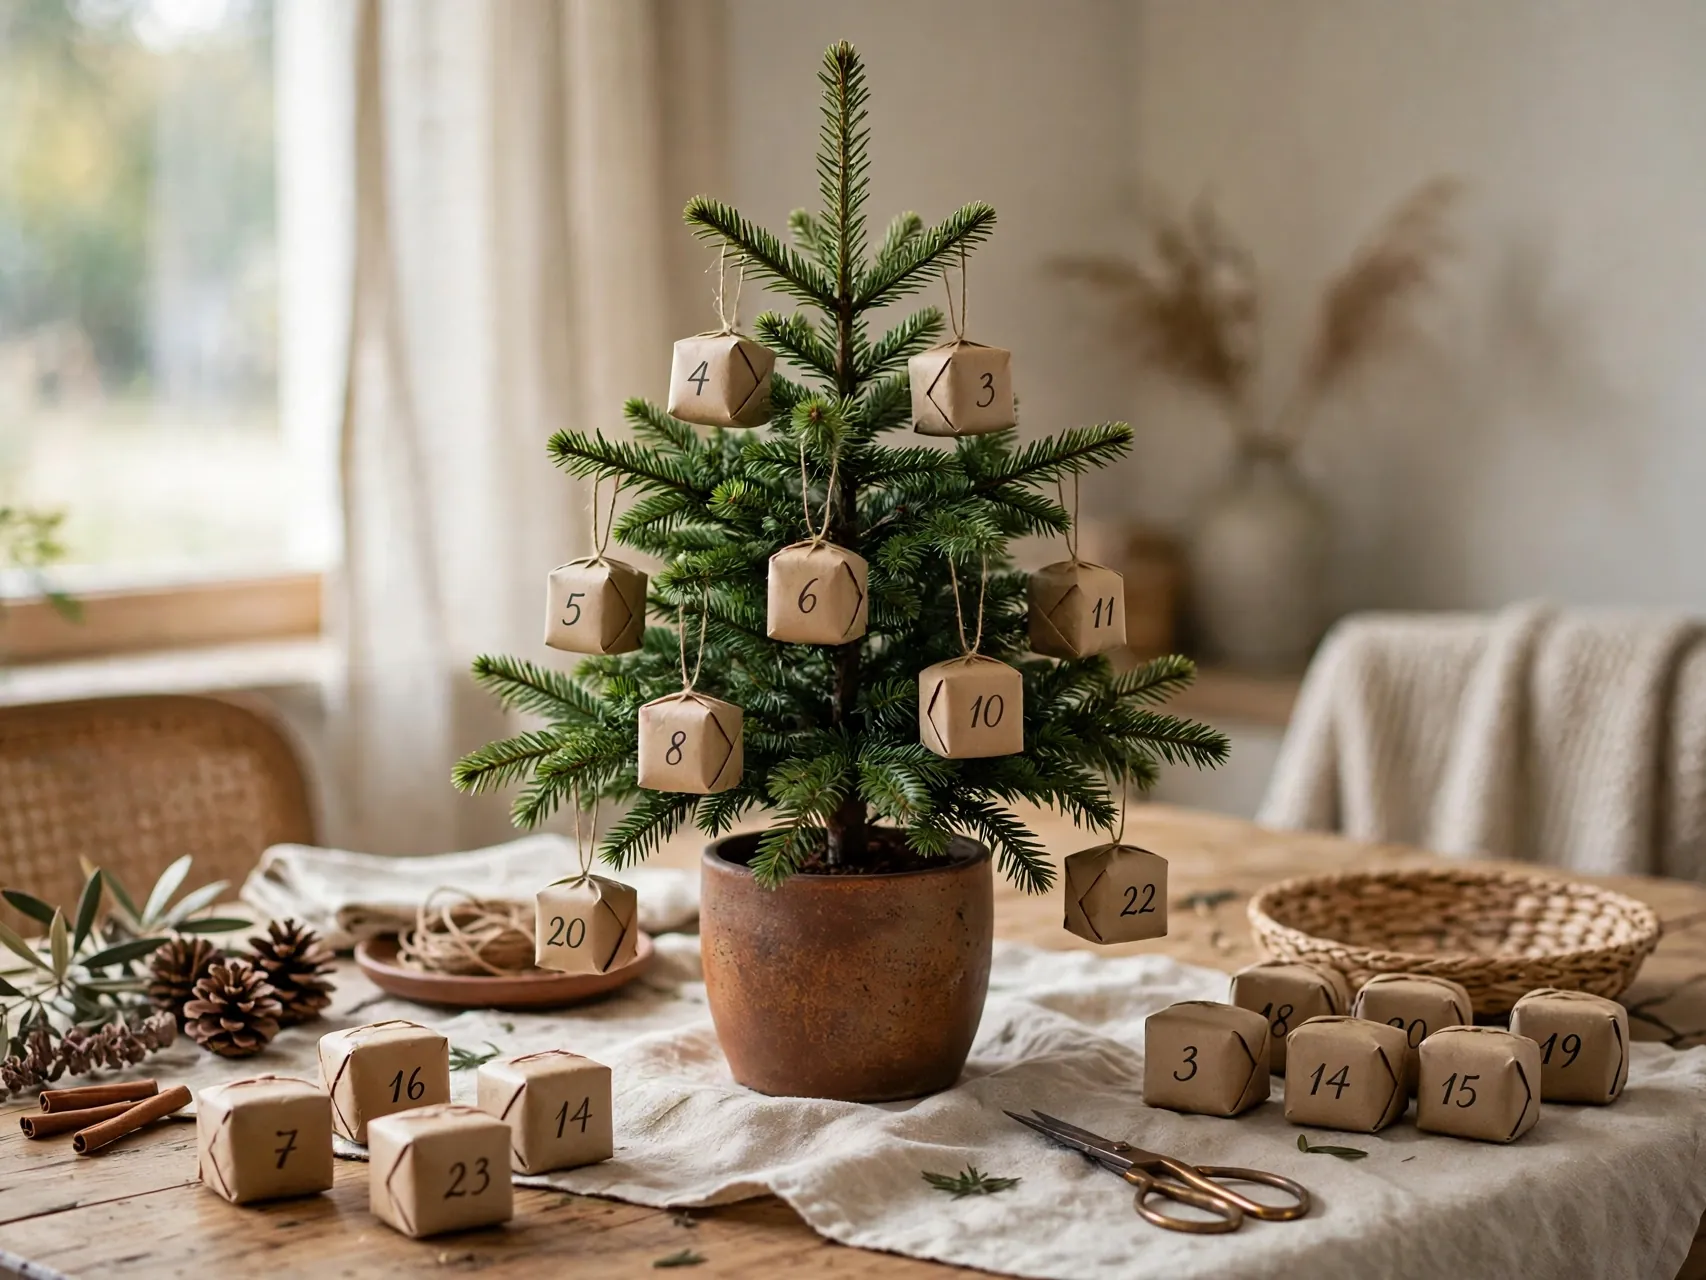
Wrap 24 ornaments individually, number each parcel, and hang or place one new ornament on a small tabletop tree each day. The tree starts bare and finishes fully dressed on December 24, which children find deeply satisfying to watch.
Use shatterproof ornaments for homes with young children or pets, hang parcels in a basket beside the tree until their day, and keep hooks and small caps out of toddler reach. Tip: mix family favorites with one or two new ornaments so the finished tree tells your year story.
24. Reusable Wooden Boxes With Chalkboard Labels
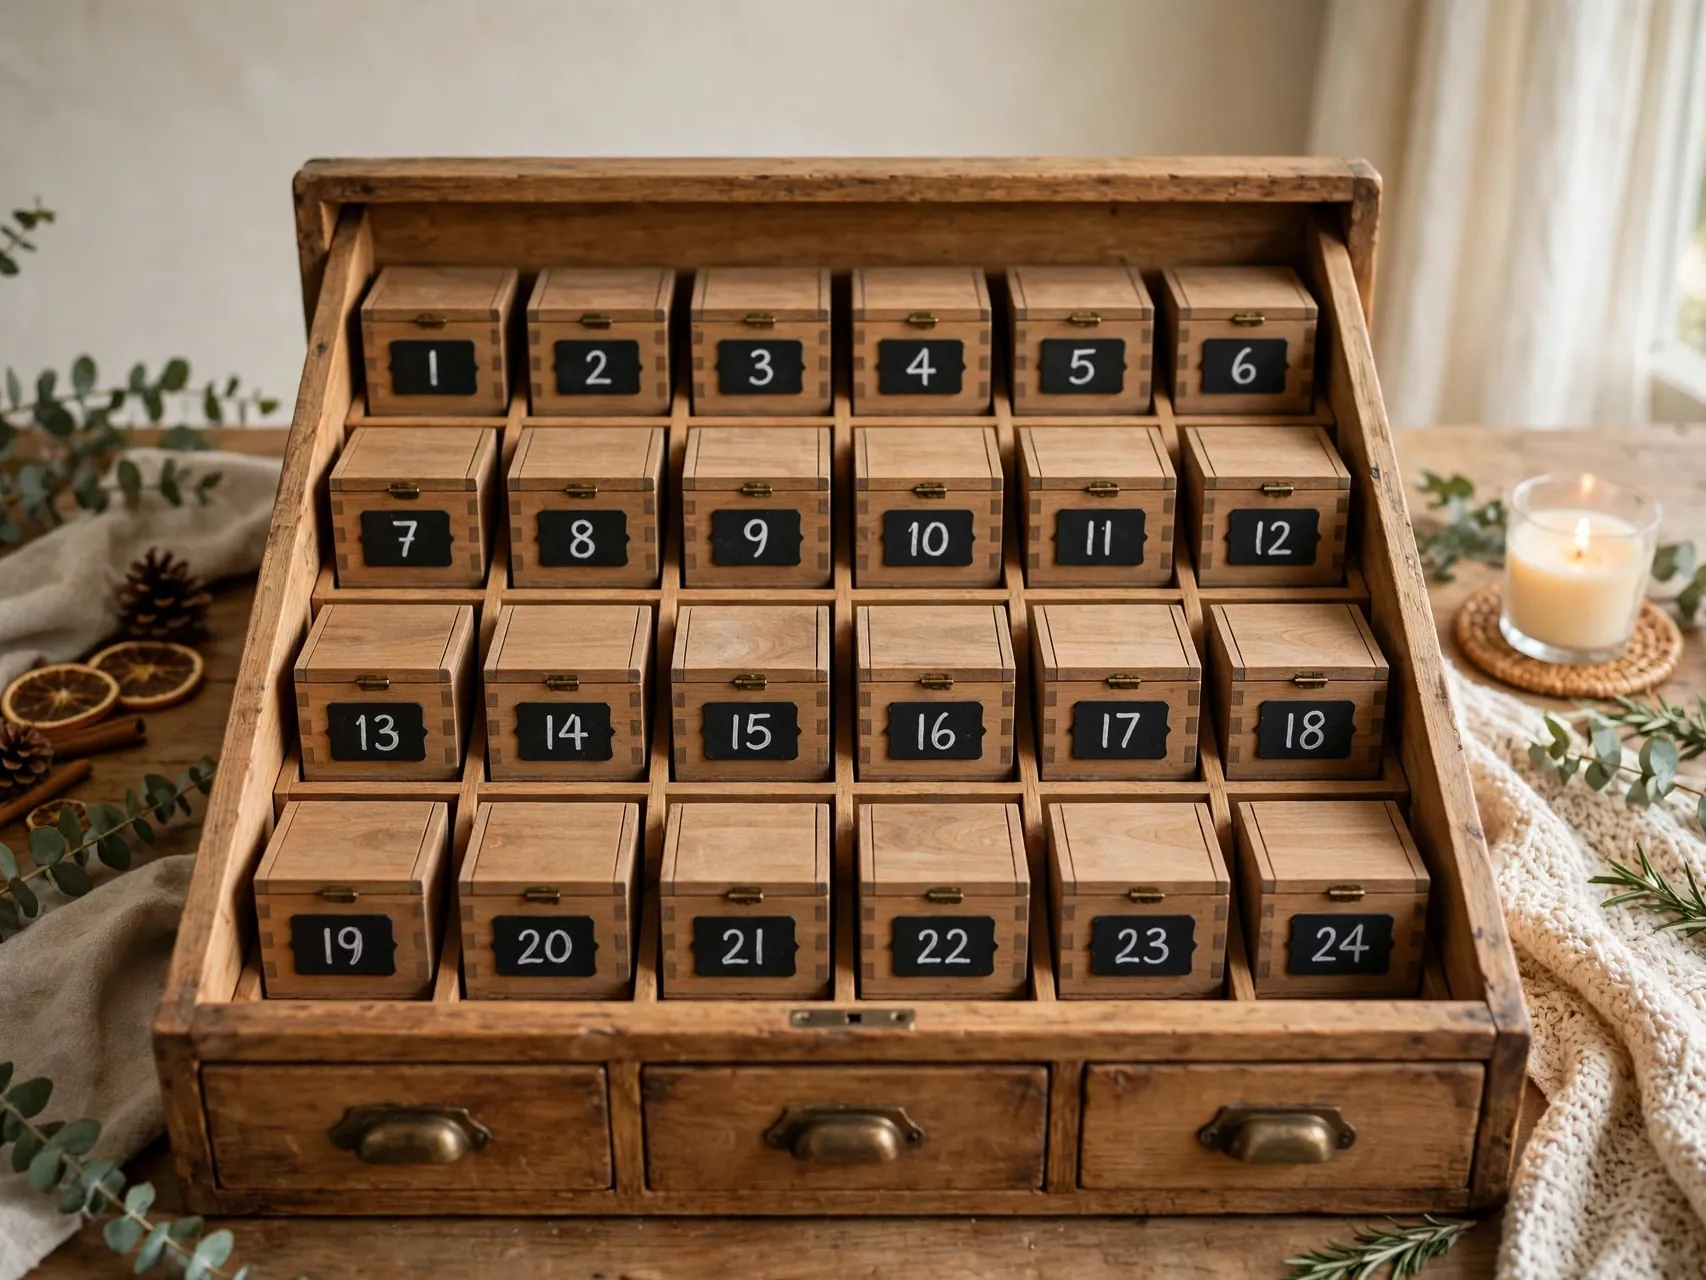
Invest one making session in 24 small wooden boxes or a divided wooden drawer unit, each front painted with chalkboard paint for its number. Fill, open, wipe, and refill it every year, changing fillers as your children grow.
Sand boxes smooth, let paint dry fully as directed, and check hinges and knobs are firmly fixed. This is the most durable reusable advent calendar in the list. Tip: store it filled with tissue in January so next November you remember how it works.
FAQ

When should I start making a DIY advent calendar?
Start the base two to four weeks before December 1 if you can, especially for wooden or sewn calendars. Paper, envelope, and organizer versions can come together in one weekend. Number everything before you fill it, and finish filling by the last day of November so December mornings stay calm.
What are the best advent calendar fillers besides candy?
Try activity cards, jokes, kindness prompts, stickers, stamps, hair clips, socks, small craft supplies, puzzle pieces, photo prints, tea or coffee sachets for adults, and notes with memories or compliments. A mix of a few treats, several activities, and several notes keeps the month balanced and affordable.
How do I make an advent calendar safe for toddlers?
Choose large, soft fillers with no small parts, skip loose magnets and button batteries completely, and avoid light up items unless battery compartments close securely with a screw. Hang calendars out of climbing reach, supervise opening time, and check every filler against the age guidance on its packaging.
What should I know about candy fillers and allergies?
Read the label every time you buy, even for familiar candy, because ingredients can change. The FDA lists nine major food allergens that must be declared on packaged foods, so check for the ones your family avoids, ask about allergies before making calendars for classrooms or neighbors, and offer non food fillers when in doubt.
How can I reuse my advent calendar next year?
Choose sturdy bases like fabric pouches, felt pockets, wooden boxes, jars, or a muffin tin, and store them clean, dry, and together in one labeled box. Keep a photo of your finished calendar and your filler list inside the box, so next year you can rebuild the same design in a fraction of the time.
Key Takeaways
- Start before December: Build the base early, number everything before filling, and be ready by December 1 for calm mornings.
- Match the base to your space: Hanging bags and envelopes suit small homes, while baskets, boxes, and tins suit mantels and counters.
- Mix your fillers: Treats, activities, kindness prompts, and notes together make a christmas countdown calendar idea feel rich without overspending.
- Keep safety in the plan: No small parts, loose magnets, or button batteries for young children, and read candy labels for allergens every time.
- Build once, reuse often: Fabric, felt, wood, and tin calendars store well and become a family tradition with fresh fillers each year.
Ready to start your countdown? Save this guide to Pinterest and pin the calendar you will make first.