24 Basement Makeover Before and After Photos That Will Wow
Introduction
Adding a finished level can increase your property value by up to 70 percent of your total investment. Seeing a dramatic basement makeover before and after reveal is often the push homeowners need to stop viewing their lower level as a dark storage dump. An unfinished basement transformation turns wasted square footage into usable living space, which is the smartest way to grow your home without moving. Whether you are adding a guest suite or a home gym, clearing out the clutter is the first step toward a functional layout.
Many people worry about the costs of modern basement design trends, but you can achieve a high-end look on a budget. This collection of project photos shows how to handle everything from installing a moisture barrier to picking the right luxury vinyl plank flooring. You will see how these spaces shift from cold concrete foundations to warm, inviting areas for your family.
Visual Moisture Control Upgrades
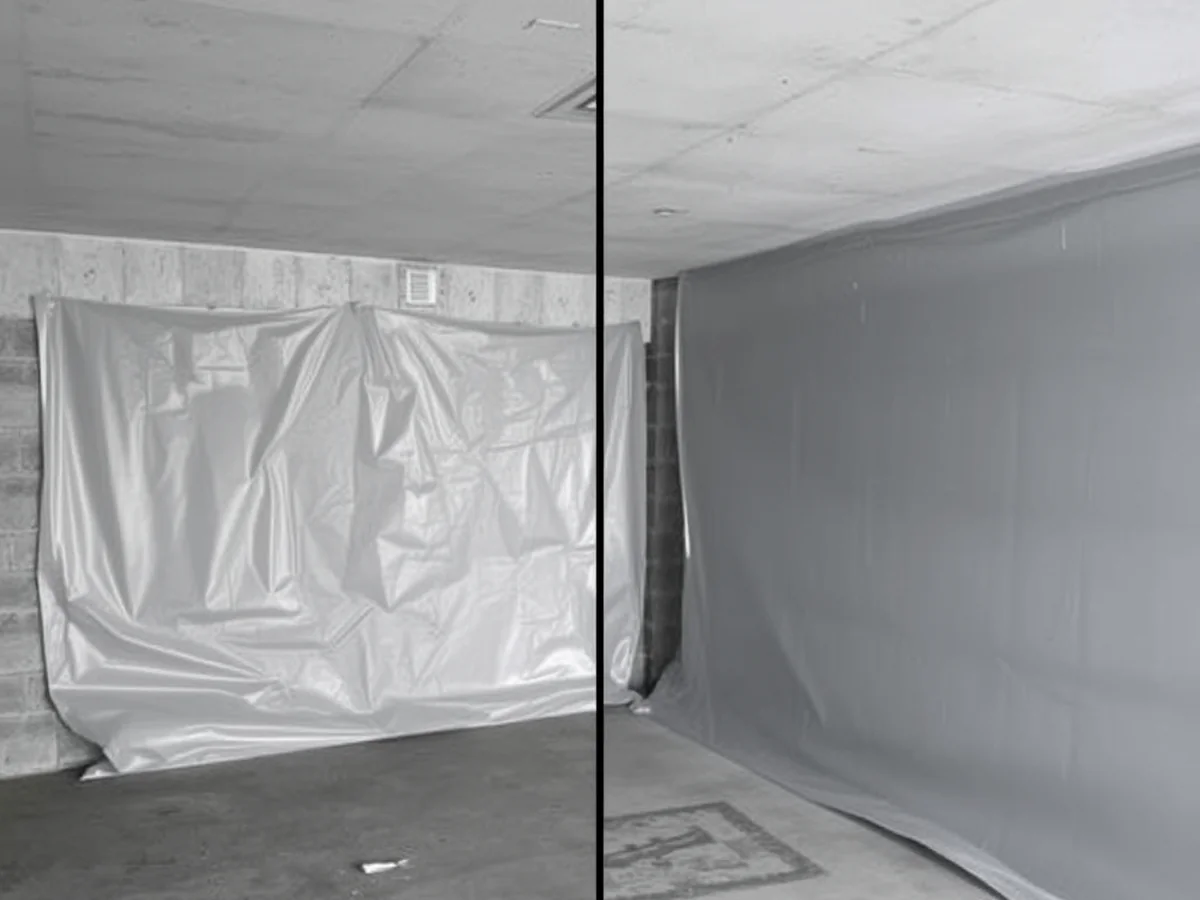
You might find damp spots on your concrete walls right before starting your basement makeover before and after project. Ignoring these patches leads to costly mold problems later. You need to install a high quality moisture barrier against the foundation before framing begins. I recommend choosing a 6 mil thick plastic sheeting for the best protection against ground water. This layer prevents moisture from reaching your new drywall and insulation. It is a small step that protects your entire investment. If you skip this, humidity will quickly ruin your new interior finish. Proper sealing keeps the area dry and ensures your unfinished basement transformation remains a healthy space for years to come.
Thermal Insulation Improvements
Do you worry about your basement feeling damp or chilly throughout the winter? A successful basement makeover before and after relies on proper moisture mitigation to keep the air comfortable. Installing a high quality moisture barrier against the foundation walls stops humidity from creeping in. You should also consider adding acoustic insulation between your ceiling joists to dampen the sound of footsteps from the floor above. I found that using R-15 rated fiberglass batts typically costs around $0.80 per square foot. This simple layer creates a cozy environment for your family. It ensures your new living area stays warm and quiet regardless of the weather outside.
Layout Transformation Strategies

Many homeowners assume a dark, cramped room requires knocking down walls to feel spacious. In reality, a successful basement makeover before and after project relies on smart functional basement space planning rather than major structural changes. If you have an awkward narrow footprint, create distinct zones by using rugs to anchor furniture groupings. I have found that placing a 10×12 foot sectional sofa in the center of the room divides a play area from a media corner without needing bulky room dividers. You can maintain an open concept layout by keeping sightlines clear and using uniform luxury vinyl plank flooring throughout the entire space to make the room feel much larger than its actual square footage.
Lighting Transformation Results

I noticed that swapping out a single hanging bulb for recessed lighting instantly kills that dingy dungeon vibe. A successful basement makeover before and after relies on bright, even light that mimics daylight. I installed 12 LED pot lights in my last project to wash the walls in warm white light, which cost me about $350 for the fixtures. For low ceilings, place these lights directly between your ceiling joists to gain an extra inch of clearance. This simple shift stops the ceiling from feeling like it is closing in on you. Proper placement turns a dark cave into a bright, inviting room that feels just like the main floor of your home.
Vinyl Flooring Makeover Results
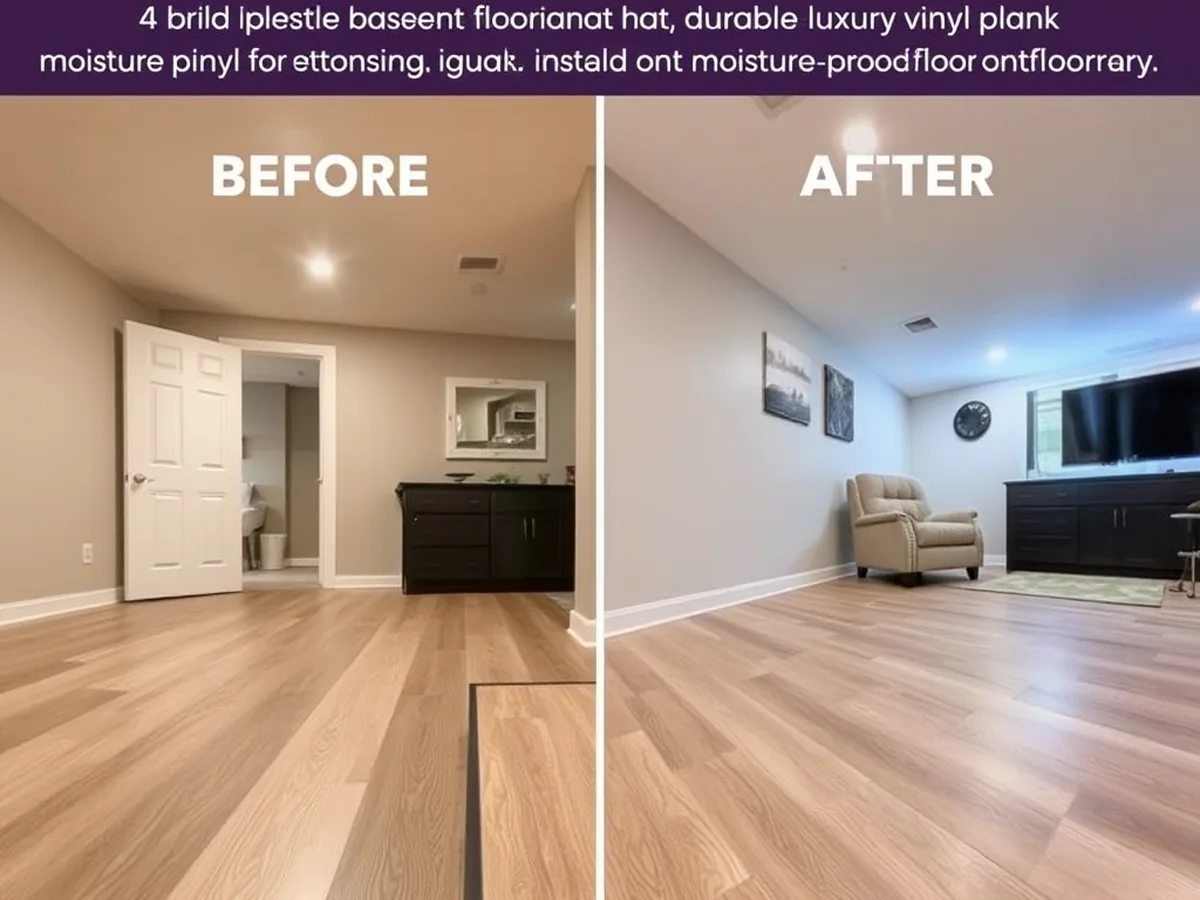
Choose luxury vinyl plank with a pre-attached underlayment to save time and ensure comfort during your basement makeover before and after project. This material is completely waterproof and handles the temperature swings common in lower levels. Before you start, you must lay down a 6-mil plastic sheet as a moisture barrier to prevent mold growth. Installing over a level concrete subfloor is mandatory for a smooth finish. I used a 20 mil wear layer plank that cost about $3 per square foot. This specific choice protects the surface from heavy foot traffic and accidental spills. It provides a warm feel underfoot compared to cold concrete, making the space feel like a finished room.
Polished Drywall Finishes
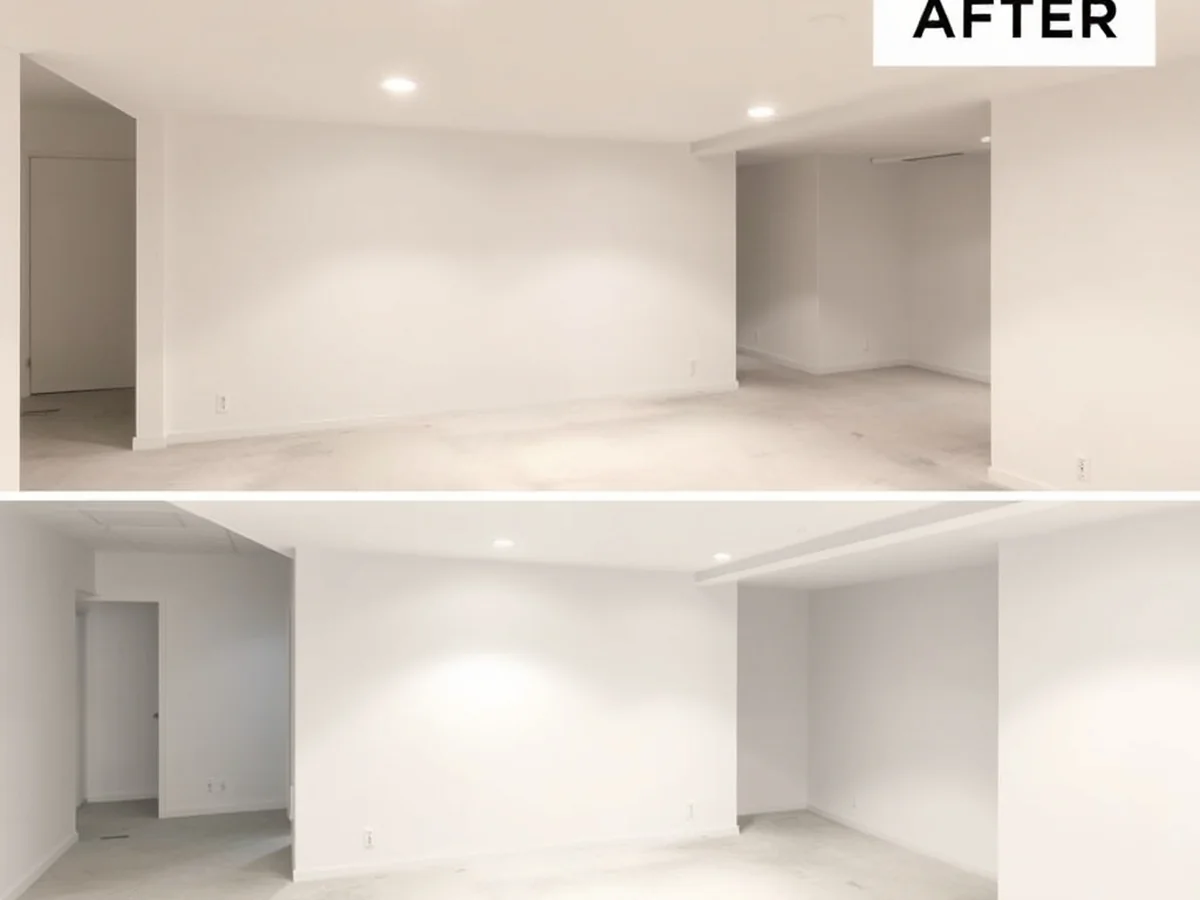
Winter is the perfect season to tackle indoor projects like achieving smooth wall surfaces that make your basement feel like a true living area. A successful basement makeover before and after relies on expert taping and sanding to hide seams completely. If your ceiling joists hang low, don’t waste precious height by dropping the ceiling further. Instead, paint the exposed ceiling joists and ducts with a uniform matte finish to create an industrial look. This trick adds roughly 6 inches of visual height to the room. Use 5/8 inch thick drywall to improve sound dampening between floors. Proper finishing here ensures your space feels like an extension of your home rather than a dark utility area.
Before and After Color Schemes
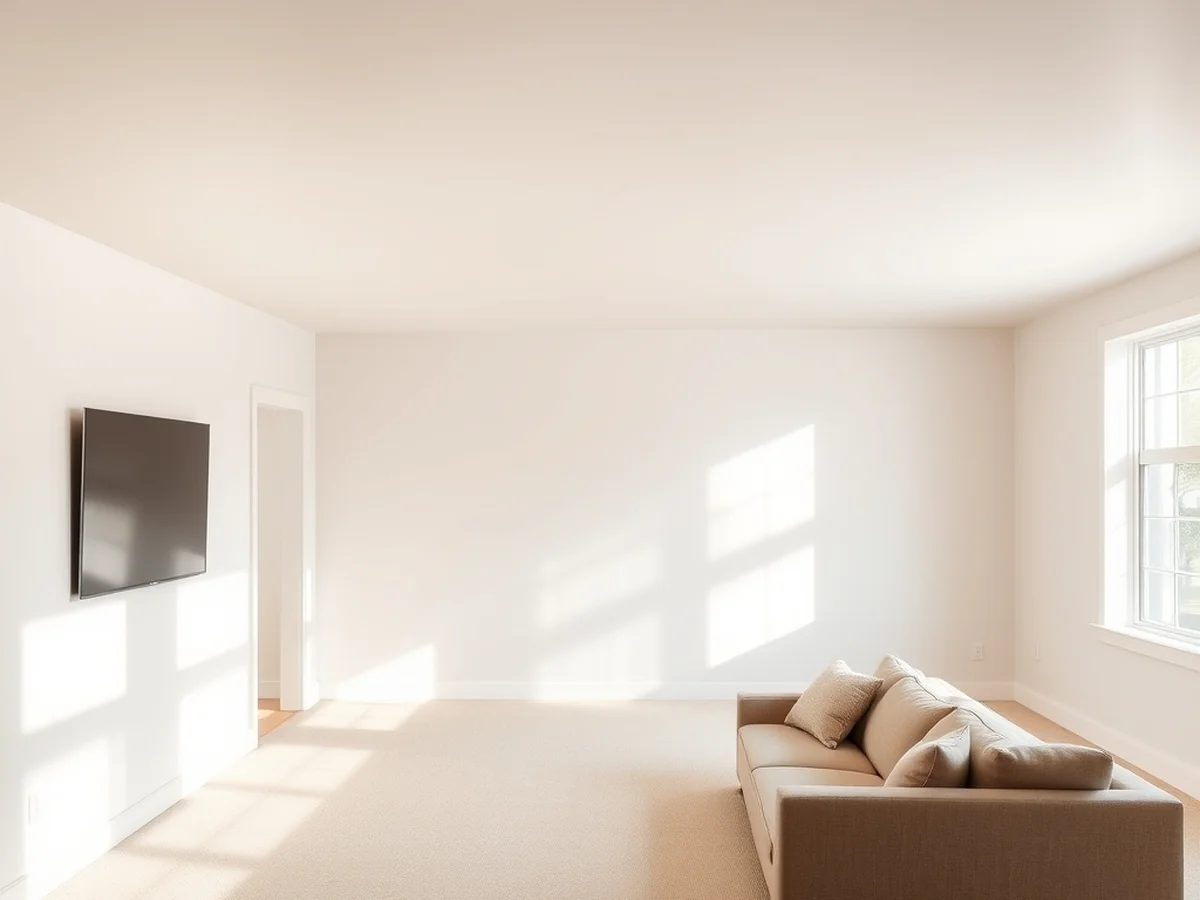
Professional painting costs around $2,000 for a typical project, whereas DIY options save significantly on a basement makeover before and after reveal. To make tight corners feel expansive, stick to a **neutral color palette** that bounces light across the room. Avoid dark tones that shrink your walls. Instead, opt for bright whites or soft greys to mimic natural light in windowless areas.
- Use eggshell finish paint to reflect light without highlighting drywall imperfections.
- Pair light walls with luxury vinyl plank flooring in a blonde wood tone to keep the ground level airy.
- Install recessed lighting in a cool color temperature to brighten dark zones and create a modern basement design look.
Egress Window Transformation

Adding an egress window increases your home value by roughly $3,000 while making the room legally habitable. You cannot finish a bedroom downstairs without this specific exit, making it a priority for any successful basement makeover before and after. Beyond safety, these windows are the only real way to pull natural light into a dark space. I have seen deep window wells act as light wells, bouncing rays off white exterior surfaces to brighten the entire floor. You will need a professional to cut through the concrete foundation, so plan for a permit process that takes about four weeks. This single change turns a dreary storage room into a bright, safe, and functional living space that guests will actually enjoy.
Living Area Makeover Layouts
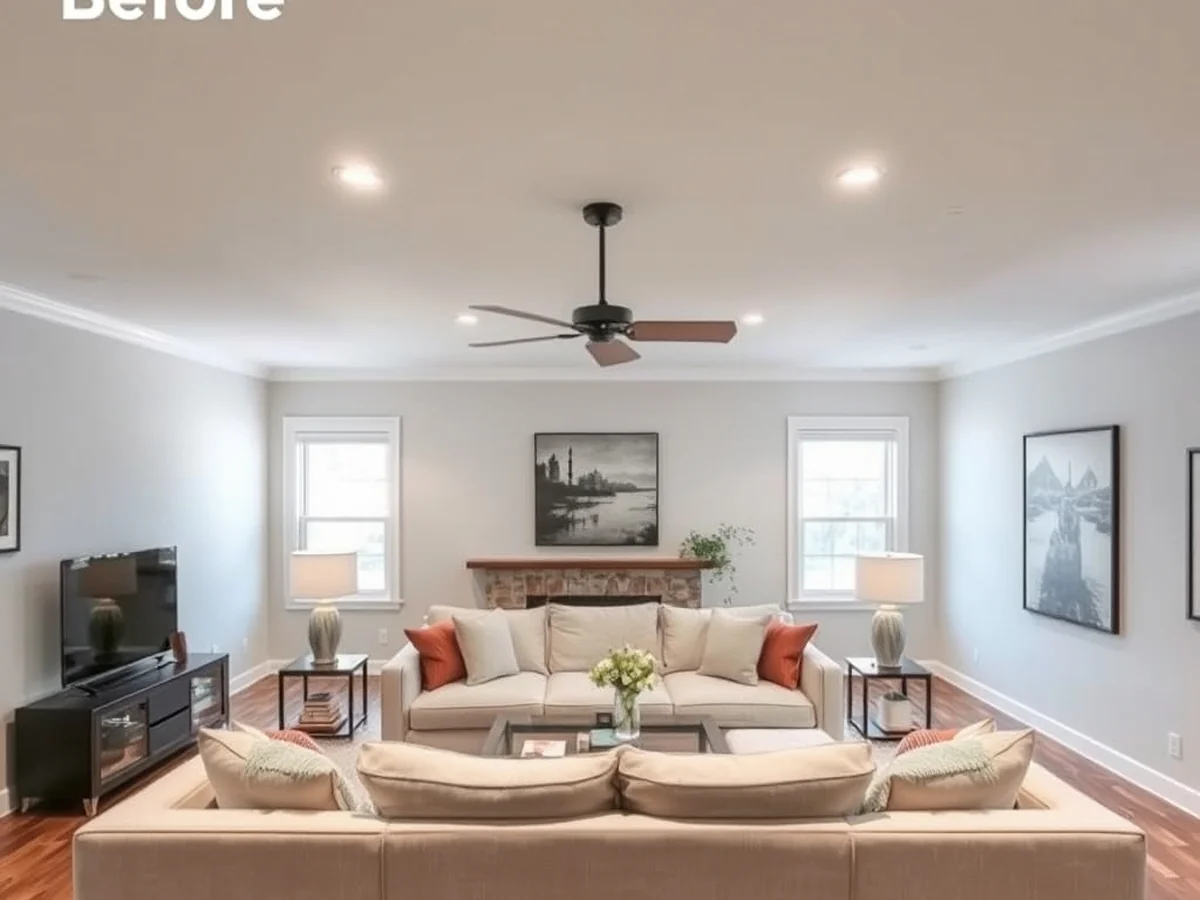
You probably stare at your dark, unfinished basement and struggle to visualize a cozy retreat. A successful basement makeover before and after starts by zoning your floor plan to define the main living area clearly. Use a large sectional sofa to anchor the room and create a natural boundary against utility spaces. Because ceiling height is often limited, selecting low profile furniture prevents the room from feeling cramped or claustrophobic. I suggest choosing a sofa with a seat height of around 16 inches to maintain visual clearance. Keeping the furniture sleek and light allows the space to breathe, especially when paired with a neutral color palette that makes the entire area feel taller and more welcoming.
Stylish Storage Makeovers

Do you struggle to keep your lower level organized without losing precious floor space? A basement makeover before and after often relies on smart wall usage to clear the clutter. By installing floating shelves, you can display books or plants while keeping the walkway open. I found that placing these shelves at least 12 inches apart prevents the room from feeling cramped. For a clean look, try a neutral color palette to make your collectibles pop without adding visual weight. This approach turns a basic wall into a feature instead of just another storage area. It keeps your floor clear for larger furniture, making the entire area feel much more intentional and tidy.
Basement Home Gym Transformations
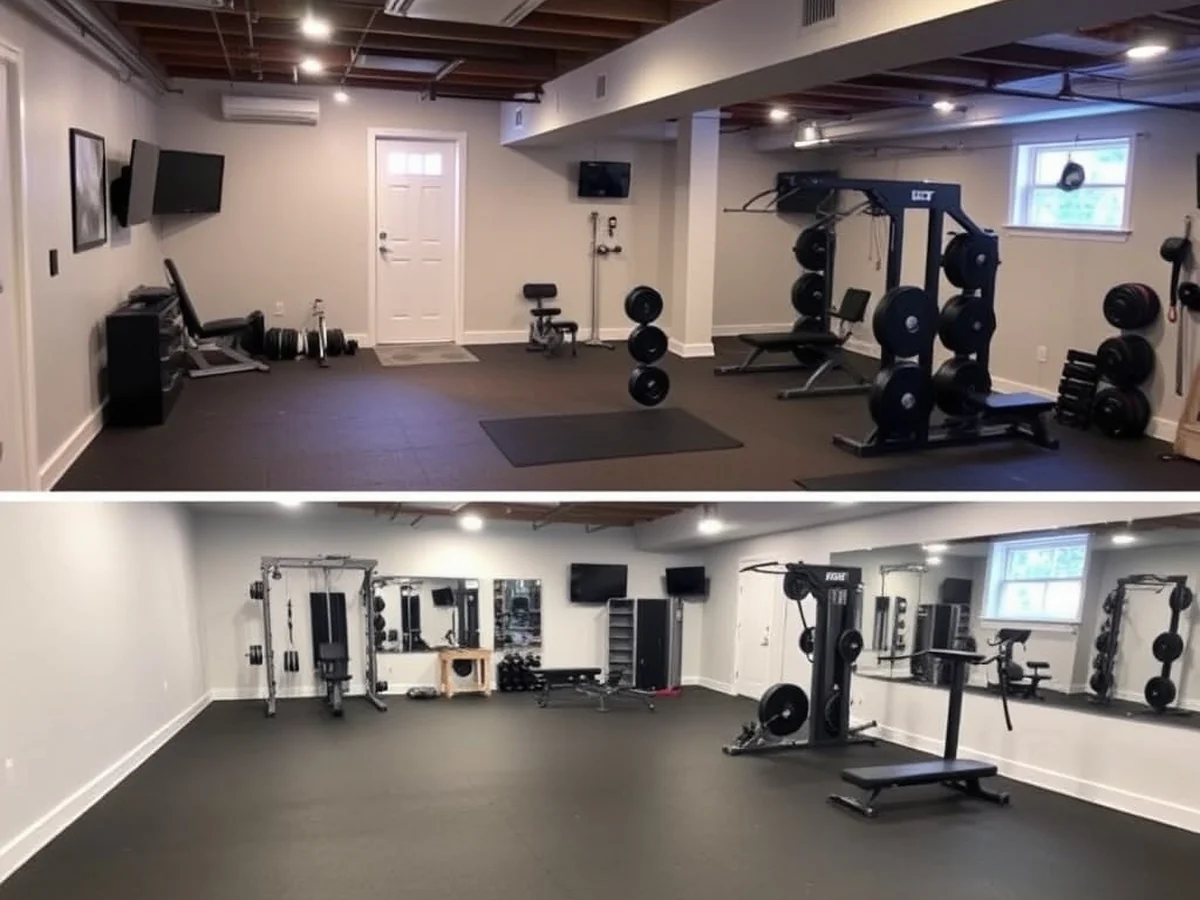
Many homeowners fear that a basement gym requires a massive, open hall, but you really only need a focused 100 square foot area to see a dramatic basement makeover before and after result. You can create a dedicated zone by placing your equipment on a durable rubber mat to protect your subfloor. This simple addition manages impact noise effectively, keeping vibrations from traveling through your ceiling joists to the floors above. When planning your layout, keep your free weights and benches away from your drywall to prevent accidental dings. Proper functional space planning ensures your workout gear stays organized, making your basement remodel ideas feel like a professional studio instead of a cluttered storage room.
Home Office Transformation
I have seen many cramped corners turn into productive hubs during a basement makeover before and after project. You do not need a massive room to build a professional workspace. A simple 48 inch desk fits perfectly into most alcoves, allowing you to reclaim wasted square footage under low ceiling joists.
* Install recessed lighting directly above your chair to eliminate harsh shadows that make small areas feel like a dungeon.
* Mount floating shelves on the wall to keep your desktop clear and organized without eating up floor space.
Using a light paint color helps the room feel open. This unfinished basement transformation proves you can work comfortably even in the smallest parts of your home.
Hidden Storage Makeover Ideas

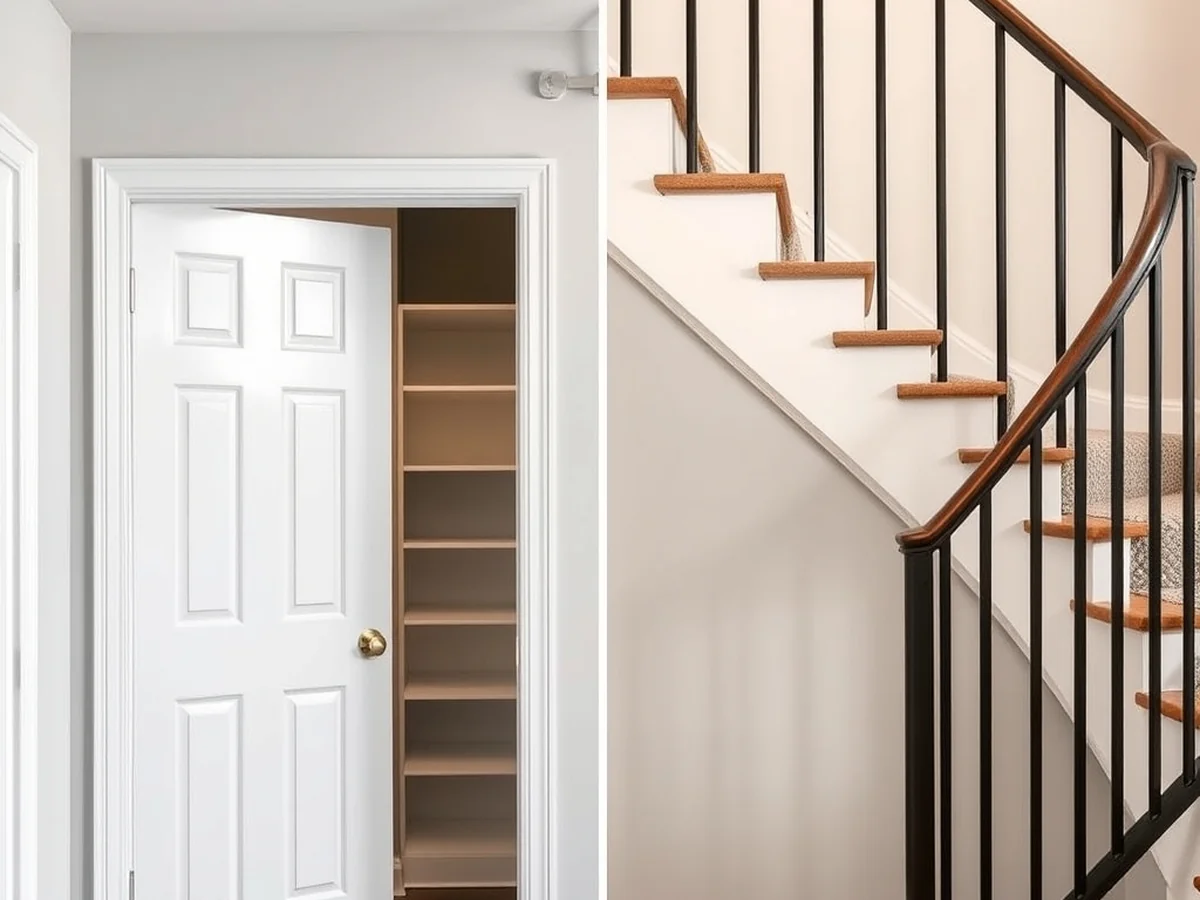
Turn the awkward nook under your stairs into a custom closet to perfect your basement makeover before and after transition. Adding a simple door and three interior shelves creates a hidden zone for winter coats or board games. This prevents clutter from creeping into your main living area and keeps your basement remodel ideas focused on clean lines. I suggest using a 24-inch wide door to maximize the opening while keeping the frame sturdy. You should also keep your main floor areas clear by installing floating shelves along the perimeter walls. This simple trick keeps the floor footprint open for a sectional sofa, making the room feel larger than it is.
Ceiling Height Solutions
Winter is the perfect time to start your basement makeover before and after project when you need extra indoor living space. If you are worried about low clearance, painting your exposed ceiling joists creates an illusion of depth that drywall cannot match. I have found that using a crisp matte black or bright white paint keeps the area feeling airy and intentional. This simple change adds roughly 4 to 6 inches of visual height compared to a traditional suspended grid. You should avoid installing a heavy drop ceiling, as it creates unnecessary bulk that makes a room feel cramped. Instead, keep the mechanicals tucked neatly against the beams to maintain a clean and modern look.
Styling the Finished Basement
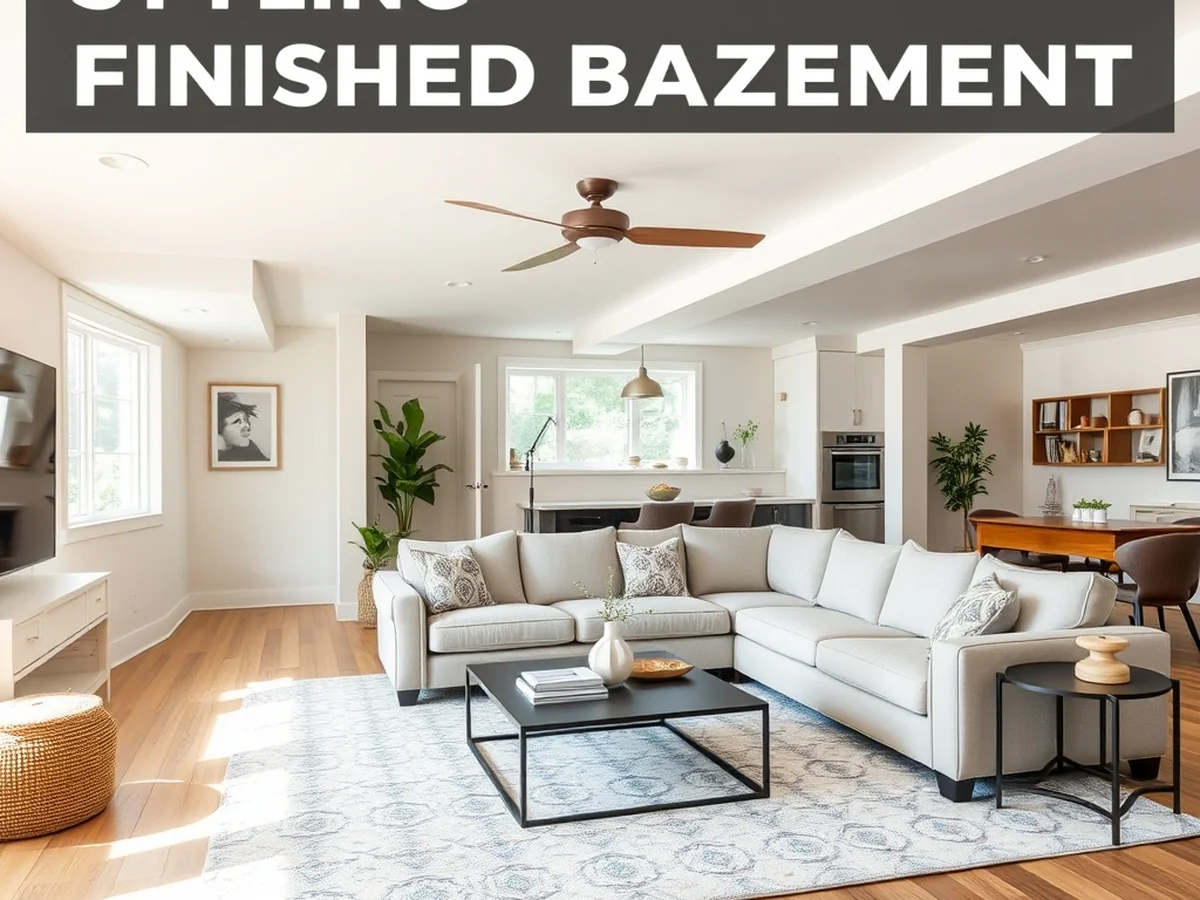
A professional basement makeover before and after usually costs $20,000, while a smart DIY approach can save you nearly 50 percent of that total. To manage an open concept layout, use a large sectional sofa to anchor the living area. This creates a clear visual boundary between your media center and a home office without needing extra walls. For your luxury vinyl plank floors, place a 9×12 wool area rug over the main seating zone to add immediate warmth. This simple addition softens the echo of hard surfaces and makes the room feel cozy. Use floating shelves on the walls to provide storage without shrinking your floor space, keeping the area functional and bright.
HVAC Aesthetic Upgrades
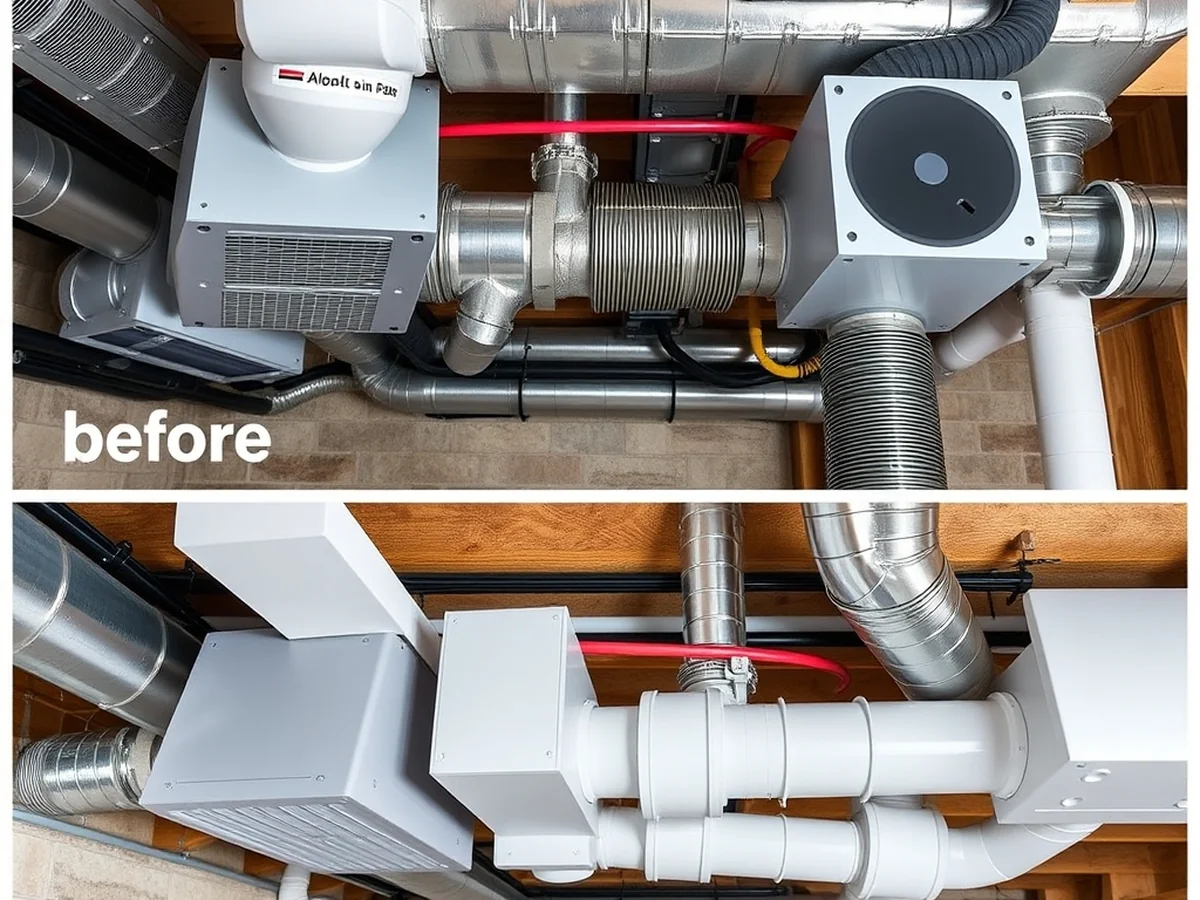
Roughly 20 percent of your energy bill can vanish if you ignore airflow during a basement makeover before and after project. You must prioritize HVAC zoning to prevent stagnant air pockets that make lower levels feel stuffy. I suggest installing adjustable dampers in your supply ducts, which usually cost about $45 per unit. This simple change allows you to force more heat or cold air into the basement when you are actually using the space. For a clean look, hide these vents behind custom floating shelves or paint them to match your ceiling joists. Proper airflow control keeps moisture levels low, protecting your new drywall and flooring from hidden mold growth.
Safety and Aesthetic Upgrades

You start your basement makeover before and after project by focusing on the hidden systems that keep the space safe. Adding extra electrical capacity is a common necessity because most older basements lack enough power for modern home gyms or office setups. Plan for at least 12 outlets throughout the room to avoid messy extension cords later. If your wiring involves moving a main panel or installing new HVAC zoning, hire a licensed professional to ensure everything passes inspection. Skipping this step often causes major headaches during a before and after basement reveal. Professionals handle the complex permits and moisture mitigation tasks that protect your property value while you focus on the fun finishes like wall paint and flooring.
Planning Your Basement Transformation

Do you know if your basement renovation meets local safety standards? Before you start your basement makeover before and after project, you must secure necessary building permits to ensure your electrical wiring and HVAC zoning comply with local laws. Skipping these steps can create major headaches when you try to sell your home later. You should aim to budget at least $500 for permit fees depending on your city. Legal renovations protect your property value appreciation and keep your family safe from fire or carbon monoxide hazards. Always install an egress window if you plan to add a bedroom, as this is a strict requirement for safety and emergency exit access in most residential areas.
Budget Makeover Visuals

Many homeowners believe a professional basement makeover before and after requires a massive loan, but you can achieve great results by focusing your spending. Prioritize moisture barrier installation and insulation behind your drywall instead of fancy architectural details. These hidden steps prevent expensive damage later. I saved roughly $400 by painting my ceiling joists white instead of installing a drop ceiling. This choice also makes low spaces feel taller.
- Use luxury vinyl plank for durable flooring that handles humidity well.
- Install simple recessed lighting to brighten dark corners without needing extra head height.
- Add floating shelves to keep the floor clear and improve your overall storage solutions.
Basement Makeover Reveal
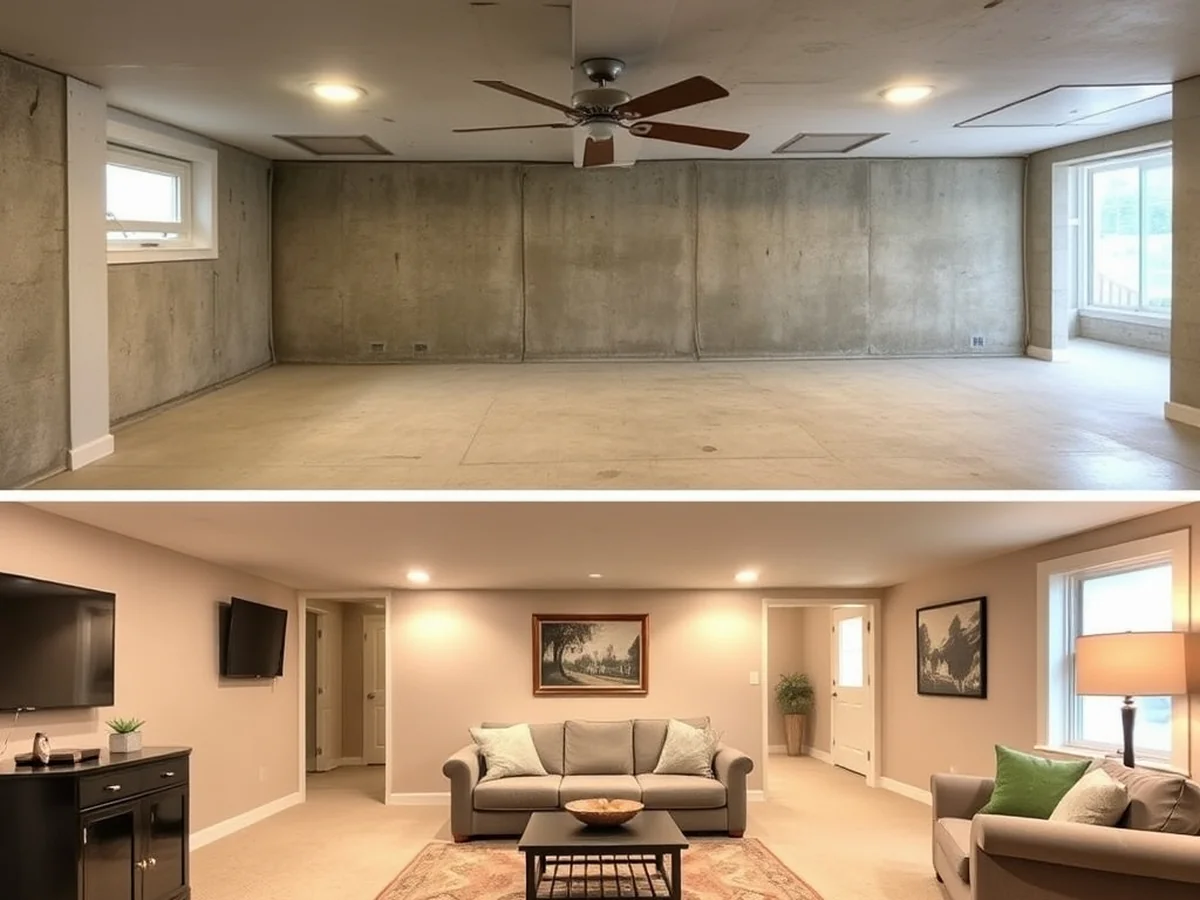
Seeing a finished basement makeover before and after feels like magic when you remember the cold concrete walls you started with. The shift from dark ceiling joists to a polished, cozy room changes how you use your home entirely. I noticed that installing a moisture barrier underneath luxury vinyl plank flooring instantly makes the space feel like a main floor living area rather than a storage cellar. We spent about $4,500 on materials to bridge that gap. Adding recessed lighting creates a bright, welcoming glow that hides the low ceiling height. A clean, neutral color palette helps the room breathe, turning a once damp and gloomy corner into a functional, inviting retreat for the whole family.
Modern Basement Transformation Trends
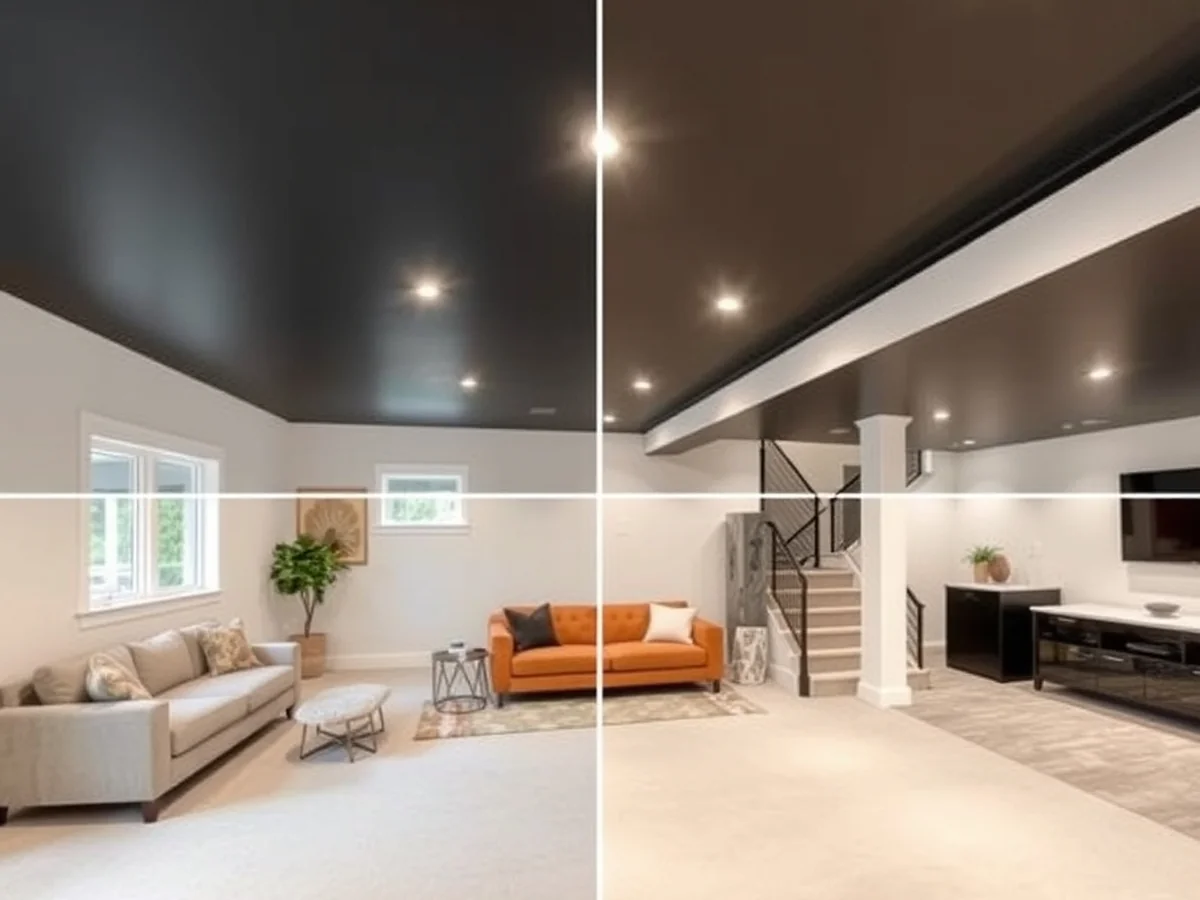
Paint your ceiling joists a matte black to make low basement ceilings feel taller and more intentional. This simple trick is a cornerstone of a successful basement makeover before and after transition. Today’s modern basement design trends favor an open concept layout that ditches cramped walls for flexible living. You should mix materials like cold concrete floors with warm luxury vinyl plank to define zones. Incorporate floating shelves against drywall to add visual depth without taking up floor space. Using a neutral color palette helps reflect light, making the room feel larger. For a finished look, install 6-inch recessed lighting throughout the area to ensure every corner stays bright and functional.
Unfinished Basement Transformation
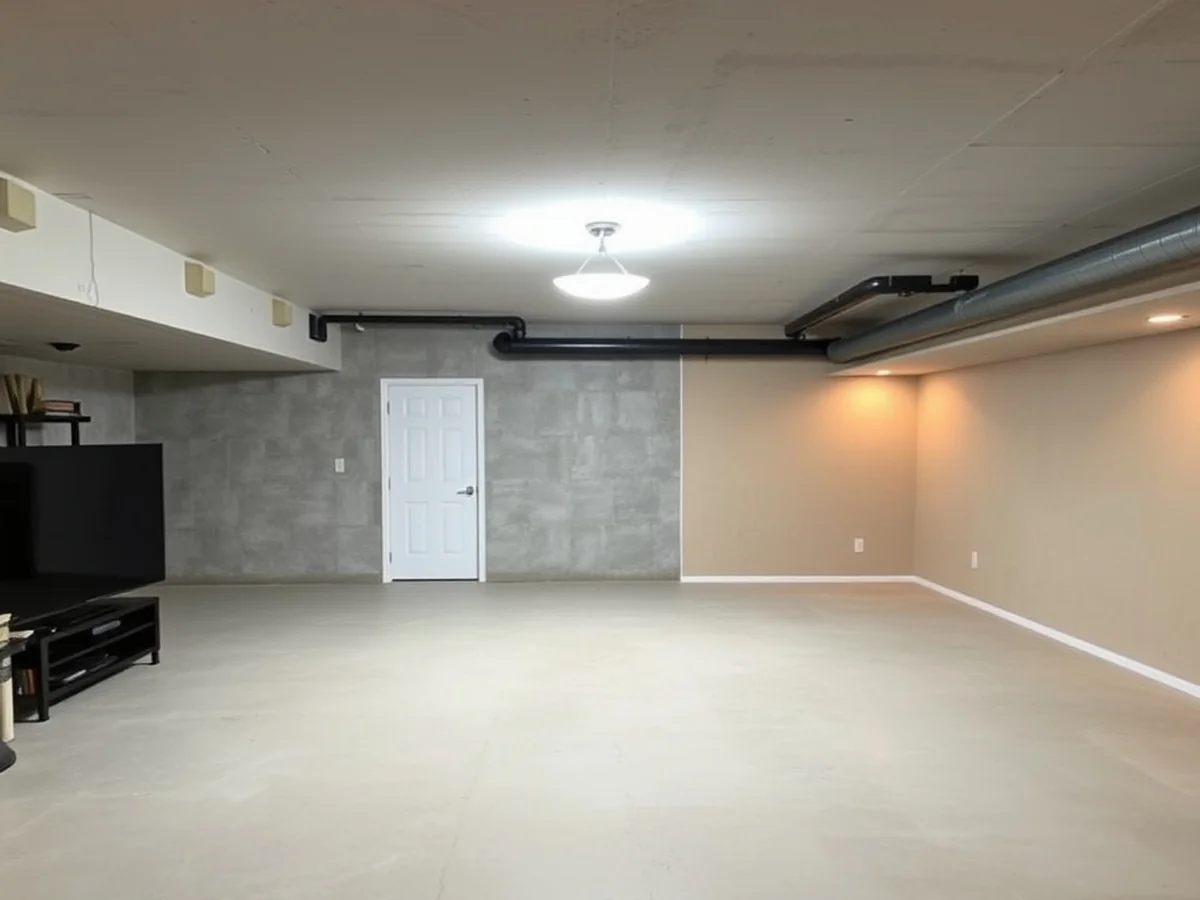
Winter is the perfect time to start an unfinished basement transformation, as you gain extra living space while trapped indoors. Turning raw concrete into a cozy room starts with installing a moisture barrier over your slab. In my experience, spending around $800 on high-quality insulation and a subfloor prevents future cold feet and dampness. You should see a massive difference when comparing your basement makeover before and after photos once the drywall goes up. I often suggest focusing on ceiling joists next, as painting them white creates height in low-ceiling areas. Adding recessed lighting immediately removes that dungeon feel, making the entire area look bright, professional, and inviting for your family to enjoy all year.
Small Basement Finishing

Finishing a tiny room costs about $2,000 less than a full-level renovation because you use fewer materials. A successful basement makeover before and after relies on making every inch count. Focus on an open concept layout to stop the area from feeling cramped. Install recessed lighting directly into the ceiling joists to save every possible centimeter of height. Use a light, neutral color palette on the walls to bounce light around the room. Avoid bulky furniture and choose a slim sectional sofa to keep traffic paths clear. Adding one large area rug helps define the space without needing walls. These simple design choices make a small basement feel like a bright, functional living area.
Renovation Results and Value
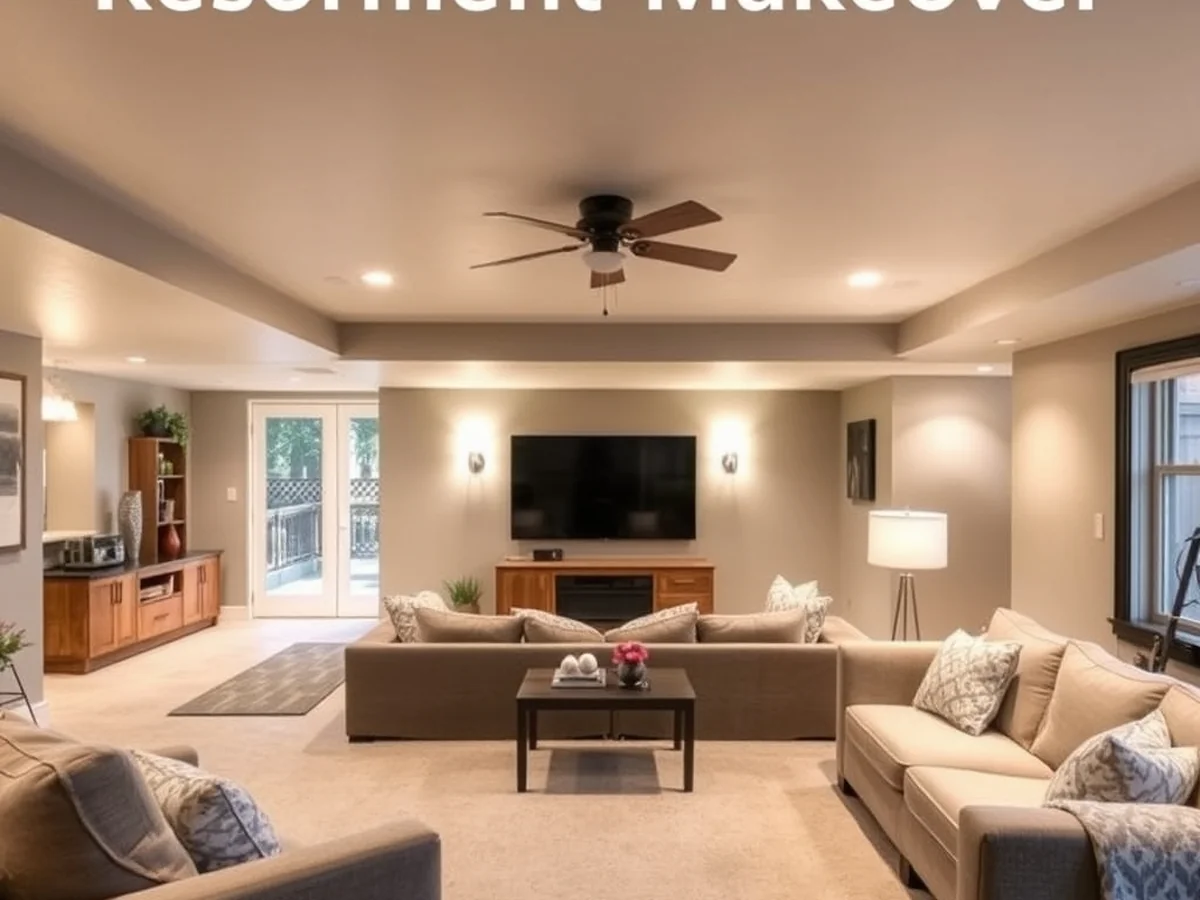
Completing a basement makeover before and after project typically boosts your home resale value by nearly 70 percent of the total cost. Buyers prioritize finished square footage that feels like a natural extension of the main floor. They look for proper moisture mitigation and functional floor plans that avoid feeling cramped or cave-like. I have seen homes sell faster when they include a finished legal bedroom with an egress window. This single addition adds roughly $5,000 to $8,000 in market value. Make sure your planning includes updated electrical and permits to ensure a smooth appraisal. A smart layout makes the entire house feel larger and more intentional for future owners.
Basement Makeover Before and After
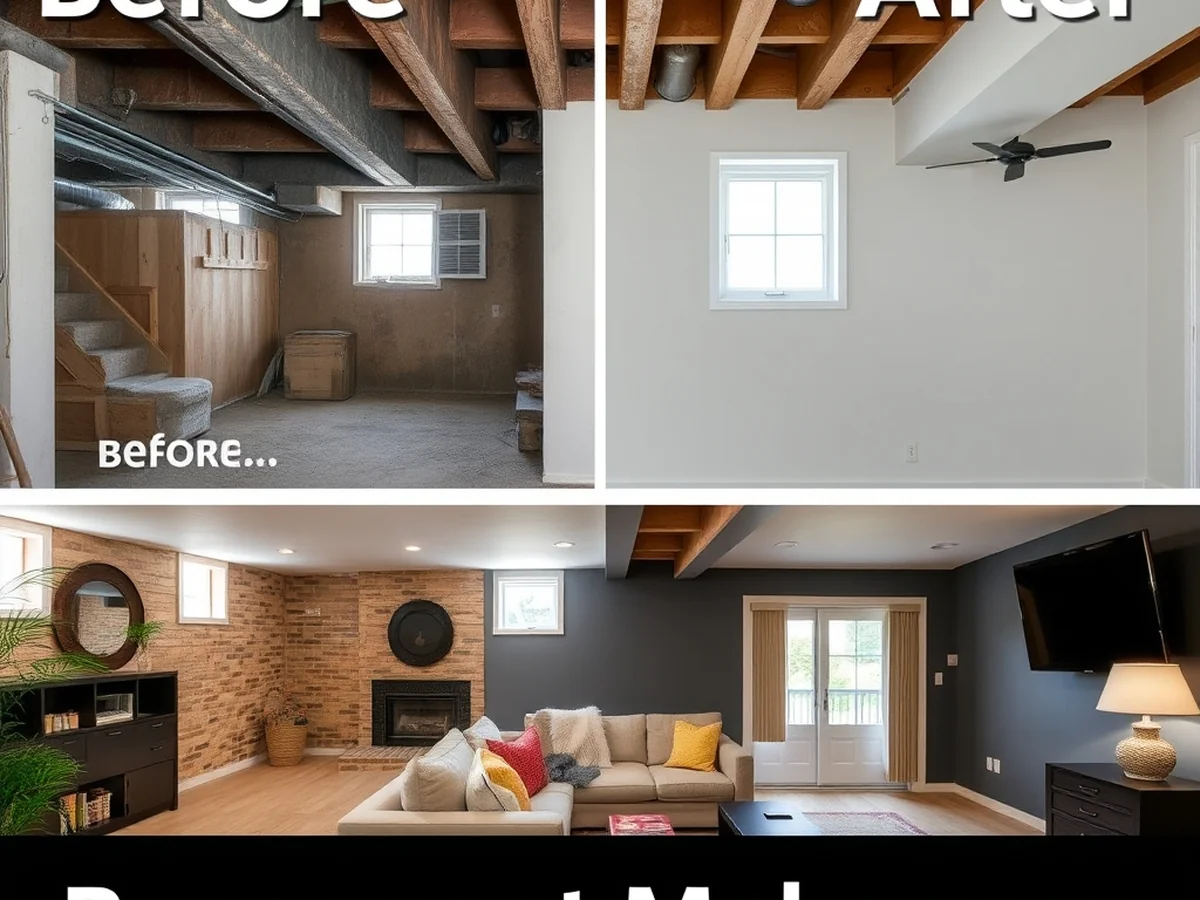
Walking down into a dark, dusty space filled with old boxes is daunting, but seeing a successful basement makeover before and after proves that any concrete room can become a cozy retreat. The transition from exposed ceiling joists to a polished, livable area adds incredible value to your home. I once saw a cramped storage zone turn into a bright family room for under $8,000 by using clever functional basement space planning. You’ll notice the immediate difference once you install clean drywall and modern recessed lighting to replace those dim bulbs. This before and after basement reveal shows how choosing a neutral color palette makes the entire room feel much larger and more inviting for guests.
For another perspective, this detailed piece on 900+ Basement Remodel Before After ideas is worth a read.
FAQ
How do you deal with low ceilings?
You can make a space feel taller by painting everything white or using a light neutral color palette to bounce light around. If you cannot move your ceiling joists, consider leaving them exposed and painting them black to give the room an industrial look instead of installing heavy drywall.
What is the most cost-effective flooring?
Installing luxury vinyl plank is the best way to handle potential dampness while keeping costs low. You should always lay down a 6-mil plastic moisture barrier or a dimpled subfloor panel underneath to prevent mold growth before you snap the planks into place.
How do you ensure proper moisture control?
You must fix any active leaks and grade the exterior soil away from your foundation walls before starting your basement makeover before and after project. Adding a dehumidifier that drains directly into a sump pump pit is a smart way to keep humidity levels below 50 percent year-round.
What are the best layout tips?
Focus on open concept layout designs to avoid making a small area feel like a series of dark closets. Using recessed lighting every 4 feet across the ceiling prevents shadows and helps define different zones for a gym or home office without needing extra walls.
Does this project increase home value?
A finished basement adds significant usable square footage to your home and typically offers a strong return on investment. Make sure you obtain all required building permits for electrical and safety work to ensure your renovation adds genuine value to your property appraisal.
You might also like: 24 Ways to Make a Small Living Room Look Bigger Instantly
Key Takeaways
Many believe a basement must stay dark and damp, but a successful project proves that even a cramped space can become your favorite room.
- Clear planning matters because a functional basement makeover before and after reveal relies on proper moisture mitigation and a solid subfloor installation.
- Budget basement renovation success often comes down to choosing luxury vinyl plank flooring, which costs around $4 per square foot and stands up to potential humidity.
- Lighting strategy is essential since adding recessed lighting transforms a dungeon feel into a bright, inviting living area without needing massive windows.
- Open concept layout choices help maximize your square footage, making the area feel larger than it actually is.
- Focus on building permits early to ensure your electrical wiring and insulation meet safety codes, protecting your long term home equity.
Save these transformation tips to your Pinterest board for your next renovation project.