25 Budget Kitchen Upgrade Ideas That Make a Big Impact
Introduction
You do not need a contractor, a permit, or five figures to love your kitchen again. A smart budget kitchen upgrade plan targets the surfaces your eyes land on first, cabinets, lighting, counters, and the sink area, and leaves the layout and plumbing exactly where they are.
Most of the ideas in this list cost under $100 in materials, and many are realistic weekend projects with basic tools. Costs vary by store and region, so treat any price mentioned here as a rough guide for materials only, not a quote. The order matters too. Paint and light make the biggest visible difference, so they come first.
Start by choosing your top three projects and finishing them fully before buying anything else. Half finished upgrades make a kitchen feel worse, while three completed changes make it feel renovated.
Here are 25 budget kitchen upgrade ideas to spread across a few weekends or a few months.
Paint the Cabinets a Fresh Color

Paint is the highest impact budget kitchen upgrade there is. Solid cabinets with dated stain or yellowed white look new again in a fresh color, soft white, sage, navy, or warm gray. Materials for a DIY paint job often land in the low hundreds, far below replacement cost.
Prep decides the result. Clean with a degreaser, sand lightly, prime, and apply two thin coats of durable cabinet paint with a foam roller. Remove doors and label them so rehanging is painless.
Swap Cabinet Hardware
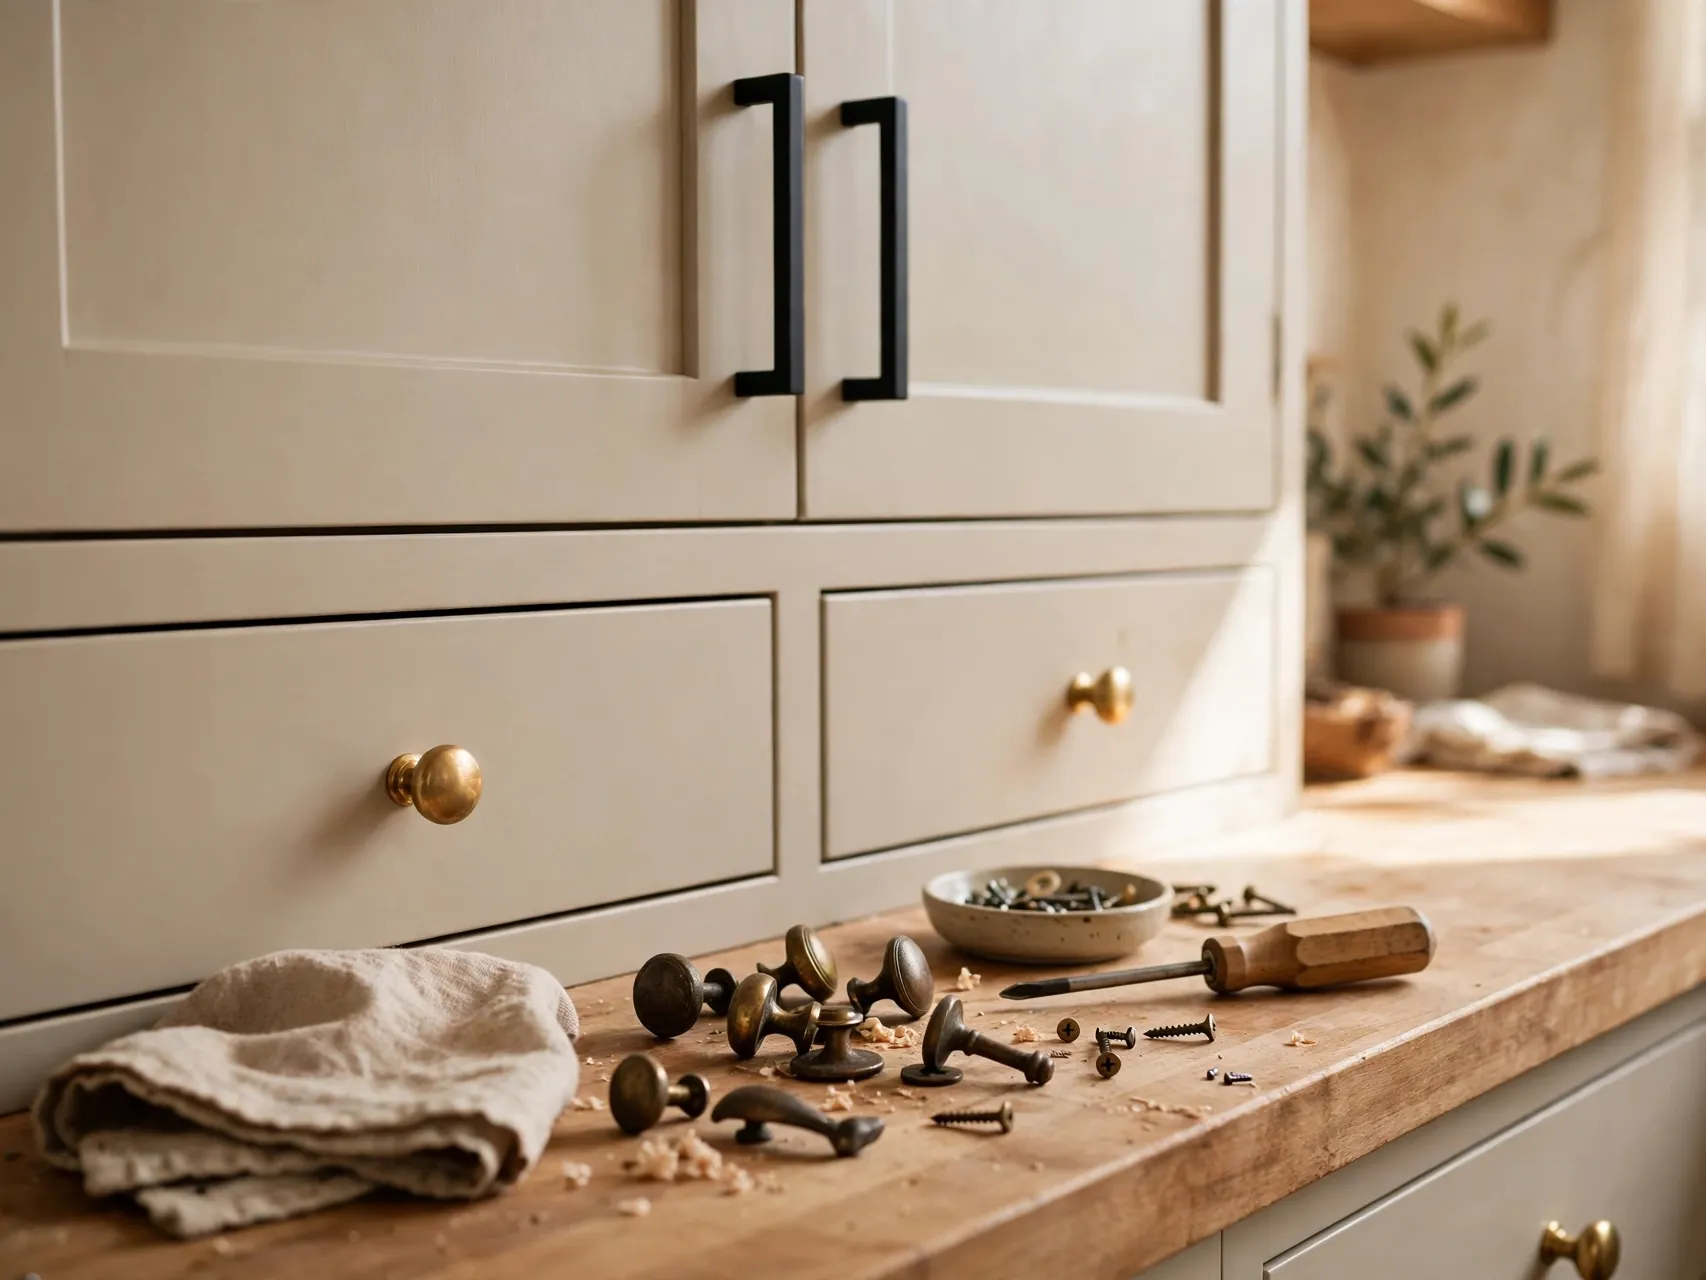
New pulls and knobs are the classic kitchen upgrade under $100. A full set often costs less than a family dinner out, and the job needs only a screwdriver. Choose one finish, matte black, brushed nickel, or warm brass, and repeat it across every door and drawer.
Measure your existing hole spacing before ordering so new pulls fit old holes. Longer pulls on drawers look modern and are easier to grip. If your cabinets never had hardware, adding it now makes them look intentionally finished, and a simple drilling template keeps every placement even.
Peel and Stick Backsplash Tile
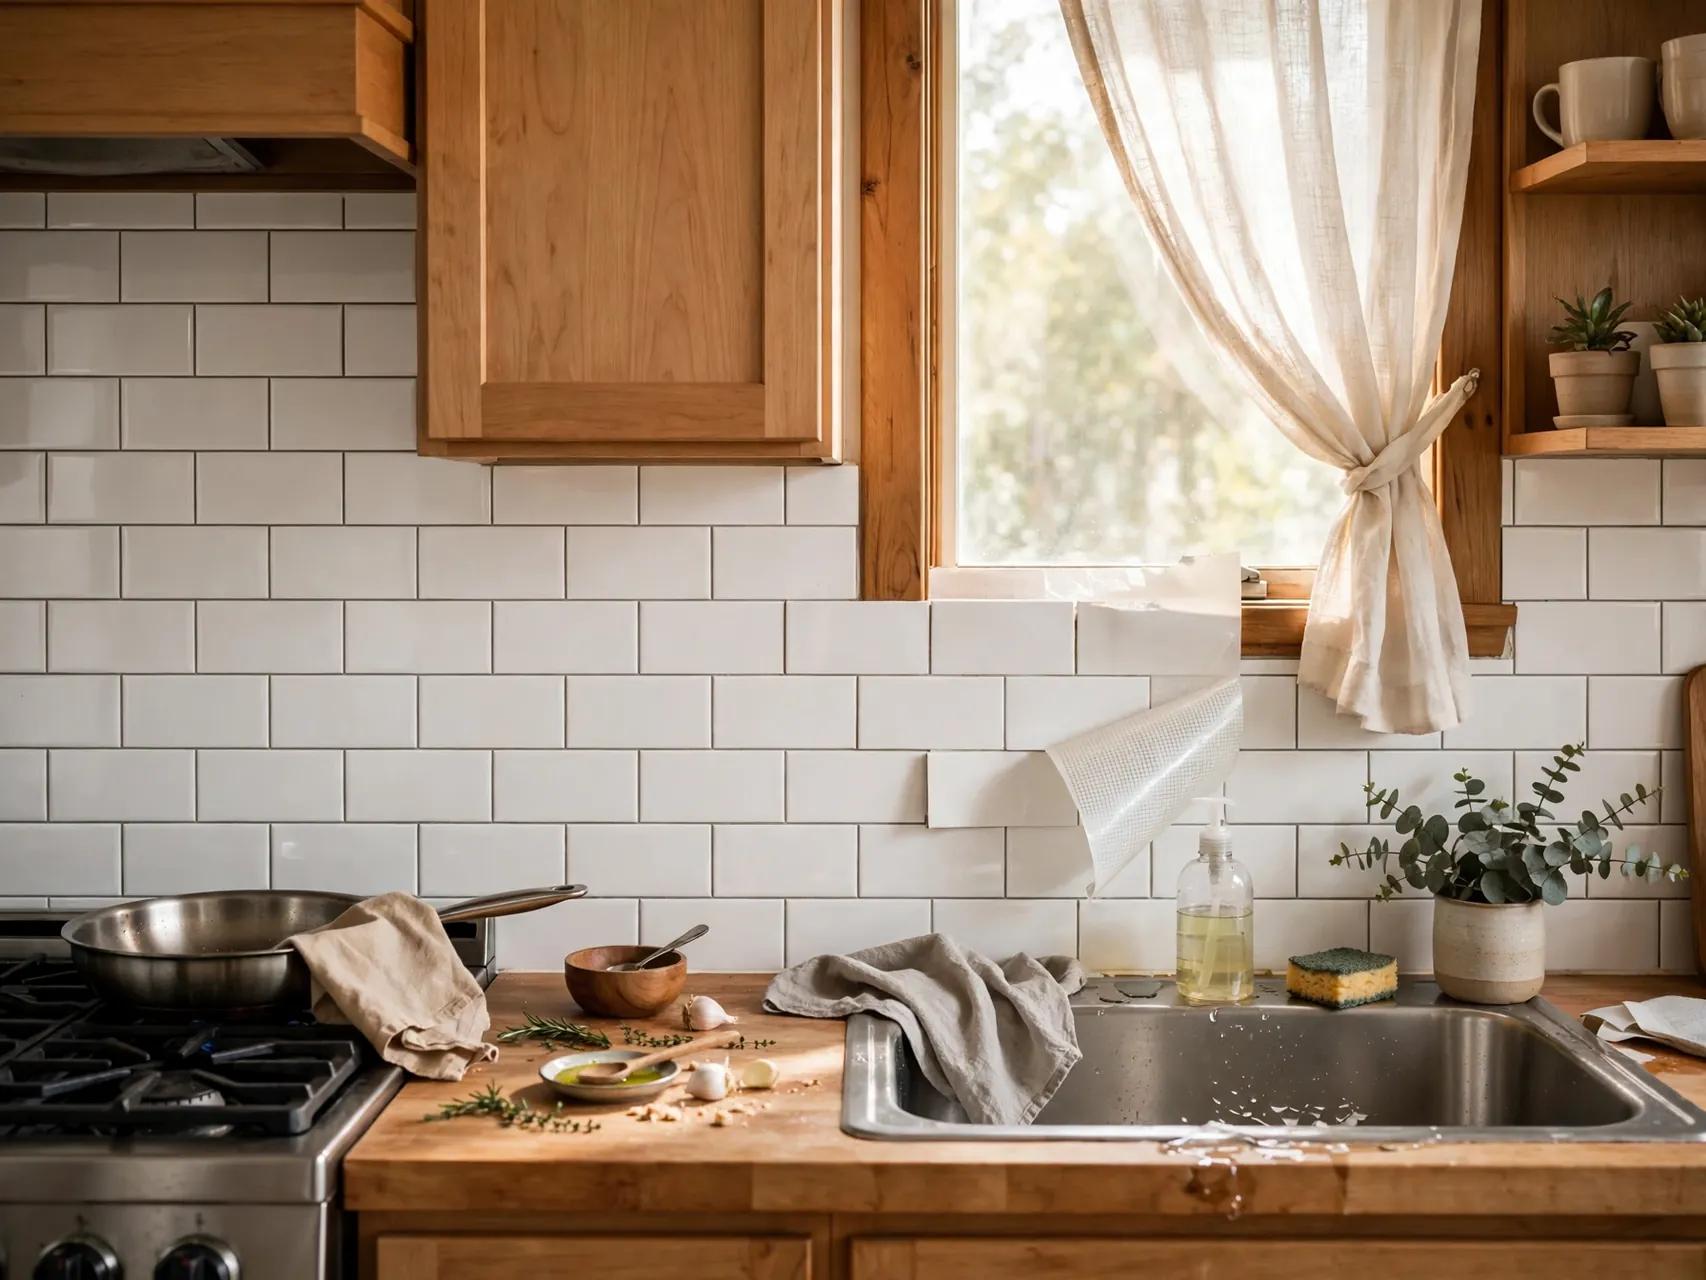
Peel and stick tile gives renters and cautious DIYers a backsplash without mortar or a tile saw. Modern versions mimic subway tile, marble, and patterned cement looks, and most can be cut with scissors or a utility knife for outlets and corners.
Apply it to a clean, smooth, dry wall, and keep it away from direct heat sources, following the product instructions. It is not as durable as real tile, but as a cheap kitchen makeover idea, it delivers remarkable style per dollar.
Under Cabinet LED Lighting
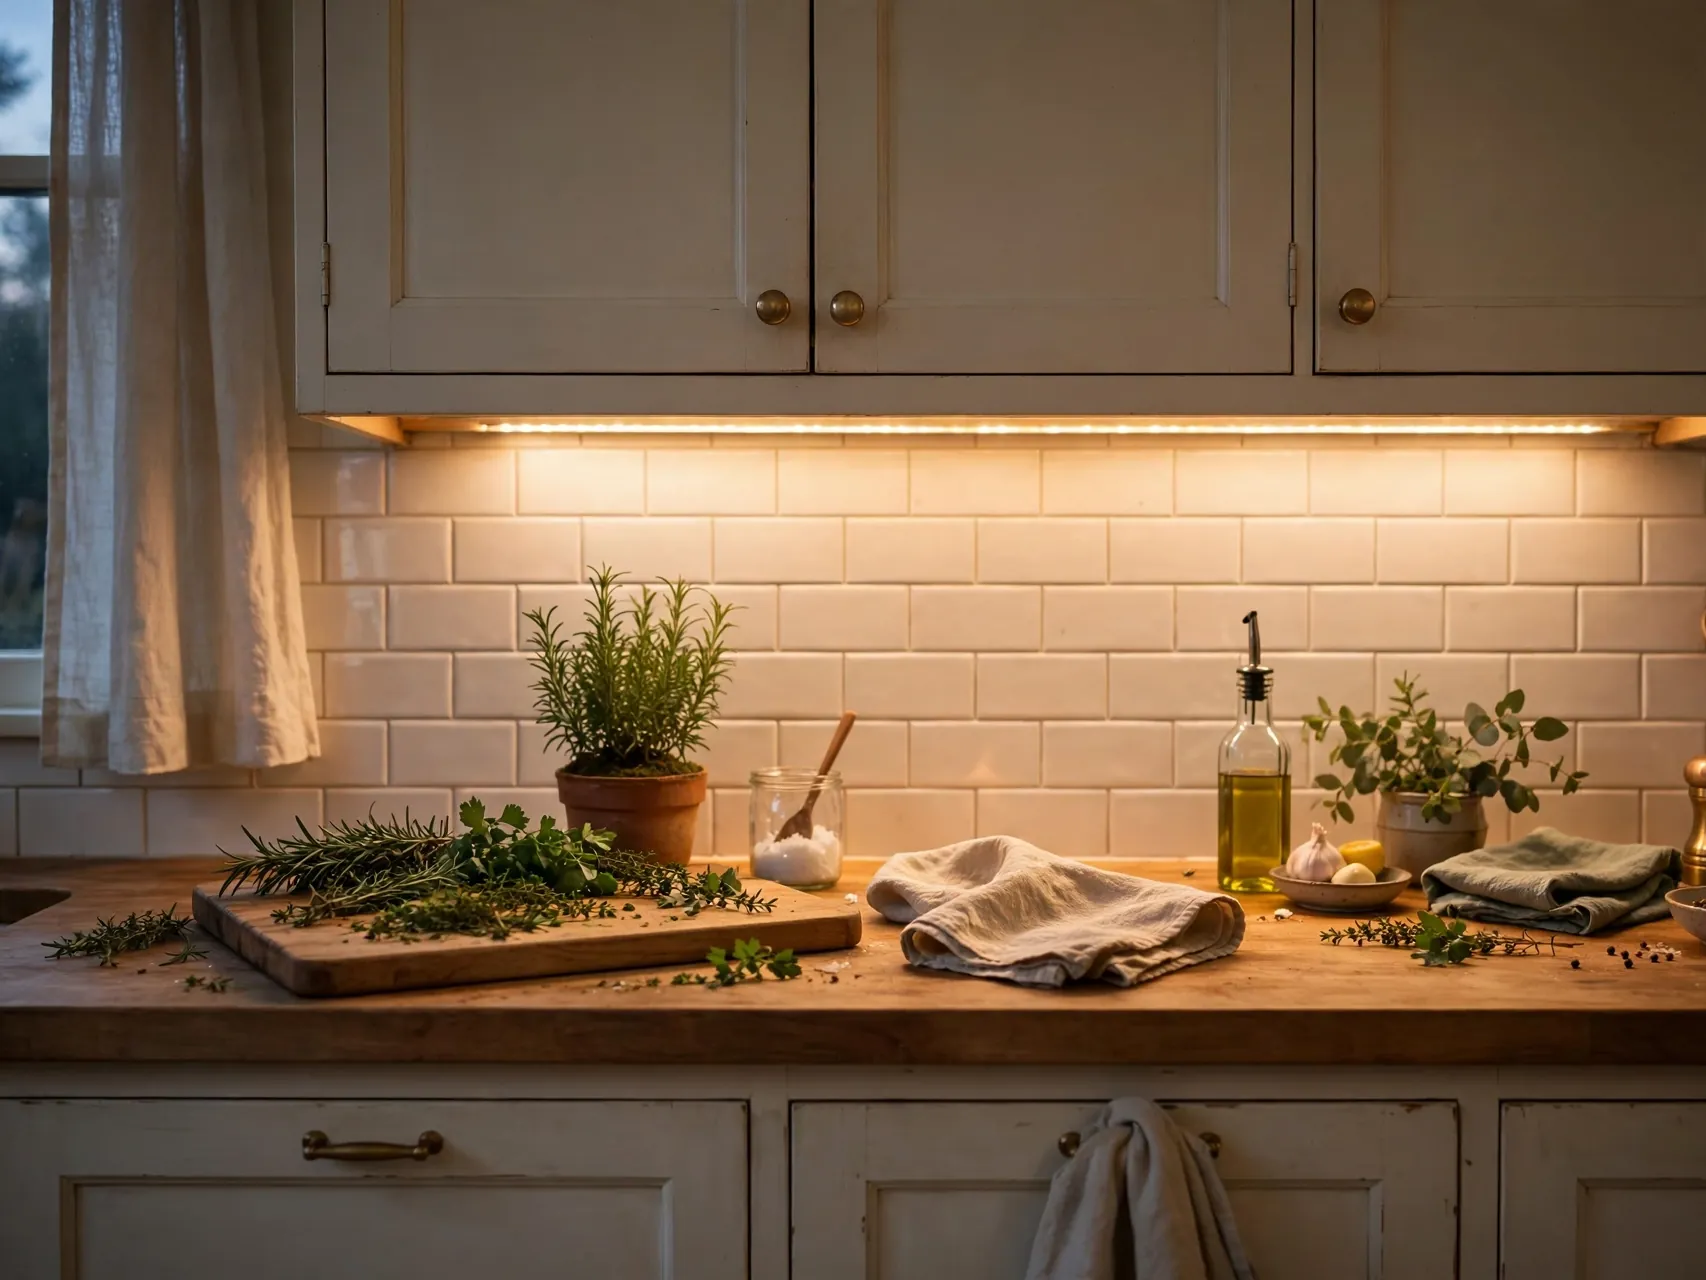
Dark counters make a kitchen feel tired, and LED strip lighting fixes that in an afternoon. Stick on or plug in strips under the upper cabinets wash the counters in warm light, make prep work easier, and create a cozy glow at night.
The US Department of Energy notes that LED lighting uses much less energy and lasts far longer than incandescent lighting, so the running cost is pennies. Choose warm white light for a welcoming feel. Battery powered puck lights are the renter friendly version, needing no outlet or wiring at all.
Paint the Walls a Brighter Neutral
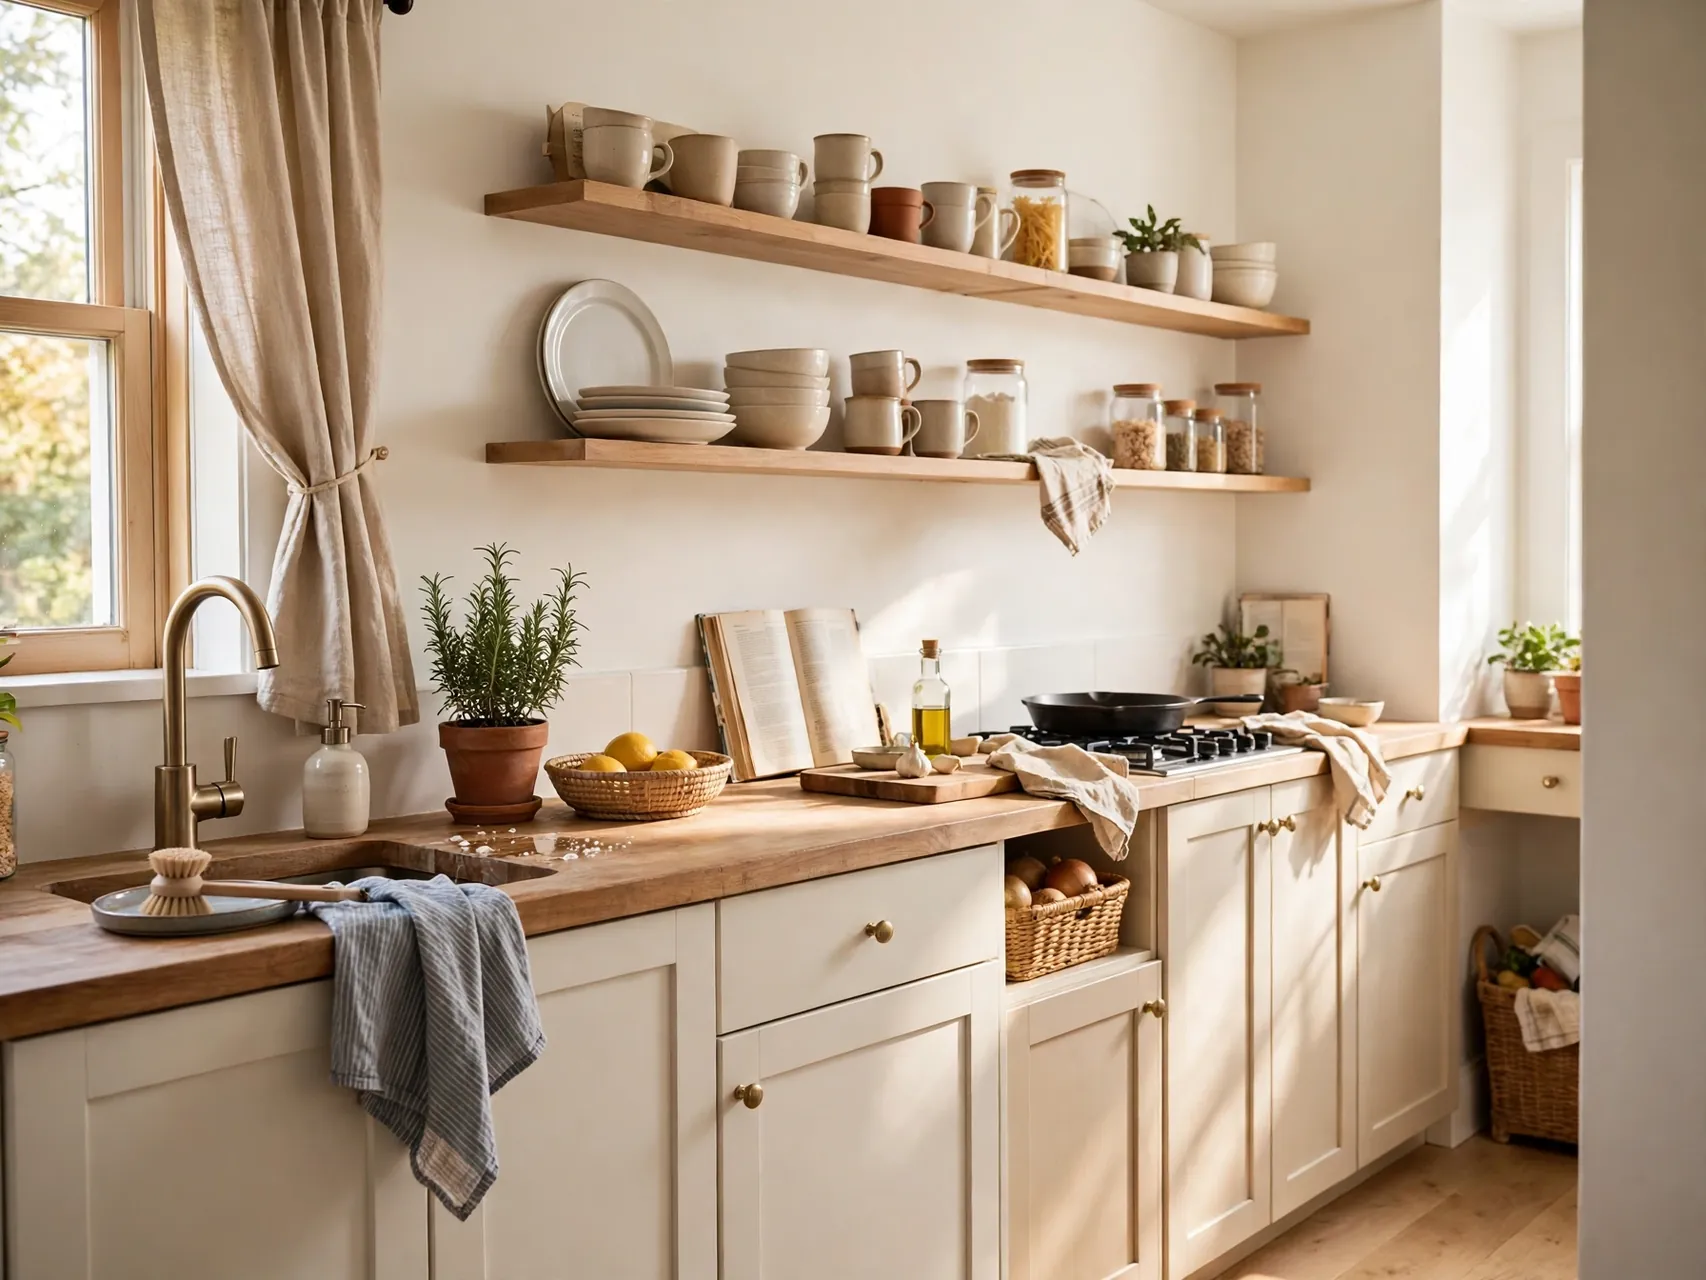
Wall paint is cheap square footage. A brighter neutral, warm white, pale greige, or soft sage, reflects more light and makes cabinets, even older ones, look cleaner by contrast. One gallon often covers a small kitchen's walls with paint left over.
Use a washable satin or eggshell finish so splashes wipe off easily. Paint the ceiling too if it has yellowed, since a crisp ceiling lifts the whole room. If you love color, keep walls calm and bring the bold shade in through a door, stools, or textiles you can change later.
New Faucet With a Better Silhouette

The faucet is the most touched fixture in the kitchen, and a dated one dates the whole sink wall. A new pull down faucet in a clean silhouette often costs between $100 and $300 and can be a DIY swap if your plumbing connections are standard and accessible.
Pick a finish that matches your hardware for a pulled together look. A higher arc makes filling big pots easier. If a full swap is not possible yet, a deep clean, a new aerator, and matching soap dispenser still refresh the area. Always turn off the water supply valves before starting any faucet work.
Replace One Upper Cabinet With Open Shelves

Removing a single upper cabinet and hanging two thick wood shelves opens up a small kitchen instantly. It is one of the most effective low cost kitchen updates with big impact for galley and apartment kitchens that feel boxed in.
Style the shelves with everyday dishes and glasses in a tight color palette. Move rarely used items from the removed cabinet into storage elsewhere. Shelf brackets and boards are inexpensive at home centers.
Temporary Counter Refresh

If counters are stained or dated but a replacement is not in the budget, temporary finishes buy you time. Heavy duty contact paper in stone or wood looks convincing on laminate, and countertop paint kits offer a tougher finish for a bit more money and prep.
Be honest about limits. Neither option matches real stone for heat and knife resistance, so use trivets and cutting boards faithfully. As a holding move inside a budget kitchen upgrade plan, a tidy temporary counter beats a stained permanent one.
Rolling Cart as a Mini Island
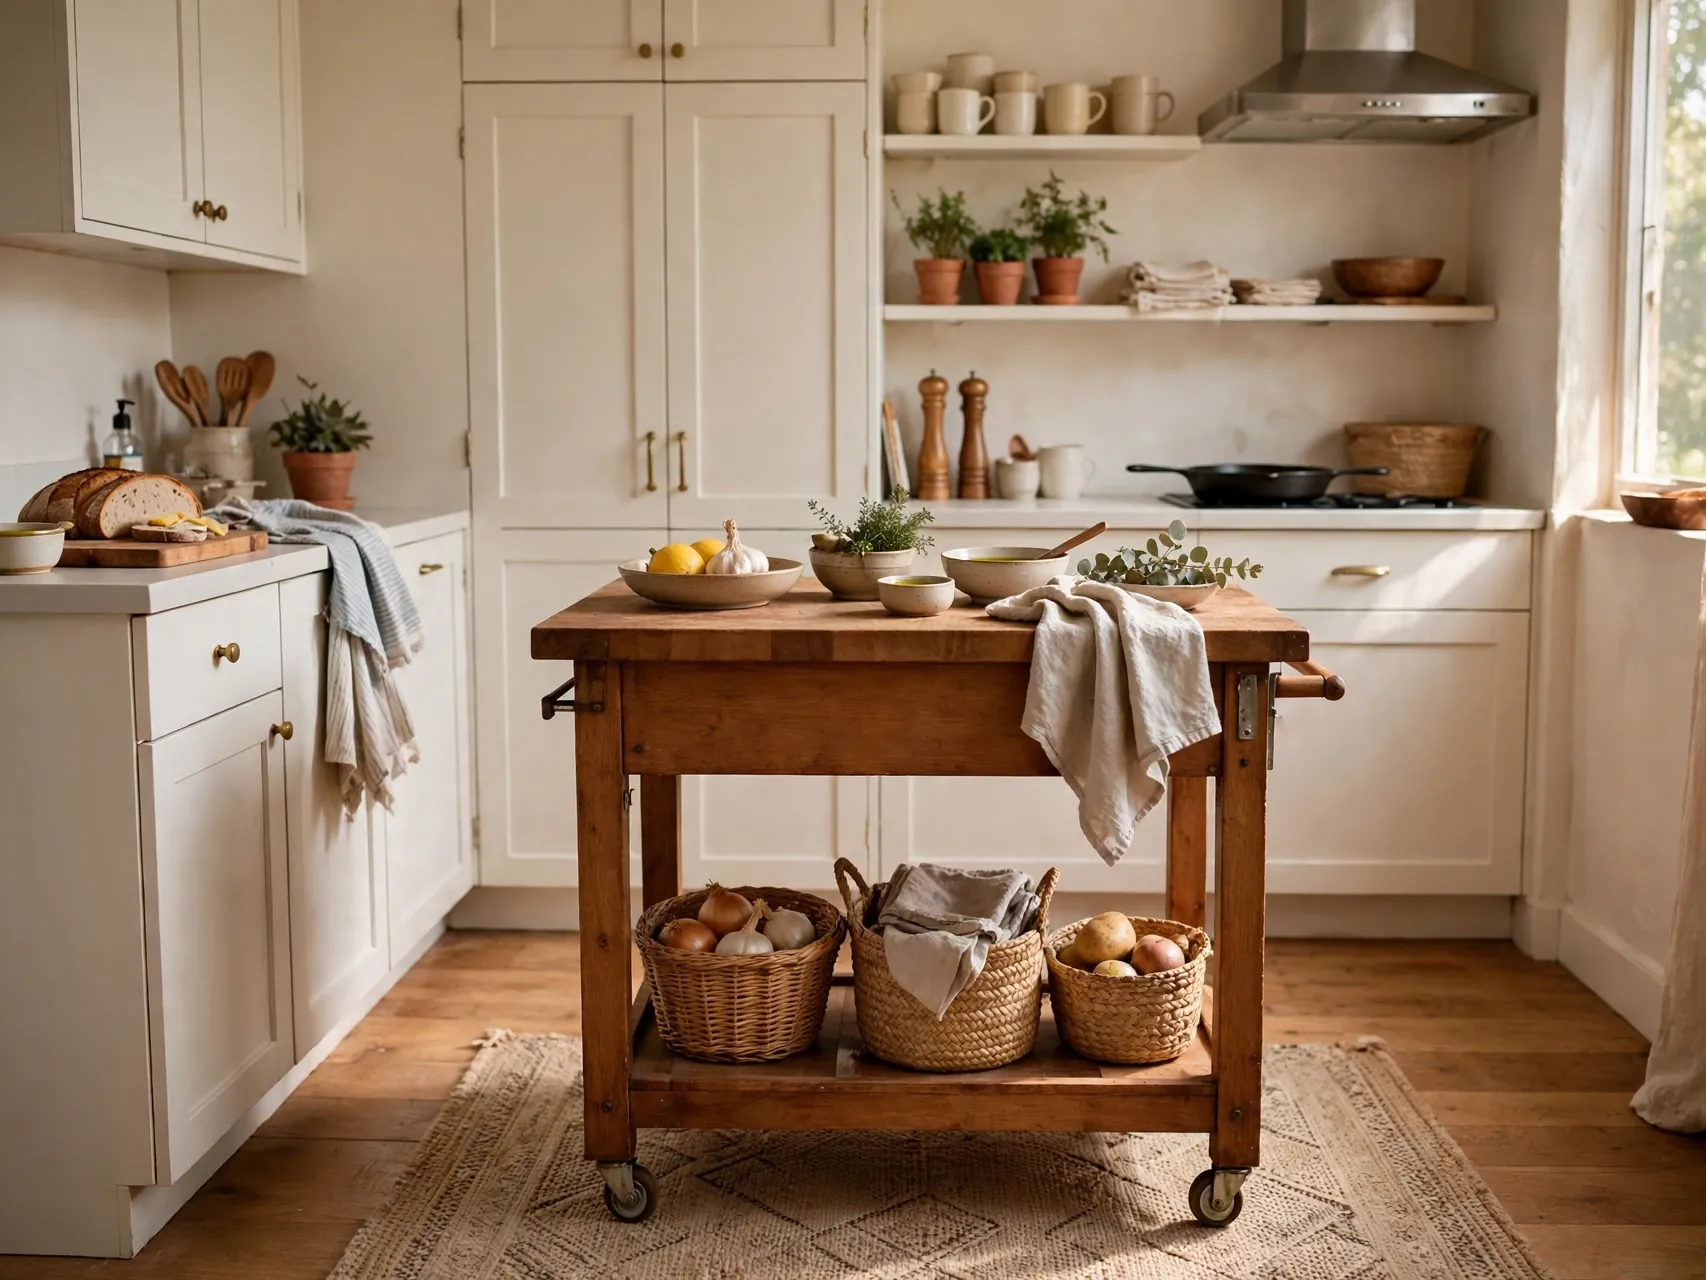
No island, no problem. A rolling kitchen cart adds prep space, storage, and a styled surface for a fraction of built-in cost. Look for a solid top, a lower shelf, and locking wheels so it stays put while you chop.
Park it against a wall when not in use if your kitchen is small. Style the top simply, a board, a bowl, a small plant, and use the shelf for appliances or linens. When you host, the cart becomes a drinks or dessert station. It is a renter safe budget kitchen upgrade idea that moves with you.
Hanging Rail for Utensils and Pans
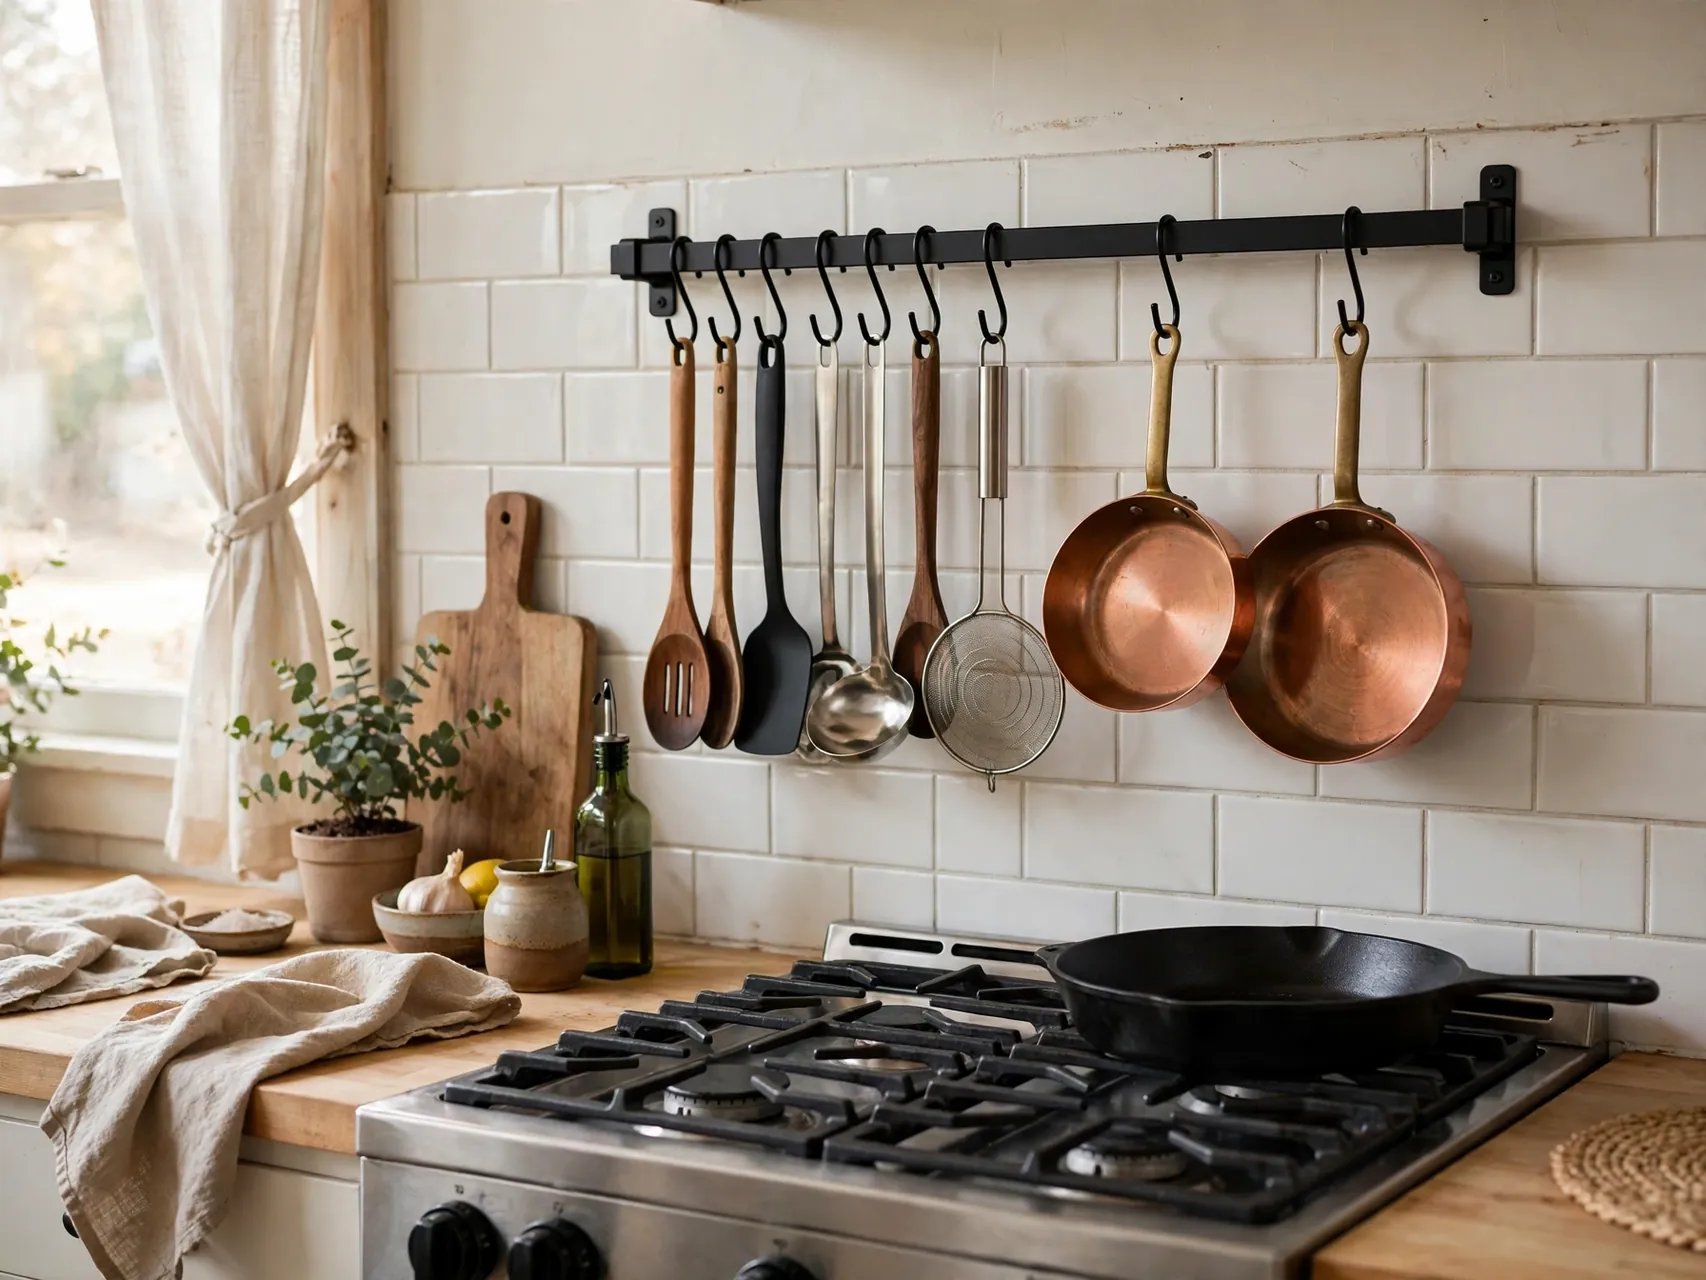
A wall rail with hooks turns storage into display and frees crowded drawers. Mount a rail near the range for utensils and small pans, or above a cart for mugs and measuring tools. Stainless, black, and brass rails all read as intentional design.
Hang only what you use weekly, grouped together so the rail looks curated, not chaotic. This small project costs little, installs in minutes into studs or proper anchors, and adds a professional, working kitchen feel.
Declutter and Restyle the Counters
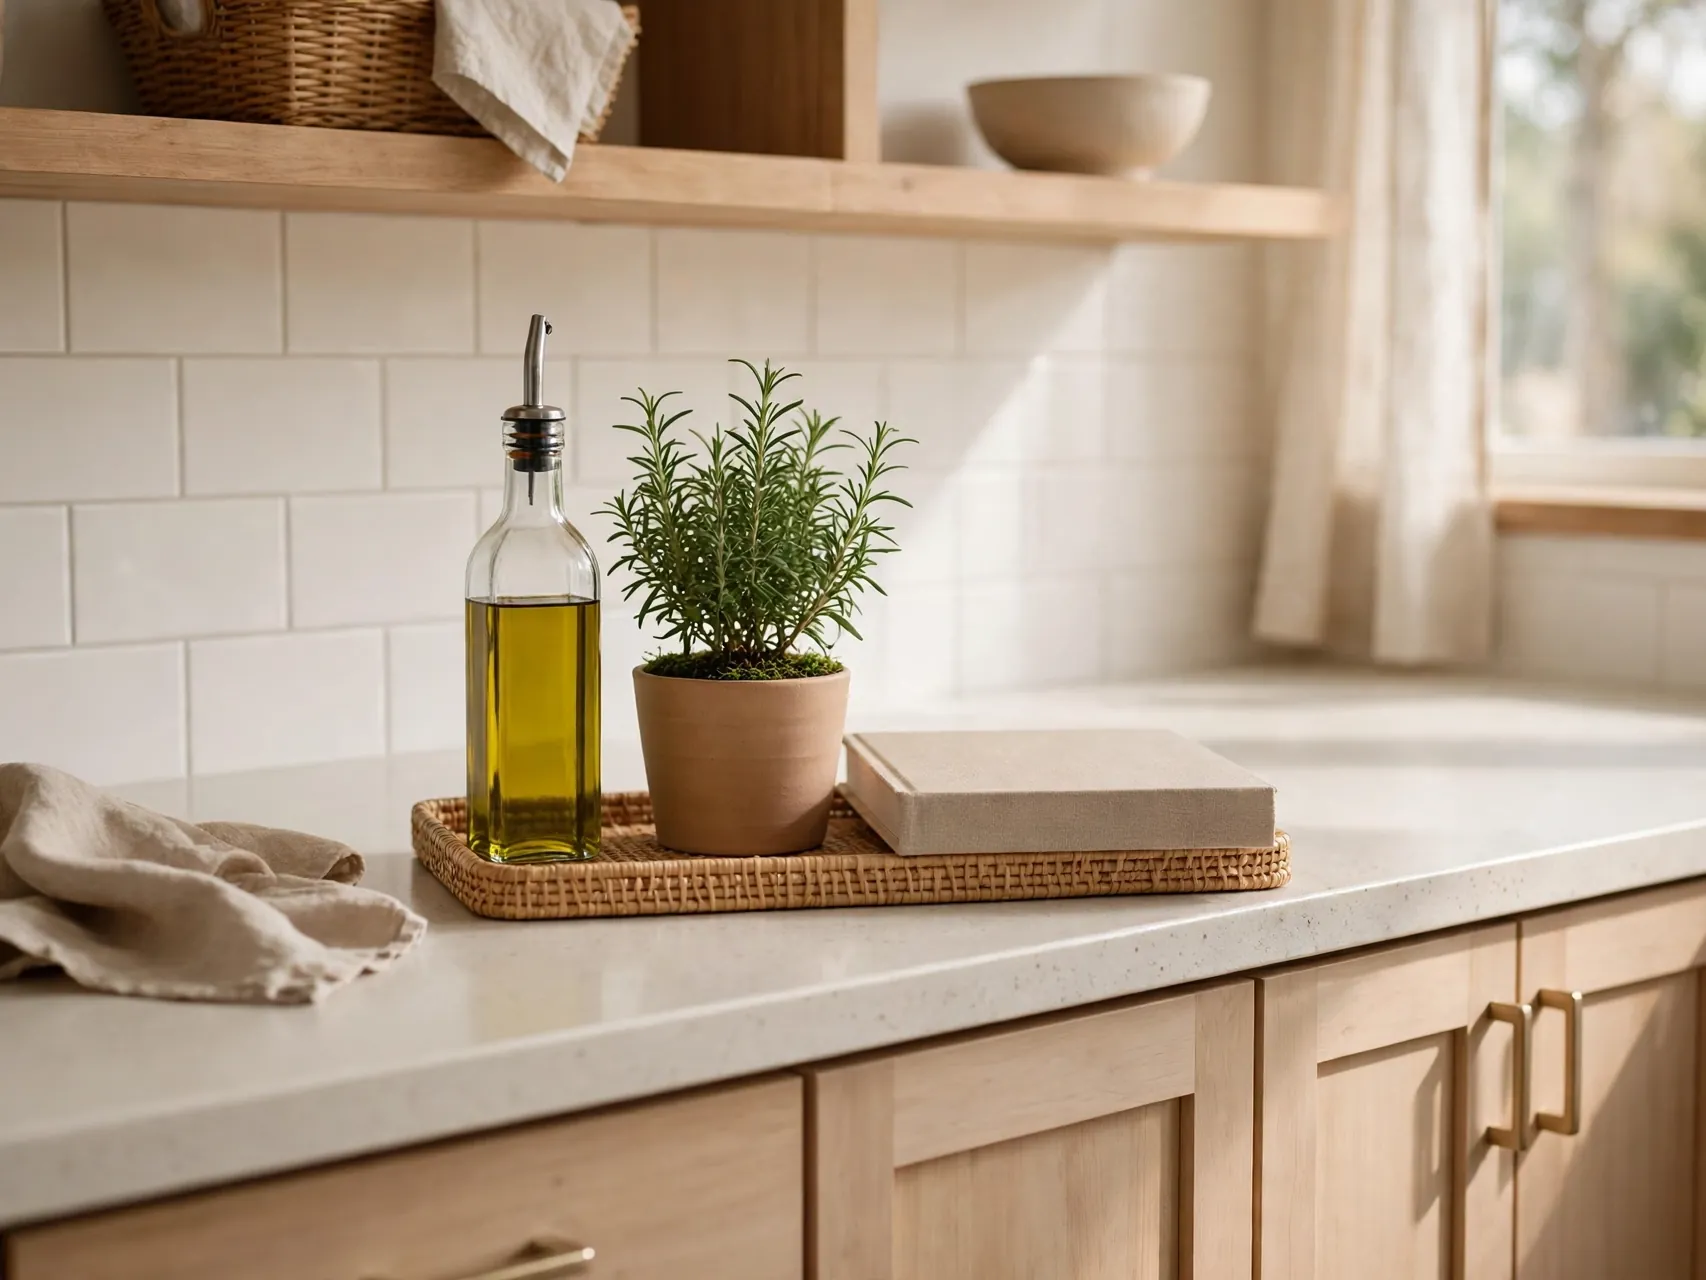
The cheapest upgrade on this list is free. Remove everything from the counters, clean the surfaces, then put back only what you use daily, grouped on a tray or board. Store the rest in cabinets, or donate what you never use at all.
Restyle with intention, a crock of wooden utensils, a small plant, a bowl of fruit, and your coffee setup in one defined zone. Clear counters make every other budget kitchen upgrade you do look twice as good. Photograph the result so you remember what tidy looks like on busy weeks.
Cafe Curtains and a Clean Window
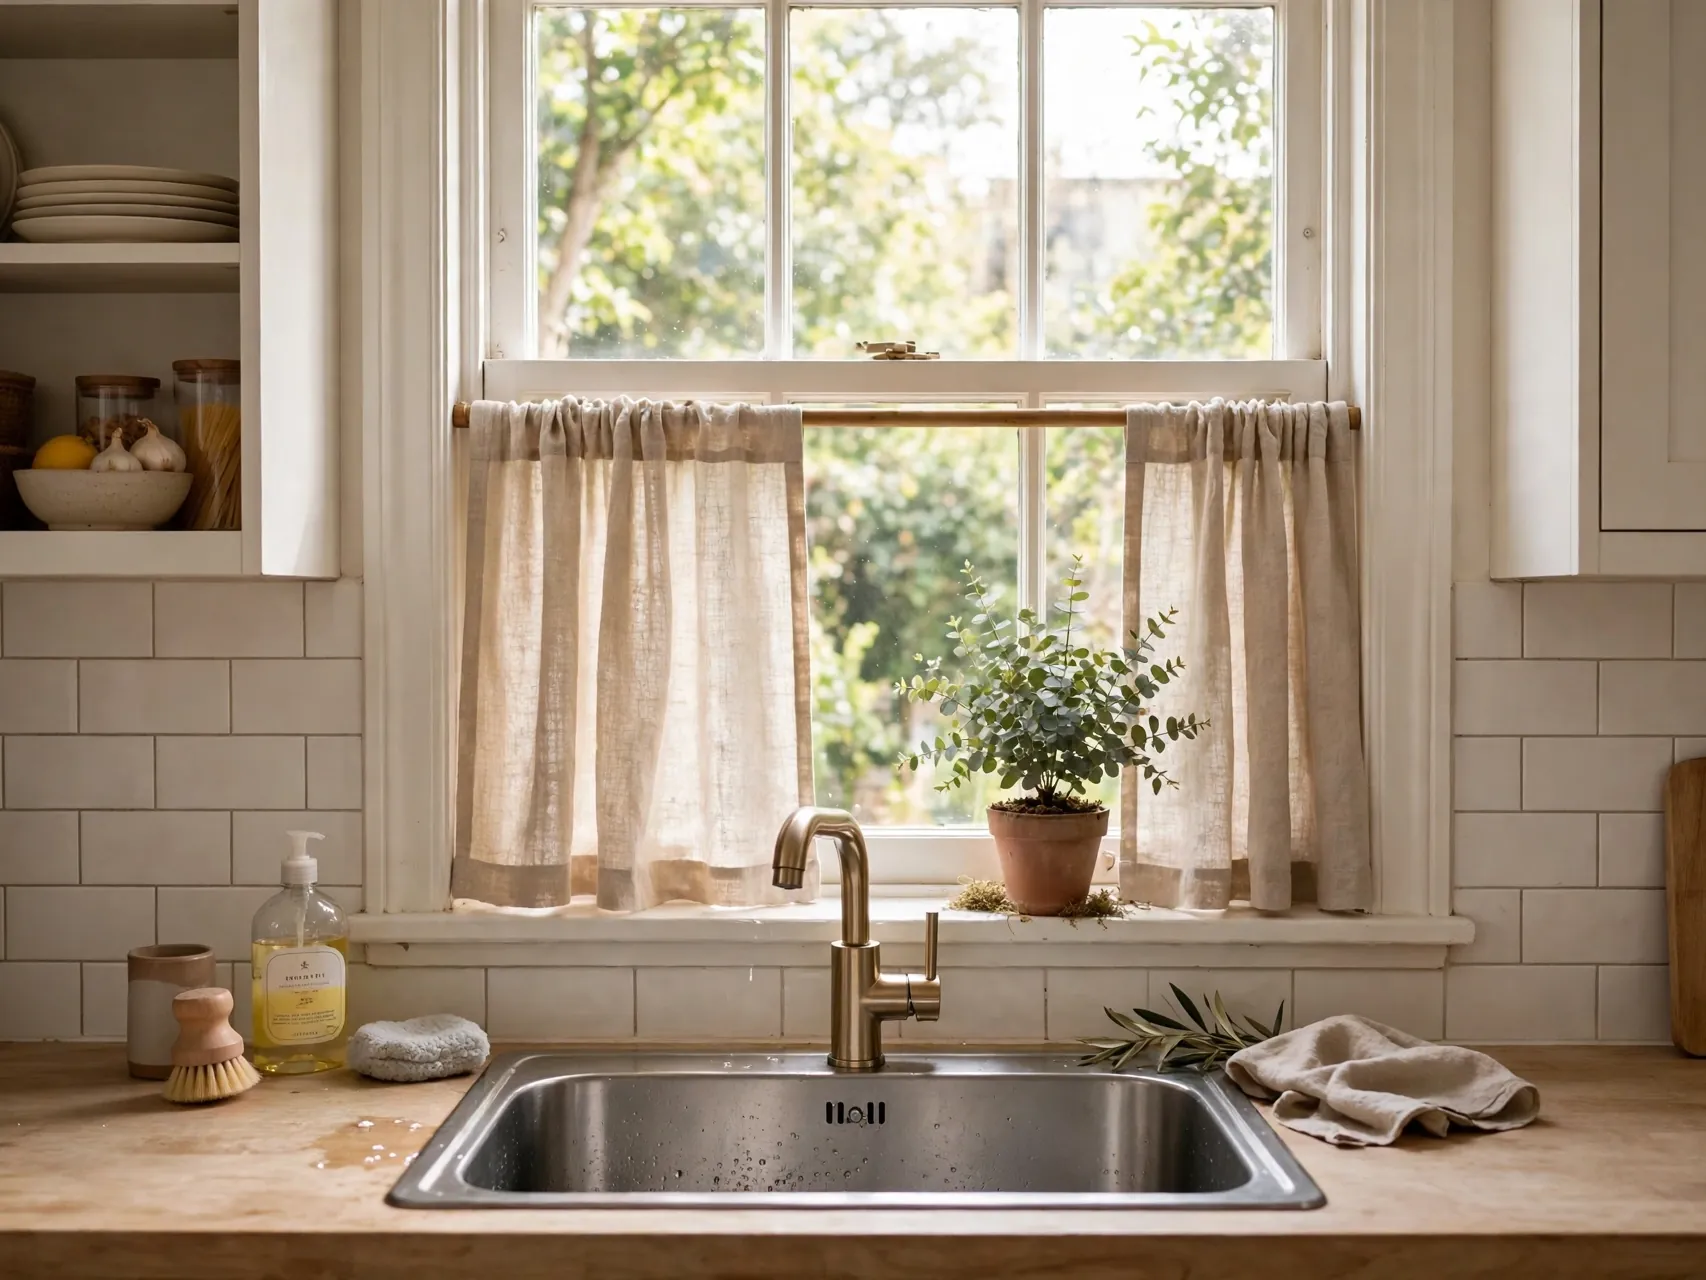
The kitchen window is a natural focal point, and tired blinds drag it down. Cafe curtains, covering the lower half of the window, add softness and privacy while keeping light flowing in. Linen look fabrics feel current and wash easily.
If curtains are not your style, deep clean the window glass, wipe the frame, and add a small potted herb on the sill. Natural light is a free design feature, and maximizing it makes paint colors look better and the room feel bigger.
Swap Outlet Covers and Switch Plates

Yellowed or mismatched outlet covers are tiny eyesores you stop seeing, but guests notice. Replacing covers across the kitchen costs very little and takes minutes with a screwdriver. Clean white or a finish matched to your backsplash makes the walls look freshly finished.
Screwless covers give a sleeker look for a small premium. Always switch off the breaker before removing any cover plate, and never touch wiring, covers only. Save this finishing detail for after painting, when fresh walls deserve fresh plates.
Drawer Liners and Simple Organizers
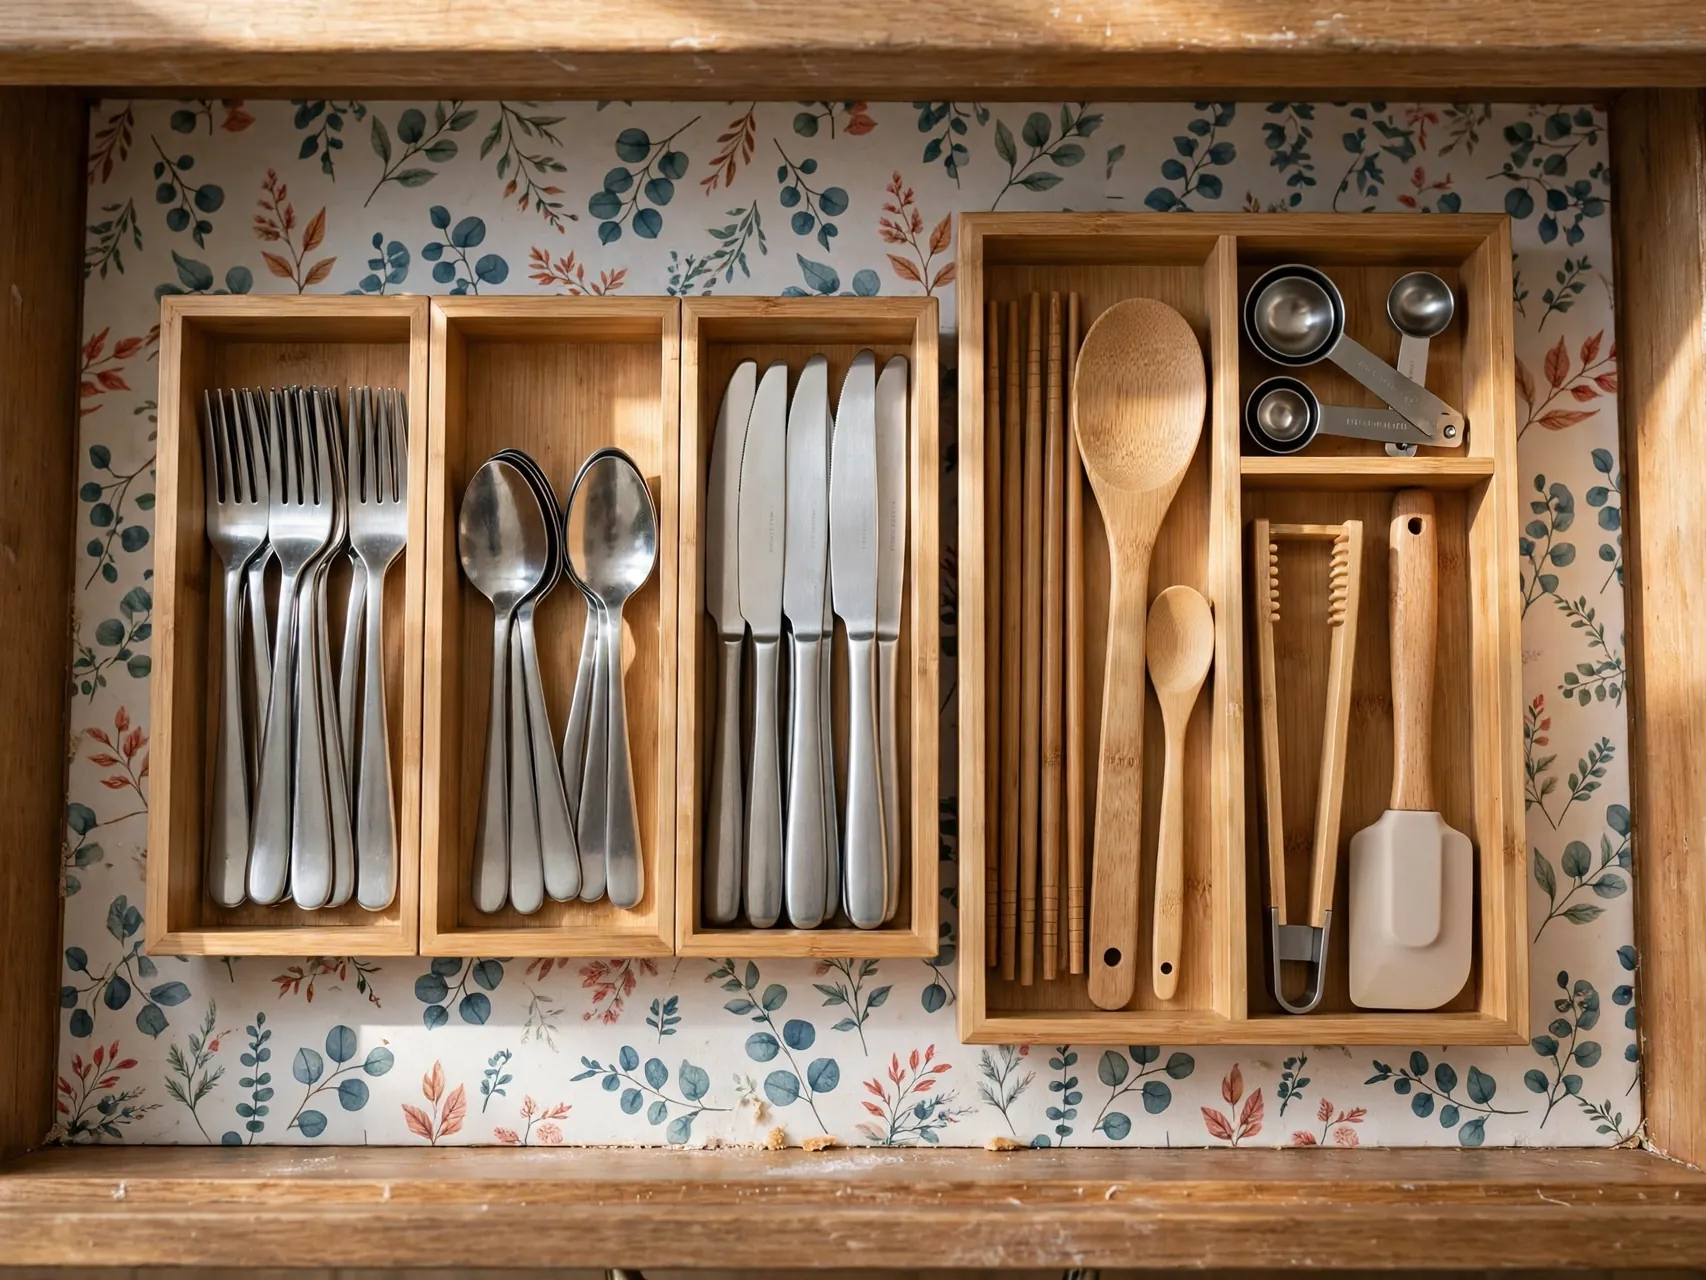
A budget upgrade you feel every day hides inside your drawers. Washable liners, a cutlery tray that actually fits, and a few dividers turn chaotic drawers into calm ones. Measure before buying, since kitchen drawers vary more than you expect.
Add a pull out organizer under the sink, and a vertical divider for baking sheets in one cabinet. None of this shows in photos, yet organized storage keeps counters clear, and clear counters are the visible win.
Refresh Grout With a Grout Pen

Dingy grout makes clean tile look dirty. A grout pen or grout paint refreshes the lines in a backsplash or floor for the price of a takeout lunch, and the before and after difference is dramatic, especially with white subway tile.
Clean the tile first and let it dry fully so the product bonds well. Work slowly, one small section at a time, and wipe excess off the tile faces as you go. It is a cosmetic fix, not a repair for crumbling grout, but as part of a cheap kitchen makeover, bright grout lines make the whole wall look retiled.
Peel and Stick Floor Tiles
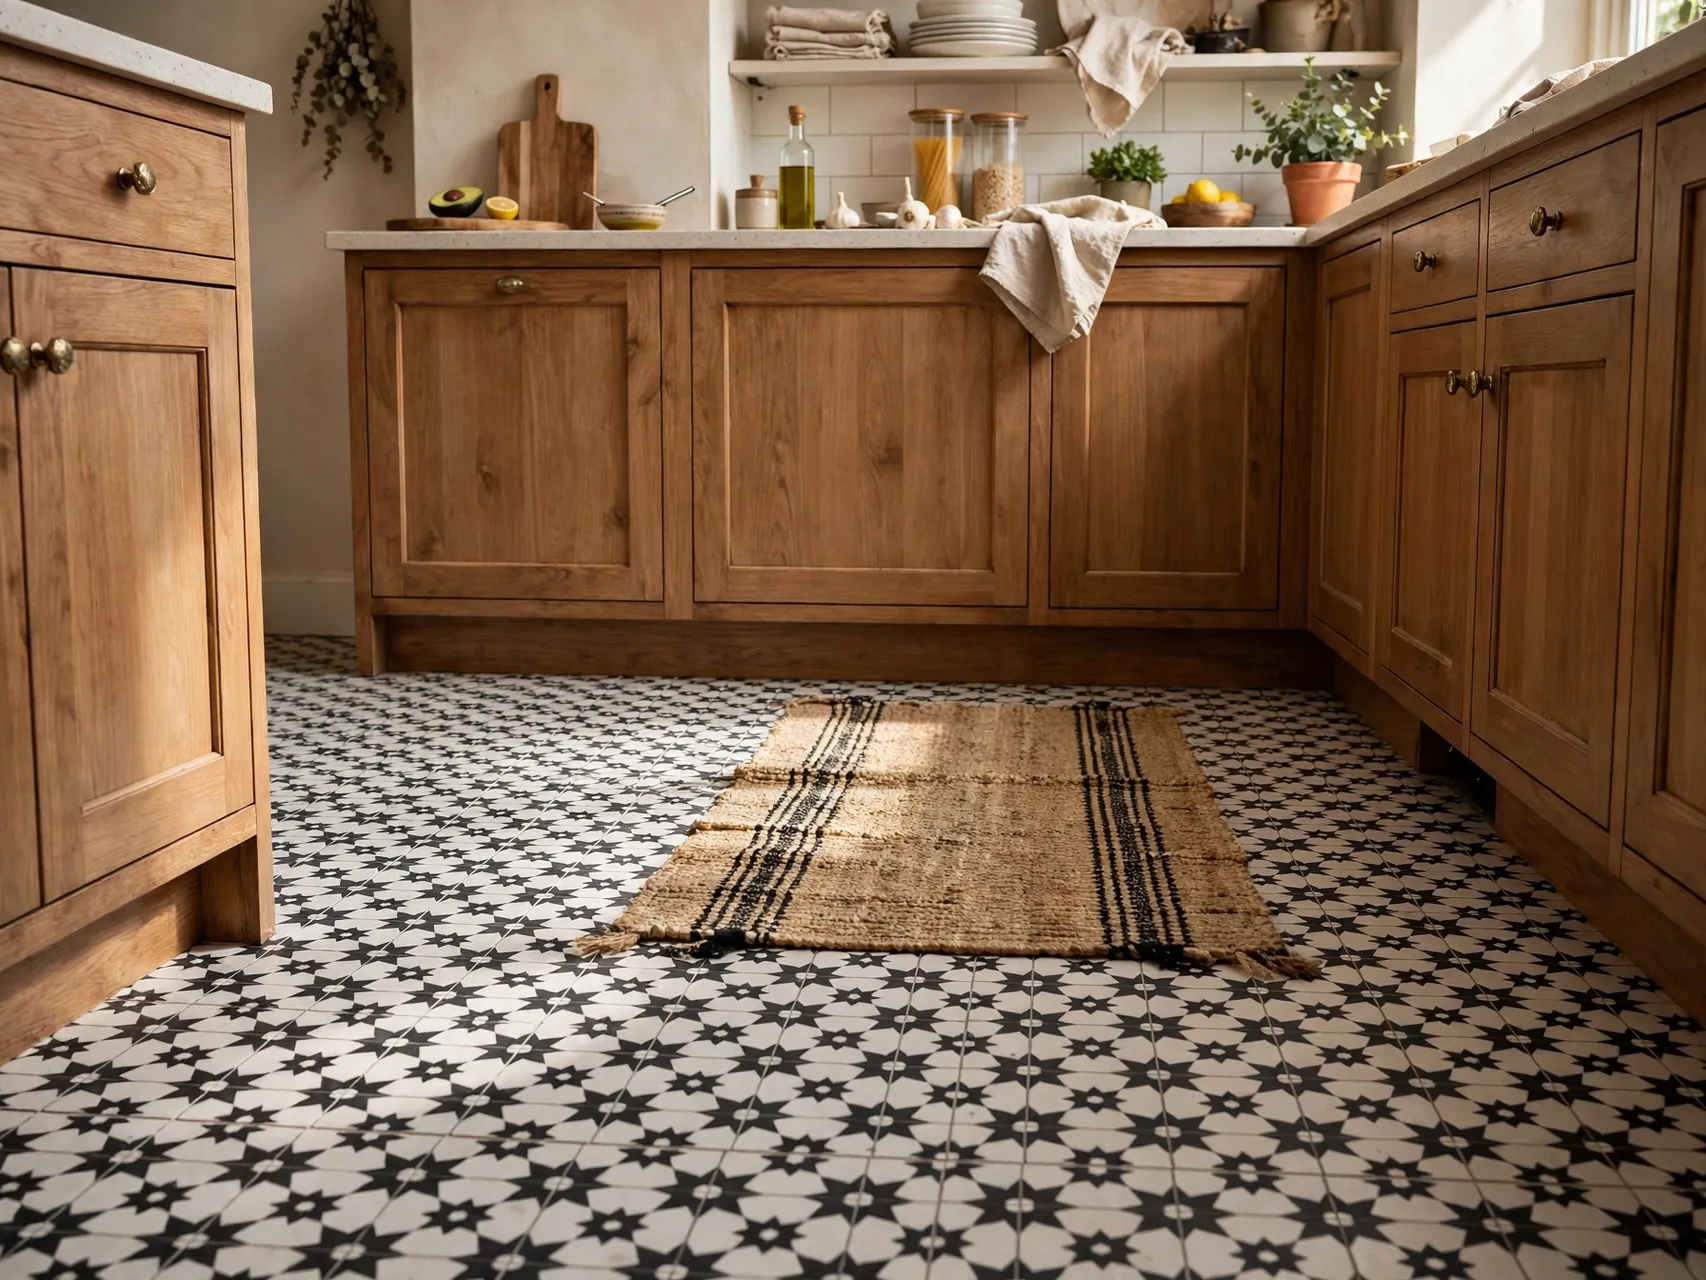
Peel and stick floor tiles can cover tired vinyl or linoleum in a day, with patterns from checkerboard to stone looks. They are a popular renter cautious option and far cheaper than new flooring. A small kitchen might need only a few boxes.
Success depends on prep, a clean, smooth, dry floor and time for the adhesive to set. Keep extra tiles for future repairs. Schedule this bigger project after painting, and enjoy how new floors make old cabinets look better by association.
Replace a Dated Light Fixture

One dated ceiling fixture can hold a whole kitchen in the past. Swapping it for a simple semi flush mount, a small pendant over the sink, or a track light is often a kitchen upgrade under $100 if you choose a budget friendly fixture.
Turn off power at the breaker and follow the fixture instructions carefully, or hire an electrician for anything beyond a like for like swap. Choose warm LED bulbs for a welcoming glow. Good light makes every other upgrade, paint, tile, counters, look its best, so do not leave lighting for last if your current fixture is grim.
Runner Rug for Warmth and Color
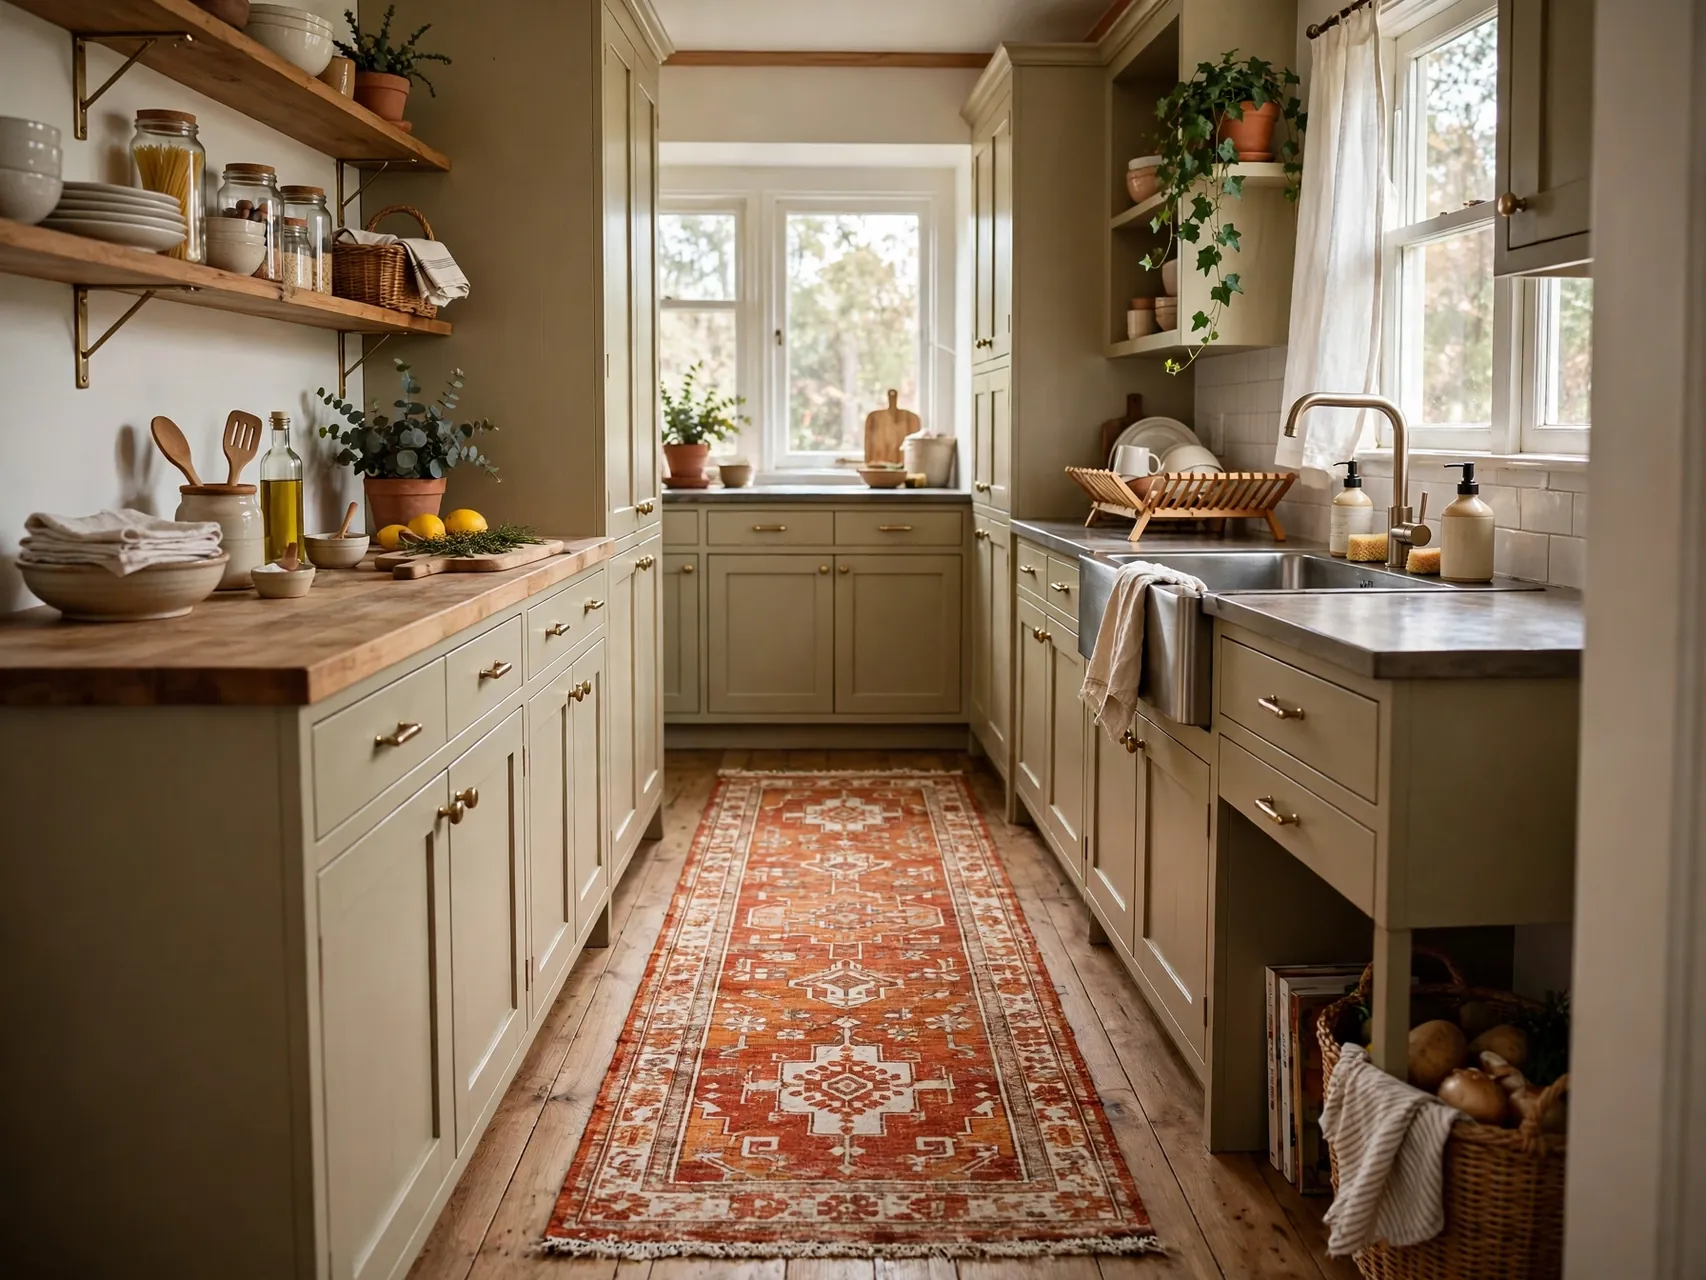
A washable runner between the sink and range adds color, softens hard floors, and catches drips where they happen most. Flat weave and low pile styles stay put and clean easily. Indoor outdoor runners are a practical pick for busy households.
Choose a pattern that hides small spills gracefully and colors that echo your cabinets or towels. A rug pad underneath stops sliding and adds cushion for long cooking sessions. This is pure styling with a practical core, and it is one of the fastest ways to make a plain kitchen feel decorated rather than merely functional.
Shaker Style Trim on Plain Cabinets
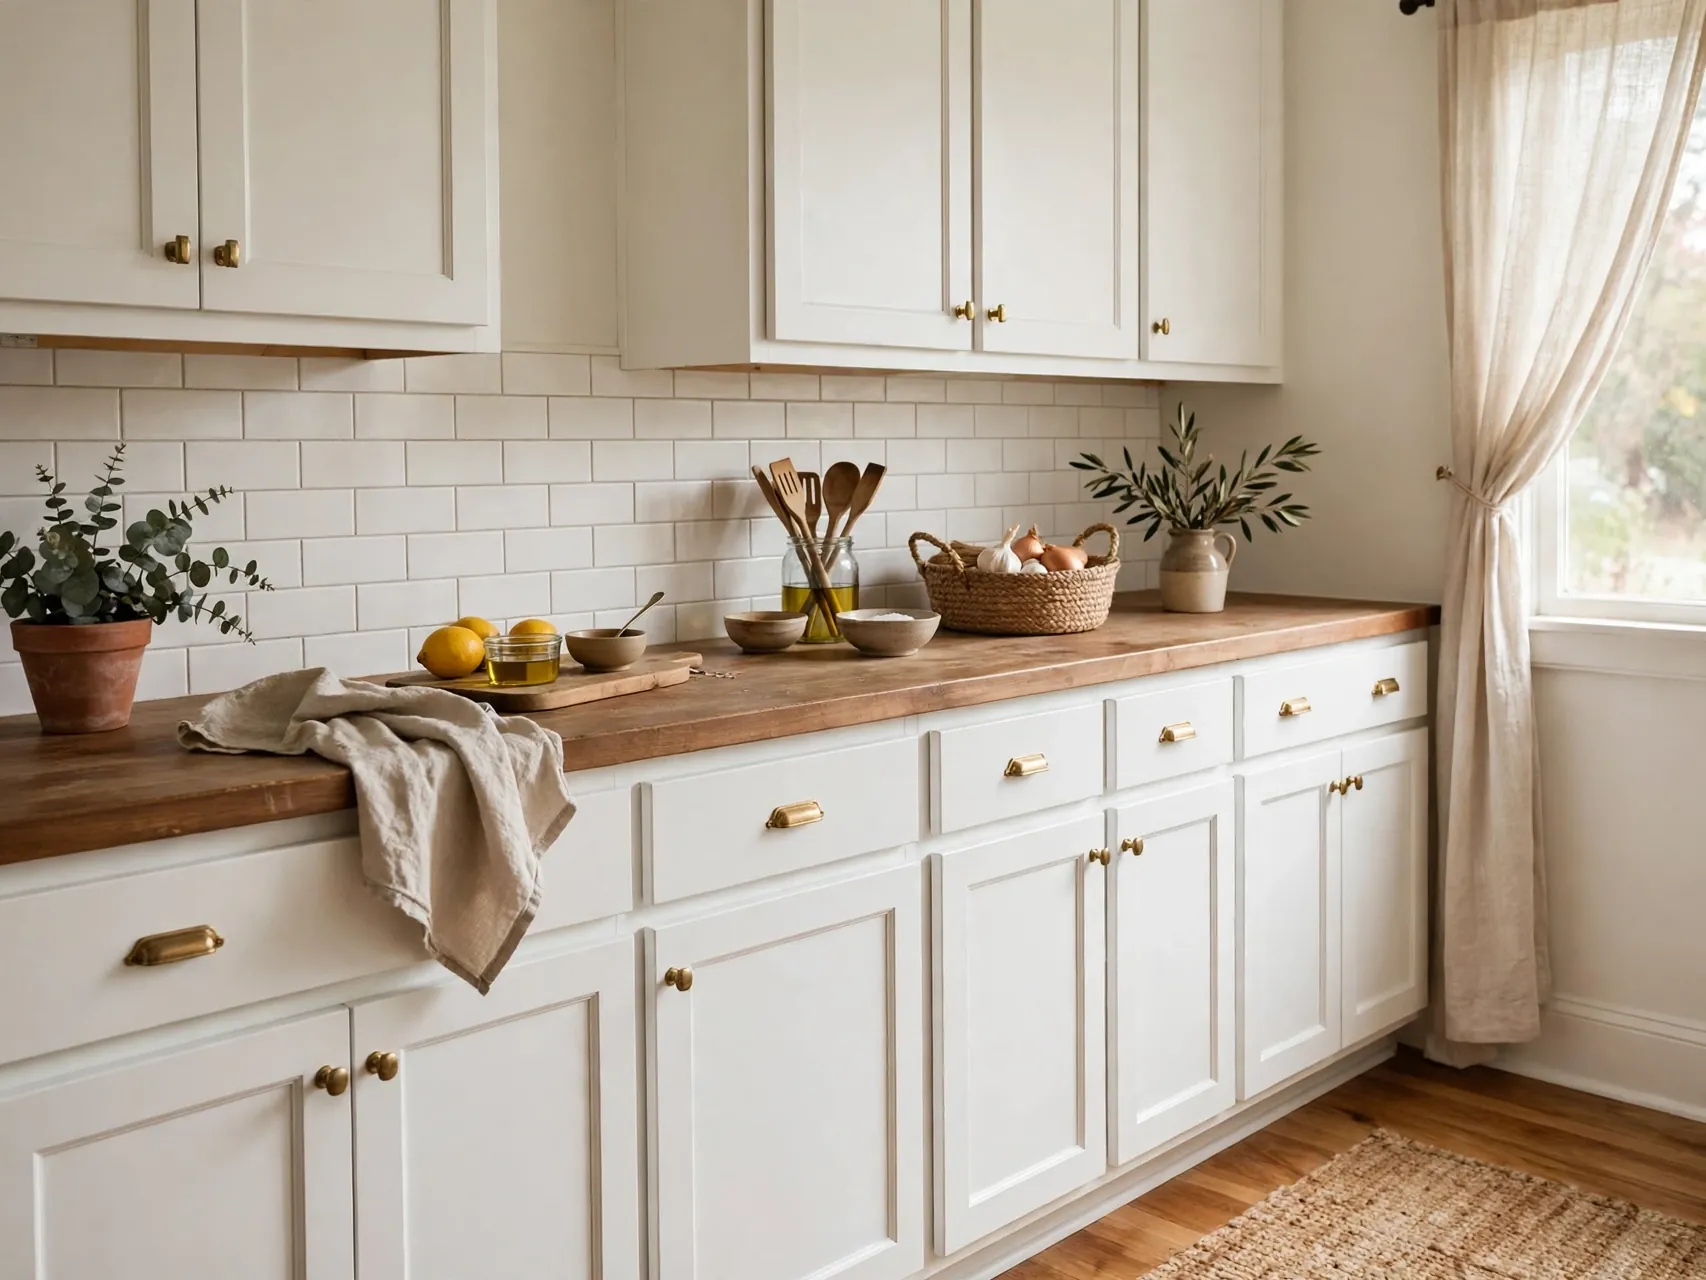
Flat front cabinets can gain a shaker look with thin trim pieces applied to the door faces, then painted to match. The added frame creates shadow lines that read as craftsmanship. It is a patient person's project, best tested on one door first.
Use lightweight wood or MDF strips, wood glue, and fine nails, and fill seams before painting. The cost per door is low, so the total stays friendly even for a full kitchen. Combined with paint and new hardware, this trick delivers some of the most convincing budget kitchen upgrade ideas for plain builder cabinets.
Sink Accessories That Look Intentional
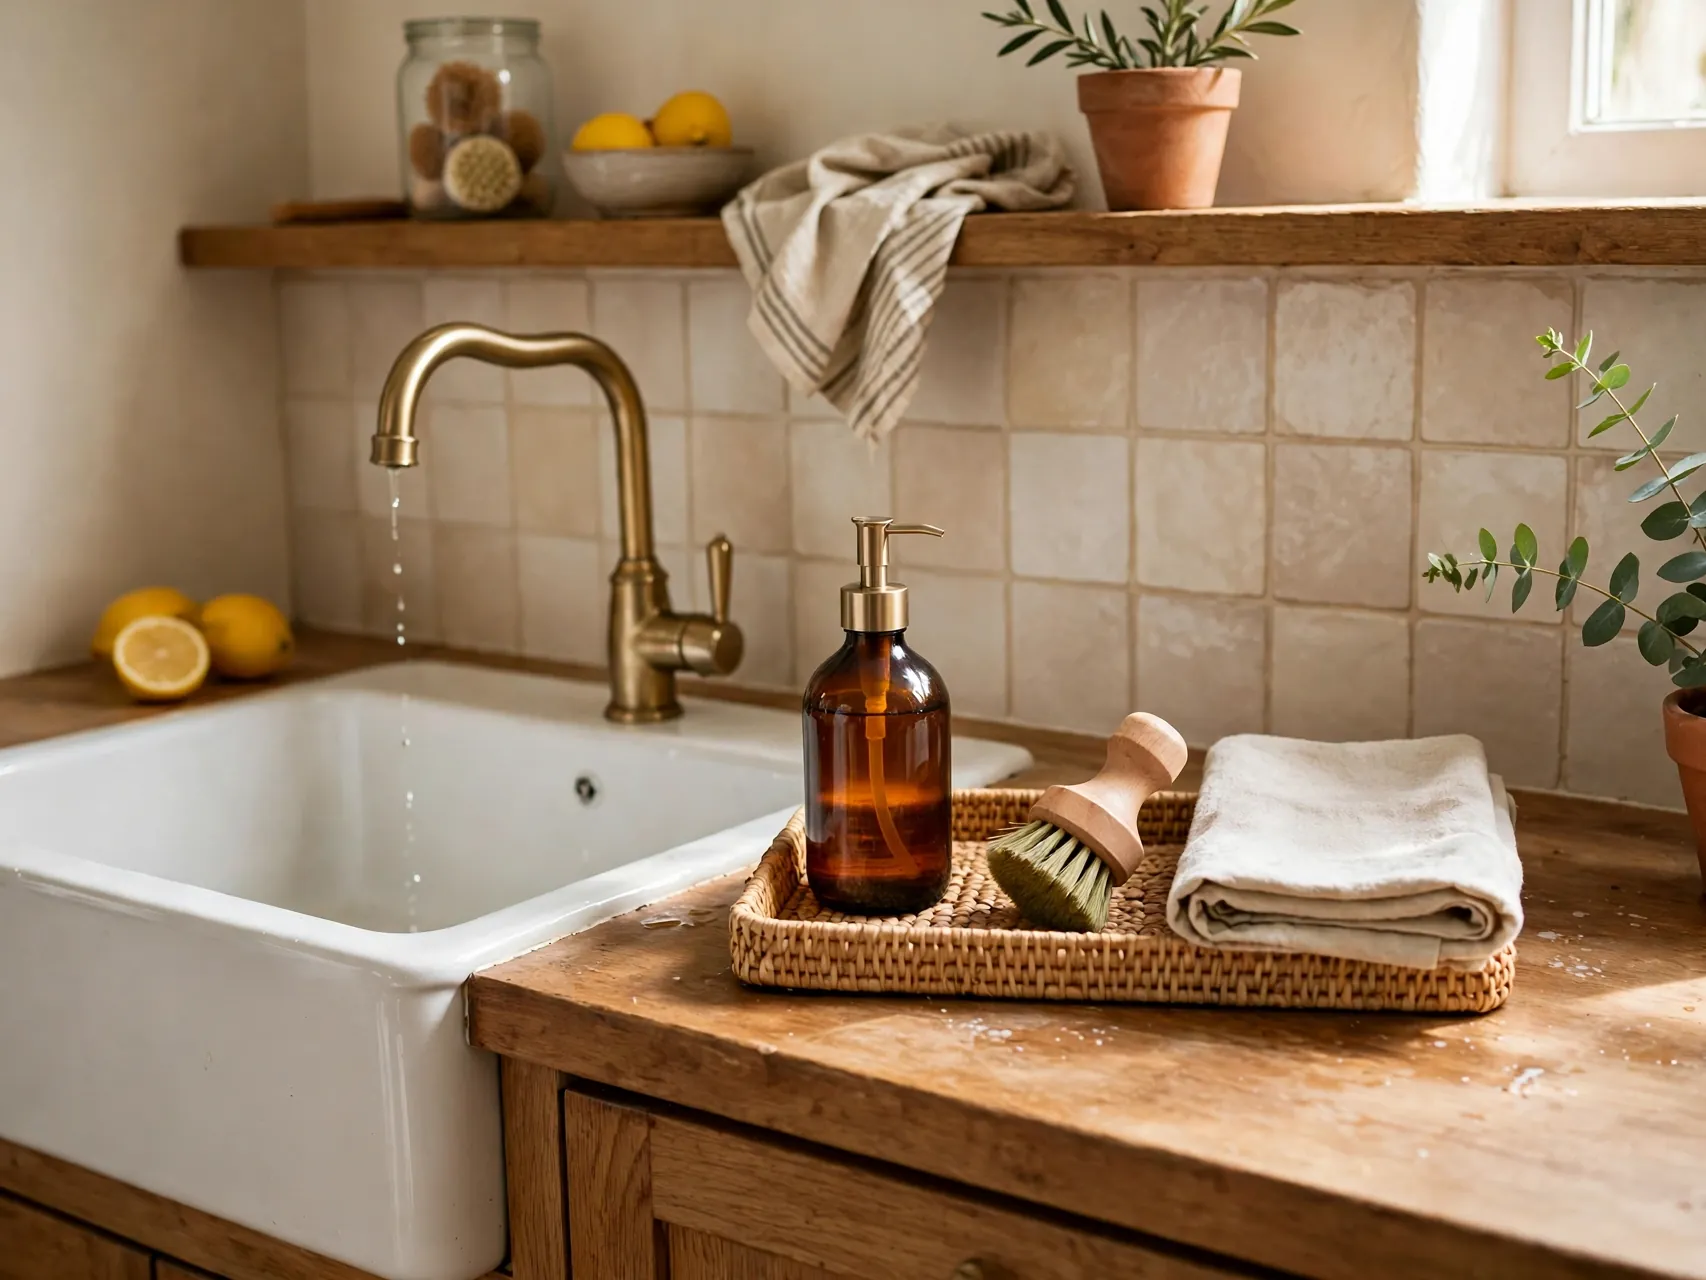
The sink area is on display all day, so upgrade its small cast. A matching soap dispenser, a simple dish brush in a crock, a folded linen towel on a hook, and a wooden board across one corner of the sink tidy the whole zone.
Remove plastic bottles and worn sponges from view, and store refills under the sink. This micro makeover costs very little and takes ten minutes, yet visitors read a styled sink area as a sign the entire kitchen is cared for.
Pull-Out Trash Cabinet Kit
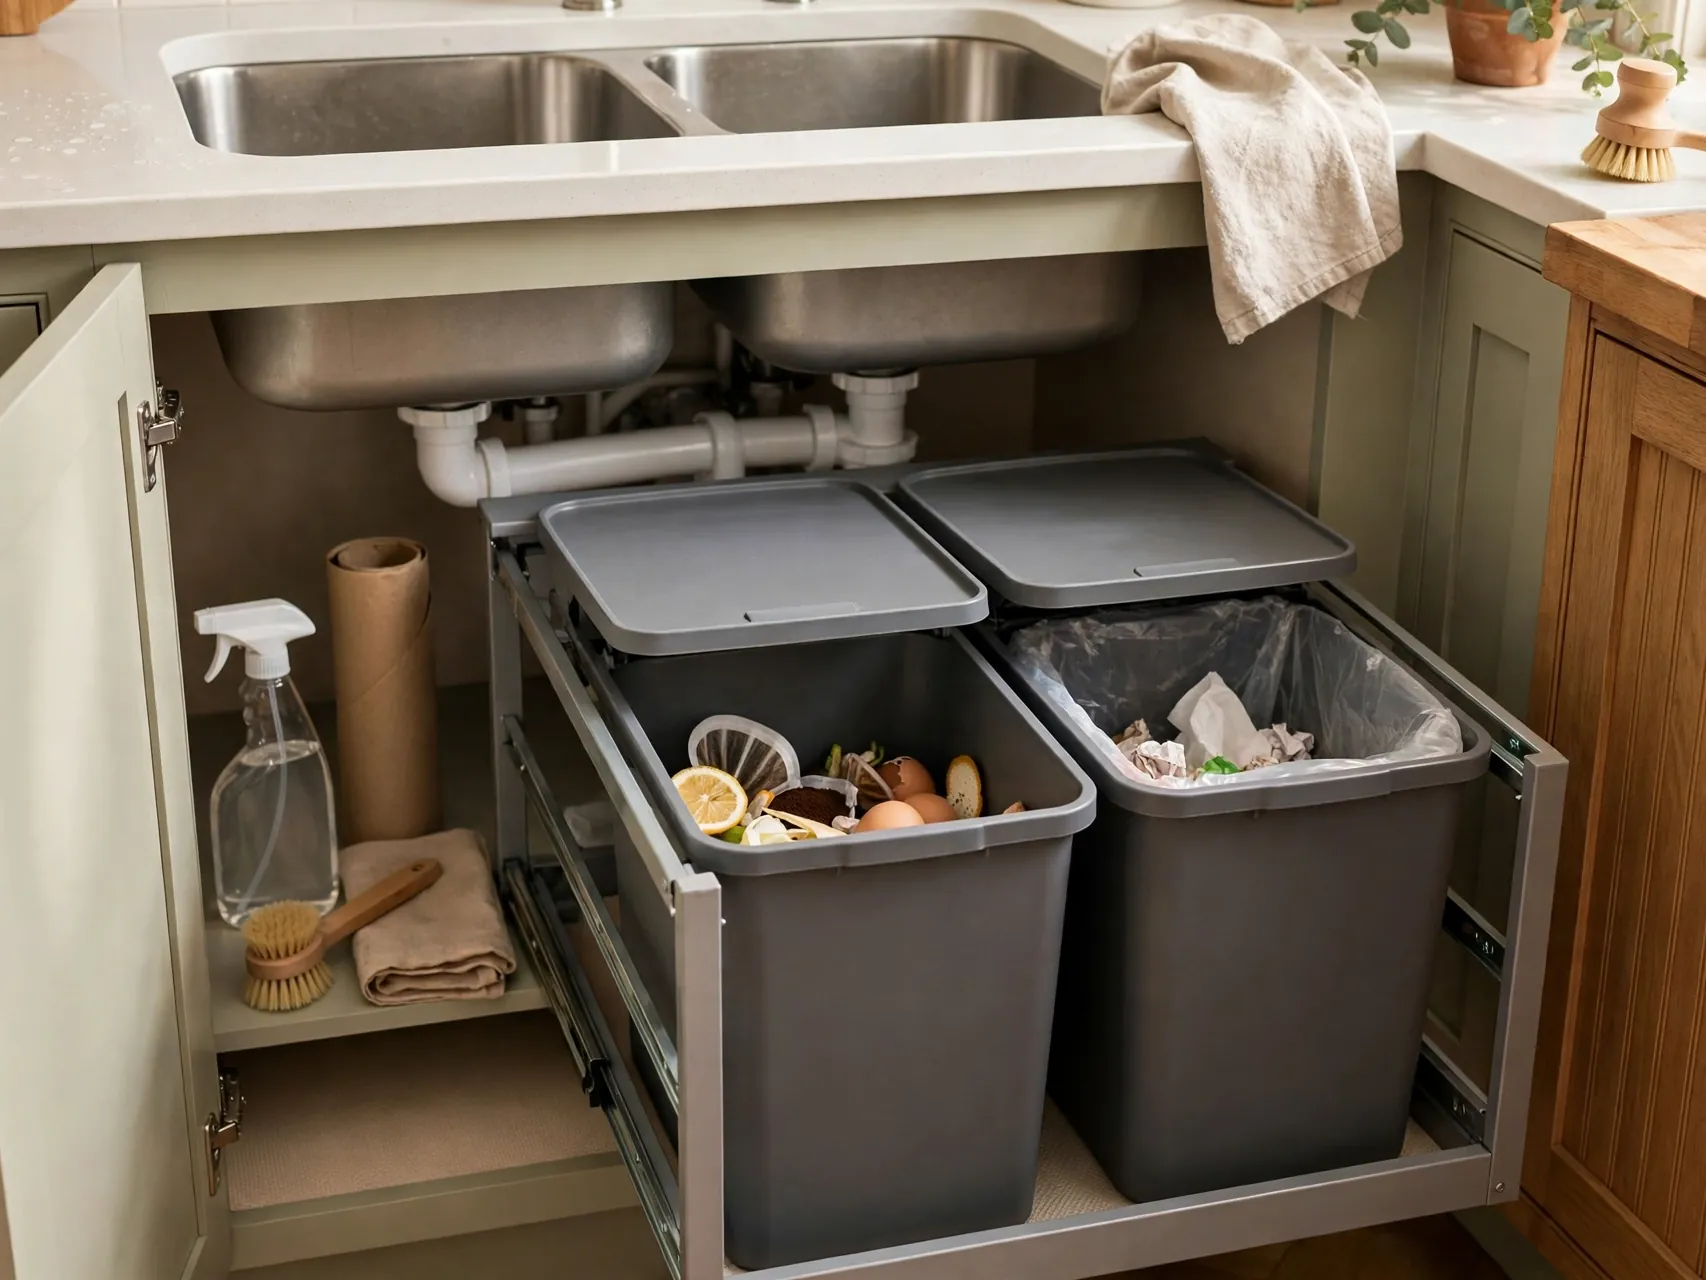
Loose trash cans eat floor space and collect grime. A pull out trash kit fitted inside an existing base cabinet hides bins behind a door and often costs less than a nice freestanding can. Measure your cabinet interior carefully before ordering.
Many kits screw to the cabinet floor and use the existing door. Soft close slides are worth the small premium if available. Freeing the floor instantly makes the kitchen feel larger and cleaner, and guests stop asking where the trash goes. It is a functional budget kitchen upgrade you will appreciate every single day.
Coffee or Breakfast Station Corner
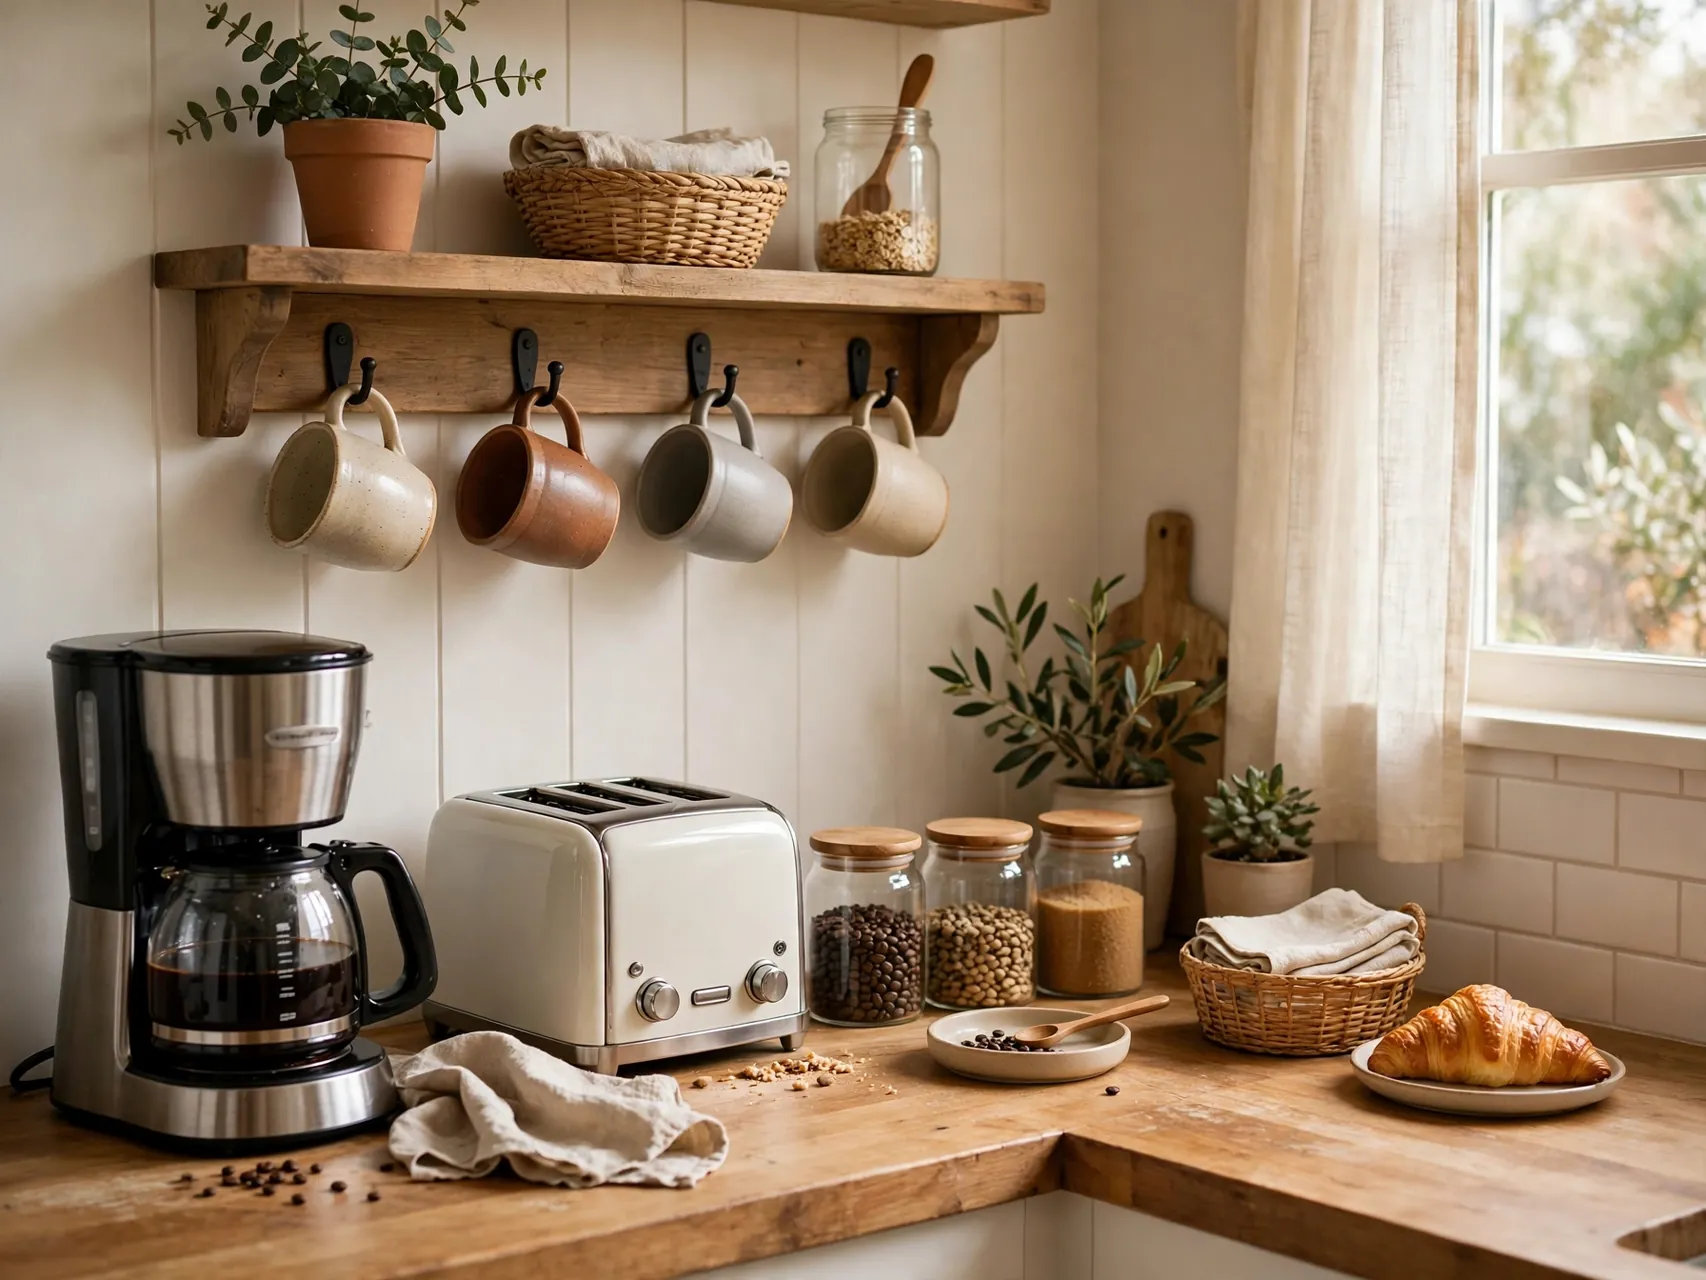
Gathering your coffee maker, mugs, and supplies onto one tray in one corner clears scattered clutter and creates a charming focal point. A small shelf above holds canisters and cups. The station can live on a counter, a cart, or a spare stretch of wall with a narrow console.
This idea costs almost nothing if you use what you own, and it makes mornings smoother because everything is in one place. Style it lightly, one small plant or framed print is enough. Dedicated zones like this are how small kitchens feel organized without any construction at all.
Paint the Island or One Accent Section
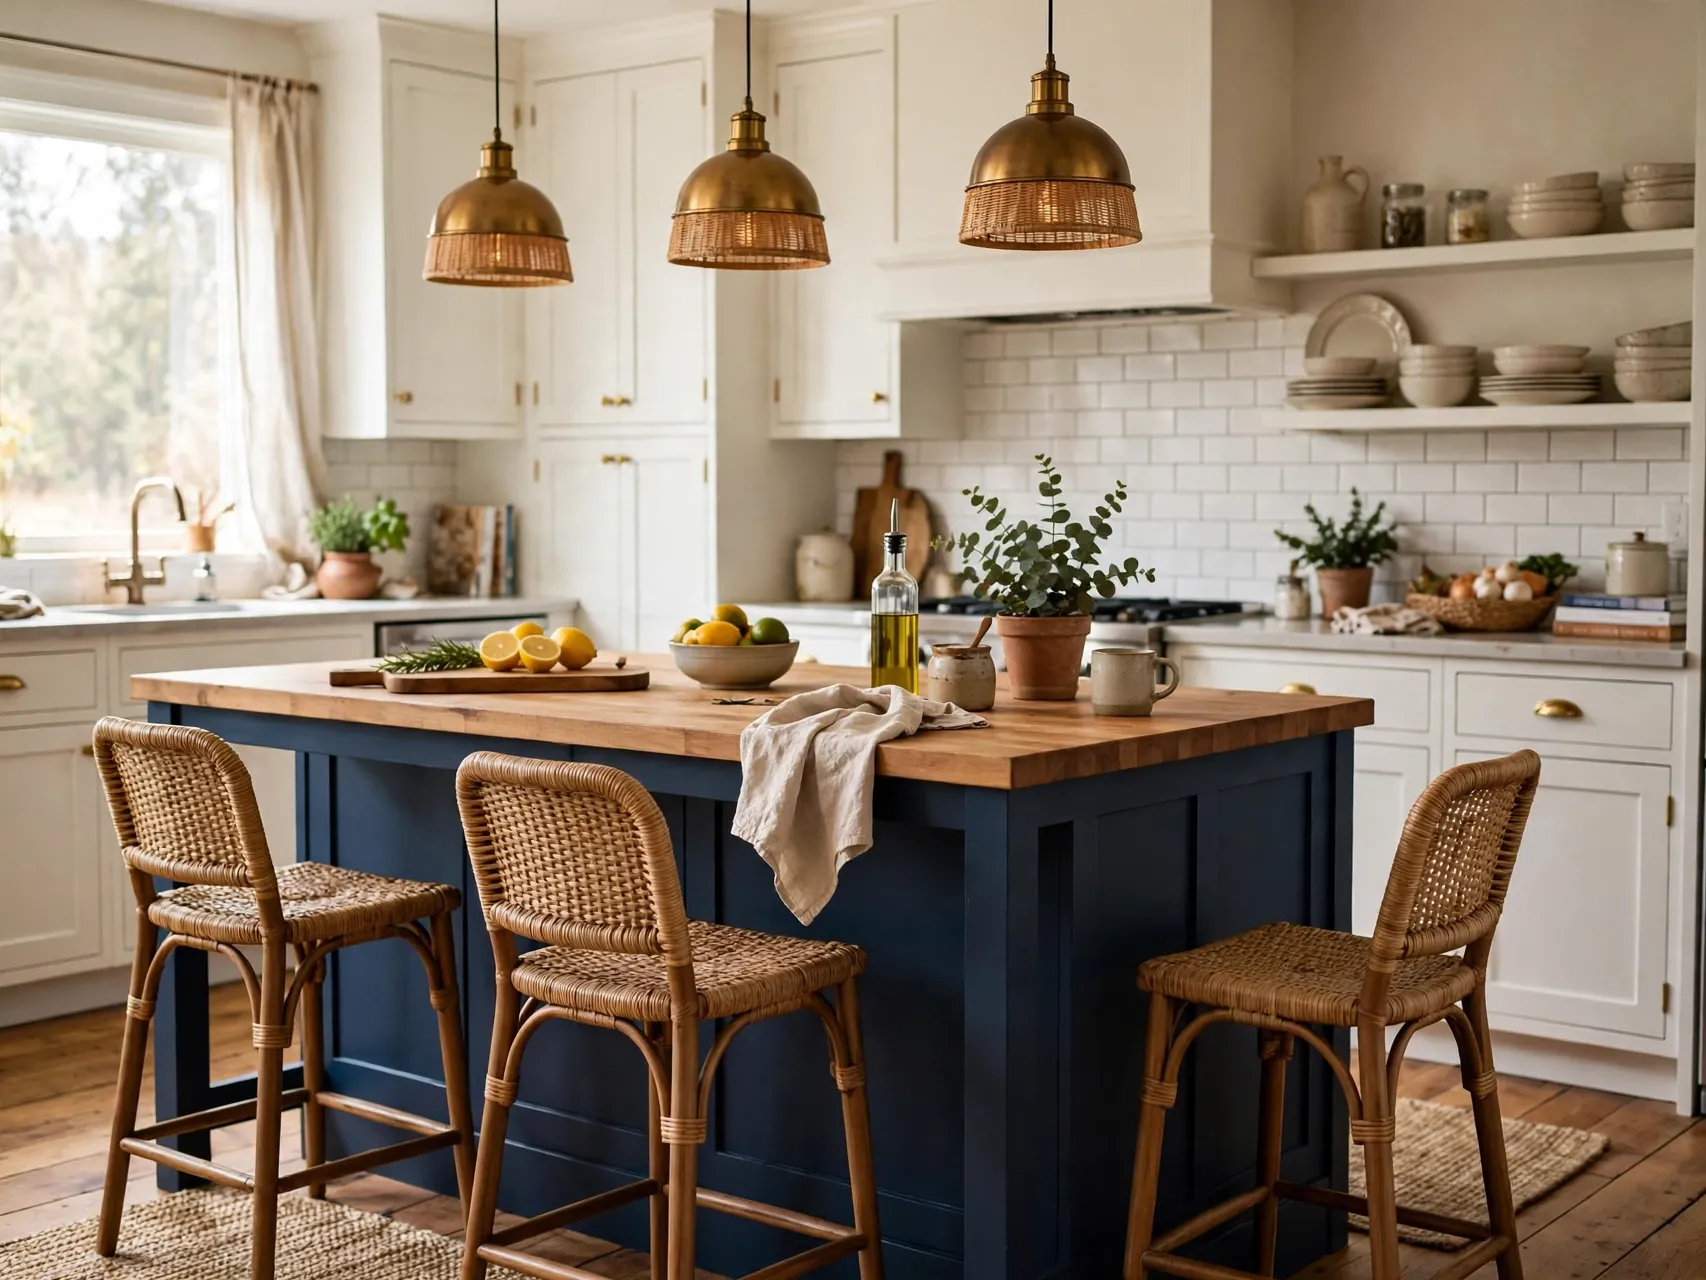
If painting every cabinet feels overwhelming, paint just the island or one bank of cabinets in a contrasting color. A deep green, navy, or black island against light perimeter cabinets looks like a custom design decision.
This approach uses far less paint and time, and it is easy to change later. Repeat the accent color in stools, a runner, or towels to tie it together. In an all white kitchen, one painted section provides the depth the room was missing. It is a smart halfway step inside a phased budget kitchen upgrade plan.
Secondhand Stools and a Vintage Pendant
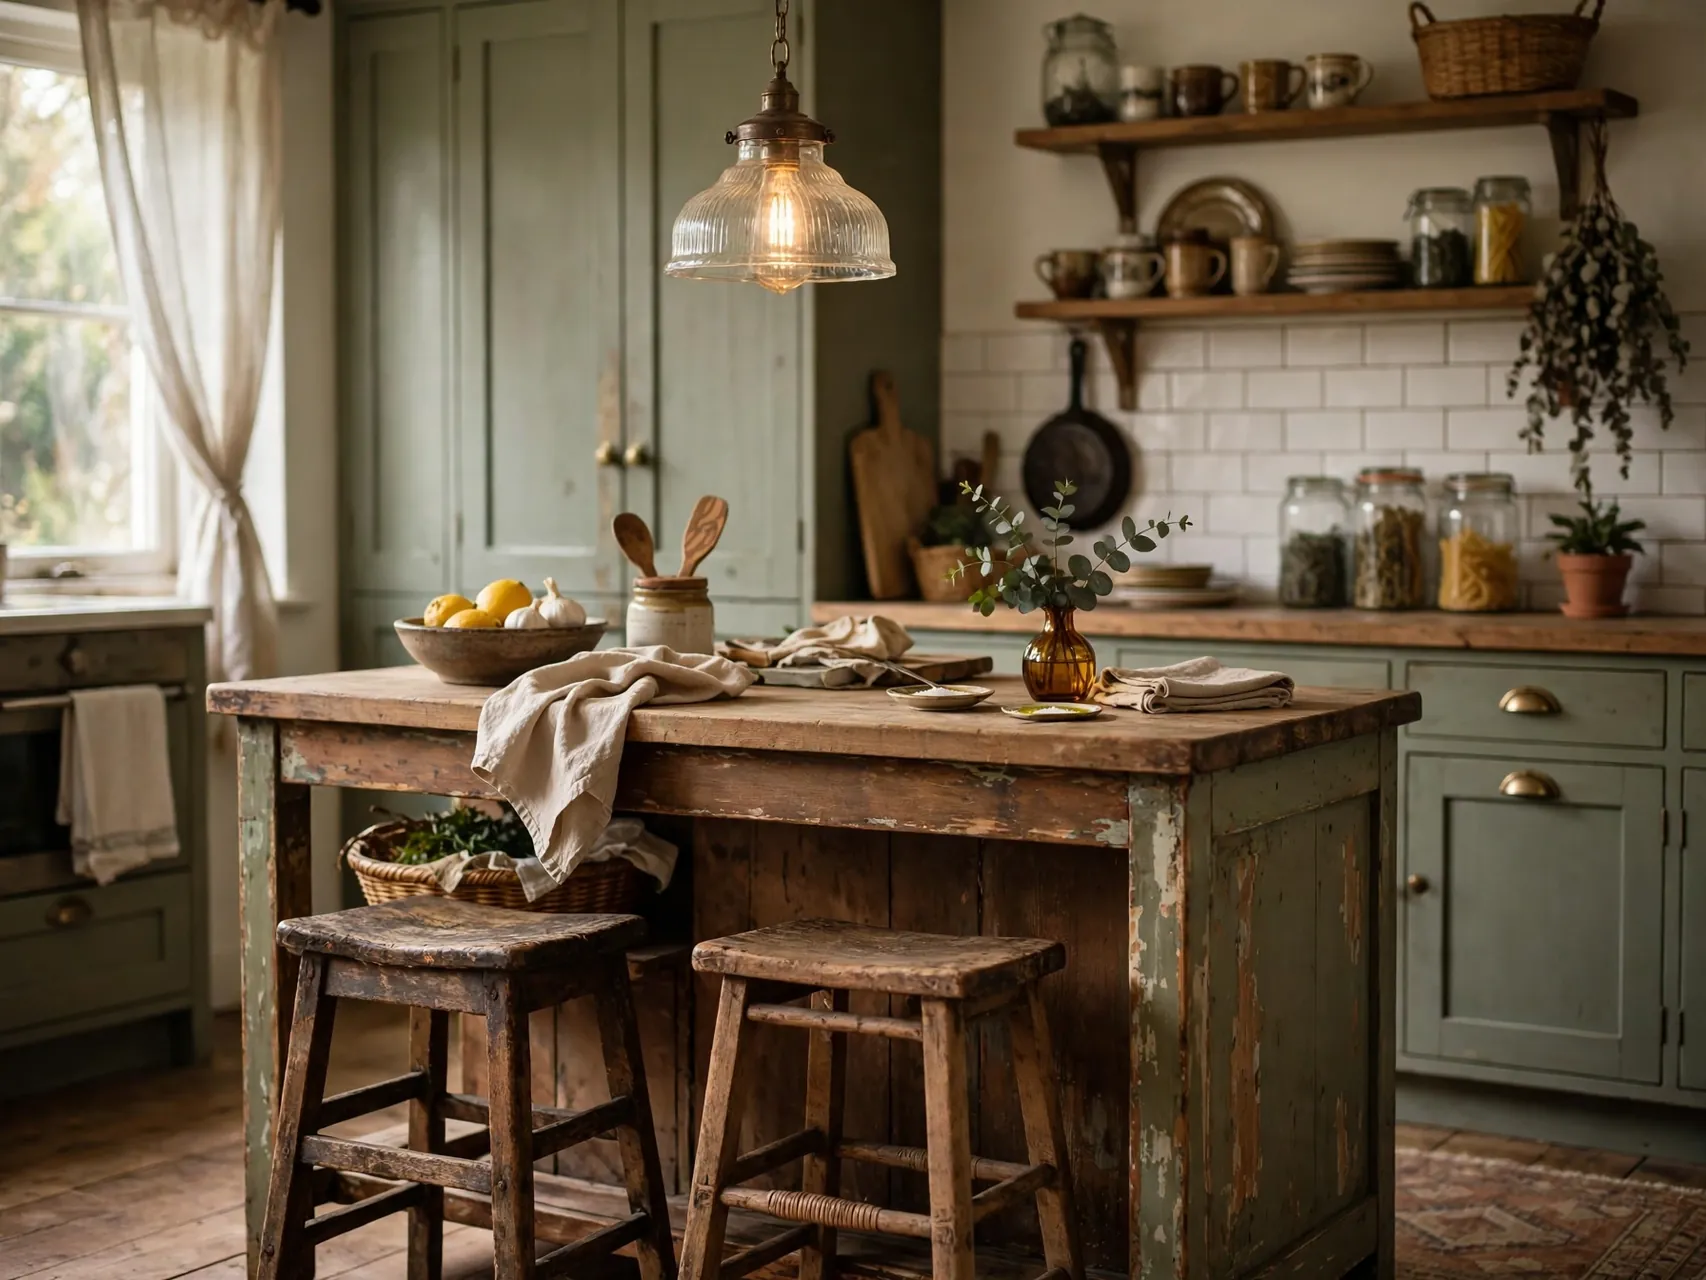
Thrift stores, estate sales, and local marketplaces are full of solid wood stools, unique pendants, and sturdy small furniture at low prices. A pair of mismatched stools painted the same color looks like a deliberate set.
Check seating height against your counter before buying, since counter height stools are shorter than bar height. Clean and tighten secondhand pieces, and have vintage lighting checked by a professional if needed. The savings can fund your paint and tile.
Deep Clean and Polish Everything
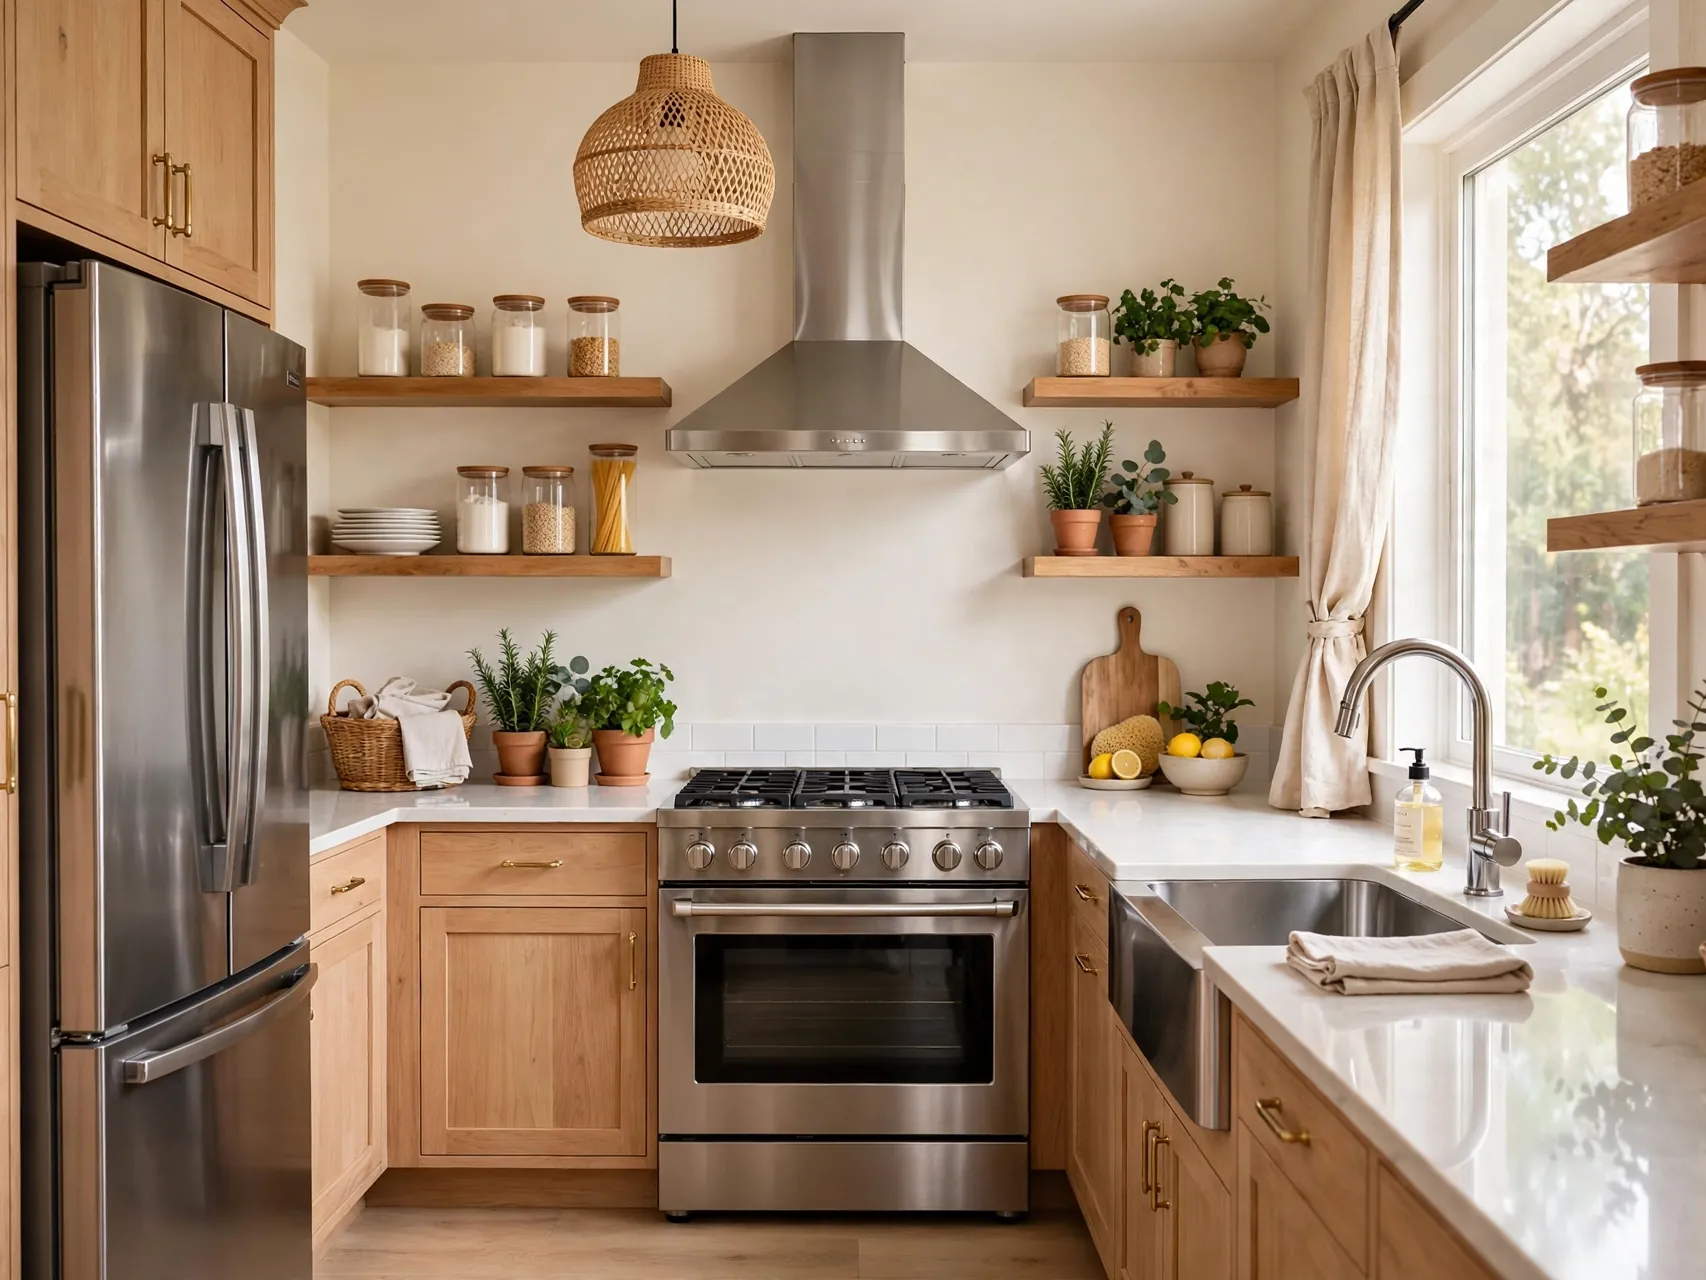
End, or begin, with the free reset. Degrease cabinet fronts, polish the faucet and hardware, clean the window, deslime the sink edges, and wipe the tops of cabinets and the hood. Kitchens collect a film of cooking grease that dulls every surface.
Work top to bottom with a degreasing cleaner, rinse well, and dry surfaces so they shine. Clean glass on the oven door and light fixtures too. A truly clean kitchen often looks like it had a small renovation. Repeat this deep clean seasonally, and every budget kitchen upgrade you have made will keep looking new.
FAQ
What is the cheapest kitchen upgrade with the biggest impact?
Paint, hardware, and decluttering, in that order. Painting cabinets or walls changes the largest visible surfaces, new hardware updates every door at once, and clearing counters costs nothing. Together, those three moves can transform a kitchen for a few hundred dollars in materials and a couple of weekends of work.
Can I upgrade a kitchen for under $500?
Yes, if you focus on cosmetic projects and do the labor yourself. A realistic under $500 plan might include cabinet or wall paint, new hardware, under cabinet lighting, peel and stick backsplash for a small area, and fresh textiles. Skip counters and appliances at this budget and the result still feels dramatic.
Which upgrades are best for renters?
Choose fully reversible projects, peel and stick tile and flooring rated for easy removal, hardware swaps using existing holes, plug in lighting, a rolling cart, cafe curtains, and styling. Keep the original hardware and fixtures in a labeled box so you can restore everything when you move out.
In what order should I do budget kitchen upgrades?
Start with the free deep clean and declutter, then paint cabinets and walls, then hardware and lighting, then backsplash and counters, and finish with styling details like rugs, curtains, and sink accessories. This order avoids damaging finished work and lets each step make the next one look better.
Do budget upgrades add value to a home?
A clean, updated looking kitchen helps a home show well and can make a strong first impression on buyers. Cosmetic upgrades rarely return their full cost on paper, but they are far cheaper than a renovation and can help a listing feel cared for. Focus on neutral, durable choices if resale is your main goal.
Key Takeaways
- Paint and light first: Cabinets, walls, and layered LED lighting change the most visible surfaces for the least money.
- Hardware is a multiplier: One consistent finish across pulls, faucet, and fixtures makes the whole kitchen look planned.
- Use temporary fixes honestly: Peel and stick tile, contact paper, and paint kits buy time and style while you save for permanent work.
- Free upgrades count: Decluttering, organizing drawers, and a deep clean make every paid project look twice as good.
- Finish in phases: Complete three projects fully before starting more, and keep a simple budget note so costs stay in control.
- Pin it for later: Save this list to your kitchen board on Pinterest and check off one upgrade each weekend.