20 Easter Crafts for Kids That Are Simple and Adorable
Introduction
A good kids craft table needs three things: supplies you already have, steps a small child can actually do, and a finished piece cute enough to display. These easter crafts for kids are built on exactly that idea, with paper plates, cardboard tubes, handprints, and cotton balls doing most of the work.
Set up a covered table, put paints and glue in the middle, and let adults handle scissors and any hot glue. Choose washable, non-toxic supplies, and keep small parts like beads, buttons, and tiny candy away from children under 3, who still put things in their mouths.
Pick two or three projects for one afternoon rather than trying to do them all. A garland for the mantel, a bunny for the fridge, and a card for a grandparent is a perfect result. The mess stays manageable and every child finishes something they are proud of.
Most of these projects also pull double duty as decorations and gifts. A painted tube bunny becomes a place marker at Easter lunch, handprint cards go in the mail to family far away, and a paper plate basket carries home a few treats after the hunt. That is the real charm of crafting with kids in spring: the house looks more festive with every project, and children see their own work treated as part of the celebration rather than clutter to tidy away at the end of the day.
1. Make Paper Plate Bunny Faces

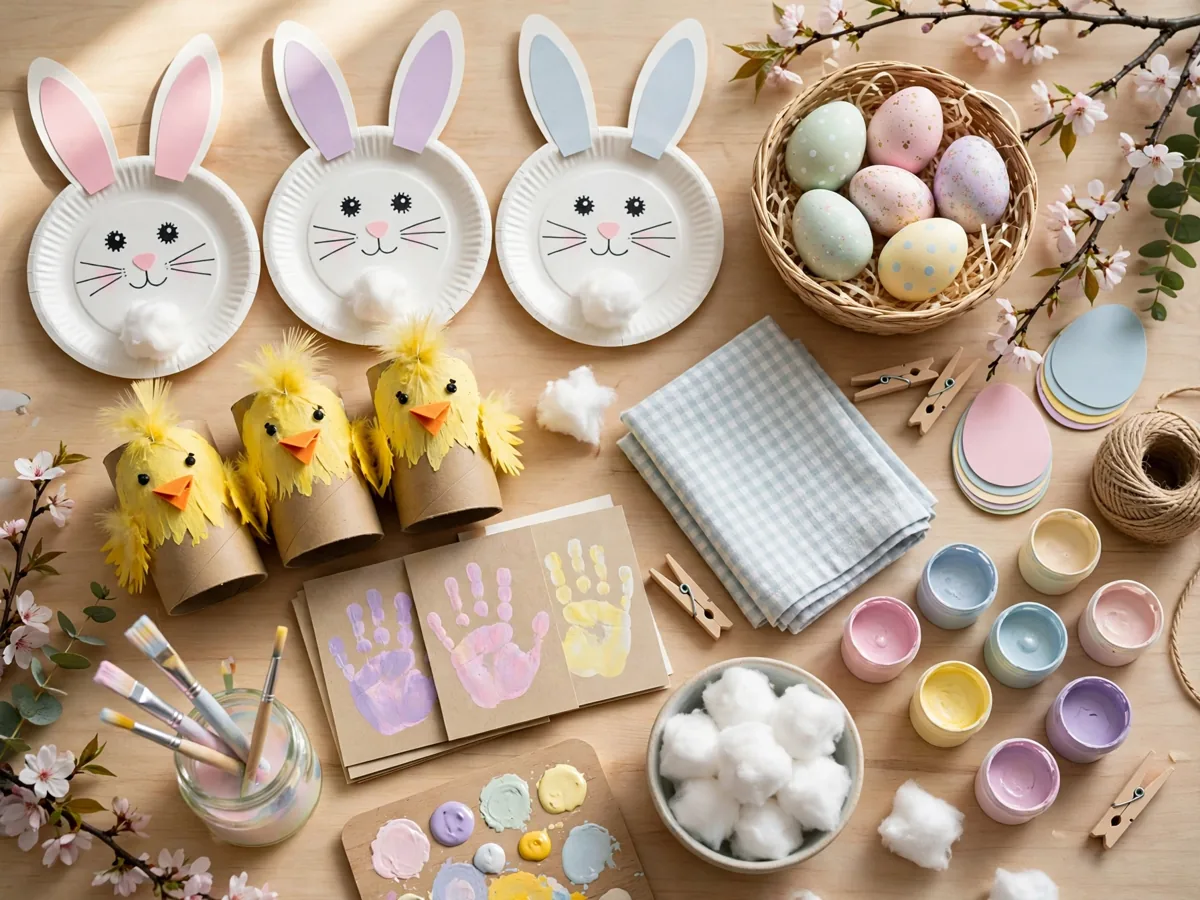
Give each child a white paper plate, cotton balls for soft cheeks, and paper ears to color and glue on the back. A pink paper nose, drawn whiskers, and big friendly eyes finish the face in minutes.
Paper plates are sturdy enough for little hands and big enough for bold coloring. Adults can cut the ears ahead of time for younger children. Hang the finished bunnies on a door or string several together for a cheerful garland. This is one of the most reliable easy easter crafts for kids for a mixed age group.
2. Create Toilet Roll Bunnies and Chicks
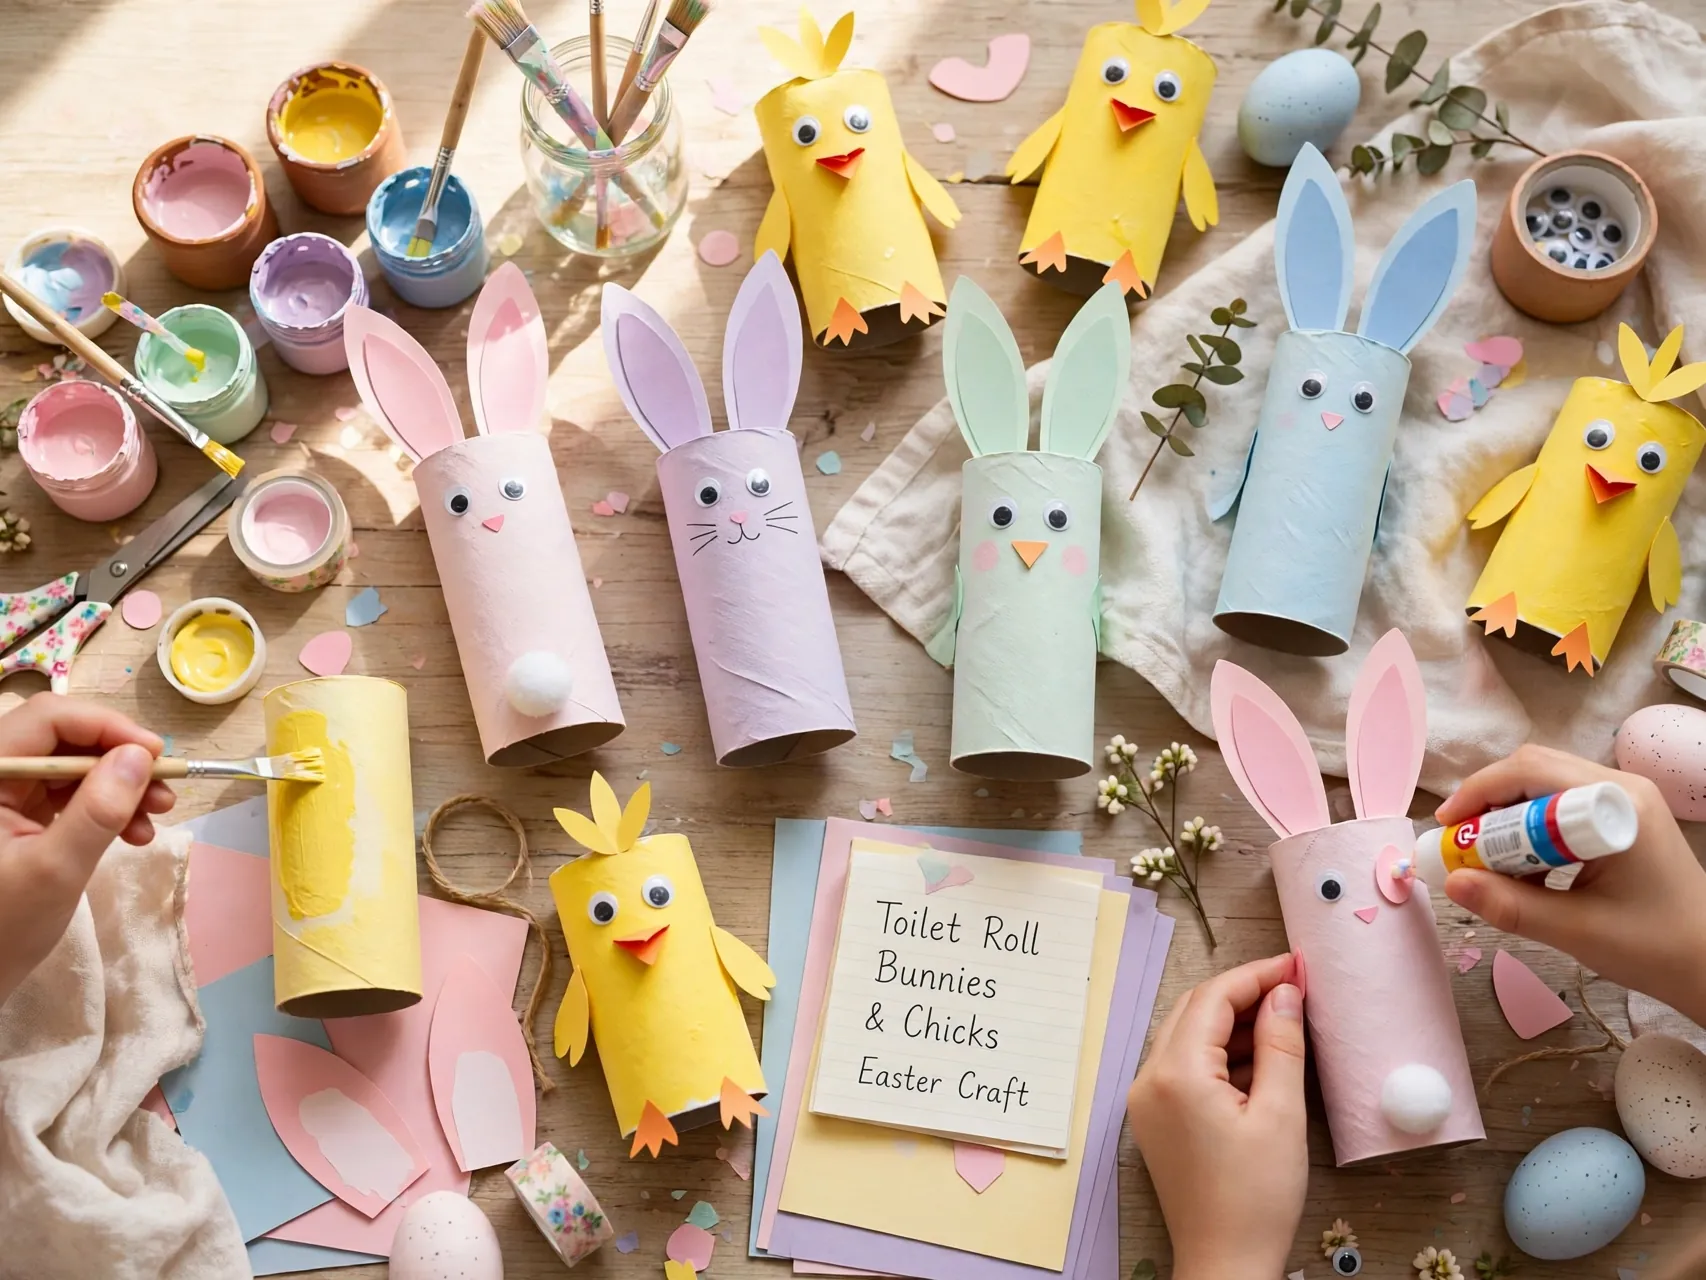
Paint cardboard tubes white, pink, or yellow and let them dry. Add paper ears for bunnies or paper wings and a triangle beak for chicks, then draw faces with markers or glue on paper eyes.
Standing tube characters line up beautifully on a windowsill or table. Save tubes for a week or two before your craft day so every child gets several. Remind kids that painted tubes are decorations, not toys for the bath, and let the paint dry fully before little hands carry them around the house showing everyone.
3. Try No-Sew Sock Bunnies Together
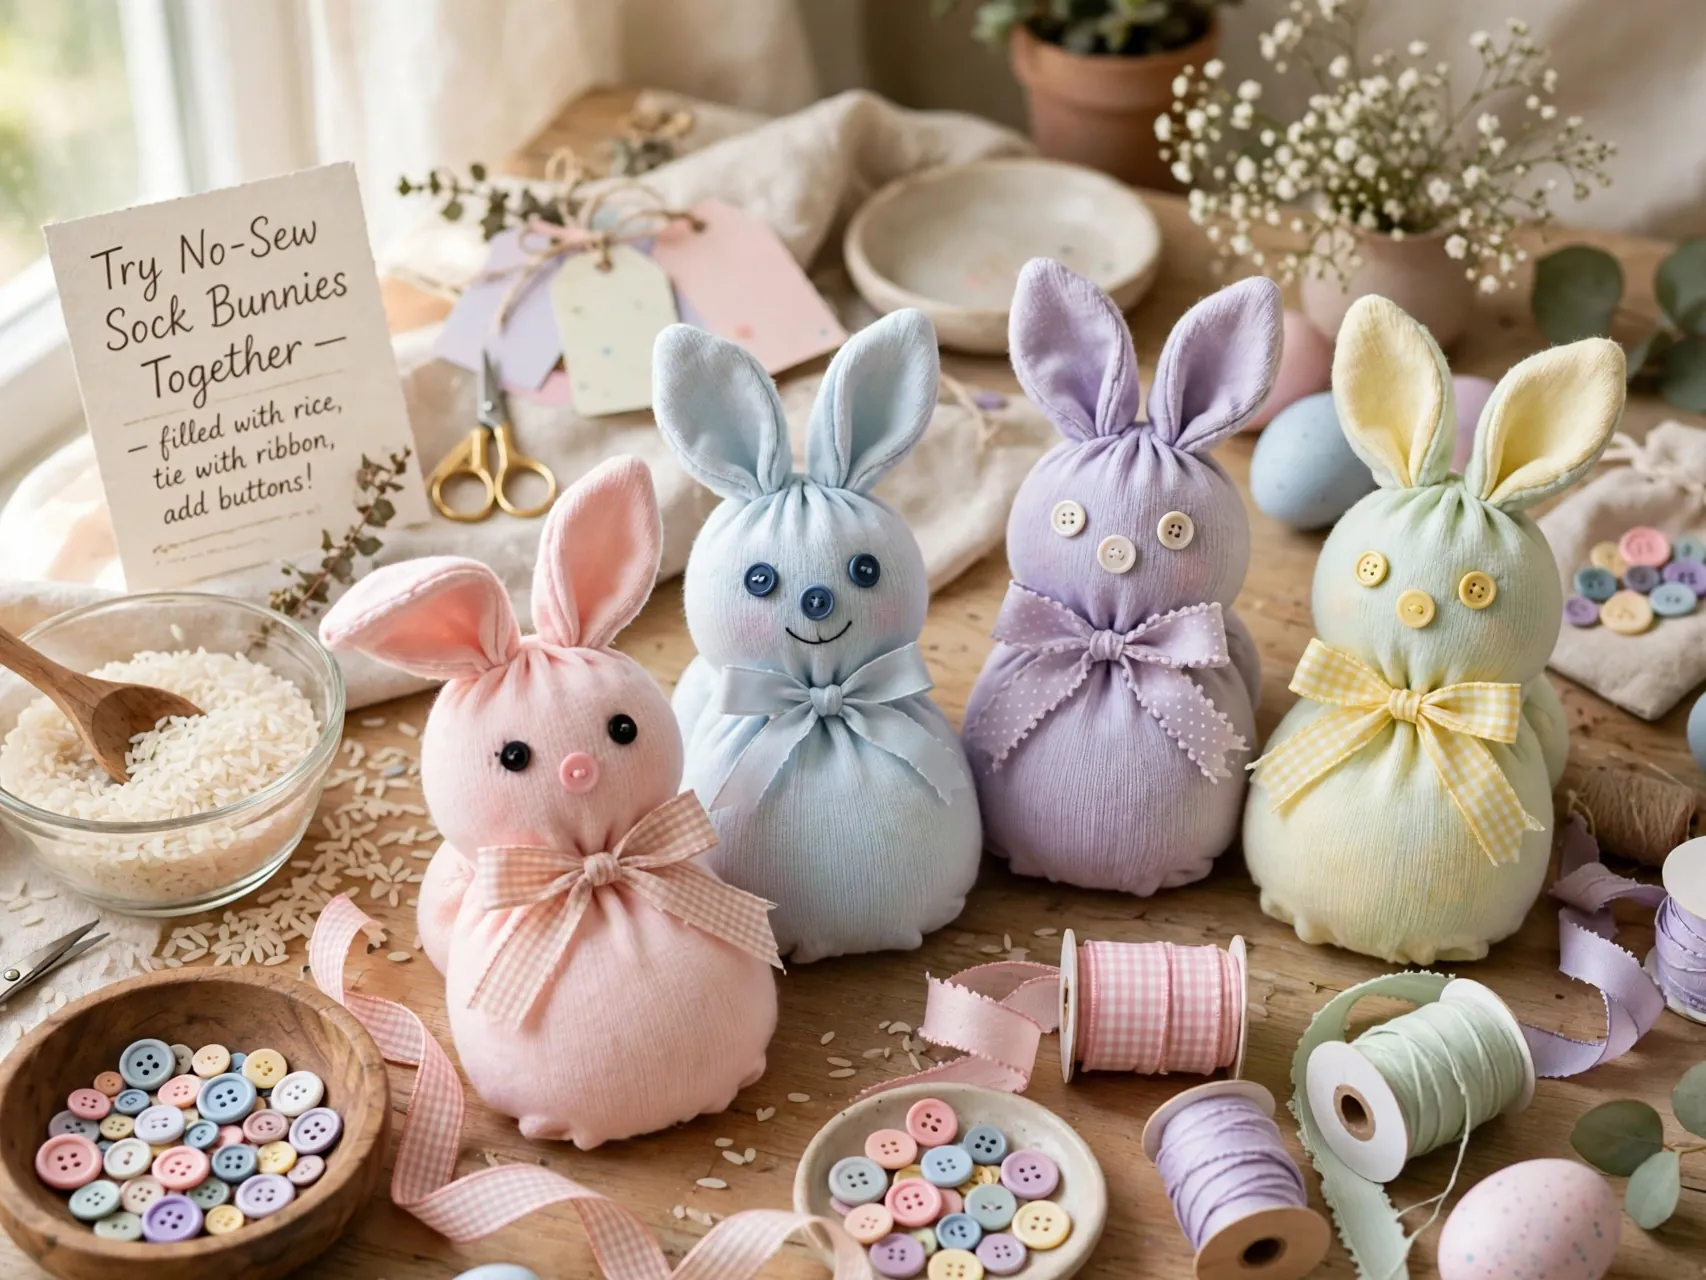
An adult fills a clean sock with rice, ties a head with string, and snips the top into two ears. Children choose the ribbon, draw the face with fabric markers, and name their bunny, which is always the favorite step.
Use socks that lost their match and soft colors that fit your spring decor. Because the filling can spill if the sock is pulled apart, these bunnies work best as shelf decorations for older preschoolers and up. Younger toddlers can help pour with a funnel and pick colors without handling the tying.
4. Color Coffee Filter Tie-Dye Eggs
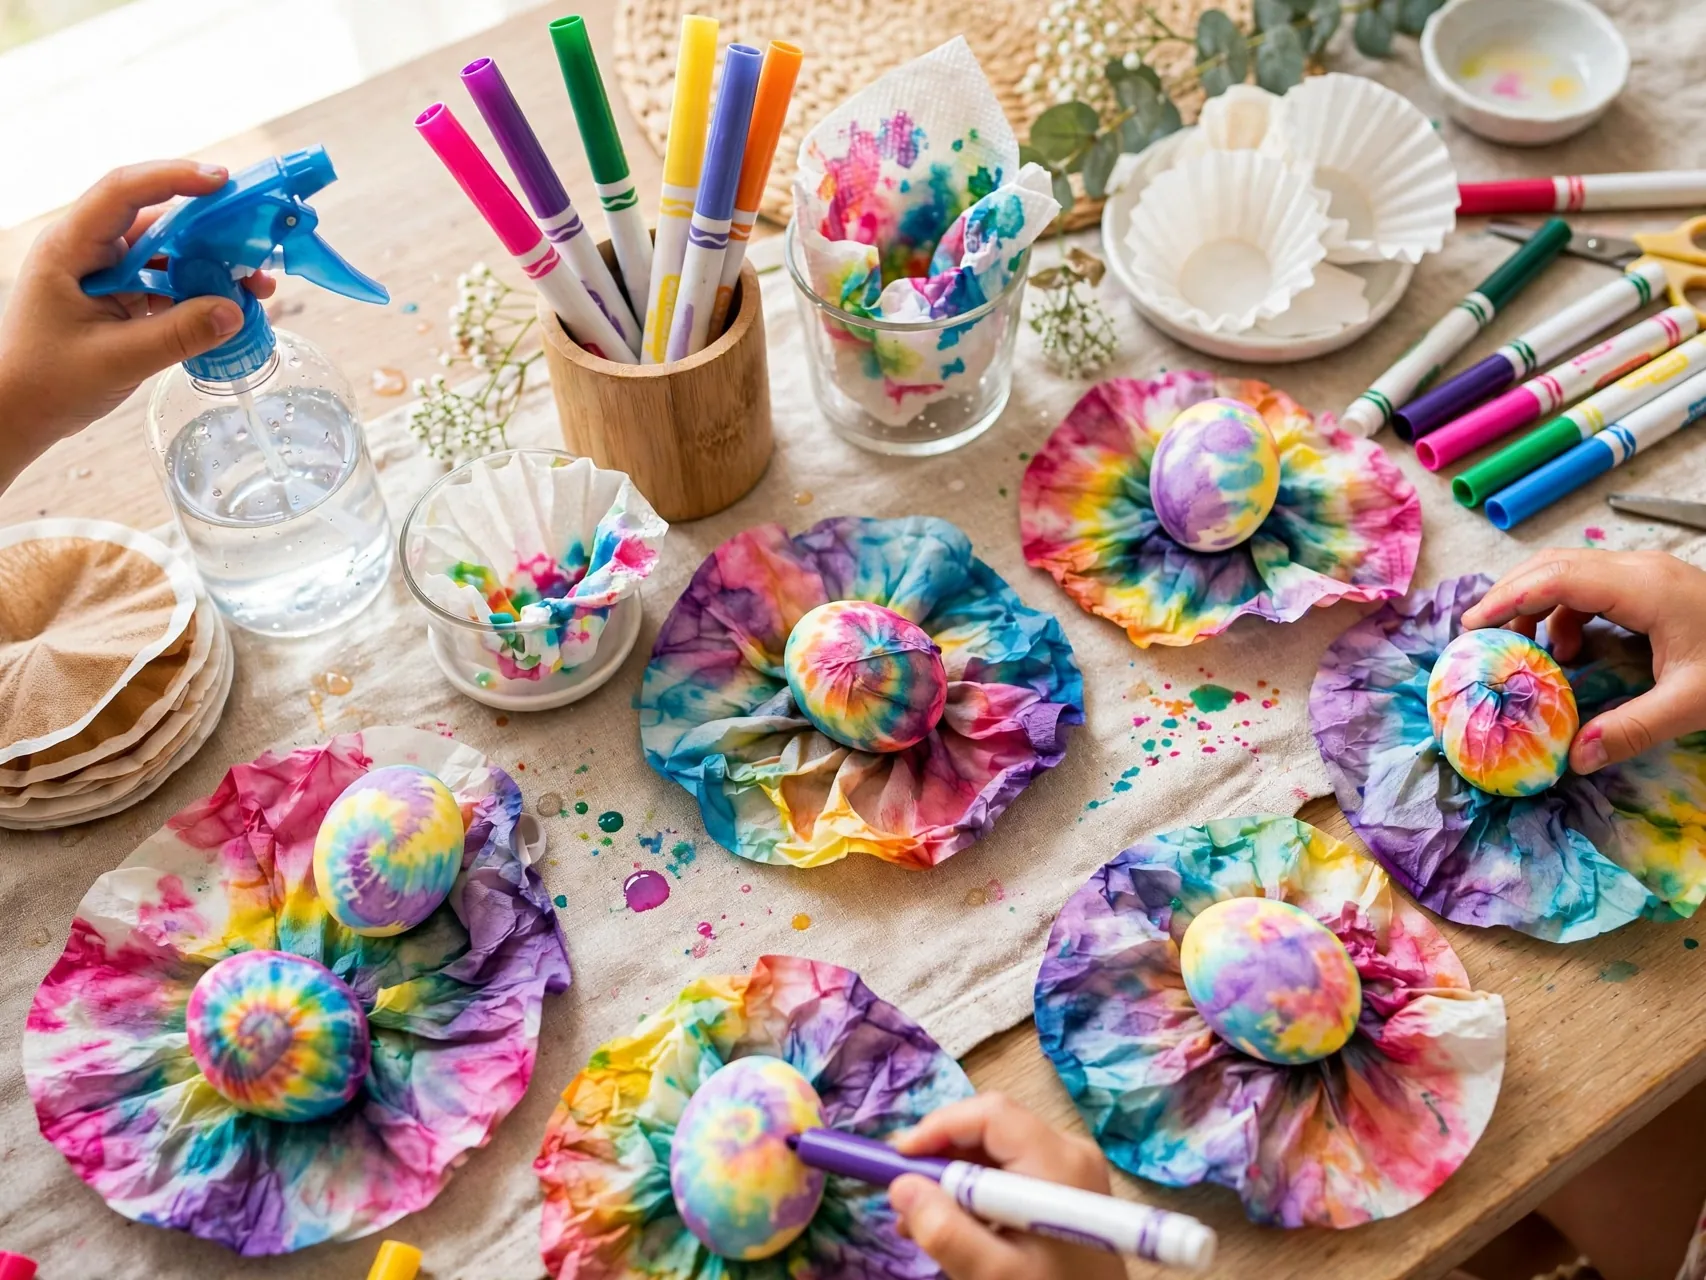
Let children color coffee filters with washable markers in spring patterns, then an adult lightly sprays the filters with water so the colors blend. Once dry, wrap the filters around paper egg cutouts and trim the edges.
The results look like watercolor art with almost no mess beyond marker on fingers, and washable markers come off skin easily. Display the eggs in a window where light shines through them, tape them to a door, or string them into a bright garland for the playroom or classroom wall.
5. Make Handprint Bunny and Chick Cards
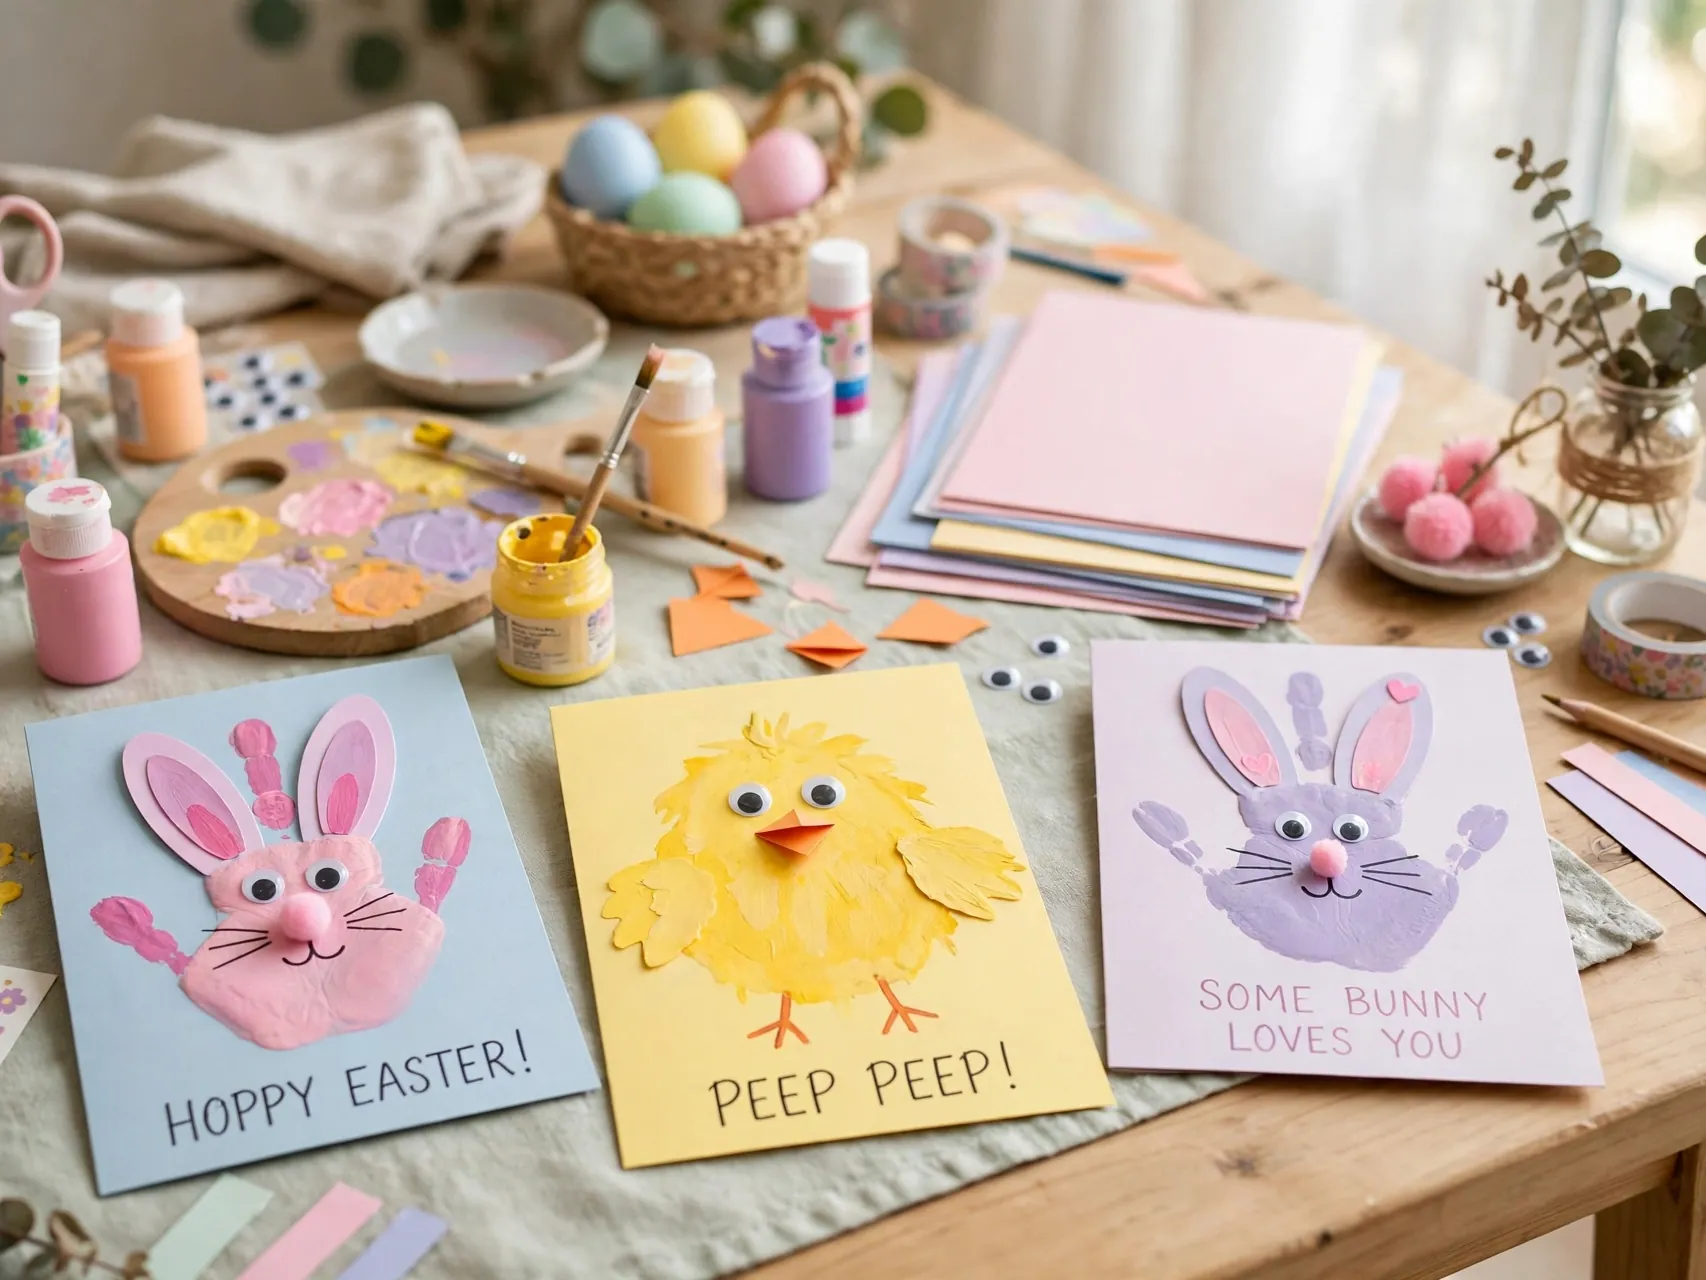
Paint a child hand white for a bunny or yellow for a chick and press it onto cardstock. Fingers become ears or feathers once you add a drawn face, a pink inner ear, or a small orange beak.
These cards make keepsake gifts for grandparents and teachers, and the handprint size marks the year better than any date. Use washable paint, work one child at a time, and have wipes ready. Write a short message inside together and let the card dry flat before it goes into an envelope.
6. Build Paper Bag Bunny Puppets
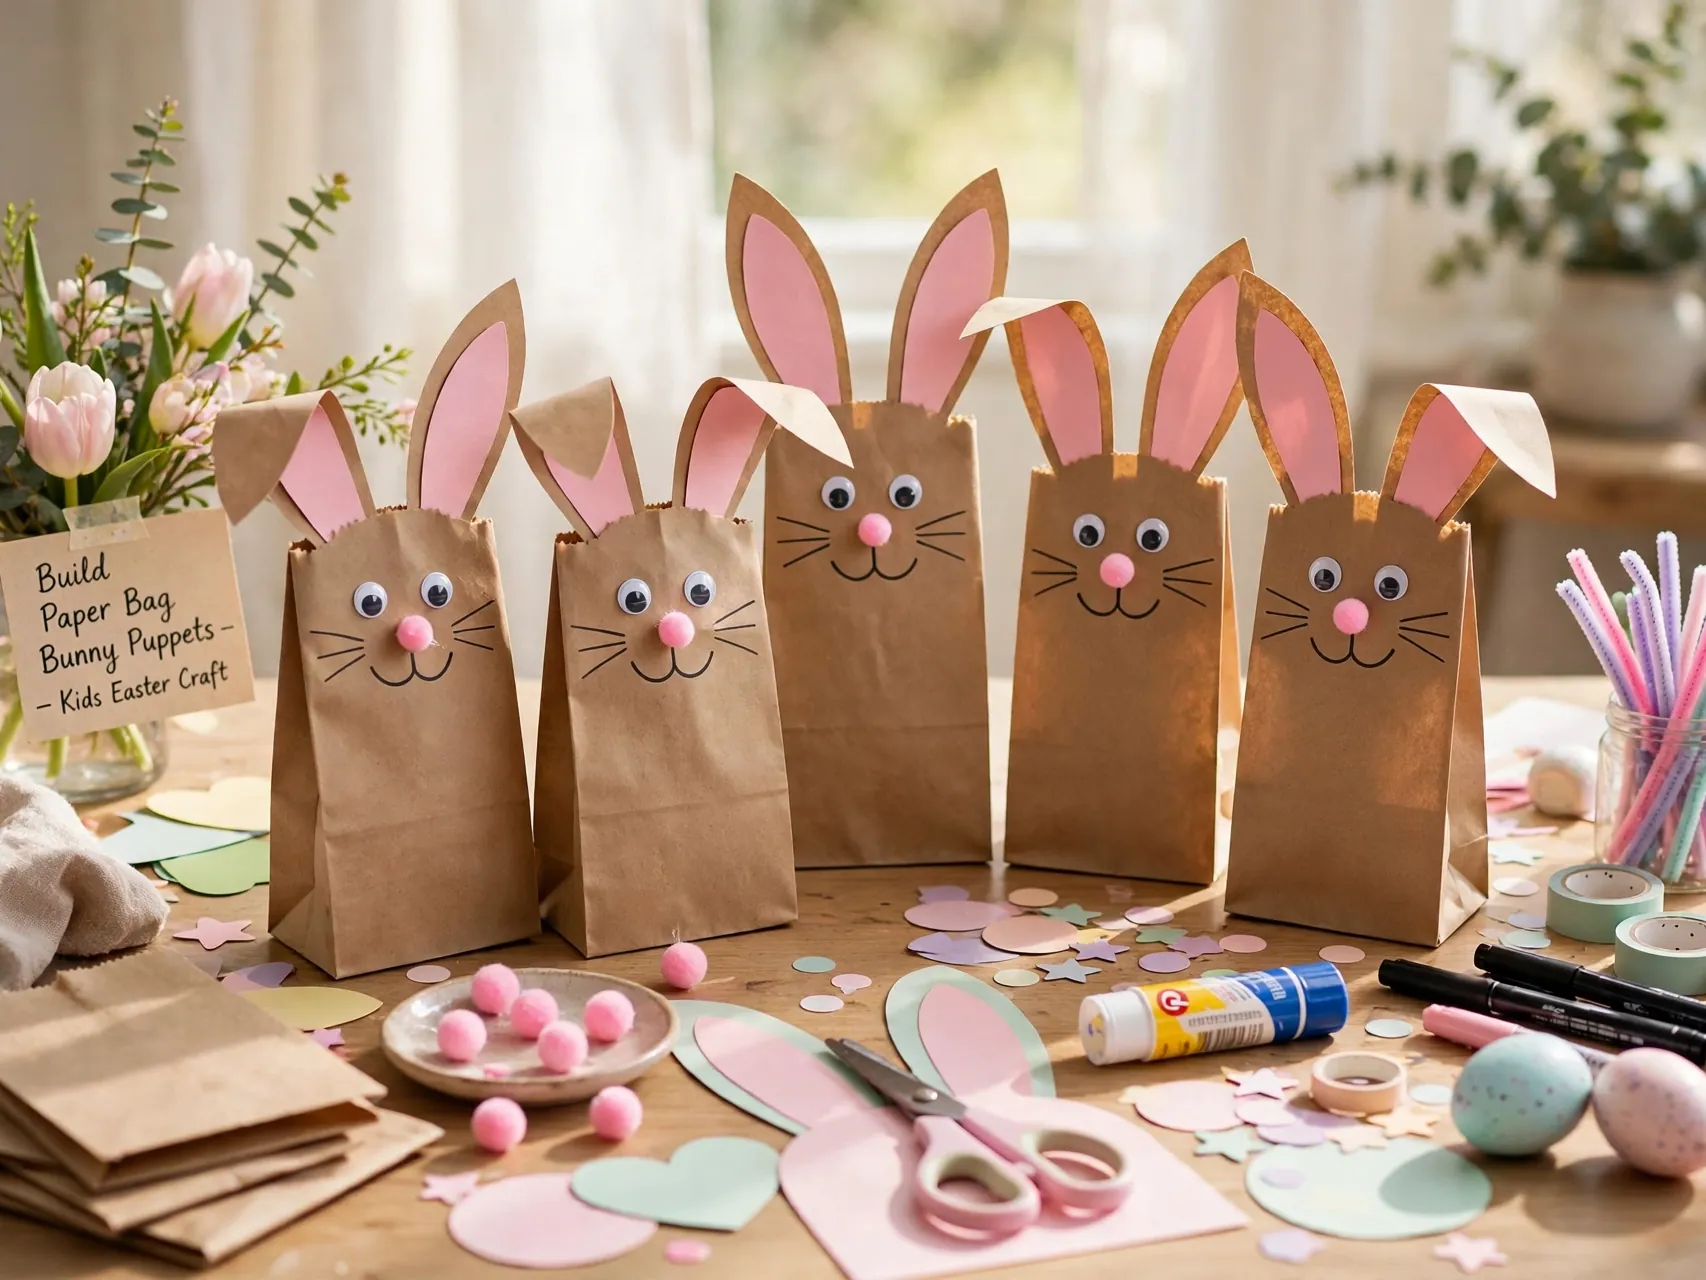
Decorate the flap of a brown or white paper bag as a bunny face with paper ears, a pink nose, and drawn whiskers. Add a cotton ball tail on the back and paper paws on the sides if you like.
Once the glue dries, the puppets are ready for a show behind the couch. Puppets encourage storytelling, which makes this craft last well beyond the gluing stage. Adults should do any cutting, and children can do all the coloring and sticking. Store puppets flat in a drawer and they will survive for many repeat performances.
7. Paint Egg Carton Chicks and Flowers
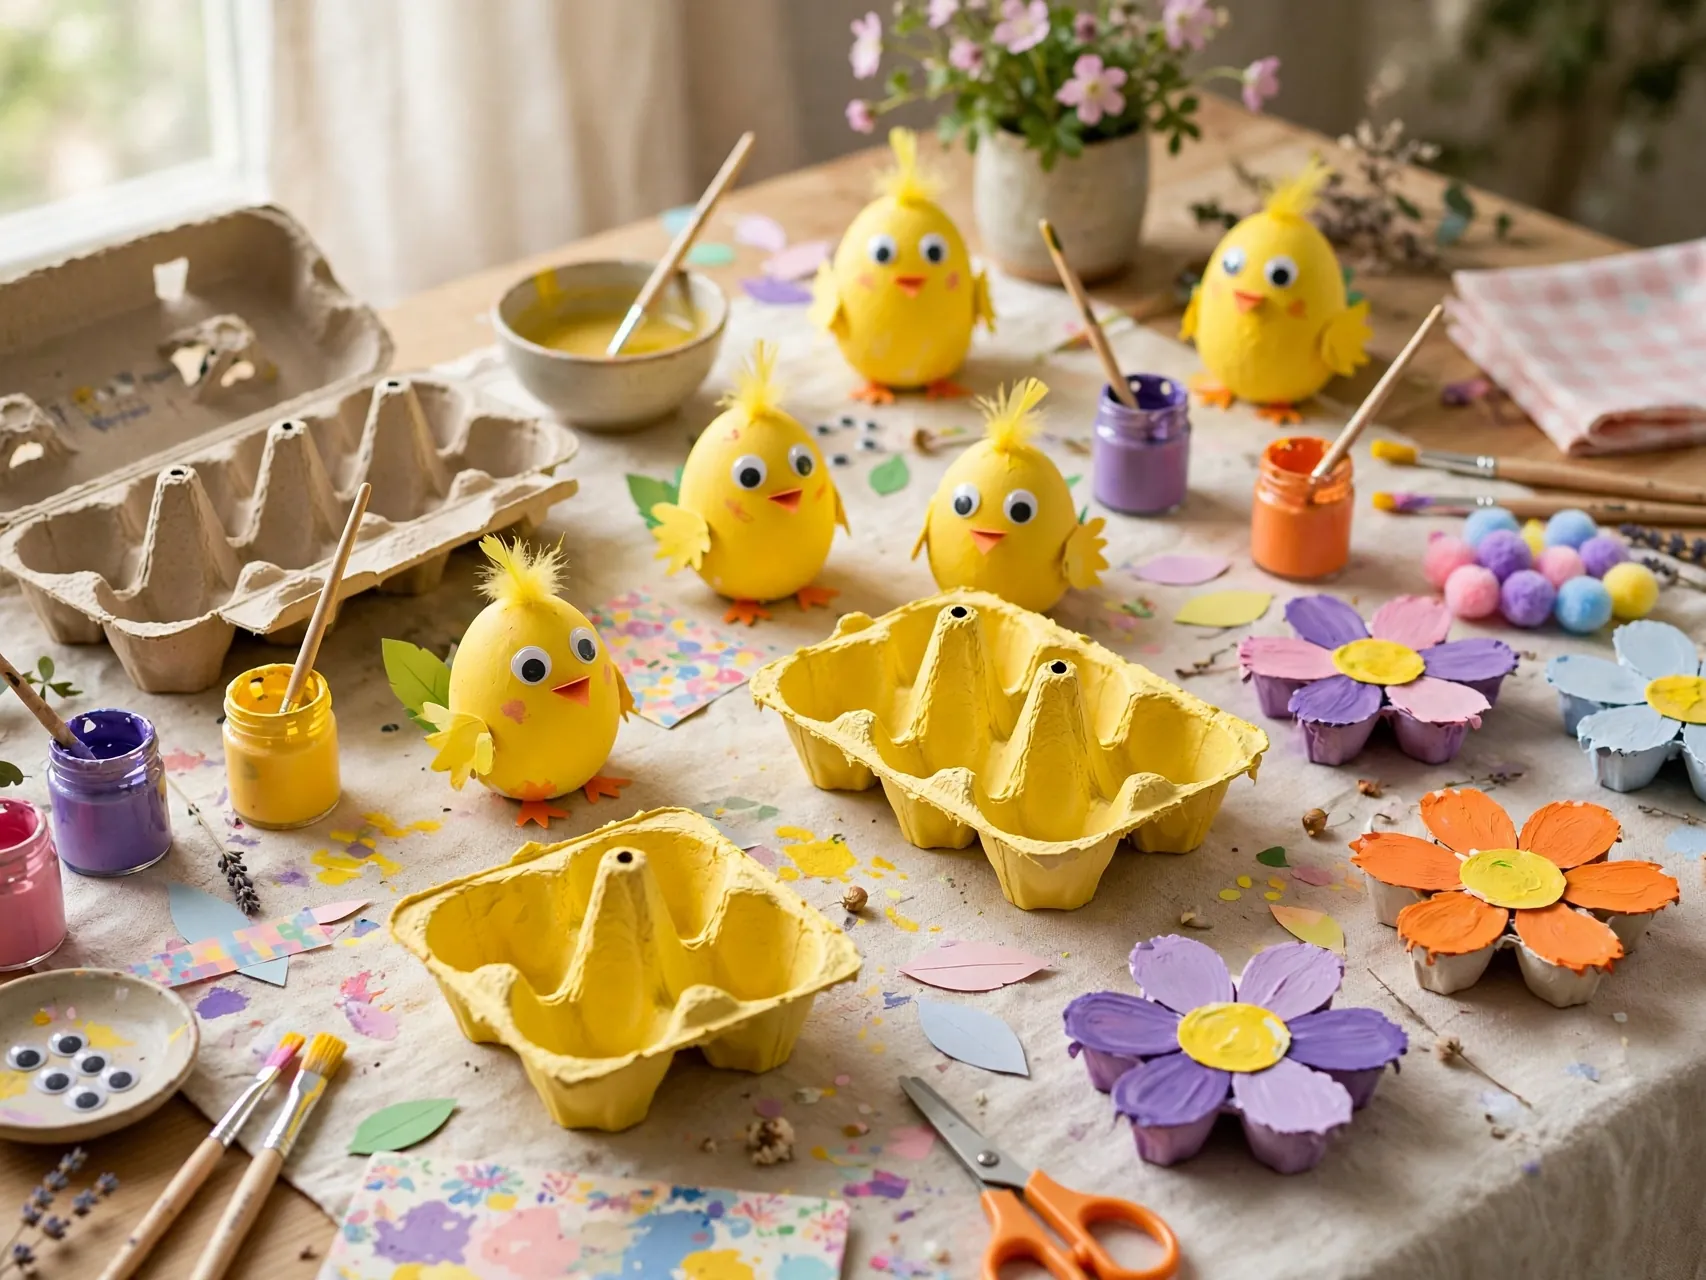
An adult cuts single cups from a clean paper egg carton. Children paint cups yellow for chicks with tiny paper beaks, or white and pink for flowers with pipe cleaner stems and green paper leaves.
A whole carton becomes a little spring garden or a row of chicks for the table. Egg carton cardboard takes paint well and costs nothing. Keep painted pieces as decorations and wash hands after crafting, especially if the carton held raw eggs at any point in a busy kitchen.
8. String a Simple Bunny and Egg Garland

Children decorate paper bunny and egg shapes with crayons, stickers, and stamps. An adult punches holes and helps thread the shapes onto yarn or ribbon, spacing them with knots or small clothespins.
Hang the garland where the makers can see it every day, over a doorway, across a bookshelf, or along a stair rail out of walkways. Making the shapes is the creative part, so give plenty of time for decorating. This project suits a group because everyone contributes a piece to one shared decoration.
9. Make Pom Pom Chicks in Egg Cups
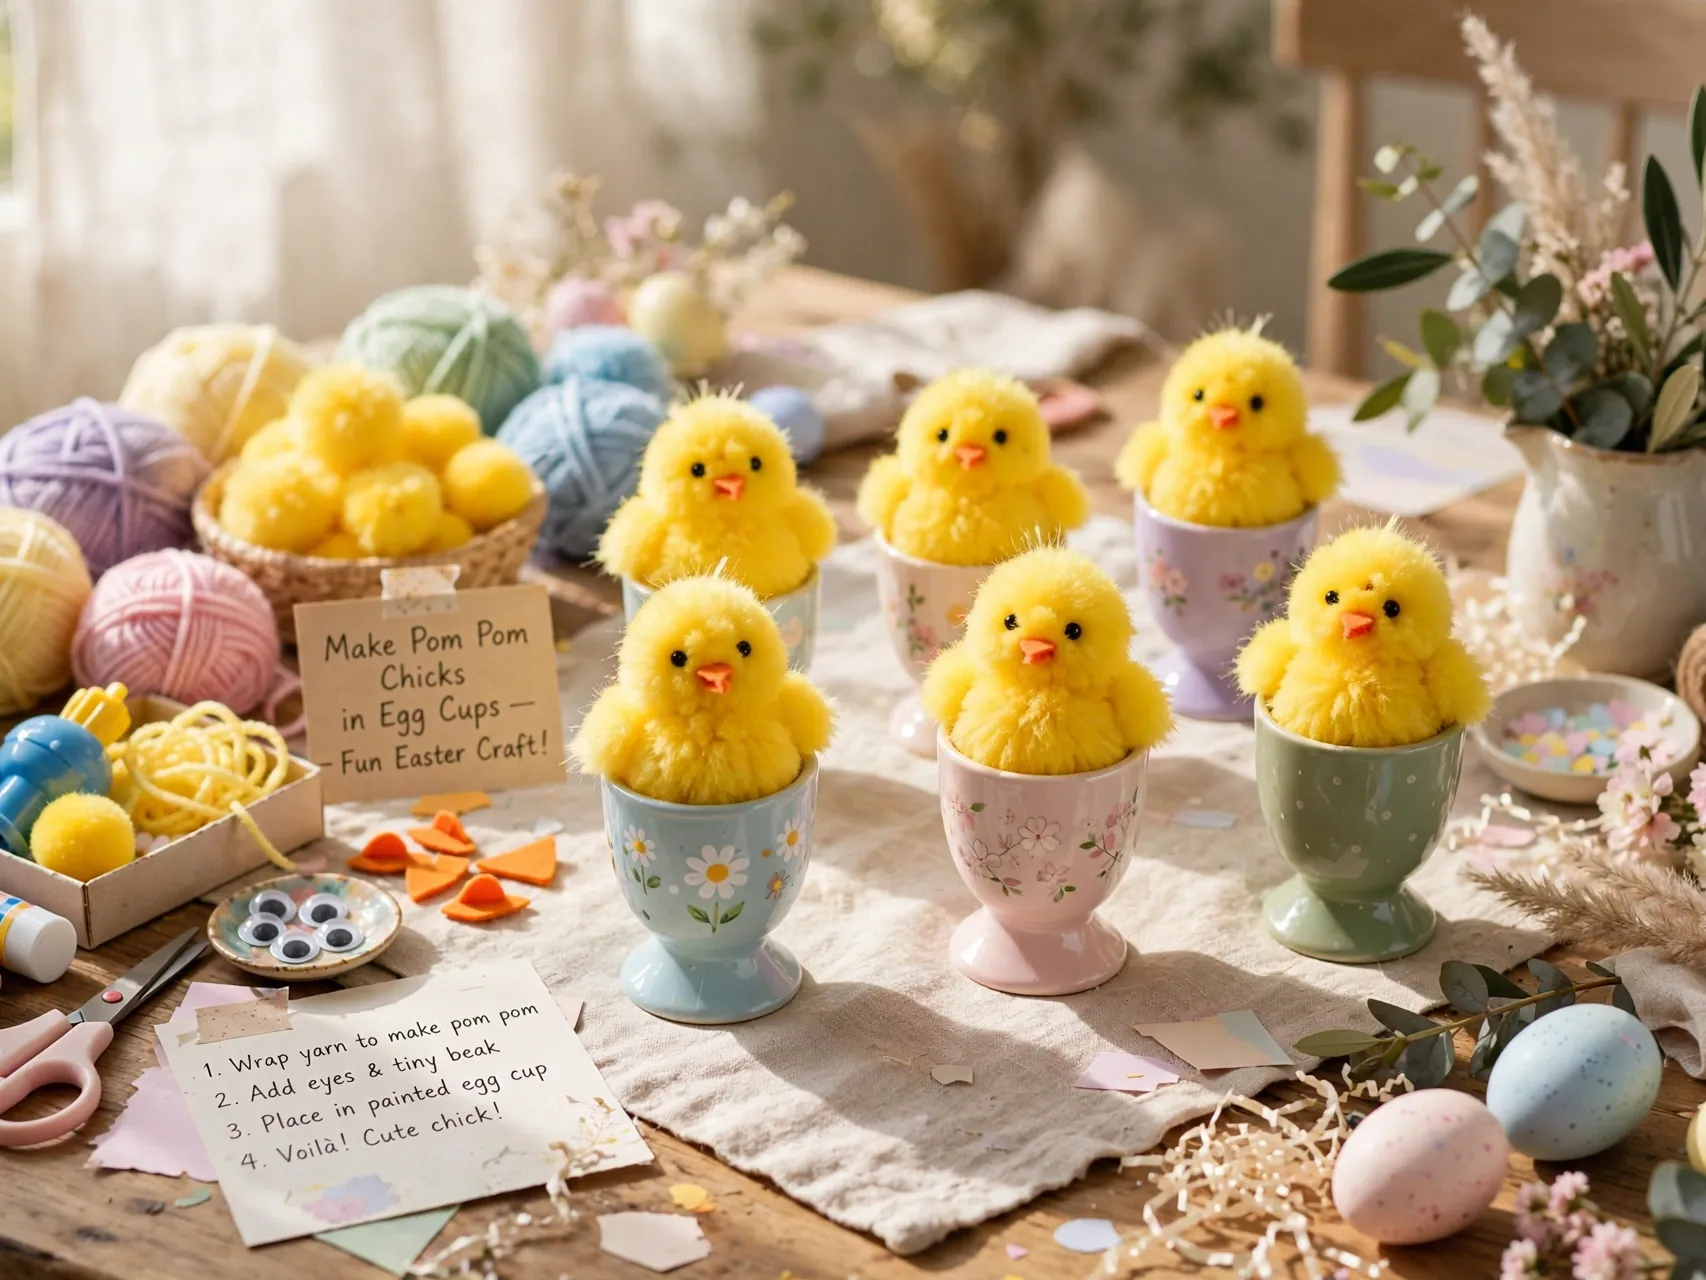
Wind yellow yarn into pom poms with a fork or maker, or buy ready pom poms for the youngest crafters. Glue two together for body and head, add a tiny felt beak, and set each chick in a paper egg cup or a small nest of shredded paper.
Adults should handle tying and trimming for small children. Keep loose small parts off the table for children under 3 and let toddlers work with large pom poms and stickers instead. Finished chicks make sweet place markers and gifts for teachers.
10. Decorate Paper Eggs With Stickers and Stamps
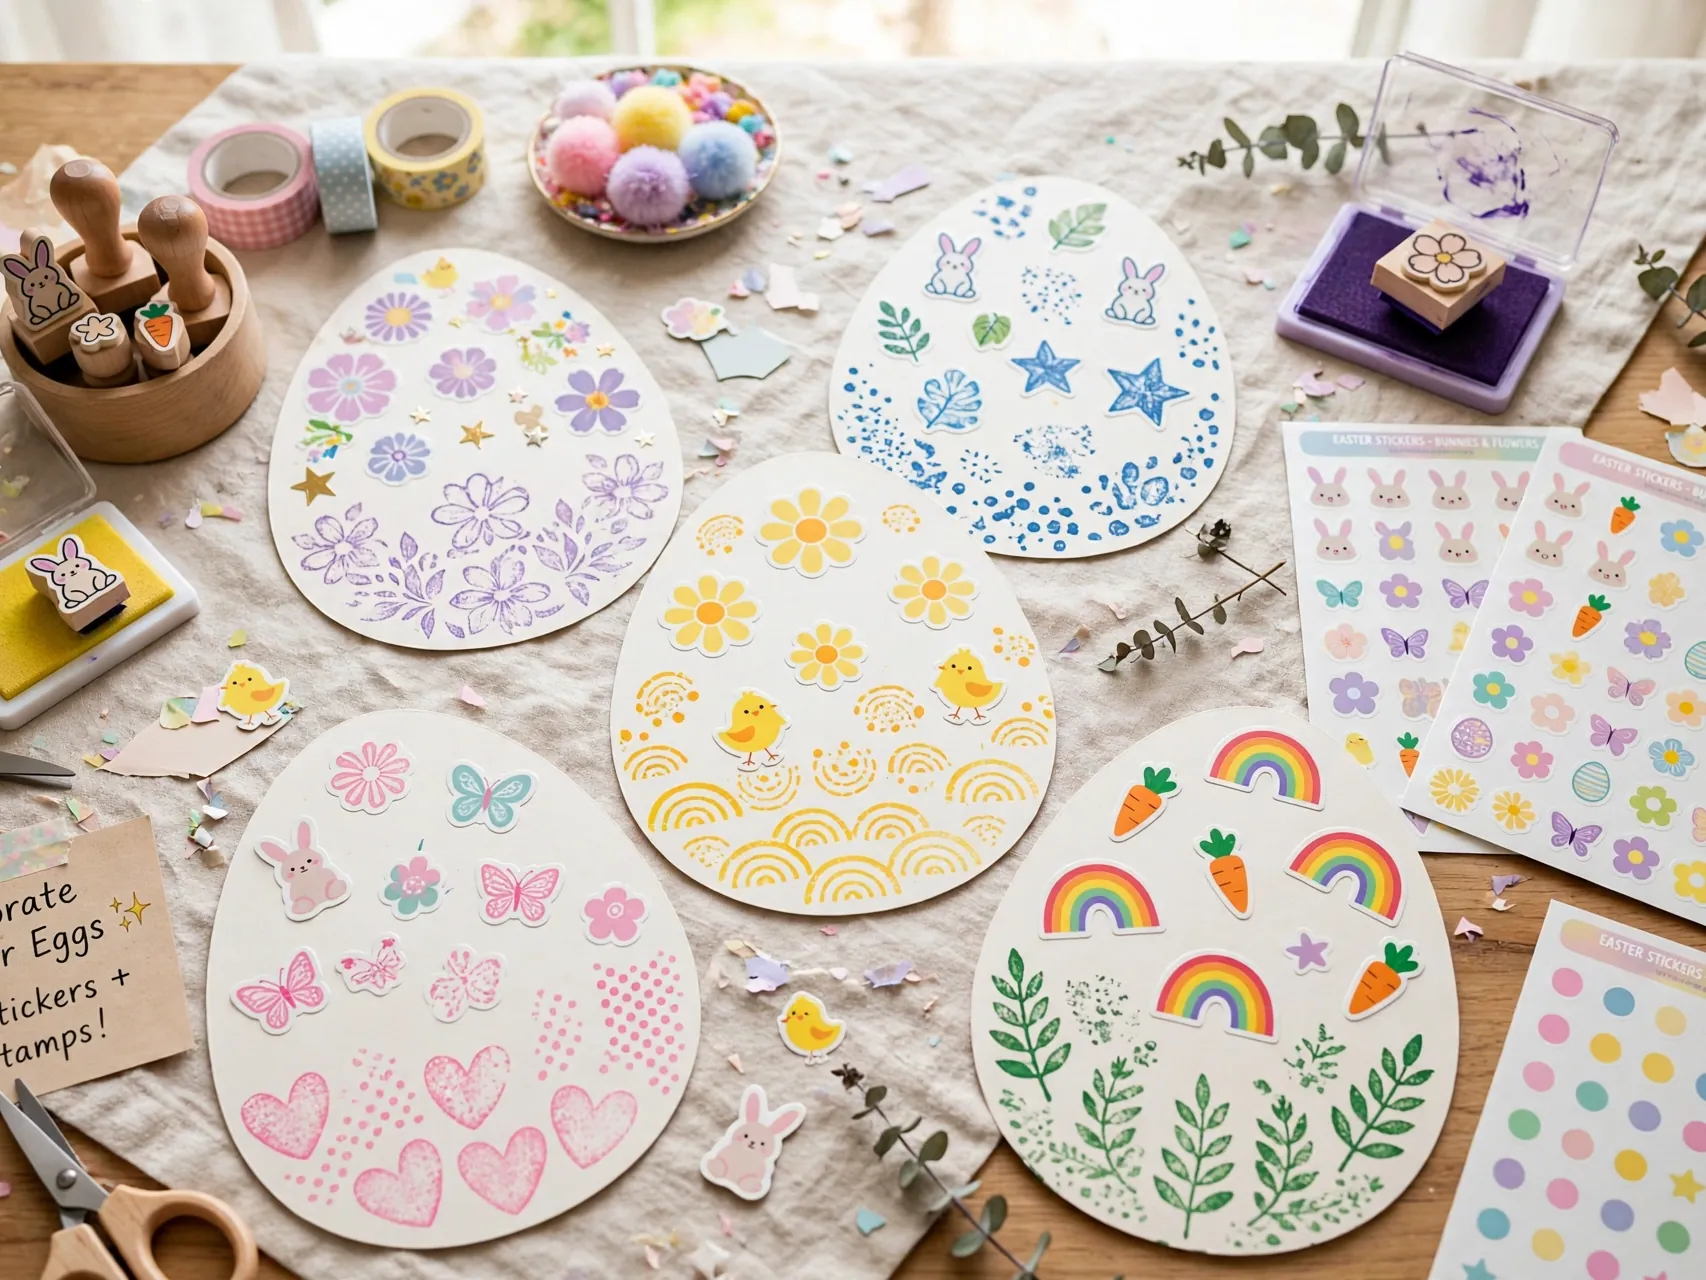
Cut large egg shapes from sturdy cardstock and set out stickers, dot markers, stamps, and crayons. Children cover their eggs with patterns, stripes, and gardens of tiny flowers, no paint drying time required.
This is the cleanest project in this list and a good choice for classrooms, libraries, and younger toddlers. Display the eggs on a bulletin board, fridge, or window. For simple easter crafts for toddlers, big shapes, chunky crayons, and large stickers are much easier for small hands than tiny details.
11. Create Bunny Ear Headbands

Cut long paper ears with pink inner ears and glue or staple them to a cardstock band fitted by an adult. Children decorate the ears with patterns, cotton ball edges, or their name in big letters.
Headbands turn craft time into dress-up time, and they are perfect for photos, egg hunts, and school parties. Make sure staples are covered or use glue and tape only. Measure the band loosely so it is comfortable, and let kids who dislike headbands make a bunny mask on a craft stick instead.
12. Make Tissue Paper Stained Glass Eggs
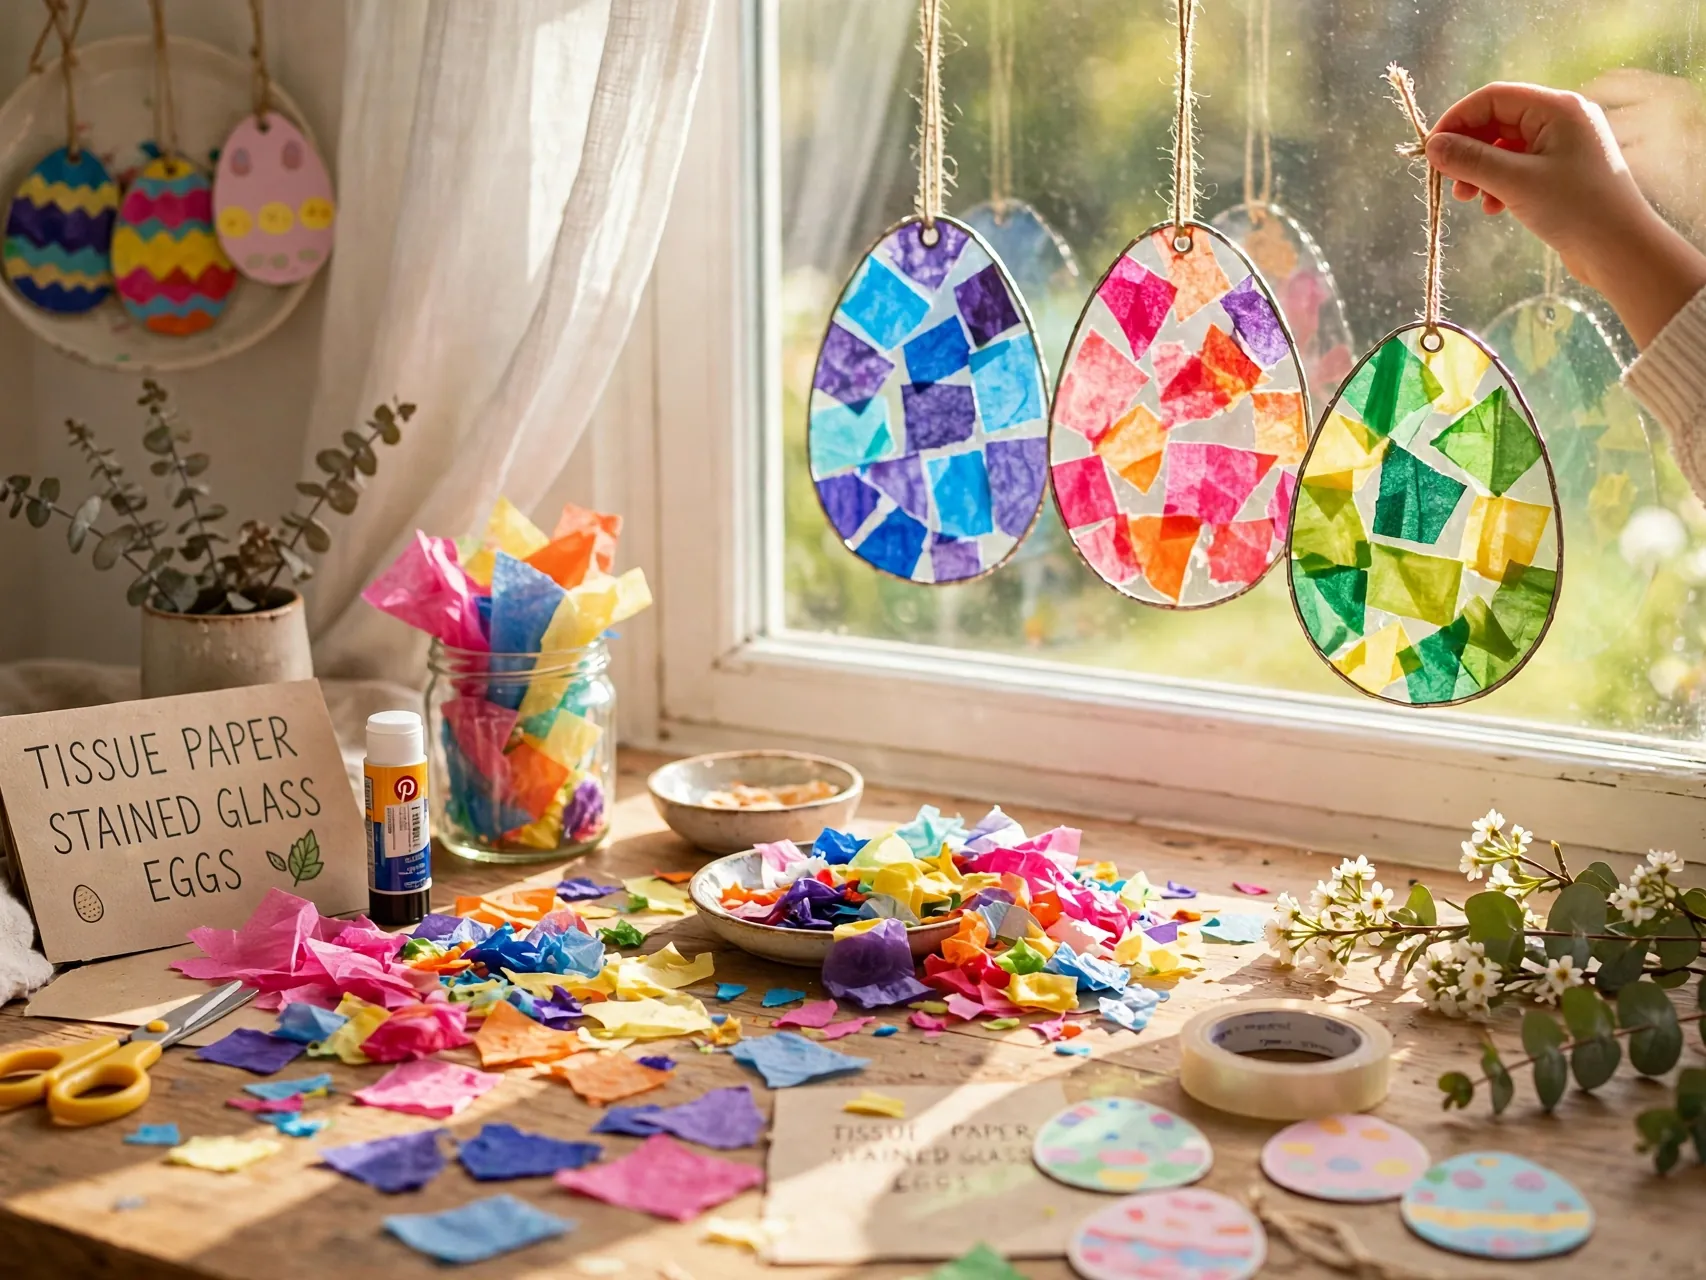
An adult cuts an egg outline frame from black or colored cardstock. Children stick small squares of tissue paper across clear contact paper inside the frame, layering colors where they overlap.
Hang the finished eggs in a sunny window and they glow like stained glass. Tissue squares can be pre-cut for younger children to keep the project moving. This is a calm, focused craft that works well for older preschoolers and early elementary kids who enjoy careful, pretty results they can display at home.
13. Build a Finger Puppet Bunny Family

Cut simple bunny, chick, and lamb shapes from felt or cardstock with two small finger holes or a paper band at the back. Children draw faces and add tiny ears, wings, or woolly tissue paper for the lamb.
An adult does the cutting, children do the decorating, and everyone does the voices. Finger puppets are small enough to tuck into an Easter basket or a card. Use non-toxic glue, let pieces dry before play, and keep very small glued details away from children under 3.
14. Paint Wooden Spoon Bunnies and Carrots
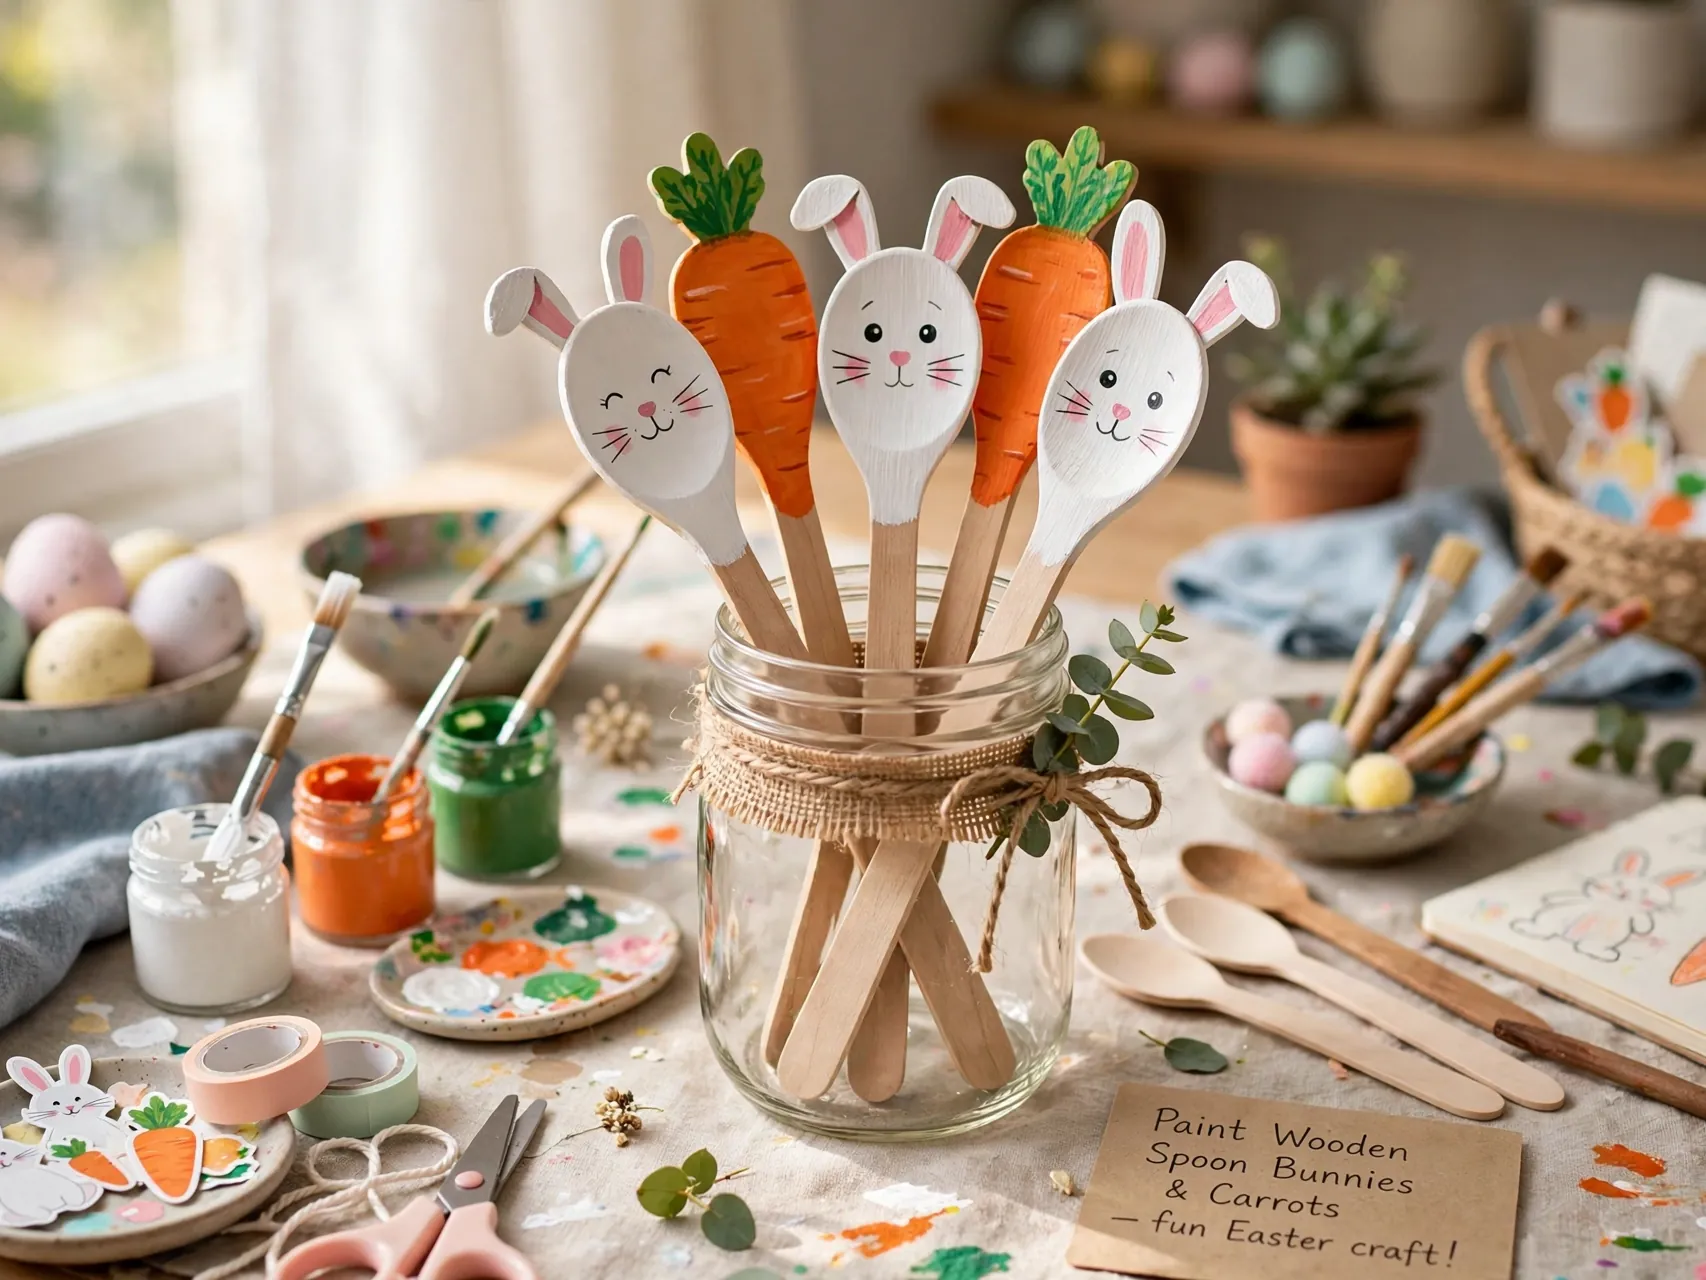
Paint the bowl of a wooden spoon white for a bunny face or orange for a carrot, then add paper ears or green paper tops. Draw faces with markers once the paint is dry and add ribbon bows if you like.
Spoon characters stand nicely in a jar or flowerpot as decorations. Use craft spoons that will stay decorations, not kitchen tools returned to cooking. This project gives older kids room for detail work, while younger kids can do simple color and sticker versions with a little help.
15. Make Carrot Footprint Art
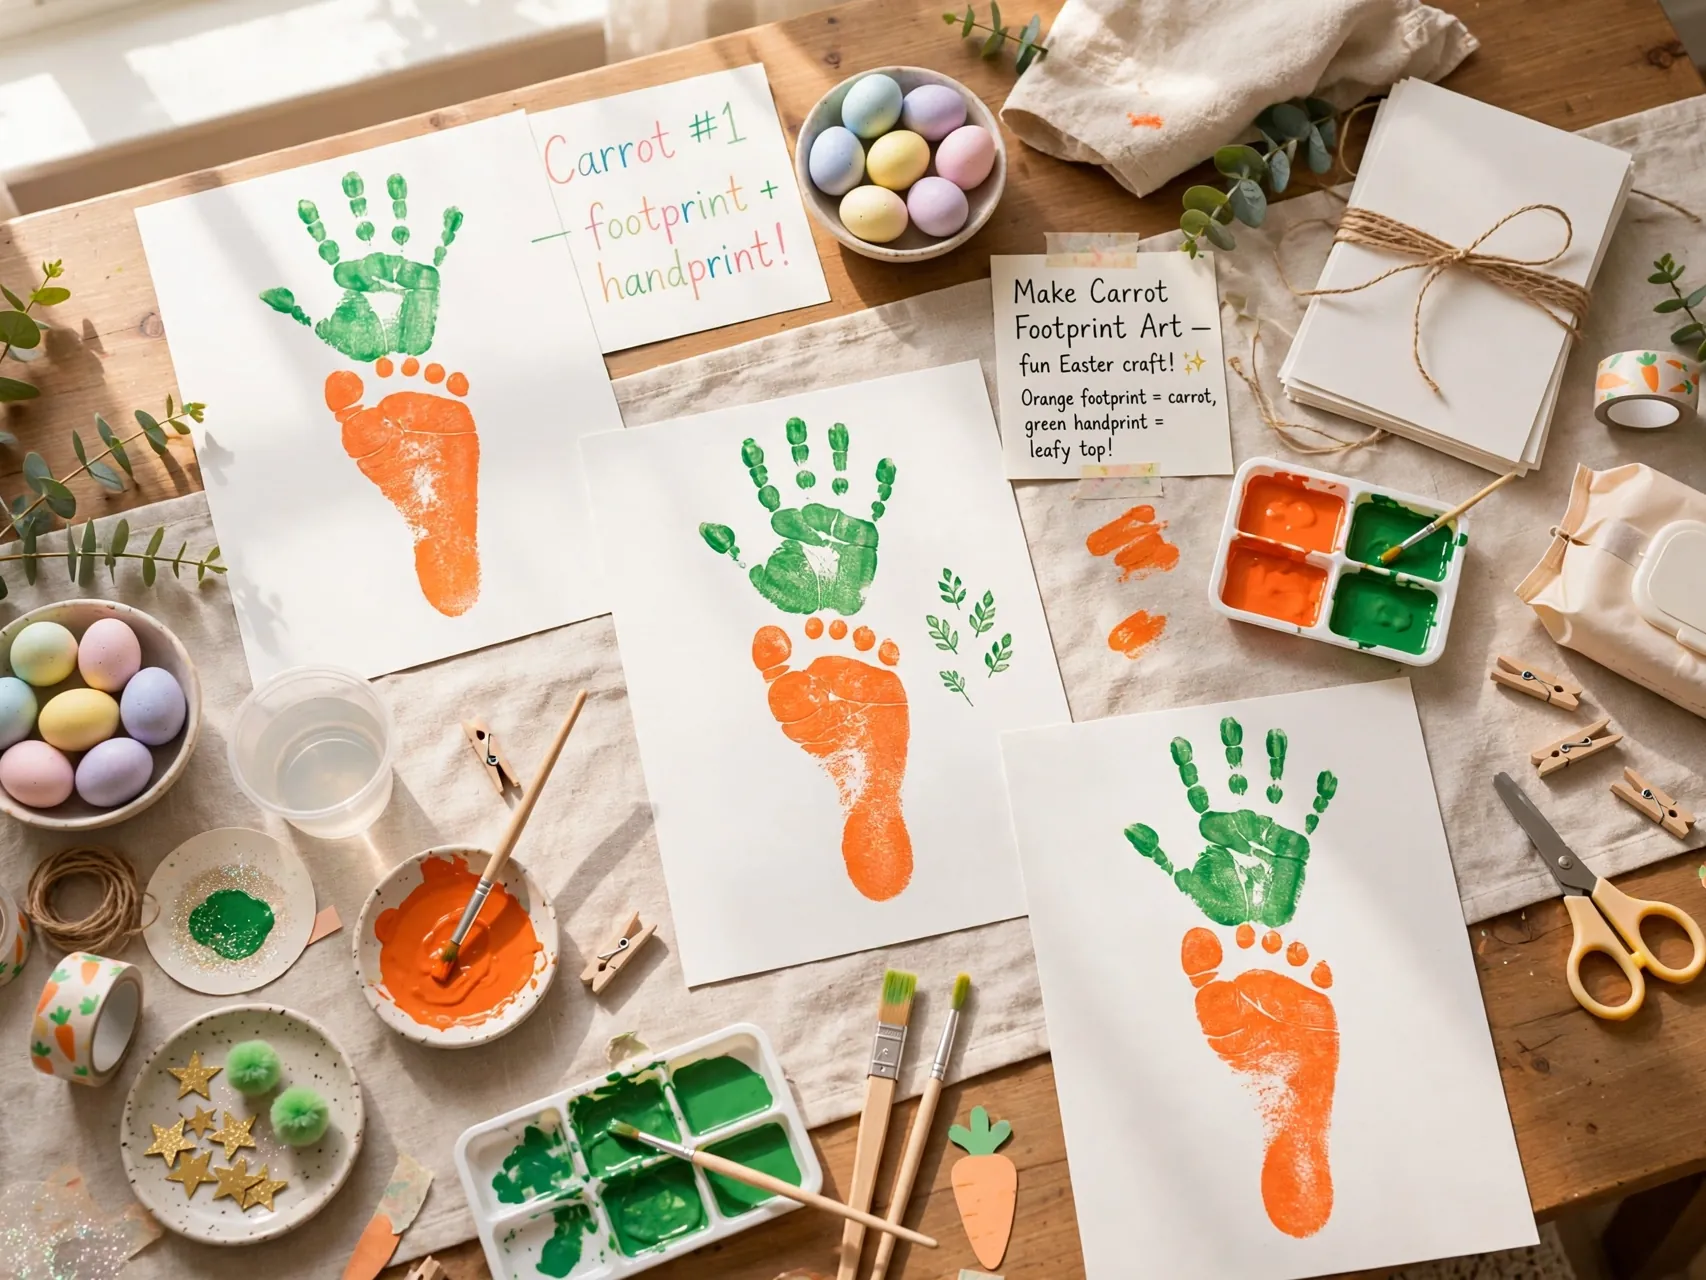
Paint the sole of a child foot with washable orange paint and press it heel-up onto paper so the toes point down. Add green handprint or paper leaves at the heel end and you have a carrot with a very personal shape.
Footprint art is a favorite keepsake for babies and toddlers because it captures their size that spring. Work over a washable surface, clean feet right after printing, and let the art dry flat. Frame one for home and make extra prints for family cards while the paint is already out.
16. Assemble Paper Plate Easter Baskets

An adult folds and staples or glues two paper plates into a simple basket shape with a paper handle. Children decorate the outside with eggs, flowers, and their name, then add a little paper grass inside.
These baskets hold a few lightweight treats or paper eggs for a hunt and look adorable in a row. They are not strong enough for heavy candy, so keep loads light. Making the basket is part of the celebration for easter crafts for preschoolers, and decorating it is where each child makes it their own.
17. Decorate Real Eggs the Safe Way
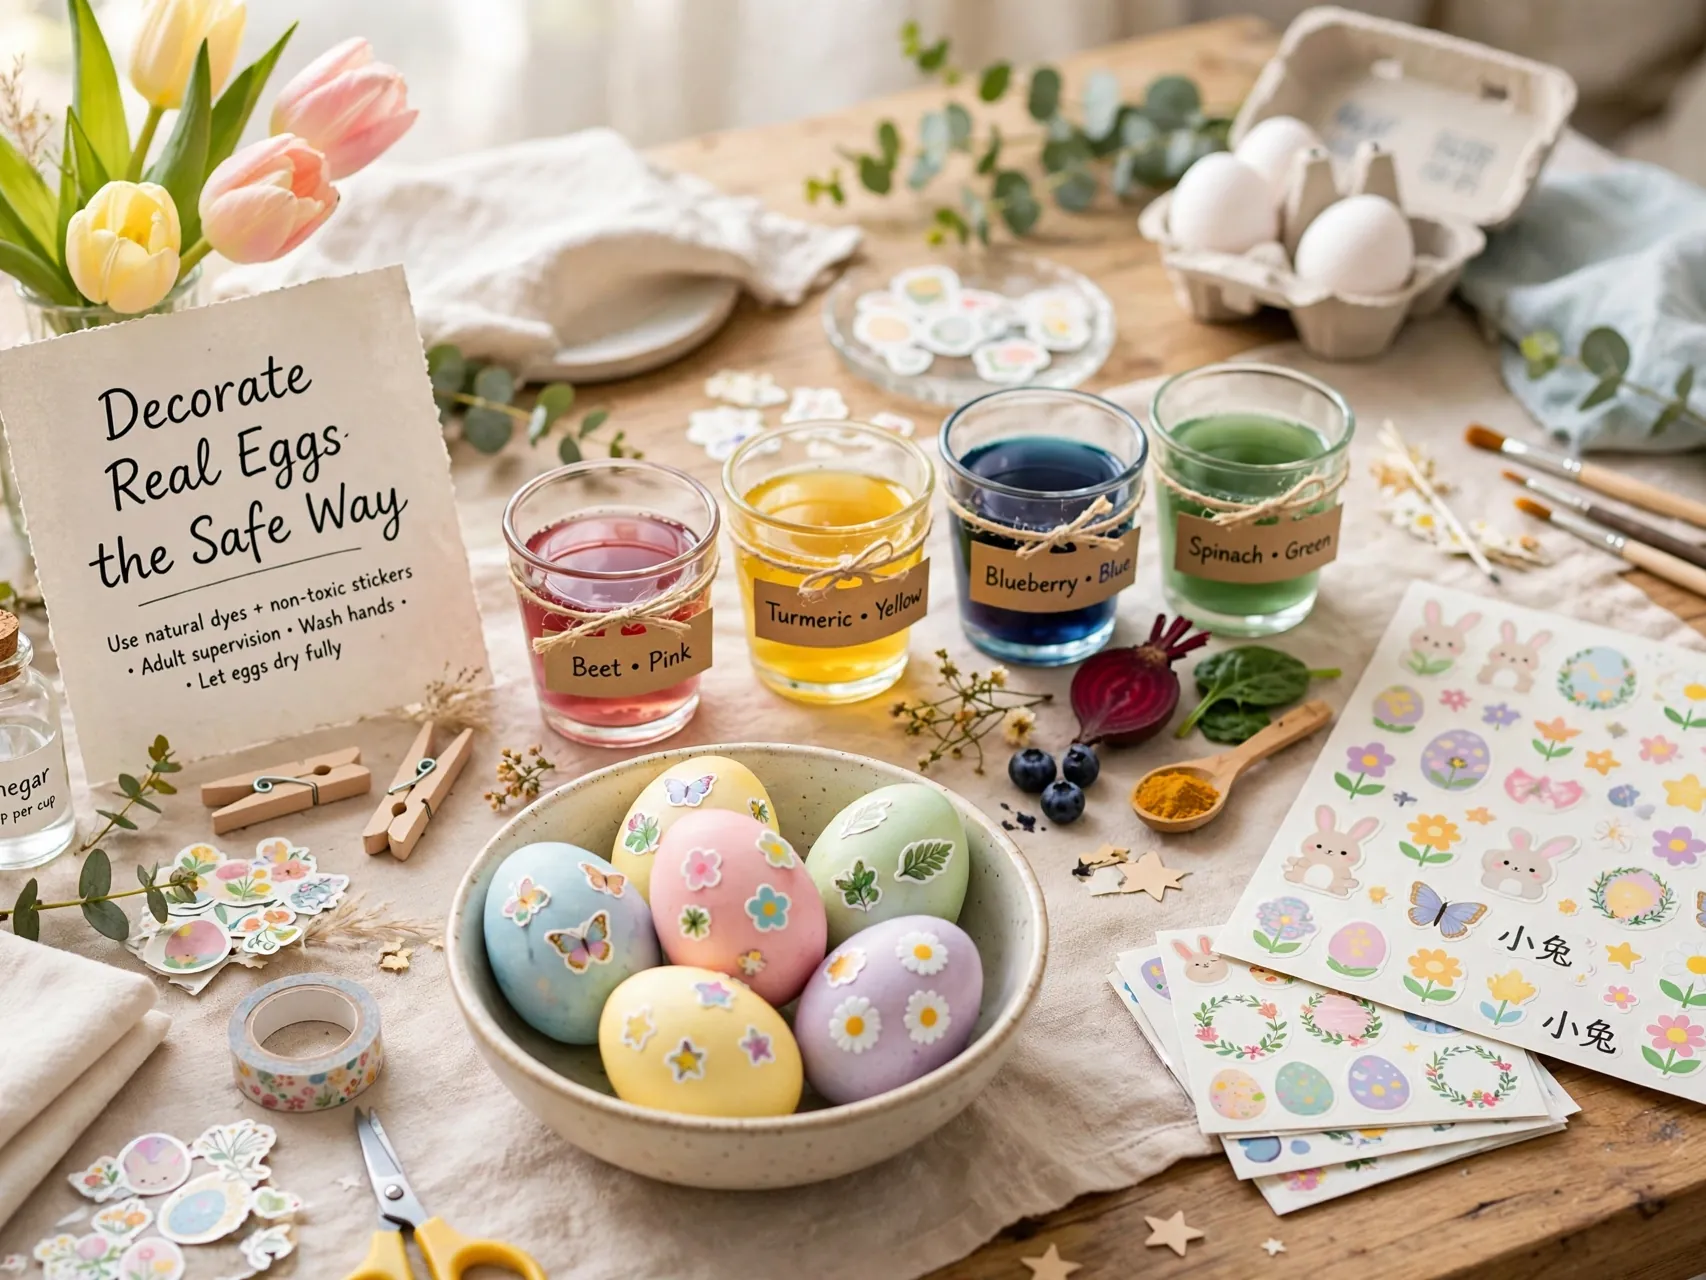
Set out hard-cooked eggs, food-grade dye cups, stickers, and washable markers made for egg decorating. Children dip, draw, and sticker their eggs at a covered table while an adult manages the dye cups and timing.
Wash hands before and after, use only food-grade dye if the eggs will be eaten, and put finished eggs straight back in the refrigerator. Do not eat eggs that sat out more than two hours or that were used in a hunt. Use plastic eggs for hunting and keep the pretty real eggs for the table and eating.
18. Make Bunny Tail Painting With Cotton Balls
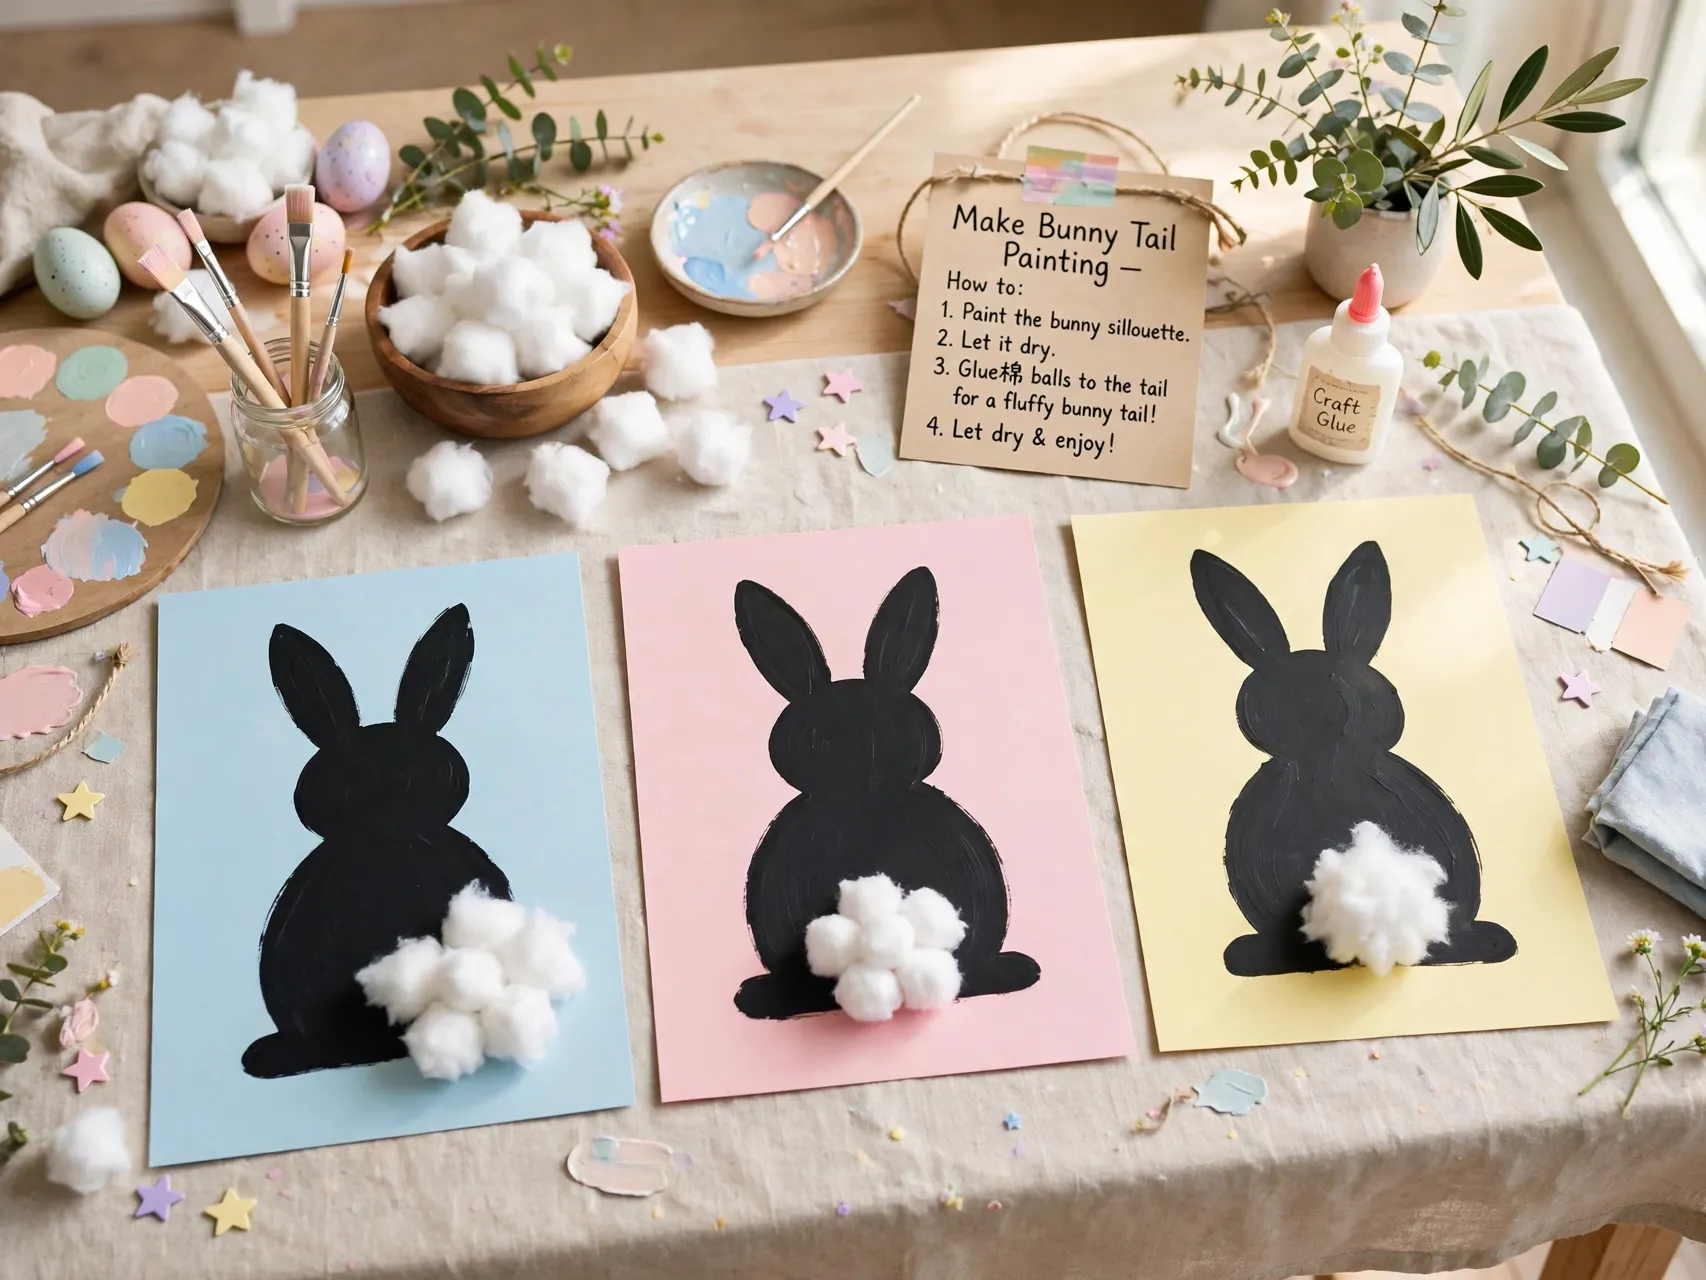
Clip a clothespin onto a cotton ball to make an easy grip stamper. Children dip it in washable paint and dab fluffy tails, clouds, sheep wool, or chick feathers onto bunny and lamb outlines printed or drawn on paper.
This technique is ideal for toddlers because the grip is easy and the result is soft and forgiving. No small brushes, no spills from tiny hands squeezing tubes. Use washable paint, cover the table, and display the finished art at child height where the artists can admire their work all week.
19. Create an Easter Egg Hunt Countdown Chain

Cut paper strips in pastel colors and let children decorate each strip with an egg pattern, a number, or a small drawing. Loop the strips into a chain with glue or tape, one link for each day until Easter or the family egg hunt.
Tear or cut off one link each morning. The chain becomes both a decoration and a calendar young children can understand. Hang it out of reach of toddlers if small staples are used, or stick with glue and tape only. It builds excitement without any candy at all.
20. Put on a Craft Table Showcase
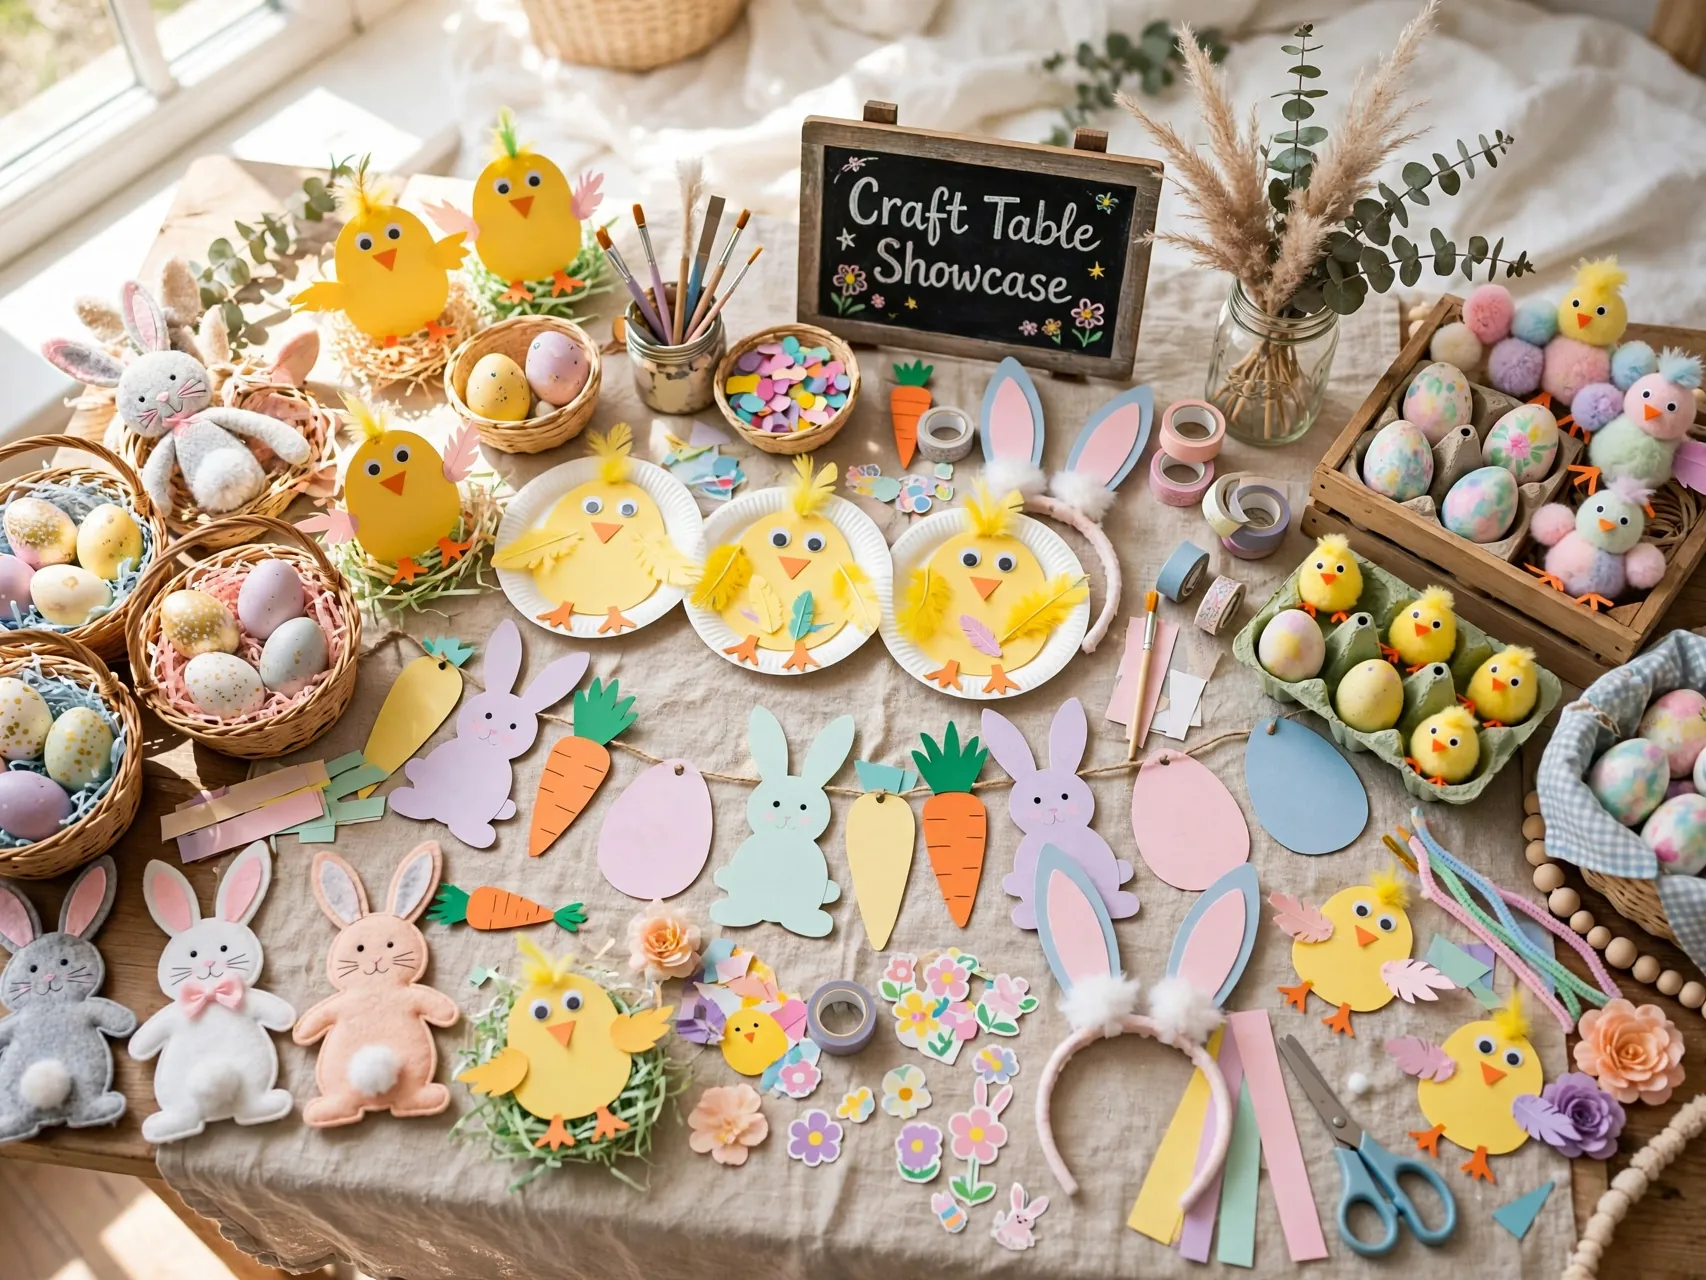
Finish your craft session by arranging everything the children made on one table or shelf: bunnies in a row, eggs in a basket, garland overhead, and cards standing open. Let each child show their favorite piece and tell one thing about it.
A little showcase turns scattered projects into a celebration and gives you a natural photo moment. Label pieces with names on the back before they go home with cousins or classmates. Saving one piece per child each year builds a sweet collection of fun easter activities for kids to look back on.
FAQ
What are the best Easter crafts for toddlers?
Choose big, simple, washable projects: sticker paper eggs, cotton ball tail painting, handprint and footprint art, and large pom pom decorating with adult help. Keep sessions short, let adults do all cutting, and keep small parts and small candy away from children under 3.
What supplies do I need for kids Easter crafts?
Paper plates, cardstock, cardboard tubes, washable paint and markers, crayons, stickers, craft glue, cotton balls, felt, yarn, and child-safe scissors cover almost every project here. Add paper bags, coffee filters, and egg cartons from recycling and you are ready for a full craft afternoon.
How do I keep craft time from getting too messy?
Cover the table, use washable supplies, put paint in small cups, and keep wipes and a trash bowl in the middle. Dress kids in play clothes or aprons, do one wet project at a time, and finish with a dry project like stickers while paintings dry.
Is it safe for kids to decorate real eggs?
Yes, with adult supervision and food safety basics. Wash hands before and after handling eggs, use only food-grade dye for eggs that will be eaten, refrigerate decorated eggs promptly, and do not eat eggs left out more than two hours or used in hunts. Plastic eggs are best for hunting.
How long should a kids craft session last?
For toddlers, 15 to 30 minutes of focused crafting is plenty. Preschoolers often enjoy 30 to 45 minutes, and older kids can happily work for an hour with two projects. End while it is still fun, display the work, and save extra supplies for another day.
Key Takeaways
- Big shapes, washable supplies: Paper plates, tubes, and handprints give small hands real success with very little frustration.
- Adults cut, kids create: Pre-cutting ears, shapes, and tissue squares keeps the fun parts for children and the sharp tools with grown-ups.
- Watch small parts under 3: Beads, buttons, and tiny candy stay off the toddler table, with large stickers and pom poms as safer swaps.
- Real eggs follow food rules: Food-grade dye, clean hands, refrigeration, and the two-hour rule keep egg decorating safe and enjoyable.
- Display everything: A garland, a fridge door, and a final showcase table make kids feel like real artists.
- Had a happy, gluey afternoon? Save this guide to Pinterest and pin the craft your kids will ask for first.