

20 Tips on How to Paint a Kitchen Island Like a Pro
Introduction
You can refresh your entire kitchen for under $100 by learning how to paint a kitchen island yourself. Professional cabinet painters often charge over $800 for this small area, but the process is manageable if you follow the right prep steps. A durable kitchen island finish depends more on your surface preparation than your painting technique. By removing grease with a quality degreaser and using a high-grade adhesion primer, you ensure the color sticks through years of daily use.
This project is one of the most effective DIY kitchen island makeover ideas because it creates a bold focal point without a full renovation. Choosing the right product, such as Sherwin-Williams Emerald Urethane, helps achieve a smooth, factory-like look. My guide covers everything you need to know about how to paint a kitchen island so you get a professional result that resists chips, scratches, and common kitchen wear.
Cleaning The Surface

You might think your island looks clean, but years of cooking leave behind invisible layers of grease that prevent paint from sticking. If you want to know how to paint a kitchen island so it lasts for years, you must start by using a heavy duty degreaser. Even a tiny trace of oil acts as a barrier, causing your finish to peel or bubble within weeks.
I usually spend at least 15 minutes scrubbing the wood with a concentrated cleaner and a non-scratch sponge. Rinse the wood thoroughly with plain water and wait until it feels completely dry before you touch it with any sandpaper. A clean base is vital for long-term adhesion, as it creates the perfect foundation for your primer to lock onto the surface. Skipping this step is the fastest way to ruin your project.
Choosing Island Colors
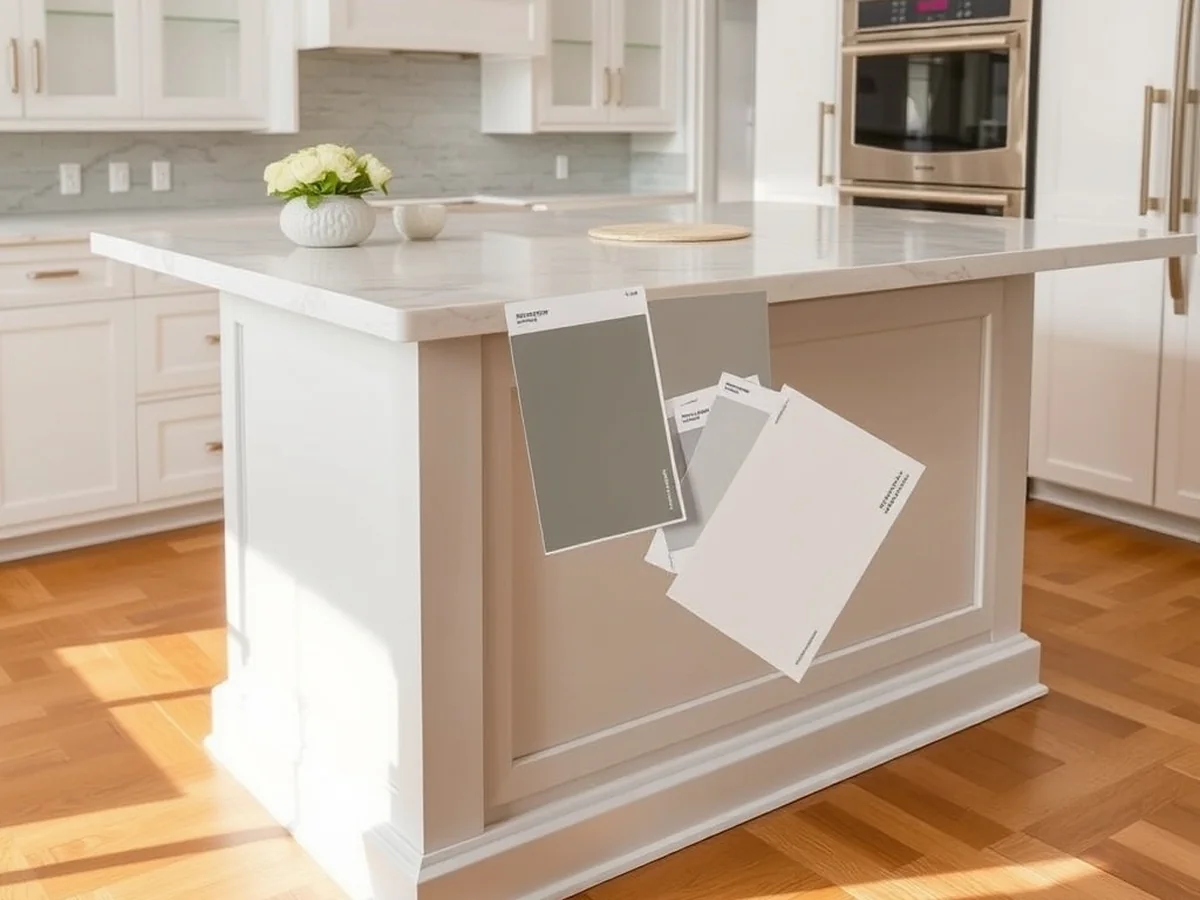
Do you know which color will ground your space while tying your room together? Before you start how to paint a kitchen island, look at the undertones in your flooring and countertops to ensure your choice creates a cohesive look. If your floors have warm wood tones, a cool grey might clash, so aim for a balance that connects the two surfaces. Many homeowners stick with Accessible Beige because it offers a soft, versatile base that complements almost any stone or quartz countertop material. It hides scuffs better than stark white and maintains a clean, timeless appeal. If you prefer a bolder statement, Kendall Charcoal is a popular alternative that adds depth without feeling too dark. I suggest buying one $10 sample pot to test the color against your cabinets and floors before committing to a full gallon.
Sanding Requirements
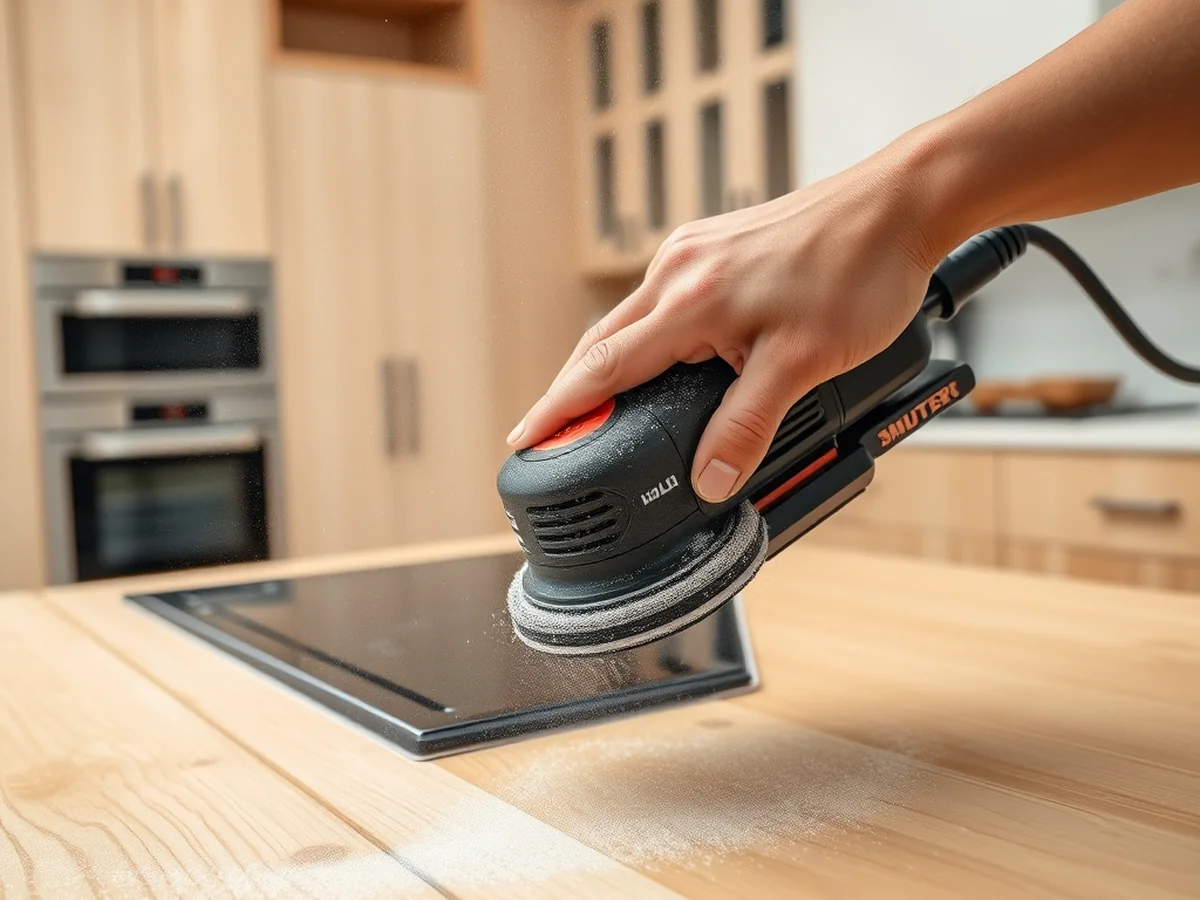
Many DIY enthusiasts assume a liquid deglosser replaces manual labor when learning how to paint a kitchen island, but skipping physical abrasion often leads to premature peeling. You need to use 120-grit sandpaper to effectively scuff the surface and create a mechanical bond for your finish. This grit is coarse enough to cut through old topcoats but fine enough to avoid leaving deep gouges in the wood. Even if your island looks smooth, sanding removes invisible layers of grease and wax that prevent paint from sticking. If you skip this step, your high-end paint like Sherwin-Williams Emerald Urethane will eventually pull away from the wood. Using a simple sanding block makes the process manageable for any skill level. Taking ten minutes to prep properly saves you from having to redo the entire project after a few months of heavy use.
Selecting Durable Paint

I have found that standard wall paint simply cannot handle the daily wear a kitchen island endures. When learning how to paint a kitchen island, you need a specialized durable cabinet paint finish that resists scuffs and cleaning agents. I prefer using Sherwin-Williams Emerald Urethane because it levels out beautifully for a smooth, hard shell that feels like factory-sprayed furniture. You should expect to spend around $95 per gallon for this level of quality, but it prevents the chipping that often ruins DIY projects.
Because islands are central family hubs, I always suggest choosing low-VOC options. These paints have fewer harsh fumes and chemicals, which makes them much safer for homes with children or pets. A high-quality water-based alkyd provides the hardness of traditional oil paint without the lingering smell or the need for difficult solvent cleanup.
Using Wood Filler

Apply a high quality wood filler to every surface imperfection before you start to prime. When you learn how to paint a kitchen island, you quickly realize that paint highlights rather than hides small gouges or deep scratches. I use a small plastic putty knife to press the filler into these spots, usually spending about 15 minutes on a standard island. Once the filler is completely dry, sand the area with 120-grit sandpaper until it feels perfectly smooth to the touch. This step is essential for ensuring a flat surface, as any leftover divots will ruin your final top coat. A smooth base layer is the secret to a professional look that stands up to daily wear and tear. After sanding, always wipe away the dust with a damp tack cloth to keep your workspace clean.
Applying Adhesion Primer
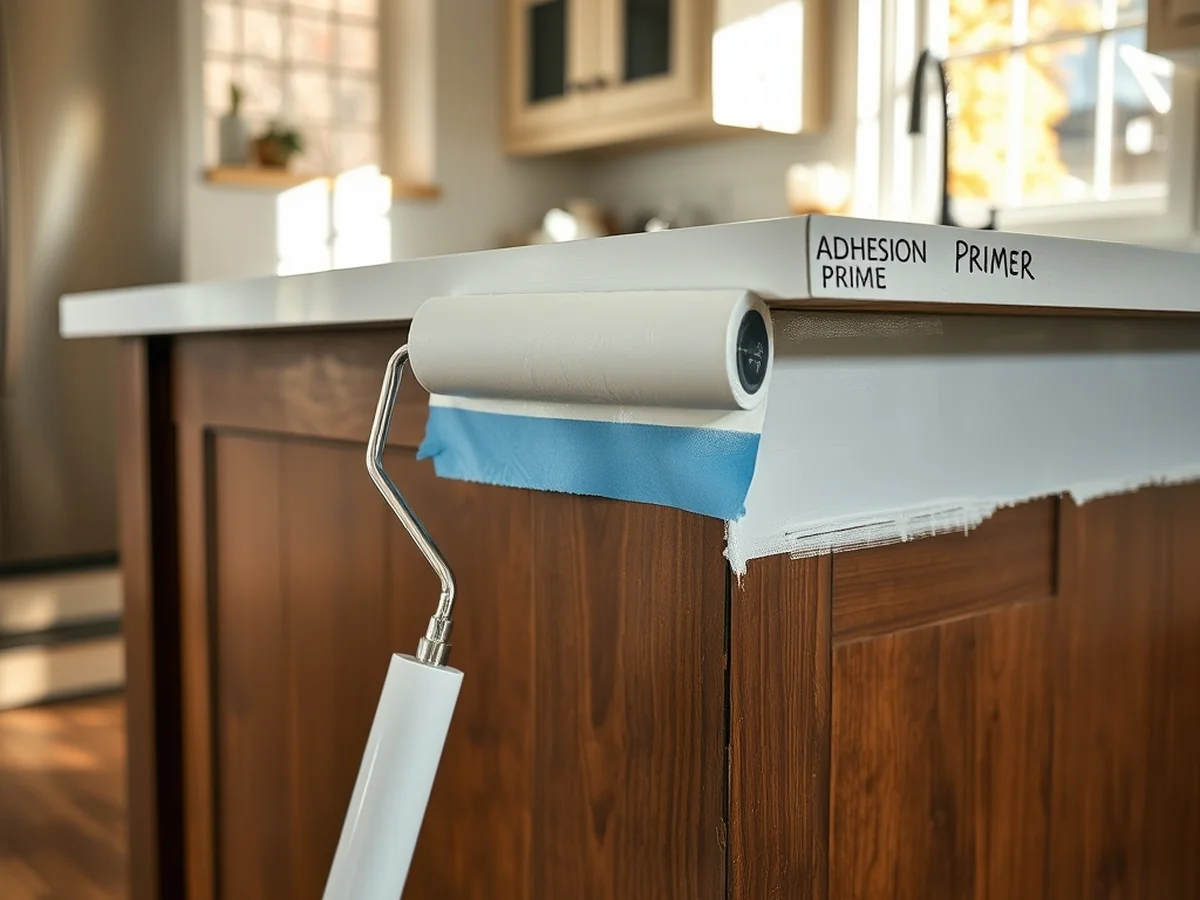
Applying a high-quality bonding primer is the most important step when you learn how to paint a kitchen island during the cooler autumn months. A dedicated adhesion primer acts as a glue between the wood surface and your topcoat, which prevents the paint from peeling or chipping after a few months of heavy use. I always use a primer specifically designed for cabinets, like the Stix Waterborne Bonding Primer, because it sticks to glossy surfaces that are hard to cover.
- Select a bonding primer that states it works on hard-to-stick surfaces like laminate or factory-finished wood.
- Use a high-quality synthetic brush to cut into the edges and a 4-inch foam roller for the flat panels.
- Apply exactly one thin coat of primer to ensure the best chemical bond before adding your final color.
This extra layer ensures your hard work survives daily traffic and moisture.
Managing Island Molding
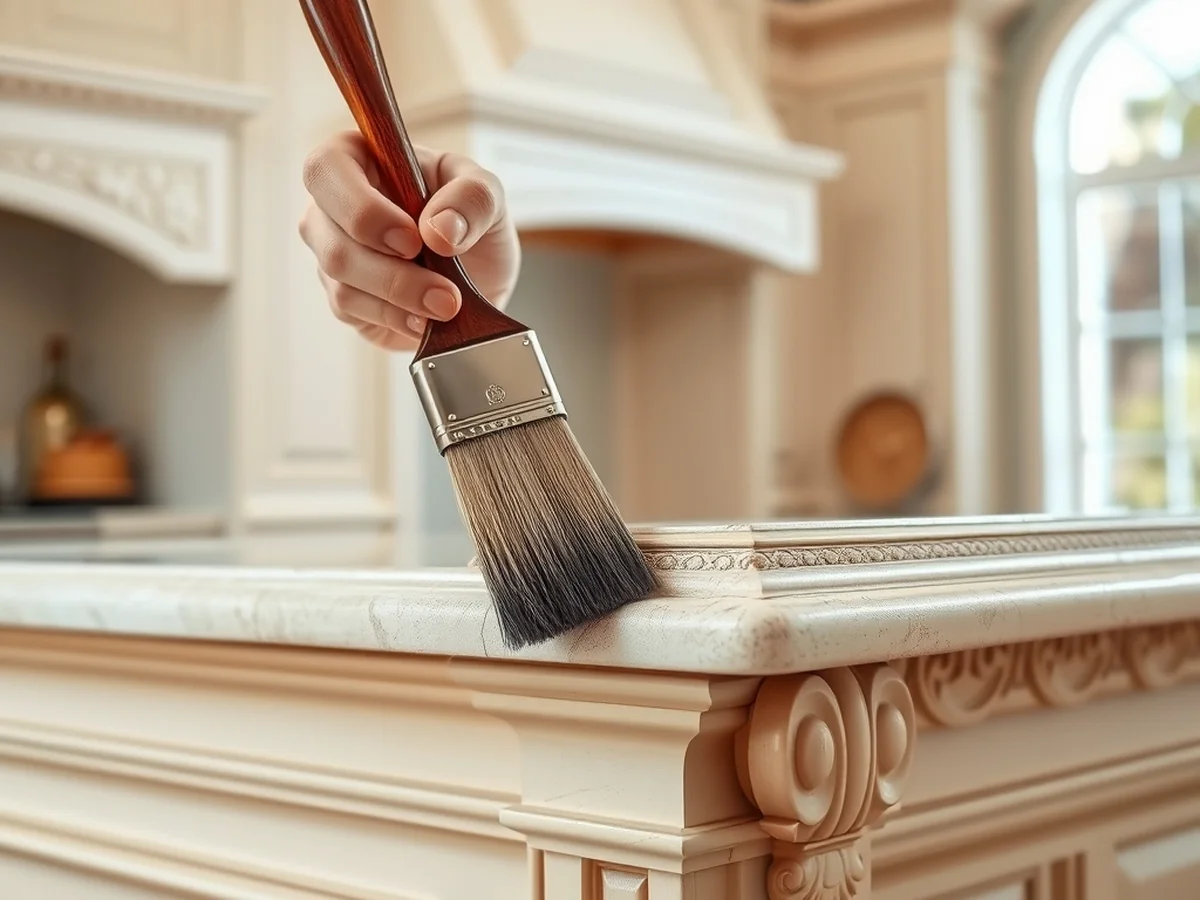
Paying a professional to paint your cabinetry can cost over $1,500, but doing it yourself keeps expenses under $100 for high-quality paint like Sherwin-Williams Emerald Urethane. When learning how to paint a kitchen island, the carved details on your molding require extra care. Always use an angled sash brush to reach into the crevices where a standard foam roller cannot go.
Load your brush with a small amount of paint and apply it in thin, even strokes to avoid thick globs. If paint pools in the decorative grooves, it will look messy once it dries. Take a dry brush and lightly sweep over these areas to smooth out any excess material immediately. This technique prevents buildup and ensures a professional durable cabinet paint finish. Check your work from multiple angles under bright light to catch any drips hiding in the wood carvings.
Painting Without Sanding
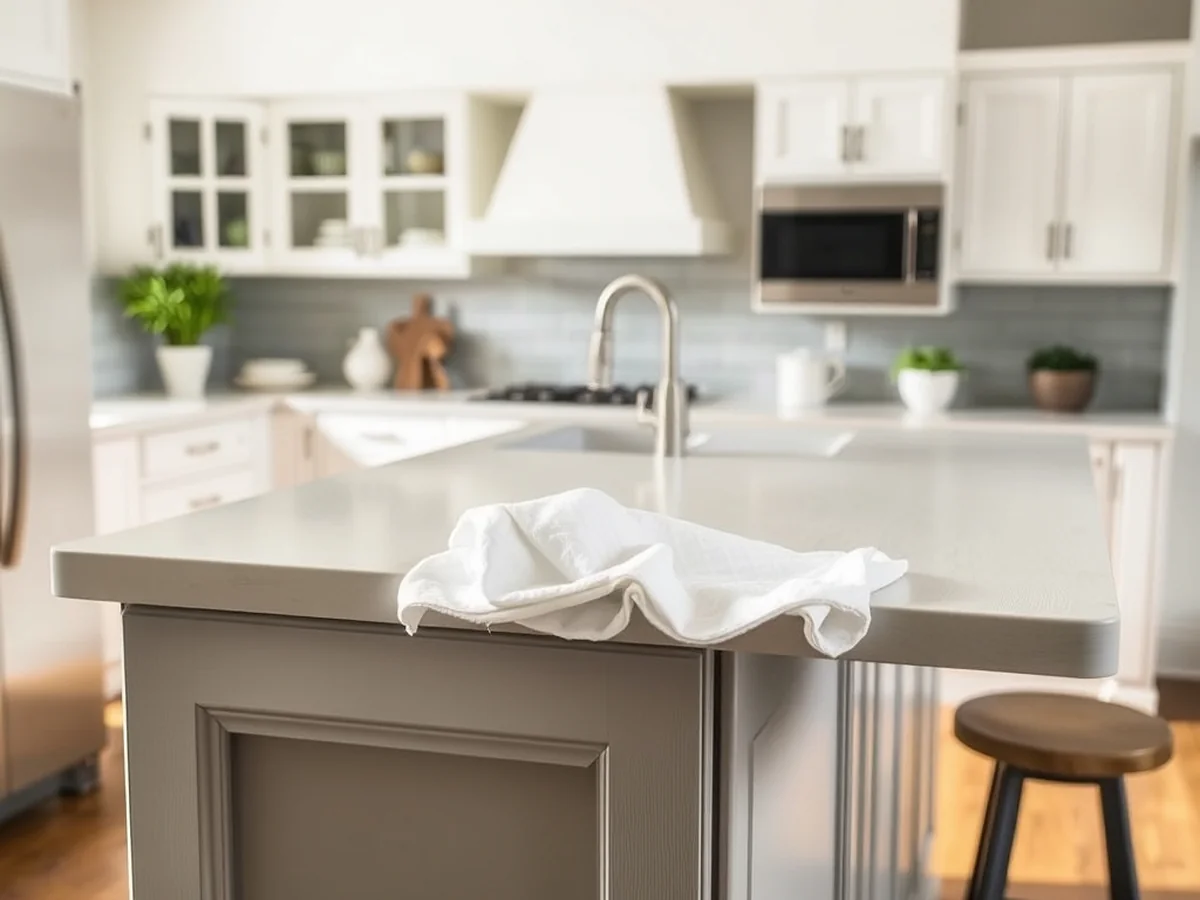
You can skip manual labor by using a chemical deglosser to prepare your surface when learning how to paint a kitchen island. This liquid solvent wipes away the factory sheen, creating a porous layer for your new coat to grip. A single bottle costs around $12 and effectively removes stubborn grime or grease that soap misses. This is much faster than spending hours hand-sanding with 120-grit sandpaper.
However, there is a clear trade-off between sanding and liquid deglossing. While deglossers save time, they cannot smooth out deep scratches or old drip marks already on the wood. If your island has significant texture or peeling paint, physical sanding remains the only way to achieve a truly flat surface. Always use a high-quality adhesion primer after deglossing to ensure your final color bonds well to the base material.
Selecting Paint Sheens

You might think a flat finish looks modern, but it will show every smudge and water drop in your busy kitchen. When you learn how to paint a kitchen island, picking satin or semi-gloss is the secret to long-term durability. These finishes create a tight barrier that resists grease and moisture, making them much easier to wipe clean with a damp cloth.
- Satin finish offers a soft, low-luster glow that hides minor surface imperfections well.
- Semi-gloss provides a harder shell that stands up best to heavy foot traffic and accidental kicks.
I find that a semi-gloss sheen works best if your island has intricate molding or carved details that you want to highlight. Plan to spend around $85 for a gallon of high-quality paint like Sherwin-Williams Emerald Urethane to ensure your hard work stays chip-free for years.
Protecting Nearby Areas

Do you worry about getting paint on your pristine floors while learning how to paint a kitchen island? A thick canvas drop cloth is your best defense against spills. Do not rely on thin plastic sheets that slide around. I prefer using a heavy-duty canvas cover that stays in place even if I bump into it with my ladder. Spend about $20 on a high-quality cloth to save yourself hours of scrubbing later.
Use painter’s tape to seal the gap where the island base meets the floor. Press the edge down firmly with a putty knife to stop paint from bleeding underneath the tape. This simple step ensures clean lines and prevents accidental splatters on your tile or wood. Always remove the tape while the final coat is still slightly tacky to avoid pulling off chunks of your fresh satin finish paint.
Brush Vs Sprayer
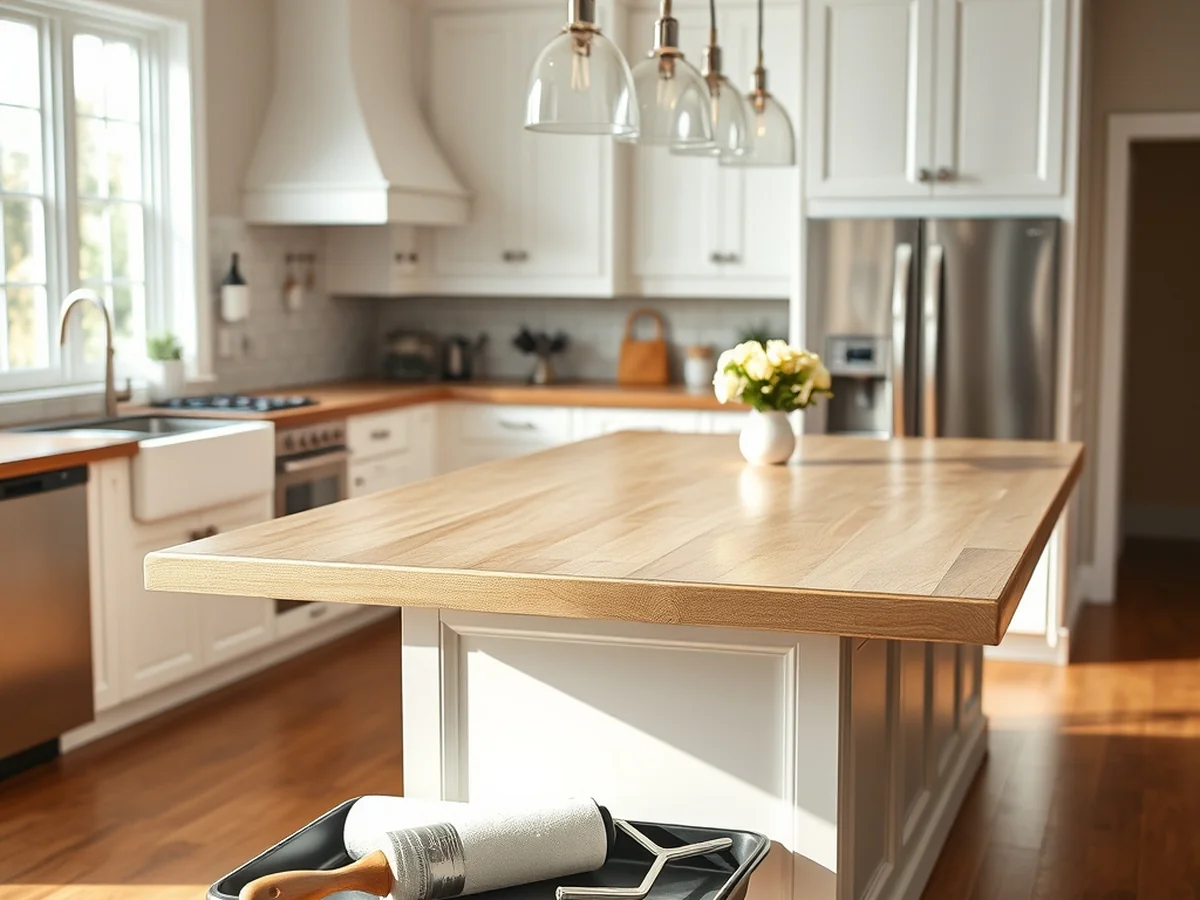
Many believe you need an expensive airless sprayer to get a factory finish, but you can achieve stunning results with simple hand tools. While sprayers offer speed, a high-quality brush and roller combo often provides better control for a beginner learning how to paint a kitchen island. Using a sprayer requires extensive masking of your entire kitchen to prevent overspray, which can add hours to your project.
For a smooth finish, use a 2-inch angled sash brush for corners and a 4-inch high-density foam roller for flat panels. This method is cheaper, as a quality brush costs around $12. To avoid brush marks, choose a leveling paint like Sherwin-Williams Emerald Urethane. It settles beautifully as it dries. Always apply thin, even coats to ensure durable cabinet paint finish results that withstand daily wear without needing professional equipment.
Avoiding Brush Strokes
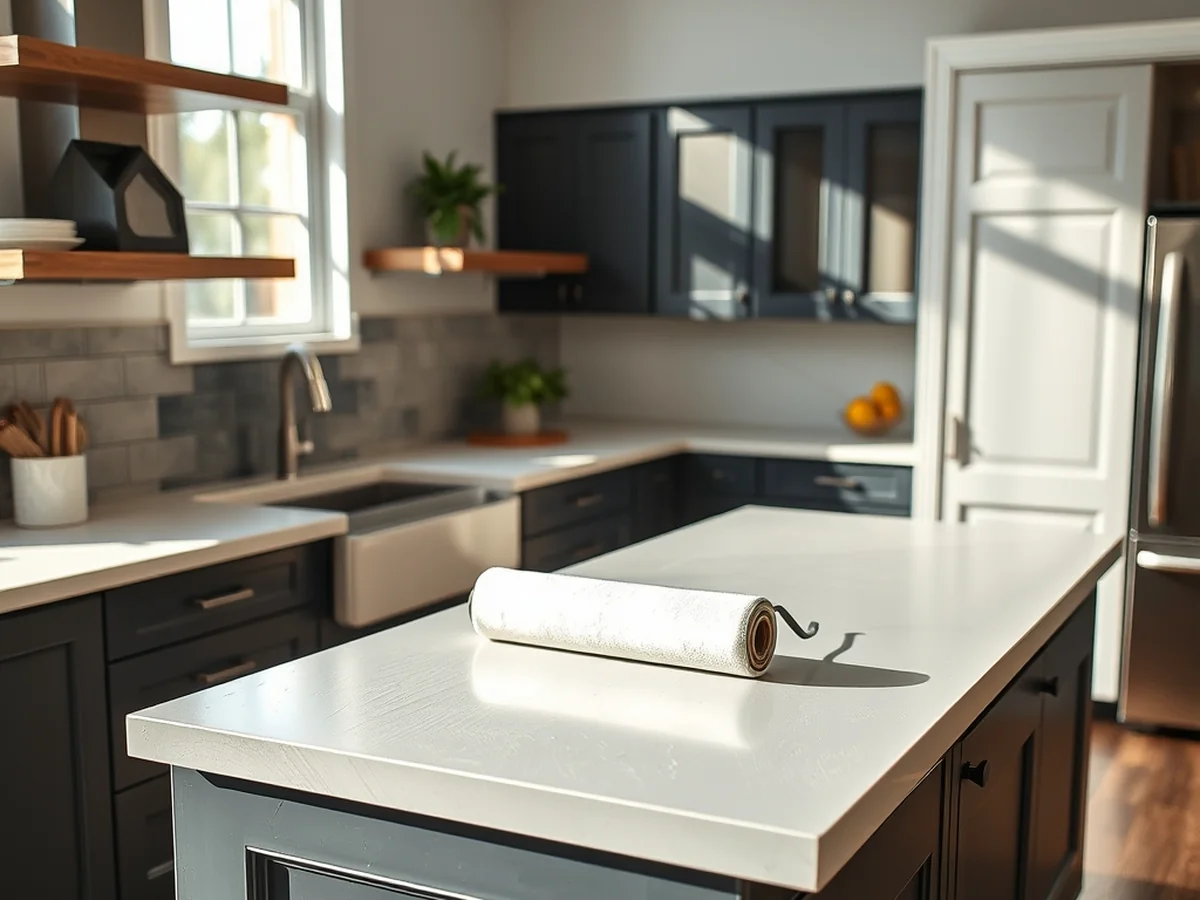
I find that most visible lines happen because people use cheap, stiff bristles instead of the right tools. When you learn how to paint a kitchen island, your choice of applicator determines the final texture. For flat panels, always use a high-quality foam roller. This tool applies paint evenly and prevents the heavy drag marks left by standard brushes. You can pick up a pack of these rollers for around $8 at most hardware stores.
To achieve that smooth factory-like finish, pick a paint with excellent leveling properties, such as Sherwin-Williams Emerald Urethane. This paint settles flat as it dries, which masks minor imperfections. Work in small sections and avoid going back over paint that has already started to set. This technique keeps the surface consistent and prevents the dreaded orange peel texture that ruins a professional look.
Handling The Countertop
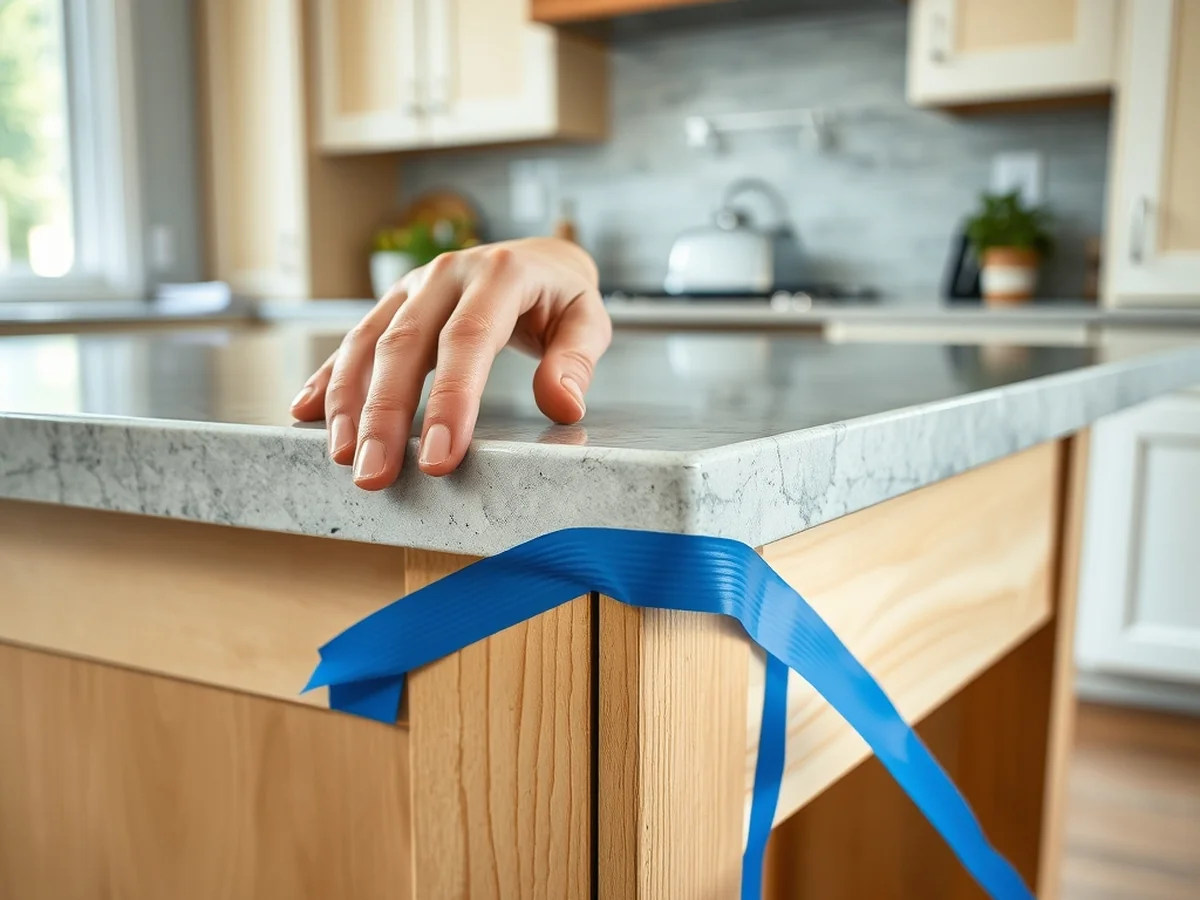
You do not need to remove your heavy stone or wood countertop when learning how to paint a kitchen island. Detaching a top often risks damage to your cabinets or the stone itself. Instead, focus on using high quality painter’s tape to create a crisp line along the seam where the wood meets the underside of the counter. Apply the tape firmly with your thumbnail to prevent paint from bleeding underneath. If your island has a slight overhang, use a 2 inch wide tape to ensure you have enough coverage to protect the surface from drips. Use a drop cloth beneath the island to catch any stray marks while you work. Taking your time with this step ensures your finish looks professional and clean without the unnecessary stress of dismantling your kitchen fixtures.
Preventing Orange Peel
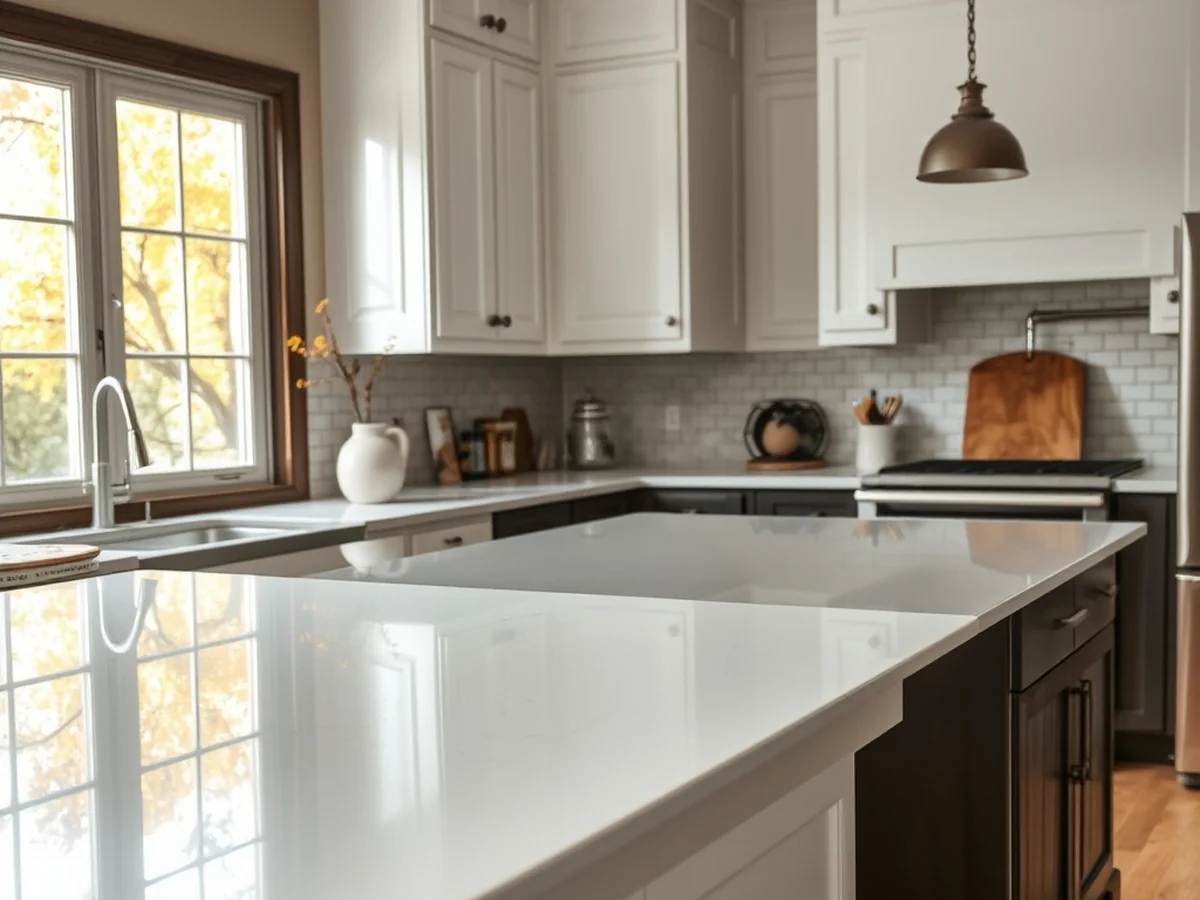
As you prepare your home for the crisp autumn season, learning how to paint a kitchen island with a glass-like finish becomes a priority. Orange peel happens when paint dries too fast or stays too thick, causing a bumpy texture. If you notice this happening during your project, thin your paint by adding about 2 ounces of water or a professional extender per quart. This adjustment allows the paint to level out before it sets. Always use a high-quality foam roller rather than a standard nap roller to avoid air bubbles. If the texture remains uneven, lightly sand the area with 120-grit sandpaper once the coat is fully dry. Wipe away every speck of dust with a tack cloth before applying your next thin, even layer to ensure a smooth, professional result.
Applying Multiple Coats
Professional cabinet painters charge around $800 for this task, but you can achieve the same look yourself for under $60 in materials. When you learn how to paint a kitchen island, your patience between layers is what prevents a messy finish. Apply the first layer with a high-quality satin finish paint, then let it dry for at least six hours.
Use a piece of 120-grit sandpaper to lightly buff the surface before you add the next coat. This quick step removes tiny bubbles or dust particles that settle during drying. Always wipe away the resulting dust with a tack cloth before applying more paint. While the surface might feel dry to the touch within a few hours, true curing time for durable cabinet paint takes up to 30 days. Avoid heavy scrubbing on your island until that full month passes.
Installing New Cabinet Hardware

Replacing old pulls can instantly elevate the look after you learn how to paint a kitchen island. You should choose hardware that contrasts with your new finish for a high-end effect. If you painted your base in a dark tone like Kendall Charcoal, picking matte black or brushed brass handles creates a modern, sophisticated edge. I recommend buying a template tool for $10 to ensure every screw hole aligns perfectly before you drill. Current trends favor long, slim bar pulls that run at least six inches long to add visual weight to the cabinetry. Avoid tiny knobs that look lost on large drawers. Whether you prefer a minimalist look or a classic aesthetic, ensure the metal finish matches your kitchen faucets for a cohesive flow. Swapping these pieces is the final step in a professional kitchen island makeover.
Understanding Curing Time

You finish your final coat, replace the hardware, and feel tempted to put your coffee maker back on the counter immediately. If you want to know how to paint a kitchen island that survives daily life, you must wait. Paint feels dry to the touch within a few hours, but it remains soft underneath. This process of full curing can take up to 21 days depending on the humidity in your home.
If you rush to use the island too soon, you risk peeling and permanent scuffs. I’ve noticed that waiting at least 7 days before placing heavy appliances back on the surface prevents the finish from sagging or sticking. Using a high-quality product like Benjamin Moore Advance helps, but even the best paint for kitchen cabinets needs time to build long-term durability. Treat your island like a delicate piece of furniture during this window to ensure your hard work lasts for years.
Island Paint Maintenance

Do you want to keep your surface looking fresh long after you learn how to paint a kitchen island? The secret to longevity is using gentle cleaning methods that don’t strip the durable cabinet paint finish you applied. Avoid harsh chemical cleaners or abrasive scrubbing sponges. Instead, wipe down the island once a week using a soft microfiber cloth dampened with warm water and a tiny drop of mild dish soap. This keeps grease and food splatters from building up and wearing down the paint film.
- Keep a small jar of leftover paint tucked away for quick fixes.
- Use a tiny artist brush to dab paint onto small chips or scuffs.
- Wait at least 21 days for the paint to fully cure before scrubbing it.
- Apply a thin layer of wood filler if the damage goes deep into the material.
Essential Painting Preparation Steps
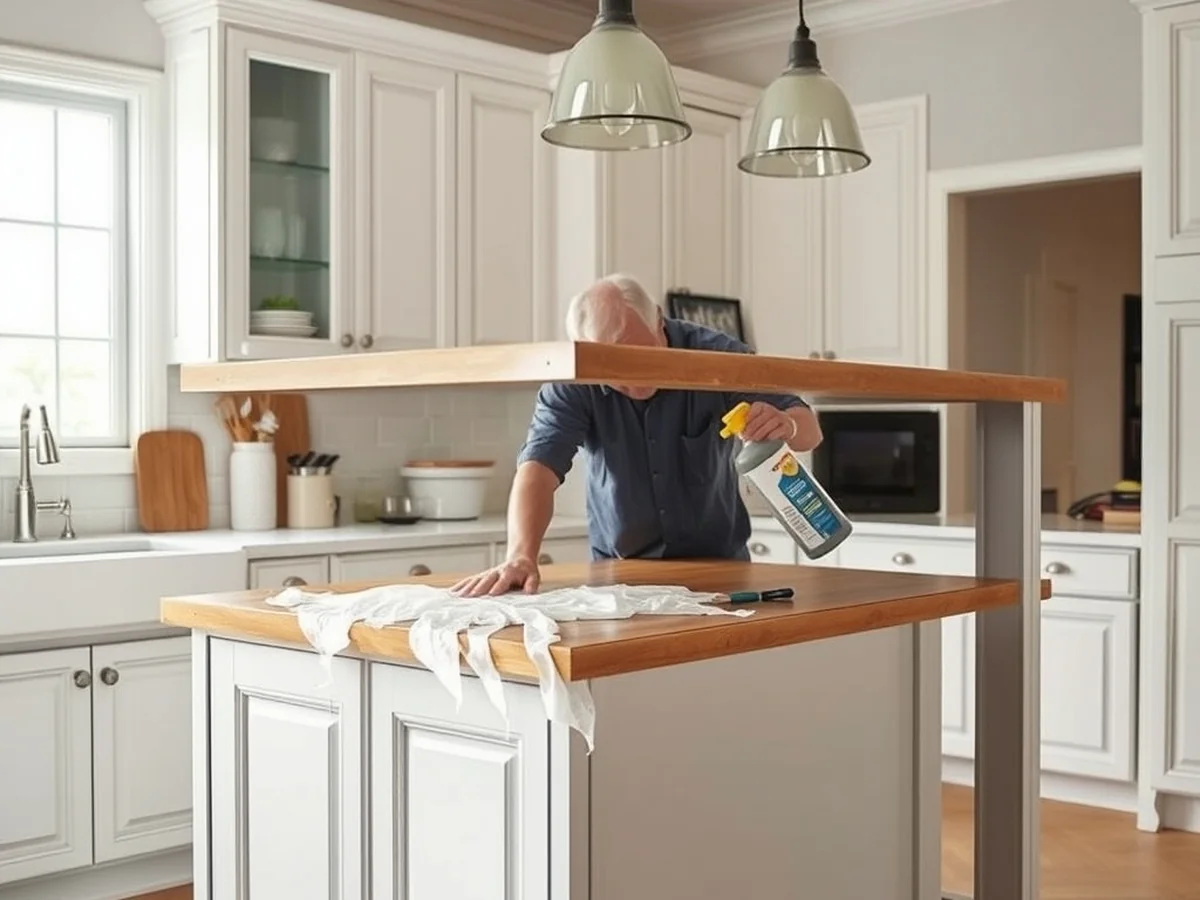
You might think you can just grab a brush and start, but skipping the prep work is why many DIY projects peel within weeks. Learning **how to paint a kitchen island** successfully starts with cleaning every surface with a strong degreaser to remove hidden cooking oils. If you don’t strip away that grease, even the best paint won’t stick.
Once clean, use **120-grit sandpaper** to scuff the entire surface. This creates the tiny scratches necessary for the primer to bond to the wood. Staying organized makes the difference between a messy weekend and a professional result. Keep your hardware in labeled bags and use plenty of painter’s tape to protect your flooring.
- Clear the area and lay down a heavy drop cloth.
- Fill any deep scratches or dents with wood filler.
- Wipe away all dust with a sticky tack cloth.
Pro Tips for Professional Finishes
I have learned that the secret to a smooth finish lies in patience and the right tools. When learning how to paint a kitchen island, you must resist the urge to rush the process. Start by using 120-grit sandpaper to lightly scuff the surface, which helps the primer bond. For a factory-like look, skip the cheap brushes and use a high-quality angled sash brush for corners and a dense foam roller for flat panels. This combination helps prevent the dreaded orange peel texture.
For another perspective, this detailed piece on How to Paint a Kitchen Island is worth a read.
- Always use a high-quality durable cabinet paint finish like Benjamin Moore Advance, which levels out beautifully as it dries.
- Give your project a full 14 days of curing time before you start scrubbing the surface or placing heavy appliances on the island.
- Use a tack cloth to remove every speck of dust before painting to ensure a clean, professional result.
FAQ
Is sanding necessary?
You should always sand the surface with 120-grit sandpaper to ensure the primer sticks properly. Skipping this step often leads to the paint peeling off after just a few weeks of heavy use.
Which paint is most durable?
The best paint for kitchen cabinets and islands is a waterborne alkyd enamel like Benjamin Moore Advance. This type of paint offers a hard, durable finish that resists daily wear better than standard latex wall paint.
How do I stop chips?
The secret is proper surface preparation and letting the paint cure for at least 7 days before putting heavy items on the island. Use a high-quality adhesion primer first to seal the wood, which significantly reduces the risk of future chips.
Can I paint around the countertop?
You can paint around it, but you must use high-quality painter’s tape to protect the stone or wood surface. If you are learning how to paint a kitchen island, press the tape edge down firmly with a credit card to stop paint from bleeding underneath.
How do I get a smooth finish?
Use a high-density foam roller for the flat panels and an angled sash brush for corners to avoid visible brush strokes. Applying thin coats rather than one thick layer prevents drips and provides a professional, factory-like look. Avoid heavy pressure while rolling, as this keeps the texture even across the entire surface.
You might also like: 21 Ways to Make a Small Kitchen Look Bigger Instantly
Key Takeaways
Refreshing your home during the spring season is the perfect time to learn how to paint a kitchen island for a high-end look.
- Deep cleaning is mandatory before you start, so scrub every surface with a strong degreaser to remove hidden grease.
- Proper sanding creates adhesion, which means you must use 120-grit sandpaper to scuff the finish so your new coats stay put.
- Select professional paint like Benjamin Moore Advance or Sherwin-Williams Emerald Urethane to get a durable satin finish that resists chips.
- Use quality tools such as a high-density foam roller and an angled sash brush to ensure a smooth, professional application.
- Allow for curing time by waiting at least 7 days before you attach new hardware or put the island to heavy daily use.
Save this guide to your kitchen renovation board on Pinterest to keep these professional tips handy for your project.






One Comment