23 Homemade Christmas Ornaments That Look Totally Charming
Introduction
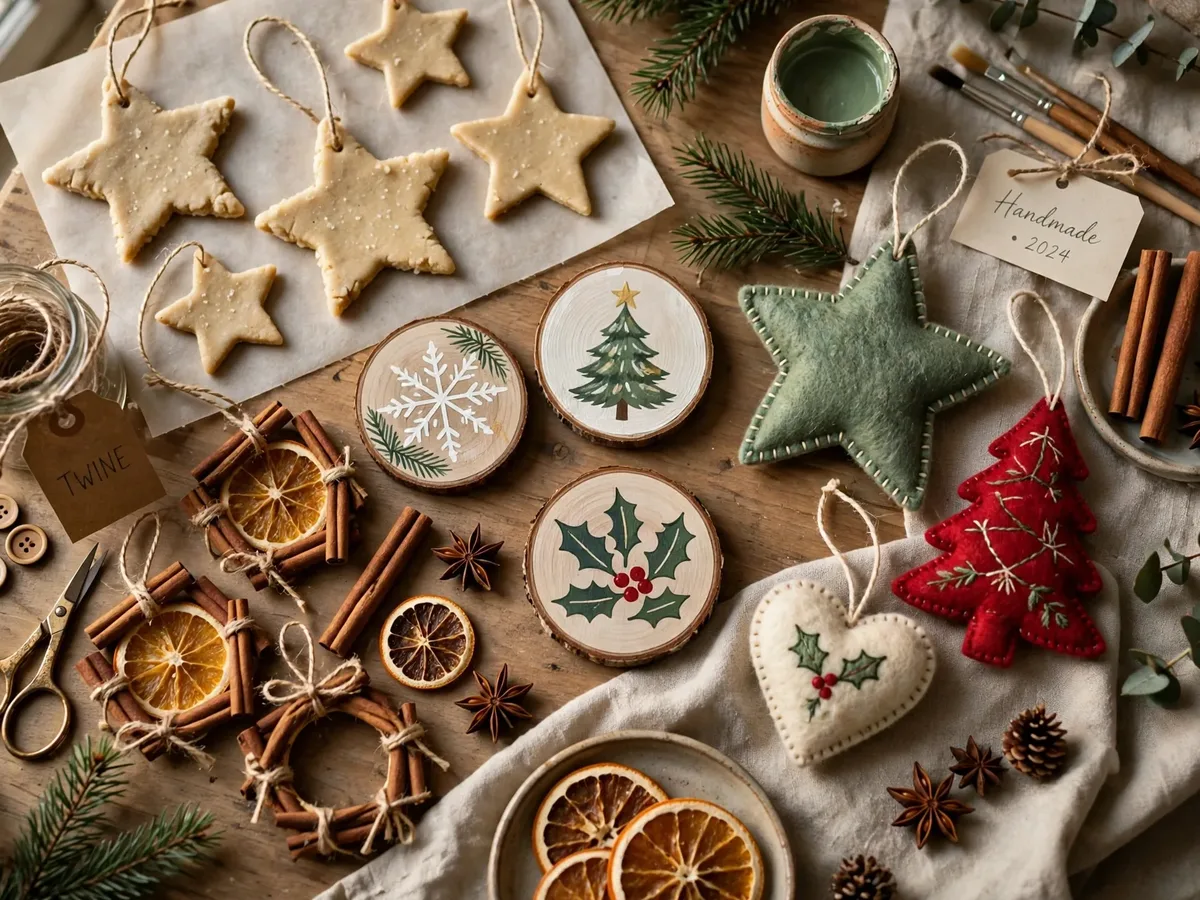
Store bought ornaments fill a tree fast, but the branches everyone stops to admire usually hold the handmade pieces. A child handprint, a cinnamon star that still smells faintly warm, a photo from the year the baby arrived: those are the homemade christmas ornaments families unpack first every December.
Most ideas below use kitchen basics, paper, felt, pinecones, or clear fillable balls, plus one afternoon. Work in batches, make extras for gift toppers, and write the year on the back of every piece.
Keep safety simple while you craft. Adults handle the oven, hot glue, and craft knives, kids handle rolling, cutting with safety scissors, painting, and sticking. Keep beads, buttons, and other small embellishments away from children under 3, and hang delicate or small part ornaments high on the tree in homes with toddlers and pets.
1. Roll Classic Salt Dough Cutout Ornaments

Salt dough is the starting point for most families for good reason. Mix flour, salt, and water into a firm dough, roll it about a quarter inch thick, cut shapes with cookie cutters, and poke a hanging hole with a straw before baking low and slow until fully hard.
Let an adult handle the oven and move the tray. Once pieces are completely cool, kids can paint them with acrylic paint and add details with paint pens. Seal finished ornaments if you like, store them dry, and remember they are decor only, never food, even though they start in the kitchen.
2. Make Cinnamon Applesauce Ornaments That Smell Like Christmas

Cinnamon dough, made with cinnamon, applesauce, and white glue in the classic craft style, rolls out like cookie dough and dries into deep brown stars, hearts, and gingerbread shapes. The scent is the whole point, warm and spicy on the tree for weeks.
Cut shapes, add a straw hole, and let them air dry on a rack, turning them so they stay flat, or dry them in a low oven with an adult in charge. These are decor only and should never be eaten. Hang them near the entry or kitchen where their scent greets people first.
3. Press Handprint Salt Dough Keepsakes
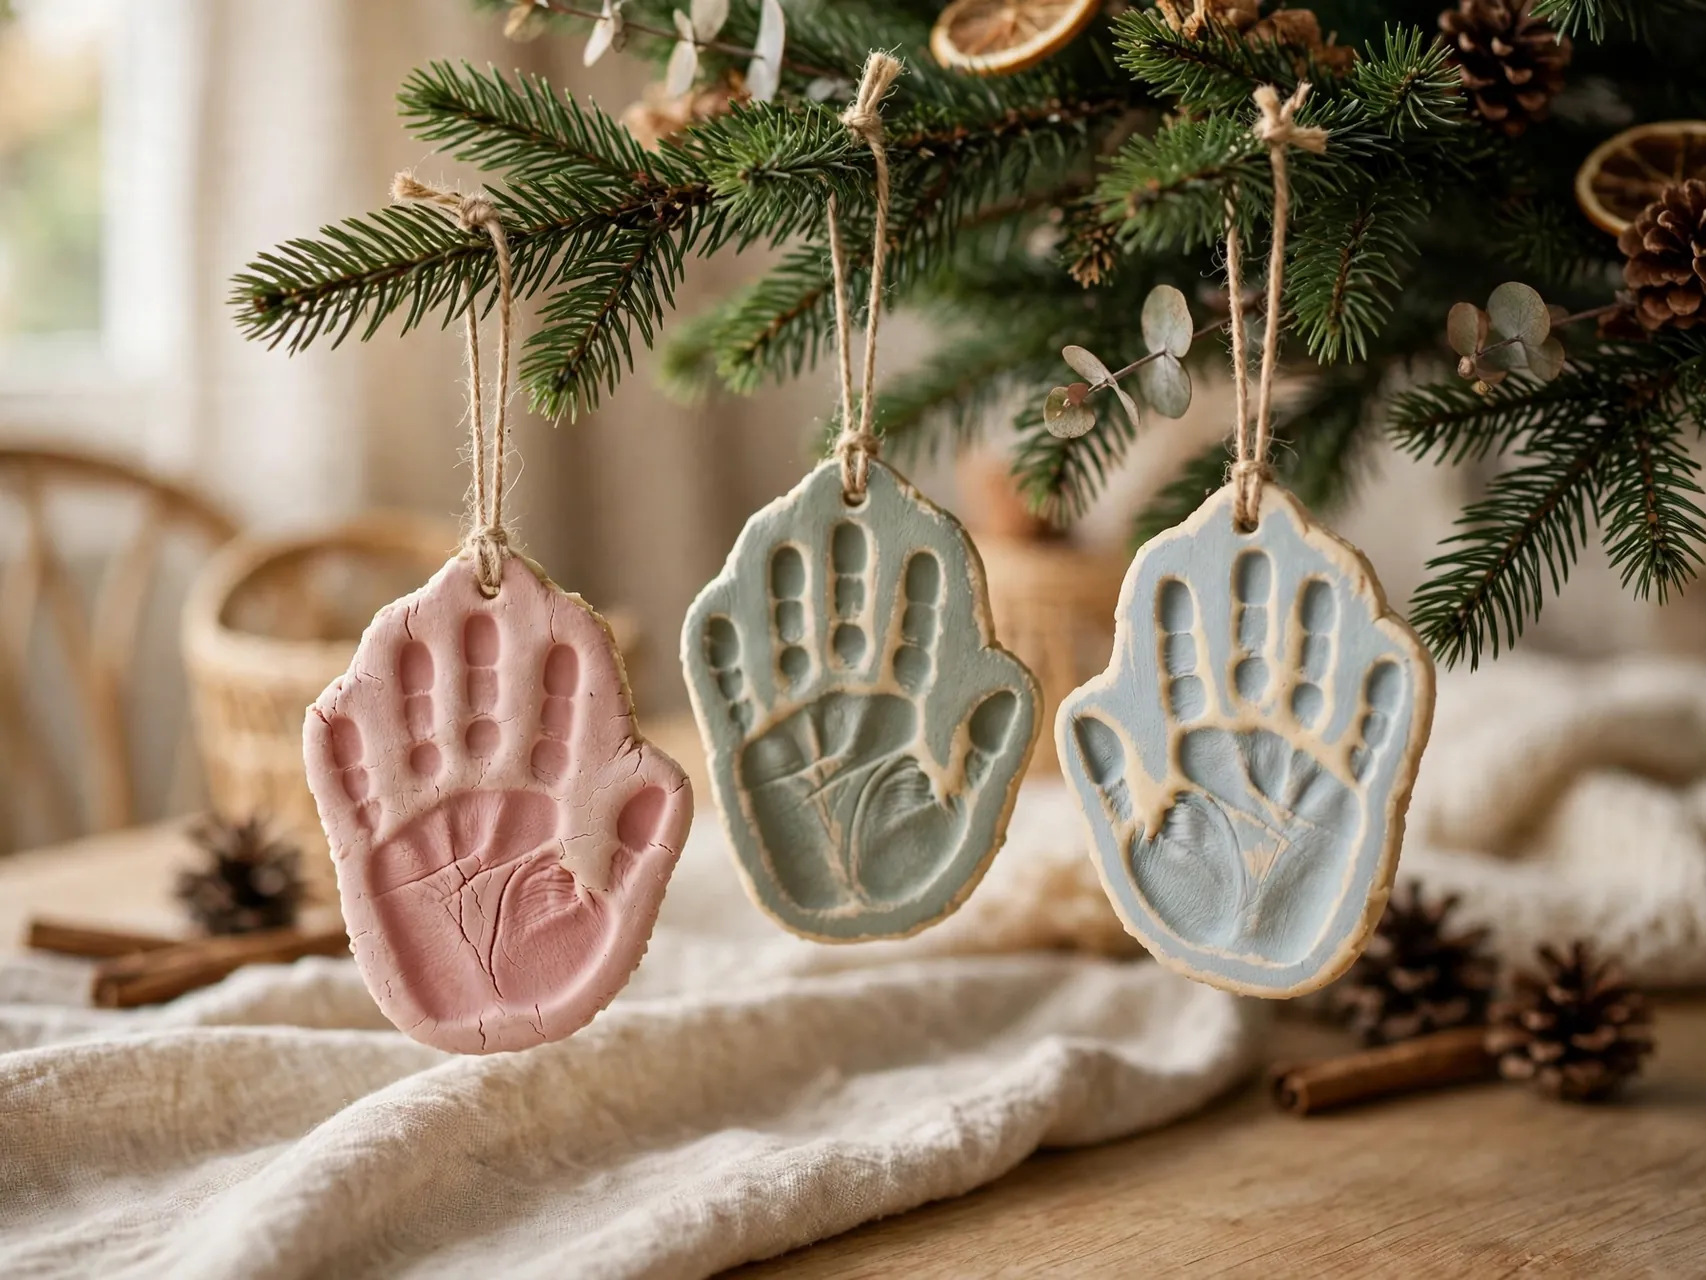
Press a small hand into a round of salt dough, cut around it with a plastic knife or a round cutter, add a hanging hole, and bake until hard. Once cool, paint the handprint in a contrasting color and write the child name and year along the edge.
Grandparents request these by name, so make multiples in one batch. Store keepsakes wrapped in tissue in a dry box, since dough ornaments dislike damp basements and garages.
4. Create Fingerprint Reindeer and Snowmen

For the fastest keepsake in this list, press painted fingerprints onto plain round ornaments, wood slices, or salt dough discs. A brown thumbprint becomes a reindeer with painted antlers, and stacked white prints become a snowman with a dot scarf.
Use non-toxic paint for little fingers and wash hands right after. Adults or older kids add the tiny faces with a fine brush or paint pen once prints dry. These easy homemade ornaments suit classrooms and family craft nights because every child result looks different and charmingly imperfect.
5. Fill Clear Ornaments With Coiled Paper Curls
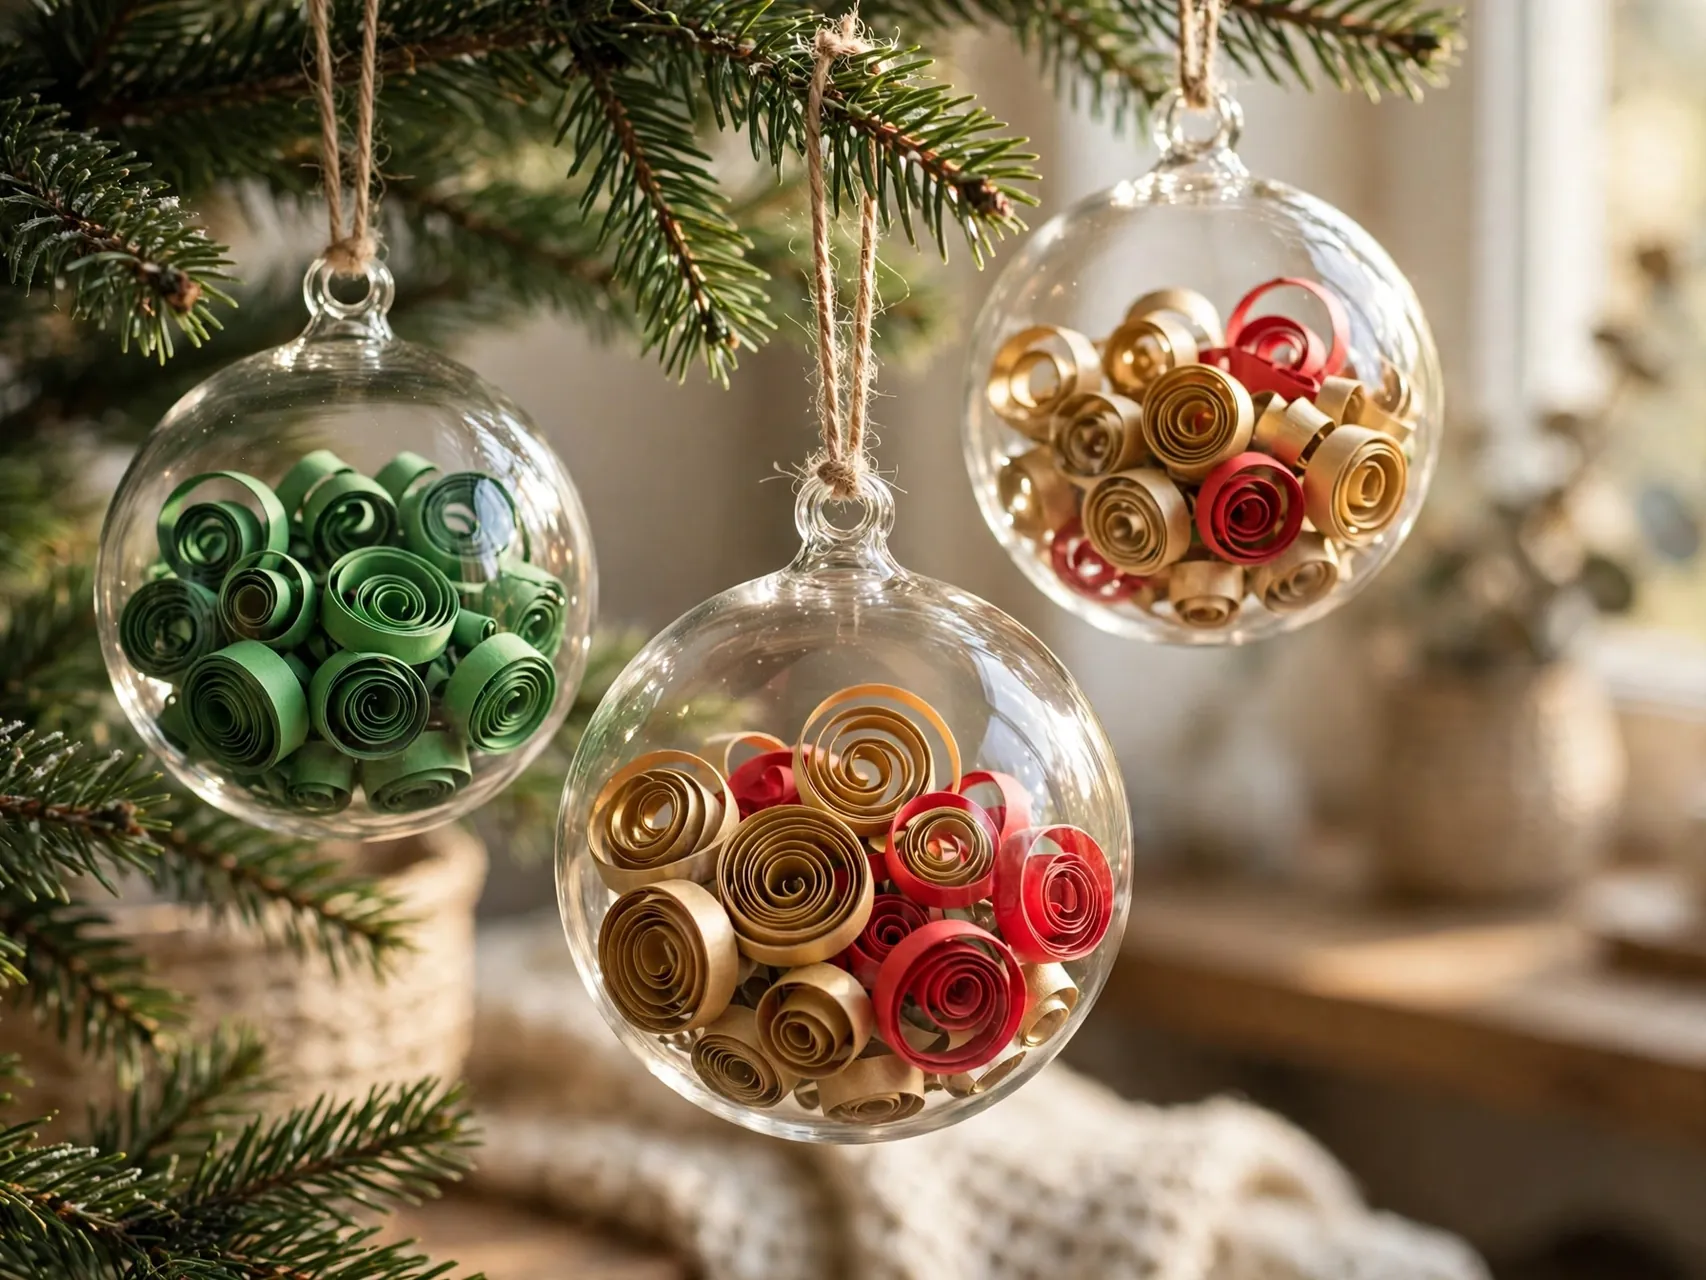
Cut patterned paper into thin strips, roll each strip tightly around a pencil or quilling tool, and drop the curls inside a clear fillable ornament. The coils loosen into spirals that fill the ball with color and pattern and almost no weight.
Choose paper colors that match your tree palette and add a ribbon bow at the cap. Use shatterproof clear ornaments in homes with kids and pets. This is a calm project for older kids and adults.
6. Paint Pinecone Mini Christmas Trees
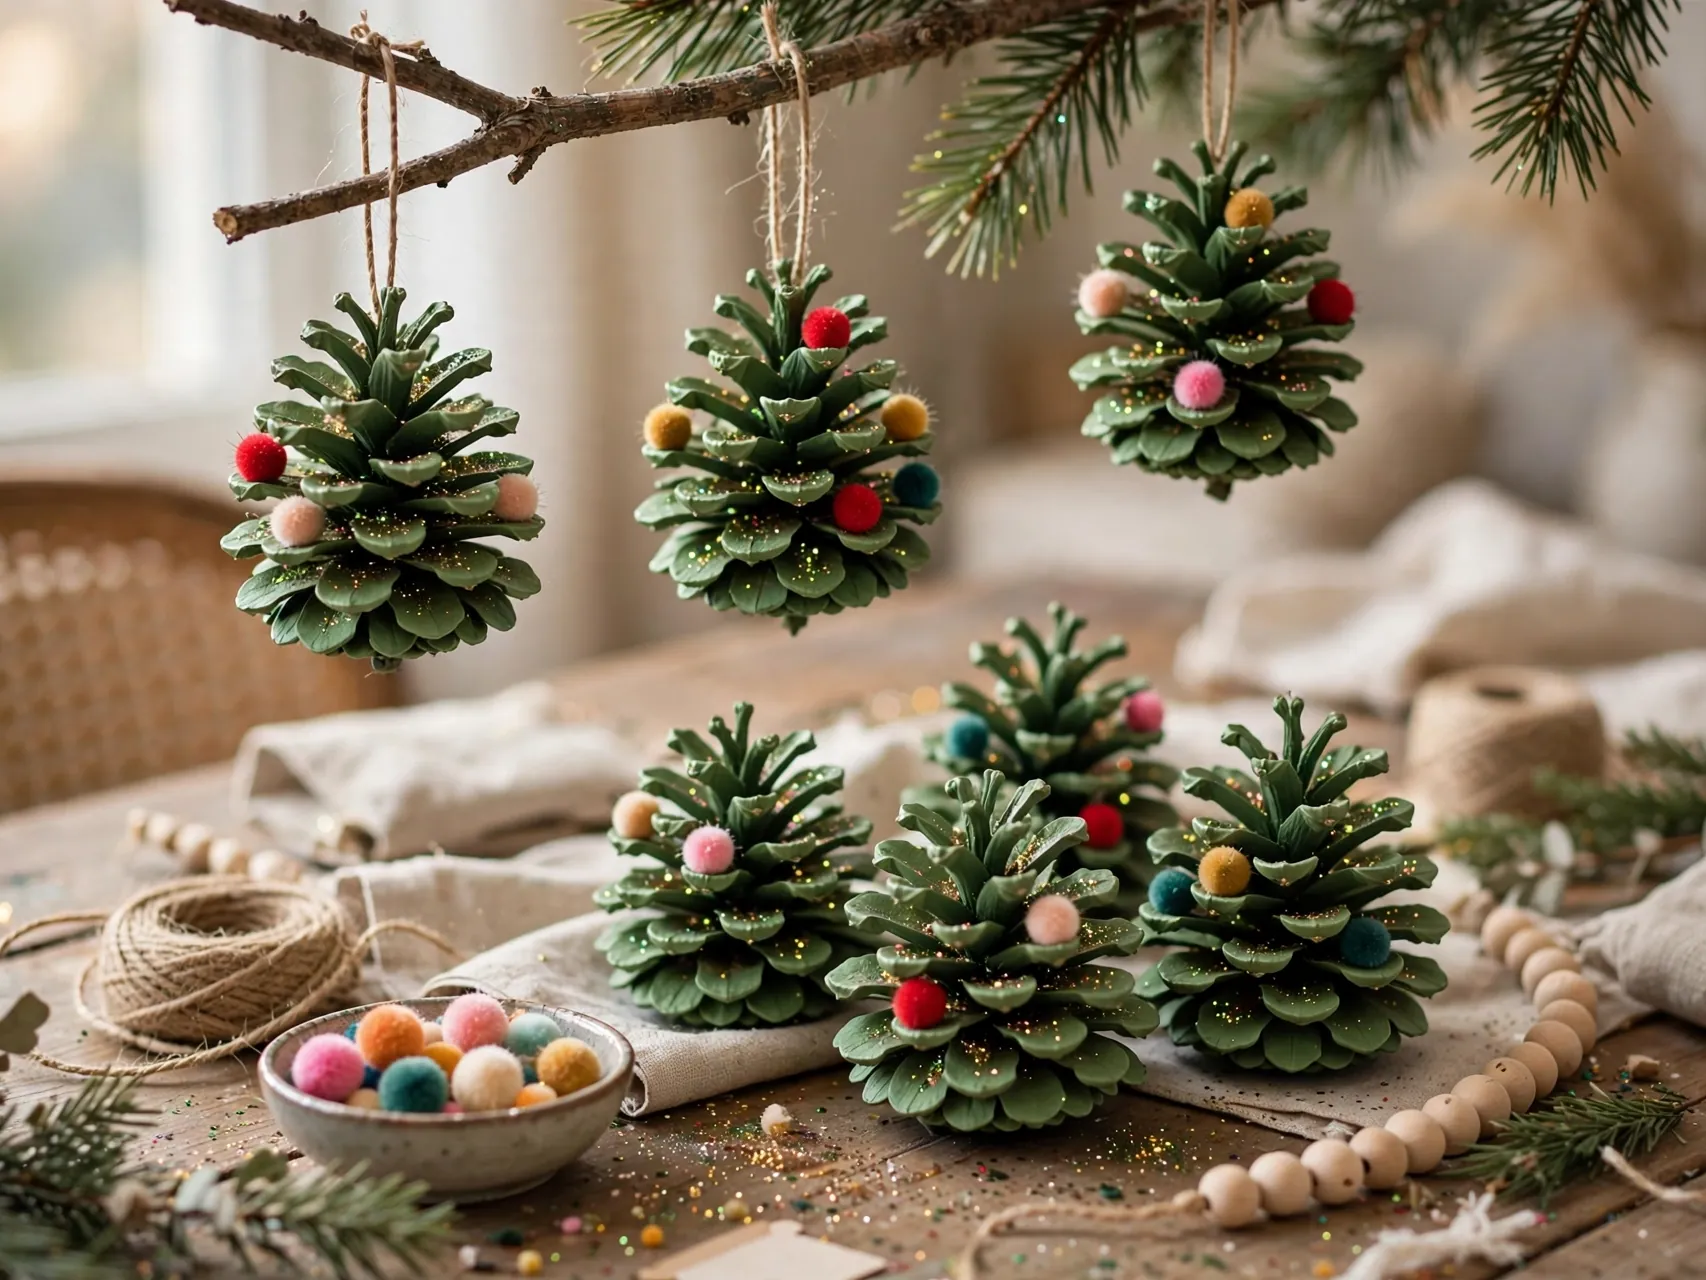
A large open pinecone, painted green and dotted with tiny pompom or bead baubles, becomes a miniature tree. Set it on a small wood slice or cork base with hot glue, handled by an adult, and add a star on top and a loop if you want it to hang instead of stand.
Use cones you buy for crafts or gather and clean and dry well first. Keep bead baubles away from children under 3, and choose painted dots instead for toddler homes. Pinecone trees line up beautifully along a mantel or windowsill if you make a small forest of them.
7. Slice and Paint Wood Slice Ornaments
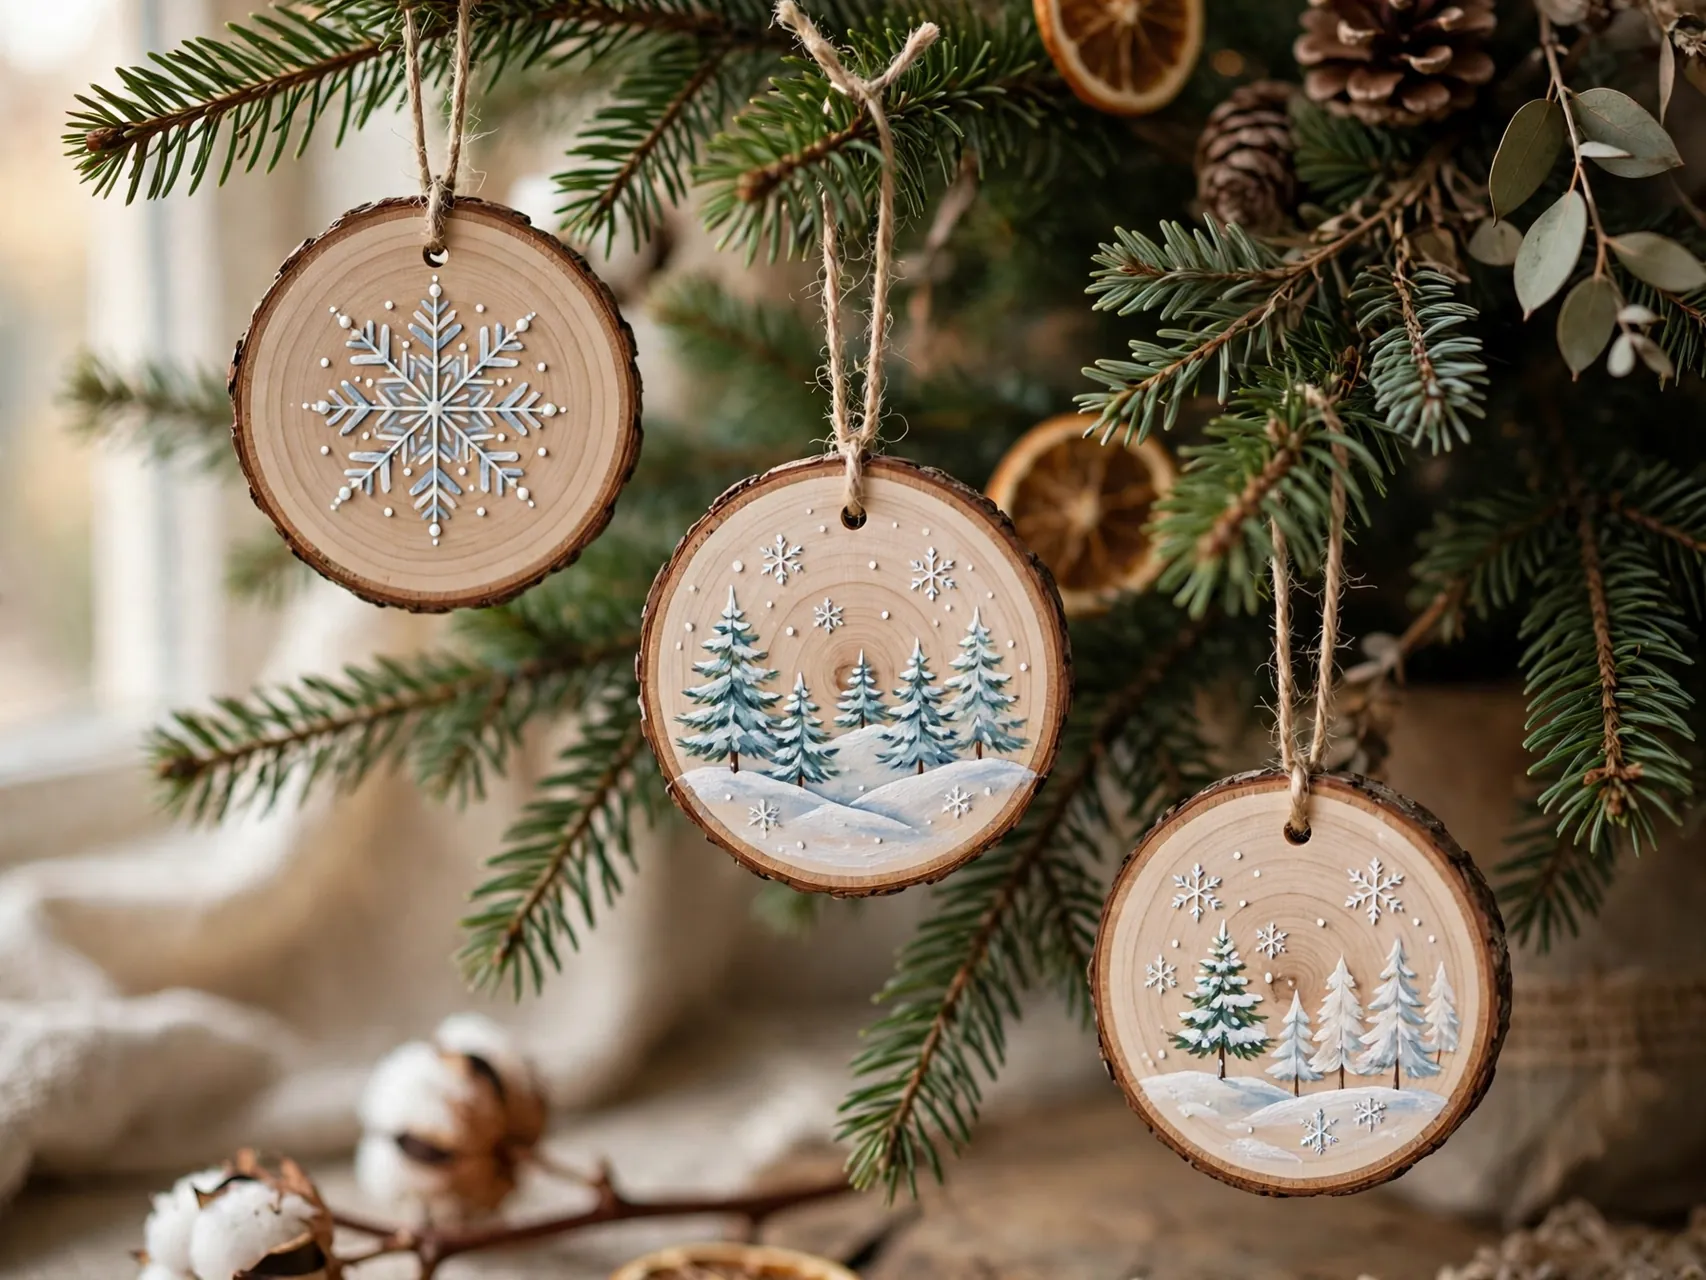
Craft store wood slices with bark edges make a rustic canvas that is hard to ruin. Paint simple designs: a snowman face, a red truck outline, a plaid border, or just a name and year in white paint pen on a stained slice.
Adults should handle any drilling. Wood slices store flat, travel well as mailed gifts, and suit farmhouse, cabin, and woodland trees.
8. Dry Orange Slice Ornaments With Cinnamon Sticks
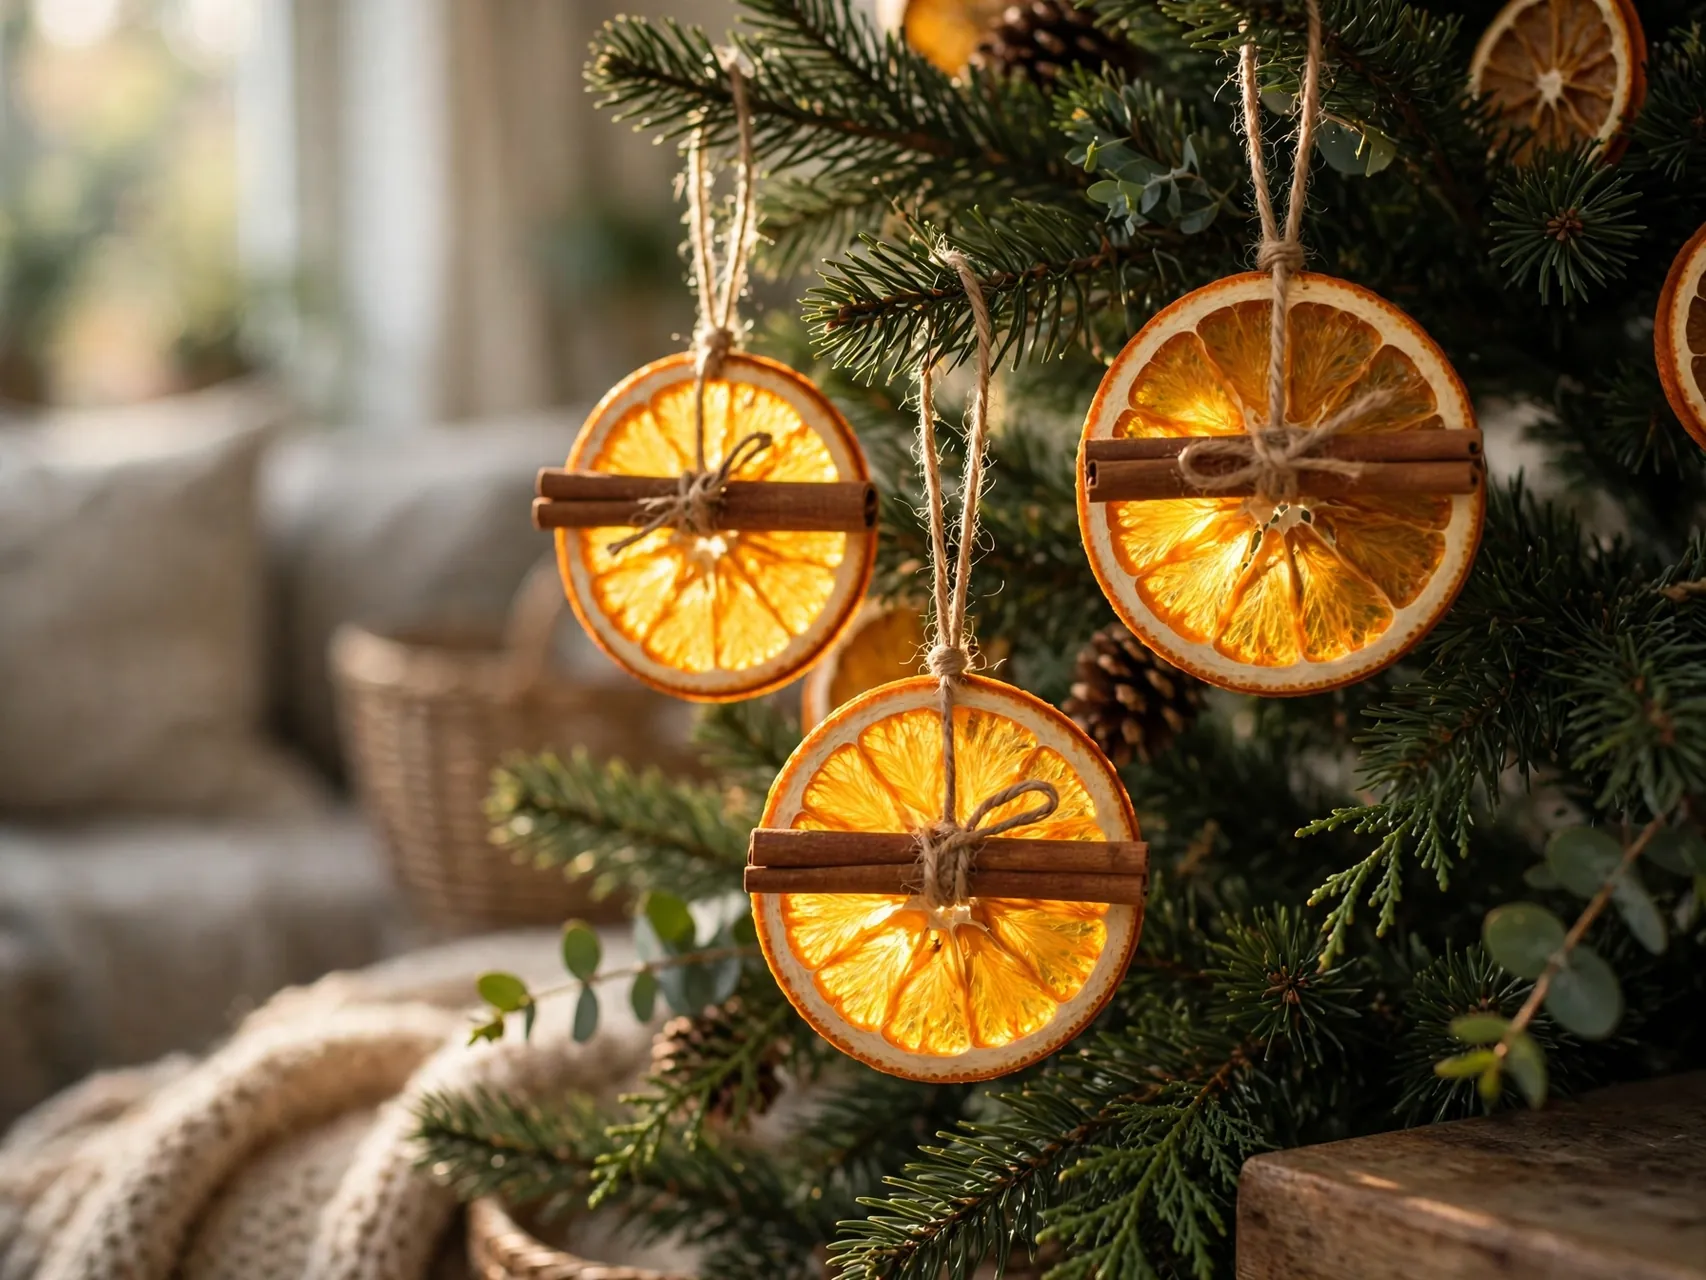
Fully dried orange slices glow like stained glass when tree lights shine behind them. Buy pre-dried slices for crafts, or dry your own in a low oven with an adult supervising, until slices are completely dry and firm with no soft spots.
Thread twine through the top, tie on a cinnamon stick or a small sprig of faux greenery, and hang where light can pass through. Treat food based ornaments as one season decor and discard them after the holidays instead of storing them. Keep them clear of light bulbs and away from pets that chew tree decorations.
9. Fold Paper Strip Star Ornaments

Strips of cardstock or patterned paper, looped and glued into points, form dimensional stars that look far more advanced than they are. A bead or button at the center covers the joins, or use a circle punch of glitter paper for a no small part finish.
Paper stars store flat in an envelope and cost almost nothing. Use a glue stick or tacky glue and let each point dry before assembly.
10. Sew Simple Felt Ornaments With Blanket Stitch Edges

Cut two matching shapes from felt, mittens, trees, hearts, or gingerbread figures, stitch around the edge with contrasting thread, and stuff lightly before closing. Add a ribbon loop at the top and simple stitched or glued details on the front.
Felt ornaments are unbreakable, light, and safe to hang low on the tree, which makes them a favorite for young families. Young sewers can use a blunt needle and pre-punched holes, while adults handle sharp needles and scissors. A set in one color story, like red, cream, and sage, looks like a boutique collection.
11. Make Beaded Candy Cane Ornaments

Thread red and white pony beads onto a pipe cleaner, alternating colors, then bend the top into a candy cane hook. The beads click satisfyingly into pattern, and even young crafters can finish one in a few minutes with supervision.
Because beads are small parts, this project belongs with older children, and finished canes should hang out of reach of children under 3. Twist the pipe cleaner ends so beads cannot slide off. A bowl of these on the coffee table during a craft afternoon disappears quickly onto the tree, gift packages, and garland corners.
12. Turn Photos Into Clear Ball Keepsake Ornaments

Print a favorite photo small, trim it into a circle, curl it gently, and slide it inside a clear ornament so it unrolls against the curve. Add a pinch of faux snow or a few paper curls behind it and finish with ribbon at the cap.
Photo ornaments mark the year better than almost anything else: new baby, new home, first school picture, the dog in a scarf. Use copies, never original prints, and shatterproof balls for safety. These handmade christmas ornaments also make the most requested grandparent gift in many families.
13. Craft Clothespin Snowflake Ornaments
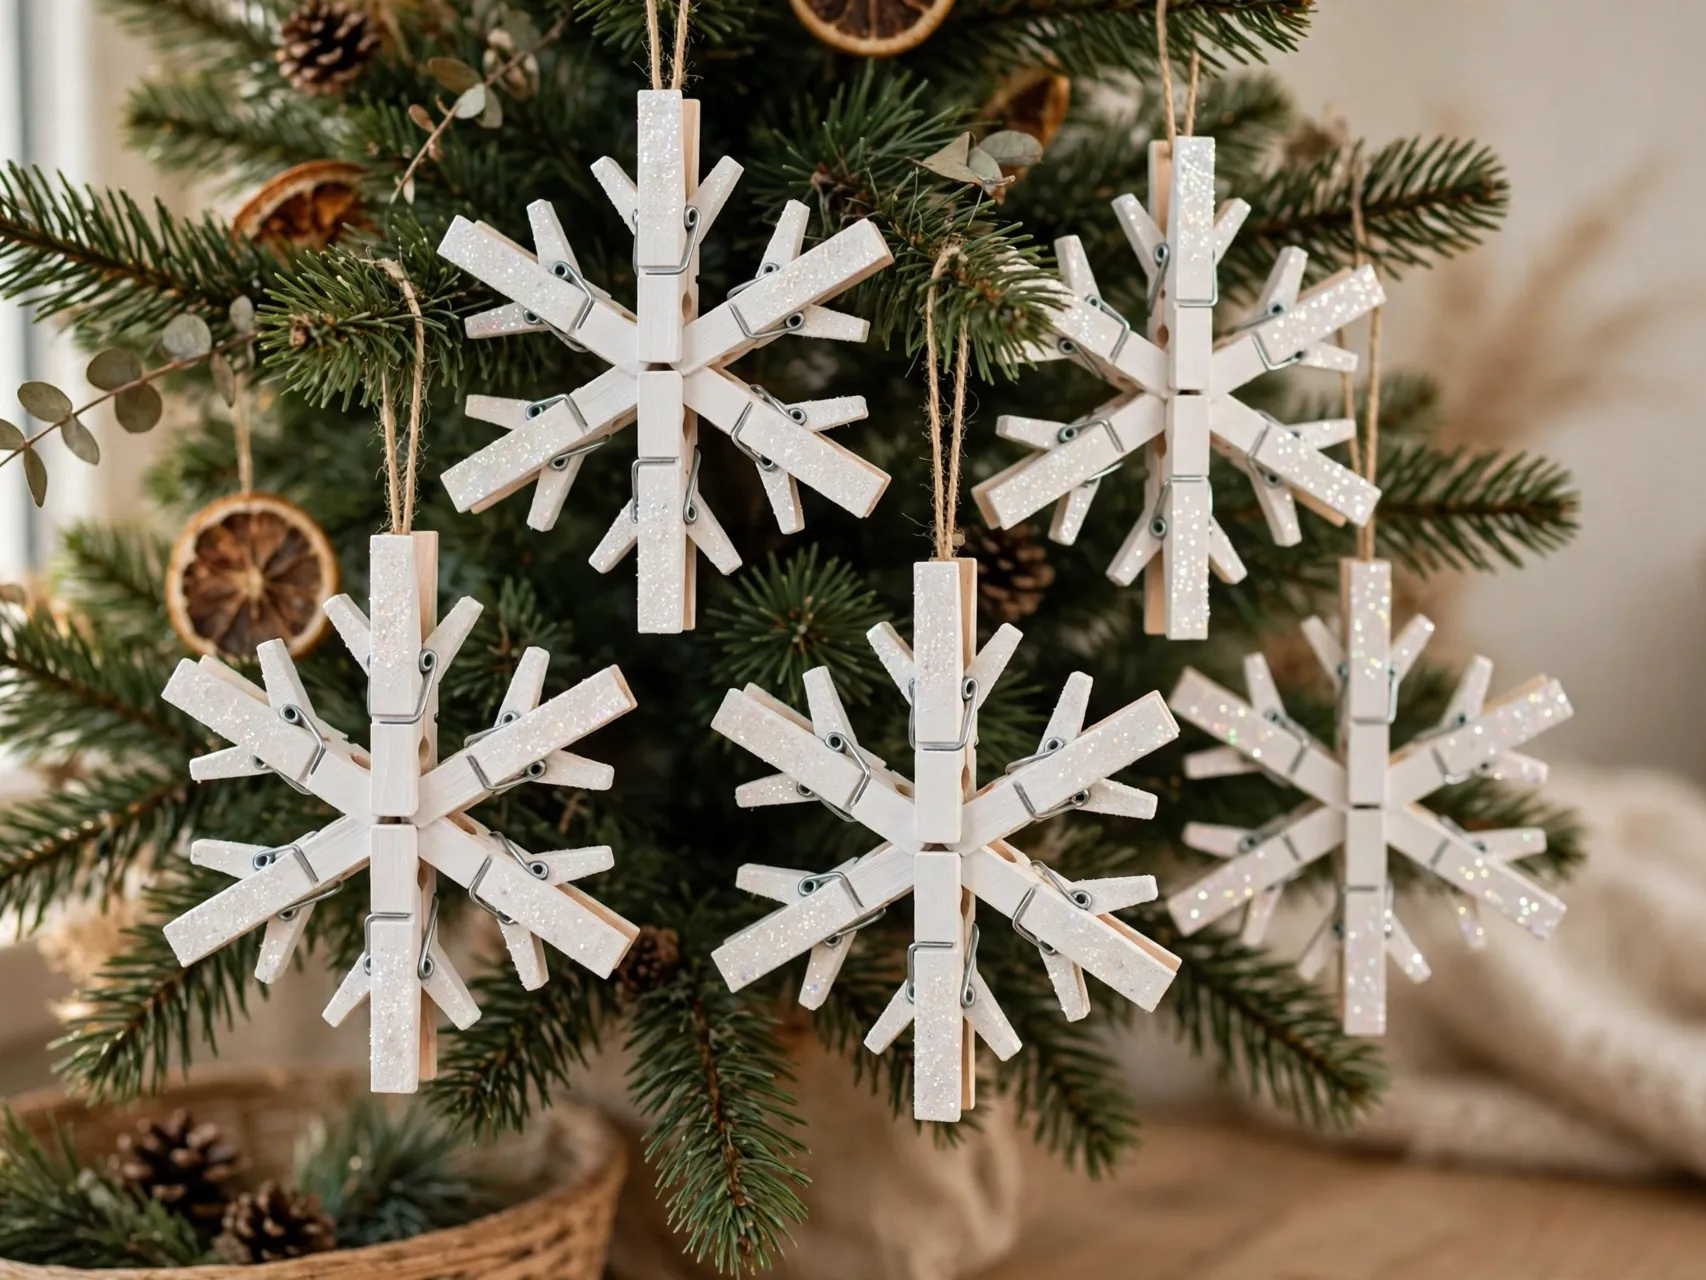
Remove the springs from wooden clothespins, an adult job, then glue the flat sides together and arrange the pieces in a starburst snowflake pattern. Paint white or silver, add glitter while the paint is tacky if you like sparkle, and glue a loop to the back.
Clothespin snowflakes look striking in a window or grouped above a mantel. Hot glue speeds assembly but belongs to adults, while kids can use tacky glue and patience. Keep finished snowflakes dry, store them flat between tissue, and expect compliments from guests who cannot guess the material.
14. Make No Sew Sock Snowman Ornaments

Fill the toe of a small white sock with rice or stuffing, tie it off in sections to form a snowman body, and add a felt scarf, painted face, and a tiny hat from the sock cuff or a scrap of fabric. Scale them small for ornaments or larger for shelf sitters.
Adults should help with tying and any hot glue, and rice filled versions should stay away from very young children who might chew seams. A row of sock snowmen with different scarves has real charm, and each one takes only a few minutes once supplies are laid out assembly line style.
15. Press Nature Print Clay Ornaments

Roll air dry clay or salt dough flat, press a fern frond, pine branch, or leaf gently into the surface, lift it away, cut a circle or star around the print, and add a hanging hole. Let pieces dry fully on a flat surface before painting or leaving them natural.
Nature prints suit neutral and woodland trees and make a calm project after a walk to gather leaves. Wash hands after handling gathered materials, and let an adult do any oven drying for dough versions. Write the place or garden name on the back for a quiet travel souvenir effect.
16. Build Mini Wreath Ornaments From Pipe Cleaners and Beads

Twist a green pipe cleaner into a small circle, thread on a few red beads or wrap it with tiny tinsel garland, and finish with a red ribbon bow at the top. The whole ornament weighs almost nothing and hangs happily on the thinnest branch tips.
Mini wreaths are perfect filler ornaments: make a dozen in one sitting and scatter them wherever the tree looks thin. Keep beaded versions away from children under 3, or make toddler safe versions with felt leaves and a fabric bow instead. They also dress up gift wrap and napkin rings at the holiday table.
17. Create Glitter Glue Snowflake Ornaments
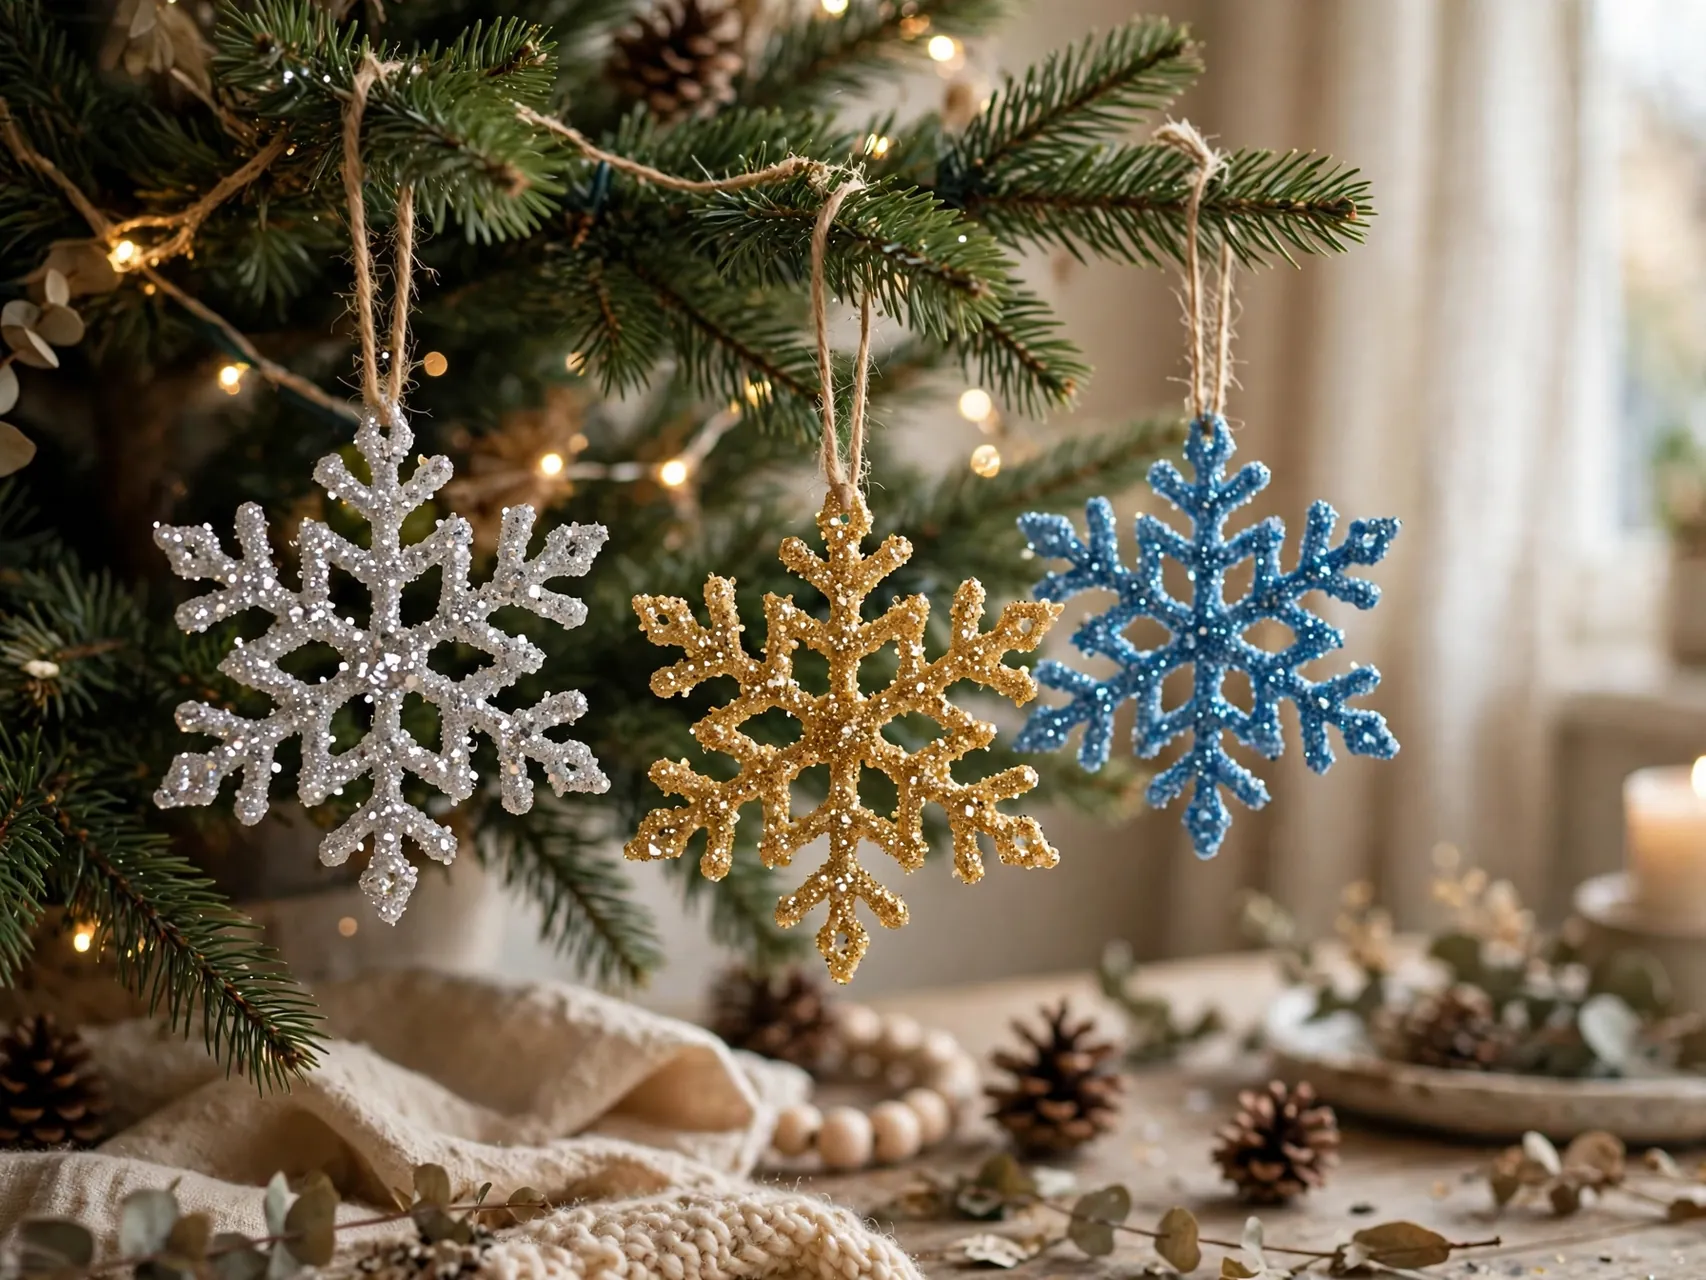
Draw a snowflake with thick white glue or glitter glue on wax paper, following a printed template underneath, and let it dry completely, which can take a full day or more for thick lines. Peel it off carefully, punch a small hole, and hang it in a window or on the tree.
Patience is the skill here: peeling too early ruins the shape, so plan this as a start today, hang tomorrow project. Adults can help younger kids with steady outlines. These lacy snowflakes are fragile, so store them flat between sheets of wax paper and handle them by their edges.
18. Make Yarn Wrapped Star and Tree Ornaments
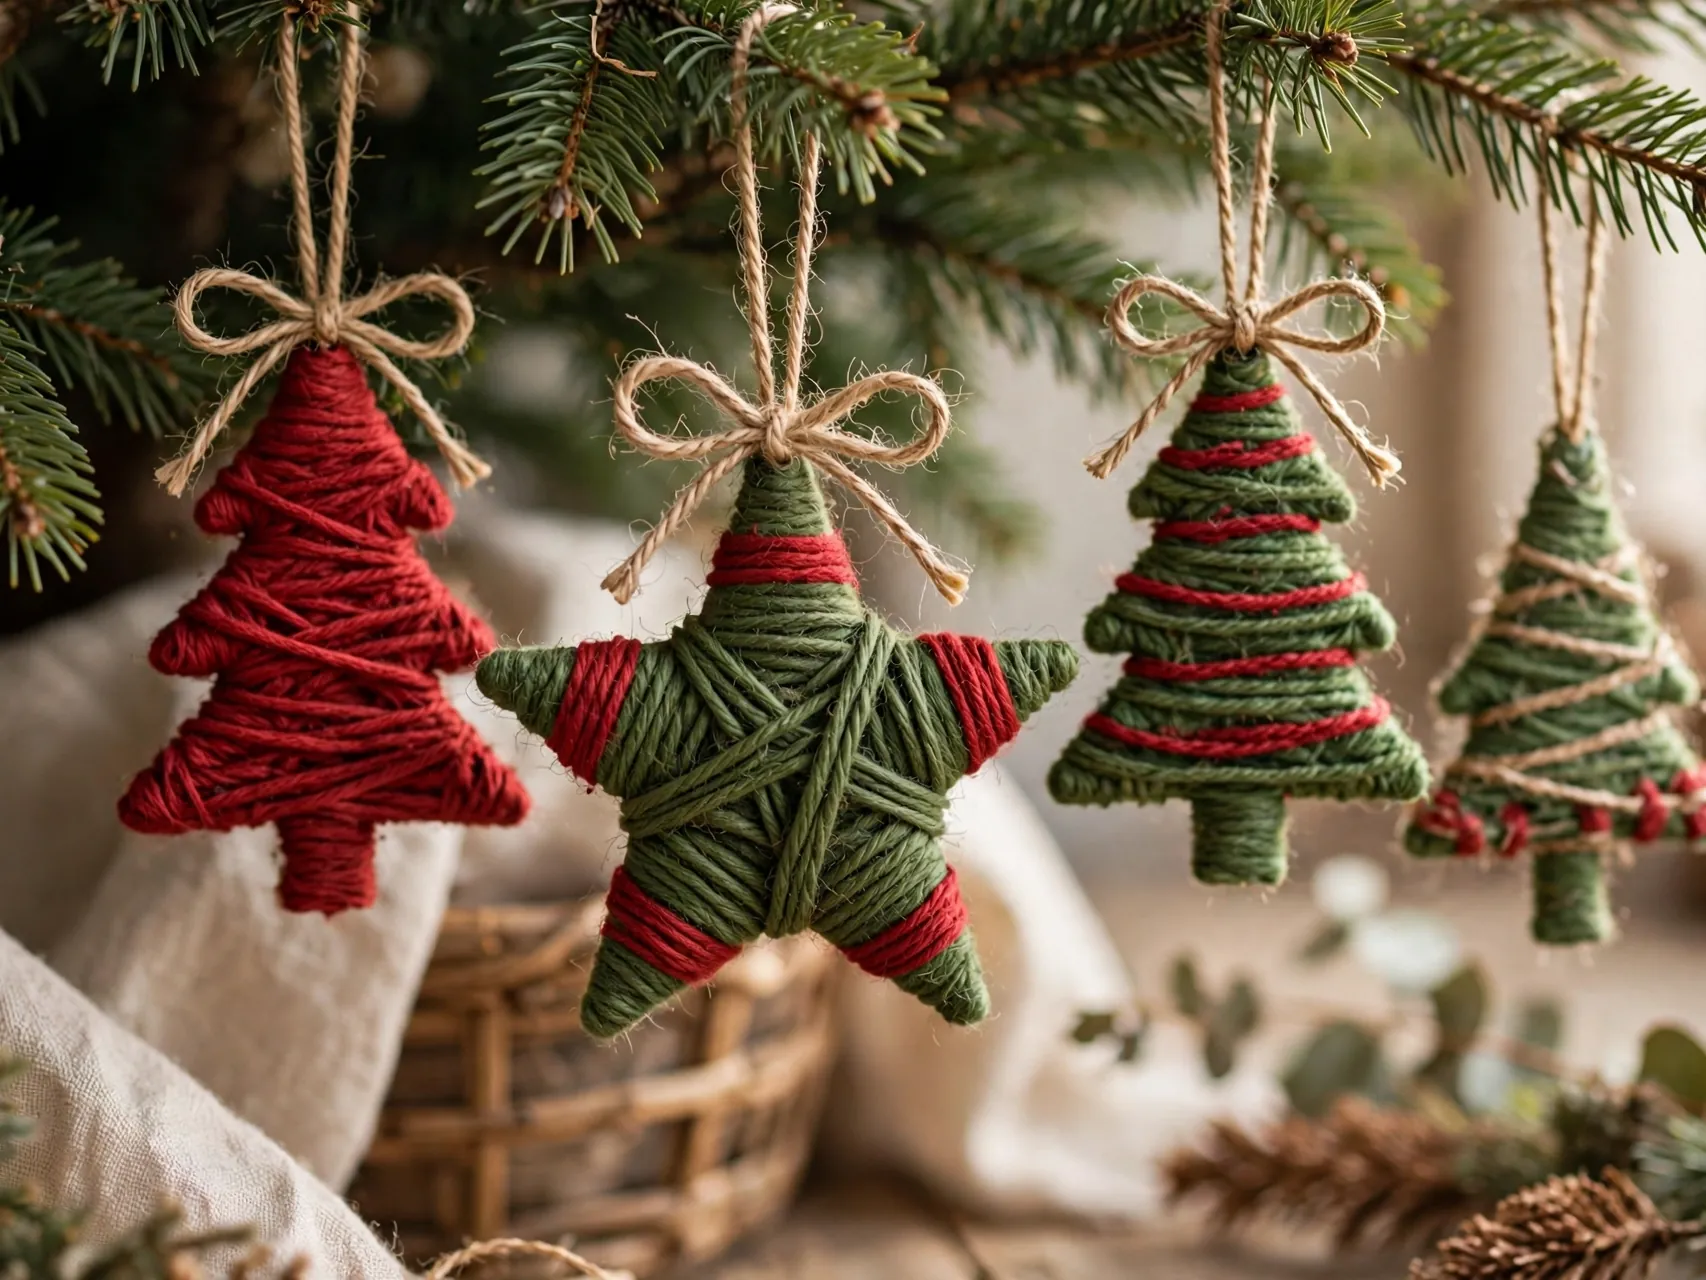
Cut a star or tree shape from sturdy cardboard, then wrap it round and round with yarn until every edge disappears. Tuck the end under the wraps or glue it at the back, add a loop, and you have a soft, cozy ornament in any color.
Yarn wrapping builds fine motor skills and uses up leftover yarn from other projects. Mix matte and slightly sparkly yarns for depth, or wrap in stripes by changing colors midway. These ornaments are light, unbreakable, and safe for low branches, and they pack without any special protection in the storage box.
19. Stamp Scrabble Tile and Wood Block Word Ornaments

Glue spare letter tiles or small wood blocks into short words like joy, noel, merry, or a family name, back them with a strip of ribbon or thin wood, and add a hanging loop. An adult should handle strong glue and check that tiles are firmly fixed before hanging.
Word ornaments personalize a tree fast and make sweet gifts for teachers, neighbors, and newlyweds with a shared name or a wedding year. Because tiles are small parts, hang them high and away from young children. Photograph each finished word before gifting, because you will want to remake favorites next year.
20. Fold Book Page and Sheet Music Ornaments
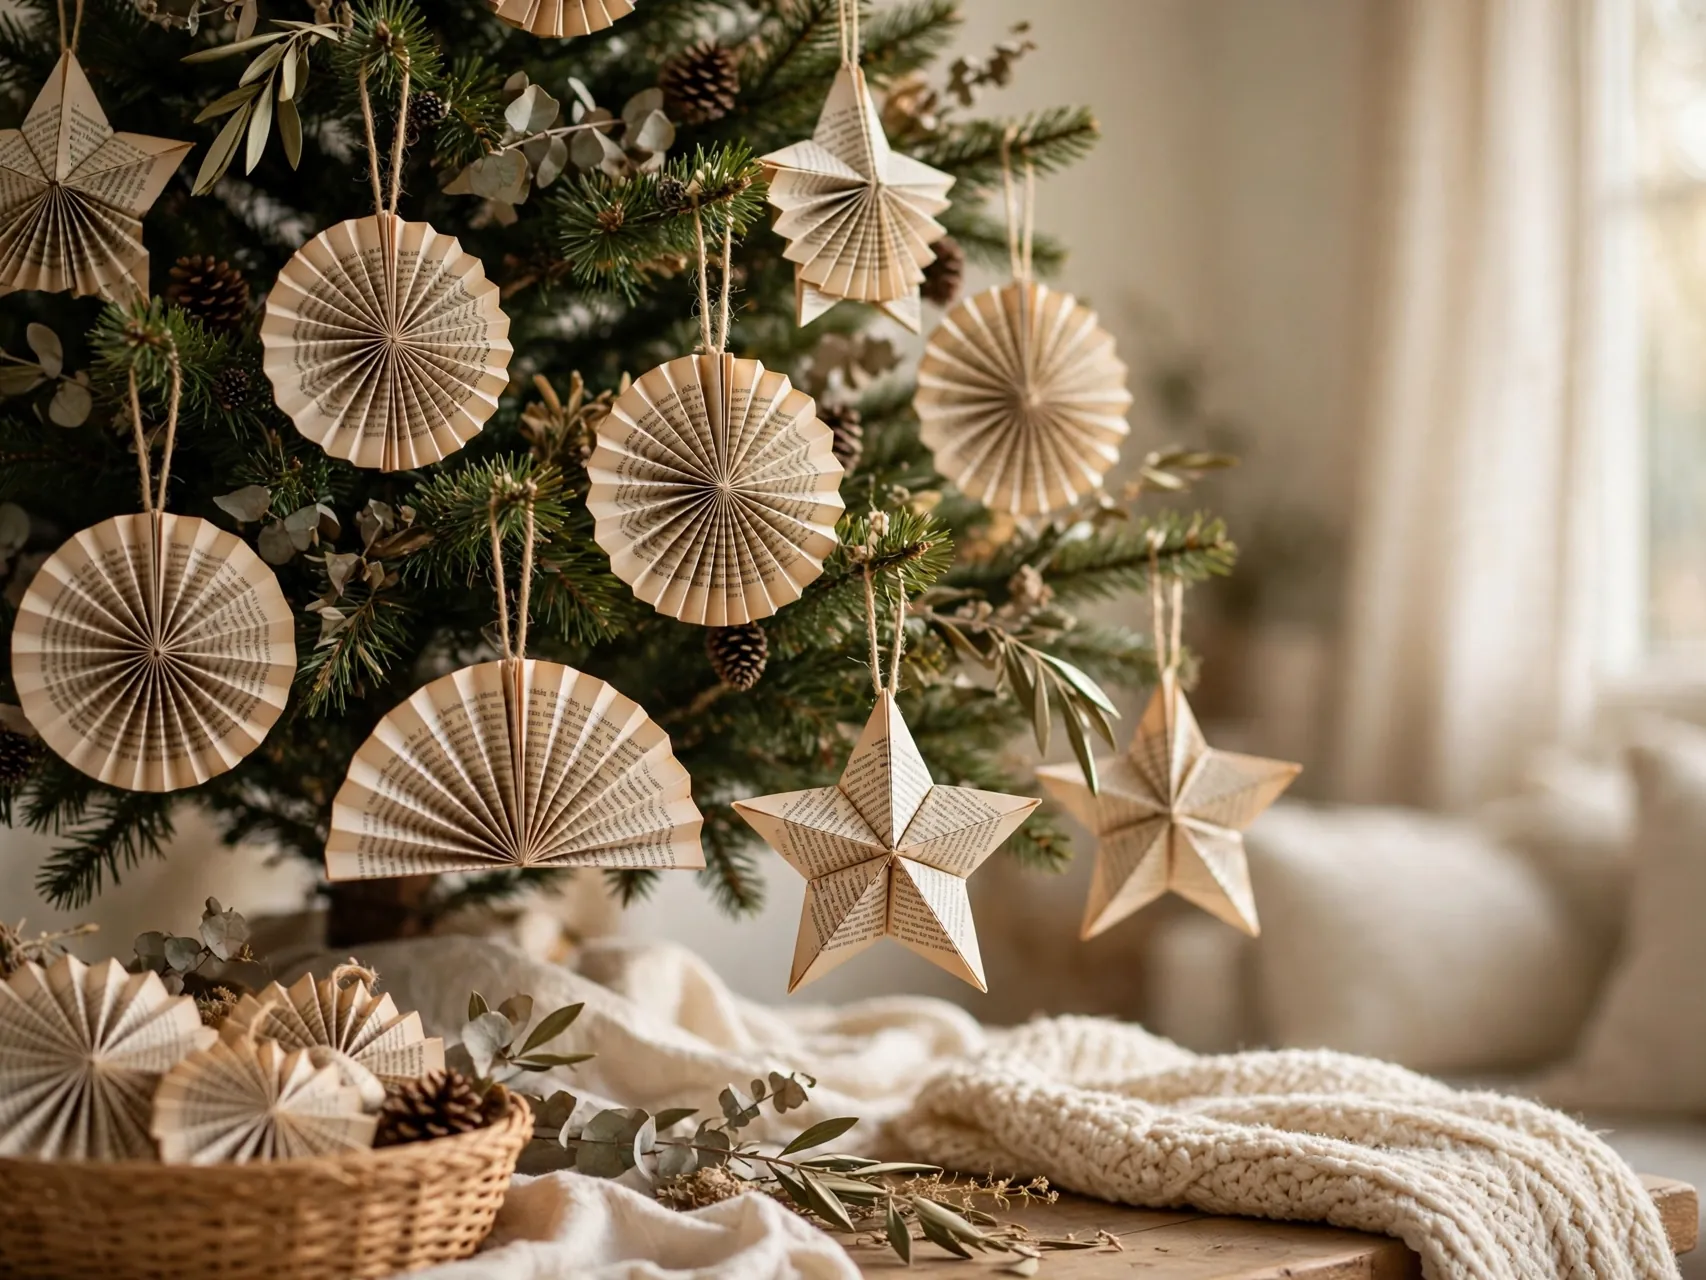
Use damaged or thrifted book pages and old sheet music, never a book anyone still reads, to fold fans, rosettes, and simple angels. A dab of glue, a bead or paper head, and a twine loop turn fragile pages into vintage style ornaments with real character.
Paper ornaments are light and inexpensive, but they dislike damp storage, so keep them in a dry box with tissue. Keep them away from open flames and hot light bulbs, as with all paper decor. Music teachers, readers, and vintage lovers light up at these, especially when the page shows a favorite carol.
21. Make Pomander Style Clove Orange Ornaments

Press whole cloves into the peel of a firm orange in a simple pattern, tie ribbon around it, and hang it or set it in a bowl. The scent is classic Christmas, spicy and citrusy, and the making of it is slow in the best way.
Clove pushing takes hand strength, so this suits older kids and adults, and an adult can pre-start holes with a toothpick. Pomanders are food based and one season only: enjoy the scent for the holidays, then discard them. Keep them away from pets and out of the reach of small children who might pull out cloves.
22. Craft Ribbon Scrap and Fabric Bow Ornaments

Gather ribbon offcuts, fabric strips, and lace from your wrapping supplies and tie them into layered bows, tassels, or small stuffed shapes. A plain ball ornament covered in glued fabric scraps also uses up a whole scrap bag in one pretty project.
Fabric ornaments add softness between glass balls and lights and never shatter, which recommends them for busy households. Use fabric glue or an adult with a hot glue gun for secure joins. Limit each ornament to two or three fabrics so the tree still reads calm, and repeat the same fabrics in table linens for a pulled together room.
23. Assemble a Yearly Family Ornament With Names and Dates

End each craft session by making one shared ornament for the year: a wood slice, salt dough disc, or clear ball that carries every family member name, the year, and one tiny drawing or fingerprint from each person. It takes ten minutes and becomes the most valuable box you own.
Store yearly ornaments together in a labeled, dry container with tissue between pieces, and photograph the collection each season as a backup memory. This tradition turns diy christmas ornaments from a craft into a family archive, and older kids start asking for craft day before you even suggest it.
FAQ
How long do salt dough ornaments last?
Stored dry and handled gently, salt dough ornaments can last for many years. Keep them in a dry box with tissue between layers, away from damp basements, garages, and bathrooms. If a piece ever feels soft, smells musty, or shows mold, discard it rather than returning it to the tree.
What are the safest homemade ornaments for homes with toddlers?
Felt ornaments, yarn wrapped cardboard shapes, and large fabric bows are the safest choices because they are soft, light, and have no small parts. Hang beaded, buttoned, or tiled ornaments high and out of reach, and keep all small craft embellishments away from children under 3 during making and display.
Can I mail homemade ornaments as gifts?
Wood slice, felt, paper, and yarn ornaments mail best because they are light and sturdy. Wrap each piece in tissue, use a rigid box so nothing gets crushed, and skip dough, clay, and glitter glue pieces for long trips unless they are fully dry, sealed if you use sealant, and very well padded.
How do I keep homemade ornaments from looking messy?
Work in one palette of two or three colors, repeat the same ribbon or twine across different projects, and finish every piece with a name and year on the back. Let paint and glue dry fully between steps, because most messy results come from handling pieces too soon, not from lack of skill.
What supplies should I buy first for a family ornament session?
Start with salt dough ingredients from the kitchen, acrylic paint and brushes, clear shatterproof fillable ornaments, felt sheets, twine, and a glue option you are comfortable with. Those basics cover most projects in this list. Add specialty items like wood slices or cinnamon only for the specific ornaments you plan to make.
Key Takeaways
- Start with dough: Salt dough and cinnamon dough give you cutouts, handprints, and scented shapes from simple kitchen basics.
- Match the project to the age: Adults handle ovens, hot glue, and sharp tools, while kids roll, paint, stick, and wrap.
- Small parts stay high: Beads, buttons, and tiles hang out of toddler reach, and soft felt and yarn pieces fill the low branches.
- One palette pulls it together: Repeating two or three colors and the same twine across projects makes mixed ornaments look like a set.
- Date everything: A name and year on the back turns a simple craft into a keepsake your family will look for every December.
- Love a handmade tree? Save these salt dough christmas ornaments and keepsake ideas to Pinterest and pin the project your family will make first.