22 Tips on How to Texture a Wall With Just a Roller
Introduction
Roller texture is the friendliest way to give a plain or patchy wall a soft, finished character without spray equipment. Learning how to texture a wall with thinned joint compound and a thick nap roller takes one practice board, a steady pace, and respect for one serious warning about older walls, which this guide puts first, not last.
The finish you get is a gentle stipple that hides minor drywall flaws, tape lines, and patch edges far better than flat paint alone. You can leave the stipple as it dries for a subtle rustic look, or lightly flatten the peaks for a knockdown effect. Either way, the wall is then primed and painted like any other surface.
Work one wall at a time, in small sections, with the compound mixed to the same consistency from start to finish. Texture punishes rushing and rewards rhythm. Protect floors, ventilate the room, wear dust protection whenever dry compound is mixed or sanded, and your first rolled wall can honestly look like your fifth.
1. Stop and Test First If Your Walls Are Older

This is the safety step that outranks every technique tip. Texture and joint compound applied before the late 1970s, and in some homes into the early 1980s from leftover stock, may contain asbestos. You cannot identify it by looking. If your existing wall texture or compound is from that era, do not scrape, sand, or disturb it. Have a qualified professional test it, and use licensed abatement if it tests positive.
Your local health department or a licensed testing firm can explain how sampling works in your state, and the small cost buys certainty for every later step. Until results are in, treat the wall as hands off: no scraping parties, no experimental corners, and no exceptions for small areas.
2. Never Dry-Sand Suspect Old Texture
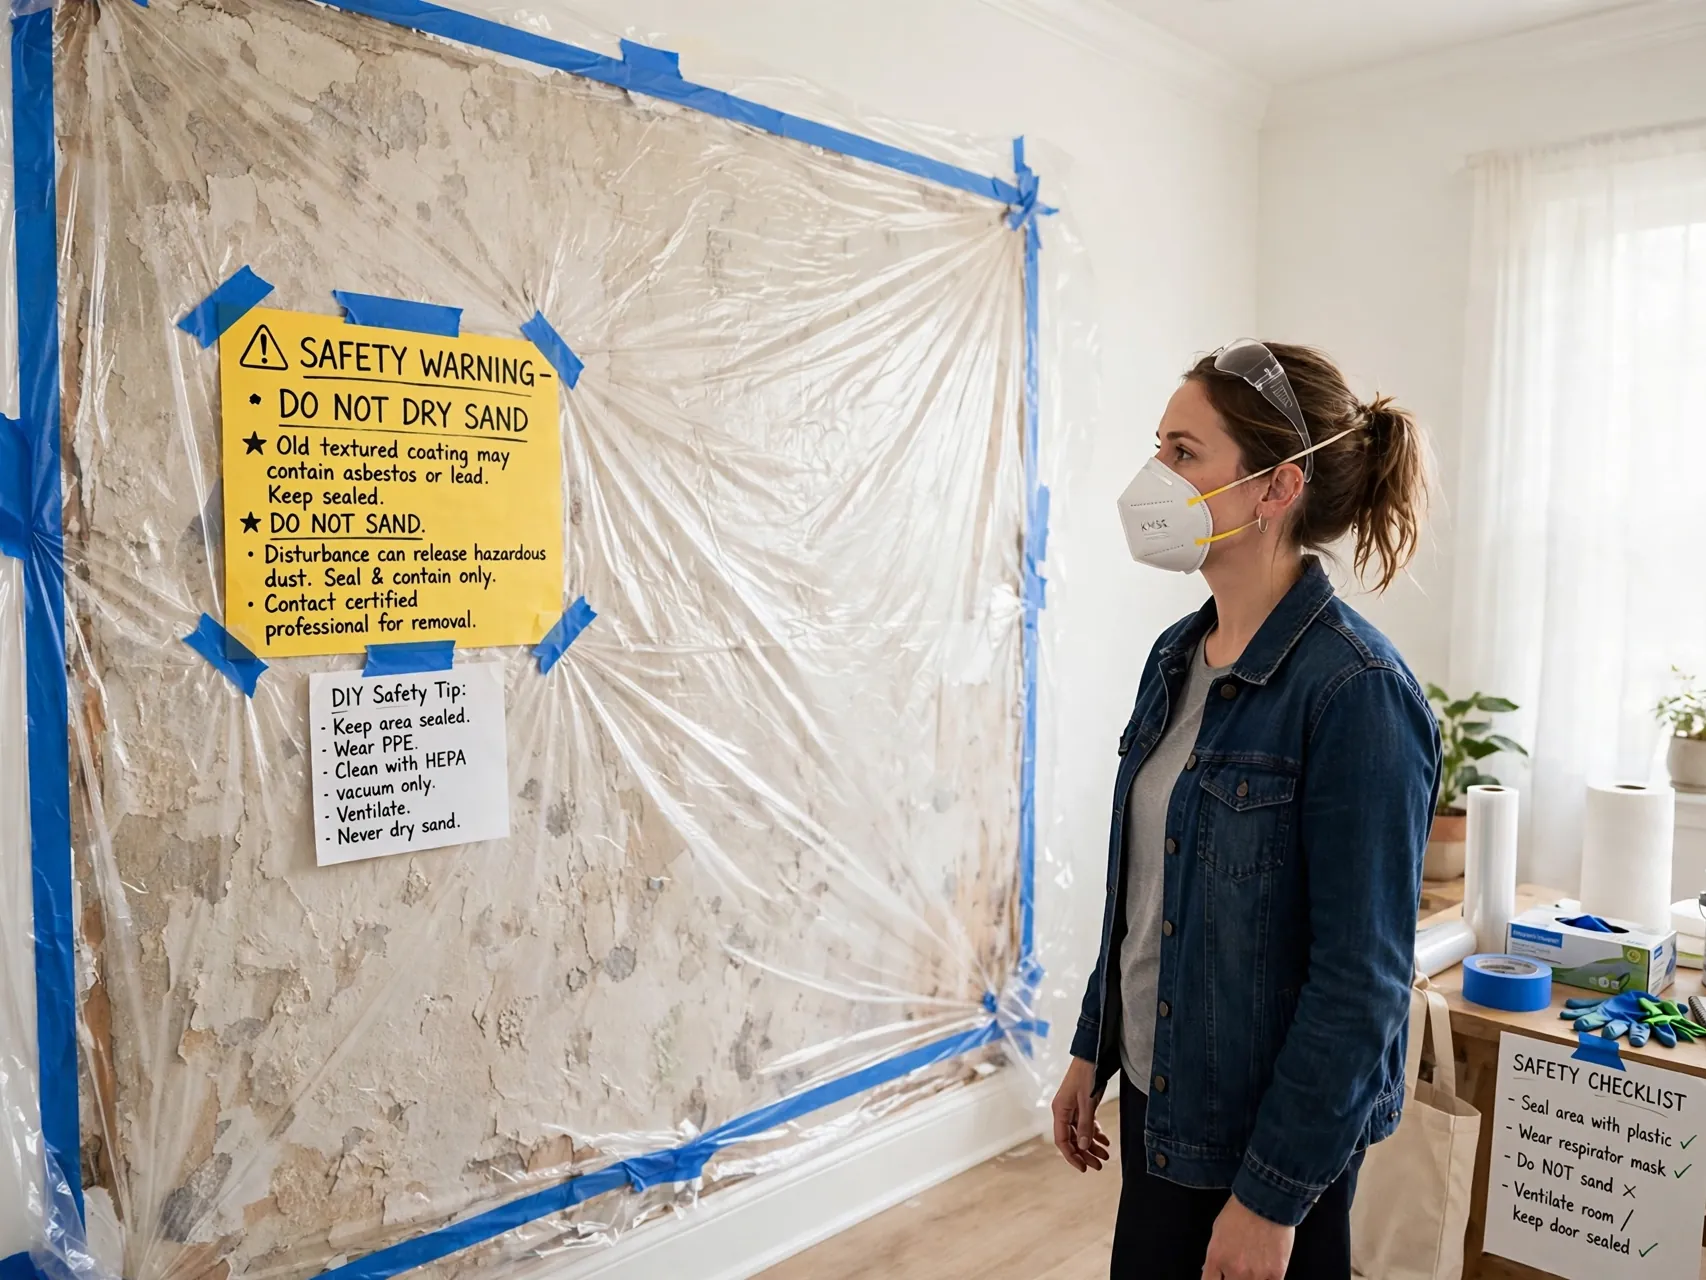
Dry sanding is exactly how fibers and dust become airborne, so it is the one move this guide will never suggest for old, untested texture. If a wall has been professionally tested and cleared, light sanding with dust protection may be part of normal prep. If it has not been tested and it predates the 1980s, the safe options are to leave it alone, cover it, or hire professionals. No finish is worth the risk.
3. Wear Dust Protection for Mixing and Any Sanding

Drywall compound dust deserves respect even when the material is brand new. The compound contains silica, and breathing fine dust is harmful, so wear a properly fitted respirator or dust mask rated for fine particles, plus safety glasses, whenever you mix dry powder, sand patches, or clean up. Ventilate the room, keep others and pets out until dust settles and is cleaned, and vacuum with care rather than dry sweeping clouds around.
4. Practice on a Board Before Touching the Wall

Texture forgives almost everything except a first attempt made directly on your best wall. Coat a scrap of drywall or plywood with your mixed compound, try different pressures and nap lengths, and let samples dry fully, because wet texture always looks heavier than the finished result. Label each sample with its mix ratio. An hour of practice teaches your hands the pressure and pace that written tips never quite can.
5. Repair, Clean, and Prime the Wall First

Texture hides small flaws, not big ones. Fill holes and cracks, fix loose tape, and let repairs dry completely. Wash off grease and dust, especially in kitchens, then prime with a drywall primer so the wall absorbs compound evenly. Unprimed patches drink moisture faster than the surrounding wall and show as dull, different texture islands later. A uniform, sealed surface is the quiet foundation of a uniform stipple.
6. Protect Floors, Trim, and Everything You Are Not Texturing

Compound flicks off a loaded roller in fine specks that harden wherever they land. Cover floors fully with drop cloths, tape off baseboards, window and door trim, outlets with the power off, and adjoining walls or ceilings you plan to keep smooth. Remove switch and outlet covers. The ten minutes spent masking saves an hour of scraping, and clean edges are what make a DIY texture look professionally finished.
7. Choose Lightweight Premixed Joint Compound
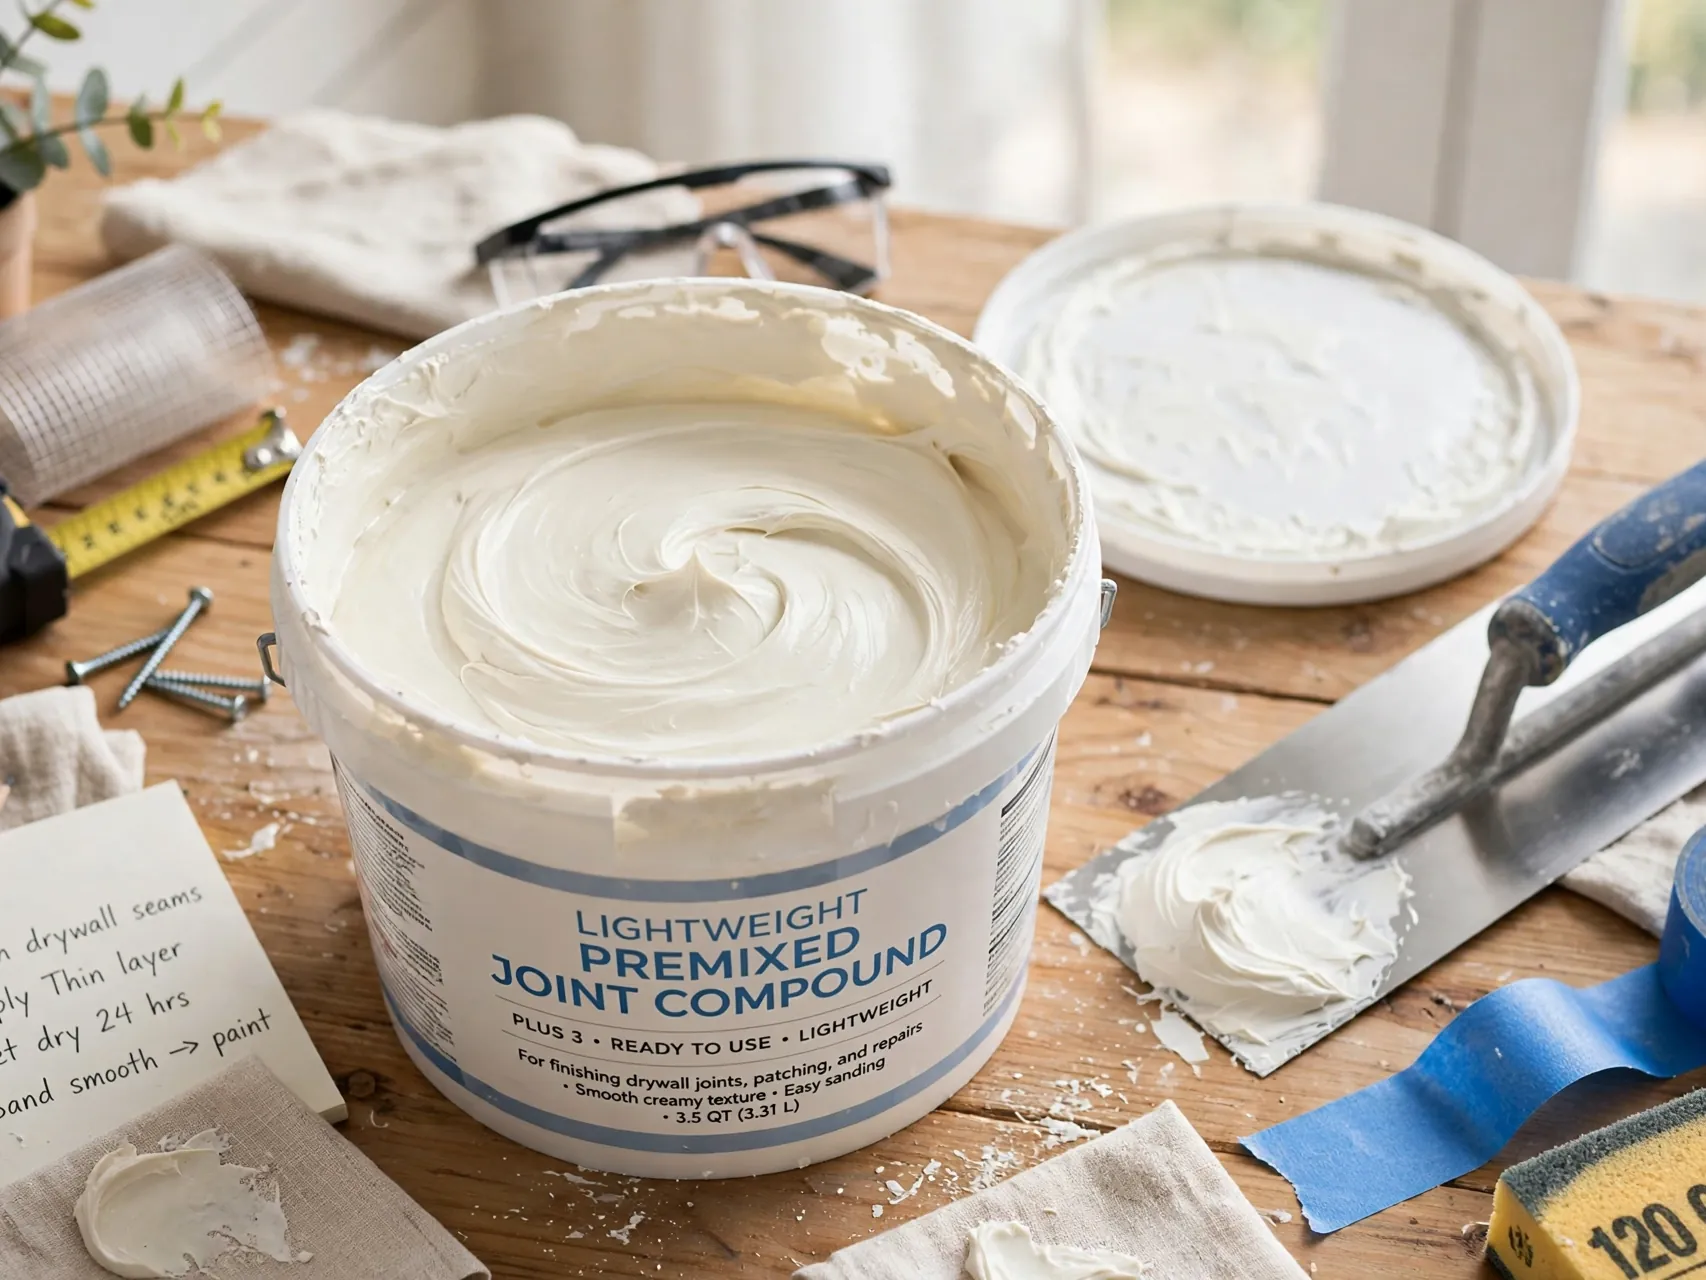
For roller texture, lightweight premixed compound is the beginner friendly choice: it is smoother, easier to thin evenly, and slower to tire your arms than heavy setting compounds. Buy enough from the same batch to finish the whole project, plus a little extra for the practice board. Avoid fast setting powder mixes for your first wall. Their short working time turns a calm learning project into a race you did not sign up for.
8. Thin the Compound to Thick Pancake Batter

Scoop compound into a clean bucket and stir in clean water a little at a time, mixing with a drill and paddle if you have one, until it reaches the consistency of thick pancake batter or soft yogurt. It should mound softly on the roller without running off. Too thick and it tears and clumps. Too thin and it sags, spatters, and dries almost smooth. Write down how much water you used, so the next bucket matches.
9. Pick a Thick Nap Roller Made for Texture

A standard paint roller cannot carry enough compound to build texture. Choose a 3/4 inch to 1 1/4 inch nap cover, or a dedicated texture roller cover, on a sturdy frame with an extension pole for even pressure. Keep a second cover ready in case the first mats down. Rinse a new cover and spin it dry before use to remove loose fibers that would otherwise end up frozen in your new wall finish.
10. Load the Roller Fully and Evenly Every Time
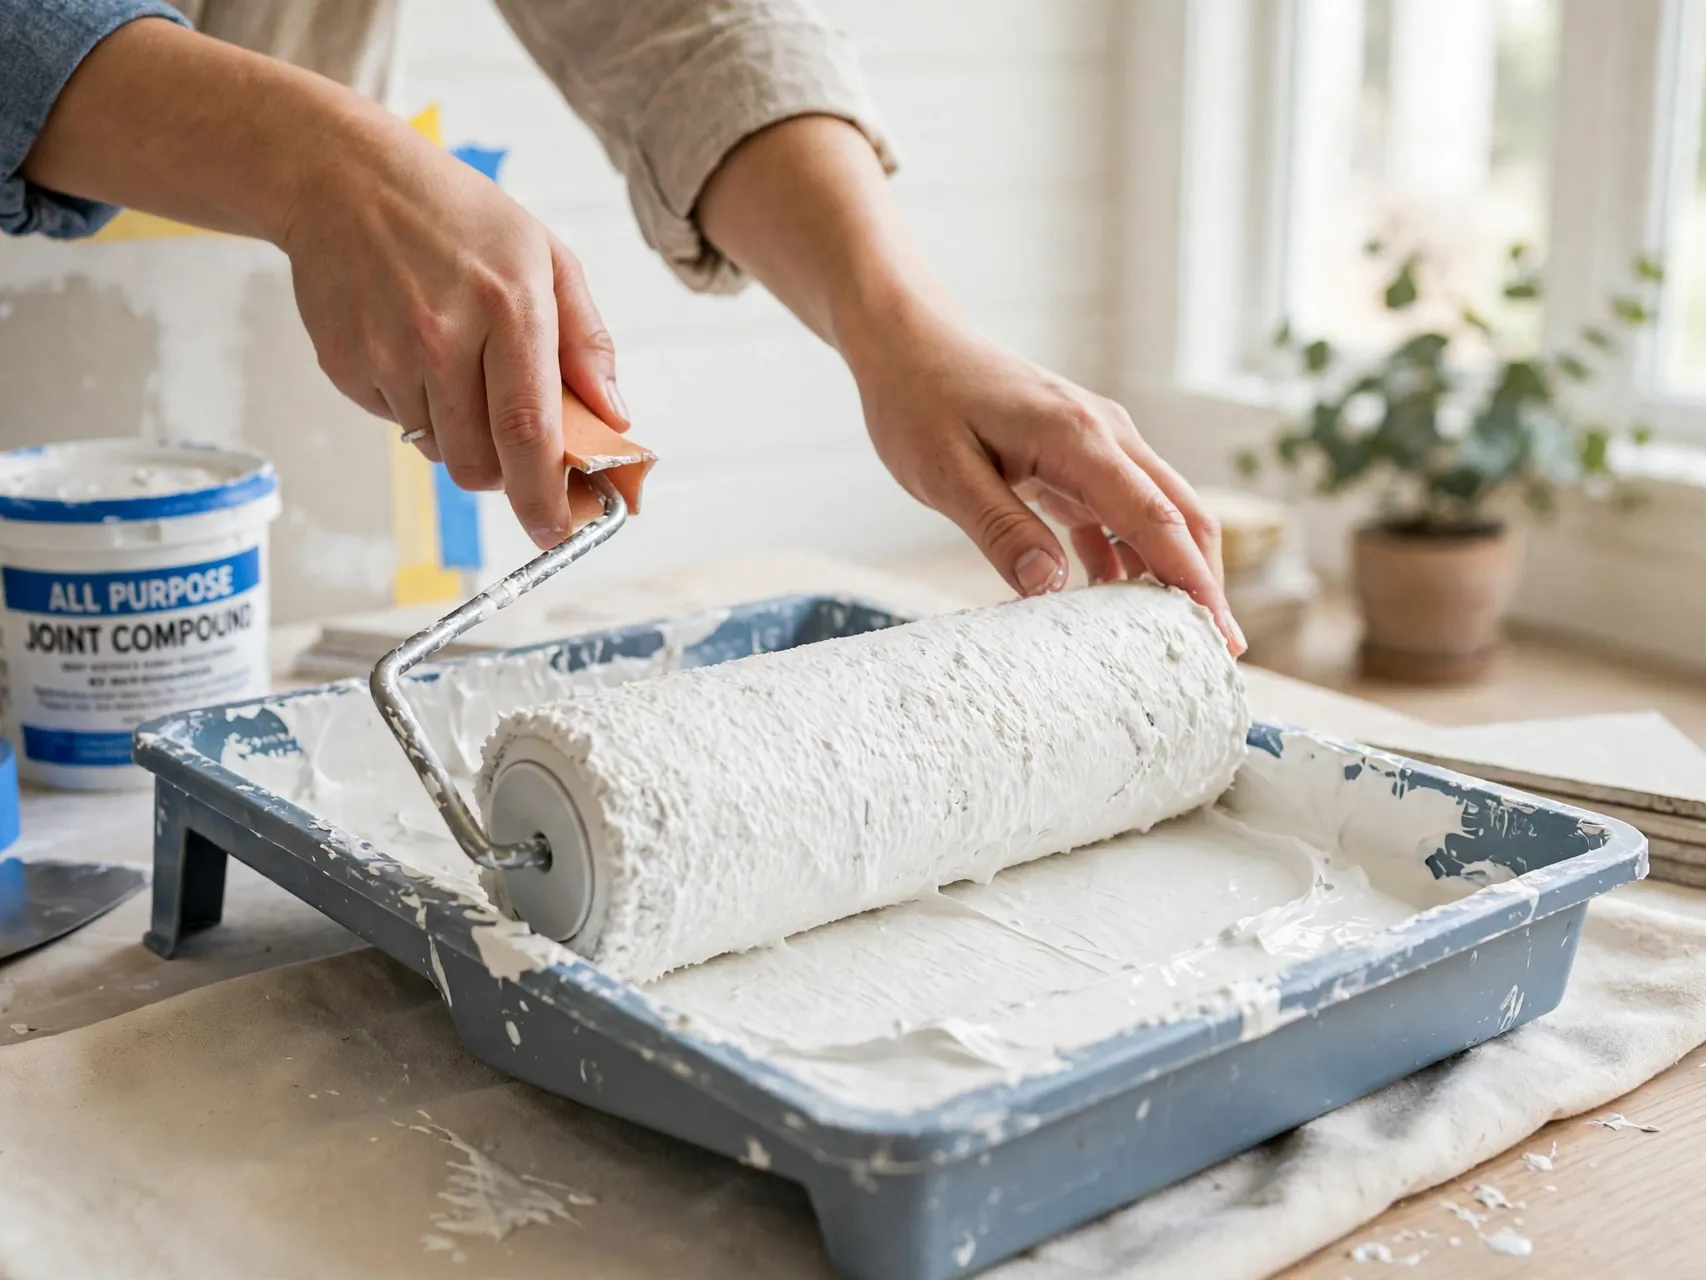
Pour thinned compound into a large tray or work from a bucket with a roller grid, and load until the nap is saturated all the way around, then roll off the excess so it is full but not dripping. An unevenly loaded roller prints a patchwork of heavy and light stipple that no paint can hide. Reload on a rhythm, roughly every couple of passes, so every section of wall receives the same amount of material.
11. Work in Small Sections of About Four Feet Square

Texture begins to set as soon as it meets the wall, so small sections keep you in control. Roll one area of about four feet square completely, finish its pattern, then move to the next area while the shared edge is still wet. Larger sections dry unevenly and force you to rush the pattern step. On a first wall, smaller is genuinely better: three foot sections are slower and far more forgiving of a learning pace.
12. Roll On Full Coverage Before Making the Pattern

In each section, first roll compound in overlapping vertical and horizontal passes until the wall is fully and evenly coated, with no bare streaks or thin windows. Do not judge the pattern yet. This base layer is about coverage and equal thickness only. Thin spots now become permanent thin spots, because the pattern step redistributes compound but cannot create it where none was applied in the first place.
13. Finish Each Section With One-Direction Passes
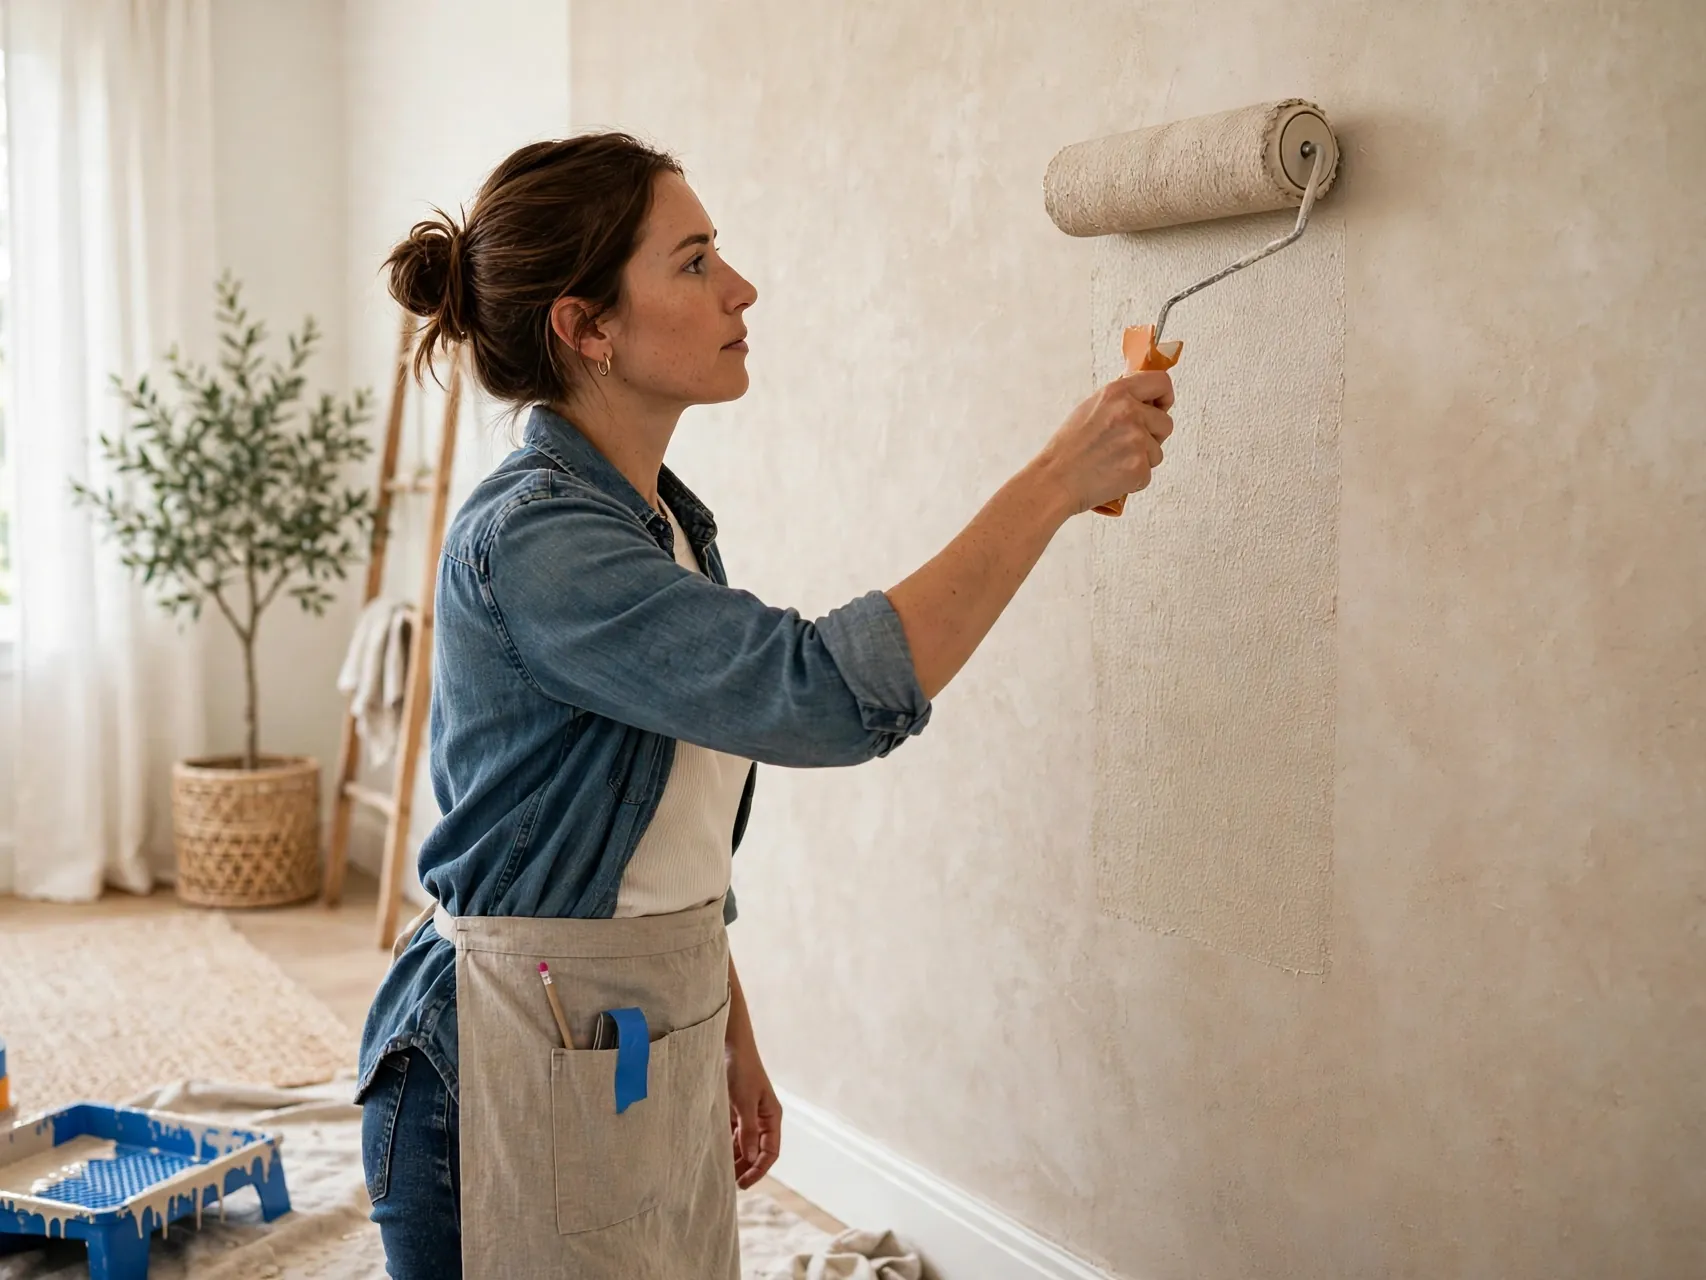
Once coverage is complete, make your final pass with the roller moving in one consistent direction, usually top to bottom, with light pressure. This aligns the tiny peaks into a calm, even stipple and erases roller track lines between passes. Keep that direction on the whole wall. Random final strokes print as visible patches in side light, the same way brush marks do, and they only announce themselves after painting.
14. Keep Pressure Light and Let the Nap Do the Work
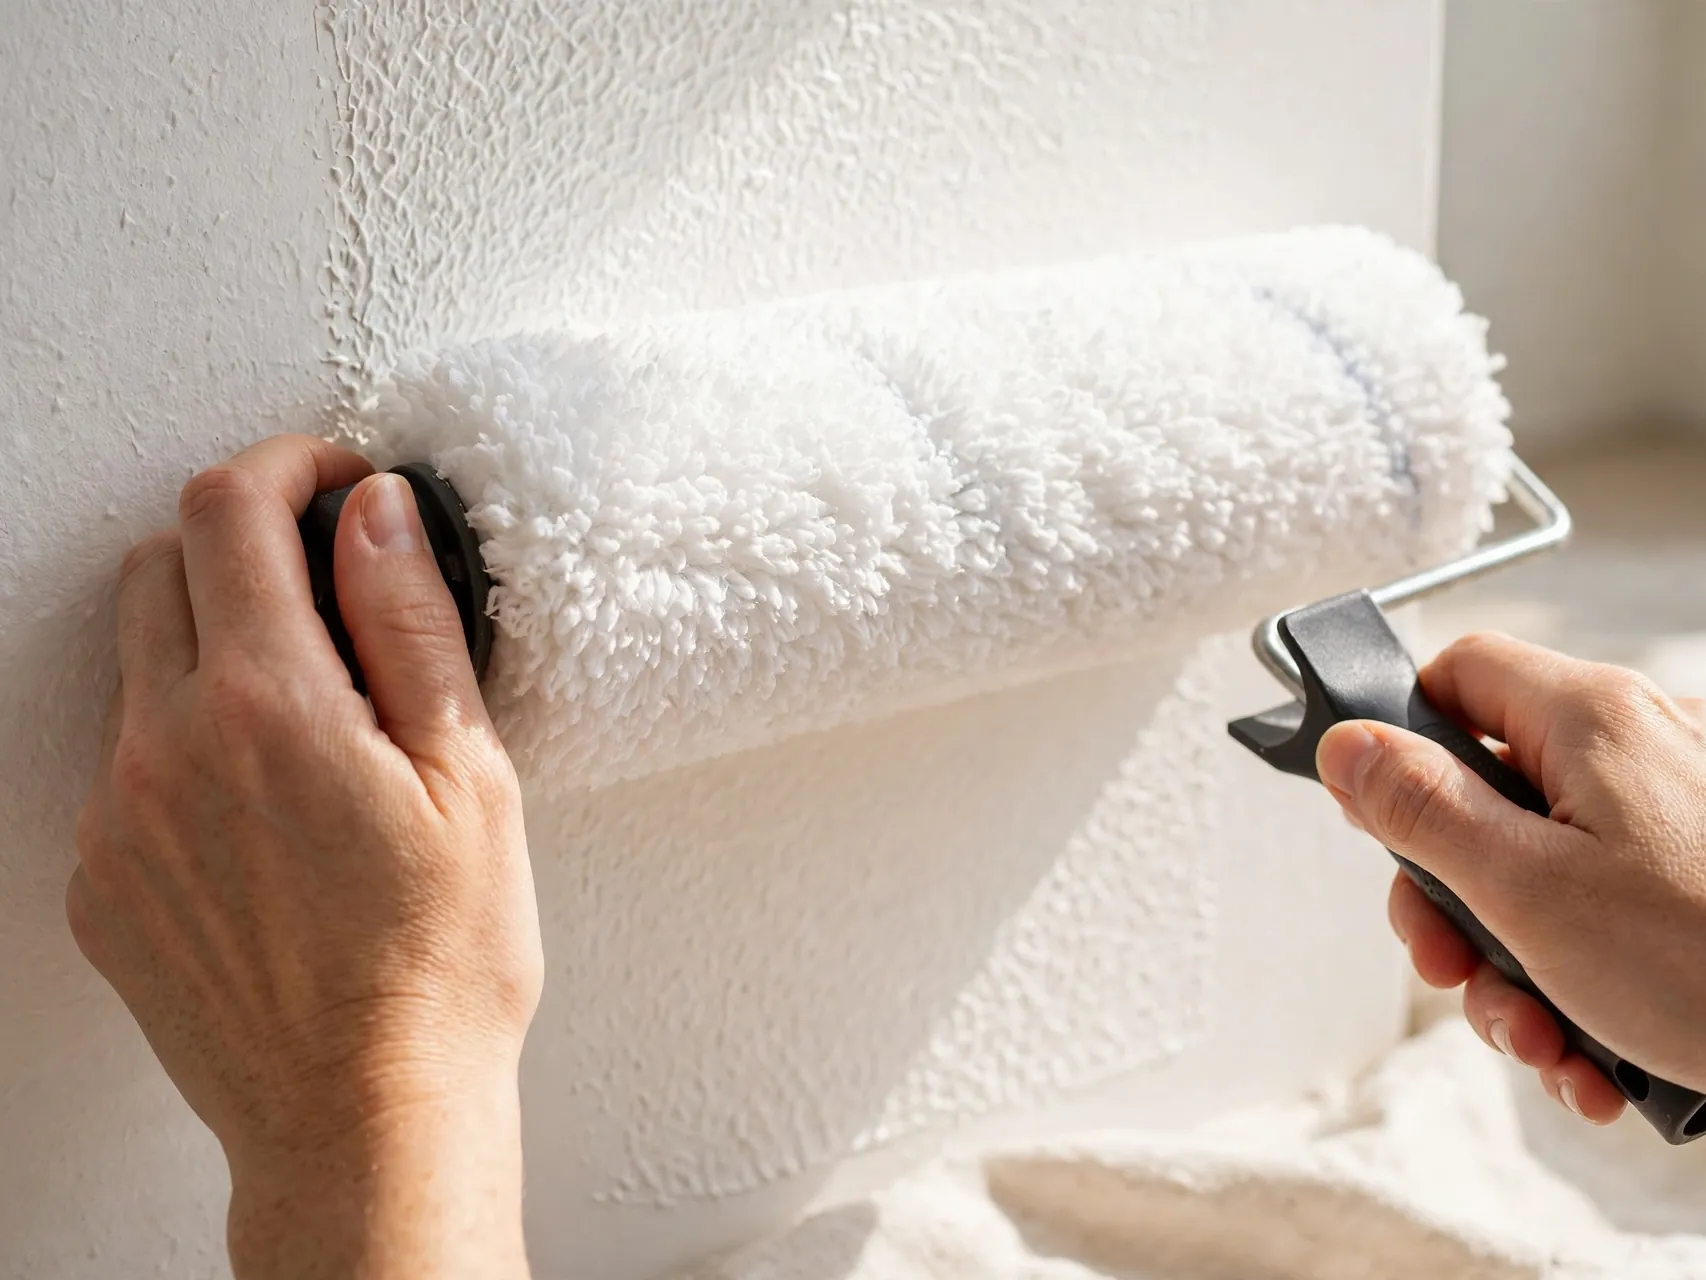
Pressing hard squeezes compound out at the roller edges, carving lines and flattening the very texture you want. Roll with the weight of the loaded roller plus gentle guidance, keeping the frame flat so neither edge digs in. If compound builds up on the frame ends, scrape it back into the tray. Shoulders should feel guided, not forced, and your stipple depth should come from the nap and mix, not from muscle.
15. Blend Each New Section Into the Wet Edge
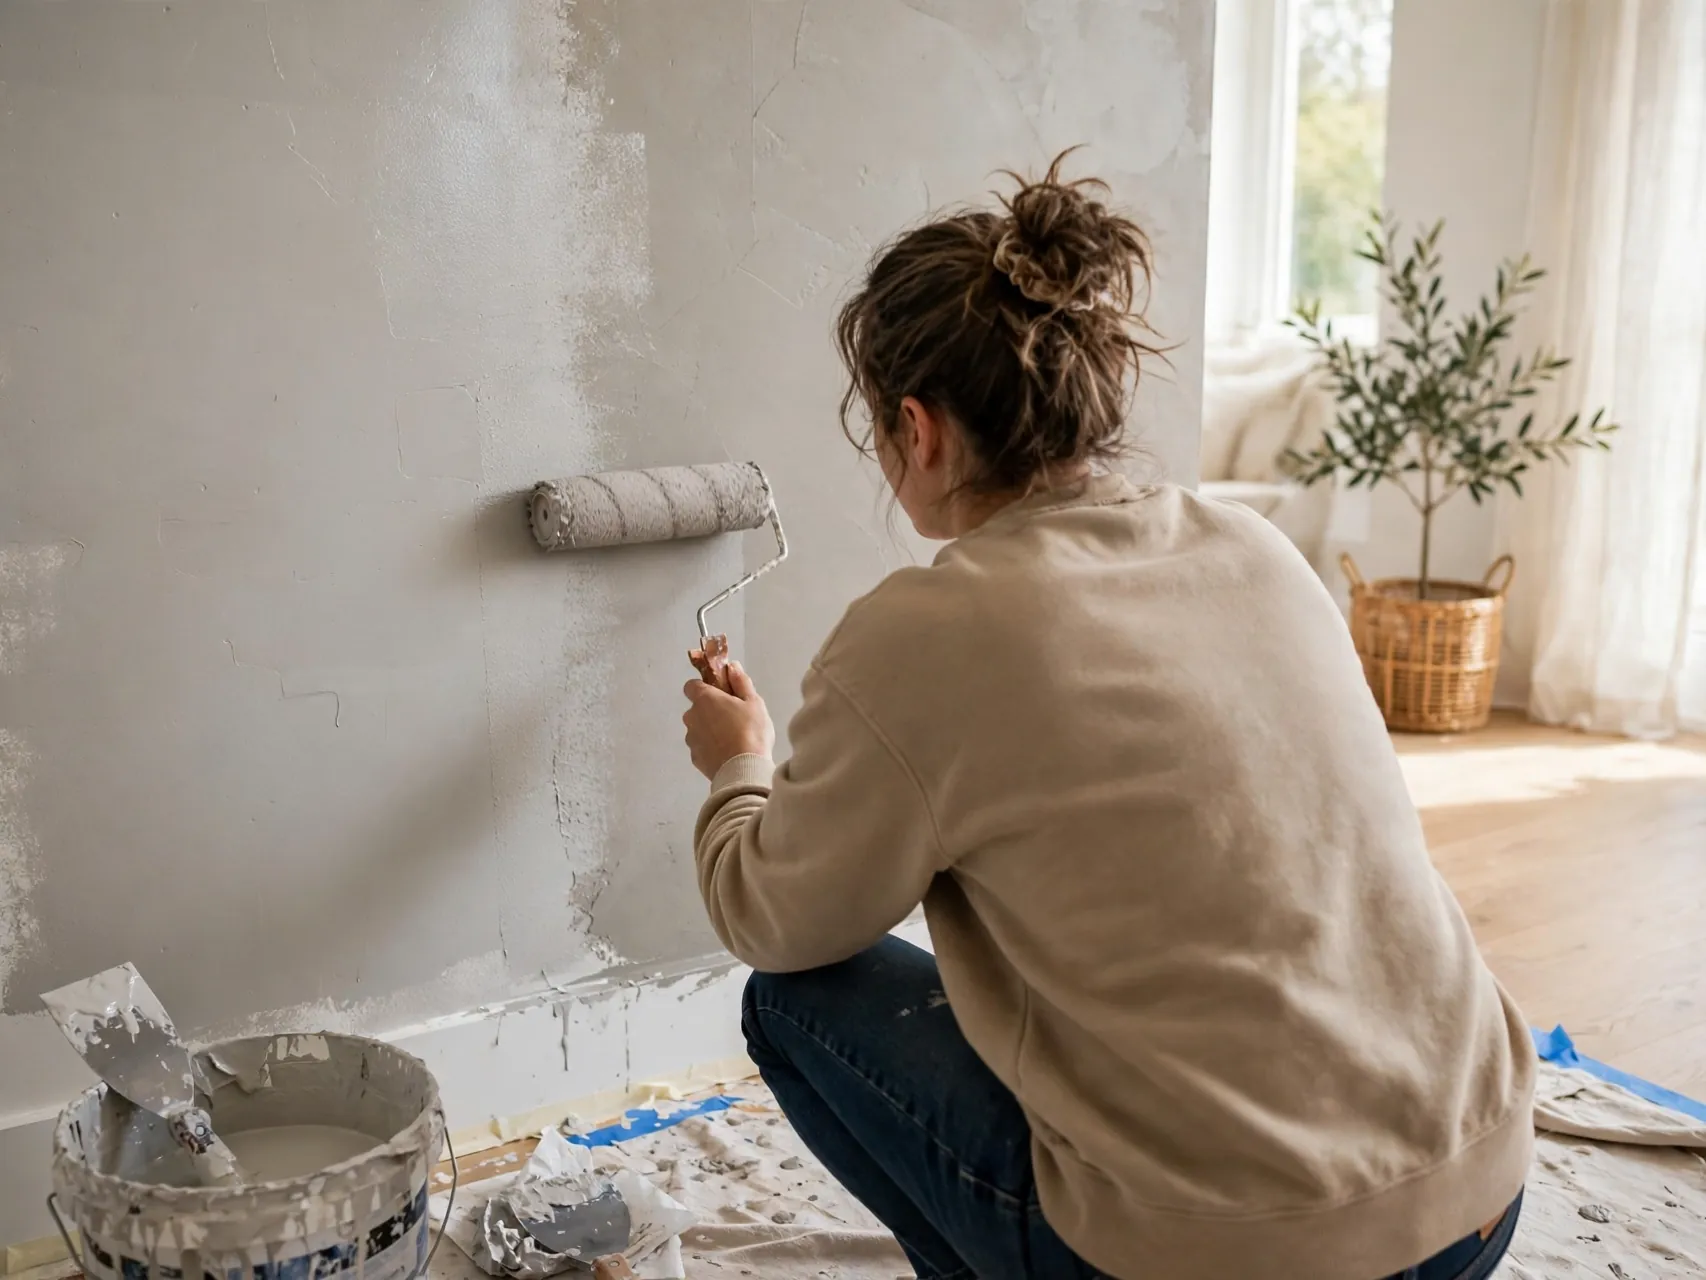
Start each new section by overlapping slightly onto the still wet edge of the previous one, then work away from it. Rolling fresh compound over the shared border while both sides are wet merges the stipple into one continuous surface. If an edge has already firmed up, feather it lightly rather than building a ridge against it. Ceilings of texture, like ceilings of paint, are won or lost at the joins between sections.
16. Dab Corners and Edges With a Brush
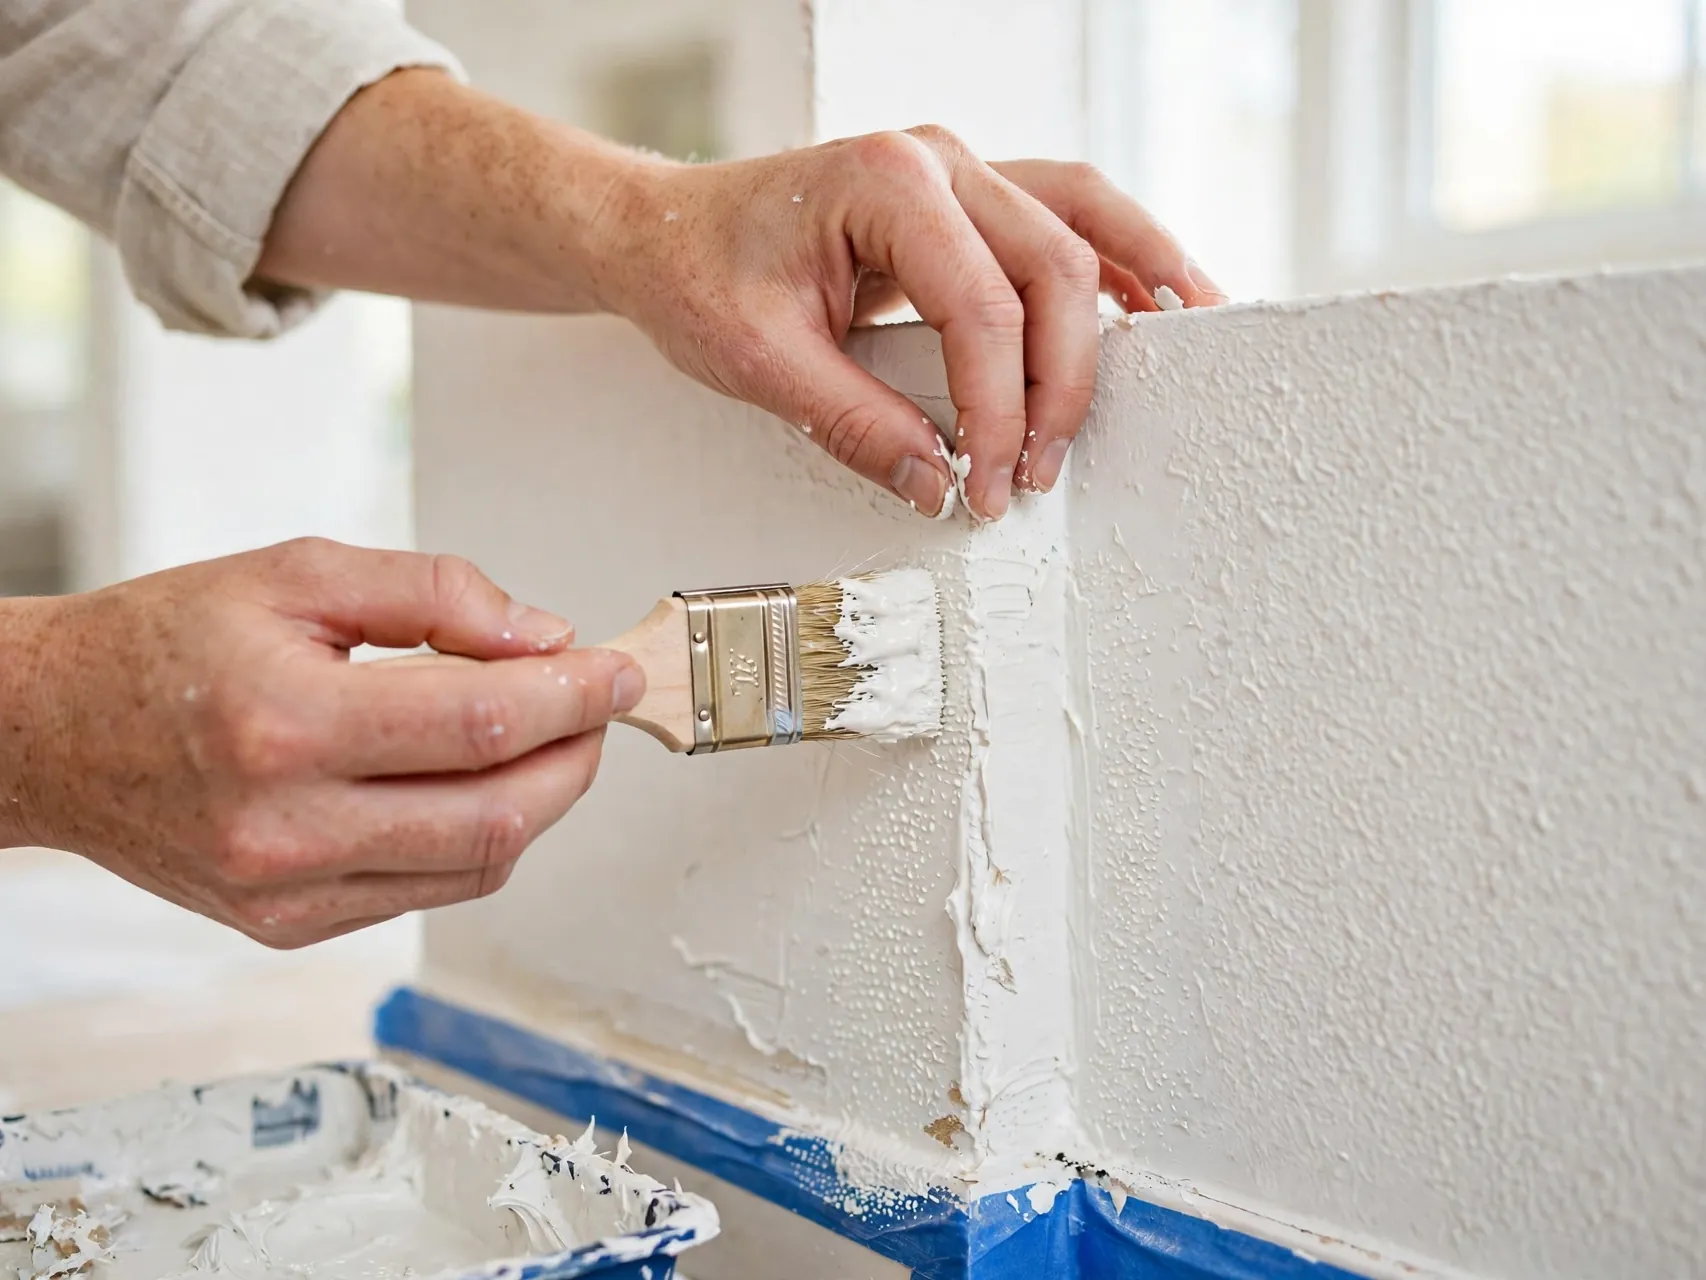
Rollers cannot reach inside corners, tight edges beside trim, or the strip along the ceiling line. Dab those areas with a brush loaded with the same compound, using a stippling motion rather than strokes, so the texture matches the rolled field. Do edges as you complete each section, not at the end, so brush work and roller work dry as one skin with one consistent pattern depth.
17. For a Softer Look, Try a Gentle Knockdown Pass
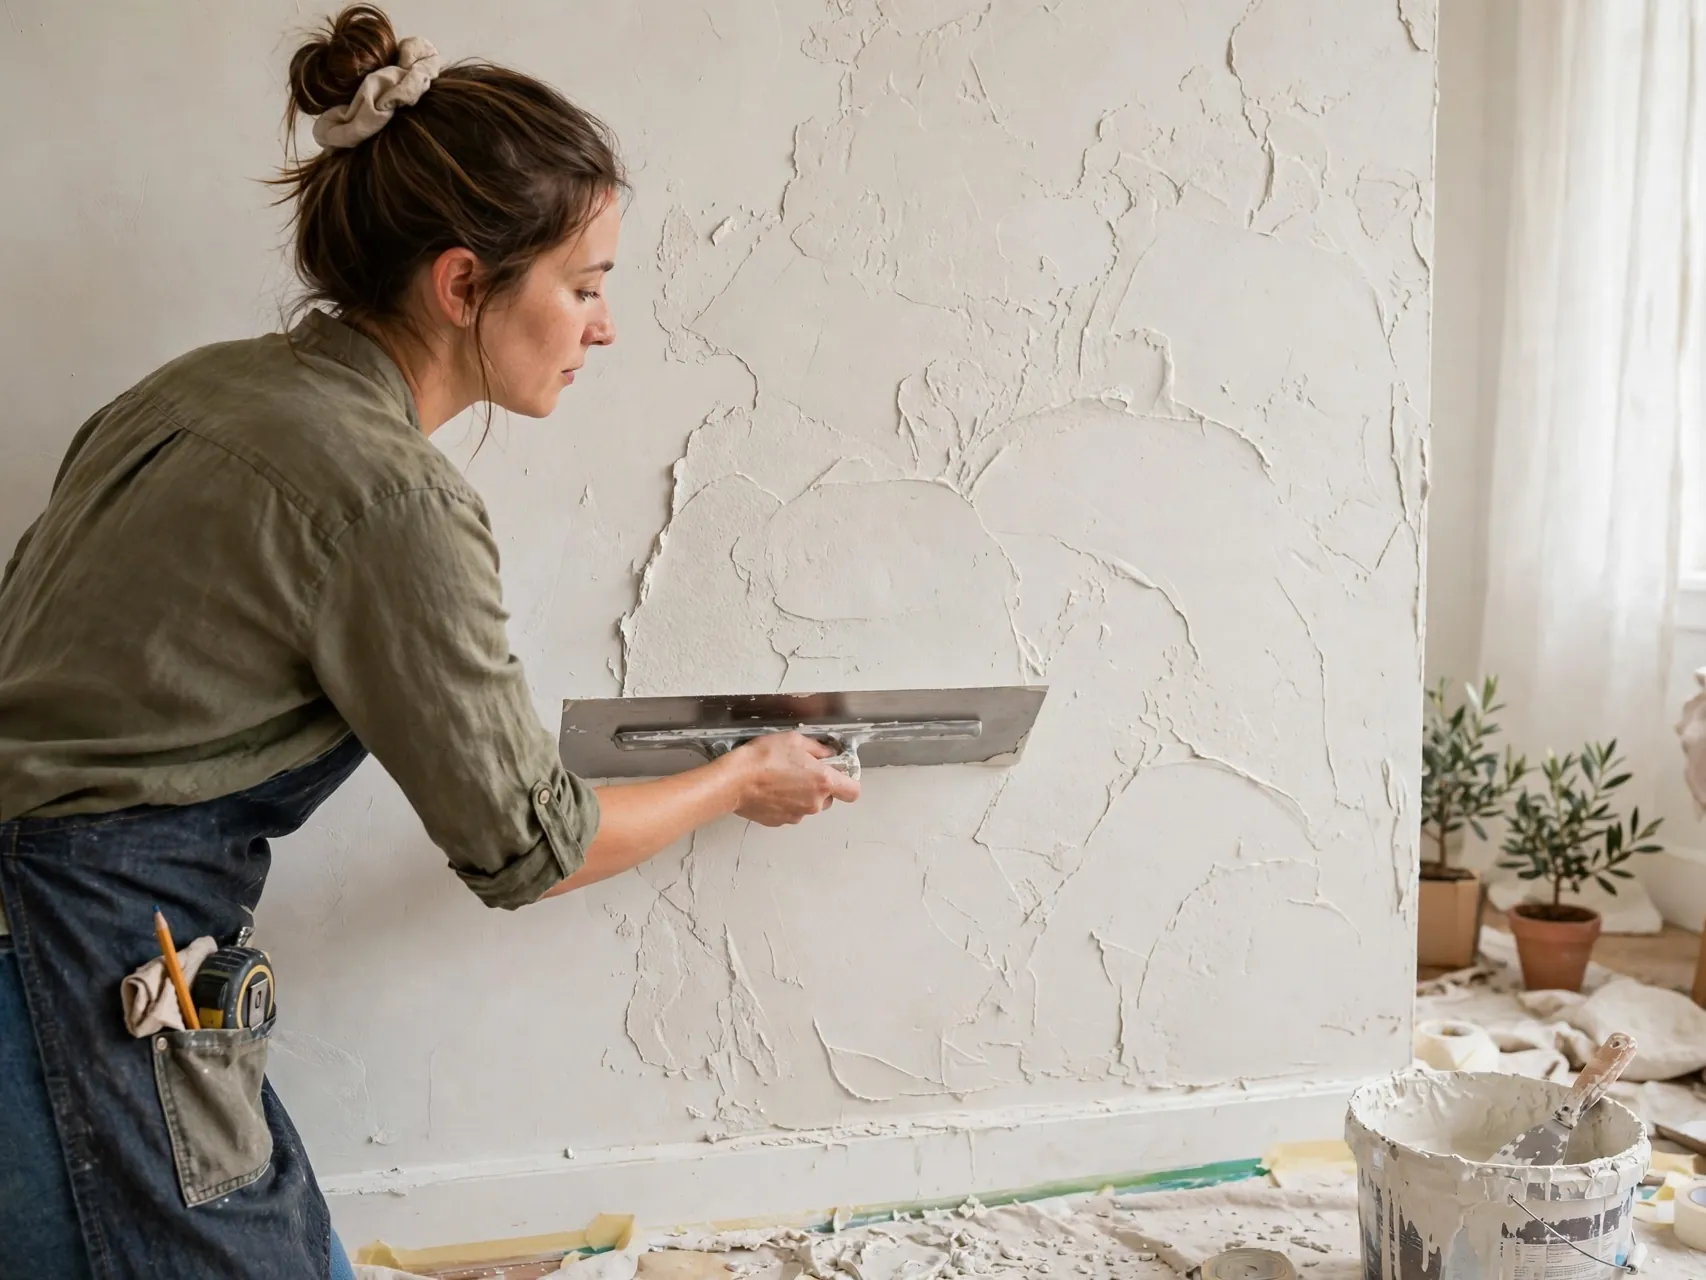
If the stipple feels too sharp or rustic, wait until the peaks lose their wet shine and look matte at the tips, then draw a wide, clean taping knife or knockdown blade very lightly across the surface, wiping the blade often. This flattens just the tops, leaving a softer, mottled knockdown character. Practice the timing on your board first. Too early smears, too late tears, and both mistakes show.
18. Keep Your Mix Consistent From Bucket to Bucket

Texture depth is mostly mix depth. If bucket two is thinner than bucket one, the wall will show two personalities side by side. Stir the working bucket often, because compound settles, measure water the way you recorded it for the first batch, and box partial buckets together when you refill. If you must stop mid wall, stop at a corner, where a slight change in texture reads as a natural break rather than an error.
19. Let the Texture Dry Fully Before Judging It
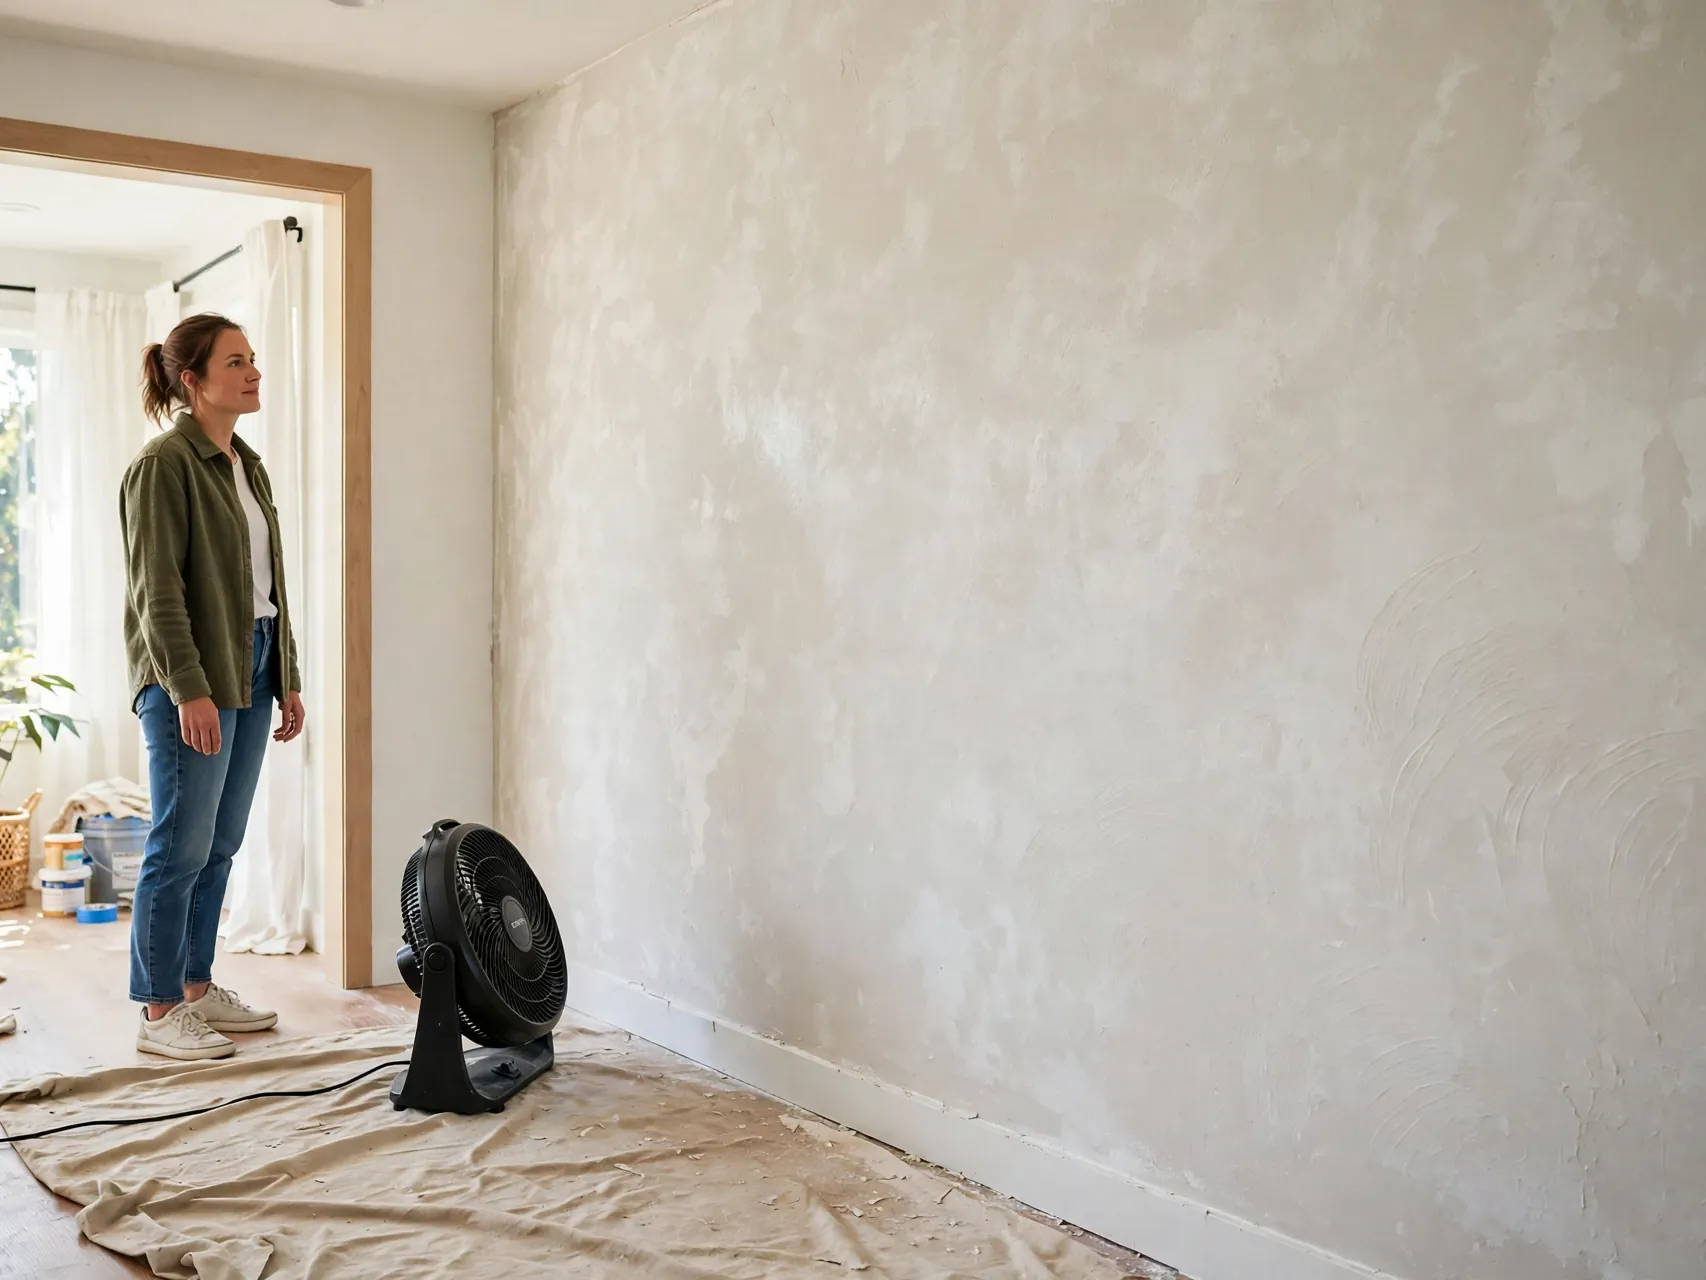
Wet texture looks darker, heavier, and far more dramatic than the dry result, so do not panic and do not fix anything mid dry. Let the wall dry completely, usually a full day for rolled compound, longer in cold or humid rooms, before assessing it. Run a fan for air movement if the compound label allows. What looks fierce at hour two often dries into exactly the soft stipple you pictured at the start.
20. Fix Small Misses While You Still Can
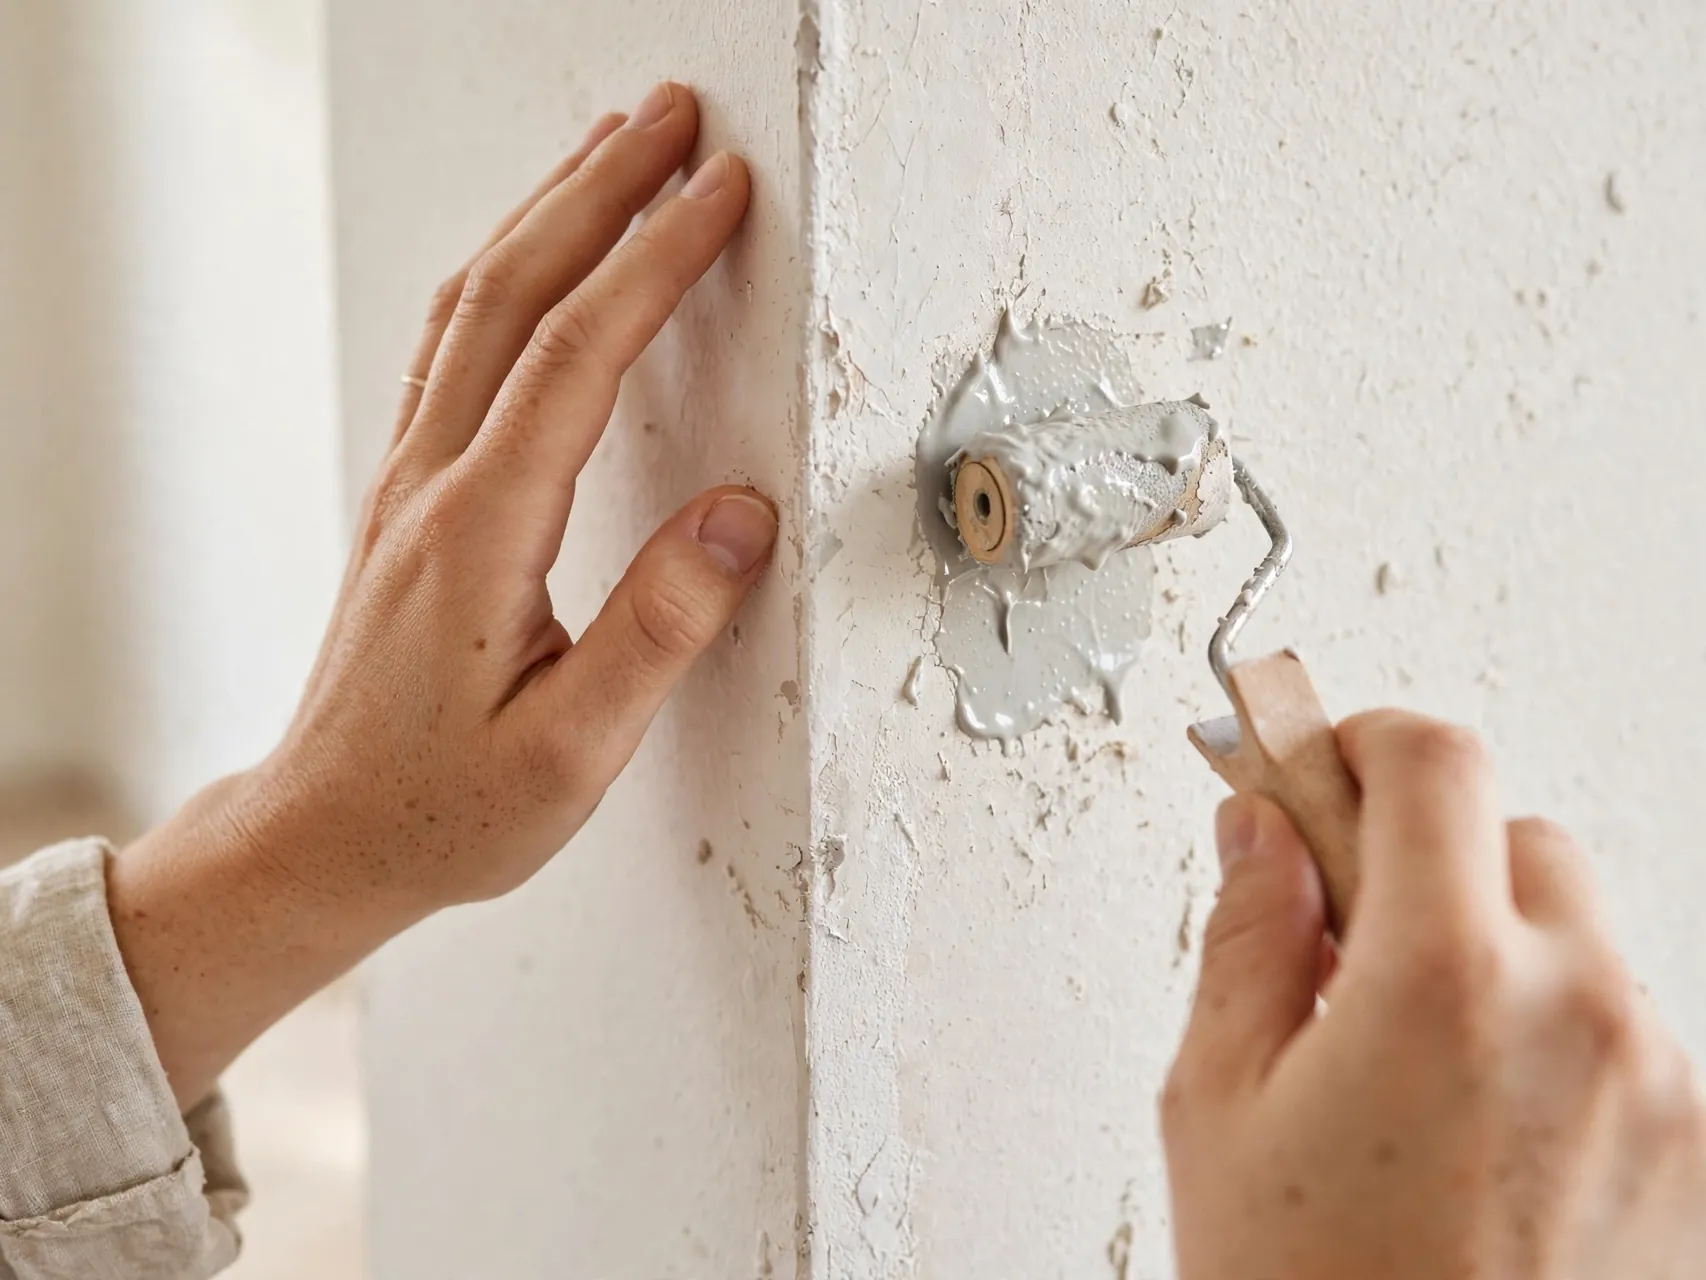
While the wall is still workable, scan each section at an angle for bare spots, drips, and heavy ridges. Blend a bare spot by stippling in a little compound with the roller edge or brush. Scrape a heavy drip flat once it firms. After full drying, small high spots can be knocked down with a damp sponge rather than sanding, which keeps dust down and preserves the surrounding pattern beautifully.
21. Prime the Dried Texture Before Any Paint

Dry compound is thirsty and unevenly absorbent, so skipping primer guarantees blotchy paint. Once the texture is fully dry, roll on a coat of drywall primer with a nap suited to the texture depth, working it into the valleys. Let the primer dry completely. This sealed, uniform base is what allows two finish coats to look calm and even, instead of flashing every difference in the compound beneath them.
22. Paint With a Thick Nap and a Patient Pace
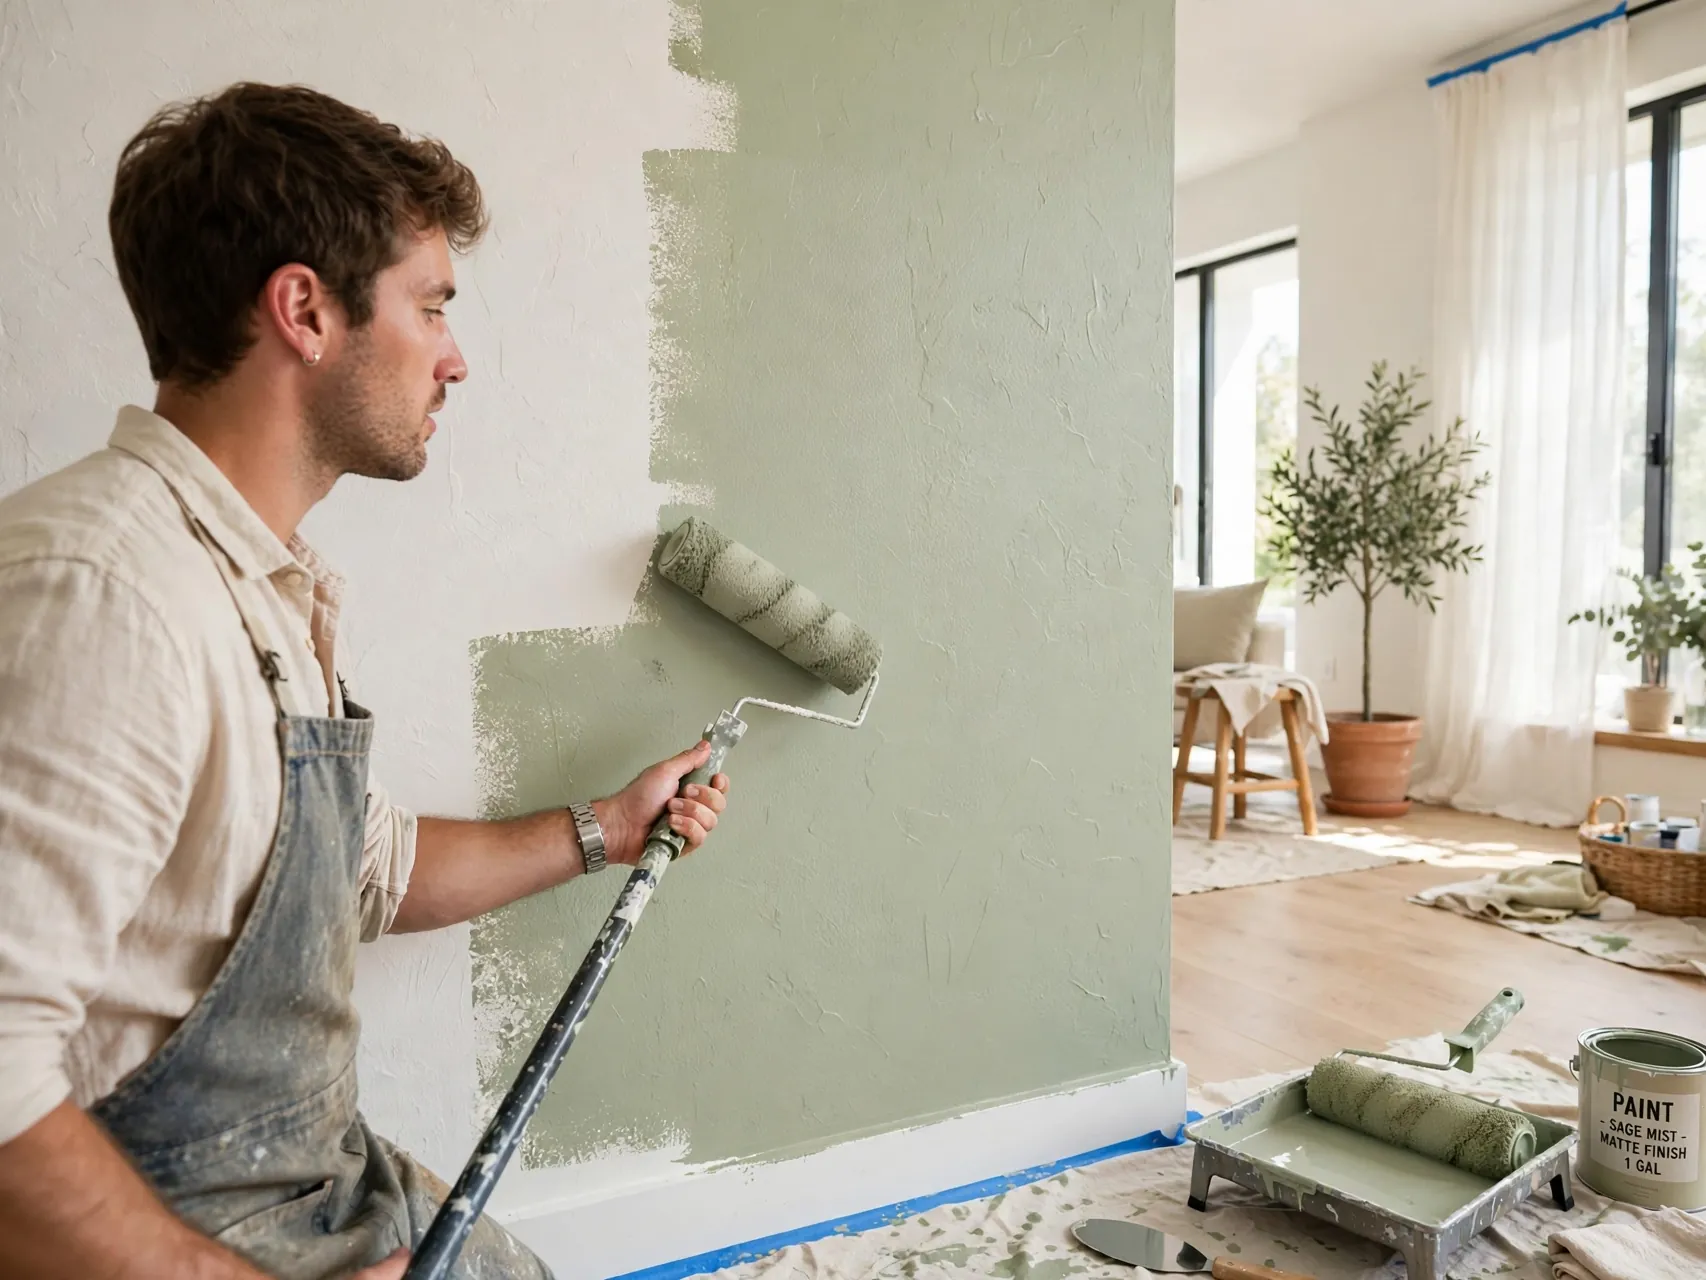
Finish with two coats of your chosen paint, applied with a 3/4 inch nap roller so paint reaches into the texture valleys instead of bridging across the peaks. Roll in one direction for the final pass of each coat, keep a wet edge, and avoid overworking areas as they tack up. Satin or eggshell sheens show texture character, while flat paint softens it. Step back in daylight between coats and admire how far the wall has come.
Save a labeled sample of your dried texture and a note of your mix ratio with your leftover paint. If the wall ever needs a patch, that small record turns a guessing job into a matching job, and a well matched patch disappears under primer and paint.
FAQ
Can I texture over existing old texture?
Only after you know what it is. If the existing texture predates the 1980s, have it tested for asbestos before disturbing, covering, or coating it, and follow professional advice on the result. On newer, sound texture, you can often skim or roll a fresh layer after cleaning and priming, but loose or crumbling texture must be addressed first. When in doubt, test first and ask a professional.
How thick should the compound be for roller texture?
Aim for thick pancake batter: it should coat the roller heavily, hold soft peaks, and not run or drip freely. If it slides off the roller, it is too thin and will dry nearly smooth. If it tears, clumps, or will not spread, it is too thick. Adjust with a spoonful of water or compound at a time, and record your ratio so every bucket matches the first.
Will roller texture hide bad drywall seams?
It hides minor flaws well: slight tape lines, small patch edges, light scratches, and gentle unevenness all soften under a stipple. It will not hide bulging seams, cracked joints, holes, or wavy walls, and heavy texture over a moving crack will simply crack again in a prettier pattern. Repair and prime first, then let texture do the cosmetic softening it is genuinely good at.
Do I have to sand textured walls afterward?
Usually not, and a damp sponge is often the better tool for softening a sharp peak or small ridge once the compound has set, because it creates almost no dust. If light sanding is needed on new, known material, wear a fitted respirator or mask and eye protection, ventilate, and clean dust carefully. Never sand old texture of unknown age and makeup until it has been tested.
How long before I can paint a freshly textured wall?
Let the compound dry fully first, commonly about a day for a rolled layer, and longer in cool, damp, or poorly ventilated rooms. Dry compound looks uniformly pale with no cool, dark, damp patches. Then prime, let the primer dry per its label, and apply two finish coats. Rushing paint onto damp texture traps moisture and can leave the finish soft, blotchy, or peeling.
Key Takeaways
- Test old texture first: Pre-1980s texture and compound may contain asbestos, so test professionally and never dry-sand suspect material.
- Dust protection always: A fitted respirator or mask, eye protection, and ventilation for mixing and any sanding of new compound.
- Batter consistency wins: Thin premixed compound to thick pancake batter and record the ratio so every bucket matches.
- Small sections, one direction: Coat for coverage, then finish each section with light, same direction passes for an even stipple.
- Prime before paint: Fully dry, then prime, then two coats with a thick nap roller worked into the valleys.
- Planning a textured accent wall? Save this guide to Pinterest and pin your practice board results before the real wall.