20 Halloween Crafts for Kids That Are Easy and Mess-Free
Introduction
Halloween crafting with kids should end with decorations on the wall, not paint on the couch. Every idea in this list of halloween crafts for kids was chosen with a strict rule: no loose glitter, no carving tools, no soaking wet paint projects, and nothing that needs an hour of cleanup afterward.
The supplies are simple and mostly already at home: paper, stickers, glue sticks, washable markers, contact paper, paper plates, and saved cardboard tubes. Choose non-toxic supplies, keep safety scissors in little hands, and reserve hot glue, staplers, and any small parts like googly eyes for older kids with an adult right there.
Set up takes two minutes: cover the table if you like, put supplies in the middle, and let kids pick their project. When they finish, their work becomes your Halloween decor, which is the real magic of crafting together in October.
1. Decorate Pumpkins With Stickers Instead of Carving
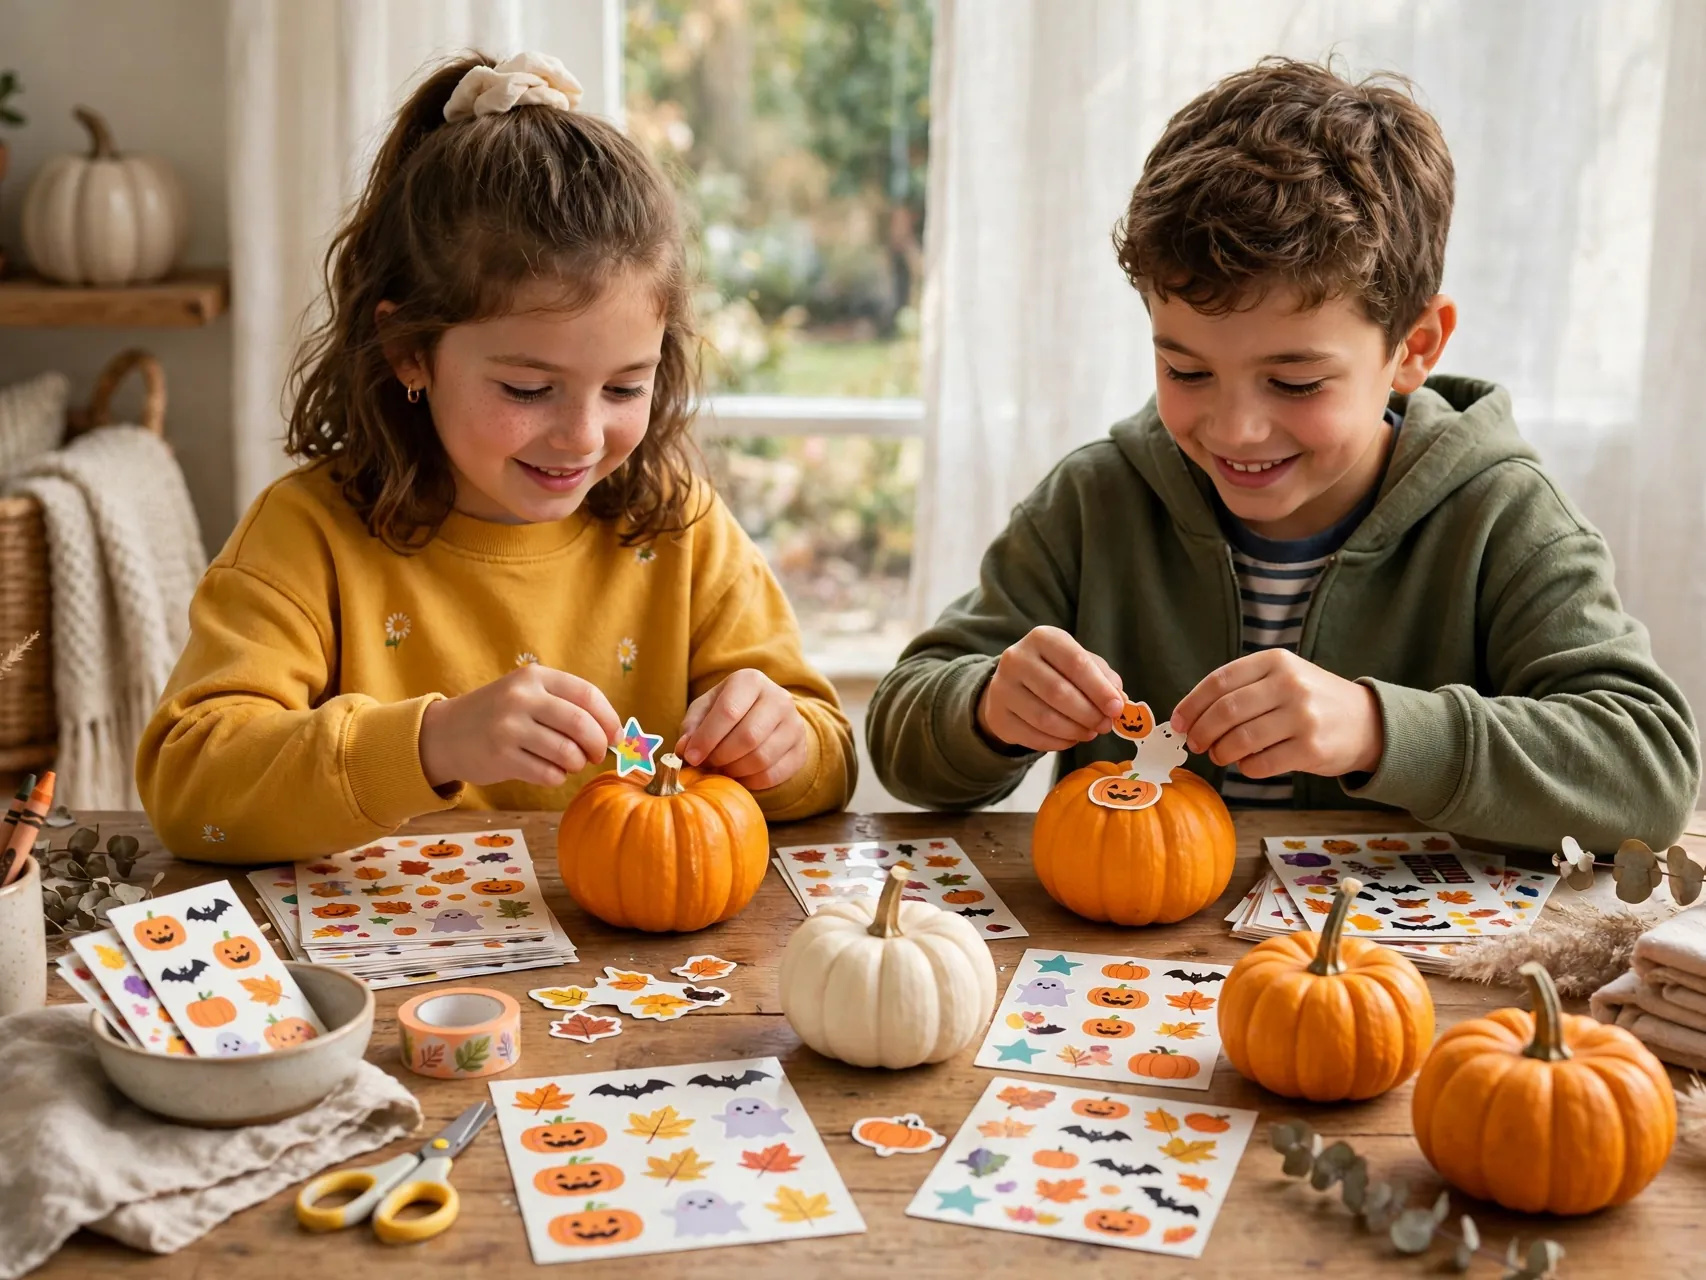
No carve pumpkin decorating kids love starts with stickers. Give each child a small real or foam pumpkin and a sheet of Halloween stickers, foam shapes, or large dot stickers, and let them build faces and patterns with zero mess and zero knives.
Sticker faces can be peeled and redone, which removes all the pressure of carving. Add marker details for older kids who want more control. Line the finished pumpkins along the porch steps or a windowsill. Because nothing was cut, real pumpkins last far longer and can be composted or cooked later instead of collapsing in a week.
2. Make Sticker Pumpkin Patch Scenes on Paper

Draw one wavy green line across the bottom of a large sheet of paper for grass, then hand over orange circle stickers. Kids press pumpkins into their patch, add a green marker stem on each, and draw a fence, a moon, or a friendly ghost in the sky.
This is a perfect first craft for toddlers and preschoolers because the only skill needed is peeling and pressing, and even peeling can be helped by an adult lifting sticker edges first. Finished patches make sweet placemats and fridge art, and cleanup is literally putting the marker caps back on.
3. Press Window Cling Ghosts From White Contact Paper
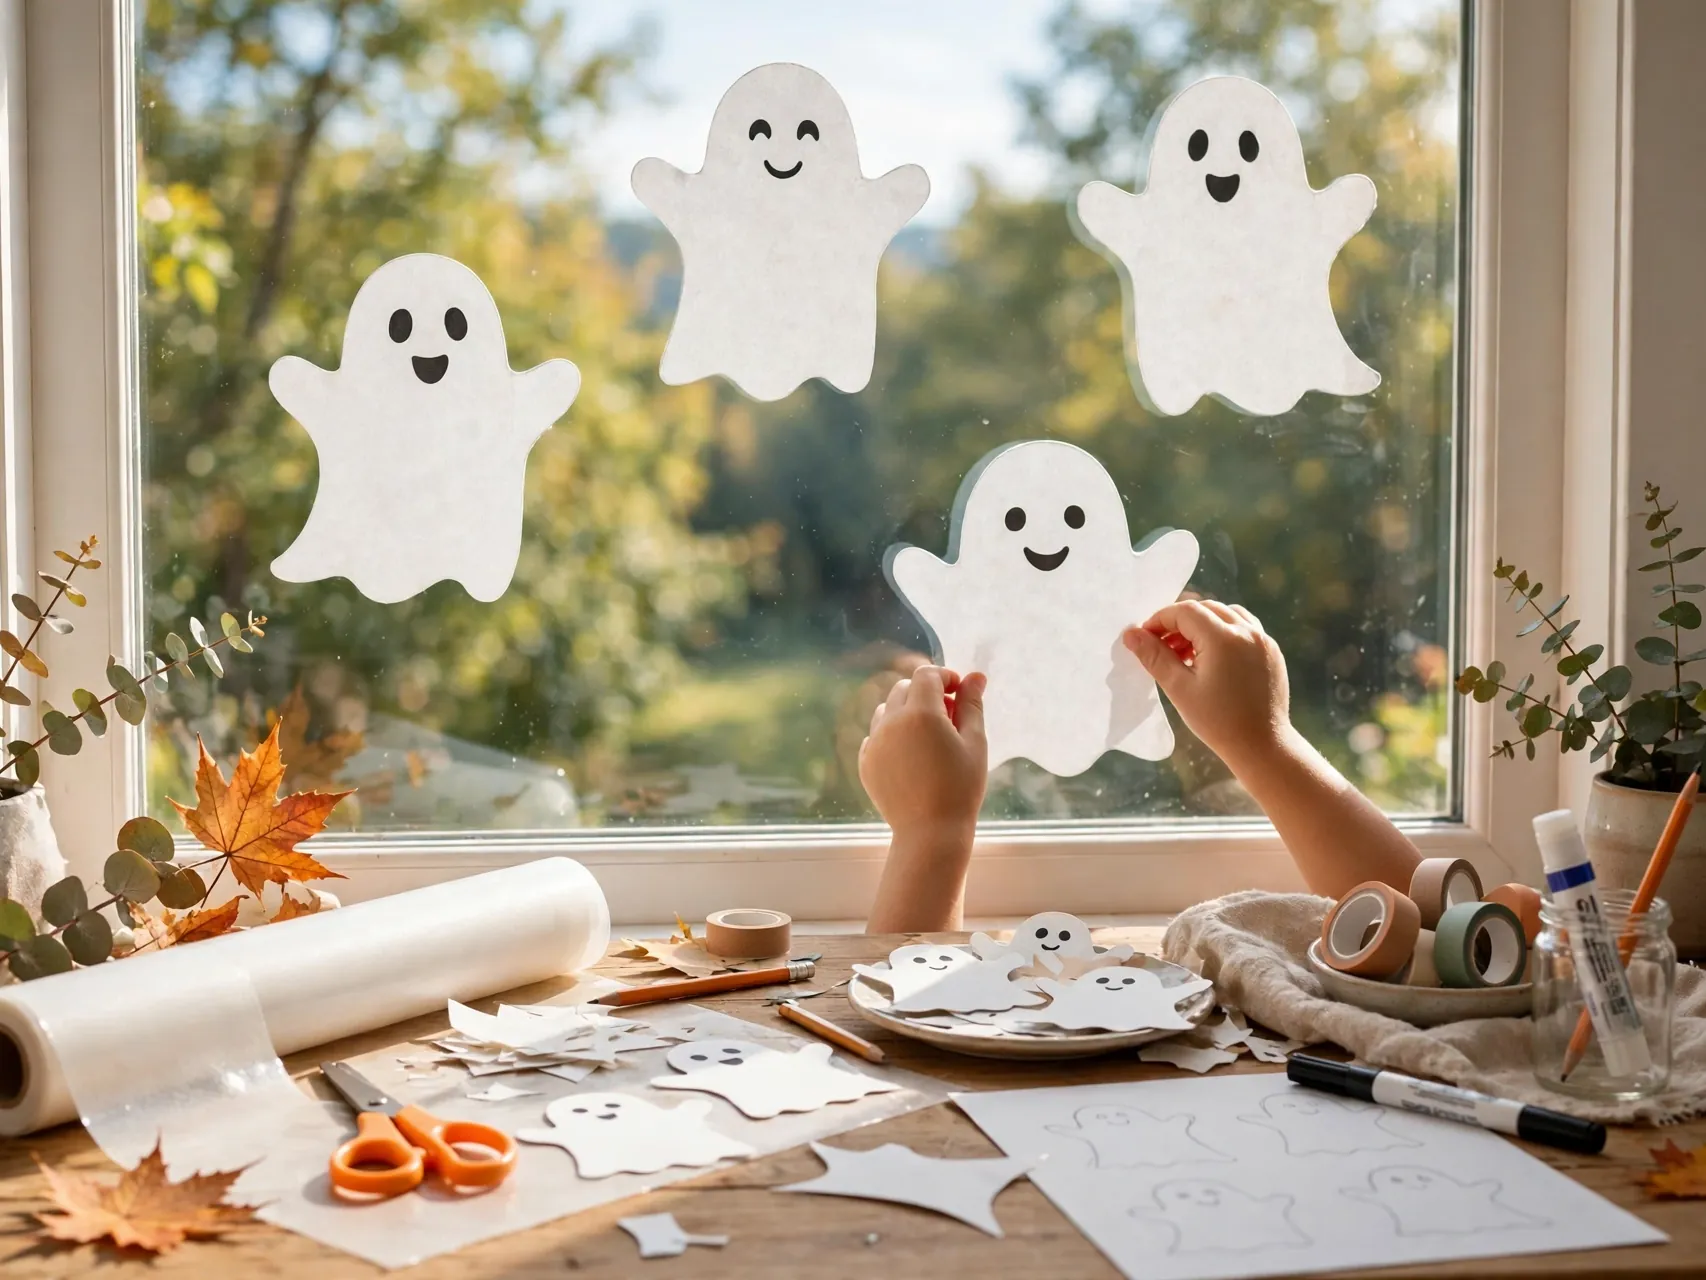
An adult cuts simple ghost shapes from white contact paper ahead of time. Kids peel off the backing, draw or stick on a face, and press each ghost onto a window or mirror, where it clings with no glue and no residue.
The joy here is repositioning: ghosts move from window to window all month. Because there is no liquid glue and no paint, this is one of the cleanest mess free halloween crafts for apartments and classrooms. Keep contact paper pieces large for young kids, since tiny clings frustrate small fingers and can become mouthing hazards for toddlers.
4. Build a Paper Chain Bat Garland With No Glue
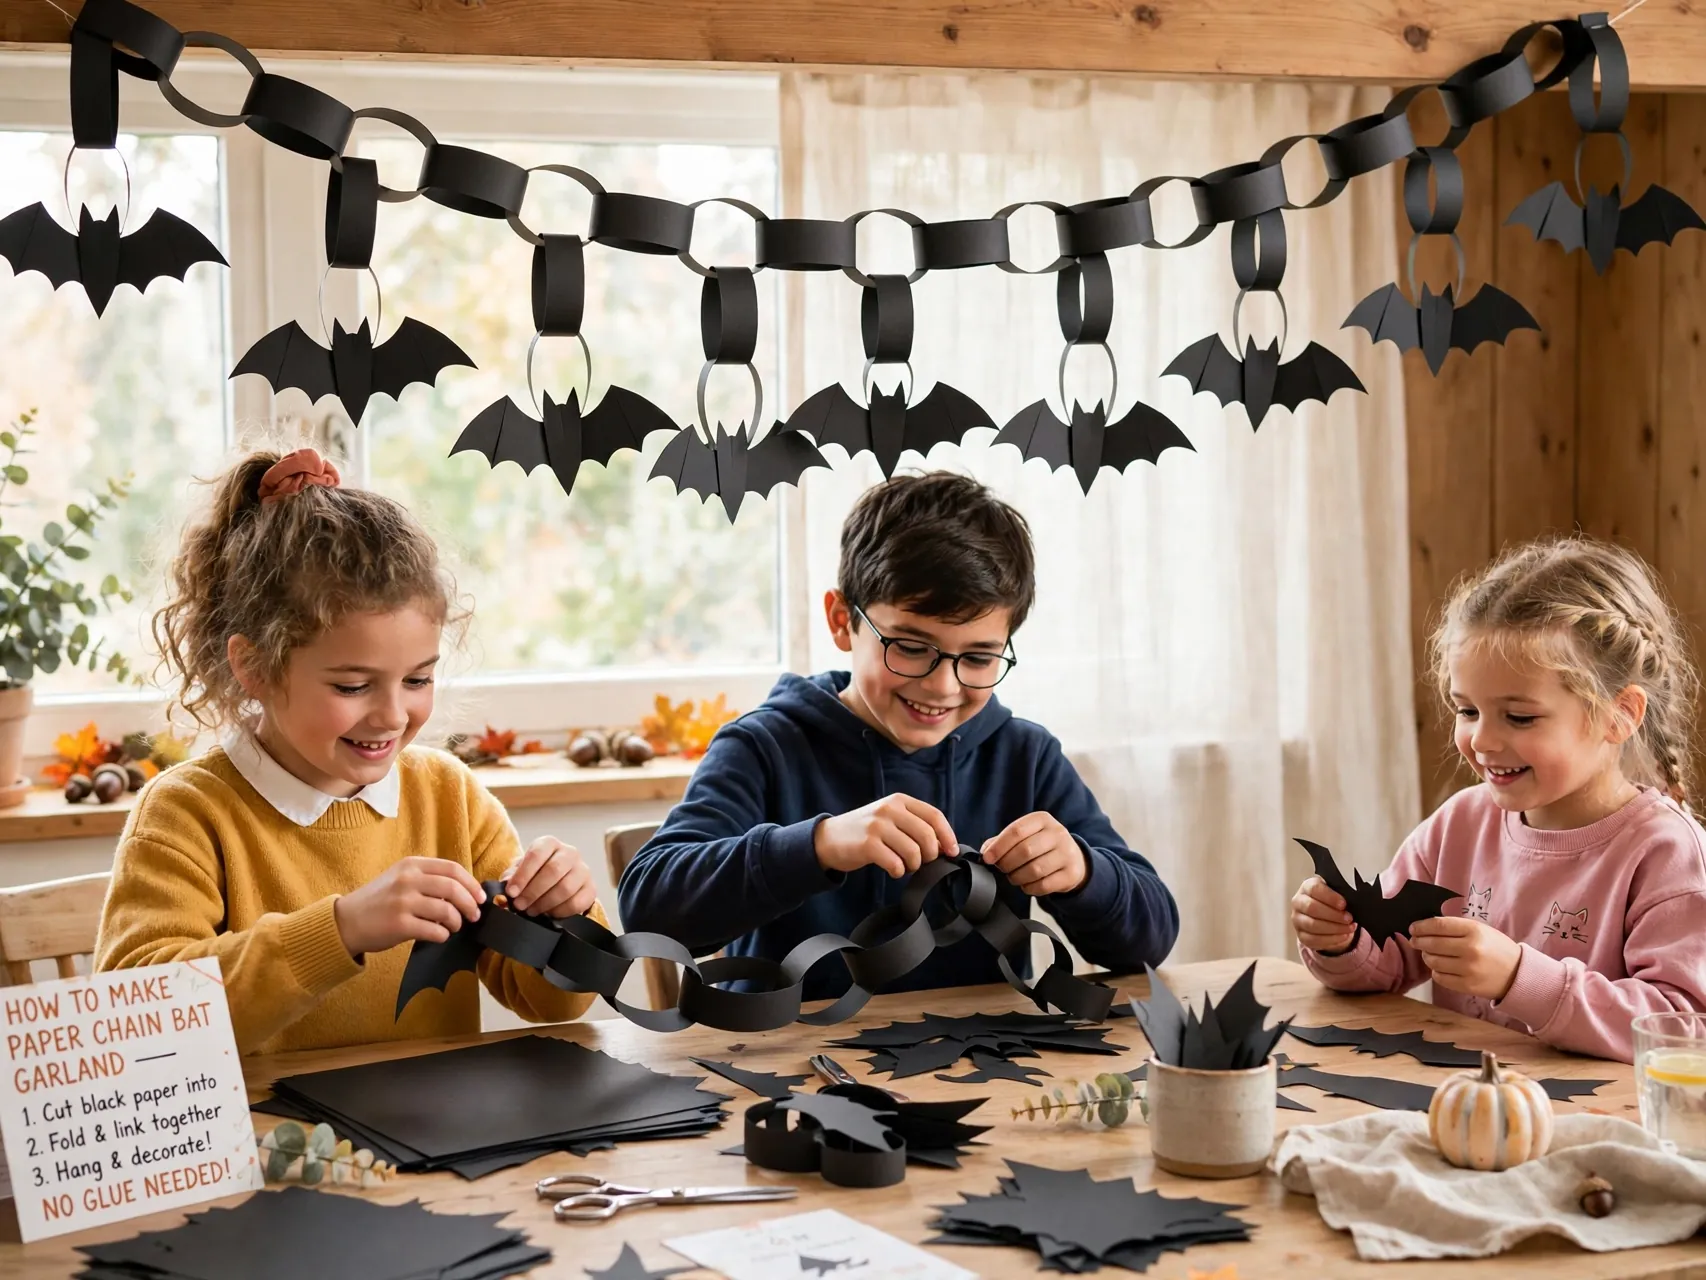
Fold a long strip of black paper back and forth like a fan, draw half a bat shape along one folded edge, and let an adult or an older child cut along the line with safety scissors through the layers. Unfold gently and a connected string of bats appears.
No glue, no paint, just paper and one careful cut. Hang the chain across a doorway or a bedroom wall with removable tape. Kids can color white chalk or gel pen eyes onto each bat after unfolding. Making the first chain together teaches the accordion trick kids will reuse for snowflakes in December.
5. Create Paper Plate Ghosts With Tissue Streamers
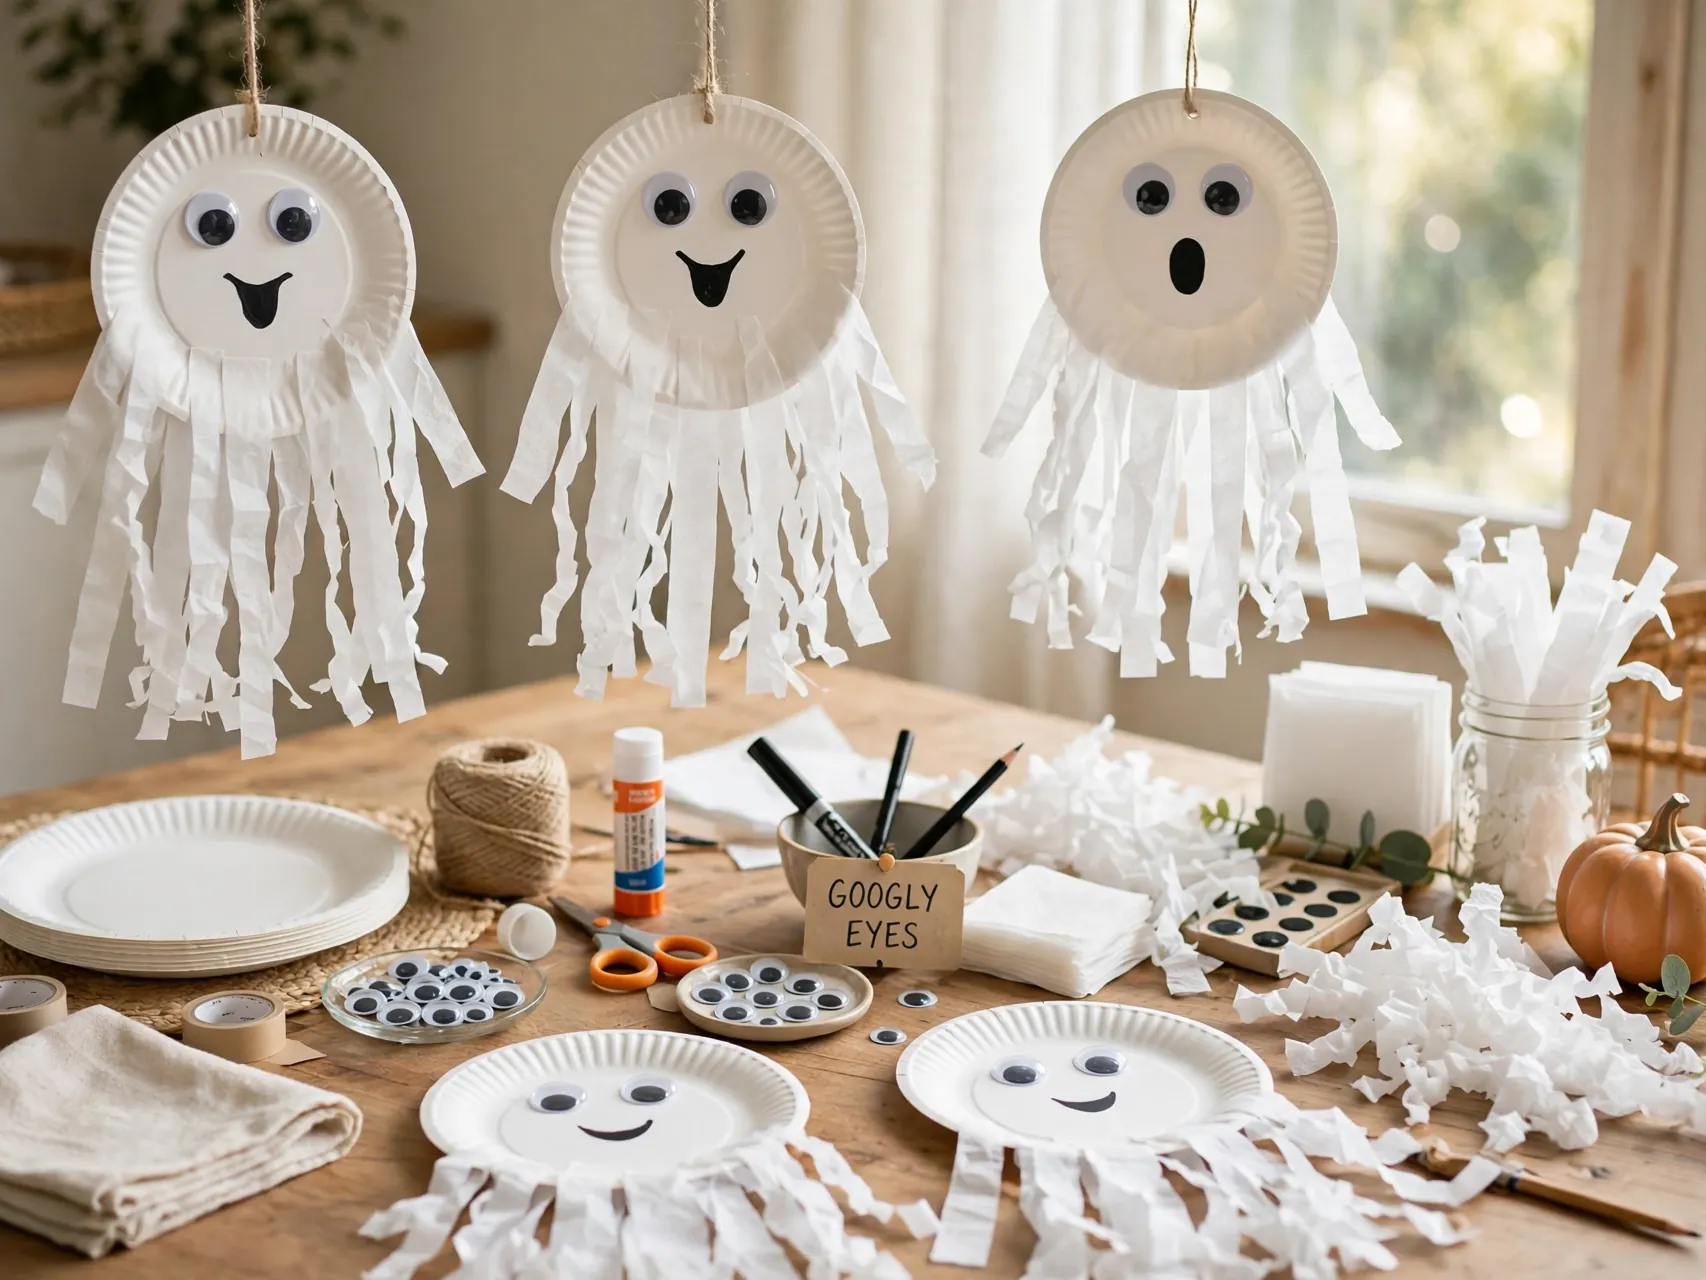
A white paper plate is already a ghost body. Kids draw or glue on a black paper face, then tape or glue white tissue or crepe paper strips along the bottom edge so the ghost gets a floaty tail that moves in the air.
Use a glue stick rather than liquid glue to keep hands and tables clean. Hang plate ghosts in windows and doorways where the streamers drift. Paper plates are sturdy enough for preschoolers to handle without tearing, and the big round face gives little artists plenty of room to make their ghost happy, surprised, or very silly.
6. Turn Cardboard Tubes Into Friendly Bats
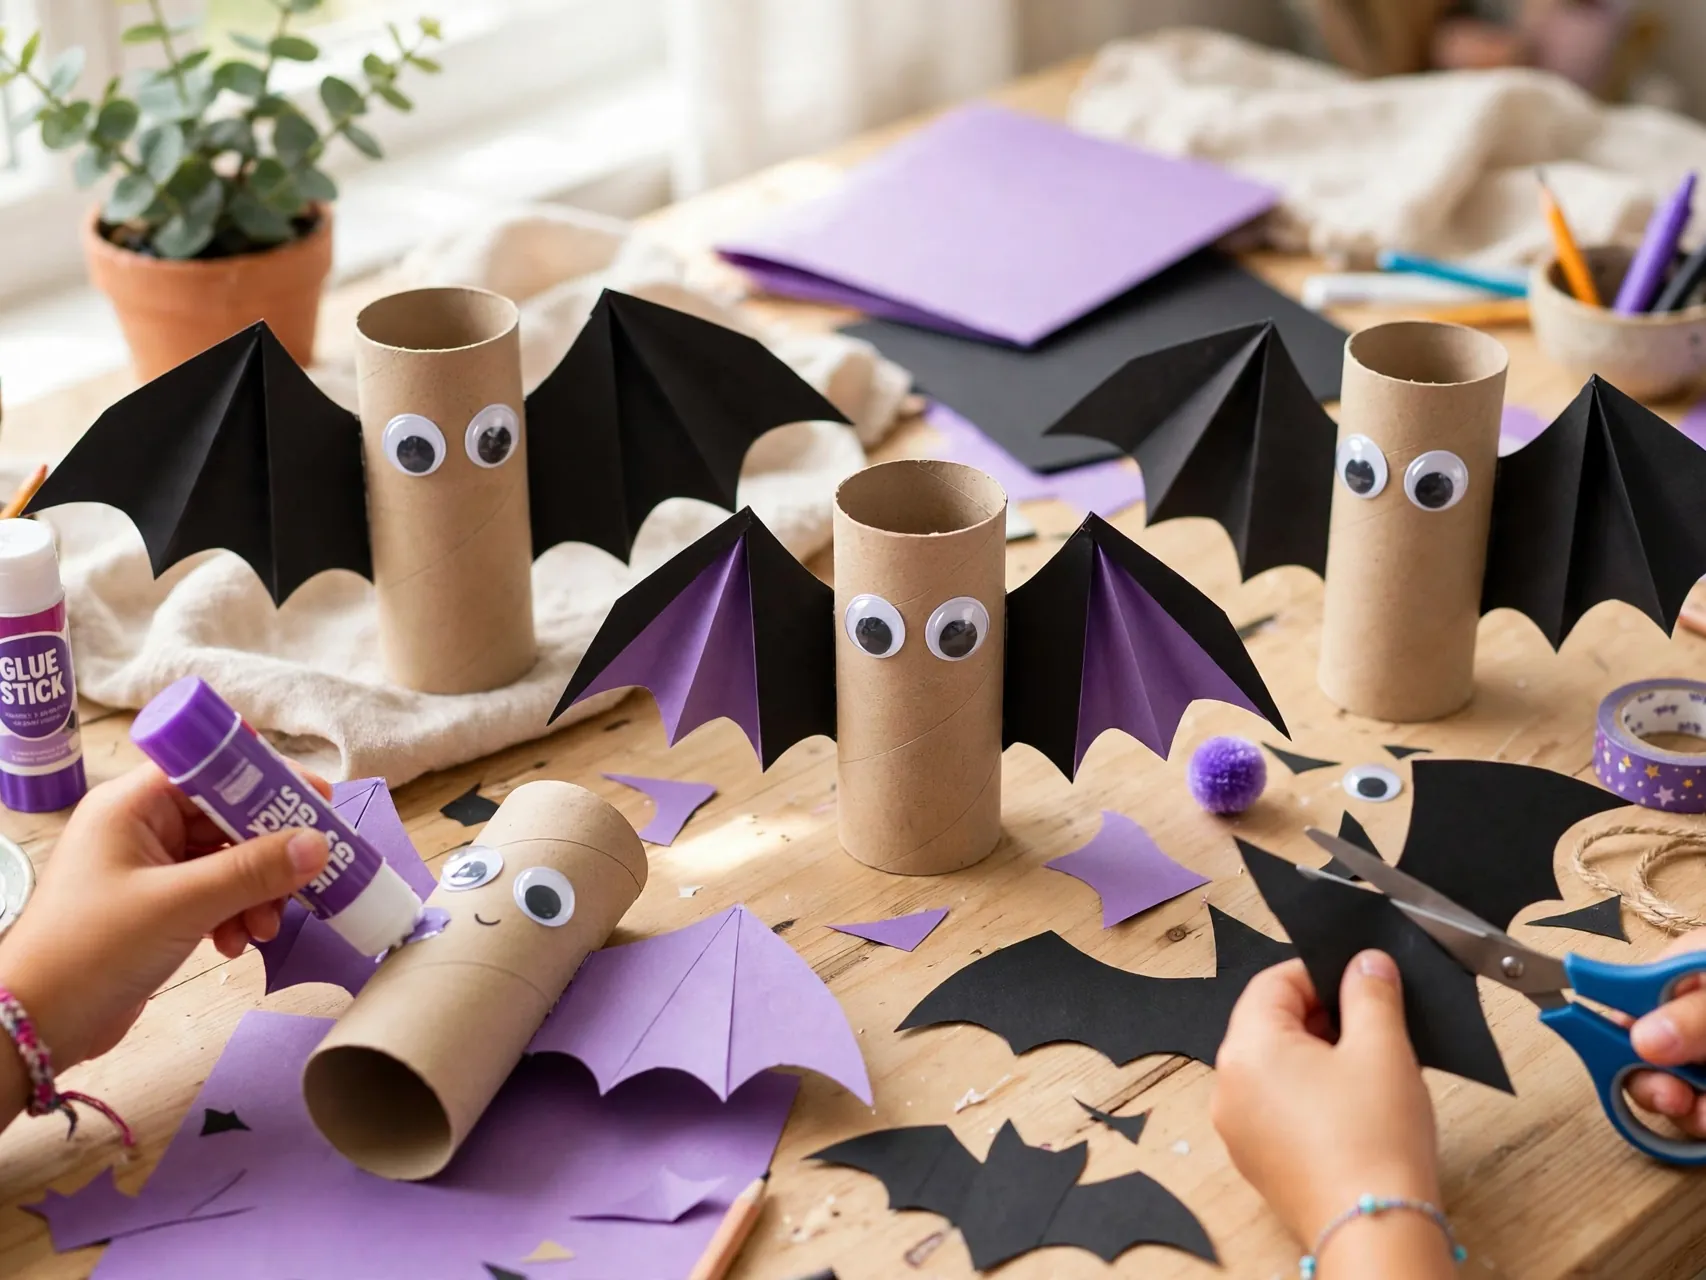
Save cardboard tubes and cover one per child with black paper using a glue stick, no painting required. Fold the top edges inward to form two ear points, then glue on wings cut from black cardstock and a simple paper face.
Paper eyes cut from white and black paper work just as well as plastic googly eyes and are safer for young kids. Stand tube bats on shelves, or hang them upside down from a string for a proper bat cave effect. This is a classic preschool halloween crafts favorite because every step uses big, forgiving motions.
7. Make Tube Ghosts With Flowing Paper Streamers
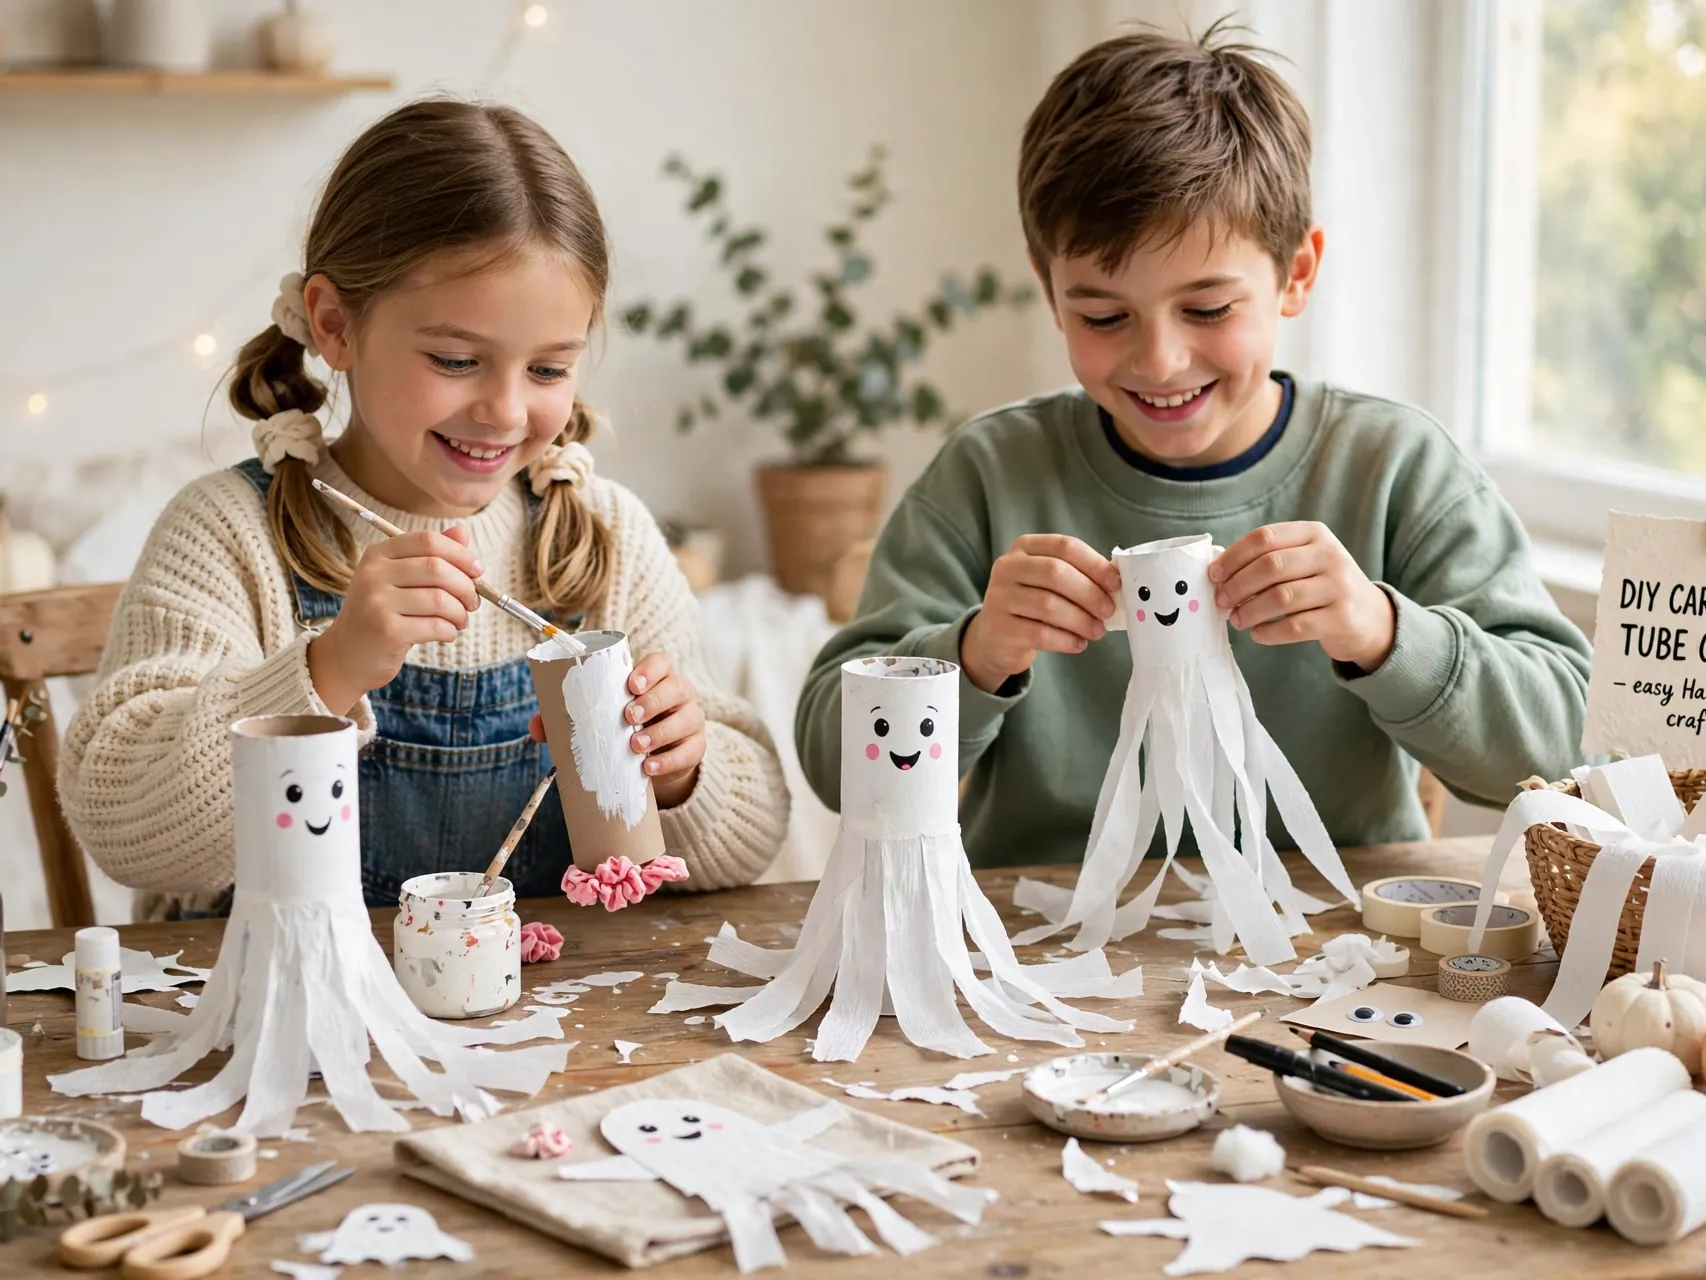
Cover a cardboard tube with white paper, draw a ghost face with a chunky black marker, and tape white streamer strips inside the bottom end. Hold the ghost up or hang it from a doorway and the streamers float like the ghost is flying.
Kids love running with these so the streamers trail behind. Using tape instead of glue means no drying wait and no sticky fingers. Remind kids that tube crafts are for clean, dry tubes from home, and an adult should check every tube before it joins the craft table.
8. Stick Tissue Paper Pumpkins on Contact Paper
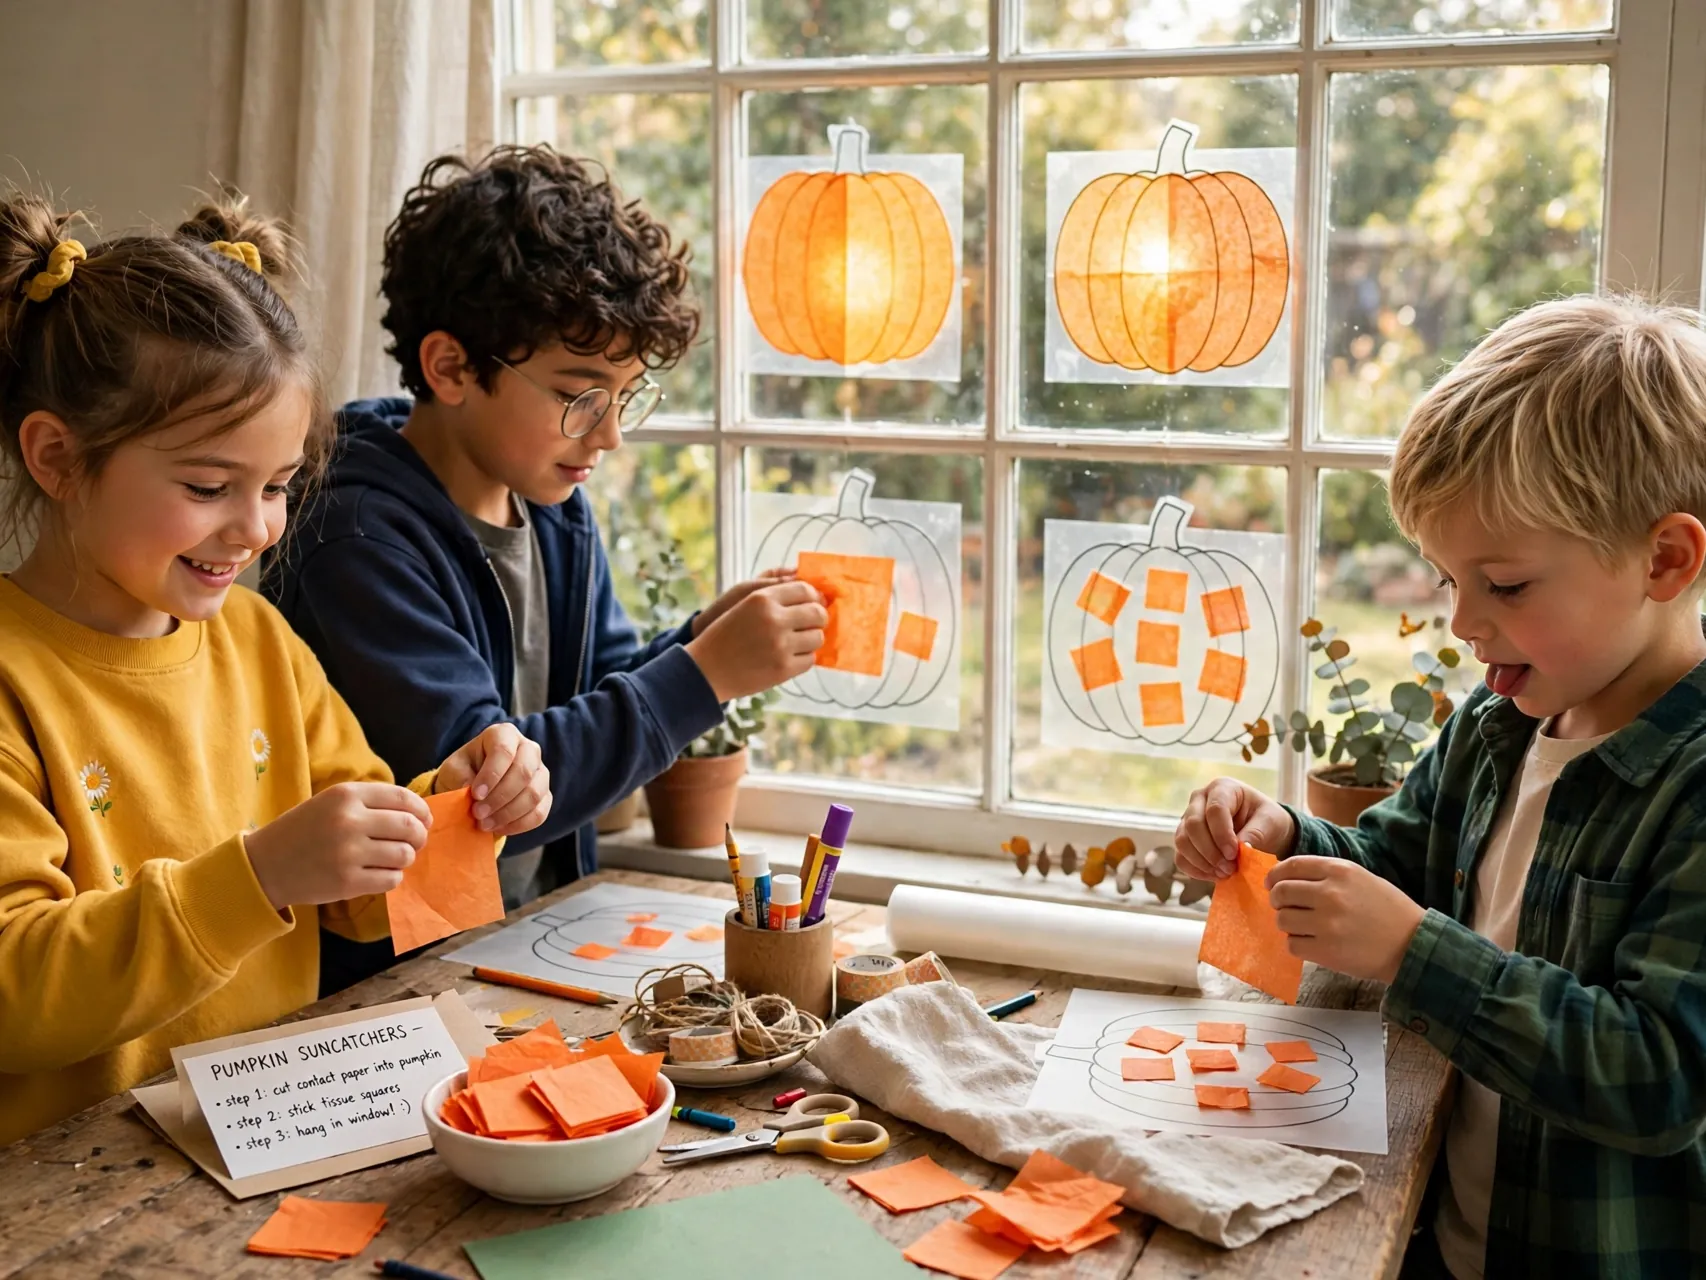
An adult cuts a pumpkin outline from clear contact paper and tapes it sticky side up to the table or window. Kids press small squares of orange and yellow tissue paper onto the sticky pumpkin, then add black tissue shapes for a face, creating a glowing suncatcher effect.
There is no glue bottle in this project at all, which makes it ideal for toddlers and mixed-age groups. Hang finished pumpkins in a sunny window and the light shines through the tissue layers. Pre-cut the tissue squares for young kids so the activity is pure sticking and designing.
9. Color and Assemble Paper Bag Monster Puppets
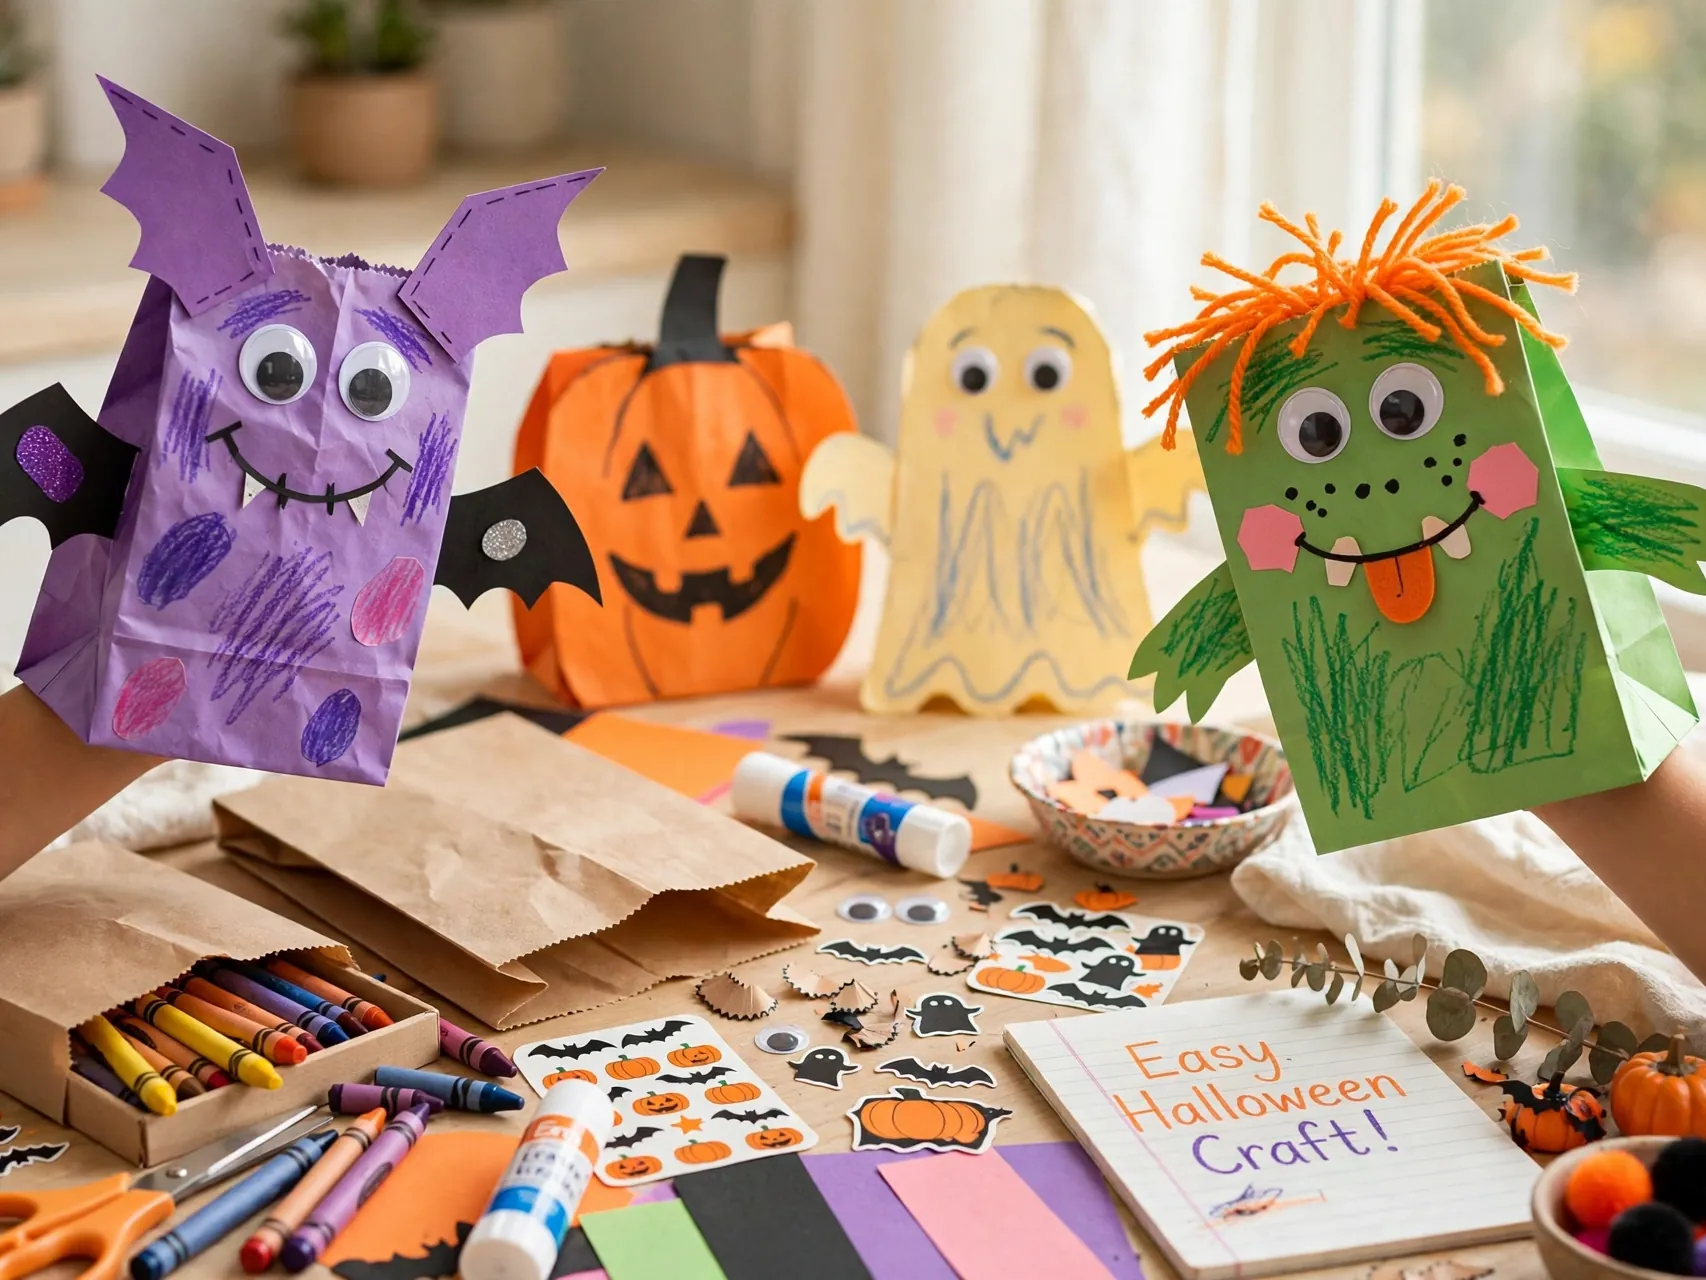
A plain paper lunch bag is a puppet waiting to happen: the folded bottom flap becomes the mouth. Kids color the bag with markers or crayons, then glue on paper eyes, horns, teeth, and spots with a glue stick.
Paper parts keep this mess-free and safe for all ages, and coloring replaces painting completely. Once the puppets dry for just a few minutes, the real activity starts: monster voices, silly jokes, and a puppet show behind the couch. Puppets store flat in a drawer and come back out for rainy days long after Halloween.
10. Weave a Simple Paper Spider Web Placemat

Cut a black paper circle with notches, or start with straight black strips as the web frame, and let kids weave white or gray strips over and under to build a web. A glue stick secures the ends, and a small paper spider finishes the scene.
Weaving builds fine motor skills without a drop of paint. Finished webs work as placemats for a Halloween dinner, wall art, or a home for the tube spiders kids made earlier. Older kids can try circular weaving for a rounder web, while younger kids succeed with straight strip weaving on a frame an adult prepared.
11. Stamp Ghosts With a Cardboard Tube and Washable Paint
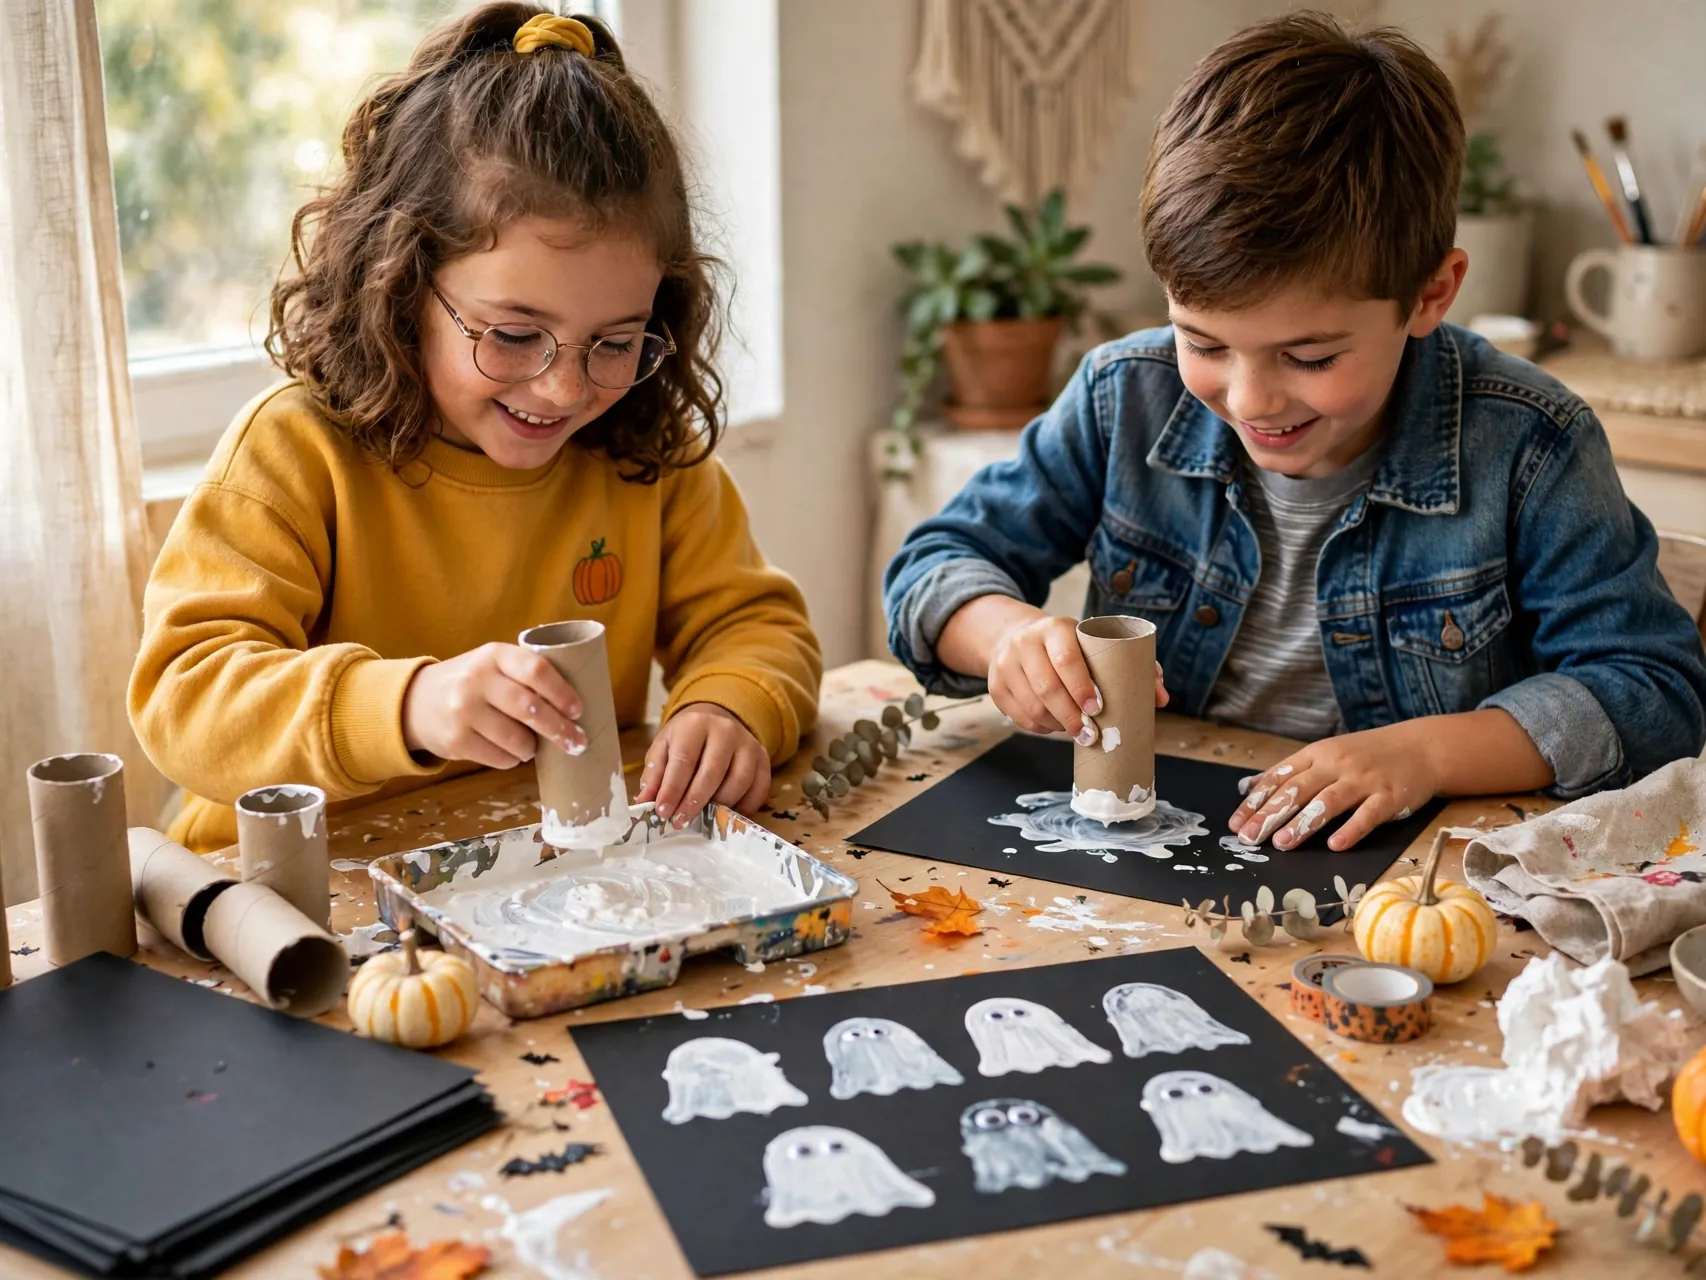
This is the one gentle paint exception, kept tidy by design: a small amount of washable white paint on a plate, a cardboard tube bent slightly into an oval, and black paper. Kids dip the tube edge and stamp oval ghost bodies, then add marker faces after a short dry.
Washable paint wipes off hands and tables with water, and stamping uses far less paint than brushing. An adult manages the paint plate so quantities stay small. The finished night sky full of ghosts is genuinely beautiful, and stamping the same shape many times is deeply satisfying for preschoolers.
12. Build Handprint Ghost Keepsakes With One Paint Step
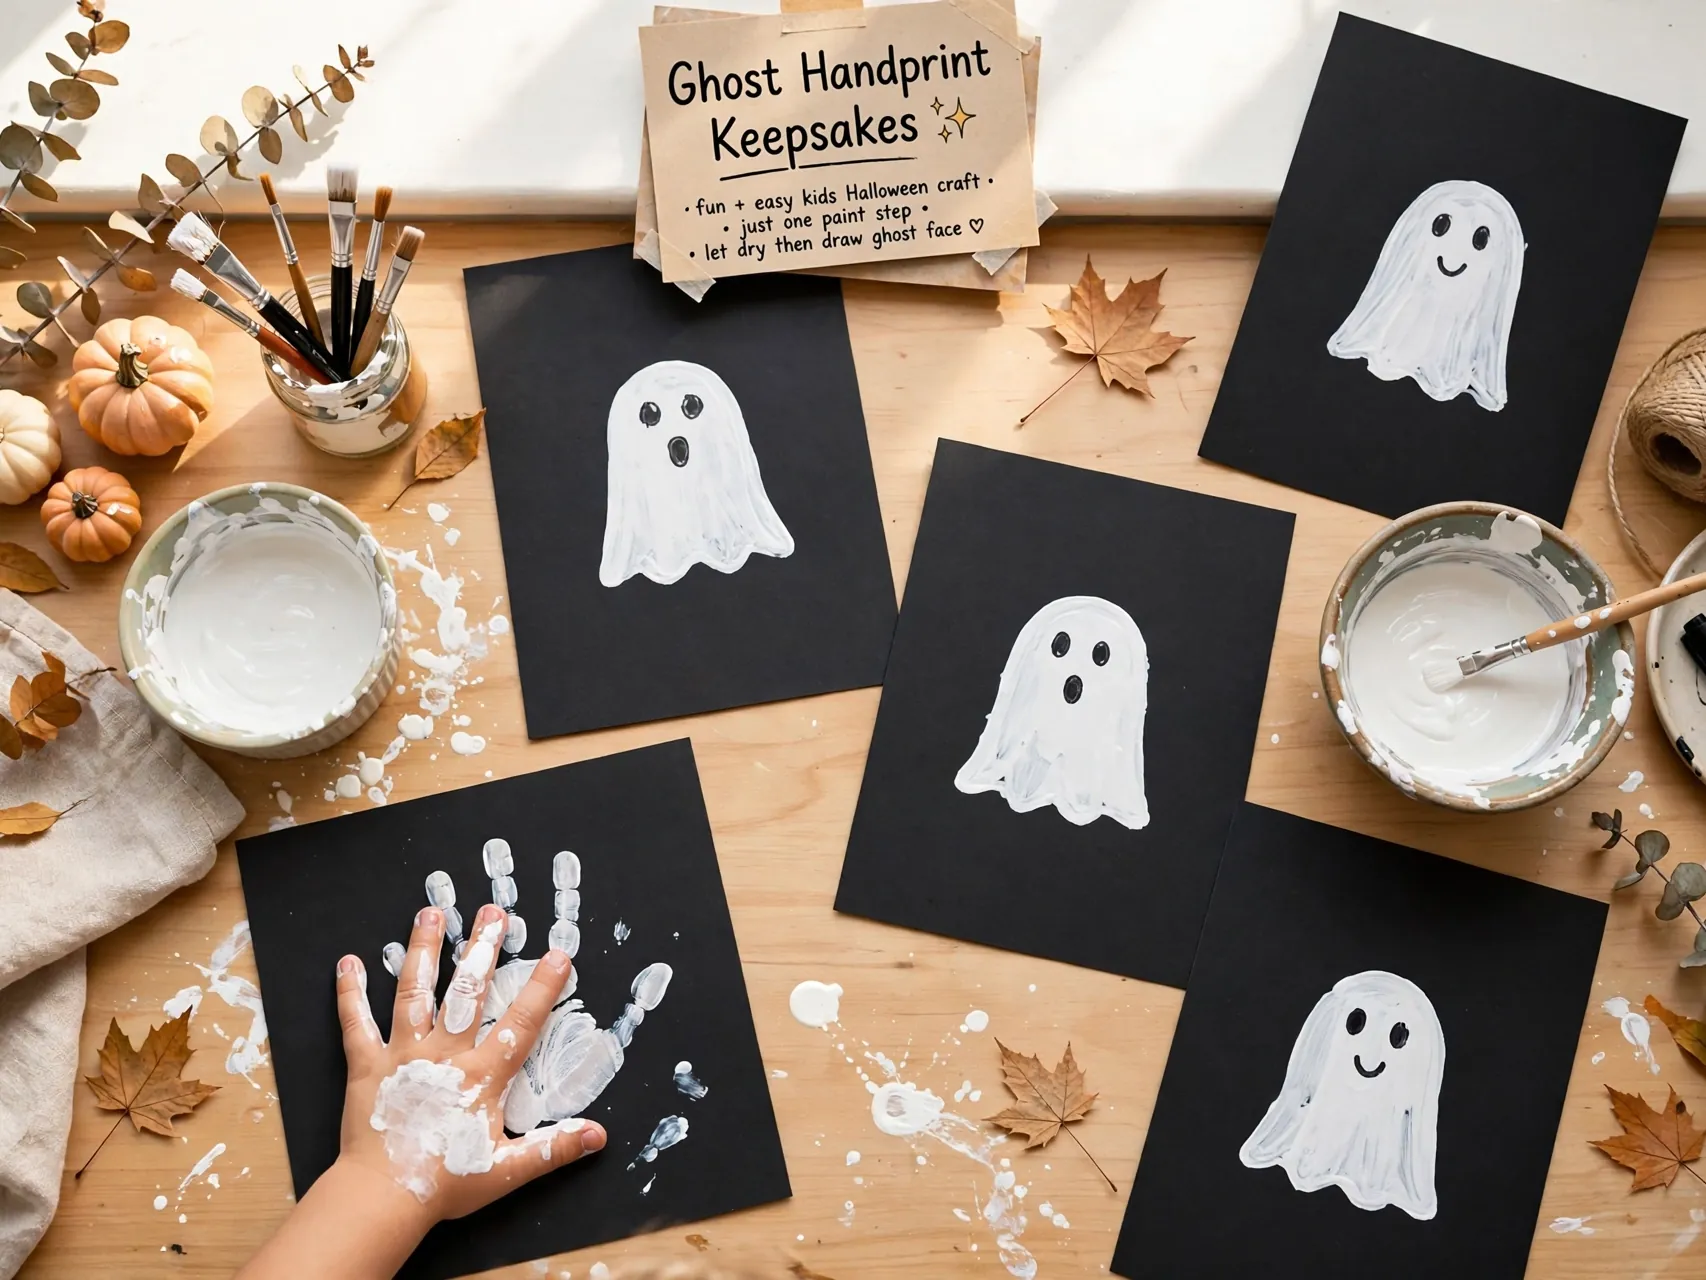
For a keepsake, an adult paints a child hand with a thin layer of washable white paint and helps them press it, fingers together, onto black paper. The handprint becomes a ghost body, and once dry, kids add the face themselves with a marker.
One controlled paint step, helped by an adult, keeps this nearly mess-free, and wipes handle the hand cleanup in seconds. Write the child name and year beside the ghost. These keepsakes are the crafts families actually save, and a row of handprint ghosts from different years shows growing hands better than any photo.
13. Assemble Foam Sticker Haunted House Scenes
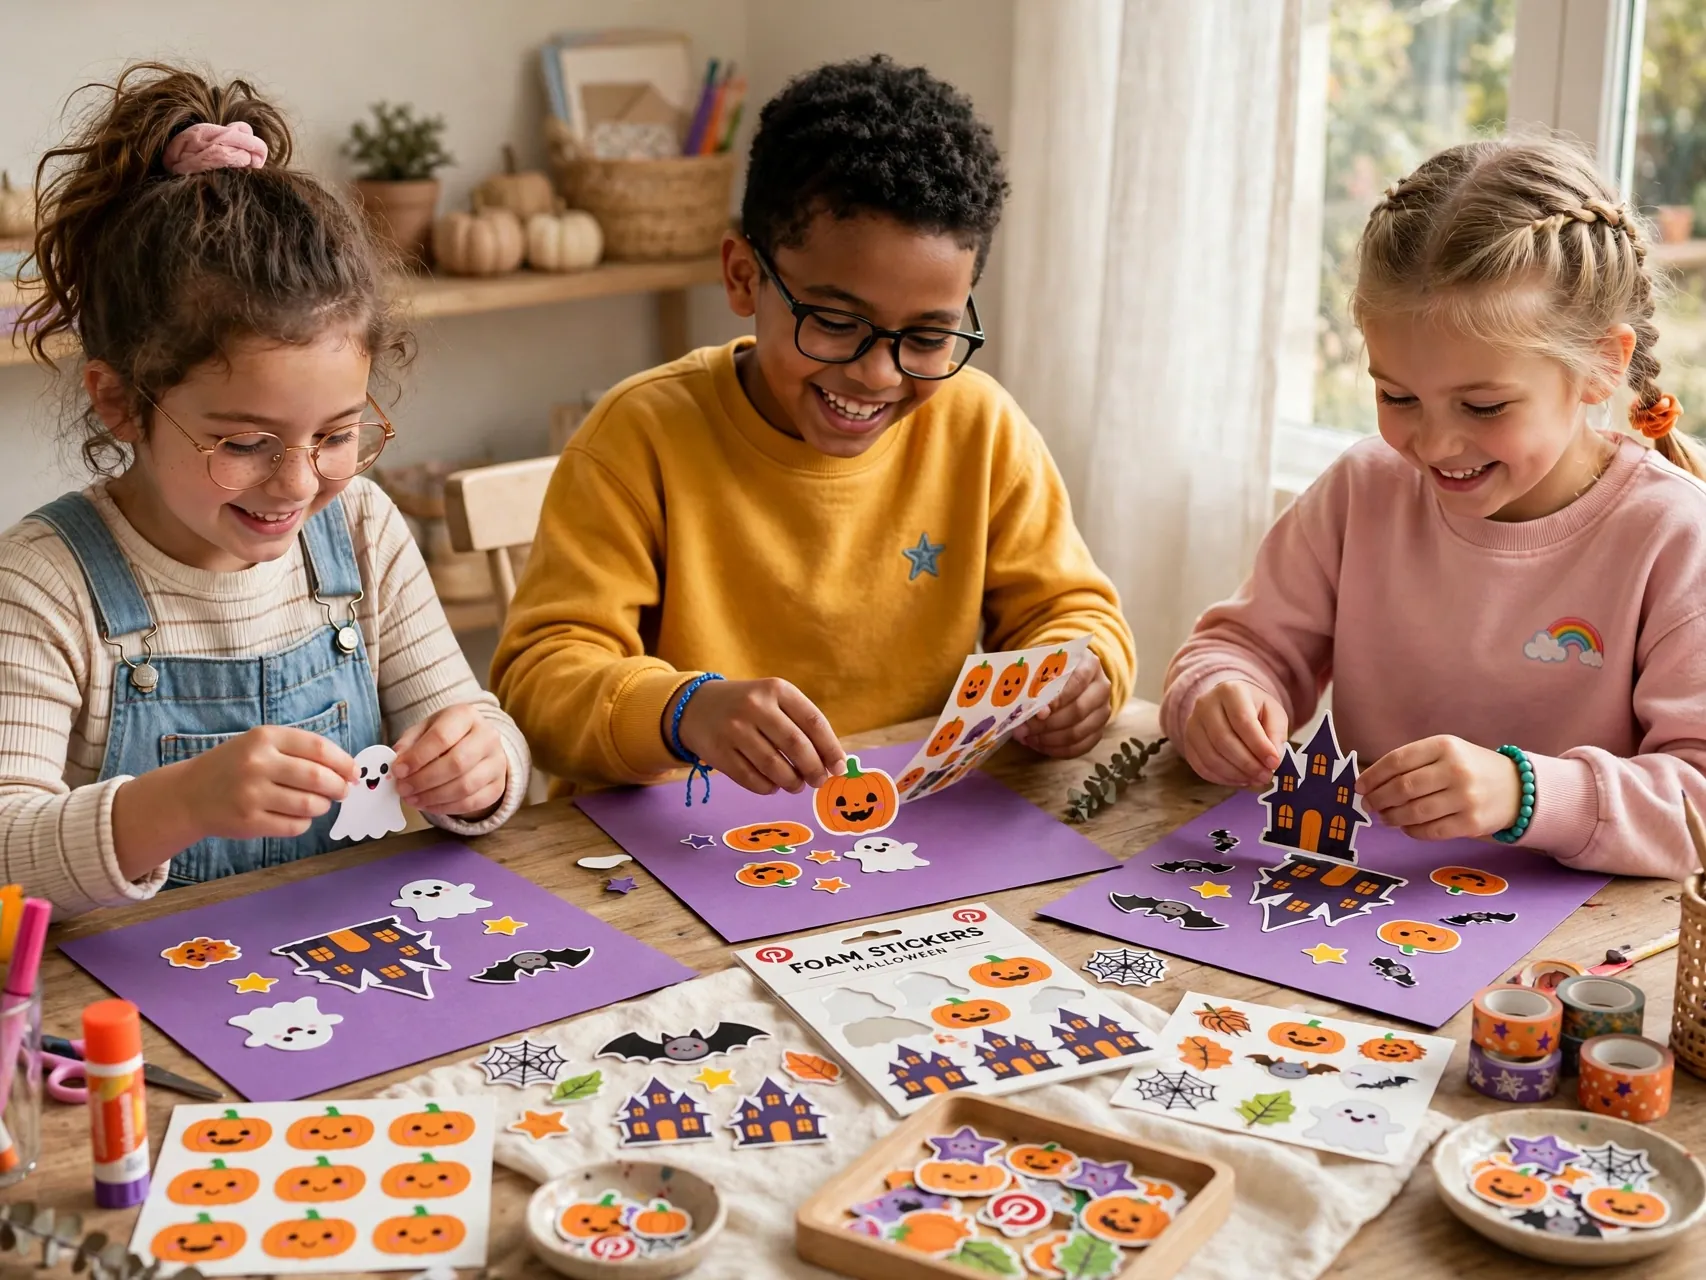
Large foam sticker sets or simple foam shapes from a craft store let kids build a haunted house scene on cardstock with no glue at all: a house shape, a moon, pumpkins, bats, and a crooked fence, all peel and stick.
Foam stickers are thick and easy for small hands to grip, and they add a satisfying raised texture. Choose big pieces for toddlers and keep any tiny foam bits for older kids with supervision, since small craft pieces are not for children who still mouth objects. Scene building quietly teaches composition, and every finished picture looks display-worthy.
14. Make Mummy Jars With Gauze and Battery Tea Lights

Wrap a clean glass jar or a plastic cup with strips of white gauze, medical tape, or torn white fabric, securing ends with a glue stick or a small piece of tape. Leave a gap near the top and glue on two big paper eyes so the mummy peeks out.
Drop in a battery operated tea light, never a real candle, and the mummy glows safely. An adult should handle glass jars for young kids, while plastic cups give the same look with no breakage risk. Mummy jars line a hallway or a party table with soft, kid-safe light.
15. Decorate Halloween Crowns With Stickers and Crayons

Cut long strips of orange, black, or purple cardstock into crown bands, an adult job with safety scissors for the cutting practice if kids are older. Kids decorate with stickers, crayon drawings, and paper shapes, then an adult staples or tapes the band to fit.
Crowns turn craft time into dress-up time instantly, and decorating a wearable motivates careful work. Keep staples covered with tape on the inside so nothing scratches. A crown parade around the house after crafting burns off energy and gives every child a photo moment in something they made themselves.
16. String a Ghost and Pumpkin Paper Garland
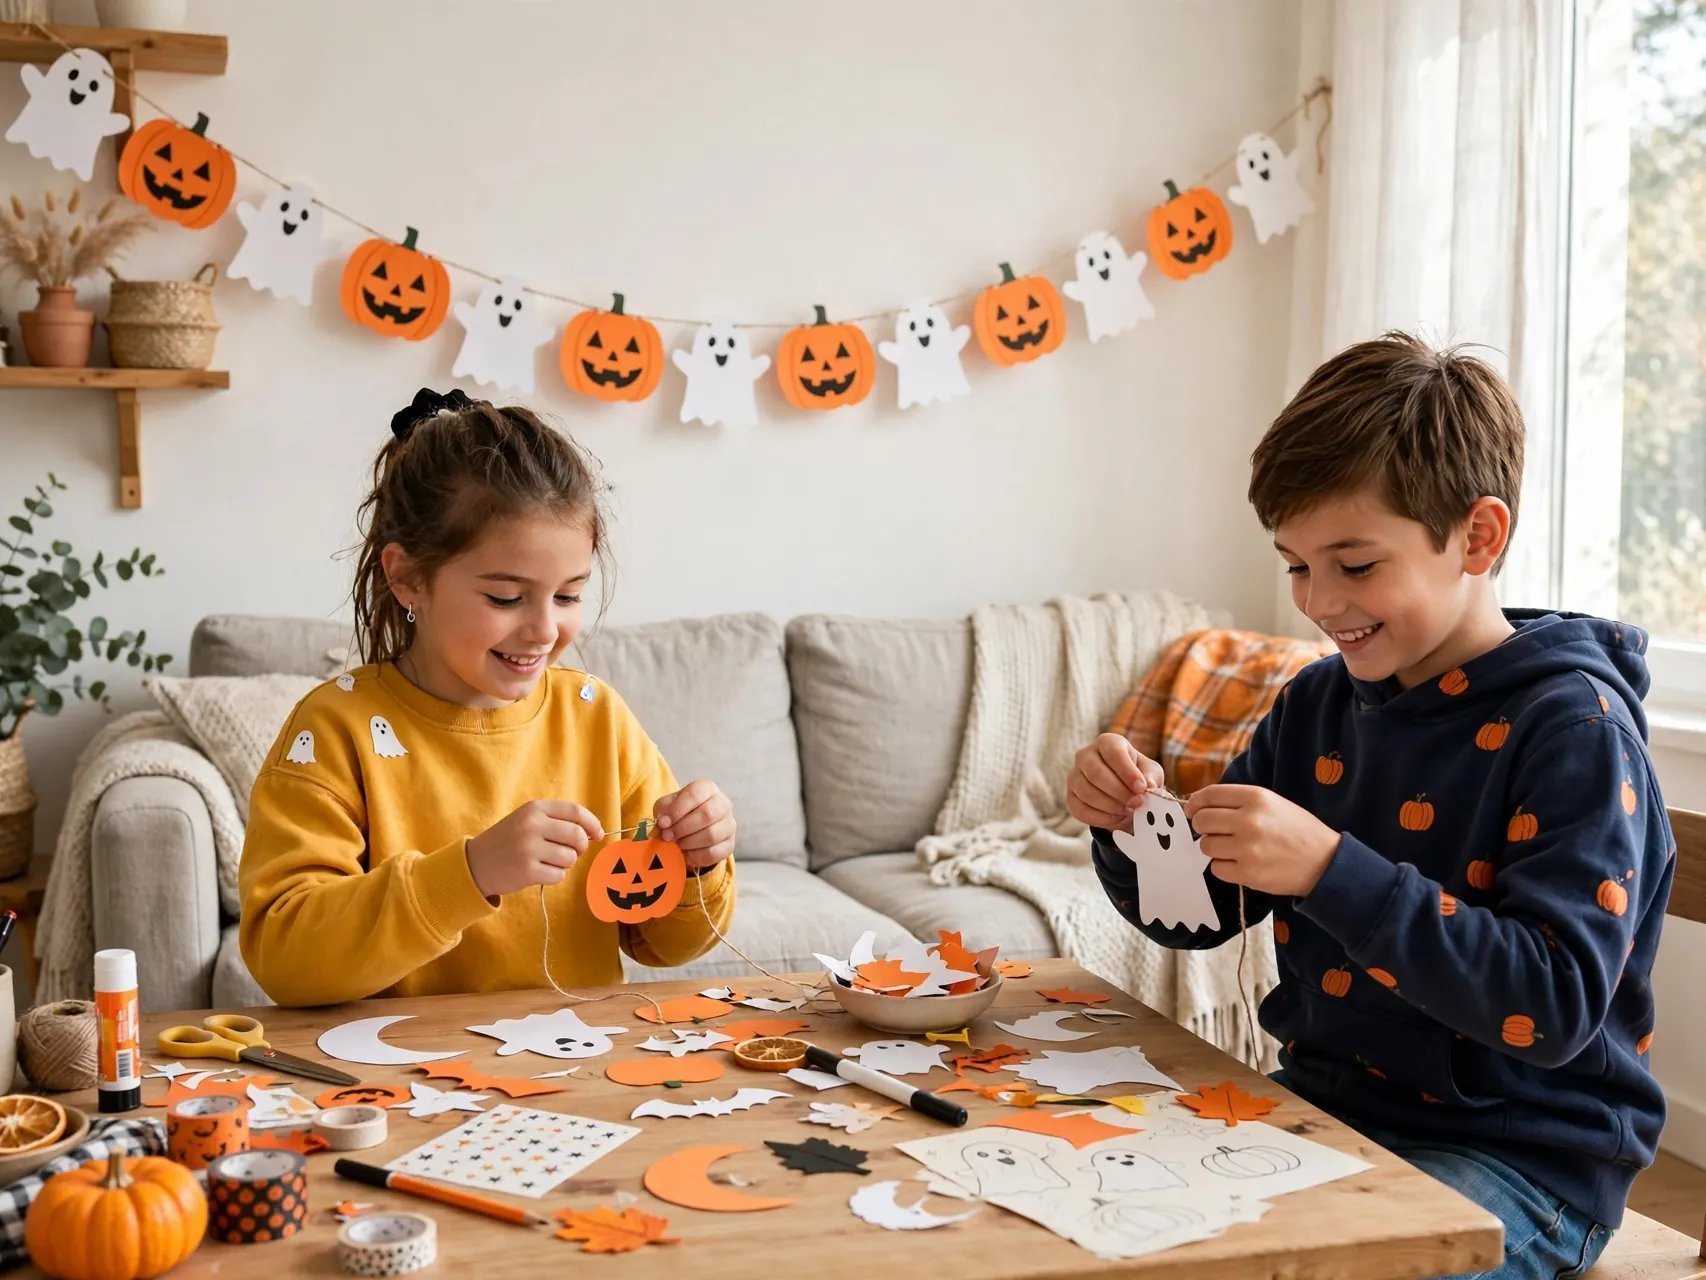
Kids draw ghosts and pumpkins on white and orange paper, color the faces, and cut out simple shapes with safety scissors, with adults helping younger children. An adult threads the shapes onto yarn or tapes them to a string at even intervals.
A garland made by many hands, siblings, classmates, or cousins, has a charm no store banner matches. Hang it across a mantel, a classroom wall, or a bedroom door. Because every piece is paper and marker, the whole project fits the easy halloween crafts for kids promise: fast setup, fast cleanup, big display.
17. Create Cotton Ball Ghosts on Black Paper

Glue cotton balls inside a ghost outline drawn on black paper, using a glue stick or small glue dots managed by an adult, until the ghost is fluffy and white. Add black paper eyes and a mouth on top of the cotton for a soft, cloud-like ghost.
Pulling cotton balls apart and placing them is wonderful sensory work for preschoolers, and the materials are dry and tidy. Keep cotton balls with older toddlers and up, with supervision, since soft small materials still belong on the table, not in mouths. These ghosts look especially sweet grouped on a classroom door.
18. Make Spider Handprints With Markers Only
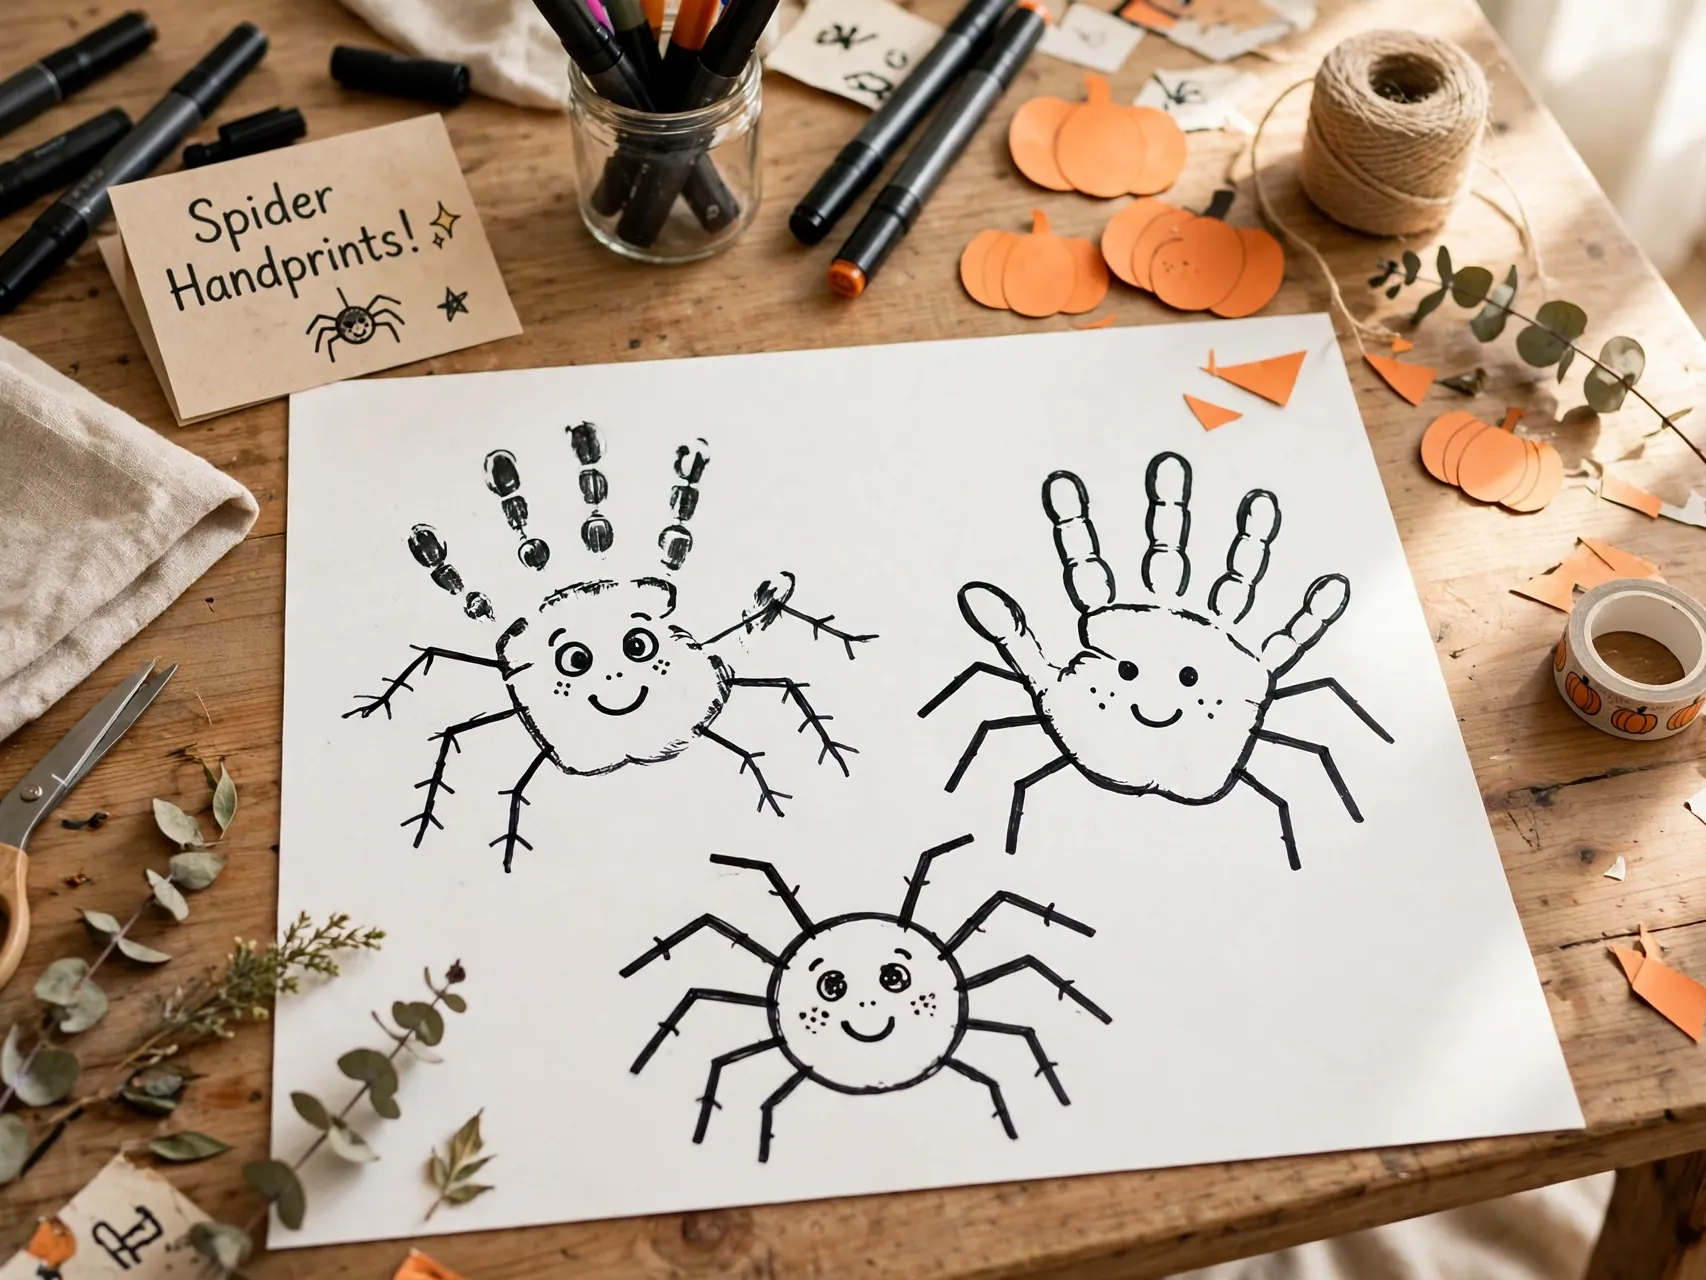
Skip the paint entirely: a child traces their own hand, or an adult traces it, on black or purple paper. Two handprints, palms overlapping and thumbs tucked, become a spider body with eight finger legs. Kids cut along the traced lines if they are ready for safety scissors, or an adult cuts.
Add paper eyes and a smile, and bend the finger legs slightly so the spider stands. Marker-only tracing means this craft works anywhere, even in a waiting room with a small craft kit. It is also a keepsake in disguise, since those little hand outlines will look tiny next year.
19. Assemble Treat-Free Halloween Necklaces With Paper Beads
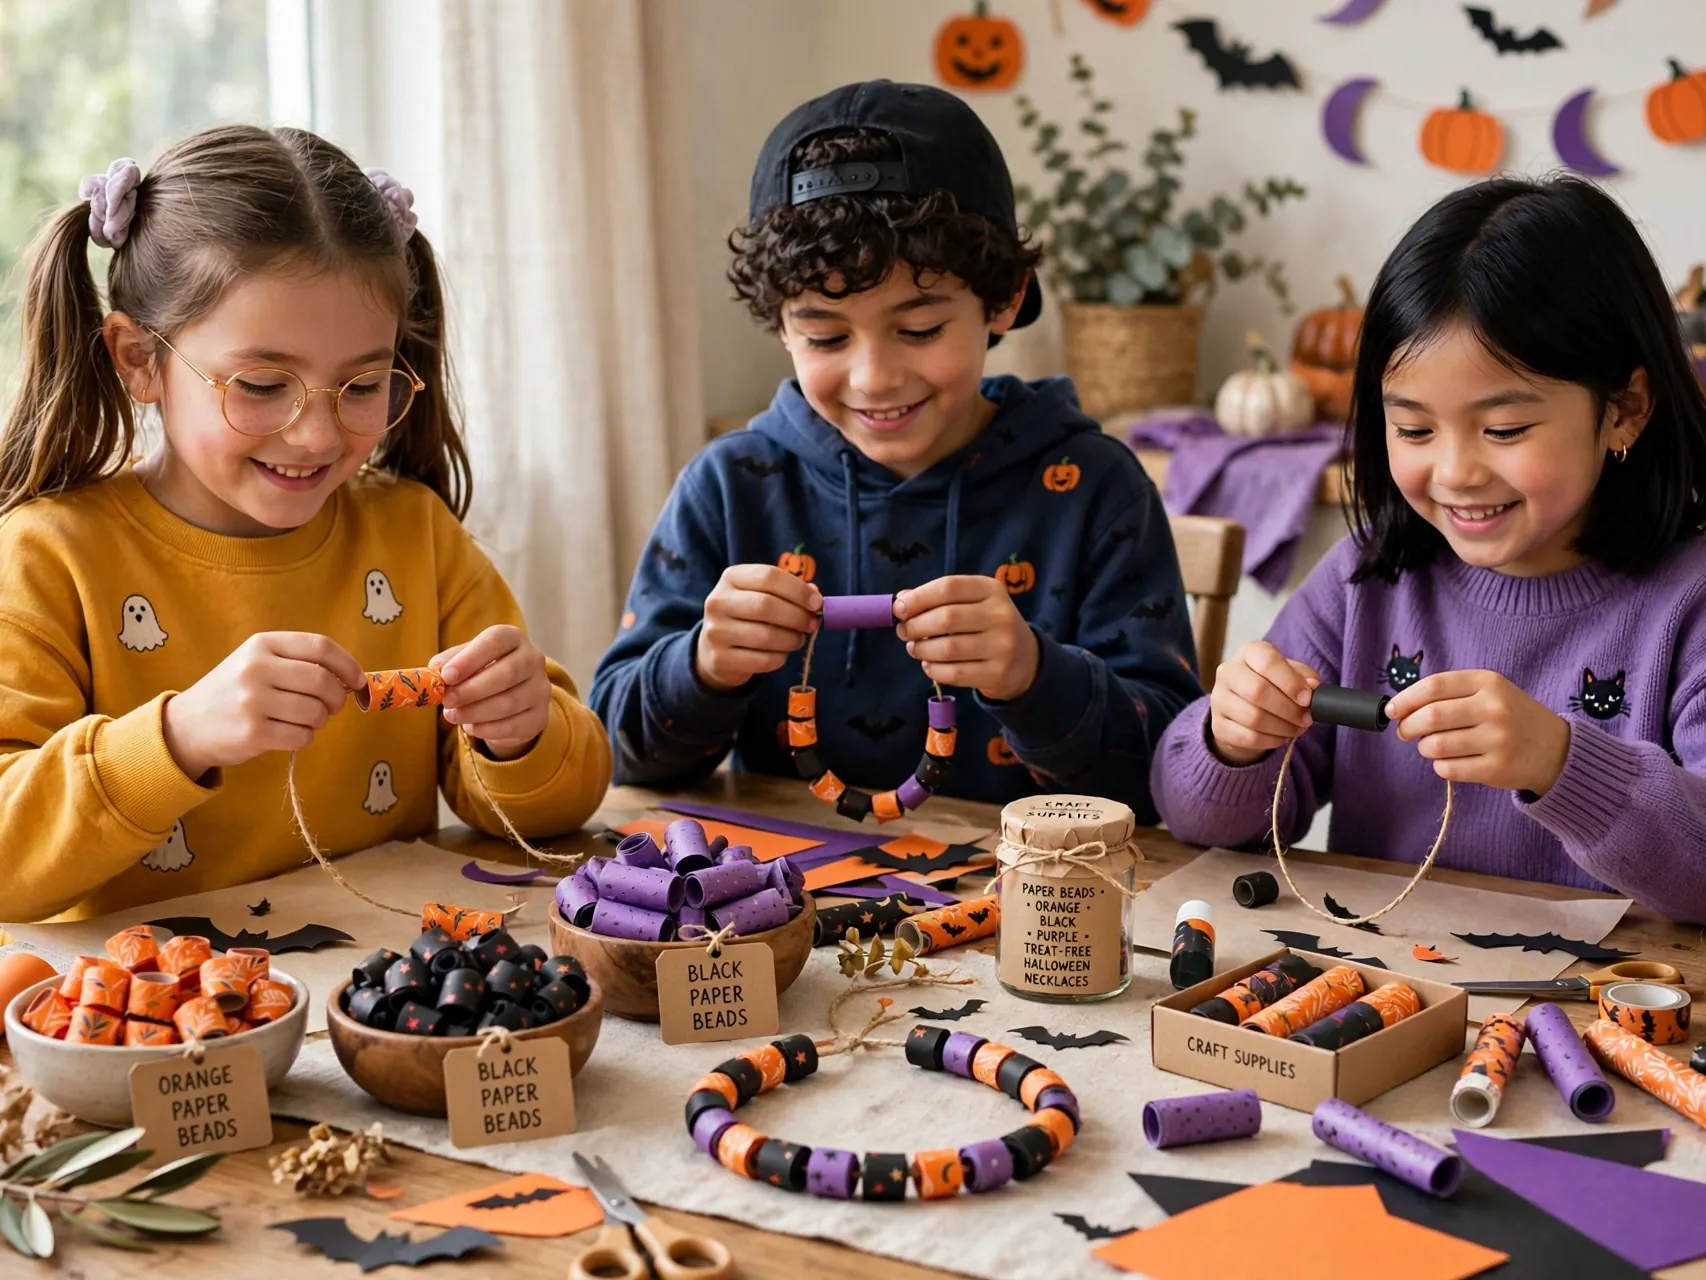
Roll small rectangles of orange, black, and purple paper around a pencil with a glue stick to form paper beads, let them set, then thread them onto yarn with one paper ghost or pumpkin as the pendant. An adult ties the necklace closed.
Paper beads suit older kids who enjoy a slightly longer project, and the finished necklaces make thoughtful non-candy gifts for classmates. Skip bead projects for toddlers and preschoolers, for whom small threaded pieces are not appropriate, and choose the sticker and contact paper ideas for that age instead. Safety always picks the project, not the other way around.
20. Put Together a Classroom Halloween Craft Station Caddy
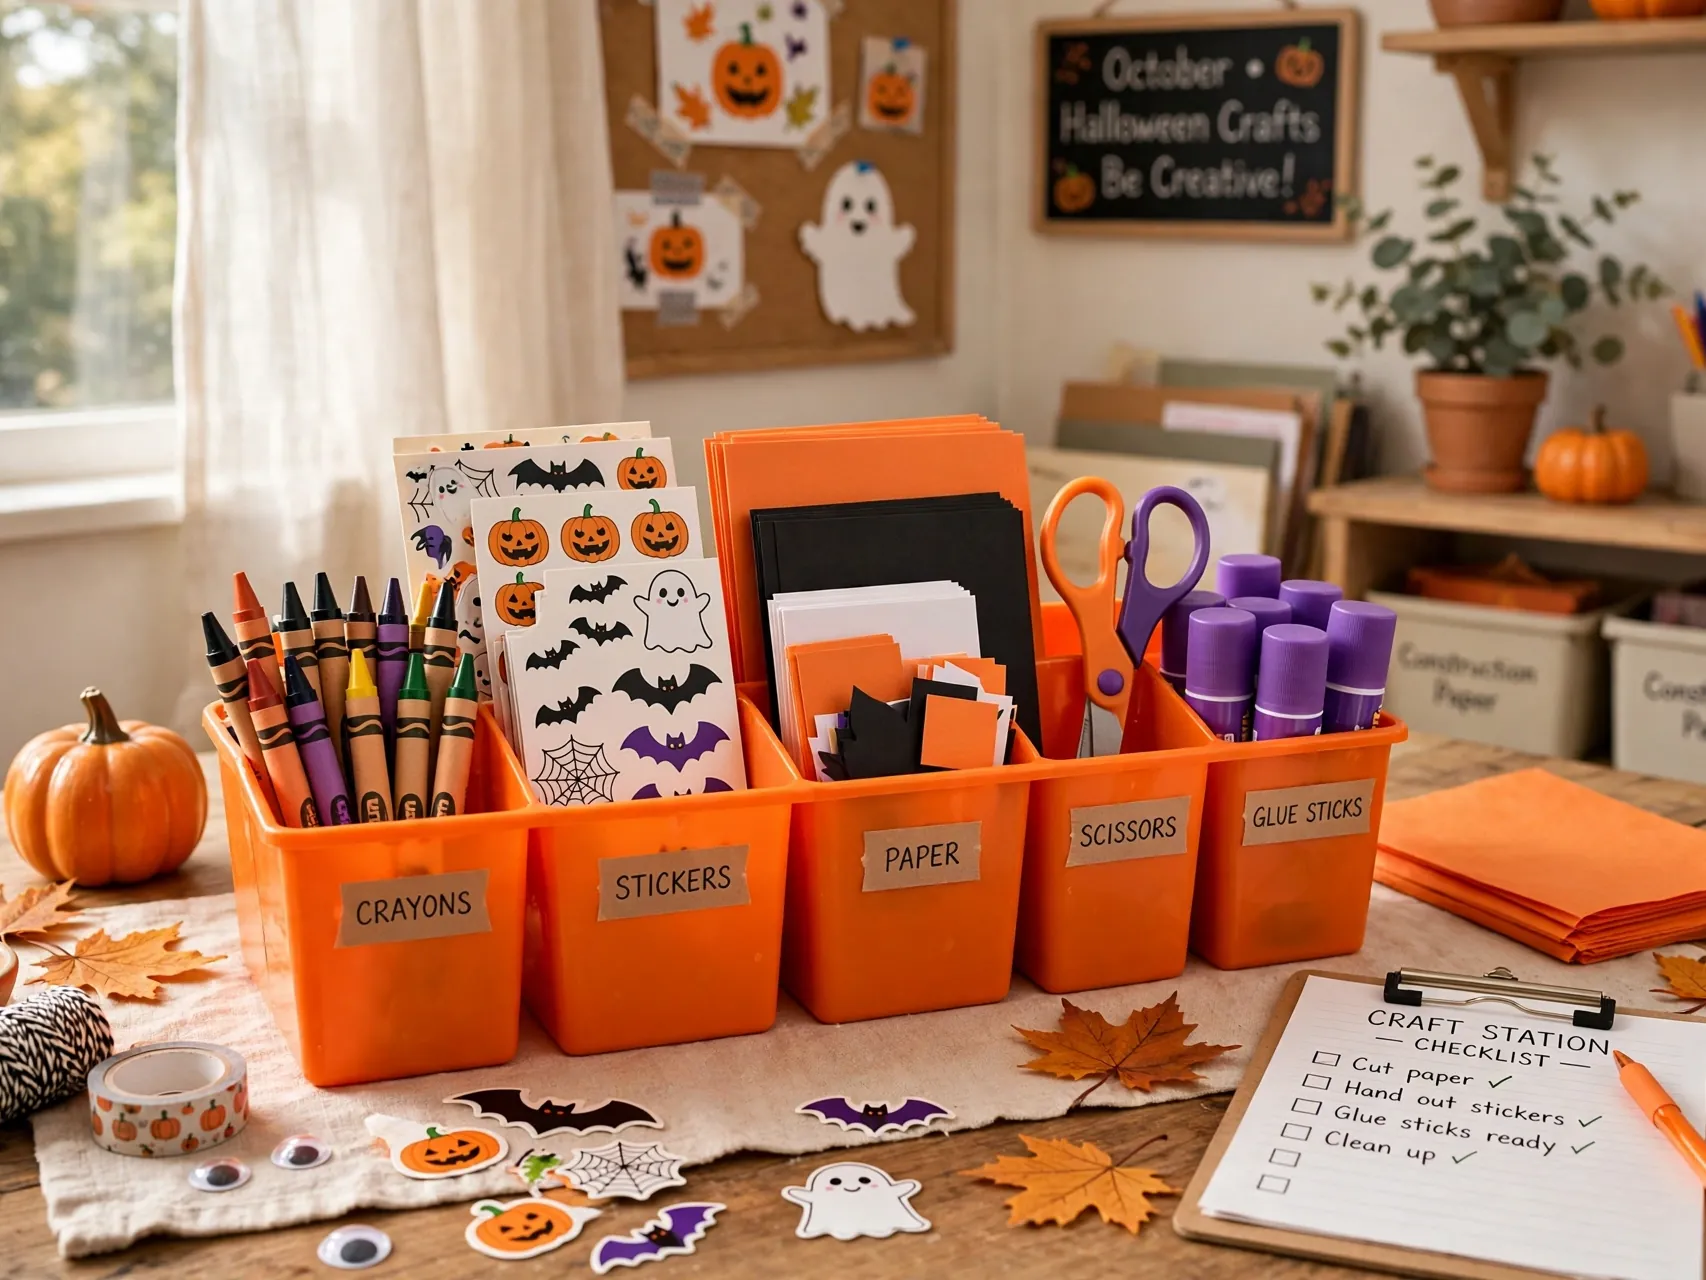
Finish with the system that makes all the other ideas easy: a caddy or tray stocked with paper in Halloween colors, safety scissors, glue sticks, washable markers, stickers, saved tubes, and paper plates, so a craft can start in two minutes whenever kids ask.
Label the caddy, set one rule that everything returns to it, and cleanup becomes part of the routine instead of a battle. Teachers and parents both find that a ready station means kids craft more often and make less mess, because the right dry supplies are always closer than the paint box. Restock it together after Halloween for the next holiday.
FAQ
What are the best mess-free Halloween crafts for toddlers?
Sticker pumpkins, contact paper window ghosts, tissue paper suncatchers on contact paper, and foam sticker scenes are the strongest toddler choices. They use peeling, pressing, and sticking instead of paint or liquid glue. Choose large pieces, supervise closely, and avoid small parts like googly eyes, beads, and cotton balls for children who still put objects in their mouths.
What supplies should I keep on hand for easy Halloween crafts?
Construction paper in orange, black, white, purple, and green, safety scissors, glue sticks, washable markers and crayons, Halloween stickers, clear contact paper, paper plates, and saved cardboard tubes cover almost every idea in this list. Add tissue paper, paper bags, and battery tea lights and you are ready for the whole season without a special shopping trip.
How do I keep Halloween crafting safe for young kids?
Use non-toxic, washable supplies, safety scissors, and glue sticks instead of hot glue, which is always an adult-only tool. Keep small parts away from children under 3 and supervise any project with small pieces. Choose battery operated lights instead of real candles in or near paper crafts, and wash hands after crafting, especially before snacks.
Can these crafts work for a classroom or party group?
Yes. Sticker, contact paper, paper chain, and garland projects scale best because setup is fast, there is no drying bottleneck, and cleanup is a single trash sweep for scraps. Pre-cut shapes for younger groups, set supplies in the center of each table, and display finished work together as a group garland or wall so every child sees their piece included.
What do I do with finished Halloween crafts after October?
Hang the best pieces as next year keepsakes by storing flat paper crafts in a labeled folder or portfolio. Handprint and footprint art is worth keeping as a record of little hands. Recycle practice pieces without guilt, photograph everything before you sort, and let kids choose their own favorites to save, which teaches them to value their work without hoarding all of it.
Key Takeaways
- Dry supplies win: Stickers, markers, glue sticks, and contact paper deliver mess free halloween crafts with two minute cleanup.
- No carving, no problem: Sticker and marker pumpkins last longer and include every age safely.
- Safety picks the project: Safety scissors, non-toxic supplies, adult-only hot glue, and no small parts for children under 3.
- Crafts become decor: Garlands, window ghosts, mummy jars, and pumpkin patches turn kid work into your Halloween display.
- A ready caddy changes everything: Stocked dry supplies mean crafting starts fast and ends tidy, every time.
- Trying one of these with your kids? Save this guide to Pinterest and pin the craft you will make first.