23 Tips on How to Set Up a Home Office You Love Working In
Introduction
Learning how to set up a home office is easier when you follow a clear order: choose the spot, fit the furniture to your body, sort the power and light, then add storage and style. Skip the order and you end up decorating a corner that still hurts your back by lunch.
This guide walks through the full sequence in plain steps. You will place the desk for light, set the screen and chair for healthy posture, and plug everything in safely, with a surge protector in a wall outlet and no daisy-chained strips.
Most of these steps use what you already own, adjusted properly. Work through them over a weekend, test the setup for a few real workdays, then fine tune. A home office you love is built by small, correct decisions, not by one big shopping trip.
1. Choose the Quietest Spot With a Door or Divider
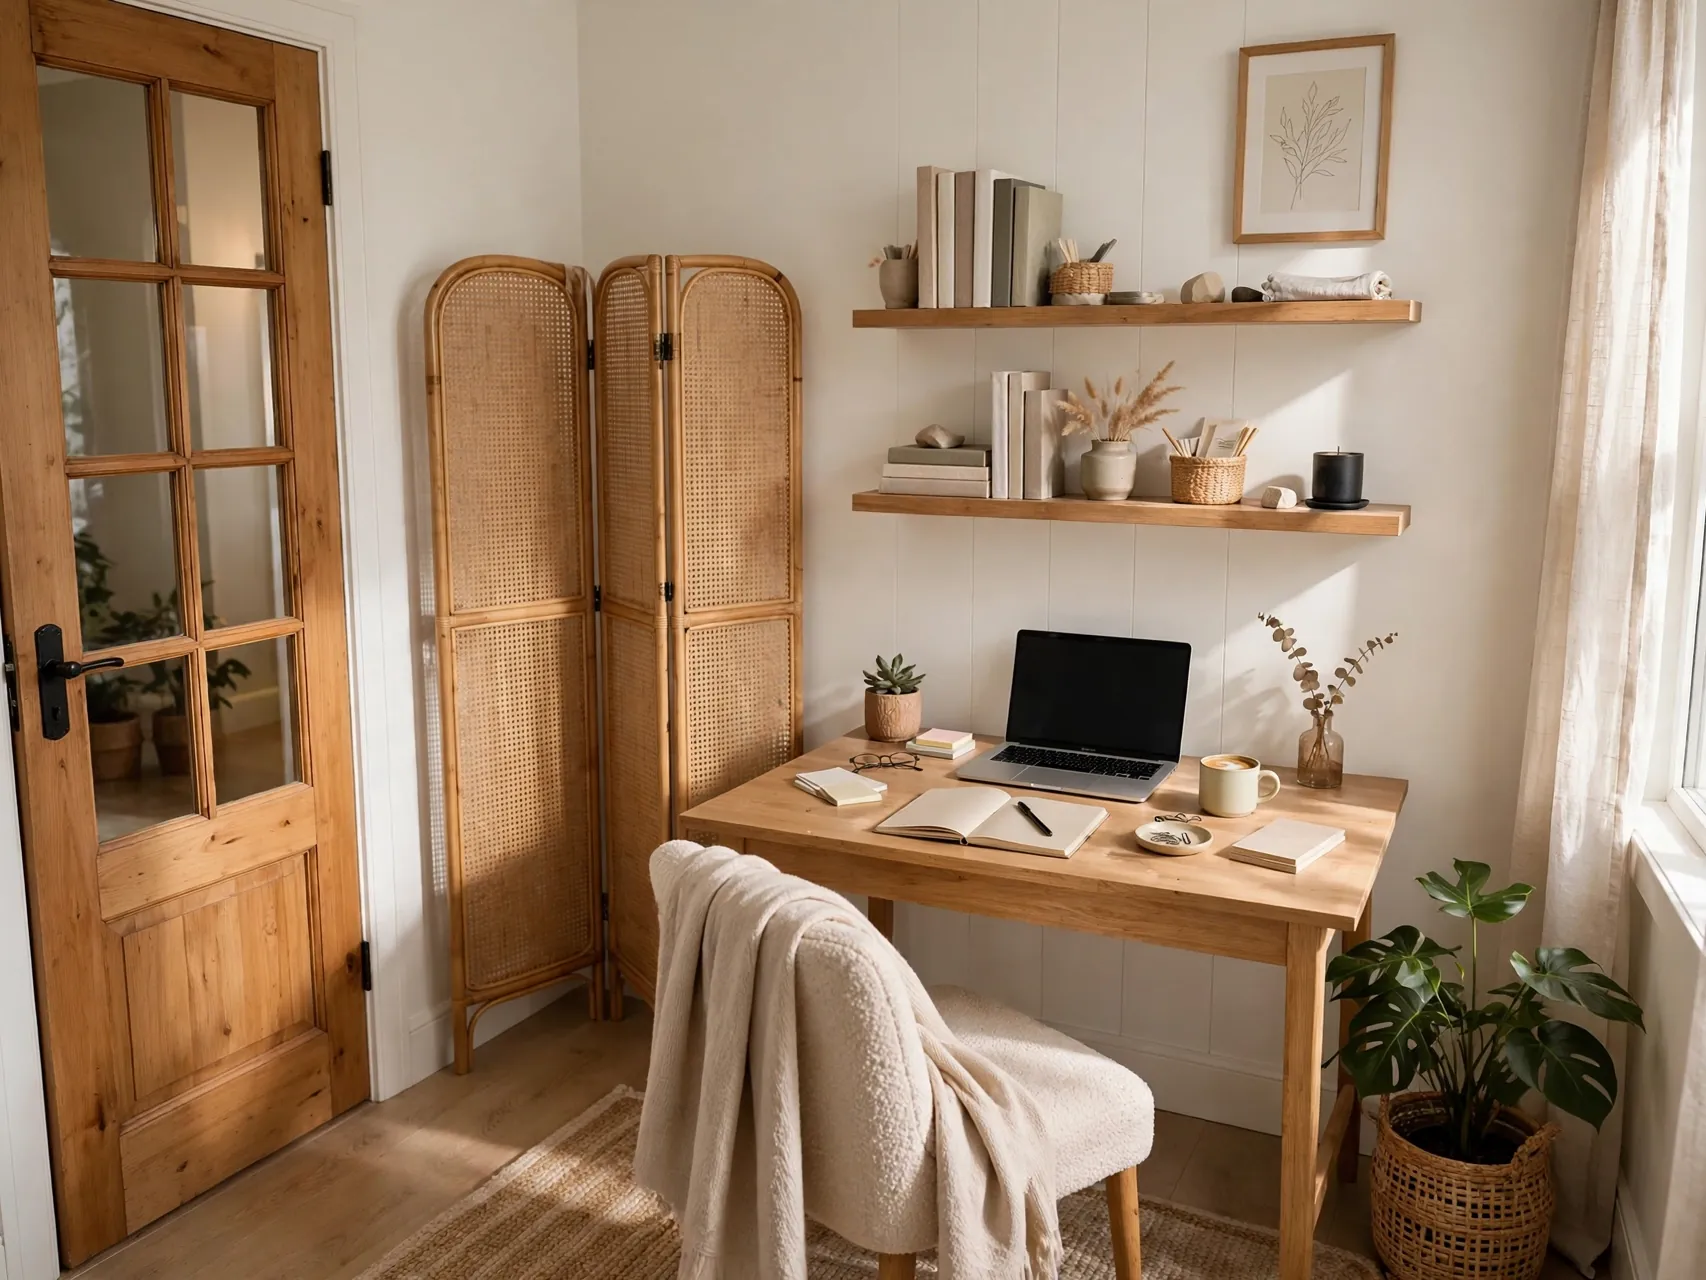
Start by picking your location. A spare room with a door is ideal, but a bedroom corner, a wide hallway nook, or a section of the living room can work if it is away from the busiest traffic in the home.
Test the spot at your real work hours. Listen for kitchen noise, street sound, and household routines. If the space is shared, a bookshelf, curtain, or folding screen can signal work time. Choose the spot once, with care, because every later step builds on this decision.
2. Measure the Space Before You Buy or Move Anything
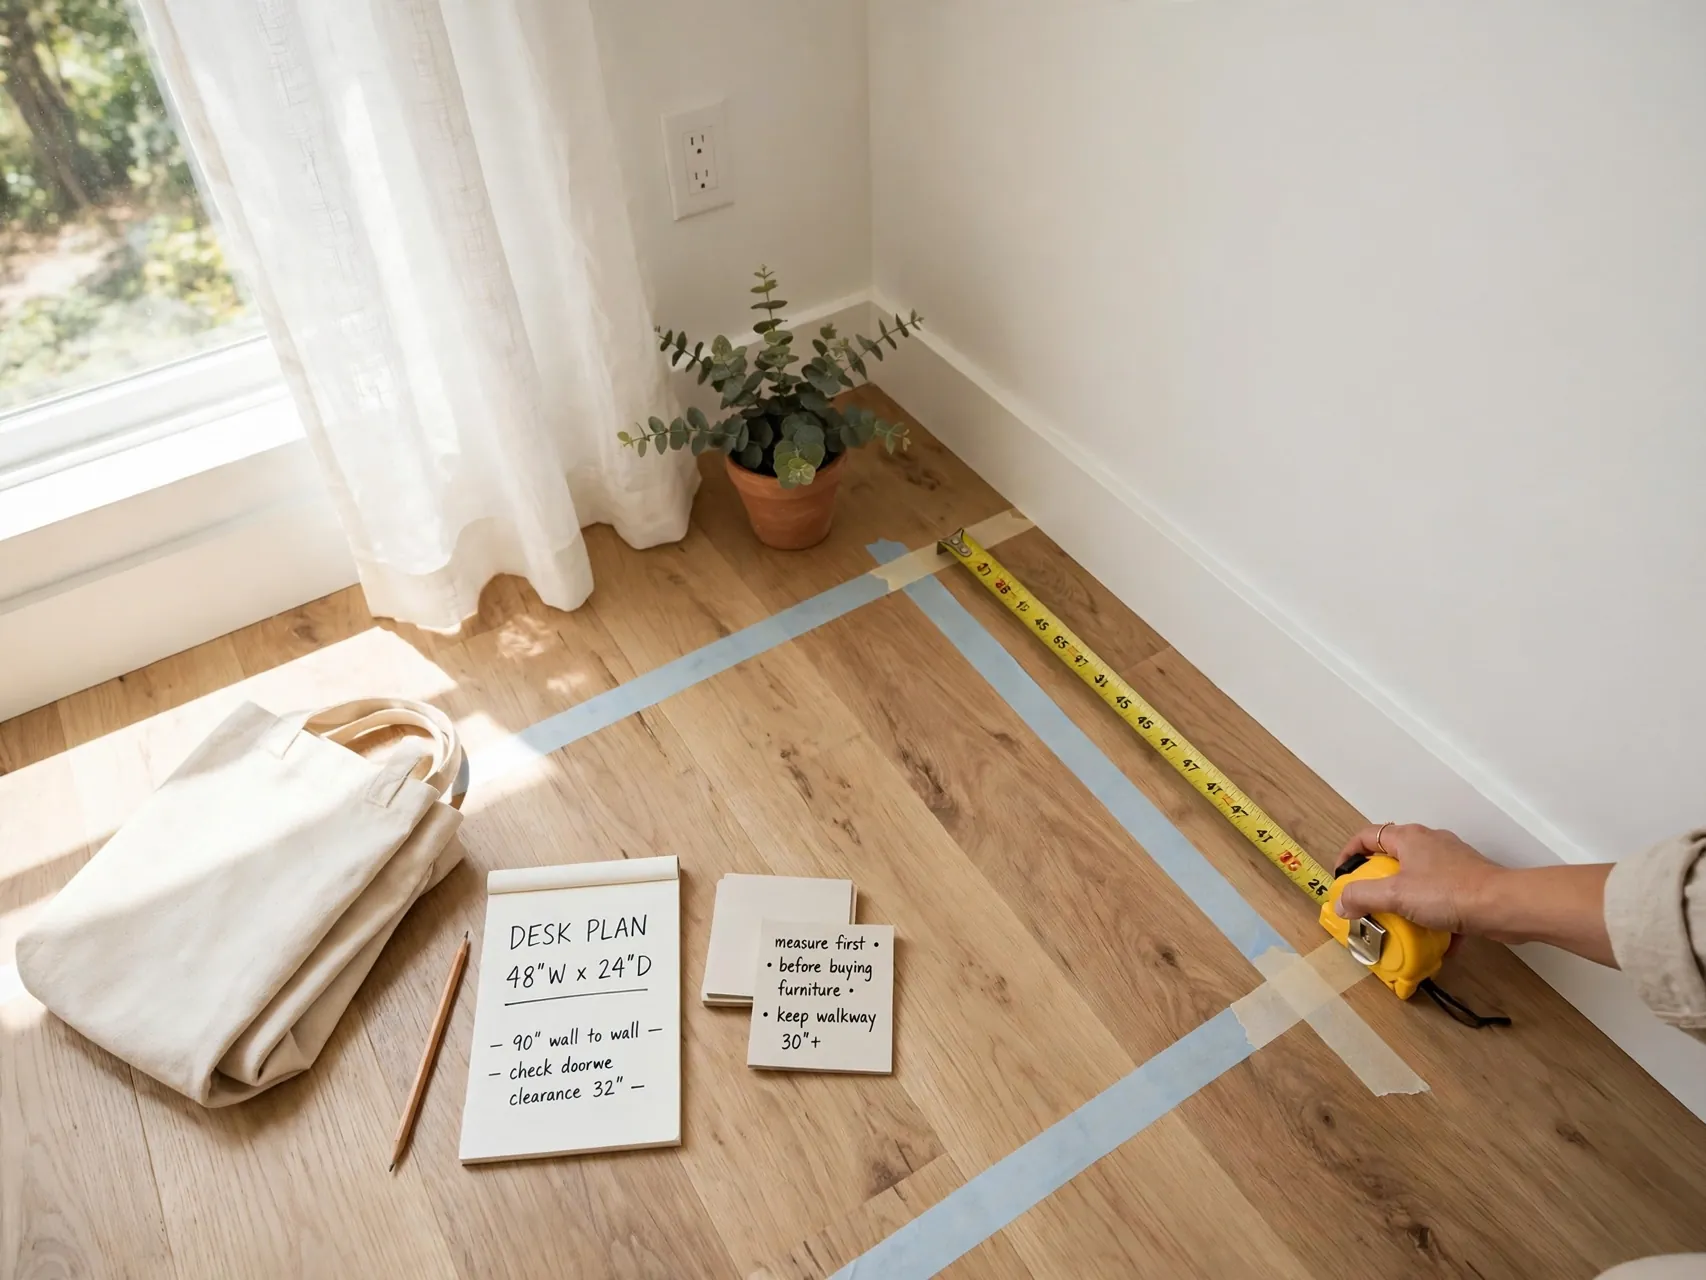
Measure the wall length, depth, and the path your chair needs to roll back. Note outlet positions, window locations, and any vents or doors that swing into the space. Write the numbers down and keep them on your phone for shopping and rearranging.
A desk that fits on paper but blocks a door or crowds your chair will annoy you daily. Leave comfortable clearance behind the chair and a clear walkway beside the desk.
3. Place the Desk for Light and a Calm Background

Set the desk so daylight comes from the side. This gives you bright, even light for work and video calls without glare on the screen or a dark silhouette of your face. Keep a tidy wall or shelf behind your chair if calls are part of your day.
Check the view from your chair too. You will look up from the screen hundreds of times, so give your eyes a pleasant landing spot, a window view, art, or a plant. Avoid placing the desk where afternoon sun heats the seat for hours.
4. Pick a Desk at the Right Height and Depth
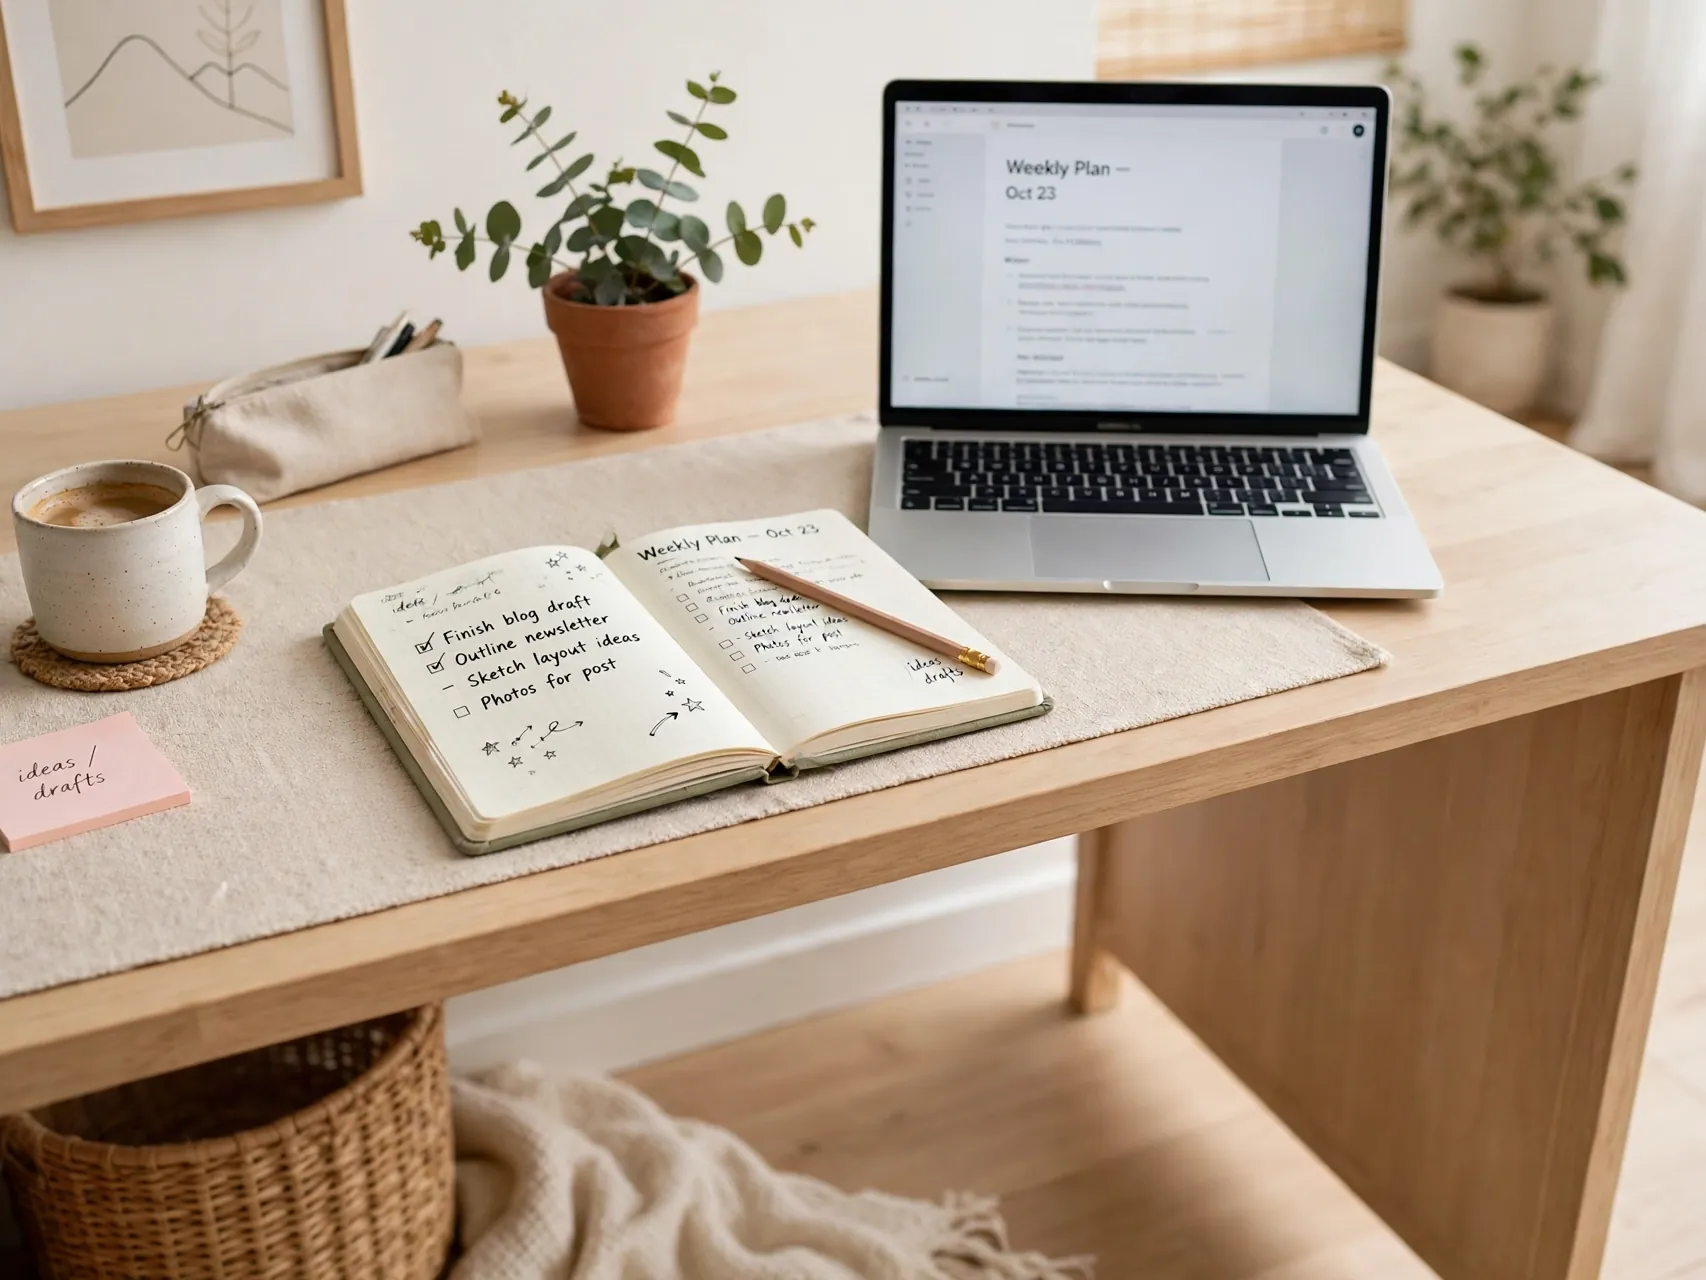
Your desk should let you type with elbows close to your body and forearms roughly level. The surface needs enough depth to hold the screen about an arm length away, plus room for a notebook.
Before buying, sit at the desk if you can, or compare measurements with a table at home that feels right. A simple, sturdy desk beats a pretty one that wobbles when you type. Under the desk, keep leg room clear of storage boxes so your feet and knees stay comfortable.
5. Set Up Your Chair for Support, Not Just Softness
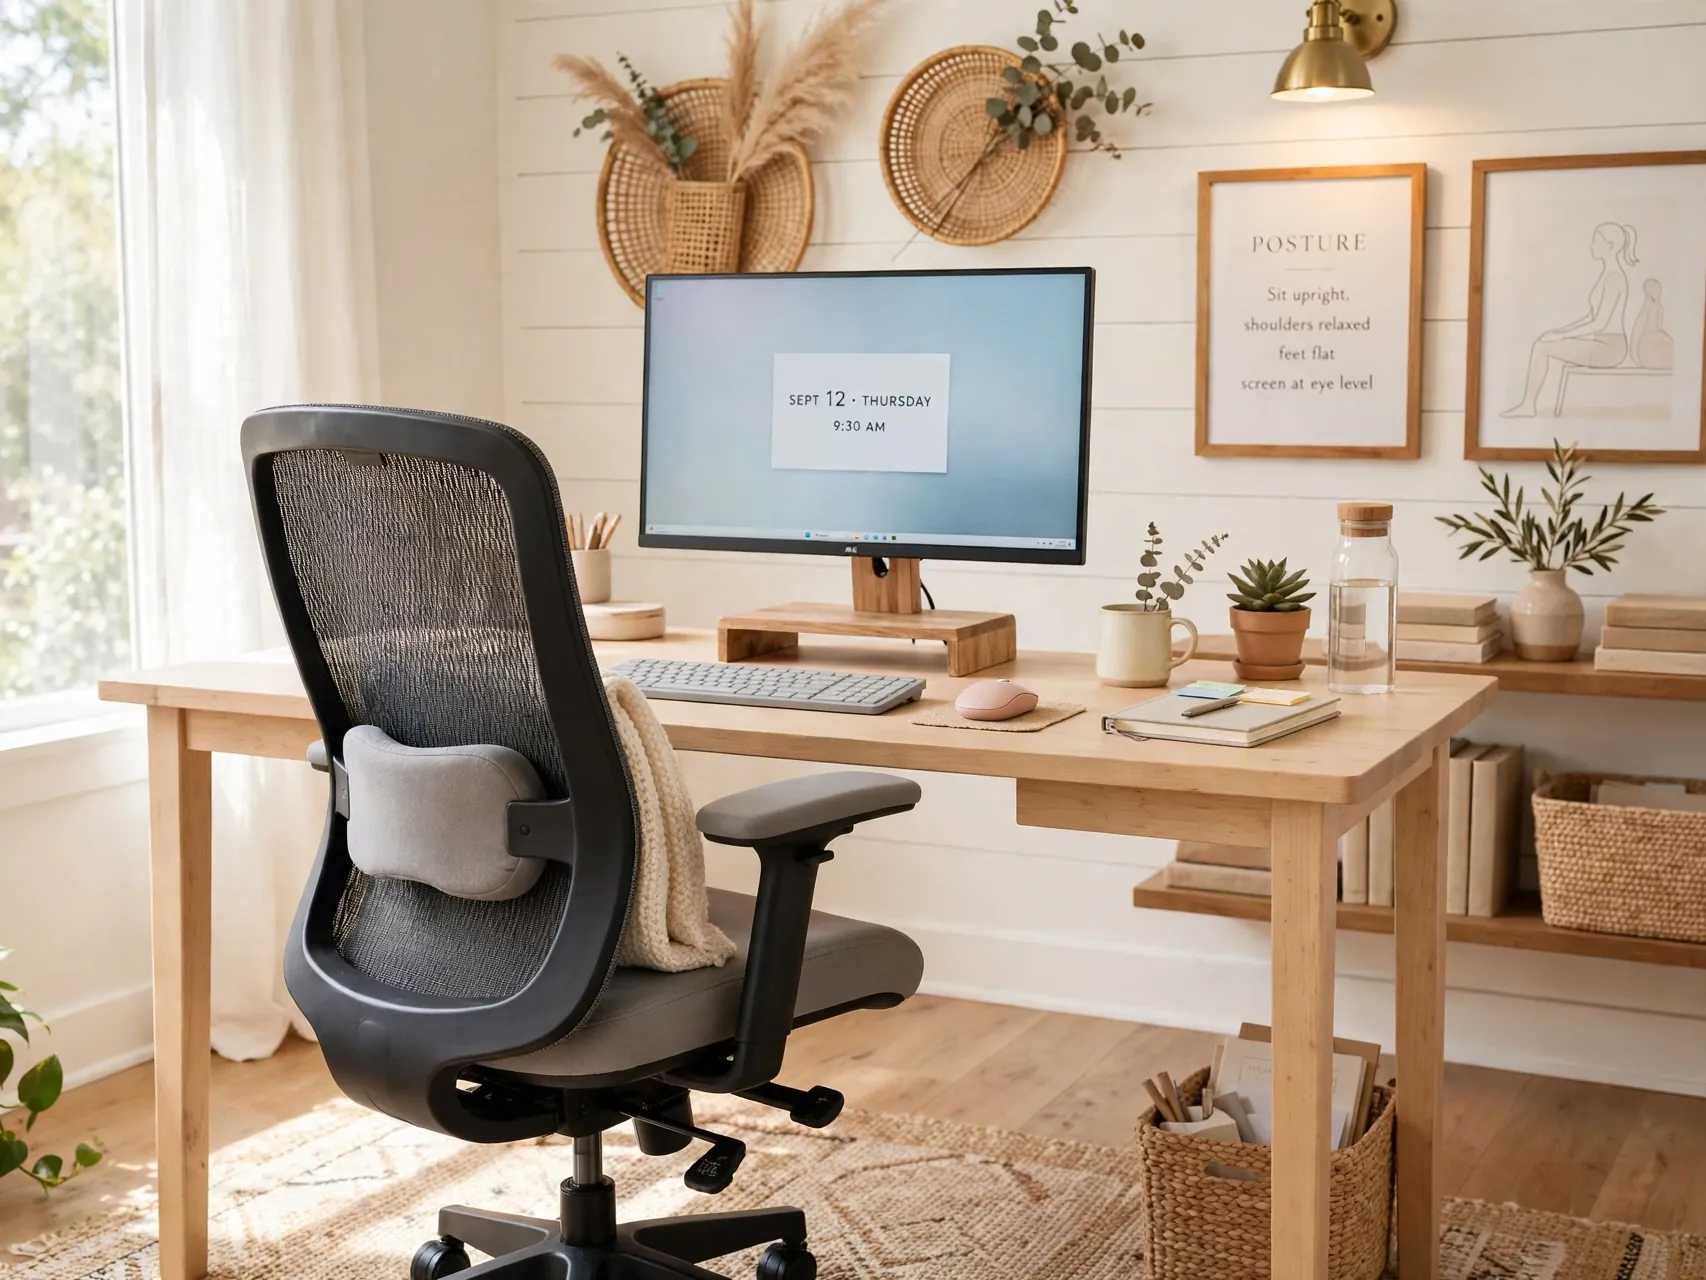
Adjust your chair before anything else on day one. Raise or lower the seat so your feet rest flat on the floor, your thighs sit roughly level, and the backrest supports the curve of your lower back.
Armrests should let your shoulders relax, not shrug upward. Sit back fully when you work, and change position often. Even the best chair cannot protect you if you freeze in one pose for hours, so pair good setup with regular short breaks to stand, stretch, and refill your water.
6. Position Your Monitor at Eye Level and Arm Length
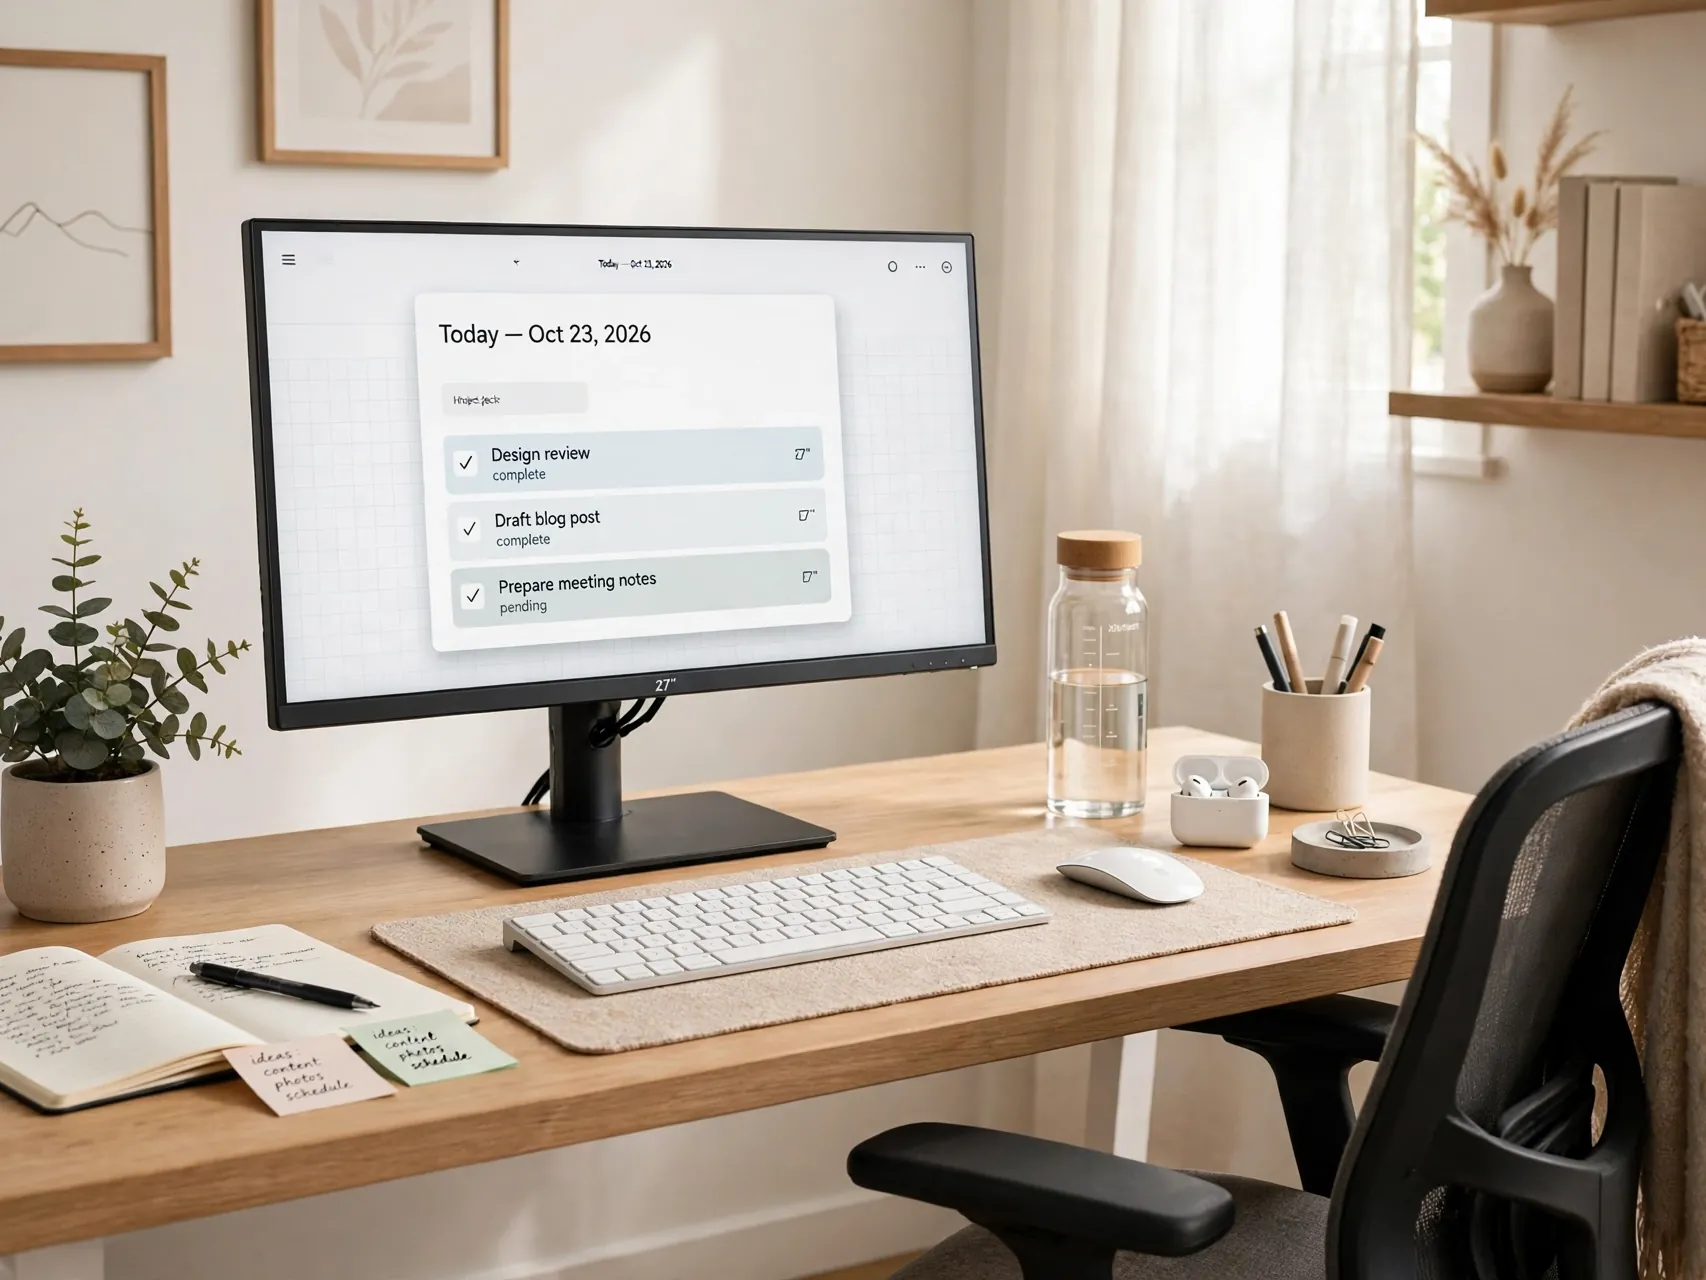
Place the screen directly in front of you, about an arm length away, with the top of the screen at or slightly below eye level. This keeps your neck in a neutral position and reduces the urge to lean in.
With two screens, center the one you use most and angle the second slightly toward you. Laptop users should raise the laptop and use a separate keyboard and mouse at desk height. This single change is often the fastest relief for neck and shoulder tension.
7. Keep Keyboard and Mouse Close With Neutral Wrists
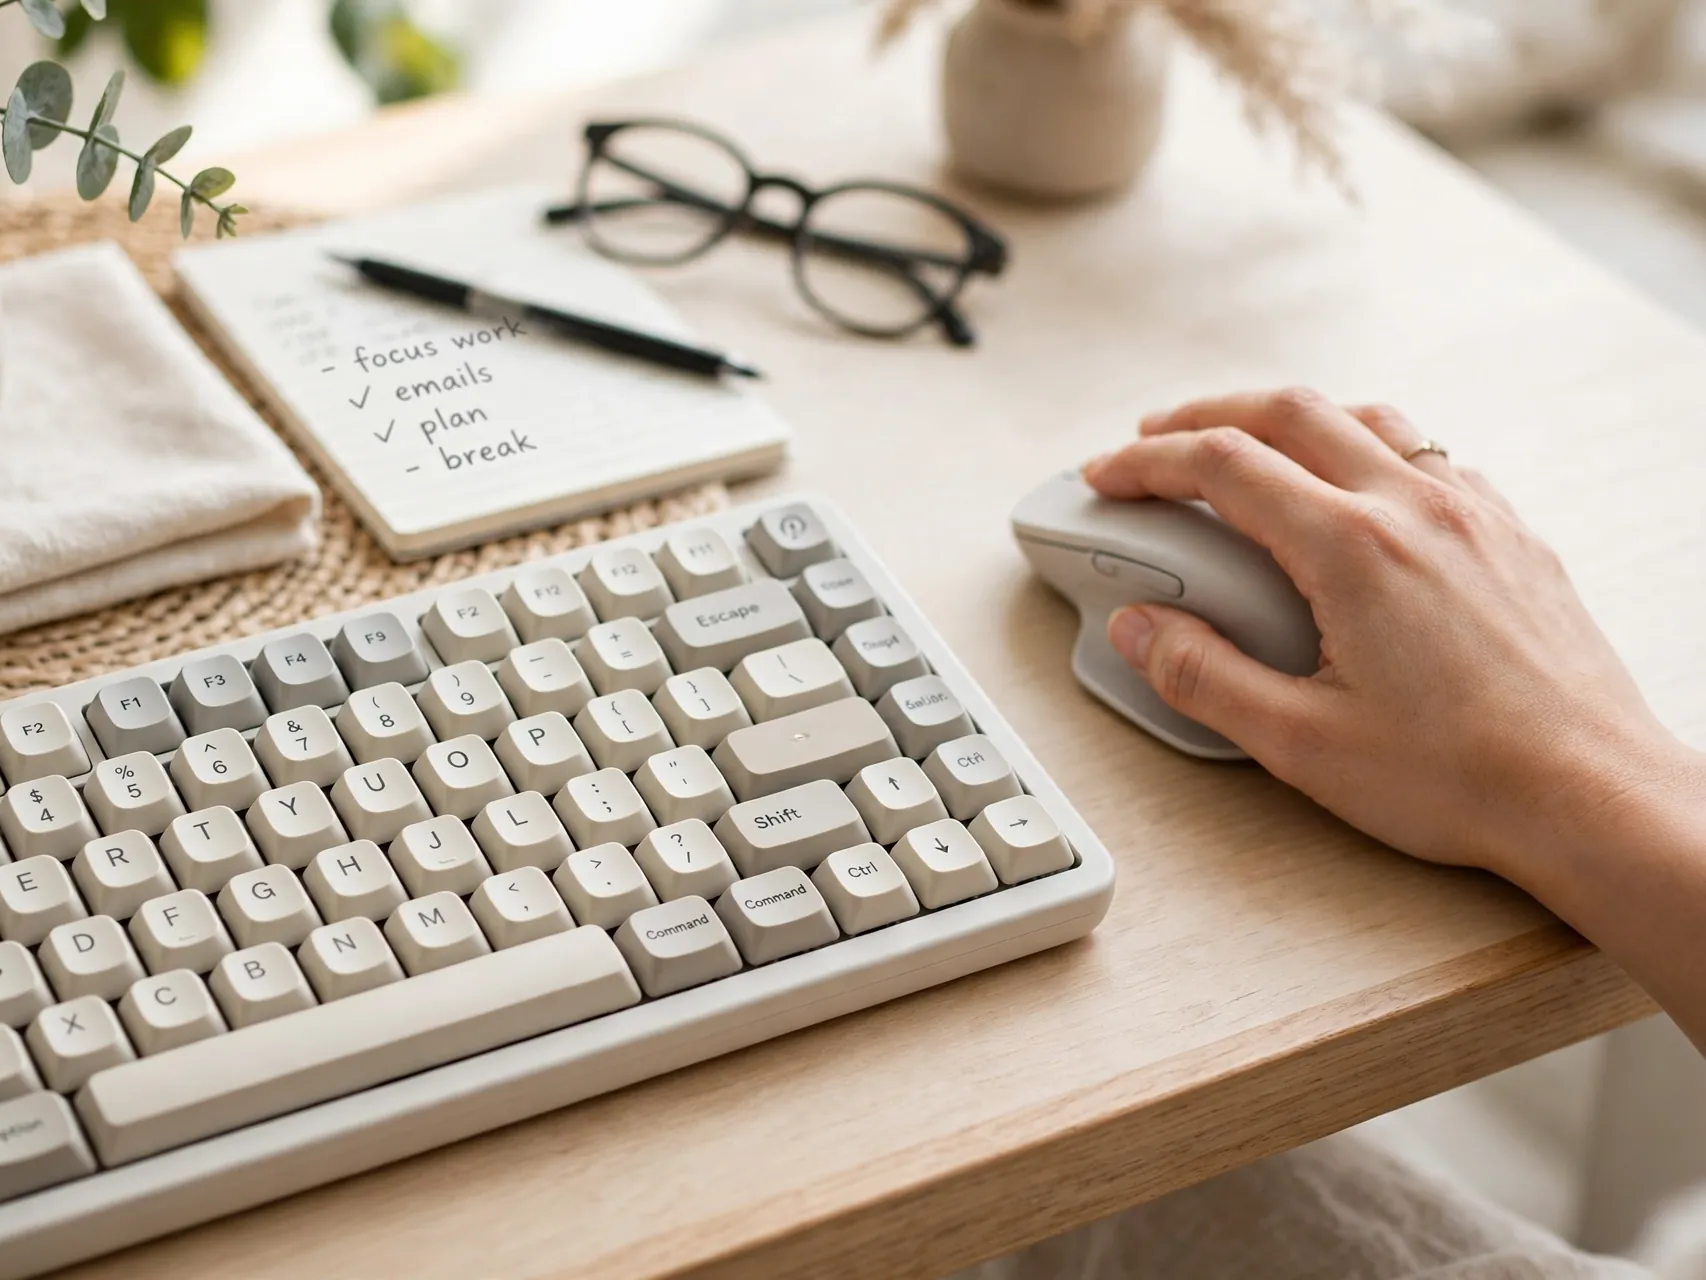
Set your keyboard centered with your screen and your body, close enough that your elbows stay near your sides. Your wrists should float fairly straight, not bent up, down, or sideways for long periods. A keyboard tray or a slightly lower desk surface can help if typing feels high.
Place the mouse right beside the keyboard at the same height so you are not reaching forward all day. If you work on a laptop for long hours, an external keyboard and mouse are near the top of any home office essentials list.
8. Plan Power Safely With One Surge Protector in the Wall
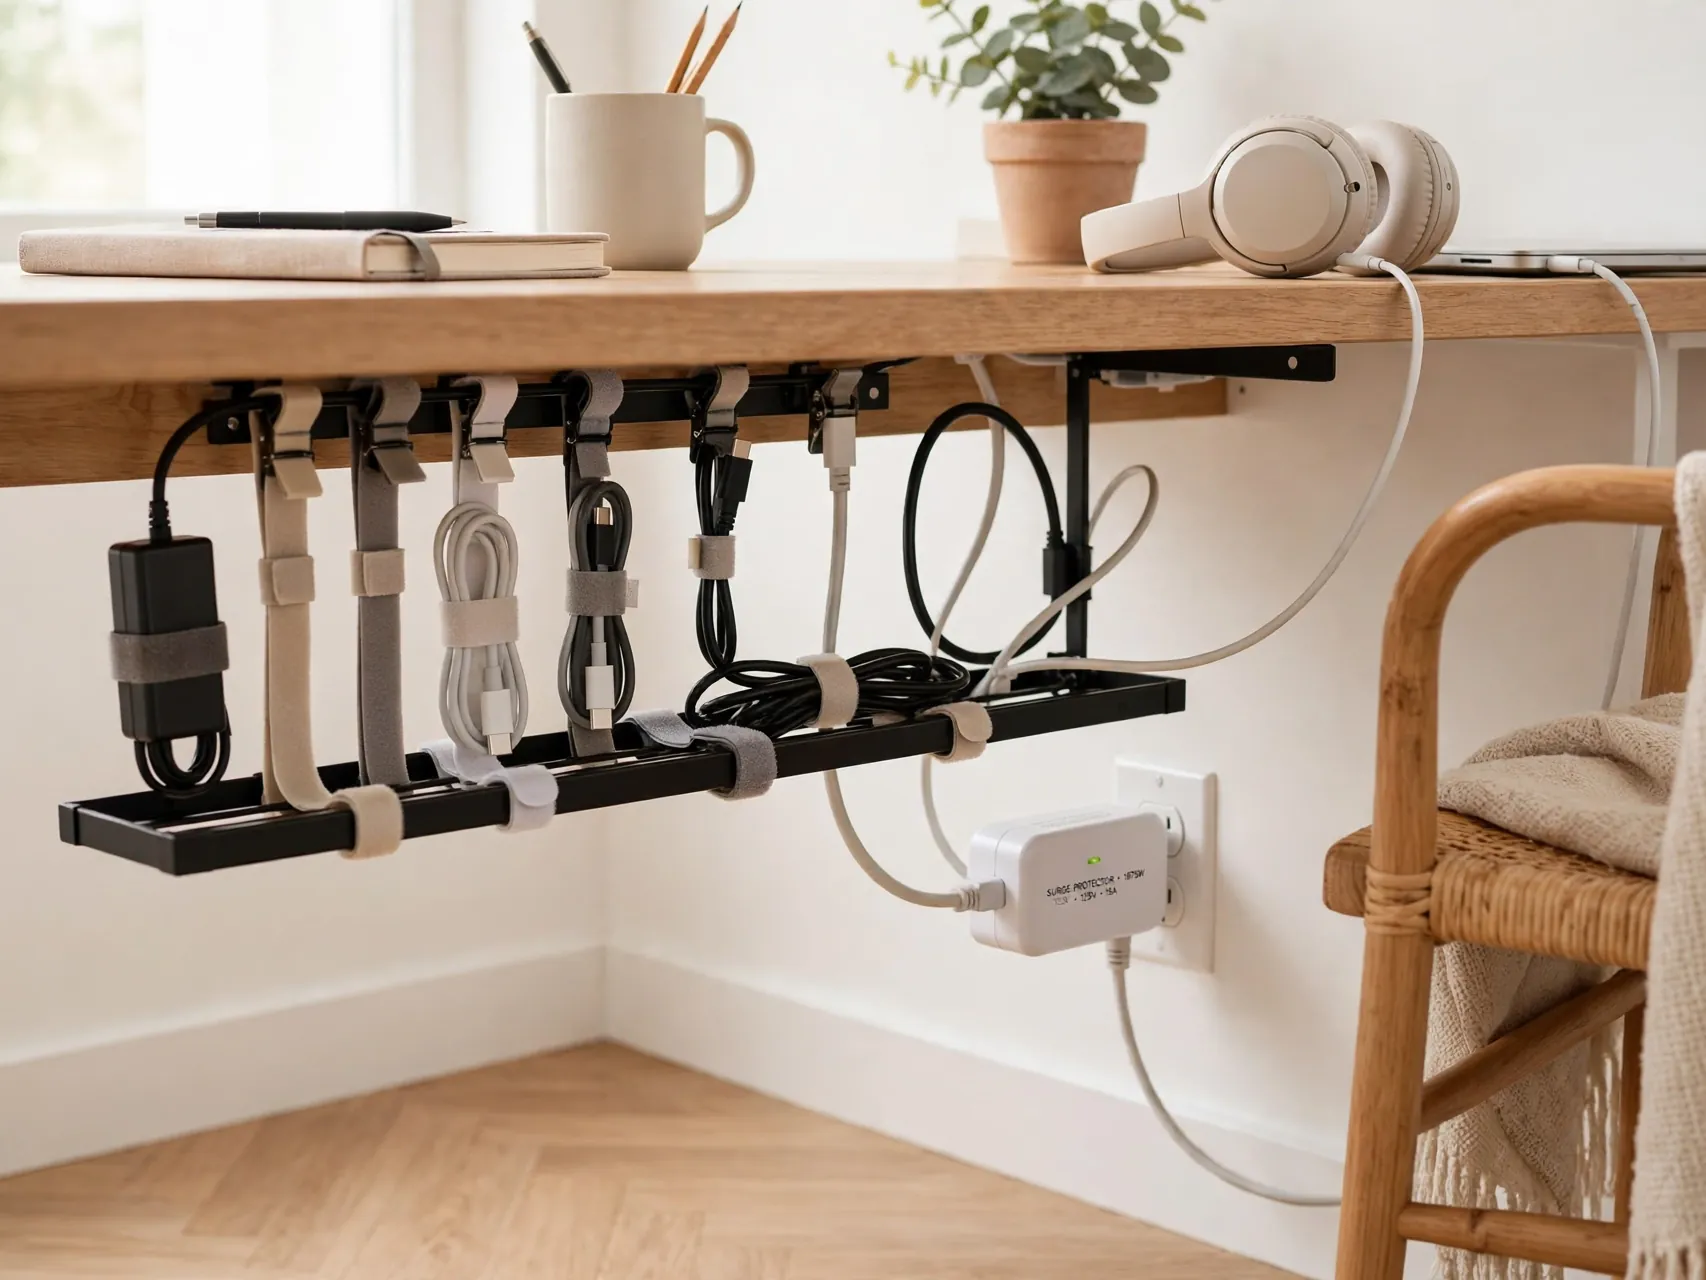
Before the gear piles up, plan your power. Plug a listed surge protector directly into a wall outlet and connect your computer, monitor, and lamp to it. Never daisy-chain, which means never plug one power strip or surge protector into another, because the first strip can overload and overheat.
Keep cords off the floor in walkways, use clips or a tray to guide them, and replace any cord that is frayed or damaged. If your setup outgrows the available outlets, hire a licensed electrician to add one.
9. Layer Lighting for Day Work and Evening Calls

Add light in layers. Use daylight first, a general ceiling or ambient light second, and a desk lamp for reading and paperwork. Position the lamp to light the desk, not the screen, and place it on the opposite side from your writing hand to limit shadows.
Evening workers should add a warm light in front of them for video calls so faces look clear and friendly. Avoid a single bright overhead light that casts harsh shadows.
10. Sort Internet and Tech Before Decor

A beautiful office with weak internet is a daily frustration. Test your connection at the desk, and if the signal is poor, move the router closer if you can, use a wired connection where practical, or ask your provider about options for your plan and home layout.
Set up your headphones, camera, and any work devices, then test a real call with a friend or a test meeting. Fix echo, framing, and lighting now, not five minutes before an important meeting.
11. Add Storage in Three Levels: Daily, Weekly, Archive
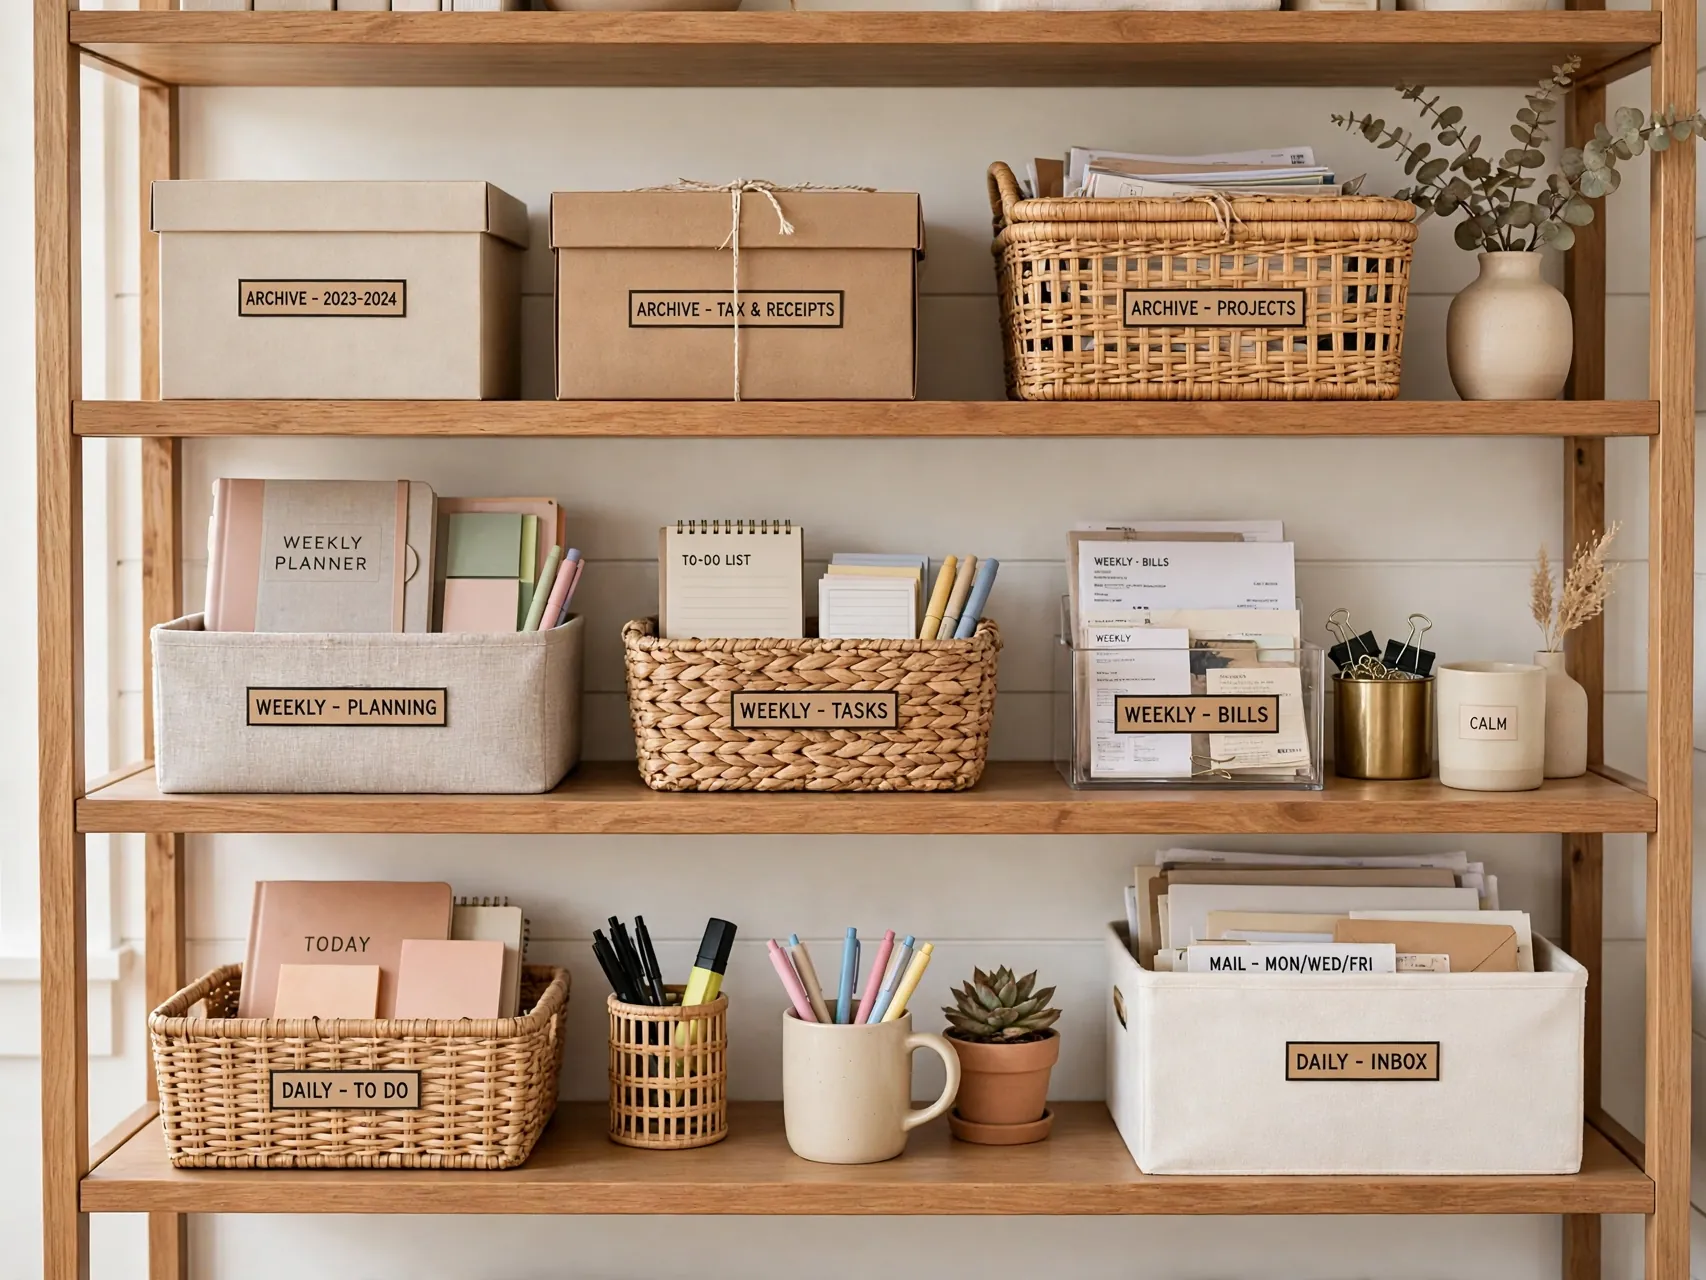
Give storage a simple structure. Daily items live in a drawer, tray, or cart within arm reach. Weekly items go on a shelf in the room.
This three level system stops the slow pileup that swallows desks. When you create a home office with clear storage levels, tidying becomes a quick sort instead of a weekend project. Keep one empty-ish shelf or box as overflow space, because real life always produces one more thing.
12. Corral Small Supplies With Trays, Dividers, and Labels

Small items cause big visual mess. Use drawer dividers for pens, clips, and chargers, a small tray on the desk for the two or three tools you grab constantly, and labels on boxes so supplies return to the right home without thinking.
Resist buying many organizers before you know your habits. Work for two weeks, notice what actually lands on the desk, then buy storage for those items only. A tidy desk is not about owning containers.
13. Create a Paper Inbox and a Weekly Filing Habit
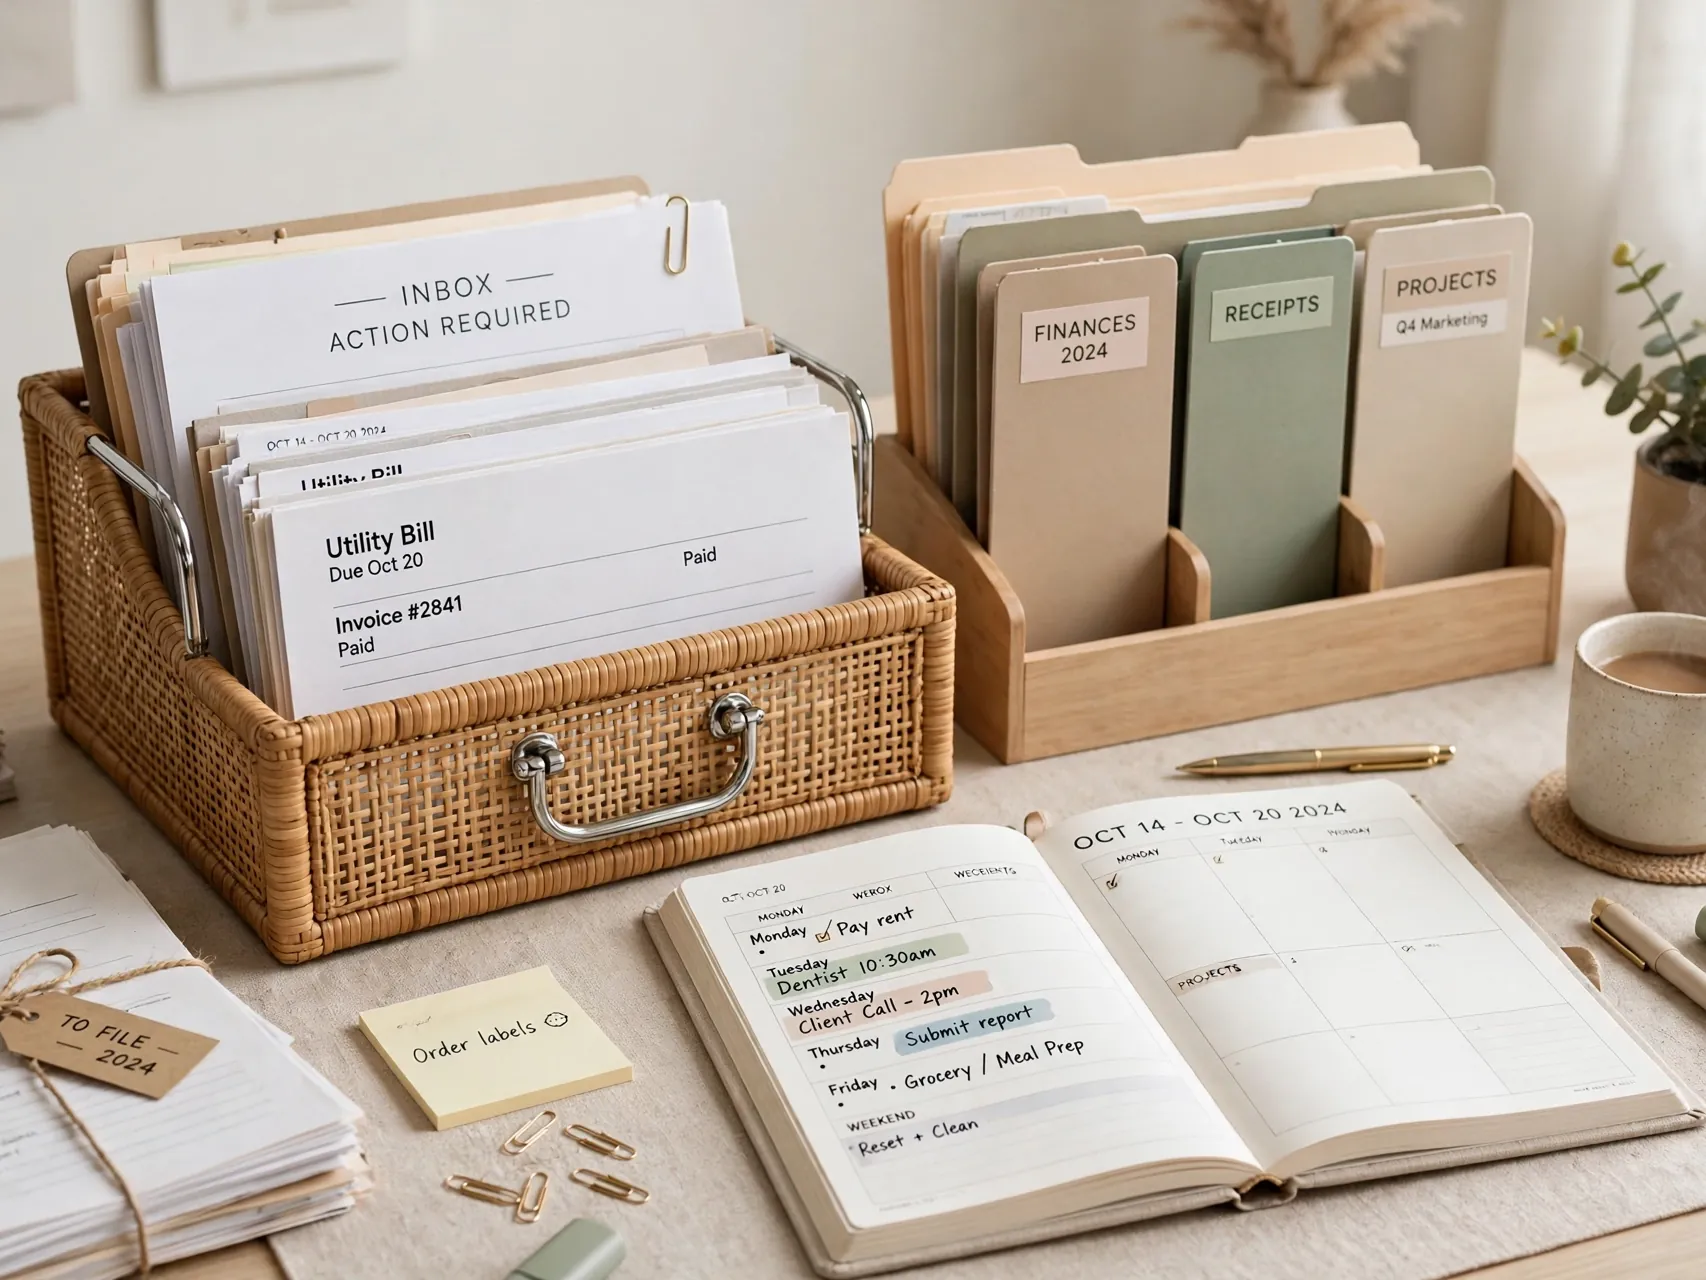
Designate one tray or folder as the only place incoming paper may land. Mail, school forms, receipts, and notes all go there instead of spreading across the desk. Once a week, sort the tray fully: act, file, scan, or recycle each piece.
Keep active project papers in a separate slim folder or vertical sorter so they stay visible without forming a pile. If paper keeps winning, reduce what enters: choose digital statements where you can and keep a recycling bin within tossing distance.
14. Soften Sound With a Rug and Curtains
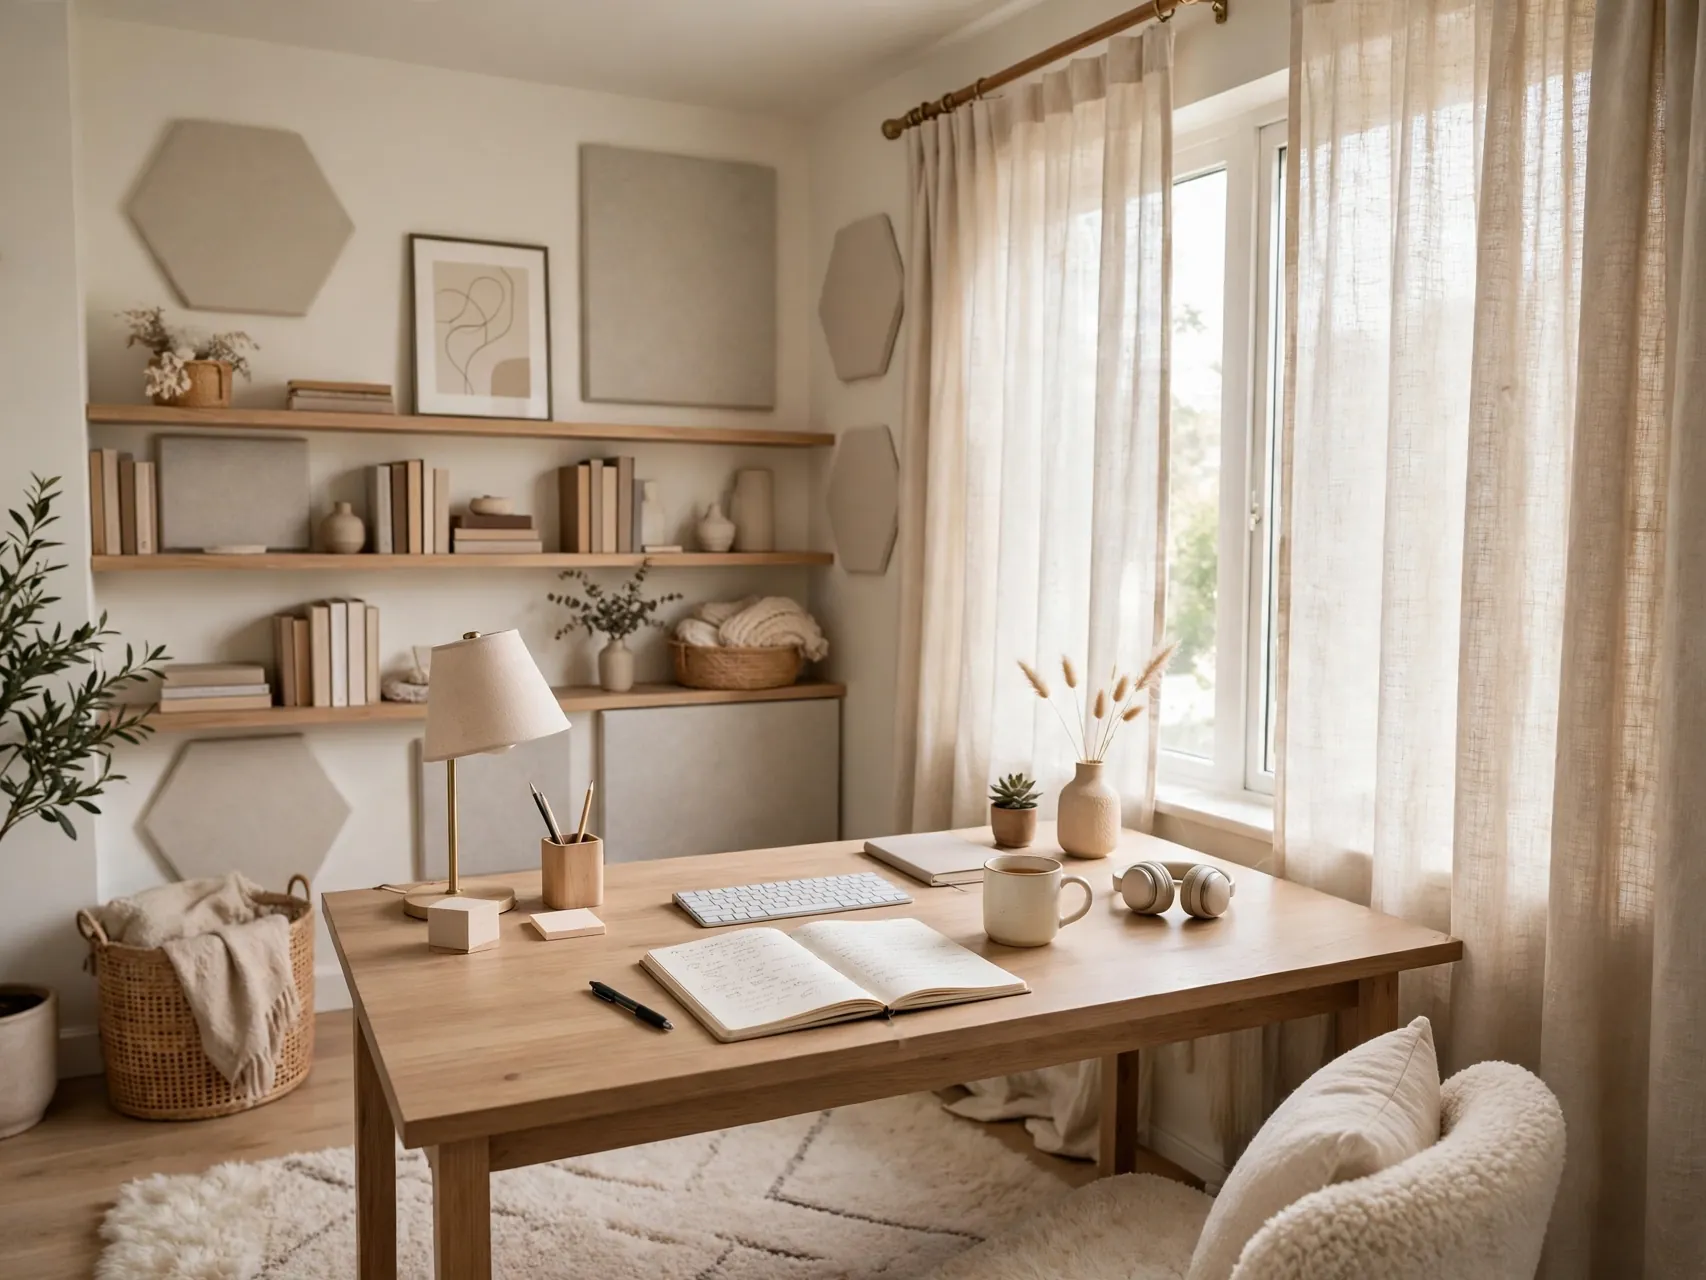
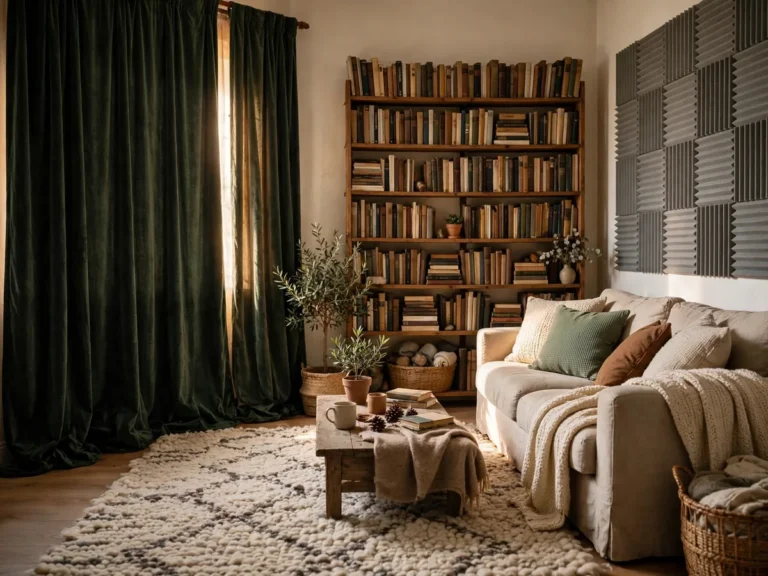
Bare walls, wood floors, and a glass desk will make your voice echo on calls and the room feel stark. Lay a rug under the desk and chair, sized so the chair stays on it, and hang curtains to absorb sound at the window.
You do not need studio foam to hear a big improvement. Soft layers calm the room for you and for everyone listening to you. Choose a low pile rug so chair wheels roll easily, and secure rug edges so they do not curl into a trip hazard under your chair.
15. Add Plants and Natural Texture for Warmth
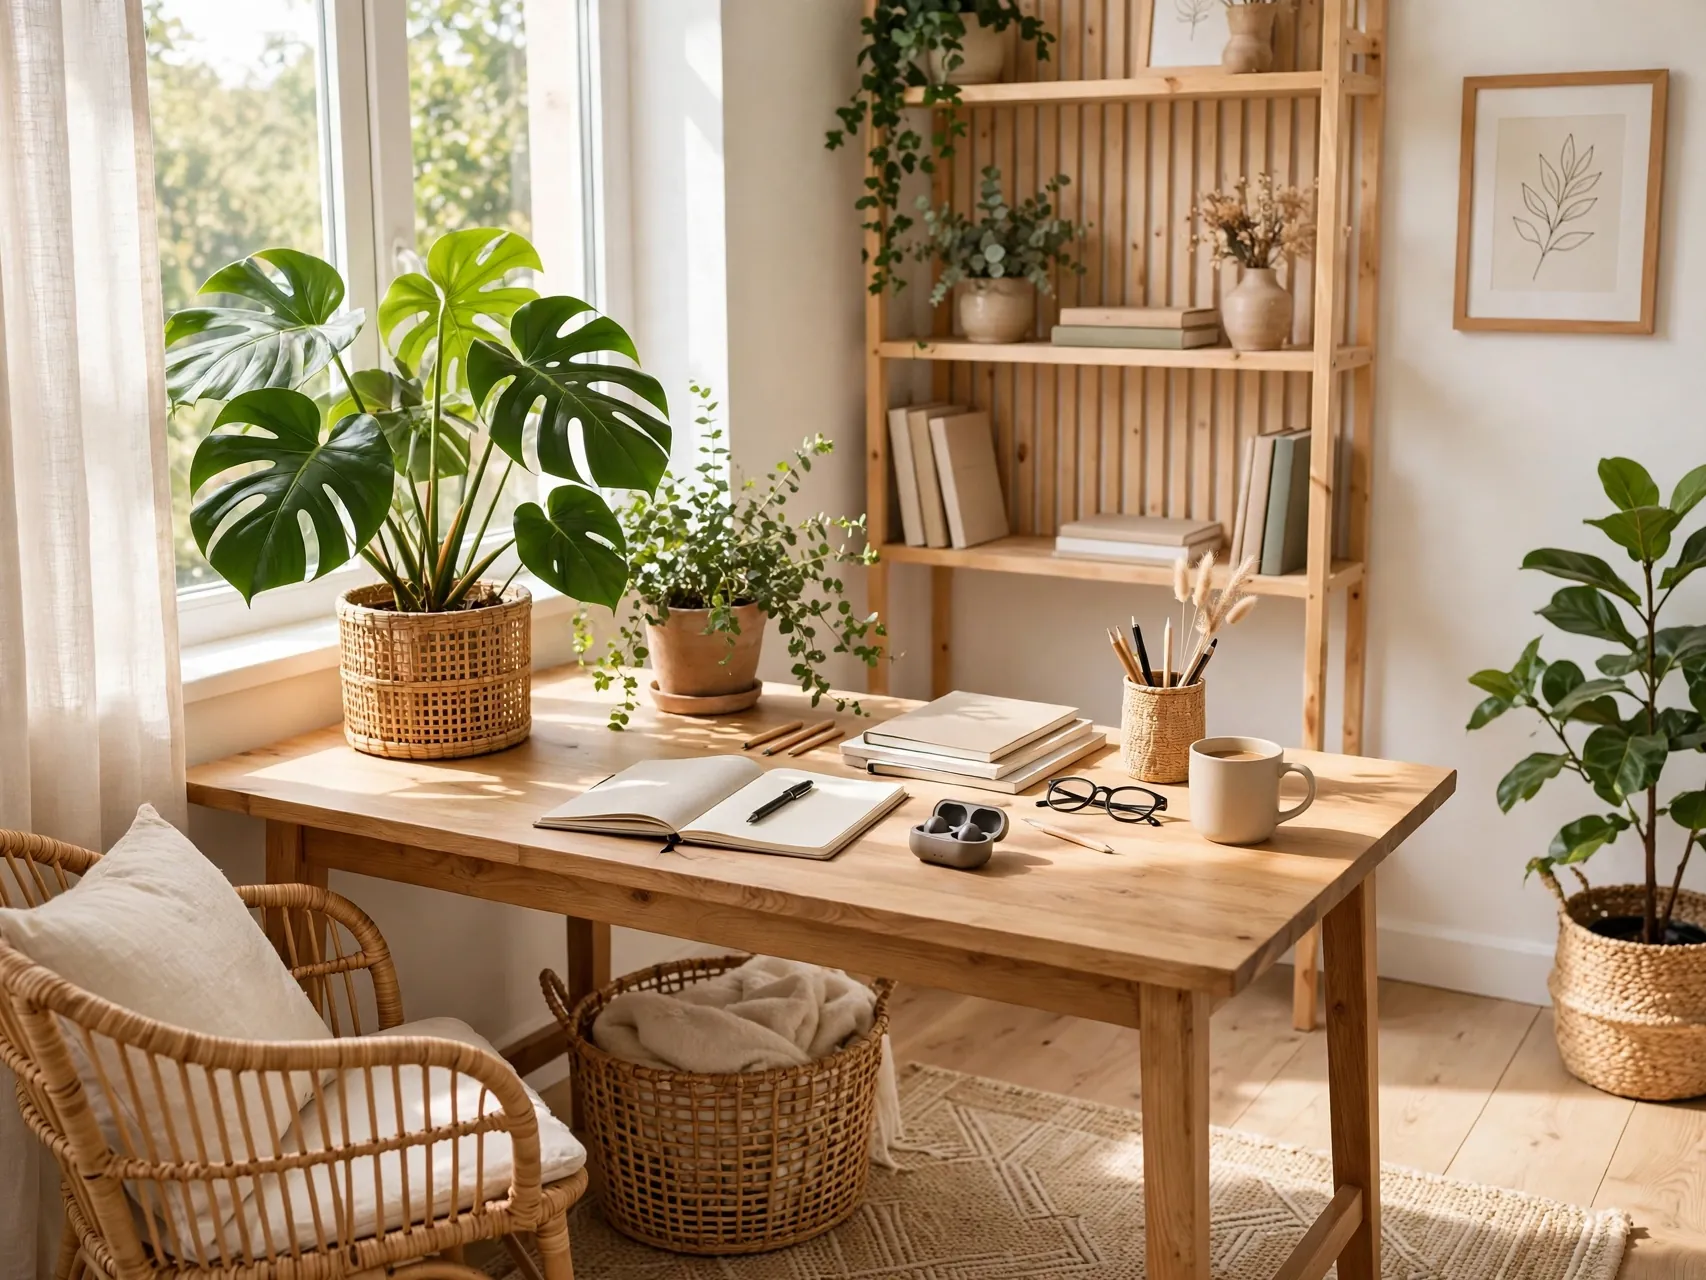
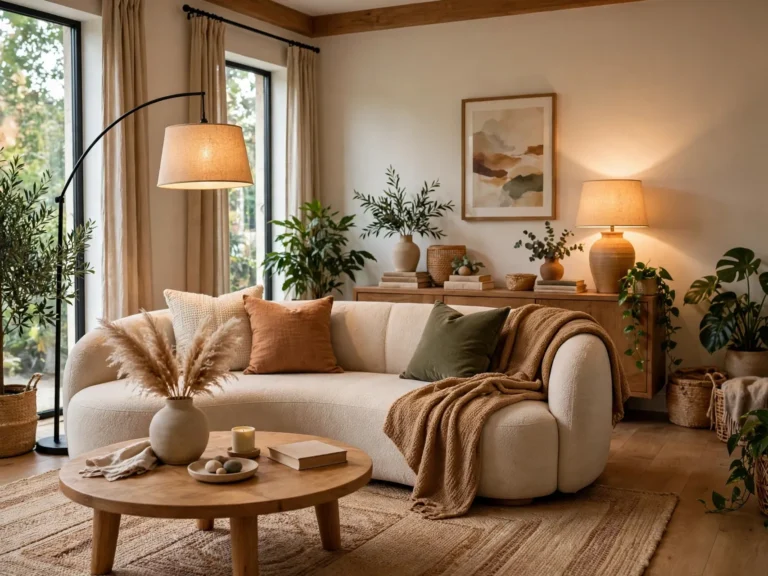
Bring in one or two plants suited to your light, placed where you can see them when you look up from the screen. A plant on a shelf or windowsill softens all the rectangles of tech and gives the room a living, settled feeling that supports calm focus.
Pair greenery with natural texture: a wood desk tray, a woven basket for blankets or files, a linen cushion. These touches cost little and keep a work from home office setup from feeling like a cubicle that wandered into your house.
16. Make a Background That Works for Video Calls

Look at what the camera sees and edit it like a photo. A neat shelf, a single piece of art, or a plain wall with a plant reads as calm and professional.
Hang art securely and keep the background a comfortable distance behind you when possible. Add light on your face from the front or side. A deliberate background takes twenty minutes to set and pays you back on every call, in confidence and in how put together your space feels.
17. Use a Door Signal and Simple Work Hours
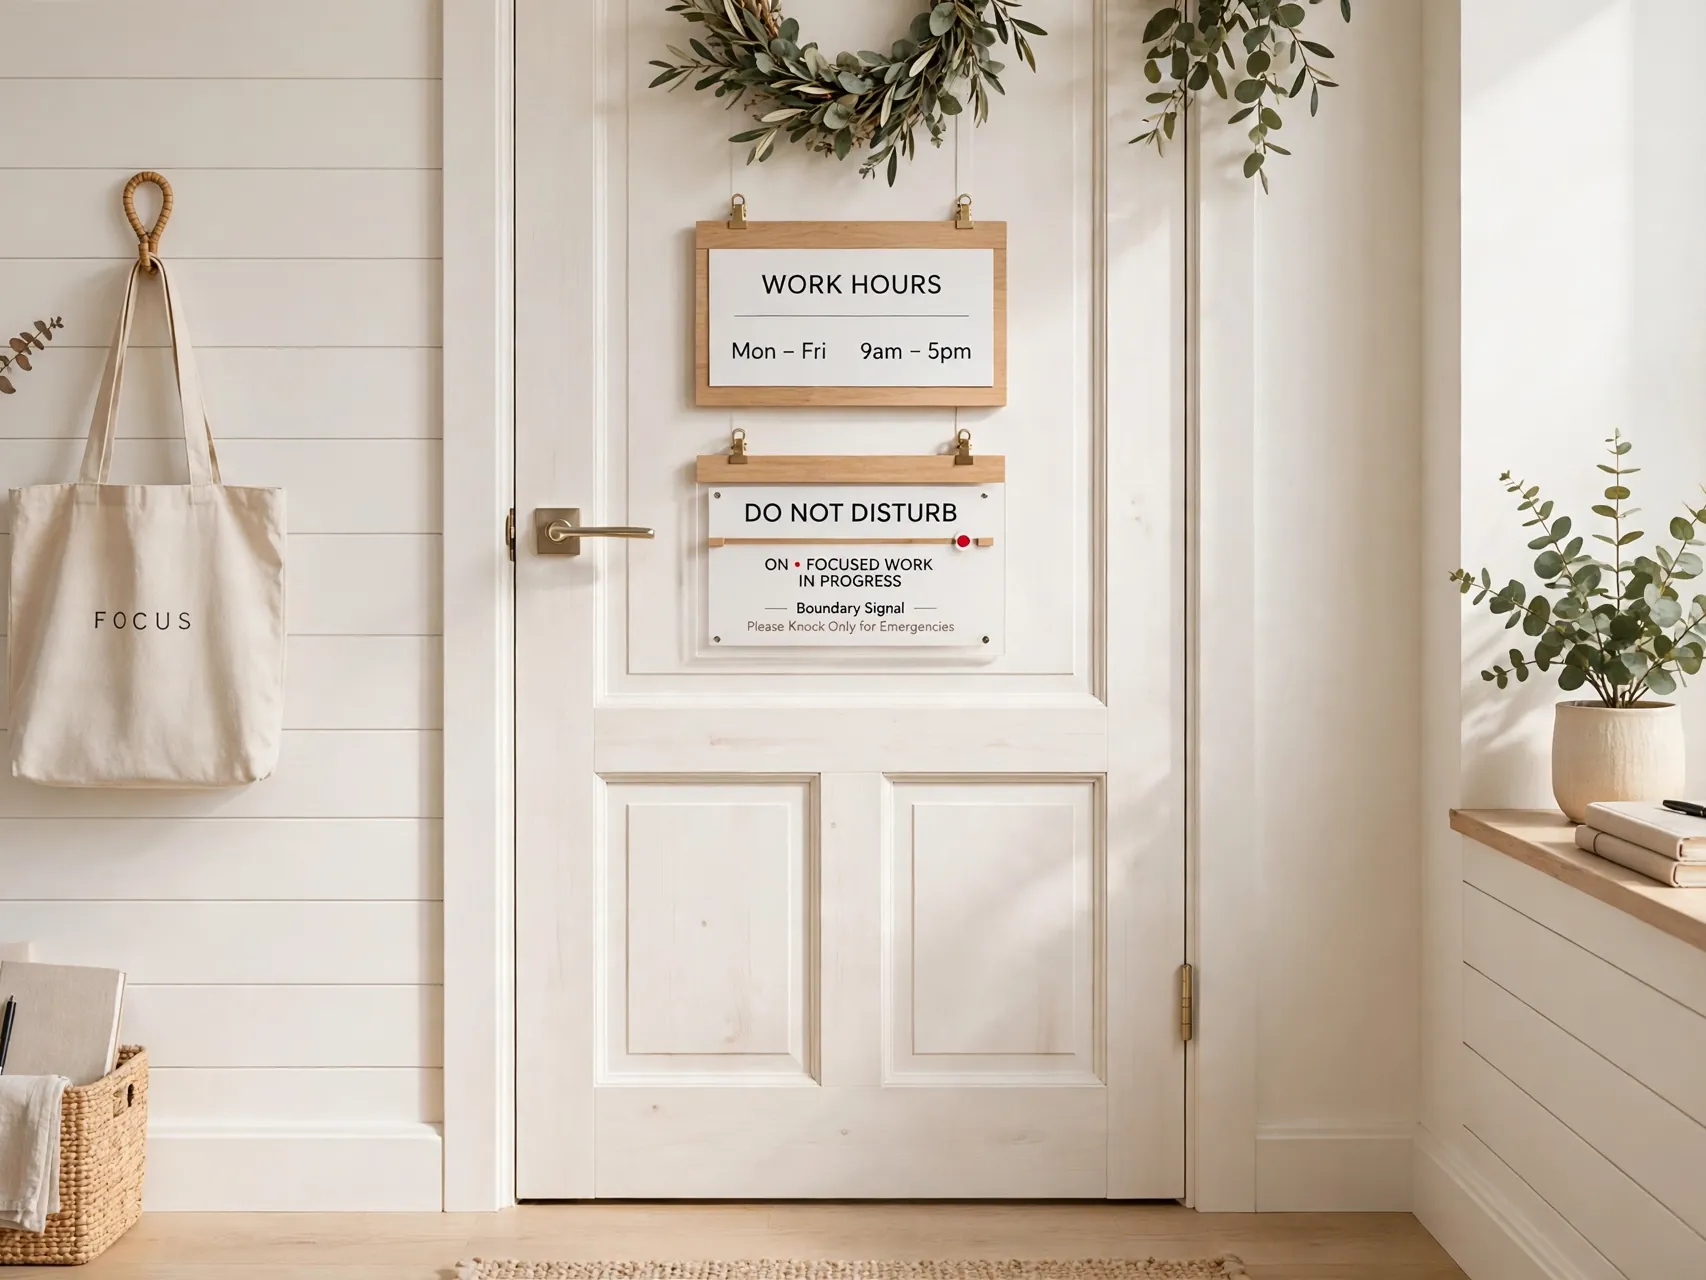
Boundaries help a home office feel real. If you have a door, closing it can be the signal. Without a door, use a small sign, headphones on as a do not disturb cue, or a lamp you switch on only during work hours to show the household you are in work mode.
Set regular start and finish times and tell the people you live with. This is part of learning how to set up a home office that your household respects too. A clear end to the workday also protects the room, because you reset it instead of letting work sprawl into the evening.
18. Build a Charging Spot That Is Not Your Desk Surface
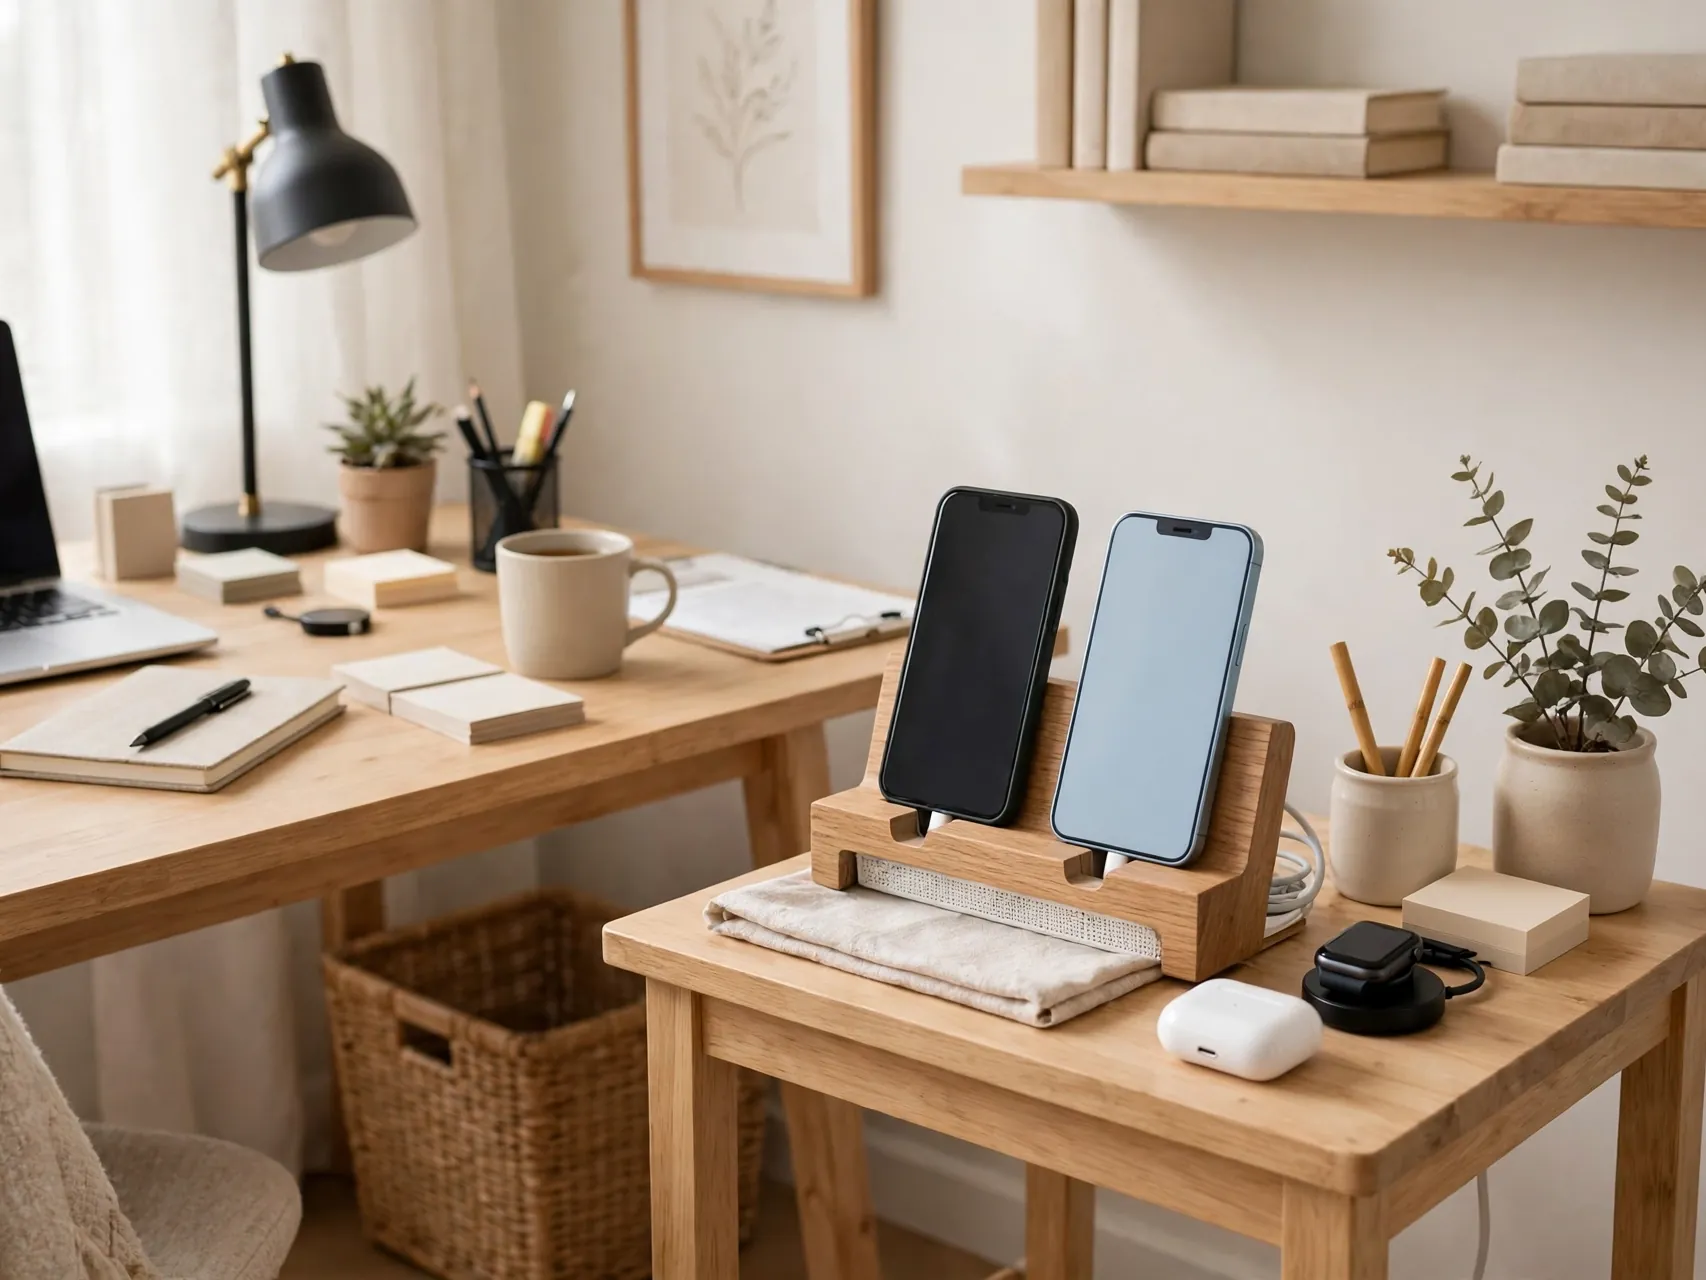
Choose one home for charging: a small shelf, a drawer with a safe setup used as the maker directs, or a corner of a side table. Phones, earbuds, and tablets gather there instead of colonizing your work surface with cords from every direction.
Keep charging cords short, tidy, and away from chair wheels and foot traffic. Never charge devices on soft bedding or under piles of paper, and use the chargers and cables in good condition. A single charging spot also makes it easy to leave devices outside the office at night, which many people find helps them truly switch off.
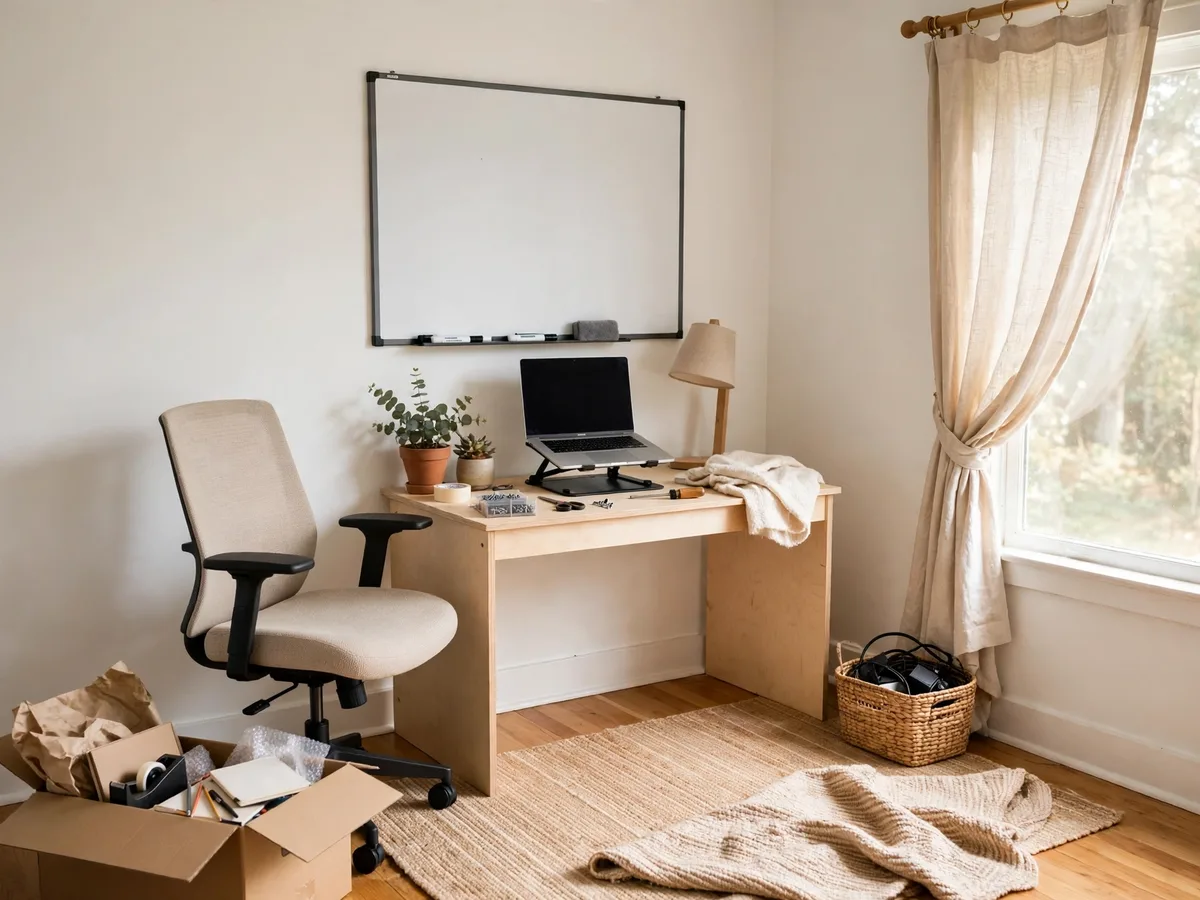
19. Add a Whiteboard, Corkboard, or Wall Planner
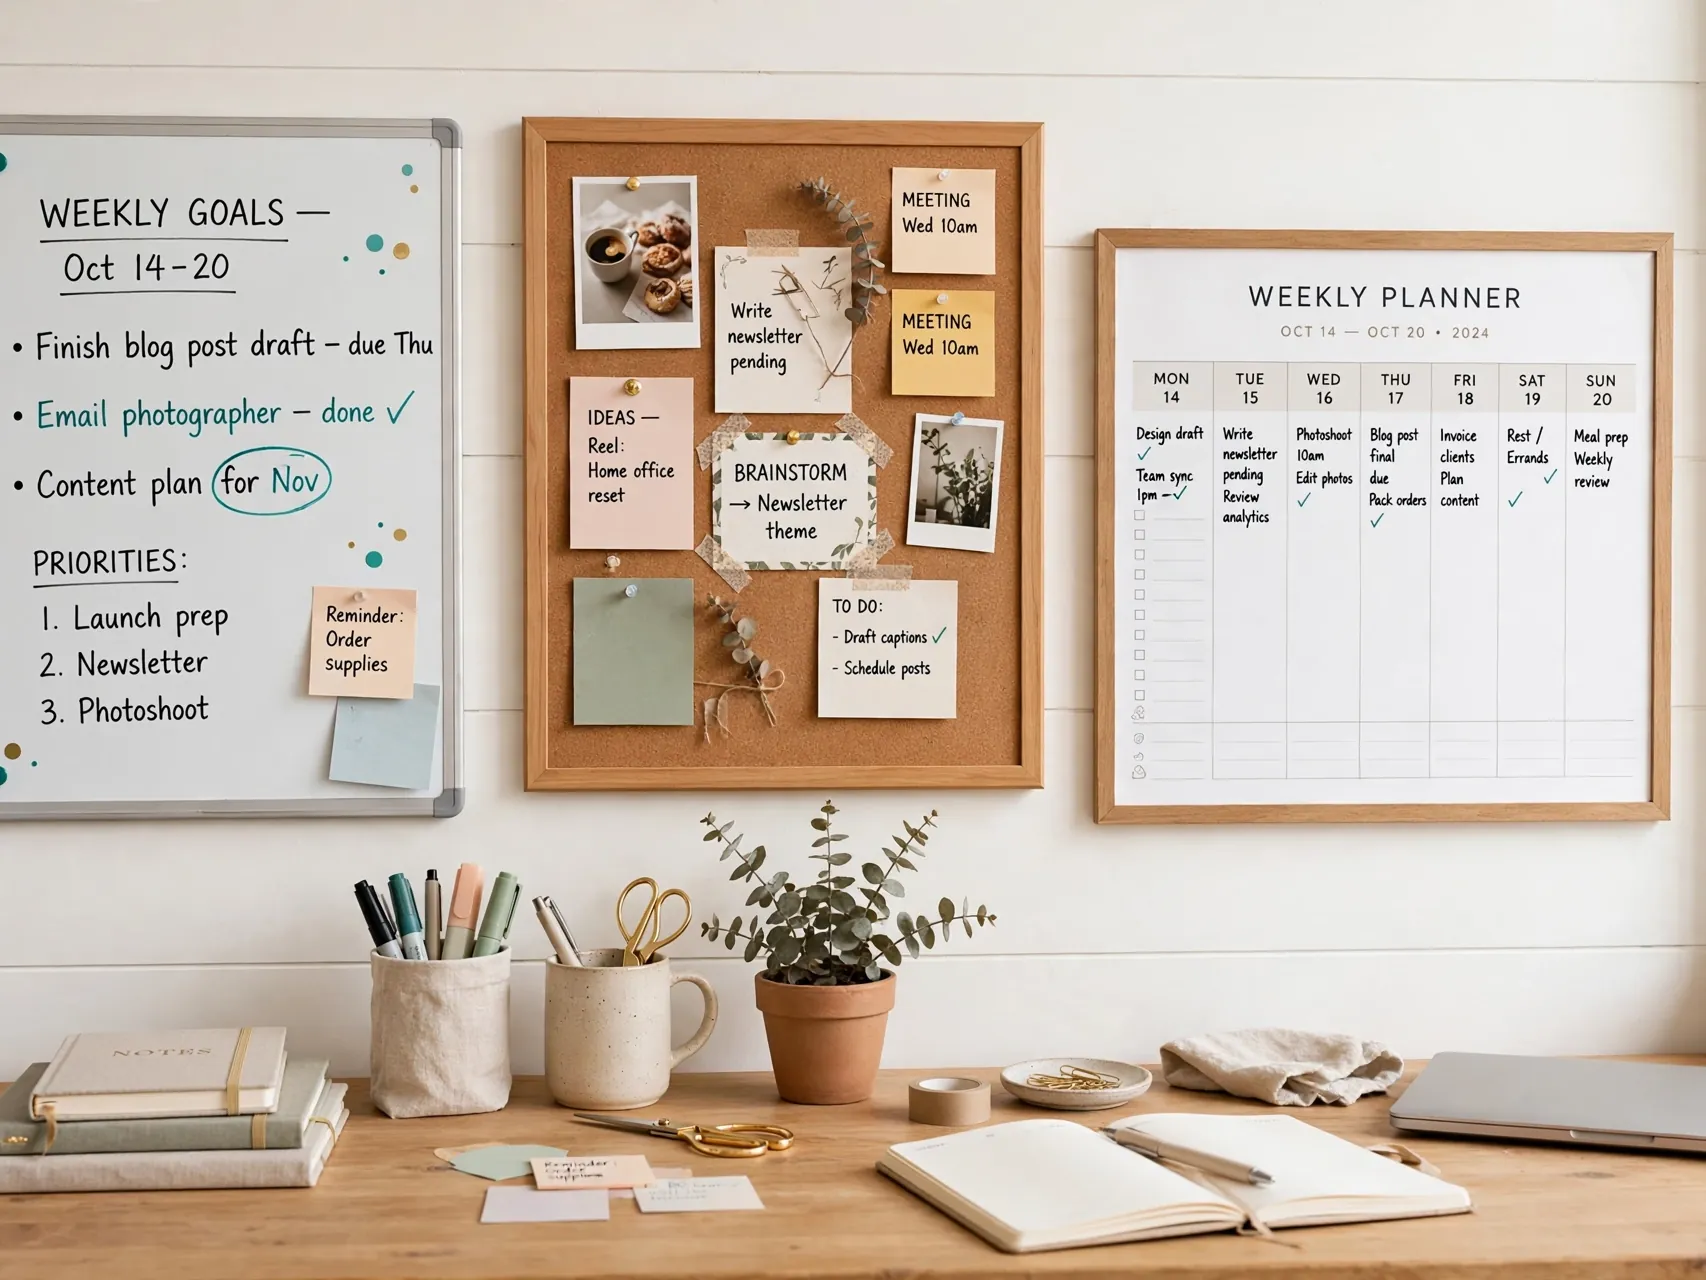
Get deadlines and ideas out of your head and onto the wall. A whiteboard suits changing plans, a corkboard holds cards, tickets, and inspiration photos, and a large paper planner works for visual thinkers. Mount boards securely into studs or with rated fixings, at a height you can read standing.
Keep the board edited. A board covered in old notes stops being useful and starts adding stress. Clear it weekly, move finished items off, and keep only the current week or project in view. Your wall planner should answer one question at a glance: what matters most today.
20. Personalize in Layers Without Creating Clutter

Now add the pieces that make the room yours: a framed photo or two, art you love, a mug that makes you smile, a cushion in your favorite color. Layer personality in slowly and edit as you go, keeping surfaces mostly clear so the room still reads as a place to work.
Choose one accent color and repeat it two or three times for a pulled together look. If an item does not make you happy or help you work, it does not need desk space. Personal does not mean crowded, and the calmest offices usually show careful choosing, not lots of buying.
21. Set Up a Comfort Corner for Breaks
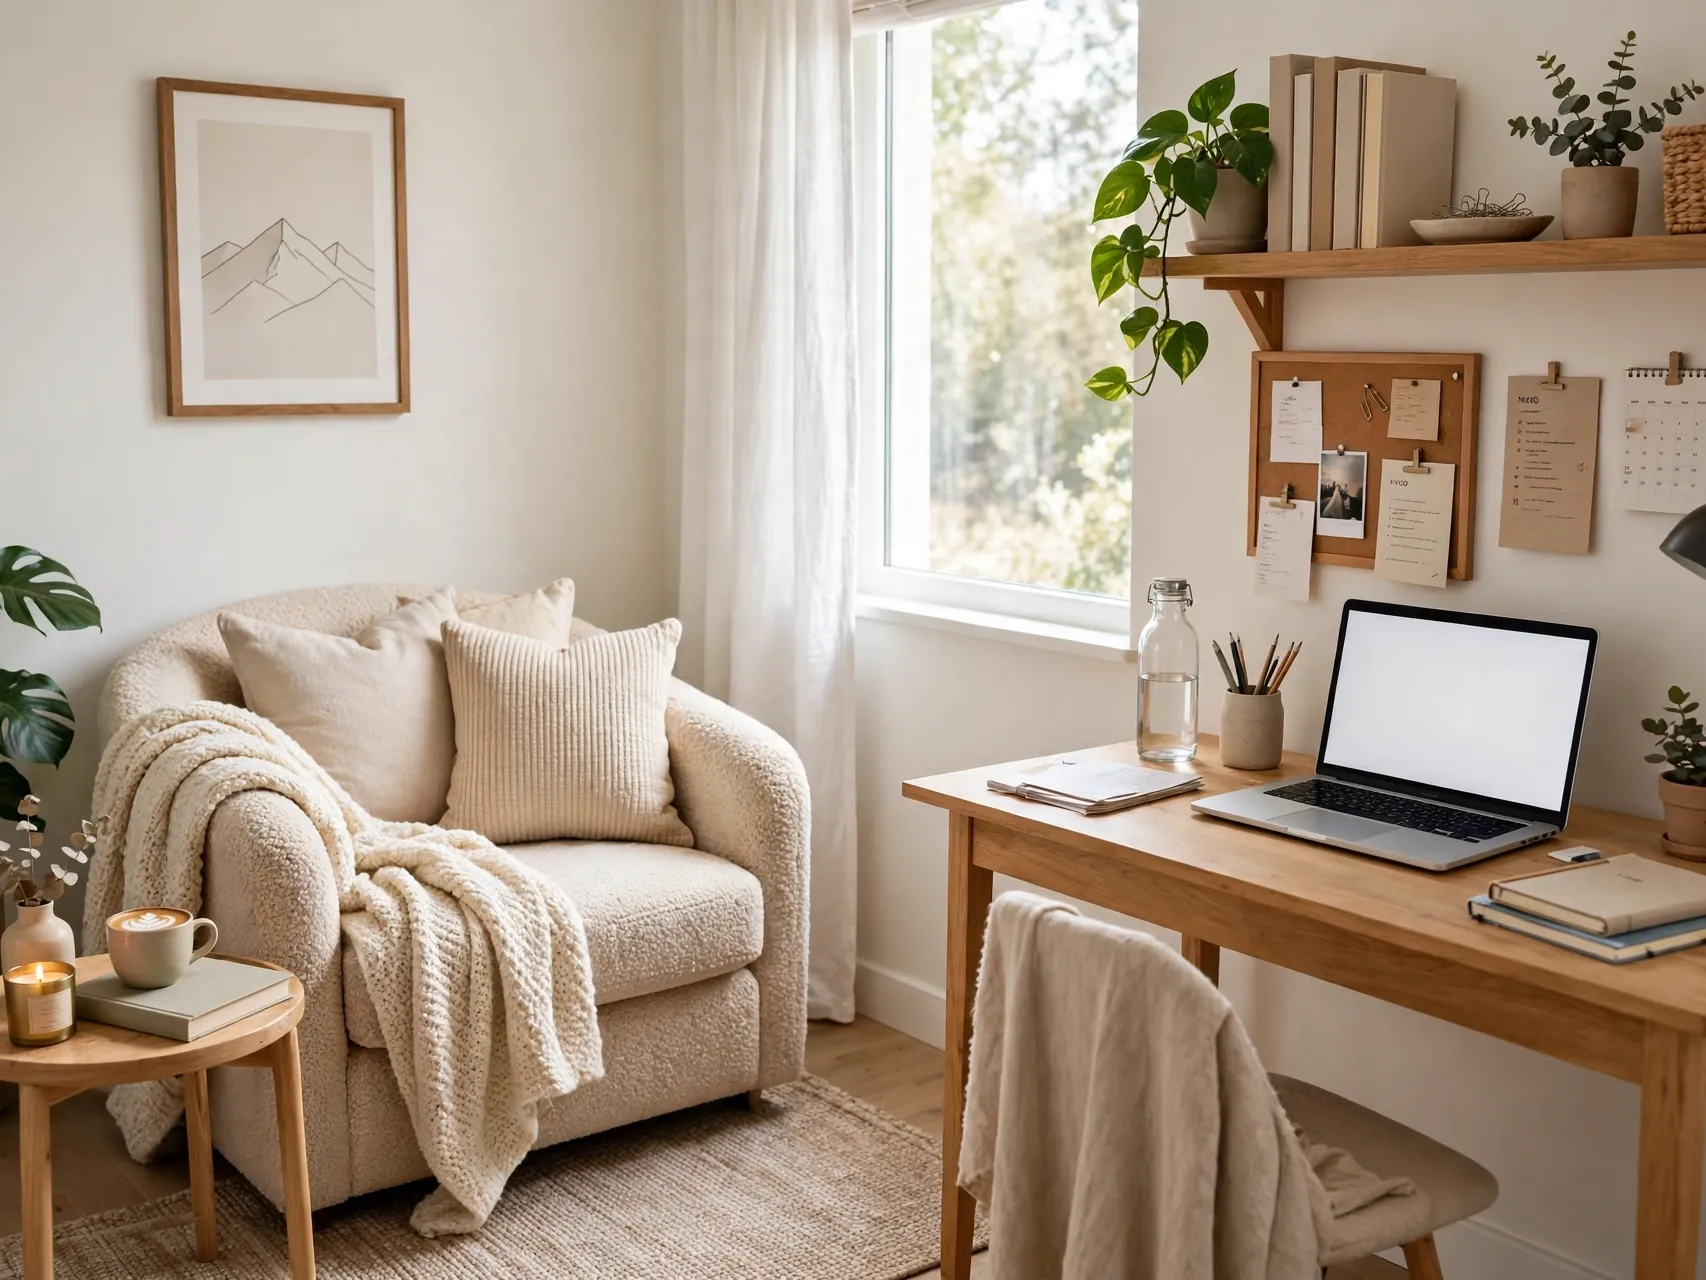
Plan where you will take real breaks. A chair by the window, a cushion in a corner, or simply standing space with a view gives your eyes and body a change from the desk. Keep a water bottle and a small snack supply nearby so breaks do not always route through the kitchen scroll-and-wander.
Short, regular breaks protect your posture, eyes, and patience. Stand, move, look at something far away, and return. If space allows, keep break items out of your direct work view so rest feels restful. A loved office includes rest by design, not only work by default.
22. Do a Safety and Comfort Check After One Week
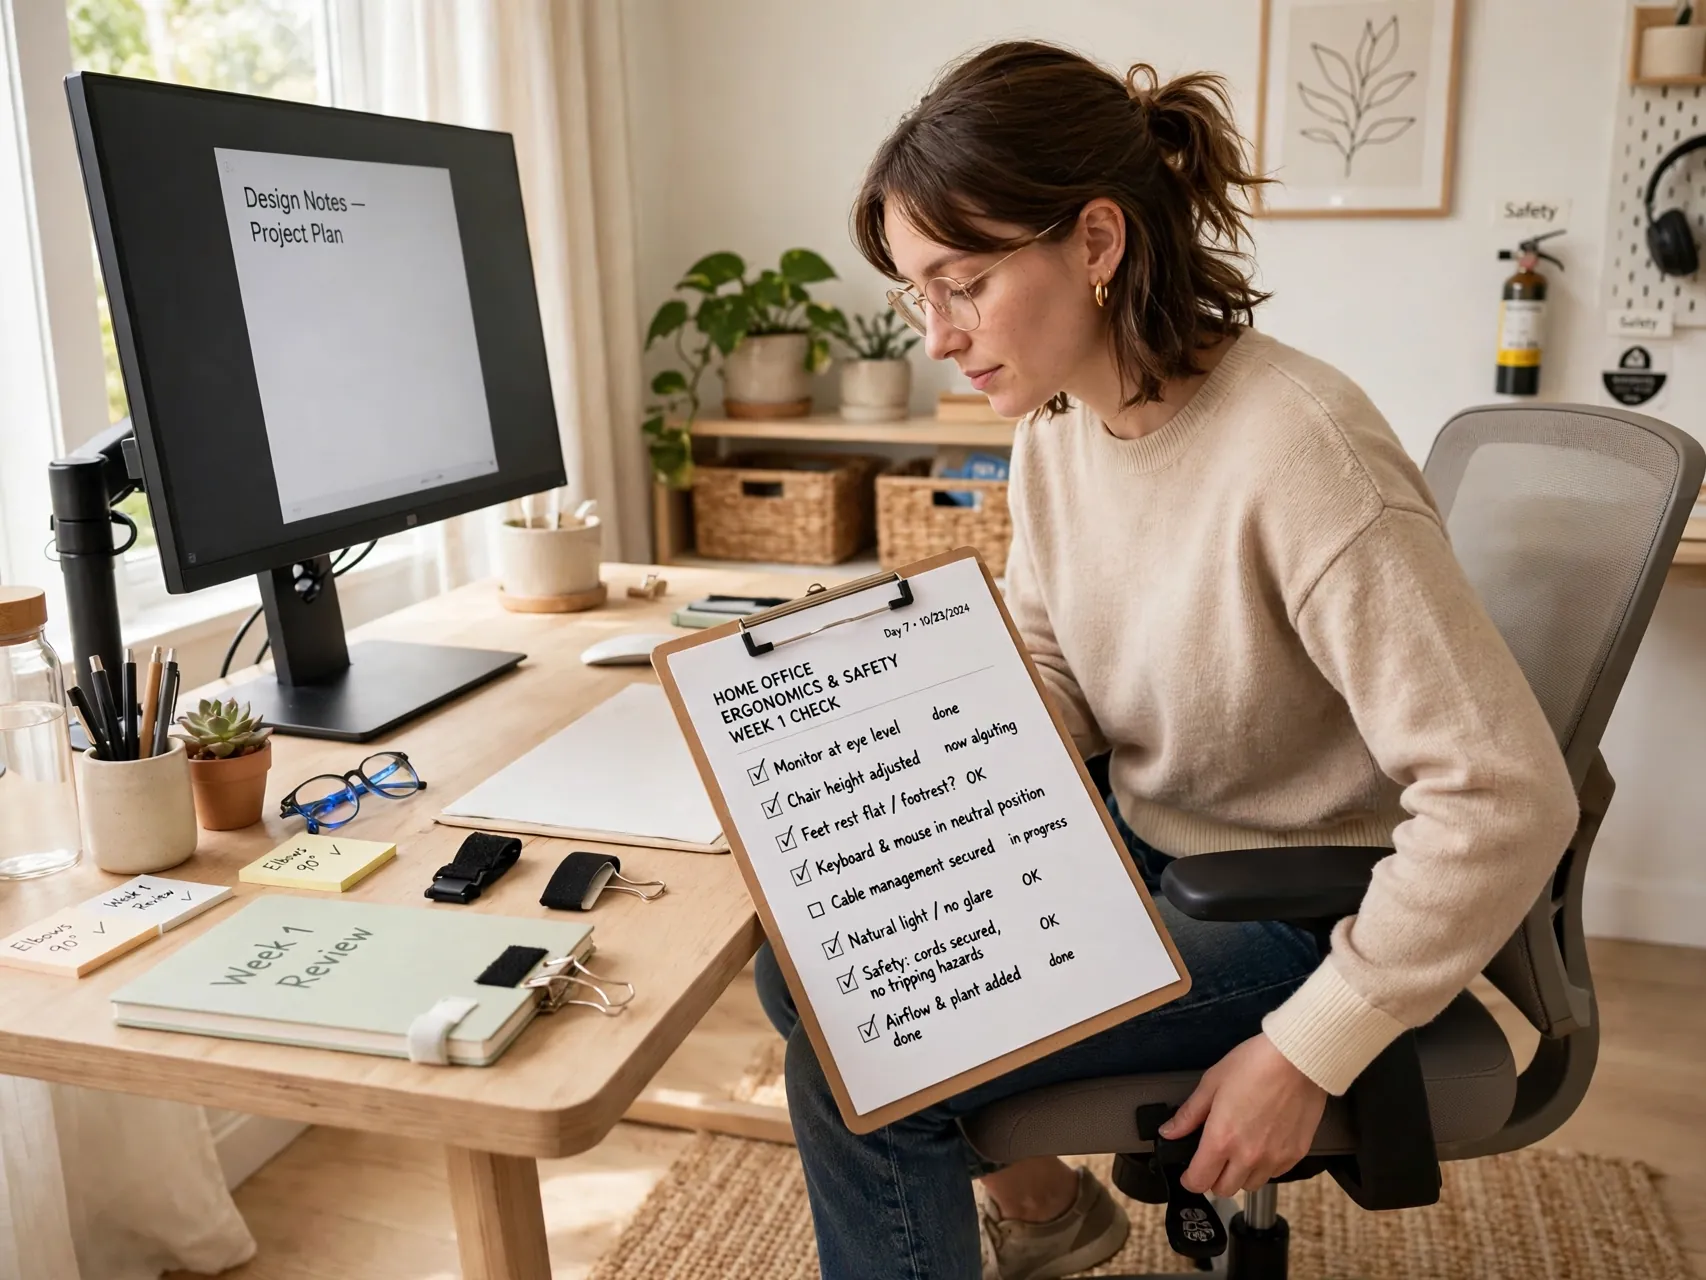
After about a week of real use, audit your setup. Is your neck sore, which may mean the screen is low. Do your feet dangle. Are cords creeping into the walkway. Is the surge protector still plugged directly into the wall, with no extra strip added in a moment of hurry.
Fix one issue at a time and test again. Check that shelves and boards feel solid, chair wheels roll safely, and the rug lies flat. This honest review turns a good first attempt into a setup that truly fits you, and it catches small safety slips before they matter.
23. Keep a Simple Reset Routine So You Keep Loving It
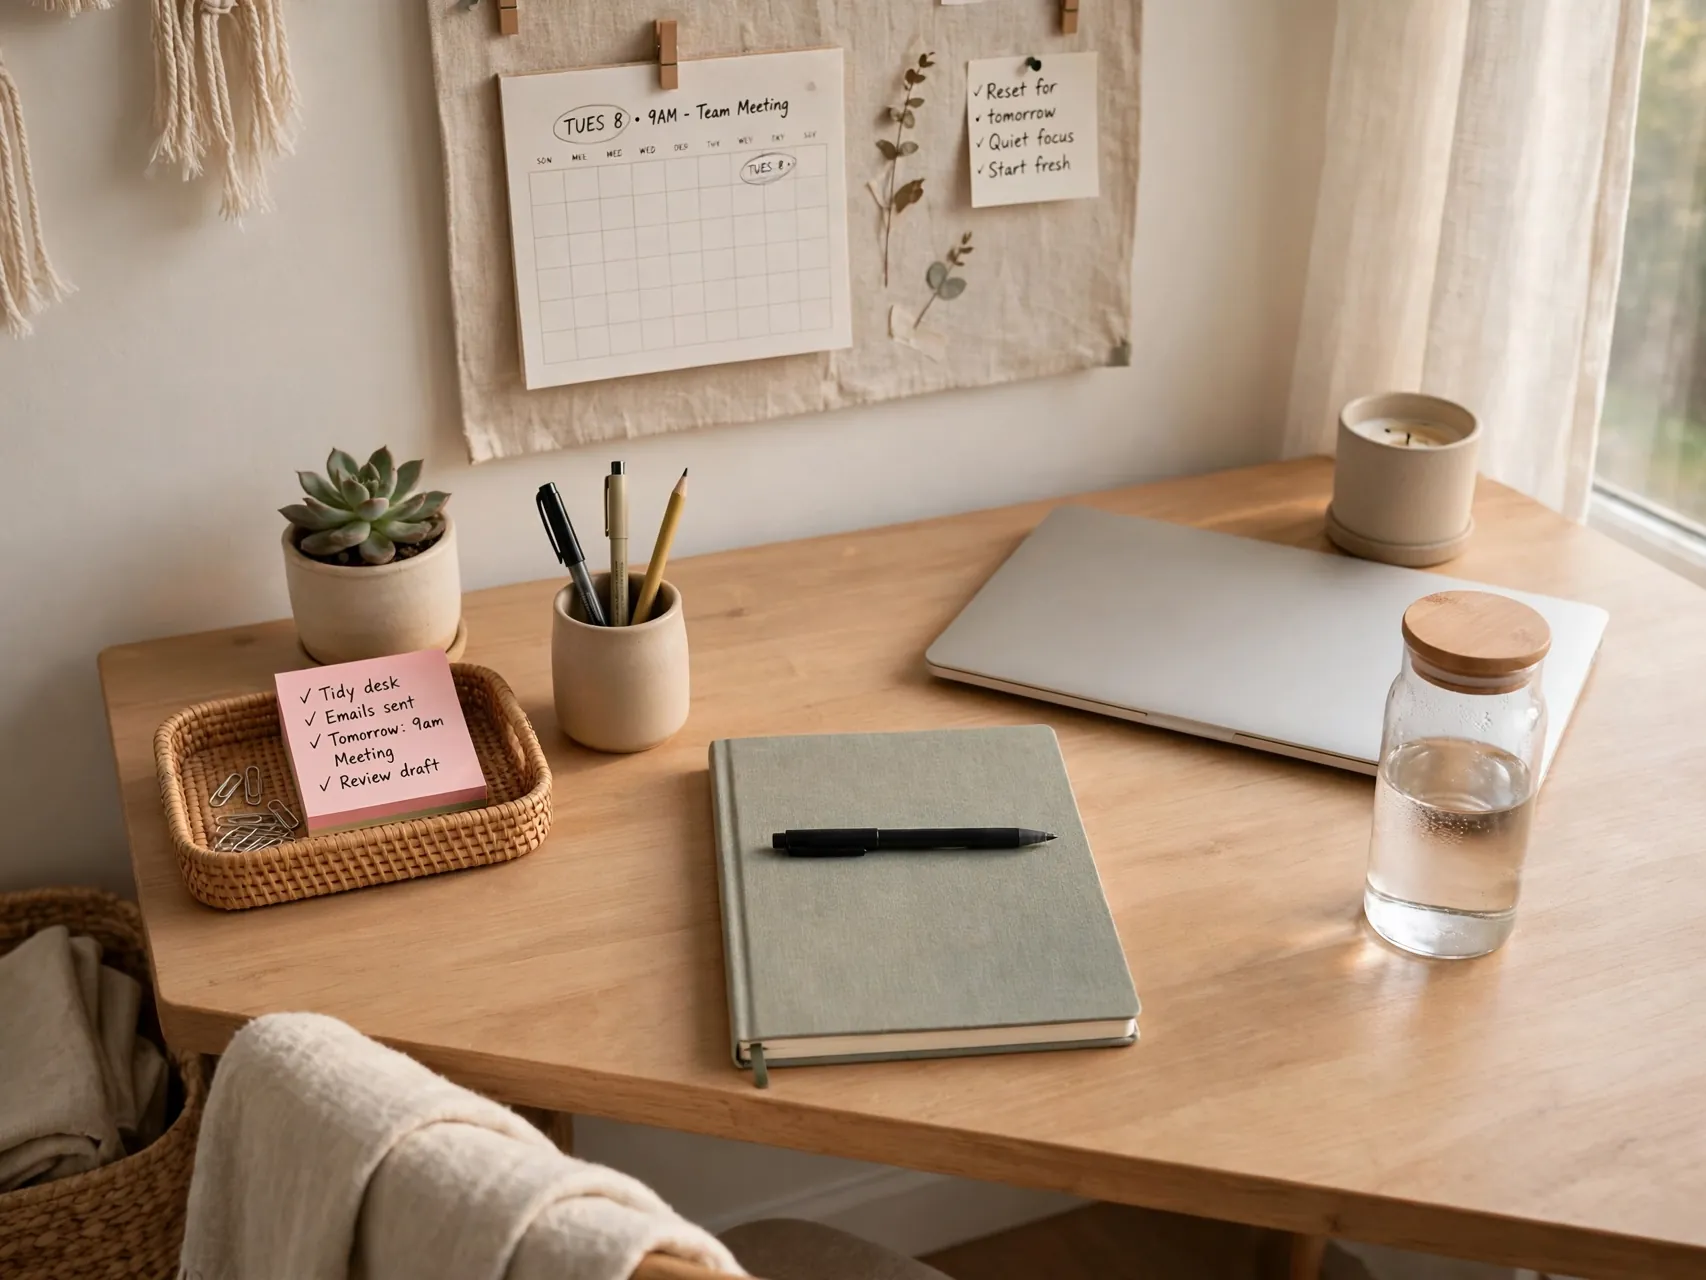
Finish the project with a routine that protects it. At the end of each day, return items to their storage level, clear the desk to essentials, and set out tomorrow's first task. Once a week, wipe surfaces, empty the paper tray, and water the plants on their set day.
Once a season, edit ruthlessly: donate the books you will not reread, recycle old papers, and retire gear that no longer earns its space. The office you love working in a year from now is simply today's office, reset often. Small habits, kept kindly, are the real secret of the whole setup.
FAQ
What do I need to set up a basic home office?
You need a desk at a comfortable height, a supportive adjustable chair, your computer with the screen raised to about eye level, a separate keyboard if you use a laptop, good light, and safe power from a surge protector plugged into a wall outlet. Add one storage piece and a paper tray. That short home office essentials list covers most jobs, and you can add extras as your work demands them.
In what order should I set up a home office?
Choose the location first, then measure, place the desk for side light, fit the chair and screen to your body, plan power and lighting, test your tech, and only then add storage systems and decor. This order prevents the common trap of styling a corner that is uncomfortable or unsafe. Work through the steps over a weekend and fine tune after a few real workdays.
Can I set up a home office in a bedroom or living room corner?
Yes. Pick the quietest corner, define it with a rug, a divider or bookshelf, and storage you can close or tuck away, like a rolling cart. Keep work gear inside that footprint so the room can return to rest or family use. A door signal can become a simple routine, like a lamp or headphones that show when you are working.
How do I plug everything in safely?
Use one listed surge protector plugged directly into a wall outlet for your computer gear. Never daisy-chain power strips or surge protectors together, and do not run cords under rugs or across walkways. Replace damaged cords right away. If you regularly run out of outlets, the safe fix is a licensed electrician adding a wall outlet, not another strip.
How long does it take to set up a home office properly?
The core setup, desk, chair, screen, power, light, and basic storage, fits into one weekend for most people. Expect a second short session after a week of working there to adjust screen height, chair settings, and storage placement based on real use. Decor and personal touches can evolve slowly. A thoughtful two stage setup beats a rushed one day build you have to redo.
Key Takeaways
- Follow the order: Location, measure, desk placement, chair and screen fit, power and light, tech, storage, then style.
- Fit beats fancy: Screen top at or slightly below eye level, feet flat, and a supportive chair matter more than decor.
- Power with care: One listed surge protector directly in a wall outlet, never daisy-chained strips, and cords clear of walkways.
- Give everything a level: Daily, weekly, and archive storage keeps the desk clear without heroic cleanouts.
- Reset to keep it loved: A two minute daily reset and a weekly tray sort protect your setup all year.
- Ready to build an office you actually enjoy? Save this guide to Pinterest and pin the first step you will do this weekend.