25 Renter Move Out Checklist Tips to Get Your Deposit Back
Introduction
Getting your full deposit back rarely comes down to one big cleaning day. It comes from a series of small, documented steps done in the right order, starting weeks before you hand back the keys. Notice, photos, careful decor removal and a room by room clean all work together.
A good renter move out checklist turns a stressful move into a calm sequence. You give notice on time, remove everything you added, clean to the standard in your lease, photograph the empty home, and keep clear records of keys, addresses and deadlines.
Deposit rules, notice periods and return timelines vary by state, city and lease, so use this list as a practical guide and check your own lease and local tenant resources for the rules that apply to you. When in doubt, ask in writing and save the reply.
Work through the tips below in order, ticking each one off as you finish it. That steady progress is what leaves a home clean, empty and well documented on moving day.
1. Give Written Notice on Time

Check your lease for the required notice period and method, then send your notice in writing by that date. Keep a copy with proof of when you sent it. Late or unclear notice is a common and avoidable reason for extra charges.
Include your planned move out date, the unit address and a request for move out instructions. A clear, polite notice starts the handoff well and gives your landlord time to schedule an inspection or final walkthrough with you.
2. Re Read Your Lease and Move Out Terms

Read the sections on cleaning standards, carpet care, holes and paint, appliances, and what counts as damage beyond normal wear. Highlight anything you agreed to do, such as professional carpet cleaning only if your lease actually requires it.
Note the exact key return process and any fees already listed in the lease. If a requirement seems unclear, ask for clarification in writing early, not on the last day when there is no time to act on the answer.
3. Book Elevators, Parking and Help Early

If your building has a service elevator, loading area or move out time window, reserve it as soon as your date is set. Book movers, a truck or friends to help, and confirm parking rules so moving day does not start with a delay.
Early booking also protects your cleaning plan. You want the heavy furniture out with enough time left to clean floors and walls properly, rather than wiping around boxes during the final hour before key return.
4. Photograph the Home Before You Clean

Before you start cleaning or repairs, photograph every room, including existing marks, appliances and floors. Compare the shots with your move in photos and checklist, so you can separate older wear from anything that happened during your stay.
This set tells you where to focus. A stain that appears in your move in photos needs cleaning, not panic. A new mark needs attention while you still have supplies, time and access to the home.
5. Declutter and Donate What You Will Not Move

Sort room by room and remove everything you will not take: donation bags, recycling, bulky item pickups and trash. Landlords can often charge for items left behind because they must arrange removal, even for things left by the curb.
Work early so bags do not pile up in the home you are trying to clean. An emptier home is faster to repair, faster to photograph and much easier to check drawer by drawer before you leave.
6. Remove All Decor and Adhesive Carefully
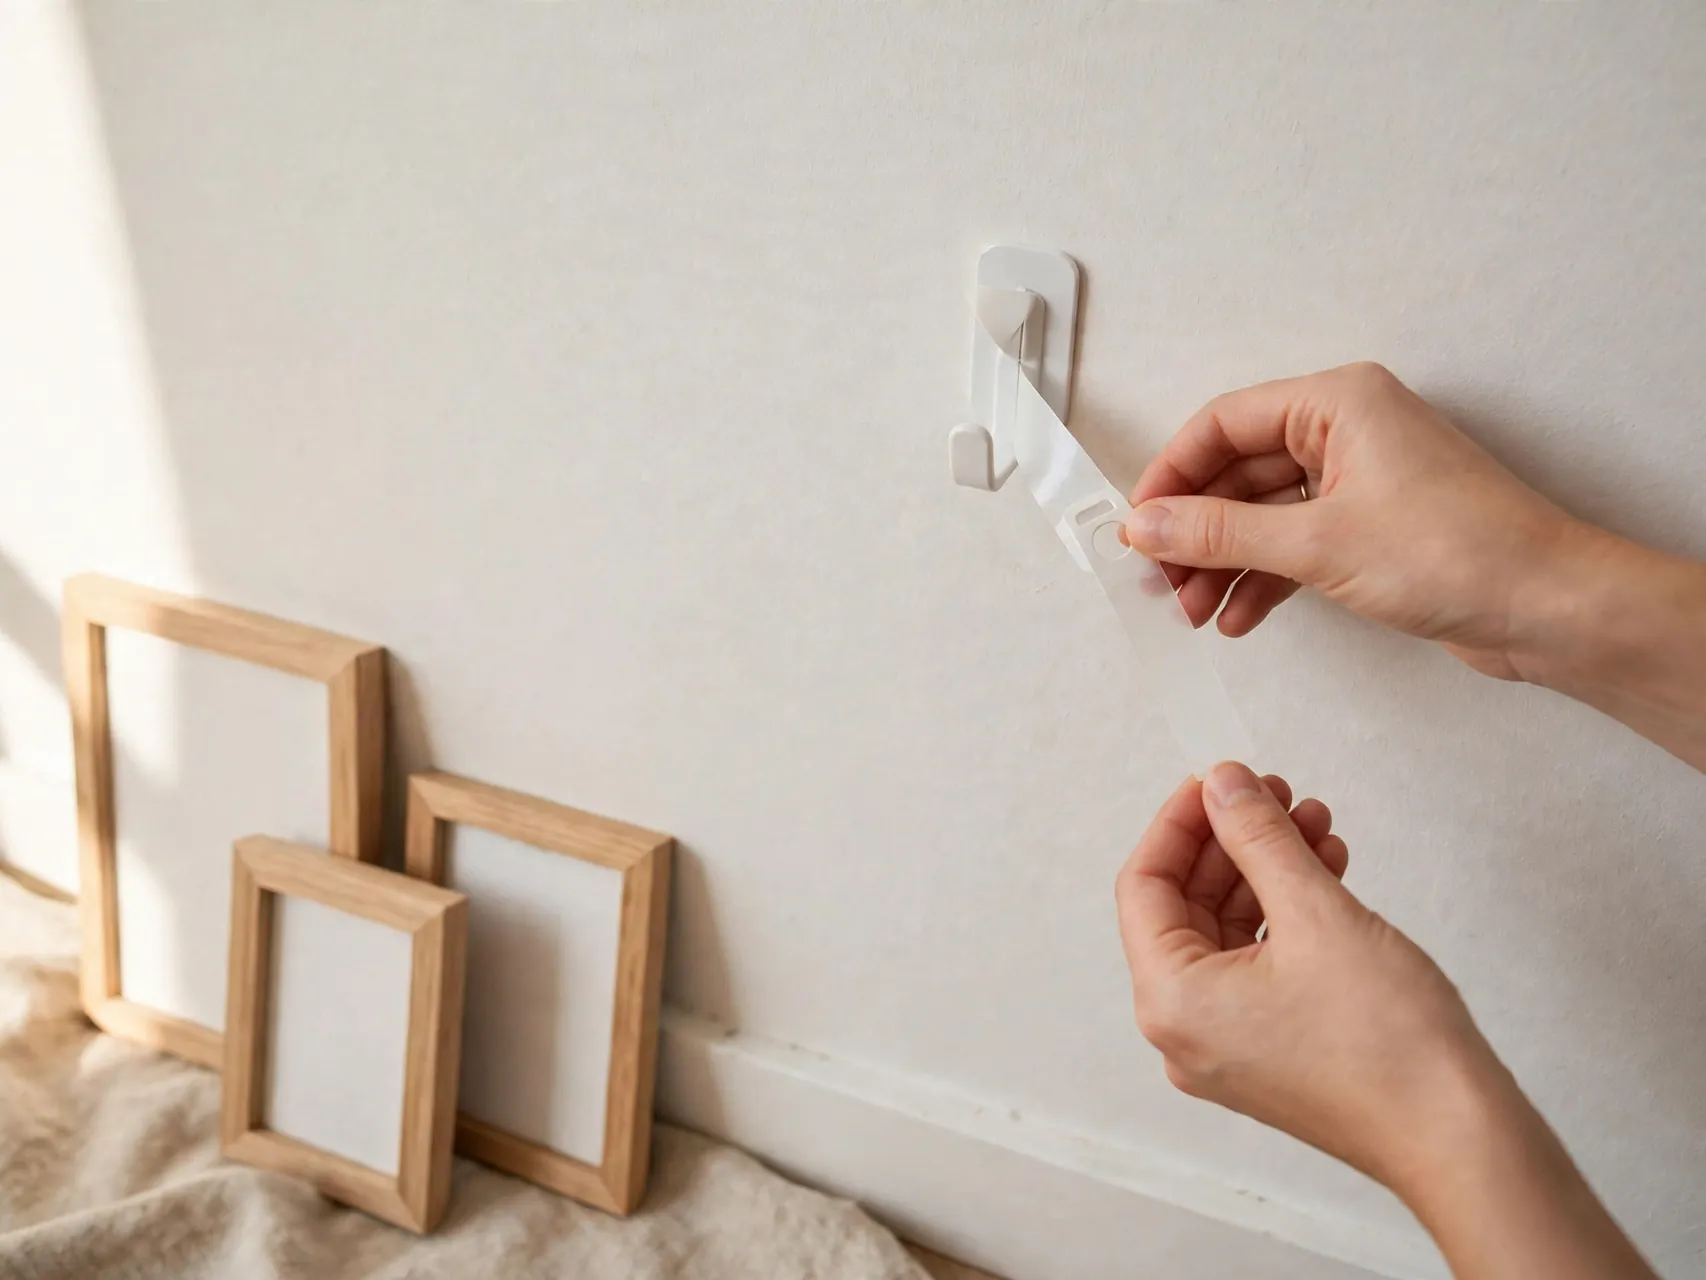
Take down wallpaper, decals, strips, hooks, LED lights, shelf liners and window film slowly, using warmth and the maker removal method where it applies. Pull strip tabs straight down along the wall, and peel films and papers back at a low angle.
Collect every small piece, including hooks left inside closets and adhesive dots behind doors. Residue and forgotten hooks are easy to miss during cleaning and easy for an inspector to spot in an otherwise empty room.
7. Fill and Touch Up Only as Your Lease Allows
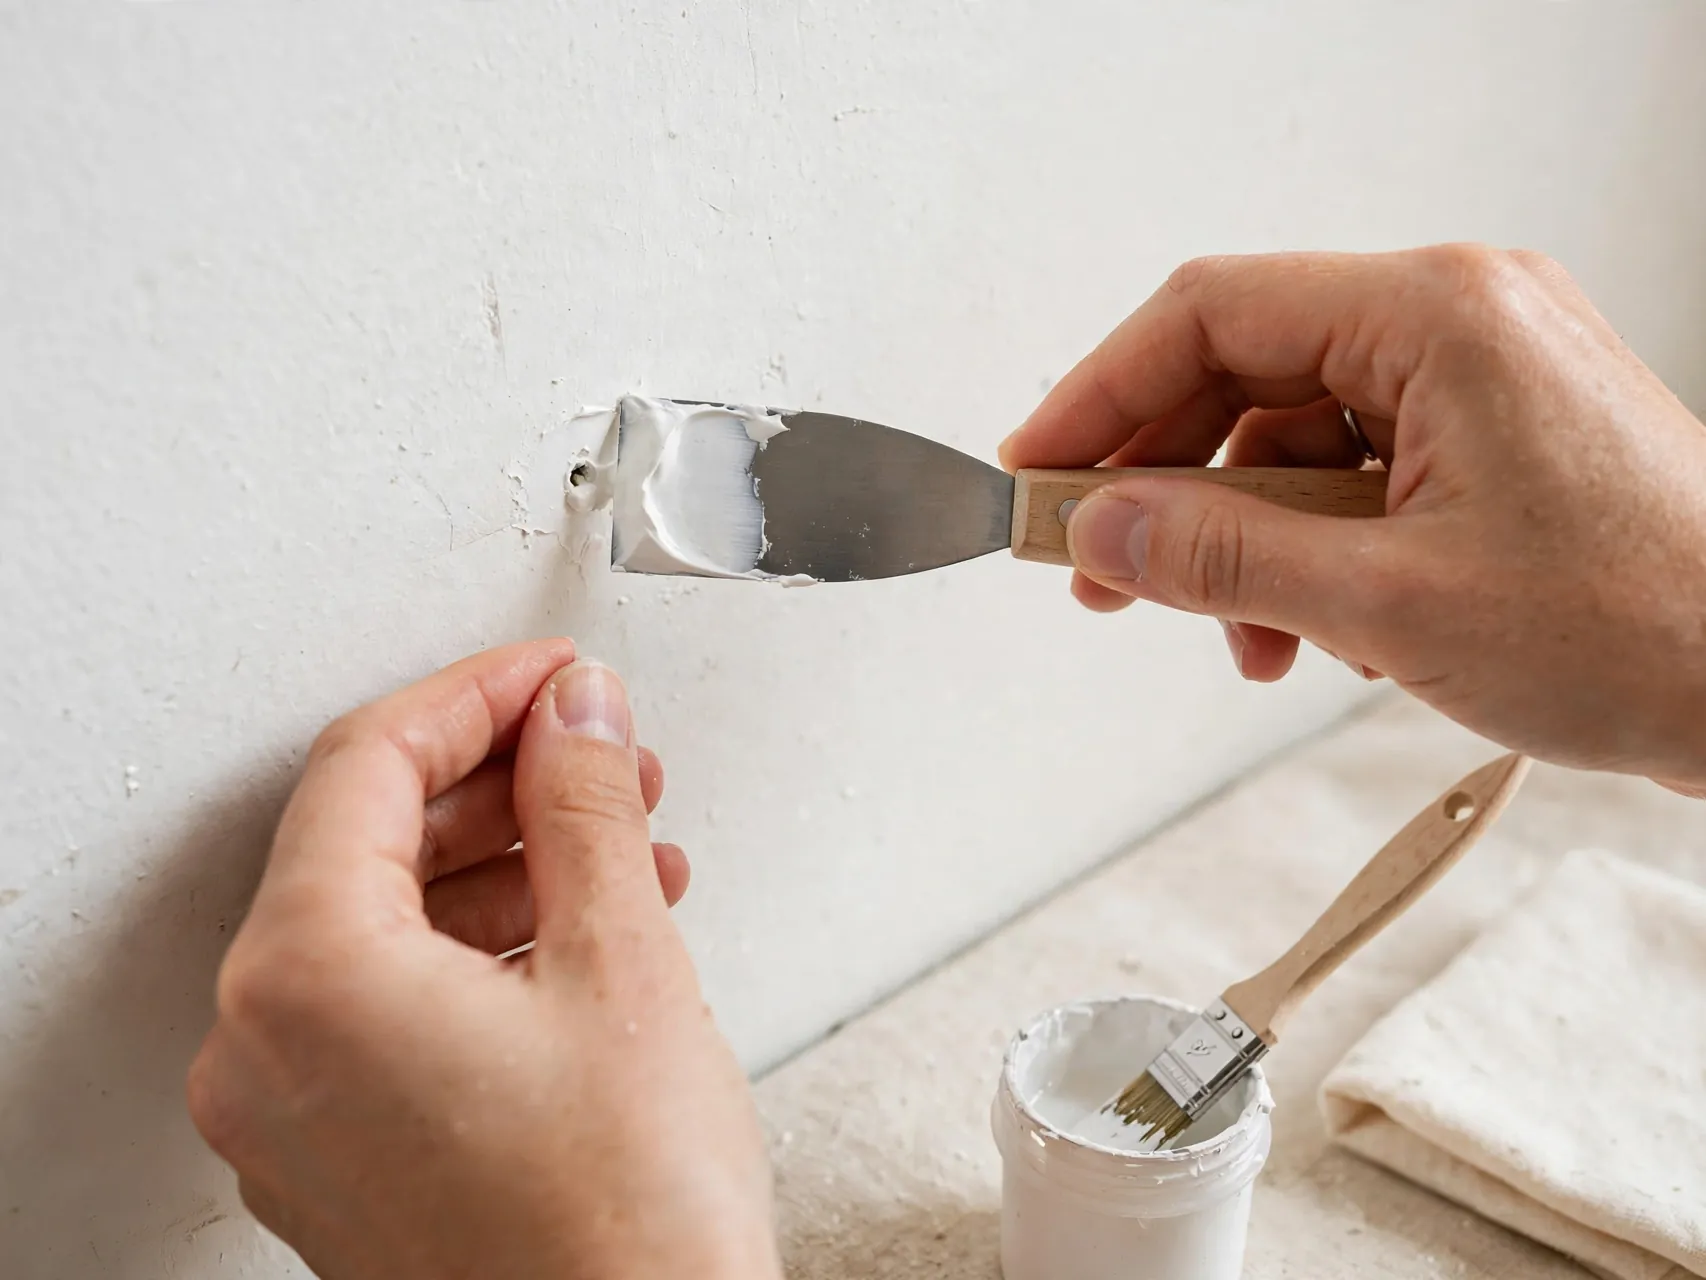
Some leases allow small nail hole filling, while others want all repairs left to the landlord. Follow yours, and ask in writing if it is silent. Where filling is allowed, use a tiny amount, keep it level and let it dry fully.
For scuffs, clean first before assuming paint is missing. Many marks wash off with a damp microfiber cloth. Use touch up paint only if you have the right color and permission, and keep any patch as small as possible.
8. Deep Clean the Kitchen Including Appliances
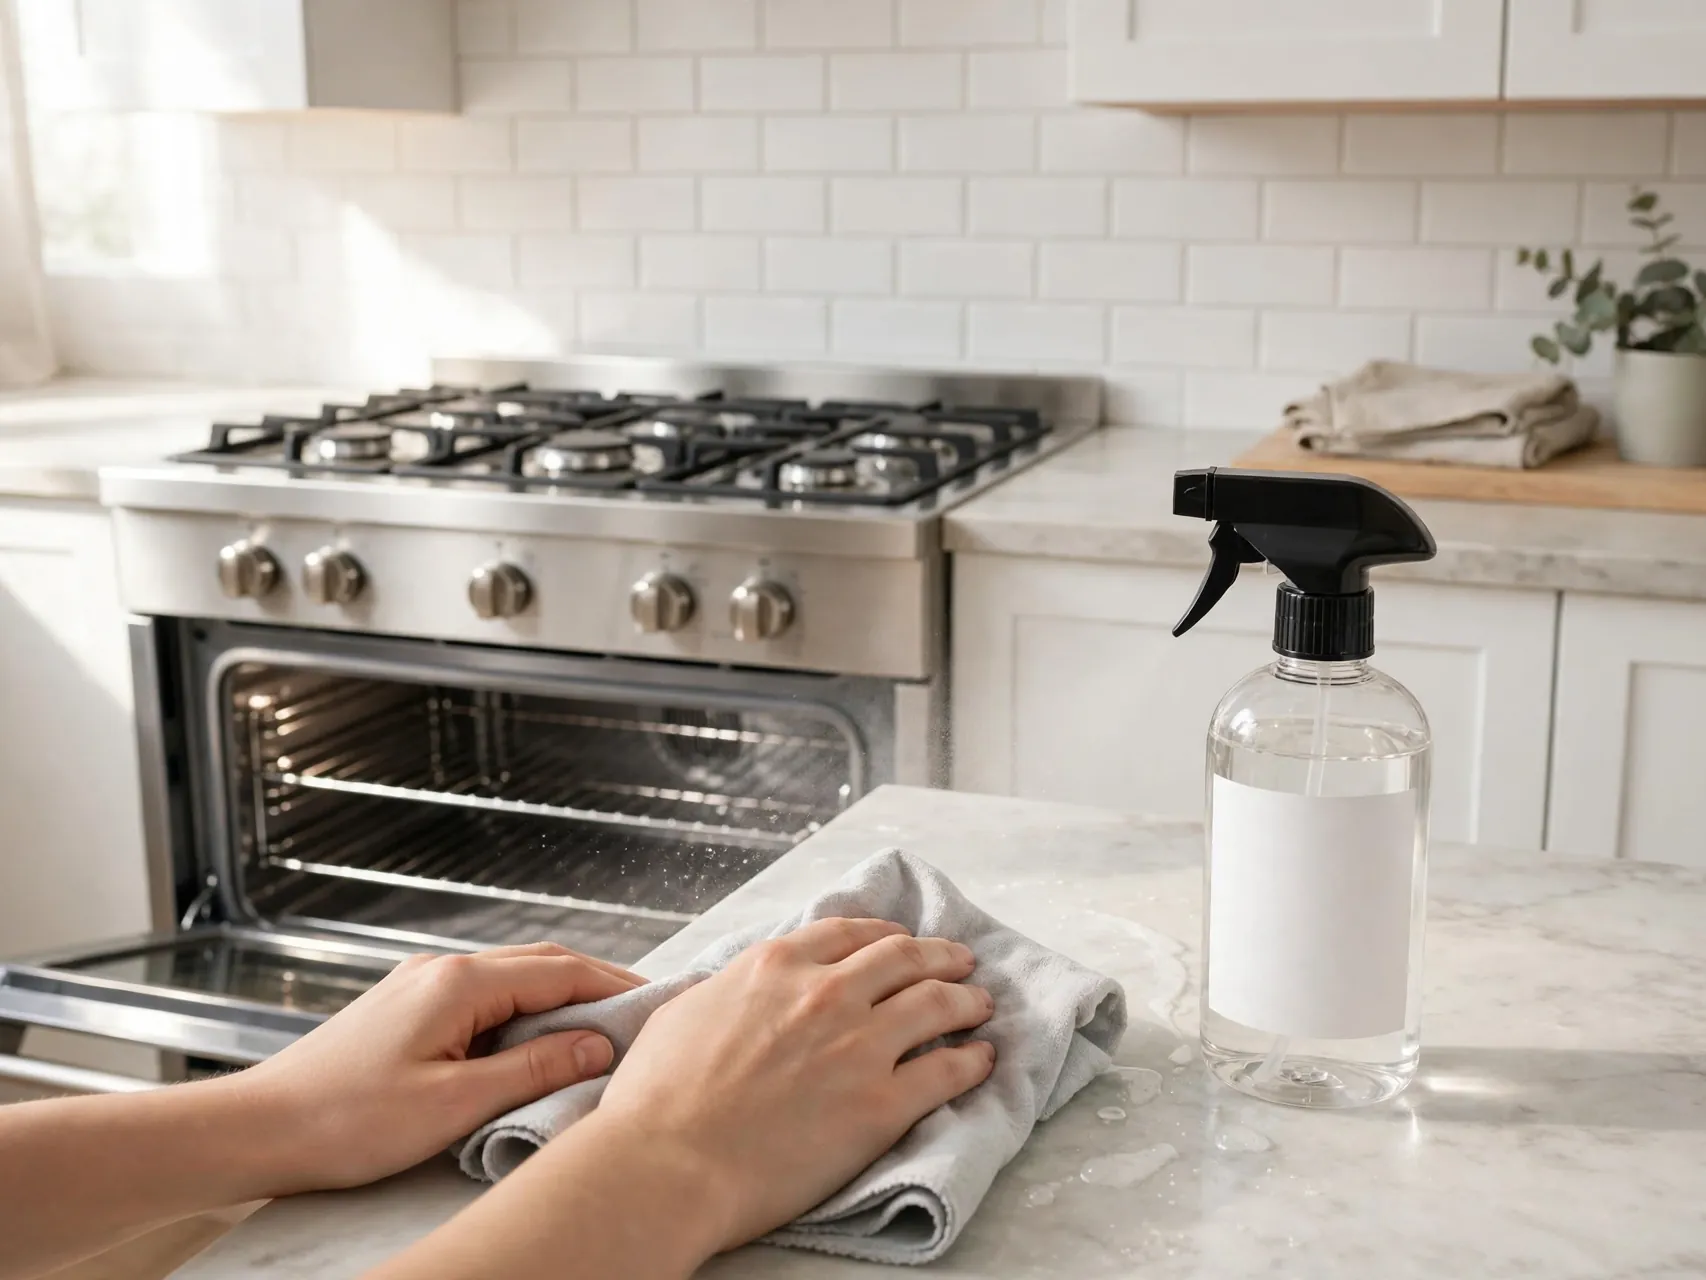
Clean counters, cabinet fronts, handles, sink and faucet, then inside the microwave, oven and stovetop following the appliance maker guidance. Grease on and around the stove is one of the most common move out cleaning complaints.
Wipe inside drawers and cabinets after emptying them, and check the tops of cabinets and the fridge for dust. A kitchen that looks and smells clean sets a strong tone for the whole inspection.
9. Scrub the Bathroom and Check for Mold Spots

Clean the tub, shower, toilet, sink, mirror and fixtures, and wipe tile and grout lines where soap film builds up. Run the fan or open a window while you work so surfaces dry and you can see what still needs attention.
For small mildew spots on grout or caulk, use a bathroom cleaner as its label directs and ventilate well. Report any leak, soft wall area or recurring moisture problem to your landlord in writing rather than covering it with cleaner or paint.
10. Clean Walls, Baseboards and Light Switches
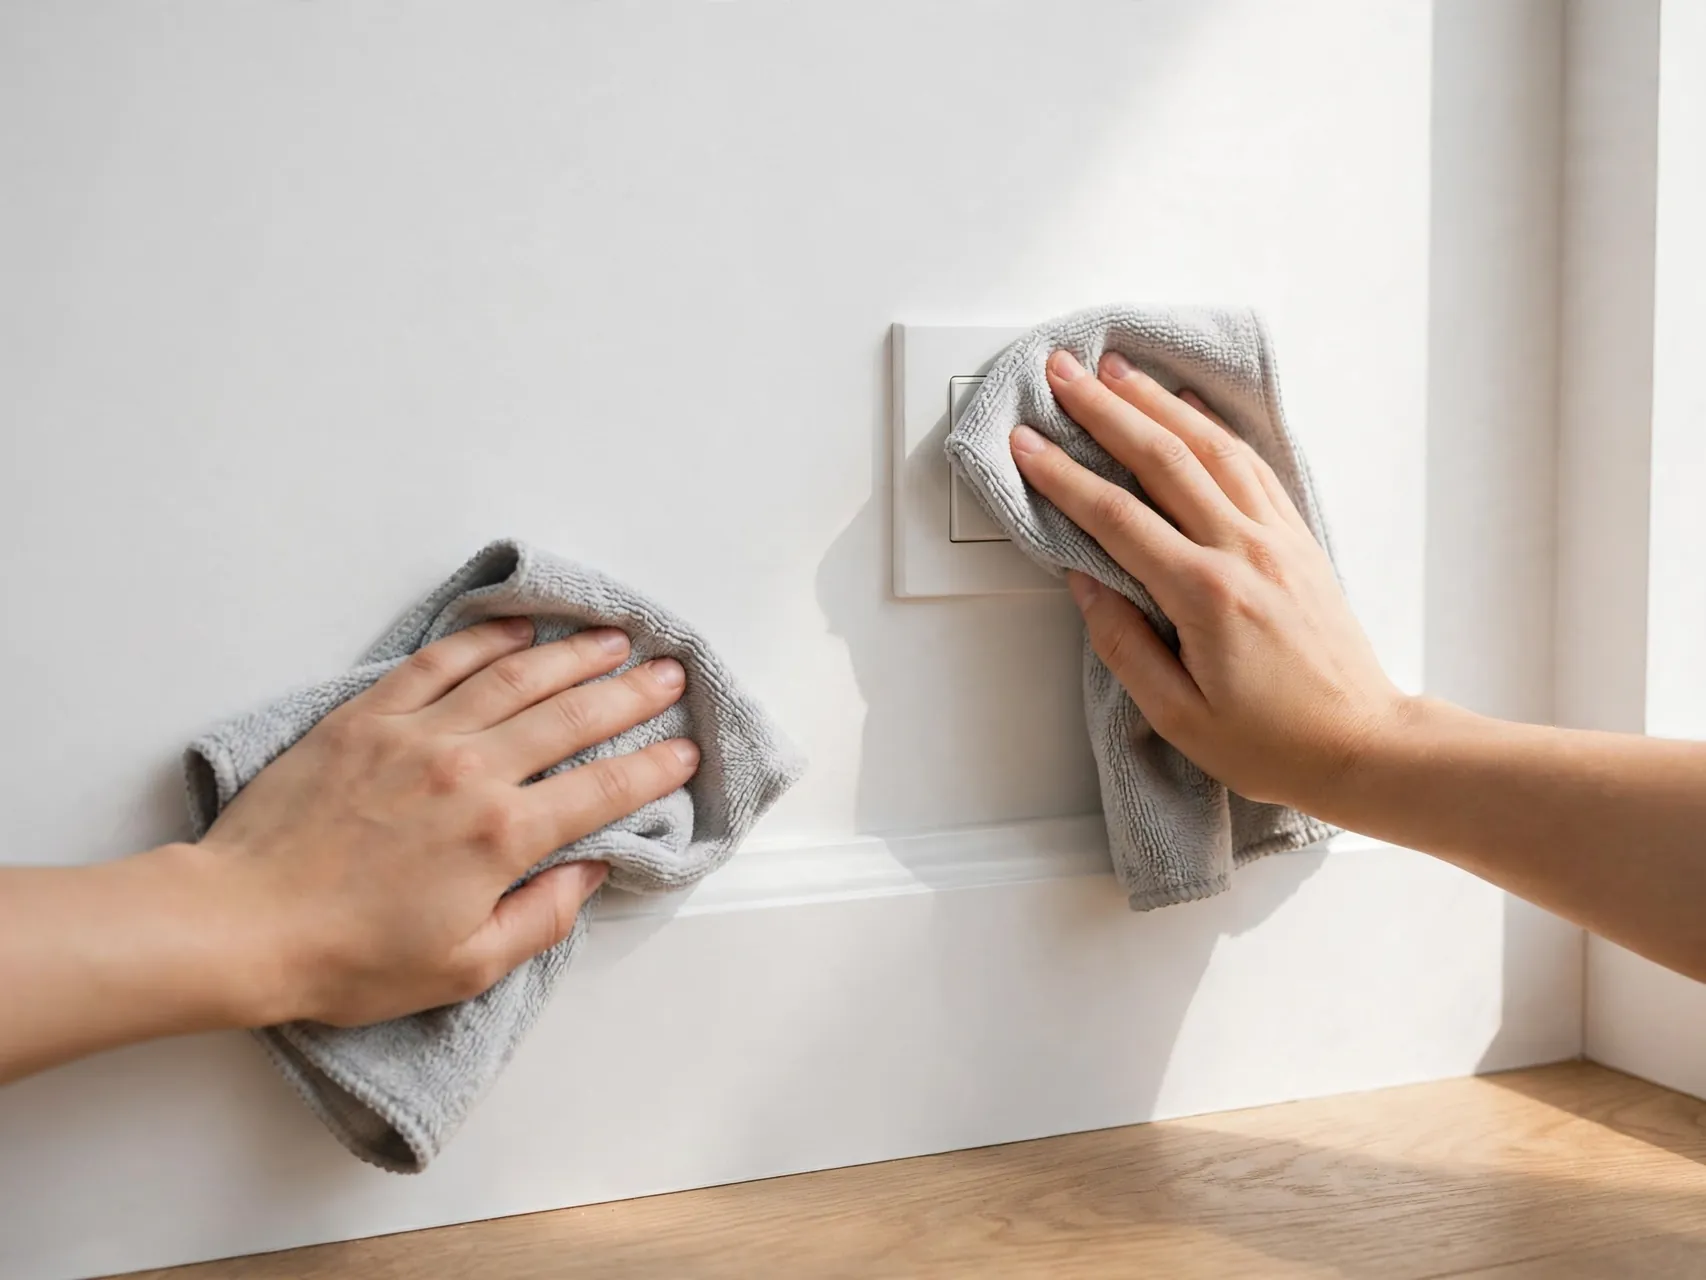
Dust walls lightly, wipe baseboards, and clean light switches, door handles and outlet covers with a damp cloth. These small surfaces collect hand marks that stand out once furniture is gone and rooms are empty and bright.
Work top to bottom so dust falls to the floor you will clean last. Check corners and behind where furniture stood, because dust outlines often reveal exactly where a bookcase or sofa sat for a year.
11. Wash Windows, Tracks and Blinds Inside

Clean the inside glass, wipe window tracks and sills, and dust or wipe blinds as your lease and the blind type allow. Tracks collect grit and dead insects that are very visible in daylight photos and during a walkthrough.
Open and close each window and blind to confirm they still work smoothly. If a blind was already damaged at move in, your earlier photos help show that. Report any new issue honestly and in writing.
12. Sweep, Vacuum and Mop Every Floor
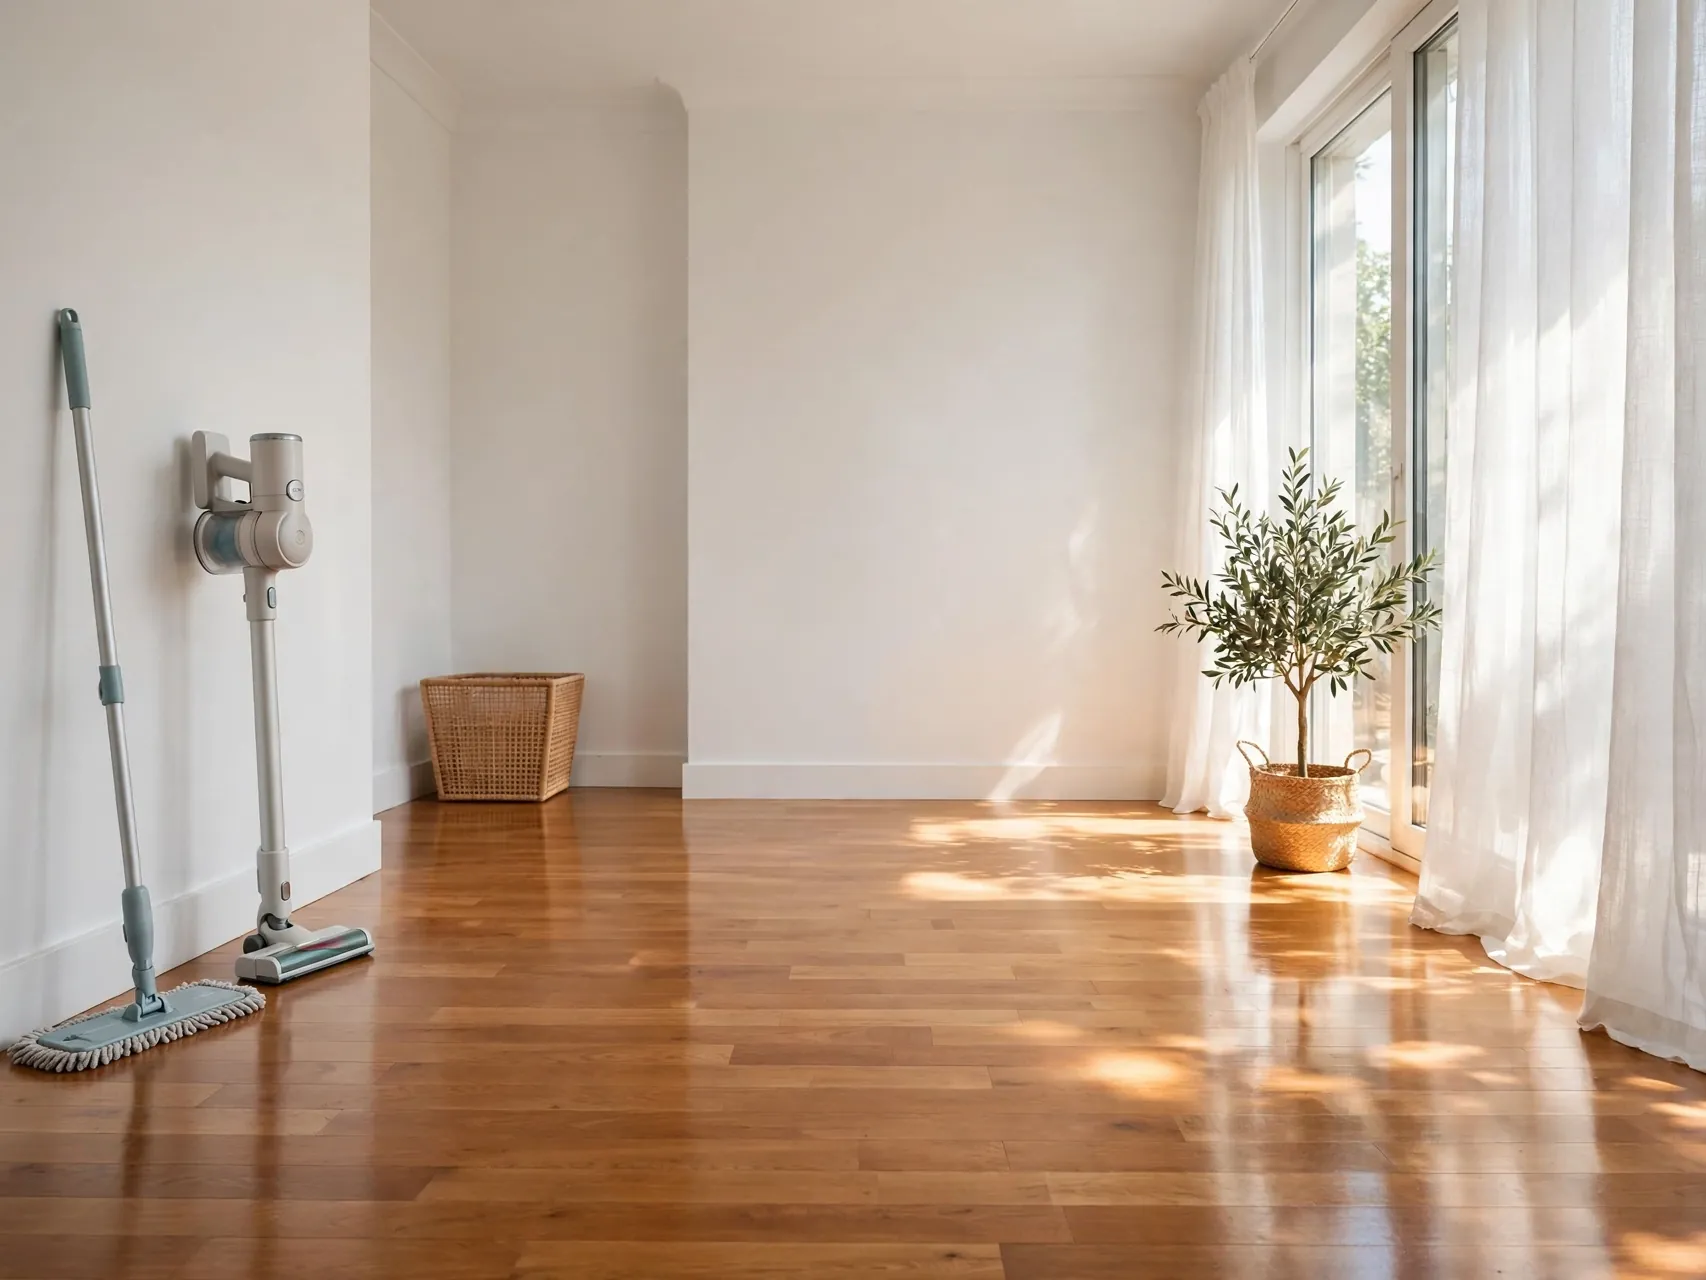
Do floors last, after walls, windows and surfaces are done. Vacuum edges and closet floors, sweep hard floors, then mop with a cleaner suitable for that floor type. Move across the room toward the door so you do not walk on wet floors.
Check for rug marks, furniture dents and grit under where flooring tiles or mats sat. If your lease requires a specific carpet step, follow it exactly and keep the receipt with your move out records.
13. Clear Balconies, Patios and Storage Units
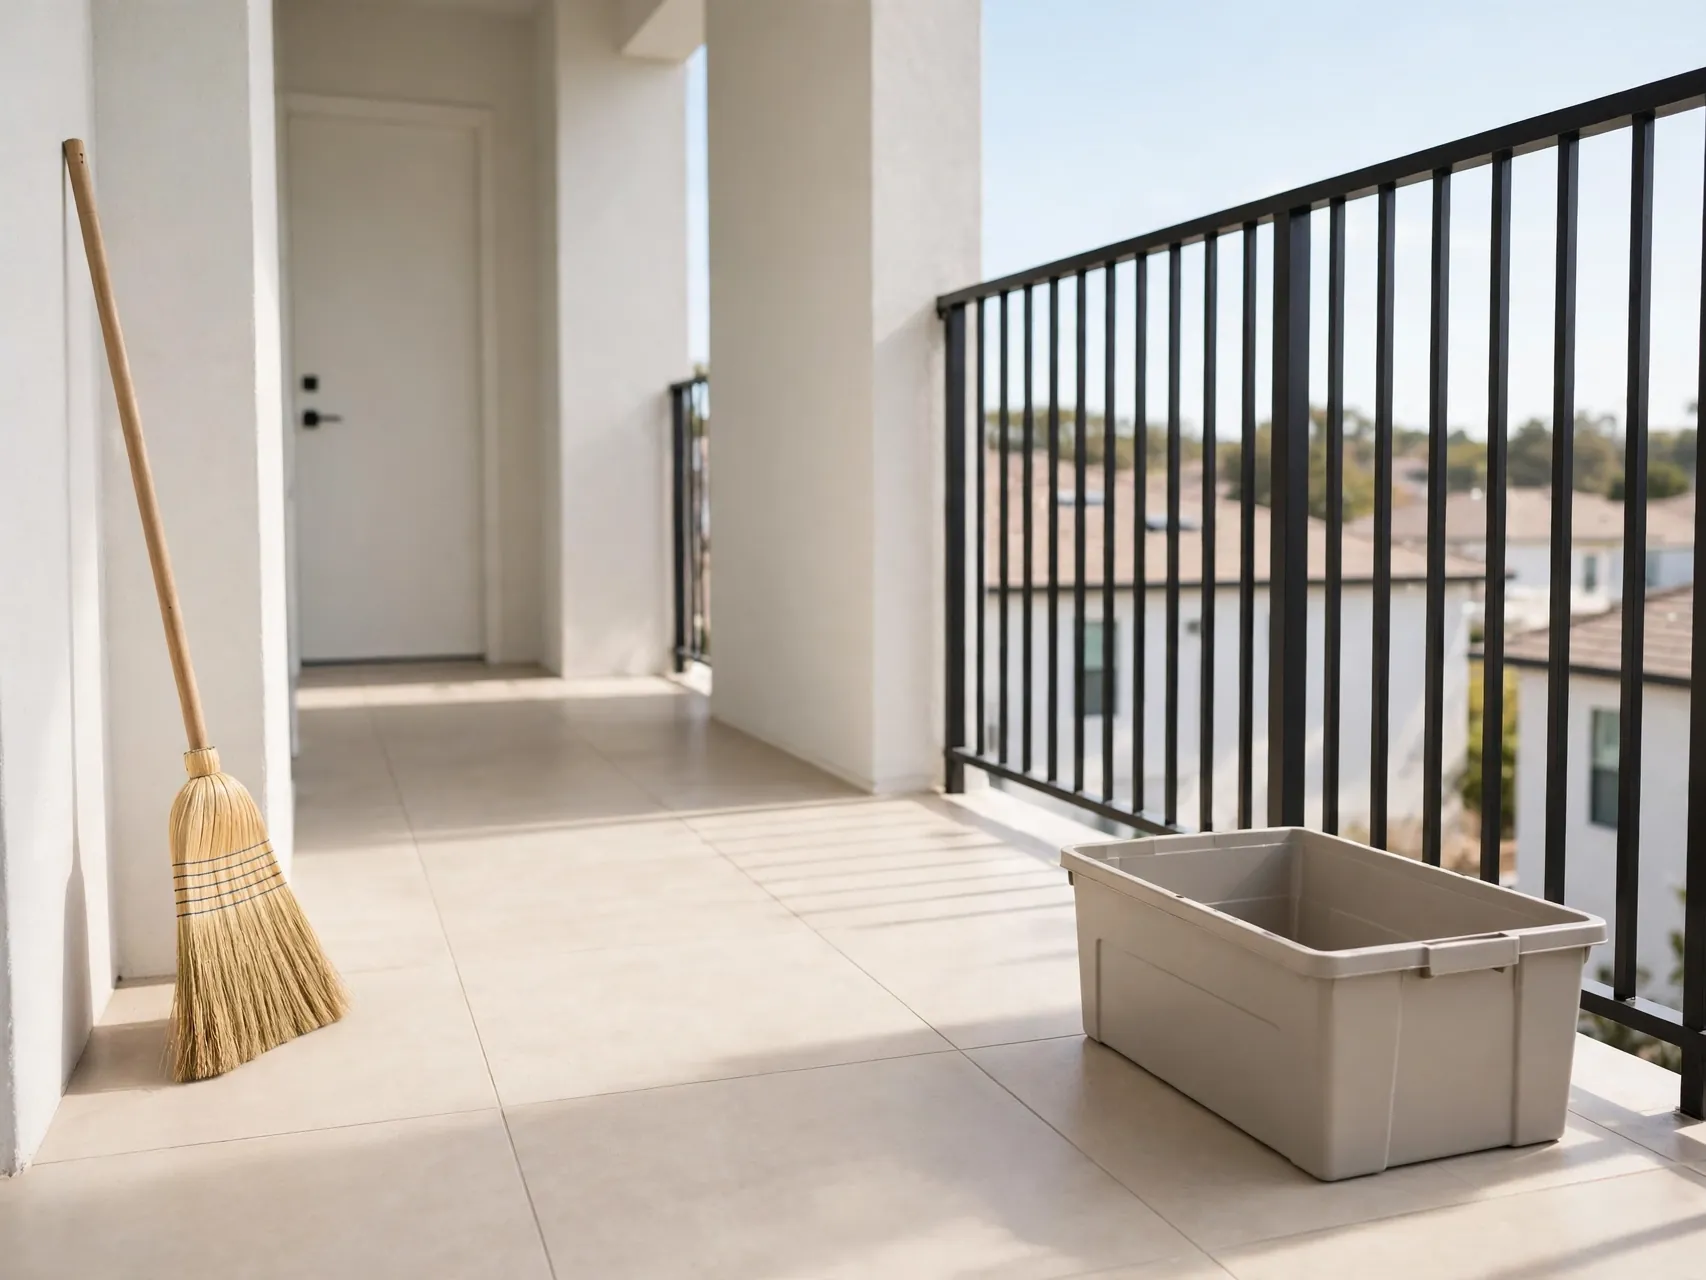
Remove every plant, mat, tile, chair and storage box from balconies and patios, sweep the floor and clear any drain area of leaves and soil. Check your building rules, because outdoor areas are often inspected as closely as indoor rooms.
Empty storage cages, lockers and assigned parking spots completely. Photograph them empty and clean, just like the apartment. Forgotten items in a shared storage area can delay deposit settlement and are easy to prevent with one final check.
14. Empty and Clean the Fridge and Freezer
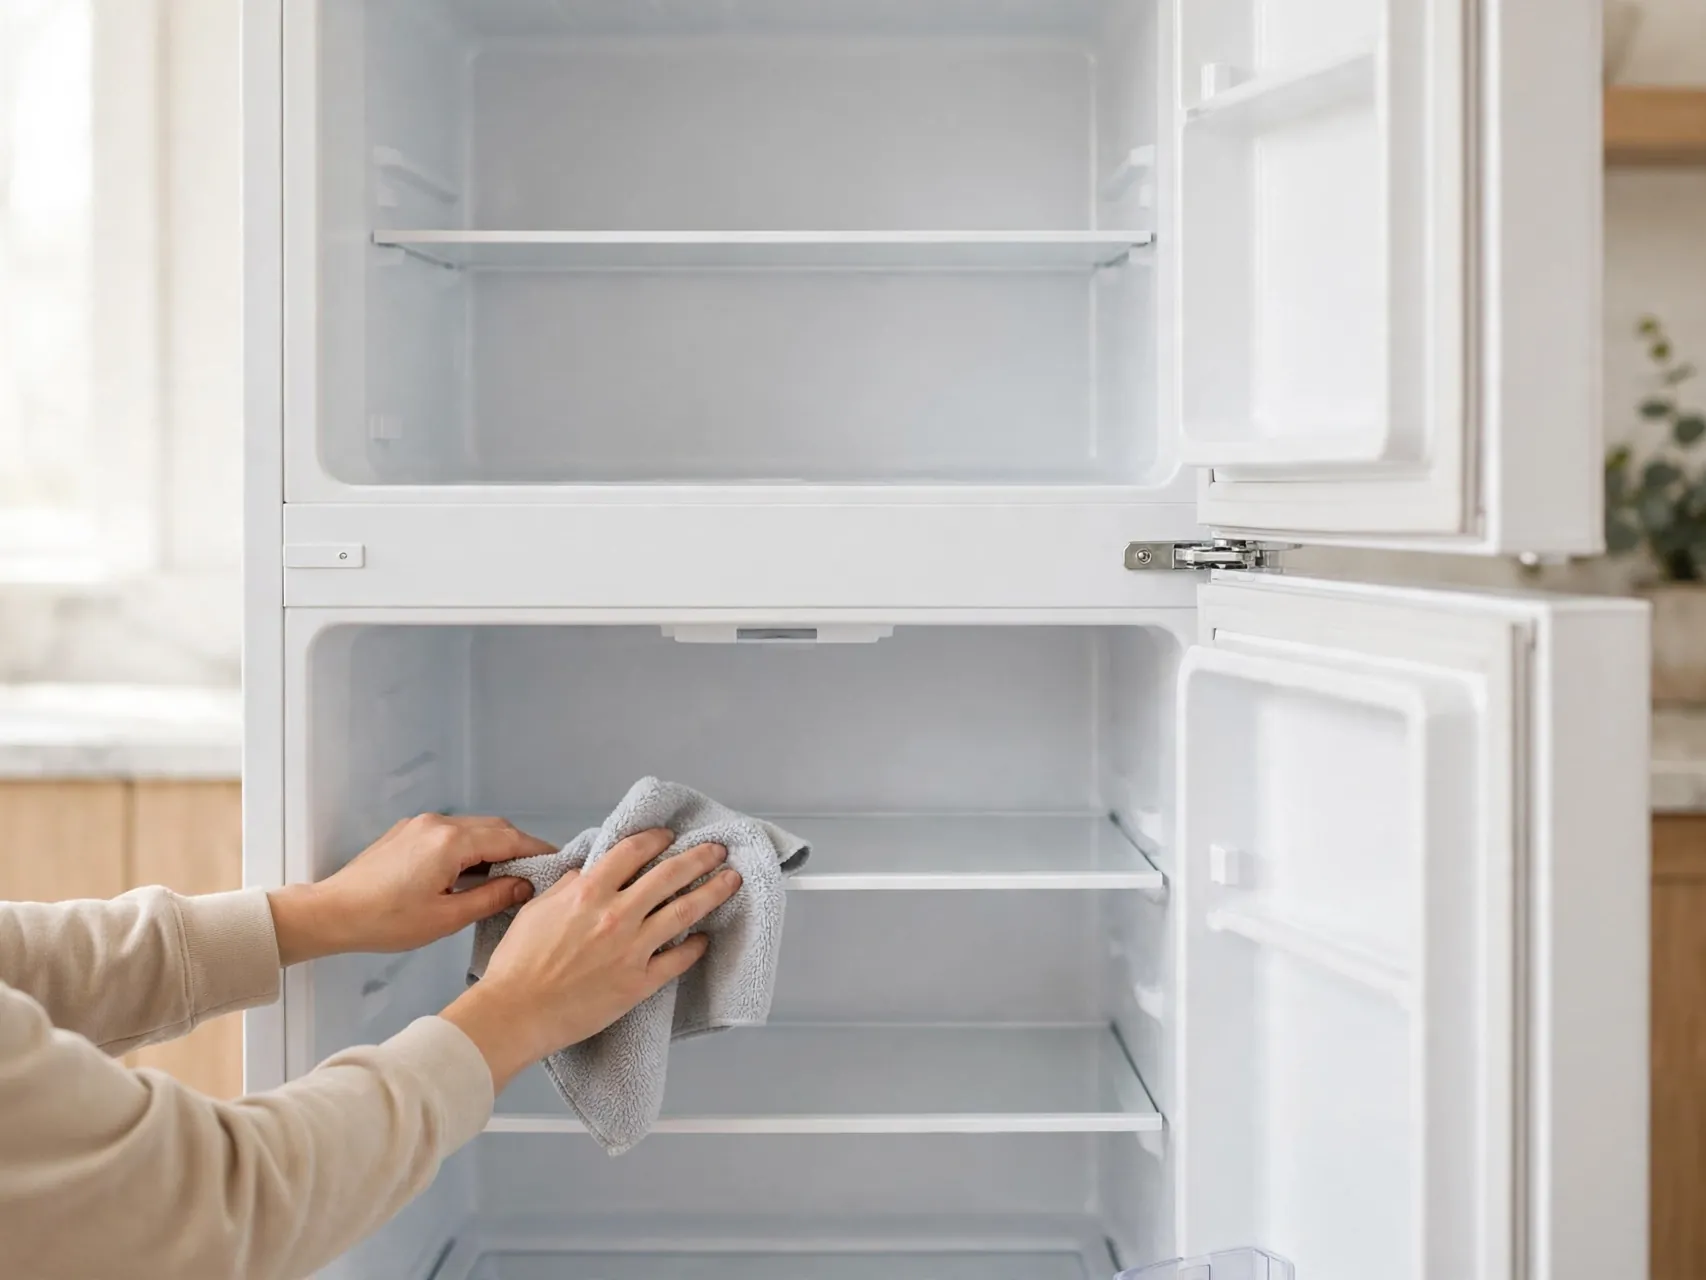
Remove all food, wipe every shelf and drawer, and clean spills under crisper drawers where they hide. Check door seals, which collect crumbs and moisture, and leave the fridge clean, dry and odor free.
Follow your landlord instructions about whether to leave appliances on or off. If you are told to switch a fridge off, leave its doors ajar as directed to prevent musty smells. Never leave food, ice or cleaning cloths inside.
15. Check Every Drawer, Closet and Cabinet

Open every drawer, closet, cabinet and medicine cabinet one final time. Small items hide easily: a charger in a bedroom drawer, cleaning bottles under a sink, hangers in a hall closet. Anything left behind can be treated as abandoned property under local rules.
Wipe the empty interiors as you check them. This slow pass, done with a trash bag in hand, is one of the highest value steps on any apartment move out checklist because it catches problems while you can still fix them.
16. Replace Burned Out Bulbs and Batteries You Used

Replace burned out bulbs you are responsible for with the same type where you can, and check smoke and carbon monoxide alarms only as your lease and local rules direct. Never remove or disable a safety alarm to stop a chirp.
If an alarm or fixture was faulty before you leave, report it in writing instead of hiding it. A working, quiet home at handoff shows care, and a written report protects you if a device fails after you leave.
17. Return Swapped Hardware, Keys and Remotes

Refit any original cabinet knobs, curtain rods, shower heads or other landlord items you swapped, and gather their replacements for your next home. Put original screws and small parts back carefully and test doors and drawers after refitting.
Collect every key, fob, garage opener, mailbox key and amenity pass in one envelope. Count them against your move in receipt so nothing is missing on handoff day, when replacement fees are hardest to dispute.
18. Cancel or Transfer Utilities and Internet

List every utility in your name, including electricity, gas, water if applicable, internet and trash services, and schedule stop or transfer dates that match your lease end. Keep confirmation numbers and final meter details where your provider gives them.
Avoid ending service too early, because you still need light, water and power for cleaning and the final walkthrough. Avoid ending too late as well, since you may be billed for use after you leave if accounts stay open.
19. Set Up Mail Forwarding and Address Changes

File a change of address with the postal service and update your address with your bank, employer, subscriptions and delivery accounts. This protects important mail, including any deposit statement or check sent to your new address.
Tell your landlord your forwarding address in writing as well, even if you already set up forwarding. Many deposit processes depend on the address the tenant provides, and timelines vary by state, so do not leave this to chance.
20. Schedule a Final Walkthrough With Your Landlord
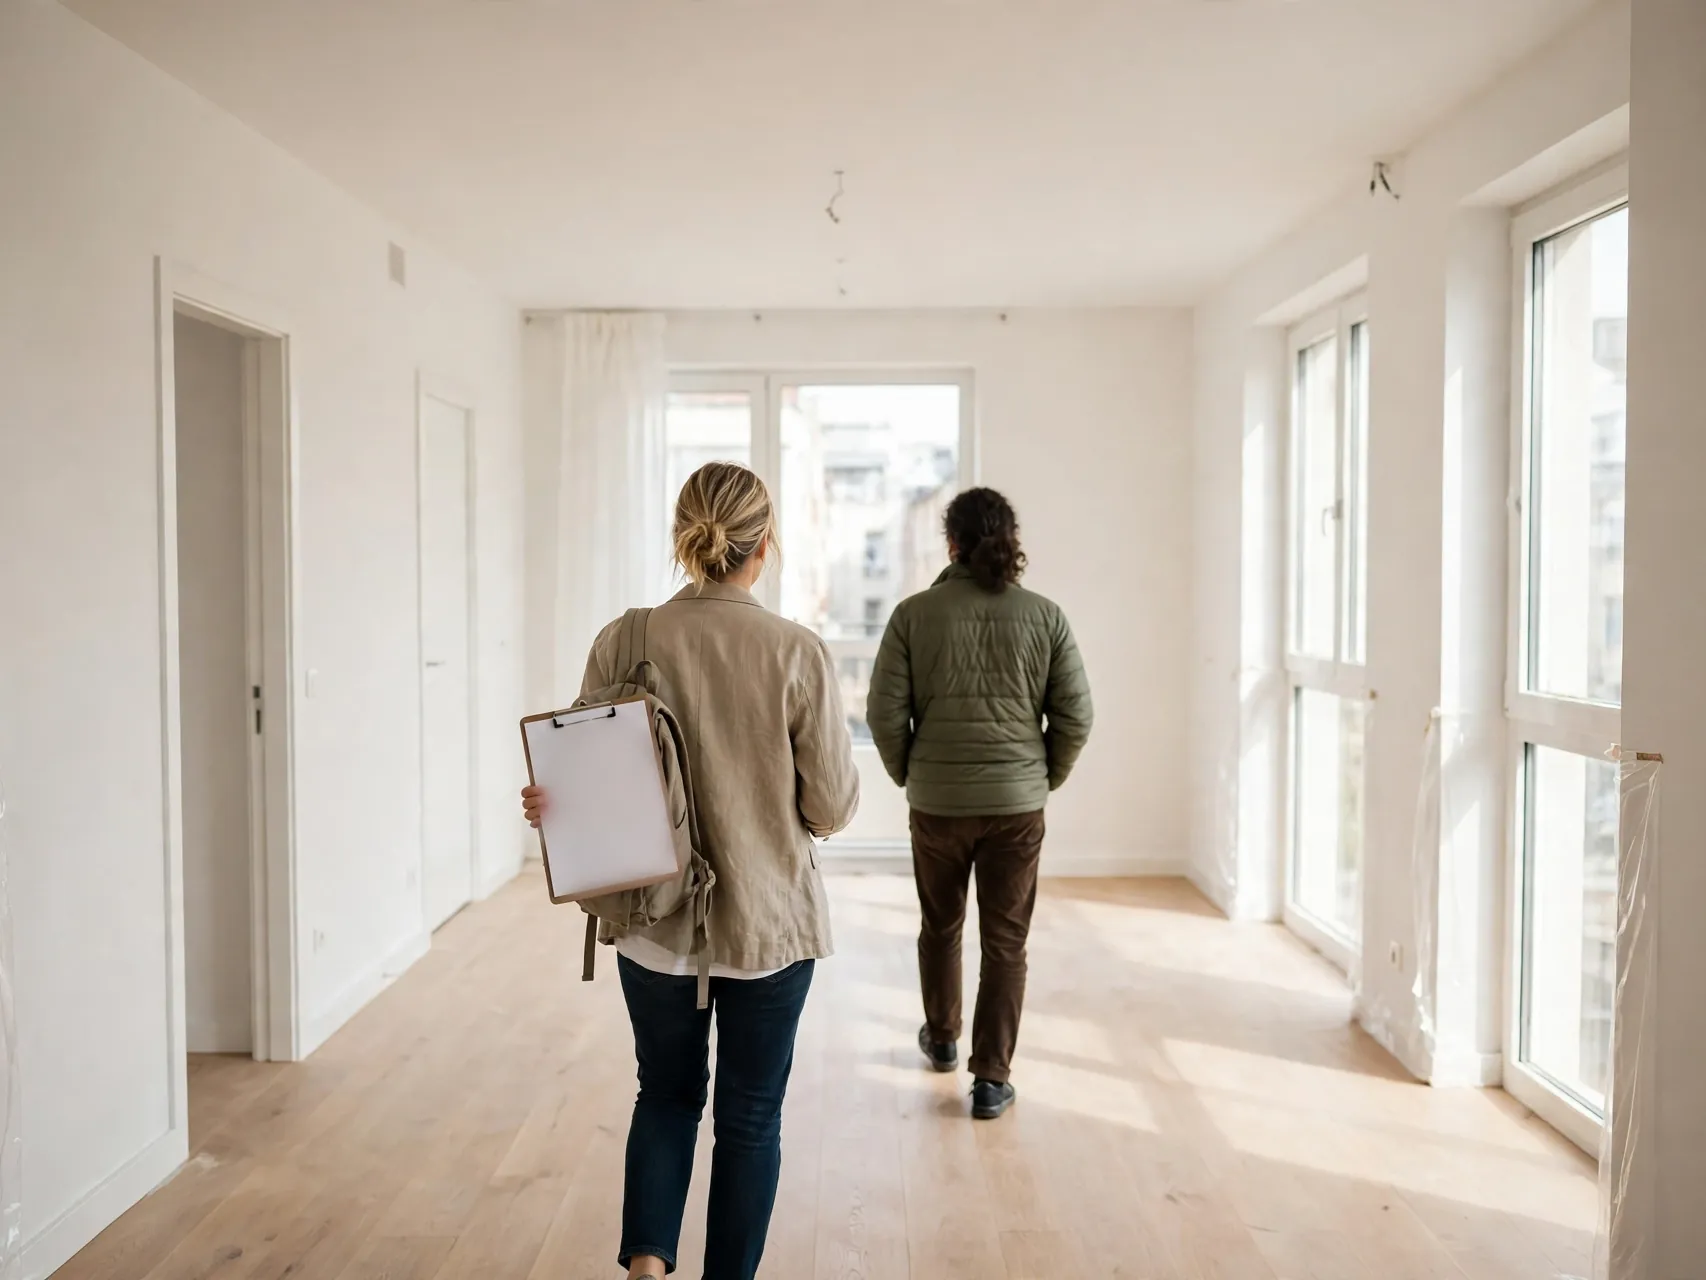
Ask for a joint final walkthrough if your landlord or local rules offer one. Walk room by room with your move in photos available, note the condition together, and ask about anything the inspector flags while you can still discuss it calmly.
If a joint walk is not possible, ask how and when the inspection will happen and what documentation you will receive. Keep the exchange in writing. A shared, factual record reduces surprises when the deposit statement arrives.
21. Take Final Photos and a Short Video Tour

After cleaning and repairs, retake wide and close up photos from the same angles as your move in set, plus a slow video walk through each room, closet and appliance interior. Photograph floors, walls, windows and the inside of the oven and fridge.
Save the files with the date visible in your records and back them up outside your phone. Keep them until the deposit is fully settled. Clear, dated images are often the most useful evidence a renter has.
22. Return All Keys and Garage Openers as Directed
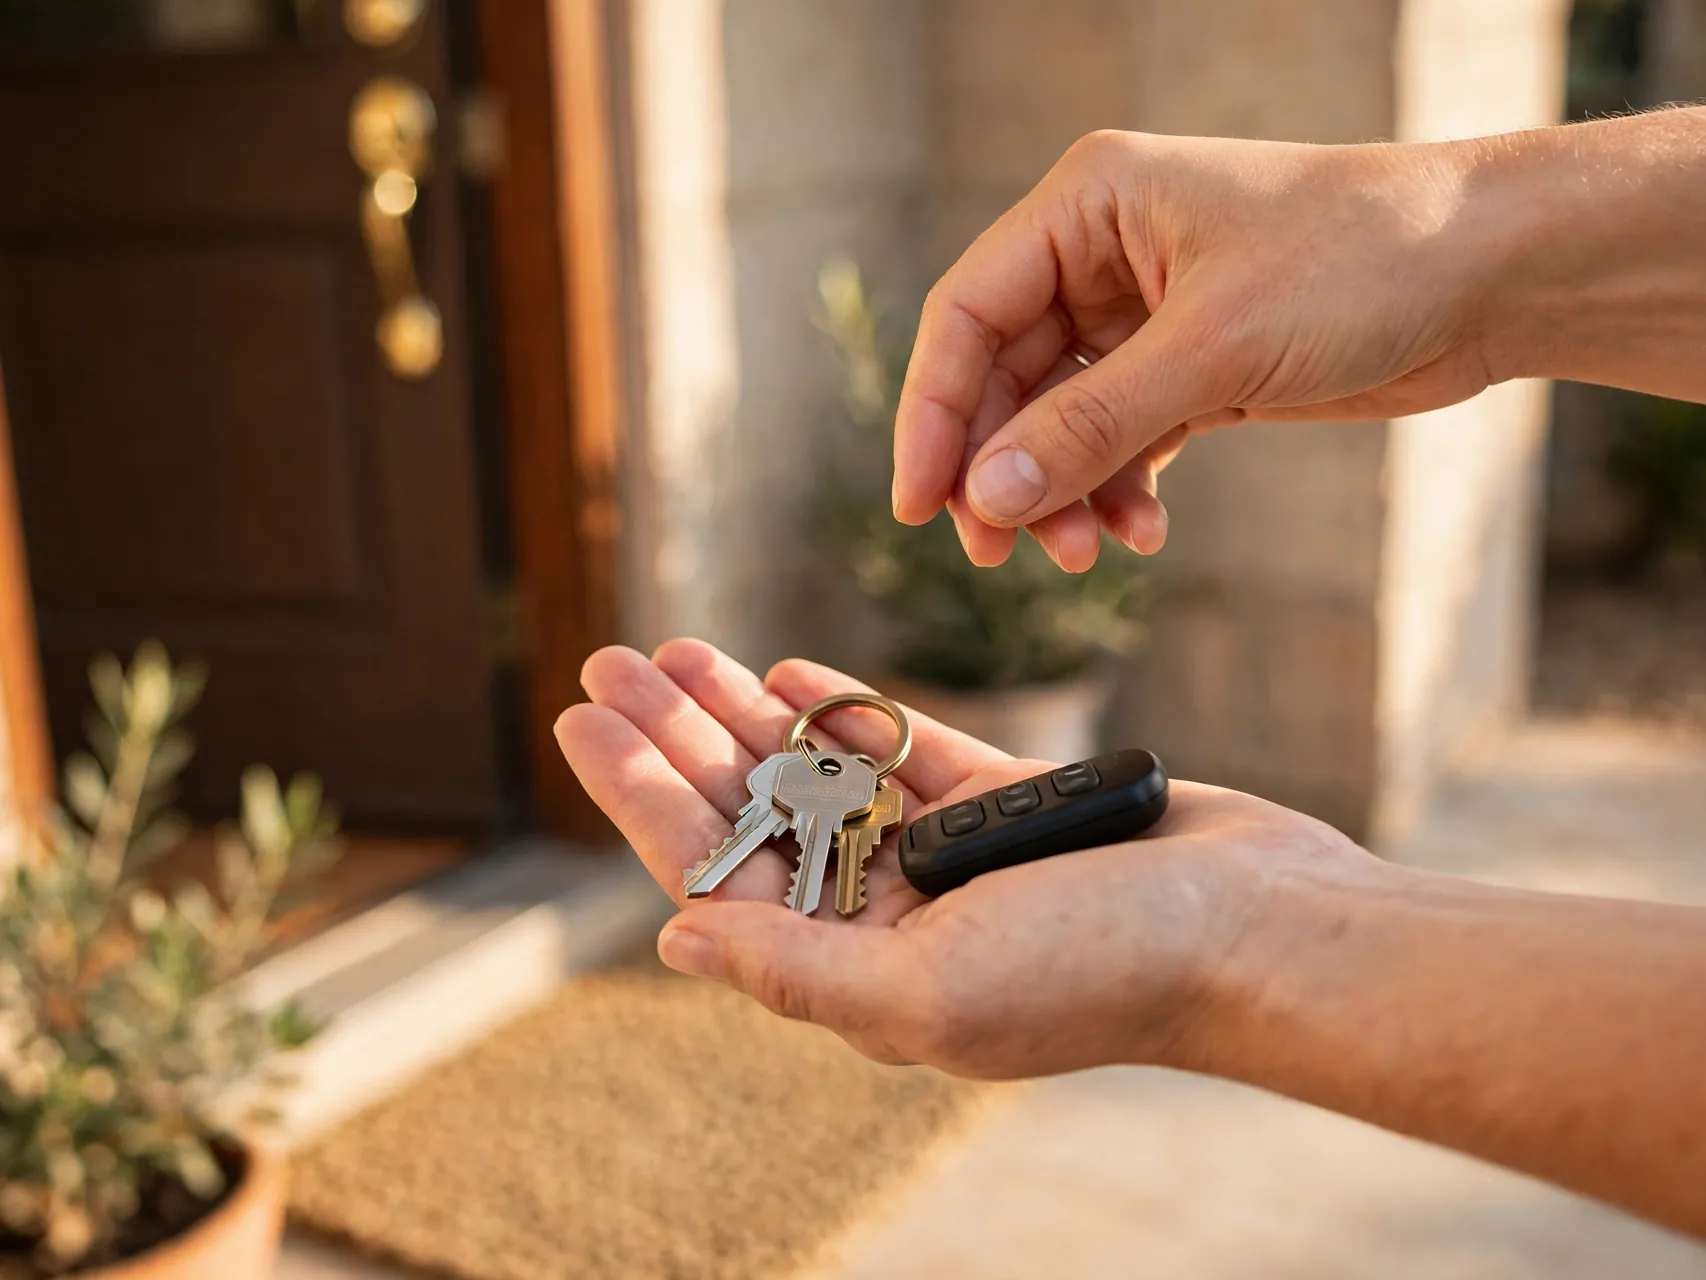
Return keys exactly as your lease or landlord instructs, whether that is in person, to an office or through a lockbox. Get a receipt or written confirmation listing what you returned and when, and photograph the handover if appropriate.
Do not leave keys inside the unit unless you were told to do so in writing. An undocumented key return can create confusion about when you surrendered the home, which can affect how the final days are counted.
23. Give Your Landlord a Forwarding Address in Writing
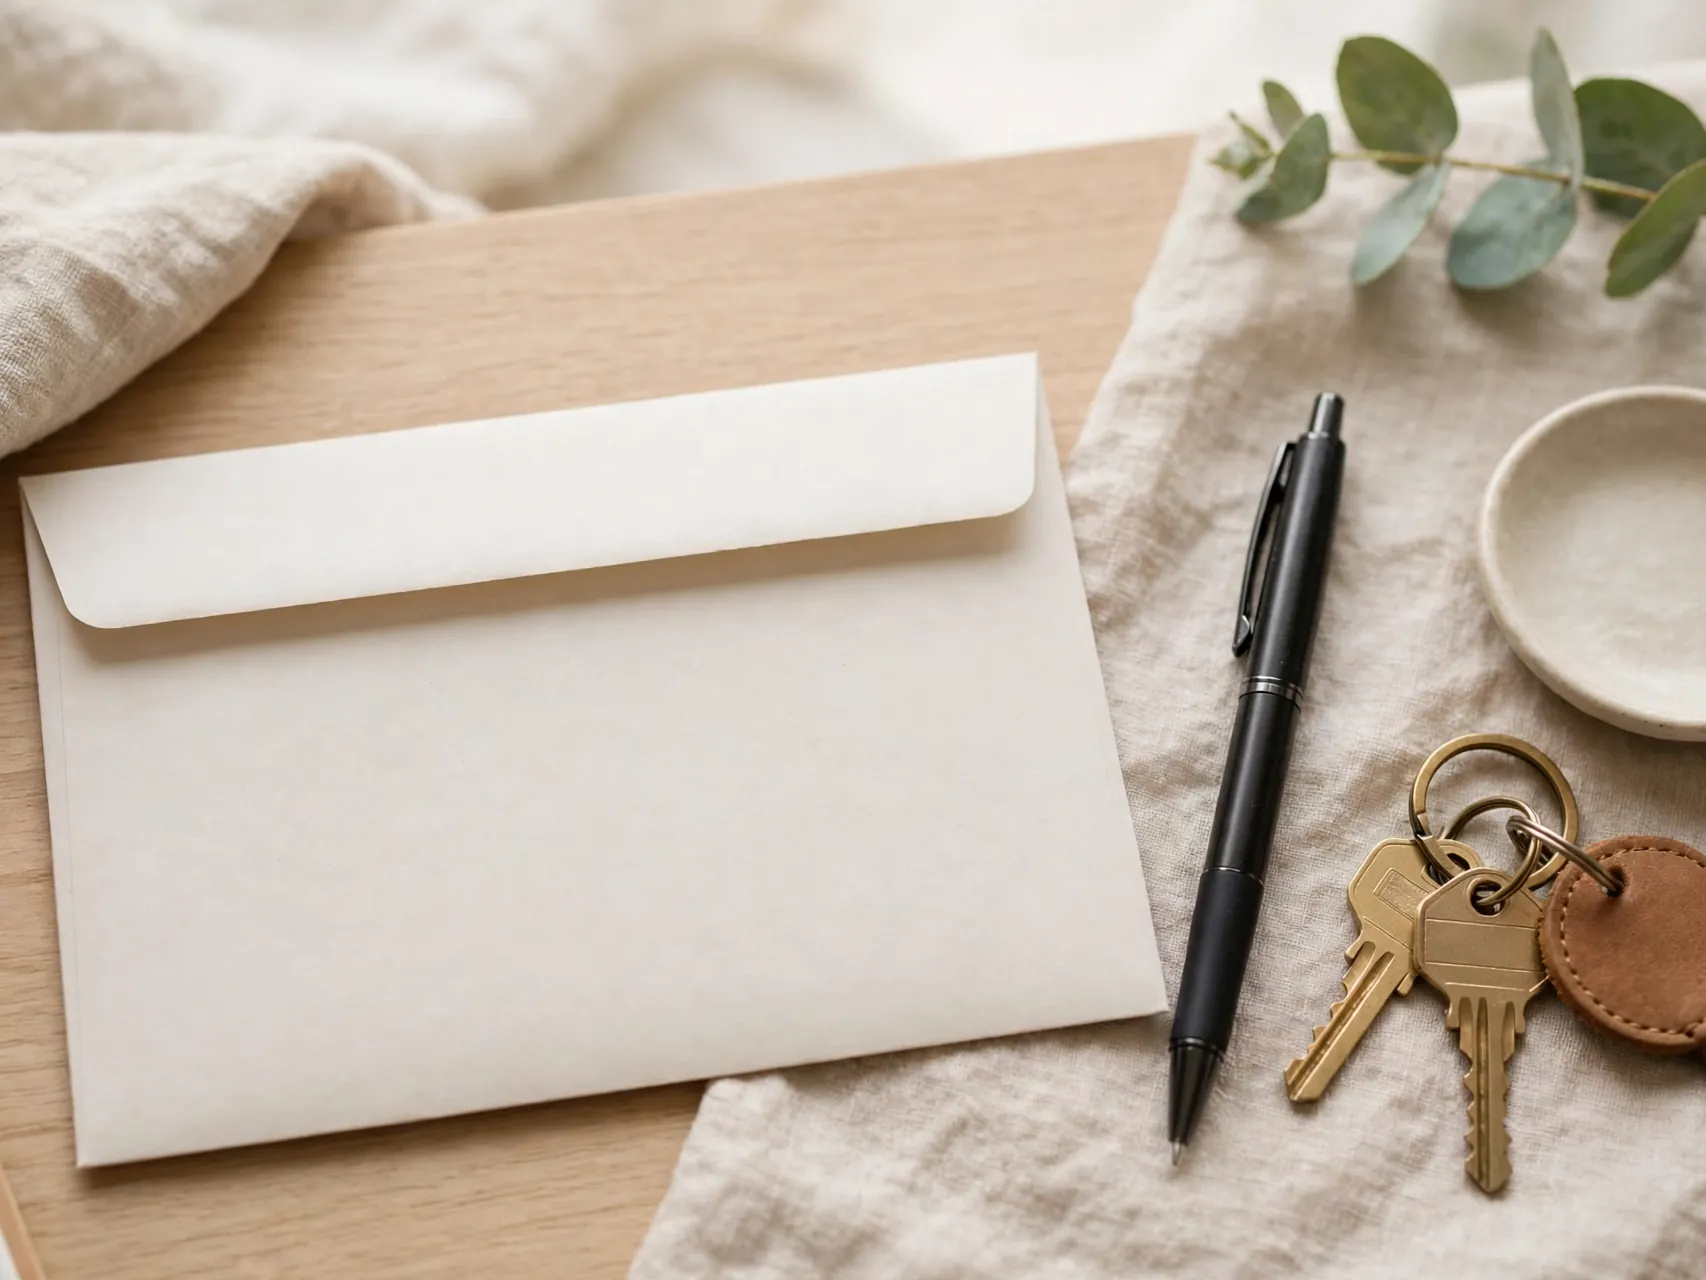
Even if you mentioned your new address in conversation, send it in a dated email or letter and keep a copy. Include your name, old unit, move out date and the full address where deposit mail should be sent.
This small step supports timely delivery of your deposit and any itemized statement. Requirements for statements and deductions vary by location, so check local tenant guidance if you want to understand what to expect next.
24. Track the Deposit Deadline for Your State

Deposit return deadlines and itemized deduction rules differ widely by state and sometimes by city. Look up the current rule for your location from an official state or trusted legal aid source, and note the date on your calendar.
If the deadline passes without a refund or statement, write a polite, dated request that references your lease, move out date and forwarding address. Keep copies of everything. Do not rely on memory for dates that affect your rights.
25. Keep Your Records Until the Deposit Is Settled

Keep one folder, digital or paper, with your lease, notice, move in and move out photos, cleaning receipts, utility confirmations, key receipt and all landlord messages. Keep it until your deposit is returned and any questions are closed.
If a deduction looks wrong, compare it calmly against your photos, lease and the itemized statement, then reply in writing with specific facts. Organized records turn a stressful dispute into a clear, short conversation, and they are the real secret behind most full deposit returns.
FAQ
How early should I start my move out checklist?
Start about four weeks before moving day with notice, booking and decluttering. Do decor removal and repairs two to three weeks out, deep cleaning in the final week, and final photos and key return on the last day. Early starts leave time to fix surprises.
Does normal wear and tear protect my deposit?
In general, ordinary wear from everyday living is treated differently from damage such as large holes, burns, broken fixtures or heavy stains. The exact definitions and rules vary by state and lease, so check your lease and local tenant resources for how wear is handled where you live.
Should I hire a cleaner or clean the apartment myself?
Either can work if the result meets your lease standard. If you hire help, keep the receipt, tell the cleaner which areas matter most, and still do your own final check and photos. If you clean yourself, work room by room and leave enough time to redo missed spots.
What should I do if my landlord deducts money I disagree with?
Ask for an itemized statement if you did not receive one, then compare each charge with your lease, photos and receipts. Reply in writing, calmly and specifically, and keep copies. Local legal aid or tenant organizations can explain options and deadlines in your state.
Do I need to be present at the final inspection?
It helps when a joint walkthrough is offered, because you can discuss condition on the spot with your move in photos available. If you cannot attend, ask for the inspection notes and photos, and rely on your own dated final photos and written record.
Key Takeaways
- Start with notice and your lease: Correct written notice and clear move out terms prevent the most common avoidable charges.
- Document before and after: Move in and move out photos from the same angles are your strongest deposit protection.
- Remove, repair, then clean in order: Take decor down carefully, handle only permitted touch ups, and clean floors last.
- Leave nothing behind: Check every drawer, closet, balcony and storage area, and return all keys and original hardware.
- Put addresses and deadlines in writing: Give a forwarding address, track your state deposit timeline, and keep confirmations.
- Keep records until it is settled: One organized folder with photos, receipts and messages makes any follow up short and factual.
Save this checklist to Pinterest and pin it a month before your move so every deposit saving step happens on time.