21 DIY Wooden Step Stool Ideas Even Beginners Can Build
Introduction
Every home has that one shelf, cabinet, or light bulb just out of reach. A sturdy diy wooden step stool solves it in an afternoon, with a few boards, glue, screws, and sandpaper. It is one of the kindest first woodworking projects there is, because the build is small, the cuts are simple, and the result gets used every single day.
Good stools share the same bones whatever style you choose: strong joinery with glue plus screws or better, a brace or stretcher so the legs cannot splay, smooth sanded edges, and a tread that grips. Build it, then test it carefully yourself on a level floor before anyone else steps up.
Keep the safety rules in view from the first cut. A step stool belongs on a flat, stable surface only, it is never a ladder substitute, and it should never be stacked on boxes or furniture for extra height. Children using a stool need an adult nearby, every time.
1. Simple One Board Step Stool

The classic starter build cuts every part from a single wide board: a top, two legs, and a brace between them. Glue and screw the brace to the legs, then attach the top, and the little stool is ready for sanding and paint.
Keep the legs slightly splayed or add a modest footprint so it feels planted. Sand every edge until a hand glides over it, test it on a level floor with your own full weight first, and only then hand it over to the household for daily reaching duty.
2. Two Step Kitchen Stool for High Cabinets

A two step stool wood build gives you a low step and a higher step, which is exactly what tall kitchen cabinets call for. Build it like two boxes joined together or as solid sides with two treads, keeping each rise even and comfortable.
Add a stretcher between the sides so the taller section cannot rack sideways. This stool earns a permanent corner in the kitchen, so finish it to match your cabinets. Test both steps carefully, and store it out of the main walkway so nobody trips over helpfulness.
3. 2×4 Scrap Wood Step Stool
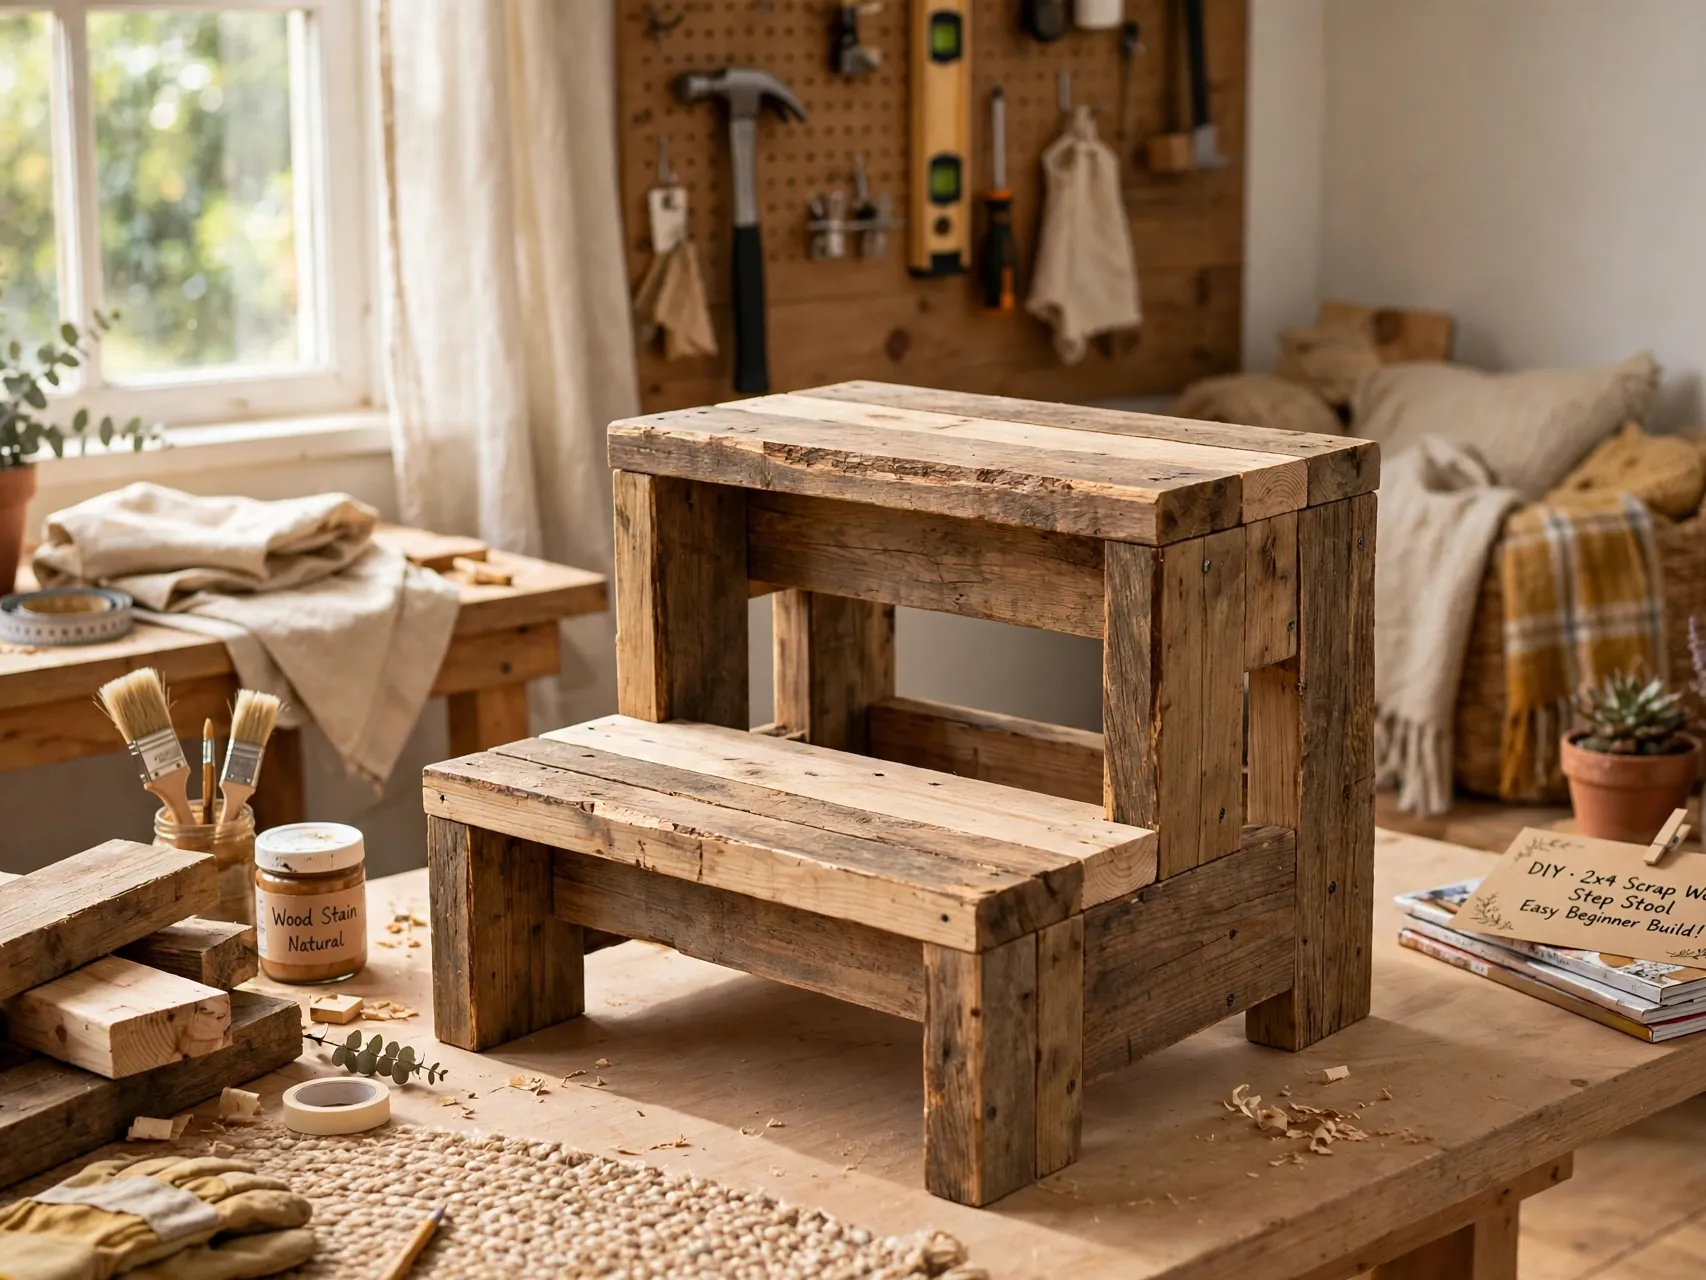
Leftover 2×4 pieces make a chunky, satisfying stool with pocket hole joinery or simple screws and glue. The thick lumber forgives beginner cuts and gives the stool a planted, sturdy feel that suits a workshop, laundry room, or mudroom.
Sand off stamps and rough spots, round the top edges, and paint or stain it so the scrap origins disappear. Because the pieces are thick, pre-drill to prevent splitting near ends. It is the perfect first homemade step stool when the wood pile is already waiting in the garage.
4. Folding Step Stool That Hangs Flat

Hinged legs let a stool fold flat and hang on a pegboard or the back of a pantry door. Use sturdy hinges with screws in every hole, legs that stop squarely at ninety degrees when open, and tread tape on top for grip.
A folding build needs one extra habit: open it fully and check the legs are locked in position before every single use, and never use it half open. Follow the CPSC style guidance for folding stools in general: parts fully extended and secure, level surface only. Small kitchens gain a step without losing floor space.
5. Kids Step Stool With a Handle Cutout
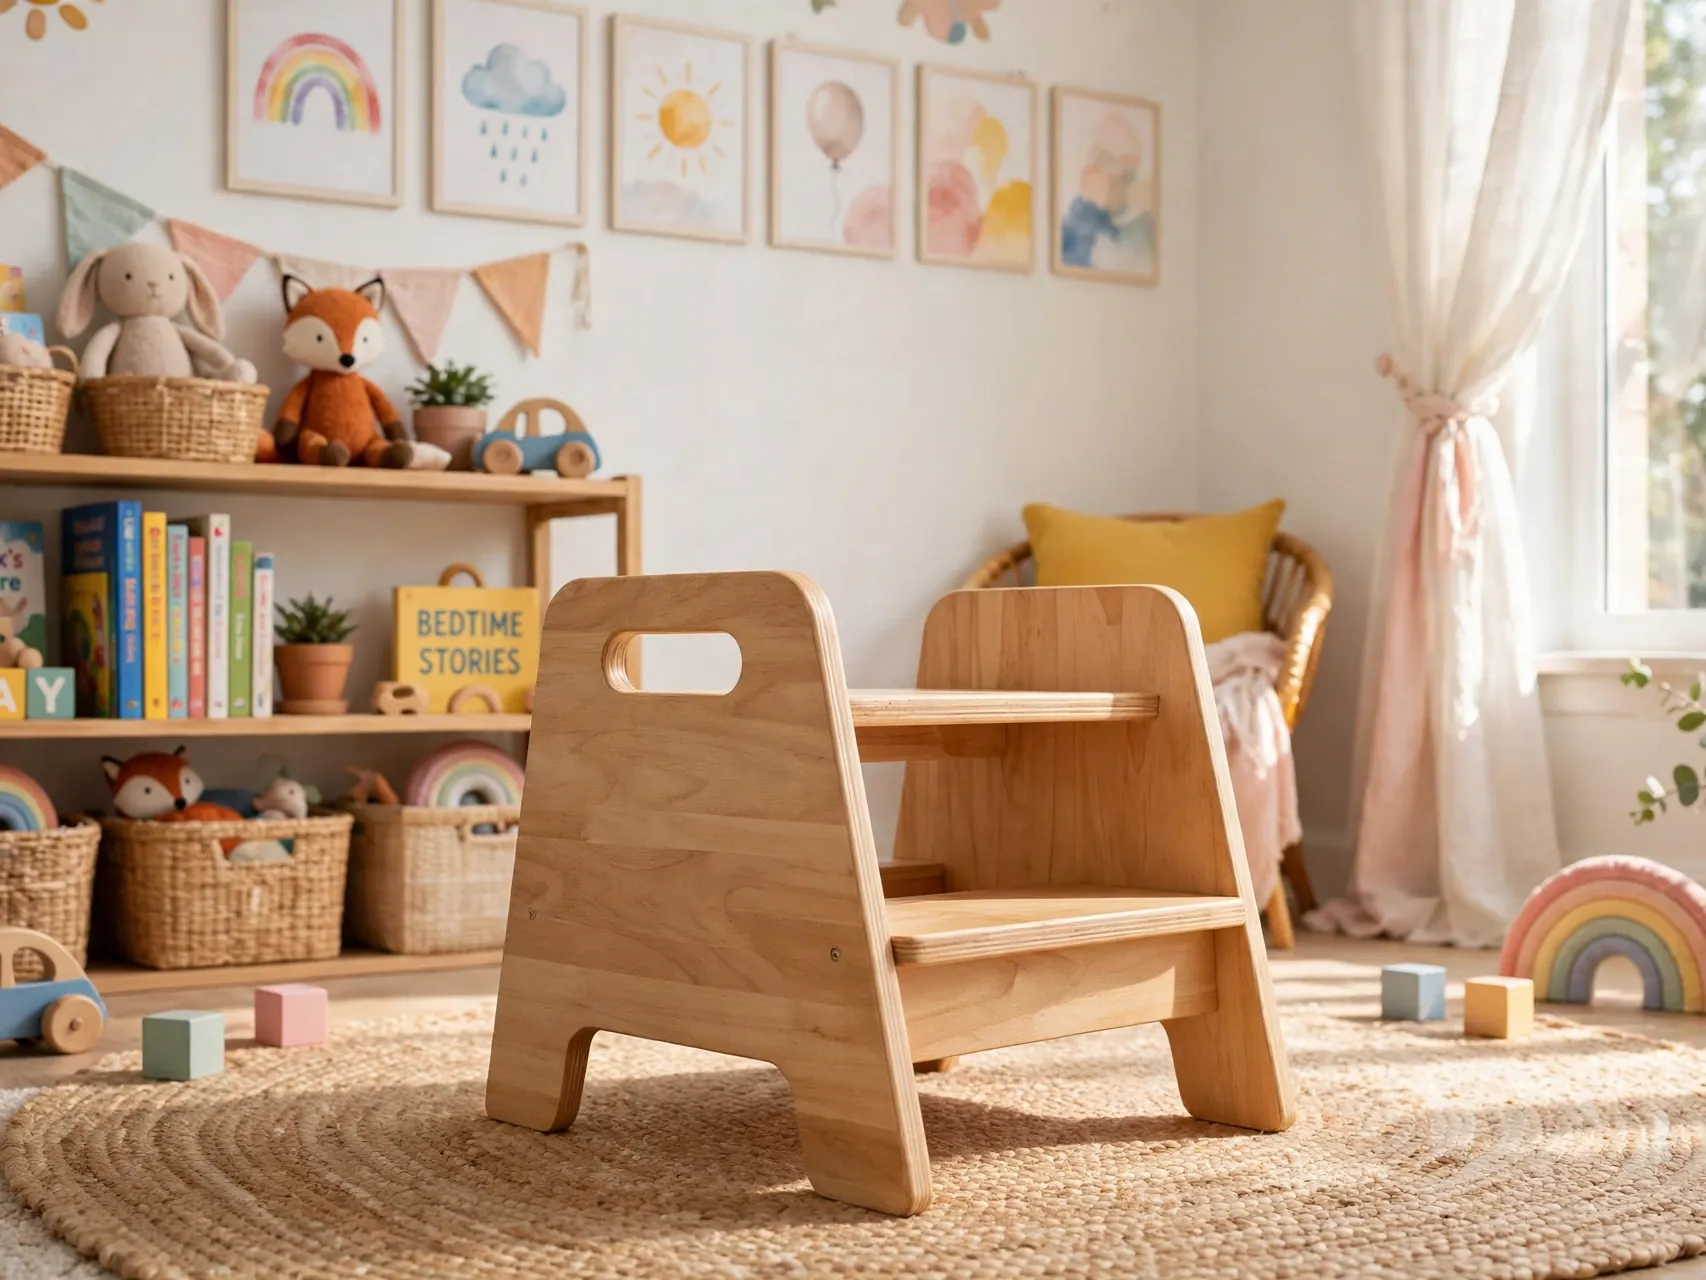
A kids step stool diy works best low, wide, and light enough for small hands to carry. A rounded handle hole cut in the top or in a raised back piece lets children move it to the sink themselves, which is exactly the independence they want.
Round every edge, sand until it is splinter free, and add anti-slip pads under the feet and tread texture on top. Supervise young children on any stool, keep it away from stove tops and hot taps, and store it flat against a wall so it never becomes a hallway trip hazard.
6. Bathroom Stool for Little Teeth Brushers

A bathroom stool lives in splashes, so build it from wood that tolerates moisture and finish it with a thorough coat of a water resistant finish, paying attention to the feet and end grain where water loves to sit.
Keep it compact so it tucks beside the vanity, and add rubber feet so it grips tile instead of skating on it. Wipe it dry after bath time floods and check the finish each season. A small stool that lives in the bathroom saves the nightly parade of dragging chairs down the hall.
7. Shaker Style Dovetailed Step Stool

For a build to be proud of, the Shaker style stool joins its steps into the sides with dovetails and adds shaped cutouts in the sides. It is the most advanced project here, but the joinery is famously strong and the finished piece looks like an heirloom.
Take your time marking the joints and test fit everything dry before glue touches wood. A beautiful hardwood like cherry or alder rewards the effort. Even experienced makers test the finished stool gradually, because handsome joinery still deserves a careful first stand before it joins daily service.
8. Step Stool With Storage Inside

Build the stool as a small box with a hinged or lift off top and you gain a hiding place for shoe polish, pet supplies, or the bathroom scale. Keep the box square and the lid perfectly flat, because the lid is still a step and must feel rock solid.
Use a piano hinge or two sturdy hinges, keep fingers in mind with a soft close habit for kids versions, and never store anything heavy enough to make the stool top heavy. Storage inside the base actually steadies a stool, as long as the lid locks flat every time.
9. Painted and Stenciled Personalized Stool

A name, a row of stars, or little painted footprints turn a plain stool into a beloved gift for a child. Build any simple stool here, paint it in a cheerful color, stencil the design on the top, and seal it with a clear coat so the art survives daily shoes.
Use paints and finishes as their makers direct for furniture, and let everything cure fully before use. Personalized stools become keepsakes, so choose the sturdy build first and the cute finish second. A wobbly stool with a name on it is still just a wobbly stool.
10. Rustic Farmhouse Stool With Splayed Legs

Angling the legs outward gives a stool a farmhouse stance and a wider, steadier footprint. Add a stretcher bar between each pair of legs so the splay works for stability instead of against it, and leave the wood finish warm and simple.
This style looks right beside a kitchen island or holding a plant by a sunny door. Check that all four feet sit flat, and shim or sand one leg rather than living with a rock. A stool that rocks teaches everyone in the house to distrust it, and rightly so.
11. Library Step Stool With Two Wide Treads

Book lovers need a taller reach for top shelves, and a library style stool answers with two extra wide, deep treads that feel secure underfoot. Build the sides as solid panels so the whole piece feels like furniture, and add a hand hold cutout at the top.
Wide treads matter because you will be standing still and reaching, not just passing through. Keep books stacked low beside it rather than on the steps, test it on the library floor surface it will actually live on, and never lean far sideways from the top step.
12. Anti-Slip Tread Stool for Safer Steps

Any stool in this list gets safer with grip on top. Add self adhesive tread tape strips, a textured clear finish, or routed grooves across the tread so socks and bare feet find purchase instead of polish.
Keep the tread treatment flat and fully stuck down at the edges, because a peeling corner is its own hazard. Check grip strips during your regular stool checkups and replace worn ones. This is the single cheapest upgrade in the article, and for a stool used by kids or grandparents, it is close to non negotiable.
13. Plant Stand Step Stool for the Porch

A step stool shape makes a charming tiered plant stand, and building one for the porch lets you practice the project with outdoor finish. Use it as a stand first if you like, but if it may ever be stepped on, build and test it like a stool, not a shelf.
Seal every surface, especially the feet, and keep it under cover so rain does not soften joints over a season. Many makers build two at once: one graduates to plant duty in a pretty color, and its twin stays by the kitchen cabinets for daily reaching work.
14. Beginner Box Stool With Pocket Holes

Four boards joined as an open box with pocket hole screws and glue make the fastest sturdy stool for a true beginner. The pocket holes hide inside, the box shape resists racking, and the top board caps it into a step.
Cut the boards square, clamp while the glue sets, and sand the top edges round. Add a center brace inside the box if the span feels springy in your test stand. This little build teaches measuring, drilling, and finishing in one kind afternoon, which is why so many woodworkers start exactly here.
15. Step Stool Bench for Putting On Shoes
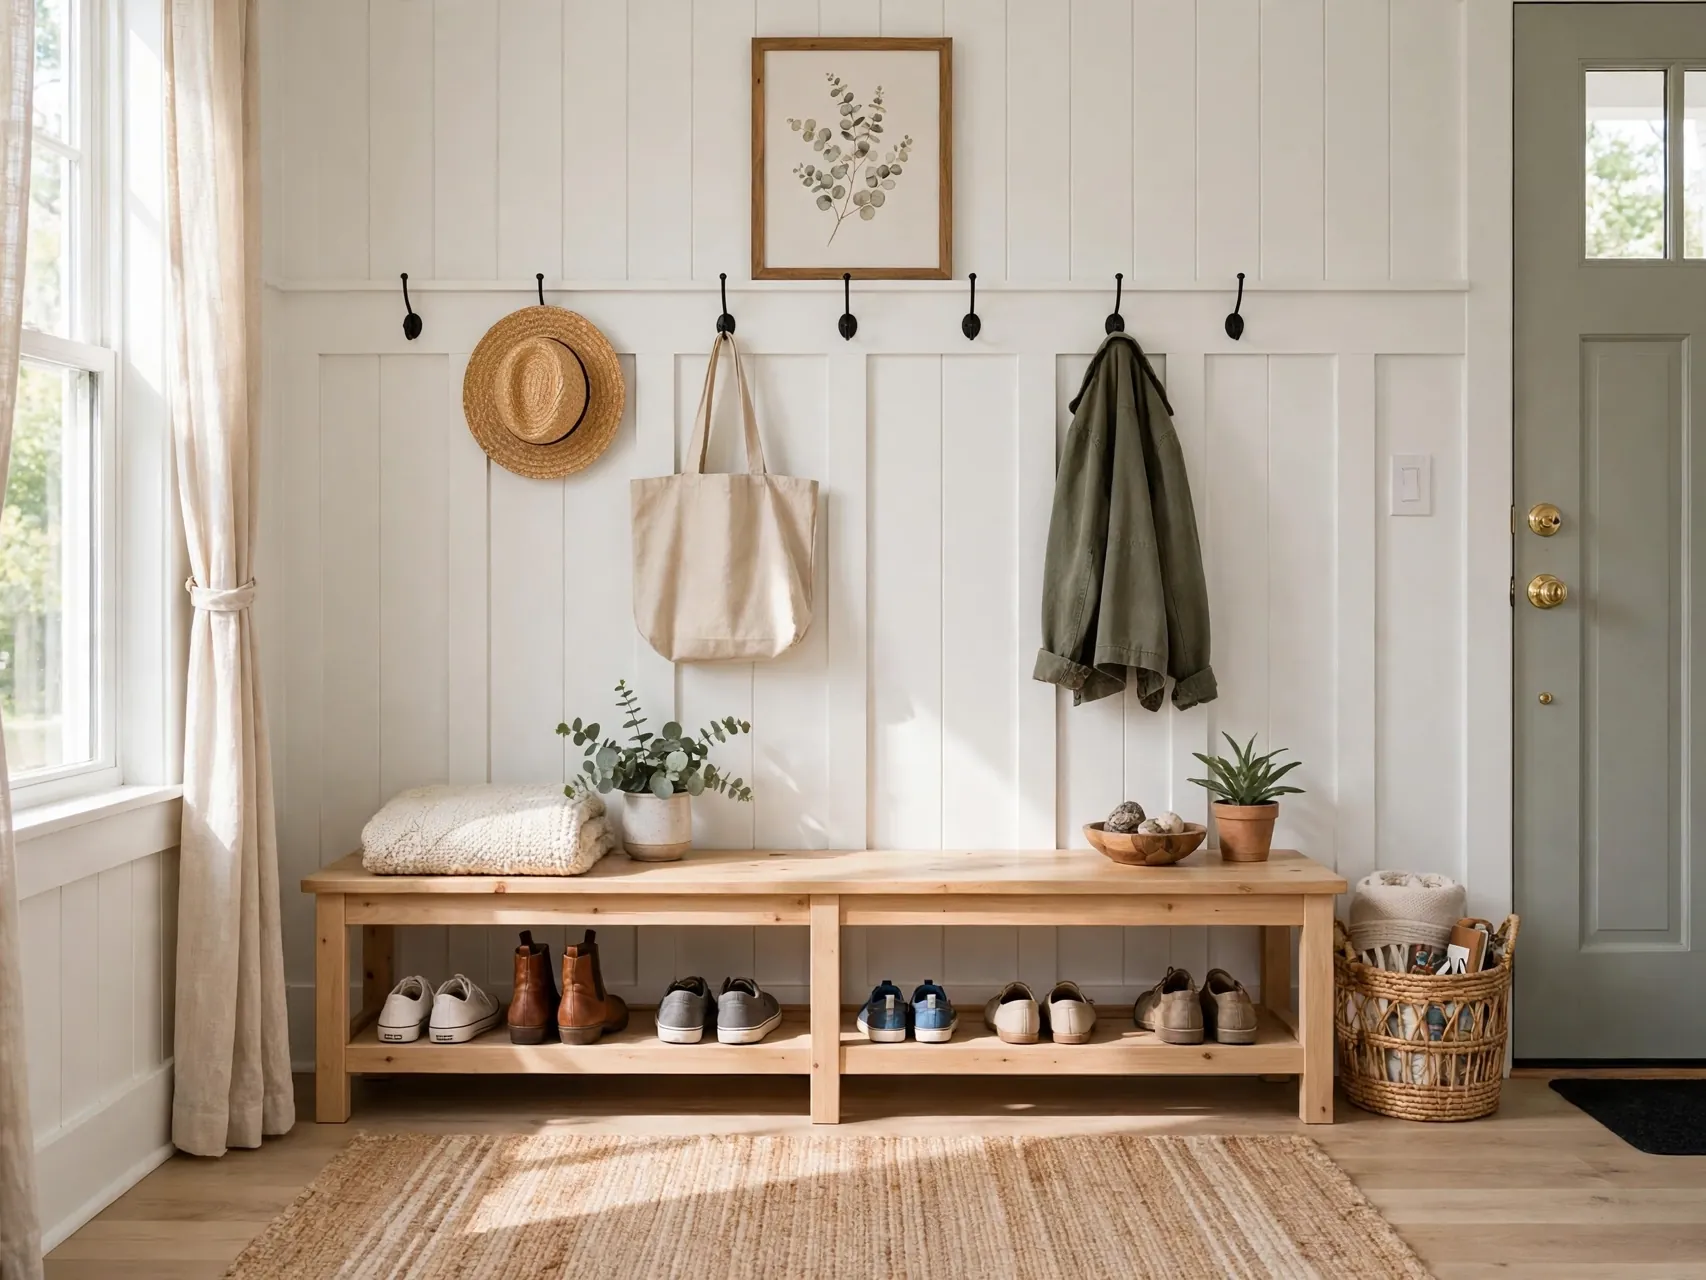
Stretch the design longer and lower and a stool becomes an entry bench you can also stand on for the top of the coat closet. Build it with a center leg or divider for the longer span, because a long top with no middle support will flex.
As a dual purpose piece it must pass both tests: steady to sit on and steady to stand on, on a level floor. Store shoes underneath, keep the top clear of clutter so the step is always available, and this hardworking piece will be used twenty times a day.
16. Round Top Stool From a Tree Stump Slice
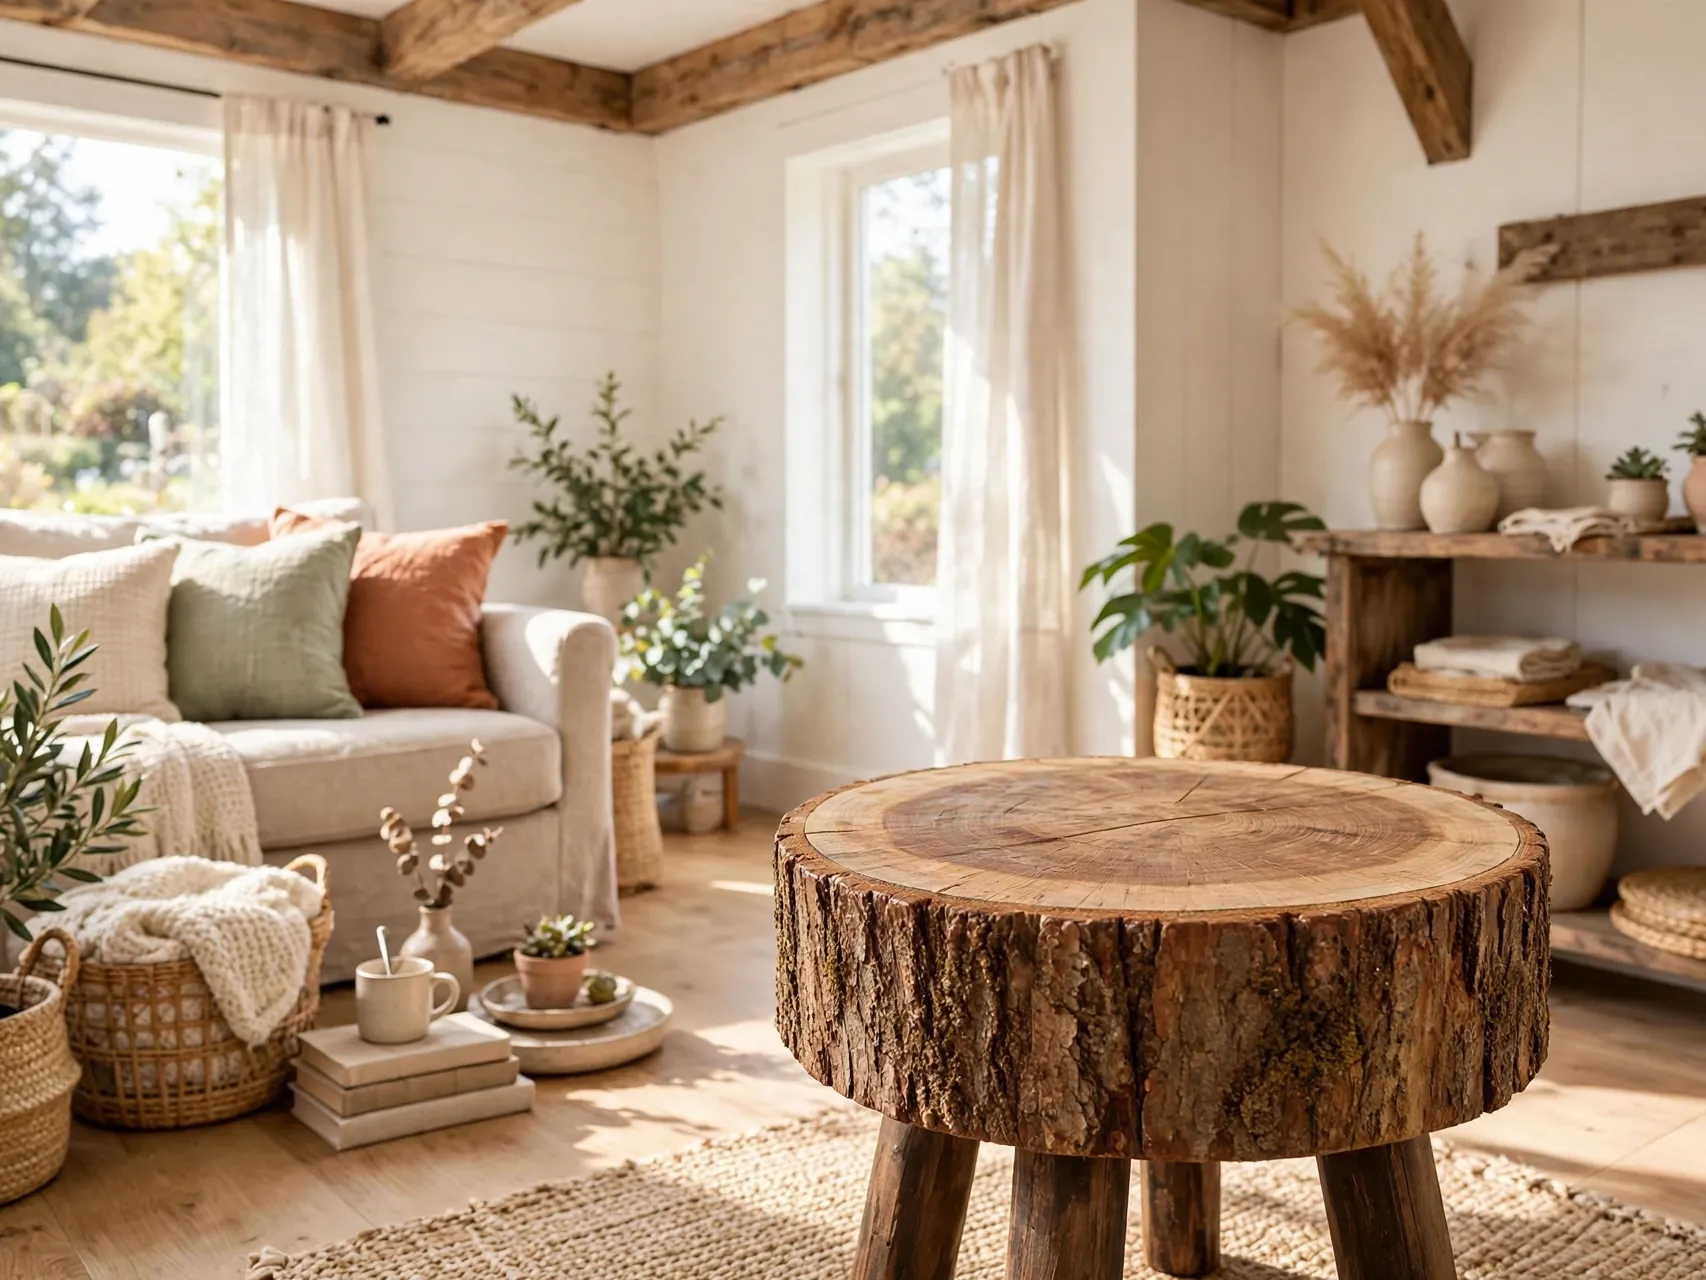
A thick, well dried wood slice on three sturdy legs makes a storybook stool for a reading corner. Dry wood matters, because green slices crack and move as they dry. Sand the top smooth, seal it, and splay the three legs for a tripod stance.
Three legs sit flat on slightly uneven floors, which is a real advantage in old houses. Check the slice for cracks that run through screw areas and choose solid sections for the leg mounts. Test gradually and retest after a season, since natural wood keeps moving a little with the weather.
17. Toddler Tower Helper Stool With Rails
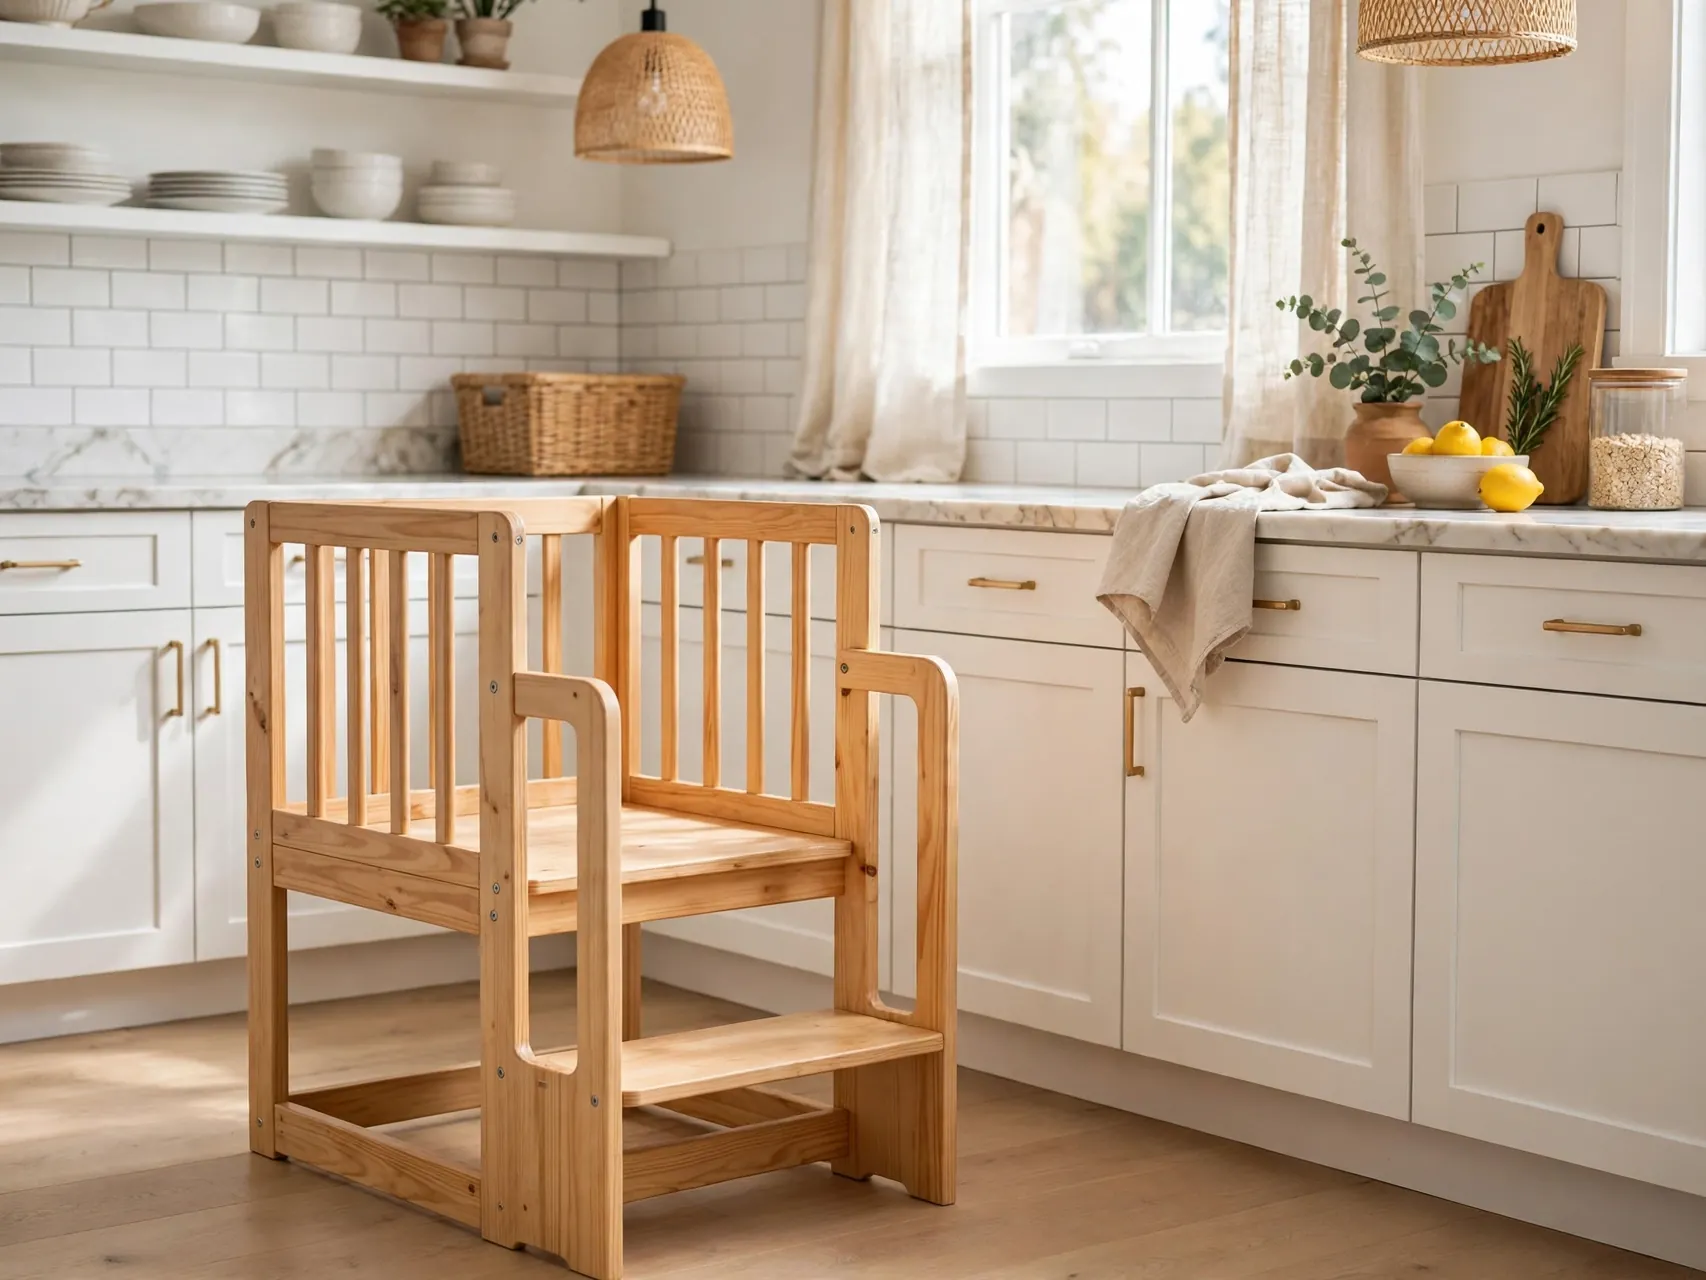
A helper tower is a tall stool with guard rails that lets a toddler stand at counter height beside you. Build it with a wide, heavy base, rails on all sides, and a low step up. The base width is the whole safety story here, so never build a tower tall and narrow.
Adult supervision is constant with towers, and the child should climb in and out only with you right there. Follow current safety guidance for any tower style product, store it so it cannot be climbed unsupervised, and retire it the moment any joint loosens or the base shows damage.
18. Painted Two Tone Stool to Match Your Kitchen

Paint the legs and frame one color and stain the treads another, and a humble stool suddenly looks designed. The two tone trick suits the classic side panel build: white or sage below, warm wood on top, sealed well against kitchen life.
Tape clean lines, let the stain dry fully before painting near it, and add the anti-slip treatment over the stained tread once the finish cures. A stool that matches the room tends to get left out instead of shoved in a closet, which means it is actually there on the day you need the top shelf.
19. Heavy Duty Workshop Stool With Stretchers

In the garage, build the stool bigger: thicker lumber, stretchers on all four sides low enough to rest a foot on, and screws plus glue at every joint. A workshop stool gets climbed on with armfuls of paint cans, so overbuilding is the right instinct.
Mark it clearly as a step stool and keep ladders for ladder jobs, because the stool is not a ladder substitute even in its heavy duty form. Inspect it before big projects, tighten anything that has worked loose, and keep its feet clear of cords and offcuts so it always lands flat.
20. Decoupage and Fabric Top Makeover Stool

Already own a plain stool? Give it a fabric or paper top with decoupage medium, smooth it flat, and seal it with several clear coats for durability. Pretty paper on the sides and a solid color on the tread keeps the grip honest and the look fresh.
Keep the decorative layer thin and fully sealed at the edges so nothing peels up under shoes. Let the final coat cure the full time its maker states before stepping up. This refresh costs almost nothing and is a lovely way to make a hand me down stool feel like it belongs to its new owner.
21. Classic Milking Stool With Three Legs
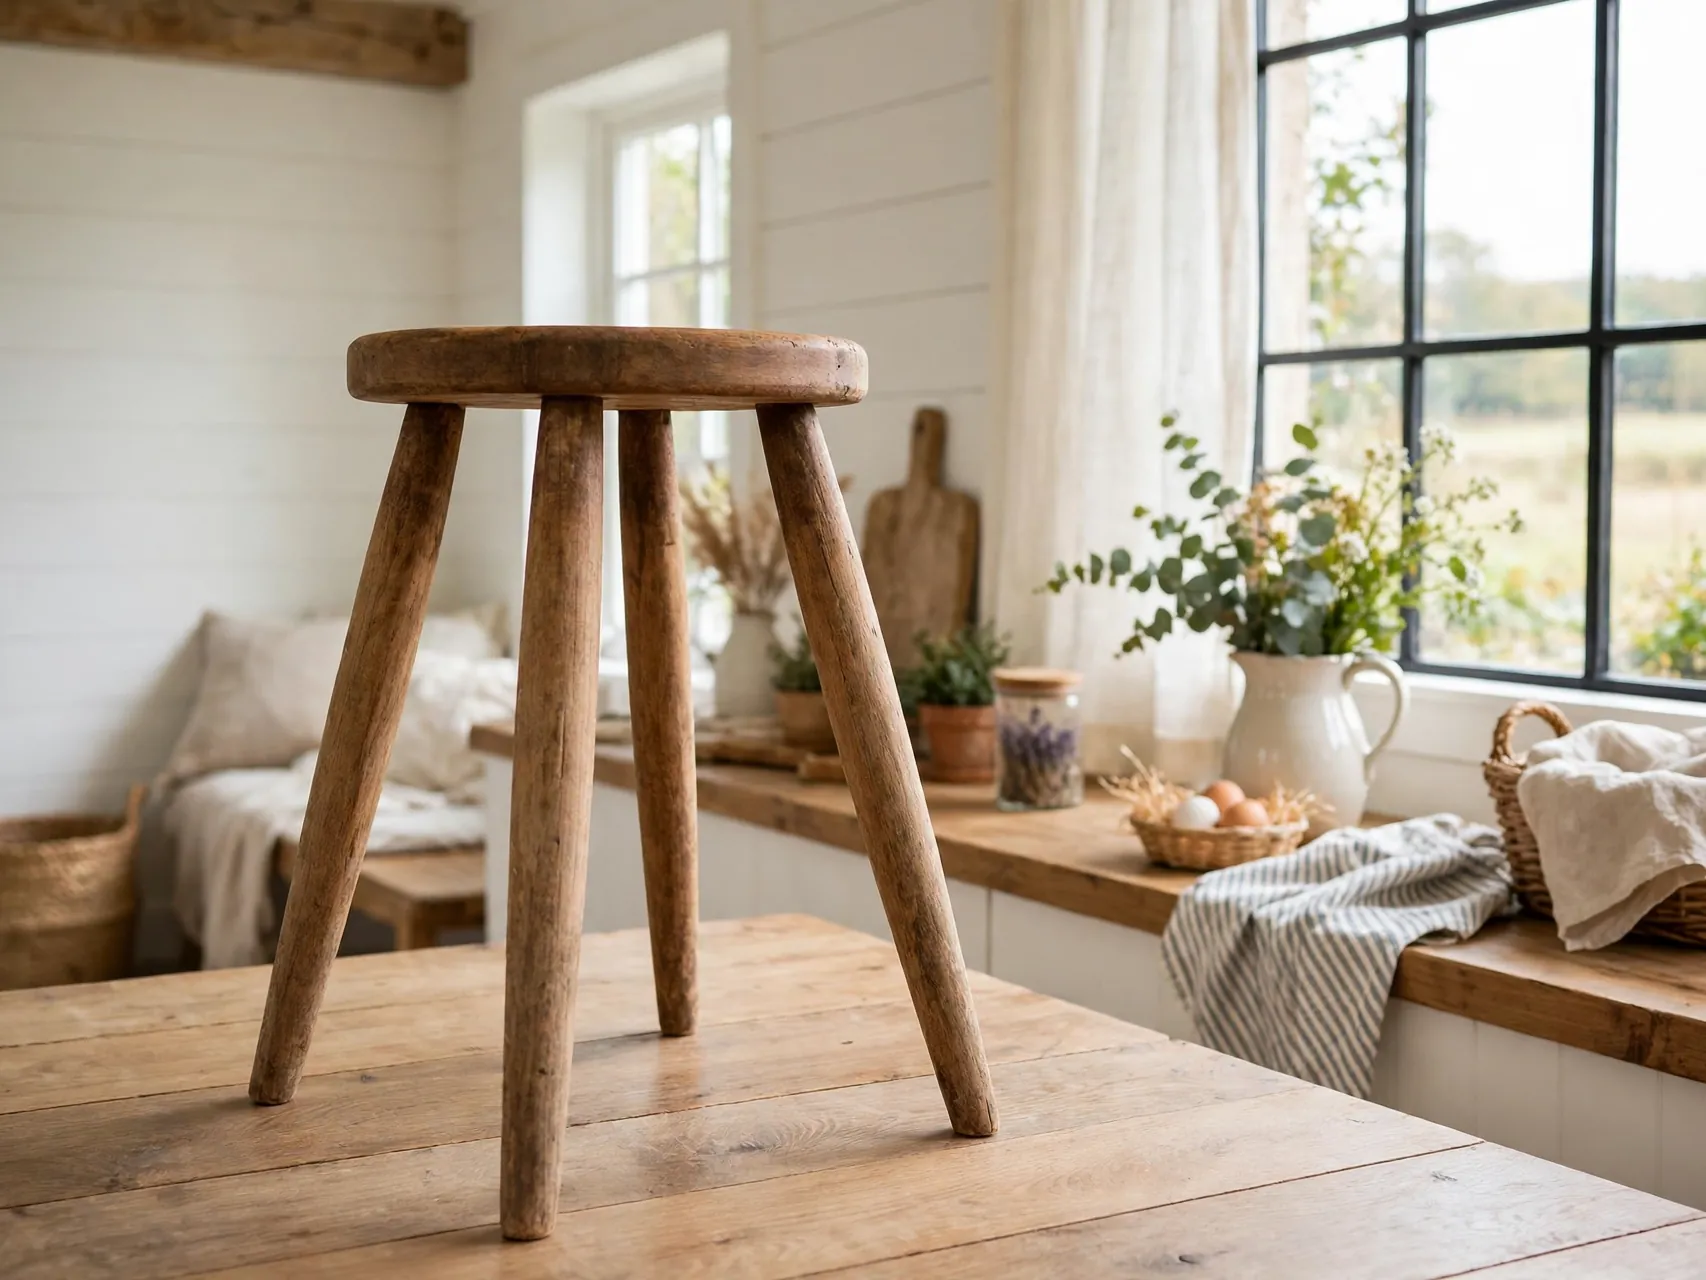
Finish with the oldest design of all: a round or oval seat on three splayed legs, wedged or screwed firmly into the underside. It is small, light, and endlessly useful as a step up, a seat for tying shoes, or a perch while gardening.
The charm hides real engineering: three legs always find the floor, and the splay keeps the little stool honest under weight. Keep it low, test it on each floor type in your home, and enjoy owning the same design that has served farmhouses for generations, now built by your own hands as a diy wooden step stool.
FAQ
What wood is best for a beginner step stool?
Pine and poplar are forgiving, affordable, and easy to cut and sand, which makes them kind to beginners. Hardwoods like oak are stronger and prettier but harder to work. Whatever you choose, use sound, dry boards with no cracks through the joint areas, and keep the design simple for your first build.
How do I make sure my stool is sturdy enough?
Use glue plus screws or solid joinery, add a brace or stretchers so legs cannot splay, and check that all feet sit flat. Then test it yourself, gradually, on a level floor: stand still, shift gently, and step up and down several times. If it creaks, racks, or wobbles, fix the joint before anyone else uses it.
How high should a step stool be?
A single step is usually low and comfortable for everyday reaching, while a two step design reaches high cabinets without stretching. Build the height for the job and the user, keep each rise even, and remember that taller stools need wider bases. If you need much more height, that is a ladder job, not a taller stool.
Are wooden step stools safe for children?
They can be, when built low and wide, kept splinter free, fitted with anti-slip feet and tread, and always used with an adult nearby. Children should never use a stool near stove tops, hot water, or cleaning supplies, and stools for kids belong stored where they cannot become climbing toys. Supervision is the rule that makes the rest work.
How do I care for a wooden step stool?
Wipe it clean, keep bathroom stools dry between uses, and inspect it regularly for loose screws, cracks, worn tread tape, and rocking feet. Retighten, repair, or retire it as needed. A stool takes your full weight in a small footprint, so the two minute check each season is time very well spent.
Key Takeaways
- Strong bones first: Glue plus screws, braces or stretchers, and flat sitting feet make every diy wooden step stool in this list trustworthy.
- Test before trust: Stand on your own build first, on a level floor, and fix any wobble before the household uses it.
- Grip is not optional: Anti-slip pads underneath and tread texture on top are the cheapest safety upgrades you can add.
- Right tool for the height: A stool is for a step or two. It is never a ladder substitute and never gets stacked on other objects.
- Supervise the small helpers: Kids stools stay low, wide, and splinter free, with an adult always within reach.
- Building your first stool this weekend? Save this guide to Pinterest and pin the design you want to try first.