20 Tricks for Low Lying Halloween Fog That Looks Creepy
Introduction
Regular fog rises, drifts, and fills a whole room until it looks like a cloudy kitchen. The creepy kind does the opposite. True low lying halloween fog rolls along the ground in a slow white layer, spills over steps, and swirls around ankles and tombstones while the air above stays clear.
The secret is temperature, not power. Cold fog is heavier than warm air, so it sinks and pools. Every trick in this list works by chilling fog, slowing it down, or giving it a low, sheltered path to follow across your porch, walkway, or living room.
Pick one main method, a fog machine with a chiller, dry ice, or an ultrasonic mister, then layer in the placement and timing tricks. Test everything the night before, keep safety first, and your fog will hug the ground all evening.
1. Start With a Low Lying Fog Machine
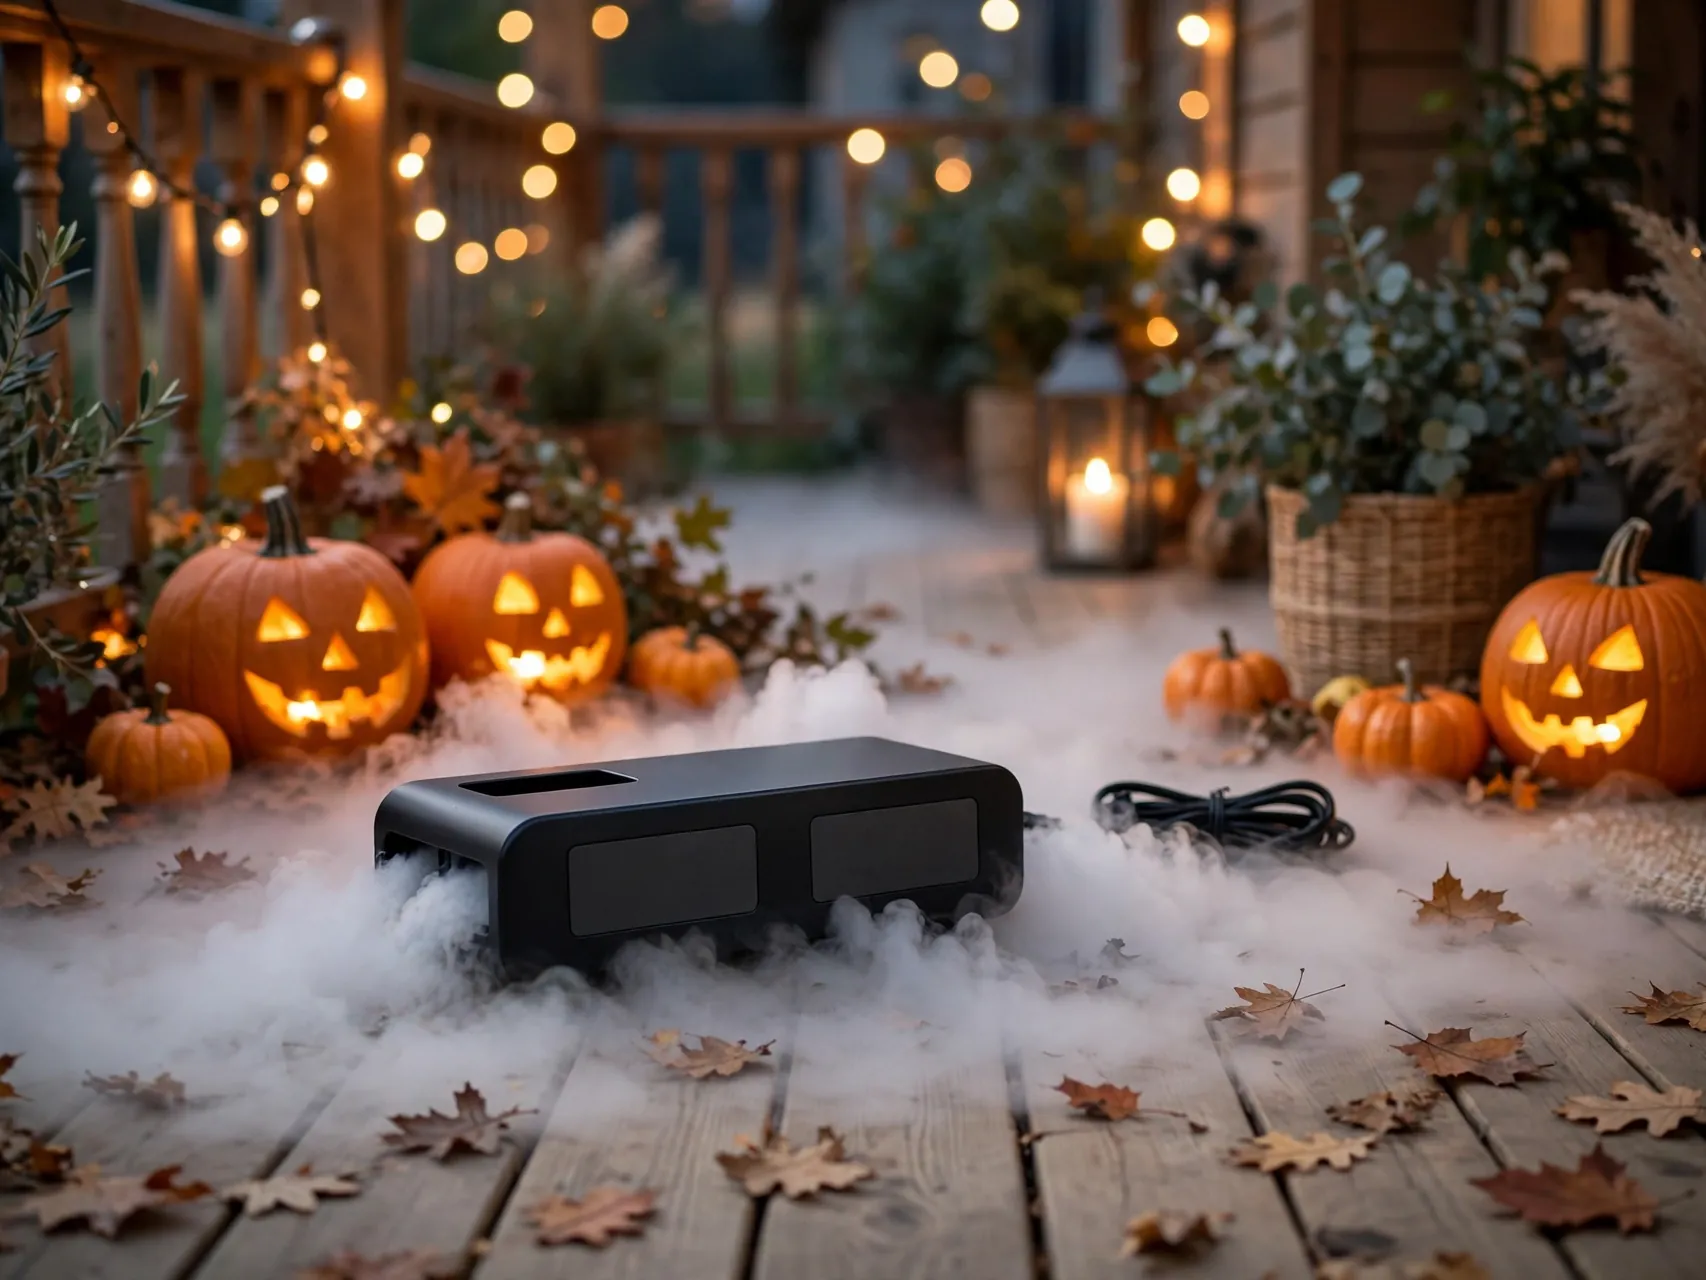
A low lying fog machine halloween hosts love most is simply a machine built for the job, with a compartment you fill with regular ice. The fog passes over the ice as it leaves the machine, cools down, and pours out low instead of billowing upward.
Follow the maker instructions for fluid and ice, and use only the water based fog fluid the manual recommends. Set the machine on a level surface where melt water cannot reach cords or walkways, and keep a towel nearby for drips. Built in chilling is the easiest route to ground hugging fog with the least building and babysitting.
2. Build a Simple Fog Chiller From a Cooler
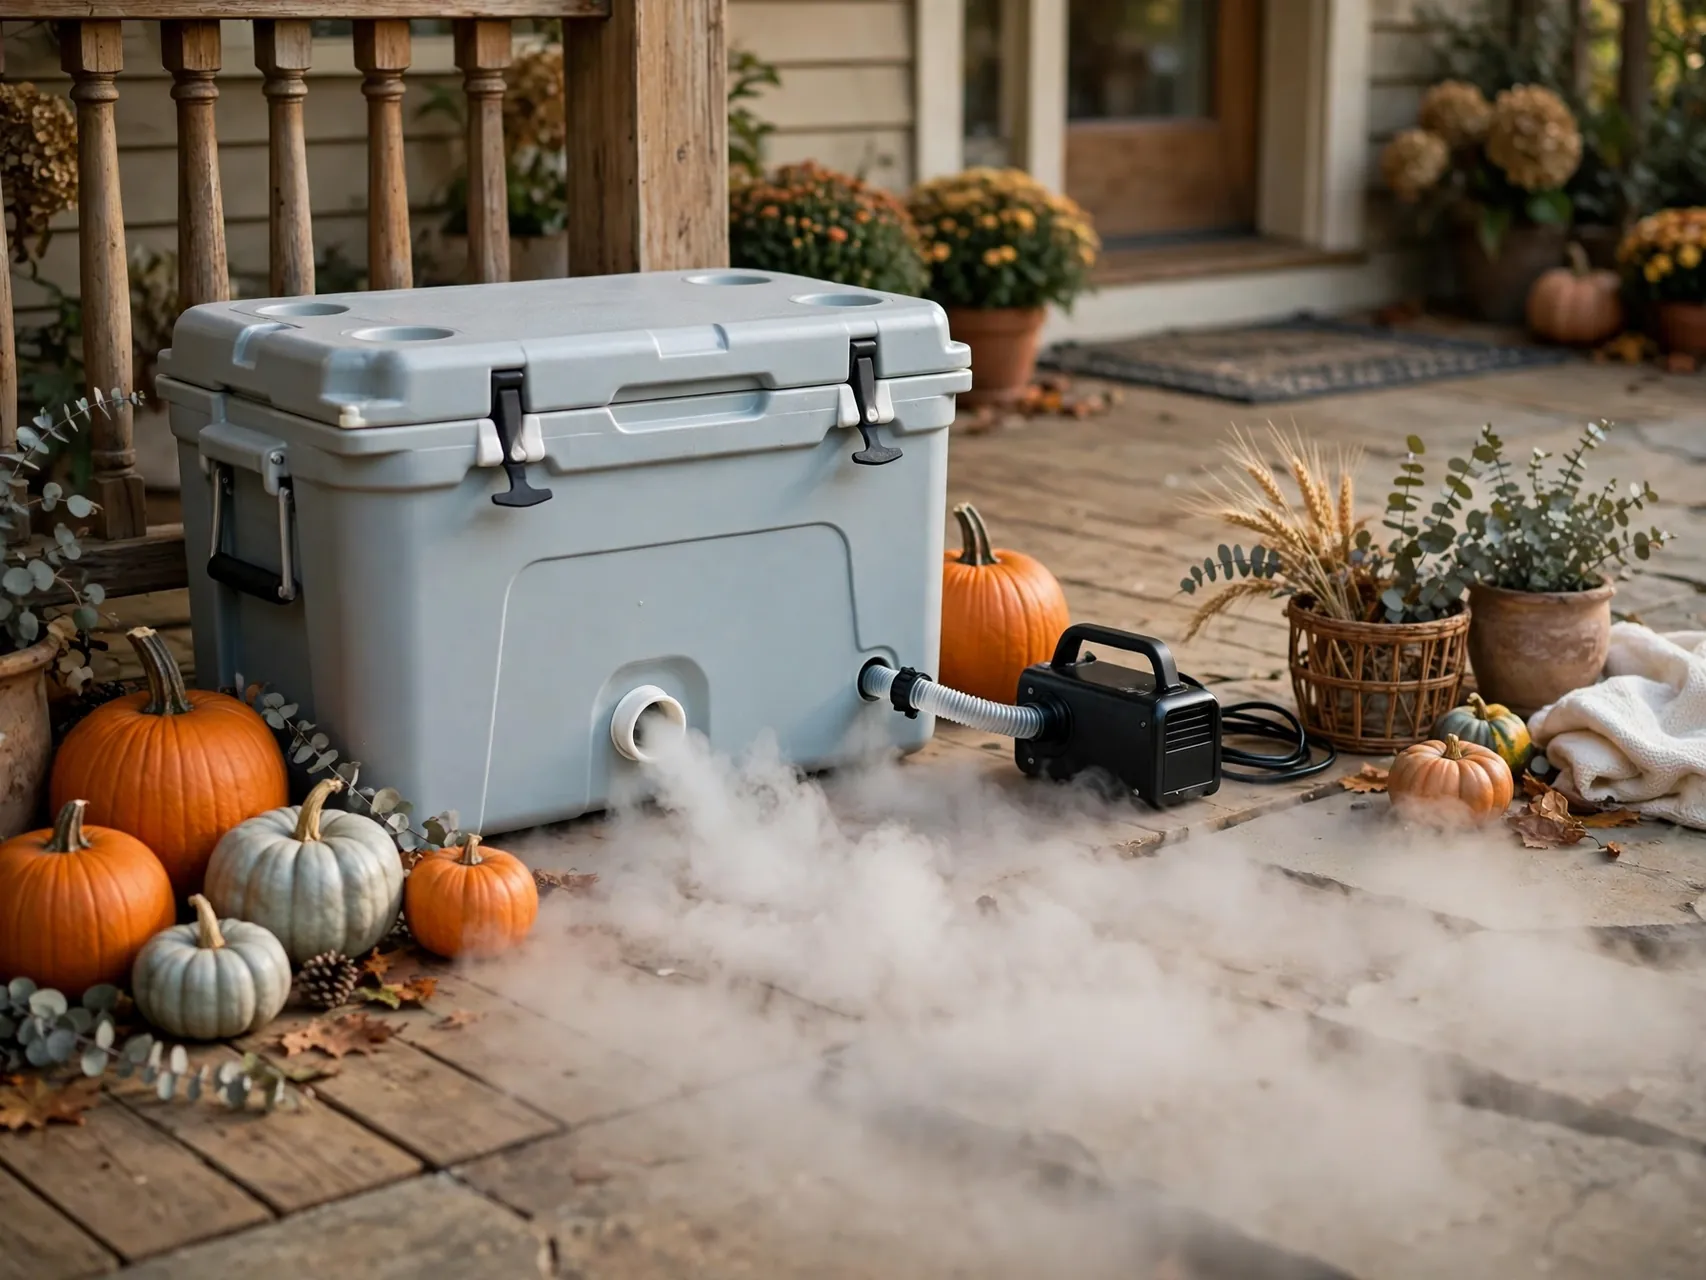
The classic fog machine chiller diy project turns any standard fog machine into a low fog machine. Cut an entry and exit hole near the bottom of a foam or plastic cooler, run a short length of wide pipe or flexible duct through it, fill the cooler with ice, and let the machine blow fog through the icy chamber.
The fog enters warm, winds through the cold air inside, and exits heavy and low. Seal gaps around the holes so fog does not leak out the sides. This one build answers most of how to make fog stay low with parts many homes already own.
3. Line the Chiller Path With Frozen Water Bottles

Loose ice melts into a sloshy pool that warms up and blocks airflow by mid evening. Frozen water bottles last longer, refreeze between uses, and keep the inside of your chiller tidy. Pack them tightly along the fog path so every bit of fog brushes past a cold surface.
Freeze the bottles fully solid at least a day ahead, and keep a second set in the freezer for a quick swap on long party nights. As the first set softens, trade them out during a natural pause. Consistent cold is what keeps the fog layer even from the first burst to the last.
4. Use Dry Ice in the Chiller for an Extra Cold Boost

For the coldest chiller of all, experienced haunters add dry ice inside the cooler alongside or instead of regular ice. Fog that passes over dry ice comes out seriously chilled and clings to the ground in a thick, slow sheet that looks like it rolled off a movie set.
This is an adults only upgrade. Handle dry ice only with insulated gloves or tongs, never with bare hands, because it can burn skin on contact. Keep the cooler lid vented, never sealed tight, and use the setup in a ventilated spot. Used carefully, it is the strongest chill you can give machine fog.
5. Make a Dry Ice Cauldron for a Machine Free Cauldron Effect

The simplest dry ice halloween fog needs no machine at all. Fill a large cauldron or heat safe container with warm water, then lower in chunks of dry ice with tongs. The dry ice turns straight into cold carbon dioxide gas, which spills over the rim and crawls across the floor in a perfect low layer.
Warmer water makes thicker fog, and the effect fades as the water cools, so refresh with warm water and fresh chunks through the night. Place the cauldron where guests admire it but cannot reach in, and let an adult run it from start to finish.
6. Follow Dry Ice Safety Rules Every Single Time

Dry ice is wonderful and unforgiving, so treat this trick as the rulebook for every other one on the list. Never touch it with bare hands. Use insulated gloves or tongs only, and keep it away from children and pets at all times. Never eat it or let it touch food or drinks directly.
Use and store it only in well ventilated areas, because the gas it releases can push out breathable air in small closed spaces. Never store it in an airtight container, since building gas pressure can rupture the container. Let leftovers fade away on their own in a ventilated spot, out of reach, instead of putting them in a sink, drain, or trash can.
7. Try an Ultrasonic Mister for Gentle Indoor Fog

Ultrasonic pond misters create a fine, cool water mist that naturally hugs low surfaces, which makes them a quiet, gentle option for indoor displays, tabletop cauldrons, and punch bowl surrounds where a fog machine would be too much. Float the mister in a wide container of clean water and the mist spills softly over the edge.
Keep cords dry and routed out of walkways, follow the maker instructions for water depth, and treat the whole setup as an adult managed display, not a toy. The mist is light rather than dramatic, so pair it with candles and shadows where its softness works best.
8. Chill Your Fog Fluid Before the Party

Cold in, cold out. Storing your fog fluid bottle in the refrigerator before the event gives your machine a head start, and the first bursts come out slightly cooler and lower than room temperature fluid would manage on its own.
This trick supports a chiller rather than replacing one, so think of it as free extra help. Keep the fluid in its original labeled container, well away from drinks and food in the fridge, and bring it out as you set up. Combined with ice in the machine or cooler, small temperature wins like this add up to a visibly lower fog line.
9. Run Fog Through a Perforated Lay Flat Tube

A long perforated tube or a garden style soaker layout lets one machine feed a whole graveyard. Connect lay flat tubing or a wide duct to your chiller exit, run it along the back of your display, and let fog seep out of small holes along its length instead of blasting from one spot.
The fog arrives slow, cold, and evenly spread, which is exactly the recipe for a low layer that lasts. Weight the tube down so it stays put, keep the holes facing slightly downward, and hide the whole run behind tombstones, mulch, or a porch edge.
10. Aim the Output Downhill and Downwind
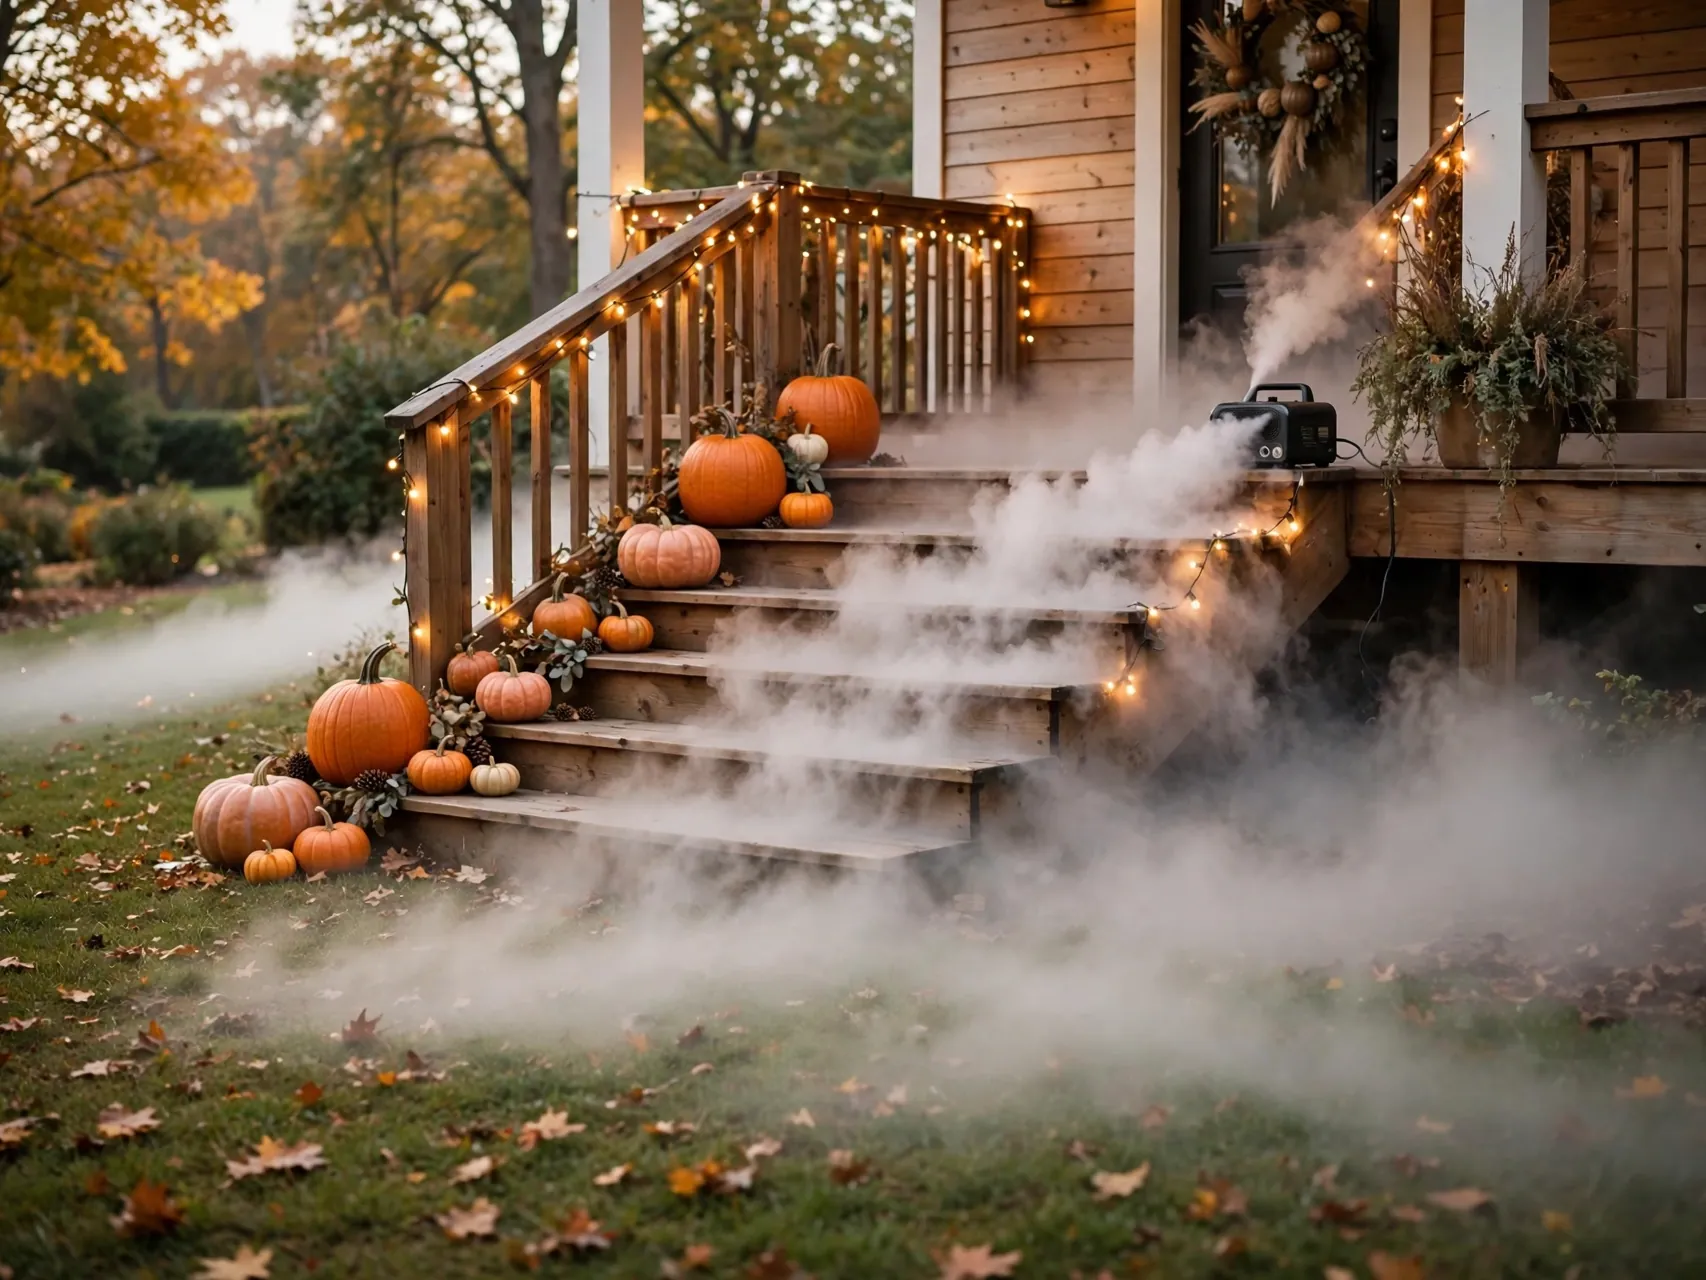
Fog behaves like slow water. Place your machine or chiller at the highest point of the display and let fog pour gently downhill across steps, slopes, and walkways, and it will pool in the low spots all by itself.
Check the evening breeze before you commit. A light wind moving across your scene thins fog fast, while fog released on the sheltered side of the house drifts through your display instead of away from it. If wind picks up, move the source closer, add a windbreak of hay bales or planters, and shorten the distance the fog has to travel.
11. Build Low Walls That Hold the Fog In

Low fog escapes sideways the moment it can. Low borders of hay bales, landscape edging, planters, pumpkins, or a ring of tombstones act like the walls of a shallow bowl and keep your layer thick where the camera and the guests are looking.
You do not need a sealed barrier. Even a partial border on the windward side slows the drift and doubles how long each burst stays visible. Style the walls as part of the scene, a graveyard fence, a pumpkin border, or stacked crates, and the trick disappears completely into the decor.
12. Fire Short Bursts Instead of One Long Blast
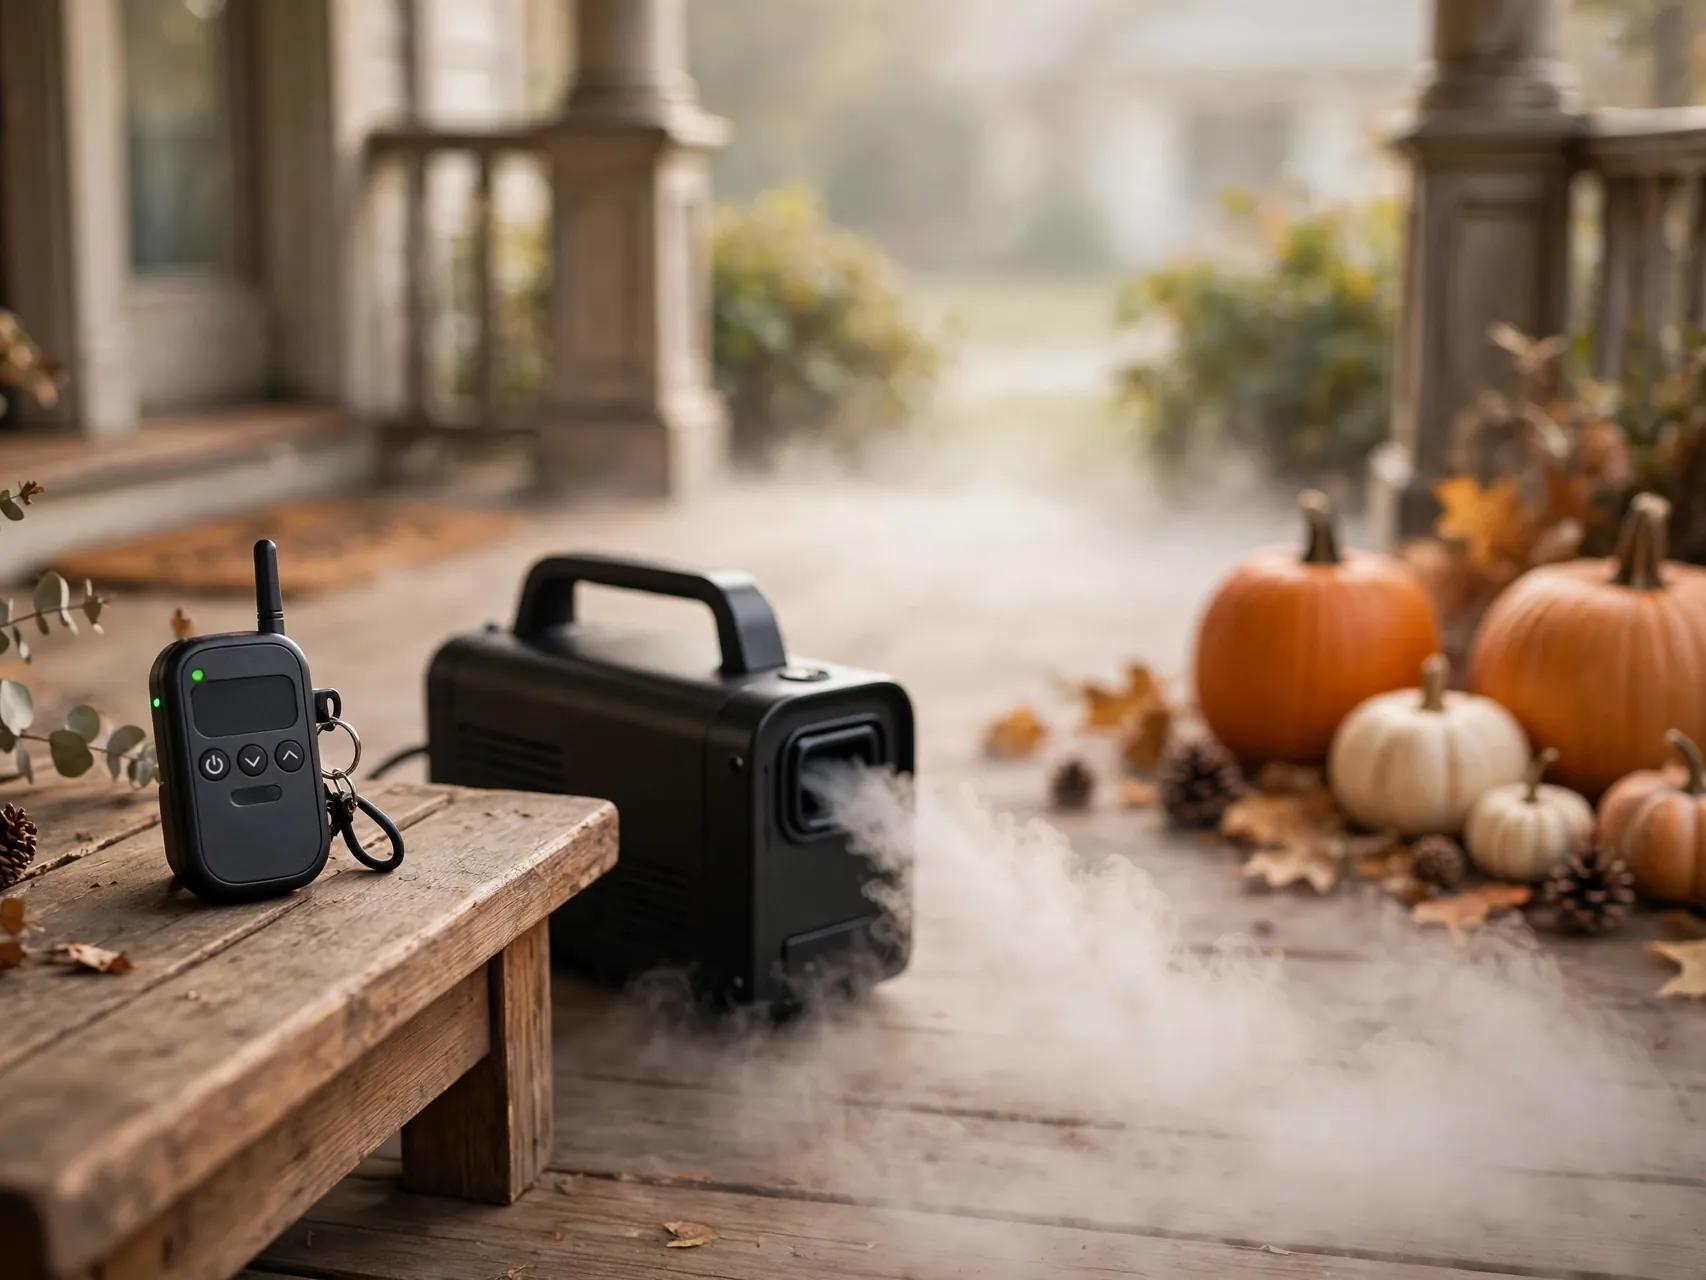
A fog machine fired in short bursts with pauses between them lays down a calmer, lower blanket than one long continuous blast, which heats the air and sends fog climbing. Use the timer or remote if your machine has one, and let each layer settle before adding the next.
Pulsing also saves fluid, keeps indoor air clearer, and gives you that living, breathing creep as fresh fog rolls over the old. During trick or treat hours, a burst every minute or so keeps a walkway scene looking freshly haunted without anyone standing guard over the machine.
13. Turn Off Fans, Heat, and Air Conditioning

Moving air is low fog worst enemy indoors. Ceiling fans, heating vents, and air conditioning currents shred a ground layer in minutes and push fog up to face height, where it stops being creepy and starts being annoying.
Switch ceiling fans off, close or redirect vents near the display, and keep doors near the scene from swinging open all night. Outdoors, skip portable fans near the fog zone entirely. Still, cool air is the stage low fog performs on, so protect it and every other trick on this list works twice as well.
14. Start the Fog Early and Let It Build a Base

Low fog looks best in layers. Start your machine twenty or thirty minutes before guests or trick or treaters arrive, on a low burst cycle, so a settled base layer is already pooled across the ground when the first person walks in.
Early fog also reveals problems while you can still fix them, a tube that shifted, ice that needs topping up, a breeze you did not expect. By showtime the scene looks like the fog lives there, rather than like a machine just switched on, and you are free to enjoy the night instead of adjusting equipment in the dark.
15. Layer Fog Over a Dark, Damp Looking Ground

White fog reads strongest against dark ground. Black landscape fabric, dark mulch, a black sheet under a graveyard scene, or simply wetting down pavement before dark all deepen the contrast and make a thin layer look twice as thick.
A lightly damp surface helps in a second way, cooling the ground so fog stays low longer instead of warming and lifting. Keep walkways safe, though. Never wet a path where guests walk in costume, and keep cords and machines well away from any damp areas. Save the wet ground treatment for display beds and lawn edges.
16. Light the Fog From Below and Behind

Unlit fog vanishes at night. Small uplights, lanterns, or LED spotlights placed low and aimed through the fog make every layer glow, carve tombstone silhouettes, and show off the swirling edges that make low fog worth the effort.
Green, purple, and amber light all read beautifully through white fog. Keep fixtures rated for outdoor use where they belong, aim them away from eyes on the walkway, and test the angles during your rehearsal night. Lighting from the side and below keeps the top of the scene dark, which is what sells the illusion of fog rolling through a real graveyard.
17. Hide the Machine and Let Fog Appear From Nowhere

Fog is magic until someone sees the machine making it. Tuck the unit behind a tombstone cluster, inside an open front crate, under a porch step, or behind a hay bale, with the chiller and tube doing the quiet delivery work out of sight.
Leave the machine the airflow and access its manual requires, keep vents unblocked, and make sure you can still reach the controls and refill fluid without dismantling the scene. A short length of tubing between the hidden machine and the display gives you freedom to place the fog exactly where the hiding spots are not.
18. Add a Second Small Source at the Far End

One source struggles to cover a long walkway or a wide yard evenly. A second, smaller source at the far end, a mini cauldron with dry ice, a small mister bowl, or the same machine split through your perforated tube, fills the thin spots and keeps the whole scene at one even depth.
Match the two sources in timing so one end is not foggy while the other is bare. With dry ice cauldrons at both ends of a porch, for example, refresh them together. Even coverage is what separates a display that looks designed from one that looks like a single machine in a yard.
19. Refresh Ice and Water on a Schedule, Not on Panic
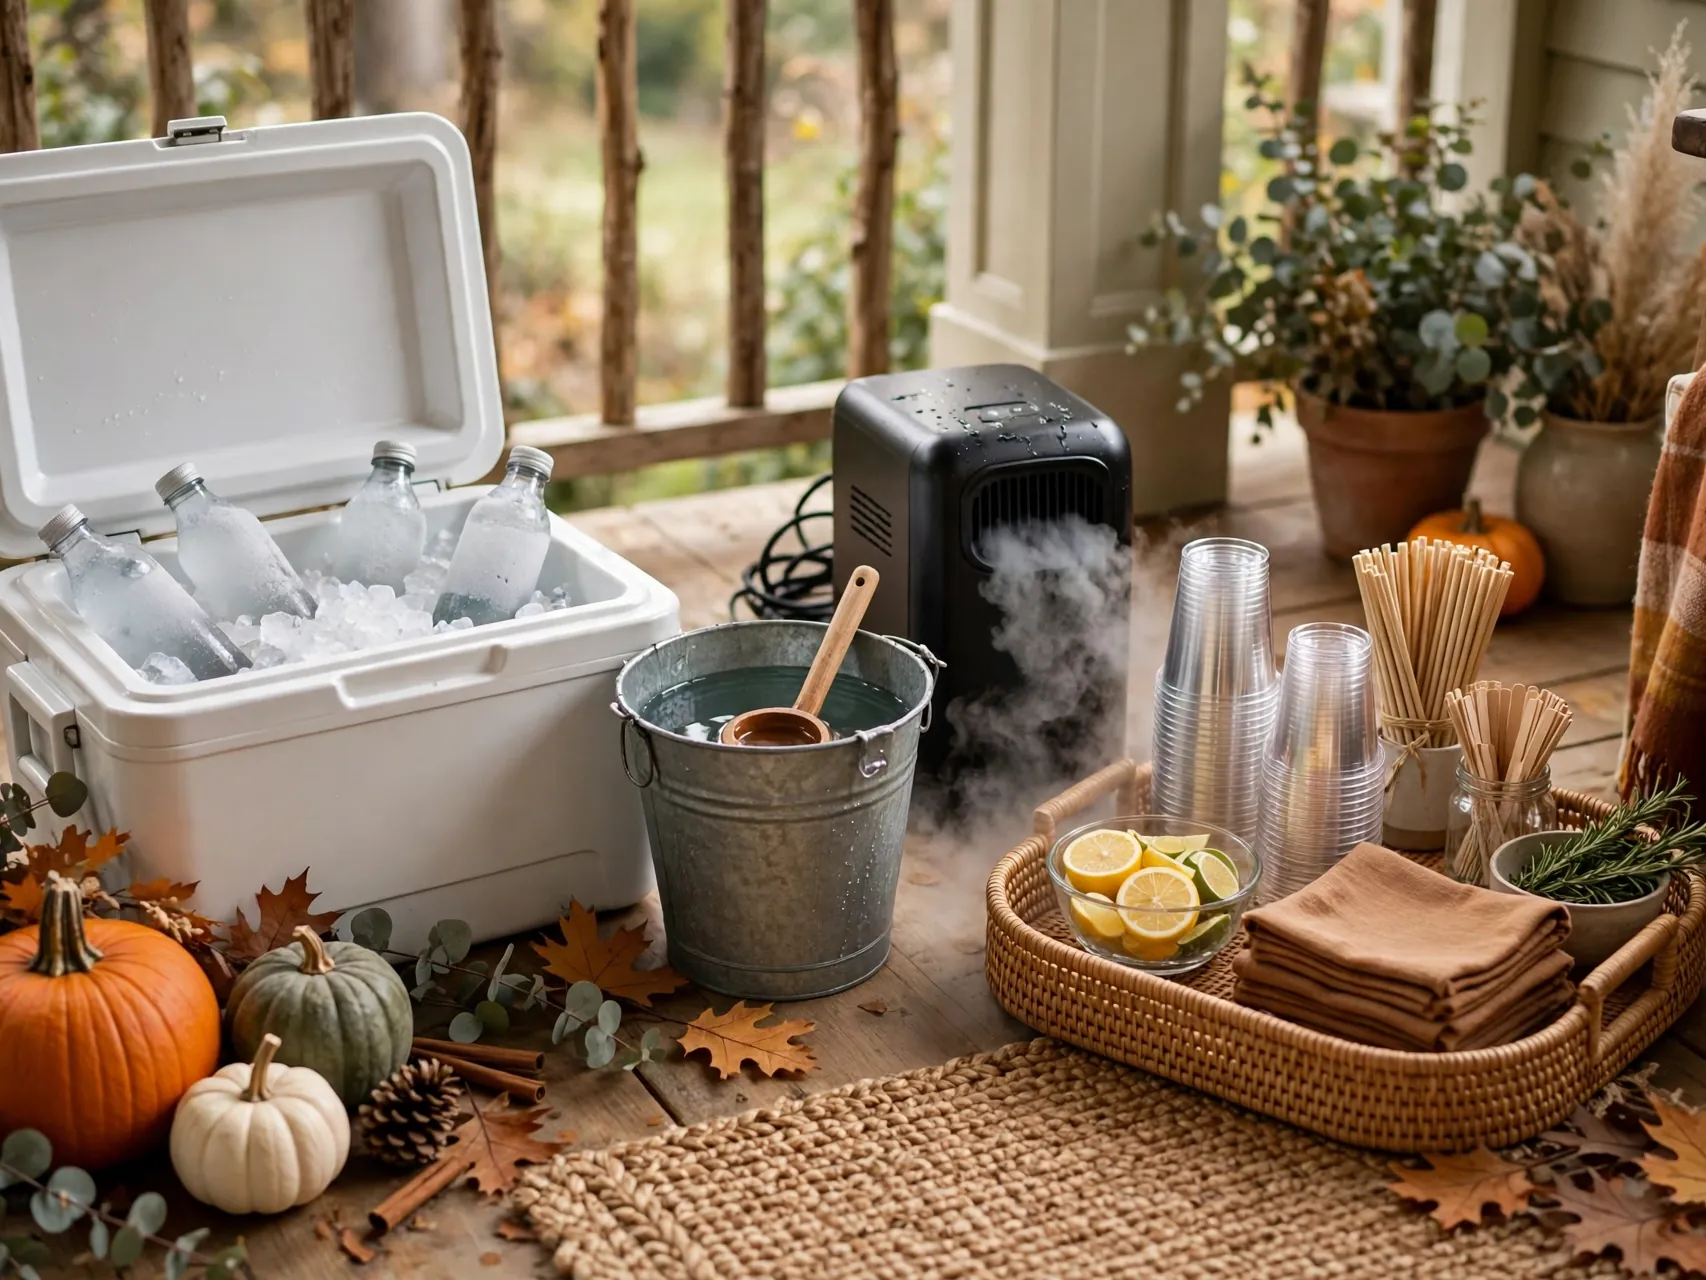
Every low fog method fades on a timer: ice melts, cauldron water cools, mister bowls run low. Set a quiet rhythm during the event, a check every thirty to forty five minutes, and top up ice, warm water, or mister water before the effect visibly dies.
Keep supplies staged nearby but out of the scene, a cooler of backup ice, a kettle of warm water indoors, spare fluid by the machine. Quick, calm refills keep the fog consistent all night, and your guests just see an unbroken, creeping layer that never seems to run out.
20. Do a Full Dress Rehearsal the Night Before

Fog rewards rehearsal like nothing else in Halloween decorating. Run the entire setup the night before at the same hour as your event, with lights on, machine placed, and tubes run, and watch how the fog actually behaves in your exact space and weather.
Adjust heights, move the source, add a border, or change burst timing while there is no audience and no pressure. Photograph the scene to spot thin areas your eyes forgive in person. A rehearsed setup turns party night into pure enjoyment, and your fog rolls in low, thick, and creepy right on cue.
FAQ
How do you make fog stay low to the ground?
Cool it down. Fog stays low when it is colder and heavier than the air around it, which is why every reliable method chills the fog: a low lying machine with ice, a standard machine run through an ice filled chiller, dry ice over warm water, or a fine ultrasonic mister. Still air, low borders, and short bursts then help the cold layer stay where it lands.
Is dry ice fog safe to use at home?
Yes, when handled with care and respect. Use insulated gloves or tongs only and never touch dry ice with bare hands. Use it in well ventilated areas, never store it in an airtight container, never eat it, and keep it away from children and pets. An adult should set up, refresh, and clear away every dry ice display.
Can I make low lying fog without a fog machine?
Yes. A cauldron of warm water with dry ice chunks makes thick, ground hugging fog with no machine at all, and ultrasonic misters make a gentle low mist for small indoor displays. Both need adult setup and supervision, dry ice for its handling rules and misters because they mix water and electricity.
Why does my fog rise instead of staying low?
Warm fog rises, and moving air lifts what cold fog you do make. Check the usual causes in order: no chilling step, a warm room or sunny pavement, a fan, vent, or breeze crossing the scene, or long blasts heating the air. Add a chiller, shield the wind, turn off fans, and switch to short bursts, and most rising fog settles down.
How long does low lying fog last during an event?
Each burst lasts a few minutes in still air, and a maintained setup can run all evening. Ice chillers typically need a top up every hour or so, dry ice cauldrons need warm water and fresh chunks more often, and machines cycle as long as they have fluid and power. A refill rhythm every thirty to forty five minutes keeps the effect steady.
Key Takeaways
- Cold fog sinks: Chilling is the whole secret, through a low lying machine, an ice chiller, dry ice, or a mister, warm fog will always rise.
- Dry ice rules are non negotiable: Gloves or tongs only, never bare hands, good ventilation, never an airtight container, never ingest, and keep it away from children and pets.
- Placement does half the work: Release fog high, let it pour downhill, border the scene low, and hide the machine so fog seems to appear from nowhere.
- Bursts beat blasts: Short, timed bursts with pauses build a calm, thick layer and save fluid and ice all night.
- Protect still air: Fans, vents, and wind shred low fog, so shelter the scene and rehearse the night before to catch problems early.
- Ready to roll fog across your own graveyard? Save this guide to Pinterest and pin your favorite trick to try first.