24 Mini Ghost Crochet Pattern Ideas Too Cute to Resist
Introduction
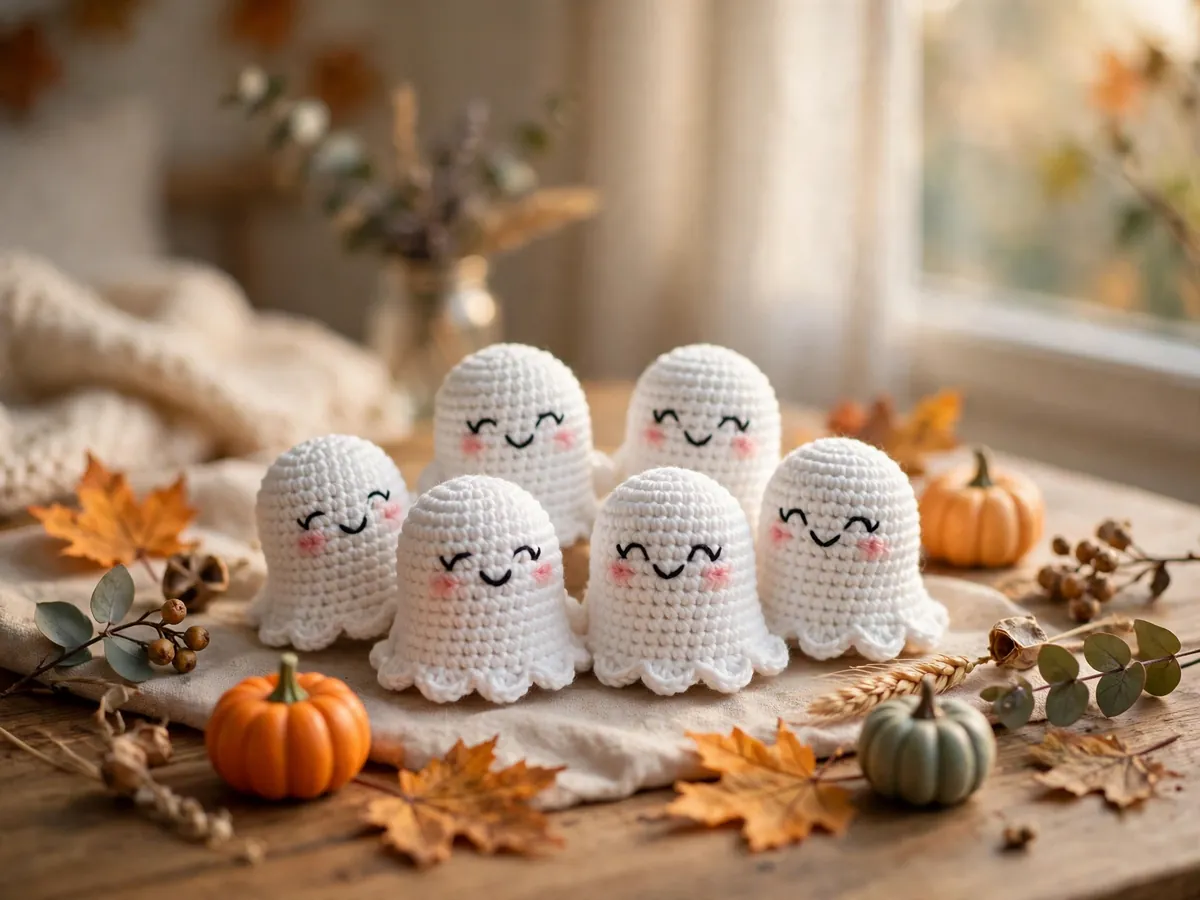
A tiny ghost you can finish in one sitting is the happiest kind of Halloween project. Every mini ghost crochet pattern in this list starts from the same friendly basics: a magic ring, single crochet rounds, simple increases, and a stitched face. Change the yarn, the edge, or the finishing touch and you get a whole new little character.
Most of these minis use worsted weight yarn and a hook a size smaller than the label suggests, so the stitches stay tight and the stuffing stays hidden. Add polyester fiberfill in small pieces, use a stitch marker to track your rounds, and embroider faces whenever a ghost is headed to a child under 3, because safety eyes are not suitable for that age group.
Work one ghost for a keychain, five for a garland, or a whole bowlful for a coffee table. The ideas below move from the simplest classic mini to plush, flat, and gift-ready versions, so you can start where your skills are today.
1. Start With the Classic Top-Down Mini Ghost
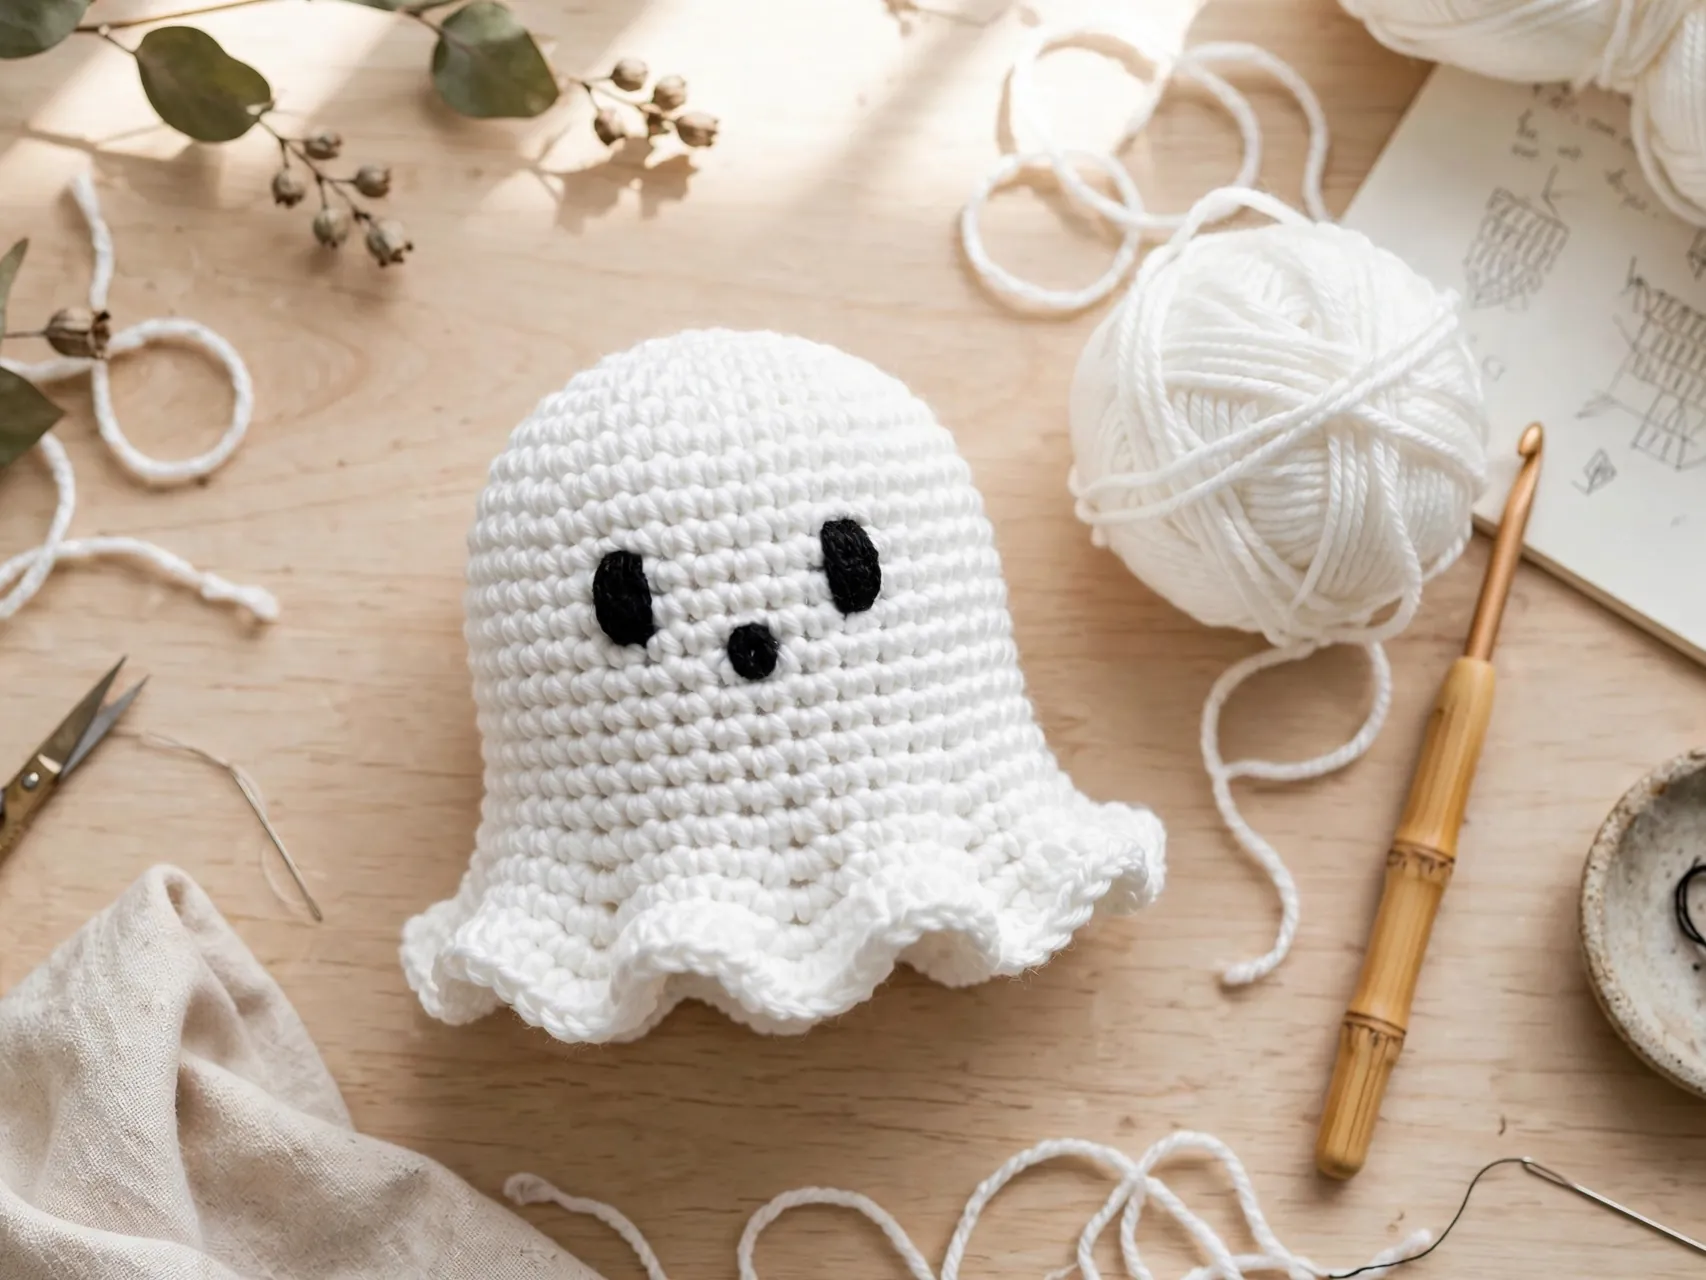
This is the reference mini: worked from the top down in continuous rounds, starting with a magic ring and a few single crochet stitches, then increasing evenly until the head feels round. Work a few plain rounds for the body, add a light pinch of stuffing, and finish with a soft wavy edge.
Embroider two oval eyes and a small round mouth with black yarn before you close the bottom. That stitched face keeps this version friendly for all ages and gives it the handmade charm people save.
2. Make a No-Sew Ghost With Bobble Arms
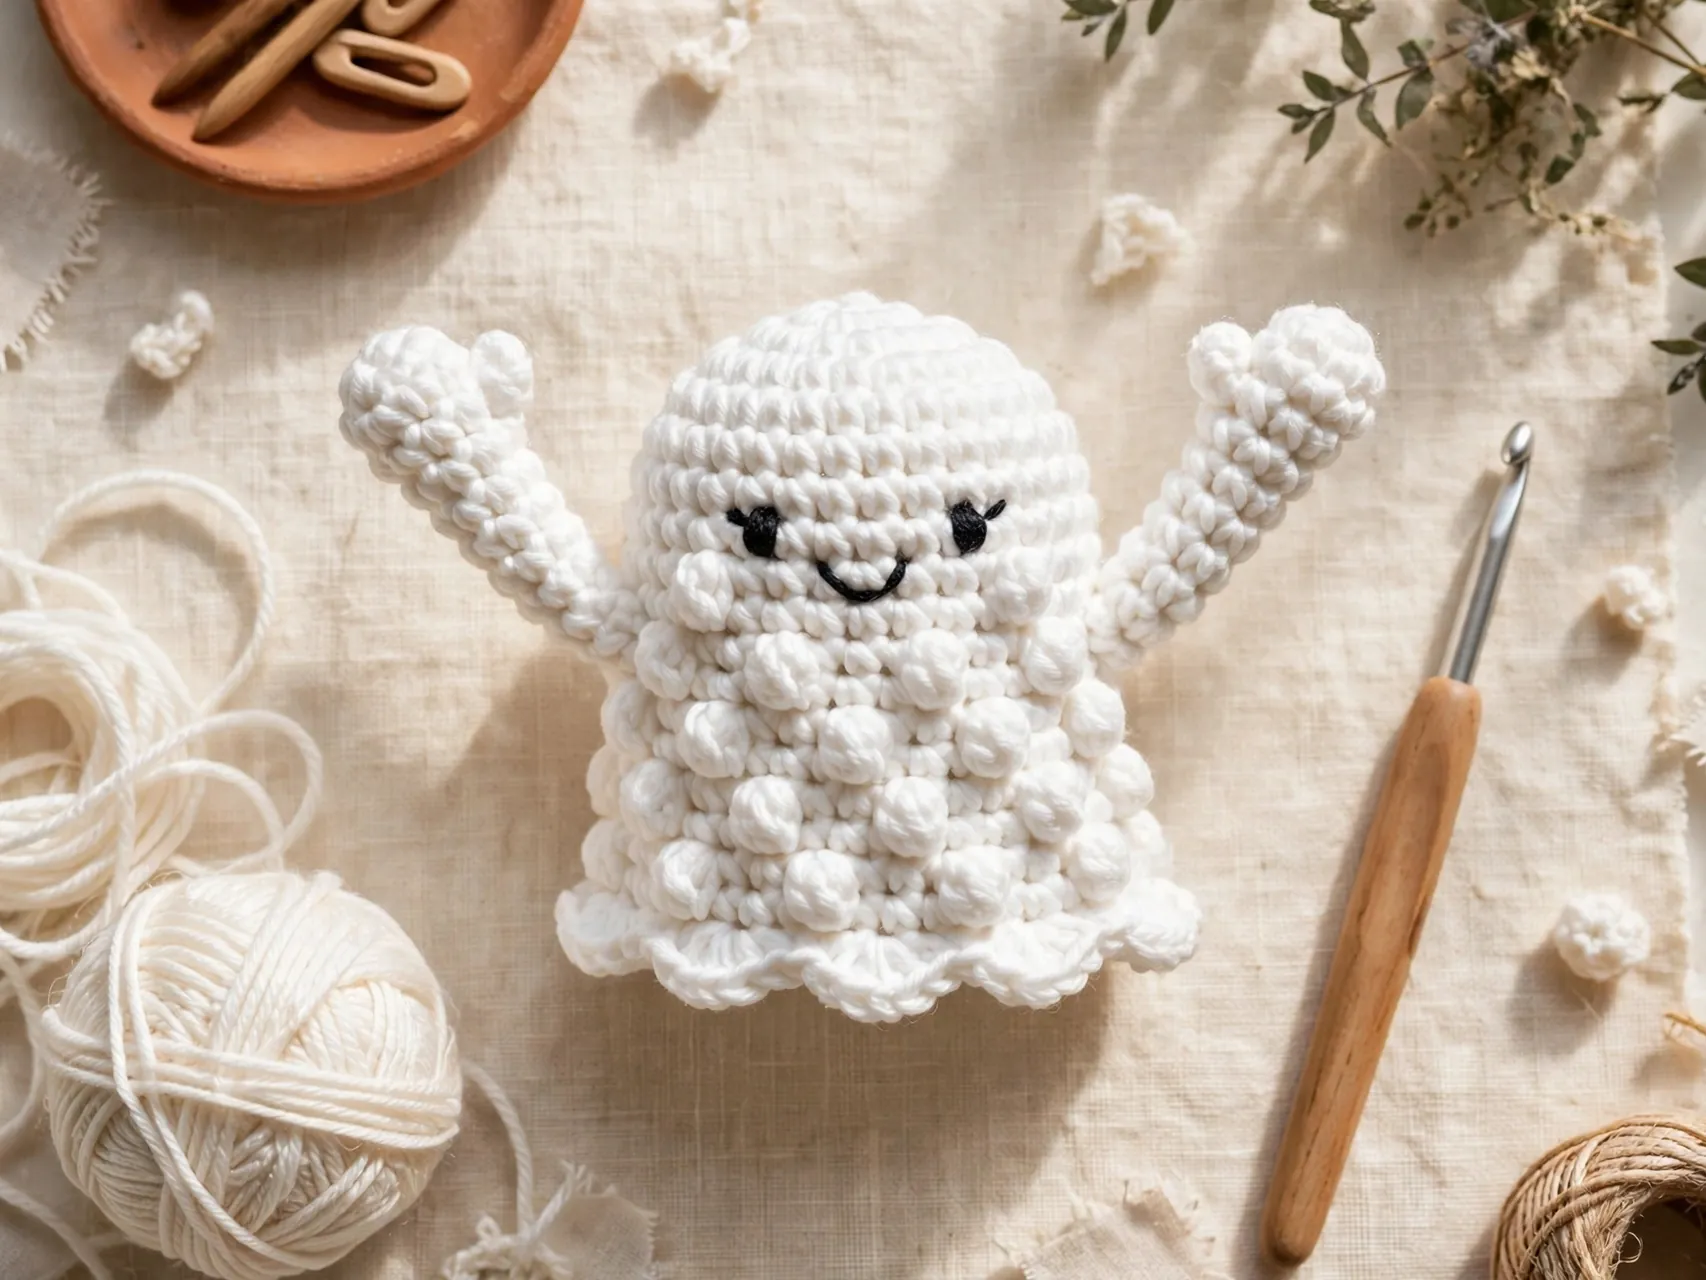
A no sew crochet ghost builds its arms right into the body, so there are no tiny pieces to attach at the end. Work the body in rounds, then add two bobble stitches on one round, one on each side, to form little raised arms that look like they are waving hello.
Bobbles use a few yarn overs into the same stitch, so practice one on a swatch first if they are new to you.
3. Go Plush With Chenille Yarn for a Squishy Ghost
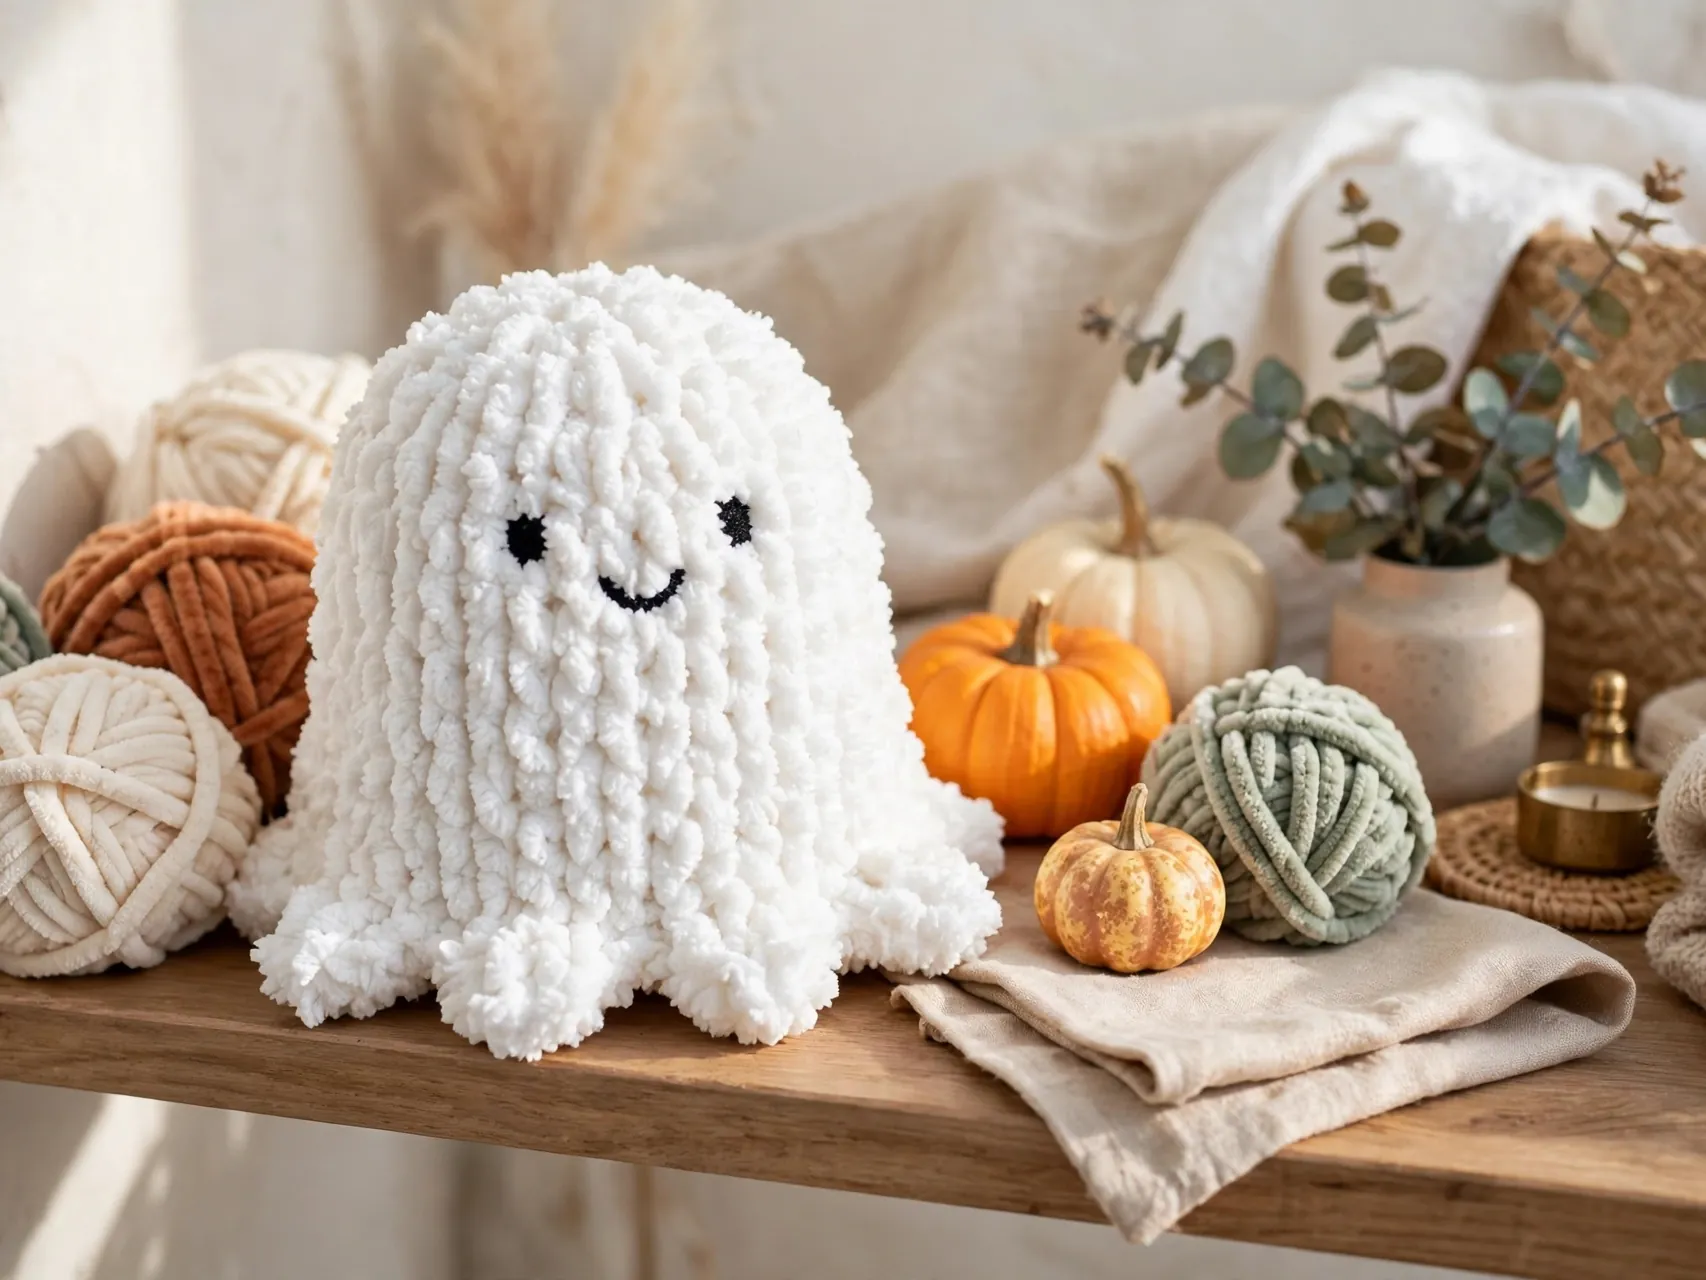
Swap worsted yarn for plush chenille or blanket yarn and the same simple shape turns into a soft, squishy plush. Use a larger hook that still keeps stitches close, and count by feel as well as by sight, because plush yarn hides stitch tops.
Stuff this version a little firmer so it sits up on a shelf, and embroider the face with smooth black yarn that shows against the fuzzy surface. Plush ghosts make sweet desk companions and photo props.
4. Add a Wavy Sheet Edge With Shell Stitches
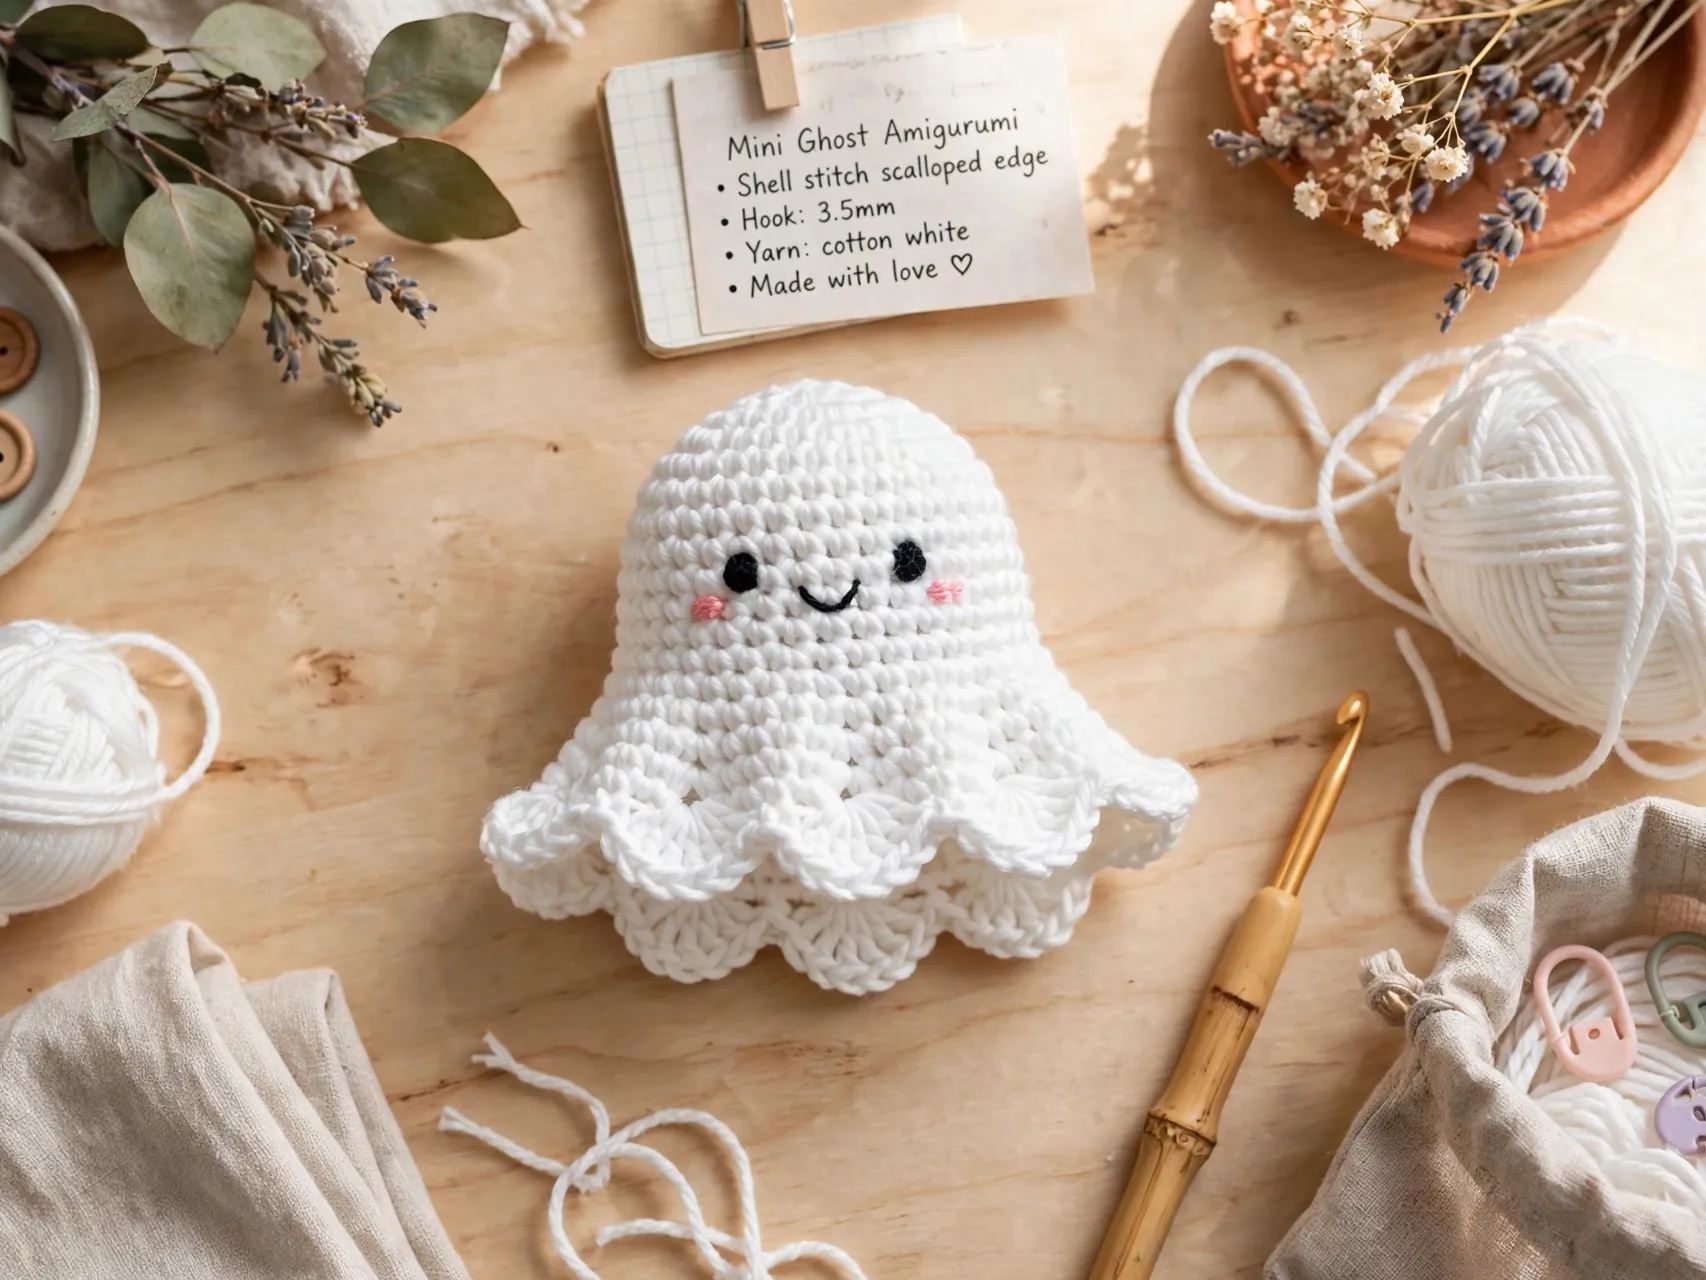
The wavy bottom is what makes a mini ghost read as a floating sheet. On the last round, work small shell stitches, a few double crochets into one stitch, separated by single crochets or slip stitches, so the edge ripples instead of ending flat.
Press the finished ghost gently with your hands to settle the waves, or pin it flat for a few minutes if the edge curls. This edge looks best on slightly taller ghosts, where the body has room to flow.
5. Stitch Rosy Blush Cheeks for Extra Cute
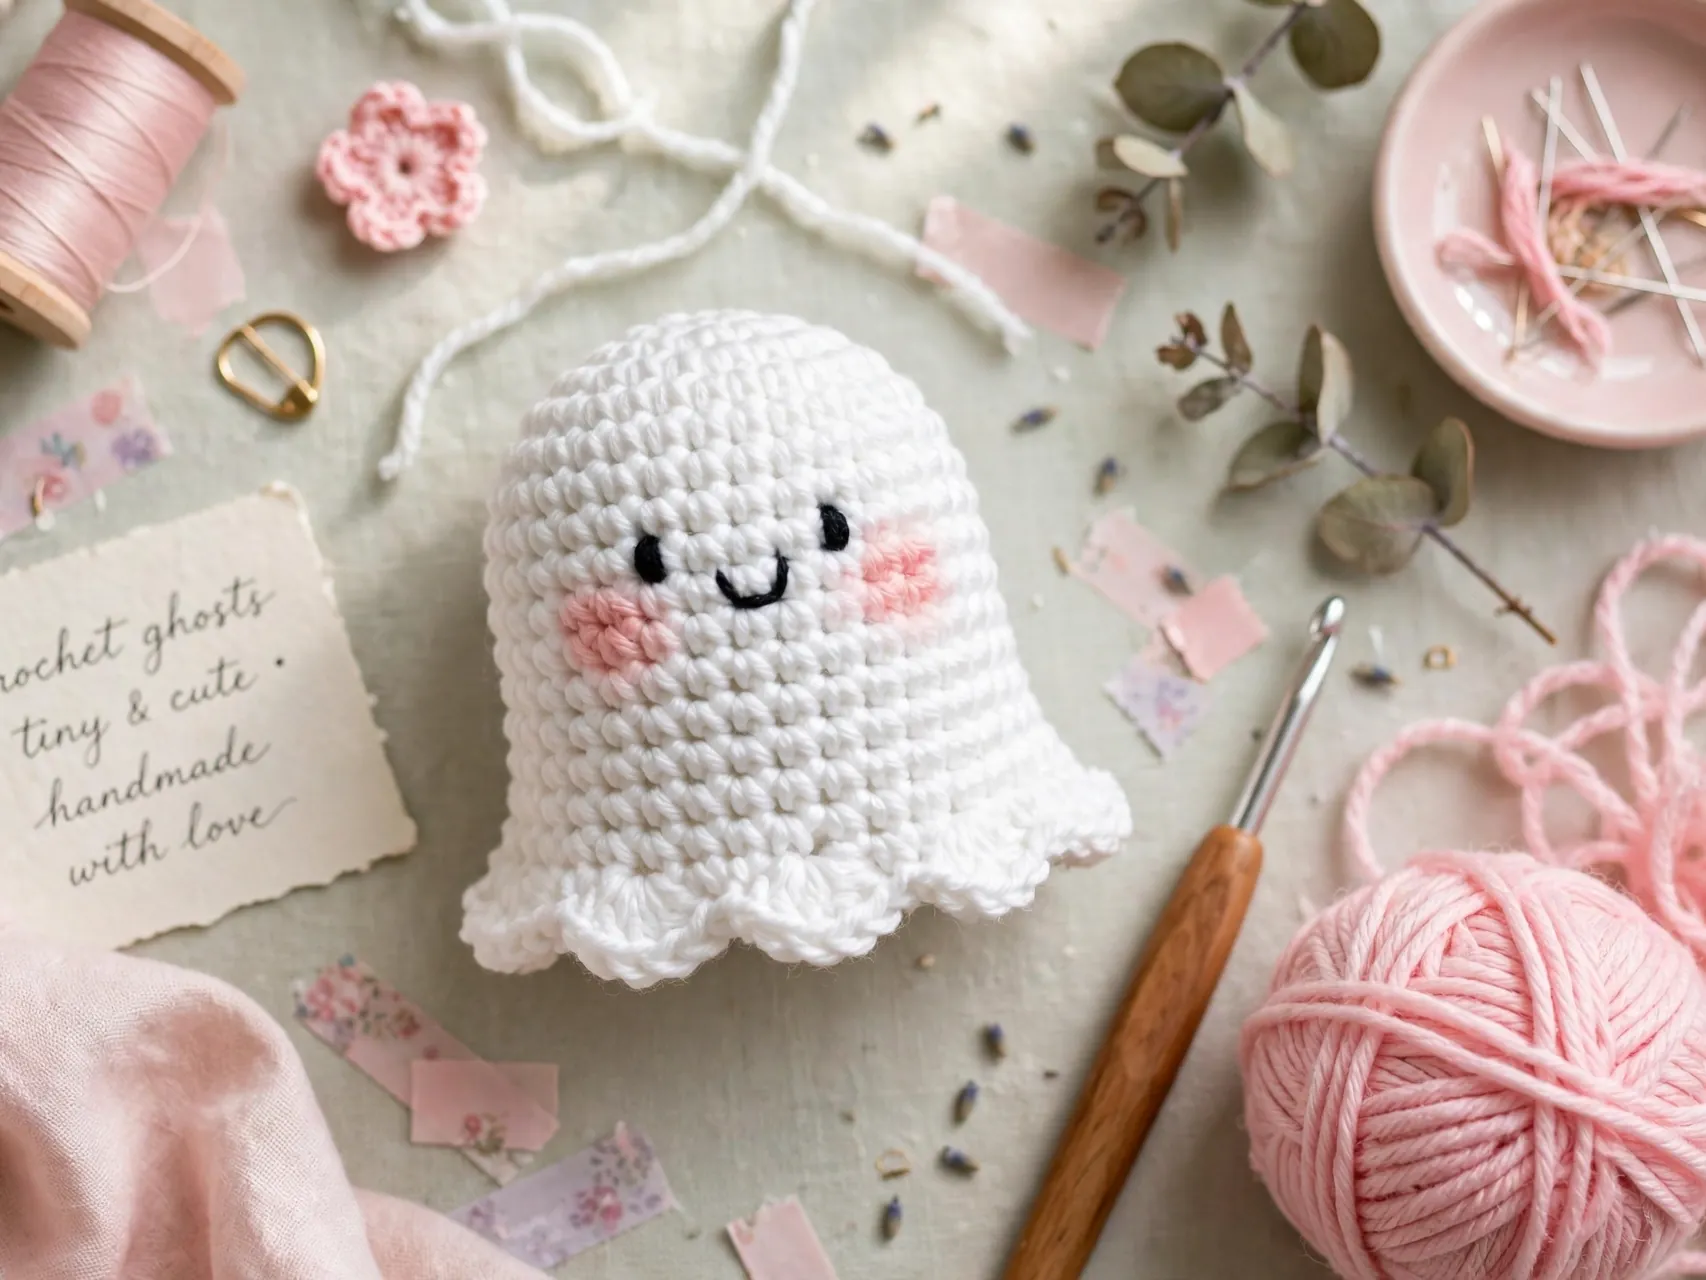
Two tiny pink cheeks turn a plain ghost into the cute-spooky style that fills Halloween boards. Embroider each cheek as a small oval of pink yarn just below and outside the eyes, or work a few short straight stitches in a soft cluster.
Keep the blush small and pale so it reads as a detail, not a costume. Blush pairs well with a tiny smile instead of the classic round mouth.
6. Turn One Ghost Into a Crochet Ghost Keychain
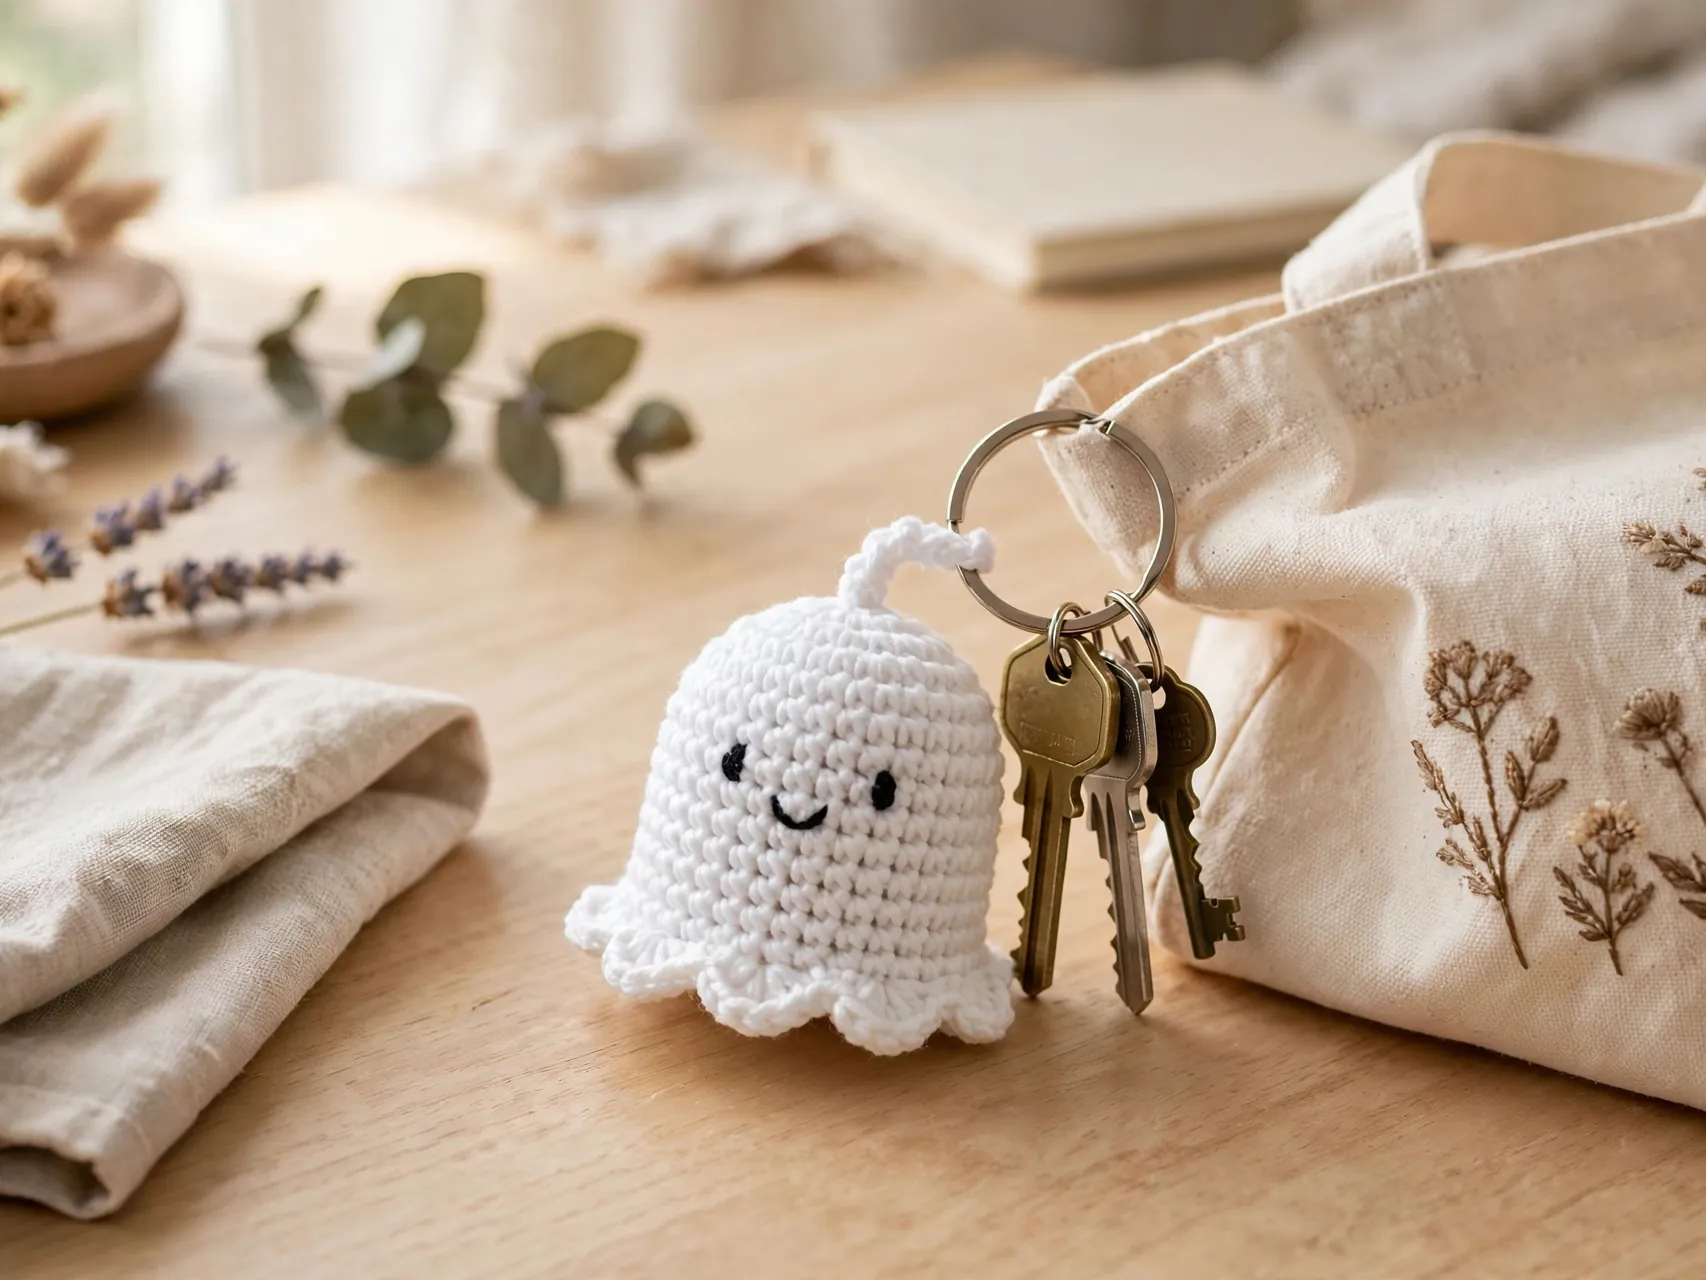
A crochet ghost keychain is the fastest gift on this list. Crochet a small classic ghost, leave a sturdy yarn loop at the top as you finish, and thread a split ring or lobster clasp through that loop. Sew the loop down with a few tight stitches so it cannot pull loose in a bag.
Worsted cotton or acrylic holds its shape best for keychains, and a slightly smaller ghost, around two inches tall, sits neatly beside keys. Add the face with embroidery so nothing can snag or come off during daily use.
7. String a Row of Minis Into a Sweet Garland
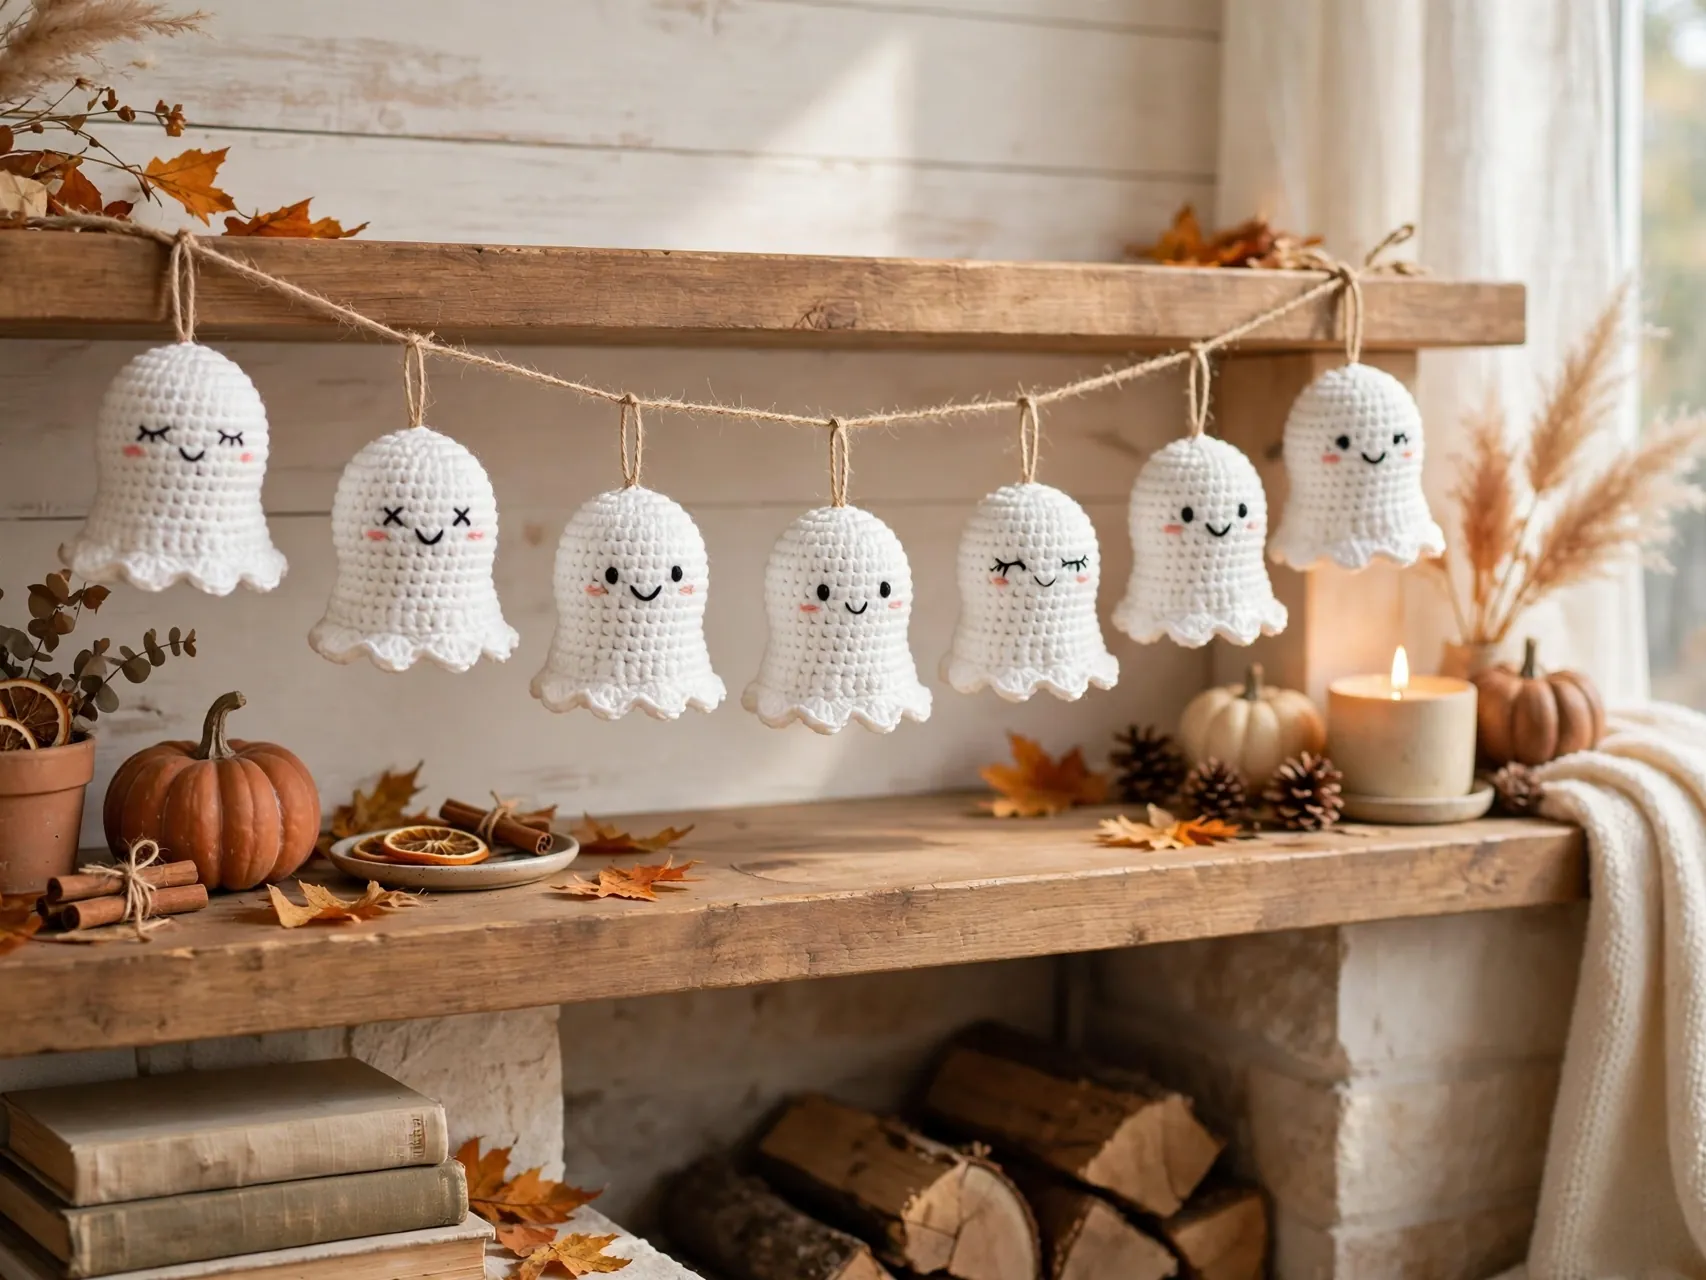
Five to nine mini ghosts on one strand make a garland that suits a mantel, a nursery shelf, or a classroom wall. Crochet a long chain, or use sturdy twine, and attach each ghost by its top loop with even spacing, leaving tails at both ends for hanging.
Mix plain ghosts with one or two blush or bow versions so the row has rhythm without looking busy. Hang garlands out of reach of toddlers and well away from candles and heat sources.
8. Make Flat Ghost Appliques for Cards and Bags
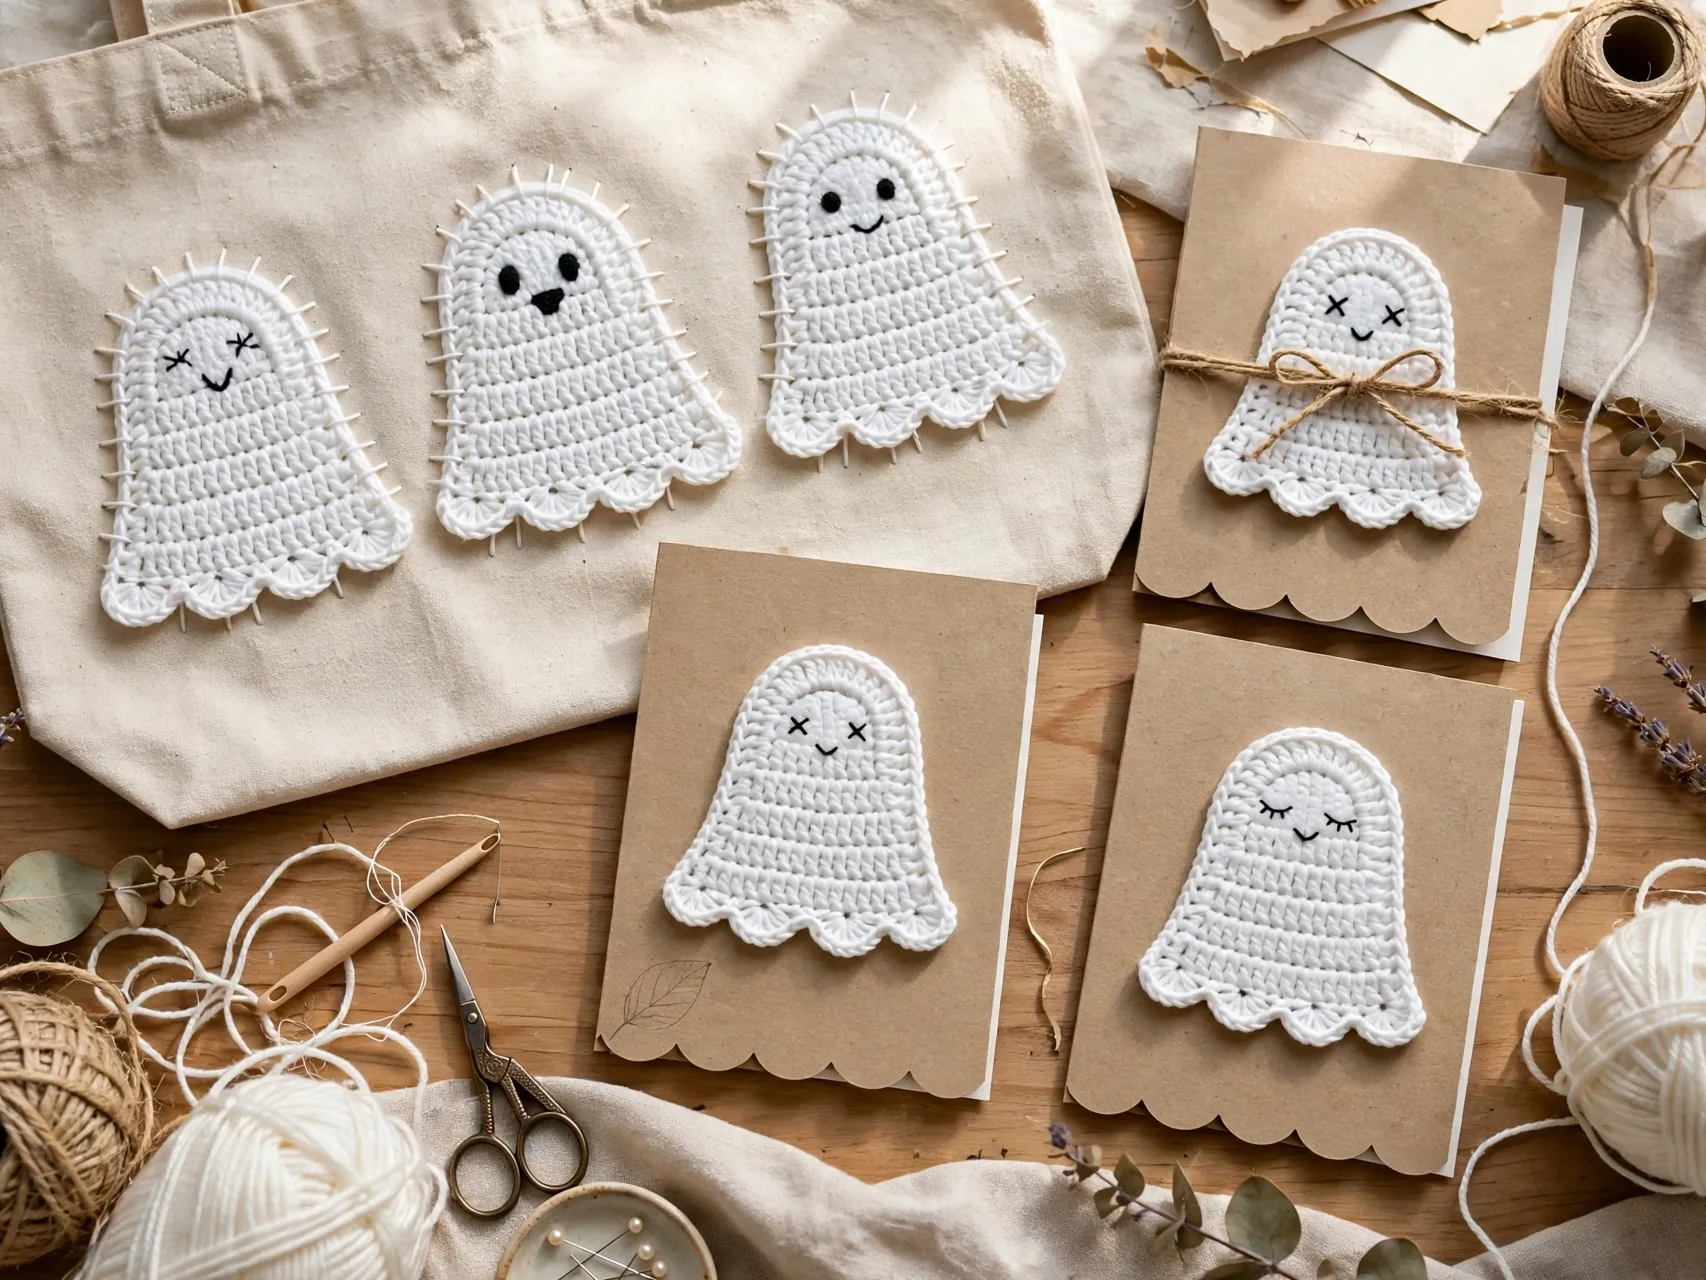
Flat ghosts are worked in rows instead of rounds: a rounded top, straight sides, and a scalloped bottom edge, with no stuffing at all. Because they lie flat, they sew neatly onto tote bags, trick or treat sacks, hats, and handmade Halloween cards.
Use cotton yarn for crisp edges and block the finished applique lightly so it sits smooth before sewing. Embroider the face first, then stitch the ghost down around its edge with matching thread. A set of three in different sizes makes a sweet design climbing up a plain canvas bag.
9. Try a Tiny Ghost in Fingering Yarn for Jewelry Scale
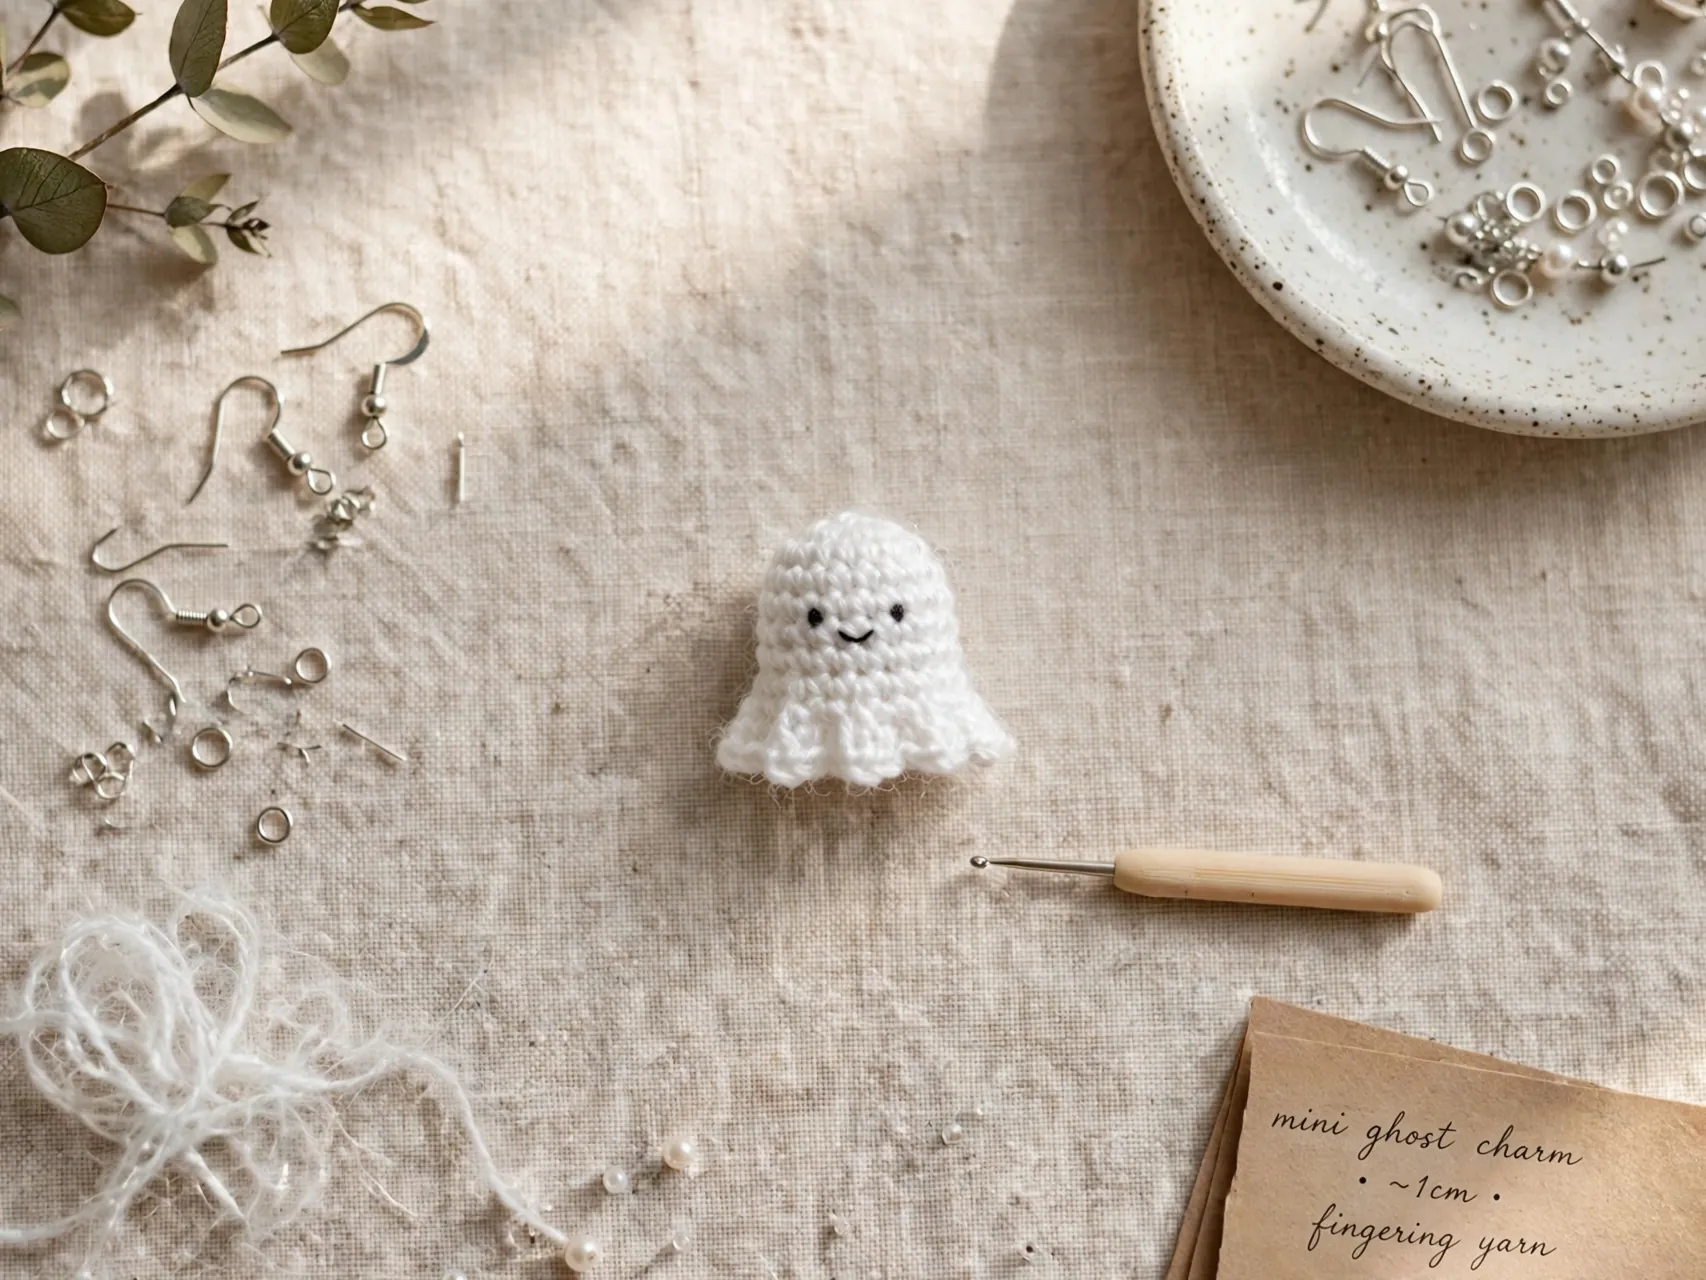
The same pattern in fingering or sport weight yarn shrinks into a charm small enough for earrings, stitch markers, or a zipper pull. Use a small steel or fine hook, keep your tension even, and work under good light, because the stitches are genuinely tiny.
At this size, a single French knot or one embroidery stitch per eye is plenty. Add a jump ring at the top and the charm is done.
10. Crochet a Ghost Granny Square for Blankets and Pillows
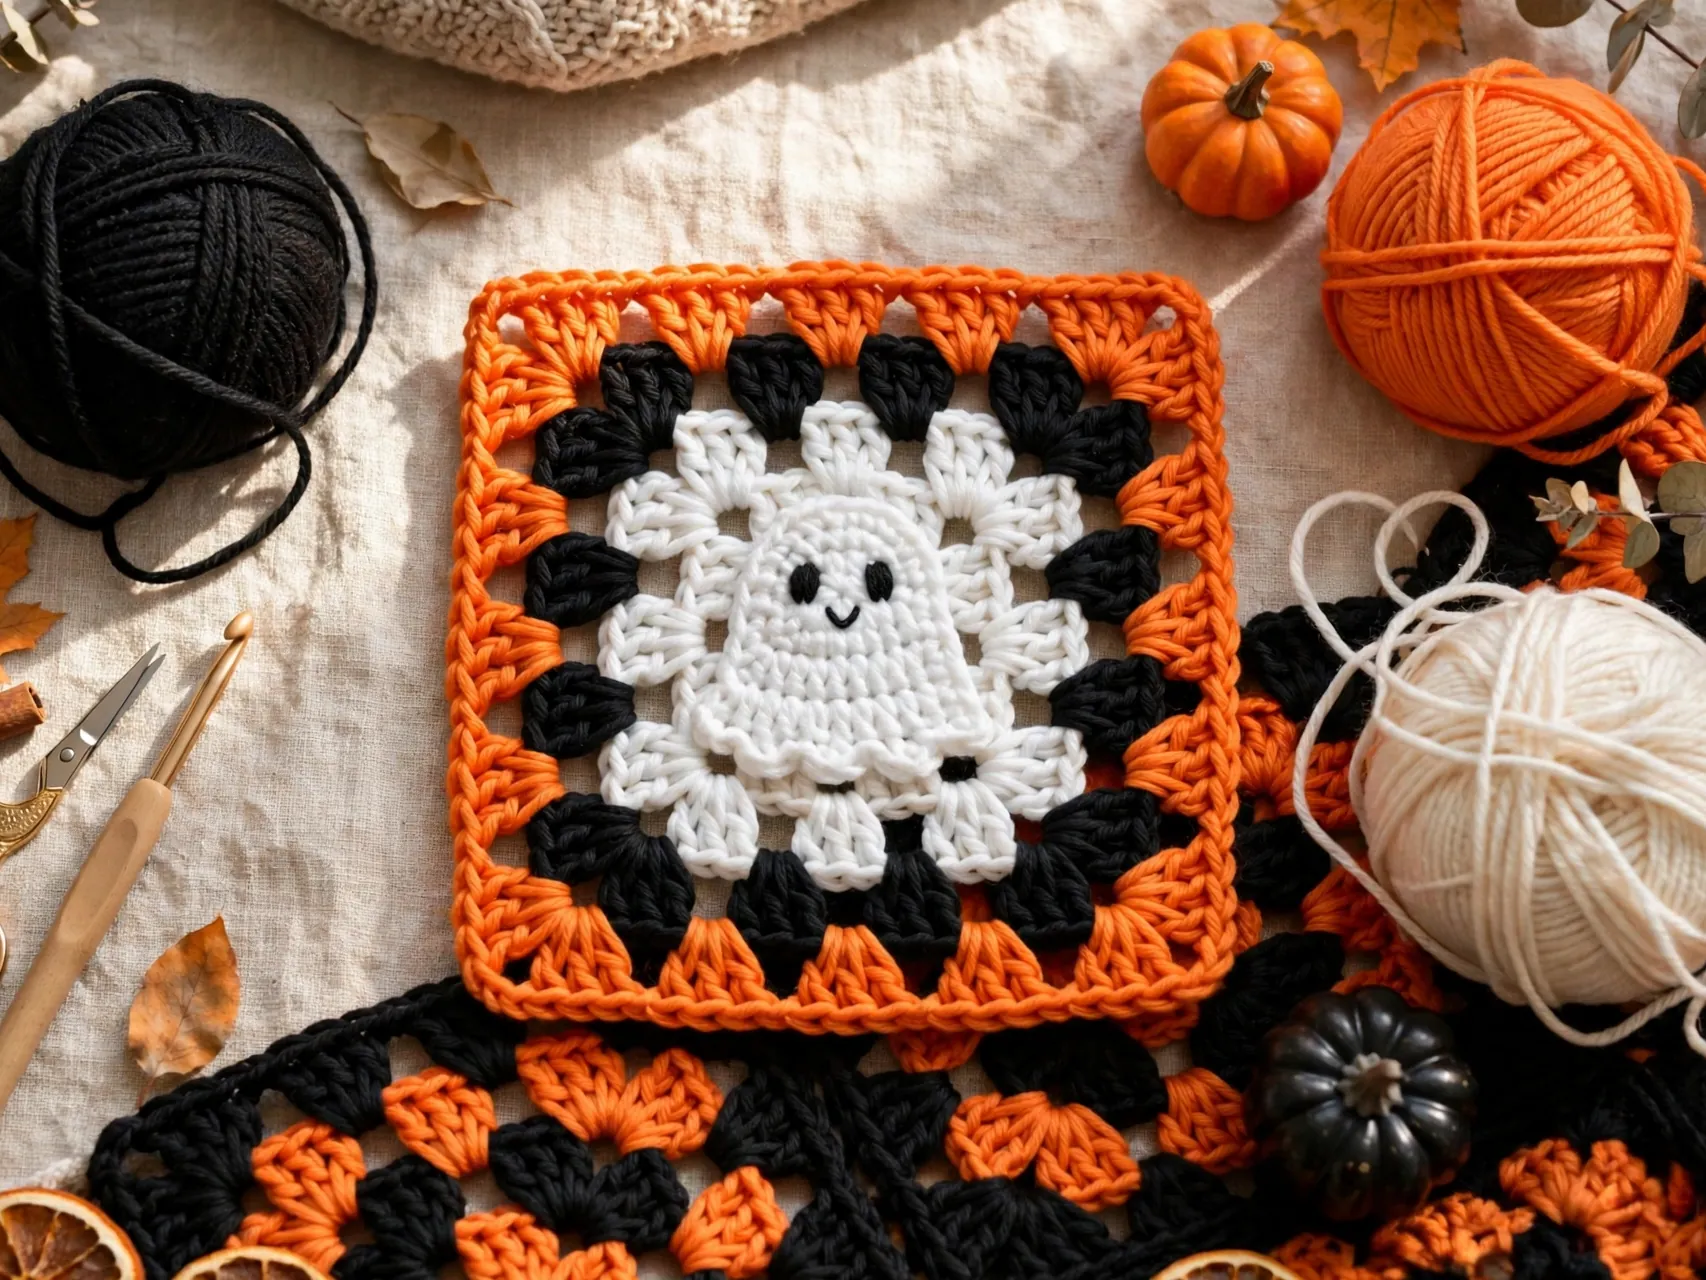
A ghost motif centered in a granny square turns one mini into a whole blanket plan. Work a small flat ghost first, then build square rounds around it in a contrasting color like black, purple, or orange, so the white shape pops.
Join squares with cream or gray yarn for a softer finish. One square alone makes a mug rug or a pillow front, and a grid of them becomes a throw you will pull out every fall. Keep faces embroidered and simple, because the square frame already adds plenty of detail.
11. Add a Mini Witch Hat to One Lucky Ghost
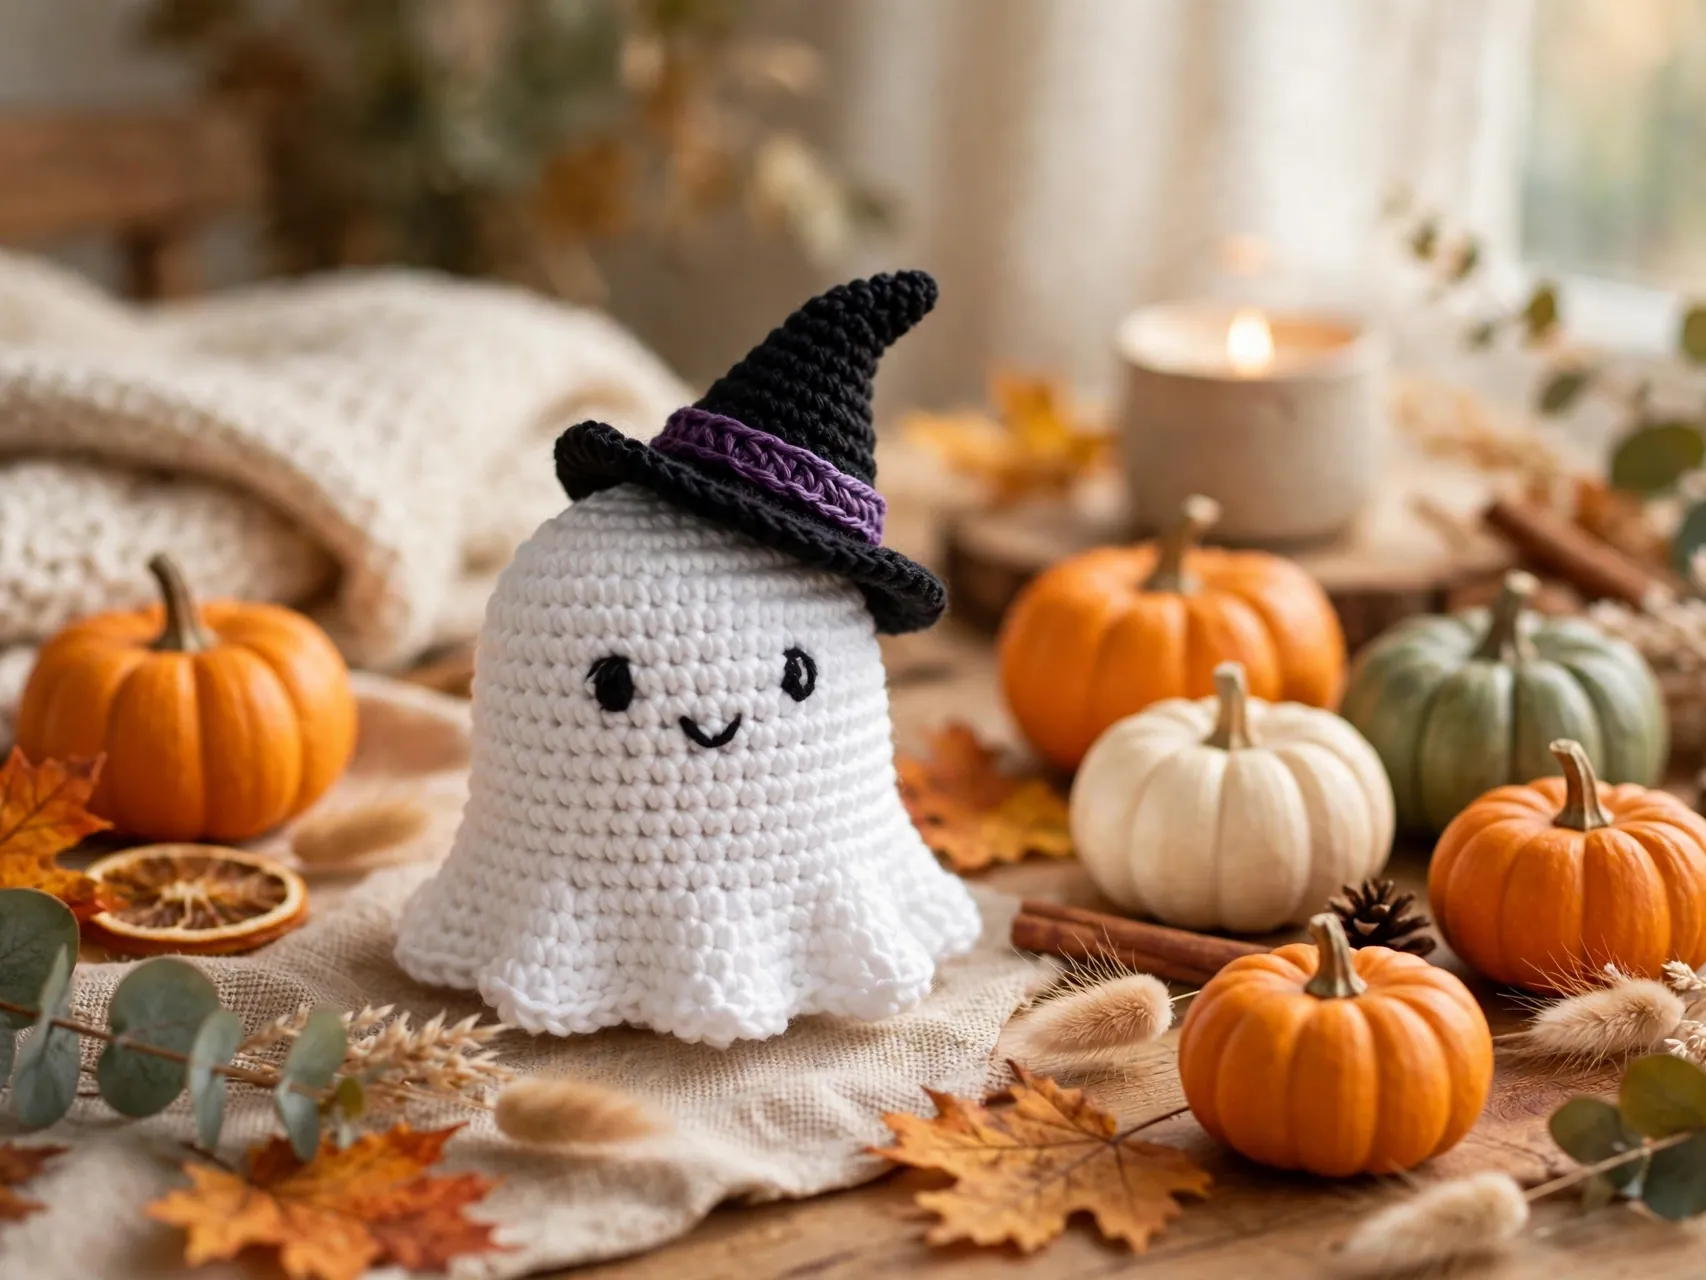
A tiny cone hat changes a ghost from floating to dressed up. Crochet a small black cone starting with a magic ring and slow increases, finish with a flat brim round, and sew it on at a slight tilt. A thin band of purple or orange yarn around the cone sells the whole look.
Tilt is everything here: straight hats look like traffic cones, tilted hats look like characters. Add one hatted ghost to a garland or bowl display as the leader of the group and the whole set feels styled.
12. Make a Ghost With a Tiny Bow Instead

If witch hats feel like a lot, a small bow does the same job in two minutes. Tie a short length of ribbon into a neat bow, or crochet a tiny bow from a small rectangle cinched in the middle, and sew it beside one eye.
Bows in orange, black, or dusty pink let you match a ghost to a nursery, a party theme, or a gift wrap color. This is also the easiest way to mark one ghost as the birthday or guest of honor ghost in a group display.
13. Build a Ghost Family in Three Sizes
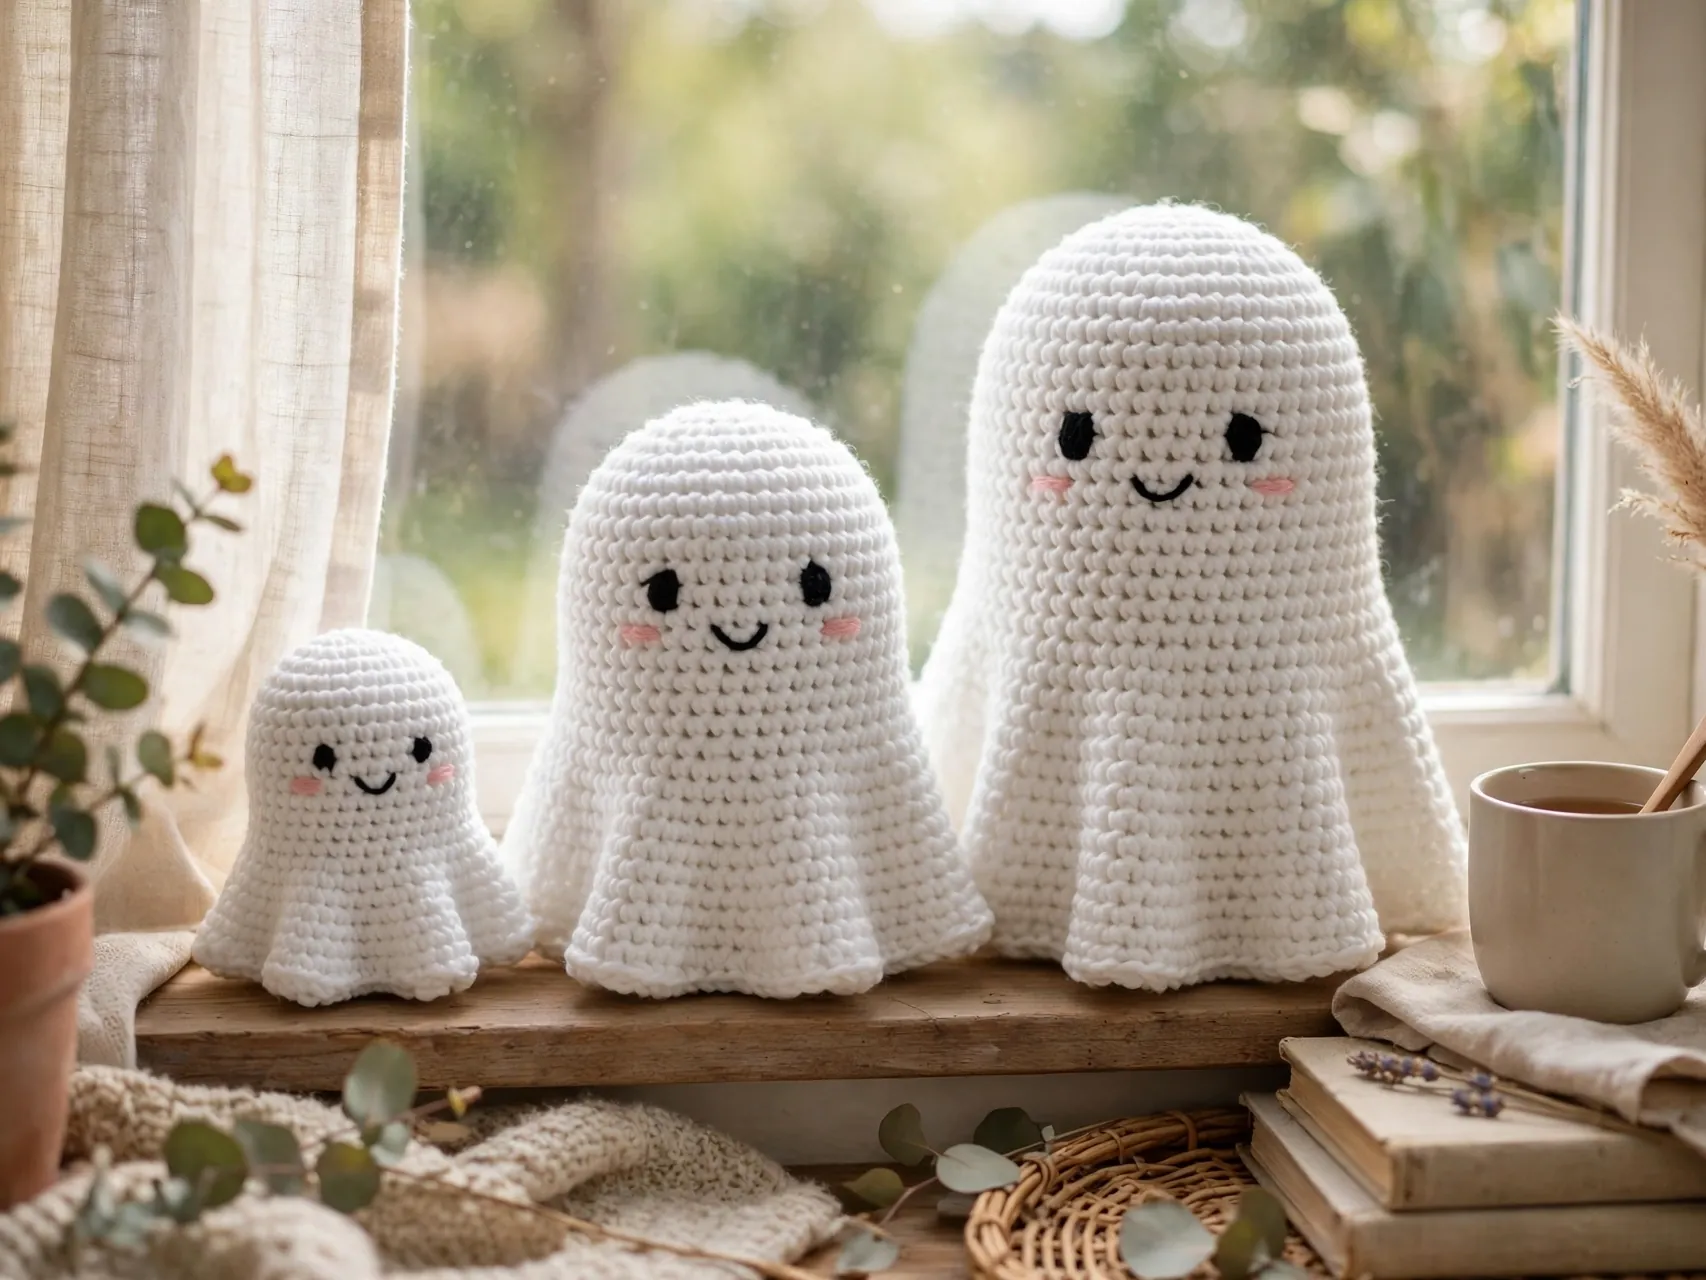
One pattern, three yarn weights, instant family. Work the same ghost in fingering yarn for the baby, worsted for the middle ghost, and plush or bulky yarn for the tallest, keeping the face style identical across all three.
Line them up on a windowsill or mantel step so the size steps read clearly. Families photograph beautifully, which is why they are a Pinterest favorite. They also make a thoughtful gift for new parents or grandparents when you embroider every face and keep all parts stitched, with no small detachable pieces.
14. Fill a Bowl With Mini Ghosts as a Table Centerpiece
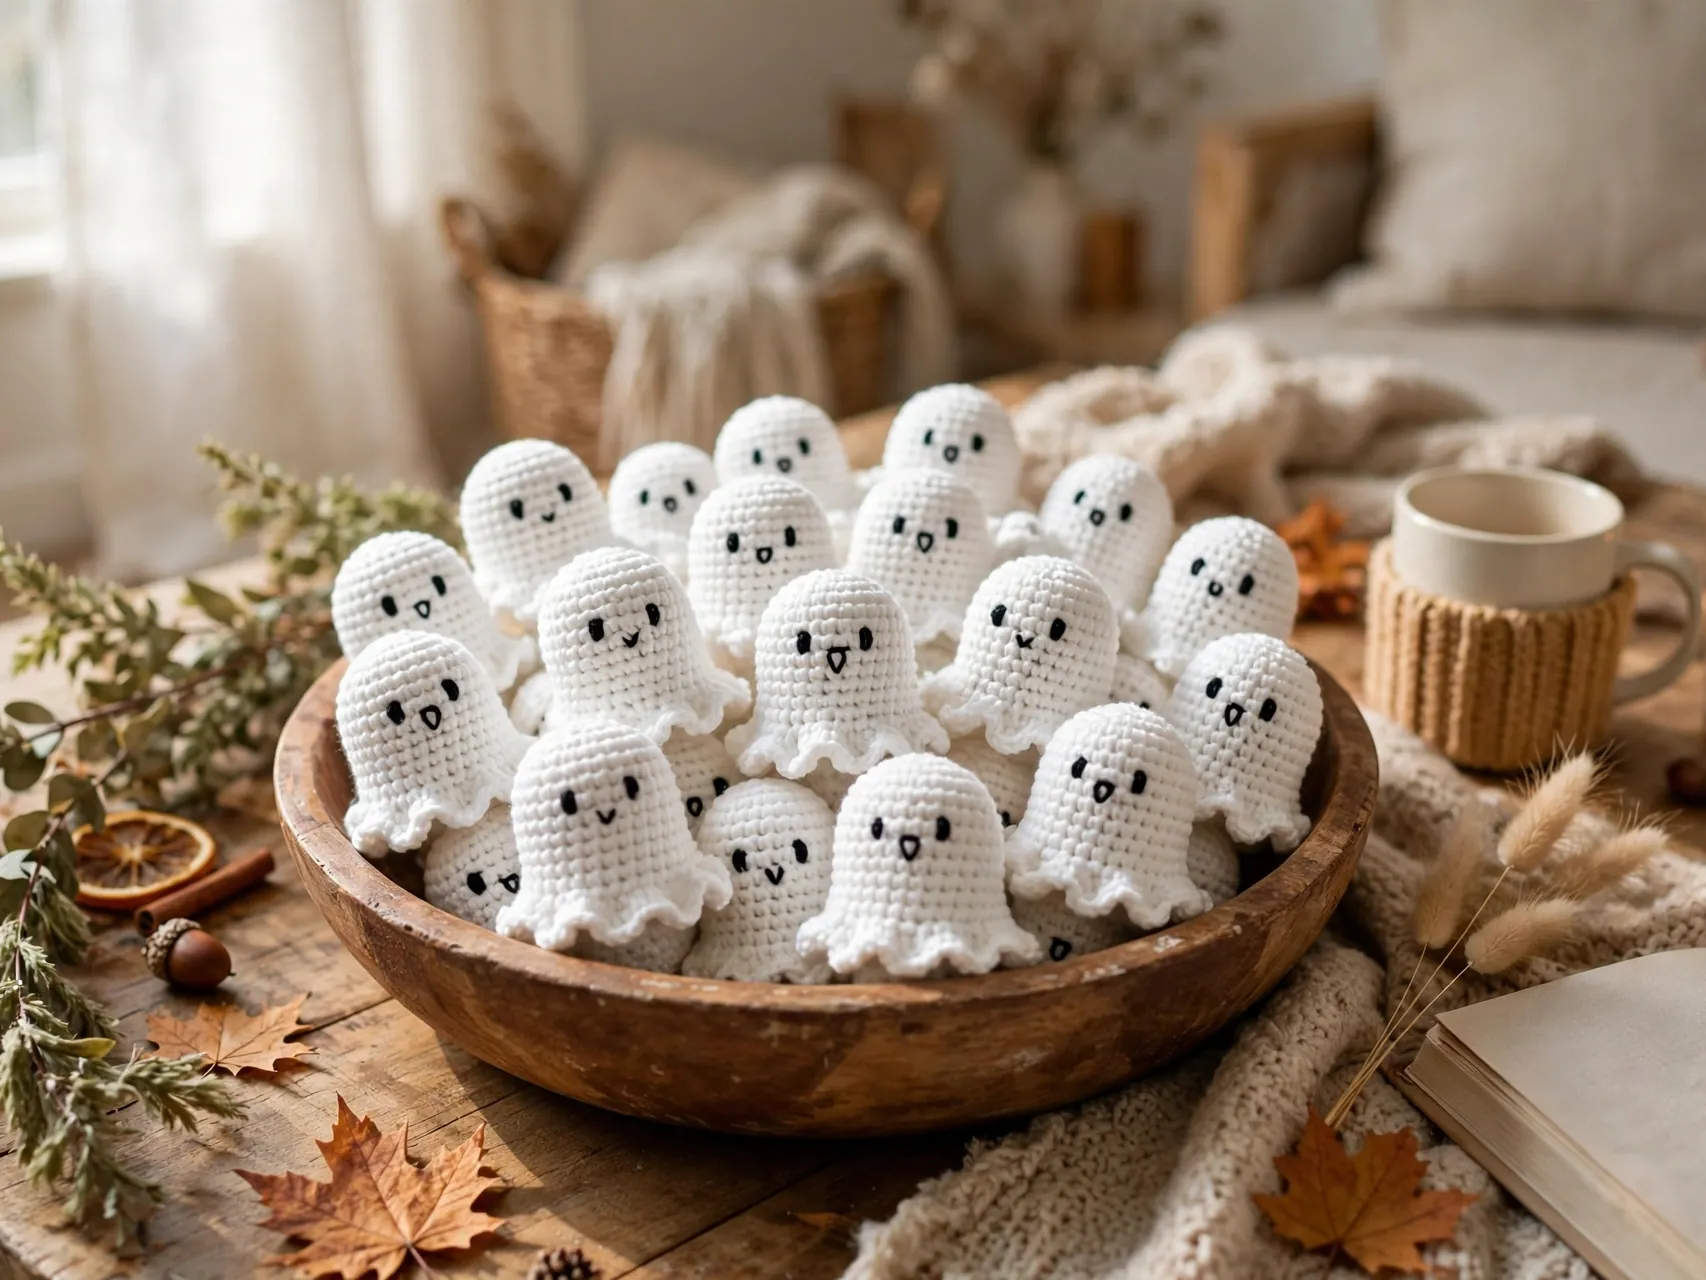
A wooden or ceramic bowl piled with mini ghosts is a centerpiece that takes no arranging at all. Make seven to ten small ghosts in mixed styles, plain, blush, and one with a hat, and tumble them into the bowl with the faces turned outward.
Set the bowl on a coffee table, entry console, or kitchen island. Guests always pick them up, so embroidered faces and firm stitching matter here.
15. Hang Ghost Ornaments on a Halloween Tree
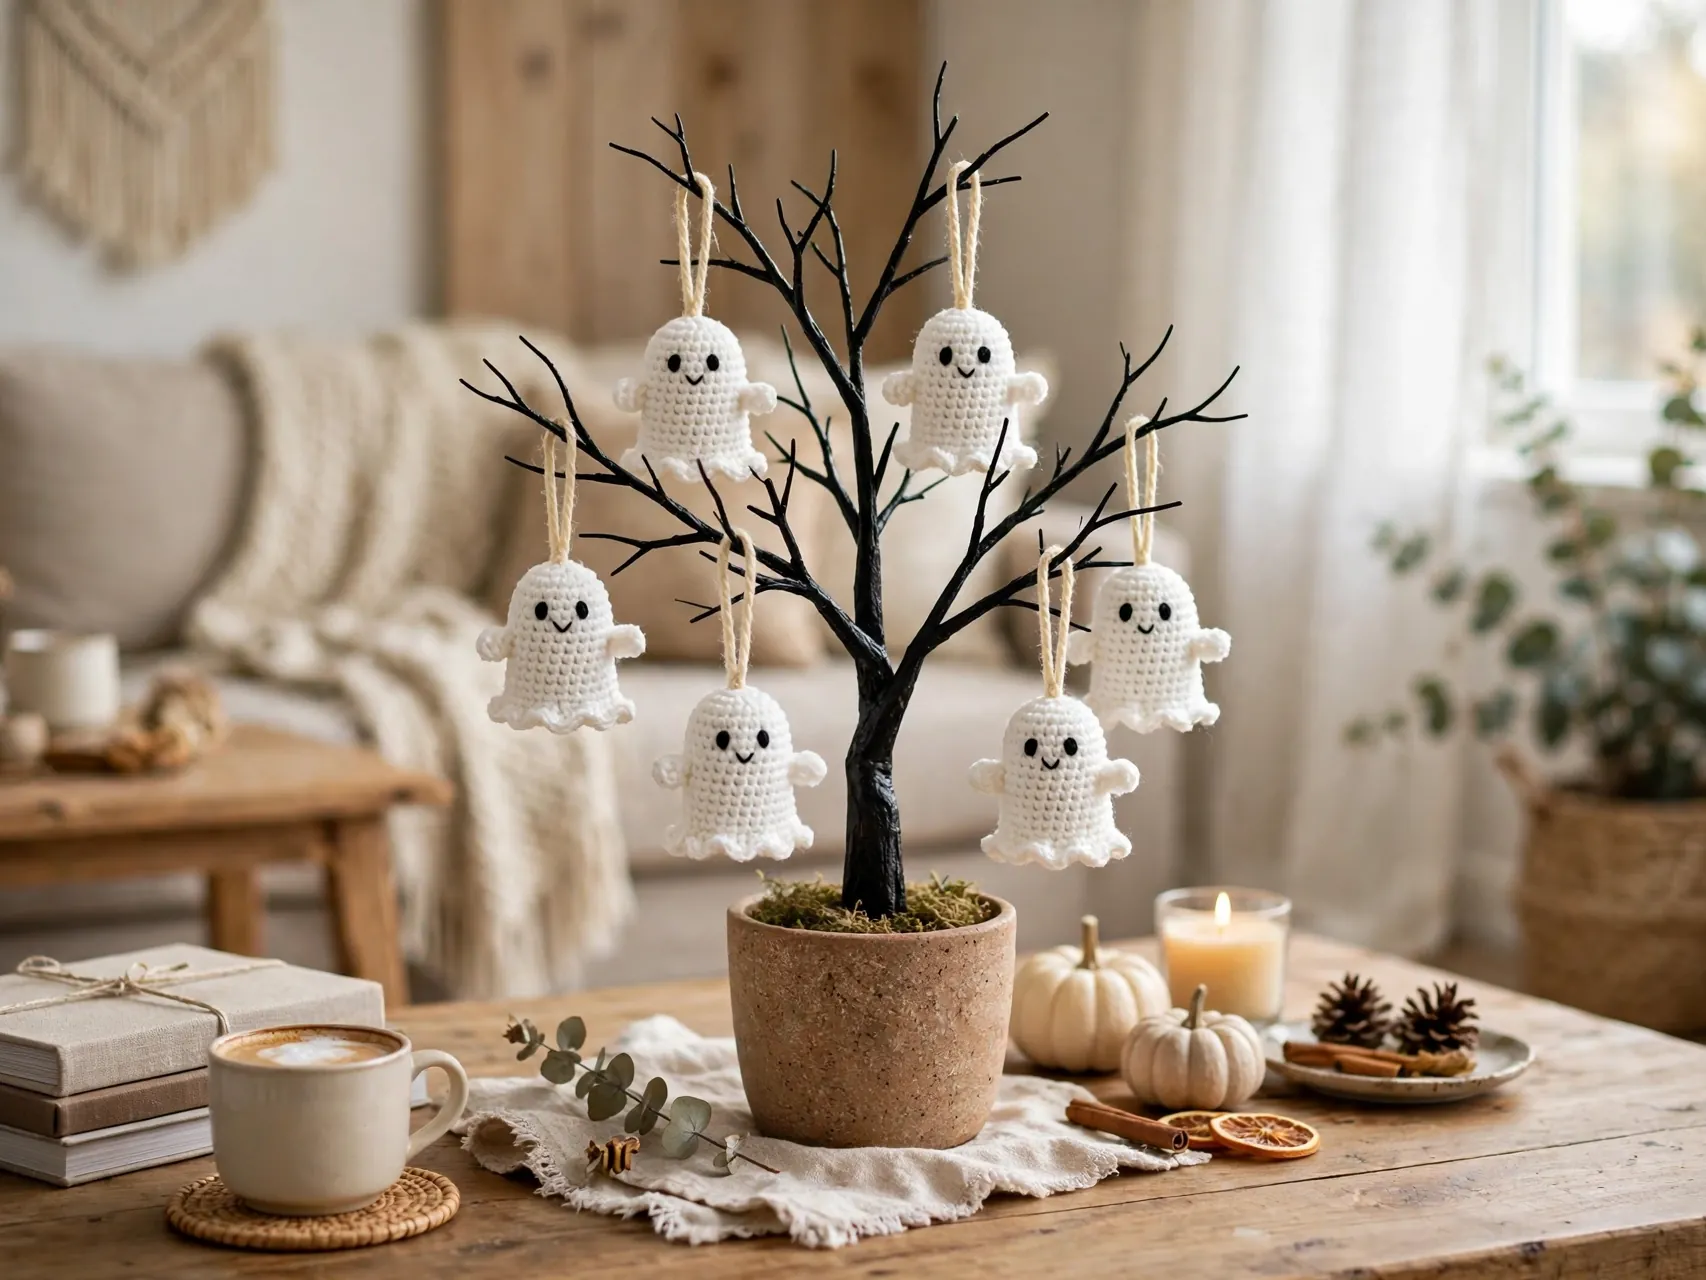
A small tabletop Halloween tree, or even a bare branch in a vase, looks wonderful covered in tiny ghost crochet ornament minis. Add a yarn hanging loop to each ghost as you finish it, and keep the ghosts small and light so branches do not sag.
Alternate ghosts with tiny pumpkins or bats if you have them, or keep the tree all white for a soft, ghostly glow against black and orange decor. Ornaments store in one small box and come out year after year, which makes this a high-reward weekend batch.
16. Make a Sleepy Ghost With Closed Eyes
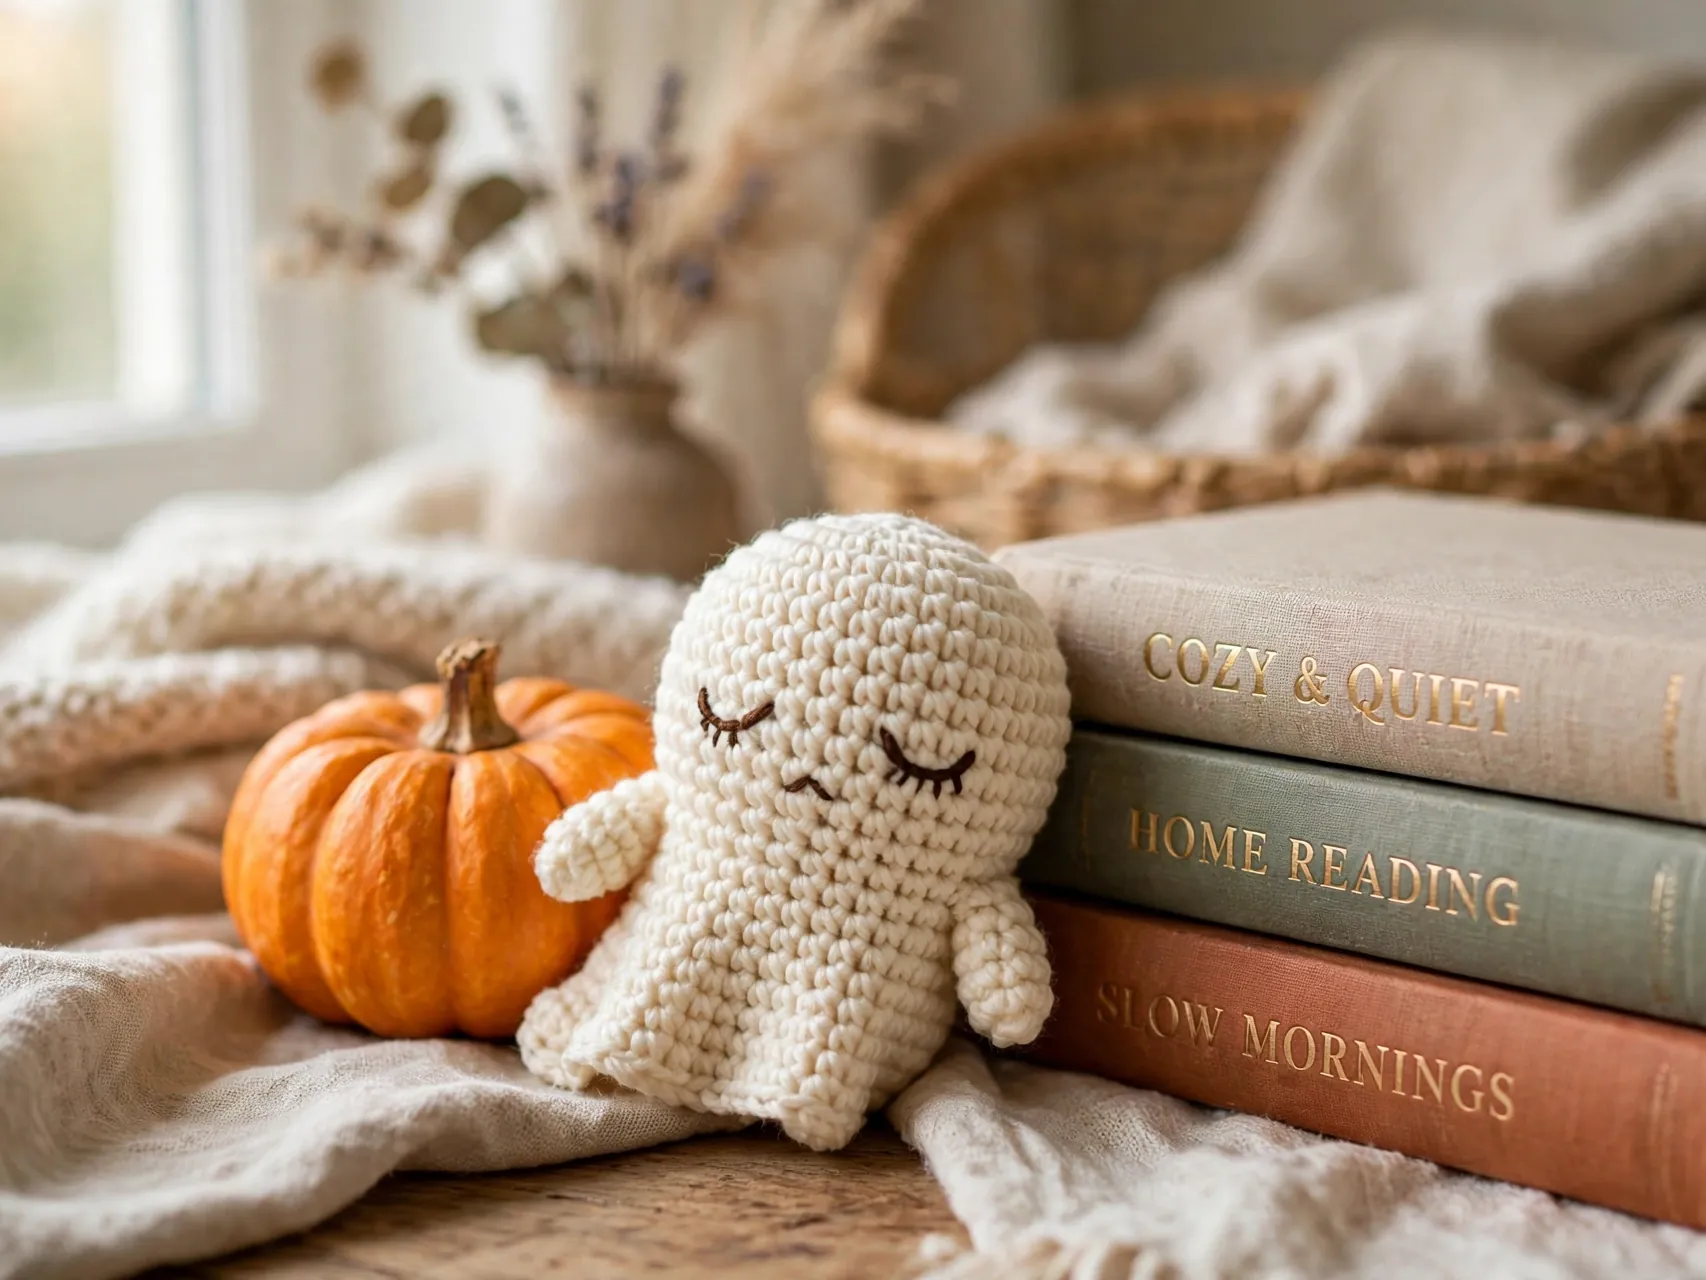
Swap round eyes for two short curved lines and your ghost is suddenly napping. Embroider each closed eye as a gentle downward curve, add a tiny mouth, and lean the ghost against a mini pumpkin or a stack of books for a cozy scene.
Sleepy ghosts suit bedrooms, reading nooks, and nurseries where you want Halloween without the startle. Work this version in cream instead of bright white for an even softer feel. A sleepy face is also the most forgiving embroidery for beginners, because two calm curves are easier than two matching ovals.
17. Crochet a Surprised Ghost With an O Mouth
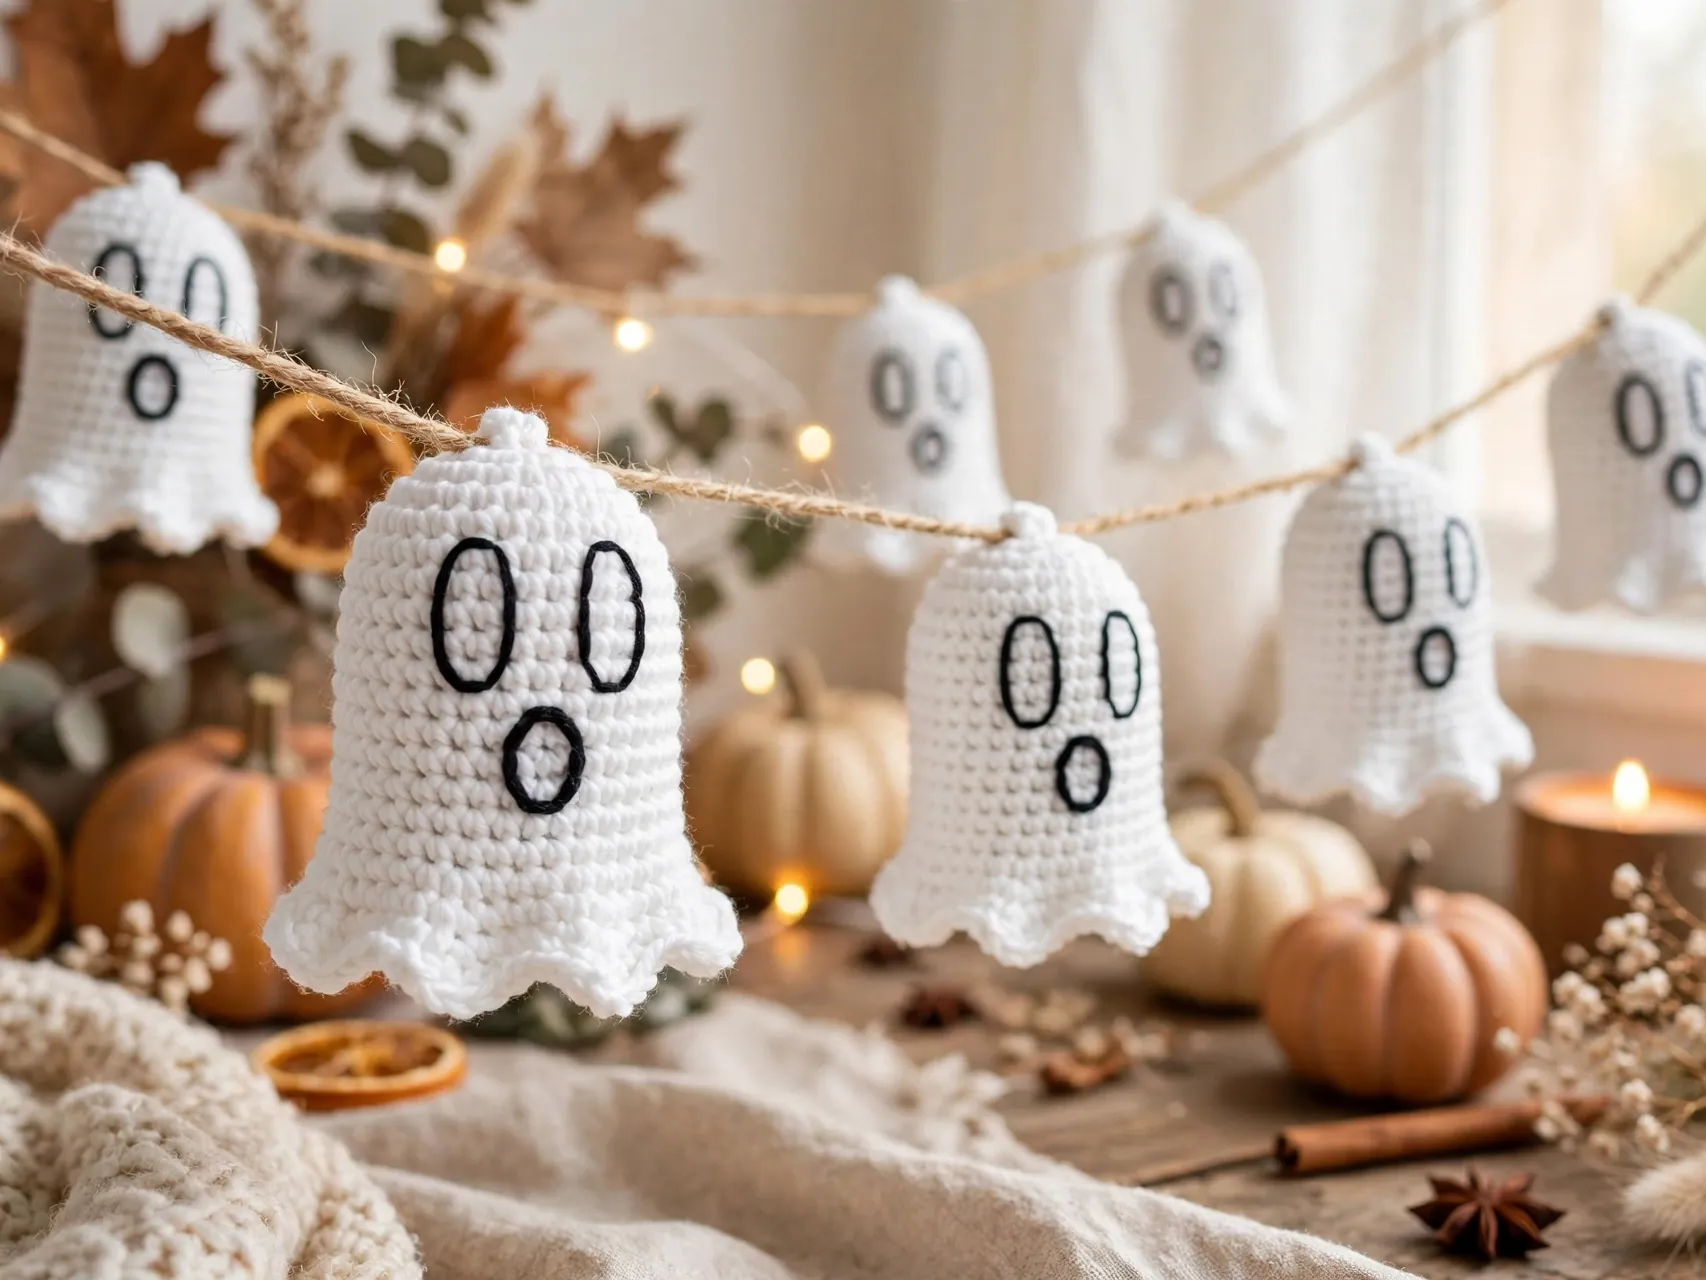
The classic boo face, two tall oval eyes and a round O mouth, is pure cartoon ghost. Embroider the mouth as a small filled oval and place it a little lower than feels natural, which is what creates the surprised look.
This face reads clearly from across a room, so it is the best choice for garlands, wreaths, and door decor. Make a row of surprised ghosts with slightly different mouth sizes and the group looks like a tiny chorus mid-song. Simple, fast, and instantly recognizable at any size.
18. Try a Cream Ghost for a Soft Neutral Fall Look
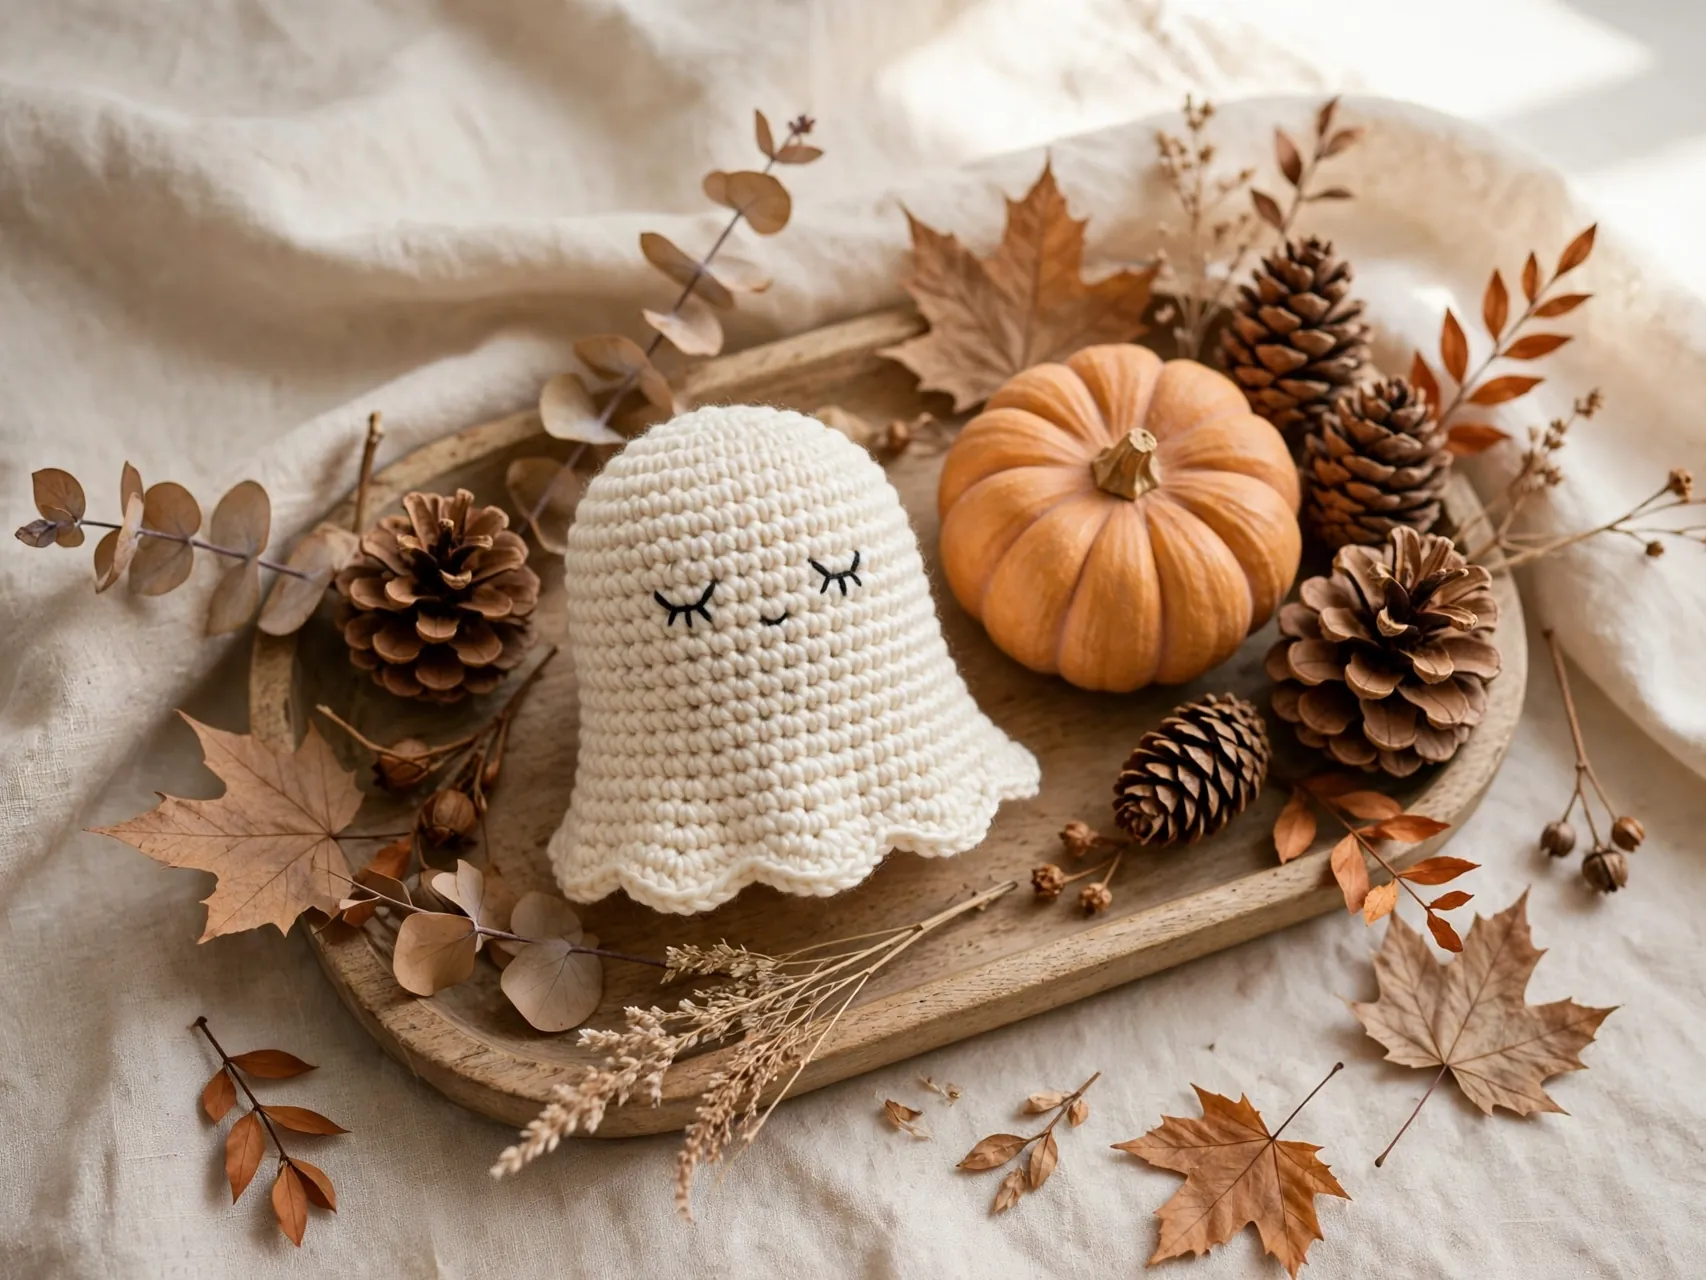
Bright white is classic, but cream and off-white yarn give mini ghosts a calm, neutral fall feel that blends with beige, wood, and linen decor. The face still reads clearly in black or dark brown embroidery.
Style cream ghosts on a tray with pinecones, a small pumpkin, and dried leaves for a coffee table vignette that lasts past Halloween into November. This palette is a good bridge if your home leans neutral and bright orange decor never quite fits. One yarn change, completely different mood.
19. Add a Pastel Ghost for a Sweet Modern Halloween
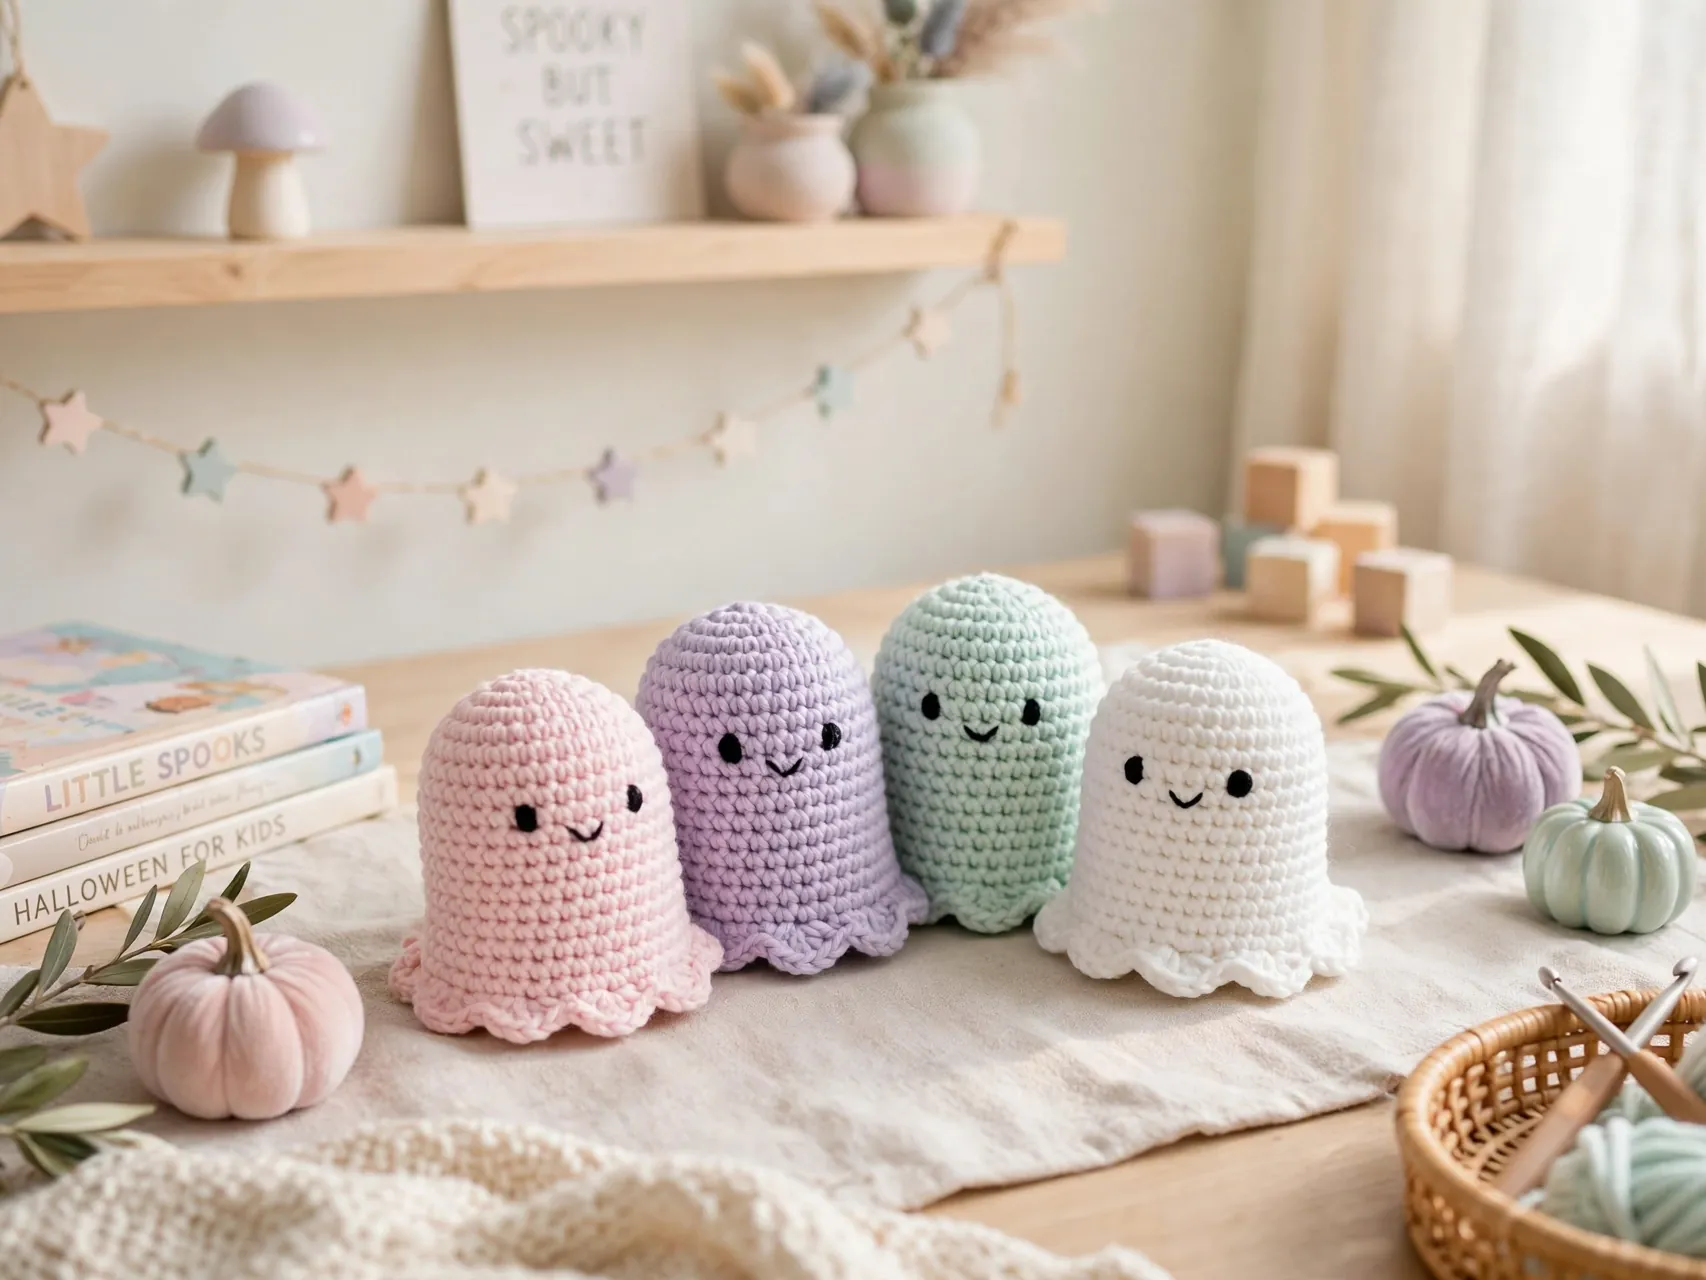
Pale pink, lavender, and soft mint ghosts are the modern Halloween palette, and minis are the easiest way to try it. The shape stays the same, only the yarn color changes, and a white or cream face outline keeps features visible on colored yarn.
Group three pastel ghosts with one classic white ghost so the set still reads as Halloween. These are especially popular for kids rooms and sweet party decor. Embroider faces in dark gray instead of black for a gentler contrast on pale yarn.
20. Make a Ghost Book Buddy That Peeks Over Pages
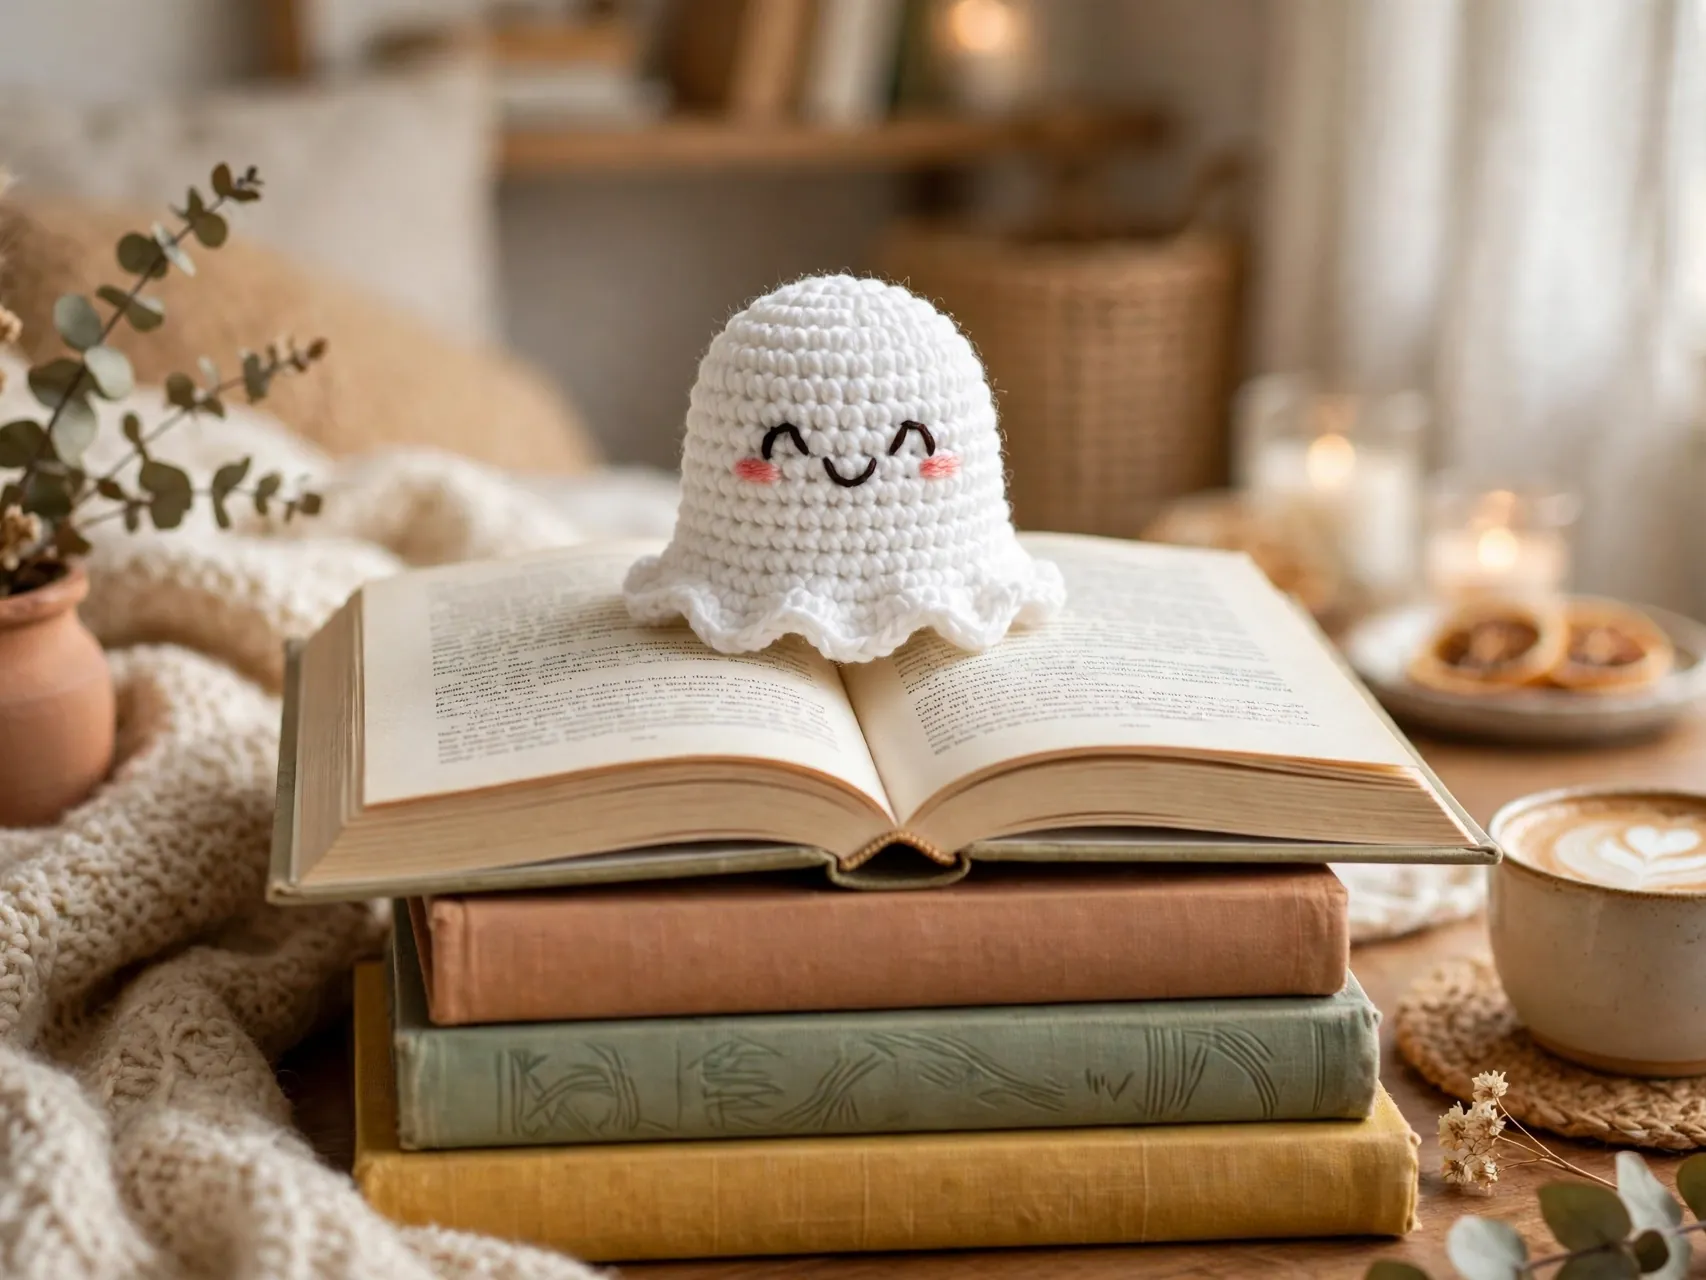
Flatten the bottom of a mini ghost instead of stuffing it round, and it can perch on top of a book stack or peek over a shelf edge. Work the body as usual, stuff only the head lightly, and sew the base closed flat so it sits like a little tent.
Place book buddies on fall reading piles, classroom shelves, or a child bedside table. The flat base also makes this version extra stable for play.
21. Crochet Matching Ghost Coasters With Flat Rounds
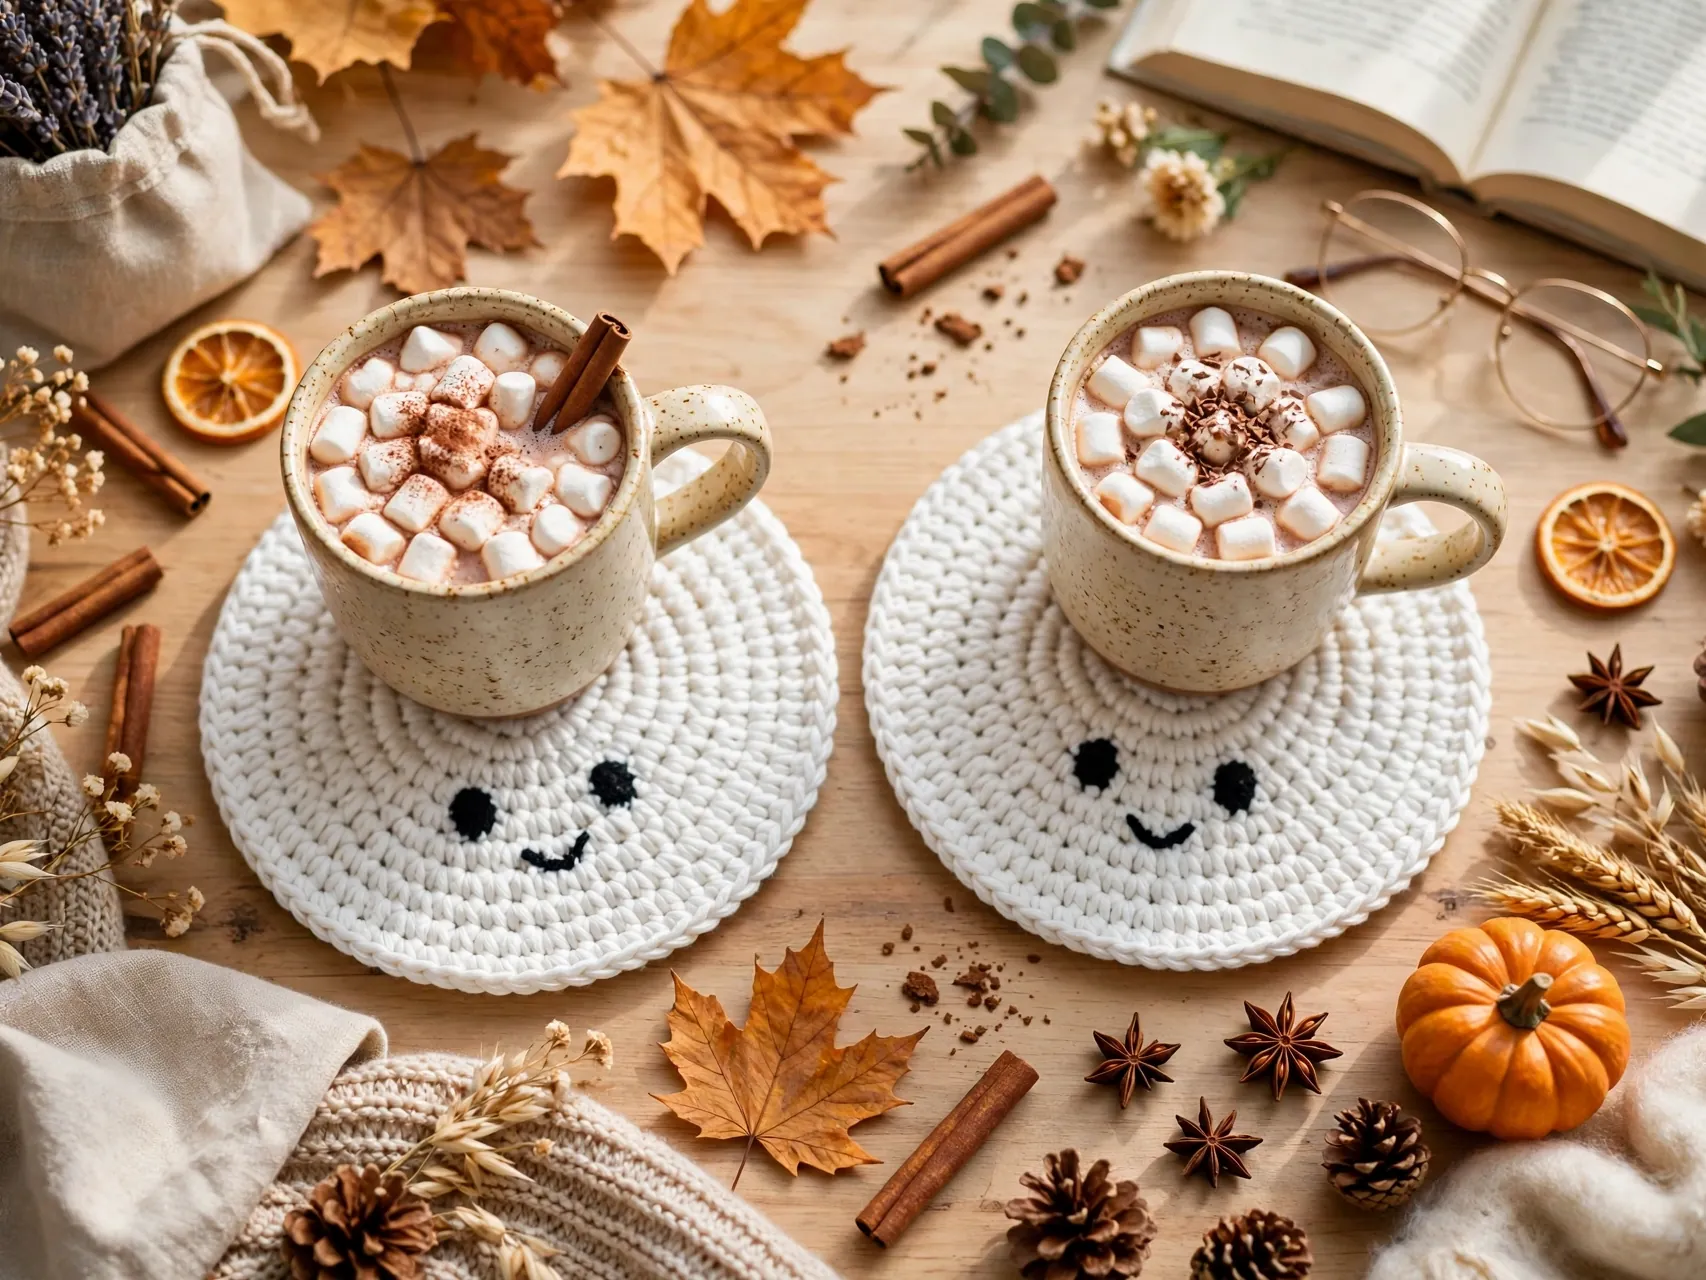
A flat ghost in cotton yarn doubles as a coaster: round head, wavy bottom, and a face embroidered flat so mugs sit level. Cotton is the right fiber here because it handles moisture and warmth better than acrylic and keeps its shape after washing.
Make a set of four with different faces and stack them beside the coffee pot in October. Coaster ghosts should skip any raised bobbles or buttons, since a flat surface is the whole point. They are quick, useful, and a very giftable mini ghost amigurumi twist.
22. Tie Mini Ghosts Onto Treat Bags and Gift Wrap
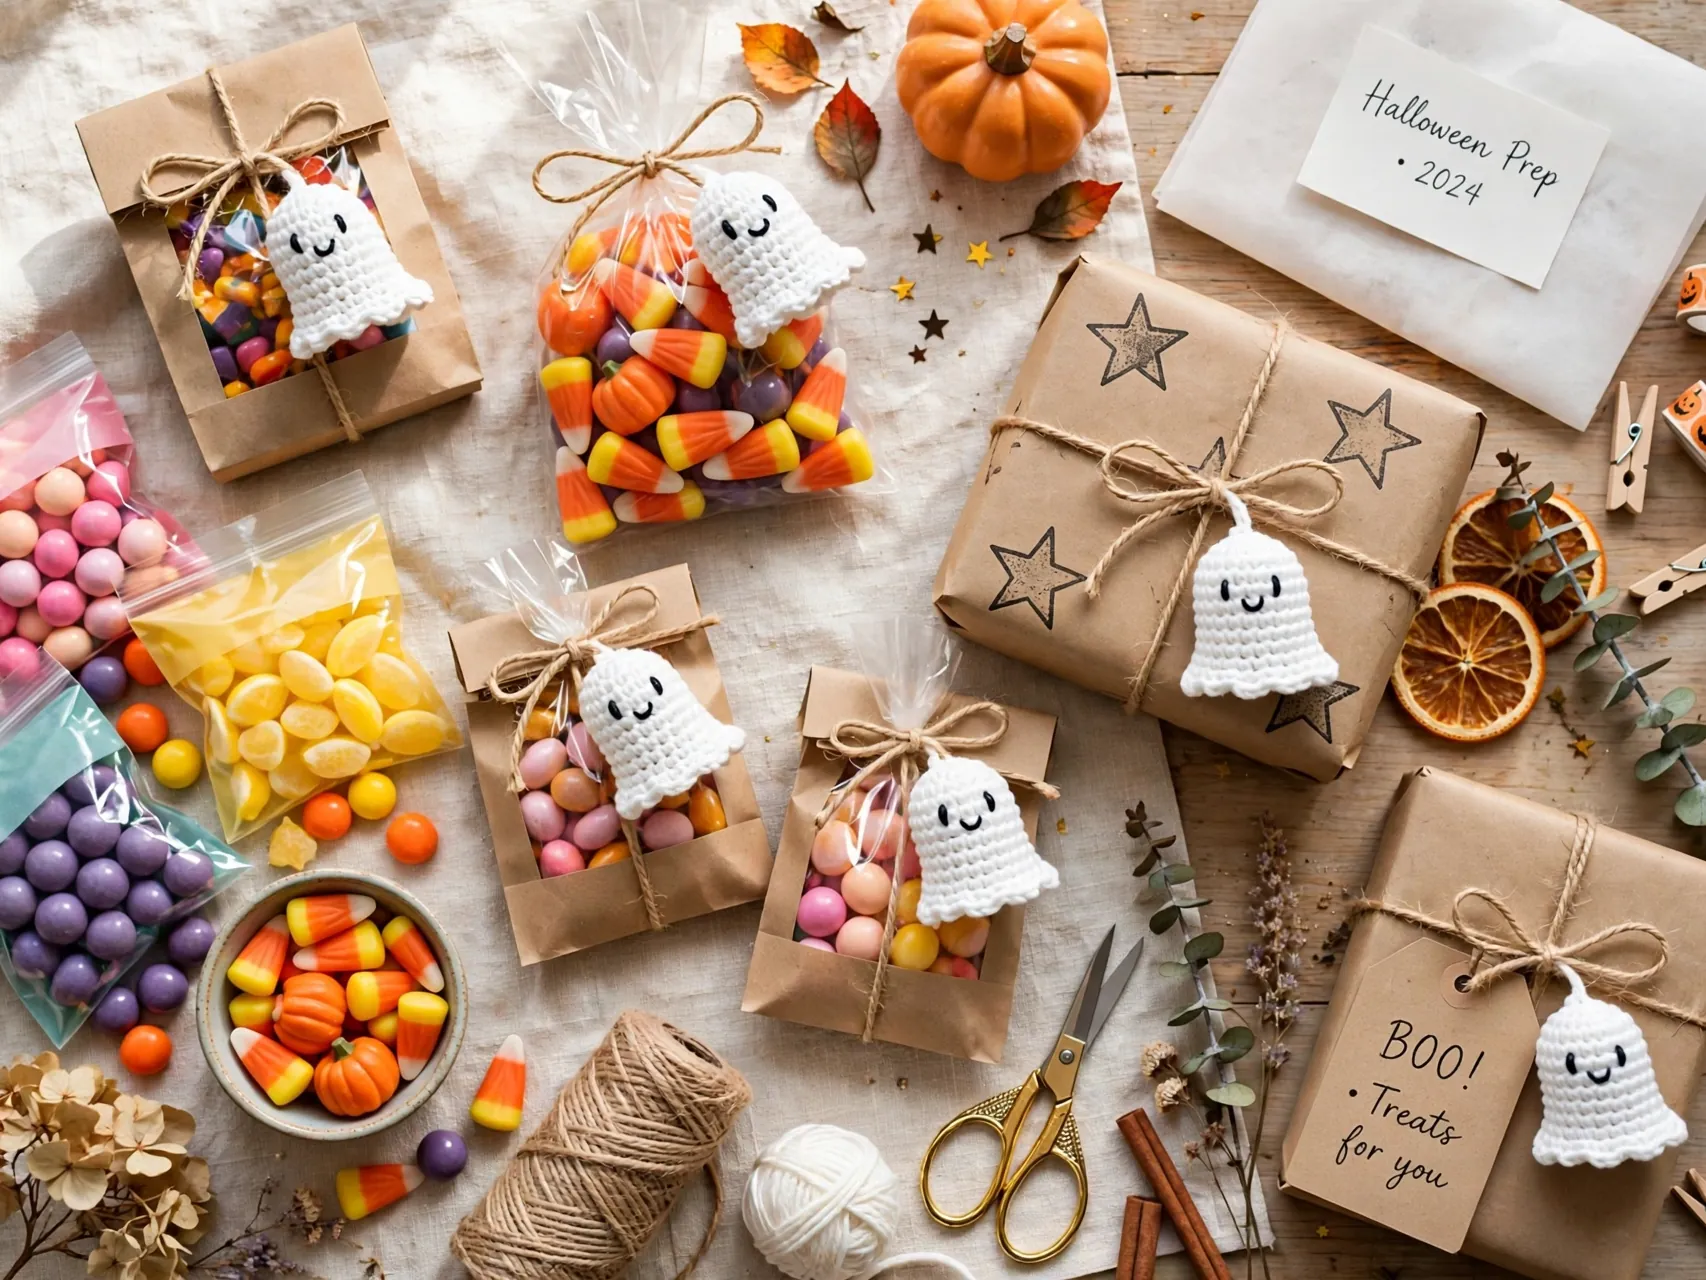
A mini ghost tied to a treat bag turns simple candy into a handmade gift. Leave a long yarn tail or add a loop at the top, then tie the ghost around the neck of a cellophane bag, a jar lid, or a wrapped box.
These work as non-candy classroom treats too: one ghost, one pencil, done. Because treat ghosts will be handled by kids, embroider every feature and skip small glued parts entirely.
23. Make a Pocket Ghost for Sweet Notes and Lunchboxes
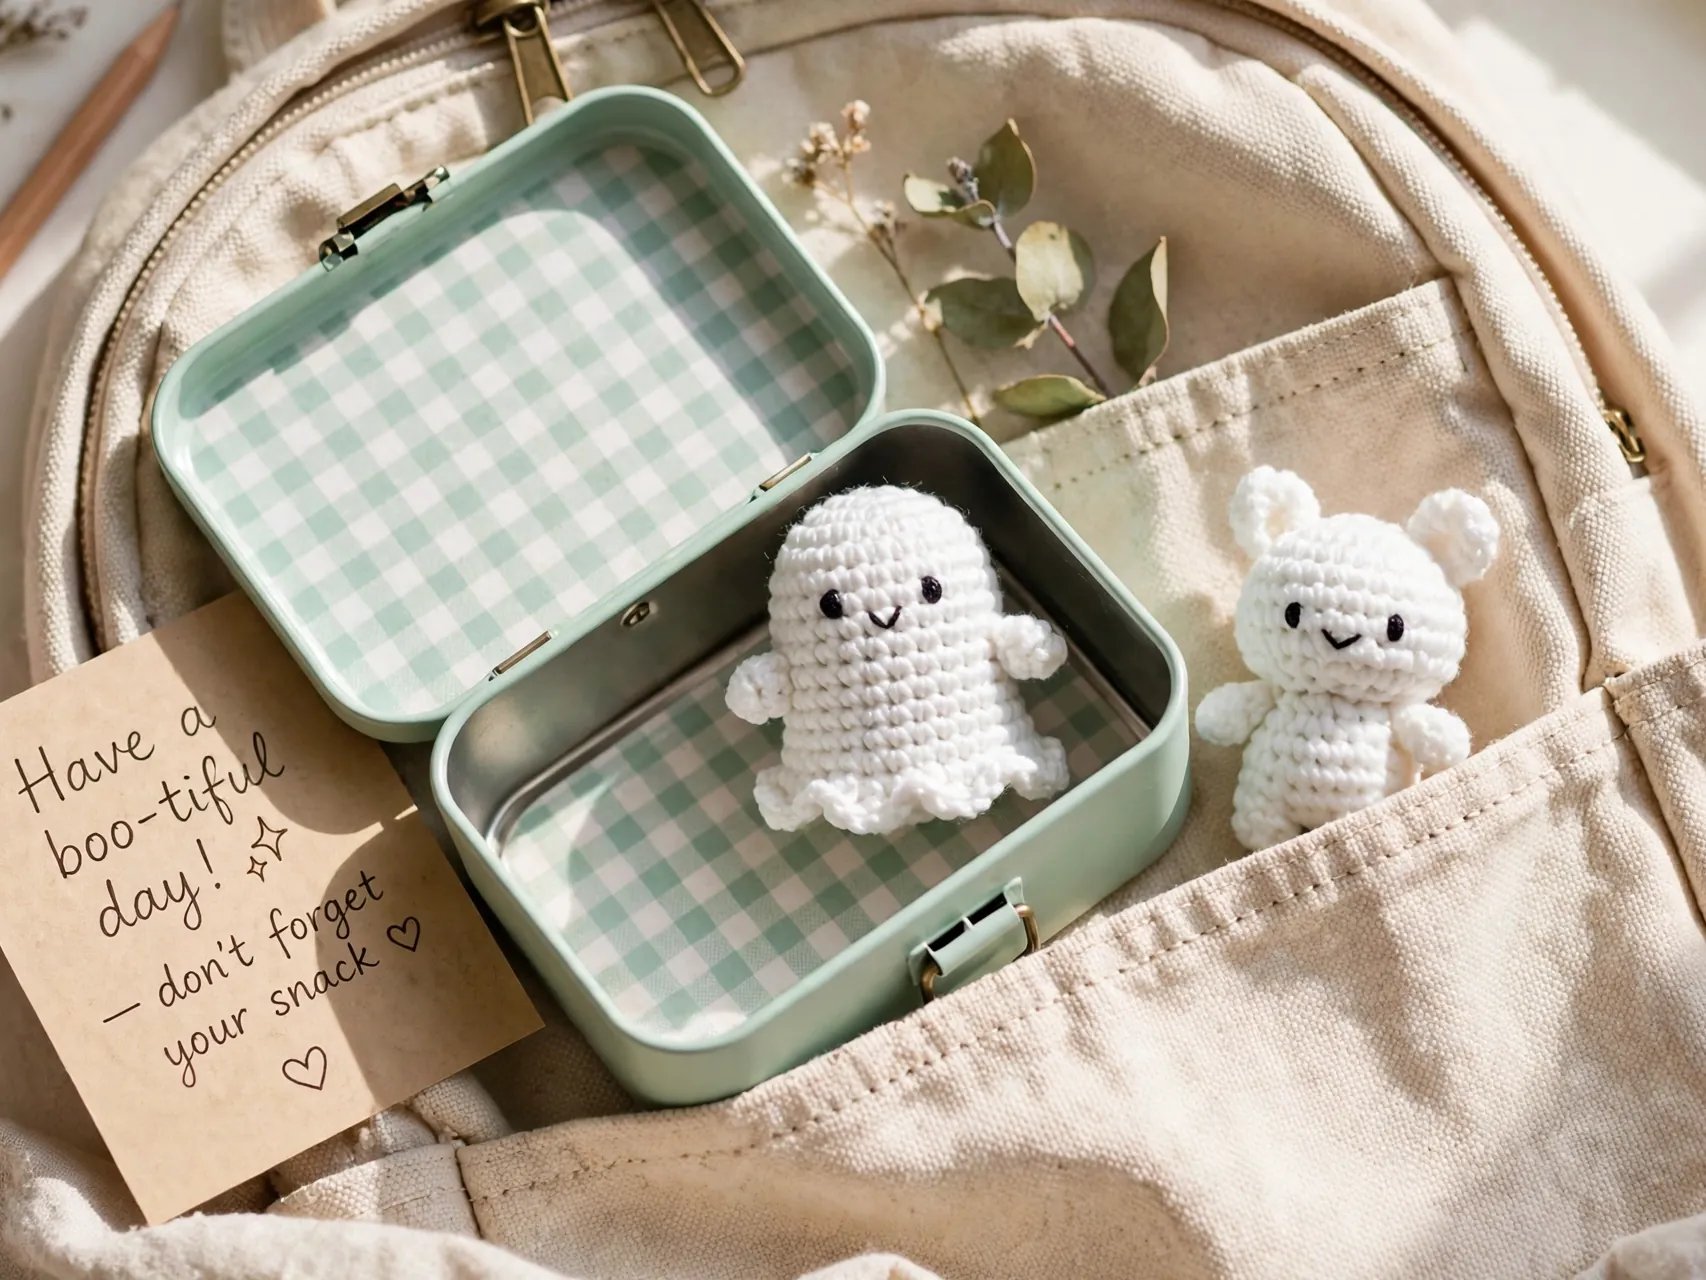
A palm-size ghost with a kind note tucked beside it is a small kindness people remember. Crochet a soft mini in plush or worsted yarn, embroider a calm happy face, and pair it with a folded card for lunchboxes, backpacks, or coworker desks.
Keep pocket ghosts simple and sturdy, with tight stitches and secure embroidery, because they will be carried and squeezed. This is a lovely use for a single leftover ball of white yarn. One ghost, one note, one better day for somebody.
24. Batch a Dozen Minis in an Afternoon With an Assembly Line
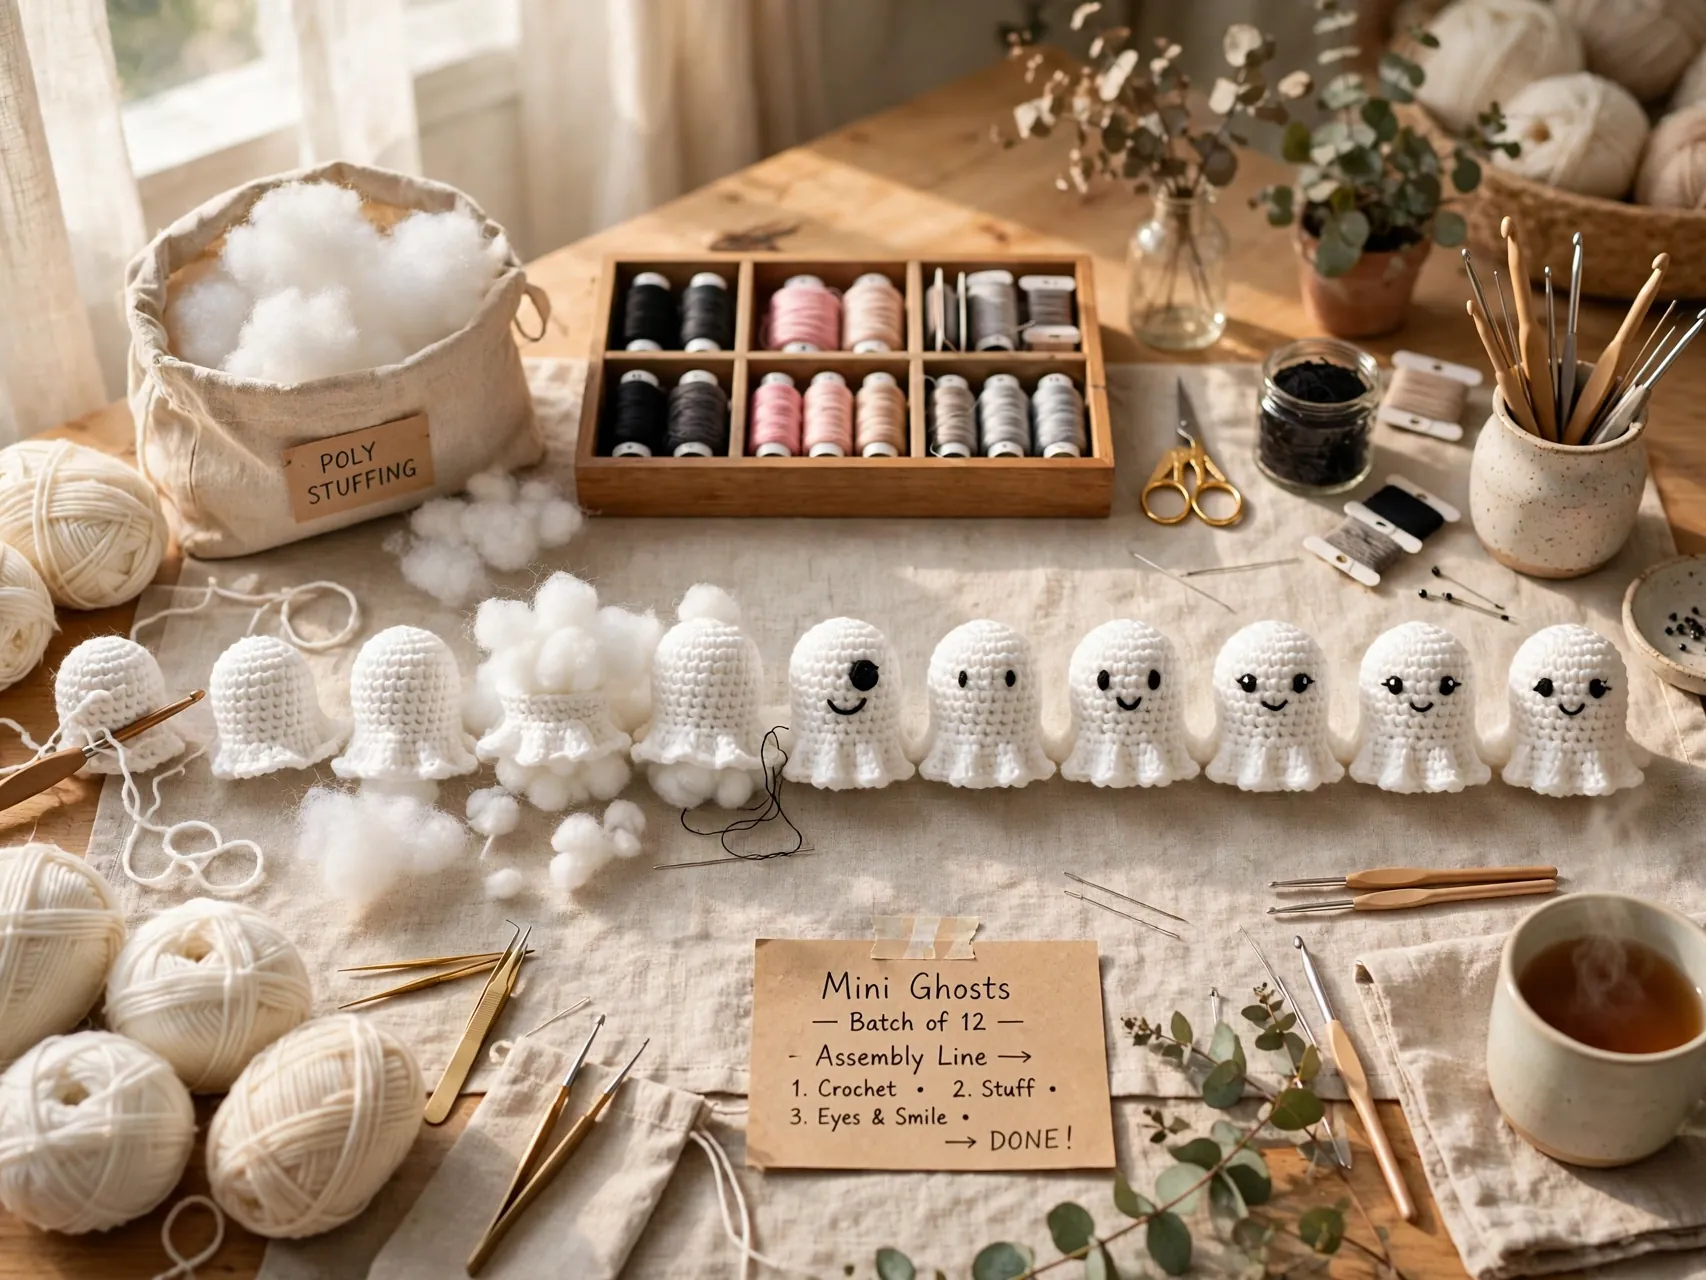
When you want a garland, a bowlful, and gifts all at once, work in stages: crochet every body first, then stuff them all, then embroider faces in one sitting. Your tension stays consistent, your faces improve with repetition, and the pile grows satisfyingly fast.
Set out your yarn, hook, stitch markers, scissors, needle, and fiberfill before you start so nothing breaks your rhythm. Count rounds out loud or with a row counter for the first two ghosts, then your hands will know the pattern.
FAQ
What yarn and hook work best for a mini ghost?
Worsted weight acrylic or cotton with a hook one size smaller than the yarn label suggests is the most reliable setup. Tight stitches keep stuffing from showing through. For a plush ghost, use chenille or blanket yarn with a larger hook that still makes a close fabric, and for tiny charms, switch to fingering yarn and a small hook.
How do I start a mini ghost crochet pattern?
Most mini ghosts start with a magic ring, also called a magic circle, with a few single crochet stitches worked into it. Pull the ring closed, then increase evenly in the next rounds to form a round head. Use a stitch marker in the first stitch of each round so you do not lose your place.
Are safety eyes safe on crochet ghosts for kids?
Safety eyes are not suitable for toys for children under 3, because small parts can become a choking hazard if the fabric is chewed or damaged. For babies and toddlers, embroider eyes and mouths with yarn instead. For older children and adult decor, safety eyes are commonly used, inserted with their washers before stuffing, but embroidery is always the safest choice.
How much stuffing does a mini ghost need?
Very little. Add polyester fiberfill in small pieces, not one big lump, and aim for firm but squeezable. Stuff the head a touch more than the body so the ghost sits upright, and keep stuffing away from the final rounds so closing stays neat. Understuffed ghosts slump, overstuffed ghosts stretch the stitches open.
How long does one mini ghost take to crochet?
A simple worsted weight mini usually takes under an hour once you know the basic stitches, and faster with practice. Flat appliques and tiny charm sizes take less time, plush versions take a little longer because the yarn is harder to see. Batching bodies and faces assembly-line style speeds up a whole set.
Key Takeaways
- One base, many ghosts: A magic ring, single crochet rounds, and simple increases build every mini ghost amigurumi in this list.
- Tight stitches matter: Use a smaller hook than the label suggests so stuffing never shows through the fabric.
- Embroider for little kids: Safety eyes are not for children under 3, so stitched faces are the safe, sweet default.
- Edges create character: A wavy shell hem, bobble arms, a tiny hat, or blush cheeks each turn the same body into a new idea.
- Batch for speed: Bodies first, stuffing second, faces last is the fastest way to a garland, bowl, or gift set.
- Love these little ghosts? Save this guide to Pinterest and pin your favorite mini to make first.