20 Paper Spider Web Craft Ideas for Creepy Halloween Decor
Introduction
Few Halloween decorations give you as much impact for one sheet of paper as a spider web. A good paper spider web craft can cover a window, fill a corner, or turn a plain doorway into a haunted entrance, and most versions need only paper, scissors, and a paper spider to finish.
The core skill is folding and cutting, much like a paper snowflake. Younger children will need an adult to help with thick folded layers and the final cuts, and everyone should use safety scissors suited to their age. Choose non-toxic glue and paint, and keep small spider parts away from children under 3.
Start with the classic fold and cut web, then try color, scale, and texture changes. A white web on a dark window, a black web on a pale wall, and a laced paper plate web for little hands each create a different kind of creepy.
Hang paper webs indoors or under cover, keep them away from candles and hot bulbs, and add battery lights nearby if you want a glow. With those basics set, the twenty ideas below cover a whole haunted house.
1. Classic Fold and Cut Web From a White Square

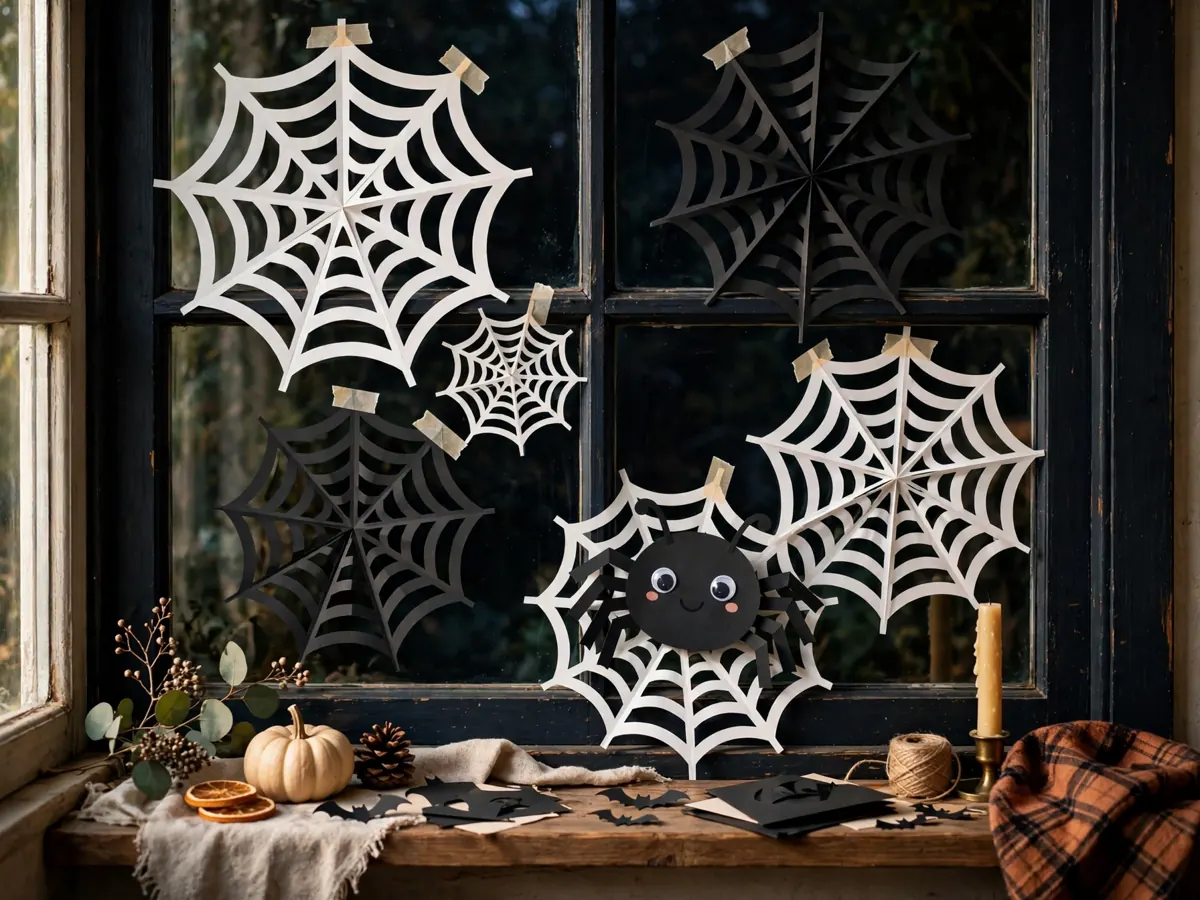
Fold a white square diagonally into a narrow wedge, draw curved cut lines along the sides with a pencil, and cut them out with care, leaving the folded spine and the center point intact. Unfold slowly to reveal a round, lacy web.
This is the method most people mean when they ask how to make paper spider webs, and practice makes it fast. If a strand tears, a tiny piece of clear tape on the back usually saves the web without showing from the front.
Make your first web on practice paper and keep it as a cutting guide for the next ones. Once the fold and cut rhythm clicks, a small group can produce enough webs for every window in the house in a single relaxed craft session together.
2. Black Construction Paper Web on a Pale Wall
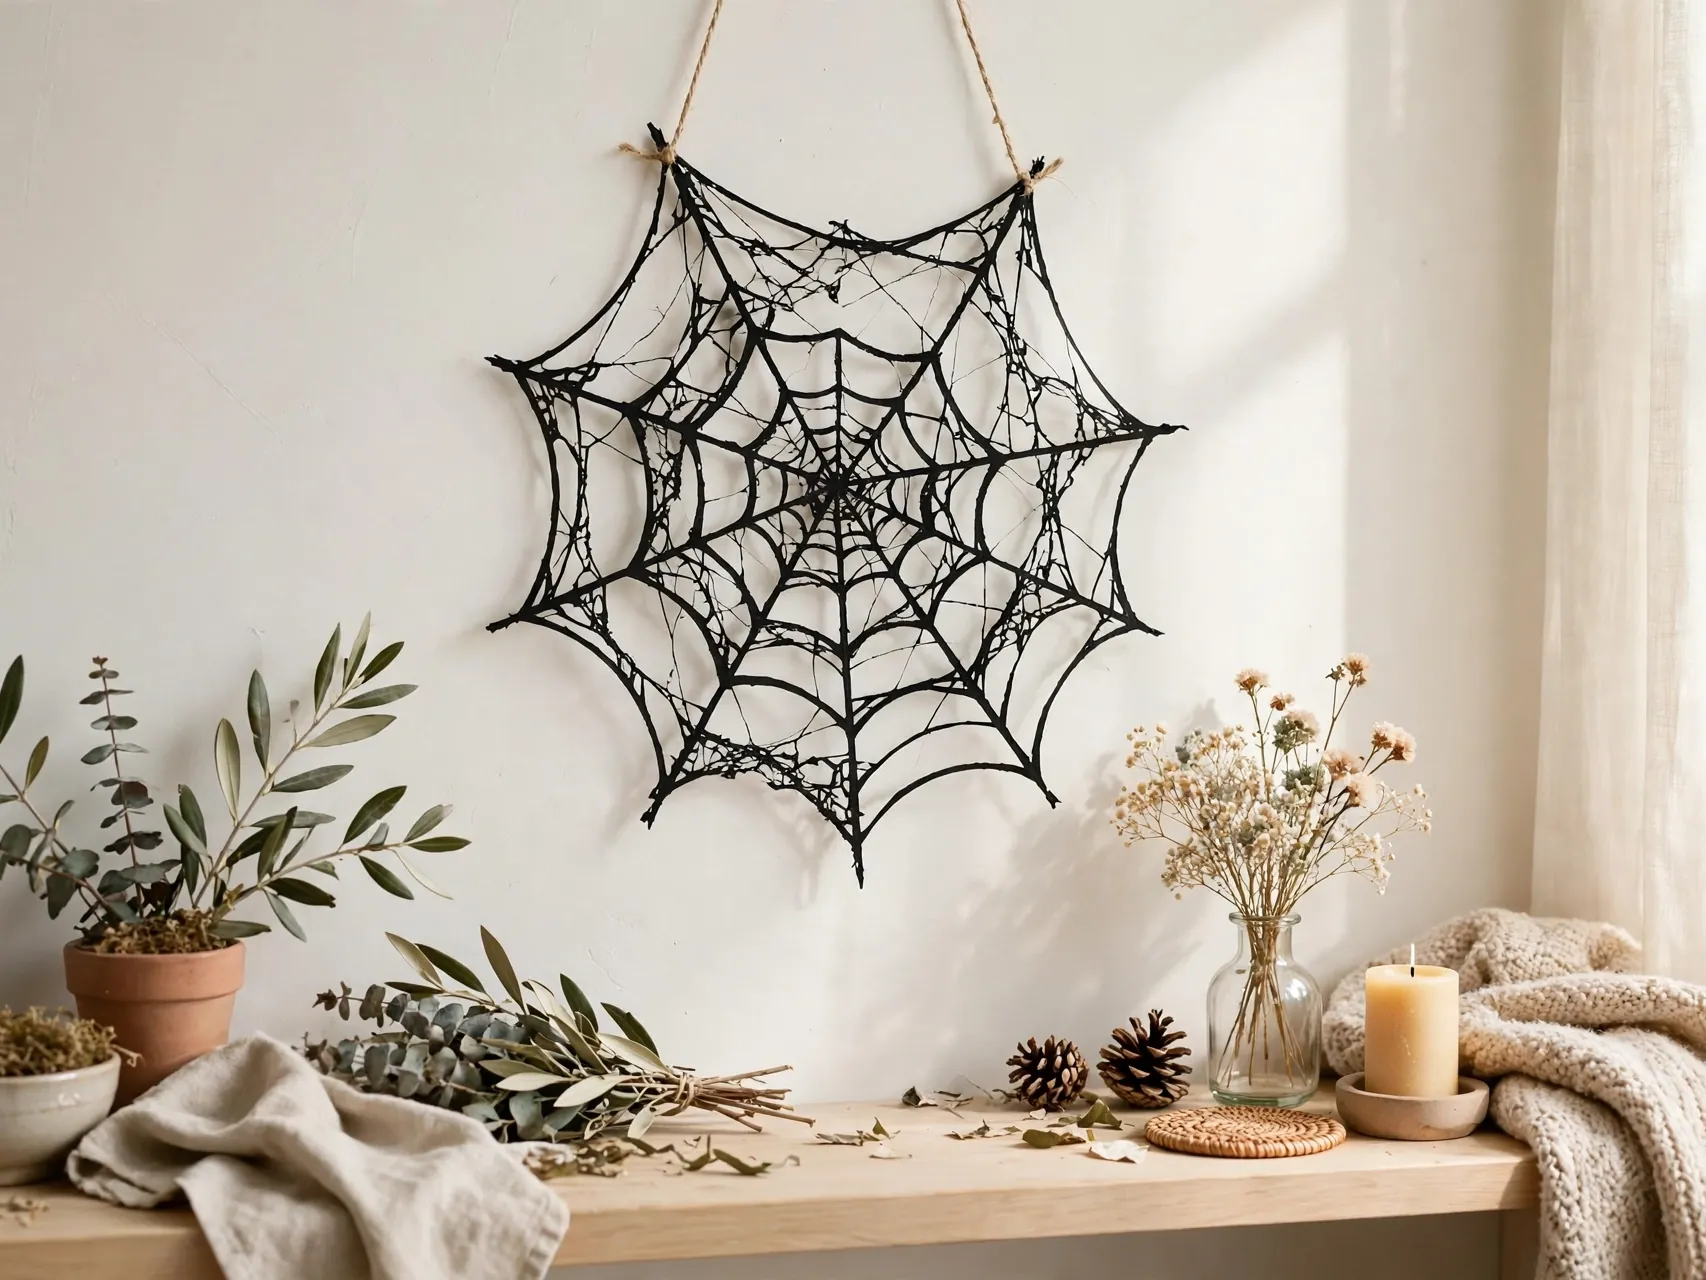
Repeat the classic fold and cut method in black paper for a bold silhouette against a light wall or door. Black webs read more dramatic and more grown up, so they suit entryways and dining rooms where cute decor feels out of place.
Construction paper is thicker than printer paper, so stop after fewer folds if cutting gets hard. Forcing thick layers leads to jagged edges and tired hands, especially for kids, so thinner paper is smarter for large, detailed webs.
3. Corner Web for Doorways and Bookcases
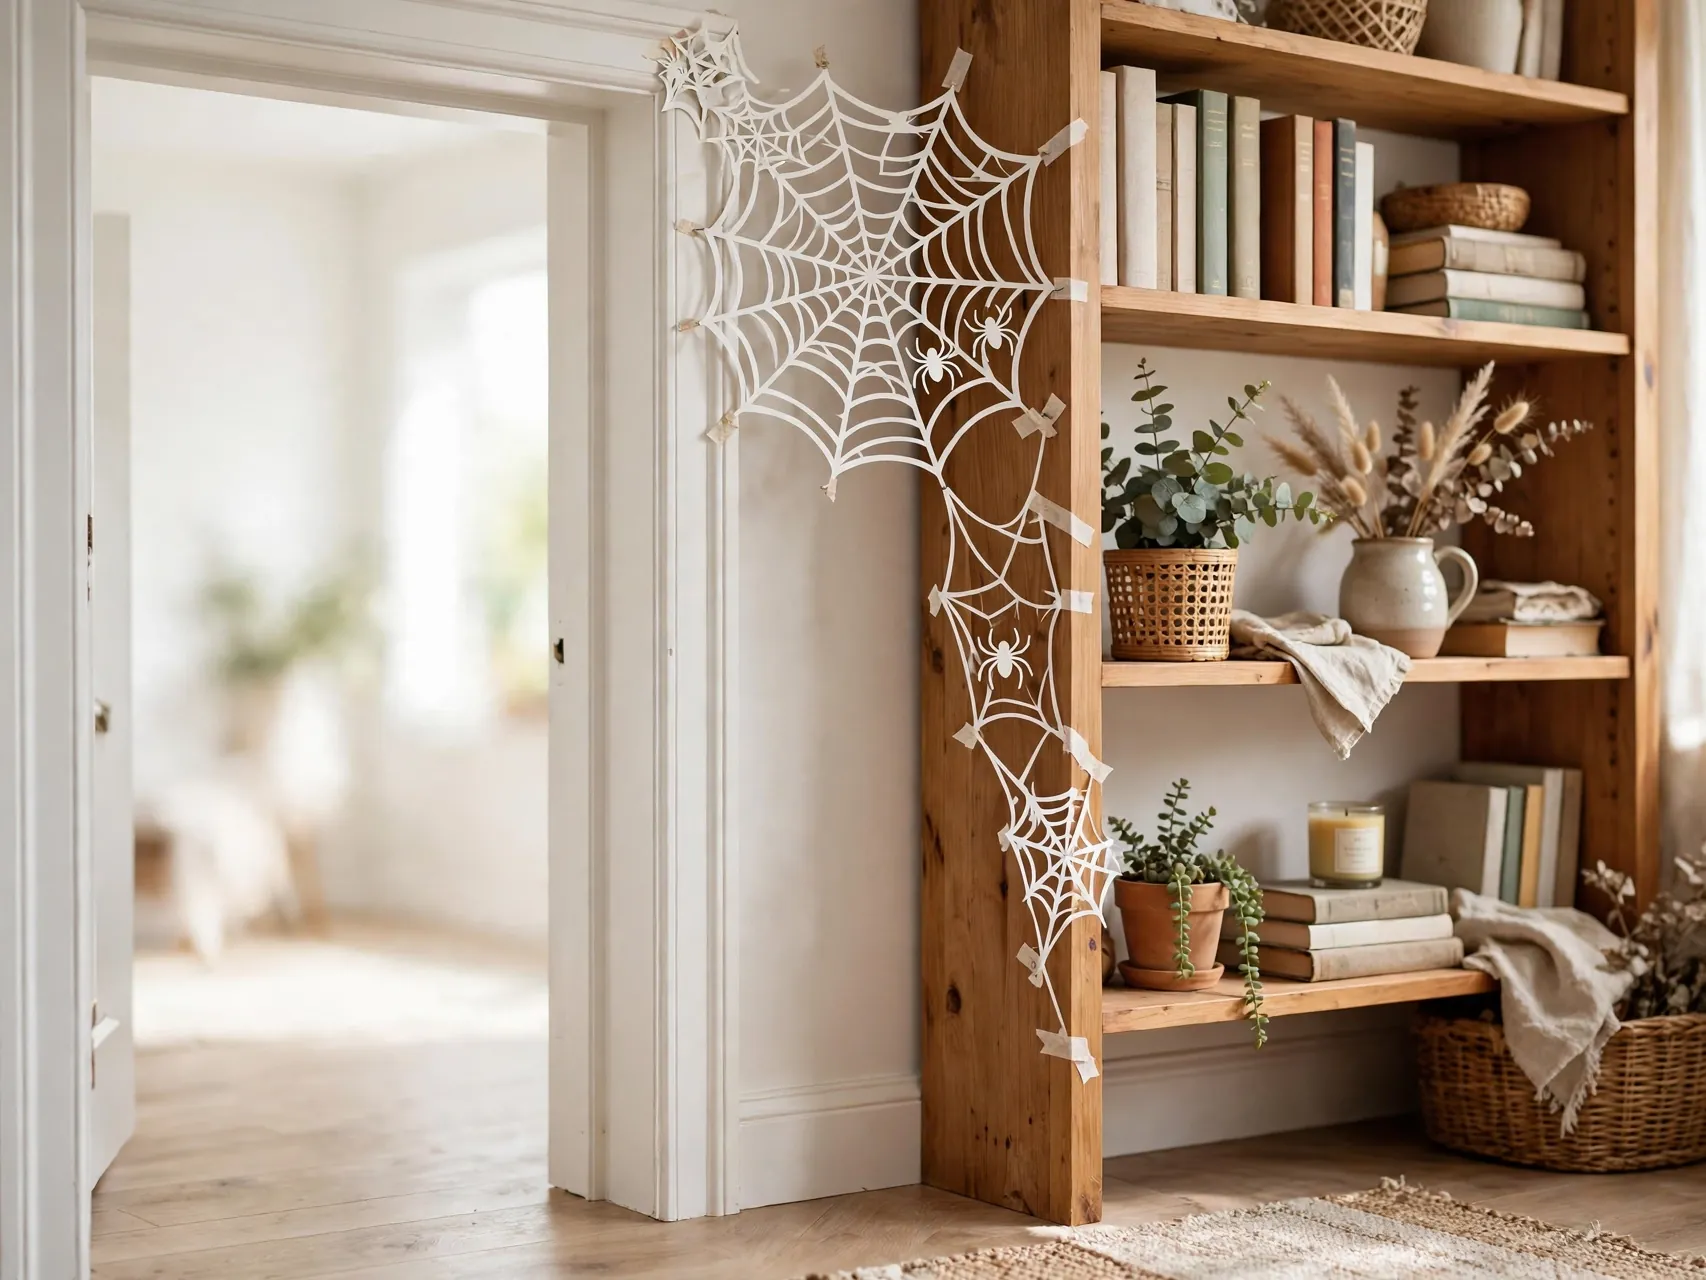
A corner web is a quarter design that fits neatly where a wall meets a ceiling, or across the top corner of a doorway and bookcase. Fold and cut a smaller wedge, unfold it partly, and shape it as a fan rather than a full circle.
Tape only the outer edges so the web looks like it was spun into the corner. Corner webs are the fastest way to make a room feel haunted, because our eyes expect real webs in exactly those forgotten spots.
4. Paper Plate Lacing Web for Little Hands

Cut the center from a paper plate with adult help, punch holes around the remaining ring, and let kids lace white yarn back and forth across the opening to build a web. A tape wrapped yarn tip works like a needle and makes threading easier.
Add a pom pom or paper spider in the middle. This paper plate spider web craft builds fine motor skills while it decorates, and finished plates hang well on classroom walls because they are sturdier than plain paper webs.
5. Coffee Filter Web With Soft Edges
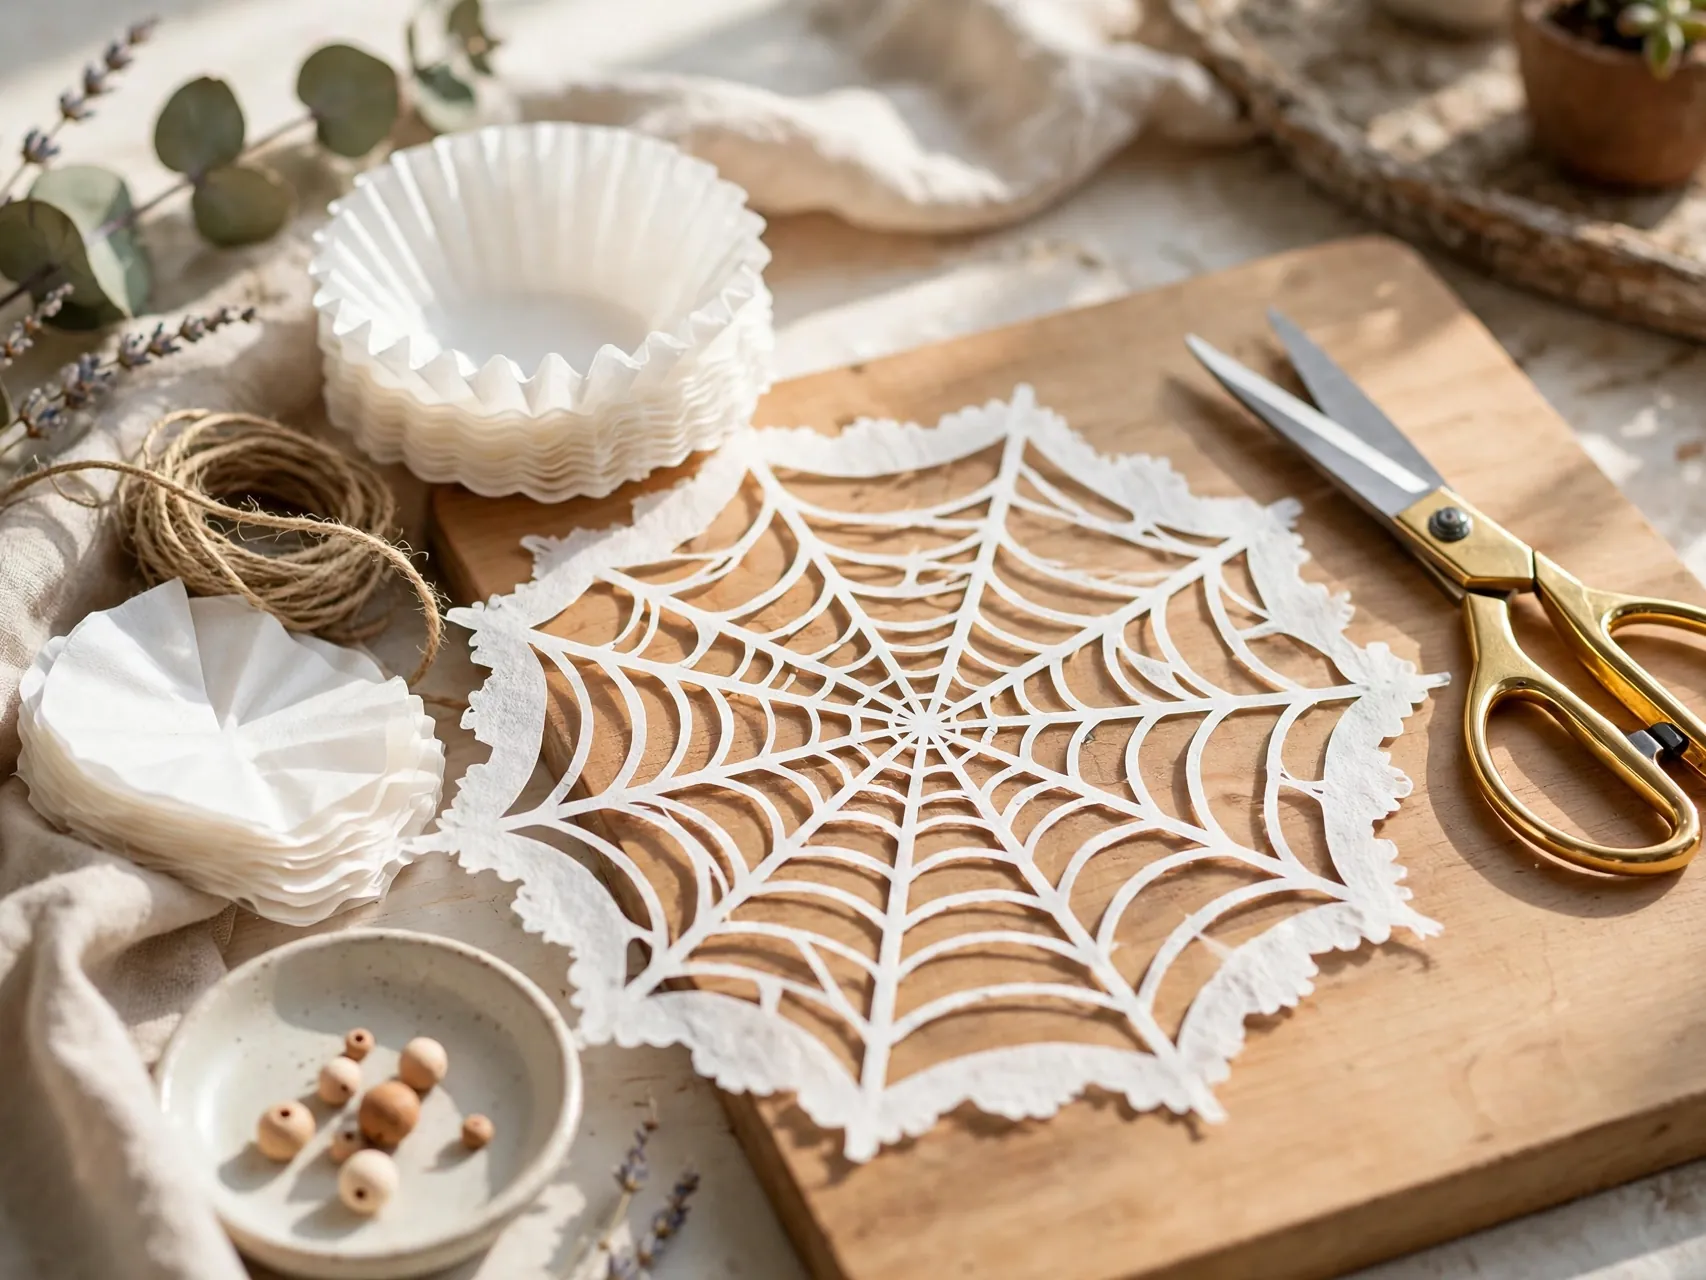
A round coffee filter is already a circle, thin, and easy to fold and cut into a delicate web. The soft, slightly ruffled edge looks more natural than a crisp paper edge, and filters take marker color well if you want a tinted web.
Because filters tear easily, an adult should unfold them and handle the hanging. Press a finished web flat under a book for a short time if it curls, then tape it lightly to a window where daylight shows the fine cuts.
6. Giant Trash Bag Style Web Cut From Big Paper

Scale changes everything. Use the largest white or black paper you can find, such as a roll of craft paper cut into a big square, fold and cut as usual, and you get a web that can fill a whole window or pin across a porch wall.
Large webs need two people to unfold without tearing and several tape points to hang. Keep the cuts wider and simpler at this size, because fine detail is lost from a distance and thin strands on a giant web tear under their own weight.
7. Web With a Friendly Paper Spider in the Center

Make a simple spider from two black paper circles, eight thin leg strips with a fold in each leg, and large white paper eyes. Glue it slightly off center on the web, which looks more natural than a perfect middle placement.
Friendly spiders with big eyes and a smile keep the craft cute for young kids and classroom doors. Draw eyes instead of using small plastic pieces for children under 3, and glue legs firmly so they do not pull off during hanging.
8. Layered Webs in White, Gray, and Black
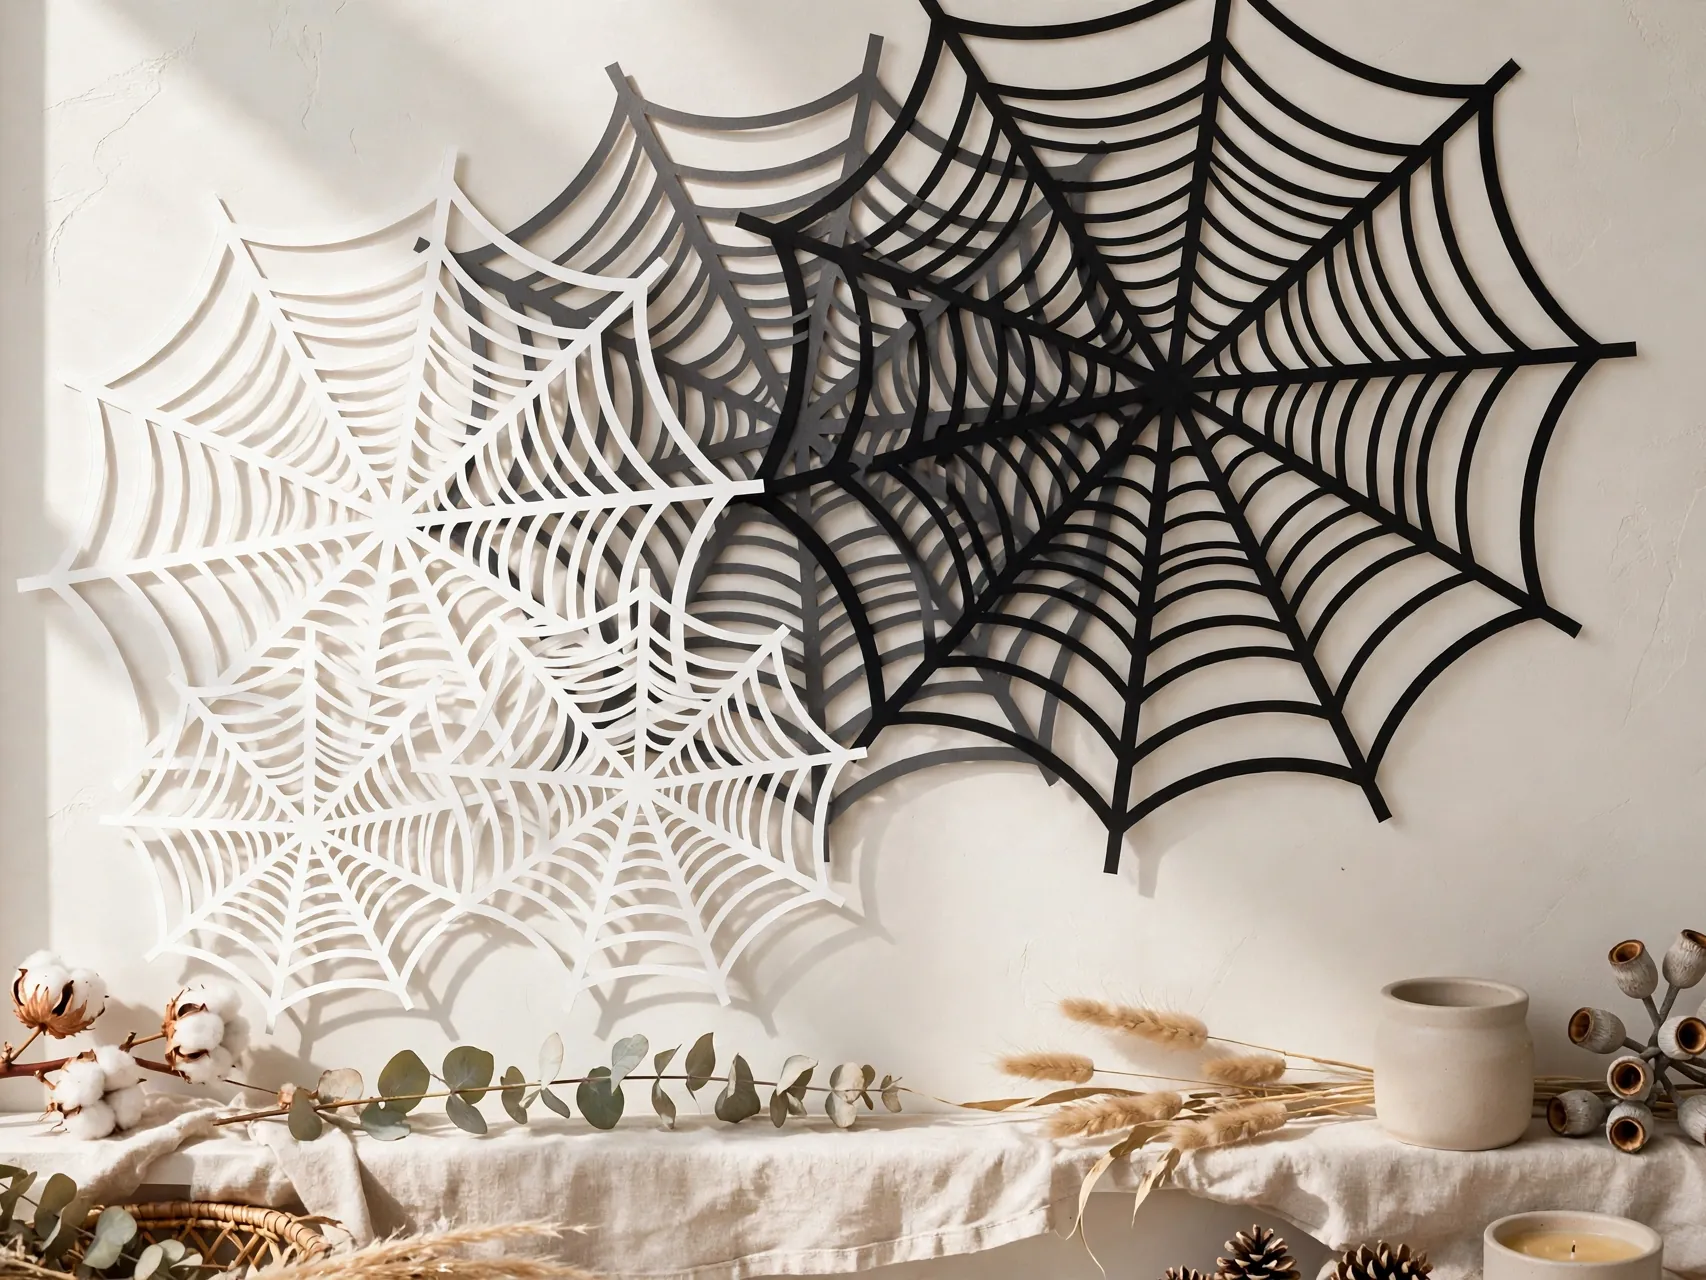
Cut three webs in decreasing sizes and different tones, then layer them with the largest at the back. A small rotation between layers fills gaps and makes the web look dense and complex, even though each layer uses a simple cut pattern.
Layering is a forgiving trick if one web tears or cuts unevenly, because the other layers hide flaws. This is one of the most photographed spider web halloween decorations diy ideas, since the tones add depth in pictures as well as in person.
9. Spider Web Garland With Mini Webs on Twine

Cut a series of small webs, add a mini spider to every second or third one, and tape or thread them along a length of twine. Mini webs are quicker to cut than large ones, and small mistakes matter less at garland scale.
Hang the garland across a mantel, window, or party table backdrop, out of reach of toddlers who could pull it down. Alternate web colors, black then white, for a pattern that reads clearly from across the room in photos.
10. Watercolor Resist Web With a White Crayon
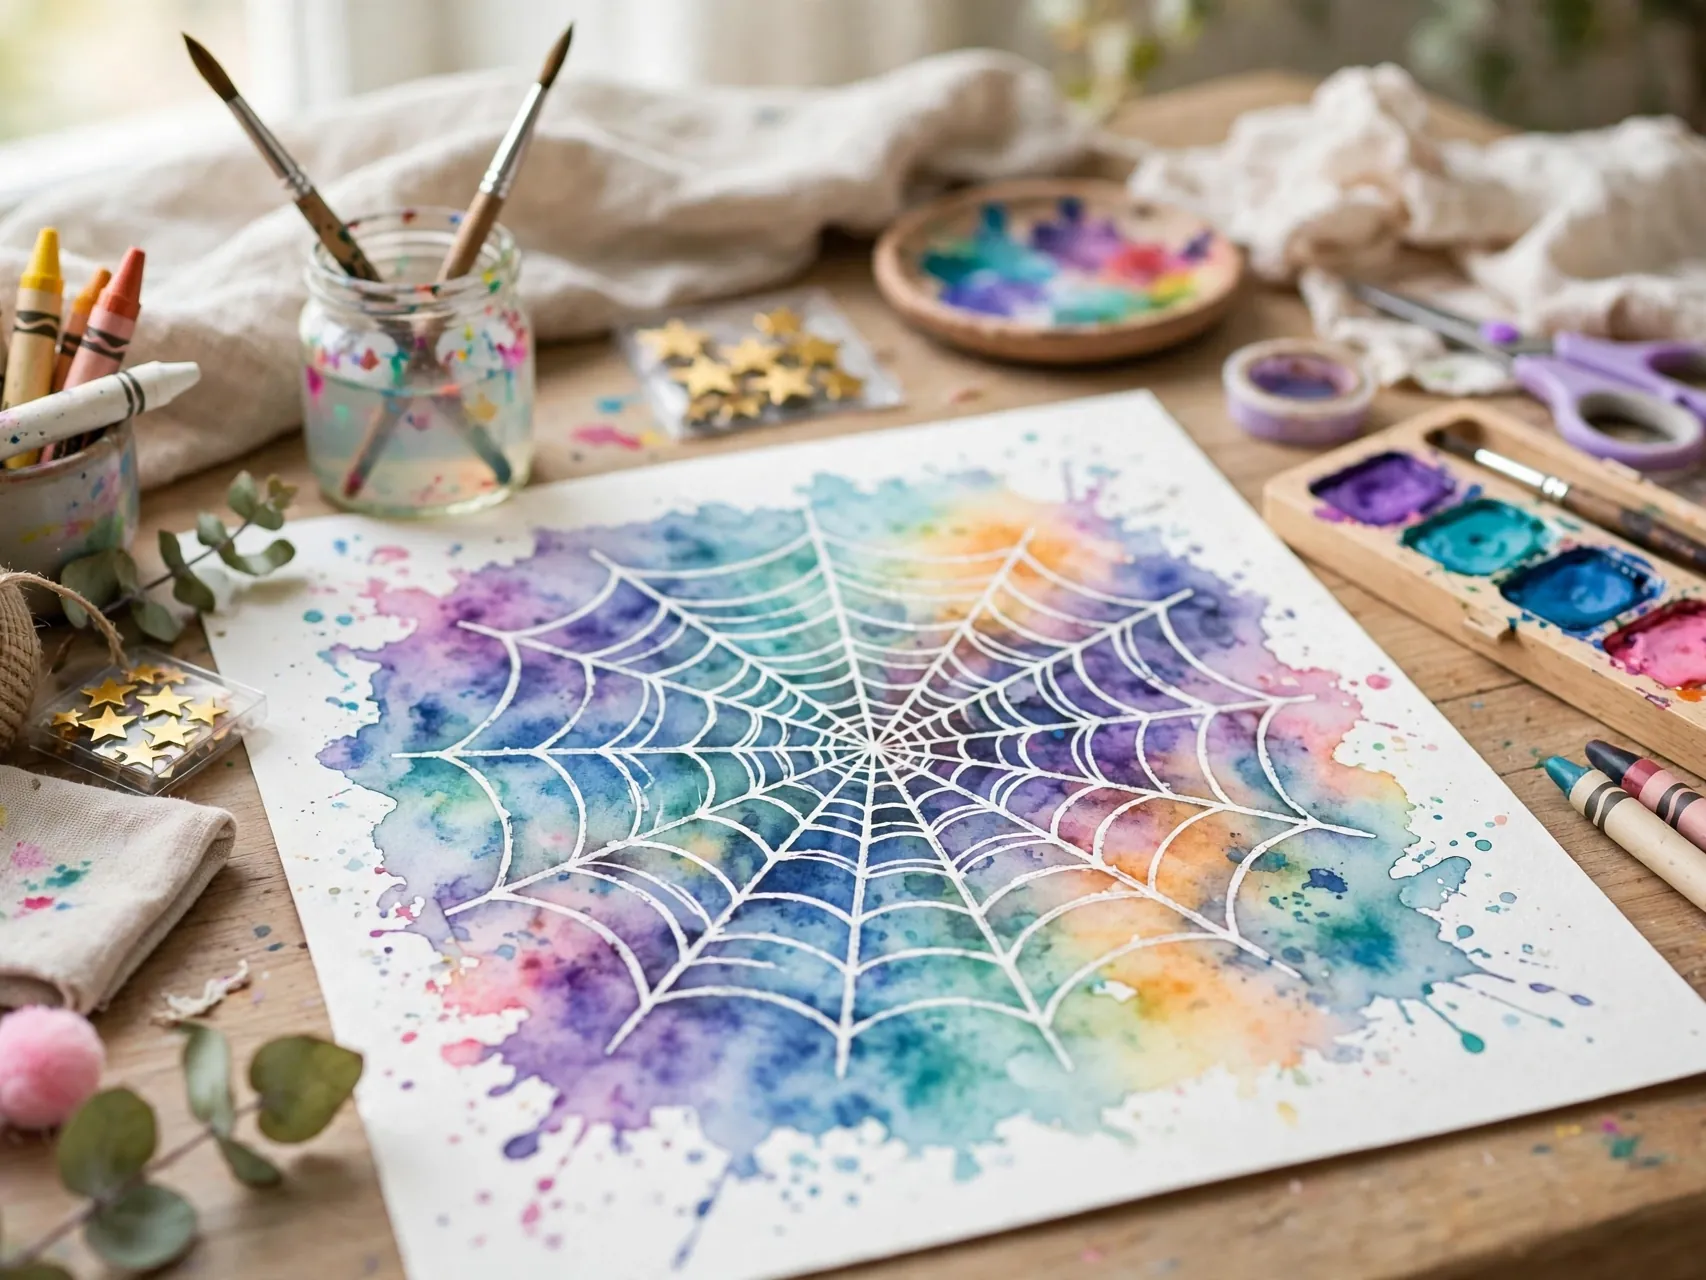
Draw a web with a white crayon on white paper, pressing hard, then paint over the whole page with dark watercolor. The wax resists the paint and the web appears like magic as the background darkens around it.
This no-cut version is ideal for children who are not ready for detailed scissor work. Let the page dry flat, add a paper spider in a corner, and you have web art for a fridge, classroom wall, or Halloween card front.
11. Yarn and Glue Web on Wax Paper

Draw a web guide on paper, cover it with wax paper, then lay glue coated yarn along the spokes and rings. When the glue dries fully, peel the yarn web off the wax paper and it holds its own shape for hanging.
An adult should manage the messy glue stage and the peeling for younger kids. Yarn webs have a soft, handmade texture that contrasts nicely with flat cut webs, so mixing both types in one room keeps displays interesting.
12. Spider Web Suncatcher With Tissue and Contact Paper

Cut a web outline frame from black paper and place it on clear contact paper, sticky side up, with adult help. Fill the open spaces with small pieces of white, purple, or orange tissue, then seal with a second sheet if you like.
Trim the edges and tape the suncatcher in a sunny window. Light through tissue gives webs a stained glass feel during the day, and the black frame keeps the web pattern readable from outside the house as well.
13. Web Doily From a Paper Lace Doily

A white paper doily already has a lacy, radial pattern, so drawing a few rings and spokes with a fine gray marker turns it into a convincing web with almost no cutting. Add a small paper spider at the edge to sell the effect.
Doily webs suit a more elegant Halloween table, mixed with black candles in battery form and dark linens. They also layer beautifully under plates or jars as web mats, which is a nice use for any doilies left over from other parties.
14. Glitter Accented Web for Party Sparkle

Trace a thin line of glue along the main strands of a finished white or silver web and dust it lightly with fine glitter, shaking off the excess over a tray. A little sparkle catches party lighting and makes a flat web feel special.
Keep glitter webs for older kids and adult made decor, contain the glitter over paper you can fold and tip into the bin, and hang the web where it will not be handled. The goal is a shimmer, not a glitter storm on the floor.
15. Web and Spider Window Scene With Silhouettes

Build a scene instead of a single web. Tape a large web in one top corner of a window, hang two or three paper spiders on threads at different lengths below it, and add a paper moon in the opposite corner.
Silhouette scenes look best in black paper against daylight or a lit room at night. Step outside after hanging to check the view from the street, and adjust spider heights so the story reads clearly for trick or treat visitors.
16. Spider Web Table Runner From Connected Webs

Overlap a row of black or white webs down the center of a table, taping the joins underneath, to create a lacy runner for a Halloween party or October dining table. Add paper spiders and battery tea lights along the runner for a finished setting.
Keep real candles and hot dishes off paper runners, and place serving pieces on trivets or plates. When the party ends, separate the webs, stack them flat, and store them in a large envelope so the runner can return next year.
17. Web Wreath With a Big Center Spider

Glue a large web over a cardboard ring or an adult cut paper plate ring so the middle stays open like a wreath, then hang one big friendly spider in the center on a short thread so it dangles and turns slowly.
Add a small paper bow or a welcome banner under the spider. Web wreaths work on classroom doors and covered front doors, and they are light enough for a removable hook, which helps renters avoid nail holes in doors.
18. Printable Style Web With Drawn Rings and Spokes

Not every web needs cutting. Draw spokes radiating from a center point on black paper with a white gel pen or chalk marker, then connect them with curved ring lines that sag slightly between spokes for a realistic web drawing.
Drawing is the safest option for mixed age groups, because each child controls the difficulty. Smaller kids can draw a few big rings, while older kids add fine detail, a spider, and even tiny paper flies caught in the web for storytelling.
19. Spider Web Crown and Hat Trim for Costumes

Cut a small web from sturdy cardstock and glue it to the side of a paper witch hat, a headband, or a simple paper crown. A web accent turns a basic costume piece into a finished Halloween outfit with one craft session.
Keep web trims light and firmly glued so they survive an evening of wear, and check that no paper edges poke near eyes. Photograph costumes early in the evening, because paper accents often bend or tear before the night is over.
20. Framed Web Art With a Vintage Look

Mount a white or cream web on dark paper and place it in a simple frame without the glass if the web is delicate, or behind glass if it lies flat. Framing turns a five minute fold and cut spider web into art you can hang every year.
Add a tiny paper spider and a handwritten date in the corner. A small gallery of framed webs in different sizes looks collected and intentional, and frames protect fragile webs from the crushing that ends most paper decorations after one season.
FAQ
How do you fold paper for a spider web?
Start with a square, fold it diagonally into a triangle, then fold the triangle in half once or twice into a narrow wedge. Draw curved cut lines along the wedge sides, cut them out, keep the center point and folded spine intact, then unfold carefully to reveal the web.
Why does my paper web tear when I unfold it?
Thin strands, cuts that are too close together, and rushing the unfold are the usual causes. Use slightly thicker paper, leave wider strands between cuts, and open the web one fold at a time on a flat surface. Small tears can be repaired with tiny tape pieces on the back.
What paper is best for spider web crafts?
Printer paper and light construction paper fold and cut most cleanly for detailed webs. Heavy cardstock is hard to cut in folded layers and suits drawn or simple webs instead. Coffee filters make soft, delicate webs for windows, with adult help for unfolding and hanging.
How do I hang paper webs without damaging paint?
Use small loops of painter tape or removable poster putty on the outer points of the web, and test in a hidden spot first. For garlands and corner webs, tie thread to existing hooks or fixtures. Keep webs away from heat vents, candles, and hot light bulbs.
Can kids make paper spider webs safely?
Yes, with age matched tools and help. Kids should use safety scissors, and an adult should handle thick folded cutting, hole punching, and any craft knife steps in plate projects. Skip small plastic spiders and tiny parts for children under 3, and use paper spiders with drawn eyes instead.
Key Takeaways
- Fold, cut, unfold slowly: The classic web needs a square, a narrow wedge fold, curved cuts, and patience at the unfolding stage.
- Color sets the mood: White webs feel lacy and ghostly, black webs feel dramatic, and layered tones add depth with simple cuts.
- Scale and place with intent: Corner webs, giant window webs, garland webs, and table runners each suit a different spot in the house.
- Add one good spider: A friendly paper spider with large drawn eyes finishes a web and keeps it safe and cute for young kids.
- Hang gently, store flat: Removable tape, indoor or covered spots, and flat storage in a large envelope keep webs ready for next year.
- Ready to spin a few webs of your own? Save this guide to Pinterest and pin the web style that fits your Halloween display.